MORE HANDBOOKS ARE ON THEIR WAY! We will let you know when they get here.
×

vths
-
Posts
144 -
Joined
-
Last visited
Content Type
Profiles
Forums
Gallery
Events
Everything posted by vths
-
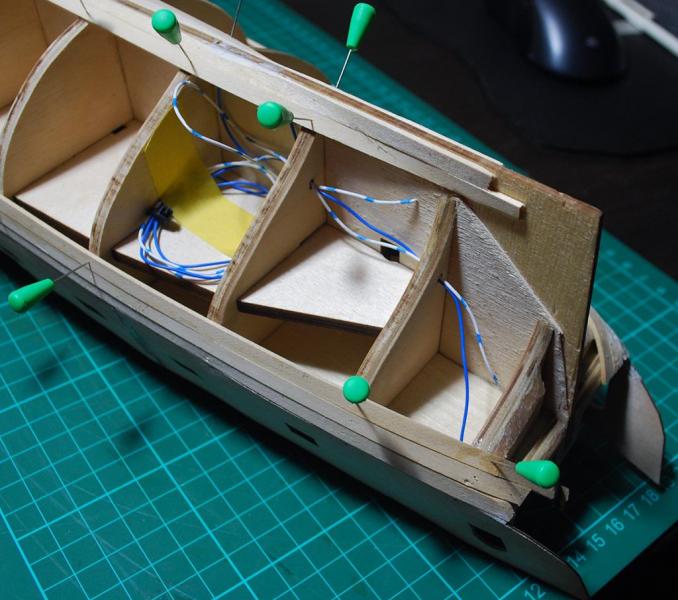
 Very nice work, I plan doing something similar. Just one thing - I would consider placing the LEDs in the great cabin somewhere else since generally it is not good to aim their light towards windows. You need to light the room, not blind the observer. Also, you could try to sand the LEDs with a fine sandpaper to spread their focused light.
- 161 replies
-
- 1
-

-
- pegasus
- victory models
- (and 1 more)
-
Thank you guys, much appreciated. Thanks for the hint, I went ahead and attached some of the extensions right away. During the last days I found time to attach 5 strips on each side. Lime is indeed a much better material for the first planking layer than balsa (HMS Racehorse by Sergal) and 1,5 mm of thickness will allow me to create a nice and shapely surface.I will also use different putty, one that is used mainly for plastic kits, since it is more tough than water-based putty just for wood.
-
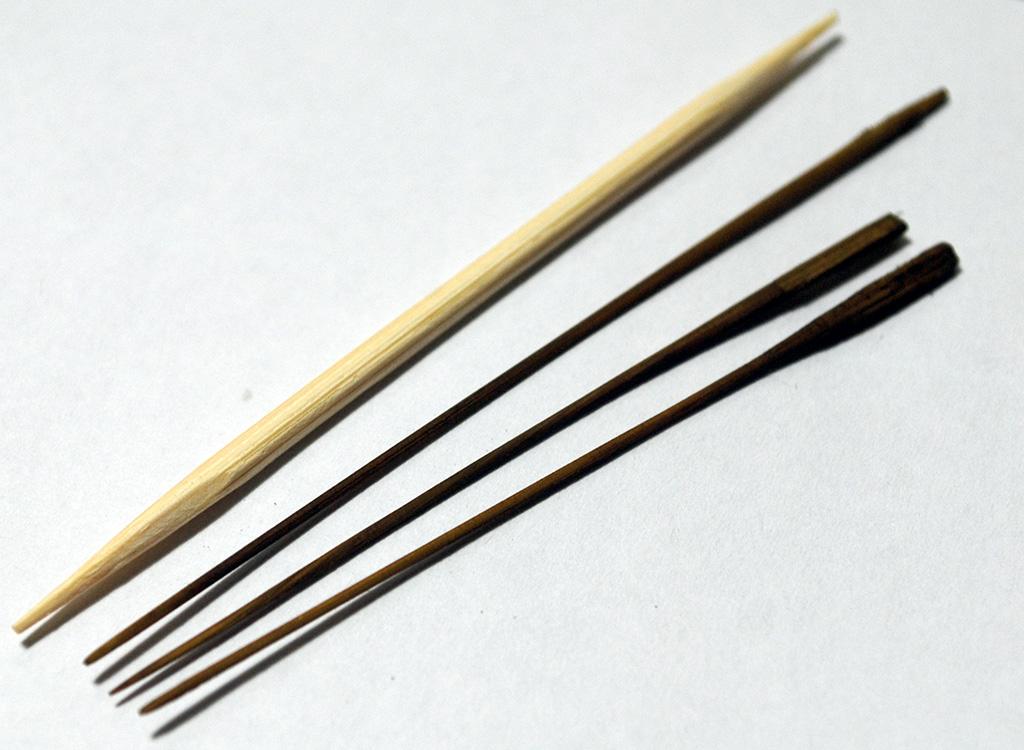
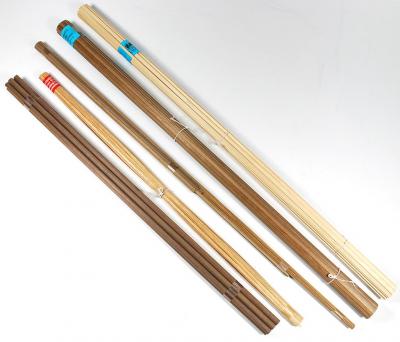
I was going to use drawplates and created a few "prototypes" of .4mm thickness using microdrill and fine sanding paper, but even though I used tough bamboo toothpicks, they were too fragile to be forced into such small holes and I also had to sharpen them. So finally after some effort with bamboo I decided to use wooden toothpicks (I bought two 1000 piece packs, to there is plenty of them to ruin and sand them using microdrill and the following proxxon bit to create a fine and long spike. It looks like a hell of a job, but once you learn how to do it, it is quite fast and easy. Then I stained each spike with walnut mordant. It is vital to let them dry thoroughly, otherwise they will break once pushed into the tiny holes. And finally, using white glue, I created whole lines of treenails, let the glue dry and cut off the toothpicks. I also found that wooden toothpicks are also much more easy to cut off than bamboo ones, so the only disadvantage is that they did not come with fine spikes, but otherwise they are much better. Treenails in the following pictures are in .4mm holes and planks are 3 mm wide (HMS Fly, scale 1:64) these are actually still bamboo toothpicks these are finished treenails made of wooden toothpicks

-
Im a fan of actual wooden treenails and I use toothpicks (not bamboo, but regular wood, because it is better looking). One toothpick is used for one treenail, which I found the best - easy handling, time saving and still not expensive. For 1:64 scale I use .4mm drill and it is also vital to sharpen each toothpick and possibly even dye it to make the treenail visible.
-
Well in this case it took me by surprise, since I thought it would be a piece of cake, but that is exactly what I love about model ship building. No challenge - no fun and as opposed to plastic plane kits, wood is forgiving and that is a great combination.
-
Looks like the modeller's plane is another must have to make proper masts, I should order one Anyway I strongly suggest to fasten the drill to a level surface, so you could use your both hands to sand the mast or yard and frequently check its thickness. You'll have better control of the whole process and also will be able to correct imperfections using sand paper on a straight piece of wood (or something) at the end of the process.
-
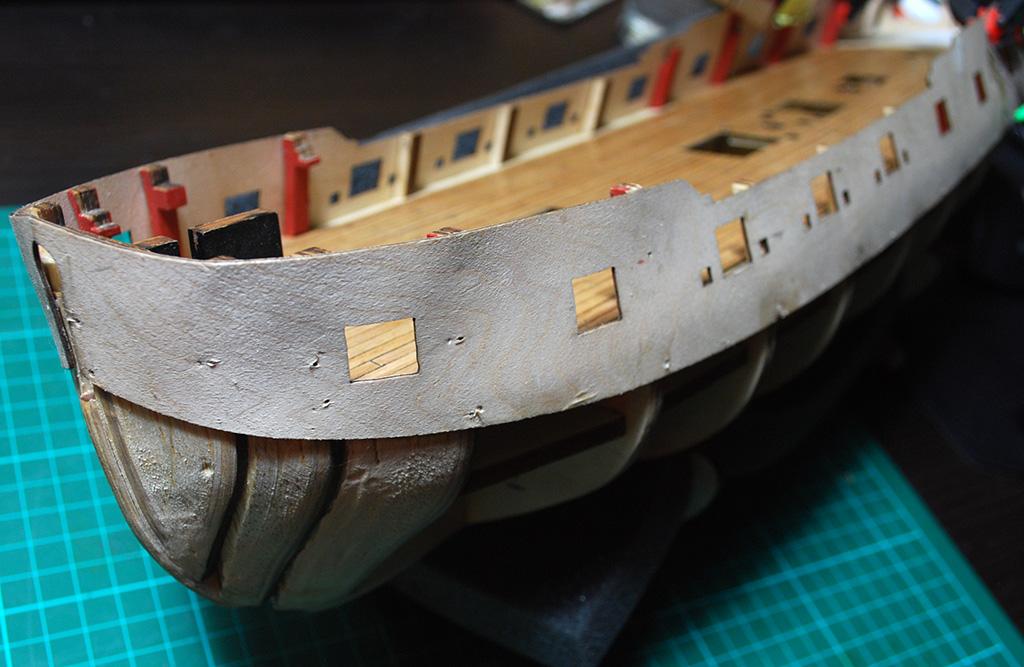
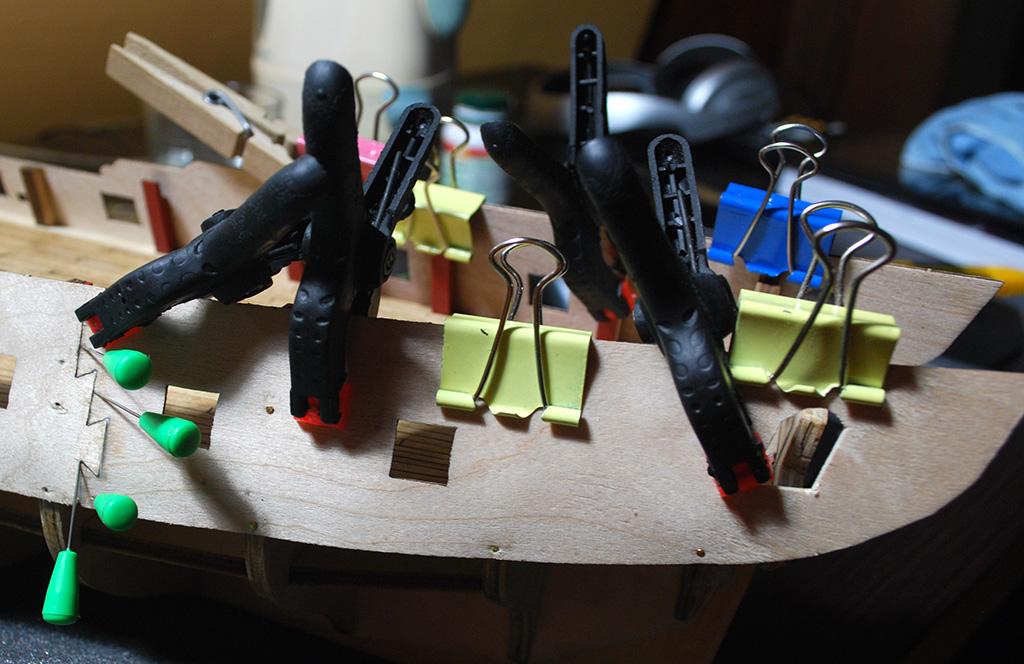
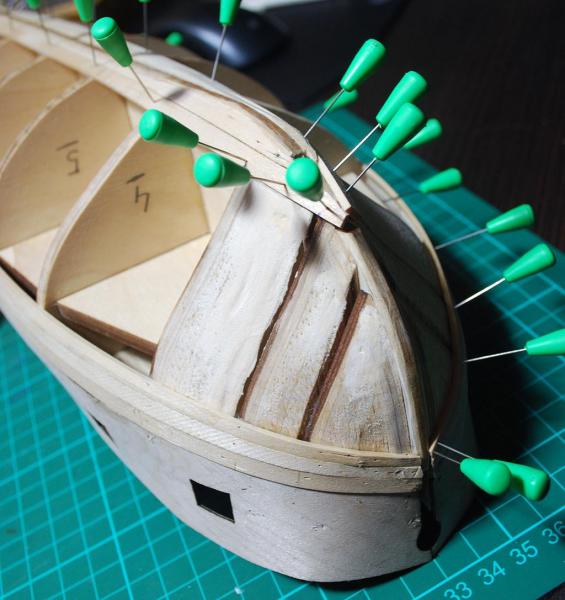
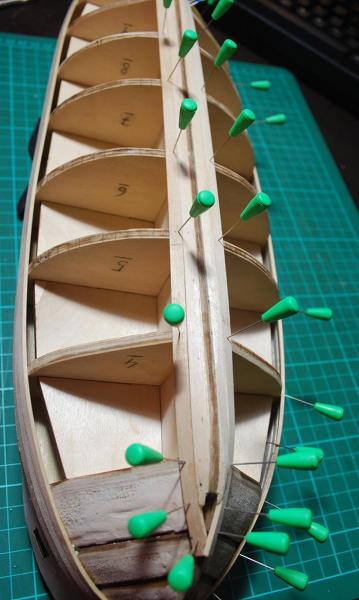
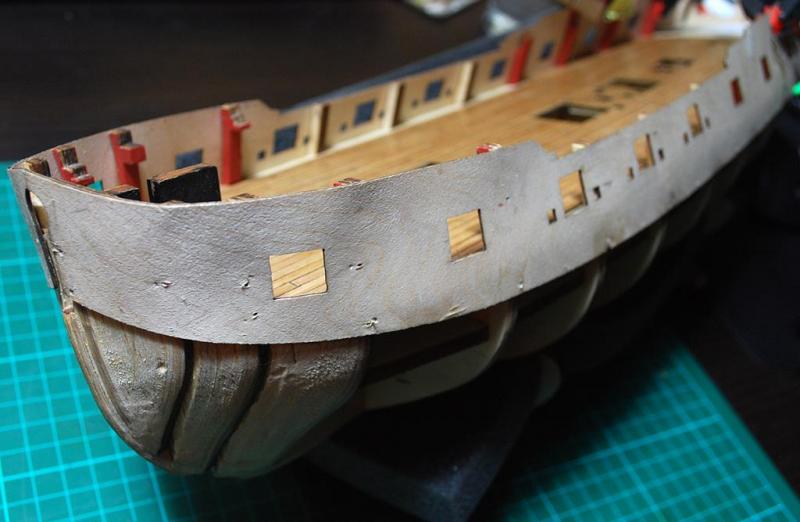
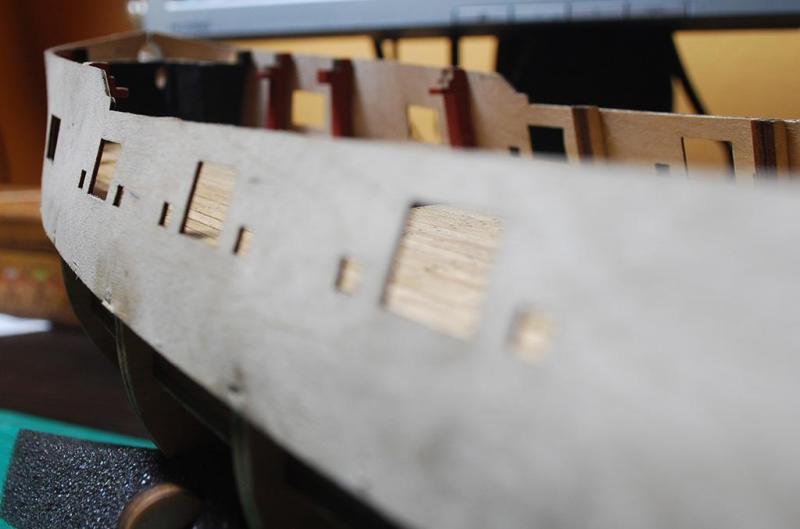
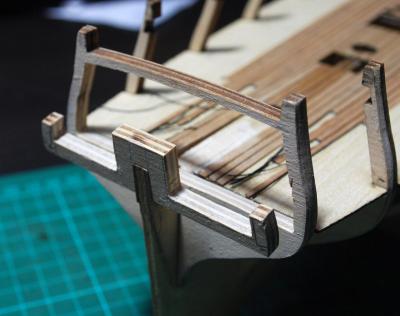
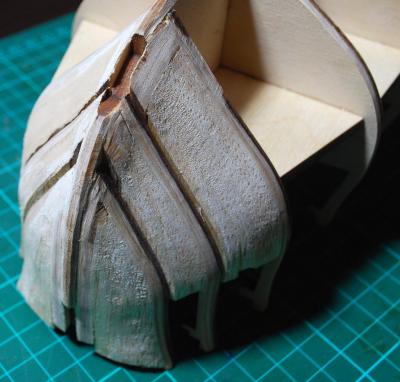
Cheers, B.E. Just finished attaching the side strips, which is something I did not imagine being that stressful and tough job. The strips, even soaked in boiling water, do not bend that easily, especially when I was forcing them to create the S shape (2nd pic) and in between the bulkheads they were not straight. They tended to bend outwards, so I had to use various pins, rubbers, tapes, ropes and other desperate means to make them behave. Now I'm even looking forward to the first planking.

-
Thanks for the detailed photos of the planking procedure, now I know what I'm getting into. I'm curious about the second planking, are you going to use anchor stock planking of the main wale?
- 161 replies
-
- 1
-
-
- pegasus
- victory models
- (and 1 more)
-
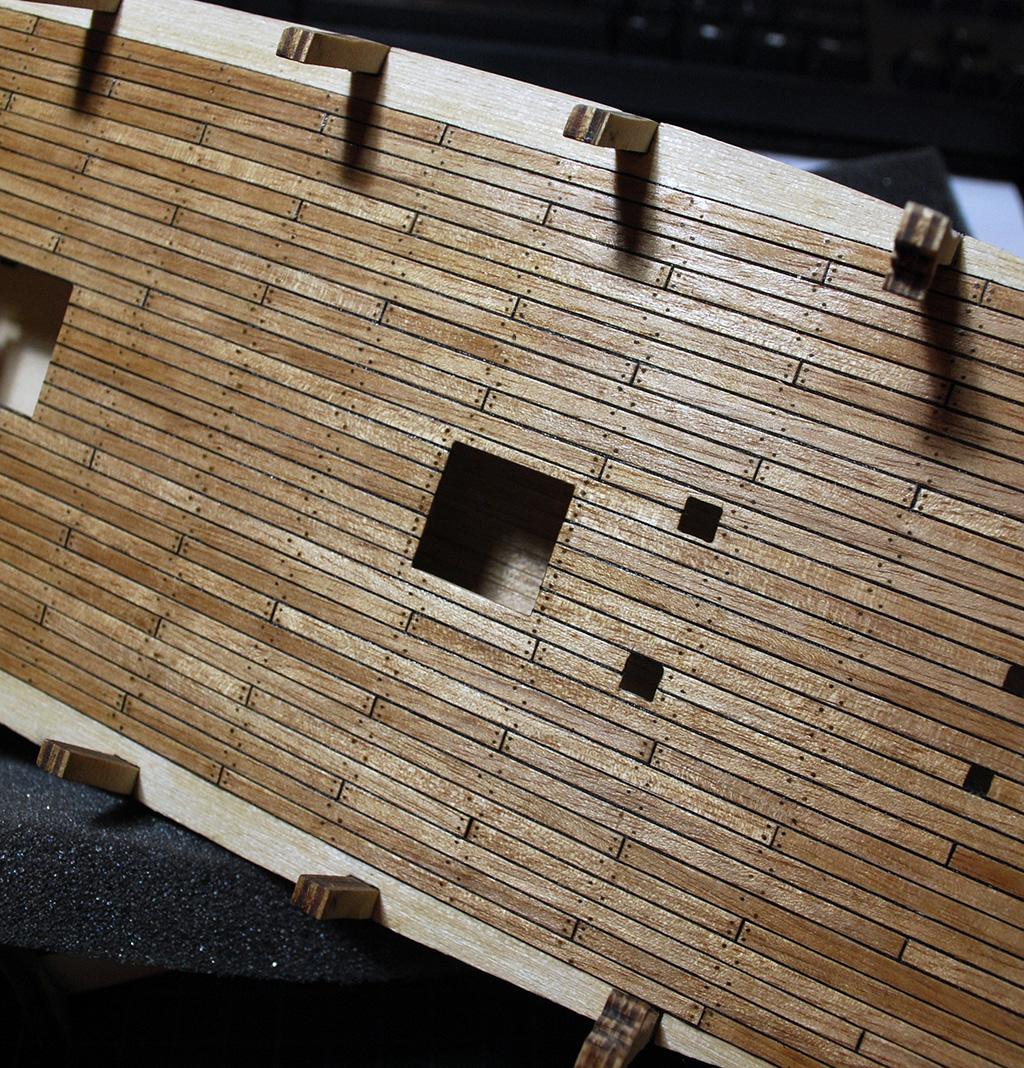
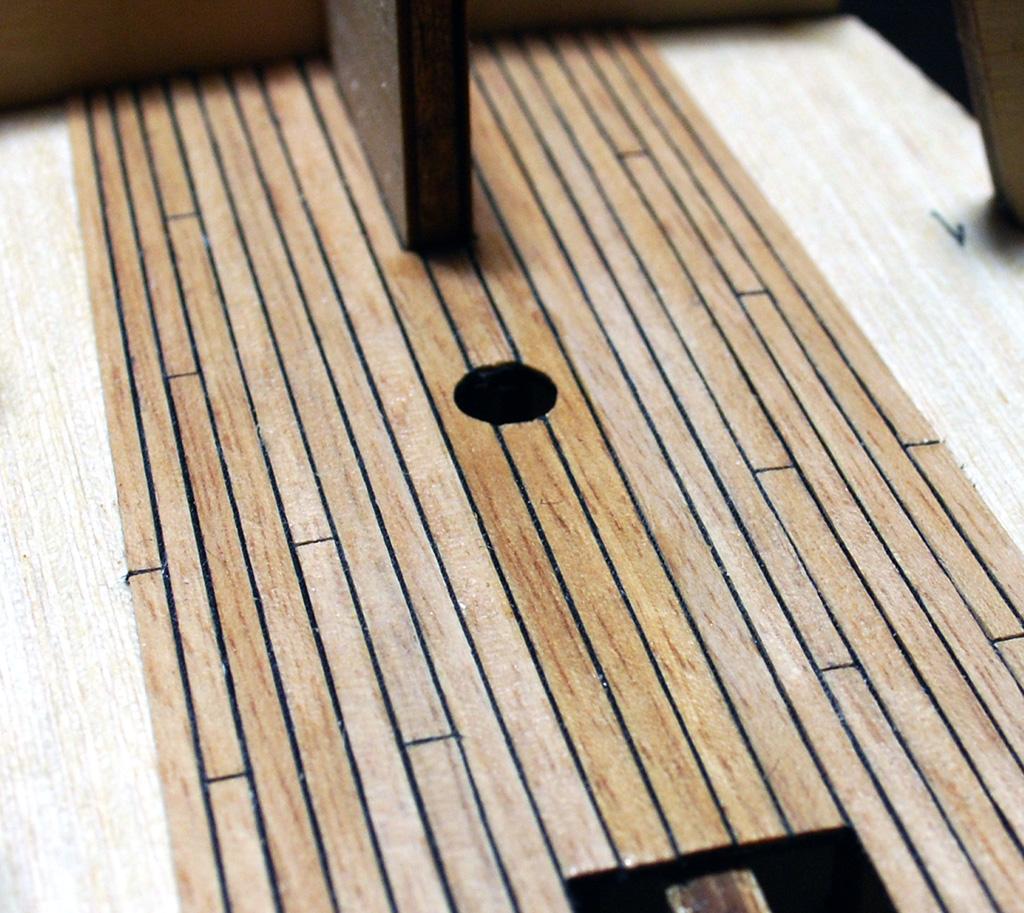
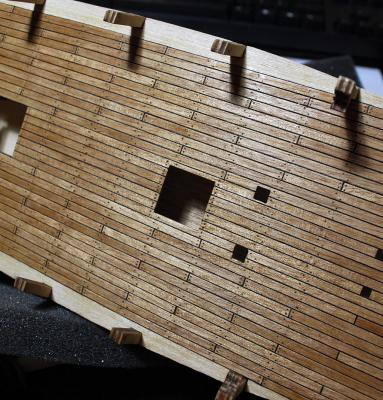
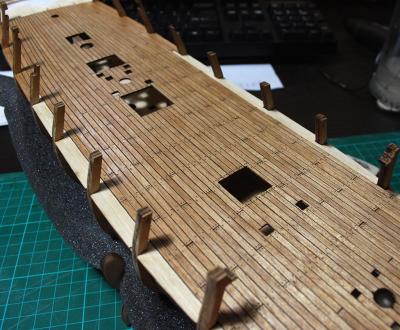
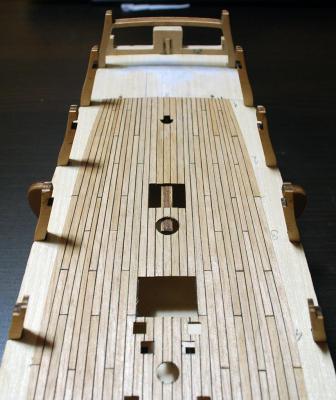
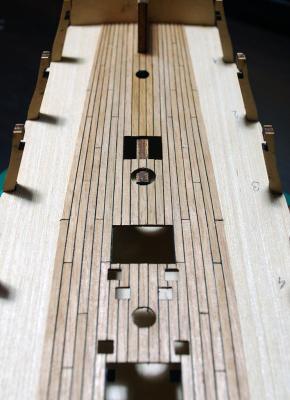
Hi everyone. I'm finally satisfied with the state of the gundeck now. I decided to switch from bamboo toothpicks to normal wood (lime I presume). They are much better for this job - they create sharper edges, are much easier to work with (sanding) and the treenails look smaller. I had to sharpen every one of them, but it was worth it. Then I used fine grain sand paper (1000 and then 2000 grain) and finally Nelson semimatt varnish. Now it is time for the real fun - hull planking.

- 218 replies
-
- 1
-
-
- victory models
- fly
- (and 1 more)
-
Great attention for detail. Love the lifeboats, planking and treenails, as well as the additions to the original kit.
-
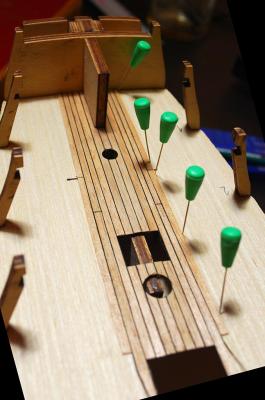
Thanks a lot, I see you've also revived your log which has been a great source of information for me, so you have another follower for sure. The treenailing job goes rather well. After I finished the third line I decided not to create sanded treenails, because they tend to break a lot and it is much faster and easier to use one toothpick for one or two treenails. They are also easy to handle, force into the tiny holes and cut and the rest of them burn nicely in the fireplace. In the process it looks like a toothpick forrest, well, there are seventy of them in the first picture, which is not even a complete line.

-
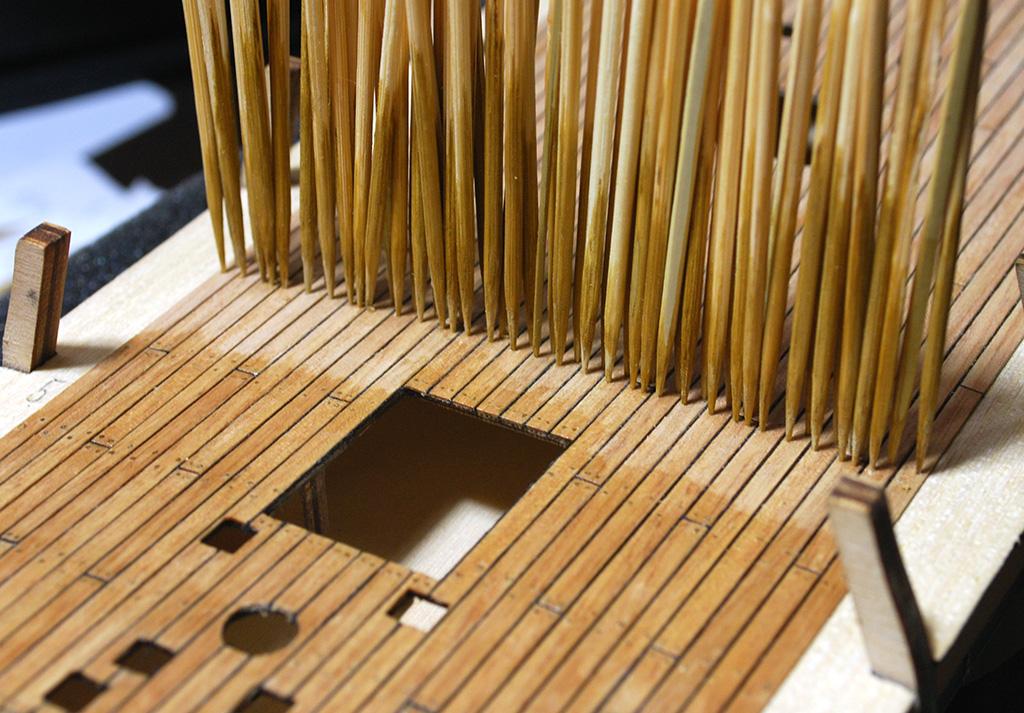
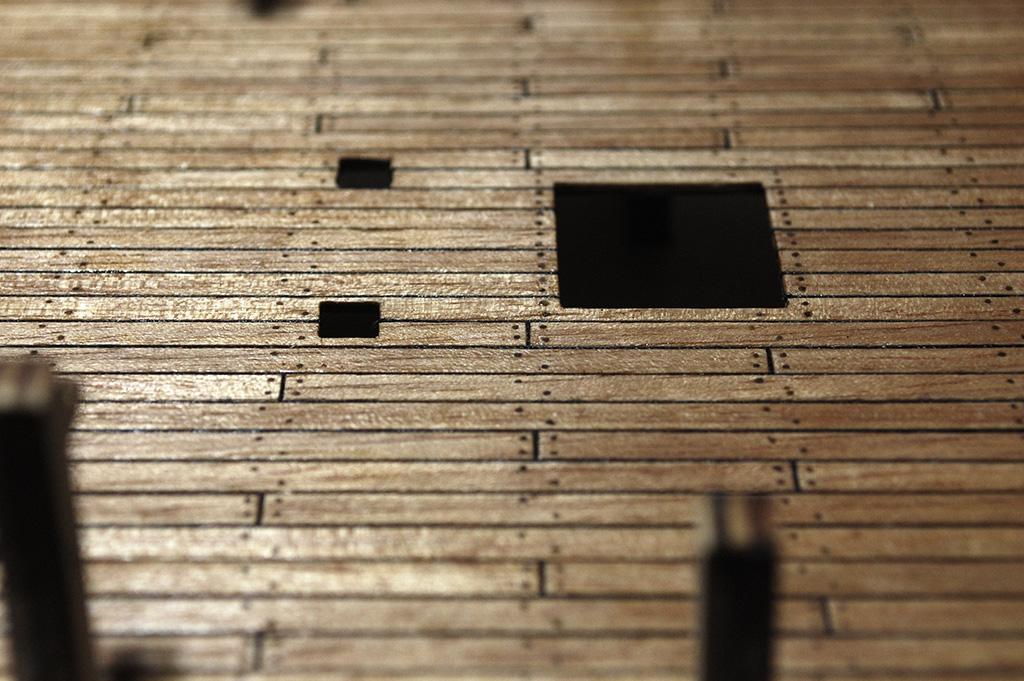
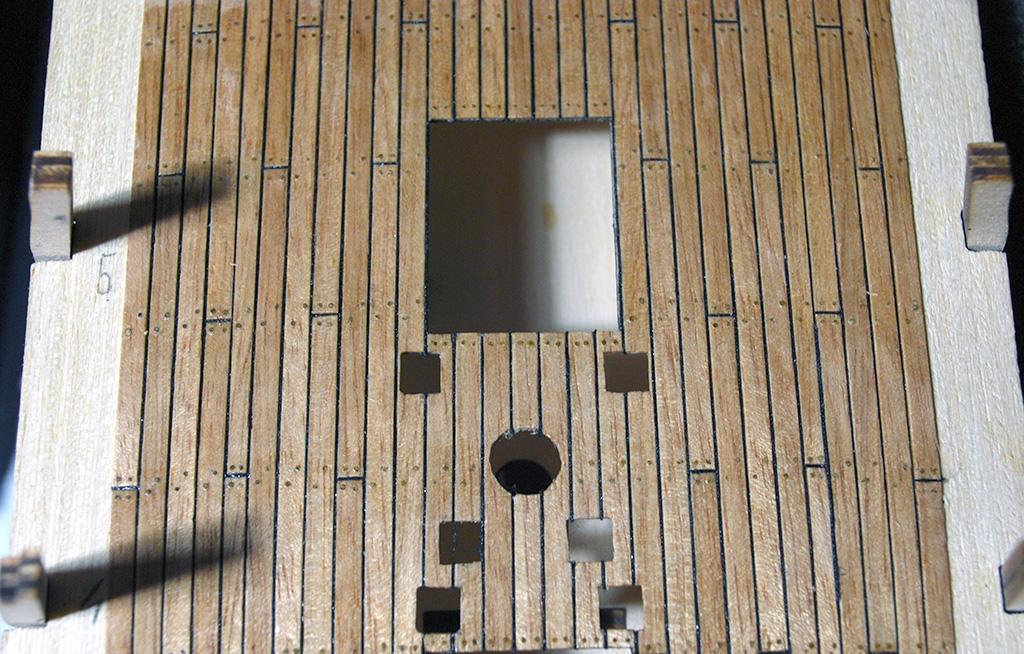
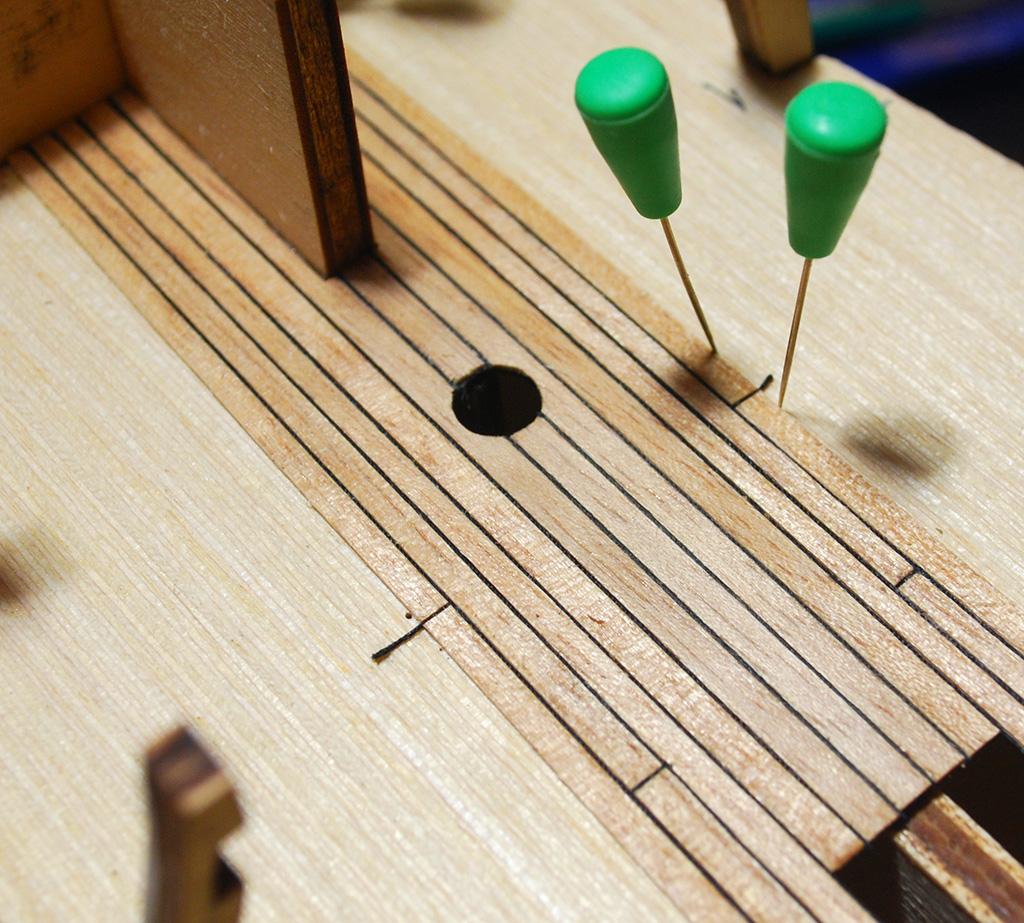
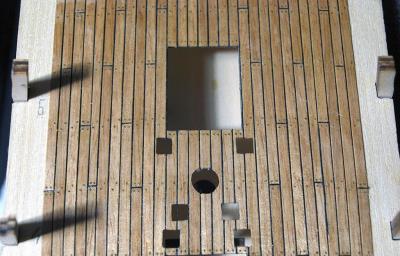
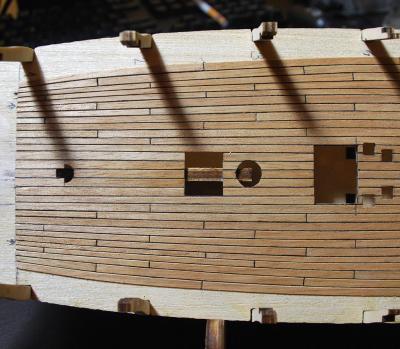
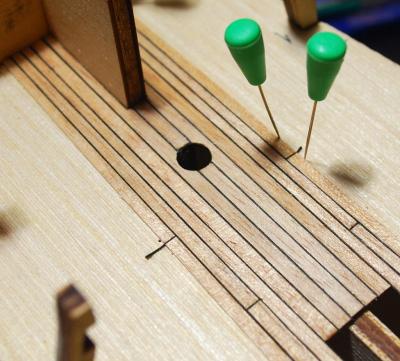
The last post of today's feed is about gun deck planking that is almost finished and waiting for treenails. I was experimenting with small holes with white glue and sanding that filled the holes with fine wooden dust, but I did not like the results. As the glue became dry, the "treenail" faded away and shrinked. So I decided to use the classic approach - bamboo toothpicks that were put in a microdrill chuck and carefully sanded to about .5 mm. I'm forcing them into .4mm holes in the planks, which is not particularly a speedy process, but I think the result looks rather good. Left side - treenails made of a small hole with glue and wood dust Right side - bamboo treenails


-
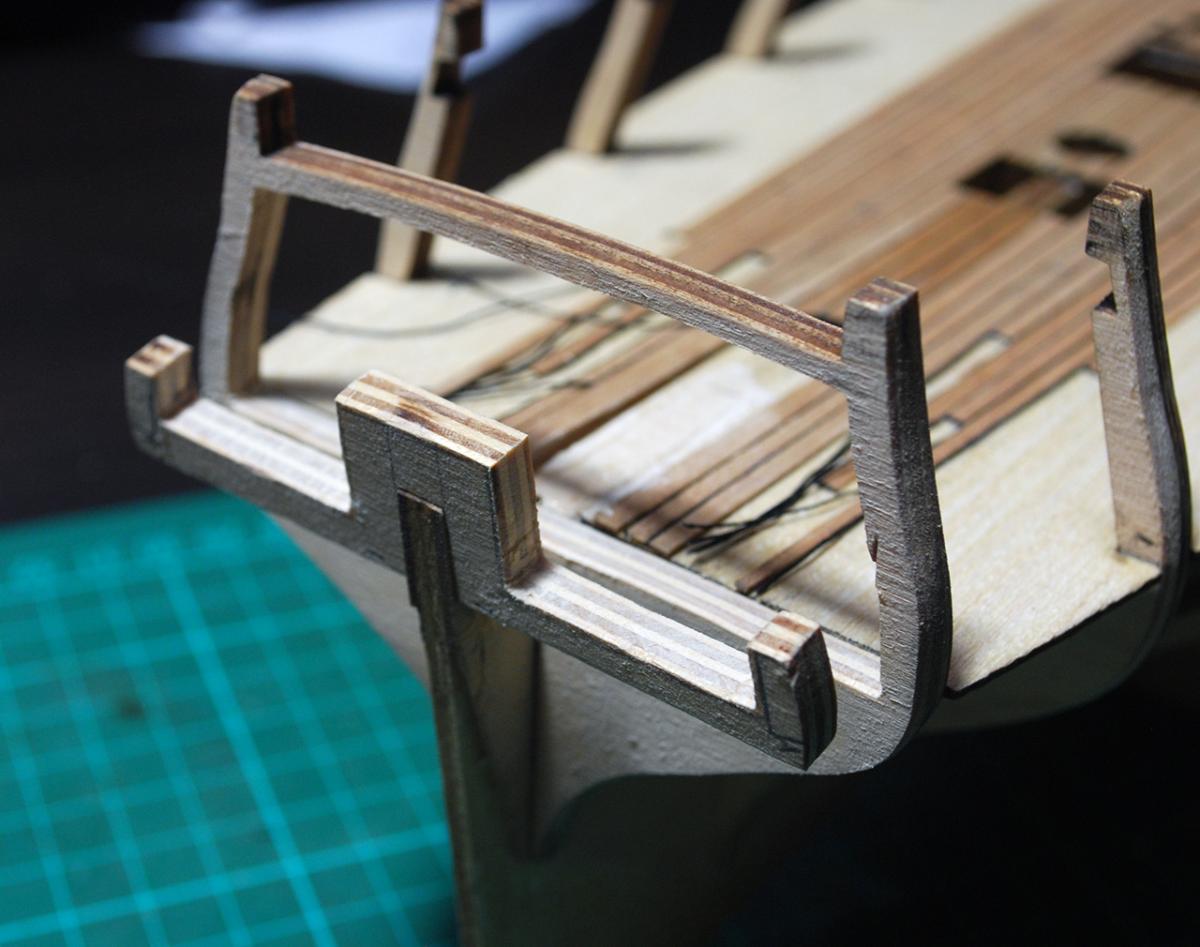
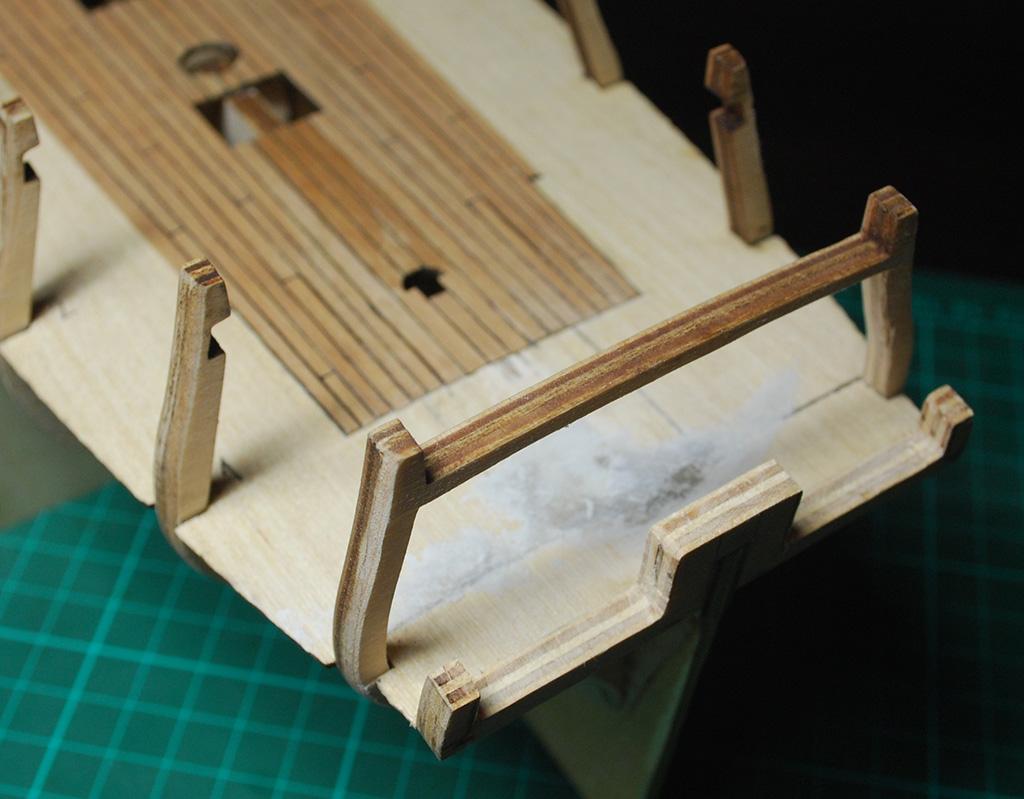
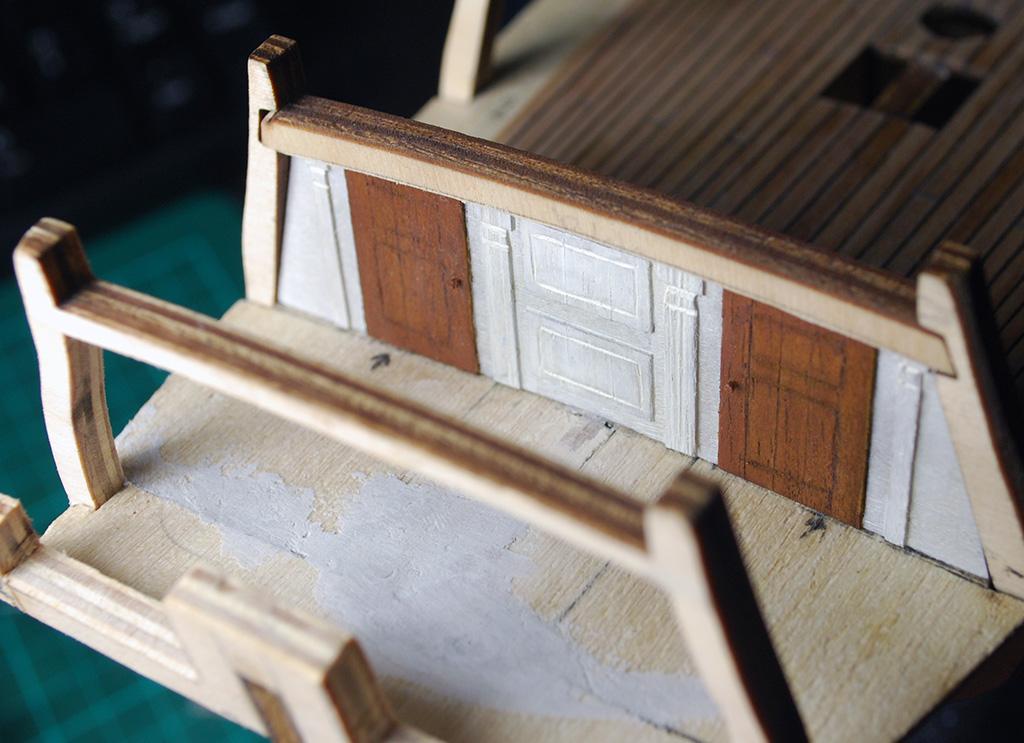
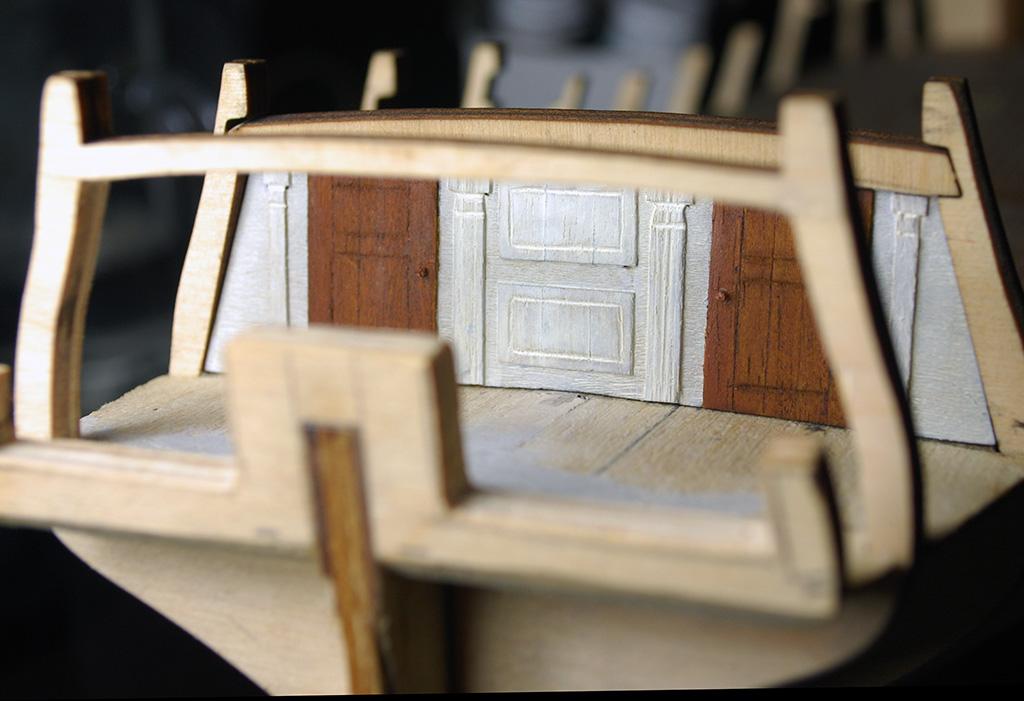
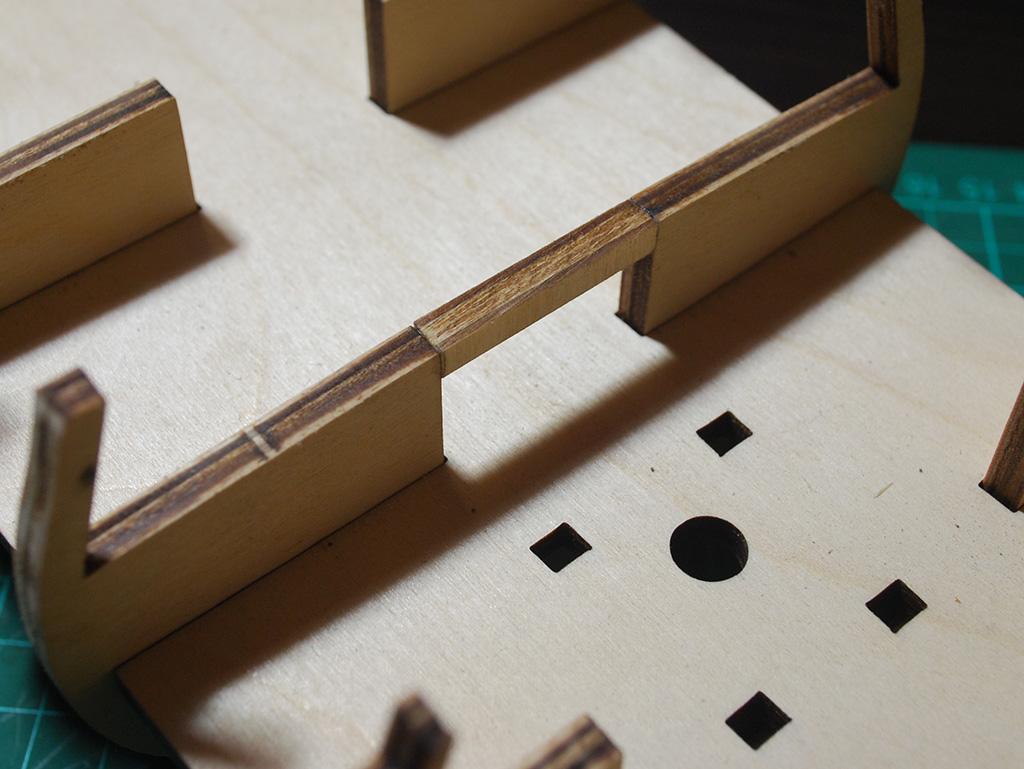
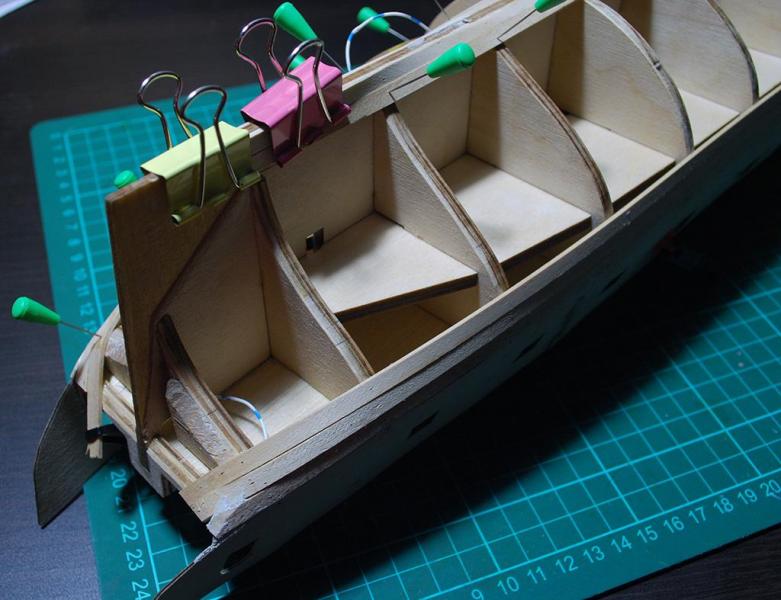
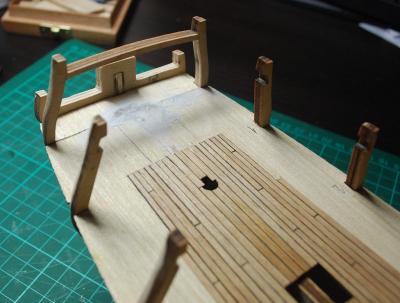
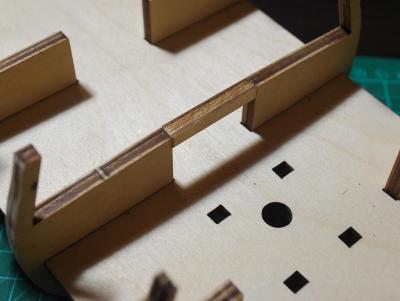
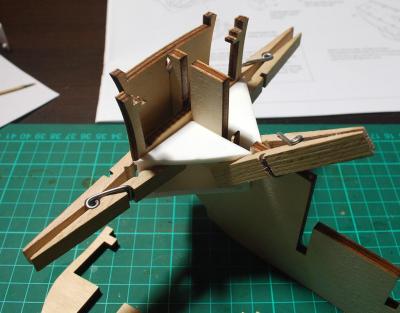
I changed my mind about creating the captain's cabin, which required some rebuilding and shaping of the last two bulkheads as well as extending the length of the gundeck. That went quite well with a high-speed grinder and a small saw. Then I got creative and made a wall with two doors, but before that I had to reshape the upper support of the poop deck that was way too thick. The wall part will require more attention later.


- 218 replies
-
- 2
-
-
- victory models
- fly
- (and 1 more)
-
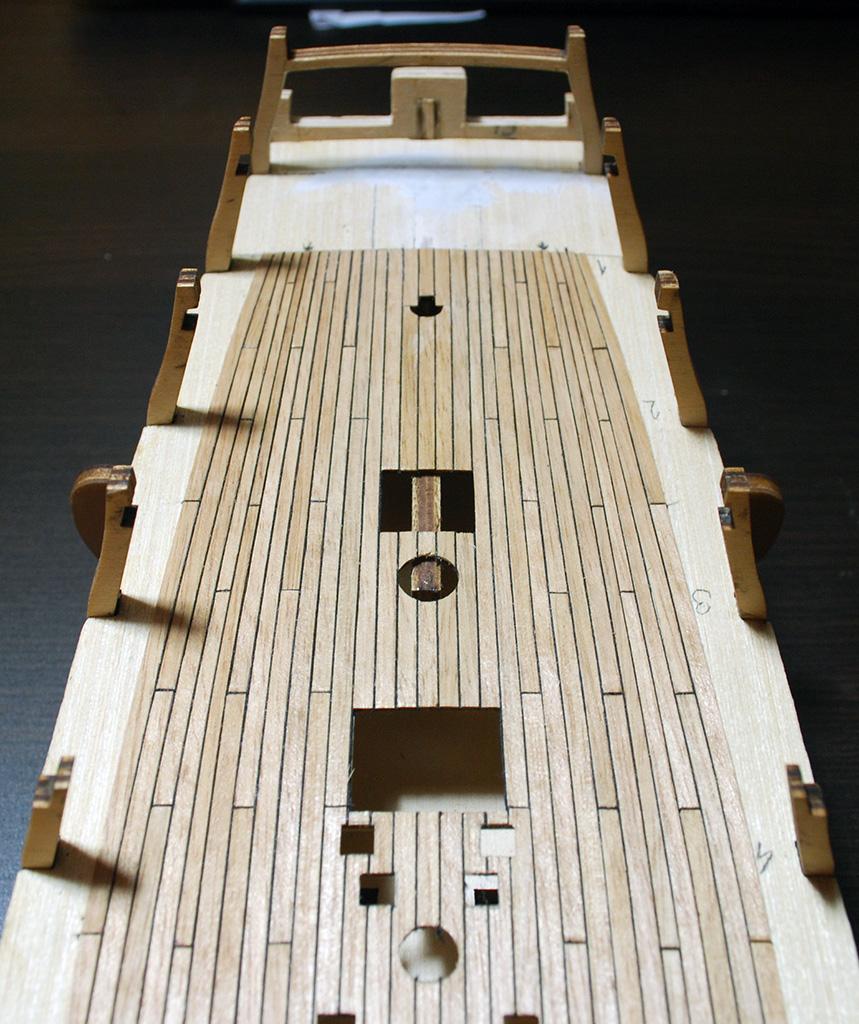
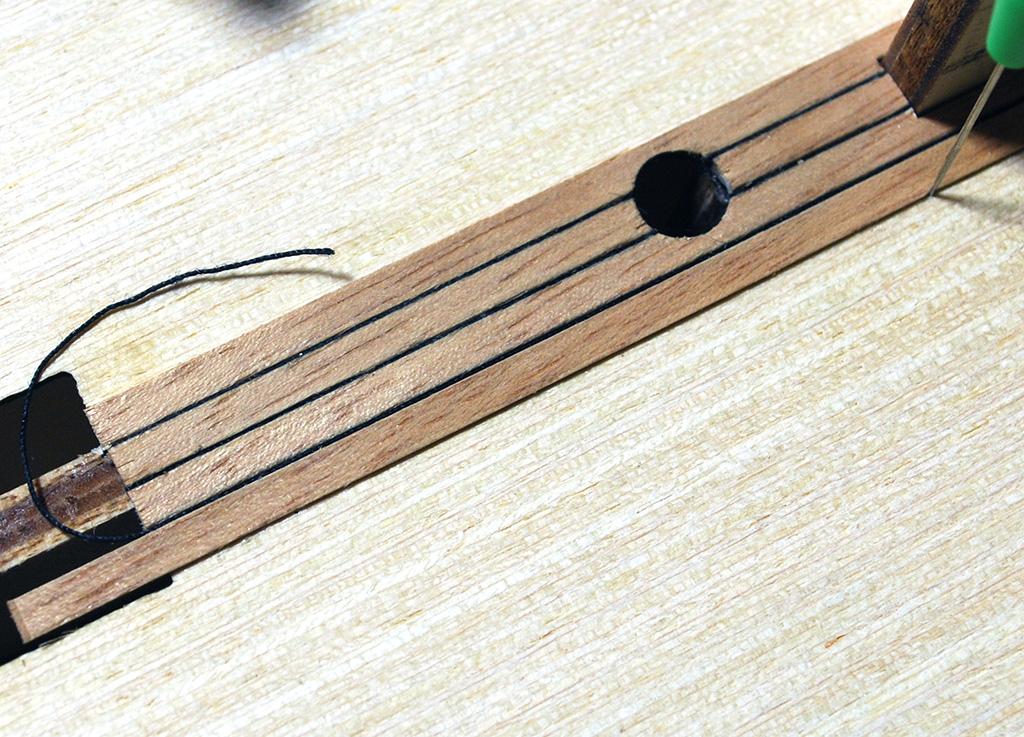
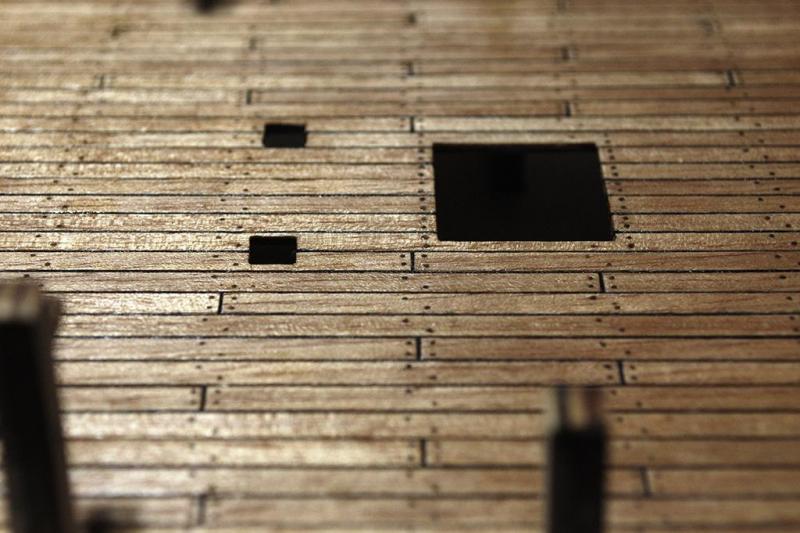
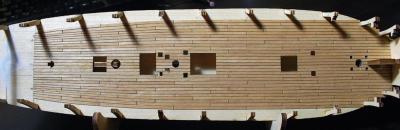
Today I started planking the gun deck, but first I created a simple jig made of two blocks with sanding paper to get rid of the fuzzy edges of tanganyika strips. It works surprisingly good and fast. Then it was time for planking using .25mm black thread to simulate caulking. In my opinion it looks way better than just coloured edges of planks with #2 pencil that I used in the previous build and it is no time consuming technique at all.


- 218 replies
-
- 4
-
-
- victory models
- fly
- (and 1 more)
-
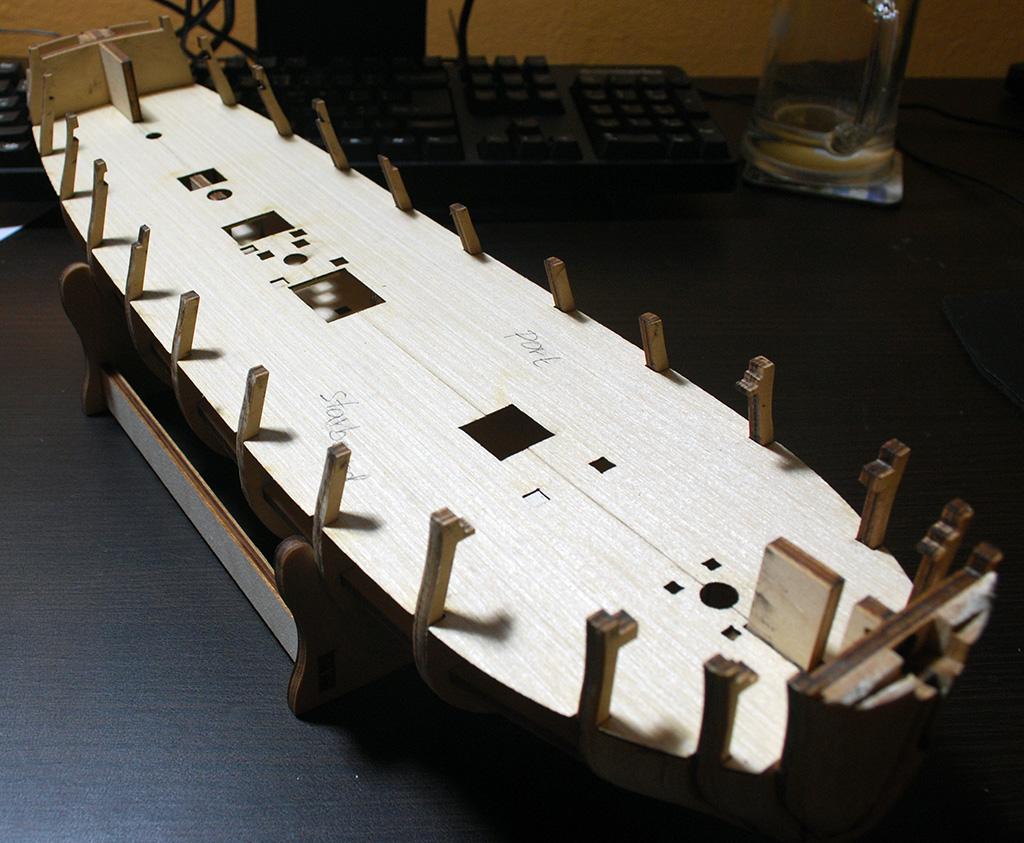
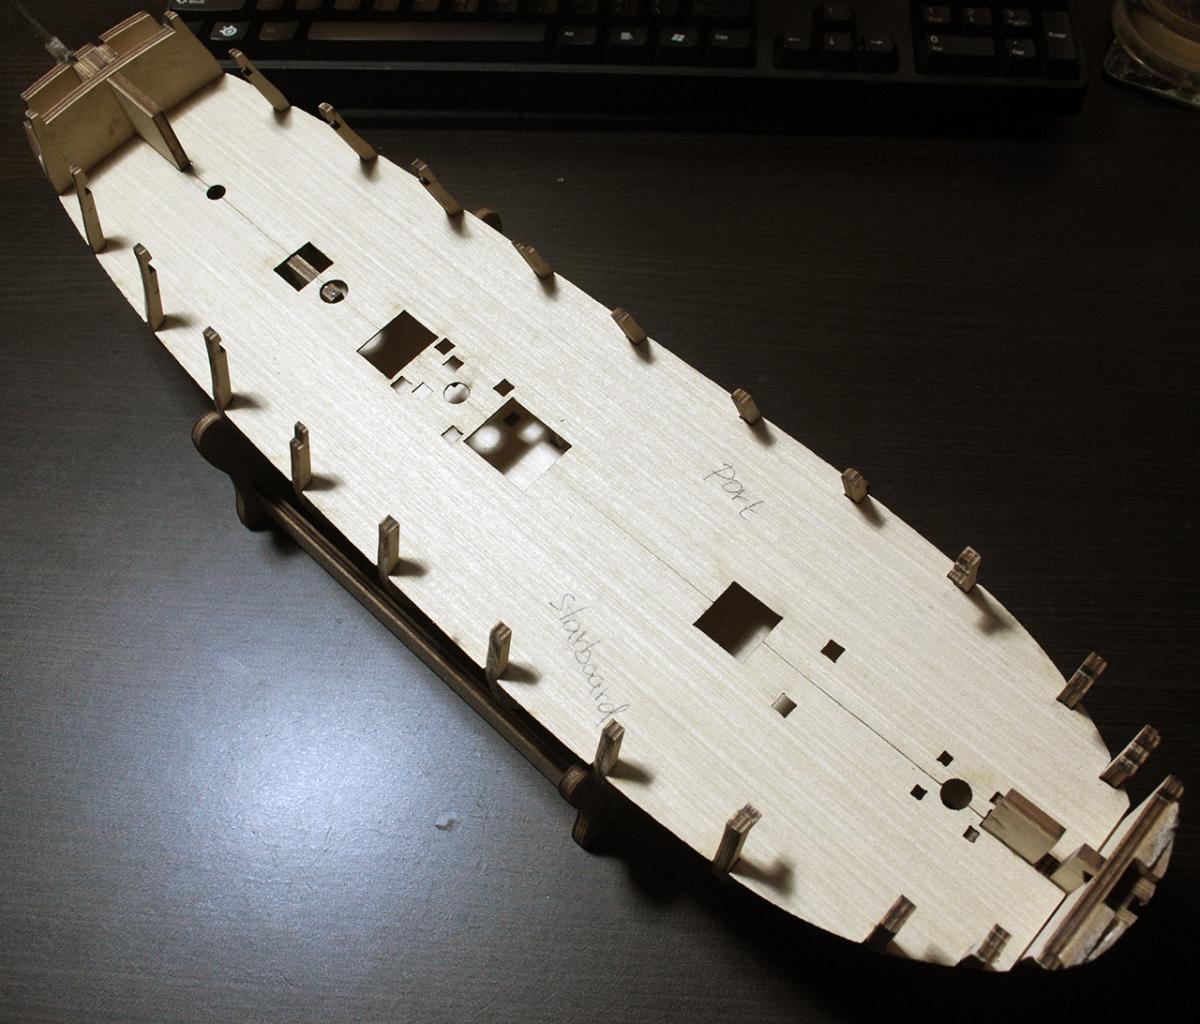
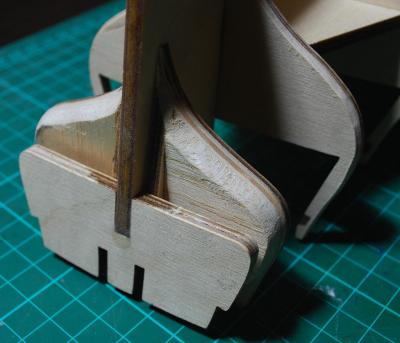
I decided to split the deck in half and fix it before planking, because I do not see any problems in that. However, it was necessary to add some support to the reconnected deck which is now quite strong even in the middle.


-
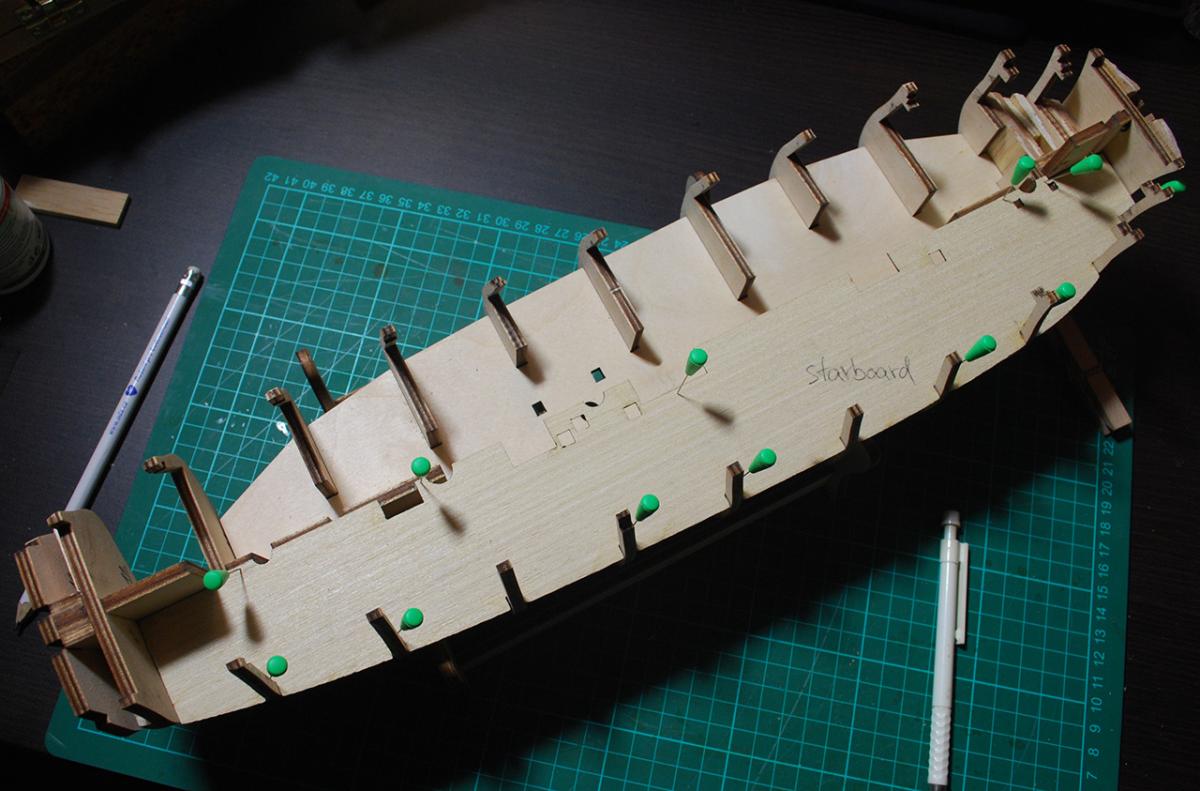
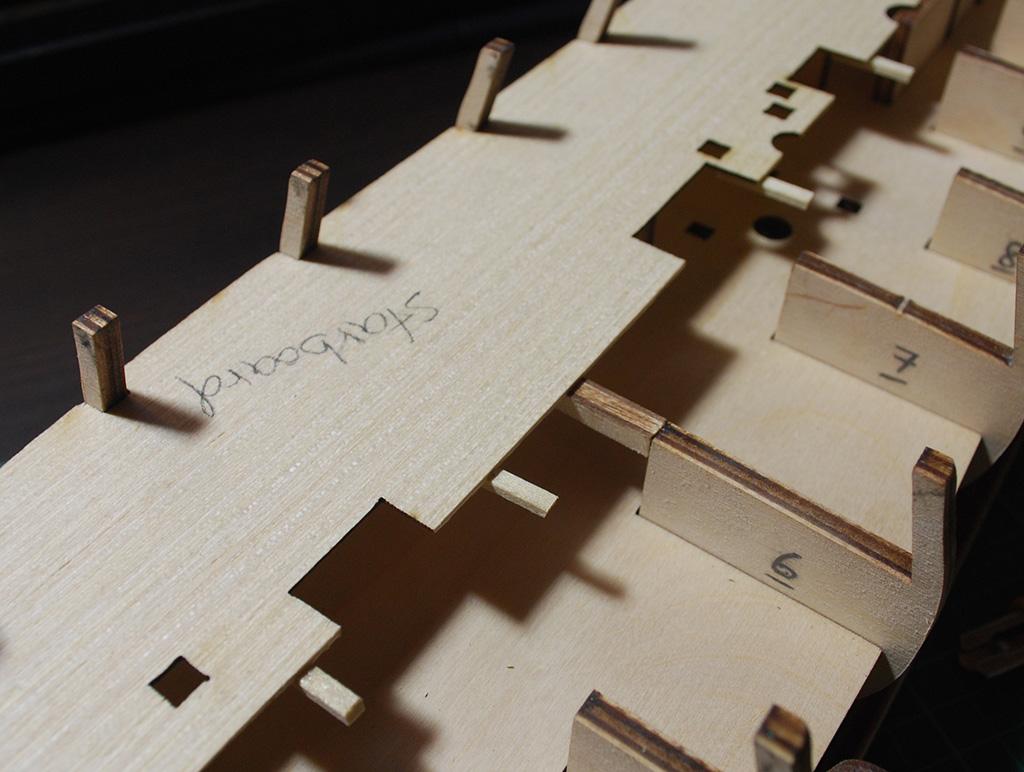
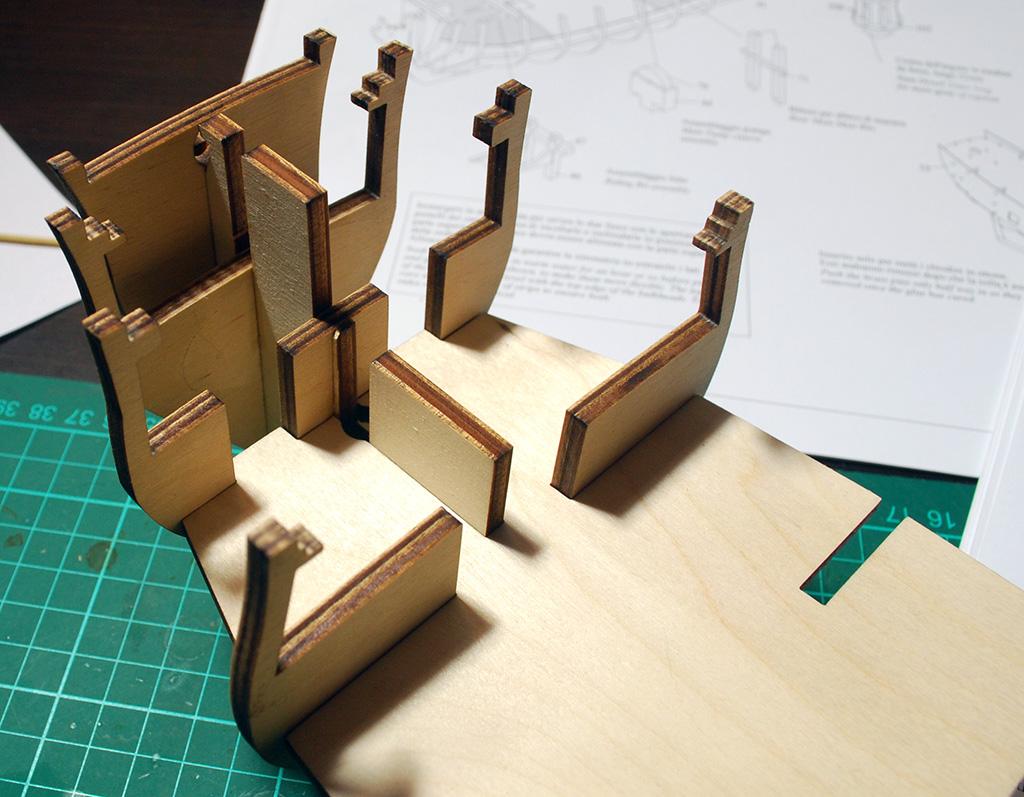
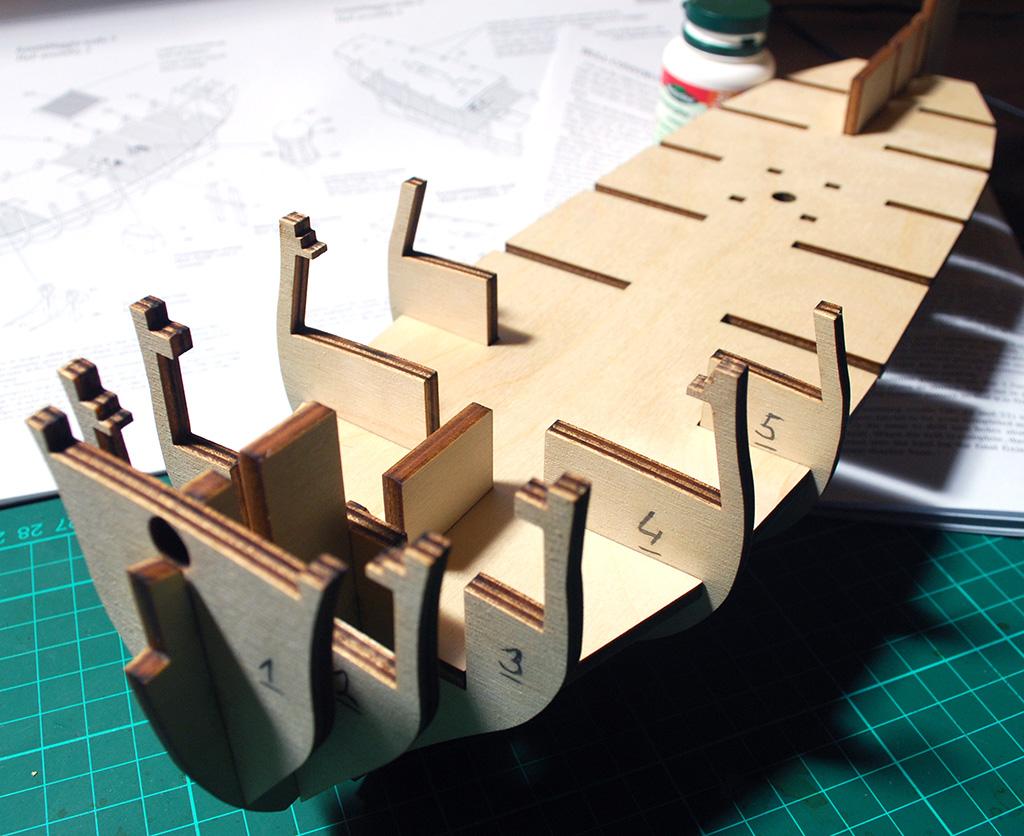
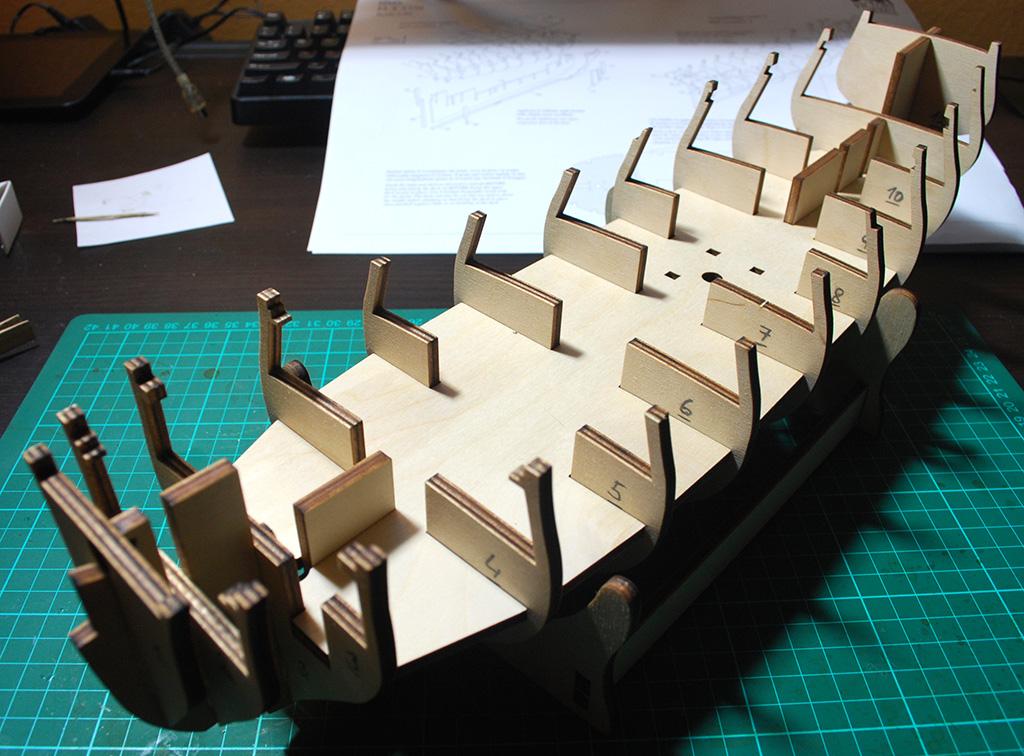
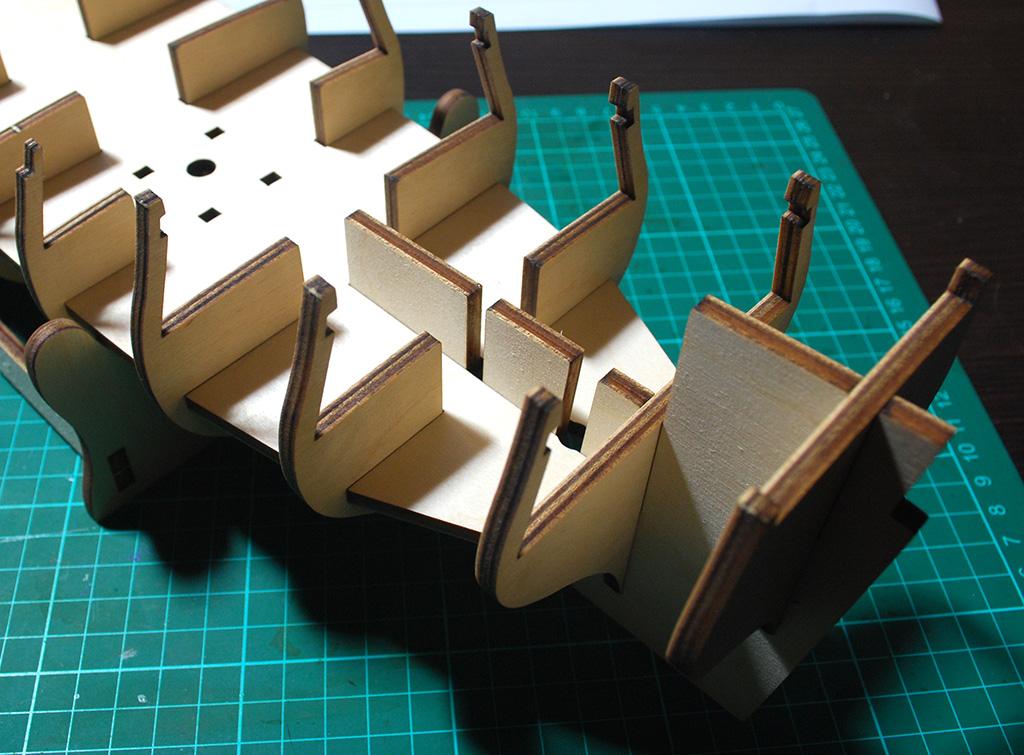
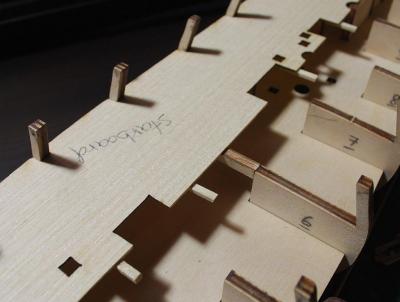
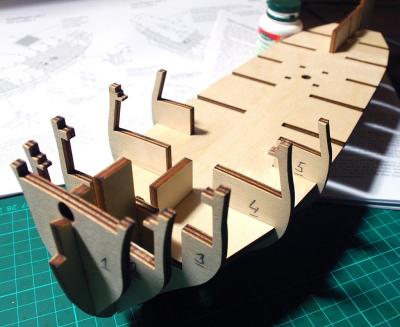
I finally found the courage to start the new kit and the first thing I did was, suprise surprise, the hull frame. My objective was to prepare it in order to make the planking job easy. All the main parts, that is the main keel and bulkheads fit together very nicely with almost no clearance (me like that), so I just sanded those a bit burned edges and glued the parts together checking right angle. Then it was time to use balsa to fill the free space in between the first three bulkheads and also one layer in the stern will be useful. Now it is time to finish the main keel. As you can see, I decided not to use the prow, keel, etc. just yet. First I want to sand the main keel to about 2mm of thickness, then make the 1st layer of planks and then glue the other parts in place to make them fit nicely with 2nd planking. Next I will have to decide, whether I should cut the main gun deck in half. I tried to dry fit it at first, but without success and I just cannot imagine doing so with already planked deck.


-
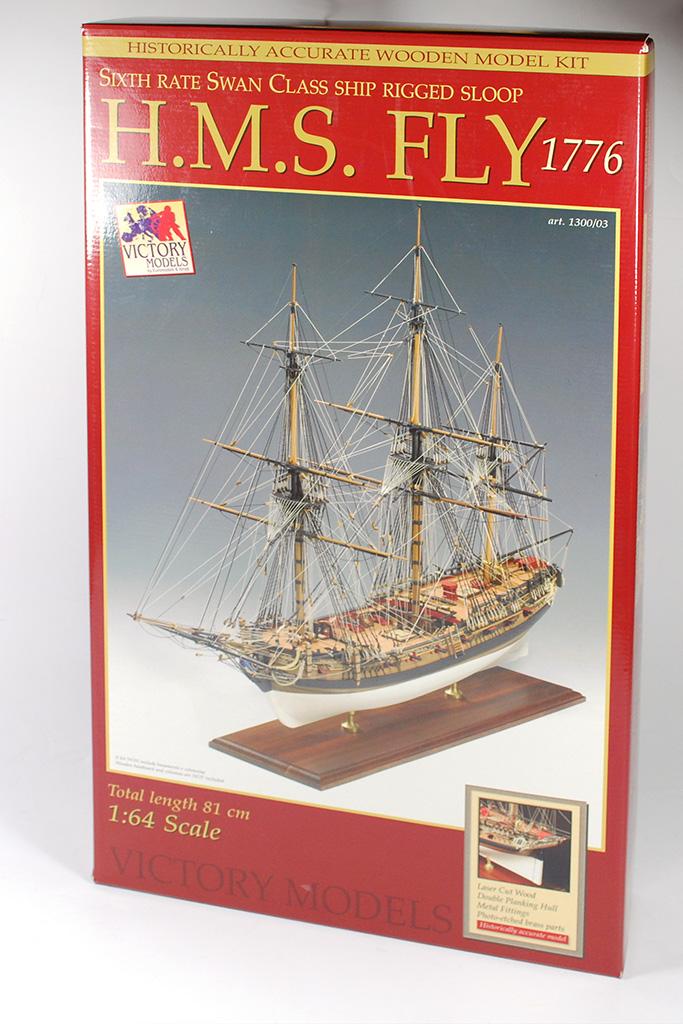
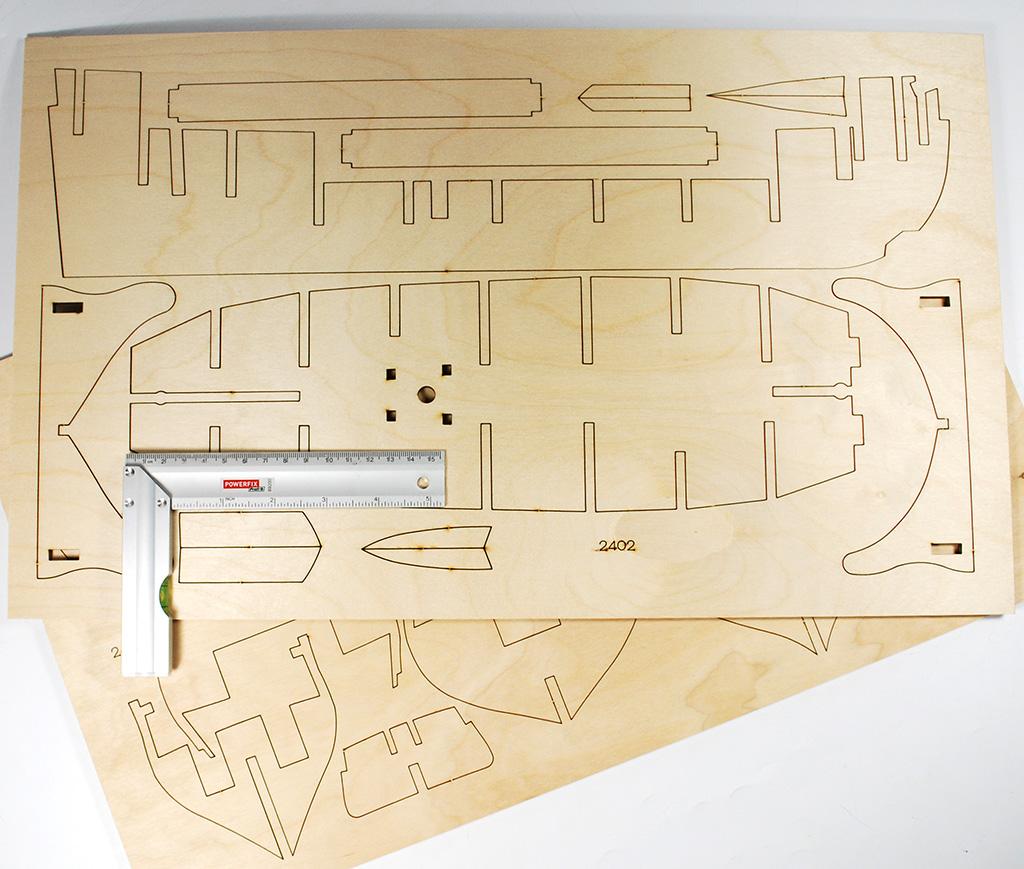
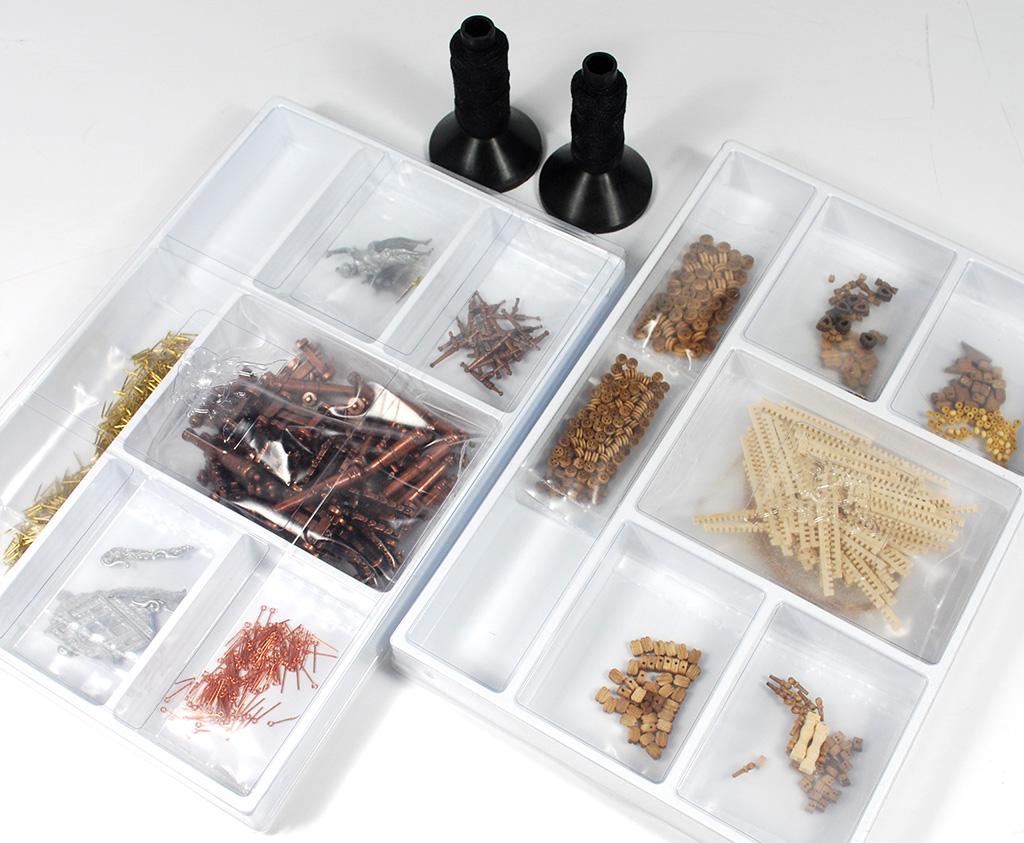
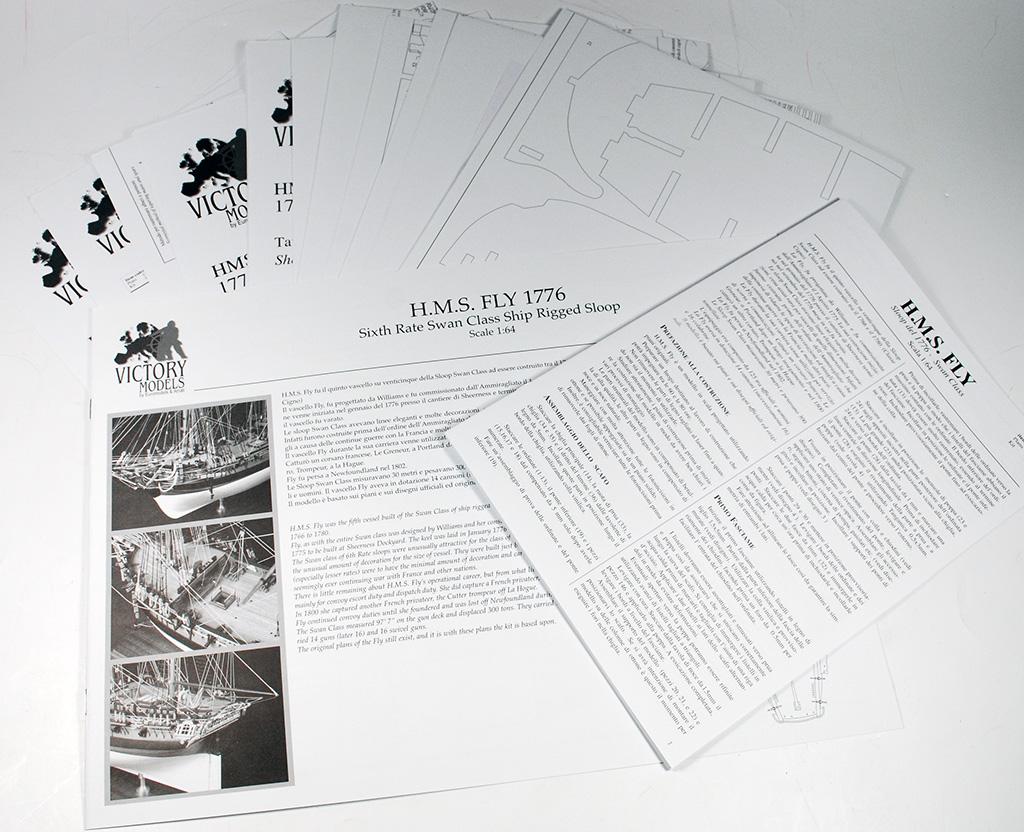
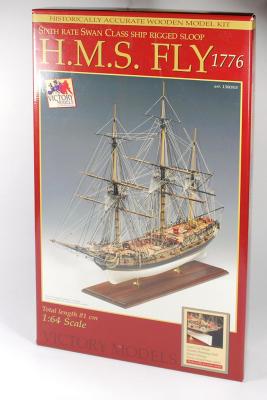
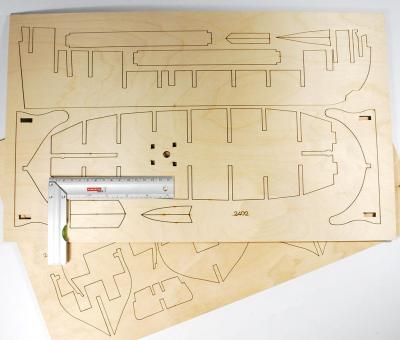
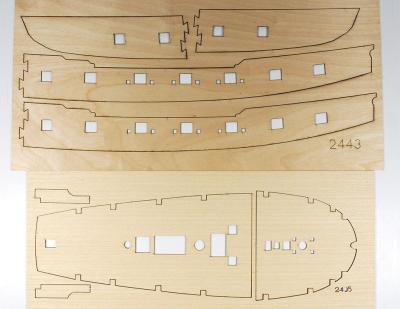
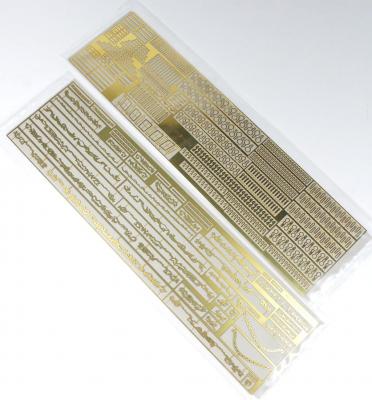
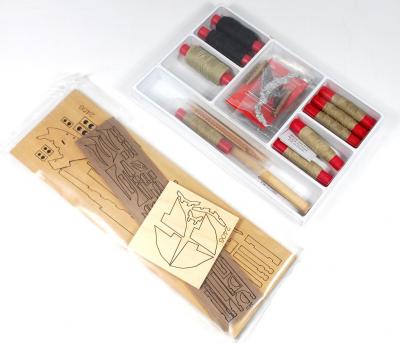
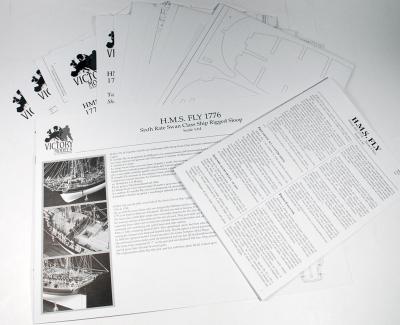
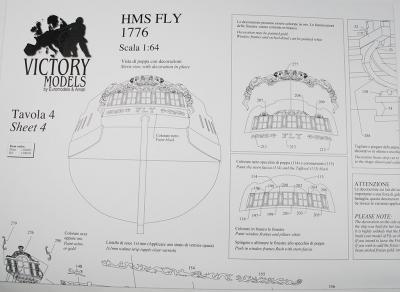
Hello folks, google's cache still remembers my original HMS Fly log, so this is what I could scrape from it: After HMS Race Horse by Sergal I decided to get a bit more serious and build HMS Fly using the wonderful kit by Chris Watton. What I miss about kit presentations in general are detailed photos of their various parts, so I decided to make them.


- 218 replies
-
- 2
-
-
- victory models
- fly
- (and 1 more)