HOLIDAY DONATION DRIVE - SUPPORT MSW - DO YOUR PART TO KEEP THIS GREAT FORUM GOING! (Only 20 donations so far - C'mon guys!)
×


Craigie65
-
Posts
480 -
Joined
-
Last visited
Content Type
Profiles
Forums
Gallery
Events
Everything posted by Craigie65
-
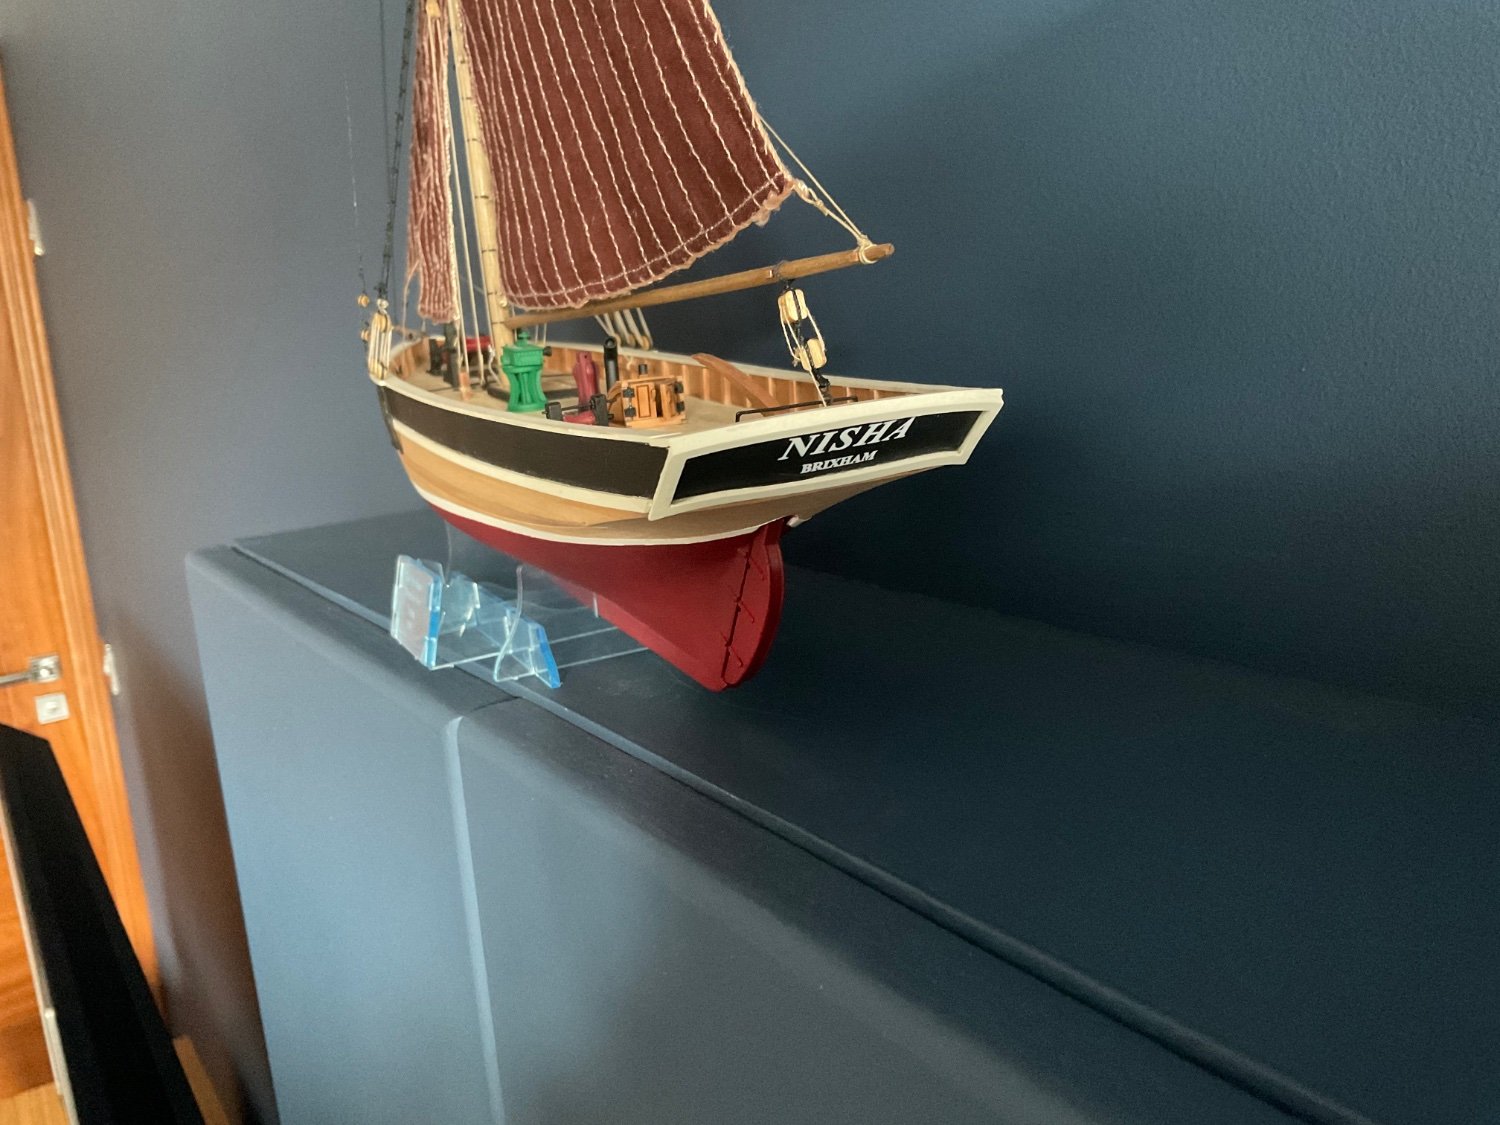
 Beautiful build Dan. You should be very proud of her! Like the alternative rigging. I am guessing Chris simplified it for beginners. Looking forward to seeing your build of Erycina.
- 62 replies
-
- 4
-

-
- Nisha
- Vanguard Models
- (and 1 more)
-
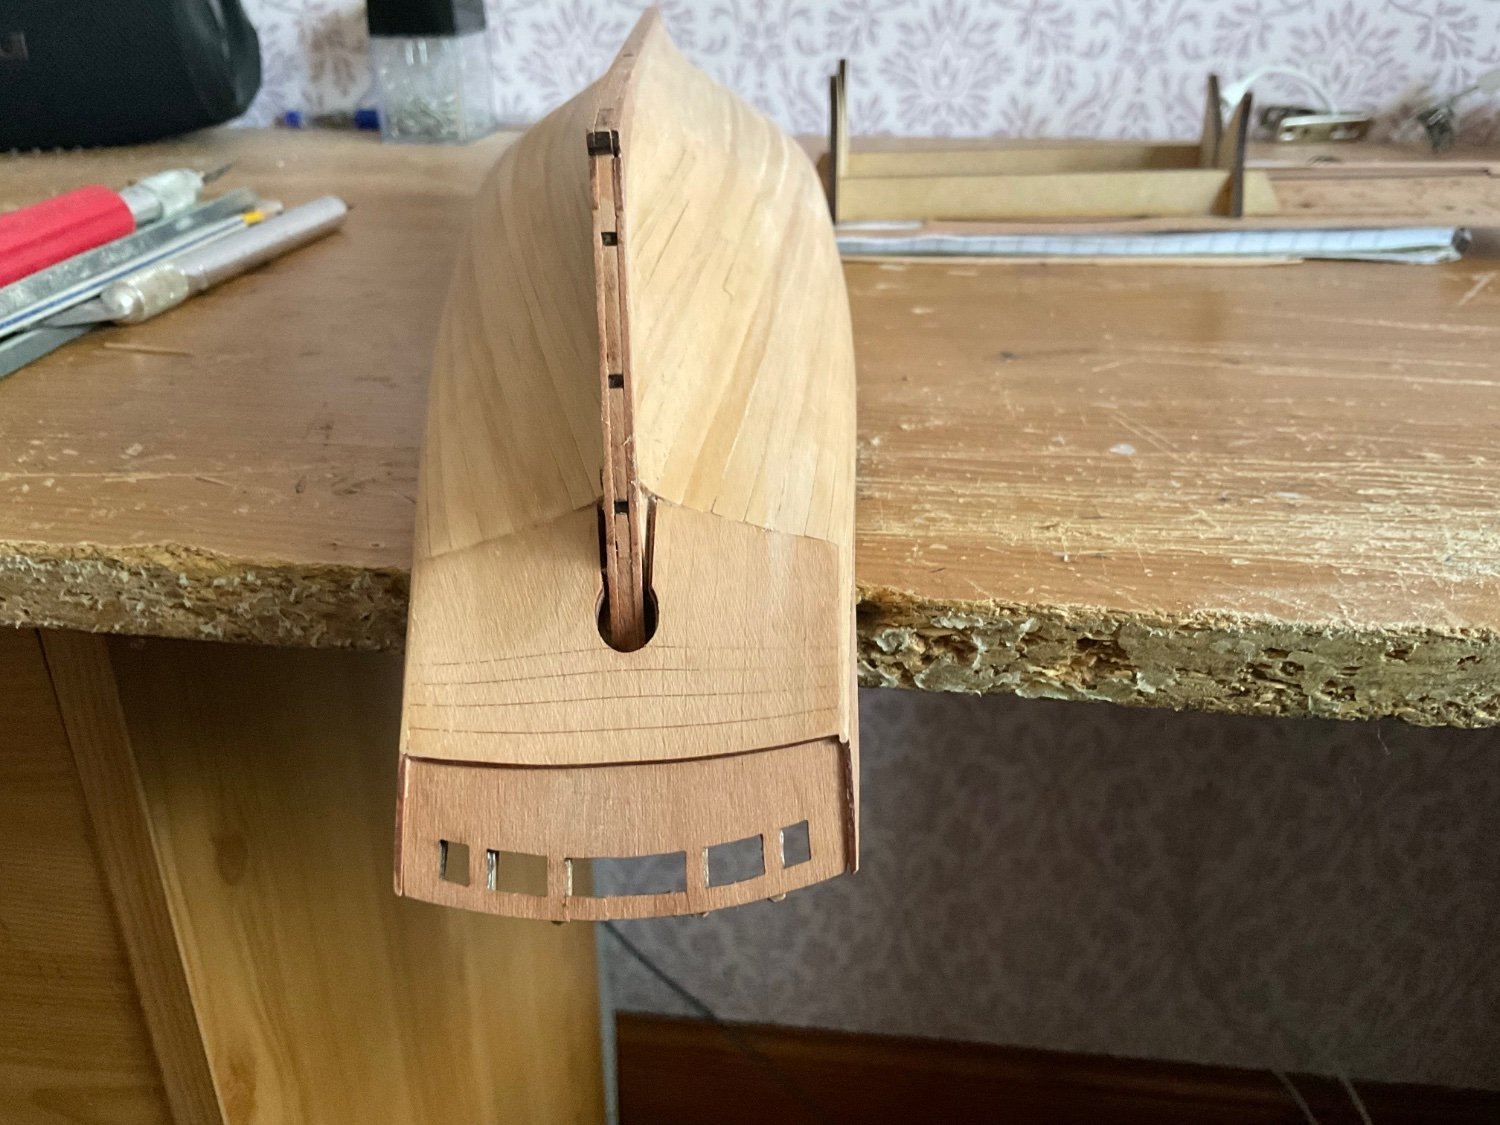
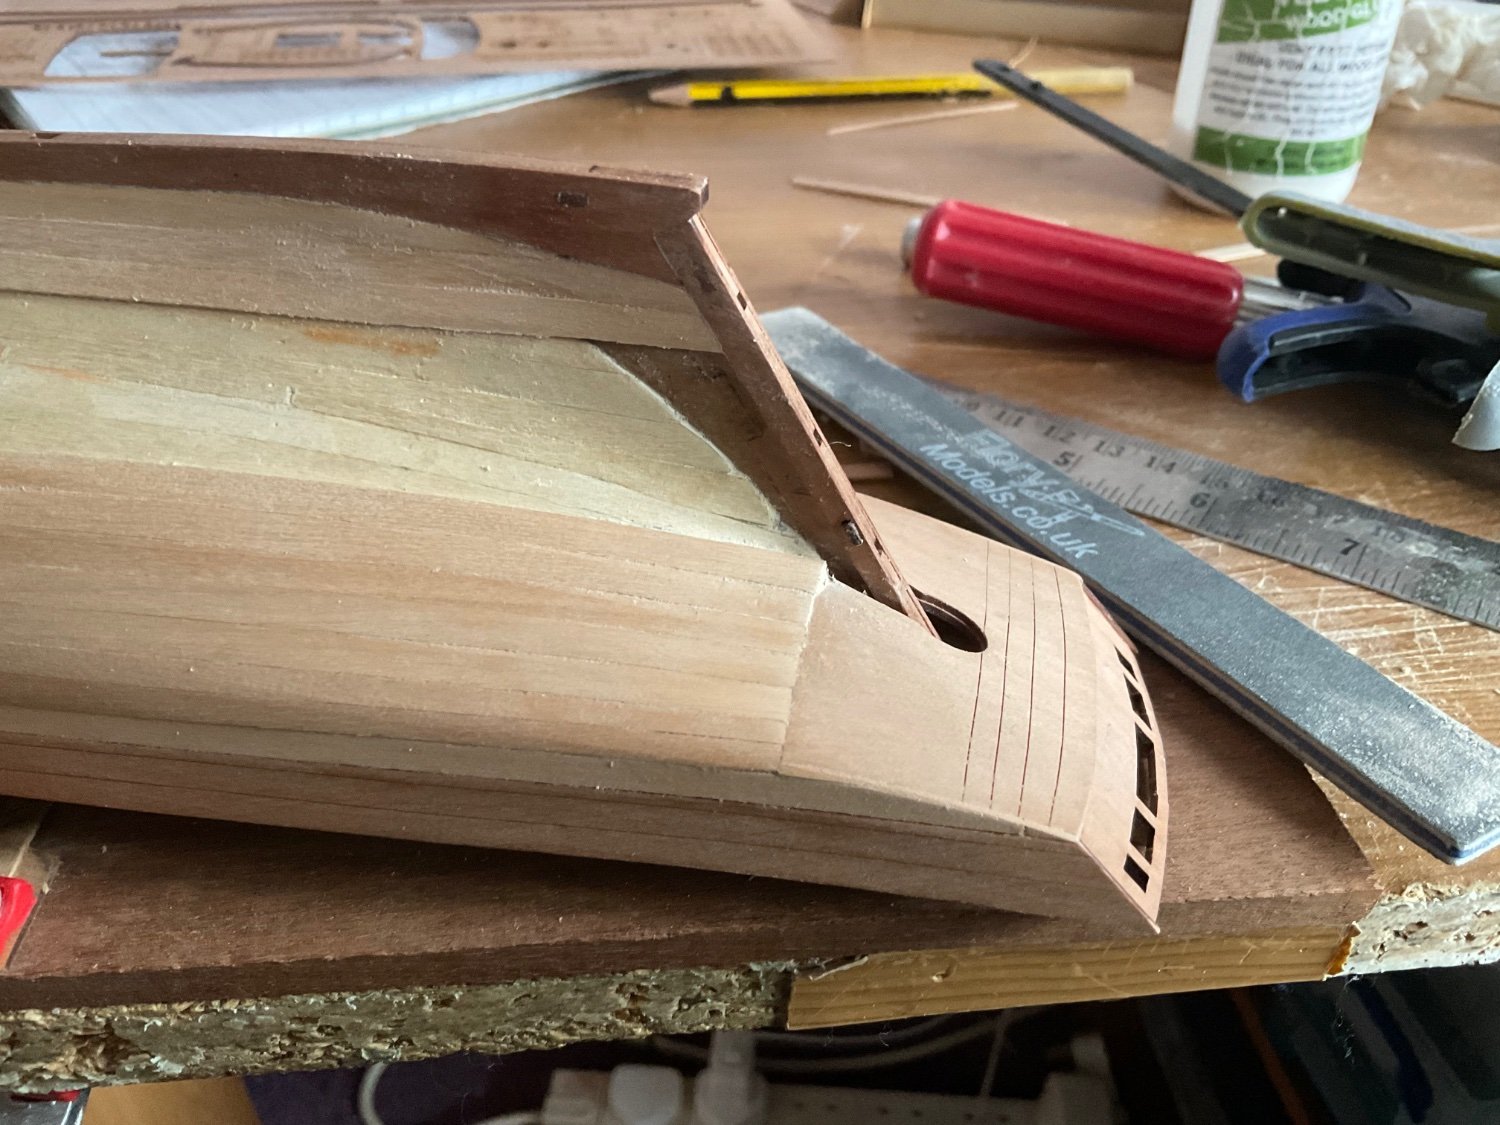
Jonathan, I think you have it right there. I played about with the build sequence to get a decent fit at the stern. As you say how do you know how much to sand by to get a decent fit. From memory I was seeing how the frame fitted against the counter before fitting the final engraved counter. I was worried the counter would be too far forward and create a gap or too far back and need a lot of sanding. I had a lot of sanding on the top of stern to get a flat fit to the frame. Even then I ended up with a gap.
- 38 replies
-
- 1
-
-
- Nisha
- Vanguard Models
- (and 1 more)
-
Looking back at my build I see I filled the top not the bottom of stern board. You can still see the gap at the outer edges.
- 38 replies
-
- 6
-
-
- Nisha
- Vanguard Models
- (and 1 more)
-
I would say above reasonable. Looks very good indeed.
-
Wow that is progress. Second planking looks good to me. I had that same problem on the counter. As it is painted I just used filler to blend it in. Have you picked a colour scheme for her?
- 38 replies
-
- 1
-
-
- Nisha
- Vanguard Models
- (and 1 more)
-
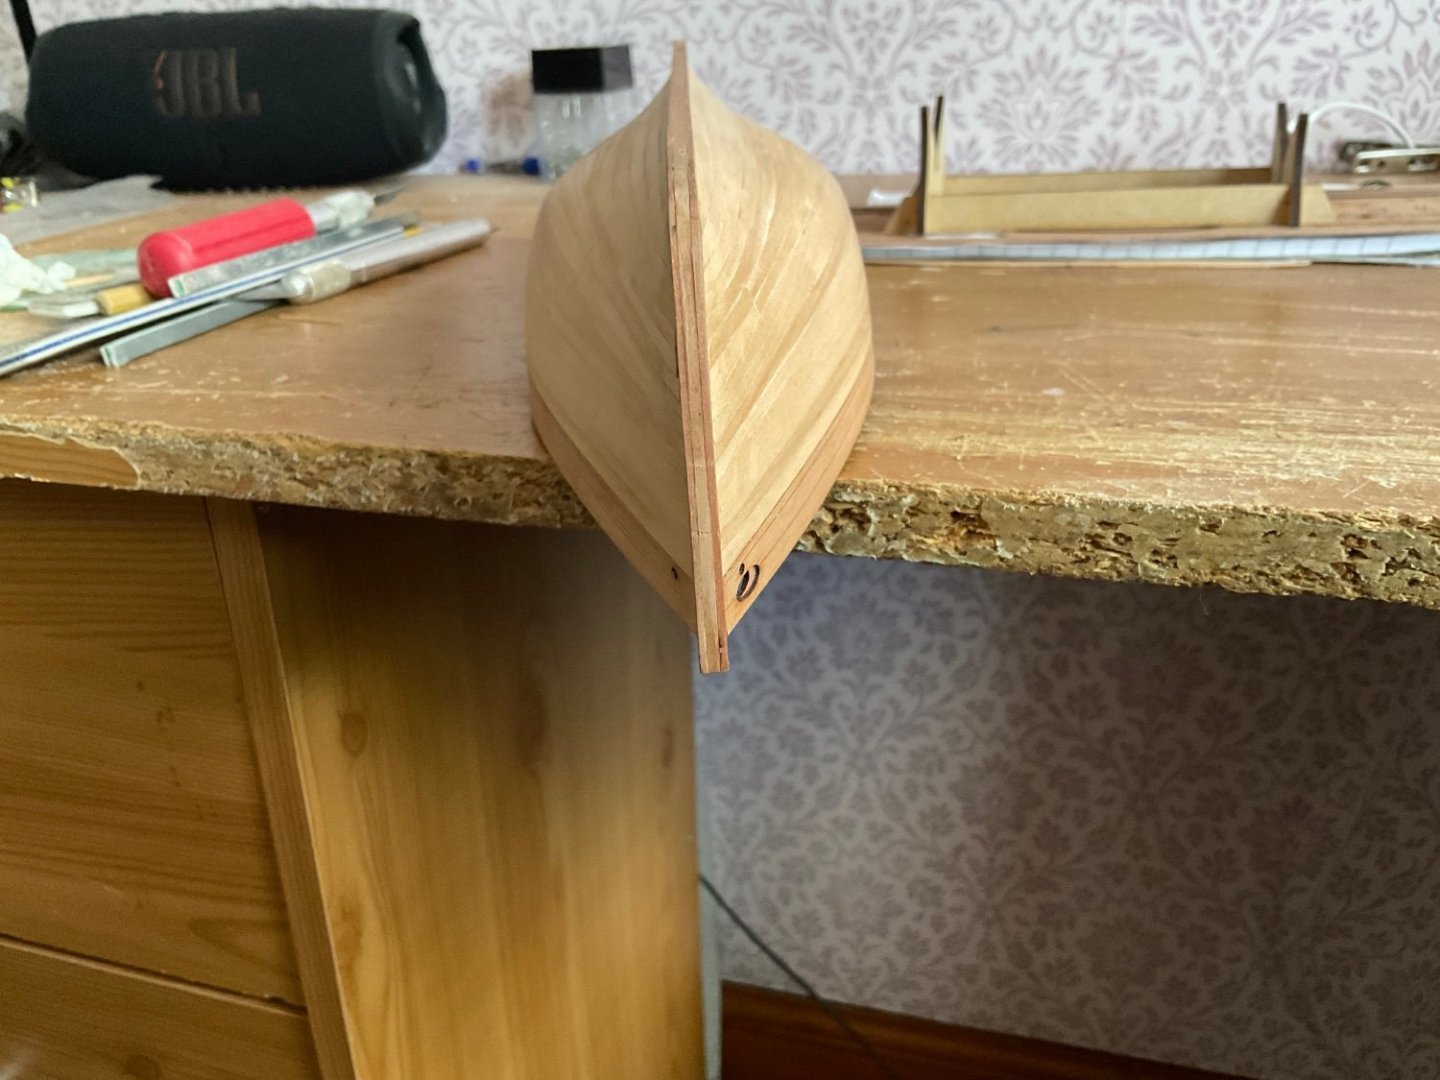
Thanks Andrew! tidied up the bow a bit more - was not happy with the way a couple of planks on either side where encroaching on the stem. Used a carver to get them “straight”. Still think the stern looks a bit unfinished where the planking is outside of the counter. Hopefully not much will be seen once finished. First coat of dark green is on an just waiting on it drying before next coat. Will post a few more pics later.
-
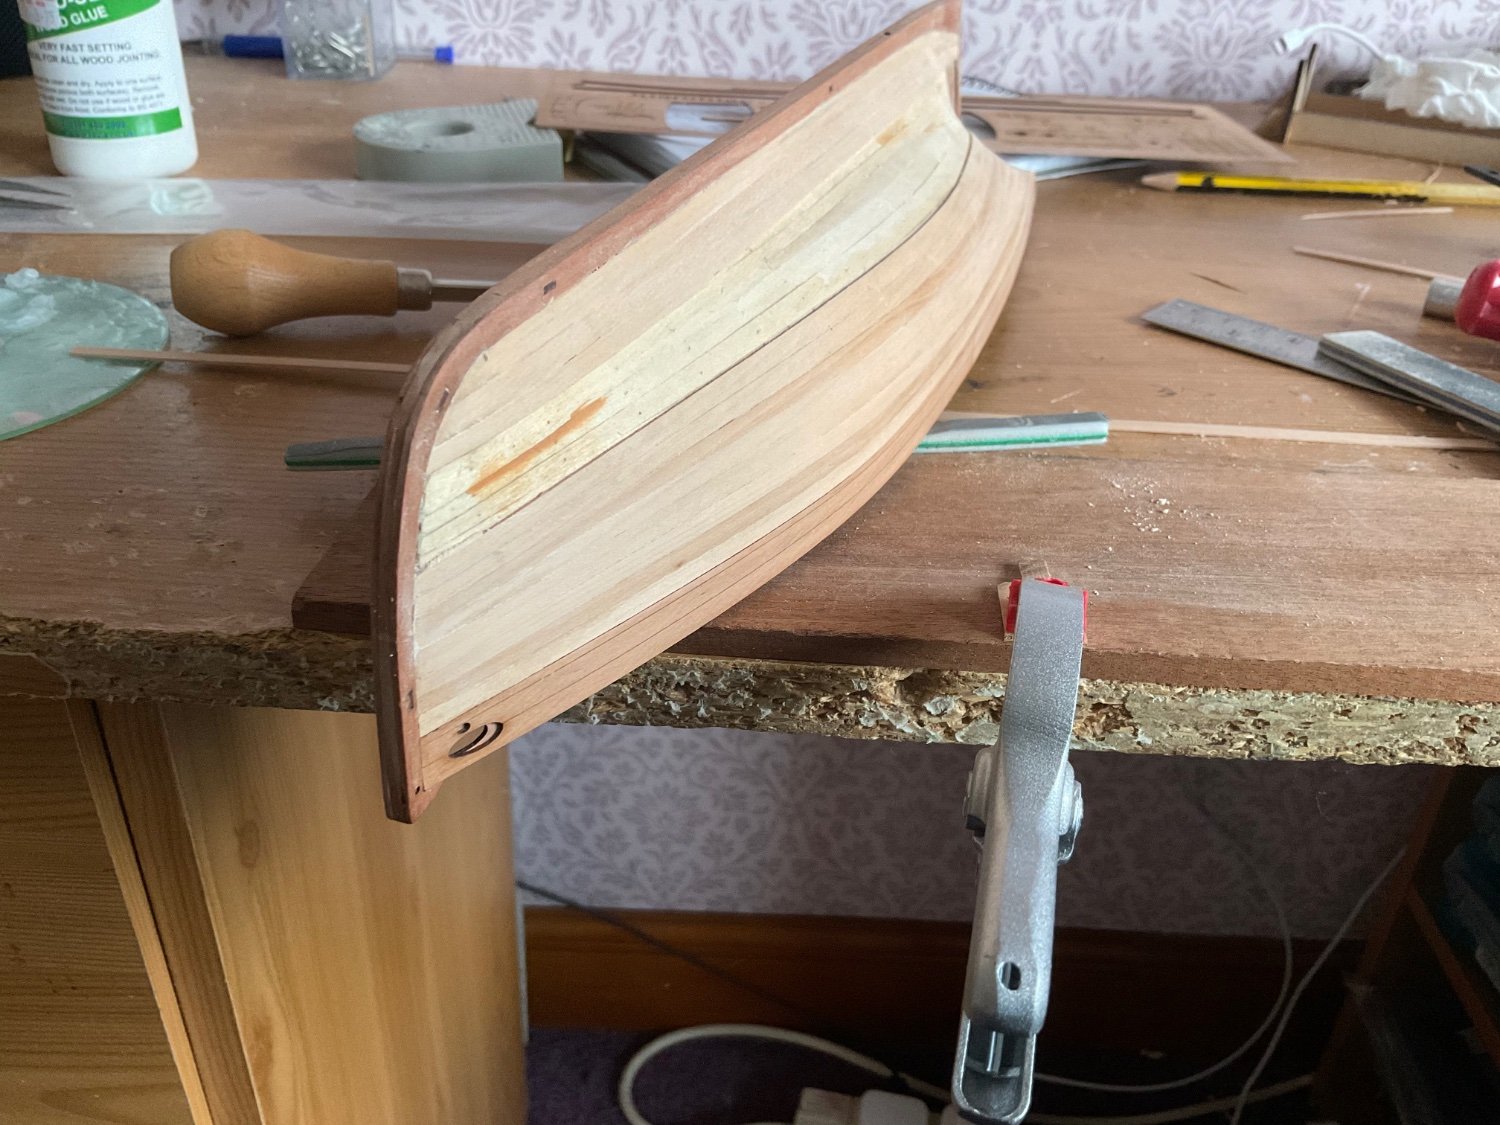
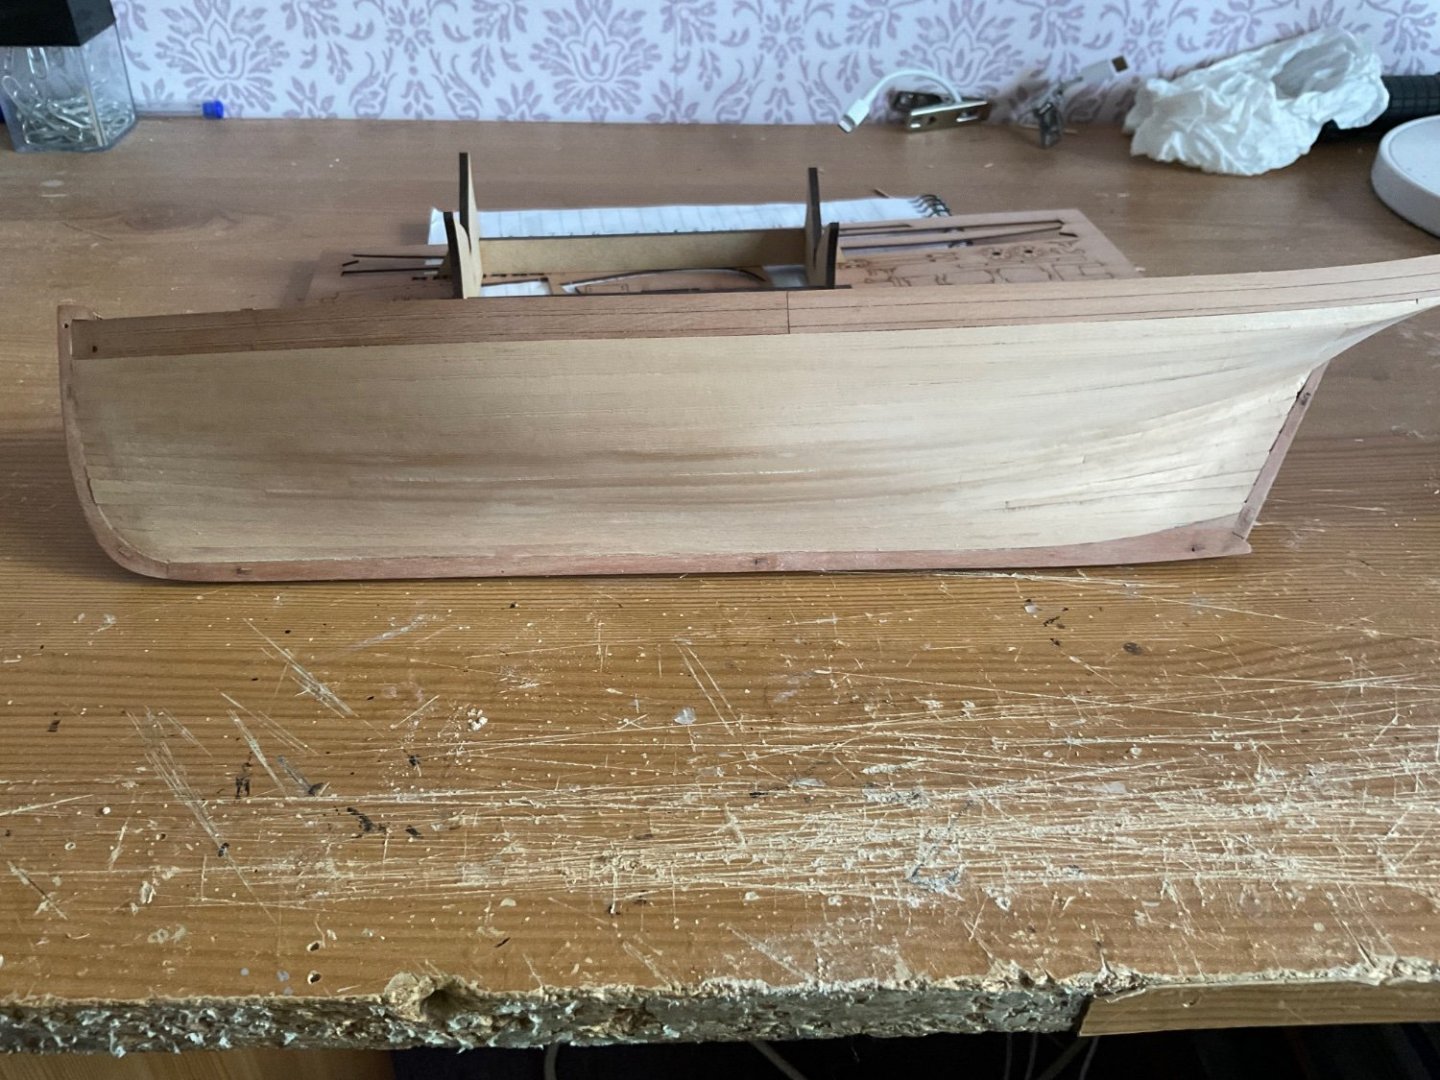
Second planking on, just a bit of sanding to do to tidy it up a little. Next stop the paint shop. Thinking of dark green for above the deck, back hull, wales and capping rail, and dark red for below the waterline.

-
Welcome Kev, That is an excellent start. Is this your first build?
-
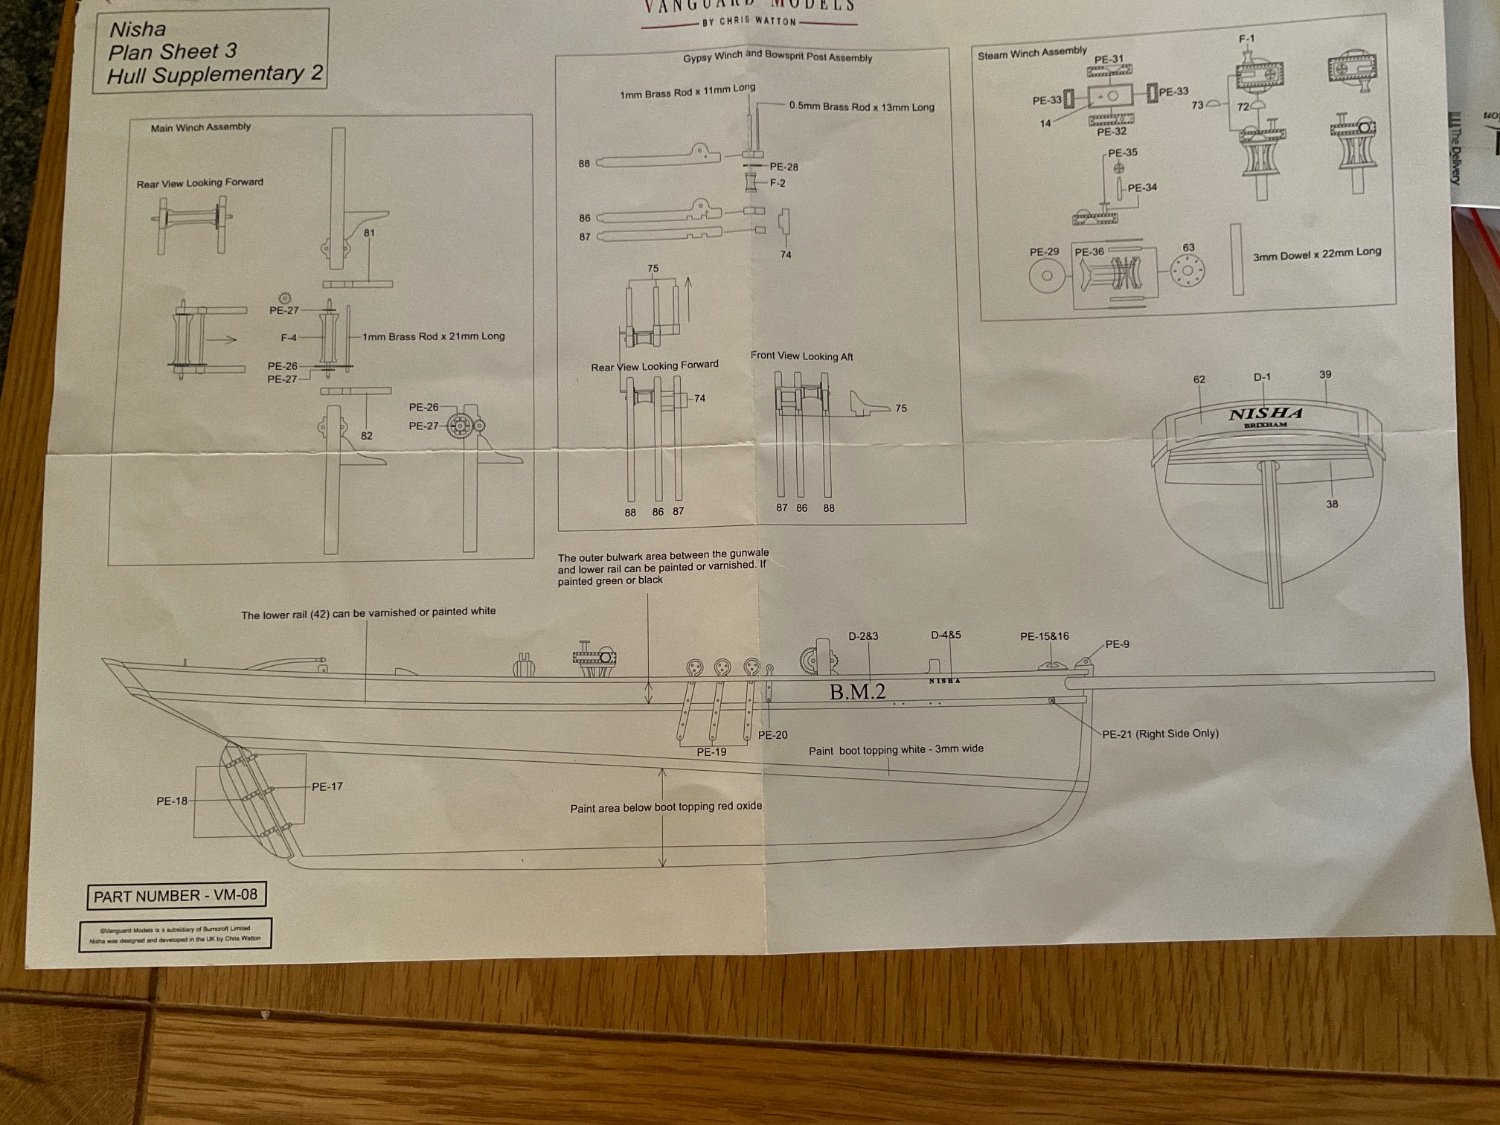
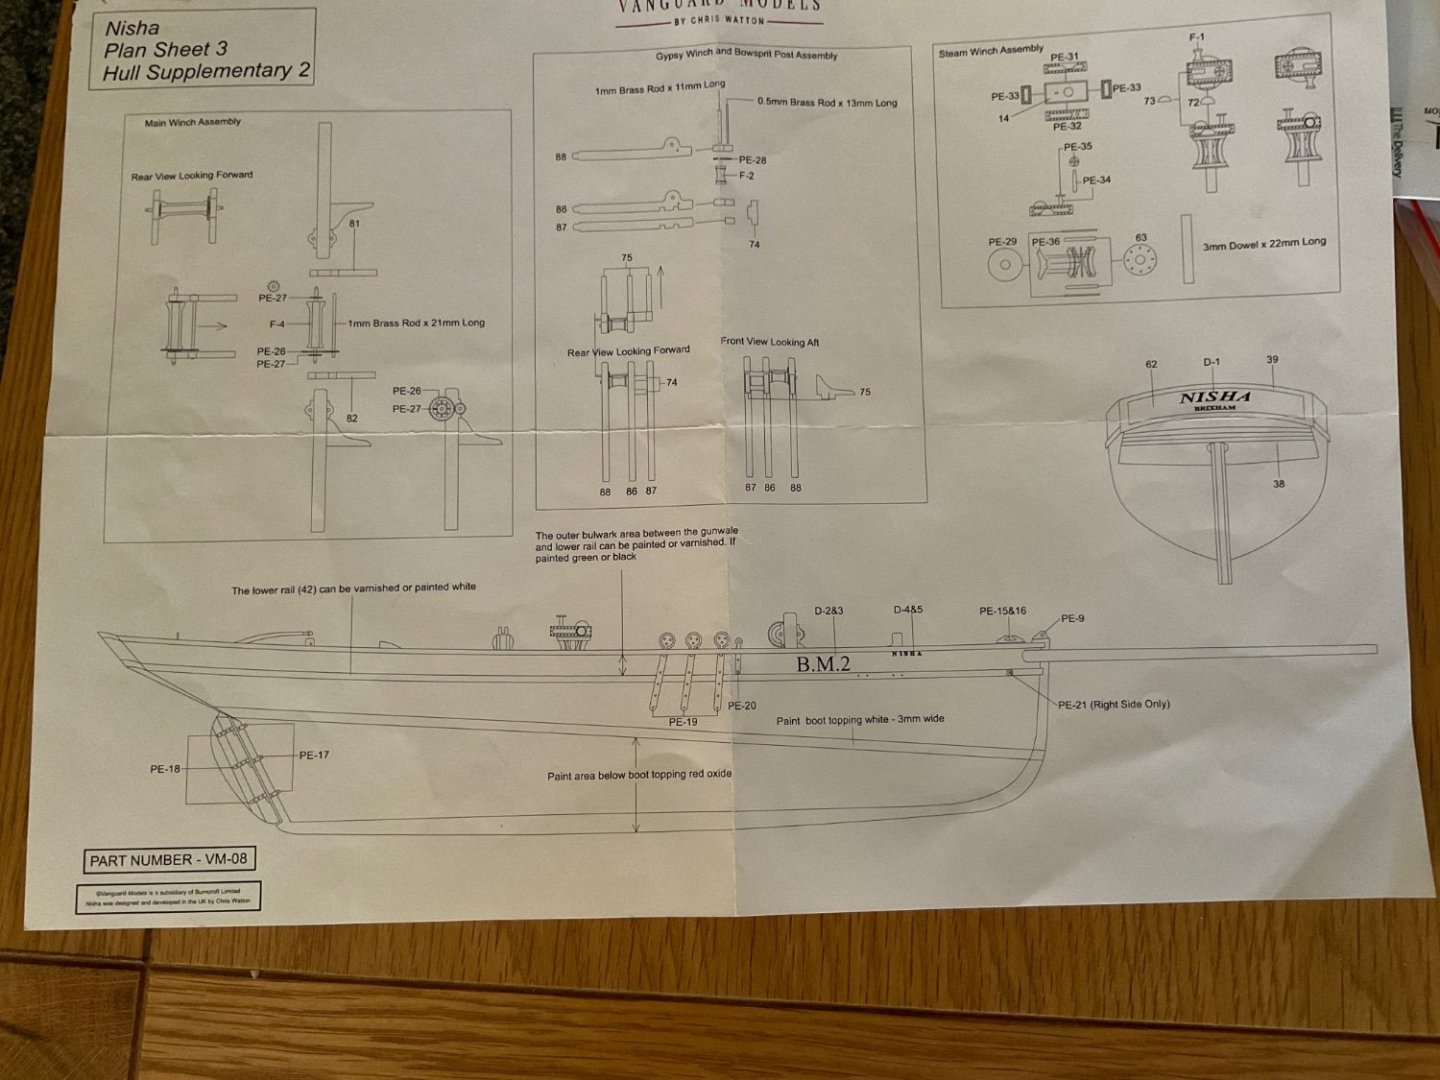
Hey Glomar, Look at plan 3 to give you an idea of where the waterline is. The boot topping is the waterline. One word of warning, the plans are about 15% smaller than 1:1. Also the manual has pictures of how to use a waterline marker and the painting sequence. It has all been well thought out by Chris W and well documented by James H.
-
Would love to say I am too young to remember this…………….
- 488 replies
-
- 5
-
-

-
- Indefatigable
- Vanguard Models
- (and 1 more)
-
Wow you really get a sense of her size with the shots of the sub deck and your arm! Will be watching this closely, as like many other people here I am saving my pennies. Mind you Santa might be good to me this year……….
- 488 replies
-
- 9
-
-
- Indefatigable
- Vanguard Models
- (and 1 more)
-
Oh my, choices! I do like 8 with the yellow, it has a slightly faded look. Perhaps if the rest of the boat was suitably weathered, but for me I have never perfected that art, or come anywhere close. I always feel that I have cheapened the model. Some people do it oh so well, but alas not me.
-
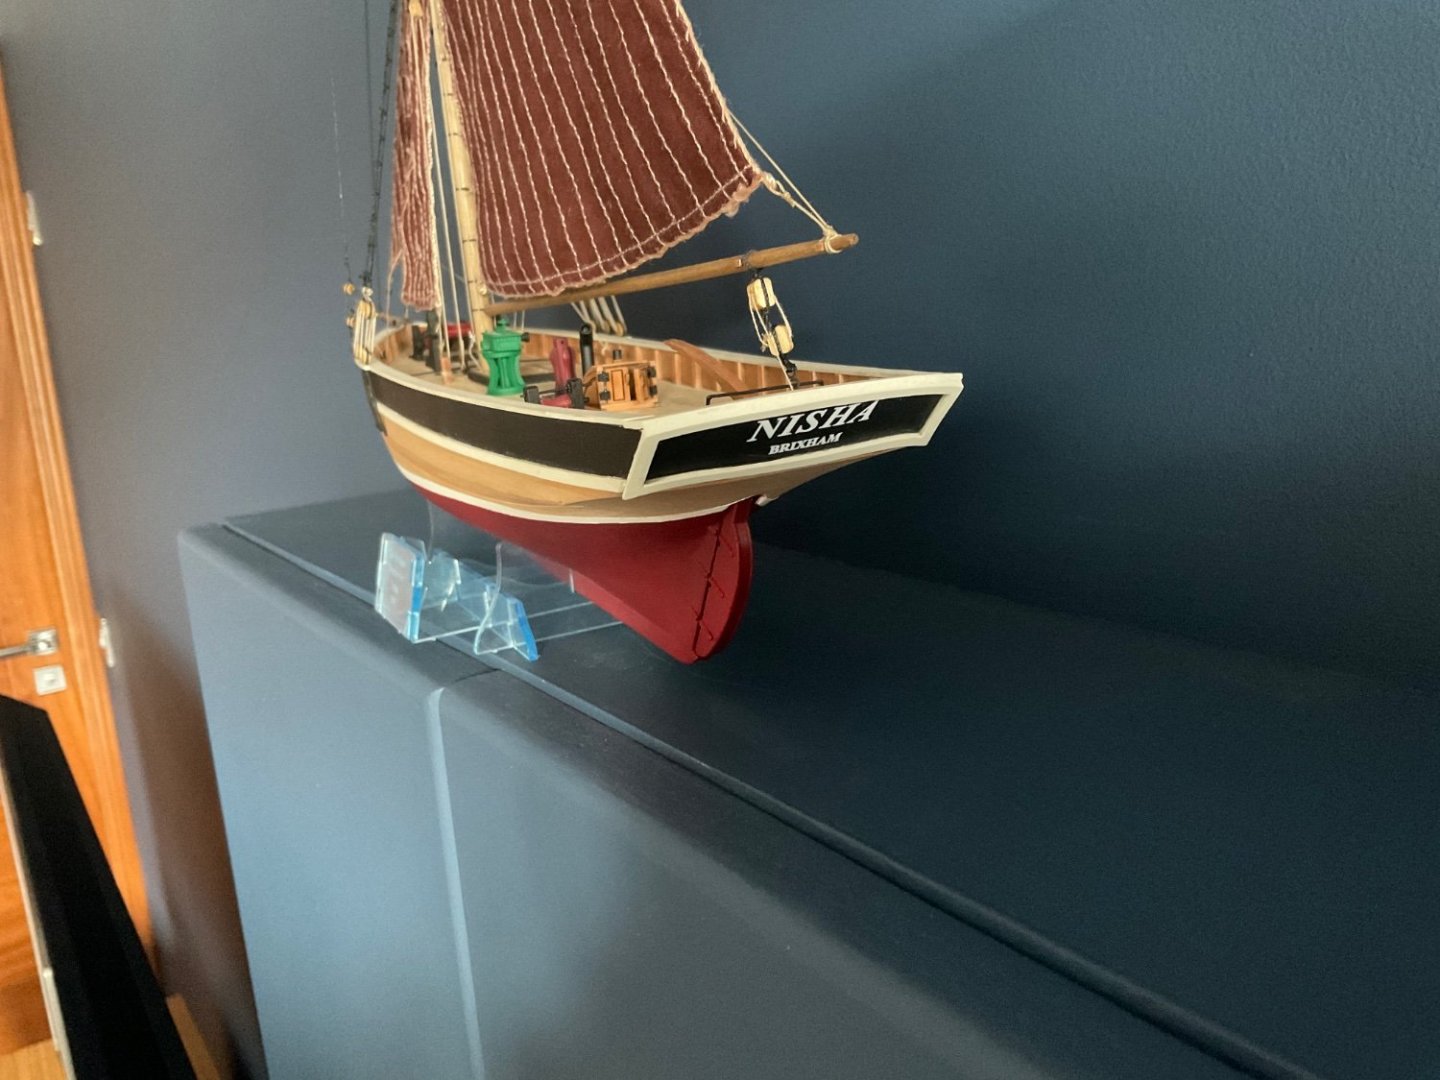
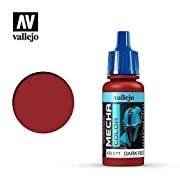
Hi Glomar, I use Vallejo paints. I used the white primer under the red hull. For the red I used Vallejo’s Mecha colour dark red. Black and white, well…… I am sure you can work that out. I use matt so you will need to have a gloss undercoat for the decals or they are likely to silver. You can then spray matt over the top. I use Vallejo’s varnish for this job. Not familiar with elmers - a US brand? I use ronseal wood filler. On the question of sealers and filler yes they are different. I hand brush the varnish for non painted wood - again I just use Ronseal matt varnish - it is cheaper than the model varnishes and does just as good a job. It is difficult to describe how much thinner to use as it depends on the paint type you start with. I am assuming you are going to spray? If it is an airbrush paint such as Vallejo’s airbrush range then just a drop of the Vallejo thinner is enough. The mecha Colour below needed more as its a brush paint. needs to be thin enough to flow but not so thin that it pools on the subject being sprayed. I use Vallejo thinner - I like to keep to the same brand. I usually thin the primer too even though it says it is for airbrushes Follow the painting order in the instructions - lots of good information there.
-
So much choice! thank you for posting your results. My eye is drawn to 8, I like the slightly browner hue. But I think any one of the three on your shortlist will work. I feel your pain on the wonky rudder, had to reattach mine three times 🙁
- 62 replies
-
- 1
-
-
- Nisha
- Vanguard Models
- (and 1 more)
-
Lots of lovely detail on these sheets. I particularly like the look of the veneer which will cover the stem.
- 488 replies
-
- 6
-
-
- Indefatigable
- Vanguard Models
- (and 1 more)
-
I used dark brown, not cocoa. I wonder if by mixing it ended up closer to the latter? Anyway I look forward to seeing the results of your experiments and will shamelessly purloin your good work 😉
- 62 replies
-
- 1
-
-
- Nisha
- Vanguard Models
- (and 1 more)
-
Would a 2 part kit save on postage? Or do the additional costs of splitting the kit outweigh any savings?
-
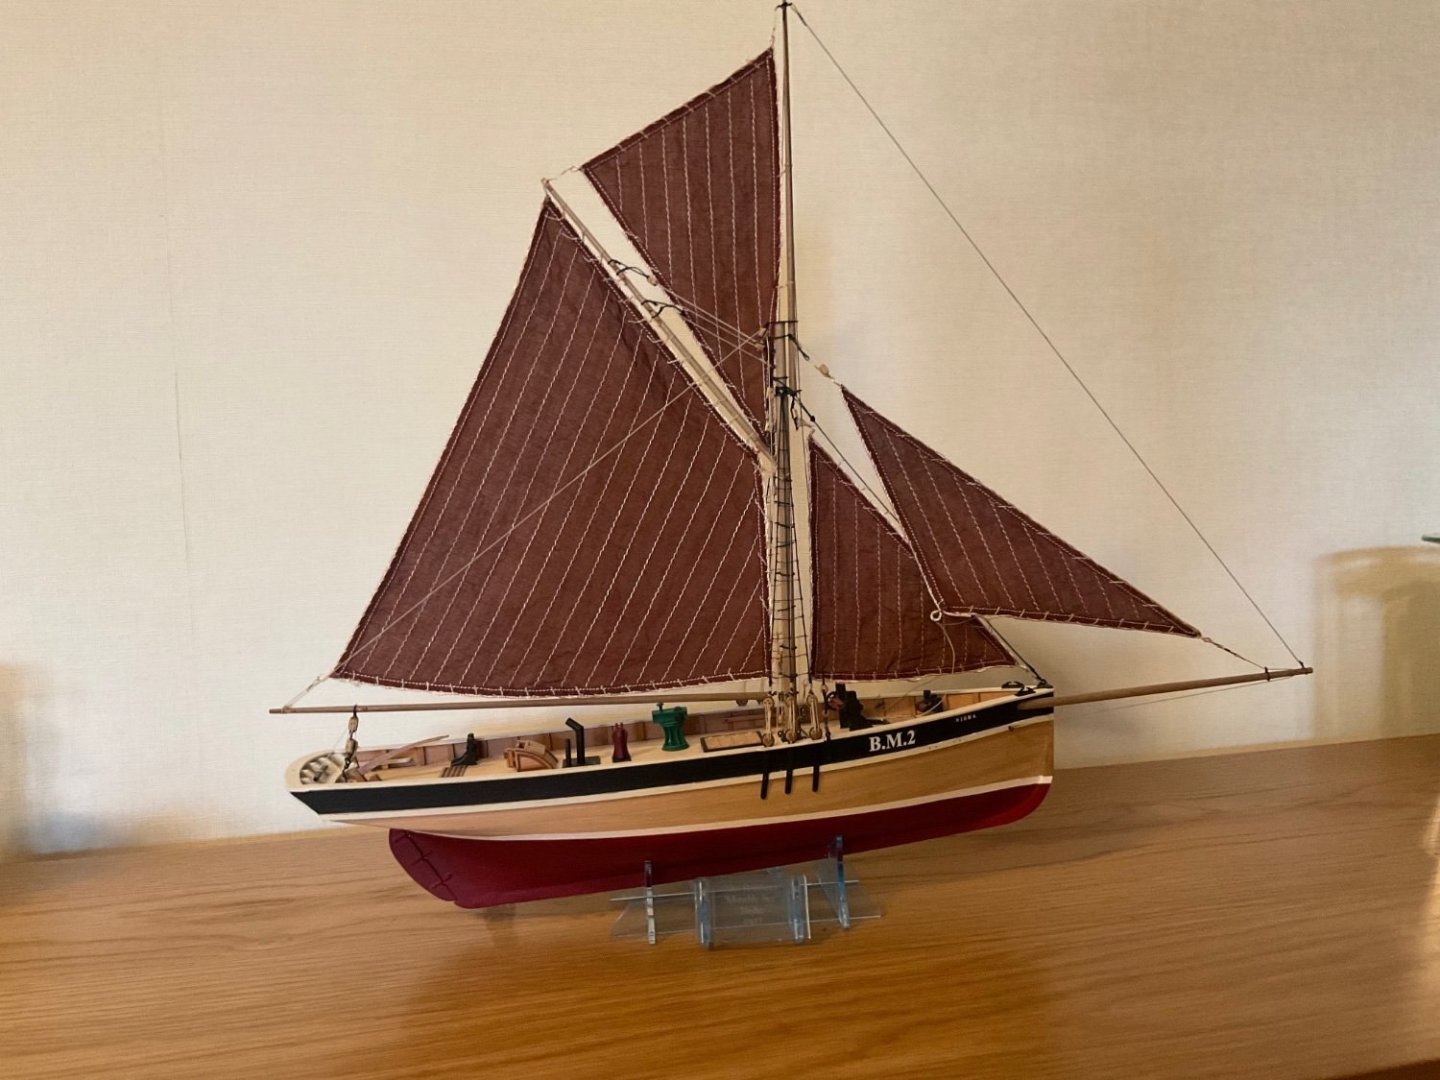
Difficult choice! I was nervous that I would waste a lovely set of sails. In the end I plumped for RIT scarlet with dark brown in a 50/50 mix. RIT’s website gives formulae for different colours, of course screen and actual life can be very different. Mine turned out a bit more brown than I expected. I think for Erycina, I will go more red and go 60/40 or even 75/25.
- 62 replies
-
- 5
-
-
- Nisha
- Vanguard Models
- (and 1 more)
-
Your Nisha is turning out a smasher. I really like the colour contrasts you have gone with.
- 62 replies
-
- 1
-
-
- Nisha
- Vanguard Models
- (and 1 more)
-
Hi Glomar, It has been a long time since I researched airbrushes. There are a lot of excellent brands out there. I have an Iwata HP-C plus, but I would recommend you do a search here. I am sure there have been a few threads on which airbrushes people recommend. You can compare and match to your budget. You will need a compressor too. Like any new kit you need to practise first. To be fair you are using the airbrush to “colour in”, there are no complicated camouflage patterns here! Clean up is not too difficult - I use Vallejo airbrush cleaner between colours. At the end of each session you will need to clean the brush throughly- I use a solvent based cleaner and cleaning brushes. I don’t have a spray booth - I use an old box and wear a mask, not the coverings we have been using for covid but a proper painting/vapour respirator. The latter is a must if yo want to protect your lungs! Not sure of your point on the stain. I use a matt varnish.
-
Looks great. I am thinking of borrowing some of your scheme for Erycina. I am thinking dark green for the engraved bulwarks and black wale and hull to the waterline. I have had mixed results using Carr’s blackening. You look to have pulled it of. I probably don’t spend enough time prepping the brass beforehand.
- 62 replies
-
- 1
-
-
- Nisha
- Vanguard Models
- (and 1 more)
-
HI Glomar, Good to read that you are enjoying the build - that is more than half the battle. I think you said you were going to paint the hull. As @James H said fill, sand, repeat. The first light coat of paint will show all the imperfections, so fill, sand repeat! I am sure this is the definition of insanity, but that is this wonderful hobby for you! Keep going!
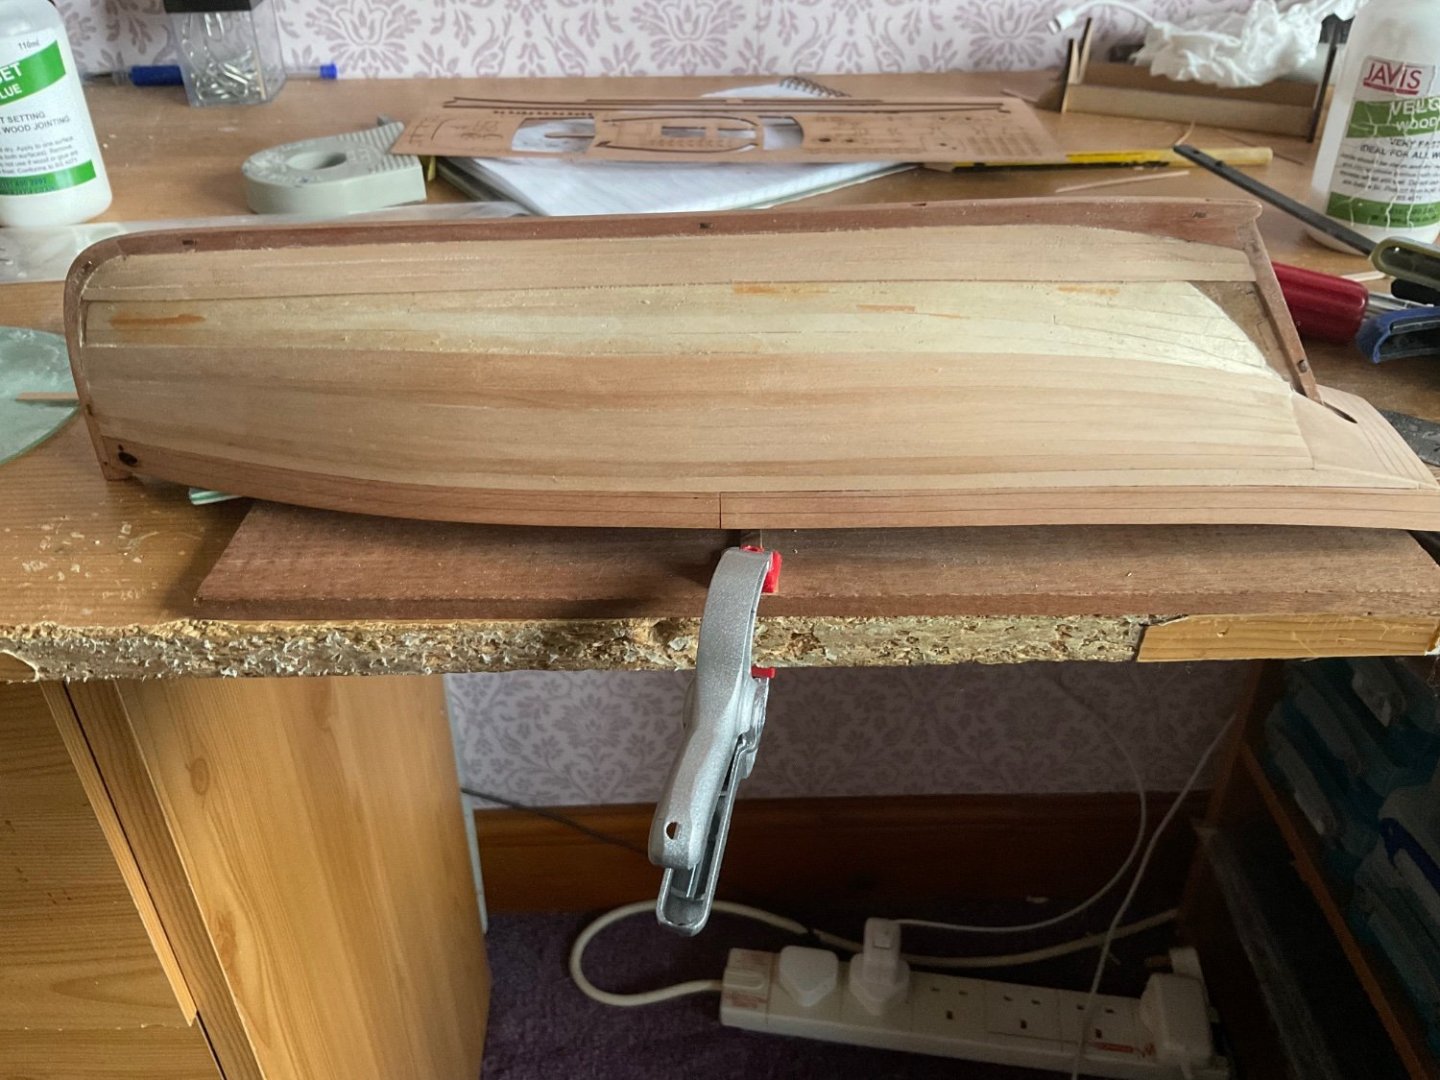
-
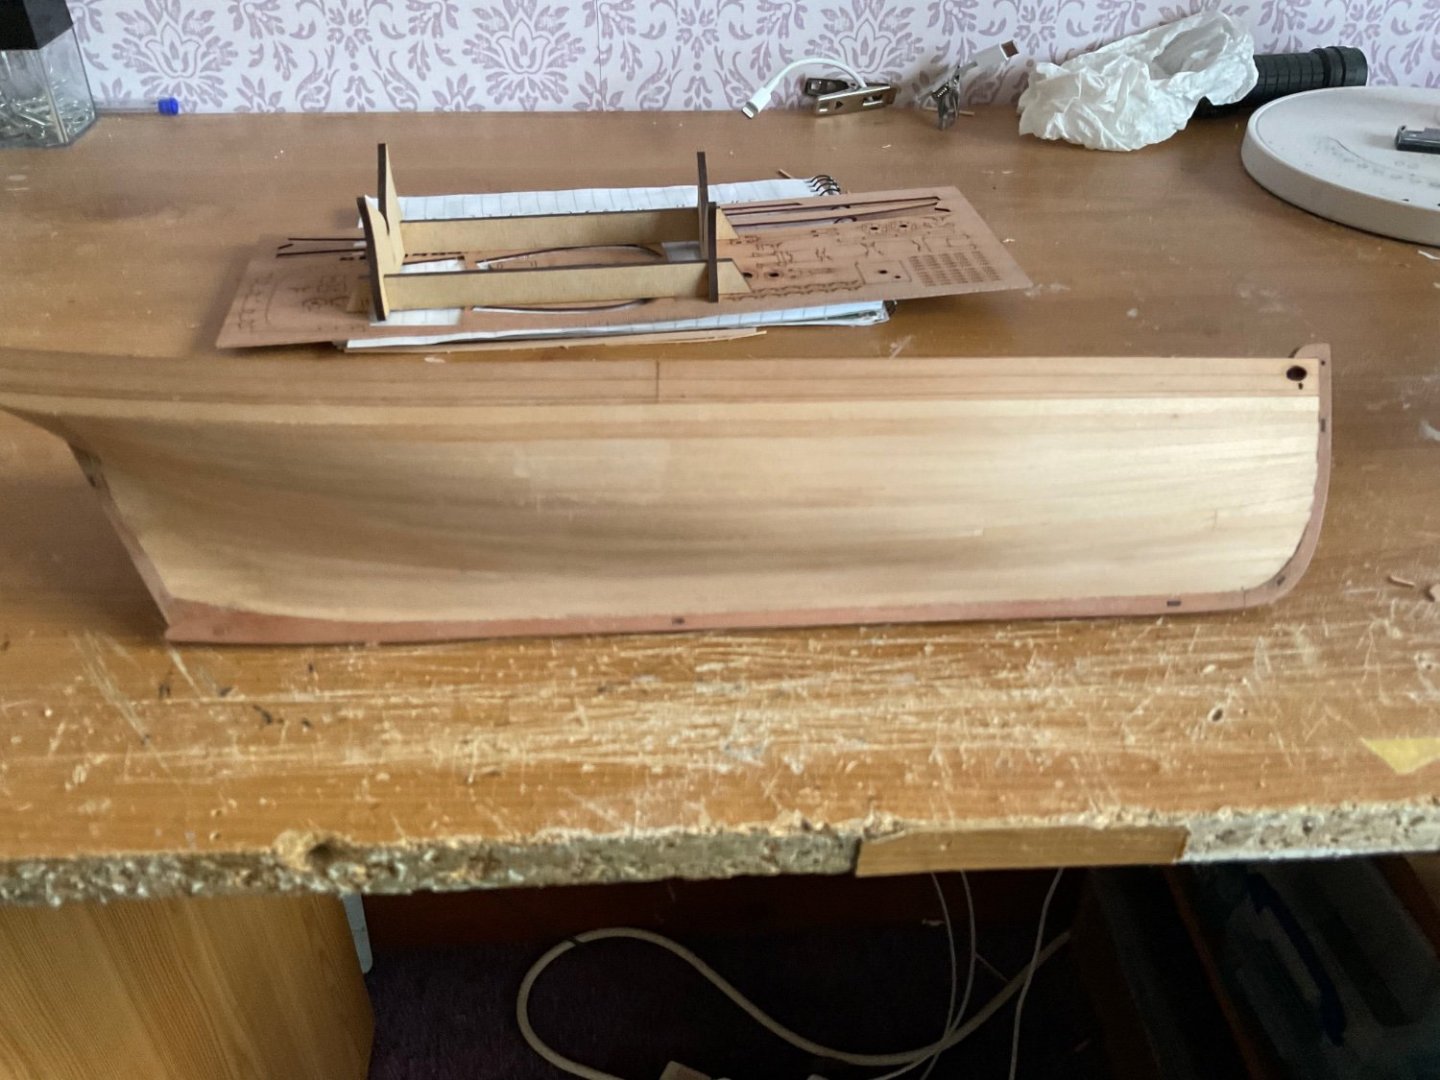
Been a while, life 😜 Relatively straightforward second planking. I worked my way down from the engraved outer bulwark until the counter was covered. Then I decided to work from the garboard up. I find it easier to fit steelers from the garboard up. This final picture shows a tricky little area. There is a gap at the counter where it meets the sternpost. Need to think how to make that look acceptable. Any suggestions are most welcome.