HOLIDAY DONATION DRIVE - SUPPORT MSW - DO YOUR PART TO KEEP THIS GREAT FORUM GOING! (Only 13 donations so far - C'mon guys!)
×


Craigie65
-
Posts
480 -
Joined
-
Last visited
Content Type
Profiles
Forums
Gallery
Events
Everything posted by Craigie65
-
 Love the brown colours on the metal work - so much more natural looking than black. Hats off for correcting the hatch haha - too much Scotch in your blood, no such thing especially if it is from Skye.
- 88 replies
-
- 1
-

-
- Erycina
- Vanguard Models
- (and 2 more)
-
Wow that is a great spot. I did not look at the plan and merely covered the hole in the deck. The part plan clearly shows the hole to be off centre, but my hatch looks centred. Mind you when you add the winch gubbins you can’t tell. Indeed this pic clearly shows the offset By the second pic I have a centred hatch - I must just be on the very edge


- 88 replies
-
- 5
-

-
- Erycina
- Vanguard Models
- (and 2 more)
-
I think you are secretly holding out for the Indy 😉 I will pull up the proverbial chair and follow along.
- 15 replies
-
- 1
-
-
- Lady Eleanor
- Vanguard Models
- (and 2 more)
-
Not sure how I missed this log, following now. Very neat indeed. That’s the hard part over, the rest is pretty straight forward.
- 88 replies
-
- 1
-
-
- Erycina
- Vanguard Models
- (and 2 more)
-
Glad to hear you are feeling better! Wow that is wonderful work. Looking forward to seeing this one finished.
-
Well done! What’s next - a three master with all those lovely ratlines? 😀
-
The plain seizing looks fine. I tie the top of the shrouds off the model using a piece of appropriately sized dowel. You need to play around a bit with the build sequence but it works for me. Ratlines will be done in no time, only three knots per ratline😎; compared to a three mast-er an absolute doddle. You will have your Nisha launched in two shakes.
- 38 replies
-
- 3
-
-
- Nisha
- Vanguard Models
- (and 1 more)
-
Loving this - looks like a really hard working boat! Excellent skills
-
Andy, I am catching up on your build. You have done a grand job!
- 32 replies
-
- 1
-

-
- Nisha
- Vanguard Models
- (and 1 more)
-
Ouch, but you are not alone. I know I have had problems with decal when going to far. Sometime it is difficult to know when to stop playing with them, until it is too late. Fingers crossed the dry transfers fix you problem Sewing sails sounds too hard! I think I will stick to the pre made beauties from Mr Watton.
- 38 replies
-
- 1
-
-
- Nisha
- Vanguard Models
- (and 1 more)
-
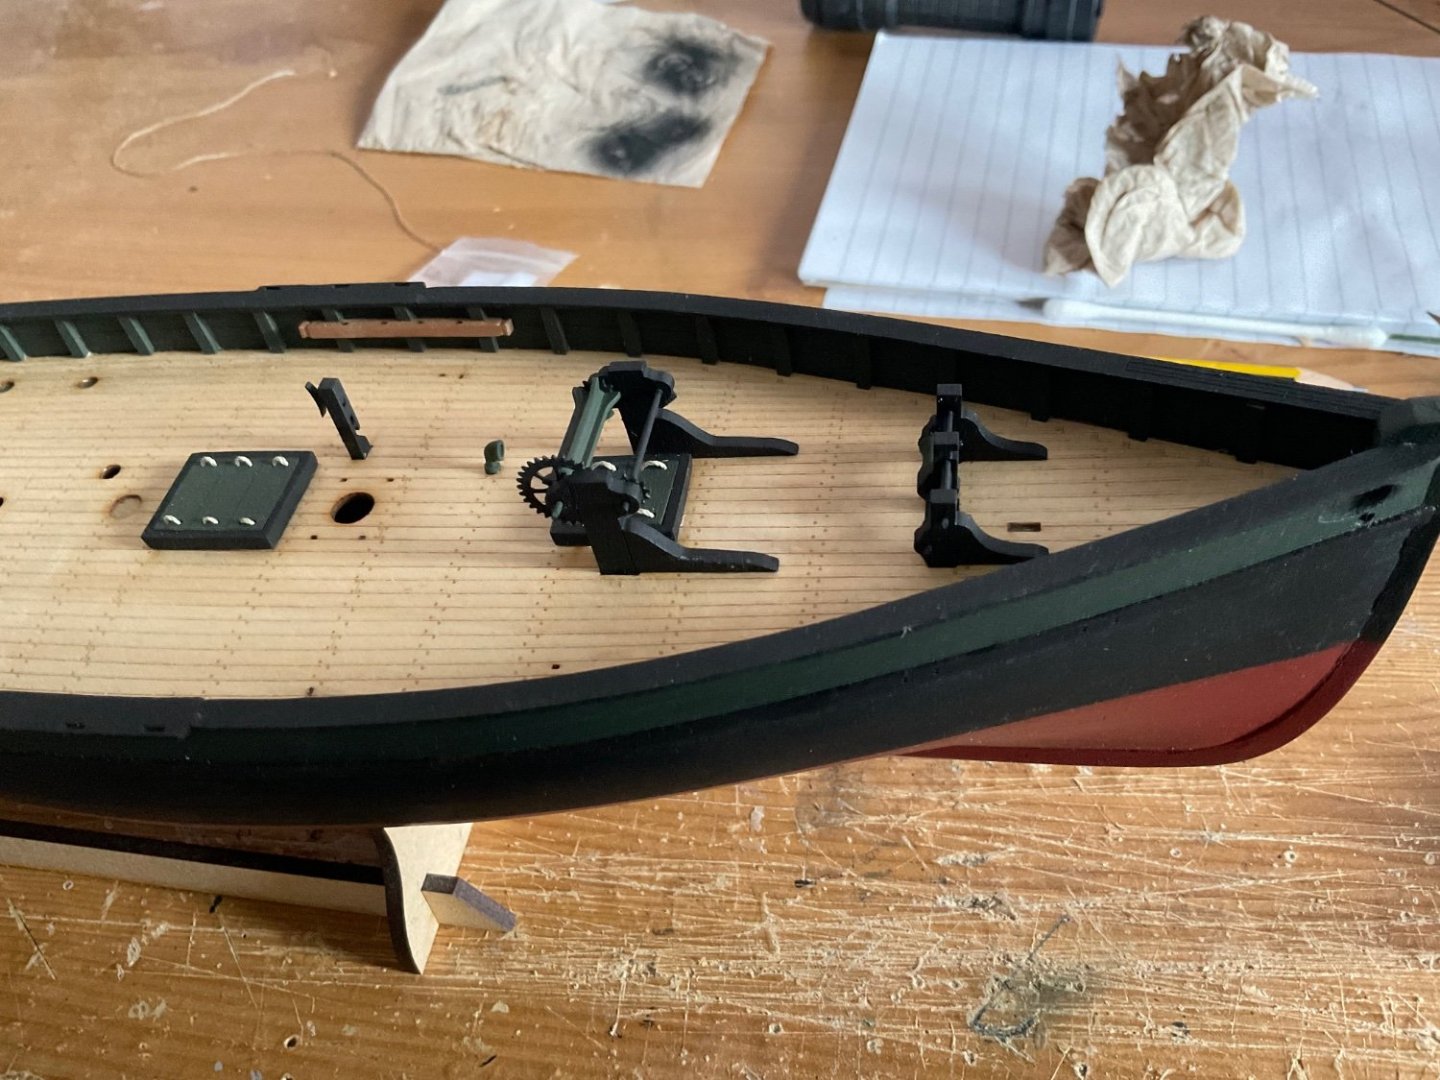
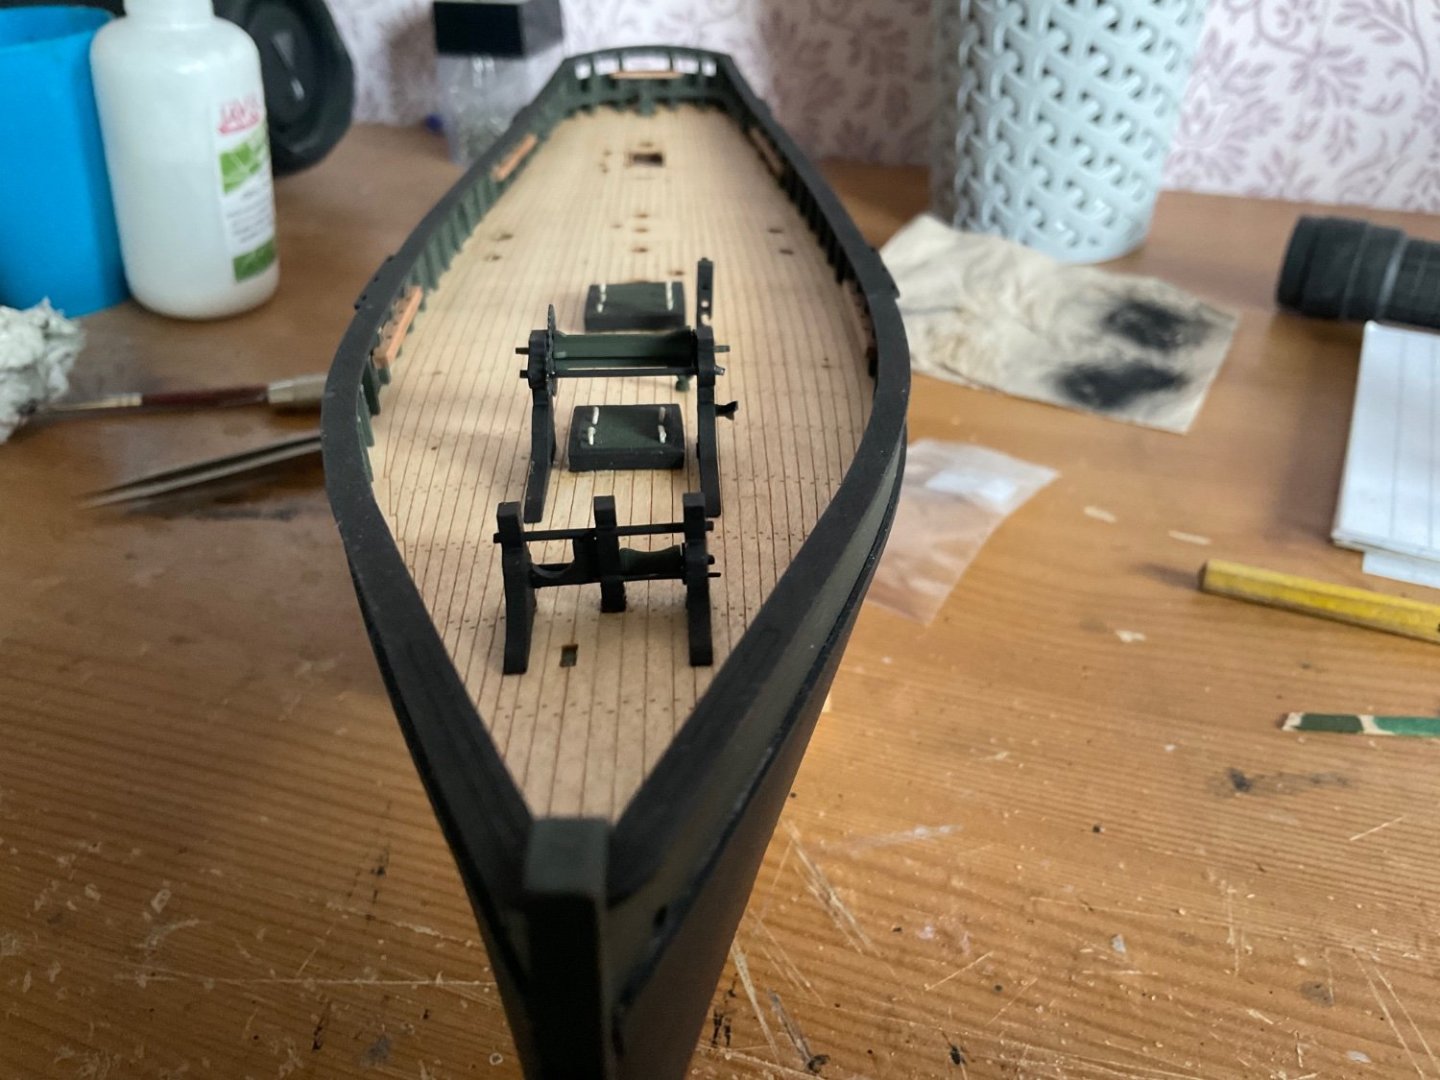
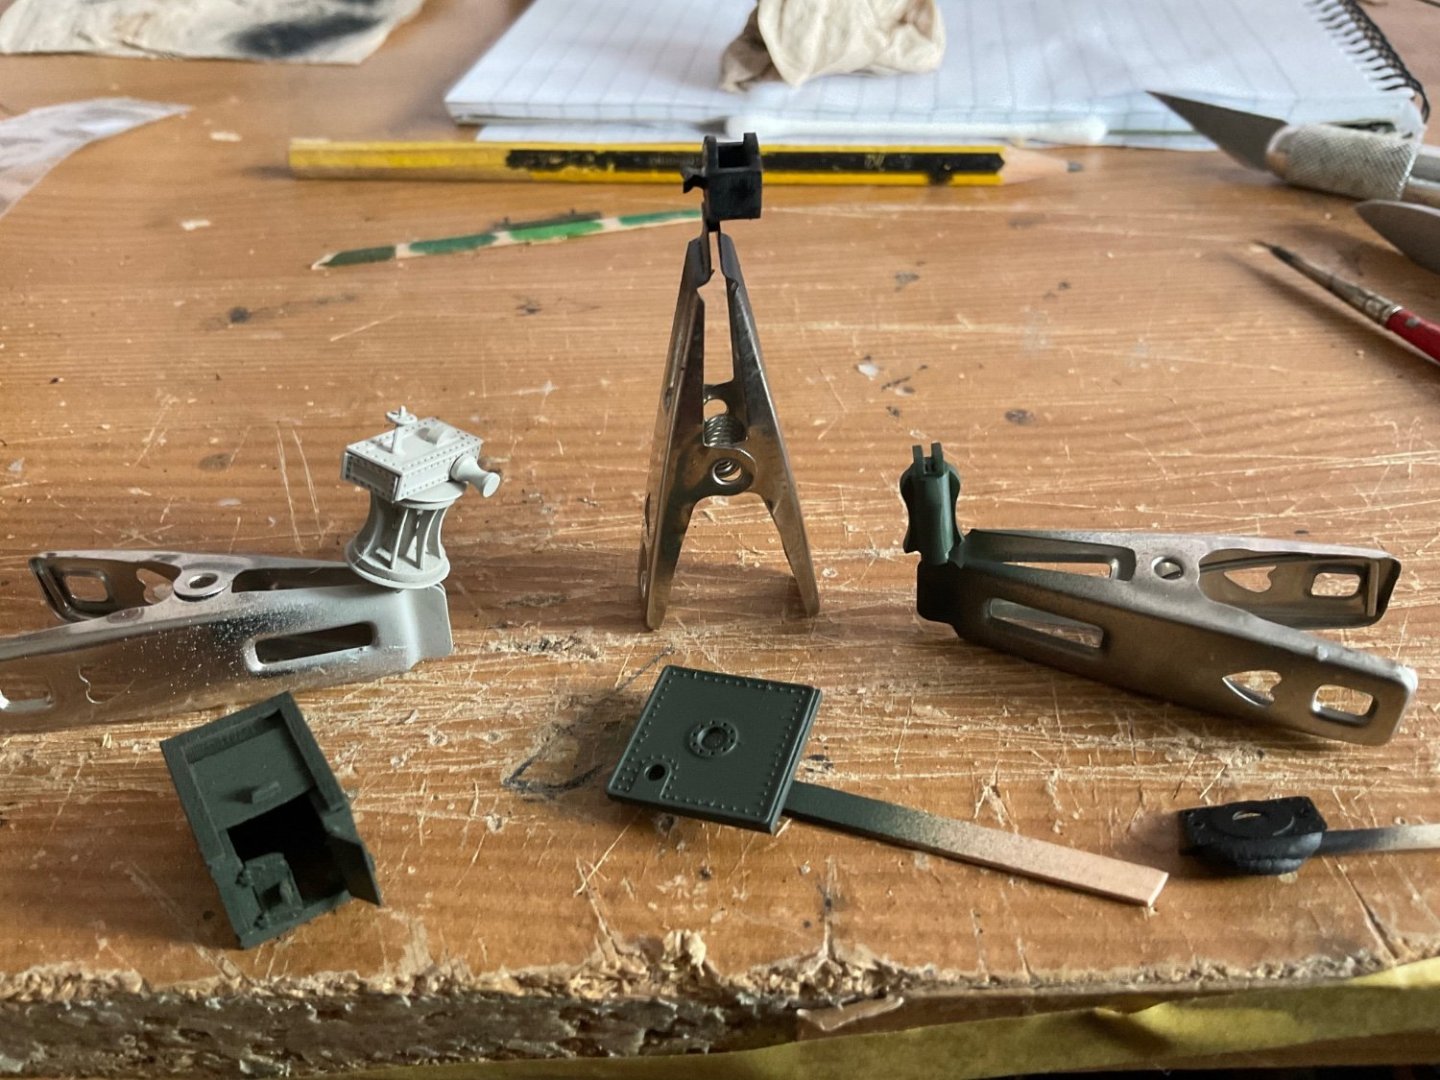
Thank you for the continued support. Fit out of the deck in now well under way. The gypsy and main winches are now in place with both hatches fitted. I decided to continue with the dark colour scheme, it contrasts well with the lighter deck. The windlasses are dark green to match the bulwarks. I am guessing that gloss paint would have been standard, however I much prefer flat colours. Looks as if the winches are misaligned but they look fine when I look straight on from the bows - think it must be the angle of from which the picture is taken. Nearly snapped the fair leading post with too much pressure in trying to get it seated properly. Just got away with it! I tried to add a bit of depth to the grab ropes on the hatches rather than flat to the hatch. The deck house, steam winch and various other bits of deck furniture have been sprayed with first coat, or primed if metal. So while the paint dries I can update the log. Thank goodness for the spare door hinges in the kit. Cut out 4 pieces and place them on the pear sheet that contains the deck house doors. Glued the first hinge on, then stupidly lifted the sheet to turn it round and tipped the three other hinges on the floor. Luckily the carpet monster only ate one of the three, as when I went to lift up a replacement it pinged off into the ether!
-
You are doing a grand job. It is fun to fit her out - you will really start to see her take shape. Good luck with the stencils - I’m sure your dad will love her when finished.
-
Thank you! that is very helpful.
-
Lovely photos. Briefly thought of converting Erycina but chickened out. Also did not like the colour scheme, its a bit garish. I think I took some pictures of her or Pilgrim around a decade ago when holidaying in Torquay. We need to try and find them
-
BECC vinyl lettering may be an option. Xtradecal do decal lettering, you might be able to do something with lettering used for military vehicles
-
Hi Glomar, Really good to see you are still progressing. I like the paint scheme. I have never used Plastcote - although I have seen a few rants about it! I think it is just the black that needs touched up, the bit at the waterline looks to be in the black section. If you hand brush you will see there is a difference. My instinct would be to re tape and spray the black , but it is your call. Don’t forget the bowsprit hole😉 looking forward to seeing the next pics.
-
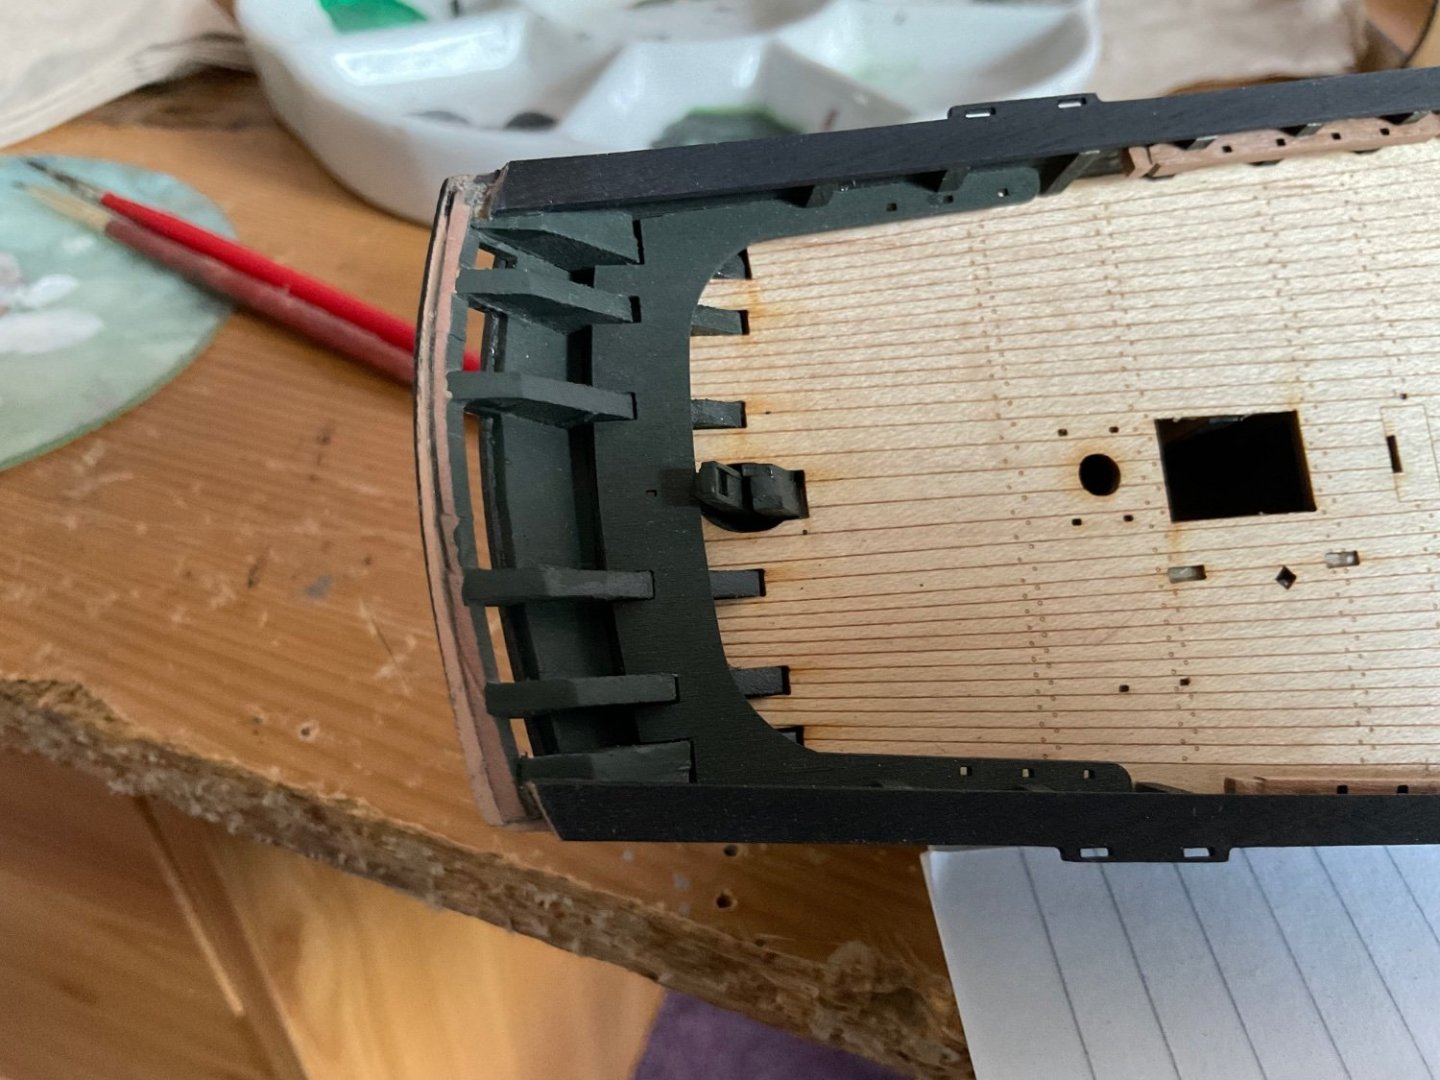
A good weekend for progress on Erycina. Timber heads, capping rails and wales all added. Paint work needs a bit of a touch up, especially at the rear below the wales where I have green showing. But that is for another day. Had to do a bit of surgery on the rear capping rails to get the transom rail to sit well. Of course this was after I had painted and glued it in position. However it was relatively straight forward, although I may fettle the rear a little. We will see. Some shots of work done


-
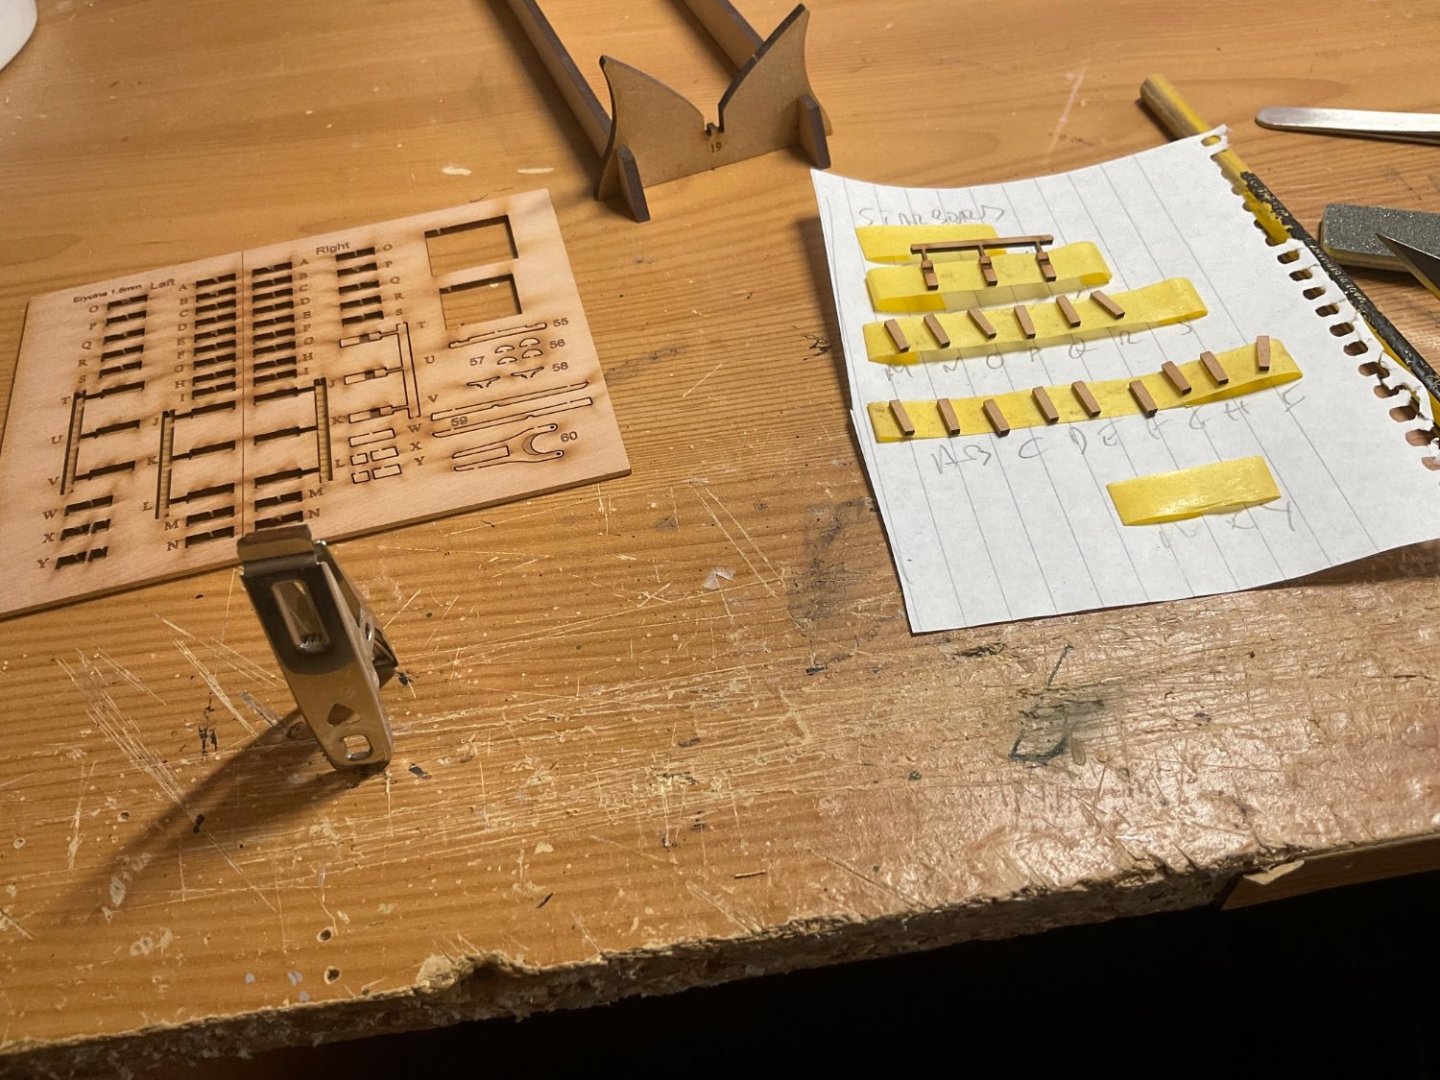
Time to get the timber heads done. After much procrastination I decided to paint them in green to match the bulwark. I held each part in a clip to sand the char and gate. Couple of swift passes and each is done. A bit tedious but a chance to zone out with some music. Could not find any double sided tape in the house so used masking tape to hold the pieces for spraying. Need to remember not to cover the letters or I will never remember the order!
-
I am also mightily impressed that there are no stealers on the stern. I had two!
-
Love that pump Kev. Must admit I was unsure what that post represented. I think it is described as a tow post in the parts list. I swithered on using black grey but decided as I was not shading or highlighting flat black would do.
-
I think they will be a nice contrast to the dark hull, Jonathan. Looking forward to seeing this one completed.
- 38 replies
-
- 1
-
-
- Nisha
- Vanguard Models
- (and 1 more)
-
Thanks Andrew I am leaning to the green timber heads - I reckon that a contrast colour would be too much effort for a working boat. Mind you that should be fun keeping them in the right order as they get a coat of paint.
-
Looking good Jonathan! What colour are you doing the capping rail? looks as if you will have this all done before the summer.
- 38 replies
-
- 1
-
-
- Nisha
- Vanguard Models
- (and 1 more)
-
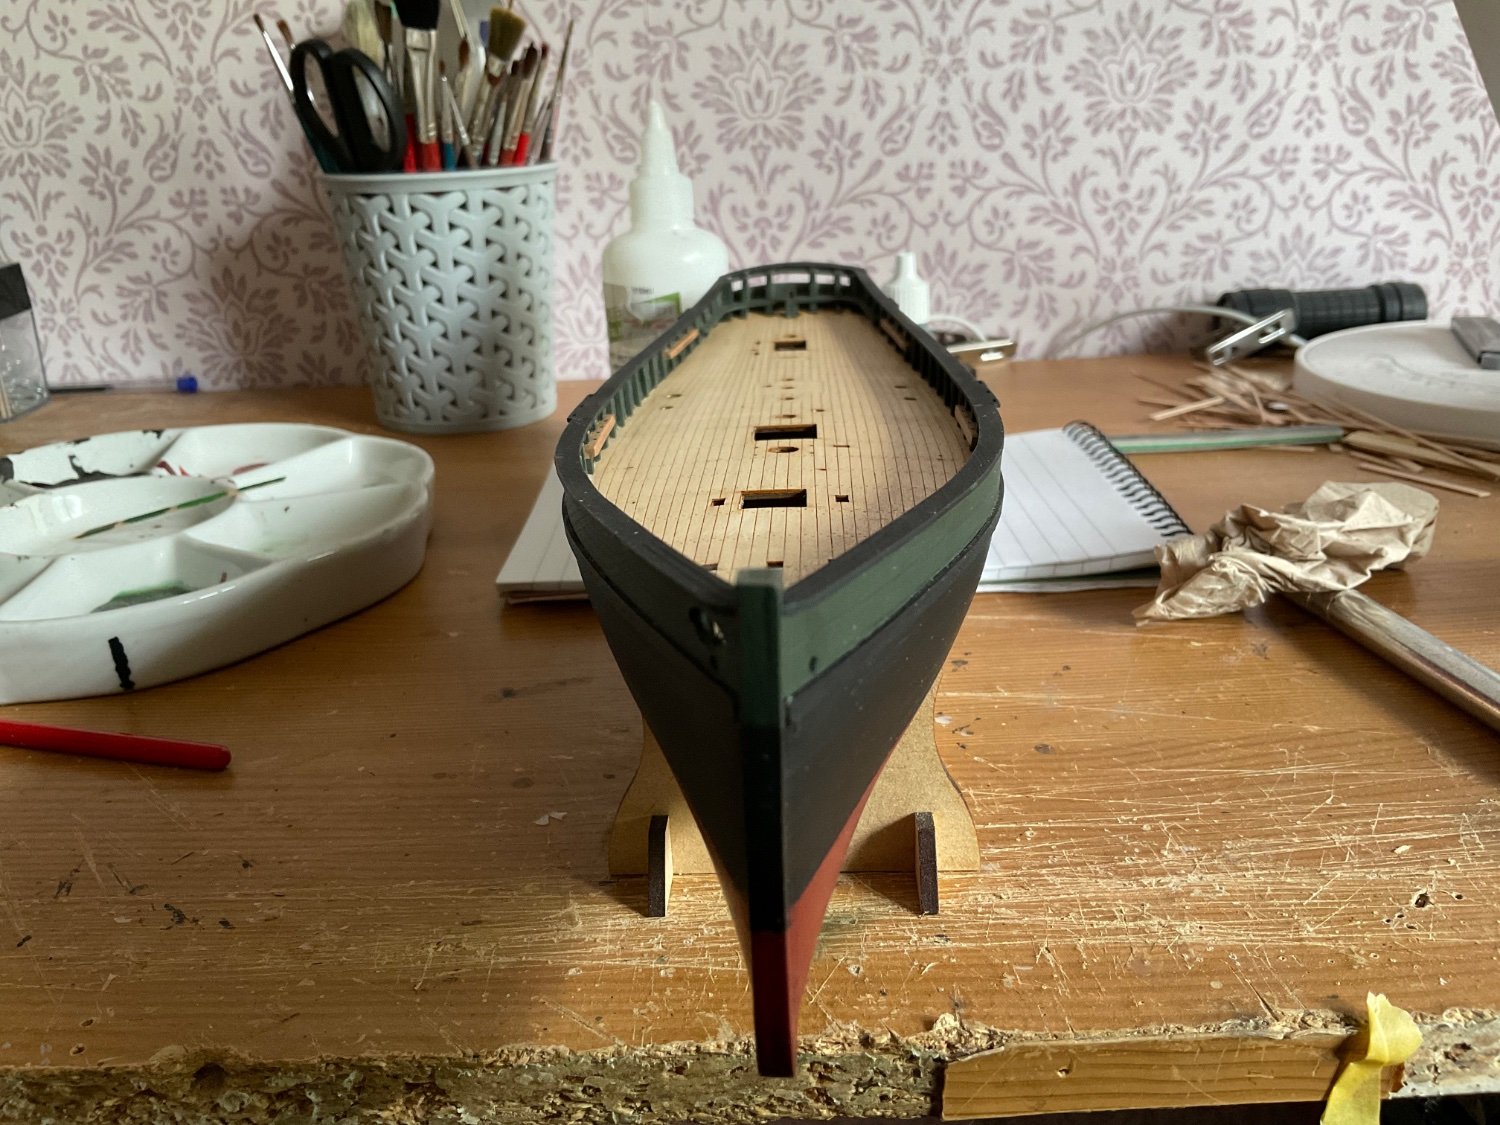
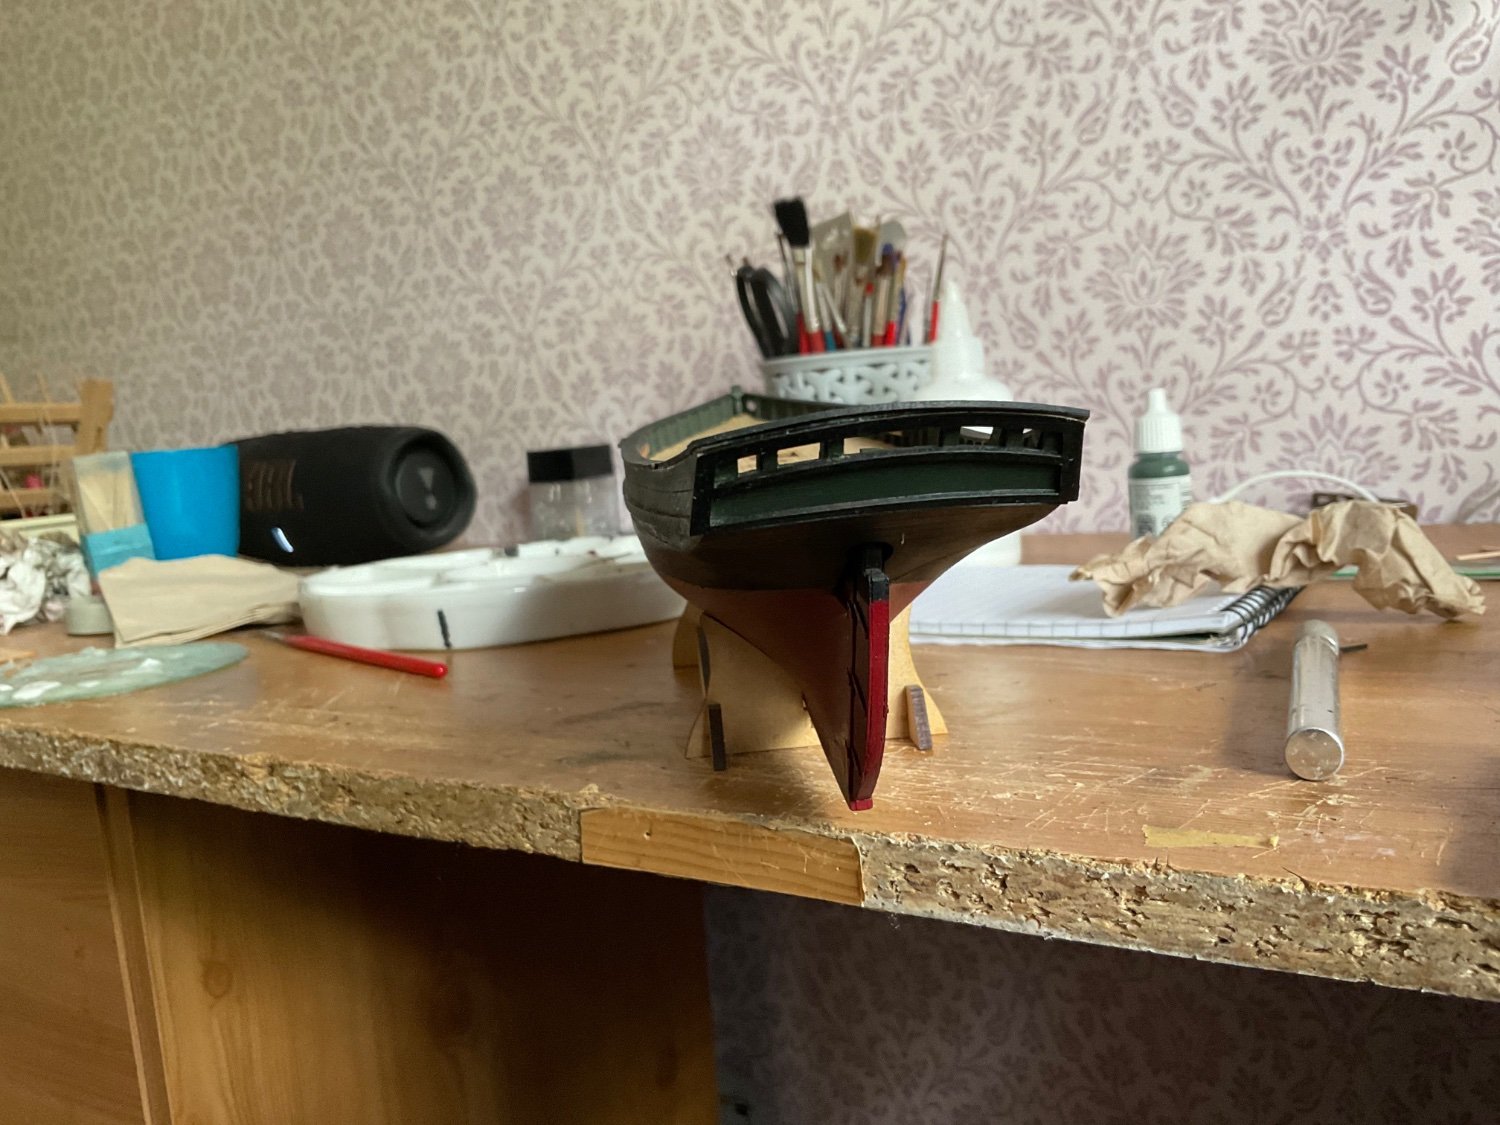
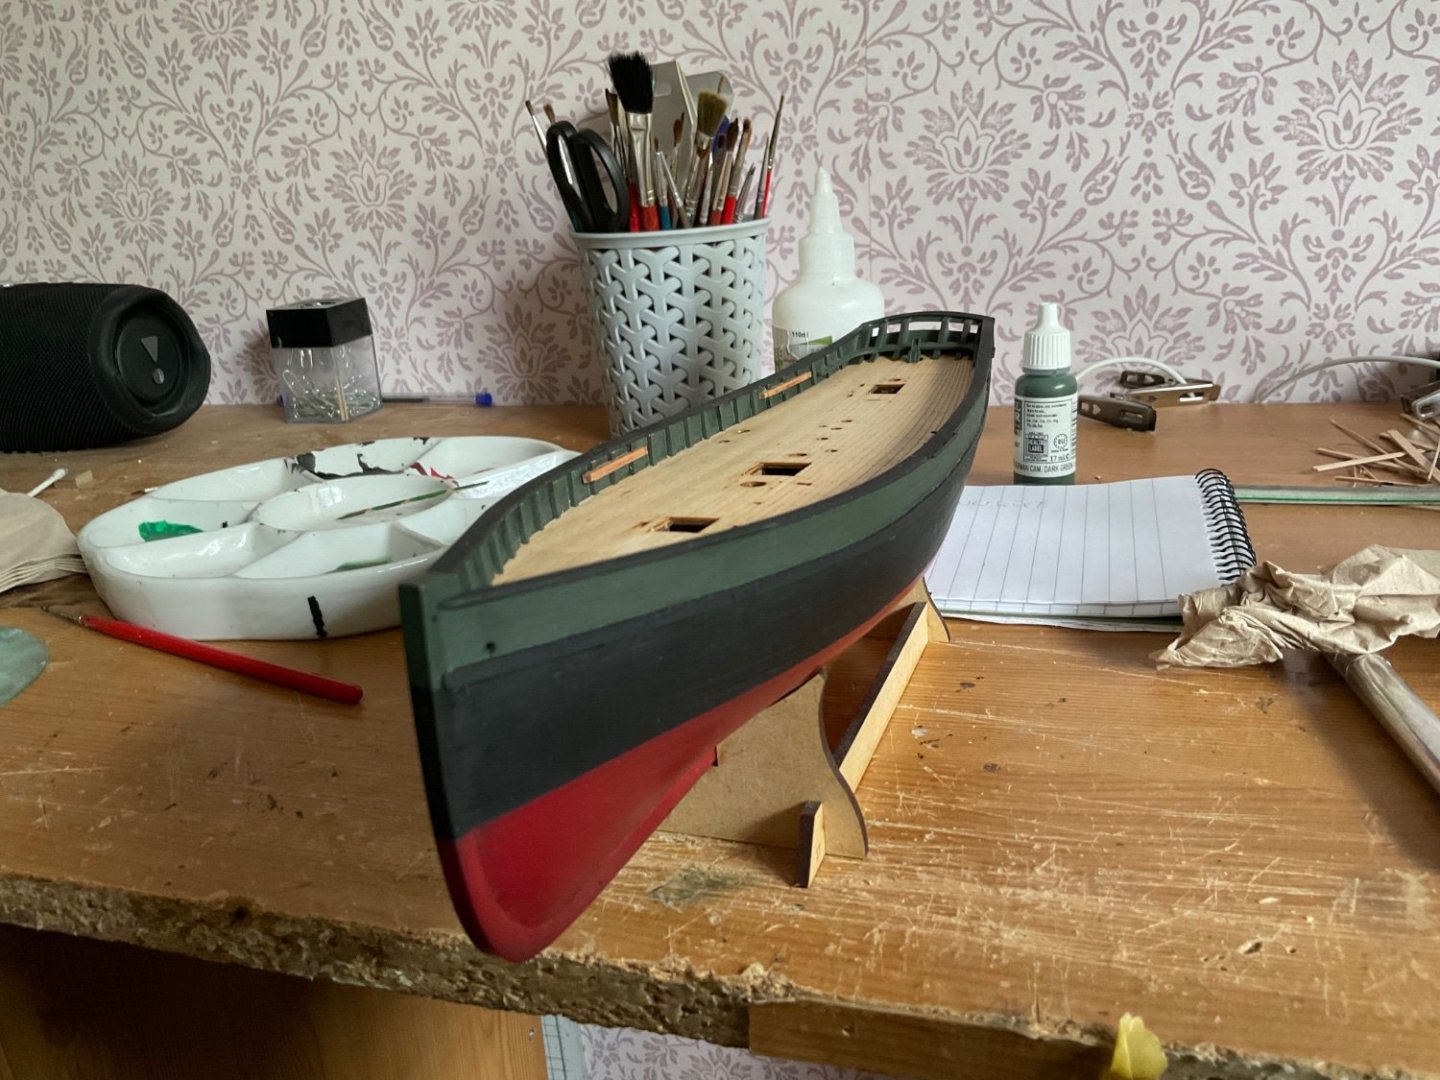
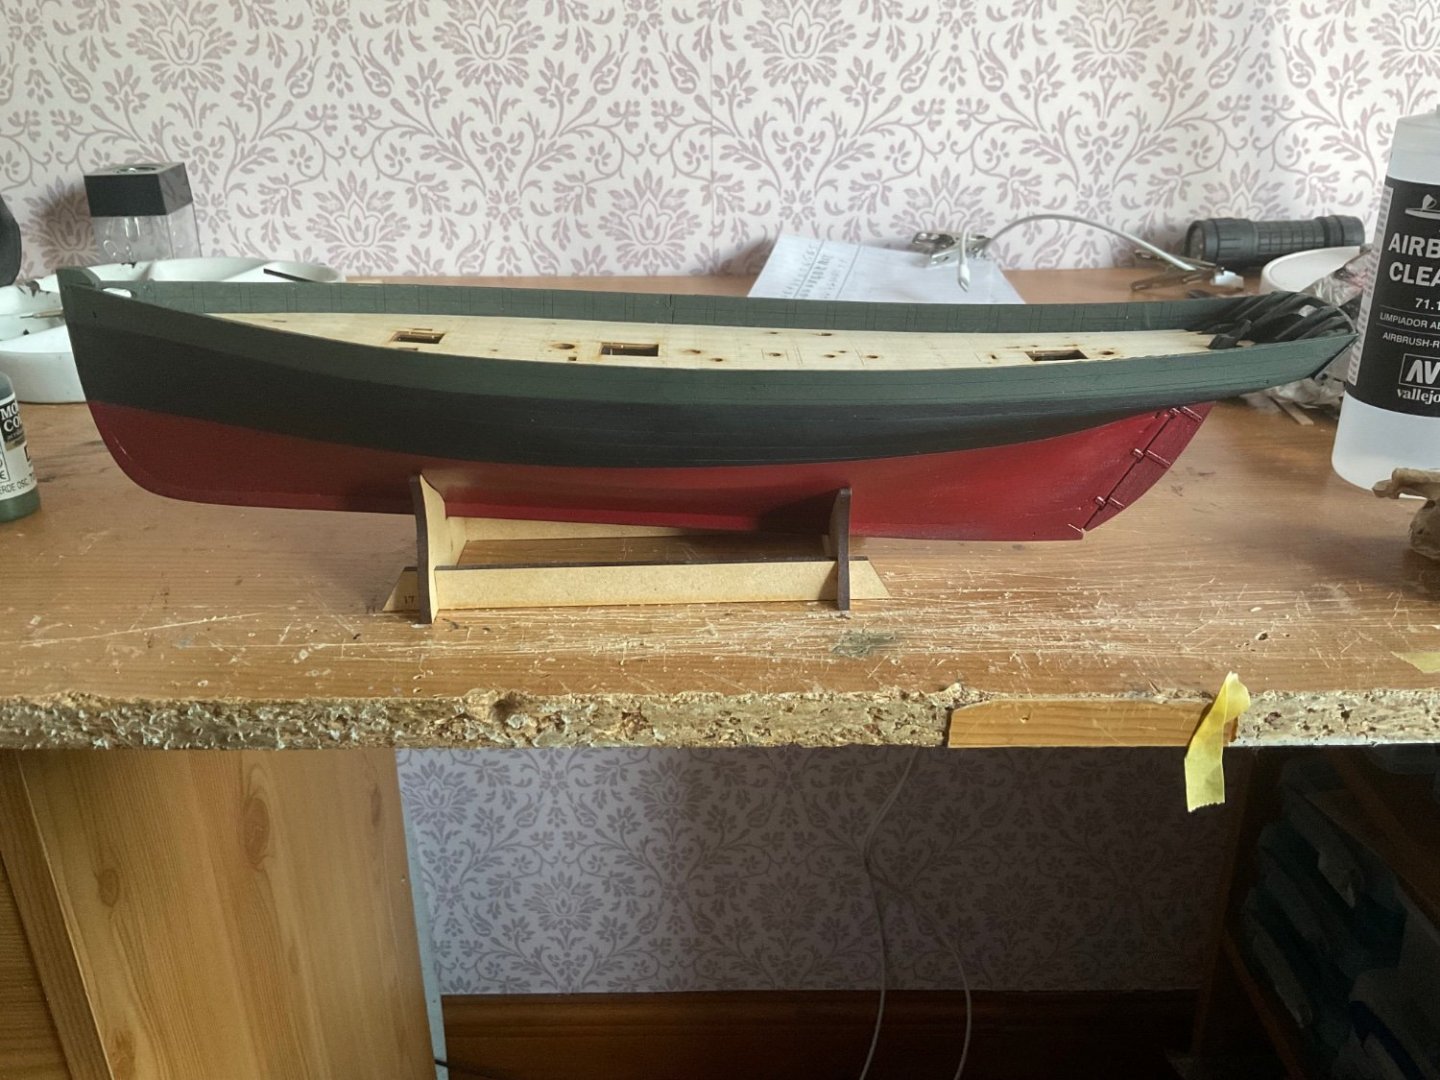
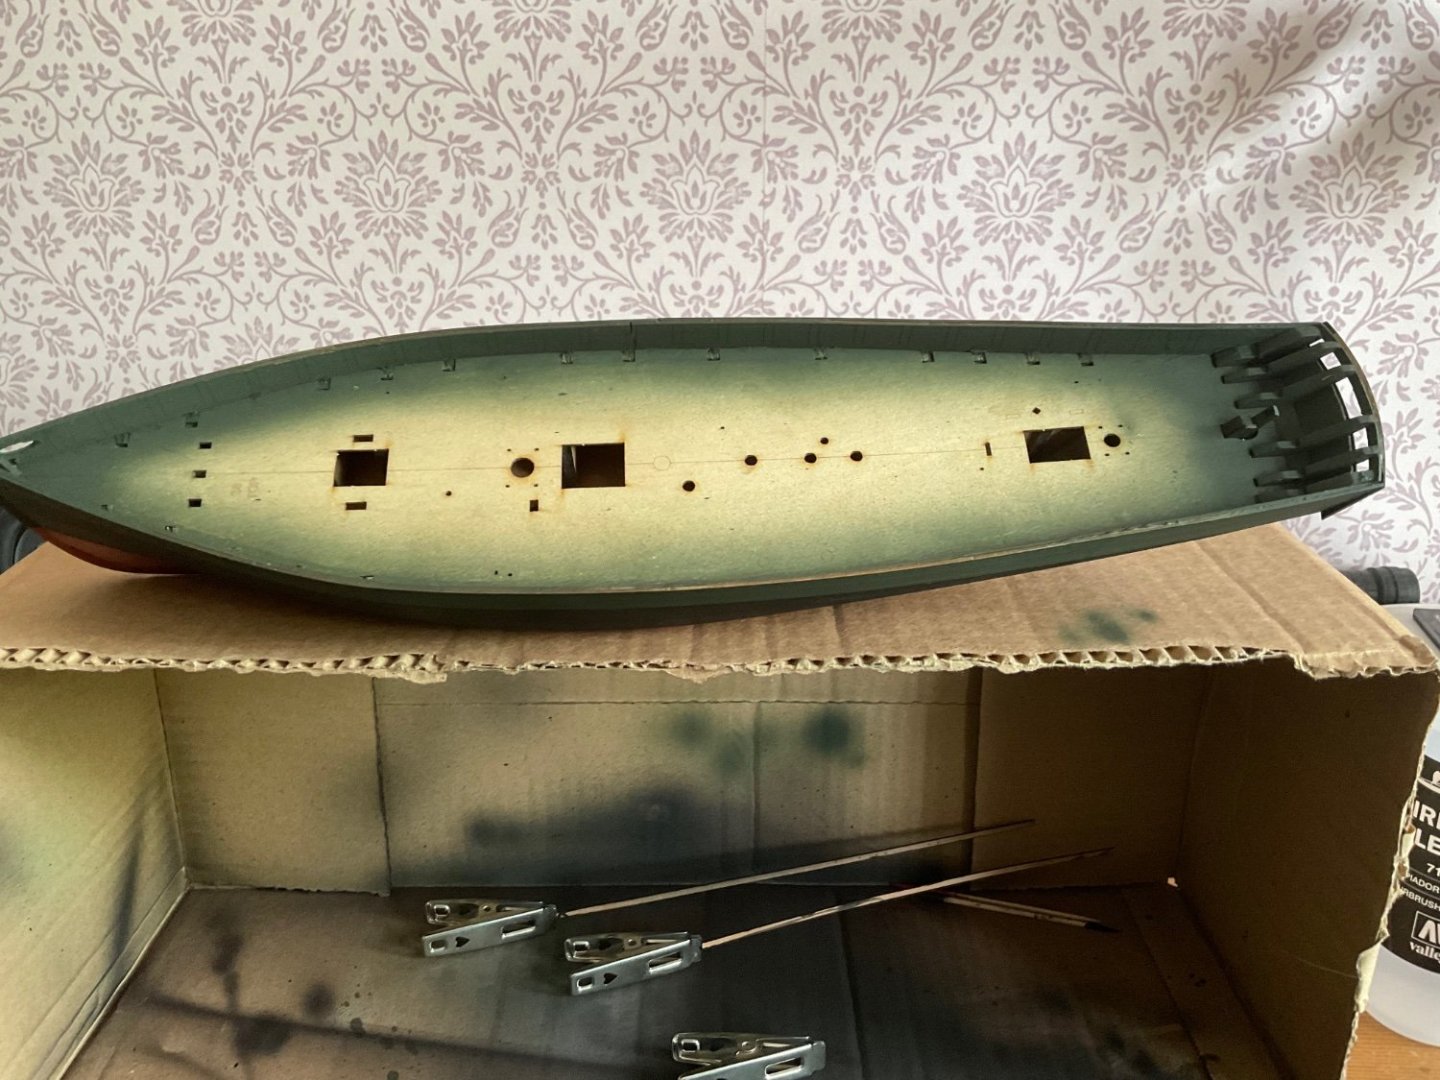
A bit more progress with the colour scheme added. I used Vallejo paints, sprayed on with my airbrush. I wanted a very dark overall scheme, so the green I plumped for is German Cam. Dark Green. The black is well black. The red is Vallejo’s Mecha Range dark red with a few drops of cavalry brown. Decided to paint the inner bulwark green and now need to decide if the timber heads will be black, green or left in natural wood. The capping rails will be black so that might make the choice of colour for the timber heads for me.
-
Thank you for all the encouragement and likes. Dan, I have never seen that photo before. Amazing how cluttered the deck looks. I might be tempted to add the navigation lights to the shrouds. As to weathering that is way beyond my skill levels. I truly admire the artistic talent that can pull this off.