-
Posts
480 -
Joined
-
Last visited
Content Type
Profiles
Forums
Gallery
Events
Everything posted by Craigie65
-
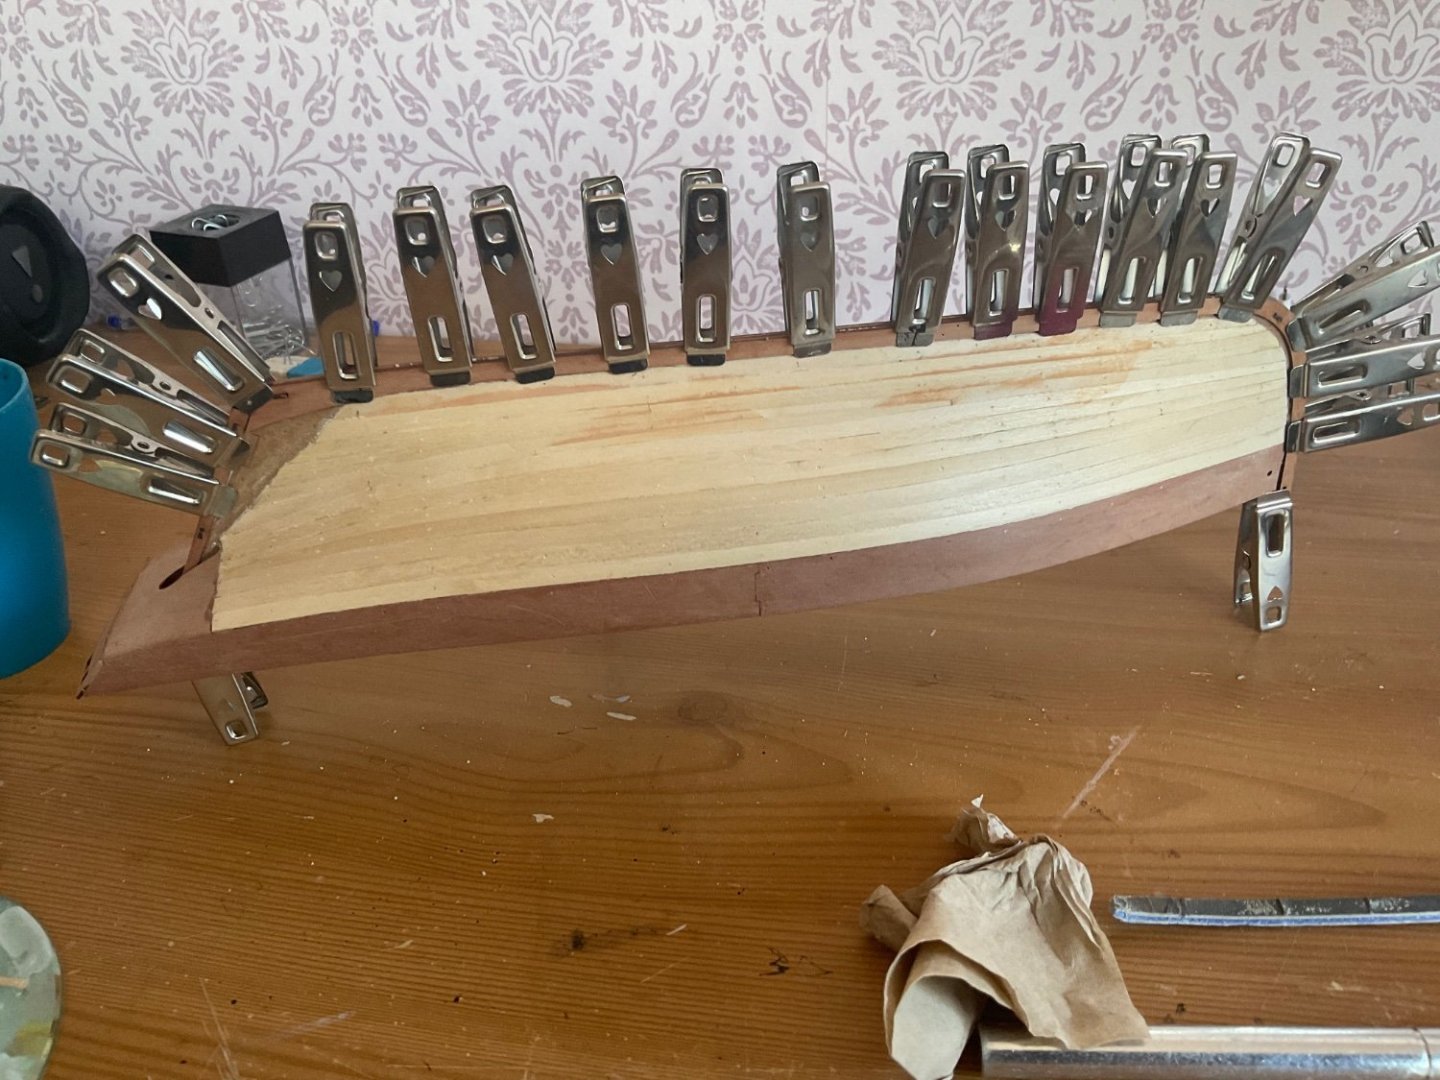
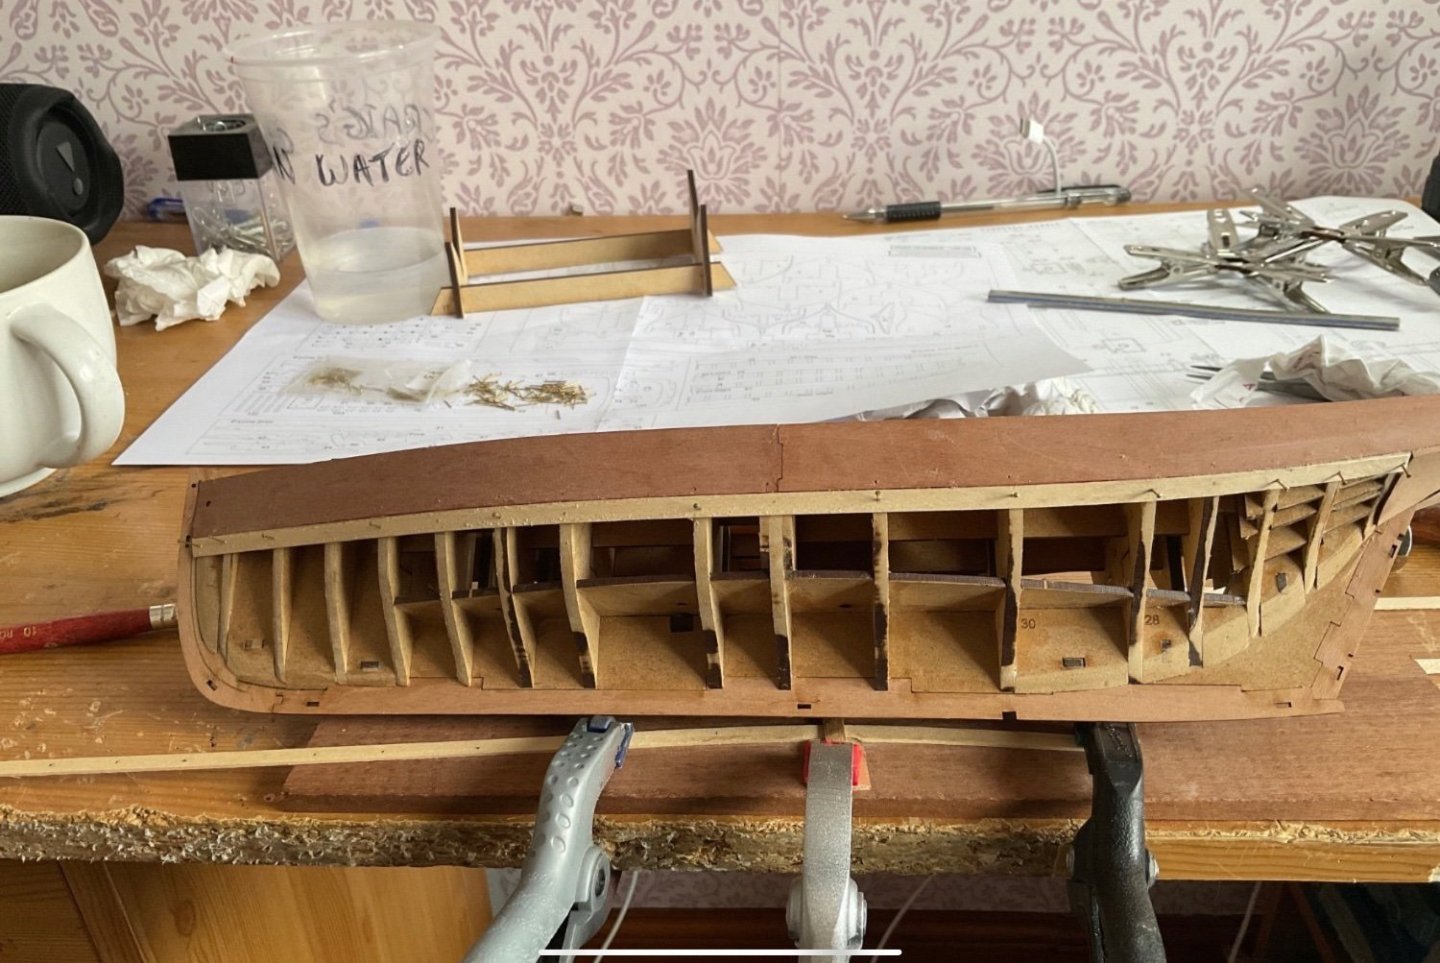
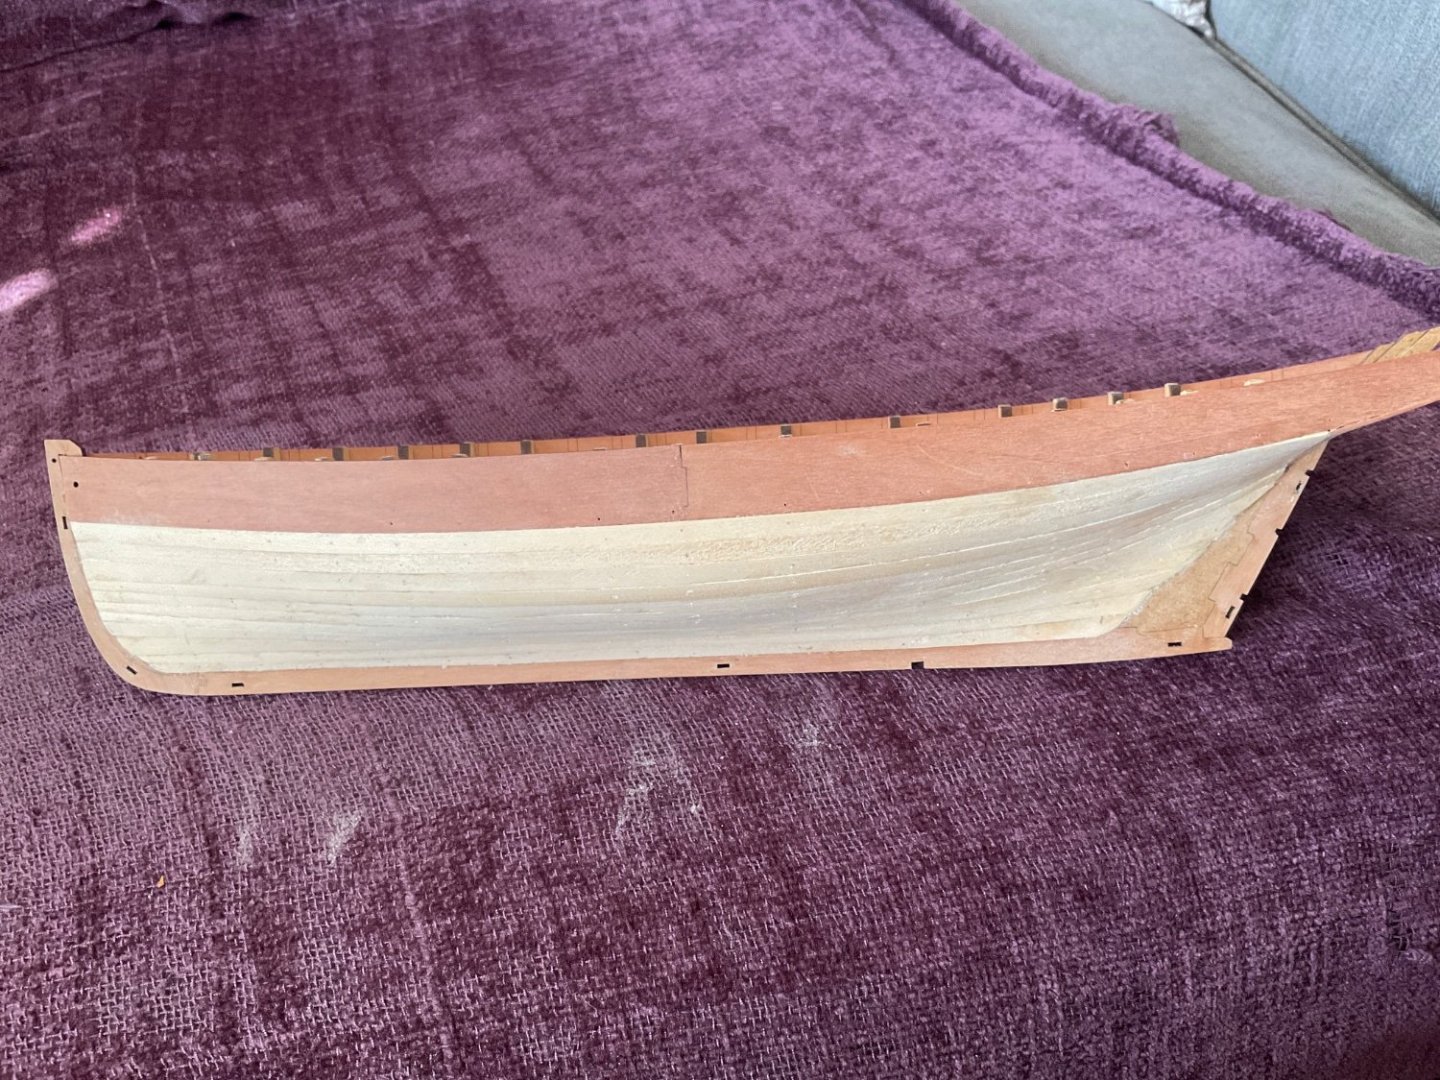
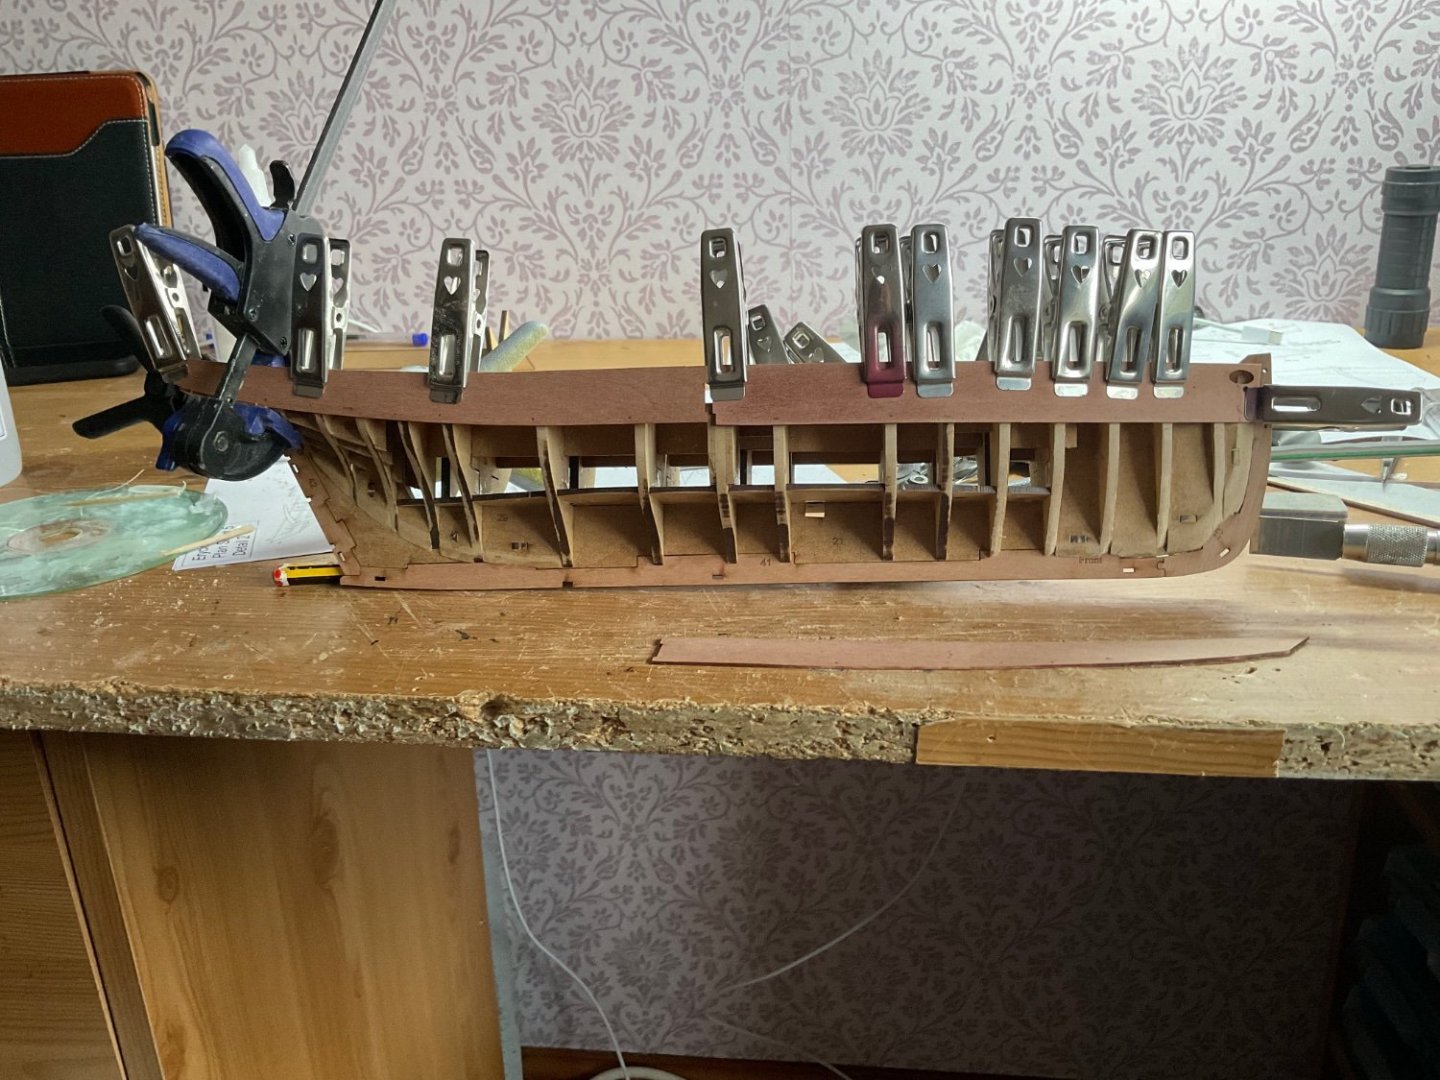
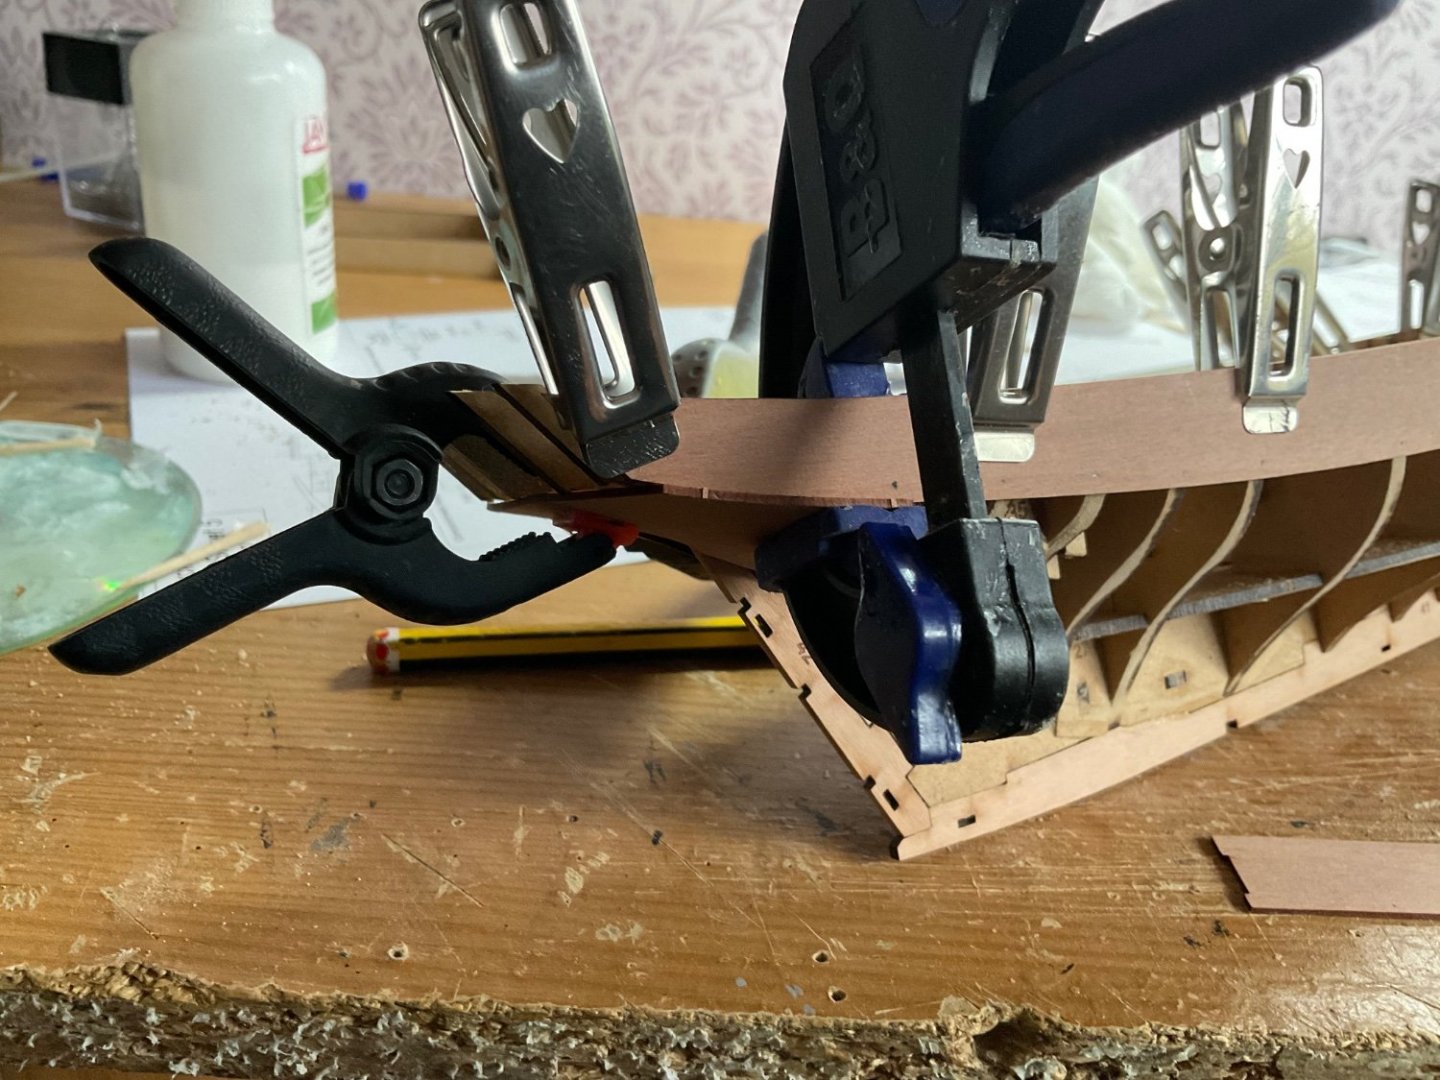
So on to the counter and outer bulwarks. I deviated slightly from the build sequence and attached the keel, stem and stern outer pieces first. In particular the the stern piece as I found it fiddlier on my Nisha where I fitted the counter first and then the outer stern piece. At this point Erycina is going through her punk phase. I decided to presoak the outer counter - it makes glueing easier. Finally I added the outer bulwarks - the hole on the front port outer bulwark does not seem to align very well with the inner. Looks as if I will need to drill this later. The starboard side has the bowsprit hole again a bit out of alignment but a bit of filing will sort that. No big deal really, just thought worth mentioning in case you come across this.
-
Hi Glomar, Don’t be disheartened, we all sometimes feel out of our depth. Well maybe not Chuck Look at @Dave_E build of Lady Nelson. He had similar planking issues and made the brave decision to remove his first attempt. He is now going great guns. I believe Isopropyl alcohol is the preferred method on MSW. Personally I have never had to use it - I have removed the offending planks with warm water as the glue had not fully cured. The difference in height on the planks could be just the thickness of each. As good as the quality of the materials Vanguard use there is always some variation. I have just had a similar problem on my current build but managed to sand it out. If not then it could be a high or low spot on the frame - a bit more sanding if a high spot or a shim if low will sort that out.
-
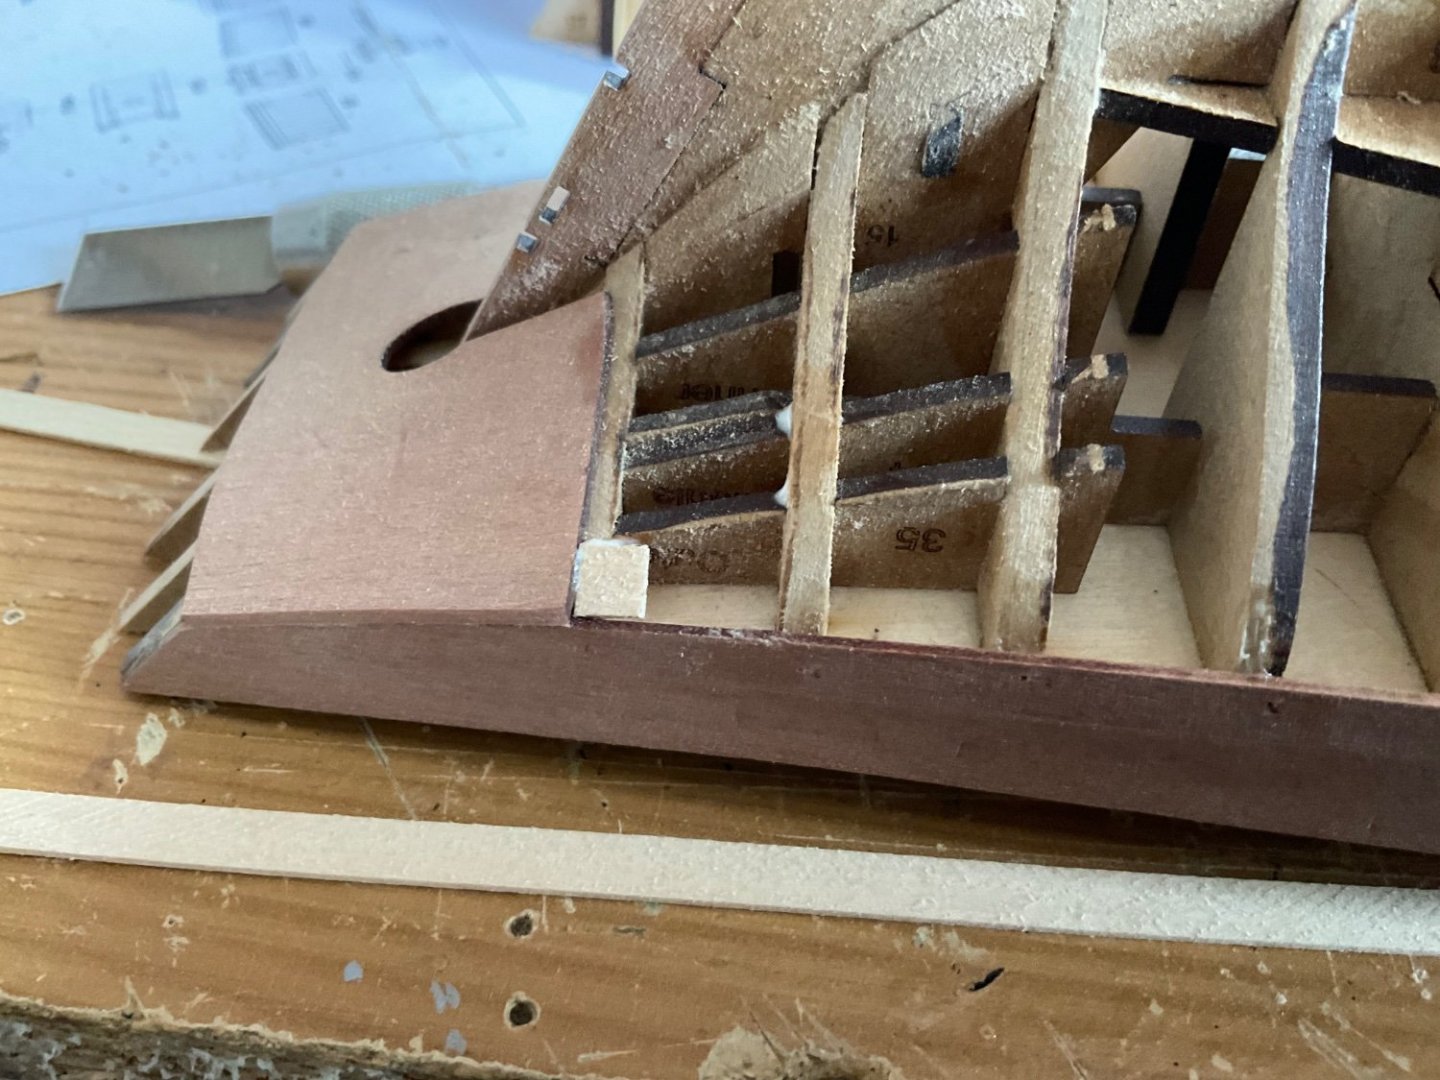
If part 58 does not fit, then as painful as it maybe, then yes I would. Otherwise I think your second planking will be a bit of a struggle. You will not be the first to strip off bulwarks. I have often removed offending planks. For my build of Erycina, I drew in the position of the equivalent of part 58. I used this as a guide to make sure my first planking did not encroach. You can see the pencil line.
-
Looking at the front edge of your bulwark and planks. They look to be too far forward. Part 58 needs to fit on the stem to act as a rebate for your second planking. From the last photo it does not look as if they will fit. Step 72 has a good photo of how the front edge of your first planking should sit.
-
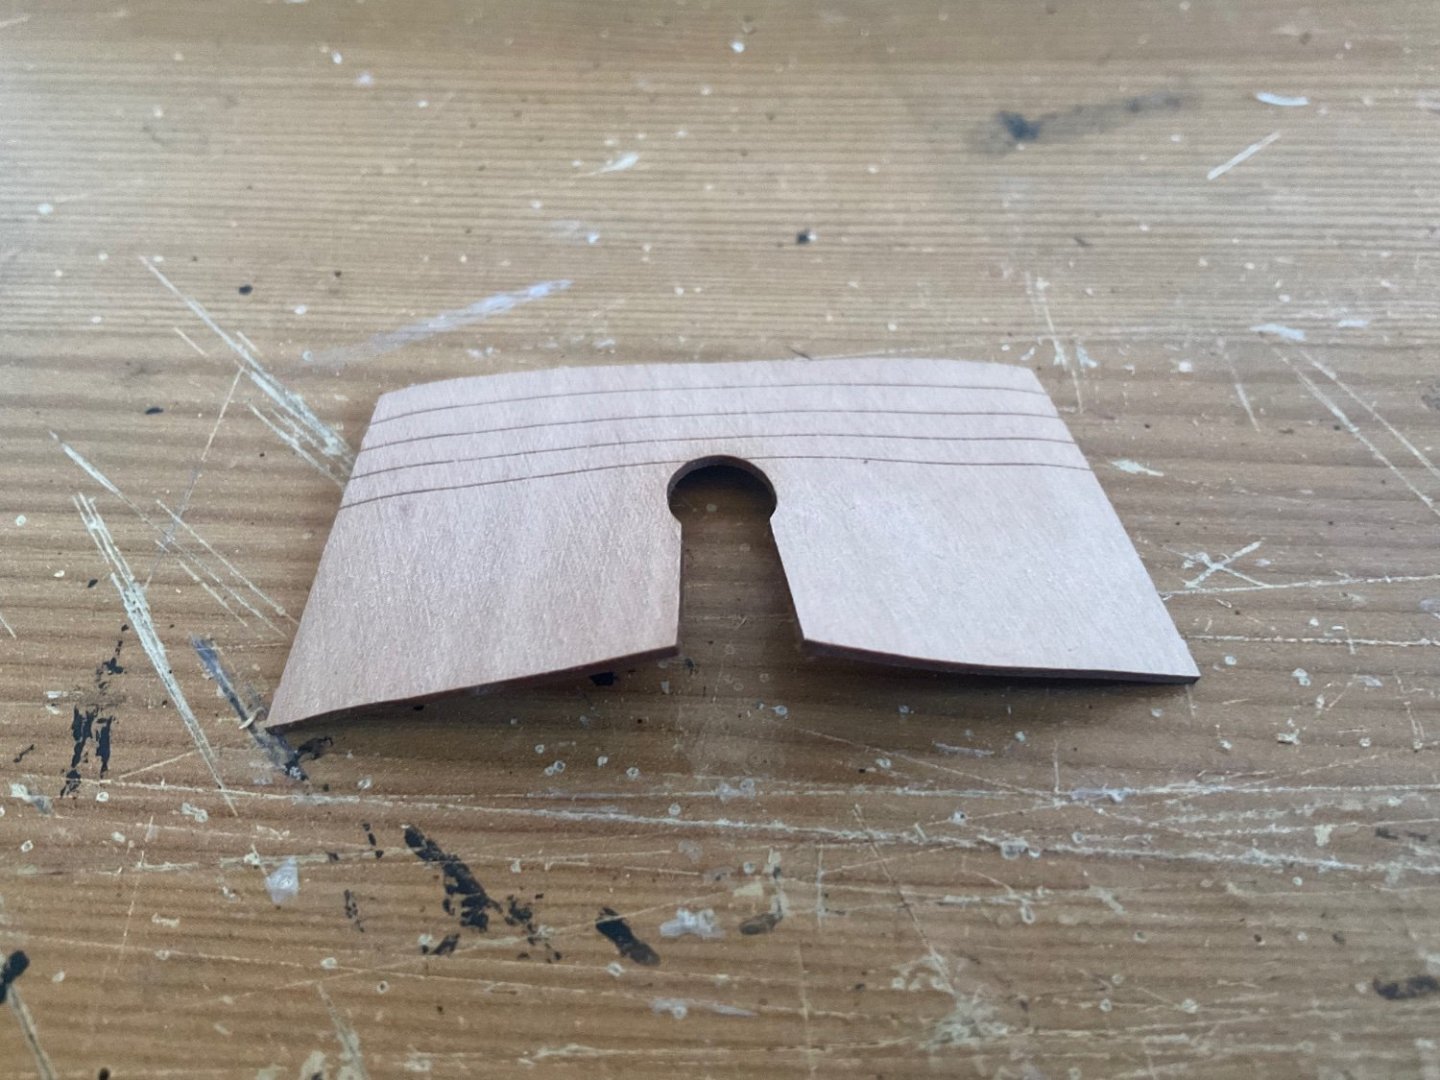
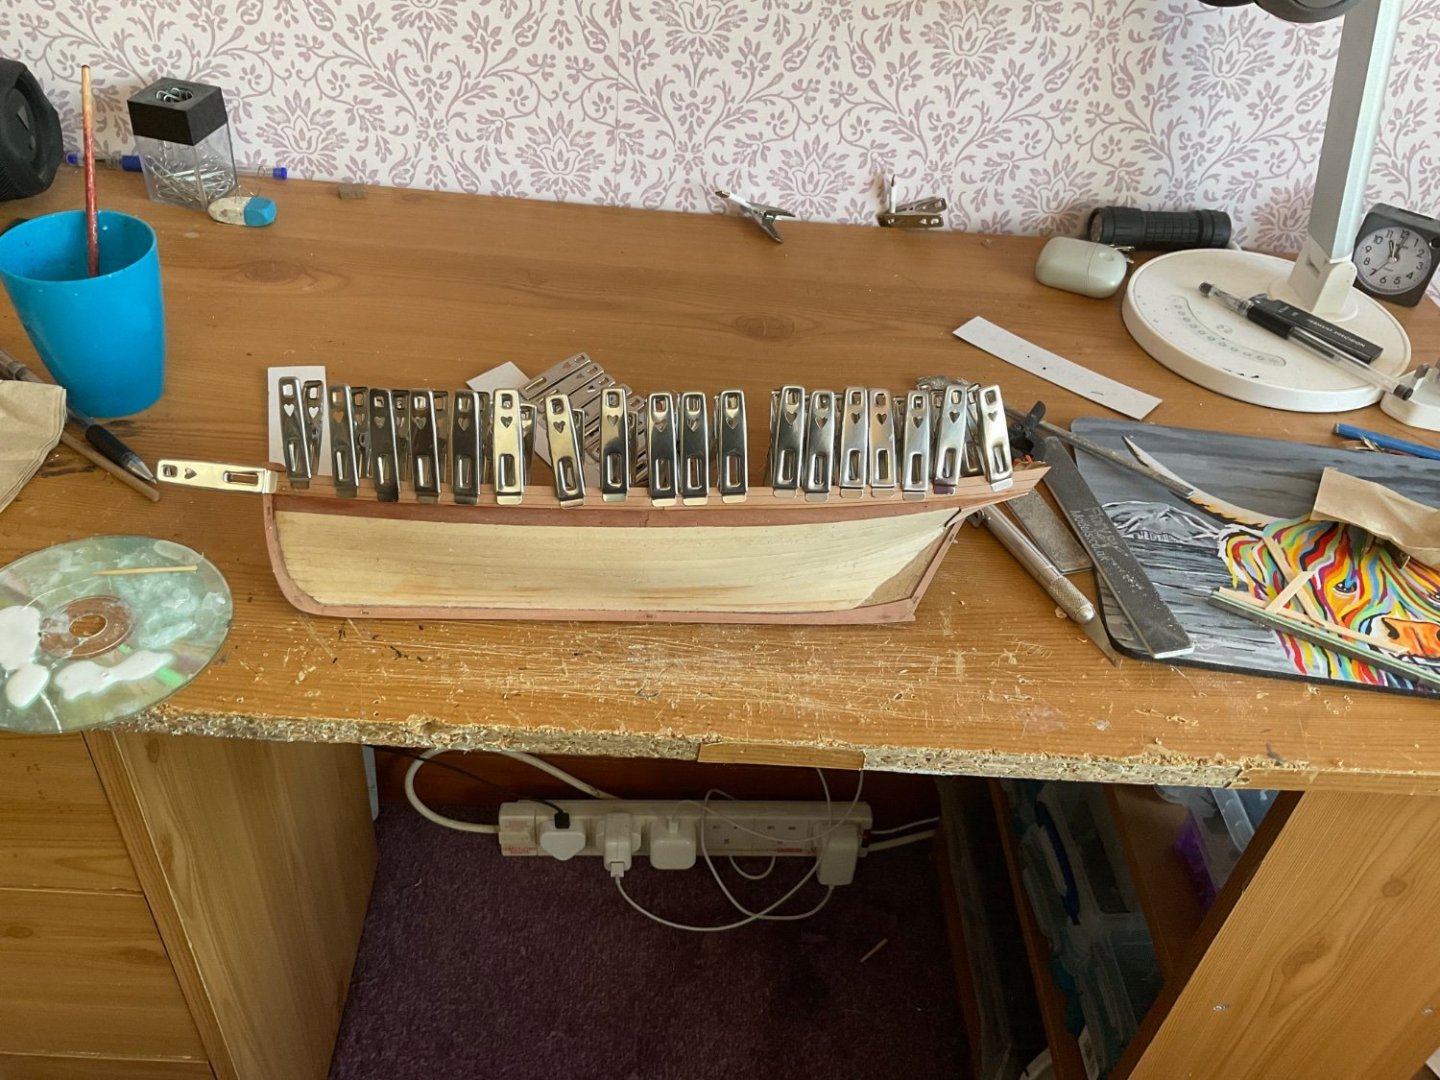
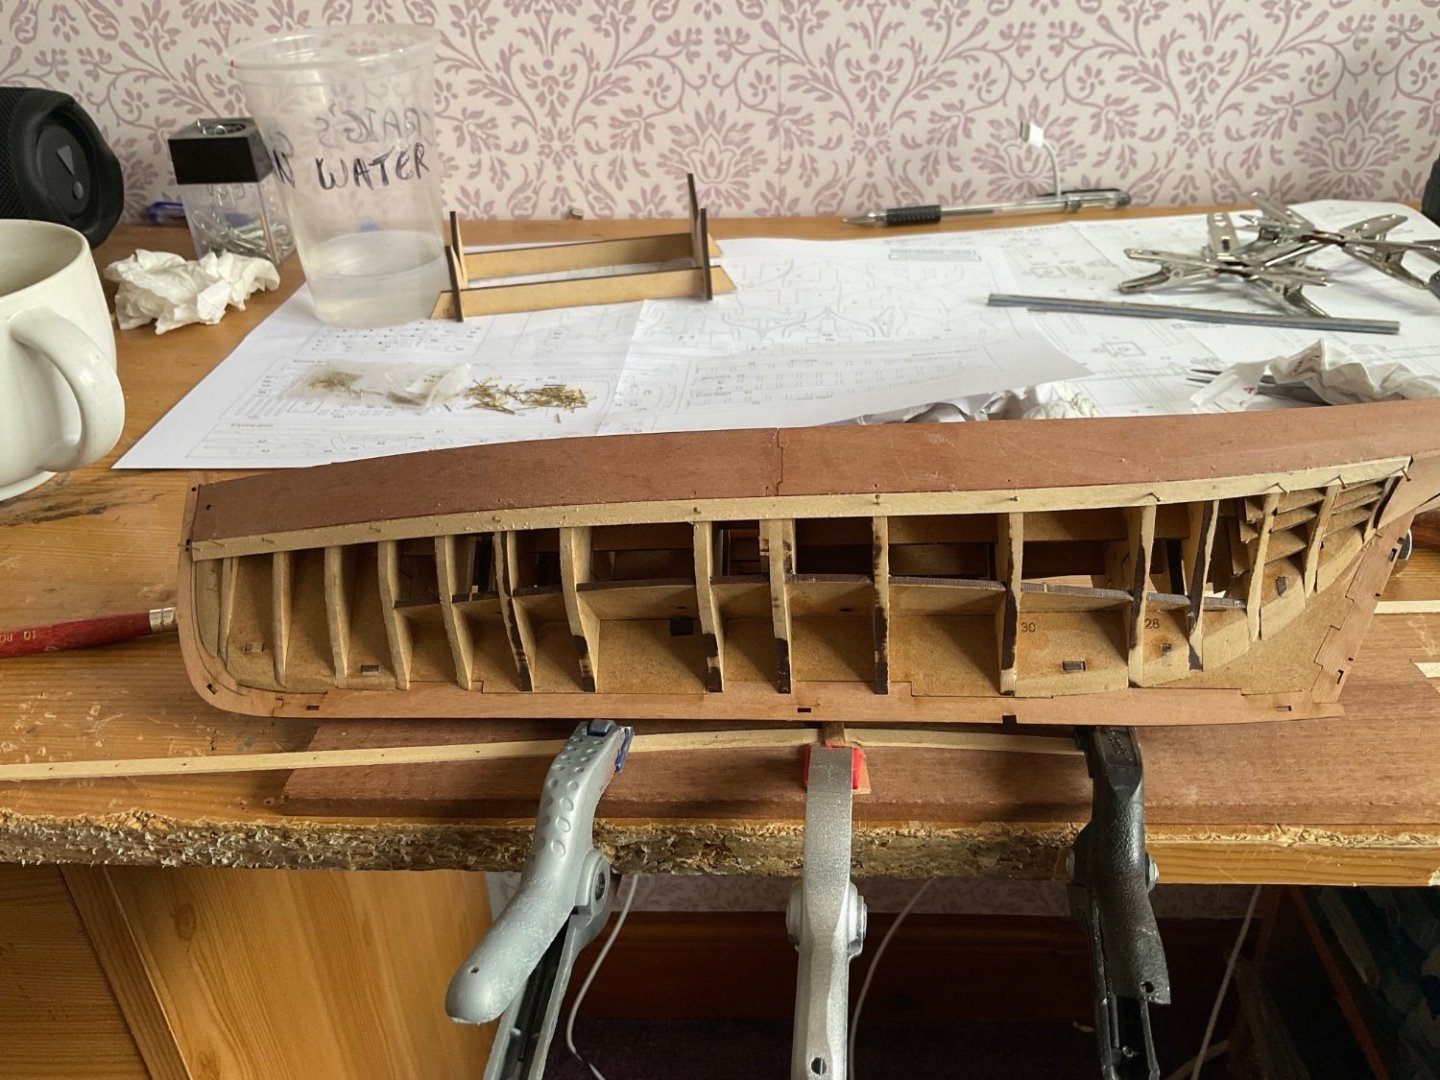
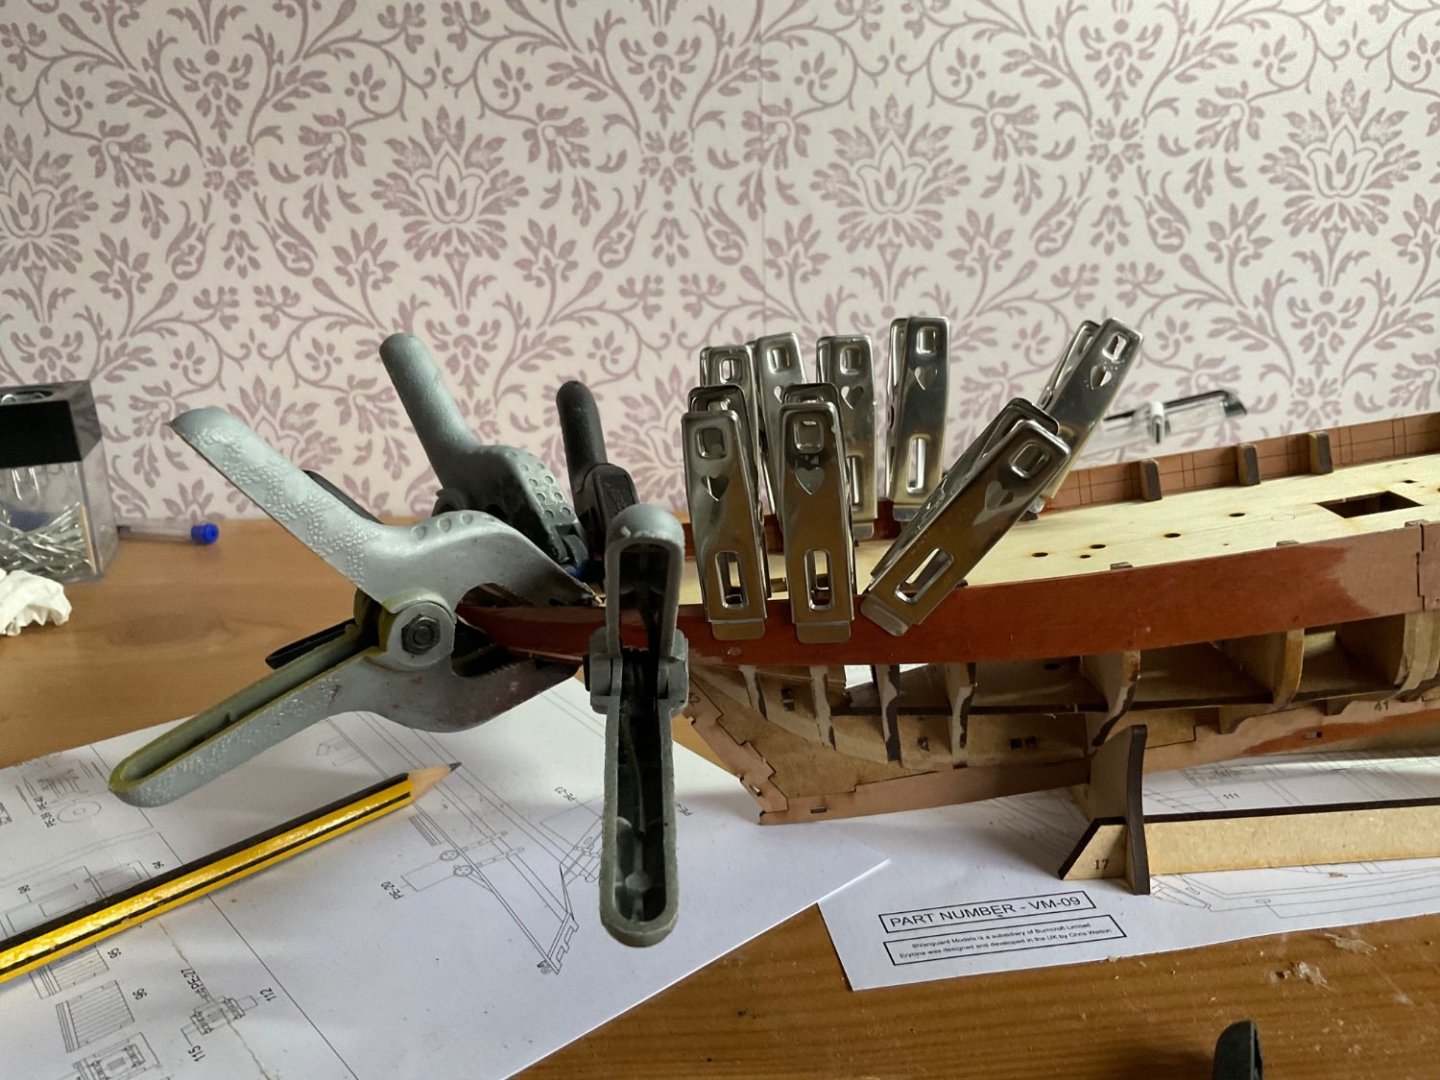
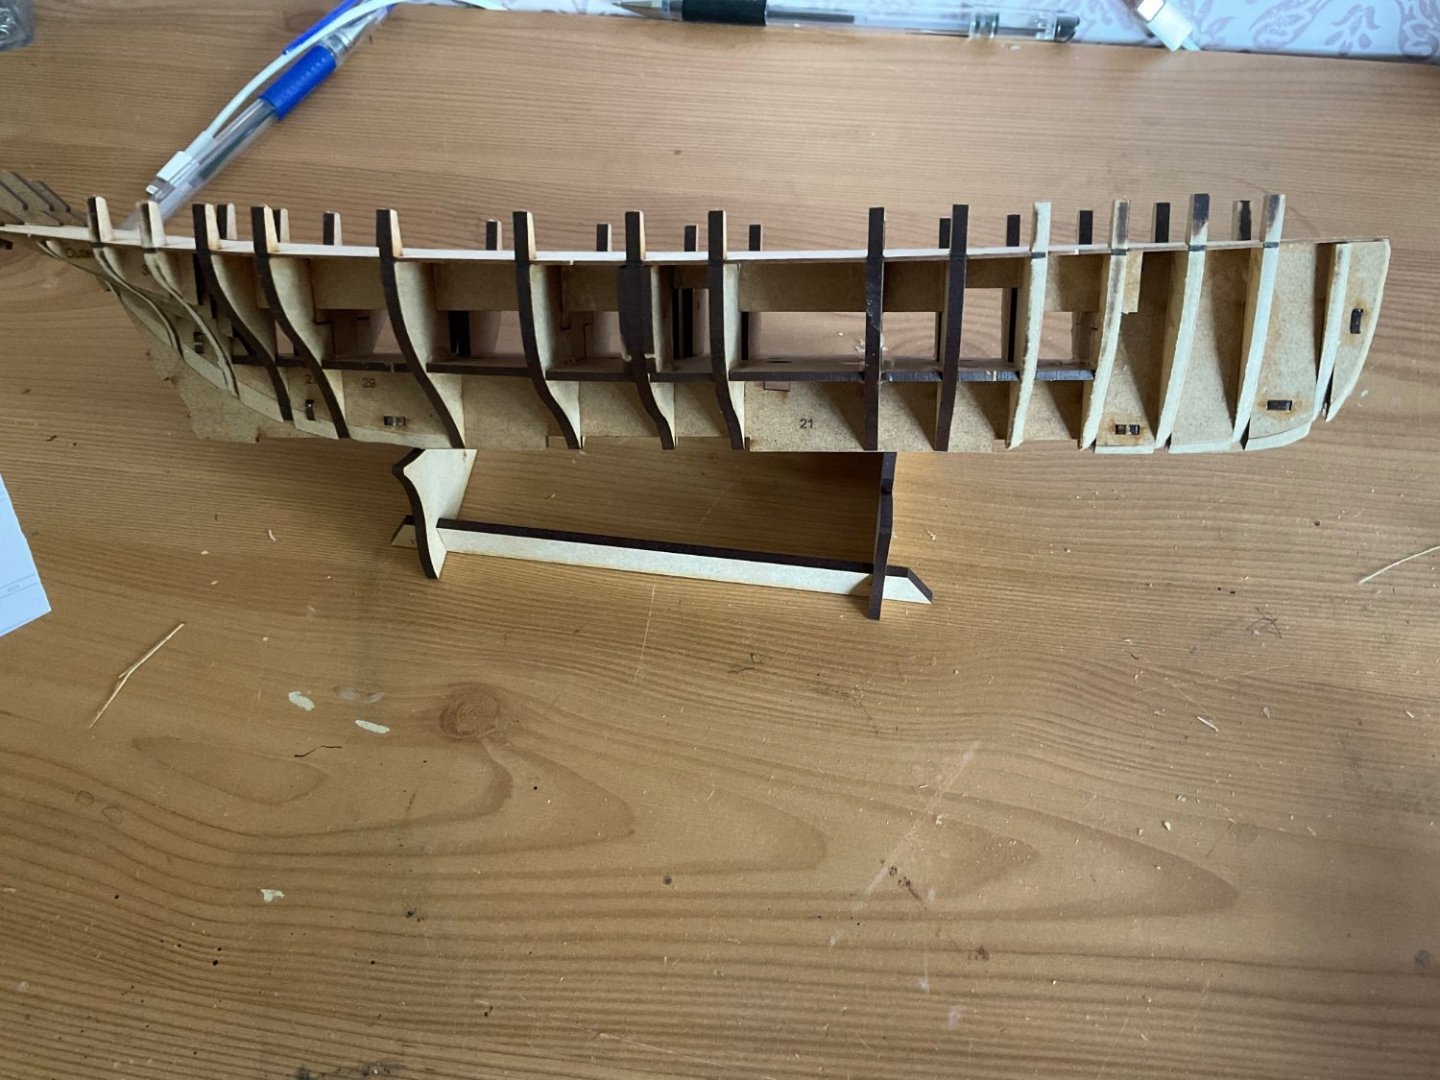
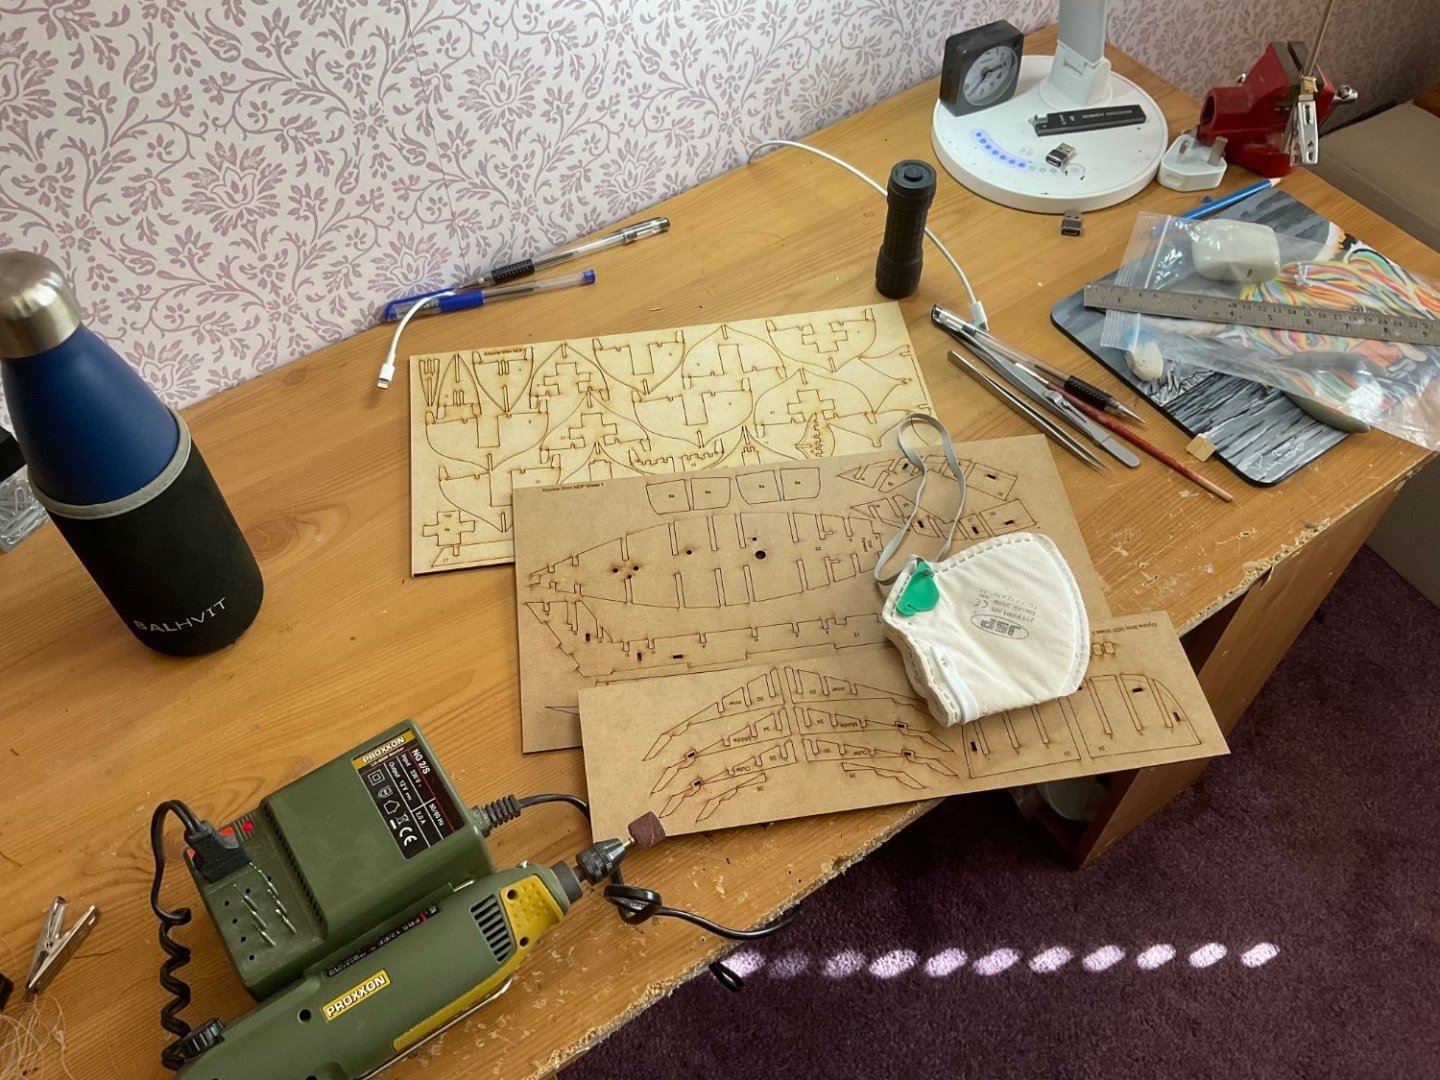
With the frames all faired and checked it is time to add the inner bulwarks. These parts do no seem to go fully into the slot as I first envisaged. Looking closely at the build manual and at other logs it seems as if the forward edge of the bulwarks barely rests inside the slot. I decided to soak the forward bulwarks to put less strain on the stem as the top of the stem cracked just above the slot whilst dry fitting the bulwarks. I will wait a few hours before glueing and pinning given the amount of swelling pear seems to have. Also took the opportunity to clamp the pre soaked counter to get the shape. PS forgive the desk - it has been my office and shipyard throughout the pandemic.
-
After about an hour or so the basic hull shape and false deck was done. No dramas getting to this point. The stern frames are delicate and I was a more careful than I was with Nisha to make sure I did not snap off the outer frames. There is still a bit of fairing to do, but the sun is out and that will have to wait until tomorrow.
-
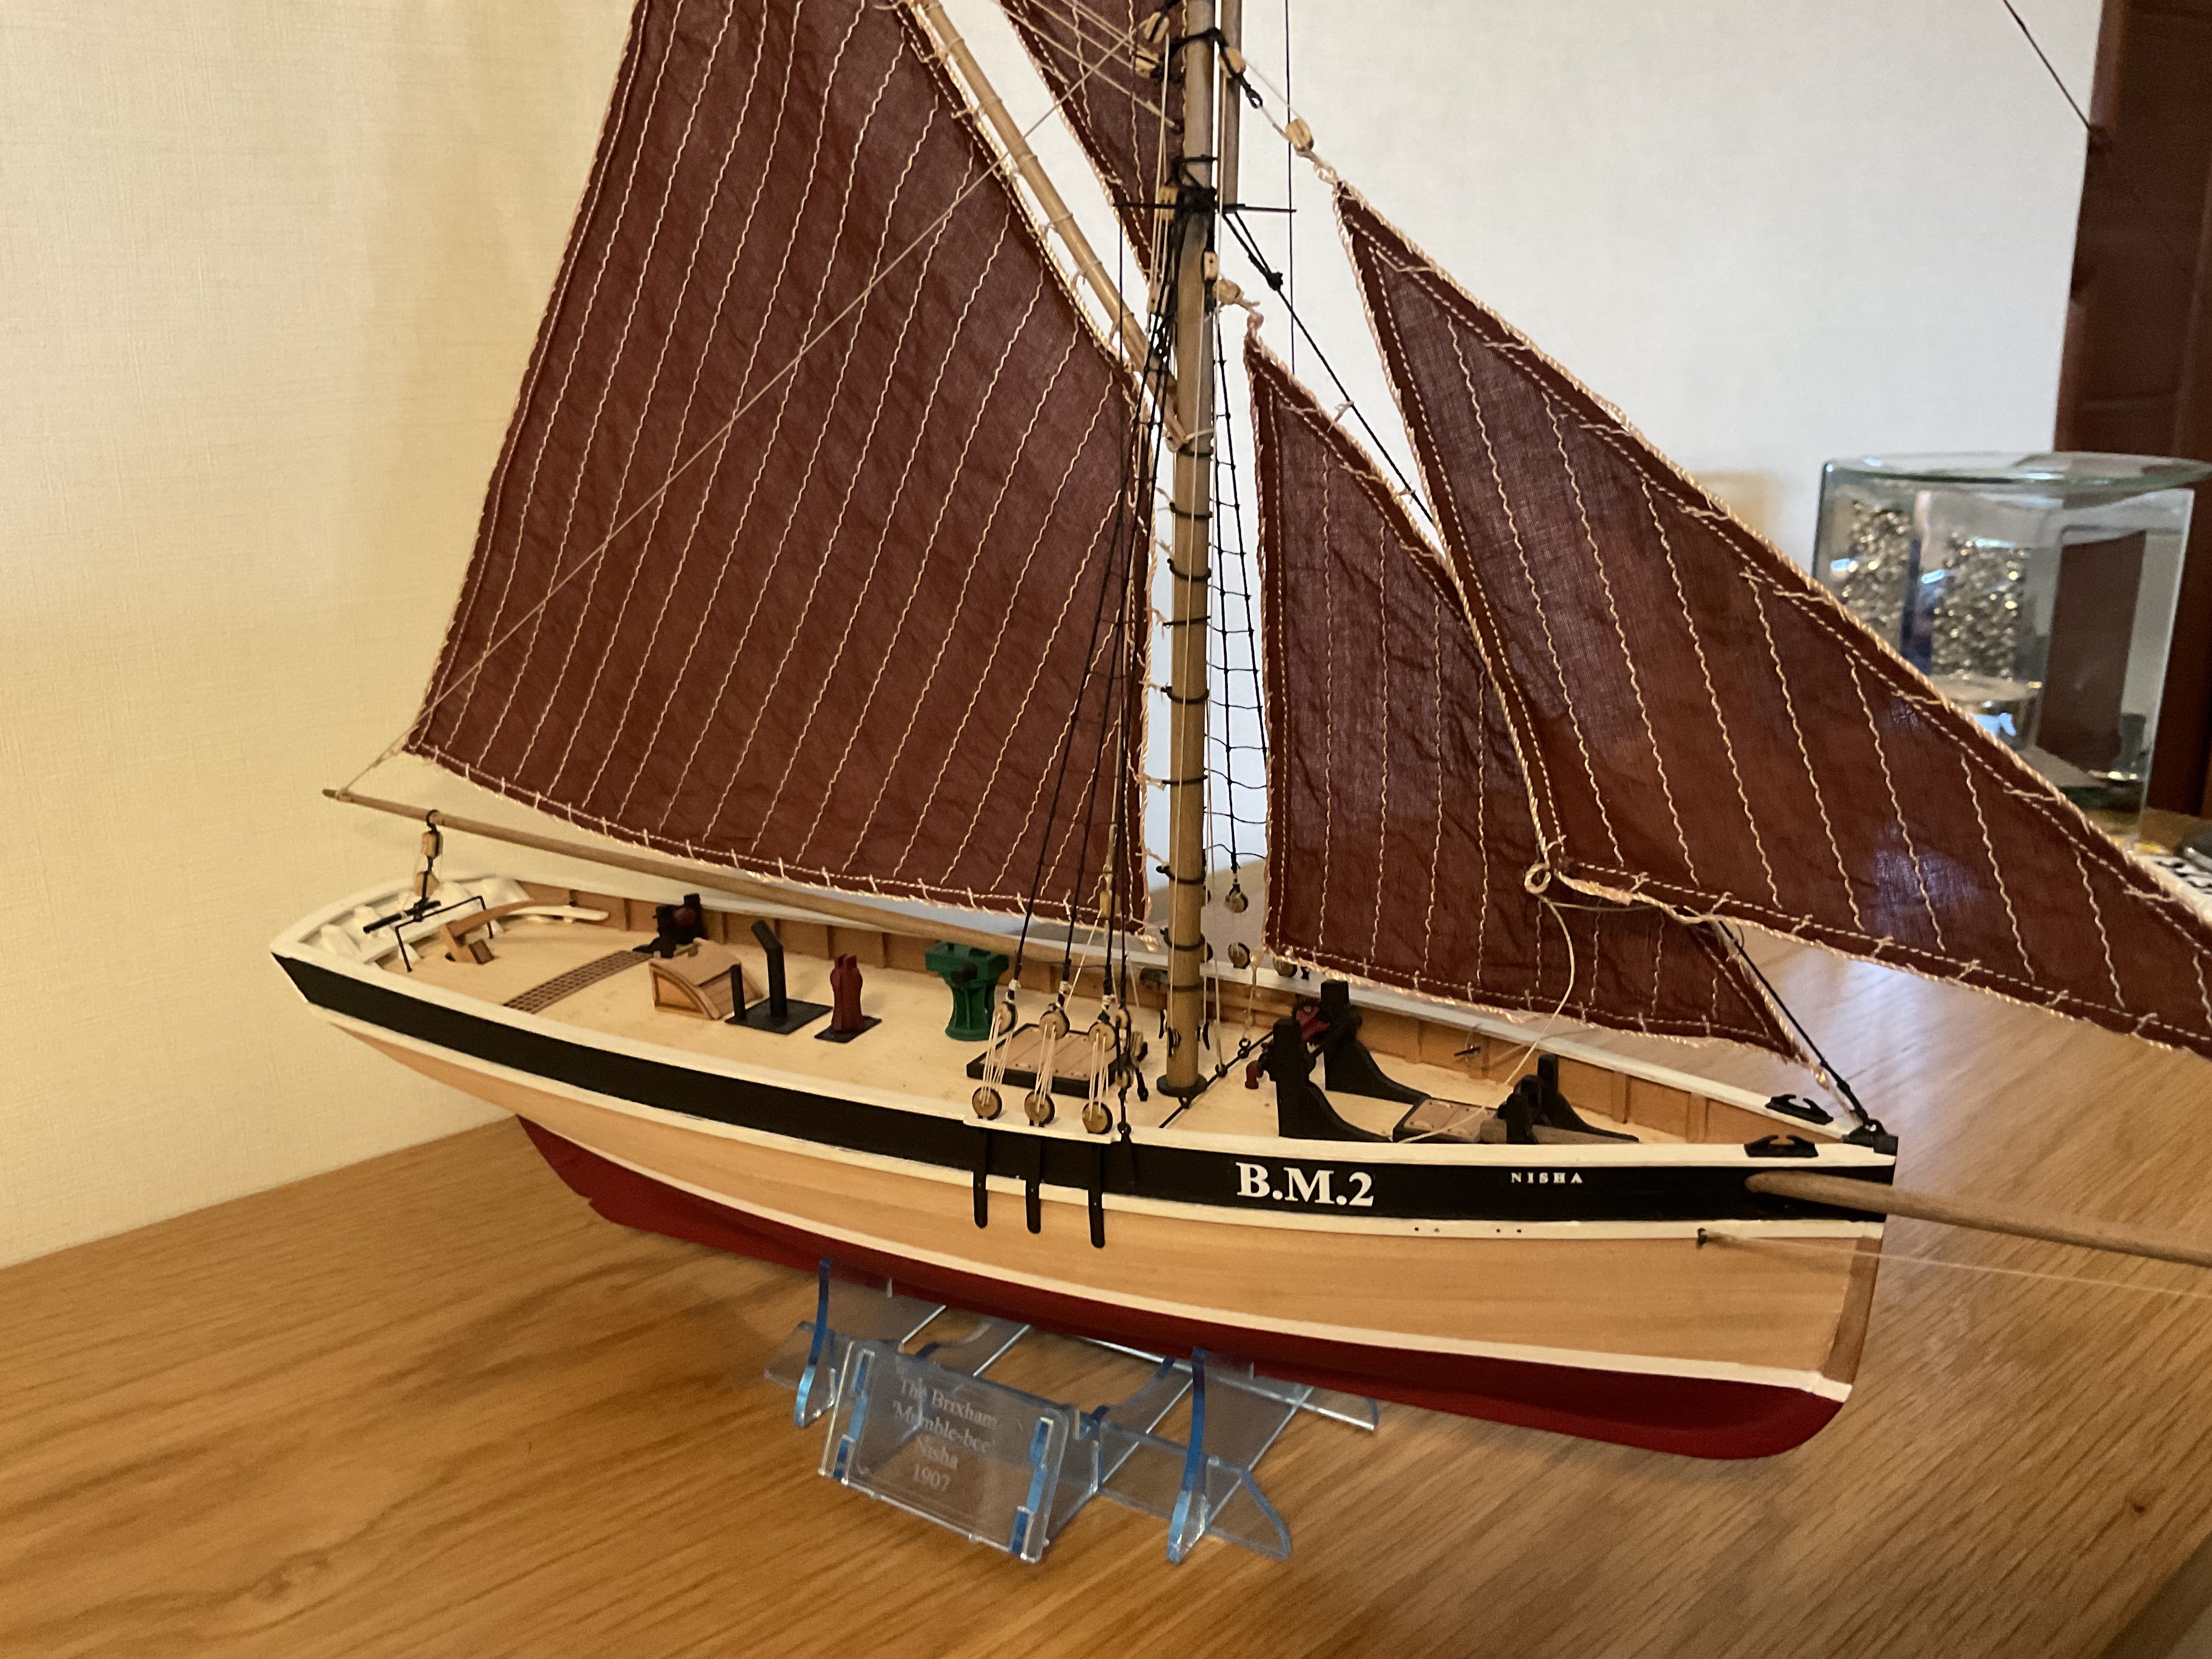
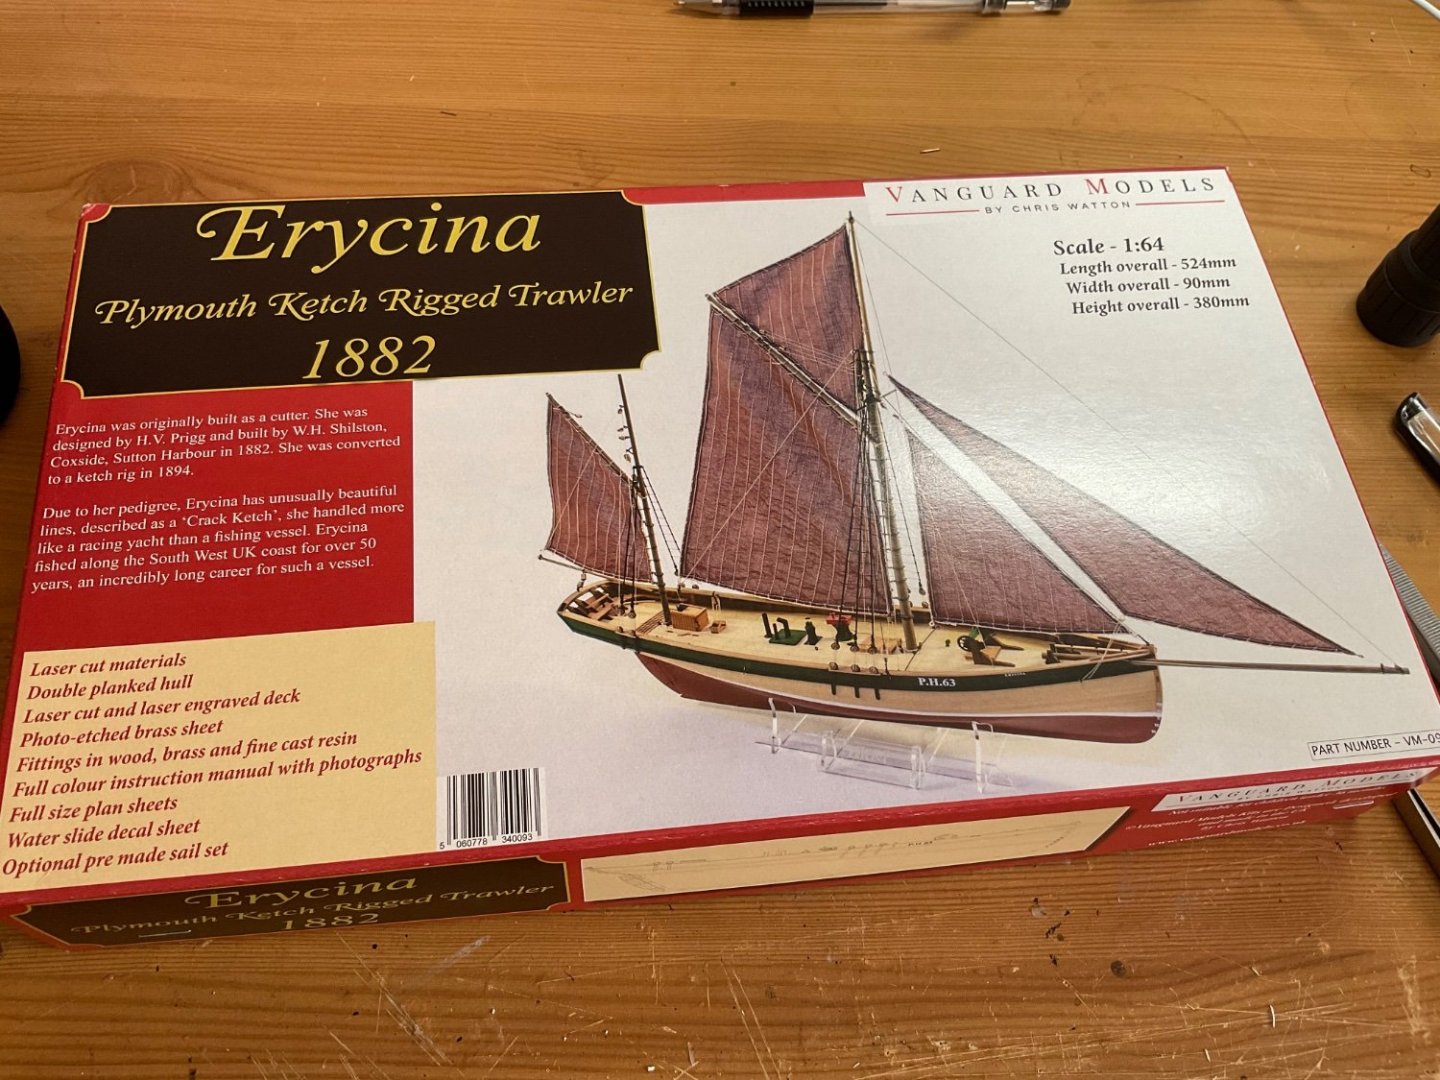
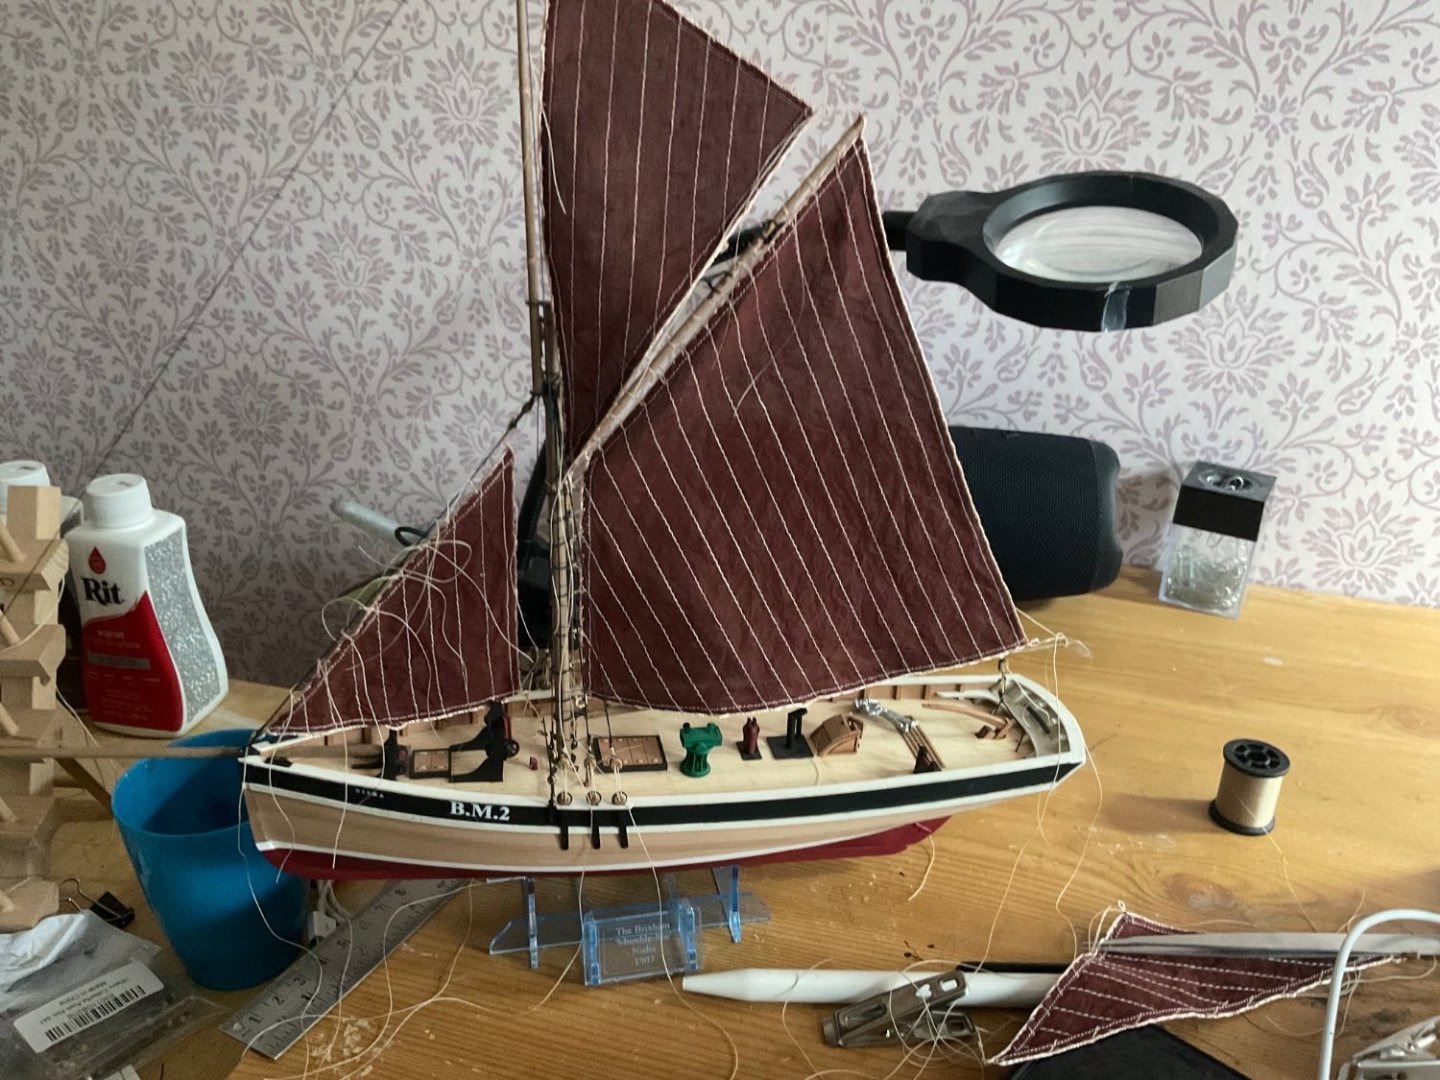
It is with some trepidation that I have decided to start a build log for Erycina. Thanks @AJohnson for the encouragement. This, along with Nisha, was a Christmas gift. I have finished Nisha and will post some photos of that one later. I am undecided whether to build out of the box or to do some bashing to modernise her to emulate the Pilgrim or Vigilance of Brixham. Anyway, there is time to dwell on that. Not too much mind you as Nisha took shape very quickly. A testament to the designer not the builder.
-
Thanks Andrew. I had great intentions of starting a log. After a week of building in the Christmas break I realised I had finished and painted the hull and had not taken a single photo. Maybe I will for Erycina
- 206 replies
-
- Vanguard Models
- Brixham trawler
-
(and 2 more)
Tagged with:
-
- 206 replies
-
- Vanguard Models
- Brixham trawler
-
(and 2 more)
Tagged with:
-

HMS Diana by Caldercraft Inflation and the price of kits.
Craigie65 replied to DaveBaxt's topic in Wood ship model kits
Dave, The Vanguard site has links to the various instruction manuals. Have a look and you will see the difference. As well as the manual there are the usual plans for masts, rigging, etc. -

HMS Diana by Caldercraft Inflation and the price of kits.
Craigie65 replied to DaveBaxt's topic in Wood ship model kits
Dave, To respond to your original post! I have Diana in my stash. She is an older model and with that she has her flaws. The plywood for the keel extends to the stem and knee of the head. I have seen a few conversions which replace this with boxwood or similar. Same issue for the stern. My version has the latest cannon and carronade - none of the bulbous cannon. The instructions are typical of early Caldercraft and by today’s standards are poor. Mind you Chris at Vanguard has us spoiled by the standard of his instruction booklets. I had been thinking of starting her. However with the Indy on the horizon (fingers and toes crossed) I am back filling with a couple of Vanguard’s trawlers and will go straight to the Indy when launched. Perhaps that is the most telling point of all for (against?) Diana.
About us
Modelshipworld - Advancing Ship Modeling through Research
SSL Secured
Your security is important for us so this Website is SSL-Secured
NRG Mailing Address
Nautical Research Guild
237 South Lincoln Street
Westmont IL, 60559-1917
Model Ship World ® and the MSW logo are Registered Trademarks, and belong to the Nautical Research Guild (United States Patent and Trademark Office: No. 6,929,264 & No. 6,929,274, registered Dec. 20, 2022)
Helpful Links
About the NRG
If you enjoy building ship models that are historically accurate as well as beautiful, then The Nautical Research Guild (NRG) is just right for you.
The Guild is a non-profit educational organization whose mission is to “Advance Ship Modeling Through Research”. We provide support to our members in their efforts to raise the quality of their model ships.
The Nautical Research Guild has published our world-renowned quarterly magazine, The Nautical Research Journal, since 1955. The pages of the Journal are full of articles by accomplished ship modelers who show you how they create those exquisite details on their models, and by maritime historians who show you the correct details to build. The Journal is available in both print and digital editions. Go to the NRG web site (www.thenrg.org) to download a complimentary digital copy of the Journal. The NRG also publishes plan sets, books and compilations of back issues of the Journal and the former Ships in Scale and Model Ship Builder magazines.

