HOLIDAY DONATION DRIVE - SUPPORT MSW - DO YOUR PART TO KEEP THIS GREAT FORUM GOING! (Only 20 donations so far - C'mon guys!)
×


Craigie65
-
Posts
480 -
Joined
-
Last visited
Content Type
Profiles
Forums
Gallery
Events
Everything posted by Craigie65
-
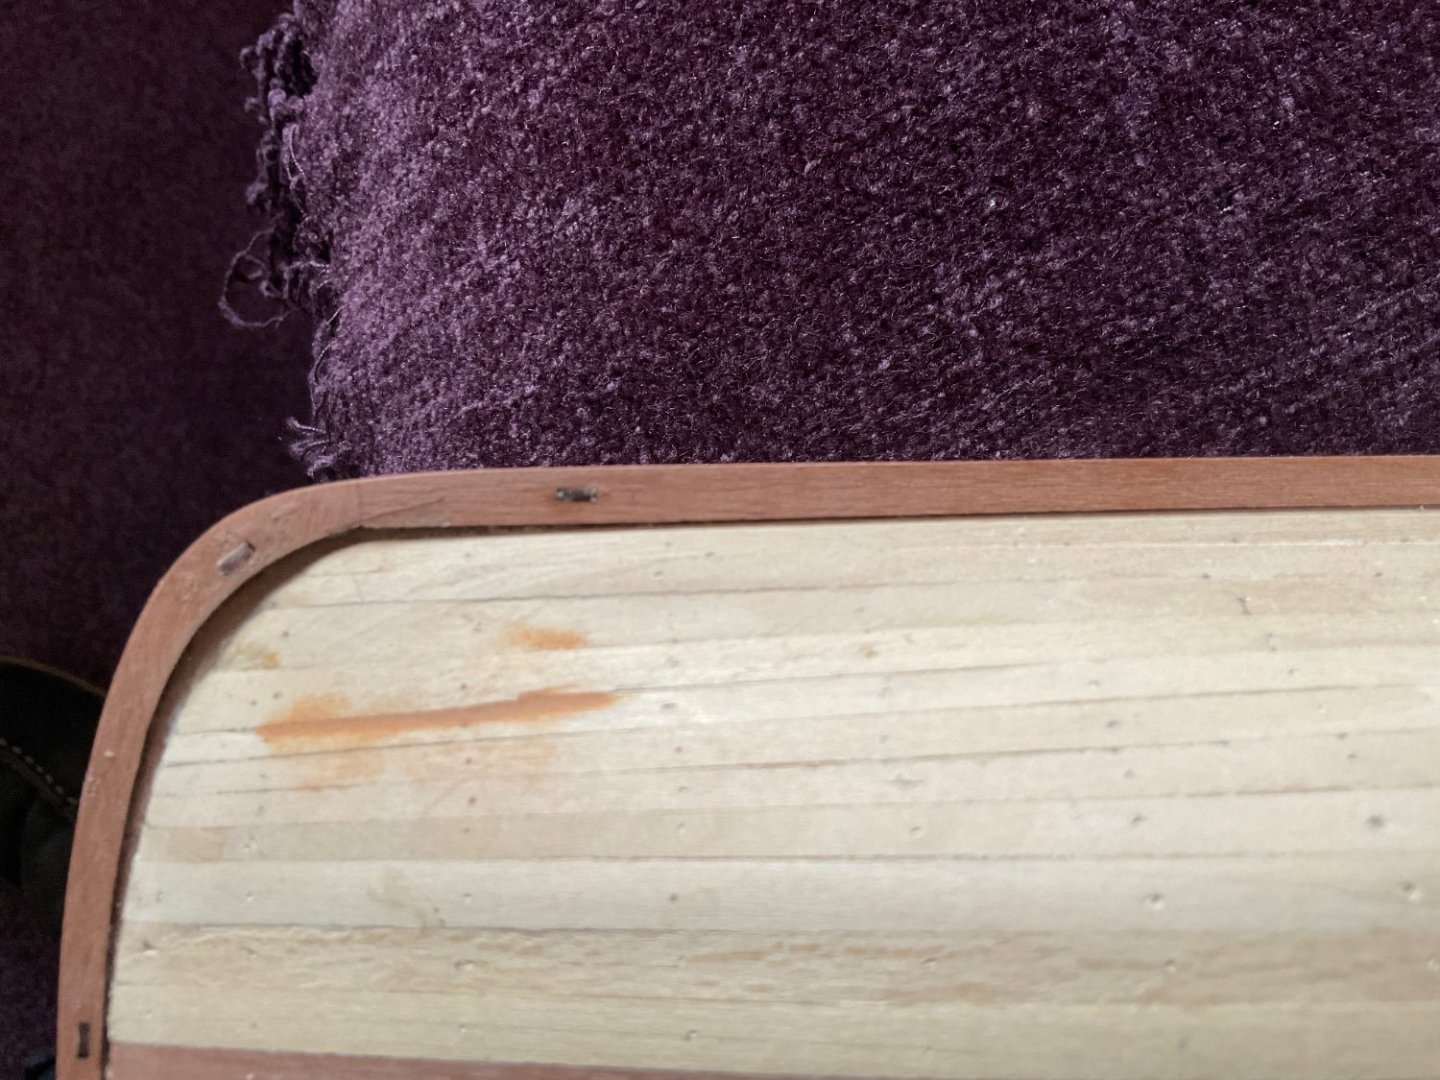
 Well done in getting this far! Remember this is your first build. All our models have a good side 😀. I think most of those gaps will be below the waterline and therefore painted over. So yo can fill the gaps - acrylic wood filler will be you friend here. You can thin it a little with water to make it easier to get into the gaps. Once dry a sand will left you see what bits you missed - and you will, we all do! So fill and sand again to get it smooth for a coat of paint. If you struggle to fit that little chip, then just fill it, it is definitely below the waterline.
 -
I too would suggest a coat of matt varnish to bring it together.
- 62 replies
-
- 1
-

-
- Nisha
- Vanguard Models
- (and 1 more)
-
First time I have seen your last picture. I often wondered if Pilgrim was the same as either Nisha or Erycina. By the looks of the transom and counter it looks not to be.
- 62 replies
-
- 1
-
-
- Nisha
- Vanguard Models
- (and 1 more)
-
Good luck with that! Have a look in the tips and techniques section. There is a section on making masts - pretty sure I have seen articles on using a drill as a lathe
- 62 replies
-
- 2
-
-
- Nisha
- Vanguard Models
- (and 1 more)
-
Hi, I think you have two options: mask off the mast at the step and use a file to cut the step by hand, or you can use a power drill as a lathe and use a file and sandpaper to cut the step I used option 2 for my first and second builds, then invested in a lathe for my Peggy build
- 62 replies
-
- 2
-
-
- Nisha
- Vanguard Models
- (and 1 more)
-
I am lucky enough to have an airbrush and compressor from my aircraft and armour modelling days. A great investment and was heavily used. The thing is, it is seldom needed for this hobby, Nisha was only the second time I have used it for a hull. The previous time was nearly a decade ago. I do use it occasionally for brass items when chemical blackening fails (which is often for me!). If you do go down the airbrush route, then gravity fed dual action is my gun of choice. I have tried the siphon fed version and found it too cumbersome. You will also need to get the right consistency of you chosen paint, I find even paints designed for airbrushing can need thinning. You need to ask yourself if the investment will be worth it. So I guess I would follow the Andrews’ advice and paint by hand. I find acrylics easier to brush, but that is probably just me, and to clean up after. The clean lines are all about good masking and thin coats - no heavy build up. I normally use tamiya’s masking tape, but lately have been using the blue stuff Vanguard is selling. The manual shows the painting sequence in good detail.
-
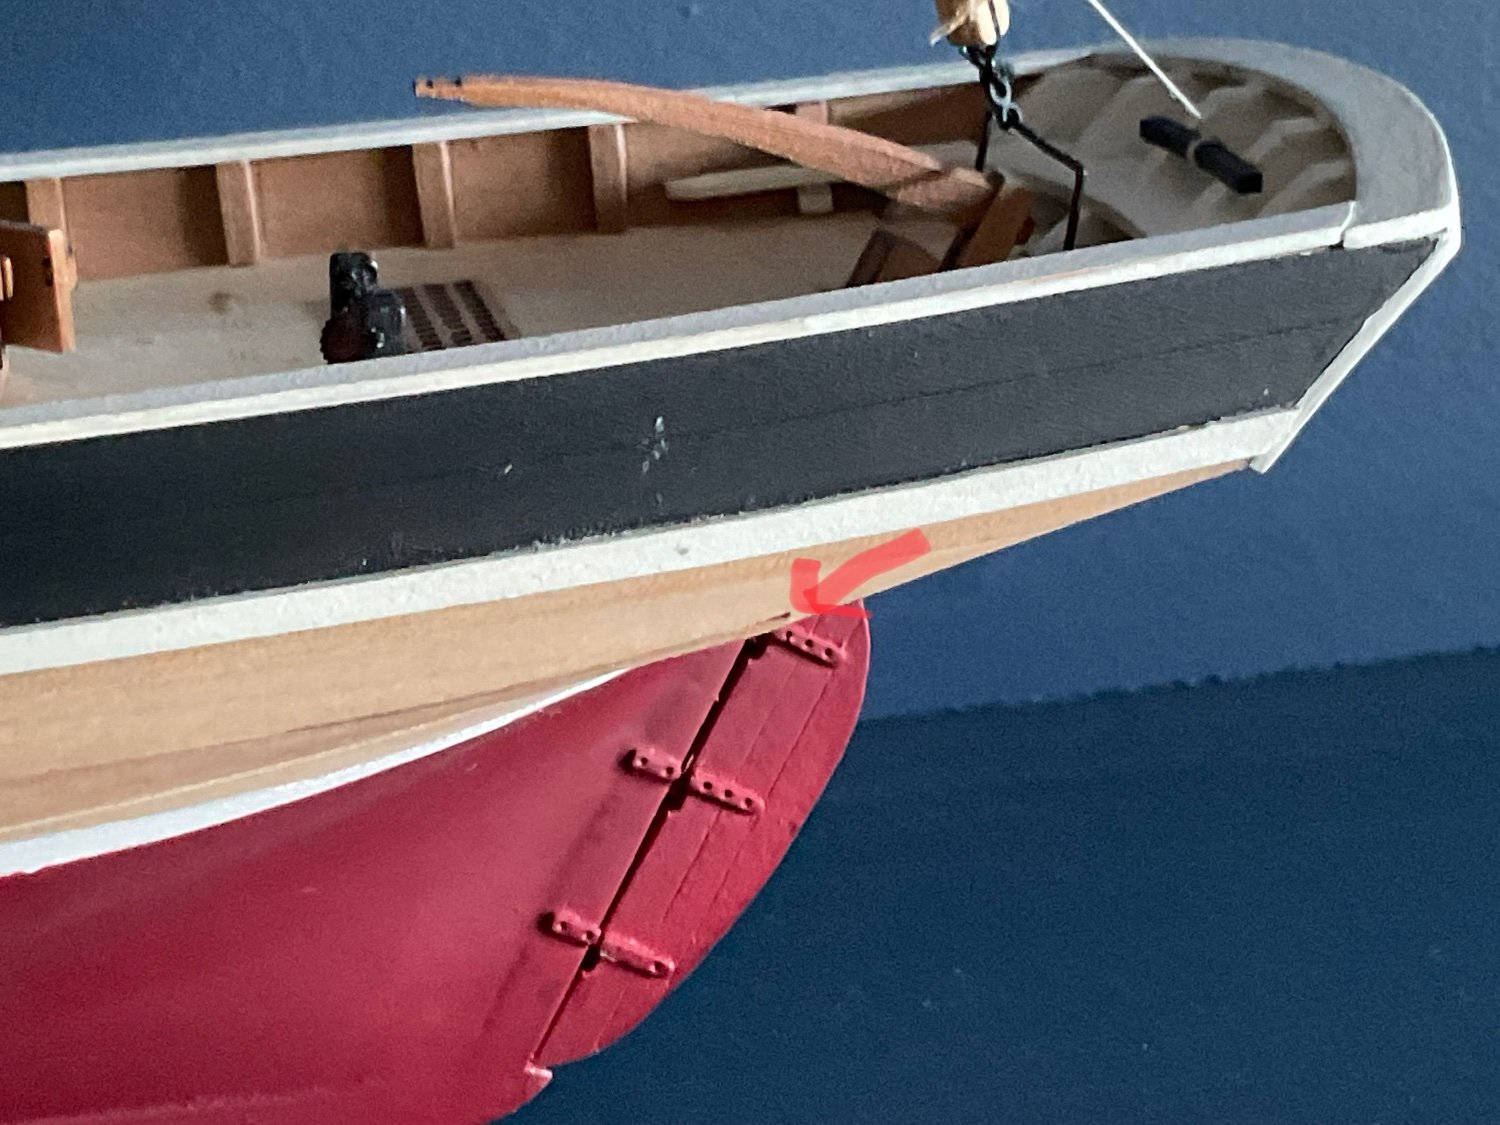
Glomar, I see you got that tricky plank on pretty well. Yours looks more like the manual than mine. At the bow you might get away with shaping the offending third plank which seems to overlap the bow on its bottom corner. Perhaps with a knife rather than sanding. It is also worth sanding the rear of the plank where it meets the bow rabbet to make sure it sits in. It looks as if your sanding has nicked the bow. Can I suggest you protect the stem with some masking tape? As Andrew J pointed out you could do an all over paint job as he did on his excellent build.
-
Totally agree, that this was the most difficult plank. What I could not get my head around was the prototype build had this plank neither on or below the one above. If you look closely it actually straddles the corner of the counter - I was convinced that I had put the bulwarks on too high.
-
DB789 Originally I tried to plank as you have shown the third plank, but it was just not sitting right for me at the cross over from where it changes from vertical to almost horizontal to meet the counter.
-
Hi Jonathan, Whilst I cannot part with my secret for wealth and happiness, here are my steps for getting that pesky plank on mine. I had two planks below the bulwark before turning the next to meet the stern. The first plank was full like you have, the second covered the triangular shape. The third plank is tricky, as you have to twist it to meet the counter. Where the third plank wants to ride up over the second, I chose to twist the plank so that it lay on top of the edge of the second plank rather than meeting it at an angle. I use CA glue to help me here. I think I had to sand a little at the point where the third plank twists to help it sit better. I was then able to sand the contour, using the trick of sawdust and glue to fill any small gaps. The starboard side was the best. Looking at the port I had to shape a hook into the second plank to let the third rest better. You can just about see that in the picture below. After that the remaining planks sat fine with edge bevelling and a bit of edge bending (steam the rear if you are doing this). Once all your second planking is done a bit of gentle sanding will bring it all together.

-
Dropped you a PM with the method I followed
-
That looks really good , Glomar! Brilliant to see you have persevered and won the battle of the first planking. It does get easier as you have something to guide you and, of course, you learn so much from the first. Looking forward to seeing the second planking.
-
Hi Andrew, So thick that it really looked like the timberheads!
- 206 replies
-
- 1
-
-
- Vanguard Models
- Brixham trawler
- (and 2 more)
-
Try Cornwall Model Boat CMB
-
I’m sure Andrew will respond, but my guess is styrene strips or spare square stock were added before spraying and removed when ready for the kit timberheads.
- 206 replies
-
- 2
-
-
- Vanguard Models
- Brixham trawler
- (and 2 more)
-
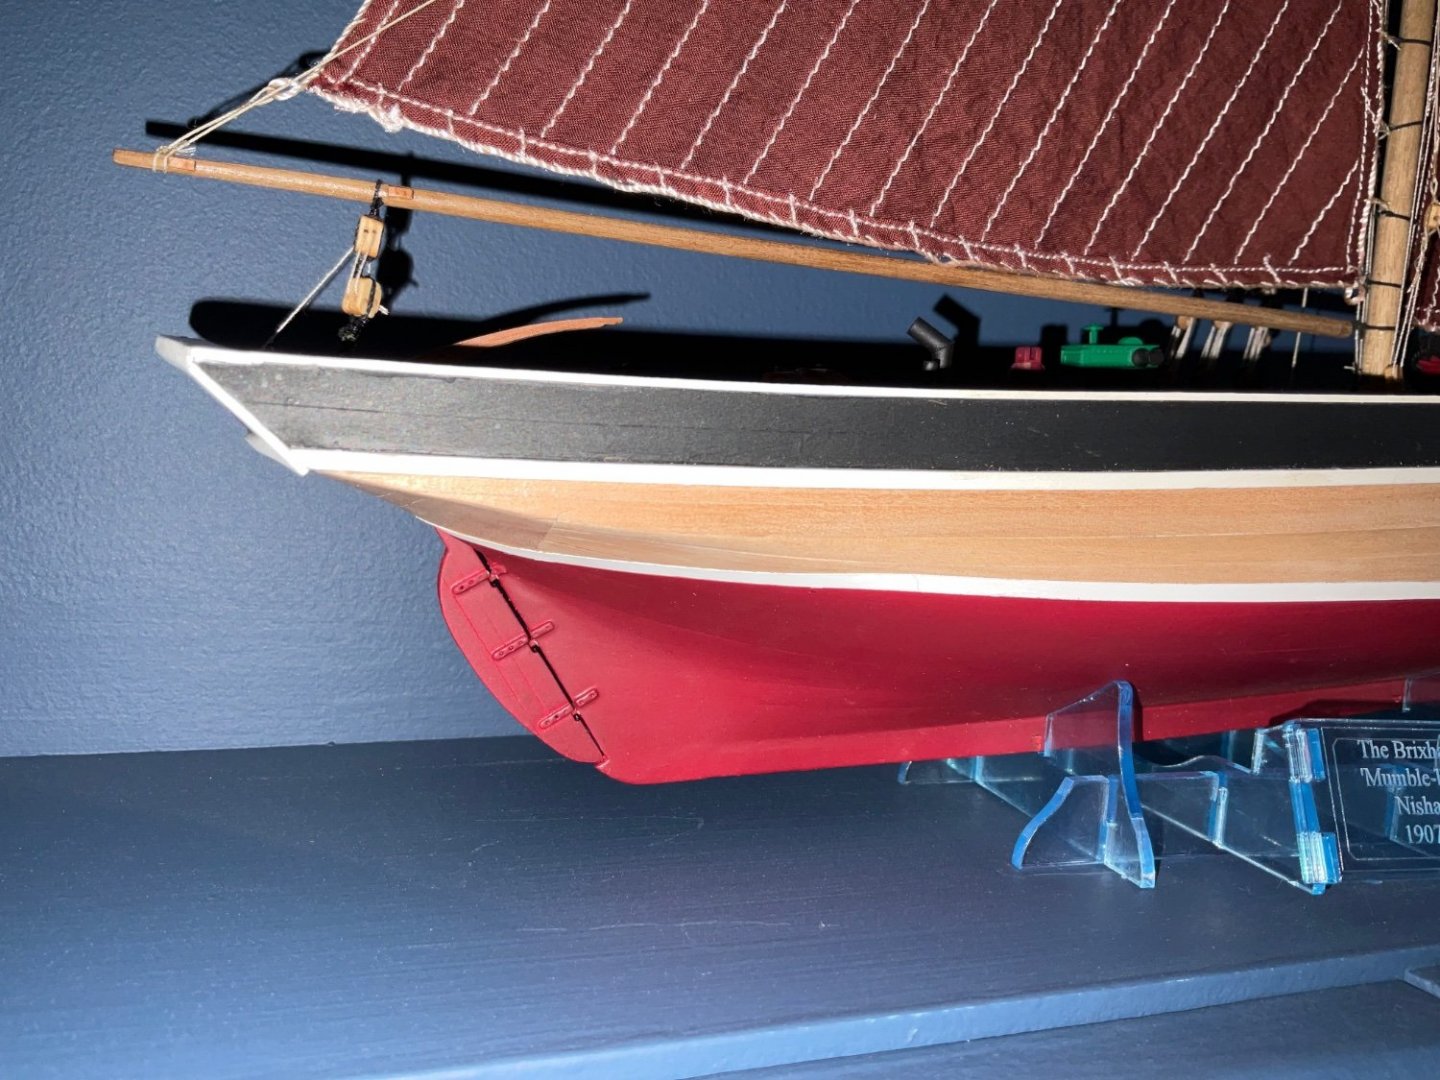
Andrew, Apart from being obviously longer, the stern goes a bit flatter before hitting the stern post. You can see I have not planked right to the end. Otherwise I think the second planking will be roughly the same as Nisha.
-
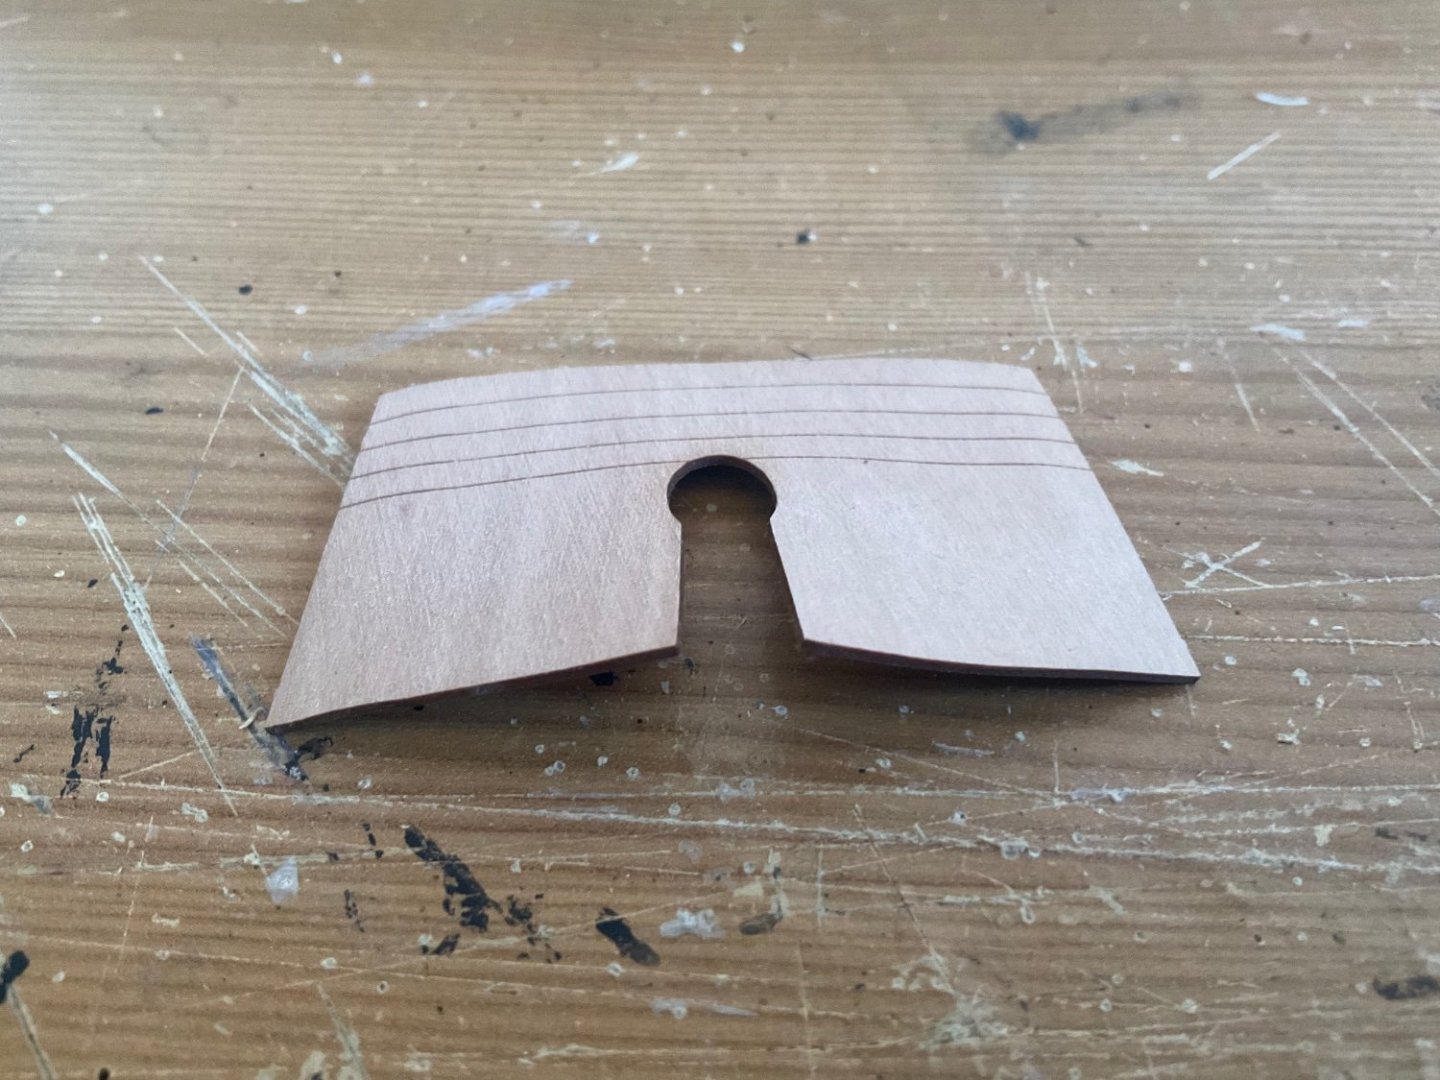
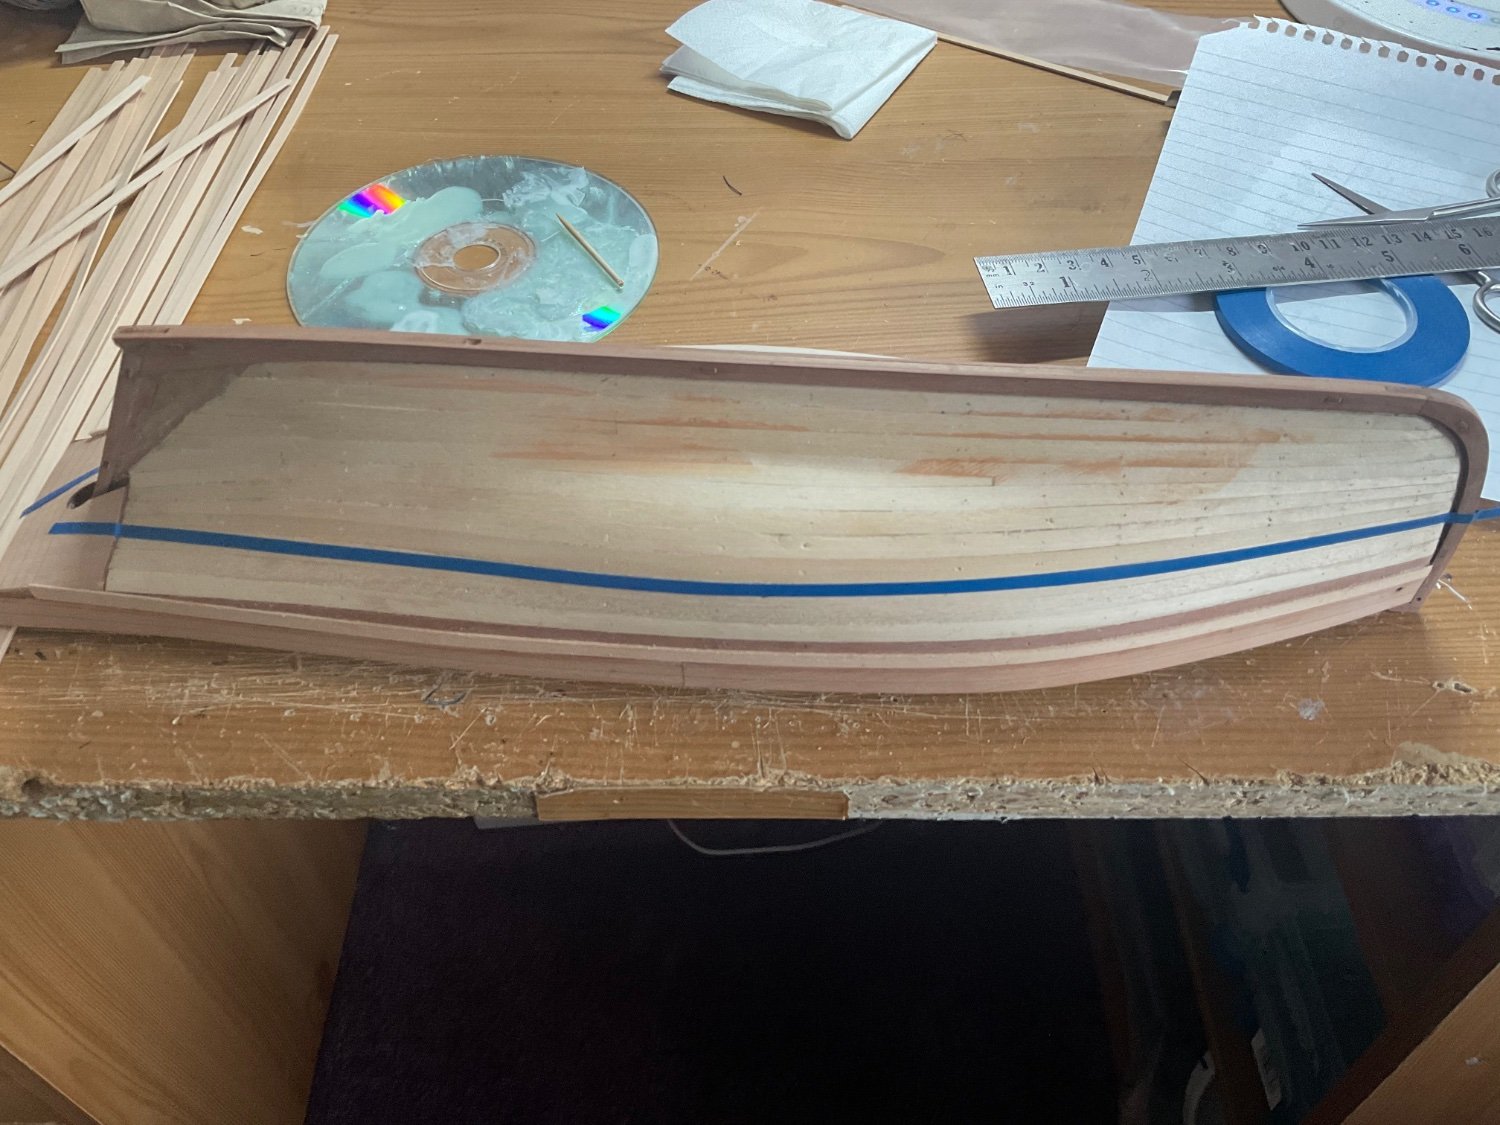
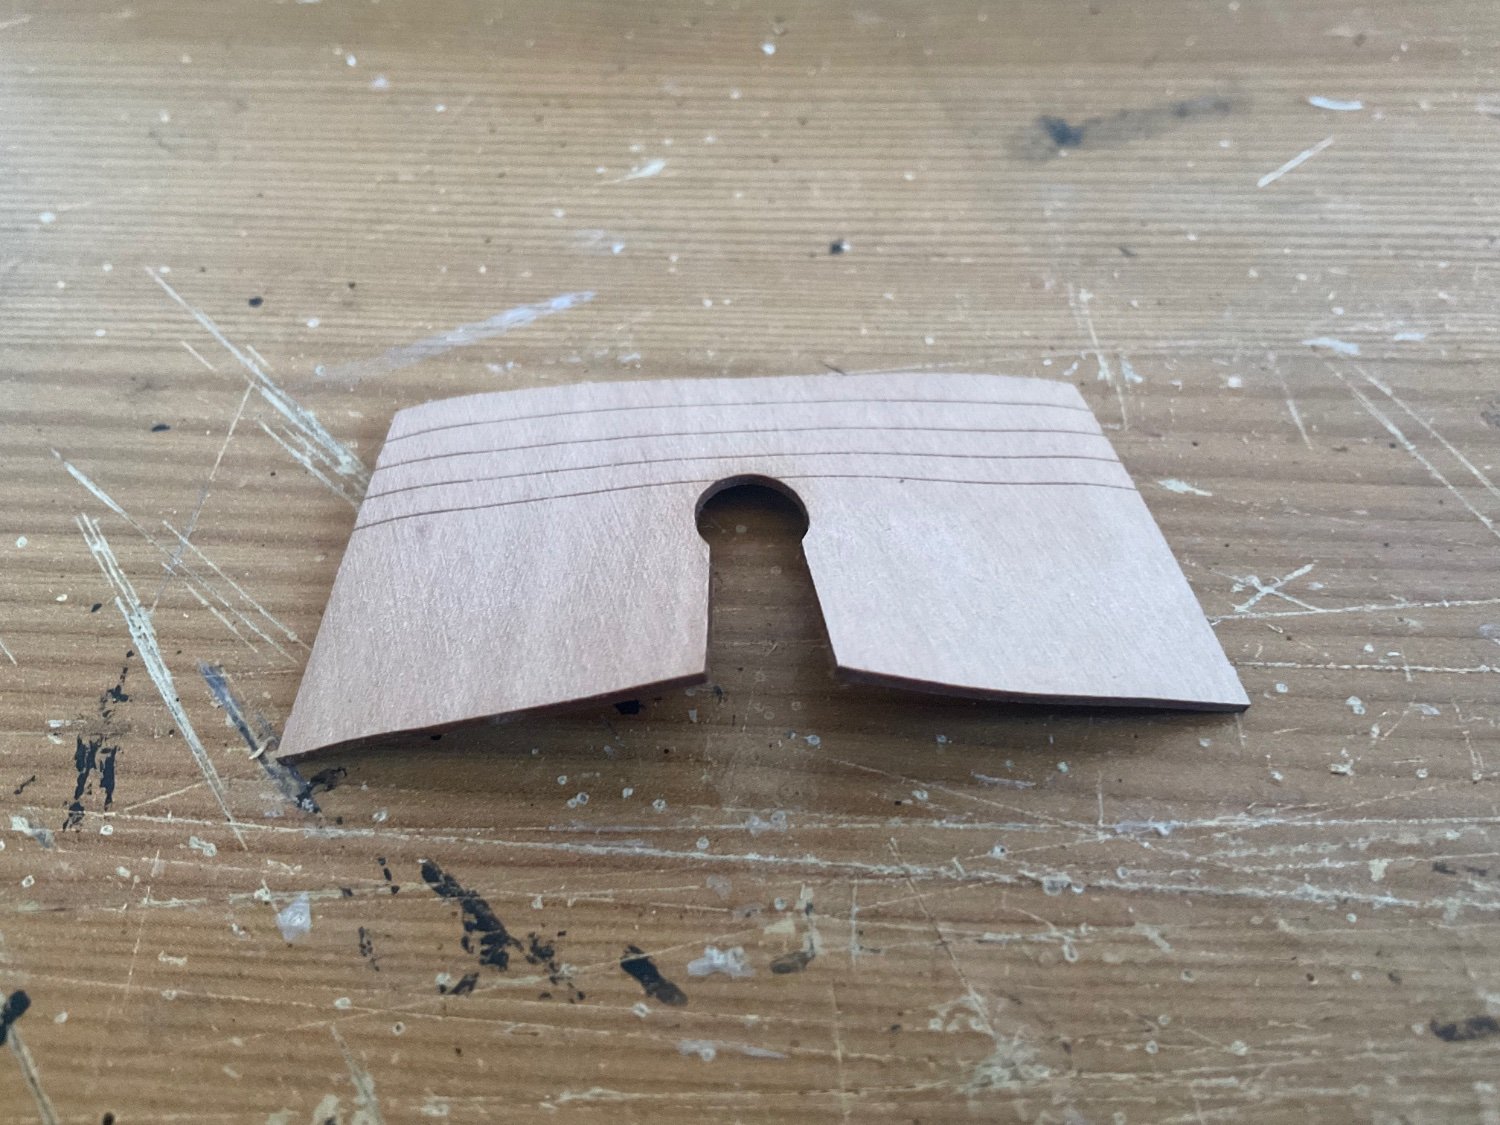
Time to start the second planking. Decided to fit the first plank without any tapering as it covers the lower part of the inner bulwark. Not sure what’s going on here but the plank came up a bit short. I will have to add a small triangular plank. I do not think that will be an issue as the wale covers this piece. Same on both sides - I offered up an uncut plank and they are too short, but only for this one plank. I then used a bit of tape to line off the first band of the hull to be four planks wide amidship. I then took the measurement at each frame and worked out the taper. Not too much of a taper at the bow or stern.

-
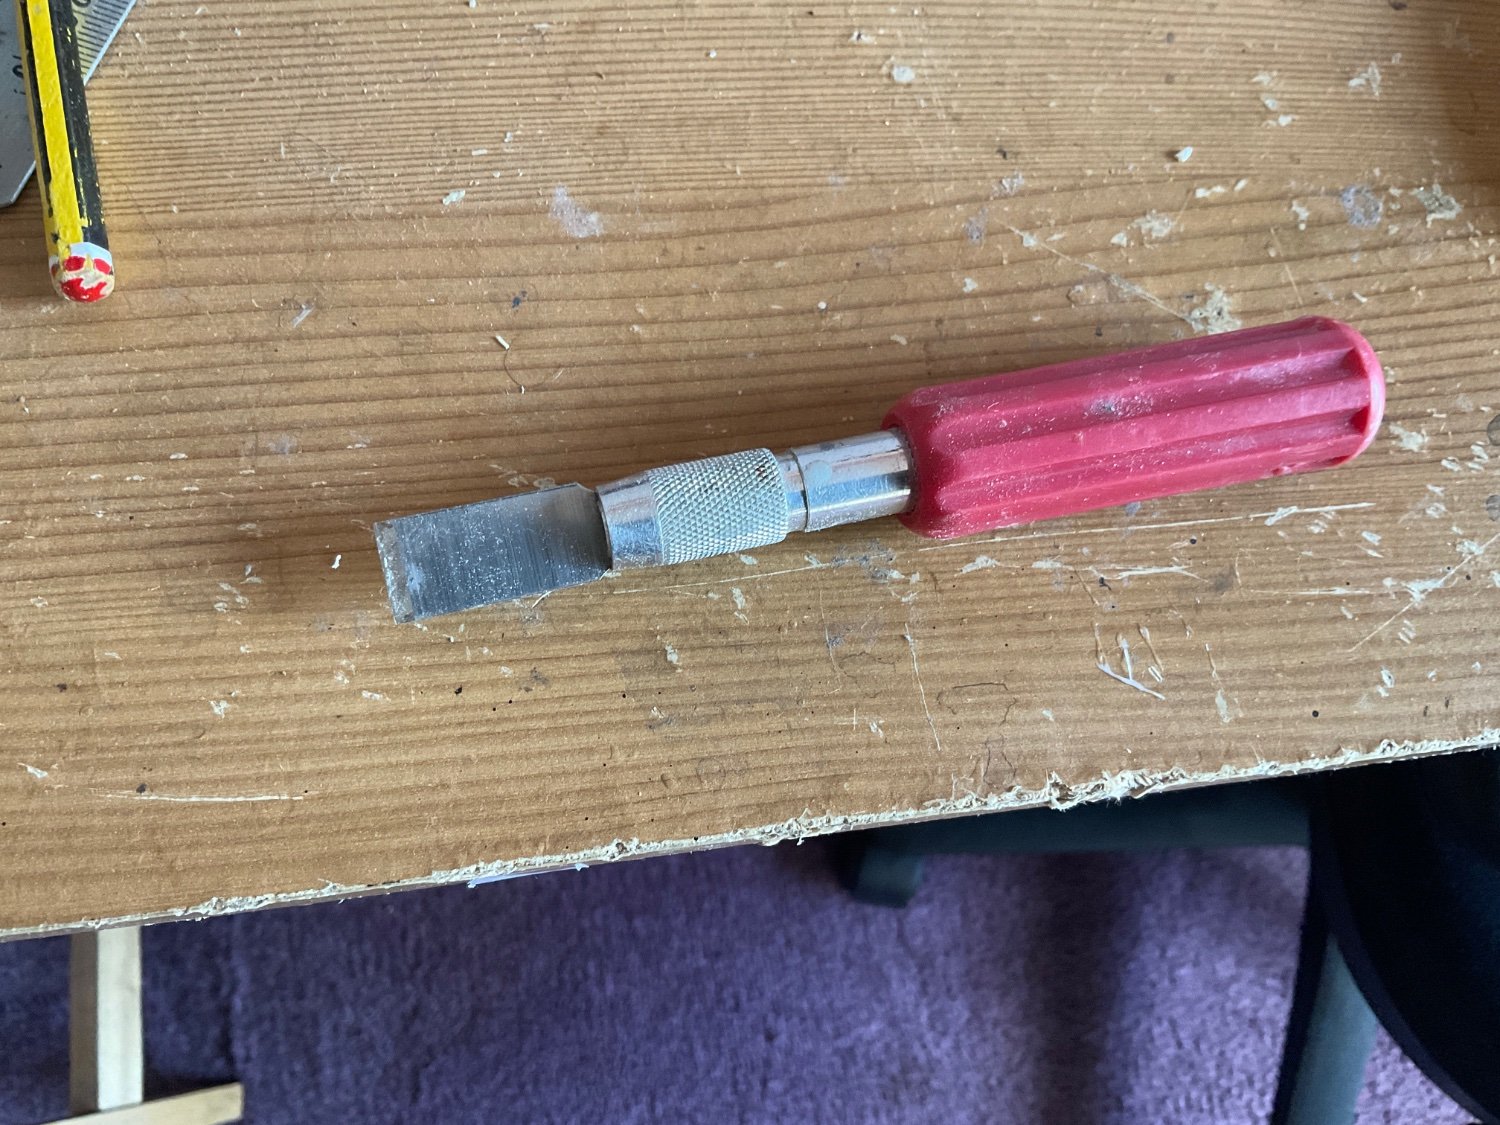
I use a chisel blade which is fine enough to get under the nail head. Whilst I have never had a blade break I do wear safety glasses.

-
Glomar, Looking much better. You should be able to lever the nails out. Take care doing that. Can you test whether part 58 will fit correctly on the stem? I cannot quite see from the final photo but plank number 2 looks to be touching the front of the stem. You might get away with carving it back to fit 58.
-
@starlight Here is my build of Erycina. The garboard plank sits well and the additional pieces form a nice rabbet for the second planking. All down to the great design from Chris Watton.
-
Glomar, This plank is looking much better. Is there any give in the bulwarks at frames 2 and 3? If so they may not be flat against the frame causing the plank to look a touch low. If they are I think Starlight is right and you will have to blend a little once the planking is finished. I too would remove these pins now - it is a pain to get them off once you have added the next plank. I found the rear a bit tricky too given the sheer of the stern. You will have to use a bit of filler to blend the plank once you have finished planking the hull. Time for plank number 2! @starlight I would normally agree, but the design of this kit does not need a rabbet (rebate) for the first planking. I found both Nisha and Erycina can have the first plank added without it. The lines allow the garboard plank to sit well. There are additional parts which form the rabbet for the second planking.
-
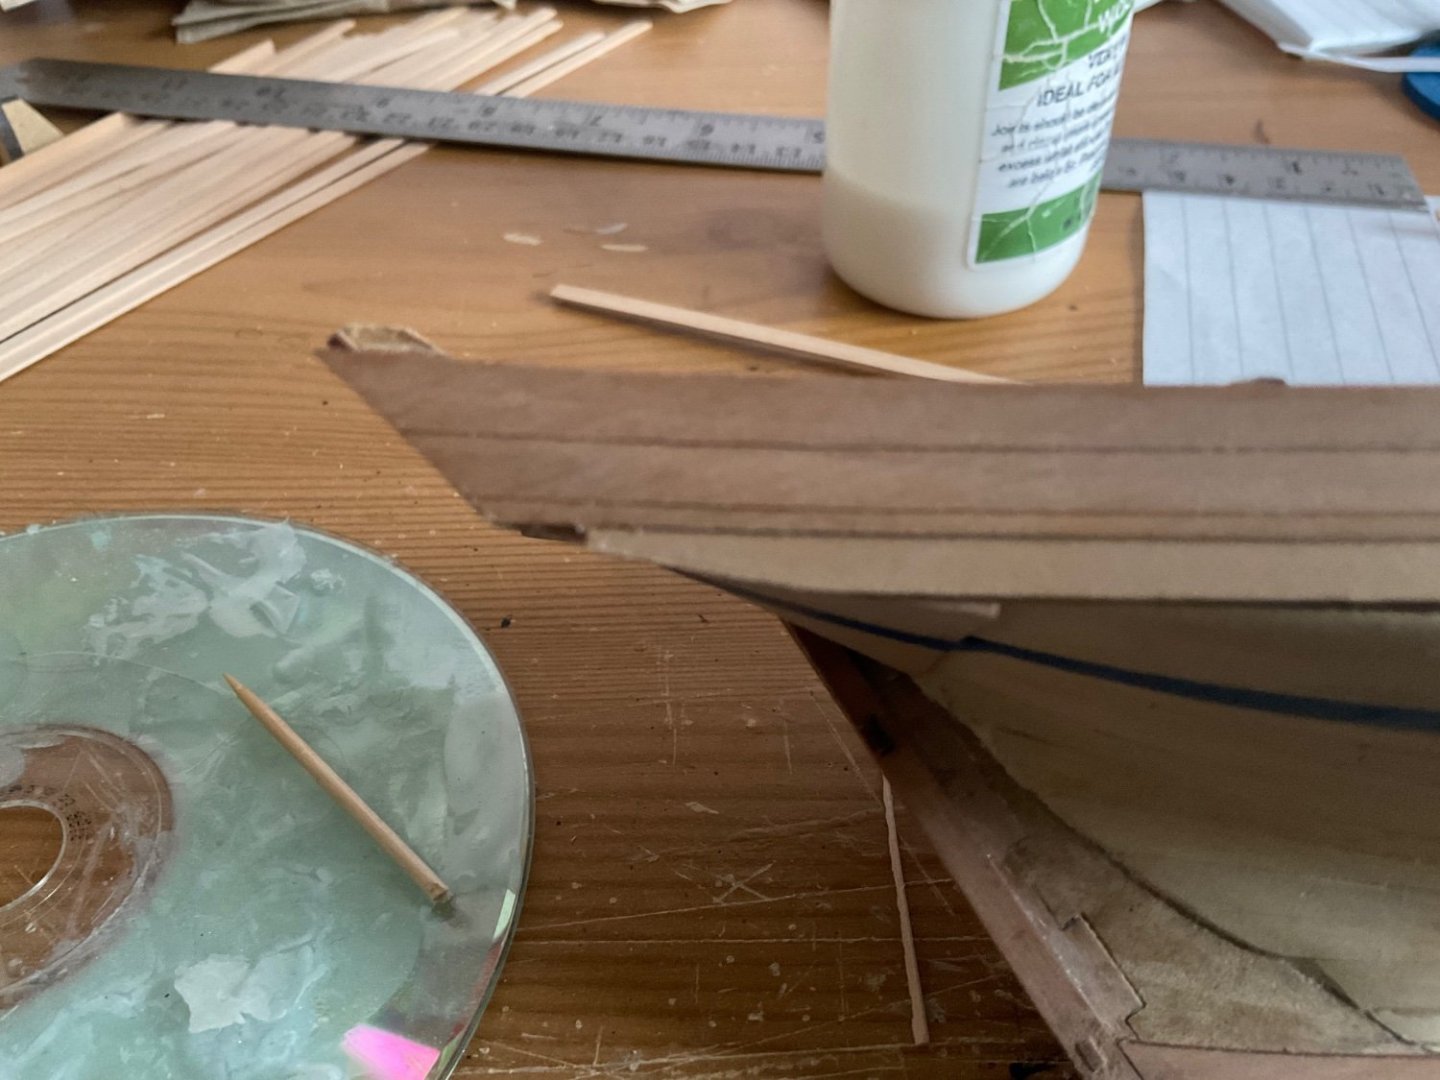
Glomar, That is looking much better. Well done for taking the plunge to restart your planking, it will pay off in the long run. Good idea adding that shim for the front of the bulwarks. What I was trying to convey is the counter pieces 21 to 24 are frames that need to be faired as the counter is curved across the the beam of the boat. If you took a plank and laid it across the counter frames you would see it only touches this highest edges of these frames. You can see from this photo of Erycina’s counter how much of a curve is in this piece. It looks as if the counter is conforming to the curve of the stern. If it is secure I would be tempted to leave it. Good advice from @Andyrew each plank is a mini project.