pirozzi
-
Posts
843 -
Joined
-
Last visited
Content Type
Profiles
Forums
Gallery
Events
Everything posted by pirozzi
-
 Hanging the foresail with the earings. It is important to stretch the sail between the earings so it won't bunch up on the yard when stitching the lacing. Vince P.
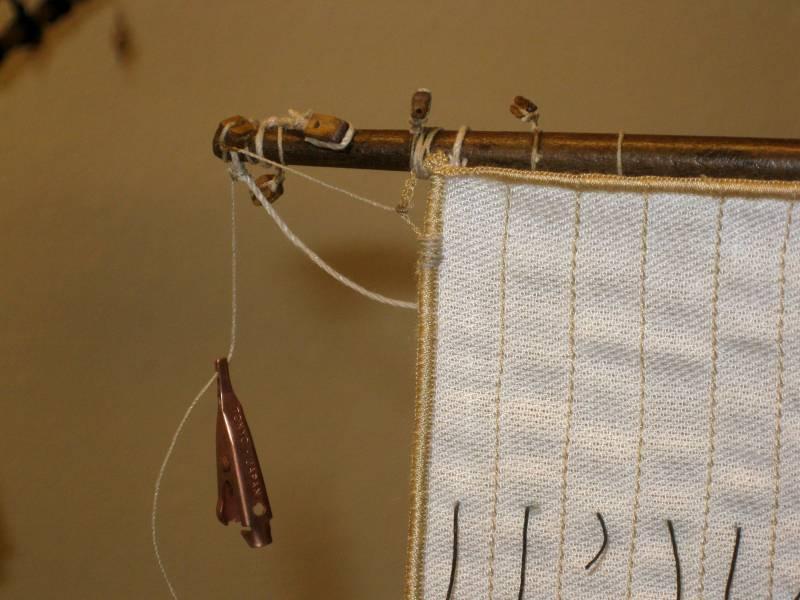

- 264 replies
-
- 1
-

-
- sovereign of the seas
- mantua
- (and 1 more)
-
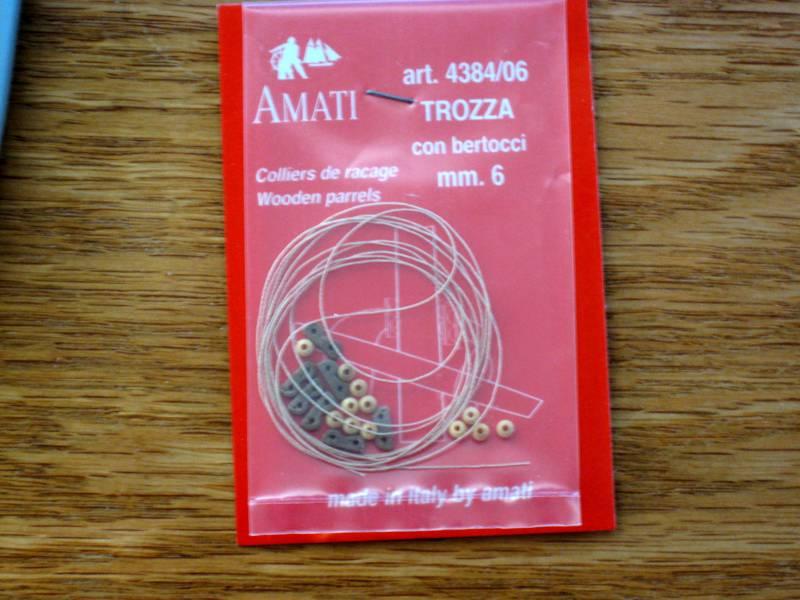
The kit does not include parrels but I thought it would make a nice addition. I bought parrel kits from Amati. They were a chore to thread and rig, but came out nice after installing. Vince P.


- 264 replies
-
- 1
-
-
- sovereign of the seas
- mantua
- (and 1 more)
-
Placing the foresail yard with all of the blocks and footropes installed. Vince P.

-
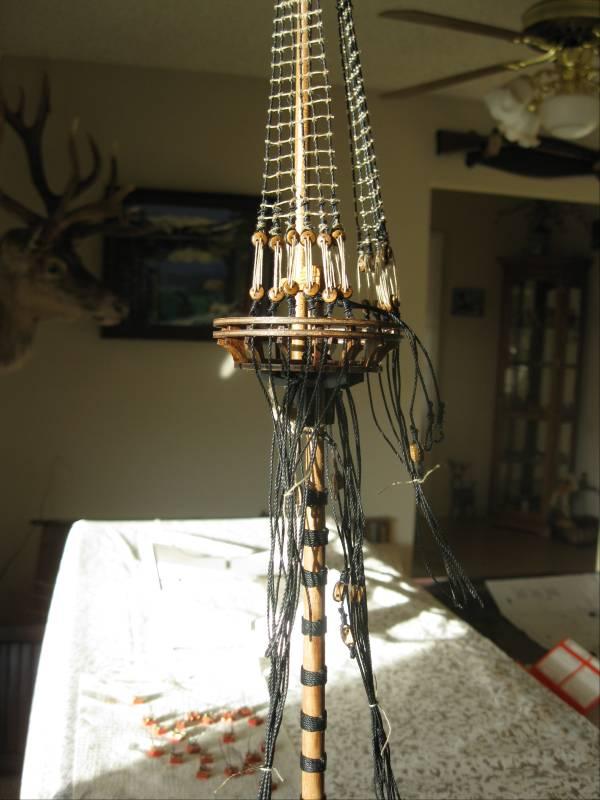
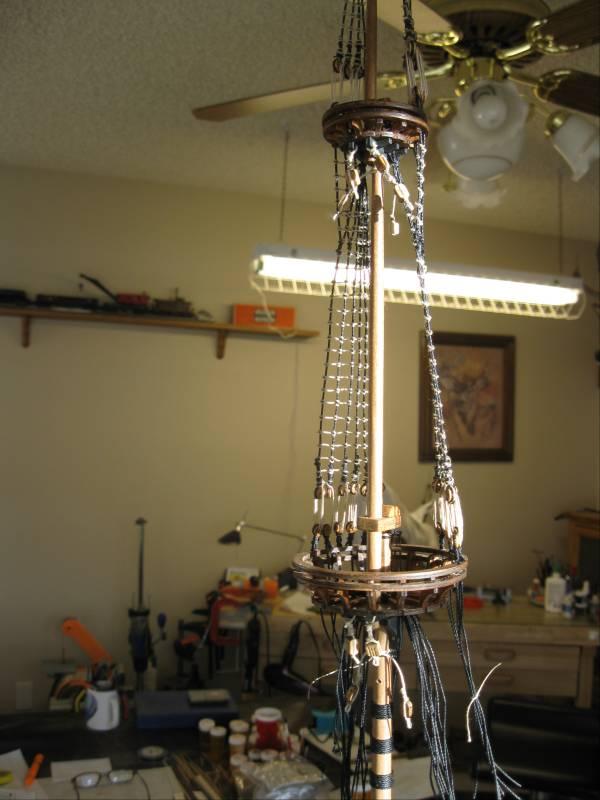
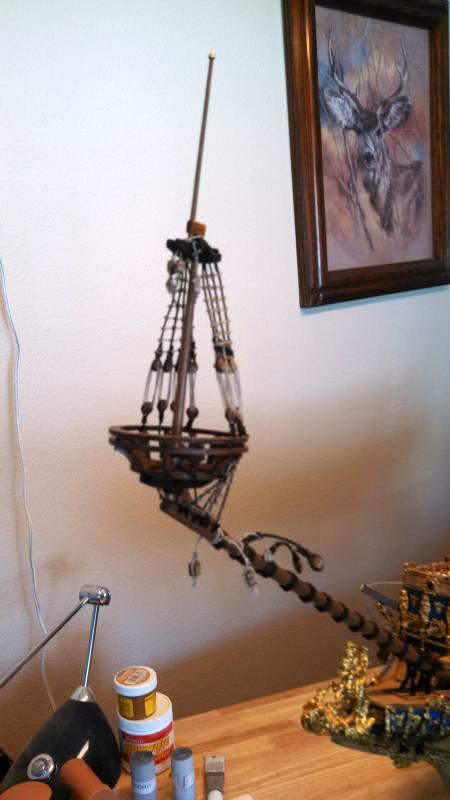
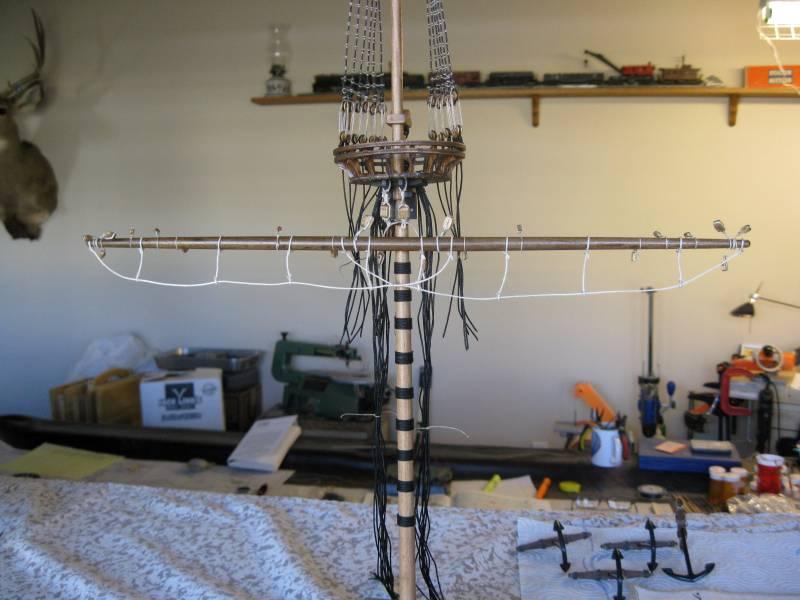
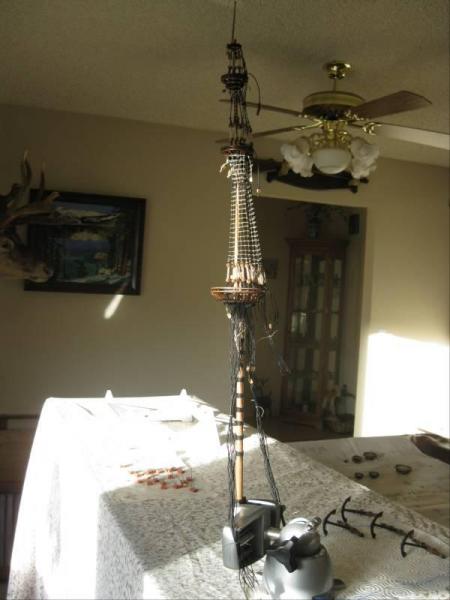
Rigging the upper shrouds, deadeys and lanyards. You can now see how tall this is. I am going to construct the entire masts and attach all of the yards, sails, and running rigging before setting the masts on the ship. It is much easier to get around to make all of the attachments and tie all of the knots without the ship in the way. Vince P.

-
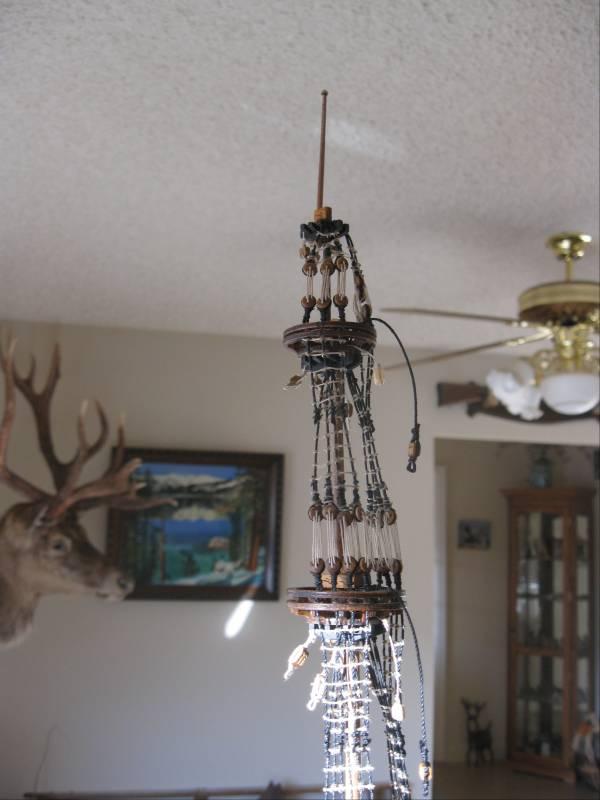
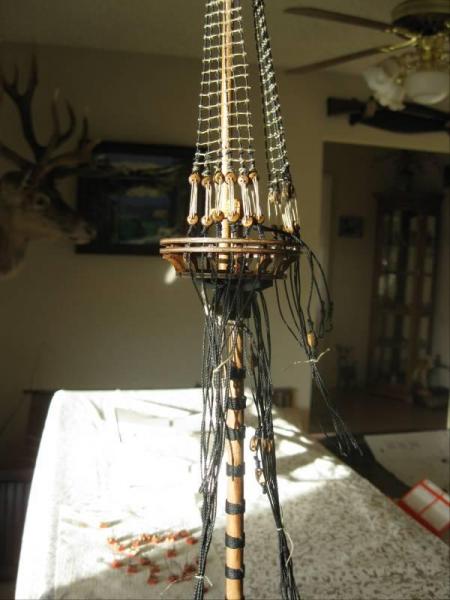
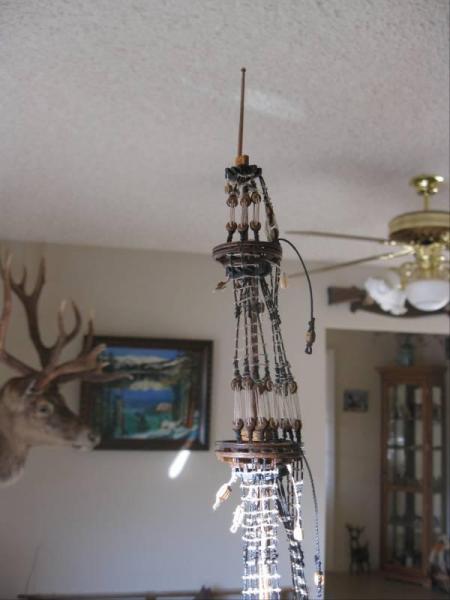
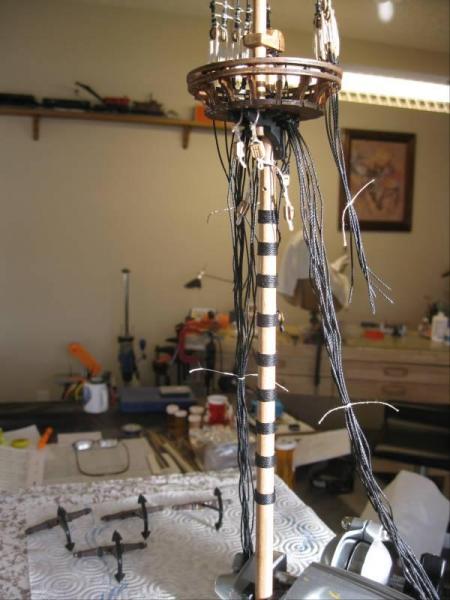
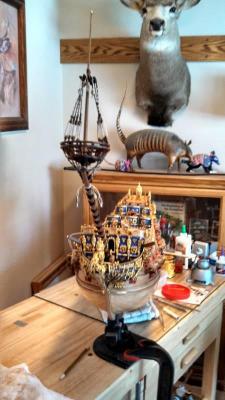
Building the upper sections of the mast. As this thing grows it is getting much taller then I had thought it would. I am not sure where I can fit it after it is completed. Vince P.

-
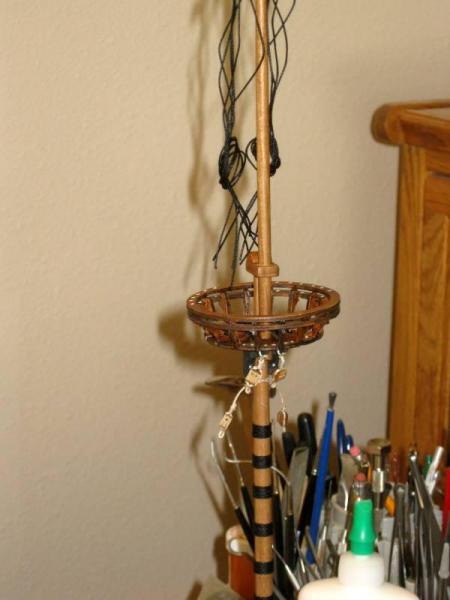
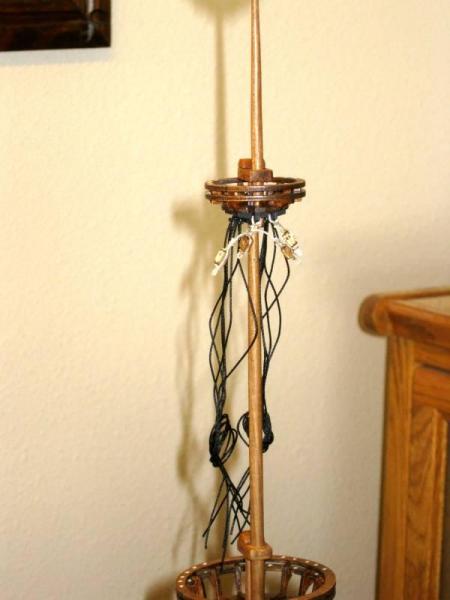
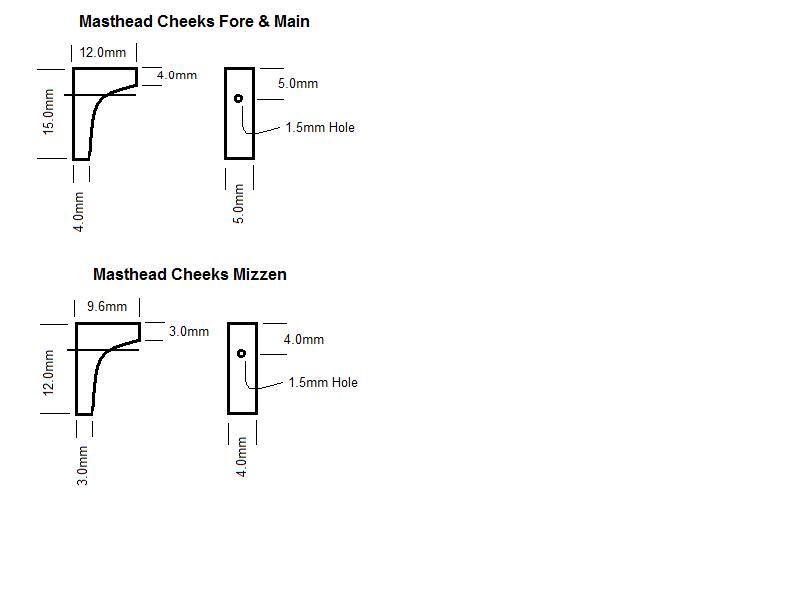
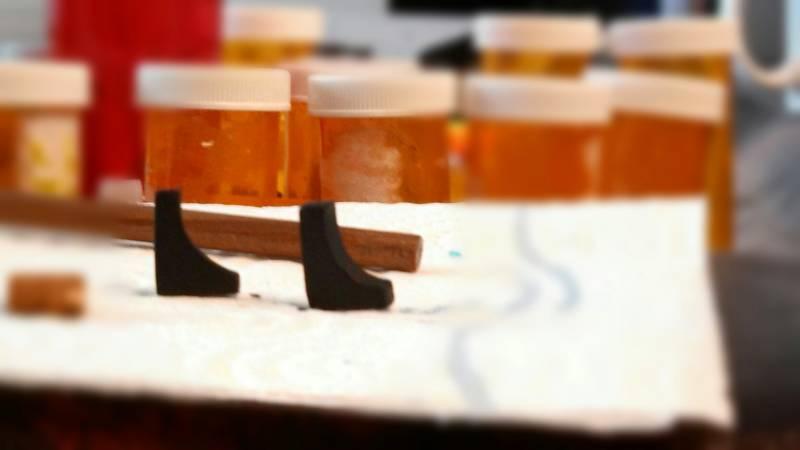
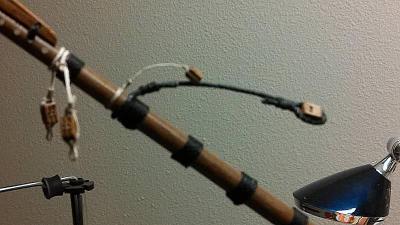
Starting on the foremast construction. As previously mentioned, I added ties and halliards to hoist and lower the lower yards. In order to attach the ties to the lower yards, the lines have to pass through a fair lead someplace just below the mast tops. Ships of the period had "cheeks" attaached to the tops of the lower mast section on each side and just below the trees. The ties passed through these cheeks and down to the yards from the front and to the halliards from the rear. I made some cheeks out of some scrap lumber and placed them in position. Vince P.

-
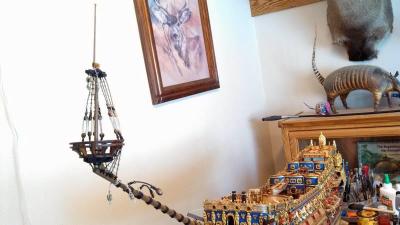
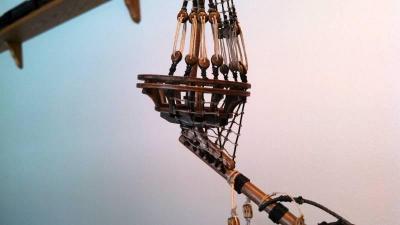
Construction and adding the spritsail top mast to the bowsprit. There are 2 yards to add as well, but I will not add these until the foremast is in place and all of the stays and running rigging related to it are completed first. One thing to note: The topmast has 2 lashings to the upright support bracket attached to the bowsprit. Only complete the lower lashing before placing the crowsnest because the opening in the tree will not fit over the top lashing. Once the crowsnest is in place and glued down, add the upper lashing. It is somewhat of a pain to do the lashing through the ribs of the crowsnest, but there really is no other way. Vince P.


- 264 replies
-
- 2
-
-
- sovereign of the seas
- mantua
- (and 1 more)
-
The gammoning for securing the bowsprit. The plans call for using 1.0mm cord for the main wraps, and 0.5mm for the cross wraps. The actual gammoning on ships was done with a single piece of rope. I used a single piece of 1.0mm black cord and wrapped it using the self tightening arrangement illustrated in a rigging book I bought on how to rig ships of this period. Vince P.

- 264 replies
-
- 3
-
-
- sovereign of the seas
- mantua
- (and 1 more)
-
The lashings for the stays and rigging on the bowsprit. The rigging as detailed by the plans is very limited and does not represent the actual rigging that would appear on a ship of this type for the period. I used "The English Treatise of Rigging 1625" to come up with a more realistic rigging plan. From here on in, the rigging shown will represent what the treatise recommends and not the kit plans. Vince P.
- 264 replies
-
- 1
-
-
- sovereign of the seas
- mantua
- (and 1 more)
-
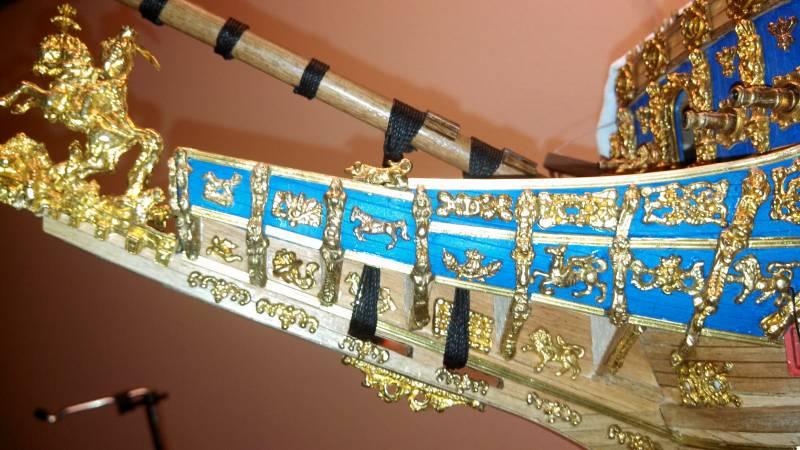
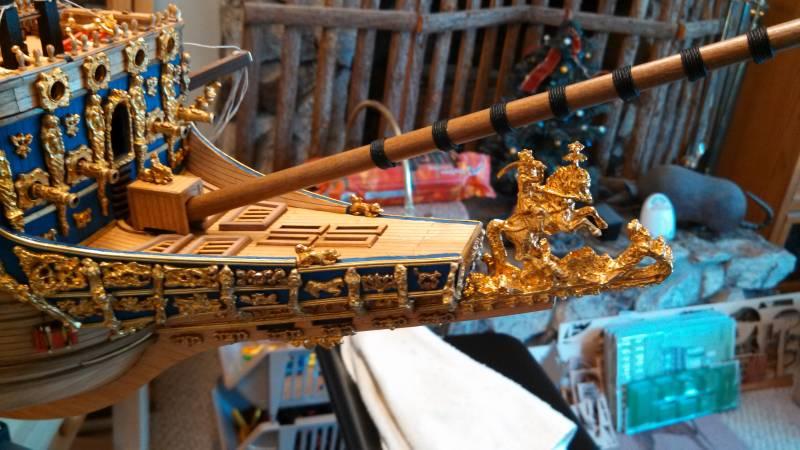
The bowsprit mounted on the ship with the little house and ornament to cover the passthrough hole.

- 264 replies
-
- 2
-
-
- sovereign of the seas
- mantua
- (and 1 more)
-
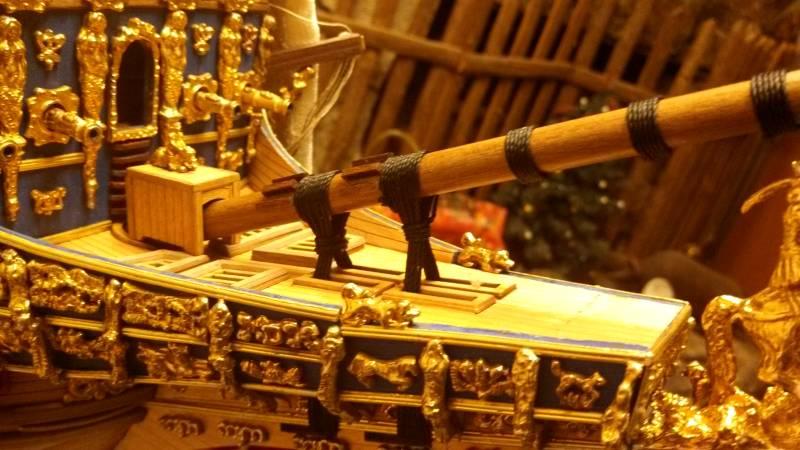
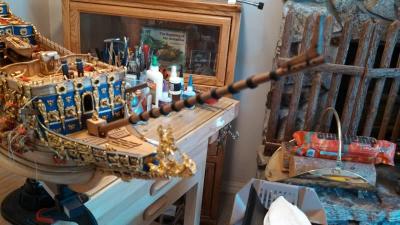
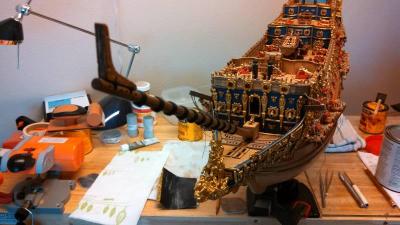
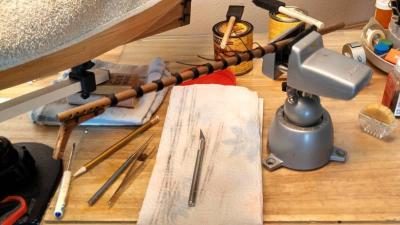
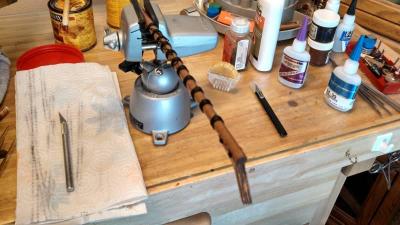
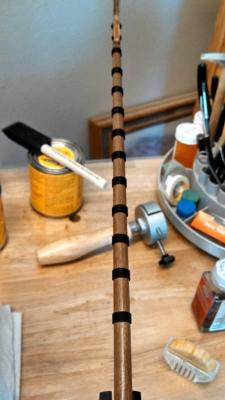
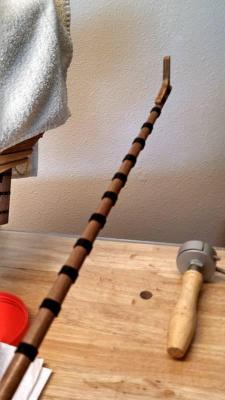
Working on the bowsprit. Tapered it down and finished it with a clear natural stain since the actual walnut color of the wood is perfect as is. I wrapped the wooldings with 1.0mm black cord. I used a self tightening wrap that does not need knots and comes out nice and even. The upright brackets for the spritsail top mast is also lashed in place.
-
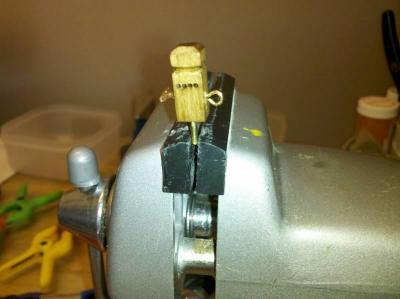
Hi Anja, Where did you get that little Dremel vise that holds the hull? I really like that and want to get one. Vince P.
-
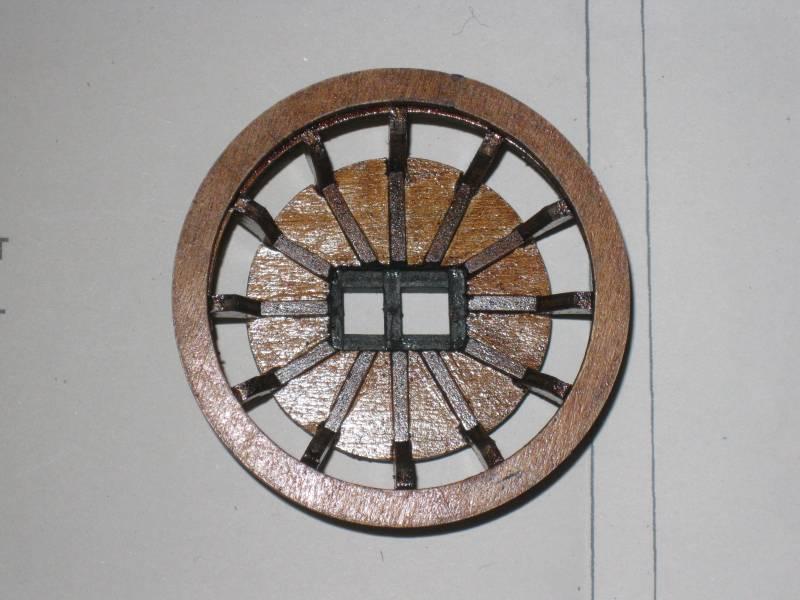
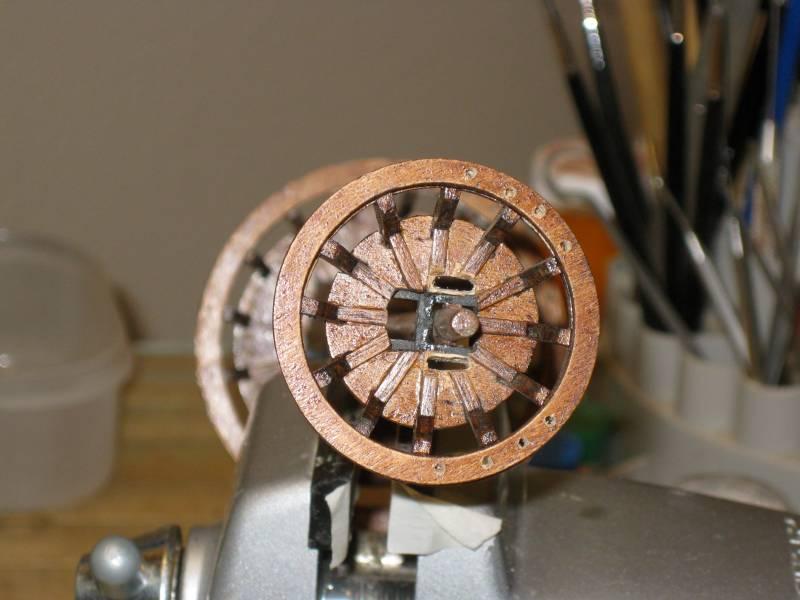
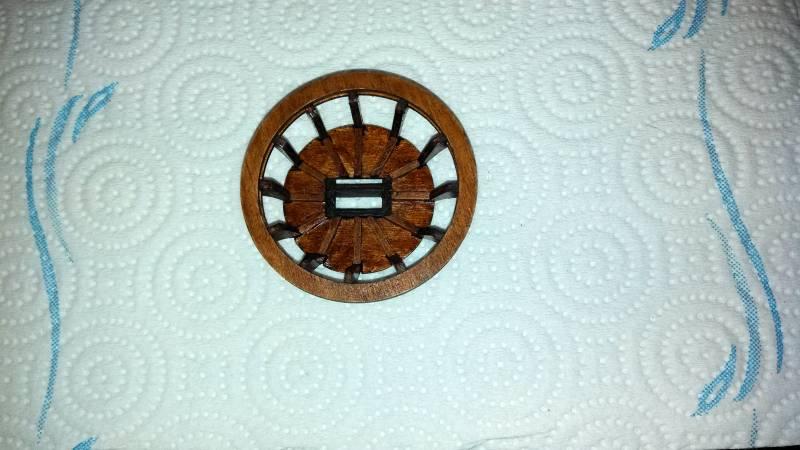
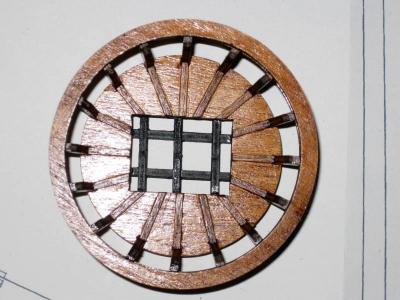
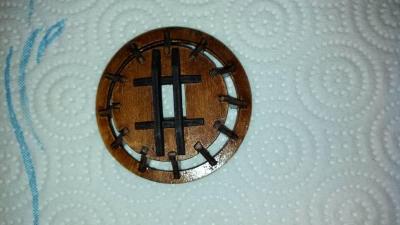
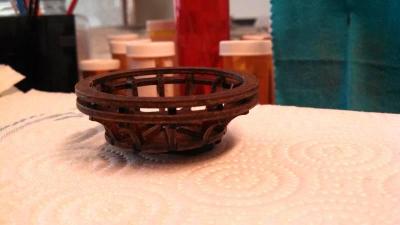
I found an issue with the crowsnests. Except for the fore and main lower tops, all the rest had no openings for the shrouds to be lashed to the masts. The square holes in the tops are too small and when the trees are positioned, there is no overlap of the holes on the sides.The first photo shows a bad one and the next a good one. The third shows slots that had to be cut to pass the shroud lines. This is just one of many errors in the plans. Obviously, if the tops were placed on the masts before noticing this, it would be a nightmare to fix. Vince P.


- 264 replies
-
- 3
-
-
- sovereign of the seas
- mantua
- (and 1 more)
-
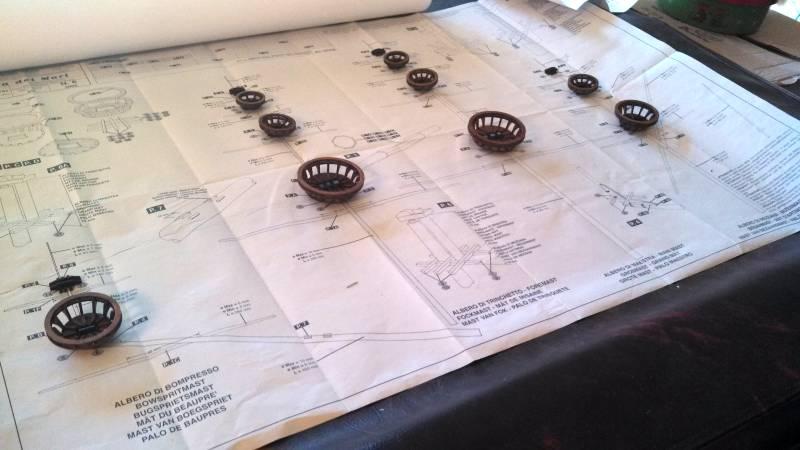
I finished all of the crowsnests and laid them out on the plans in the positions they will go on the masts. Vince P.


-
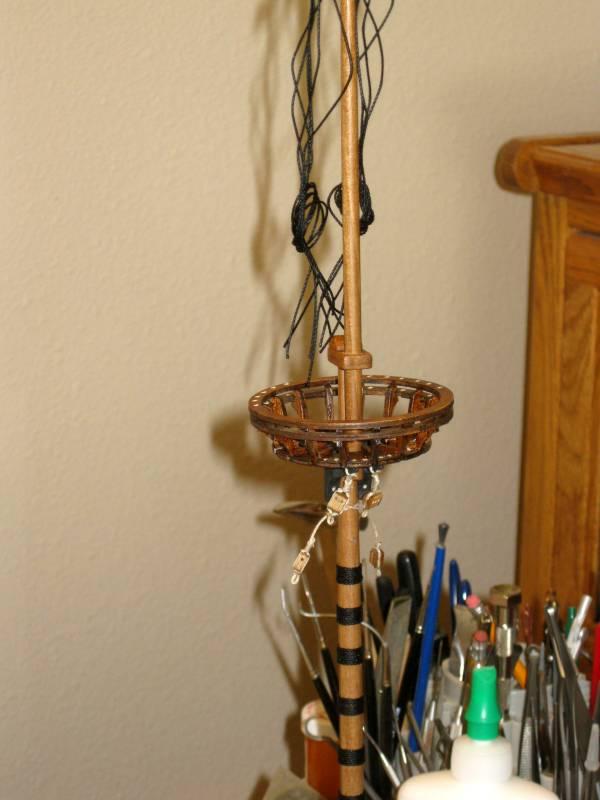
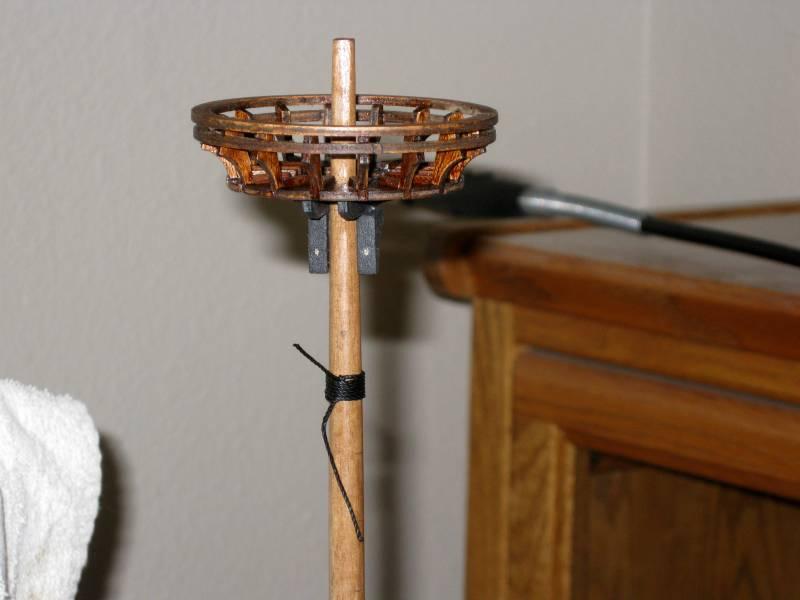
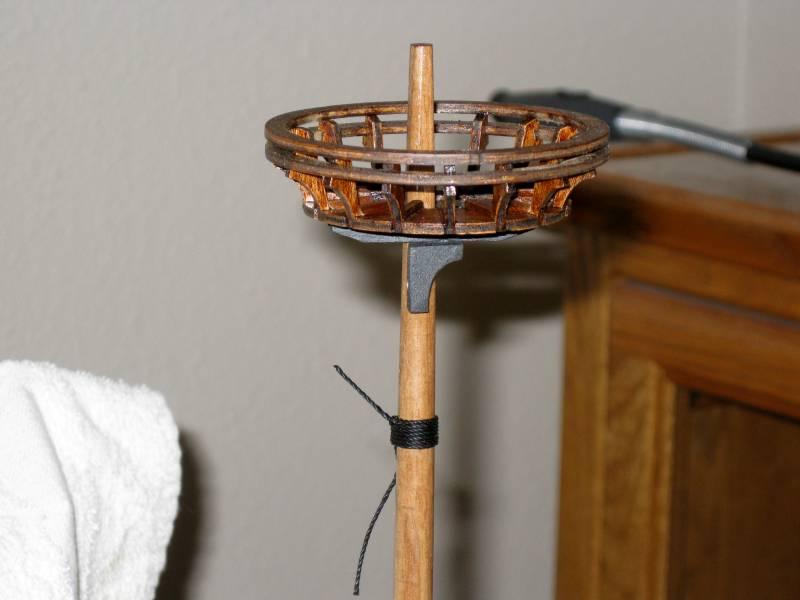
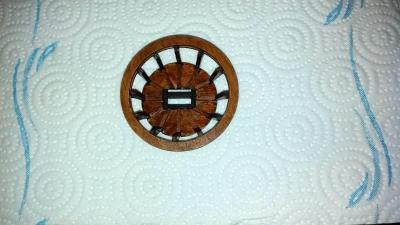
It is now time to start on the masts. There are 9 crowsnests (mast tops), and 13 tree assemblies. After assembly, I finished them in a walnut stain. The floors of the tops did not have the reinforcement ribs, so I added them using 2x2mm walnut stock. Shown is the crowsnest for the spritsail top mast. The others are similar but in different sizes. Vince P.
-
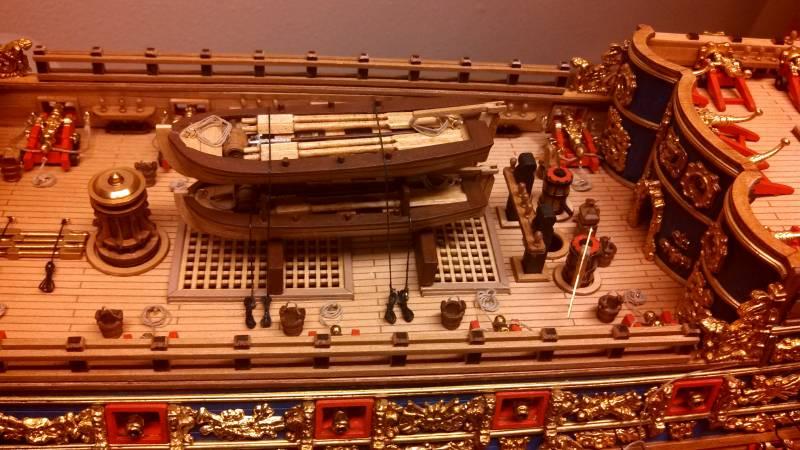
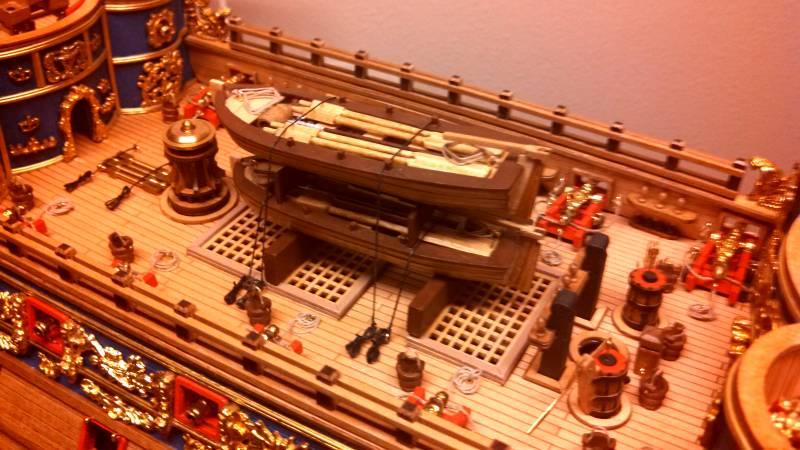
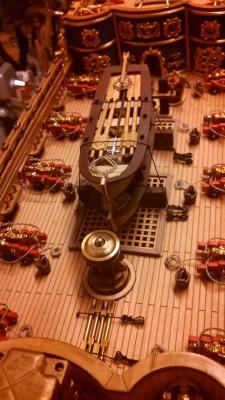
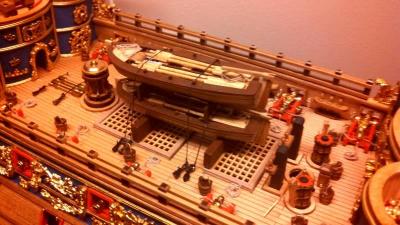
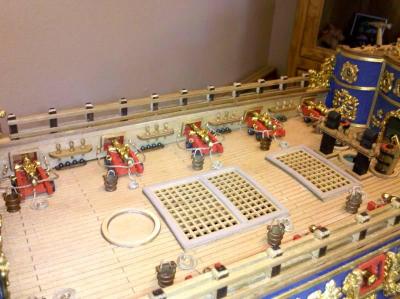
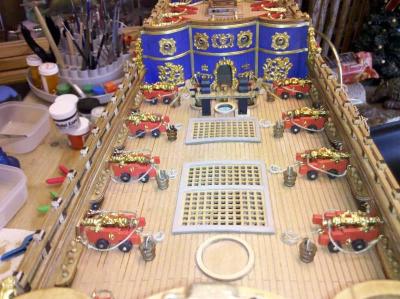
The boats were mounted on the main deck over the gratings in a double decker fashion. I also installed the capstan and lashed the arms to the deck beside it. The cradles for the boats were made from scrap lumber from the boat kits. Vince P.

- 264 replies
-
- 2
-
-
- sovereign of the seas
- mantua
- (and 1 more)
-
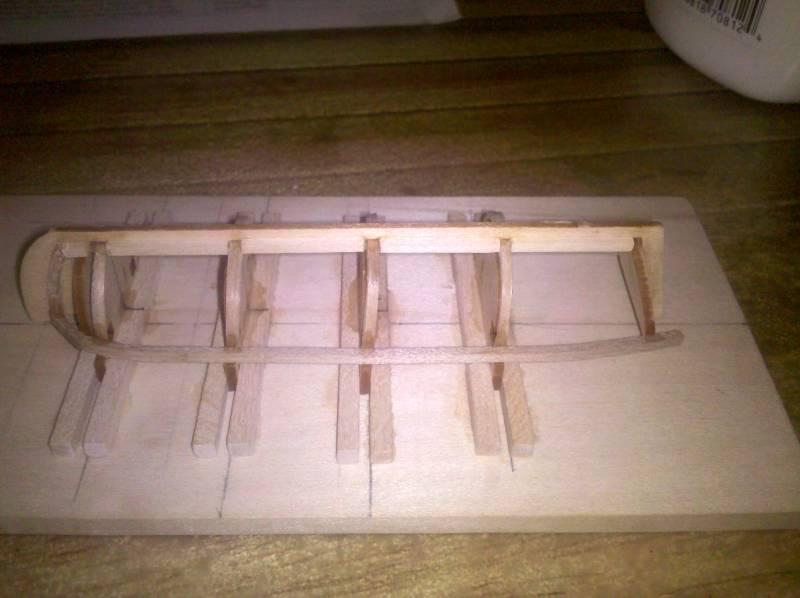
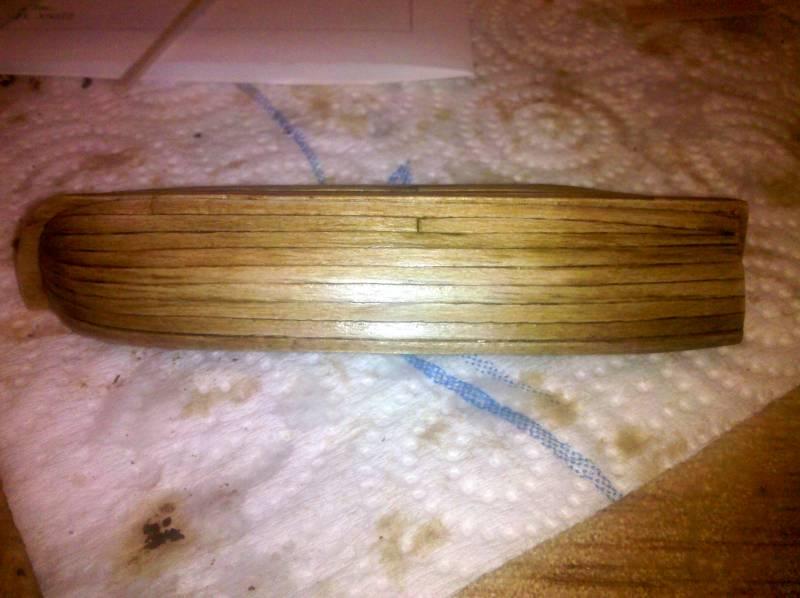
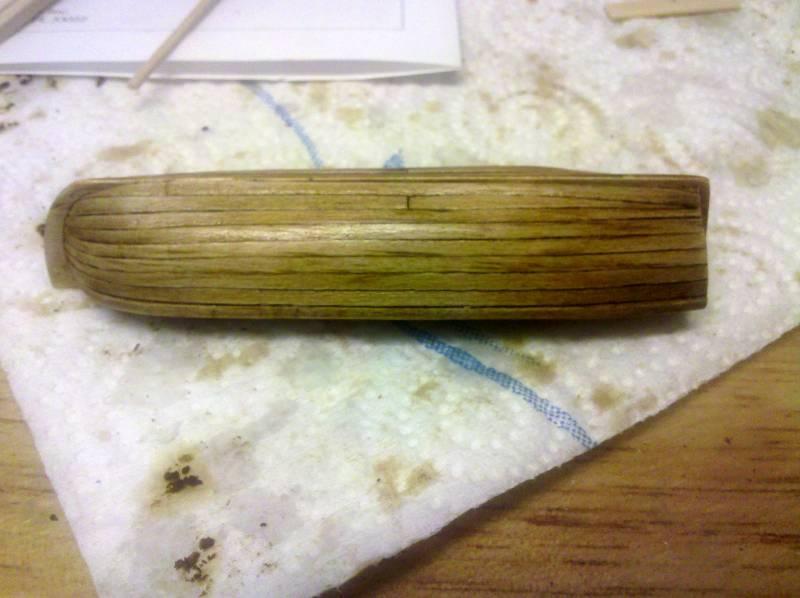
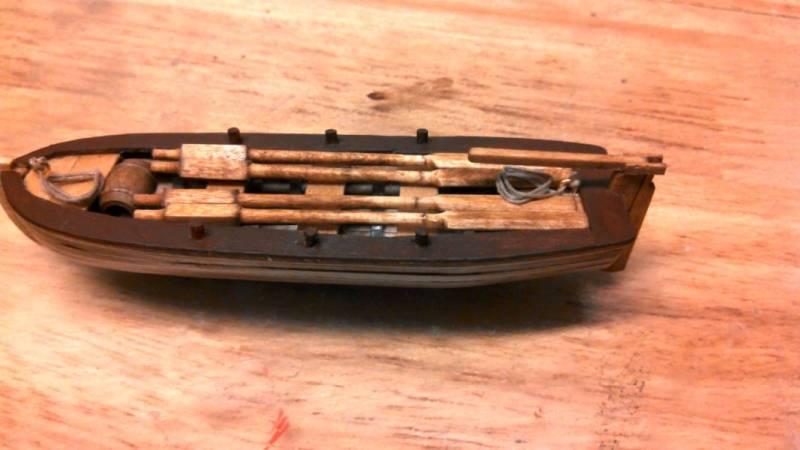
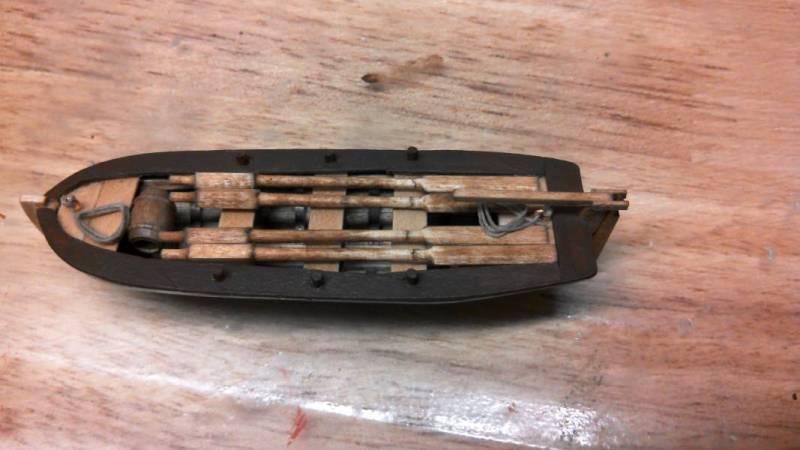
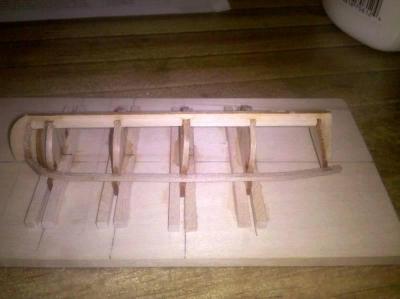
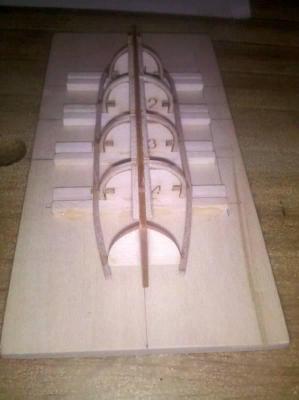
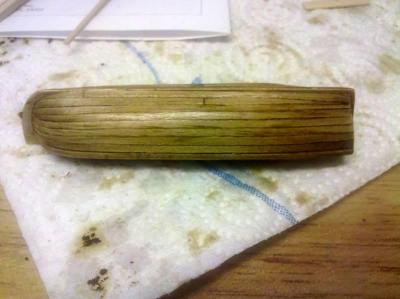
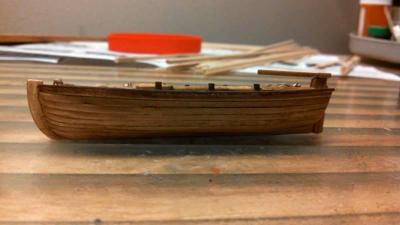
Next up is the small boats. The kit does not include them but for sure the real ship had them. I bought 2 plank on frame kits from Model Expo that were very close to what the boats were probably like. Working with such small boats was more difficult than the ship itself. I added features such as water barrels, oars, oar posts, boat hooks, and fore and aft hoisting and mooring lines.


- 264 replies
-
- 1
-
-
- sovereign of the seas
- mantua
- (and 1 more)
-
My computer and network have been down for a few days, so no updates. It is back up so I will post more photos soon. Vince P.
-
I have that book and have been using it for reference. Lots of info and illustrations. Vince P.
-
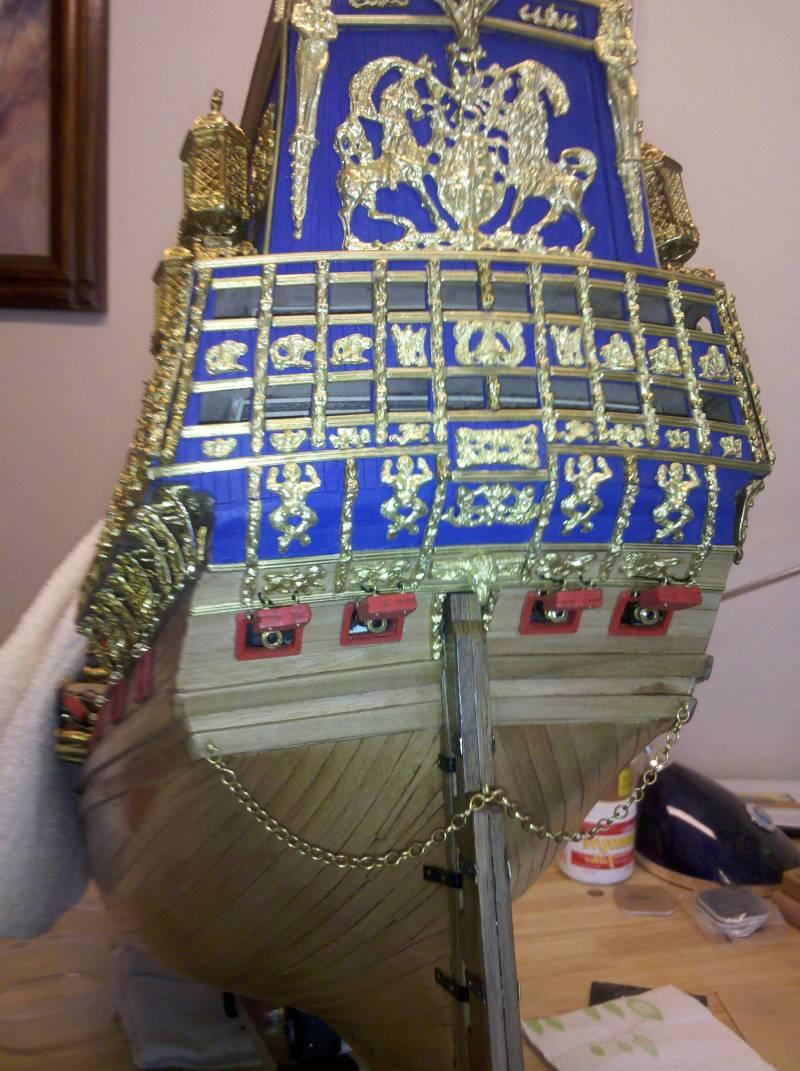
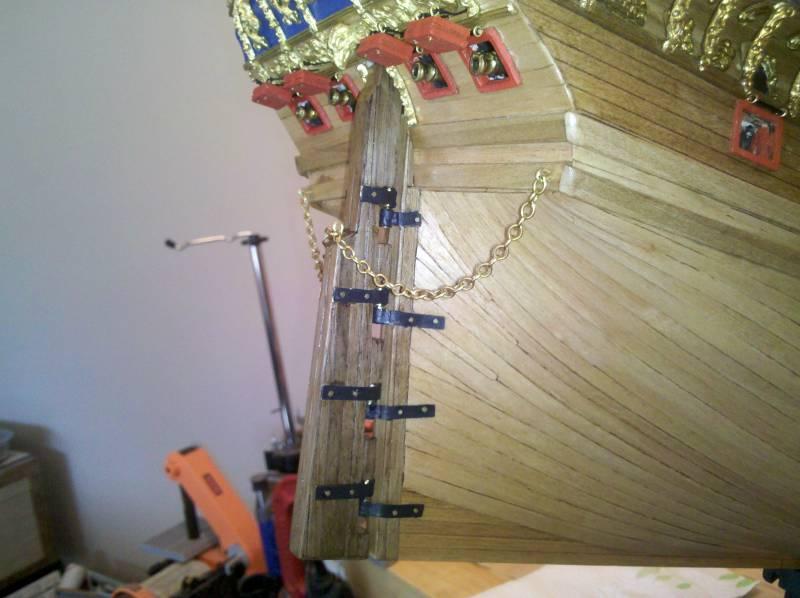
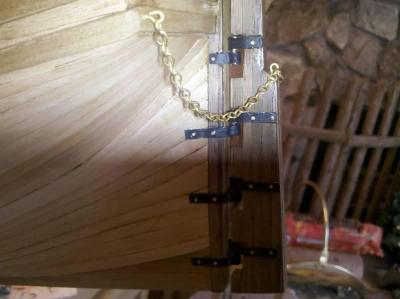
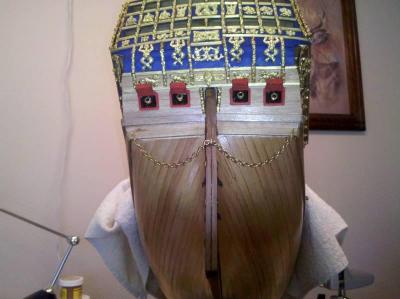
Working on the rudder. The base plywood cutout was cracked and badly warped. I had to cut it and staighten it out and then splice it back together. Since it will be planked over with walnut strips, it will look fine. I also made a change to the sternpost. I had it planked with horizontal strips like the instructions called for, and got a lot of feedback from other modellers that it should be planked vertically. I did some research and found ships with it planked both ways. The base stern post was constructed with heavy pieces of timber joined vertically. Some ships however planked over this horizontally to match the planking of the hull. The SOS however did not, so I changed it to match the rudder which runs vertically. After the rudder was mounted I installed the stern gunport doors and guns. This should complete the stern.


- 264 replies
-
- 1
-
-
- sovereign of the seas
- mantua
- (and 1 more)
-
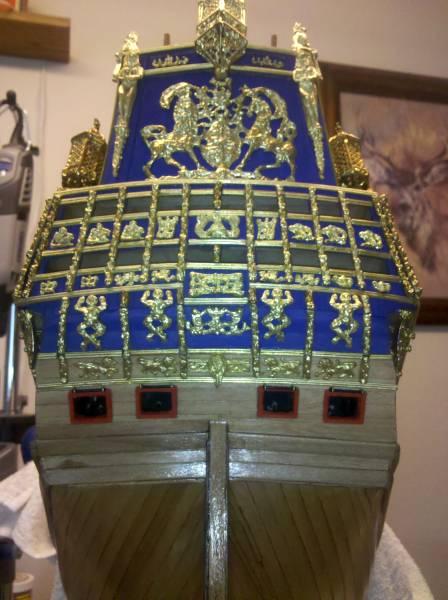
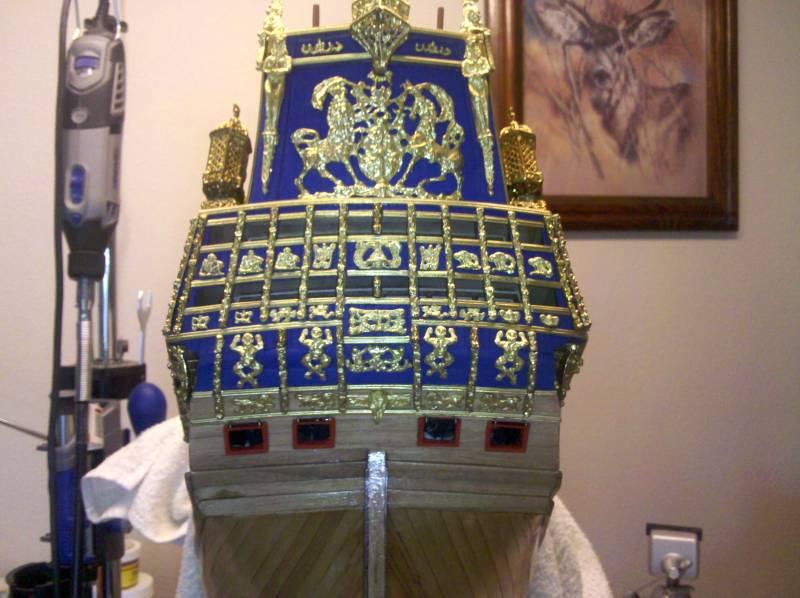
Cutting out and framing the stern gun ports. I will not add the doors and guns until the rudder is finished and mounted. Vince


- 264 replies
-
- 1
-
-
- sovereign of the seas
- mantua
- (and 1 more)
-
Very nice touch to add the weathered look. Don't think I have ever seen another model with that realistic feature. Vince
- 389 replies
-
- 1
-
-
- supply
- caldercraft
- (and 1 more)
-
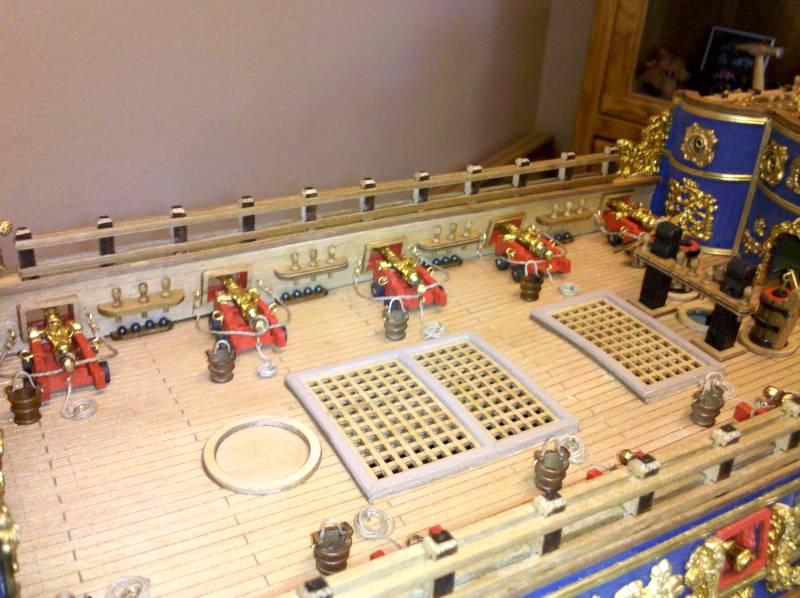
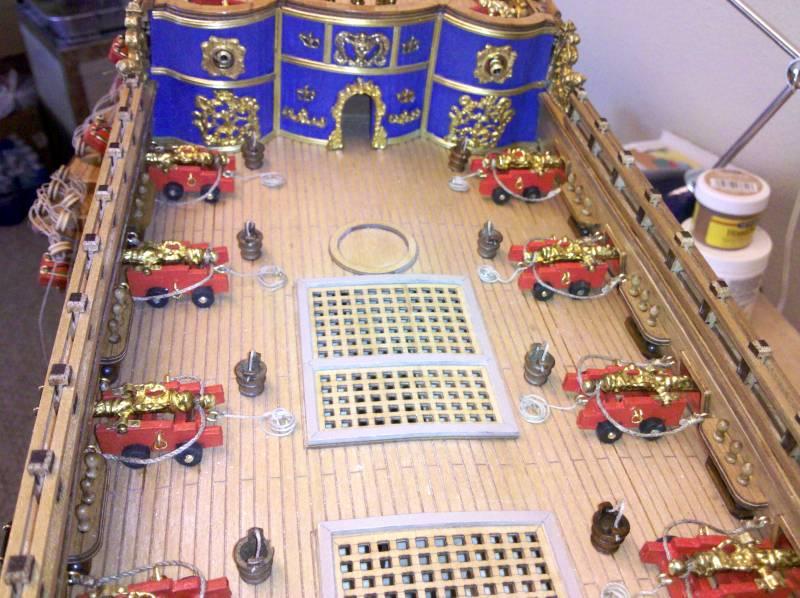
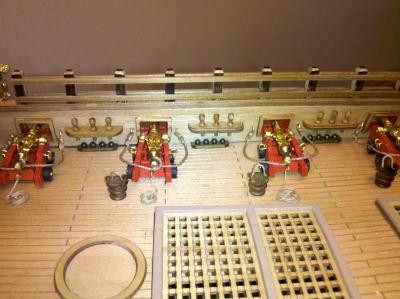
The completed main deck gun battery. I added the cannon ball racks, water buckets, and rigging for an additional touch. Vince P.


- 264 replies
-
- 2
-
-
- sovereign of the seas
- mantua
- (and 1 more)
-
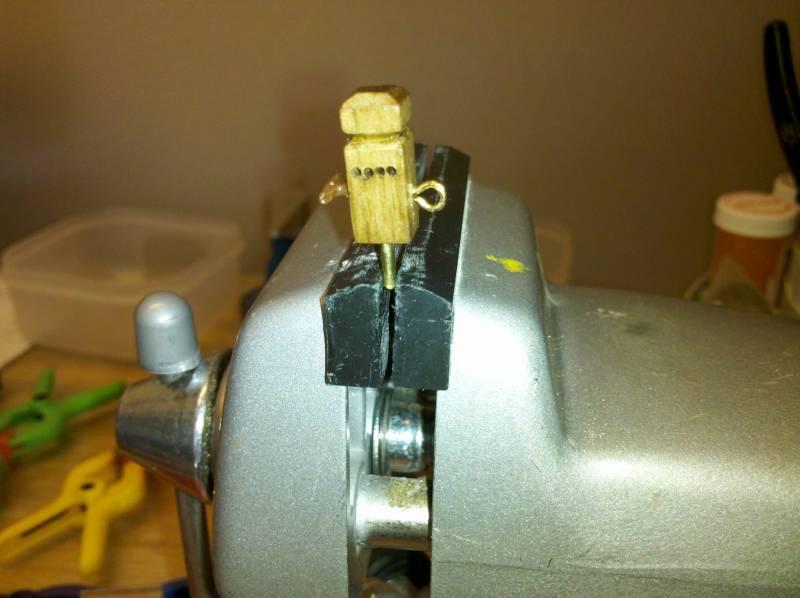
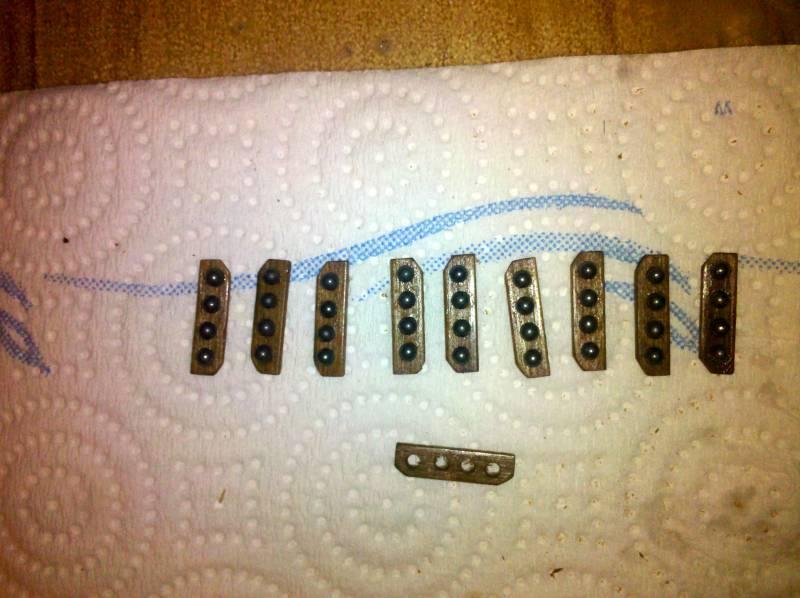
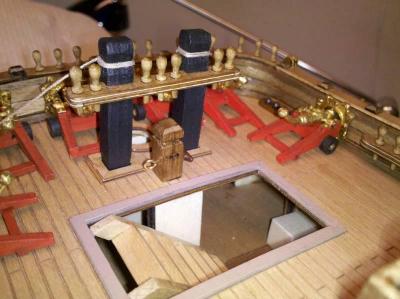
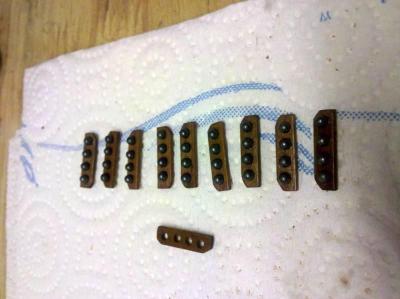
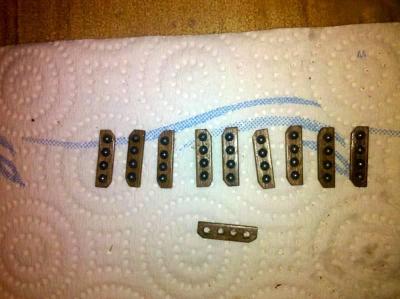
For hoisting the lower yards, the kit uses jeers. According to "The English Treatise of Rigging 1625", ships of the period were using ties and halliards since jeers did not fully replace them until about 50 years later. The SOS however was built around 1637 and was in the transition period and actually used both. The halliards were fastened to the deck at the base of the mast with knights. The photos show the ones I made out of 6x6mm walnut stock. Vince P.
-
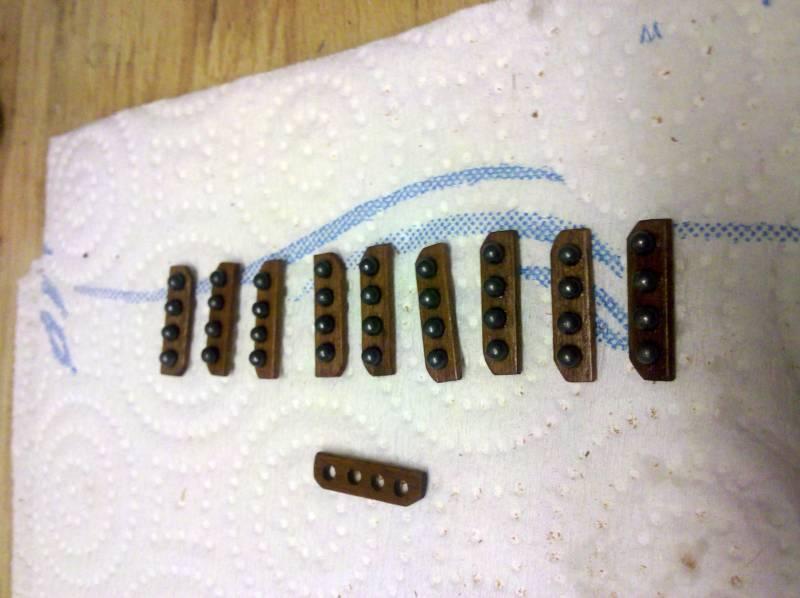
Cannon ball racks with cannon balls for the upper decks. The kit did not include these. I made the racks out of walnut and used #6 shot from some old shotgun shells for the cannon balls. Vince P.
- 264 replies
-
- 1
-
-
- sovereign of the seas
- mantua
- (and 1 more)