pirozzi
-
Posts
843 -
Joined
-
Last visited
Content Type
Profiles
Forums
Gallery
Events
Everything posted by pirozzi
-
Yes I believe it is Euromodels. I am interested in the Royal William. Vince P.
-
Is anyone familiar with Euro Kits? I am contemplating one of their high end kits for my next project and was wondering how they are. Are their kits high quality as far as plans, materials, and accuracy? I am familiar with most manufacturers such as Corel, Mamoli, Mantua etc., but don't know much about Euro. Thanks for the help in advance, Vince P.
-
 Hi Everybody. I haven't forgot about my build log. I have been out of town on and off during hunting season, so a little slow on the building. I am working on rattling the lower mainmast shrouds and this is a slow process. Almost done. Photos to follow in a few days. Thanks, Vince P.
 -
Standing rigging color preference and historical musings
pirozzi replied to Chuck's topic in Masting, rigging and sails
Thank you... -
Standing rigging color preference and historical musings
pirozzi replied to Chuck's topic in Masting, rigging and sails
Hi Chuck, I like the dark brown. What sizes do you supply and how would I purchase some when I need it. I am almost finished with my currect build and would like to use your rope for my next. Thanks, Vince P. -
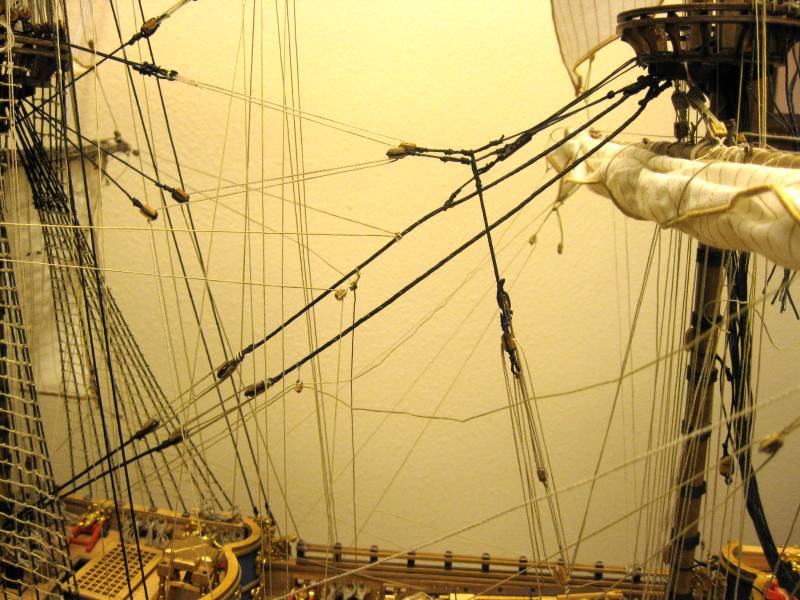
The lower shrouds of the main mast are rigged and I am now starting the rattlings. Clove hitches by the hundreds again. Vince P.
- 264 replies
-
- 4
-

-
- sovereign of the seas
- mantua
- (and 1 more)
-
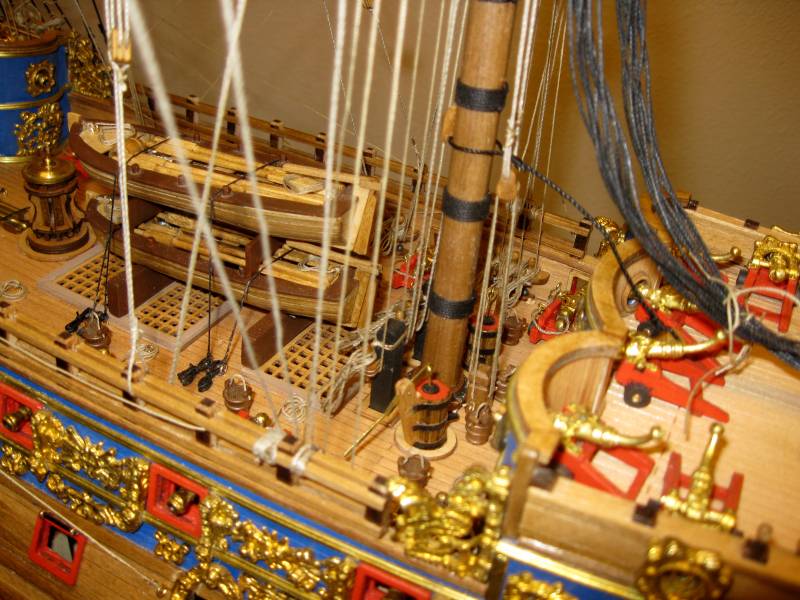
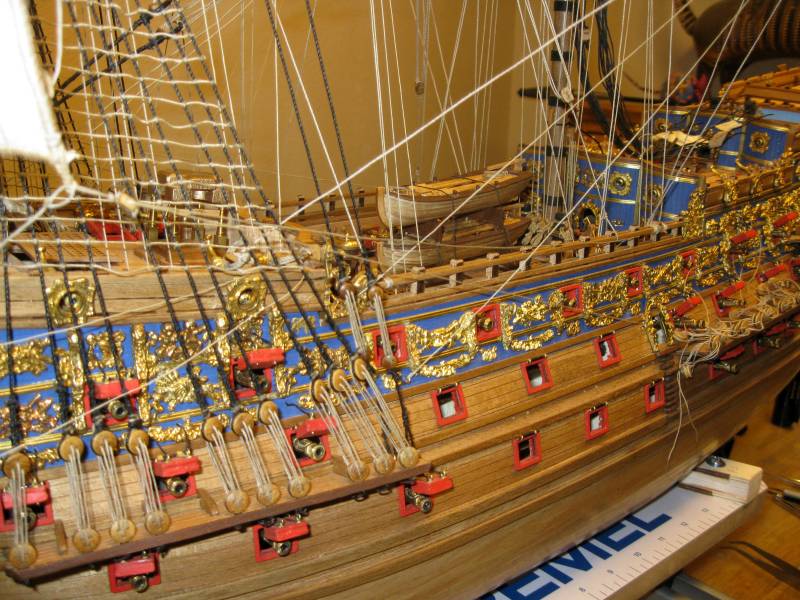
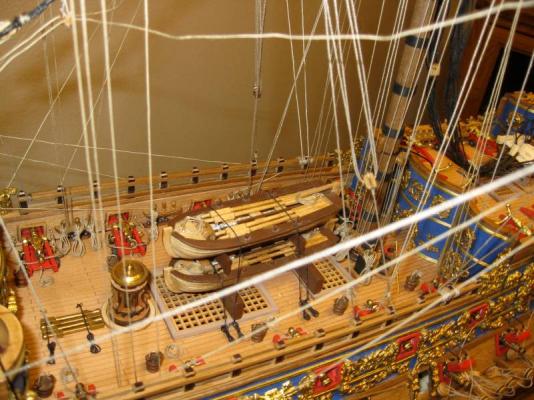
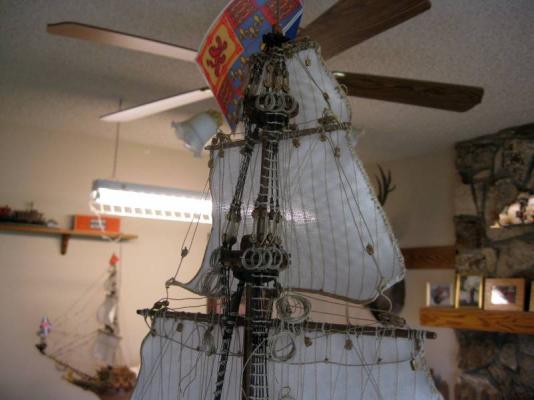
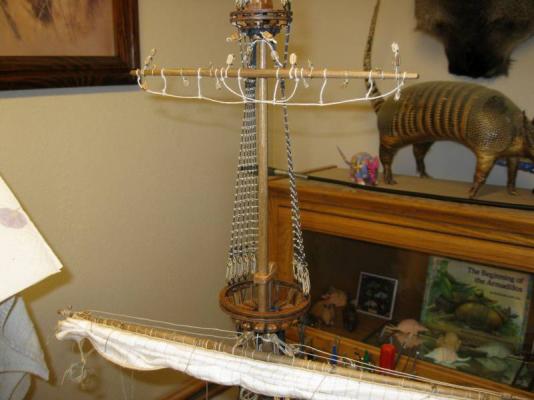
The main mast standing and running rigging is completed with the exception of the lower shrouds. They are up next and the last to be completed, since it makes it much easier to access the decks for belaying the rigging without them in the way. The shrouds are not my favorite part, since rattling is a tedious and sometime boring job. But any part of ship building is still fun for me. As I had mentioned earlier in this log, I literally doubled the number of pin rails and belay points from the kit plans. With the more complex rigging sceme I used, and the addition of sails, I used most every belay point and then some. Vince P.


- 264 replies
-
- 2
-
-
- sovereign of the seas
- mantua
- (and 1 more)
-
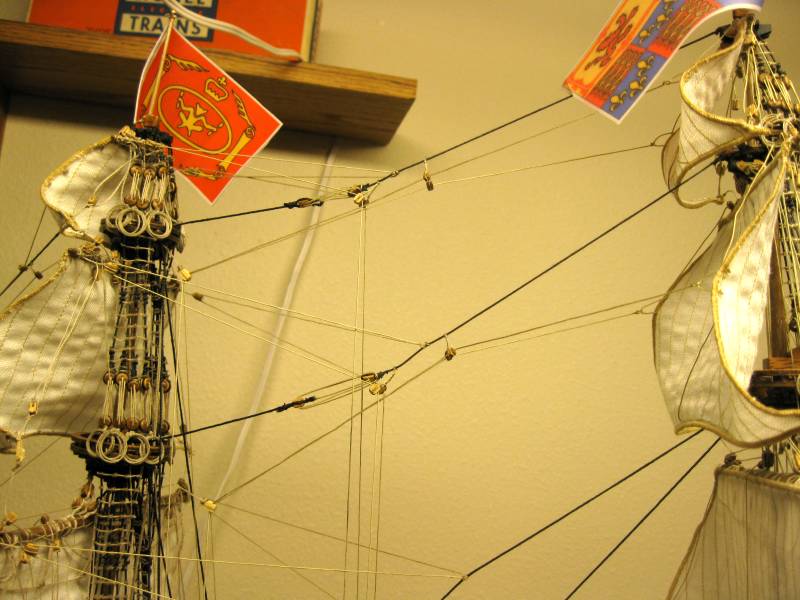
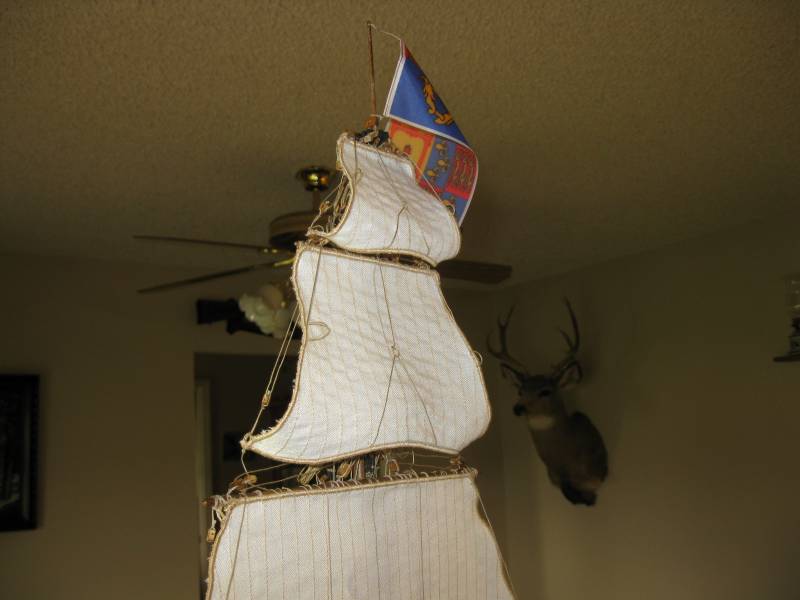
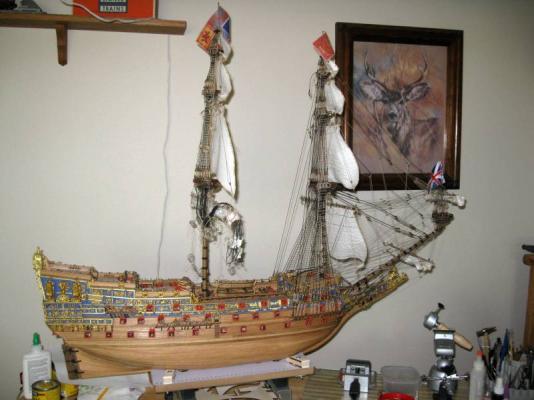
The main mast is now stepped into the ship. Next up is completing the standing and running rigging associated with this mast. It is a lot of rigging. My favorite part. Vince P.


- 264 replies
-
- 5
-
-
- sovereign of the seas
- mantua
- (and 1 more)
-
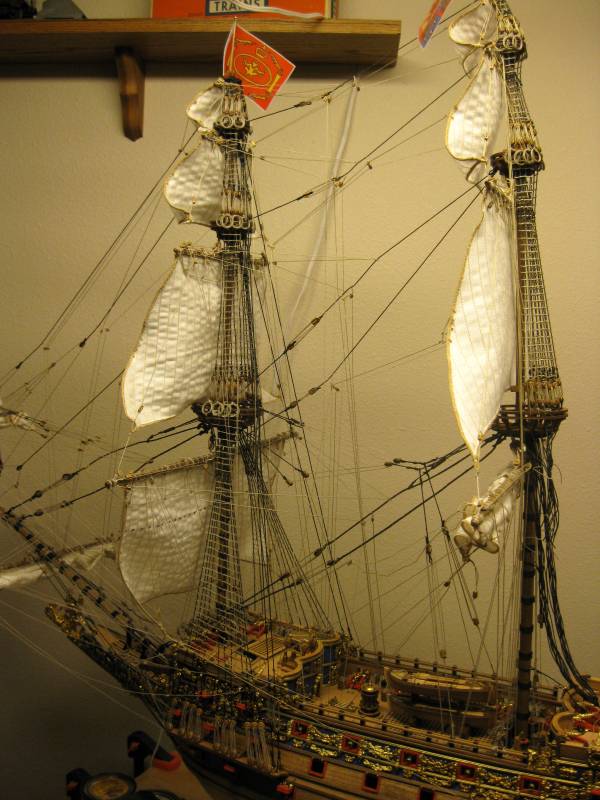
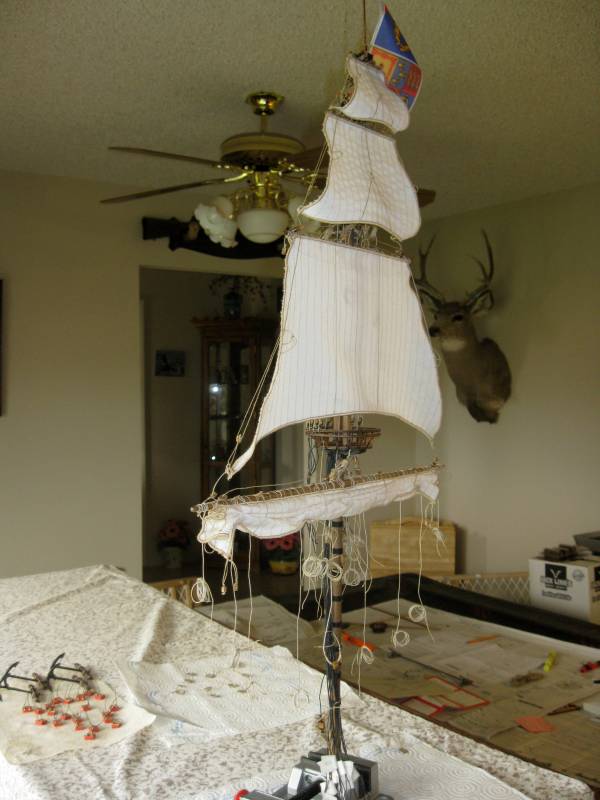
The main mast is finished. As I said before, when working on the masts, I am completing as much as possible before stepping them on into the ship. This may seem unorthodox to some, but for me it is a matter of necessity. When assembling the masts and rigging them, especially with sails, it is necessary to rotate them many many times in order to access all sides. With the sheer size of this model and the fact that my work bench is in a corner of the room, rotating the whole ship with the masts in place is very cumbersome and somewhat hazardous. Having the mast in a movable table vise makes it very easy to rotate in any direction, even tilting if necessary. After the mast is stepped, it will still be necessary to rotate it some in order to finish the lower shrouds and attach the running rigging to the deck belay points, but nowhere as much as with the masts assembled on the ship. For this model, this methed has worked very nicely for me. Next up is to step the mast and finished it's rigging. That is a fun part that I really enjoy. Vince P.
- 264 replies
-
- 6
-
-
- sovereign of the seas
- mantua
- (and 1 more)
-
Hi Andy, I am also building the SOS, and have a build log going. I sure wish I had a work shop like yours. Vince P.
-
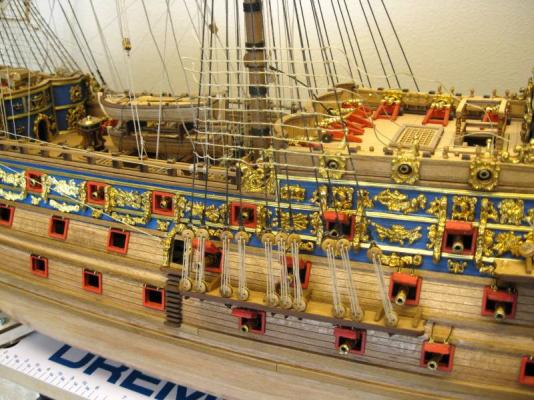
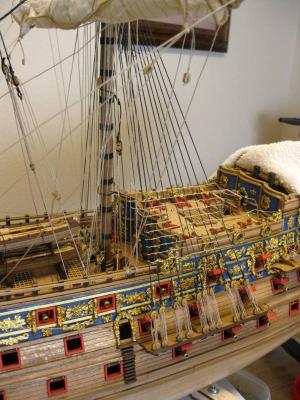
Thanks for the compliments Hipexec, On the gunports, the kit came with hardwood gun port templates, which are actually part of the second planking layer when installed. The instructions called for placing these templates temporarilly and scribing the square holes with pencil, and then removing them and cutting the holes in the planking. Instead, I placed the templates permanently and used the hard wood frame to guide in cutting square holes. I drilled 5 small holes, one in center and one in each corner and then used a Dremel high speed cutting tool to cut out each port, and finished it with a file. The template made it easier to get the holes square and the same size. (See the first page of the build log for photos.) Vince P.
- 264 replies
-
- 1
-
-
- sovereign of the seas
- mantua
- (and 1 more)
-
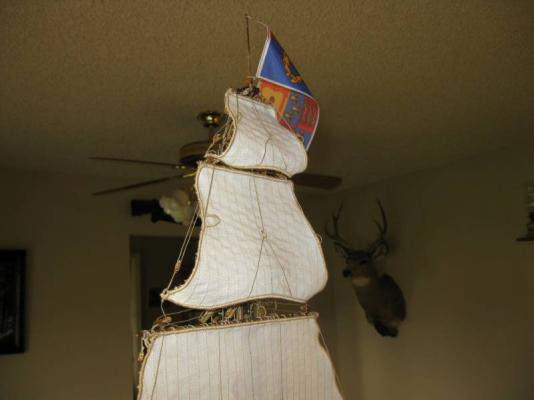
The main royal yard in place. All of the main yards are now in place. Next comes hanging the sails and running rigging. Vince P.
- 264 replies
-
- 2
-
-
- sovereign of the seas
- mantua
- (and 1 more)
-
The main top gallant yard is mounted and awaiting running rigging and sail. Vince P.

- 264 replies
-
- 1
-
-
- sovereign of the seas
- mantua
- (and 1 more)
-
The main topsail yard in place awaiting running rigging and sail. Vince P.
- 264 replies
-
- 1
-
-
- sovereign of the seas
- mantua
- (and 1 more)
-
Nice idea. I am interested on how it works out once it is constructed and used. Vince P.
-
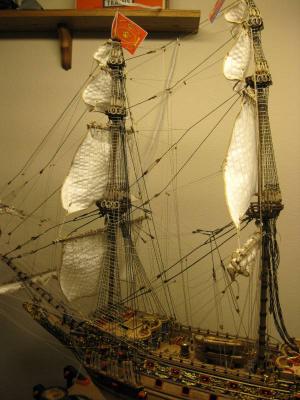
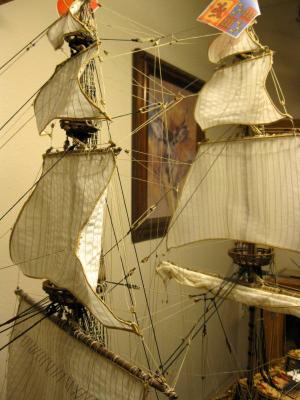
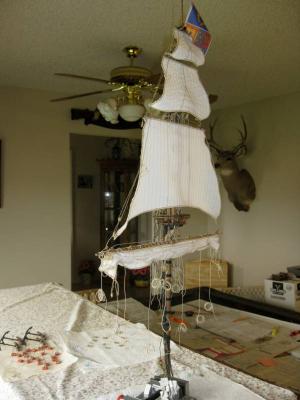
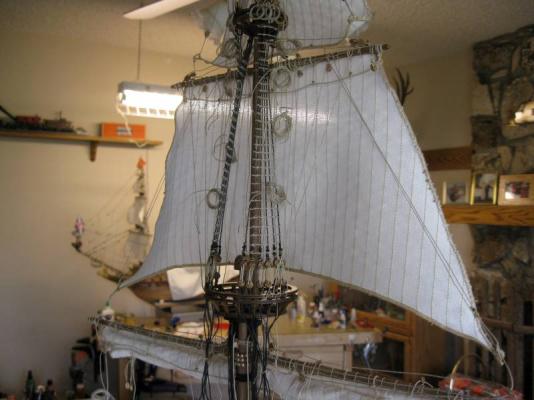
The main sail after loose furling. I decided to do this only with the main sail so it does not cover up the main deck. All of the other main mast sails will be set in full sail. Vince P.


- 264 replies
-
- 4
-
-
- sovereign of the seas
- mantua
- (and 1 more)
-
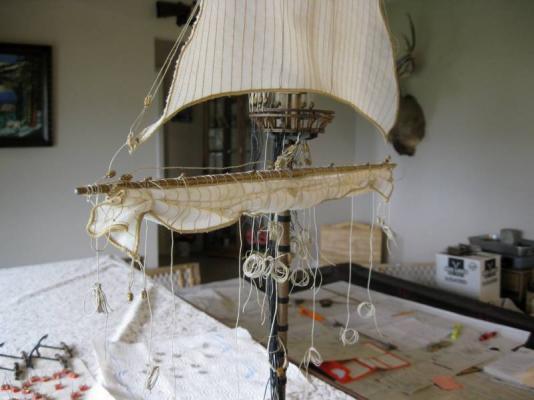
The main sail with the running installed. Vince P.


- 264 replies
-
- 1
-
-
- sovereign of the seas
- mantua
- (and 1 more)
-
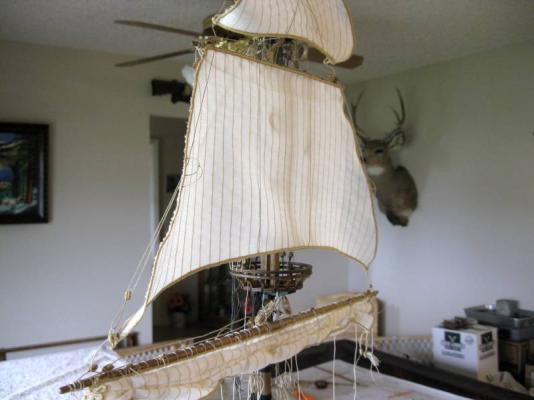
The main sail is laced to the yard. Next up is to attach the running rigging that starts at the sail and yard. Vince P.


- 264 replies
-
- 1
-
-
- sovereign of the seas
- mantua
- (and 1 more)
-
Hanging the main sail. It is critical to pull the ends tight by passing the earring on the end cringle and pulling outward on both ends. The sail now has no sagging in the middle, which will cause bunching when it is sewn on to the yard. The sewing part comes next. Vince P.


- 264 replies
-
- 1
-
-
- sovereign of the seas
- mantua
- (and 1 more)
-
Denis, I think the guns with the full rigging do look good afterall. Not too crowded. Nice work. Vince
- 555 replies
-
- 1
-
-
- sovereign of the seas
- mantua
- (and 1 more)
-
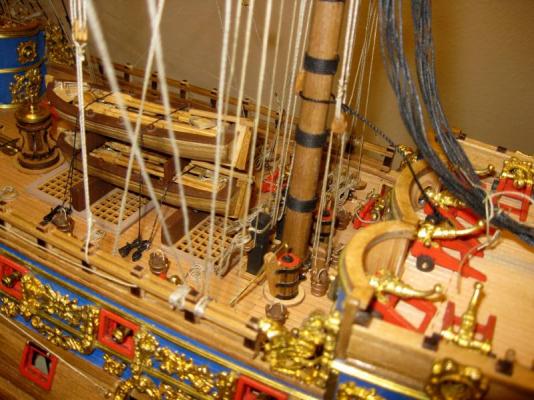
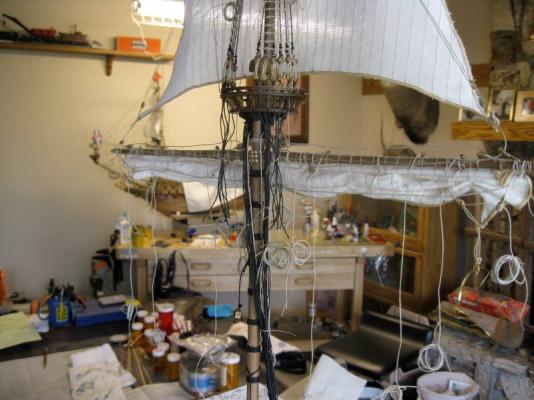
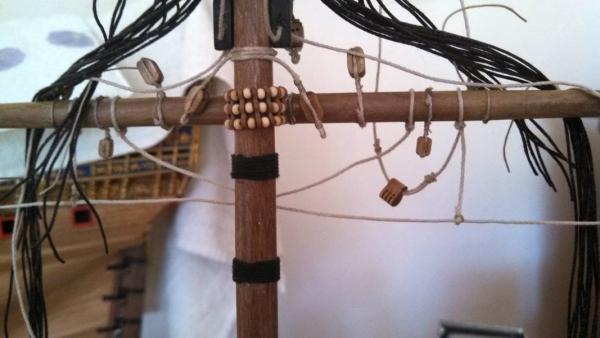
Parrels for the lower yard on the mainmast. Like I said before on the foremast, the kit does not include these, but it is a nice addition. I bought little parrel kits from Amati and they are the correct scale. They are a little hard to thread and rig, but it is fun. Vince P.
-
Lower yard placed on main mast with all running rigging blocks attached. Next up is rigging the parrels and hanging the sail. Vince P.


- 264 replies
-
- 2
-
-
- sovereign of the seas
- mantua
- (and 1 more)
-
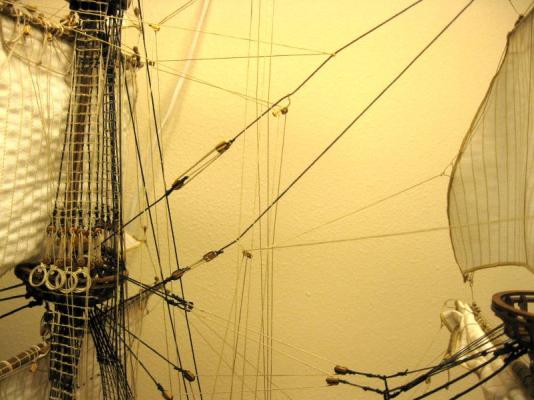
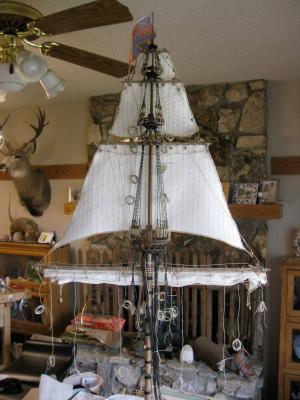
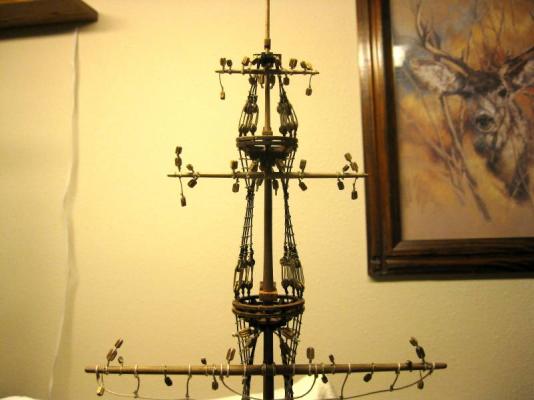
OK, I finally finished the upper shrouds and ratlines for the main mast. I am dreaming of clove hitches. Next up is to start the yards. All will be done off the ship. Vince P.


- 264 replies
-
- 3
-
-
- sovereign of the seas
- mantua
- (and 1 more)
-
Hi Mates, I have not posted on this log in a while, but it is because I am at a point where progress appears slow and I don't want to put photos that show little progress. I am doing the upper shrouds and ratlines on the main mast. Since this ship has 5 stage masts, that is a lot of clove hitches. I am almost finished and will post some more photos in about 2 days or so. Vince P.
- 264 replies
-
- 1
-
-
- sovereign of the seas
- mantua
- (and 1 more)
-
I have noticed that many modellers are too fixated on getting everything to look perfect. If you look at real ships of old, they were anything but perfect. They were used in a harsh environment and showed wear and tear. . Vince P.