-
Posts
1,003 -
Joined
-
Last visited
About Wintergreen

- Birthday 01/21/1969
Profile Information
-
Gender
Male
-
Location
Åtvidaberg, Sweden
-
Interests
ship modelling, bike riding, wood working
Recent Profile Visitors
The recent visitors block is disabled and is not being shown to other users.
-
 Wintergreen reacted to a post in a topic:
HMS Agamemnon by Henke - Caldercraft - 1:64
-
 Wintergreen reacted to a post in a topic:
HMS Bellona 1760 by SJSoane - Scale 1:64 - English 74-gun - as designed
-
 Wintergreen reacted to a post in a topic:
Beavers Prize 1777 by Mike Y - 1:48 - POF - Hahn style
-
 Wintergreen reacted to a post in a topic:
Beavers Prize 1777 by Mike Y - 1:48 - POF - Hahn style
-
 Wintergreen reacted to a post in a topic:
Cangarda 1901 by KeithAug - Scale 1:24 - Steam Yacht
-
 Mark Pearse reacted to a post in a topic:
Atlantica by Wintergreen – Scale 1:30 - POF - sail training ketch - a smack of English heritage
-
 Mark Pearse reacted to a post in a topic:
Atlantica by Wintergreen – Scale 1:30 - POF - sail training ketch - a smack of English heritage
-
 Colin B reacted to a post in a topic:
Atlantica by Wintergreen – Scale 1:30 - POF - sail training ketch - a smack of English heritage
-
 Wintergreen reacted to a post in a topic:
HMS Bellerophon 1786 by AON – scale 1:64 – 74-gun 3rd Rate Man of War - Arrogant-Class
-
 Wintergreen reacted to a post in a topic:
HMS Bellerophon 1786 by AON – scale 1:64 – 74-gun 3rd Rate Man of War - Arrogant-Class
-
 Mike Y reacted to a post in a topic:
Atlantica by Wintergreen – Scale 1:30 - POF - sail training ketch - a smack of English heritage
-
 Tony Hunt reacted to a post in a topic:
Atlantica by Wintergreen – Scale 1:30 - POF - sail training ketch - a smack of English heritage
-
 Nirvana reacted to a post in a topic:
Atlantica by Wintergreen – Scale 1:30 - POF - sail training ketch - a smack of English heritage
-
 KeithAug reacted to a post in a topic:
Atlantica by Wintergreen – Scale 1:30 - POF - sail training ketch - a smack of English heritage
-
 Keith Black reacted to a post in a topic:
Atlantica by Wintergreen – Scale 1:30 - POF - sail training ketch - a smack of English heritage
-
 Wintergreen reacted to a post in a topic:
Atlantica by Wintergreen – Scale 1:30 - POF - sail training ketch - a smack of English heritage
-
Mike, I just follow the book. In it it states that the planks are 120 mm wide, out of keroueng/keruing (teak look-alike). Sine they are laid swept I guess 120mm is quite enough to force into place. My skills att laying deck however, lacks a bit of finesse, will see how it turns out in the end. Probably will have to add a good amount of stuff on the deck to hide it...
-
 Colin B reacted to a post in a topic:
Atlantica by Wintergreen – Scale 1:30 - POF - sail training ketch - a smack of English heritage
-
 KeithAug reacted to a post in a topic:
Atlantica by Wintergreen – Scale 1:30 - POF - sail training ketch - a smack of English heritage
-
 Wintergreen reacted to a post in a topic:
Atlantica by Wintergreen – Scale 1:30 - POF - sail training ketch - a smack of English heritage
-
 Wintergreen reacted to a post in a topic:
HMS Tiger 1747 by Siggi52 - 1:48 - 60 gun ship from NMM plans
-
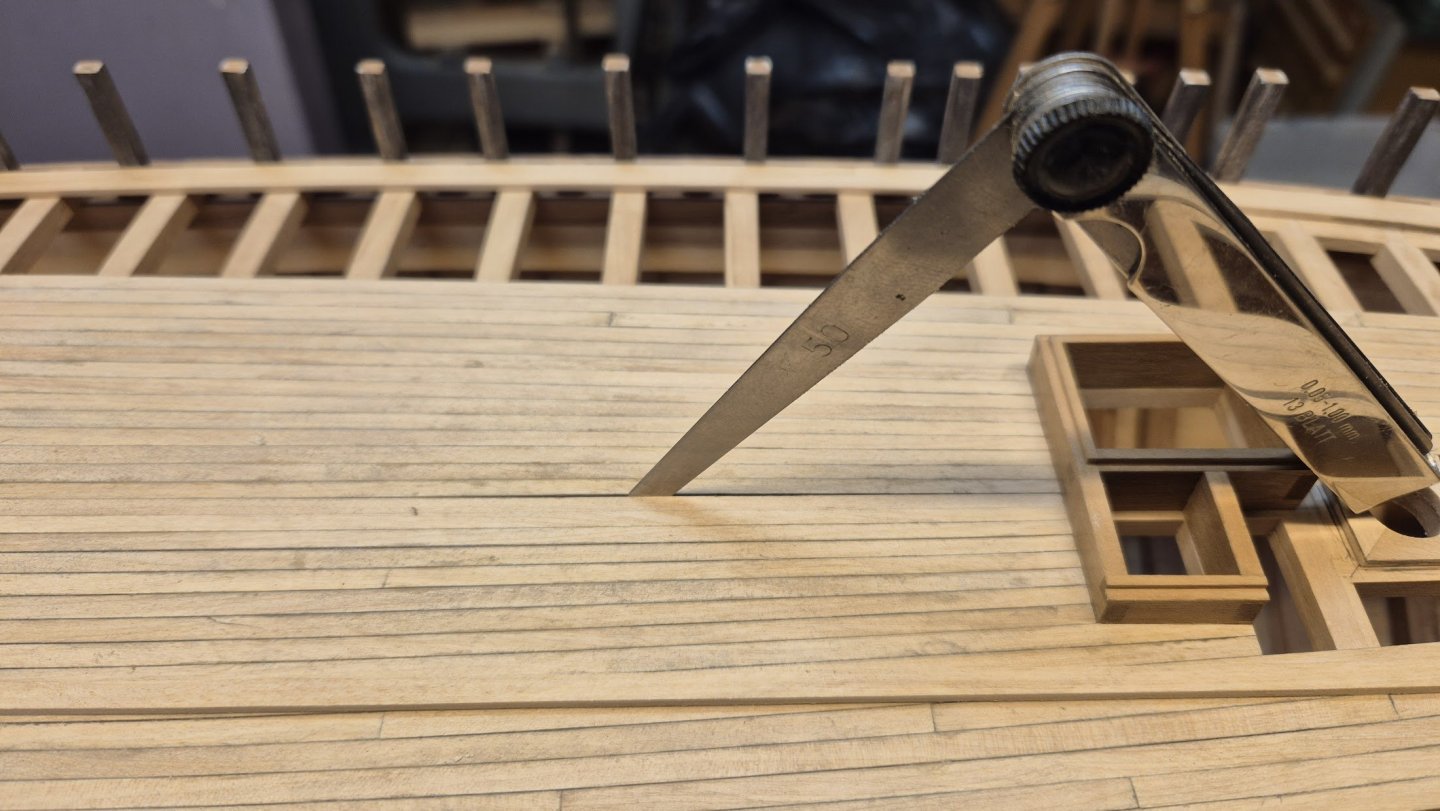
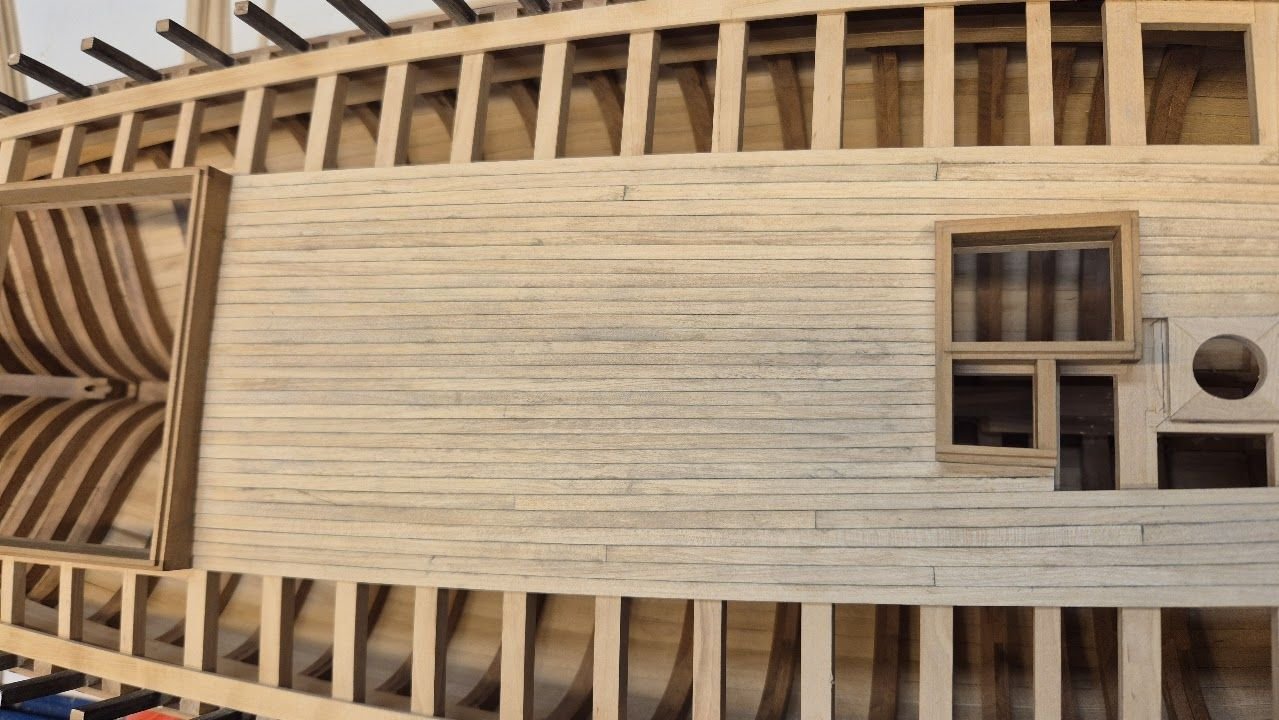
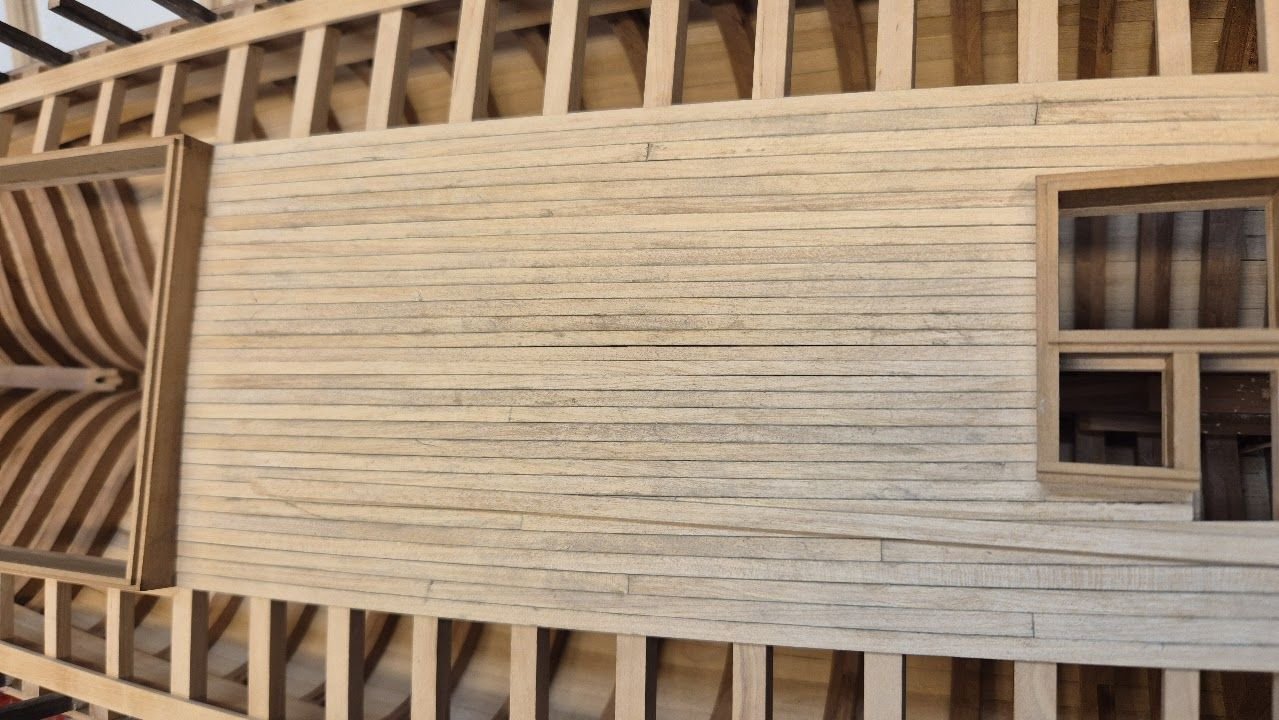
Thank you John and Andy and all for their "likes". So, just a couple-three pictures to show what we all are so familiar with. Here I'm closing up the deck between the main hatch and the forward hatch/companionway. First try. Doesn't look all that bad, right? Well, here is the evidense that I can do better 😉 "50" stands for half a millimeter, (1/32"). 2nd try, a little while later and no gauge fits in between. Well, that was the easy part of the deck... next up I will close the foredeck. But that's a chore for another day. Cheers!
-
Wintergreen started following Tally Ho by vaddoc - scale 1:12 (maybe) - as rebuilt by Leo
-
John, Keith - thank you lads! During the hiatus I have had some serious thoughts, like, "I'm not old enough for this" or "what's the point, really?" These thoughts are not unique, I understand that, and they are also coloured by my work, which has been quite stressful the last two semesters. The icing on the cake this fall was that my workshop heater broke down. Yay. No heating - no building. So I knocked off some other long overdue chores (like fixing one of the wheelbarrows, a punctured tire and a derelict state overall). Finally, with a new heater installed, I could start to think of returning to the build. So, this last Friday I vacuumed the shop and did a fair bit of tidying up (cobwebs between the bulwark stanchions, says a lot..) and here I am. The I did the unwise thing to browse through some other build logs, looking at masters of this craft displaying their progress... oh man, there are some really talented lads here on MSW... and again I felt the sting of inferiority. For like 2 seconds, it is the same with training (of which I do a lot), compete with yourself, but take inspiration from those "above" you. End of thoughts. Get the glühwine and the gingernuts out, Christmas is coming!
-
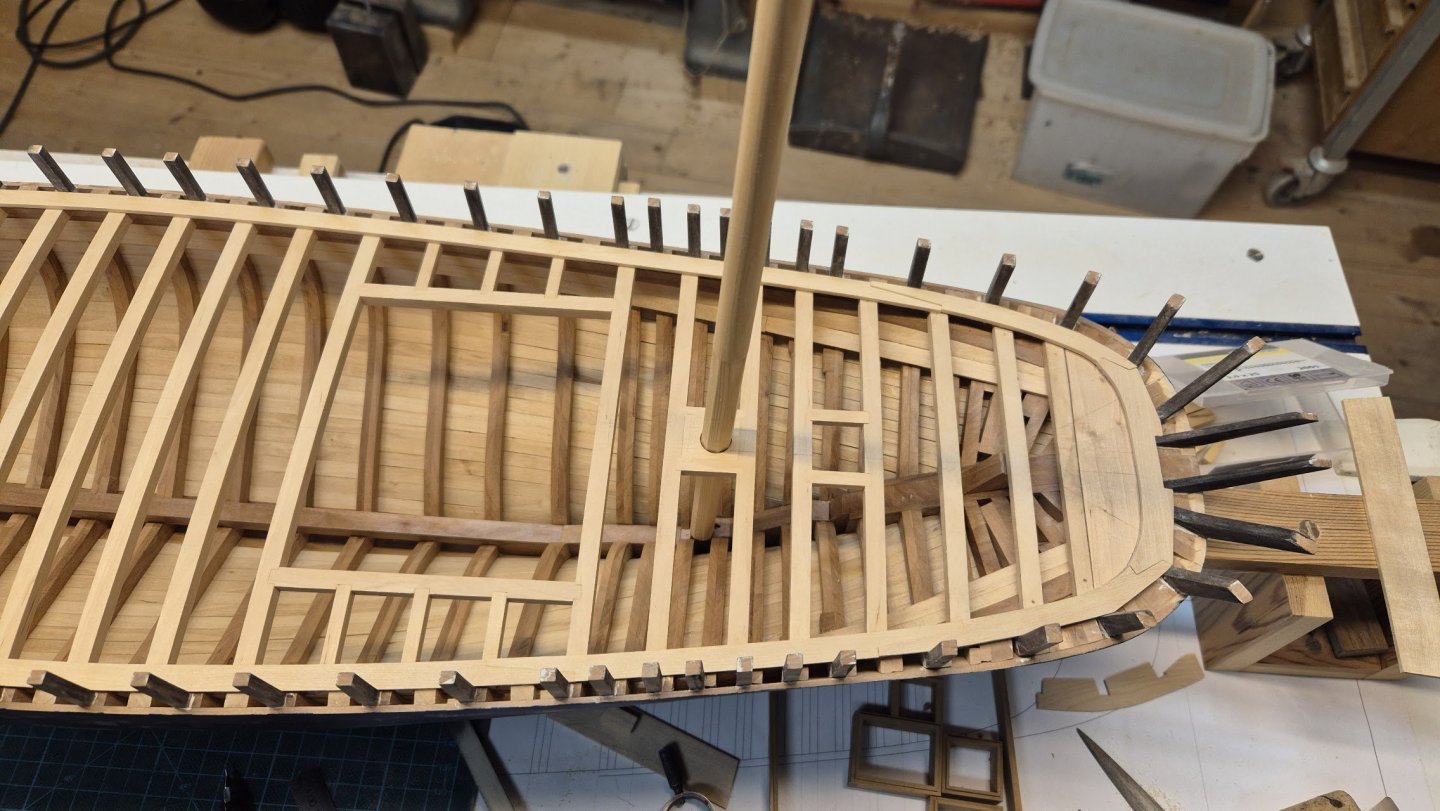
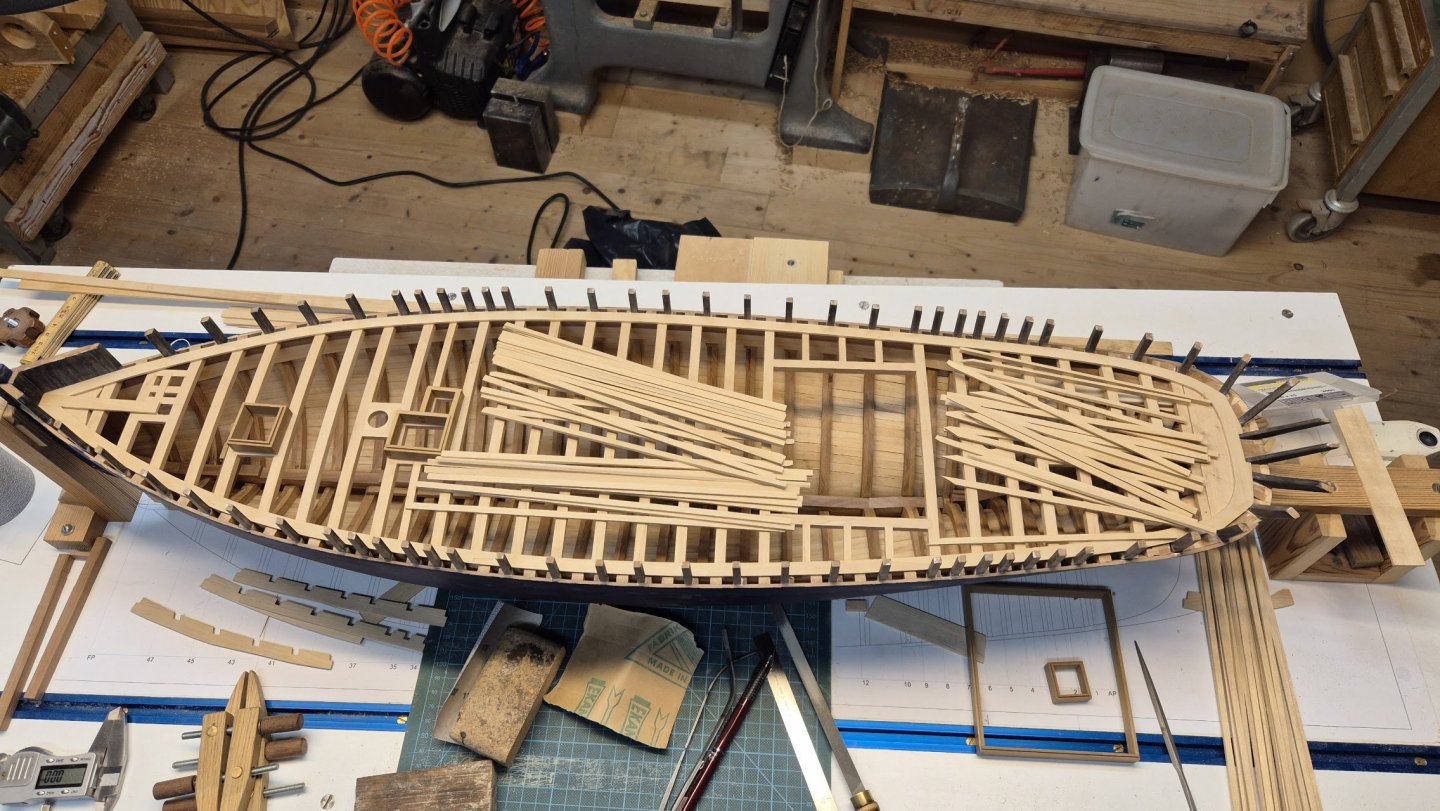
IF, by any chance you have given up on me, I don't blame. I have as well from time to time. My last previous comment: and that contemplating has taken the better part of 11 months.. in February I ended up in some kind of a limbo and could not decide wich way to lay the deck. Although I havent been staring at the build for 11 straight months, it has been in the back of my mind nevertheless. Finally, I decided to "wing-it". So here is my, again, re-start of the build. (as you know, I tend to make progress during the muggy and dark season, here on the northern hemisphere). Have good one!
-
Maybe it is one of those AI rendered pictures where people have 13 fingers and three arms?
- 969 replies
-
- hahn
- oliver cromwell
-
(and 1 more)
Tagged with:
-
Thank you guys! Yes Keith, heating is a real plus (pun intended) during the dark, damp and cold season. And the space is convenient as well. I could of course do with a smaller space, but then all the big machinery would have to go and be replaced by more appropriate sized ditos. But, it's the Parkinsons law in effect, all available space/time/money is used up to its respective limit. (Check it out, it is a real thing). Than you Michael! I try to take it slow and progress thoughtfully. It makes for fewer re-do's... right now I am contemplating how to lay the deck so that it looks gracefully with a slight inwards bend at both ends.
-
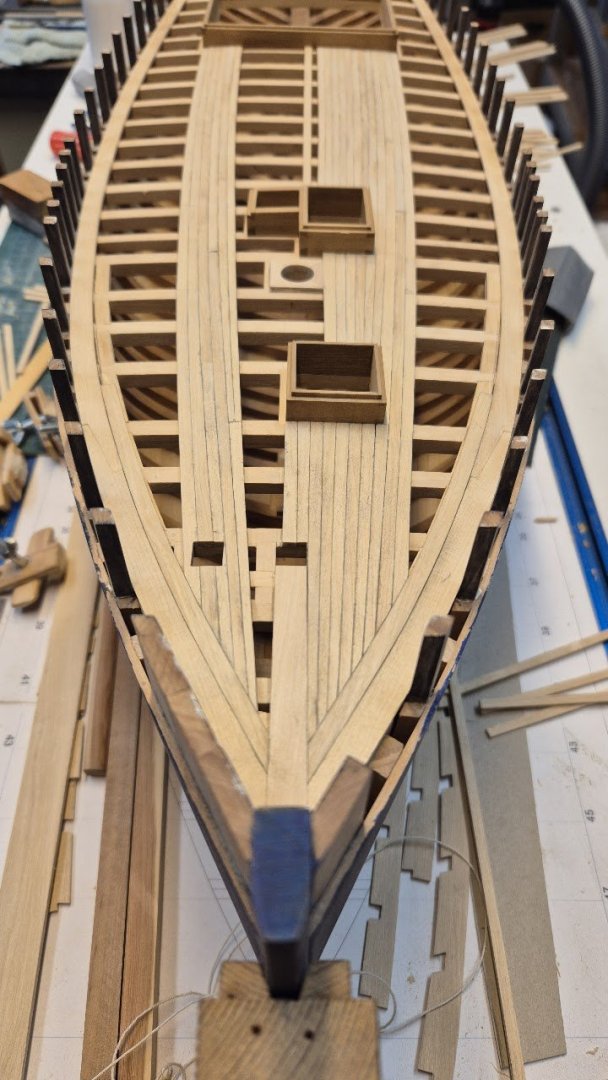
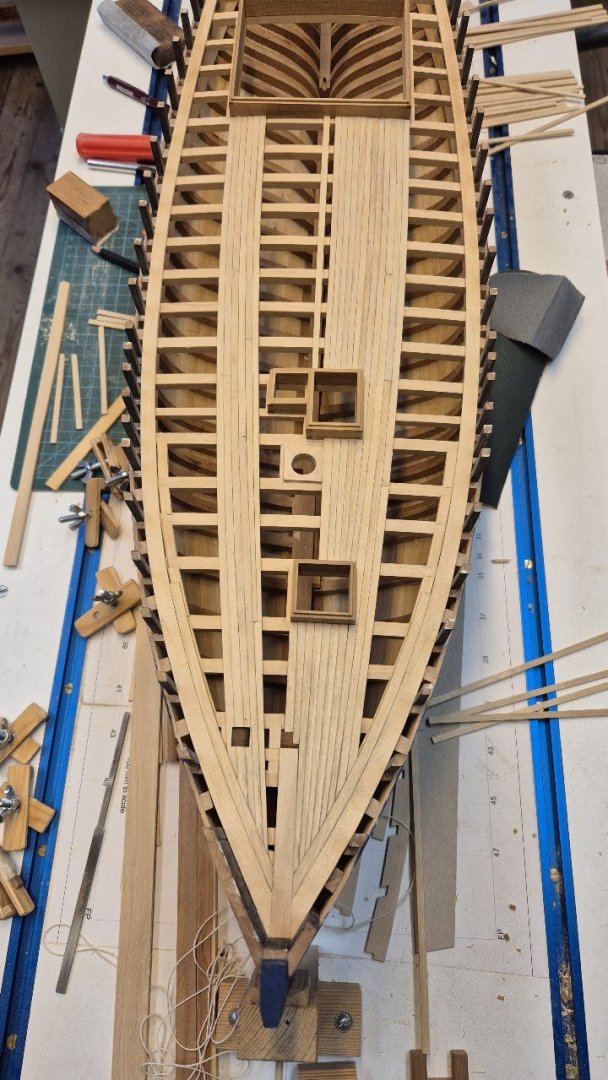
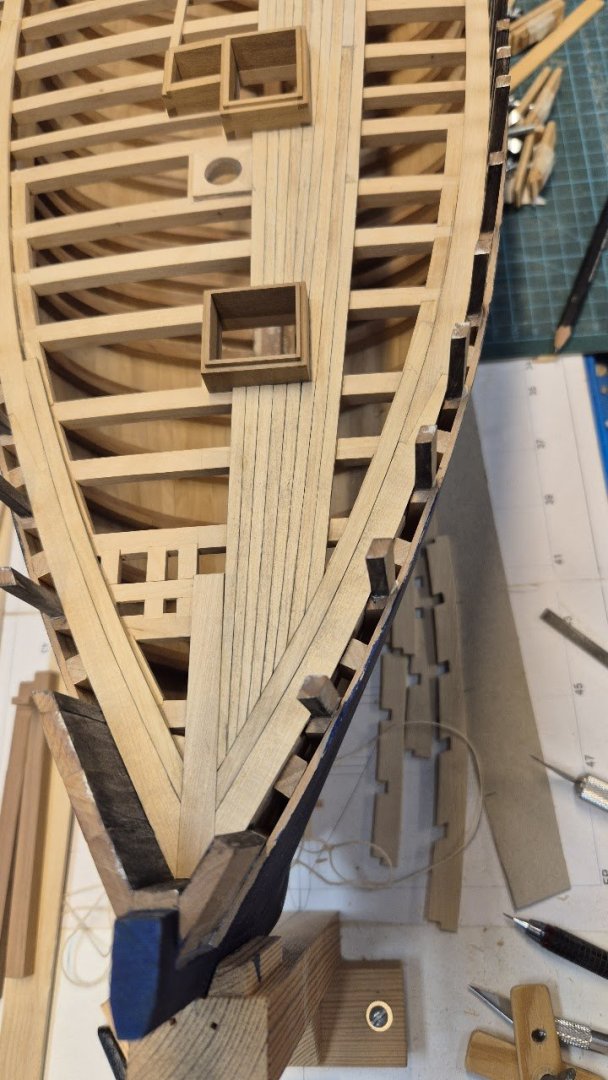
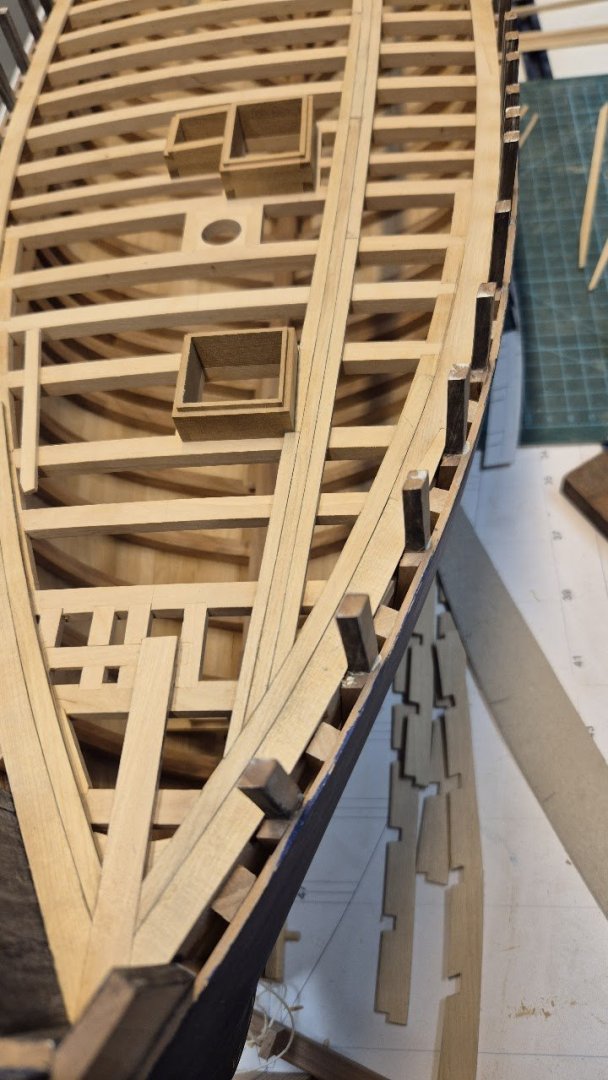
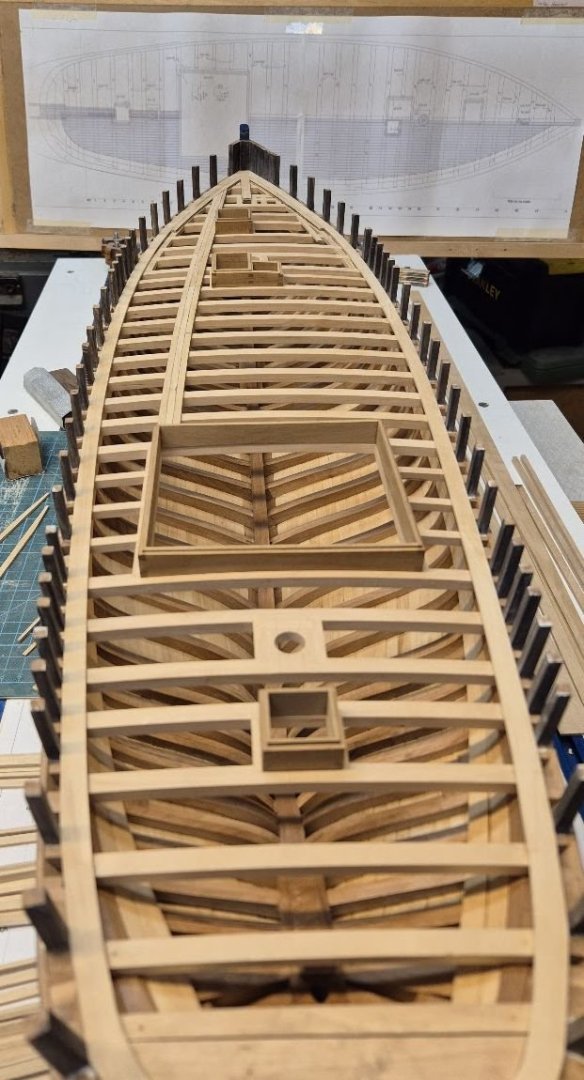
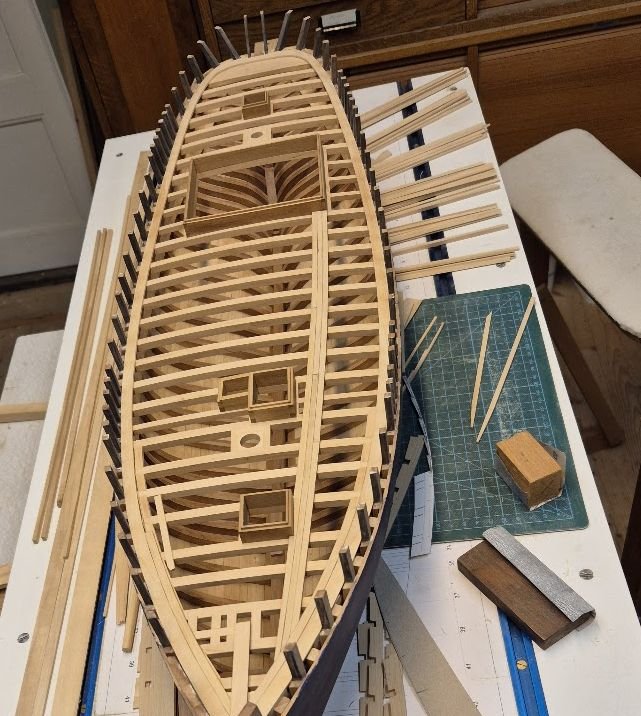
So, fighting my deamons, both real and imaginary, takes time. But a quick update on the joinery I can give you (hopefully it still qualifies as "delightful", I guess John will be the judge of that). Note though, that the aft three pieces are not glued in at this photo. Then I got me a puzzle. However there are some drawbacks in comparison to a regular "off the shelf" puzzle. 1. It doesn't state on the box how many pieces it is. In fact, I didn't even get a box for it. 2. The instructions are "sparse", and that is stretching it a bit. It only says, "Start outwards and work you way towards the middle". Not very meny clues in that statement. 3. There is not even a clear picture of what the end result should look like! No box art or anything. As Whitney sang "how should I know???" Whish me luck guys! On a slightly more serious note, the deck is not laid workboat style, i.e. straight laid. Instead it is laid yacht style, meaning a slight curve for a more gracious appearance.
About us
Modelshipworld - Advancing Ship Modeling through Research
SSL Secured
Your security is important for us so this Website is SSL-Secured
NRG Mailing Address
Nautical Research Guild
237 South Lincoln Street
Westmont IL, 60559-1917
Model Ship World ® and the MSW logo are Registered Trademarks, and belong to the Nautical Research Guild (United States Patent and Trademark Office: No. 6,929,264 & No. 6,929,274, registered Dec. 20, 2022)
Helpful Links
About the NRG
If you enjoy building ship models that are historically accurate as well as beautiful, then The Nautical Research Guild (NRG) is just right for you.
The Guild is a non-profit educational organization whose mission is to “Advance Ship Modeling Through Research”. We provide support to our members in their efforts to raise the quality of their model ships.
The Nautical Research Guild has published our world-renowned quarterly magazine, The Nautical Research Journal, since 1955. The pages of the Journal are full of articles by accomplished ship modelers who show you how they create those exquisite details on their models, and by maritime historians who show you the correct details to build. The Journal is available in both print and digital editions. Go to the NRG web site (www.thenrg.org) to download a complimentary digital copy of the Journal. The NRG also publishes plan sets, books and compilations of back issues of the Journal and the former Ships in Scale and Model Ship Builder magazines.


