
DONATION DRIVE - SUPPORT MSW - DO YOUR PART TO KEEP THIS GREAT FORUM GOING!
×


Paryzek
-
Posts
47 -
Joined
-
Last visited
Content Type
Profiles
Forums
Gallery
Events
Everything posted by Paryzek
-
 Congratulations on finishing. Nice model. My journey will be long, but I hope to finish it someday.
 -
Another topic to watch, I'm sitting in the front row. La Renomme is a beautiful ship. May you be successful.
-
I'll take a look, thank you.
-
These huge ships from the end of the sailing era absolutely fascinate me. My favorite is Le Valmy, I have some plans, but I'll probably never get around to building this model. Too big a challenge. I enjoy following your construction diary.
-
These "modern" ships are not in my area of interest, but I'm happy to rate something that is really good. Beautiful model.
-
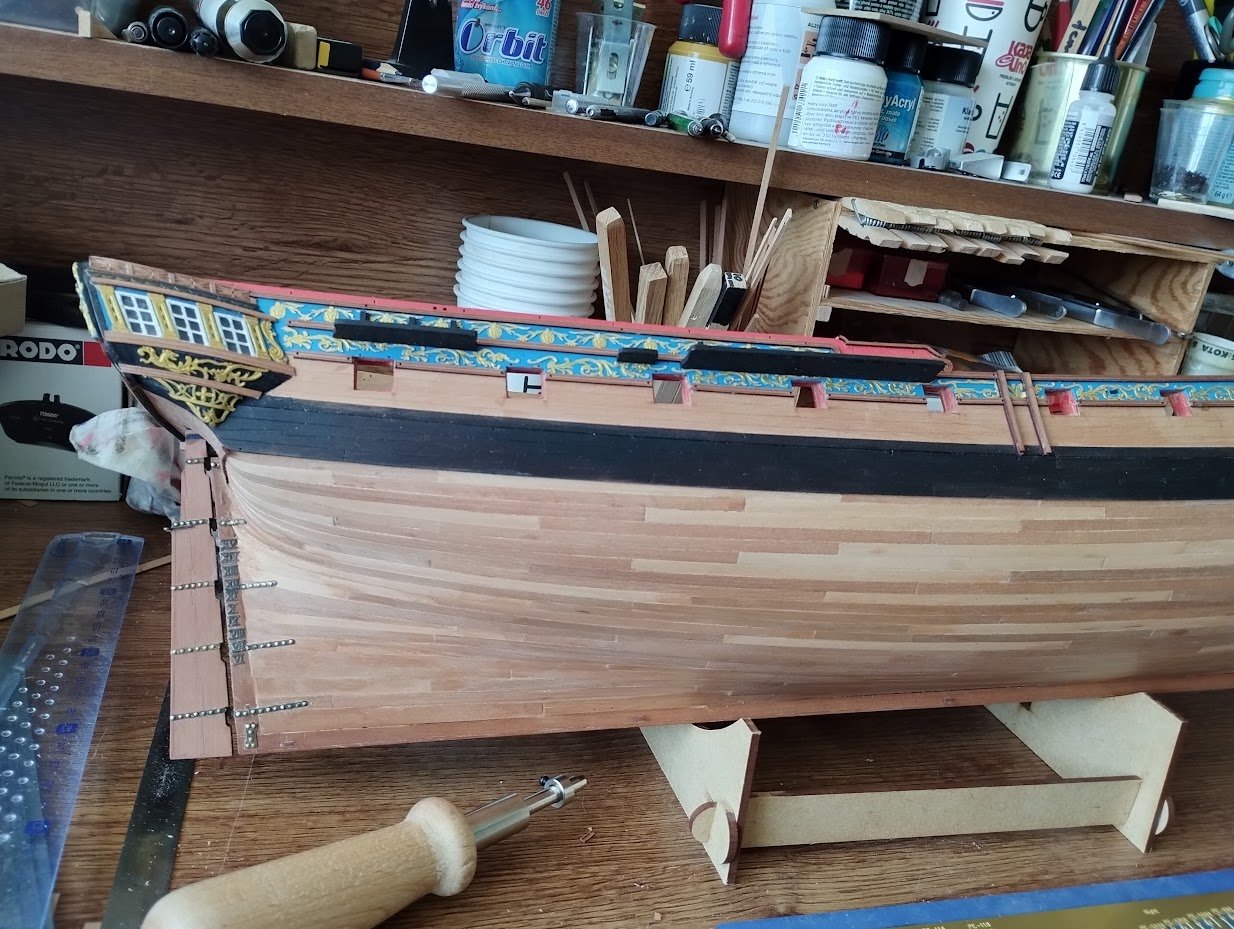
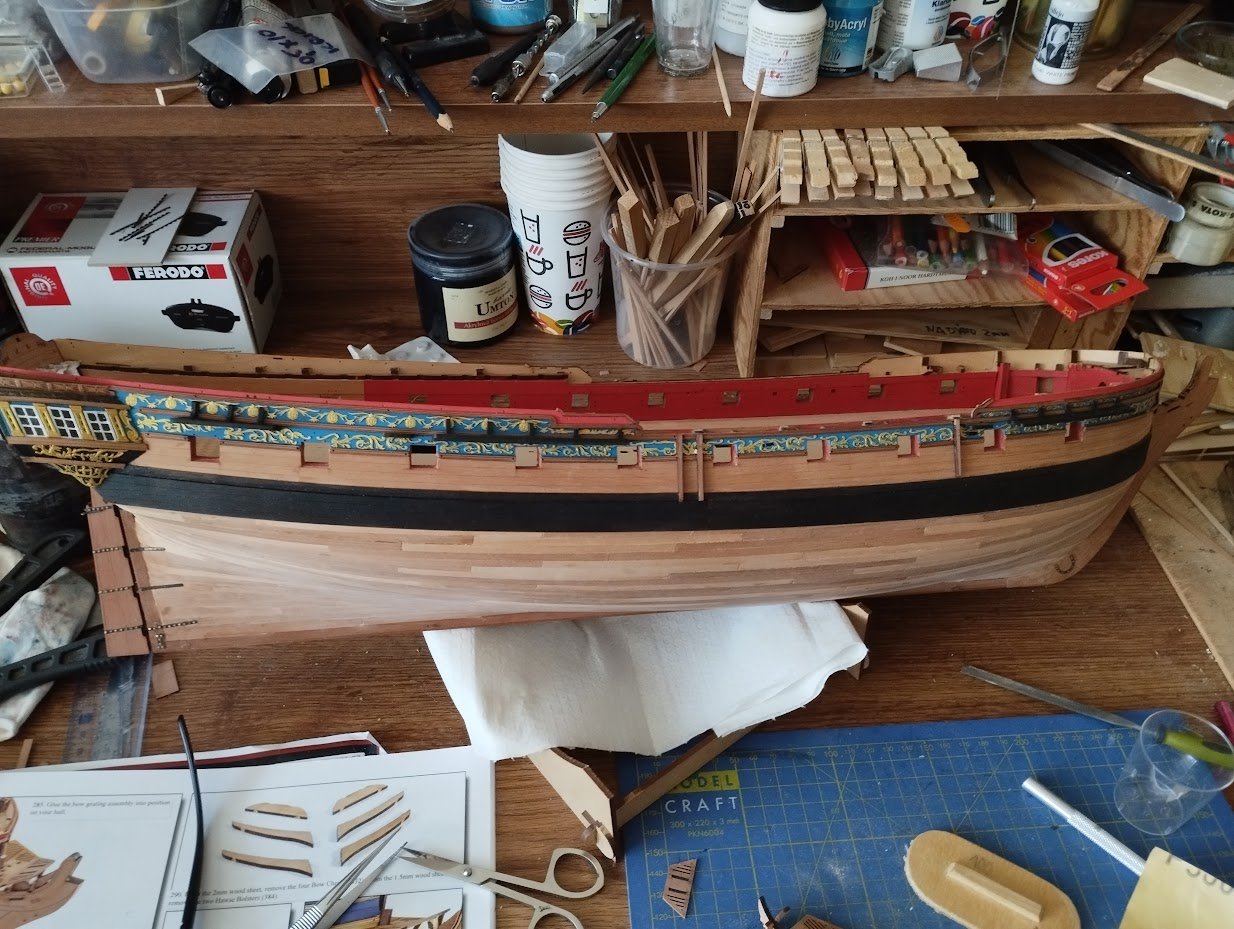
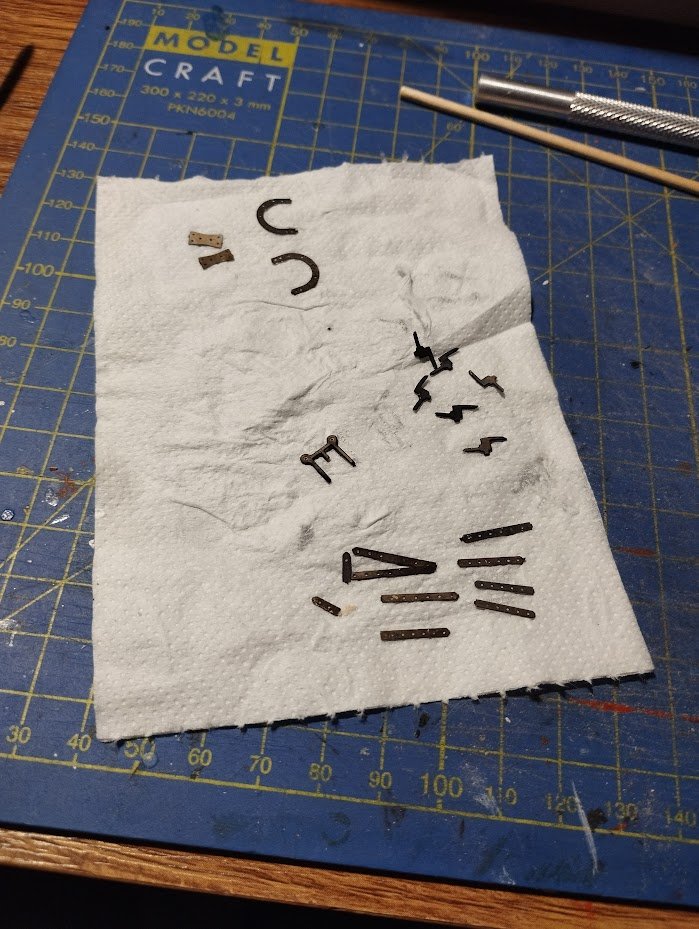
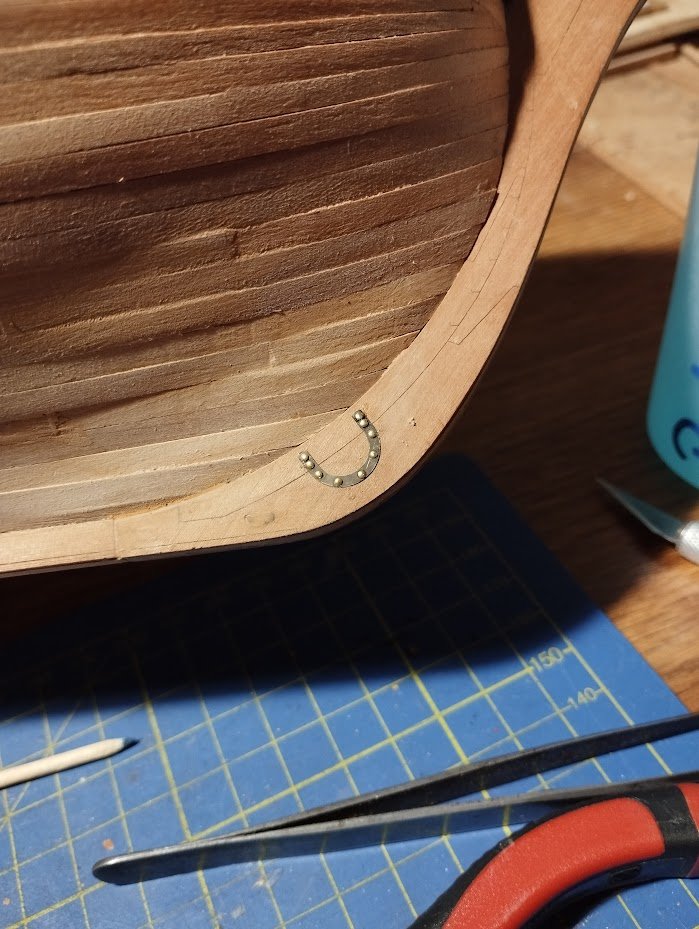
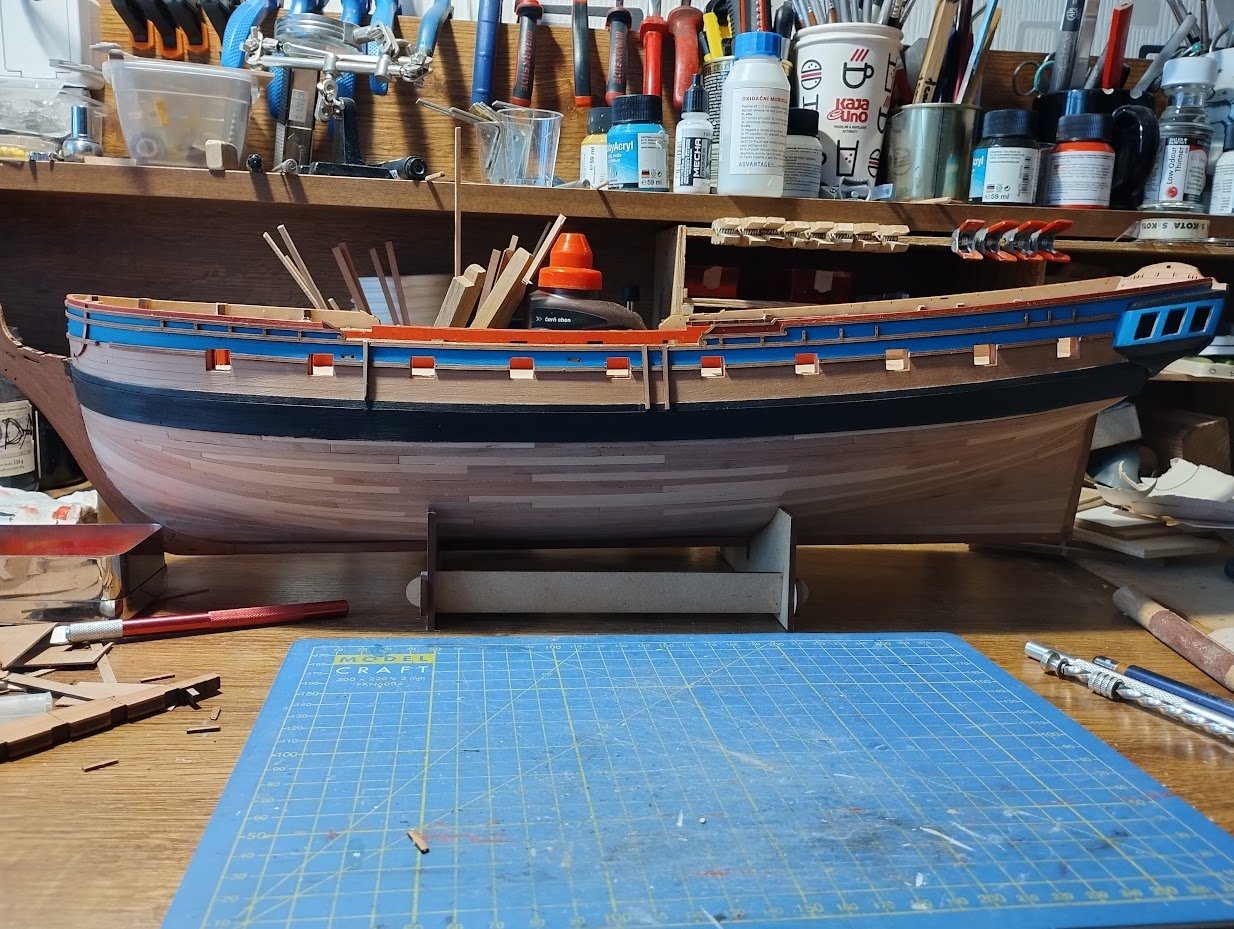
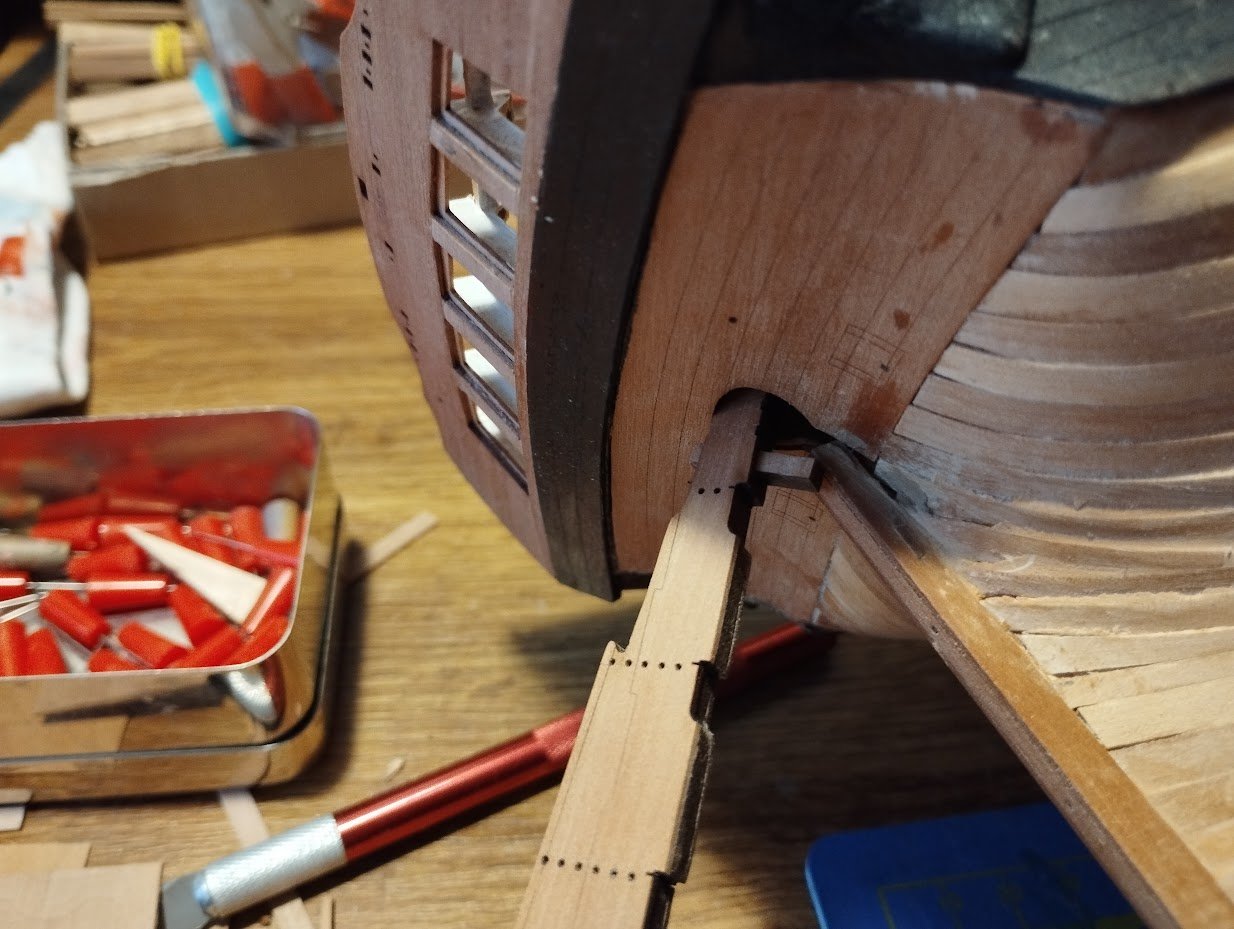
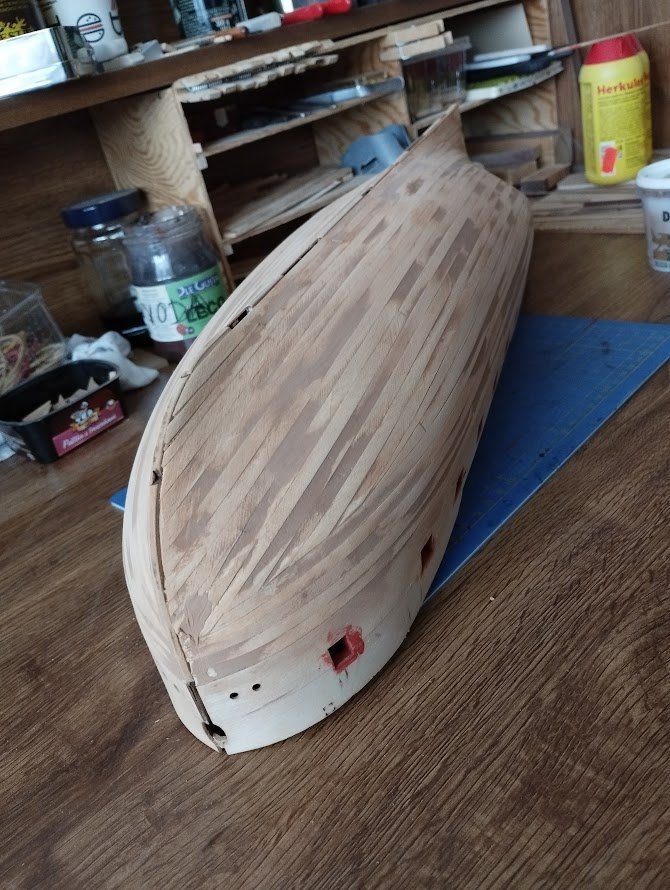
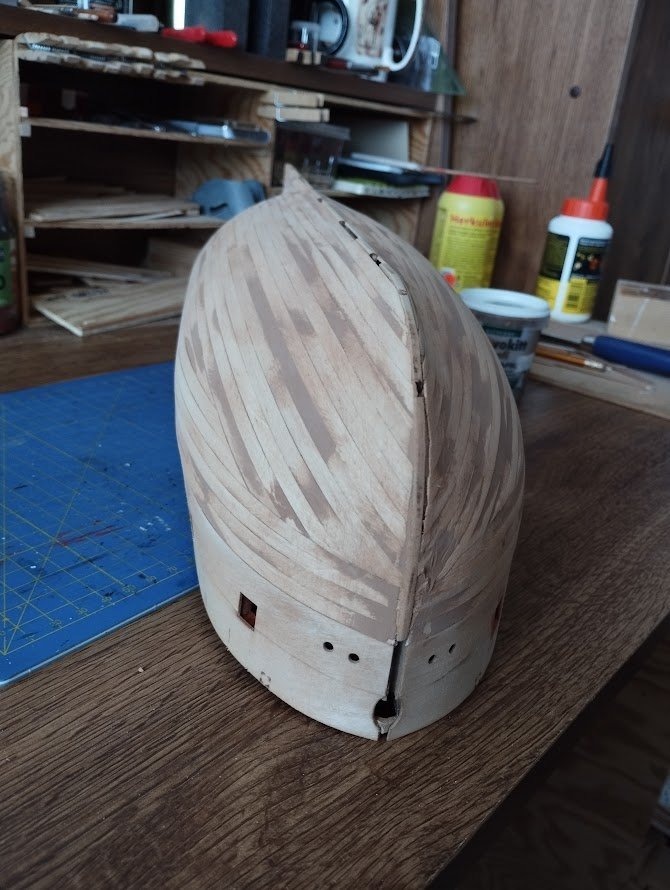
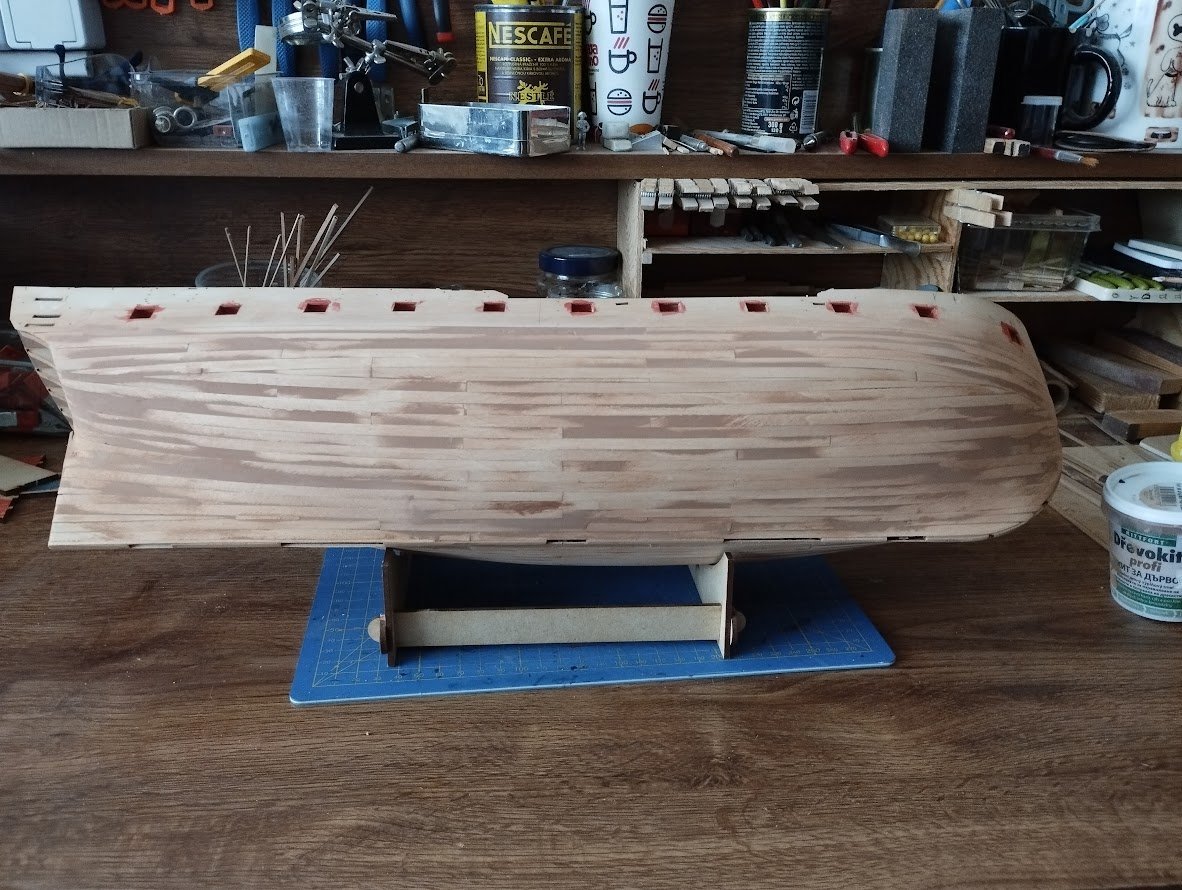
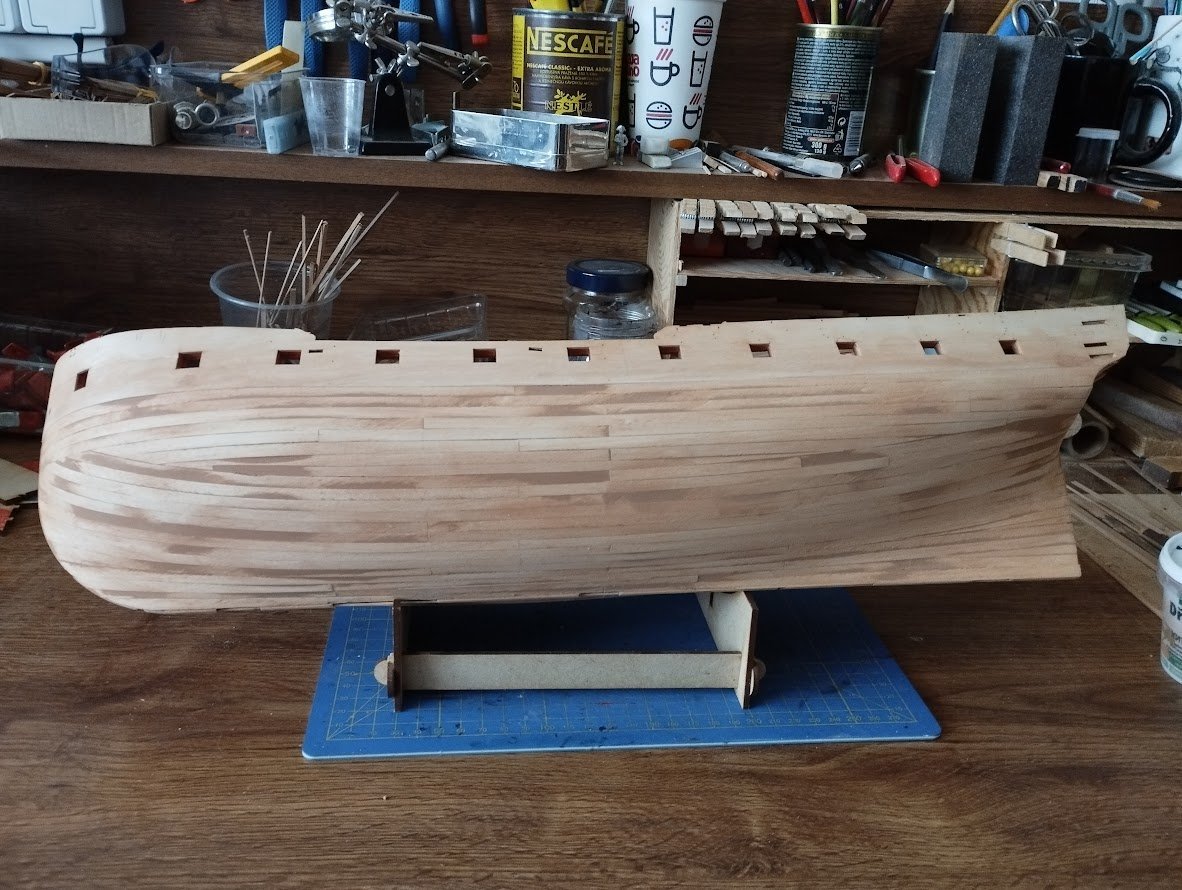
Another small step. I finished the horseshoe plates and stern fifshplates on both sides and the rudder complete hinges. The wood under the walles got its first coat of wax. I also folded the rest of the bow under the grating and installed it on. The second layer of siding doesn't look bad, so I decided not to use white paint. I like wood. Today I also installed gun port parts on the closed gun ports on the bow and stern and am working on the hull side stairs. I will take pictures later.

-
Clark, thanks for your opinion, I discussed it with a friend and we came to the same opinion, I decided to let it go so as not to make it worse.
-
That's nice, I'll watch.
-
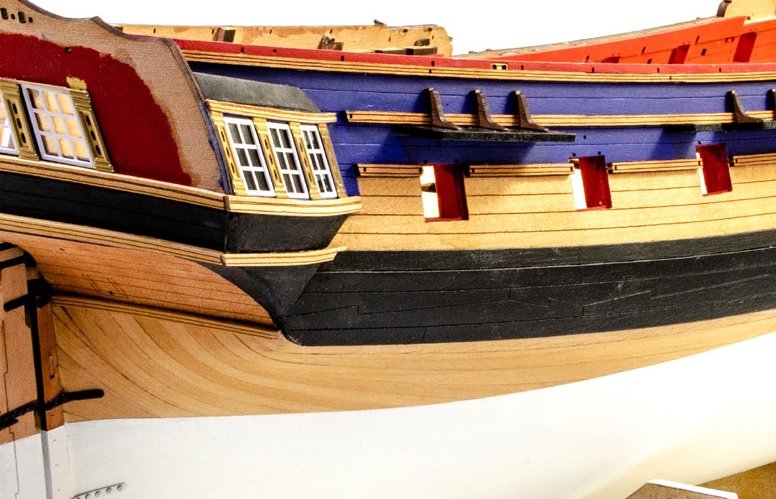
I think if I were to remove everything from under the side gallery windows. I can first glue the wooden moldings properly, and then install the new brass ornaments between them. The problem is that they cannot be removed without serious damage. I can make the ornamental moldings myself, I have pear wood, but I can't deal with those etchings. And if I pull them down, I will destroy them.
-
I tried debonder to remove the adhesive, but it won't budge, I'd damage it more than fix it. The decorative moldings don't fit. I put it together wrong. They should be connected at the corners. I don't understand how I could have messed it up like that.
-
I'm reporting the next step. Unfortunately, I did something wrong. Very wrong. I installed the decorative moldings on the side galleries incorrectly and the whole thing didn't fit properly. It can't be removed without serious damage. I'll try to order new brass etchings from Mr. Watton (if possible) and redo the whole thing. I can make wooden moldings myself, but unfortunately not brass etchings. Where were the main mistakes? 1, I didn't read the instructions, my fault 2. I don't know how to work with CA glue very well, I'm more of a carpenter. 3. I was in a hurry and didn't think, another fault of mine If it's not possible to buy a plate with etchings, I'll have to leave it like that

-
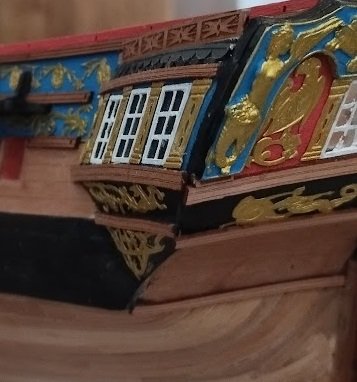
I use an oxidation stain on brass parts. I think it's better than paint.
-
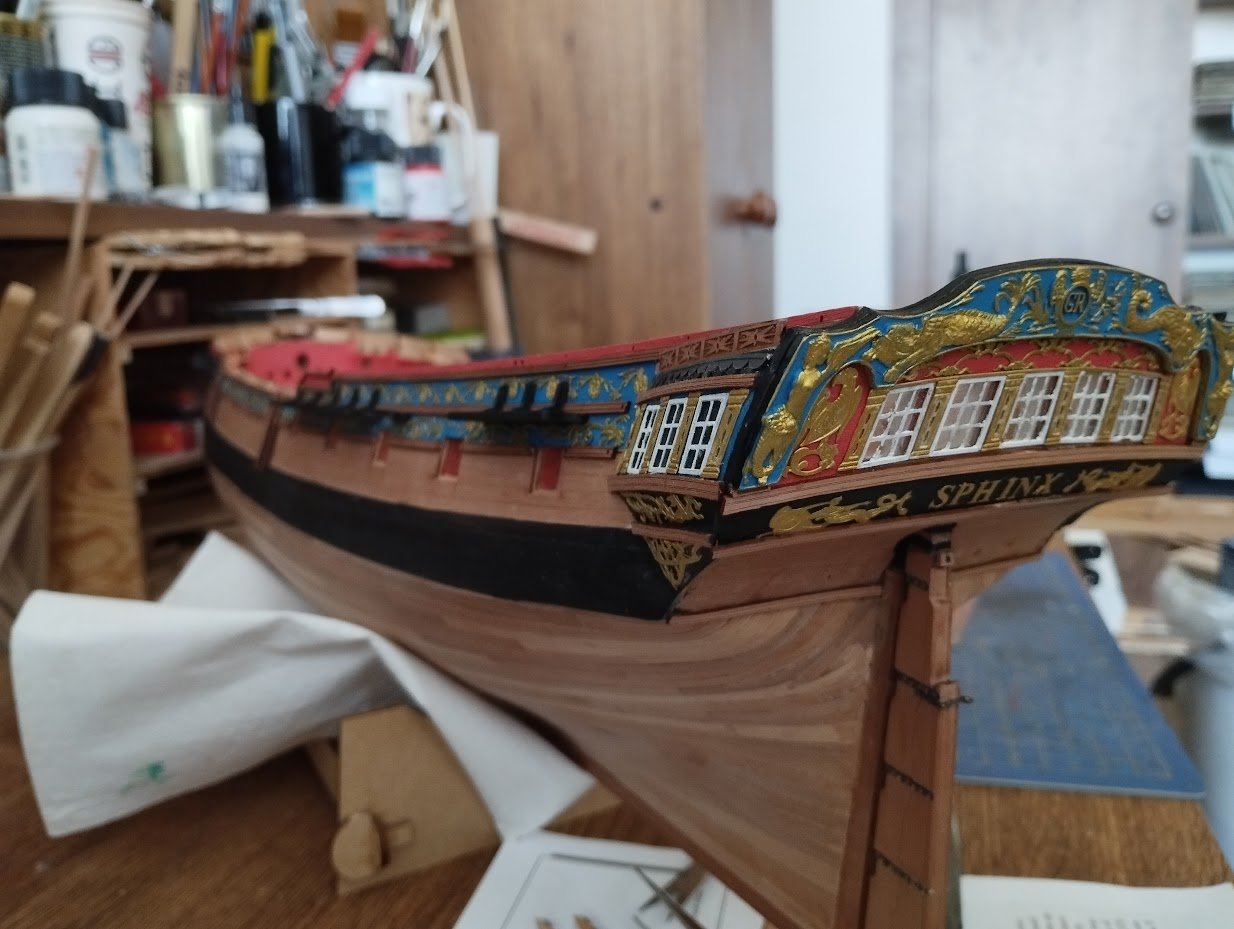
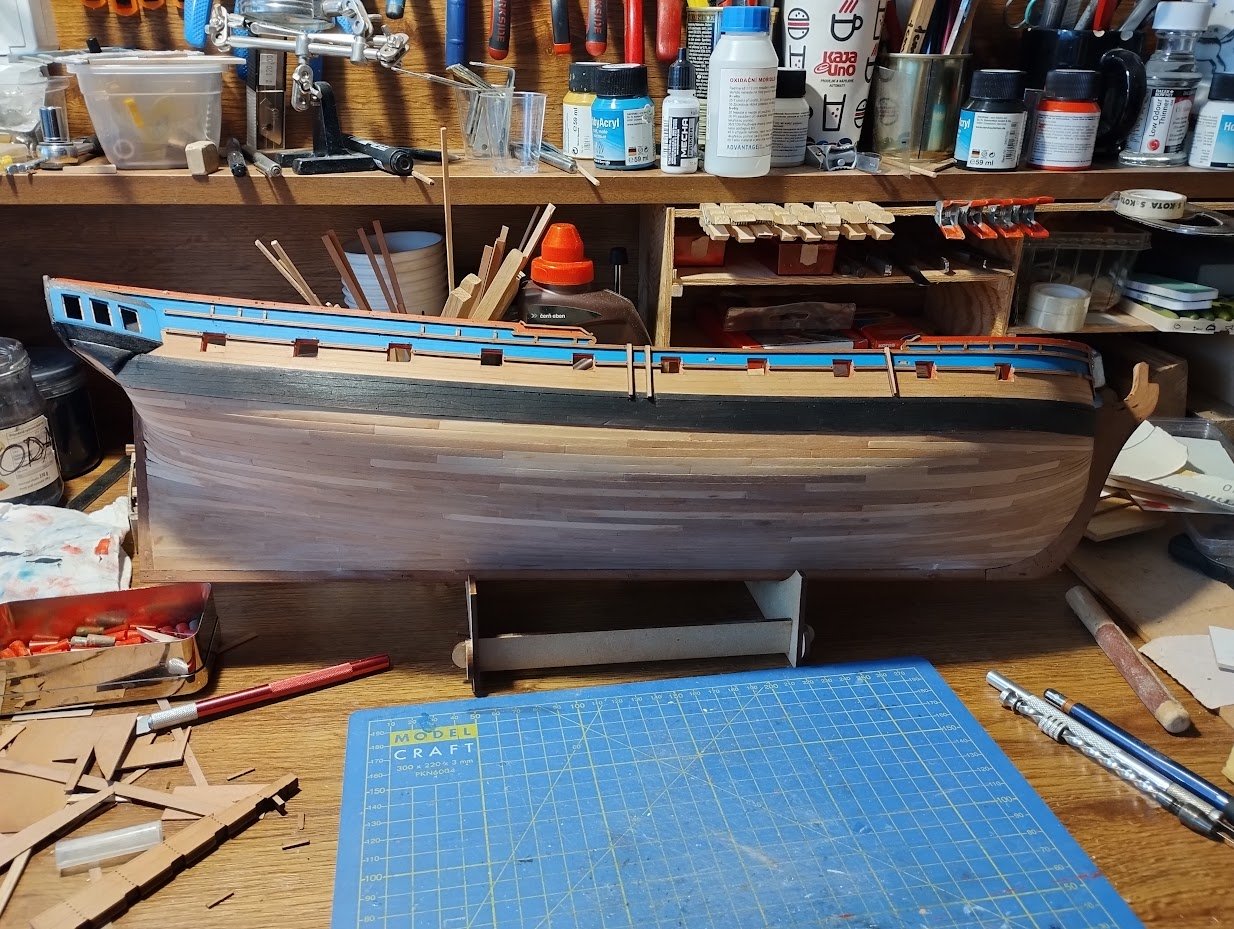
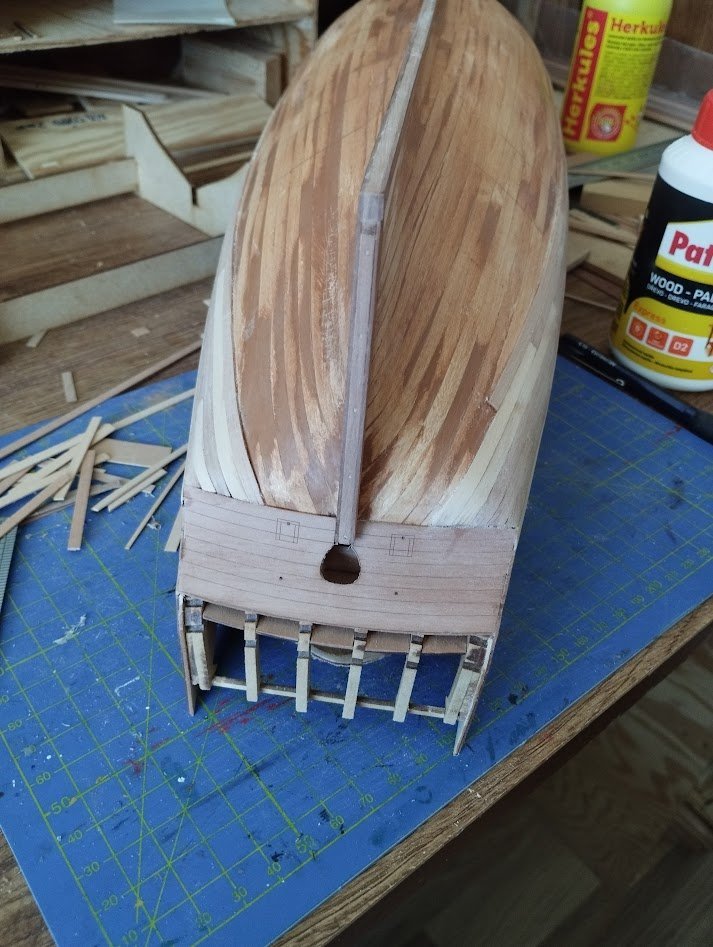
Hello, I'm back after a while. Health problems caused a delay. (sore back, herniated disc) I added the second layer of planks. It's not quite 100%, but I like it quite a bit. I decided not to use white paint on the bottom part and leave only wood. After adding the brass parts, there will be wax. Now I'm figuring out how to install the rudder Small hole.
-
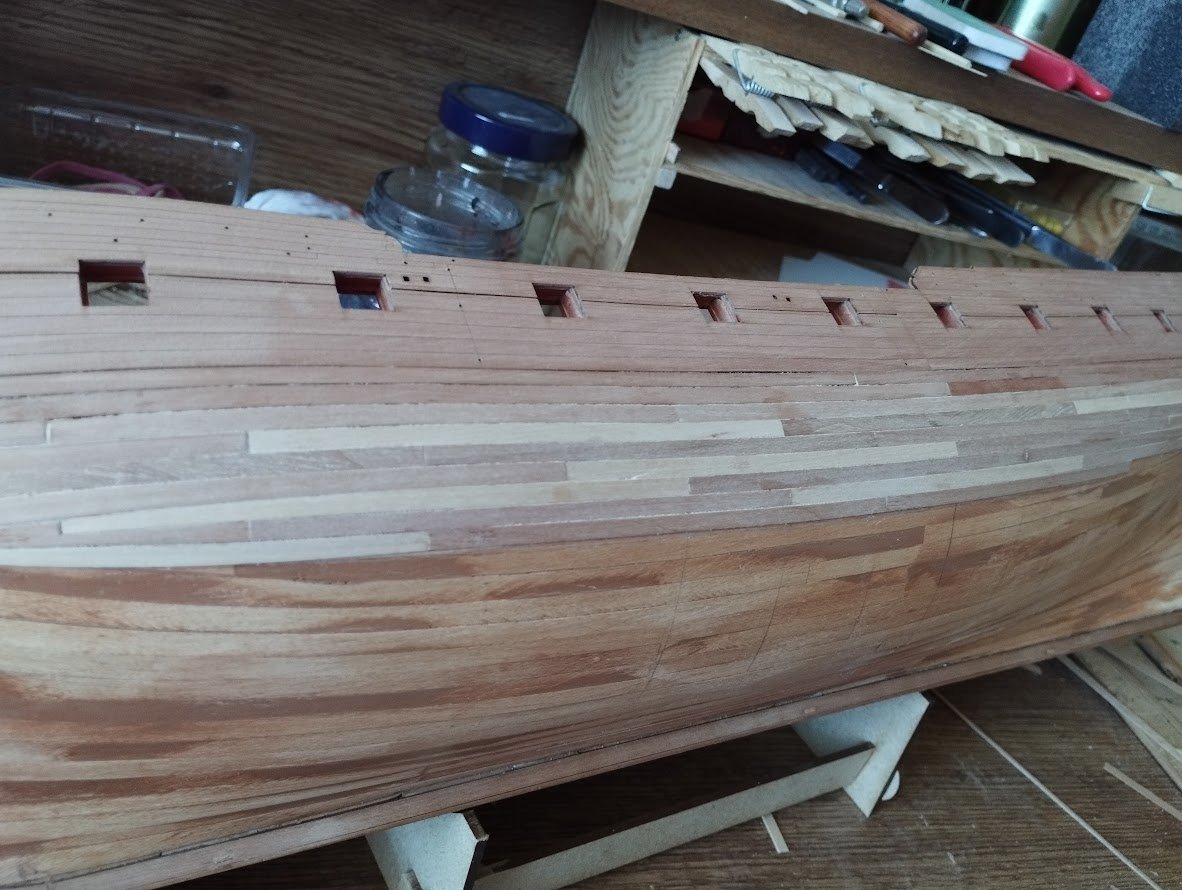
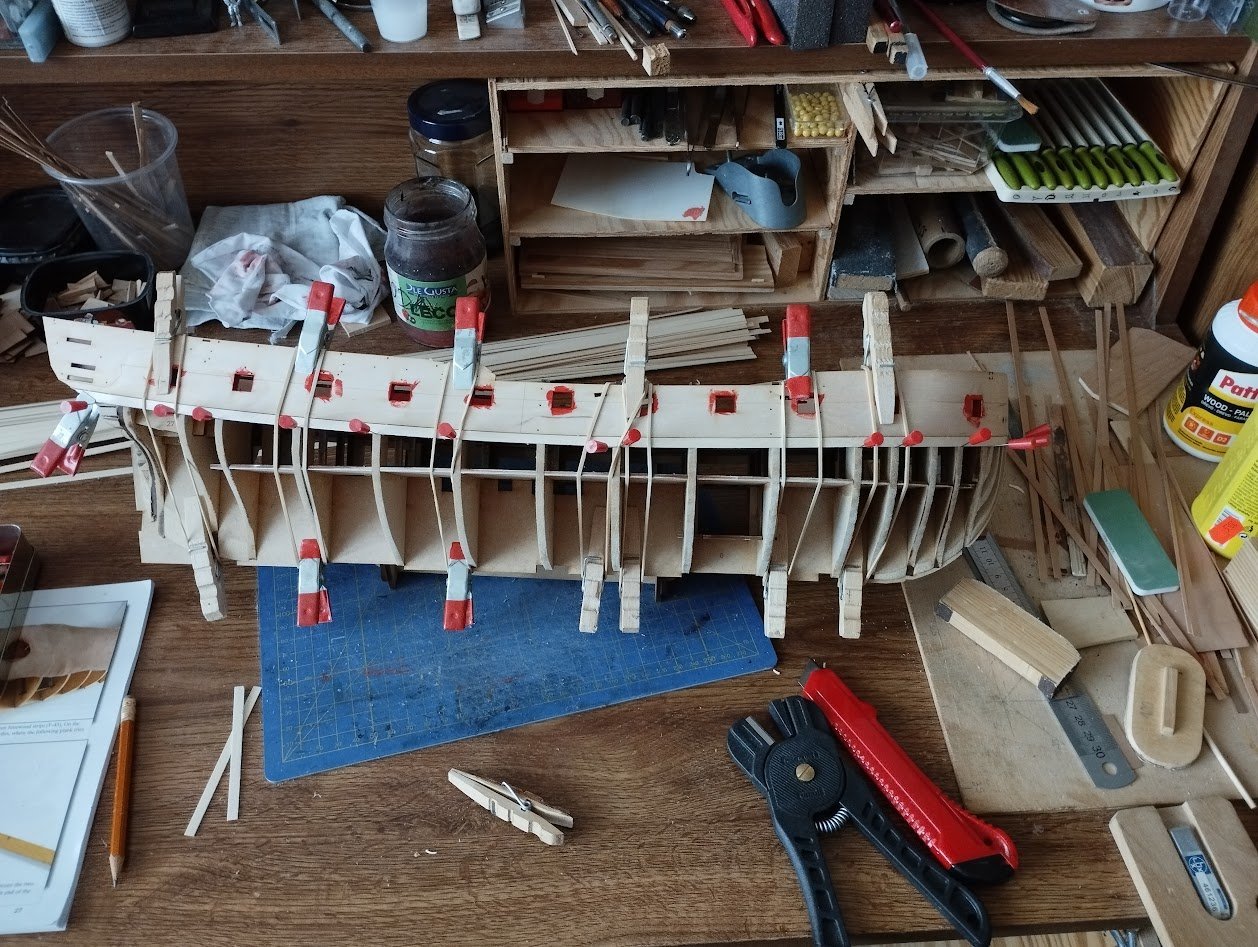
I continue with the planking of the second layer. Unfortunately, little free time. Nice weather outside. .
-
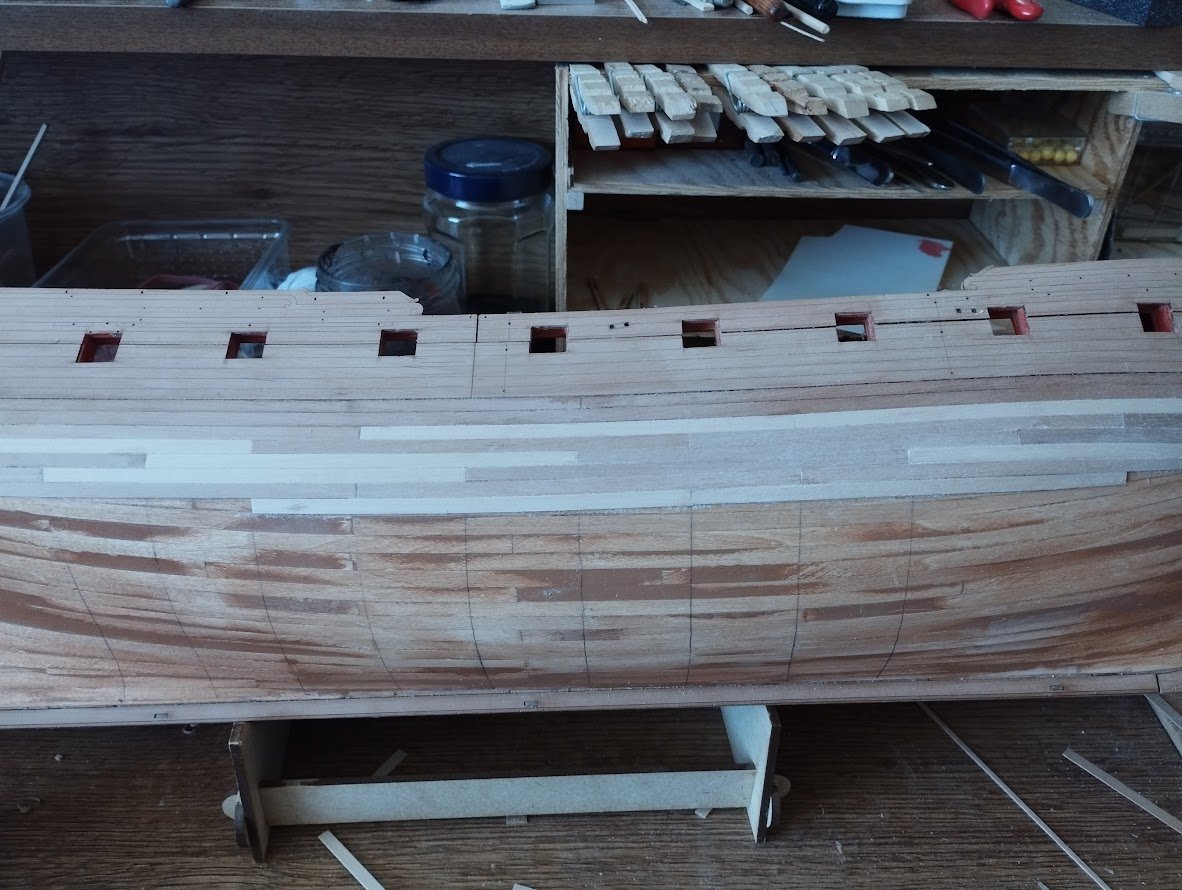
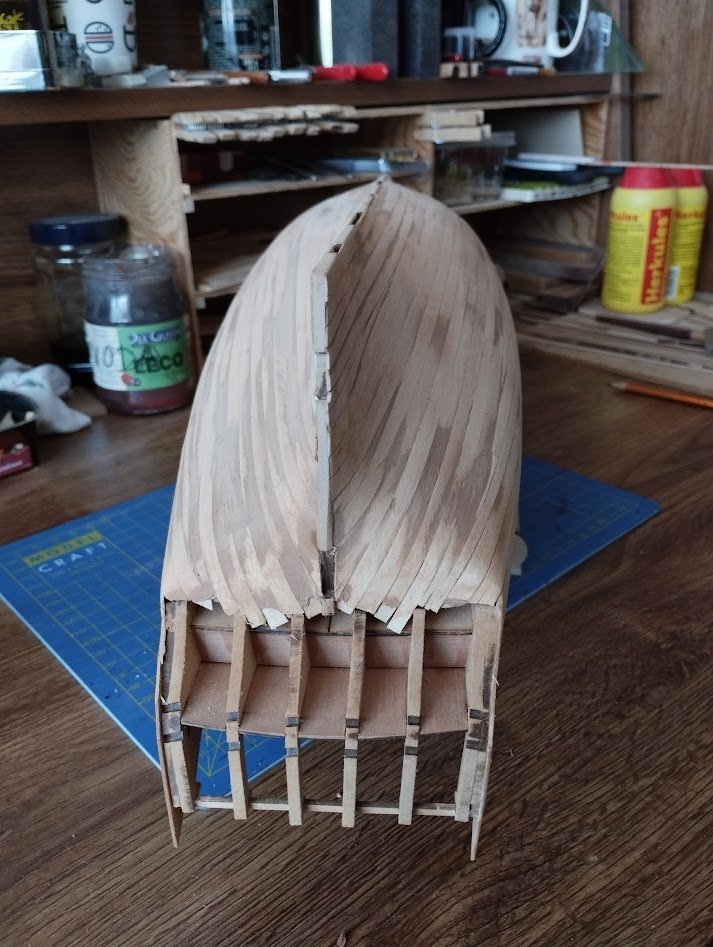
I report further progress. The first layer of lining is ready. I used wood putty on the small bumps, sanded it smooth. I will apply some thin wood glue and I can continue. Linden is a fairly soft wood. I had to grind carefully. It would probably be better to use a stronger profile. At least 1.5mm. But the second layer will strengthen the whole thing.
-
Very good. I don't deal with the first layer too much. I will glue, fill the gaps, use putty and sand paper to a smooth hull. The first layer is not visible.
- 587 replies
-
- 3
-

-

-
- Indefatigable
- Vanguard Models
- (and 1 more)
-
I've been following this build since the beginning. It's absolutely amazing what you can do. Thanks for sharing. It is very enlightening.
-
Dutch Whaler by aliluke - Sergal
Paryzek replied to aliluke's topic in - Kit build logs for subjects built from 1501 - 1750
It looks very good for a first model. -
I'm starting to plank the hull, it will go slower now. I was thinking about using my own material instead of the linden from the kit. 2x4mm spruce beams. But it was really a problem to bend them in the back so that they fit properly. Very stiff material for such an arch. So I'll trust Chris that the linden is fine. What the hell is the translator doing? I entered the text in English, and he returned it to me in Czech. (automatic translation in google chrome)
-
I prefer to grind by hand, so you can monitor the line better. Machine sanding saves a lot of work, but can make more mistakes.
- 648 replies
-
- 3
-
-
- Indefatigable
- Vanguard Models
- (and 1 more)
-
Thank you, I am trying. The wife helped significantly financially to buy the kit. A belated 50th birthday present. I process the model very well. So I hope it goes well. I follow your work. 👍
-
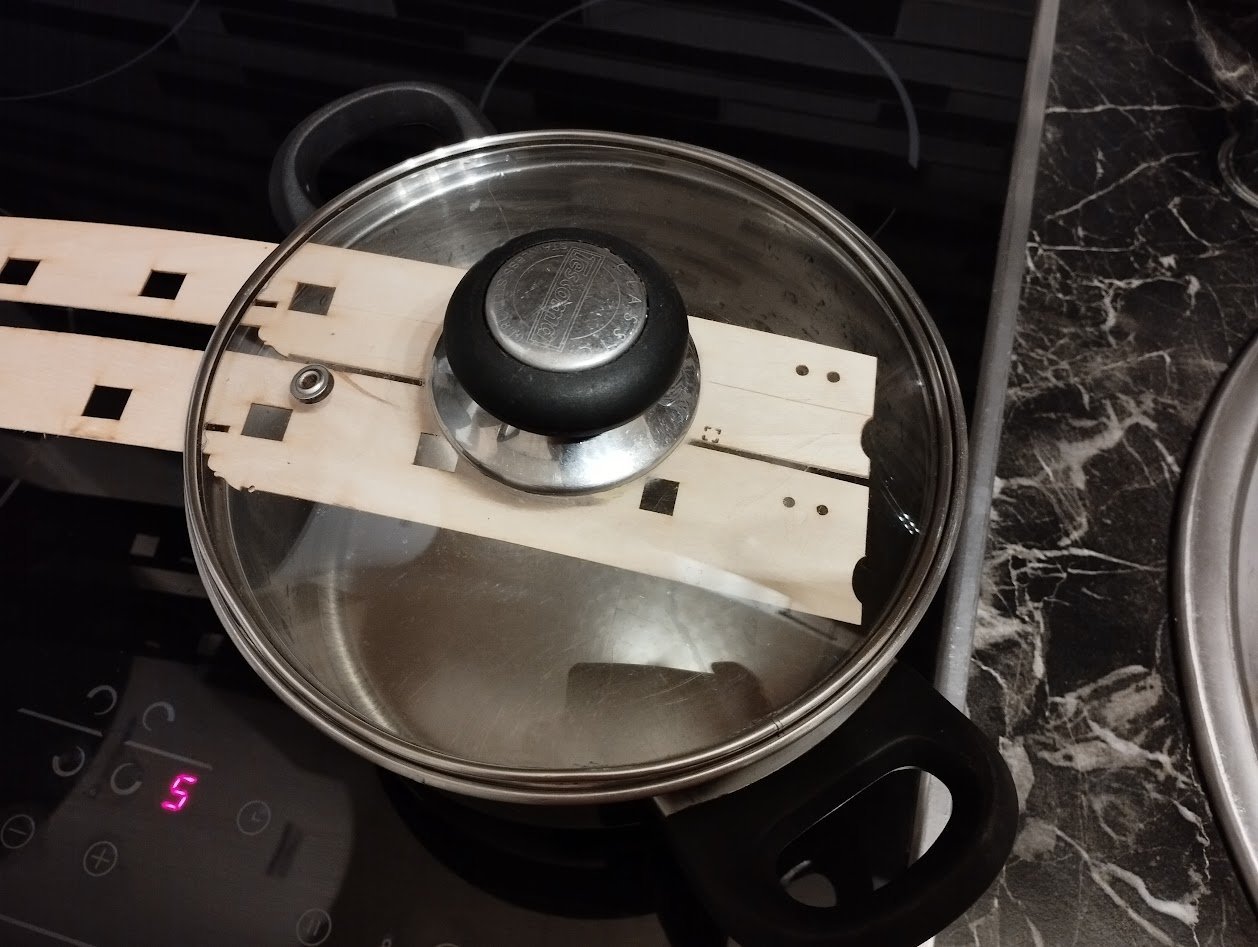
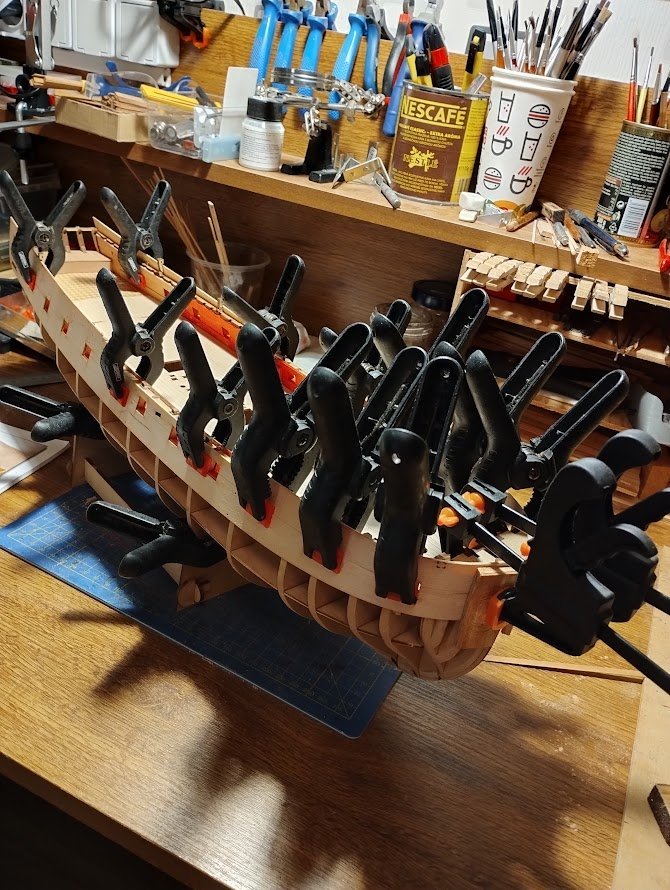
I continue. I prefer to use hot steam rather than water for bending. The sides are installed (no glue yet). Tomorrow is my father's birthday, we are going to visit. So it will dry for more days. At least it will bend better and stick better.
-
I'm glad it's going well. I'm watching from the front row.
- 648 replies
-
- 2
-
-
- Indefatigable
- Vanguard Models
- (and 1 more)
-
Very nice, it has style.
