
HOLIDAY DONATION DRIVE - SUPPORT MSW - DO YOUR PART TO KEEP THIS GREAT FORUM GOING! (89 donations so far out of 49,000 members - C'mon guys!)
×


kscadman
-
Posts
258 -
Joined
-
Last visited
Content Type
Profiles
Forums
Gallery
Events
Everything posted by kscadman
-
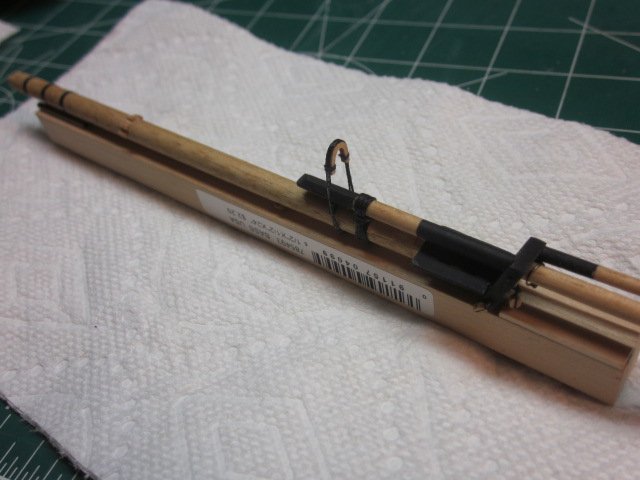
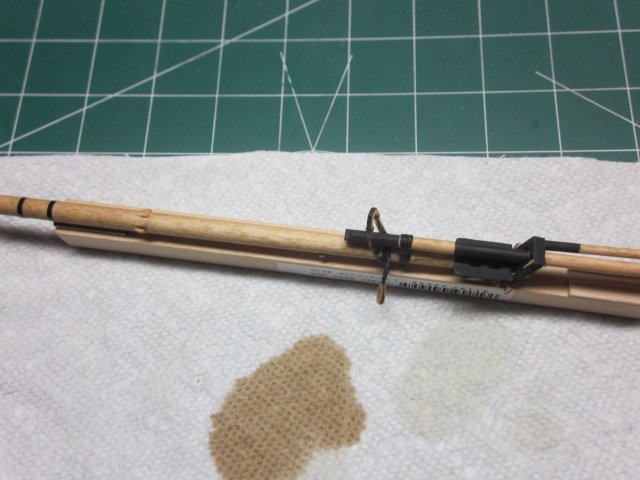
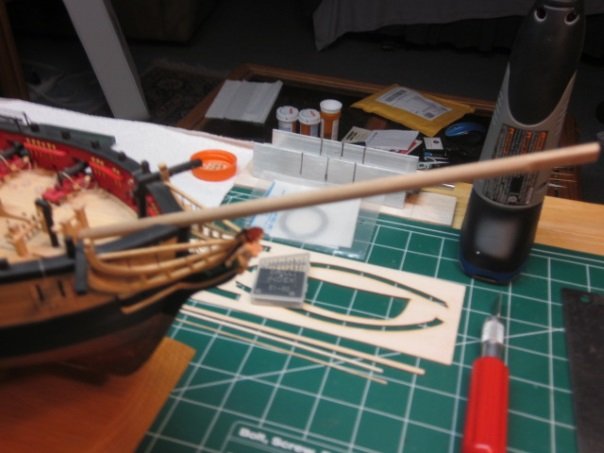
 I managed to attach all the hearts to the bowsprit. I'm not very satisfied with the results. Does anyone have an idea as to where I can look to find the proper way of lashing the hearts, I've looked in my books and in the resource sections here and haven't found anything. I hope my rigging gets better as I move along. Thanks to all for your likes and comments, it really helps.
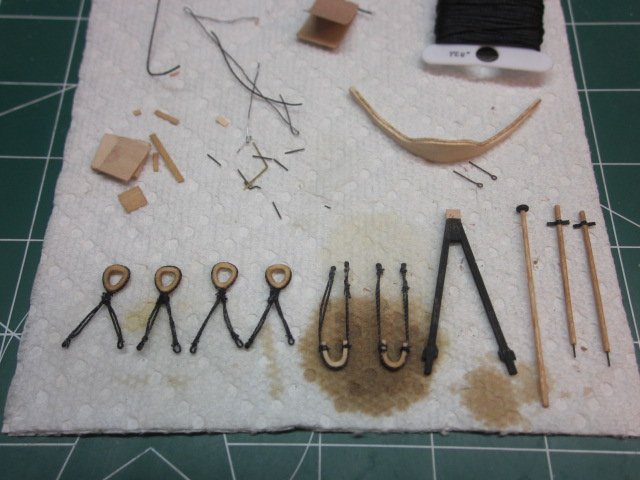


- 227 replies
-
- 10
-

-
- syren
- model shipways
- (and 1 more)
-
For some unknown reason I cant download the rest of my pictures. Sorry
-
Thomas, I totally agree with you. I've made more progress. I completed the open and closed hearts but I'm not happy with the results. I wasn't sure how to lash the cord to the hearts. I need a how to book on this one. When I examined the drawings it looked like all the hearts have double cords on them but in the picture in the instructiions look like only the open hearts had double cords.
- 227 replies
-
- 7
-
-
- syren
- model shipways
- (and 1 more)
-
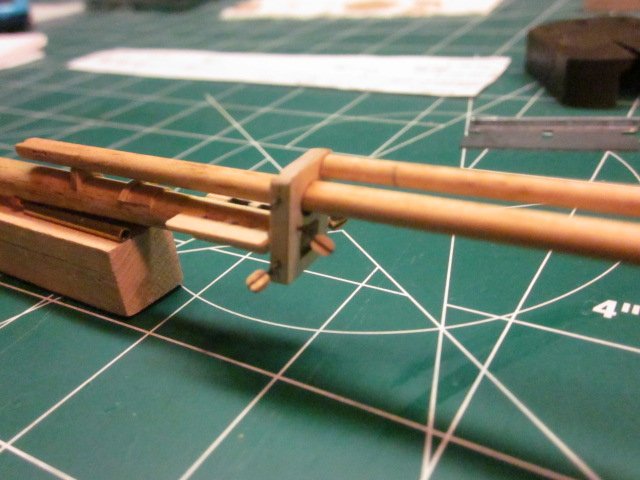
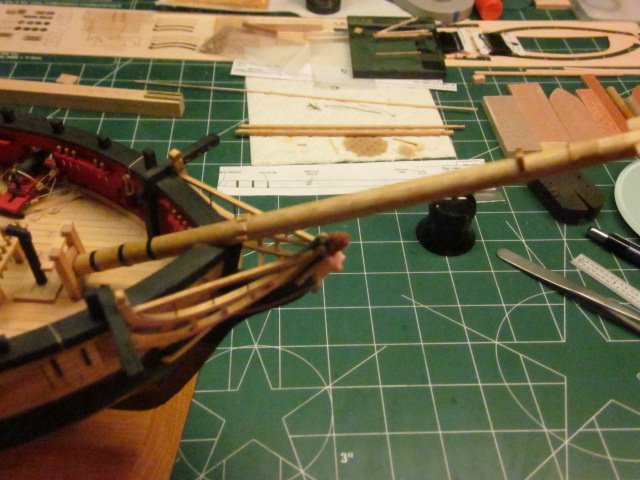
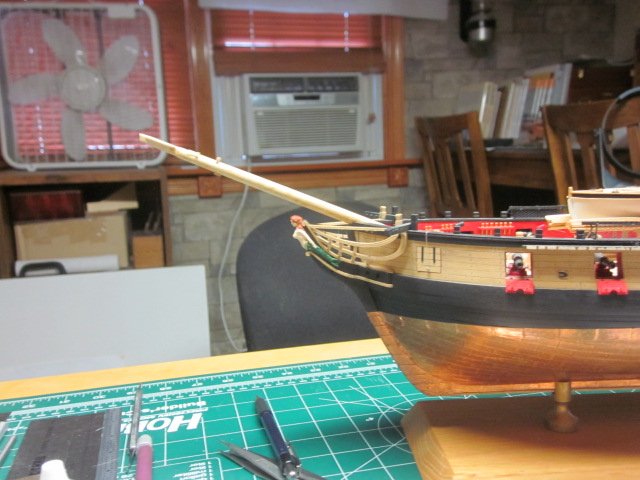
Work continues. I've attached the jibboom and added some paint.


- 227 replies
-
- 11
-
-
- syren
- model shipways
- (and 1 more)
-
Bowsprit is finished and the cap has been installed. Test fitted the jibboom and flying jibboom.

- 227 replies
-
- 8
-
-
- syren
- model shipways
- (and 1 more)
-
From what I see so far your work is very impressive! With this hobby it seems that the more work is done the more is needed to know and the more books that are bought. LOL I agree... It is so much more fun
-
I'm doing the same. I think I've bought more books to build my Syren than I did for college.
-
Beautiful work on your Syren!
-
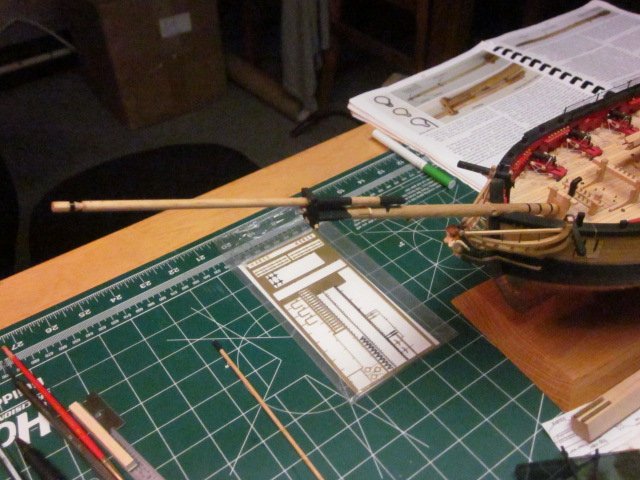
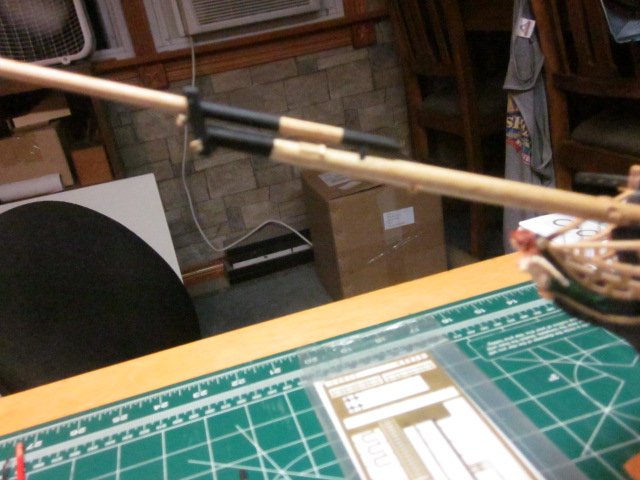
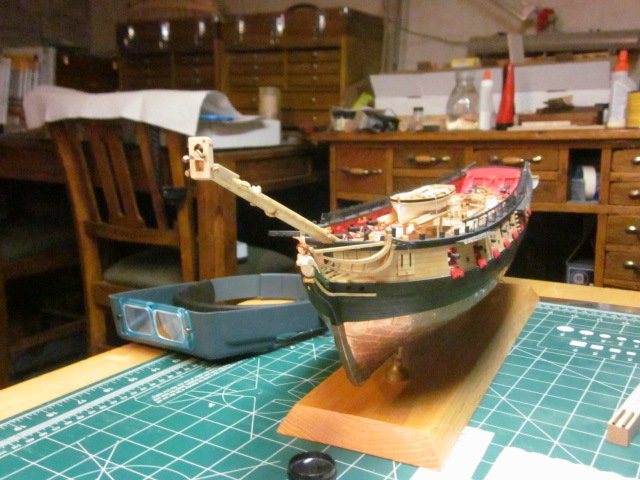
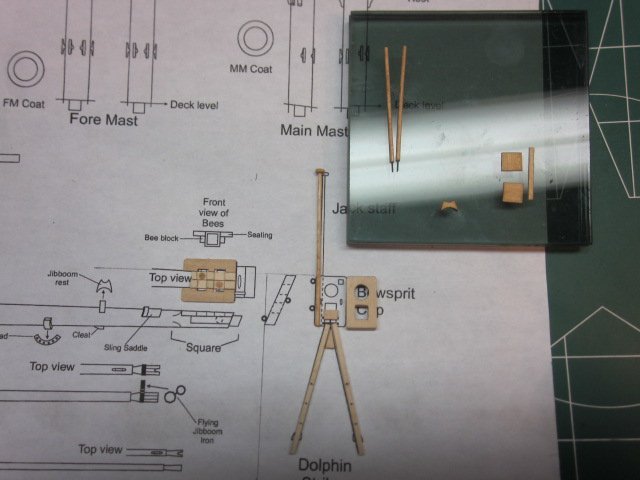
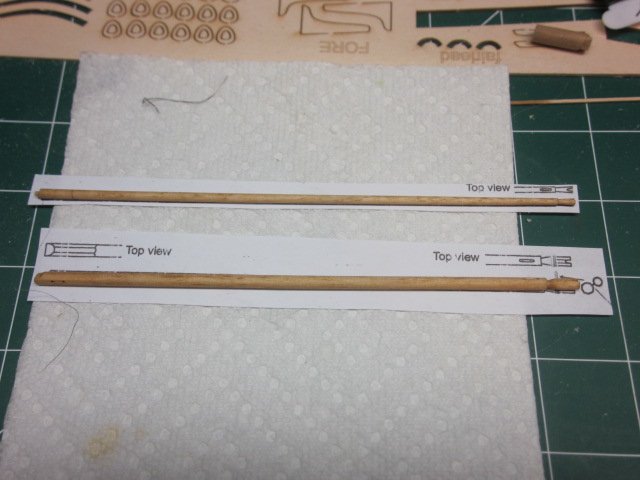
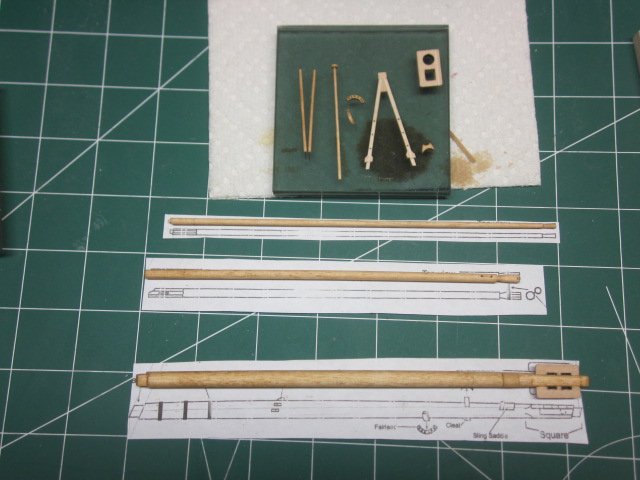
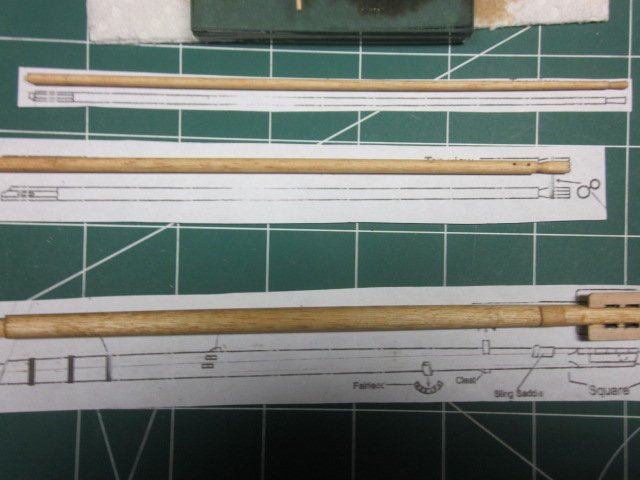
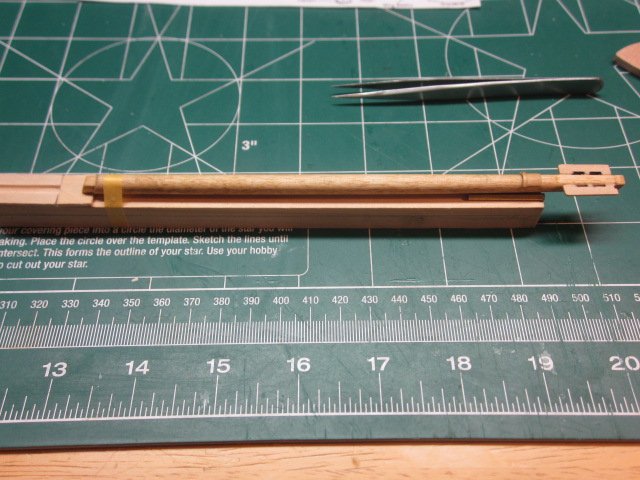
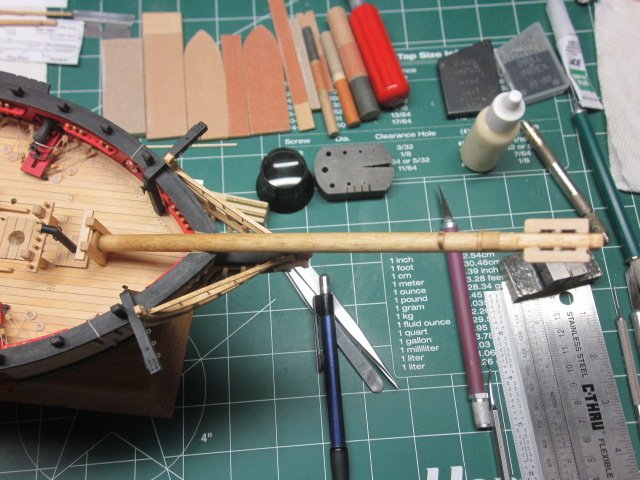
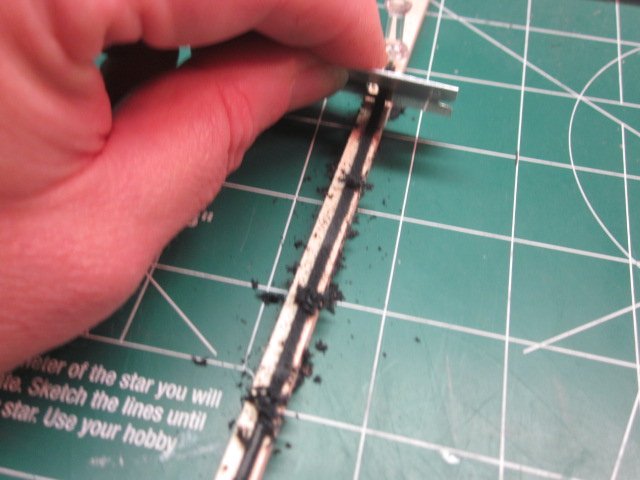
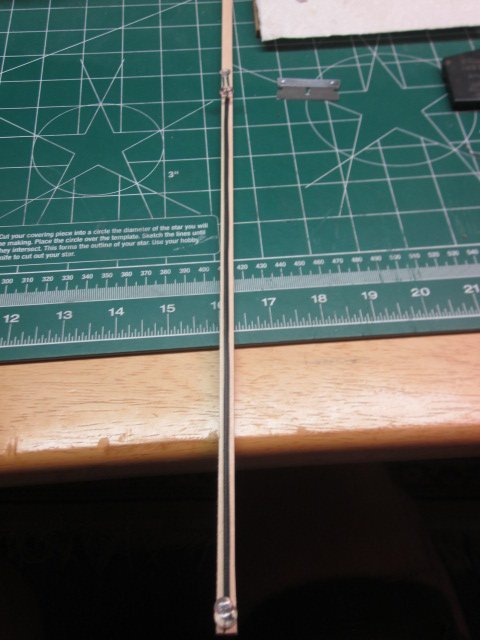
Work is progressing on the bowsprit. I started with the kit supplied dowel but after sanding and staining it still looked like a dark dowel rod. I noticed that the diameter was smaller than the plan drawing so I bought a new basswood dowel rod and and remade the bowsprit. I'm much happier with the results. The jibboom and flying jibboom went off without a hitch. I assembled the dolphin striker and lathed the jack staff My question is: does the bowsprit sit on top of the stem or is it cut into the stem? My angle "looks" too steep to me. Richard
- 227 replies
-
- 6
-
-
- syren
- model shipways
- (and 1 more)
-
Beautiful work Jesse! I agree GS hypo cement is a godsend. I used it a lot back in my watchmaking/clockmaking days. I hope you stay safe from Florence. Richard
- 1,306 replies
-
- 4
-
-
- syren
- model shipways
- (and 1 more)
-
Hello and thanks Thomas. Its good to be back. I still have the hammocks. I removed them for the moment. I hope your staying safe from Florence. Richard
-
Jim, thank you for the compliment. Actually I altered the lift drawings in my Syren drawings and used the 18ft yawl drawings from "Anatomy of the ship book USF Essex" to make my jolly boat on the aft davits. It was quite the adventure. I show some pictures of my progess in this log.
- 227 replies
-
- 2
-
-
- syren
- model shipways
- (and 1 more)
-
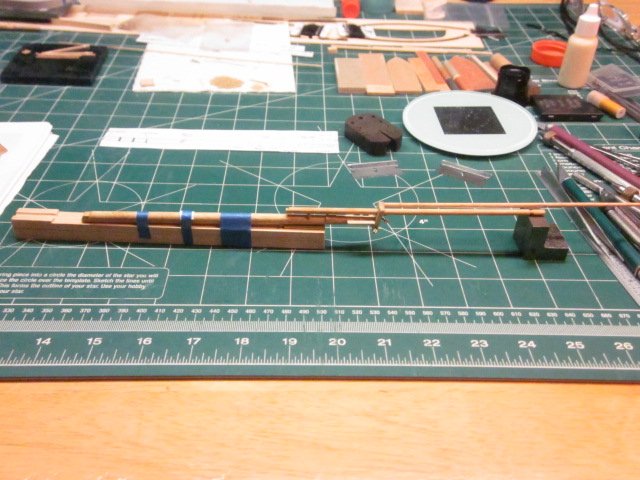
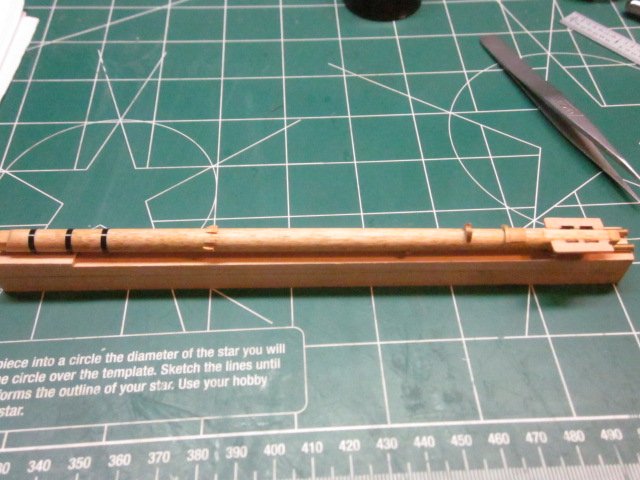
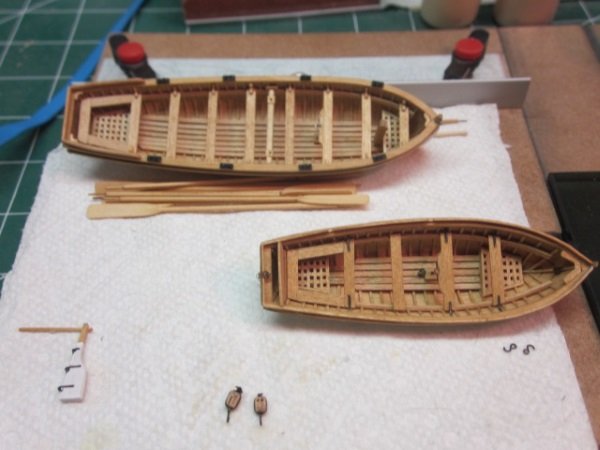
I've finished the ships boats and I've started on the bowsprit. I have the bowsprit tapered, and fitted and currently the stain is drying. I'm fairly sure I have the angle correct.

- 227 replies
-
- 8
-
-
- syren
- model shipways
- (and 1 more)
-
I agree Keith, I plan to close them Richard
-
Hi Thomas, currently the port lids are open for the "test fit". I may end up closing them once I have the fender made. Richard
- 227 replies
-
- 1
-
-
- syren
- model shipways
- (and 1 more)
-
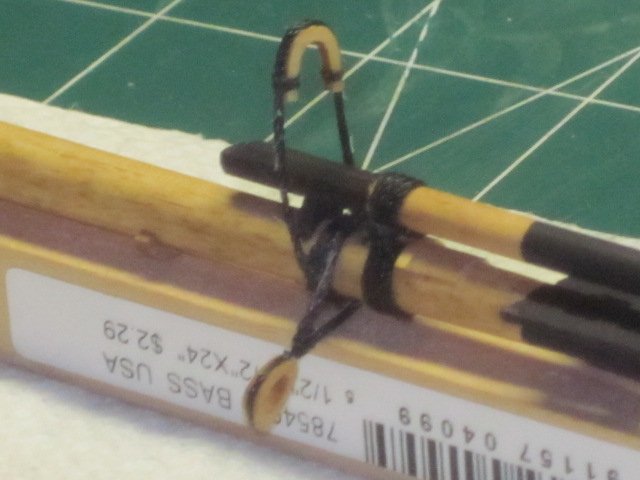
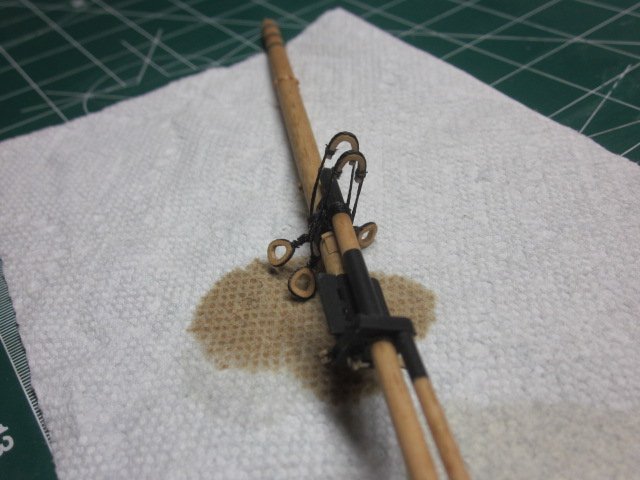
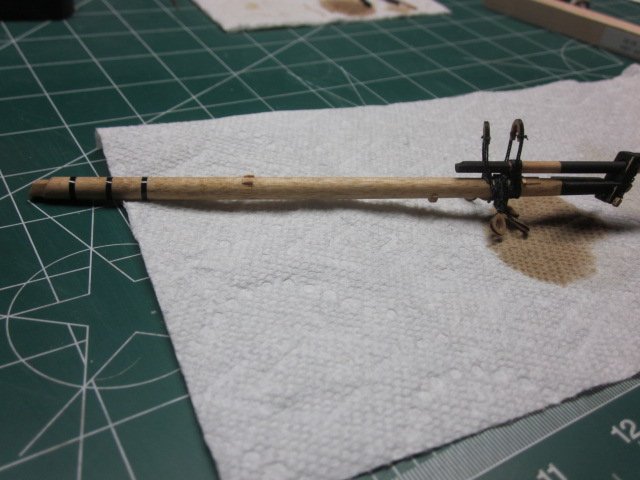
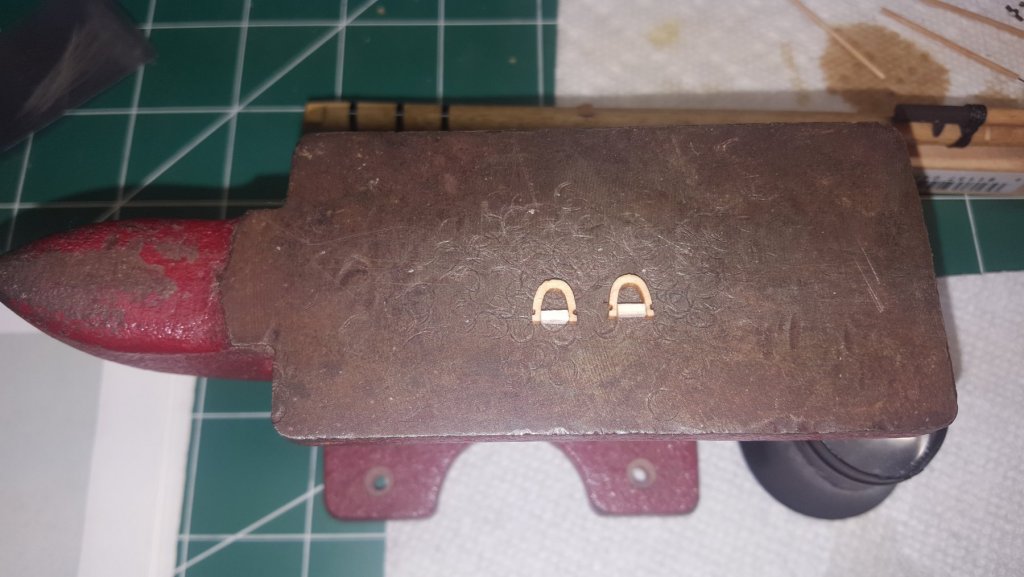
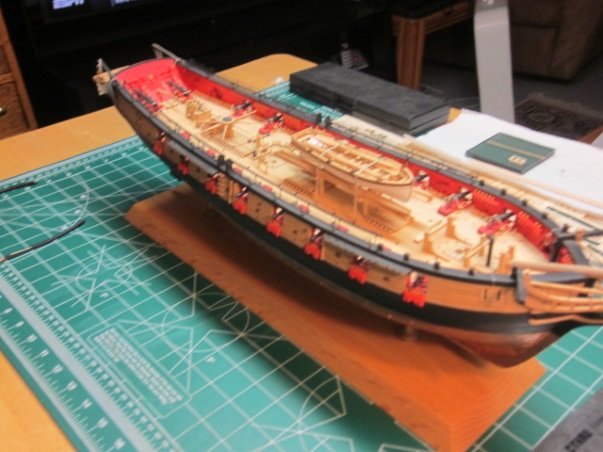
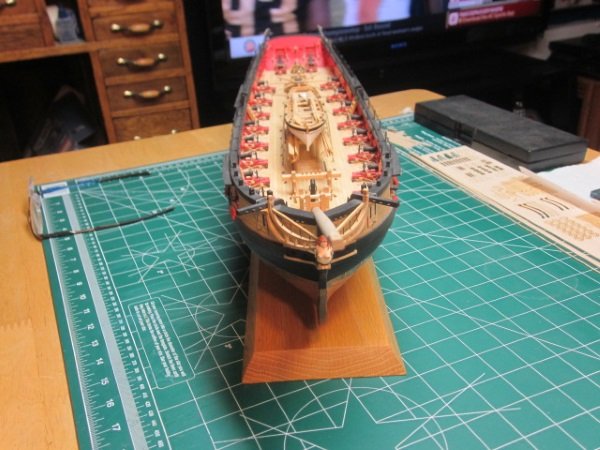
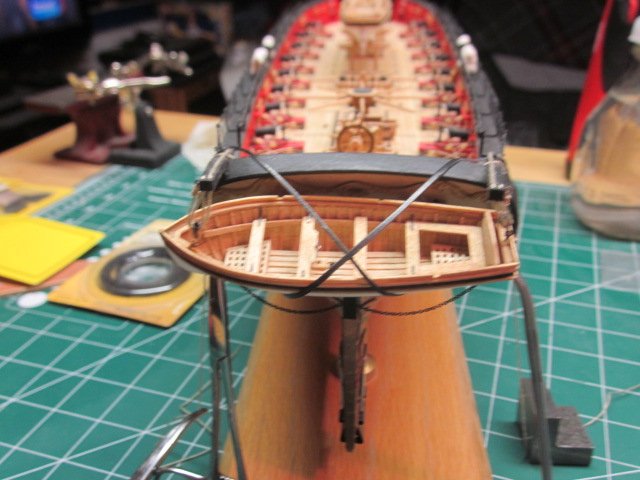
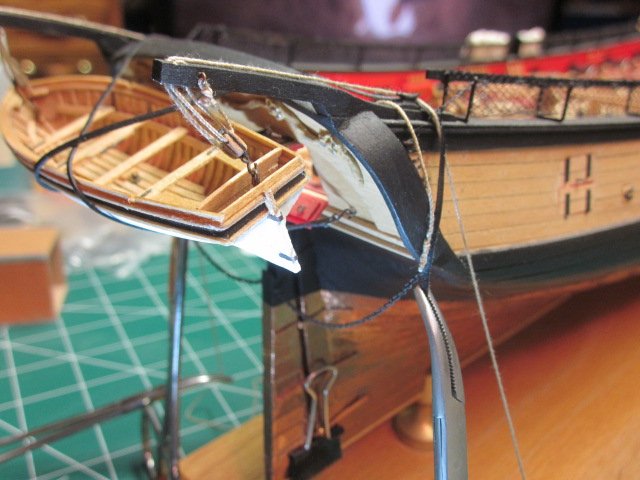
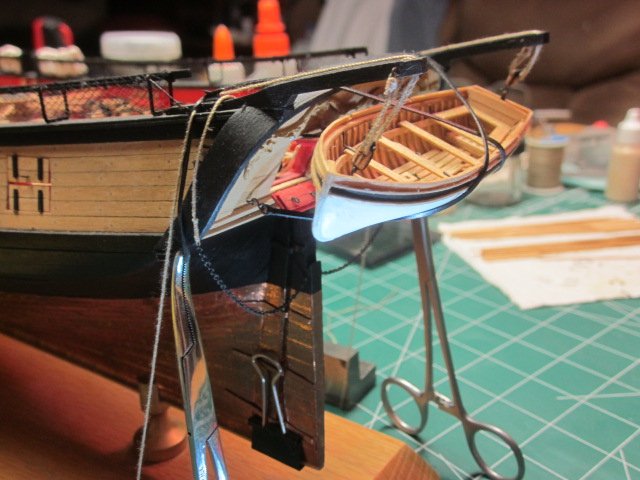
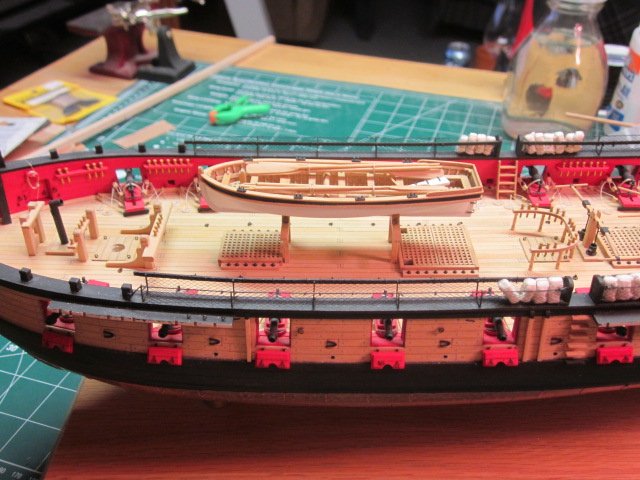
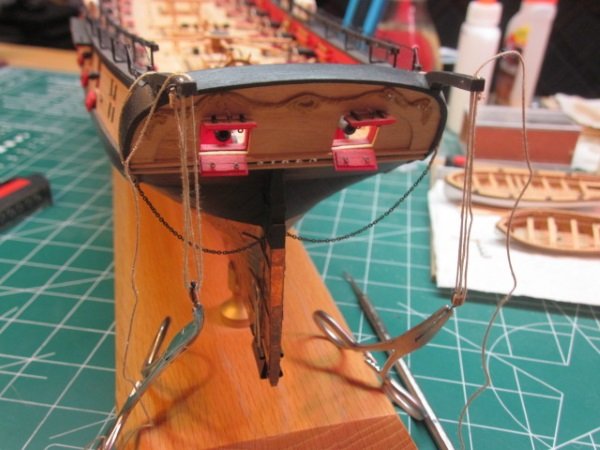
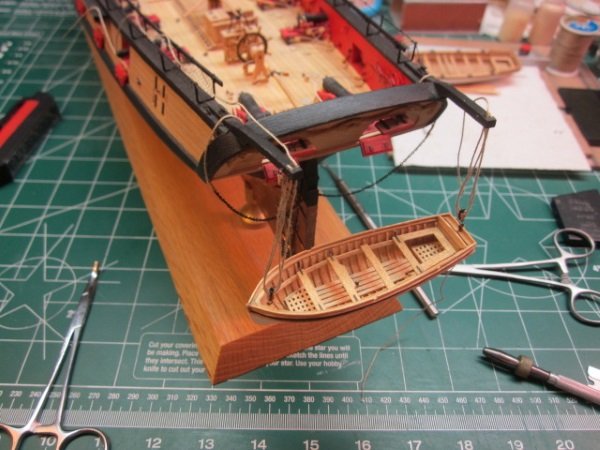
I've made the gripes and installed the eyebolts to the transom. Attached are the pictures of my test "fit" of the gripes. Please give me some feed back. I'm entering unknown seas and I'd like to have some navigation from a more experienced skipper. I haven't made the fender yet and I'm curious to know if the boat resting on the port lid would be proper. Richard


- 227 replies
-
- 13
-
-
- syren
- model shipways
- (and 1 more)
-
Hi Jesse, I know what you mean. I haven't found a drawing that shows how its secured to the hull or deck. I was working with it yesterday and the davits may be too long to use the gripes. Yes, you're right. I'm always looking for advice. You're farther along than me so I'll probably have some questions. Richard
- 227 replies
-
- 1
-
-
- syren
- model shipways
- (and 1 more)
-
Great job bending the cap rail. Its a very hard thing to do. Very nice result Richard
-
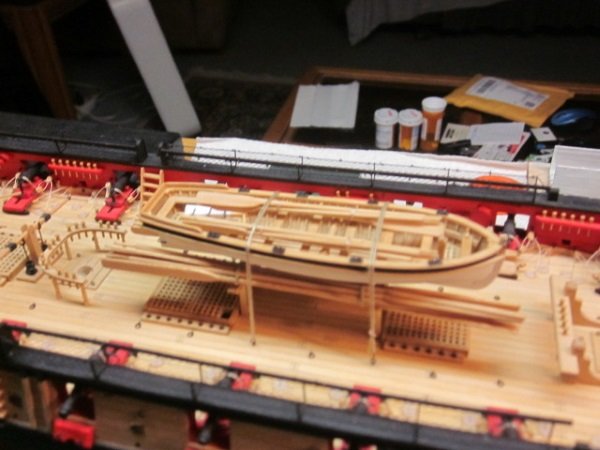
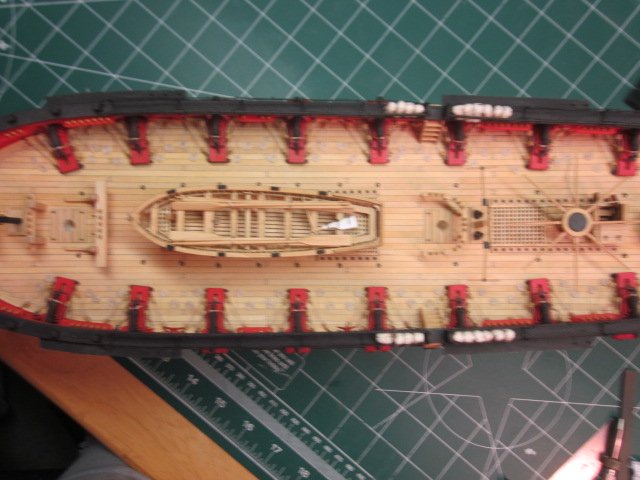
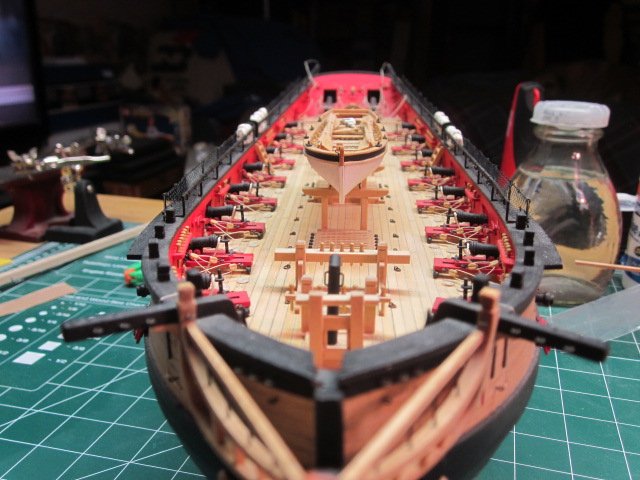
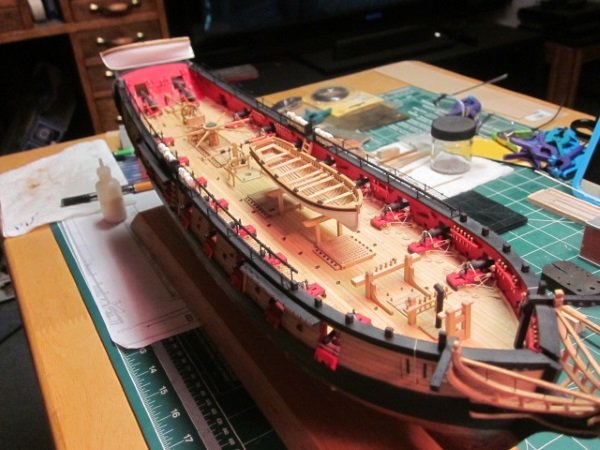
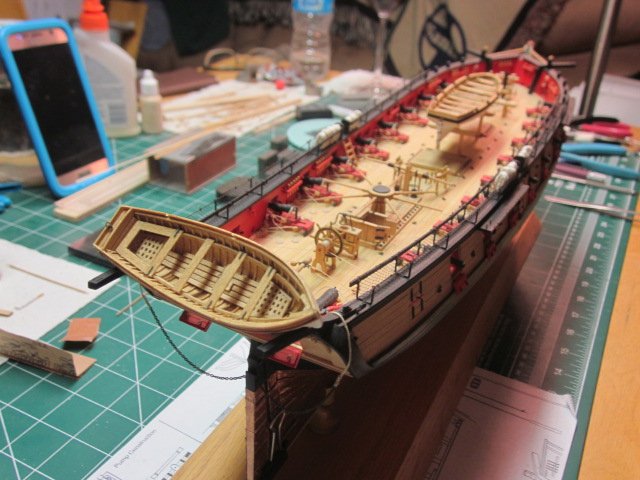
I was able to get the chocks made and installed and I finally got my long boat installed. Now I just need to tie down the sweeps and the long boat. I'm working on the gripes for the jolly boat. I've been testing to see if I can trim down the leather to scale thickness. I started by using a straight razor but I switched over to a file which seems to be working well. Thank you Thomas for your compliment. Richard
- 227 replies
-
- 14
-
-
- syren
- model shipways
- (and 1 more)
-
Thanks Jesse I've been doing a lot of research, I've also made a post on the subject titled "Puddened gripes". Also in the book "Historic Ship Models" it shows some examples of hanging the boat from the stern davits. It looks like I'll have to close the aft gunport lids to make it work properly. What I haven't been able to find out is how to secure the gripes. By the way, what seizing did you use to secure your long boat? Richard
-
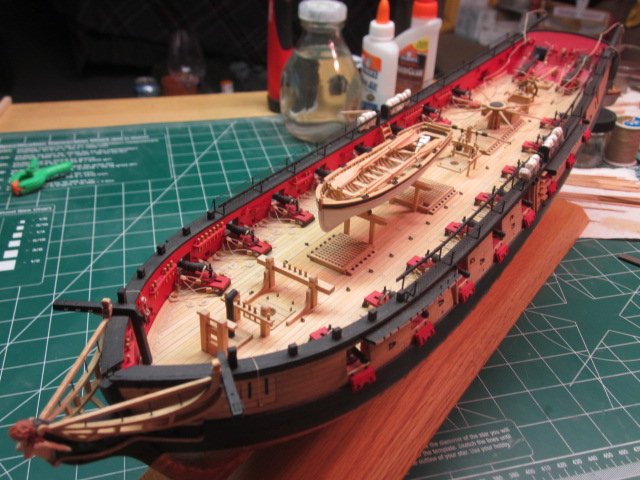
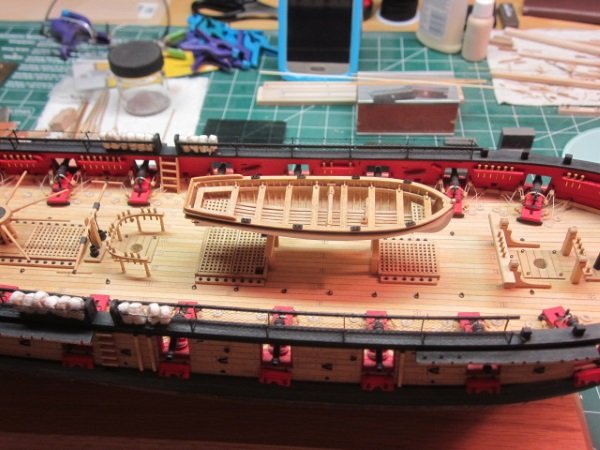
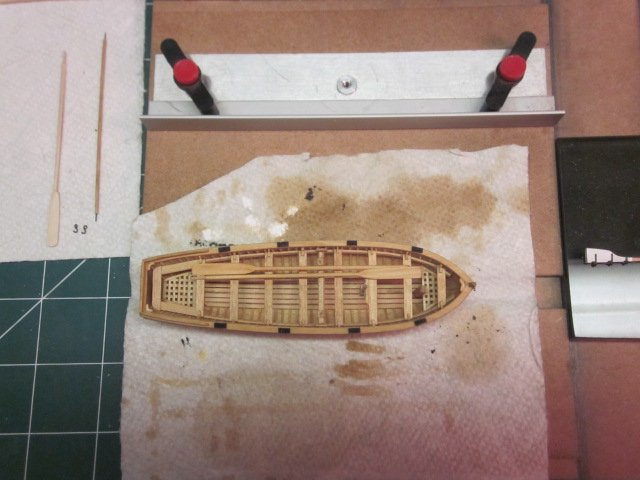
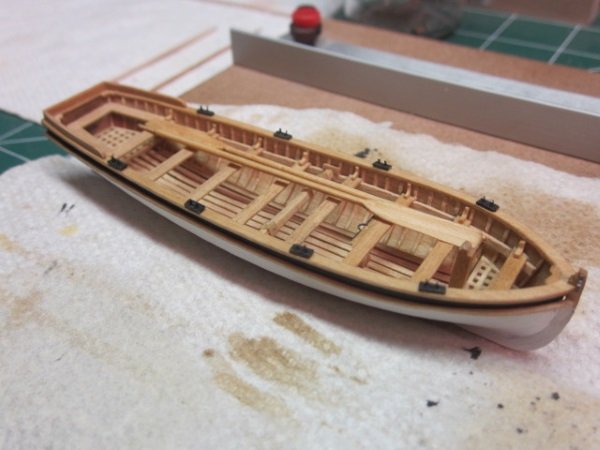
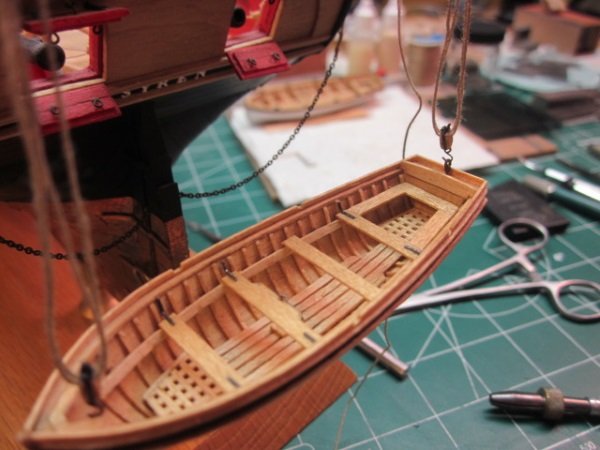
Wow, finally! The momentous occasion has arrived for me. I've finished my long boat and now I can install them and begin the masting and rigging. I have to admit making the knees was quite the adventure. I went thru several trials before I found a way to make them. I ended up taking a piece of 3/32 x 3/32 strip wood and filed the rounded edges then I used a straight razor and cut them to size. I have my jolly boat hung from the davits so now I need to make the gripes and the fender! I have a question for the group. What seizing was used for the long boat and were the rudder and oars seized to the long boat?? Thank you all for your kind comments and likes! Patrick, thank you for your comment, as a newbie to the craft it is highly appreciated!
- 227 replies
-
- 14
-
-
- syren
- model shipways
- (and 1 more)
-
Hello from land locked Oklahoma
kscadman replied to ship_modeler's topic in New member Introductions
Welcome from your northern neighbor in Kansas. -
Eric, I chose the Syren as my first POB ship and I'm lucky I did. The kit and instruction book is set up for a first time build. I think you will do well if you choose it. Richard
-
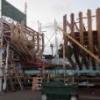
Thanks Thomas. Does anyone have information about how the sprit step should look like? The plans and instructions are a bit vague.

