kscadman
-
Posts
258 -
Joined
-
Last visited
Content Type
Profiles
Forums
Gallery
Events
Everything posted by kscadman
-
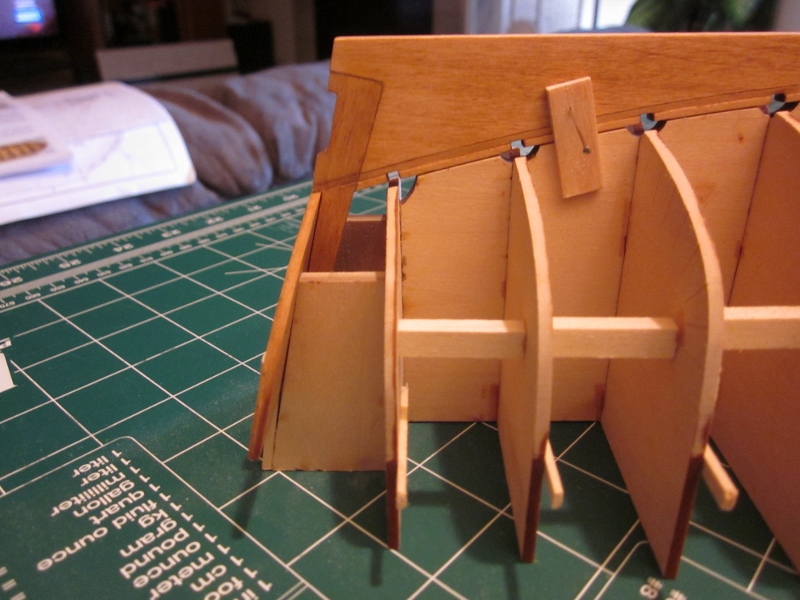
 Thank you Tom & esion. Tom - last night I did as you did and sanded with the frames. I also re-read the instructions and there's 1 sentence about sanding with the frames. (duh on my part). I laid my batten along the plank lines as I went. The only part I don't like is I have a slight gap on the port side with mold #3 (the first one that doesn't have a frame) I've got a 1/64 to 1/32 gap but I think I should be ok with it since the frame will be canted. esion - I'll keep the PMs in mind should I run into any troubles. I projected the planking lines to the frames so I'll find out tonight how well I did. I'm going to try to get the first garboard bent & fitted. Richard
 -
Thank you Tom! The only thing I'm trying to figure out now is how to do the final fairing without breaking the spot glue. I've tried to sand going across the frames but I've had a couple break loose on me. I'm thinking about trying to go with the frames. Any suggestions? Richard
-
There are a couple of build logs for the Scotland so you could gain some knowledge from those builds. There are also tutorials that will help get you started. They are located in the shop notes, ship modeling tip, techniques and research section. I working on my first one as well so I understand how daunting it may seem, but once you begin and start learning then it will get easier. Richard
-
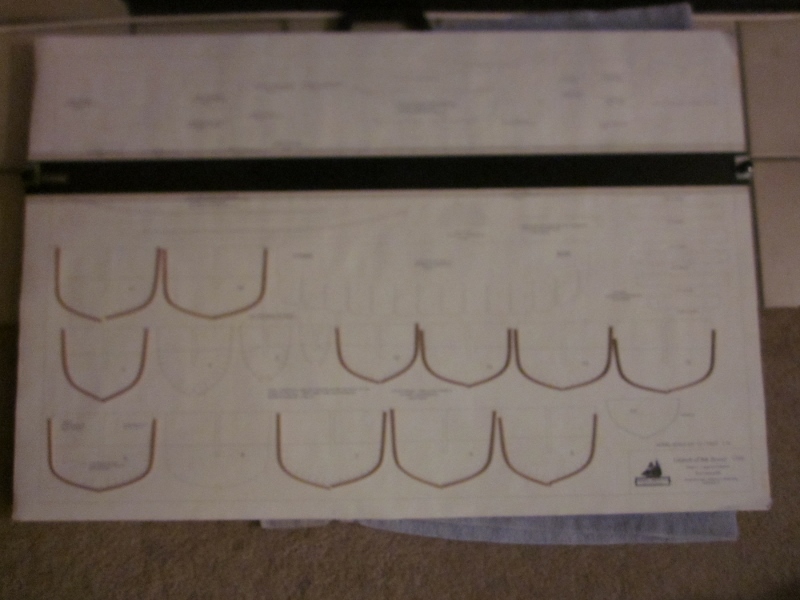
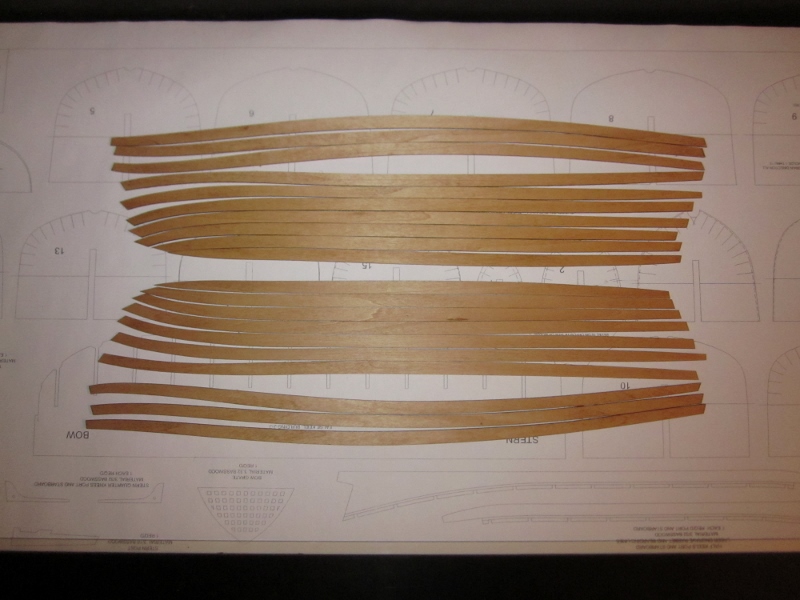
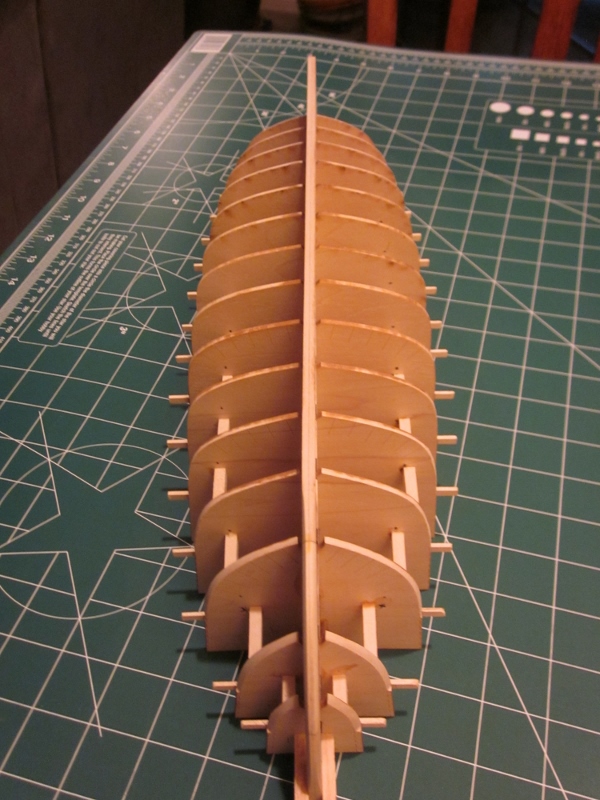
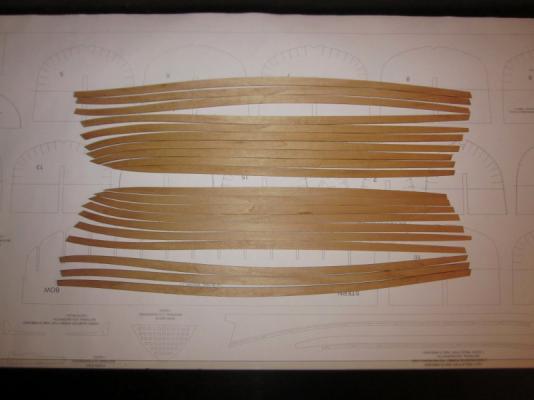
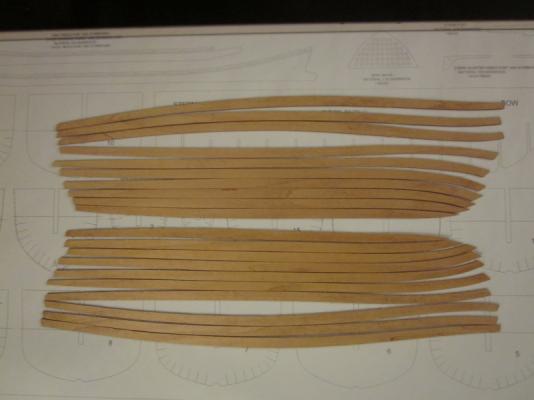
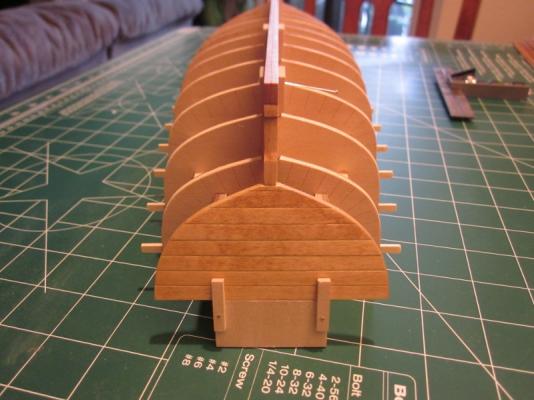
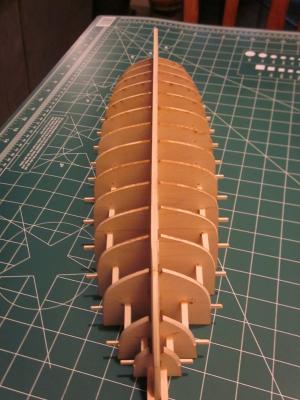
David Yes, the planks are laser cut. According to the instructions they are a little wider and are to be sanded down to the proper width. There are line off marks on the molds that are projected to the outer edges of the frames. The planks are supposed to be sanded down to those widths. You can see them on the third mold from the transom. Richard
-
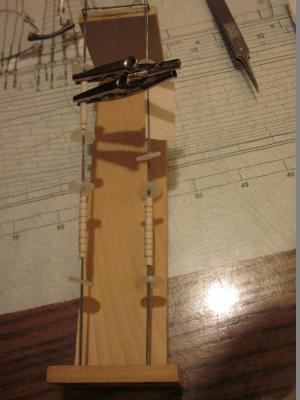
Hammocks are progressing. I'm really starting to believe the expert in expert modeler means you've learned how to make a jig for the task at hand. lol. Attached is a picture of the jig I made for rolling and tying hammocks
- 227 replies
-
- 8
-

-
- syren
- model shipways
- (and 1 more)
-
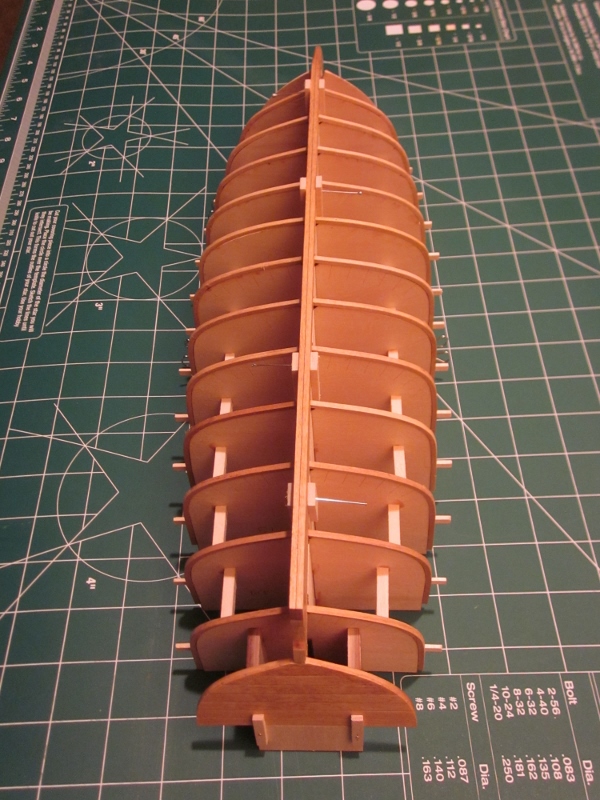
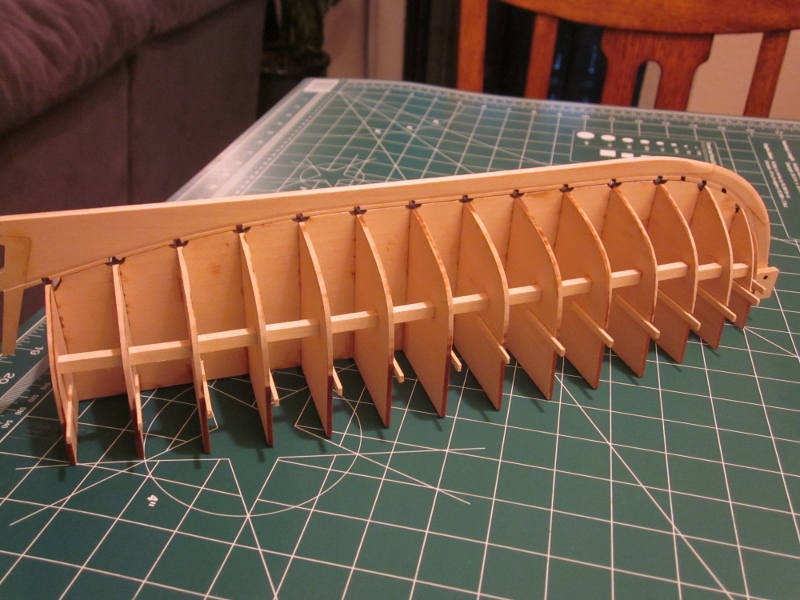
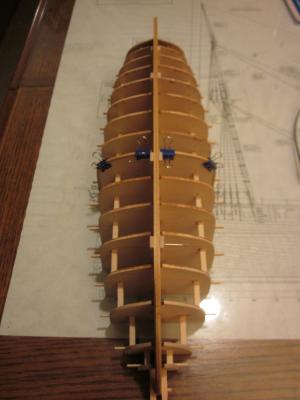
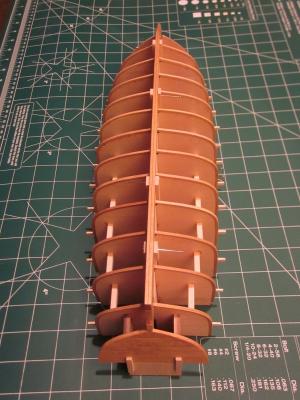
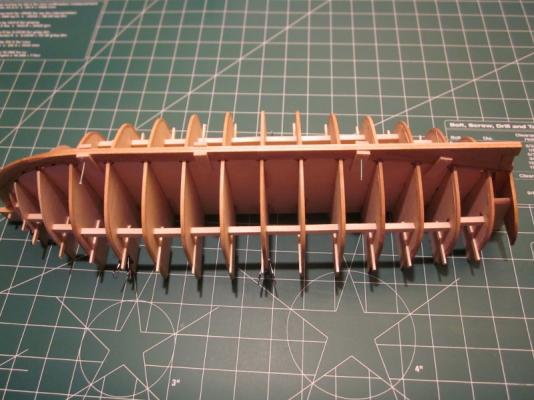
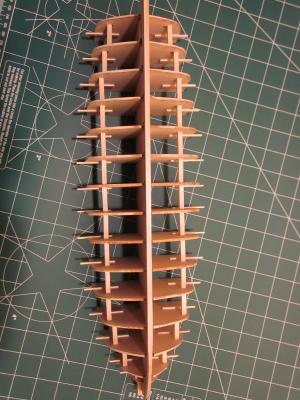
I successfully finished bending and installing the frames. Now just a little bit of fairing to get it right. Also I stained all my planks, so the prep work is done. Richard
-
Well done! Wonderful work. Richard
-
Great work on the parquet flooring! What woods are you using? By the way - I'd say we're next door neighbors- lol Richard
-
Beautiful work Mike! She's coming along quite quickly. I'll be following your log with great interest. I'm glad I came across it. Richard
-
Hello all, I need a little help I'm working on my frames and I've noticed that when I take off the clamps the frames pull off the molds just a little bit. Should I re-soak and re-clamp the frames or will they hold their shape once I start planking? Thanks in advance for any help. Richard
-
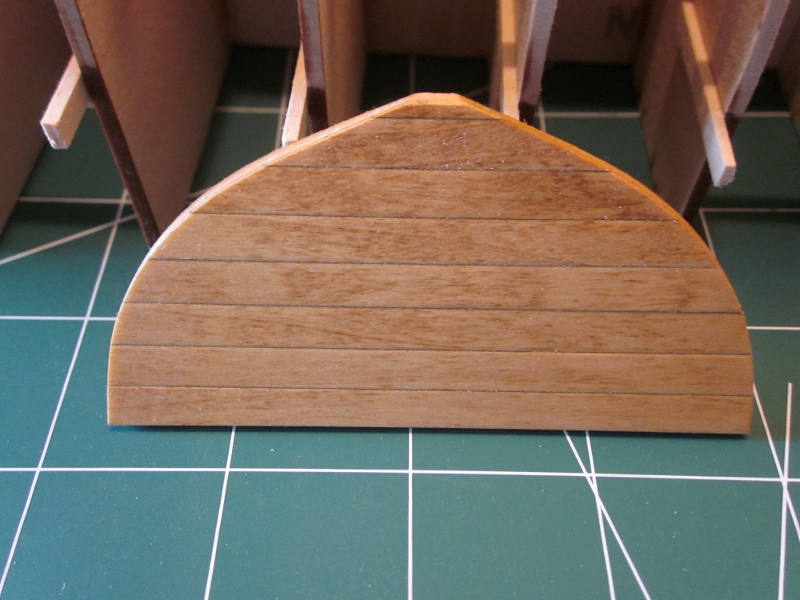
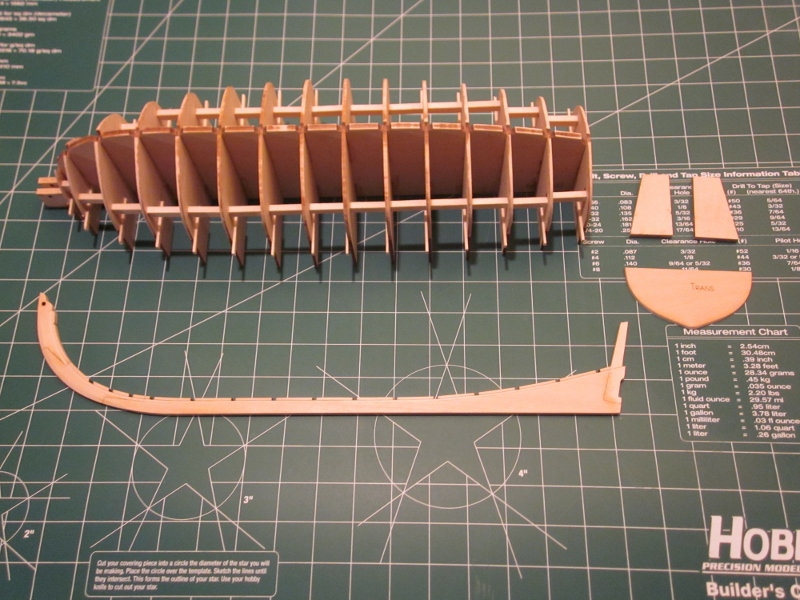
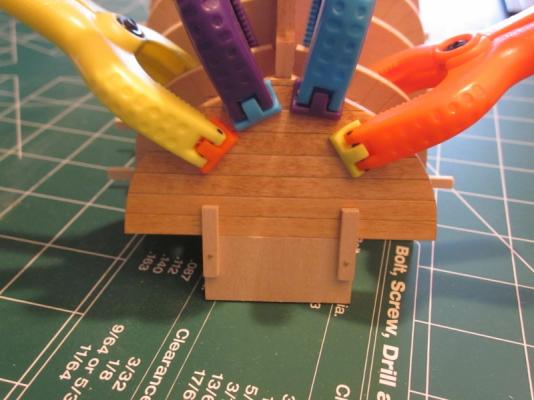
Keith & Tom thanks for the advice it came in handy. I sanded down the transom to 1/8" then I took some 1/32" x 1/4" basswood and made planks for the transom and glued them on. I managed to get the transom flush with the sternpost so i shouldn't have troubles with the rudder installation. I like most others have decided to stray from the grey and white suggested by the kit. I'm going with oak but I'm going to keep the gunwales & breasthook cherry. I'll keep the white below the waterline and add blue to the sheer plank. I found some 3/32" X 3/32 basswood to use for the frames and I've stained them, the transom and keel oak. Should be starting the frame bending tonight. Richard


-
Thanks Keith - good to know I'm on the right track. If it doesn't work then I can get a piece of 1/8 basswood and cut a new one. Richard
-
Thank you all for your comments! Keith - Its good to know I'm following in the wake of those who have gone before me. How did you go about sanding the transom down? I was thinking about using a block and large piece of sandpaper. Pops - I'll try to make sure to note when I divert from the instructions. When I get time I'll have to read thru your Longboat build to see if I can find some tips. Thomas - It IS a neat little model, but at 17 inches its bigger than the pictures represent. Plenty of room for added details. I would recommend it based off of what I've done so far. Plus I can apply what I'm learning from this to my Syren launch (still sanding the hull on that one) Richard
-
Thank you Keith, I hope to do her proud. I was working on my transom and it has the word "TRANS" on the outboard side. At first I thought that it would be planked over, but as I looked through the drawings and instructions I didn't see any instructions on planking. Then I looked at the relationship between the transom and rudder and noticed that there is no room for planking. I have the feeling I'm going to need to sand off 1/32 and then add some 1/32 planking. Richard
-
Thanks mate. I'm already working on a launch for my Syren so why not "go big" with another launch. Richard
-
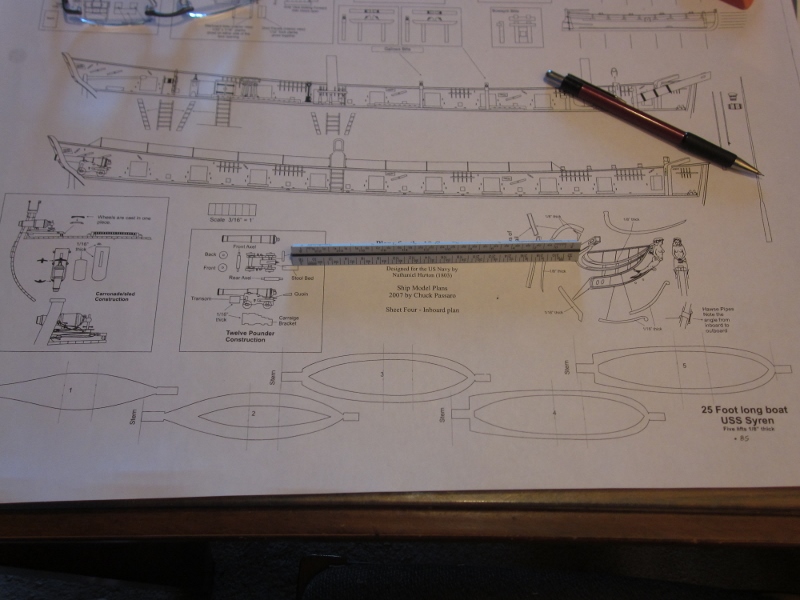
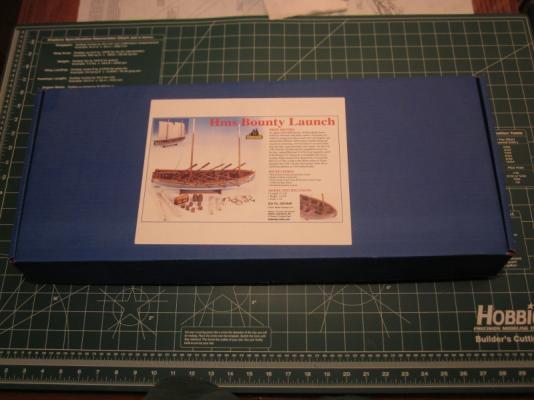
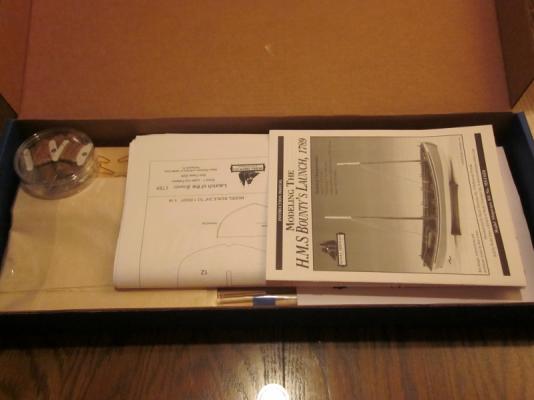
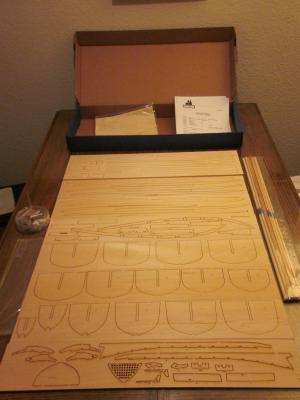
Welcome to my second build log.After several months of work on my U.S. Syren I've come to realize why many here on MSW work on several builds at a time. Currently I'm at a point where I need to do some wood working (rolling & tying hammocks is a tedious thing). My work so far has gone easily and quickly. The keel is assembled, Rabbet is cut, and the building jig is assembled and faired. The stem alignment blocks are spot glued and the keel has been dry fitted. So far I've had zero problems. The holes to pin the stem lined up perfectly. Now its time to roll a few more hammocks then install the transom horses and transom. I did a quick dry fit and it looks good. Attached are some pics Richard


-
Point well made, lol. Hammocks are getting a bit monotonous. Richard
-
Amazing work Thomas! Can't wait to see them rigged. Richard
-
Just sign in to your account with model expo. Go to customer service (at the bottom of the page) then go to tech support then parts request then you can tell them what part you need. Richard
-
Augie, you are correct. But in this case I'm not going to do the 24' Pinnacle. I'd like to get to my masting and rigging sometime this decade, lol. Thanks for the link to Waynes' build. I wonder if he was referring to the deck slats surrounding the capstan or he's taking a dimension from a different plan sheet. I'll keep an eye on his build. Richard
- 227 replies
-
- 1
-
-
- syren
- model shipways
- (and 1 more)
-
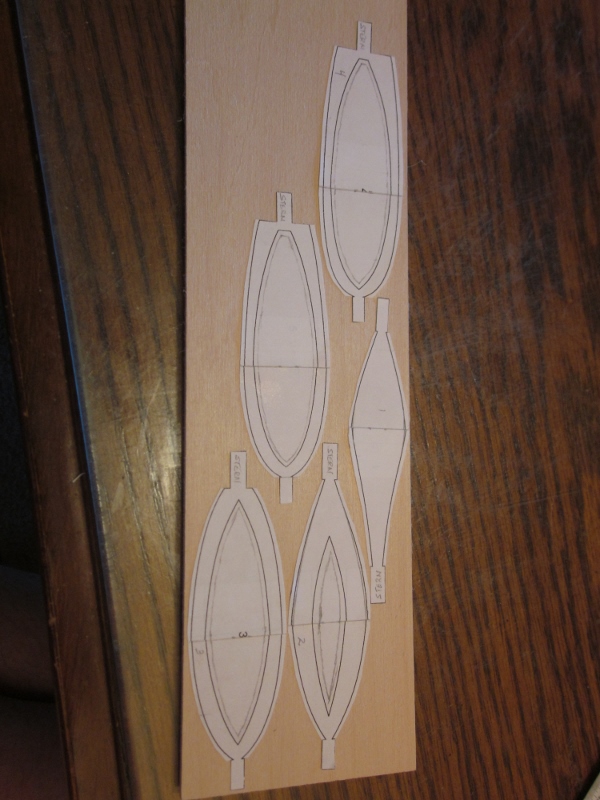
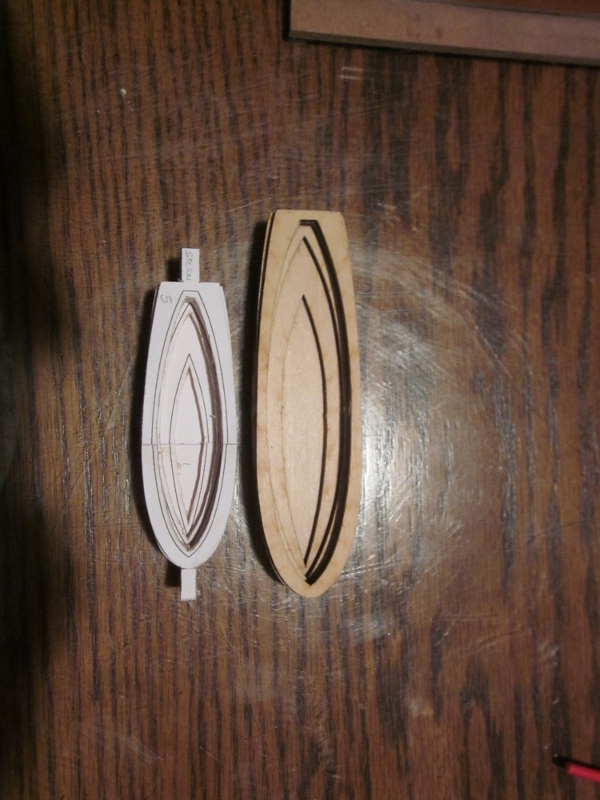
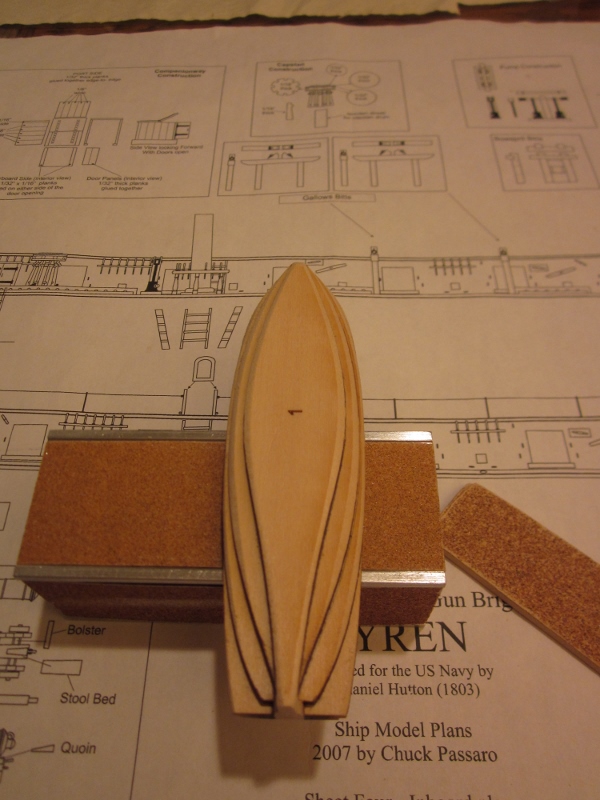
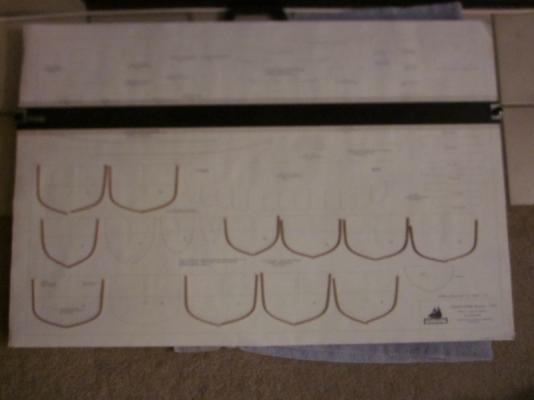
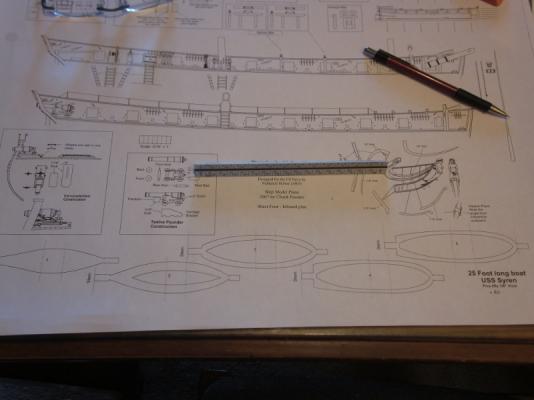
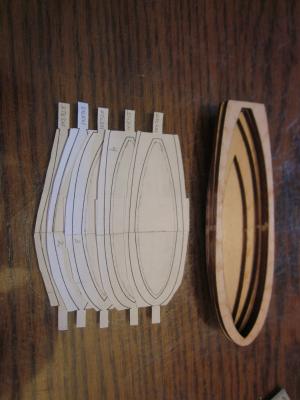
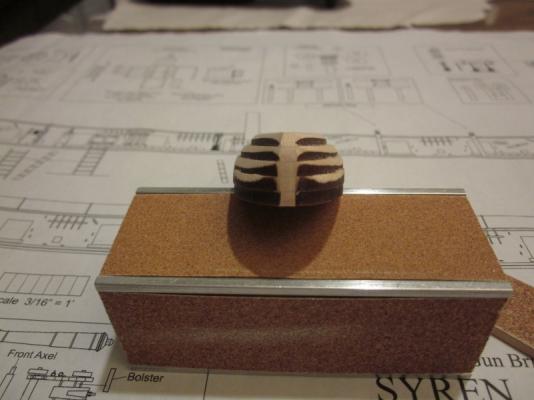
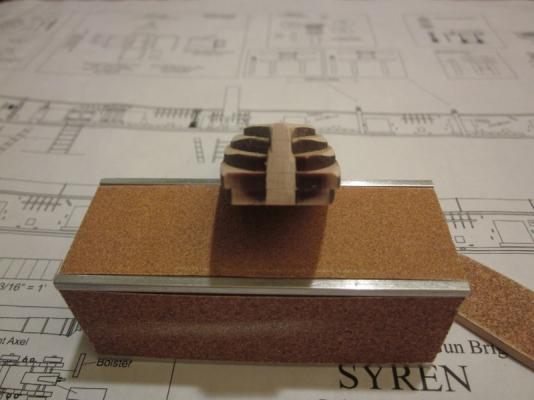
Well, I'm continuing to cut hammocks (I'm starting to rethink this hammock thing). I've been working on my long boat but I'm still a little skiddish about the curvature from midship to stern so I decided to make a jolly boat. I reduced the plans by 15% which gave me a beam of 6'-0" then I cut a section out and feathered the curve to get an overall length of 18'-0" once I add the keel. I kept the draft the same since I haven't found any information on what the draft should be. The way I see it, if it works out then I'll have a jolly boat to add to the stern davits. If not, then I I've learned what not to do on my long boat. Attached are some pics. I still need to fair the lifts a bit more before I glue them together. Richard


- 227 replies
-
- 5
-
-
- syren
- model shipways
- (and 1 more)
-
Hi Augie, your sample turned out great! But do you think it will be too dark compared to the hull color? The only reason I ask is because I haven't seen deck planking made with pear but I have seen plenty of deck furniture made from it. It could just be the picture that makes it look dark. Either way I'm sure it will turn out great! Richard
-
I used the same fair a frame when I was starting and you should be able to slide the bar over to be snug with the bulkhead former. Also make sure to check that the bulkheads and bulkhead former (what I think your calling the keel) are straight without any warping. (It looks like its warped a little in the 1st picture) I'm not familiar with Corel kits but typically the top edges of the bulkheads should be flush with the top of the bulkhead former. I would check the plans and overlay it if there is a plan view. When dry fitting your bulkheads check and make sure they fit at perpendicular to the former. If its too tight it will twist the bulkhead. Hope this helps. Richard
-
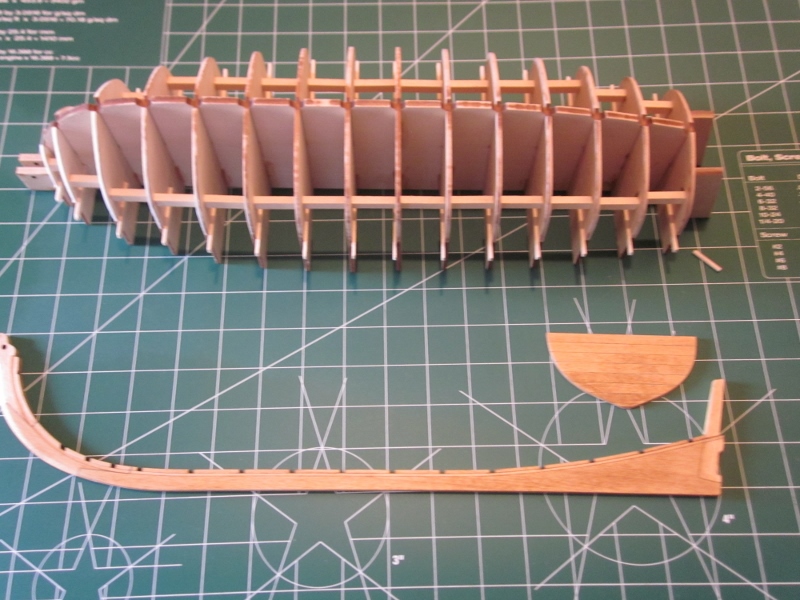
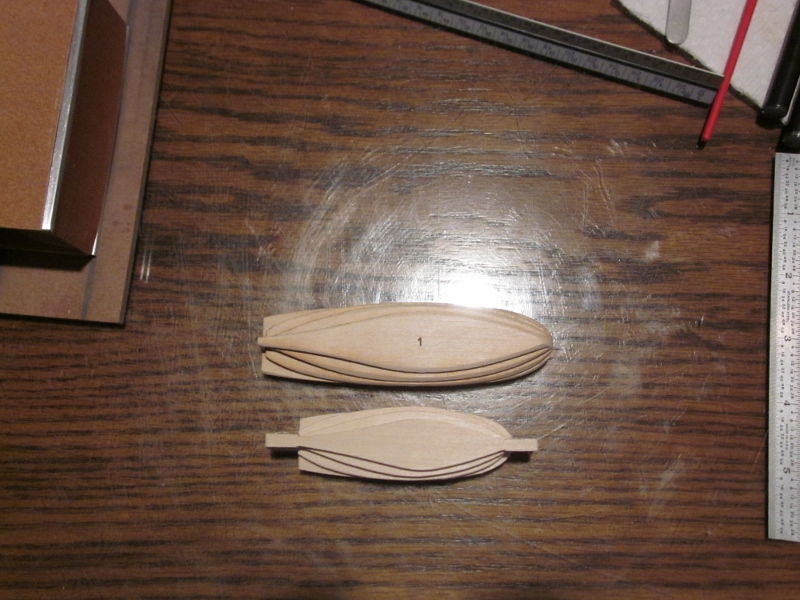
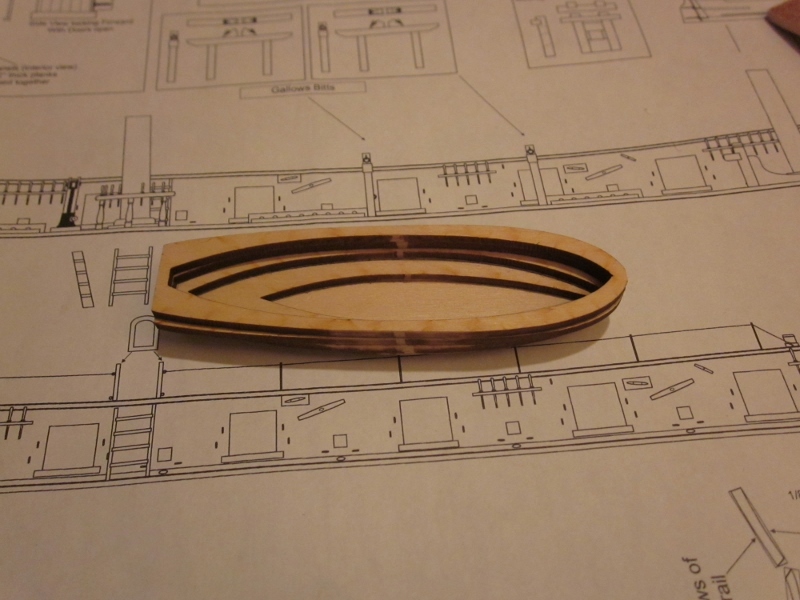
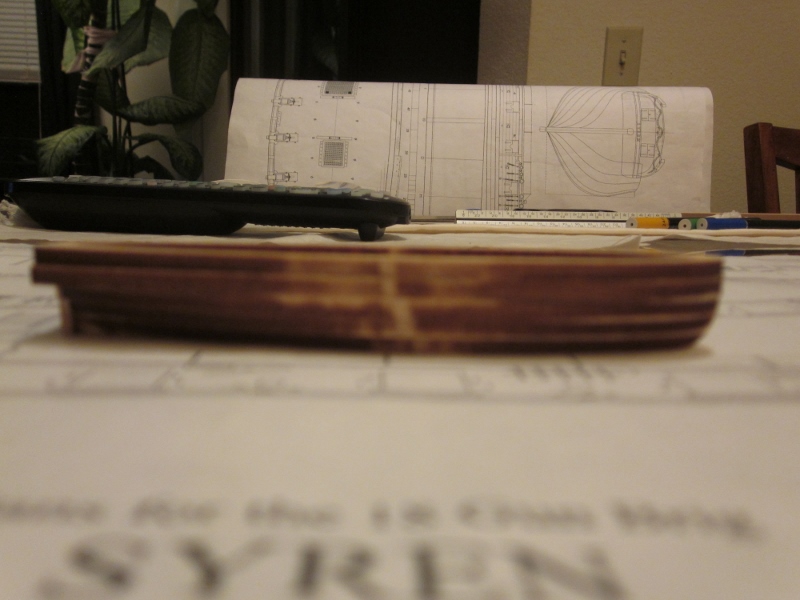
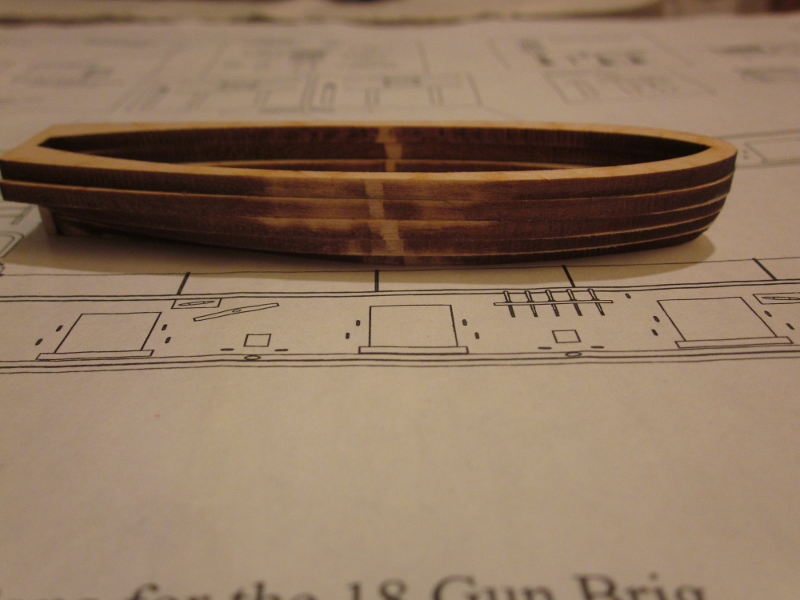
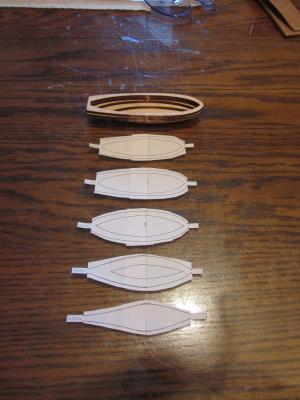
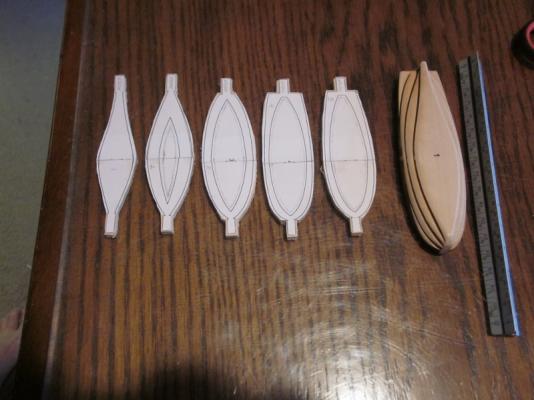
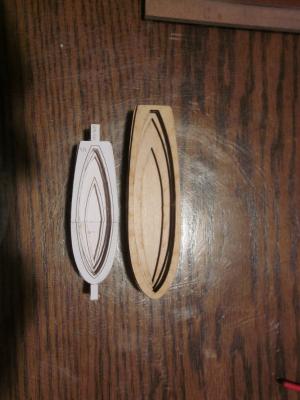
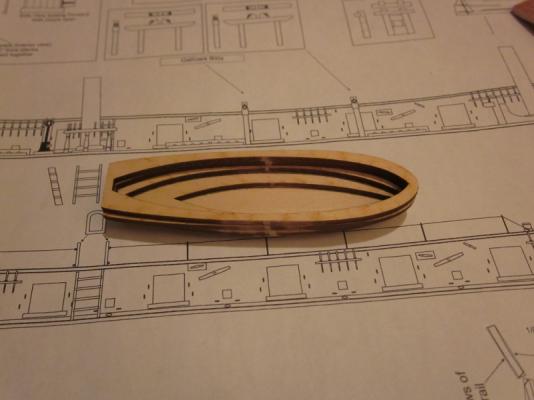
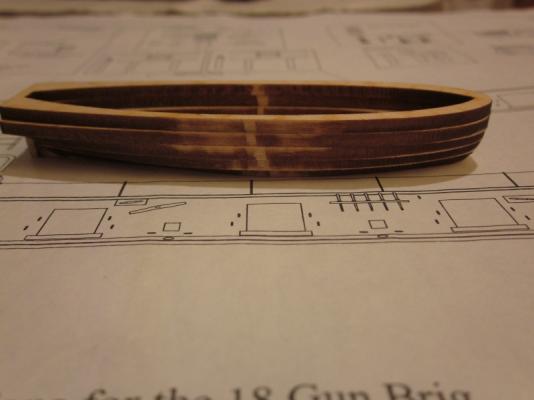
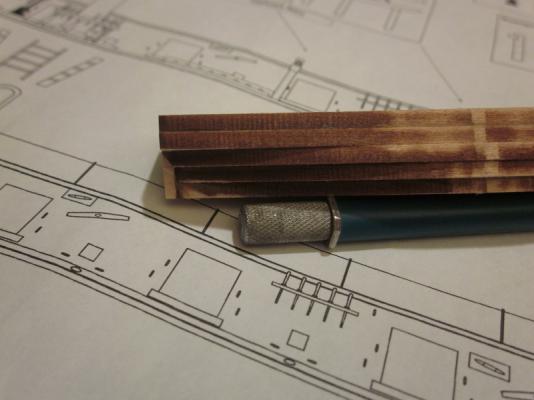
Ok, in between cutting cloth for my hammocks I've started on my ships' boat. Lifts are glued, tabs are cut off and I sanded the basic profile shape. My question for those who have built a boat using the lift method. Am I getting the fairing right, especially toward the stern? I know I'm just getting started but I've learned that if I don't start off right then it will cause problems later. Also its my first time so I'm a little unsure about this step. Attached are a few pics. Richard


- 227 replies
-
- 6
-
-
- syren
- model shipways
- (and 1 more)