HOLIDAY DONATION DRIVE - SUPPORT MSW - DO YOUR PART TO KEEP THIS GREAT FORUM GOING! (89 donations so far out of 49,000 members - C'mon guys!)
×


kscadman
-
Posts
258 -
Joined
-
Last visited
Content Type
Profiles
Forums
Gallery
Events
Everything posted by kscadman
-
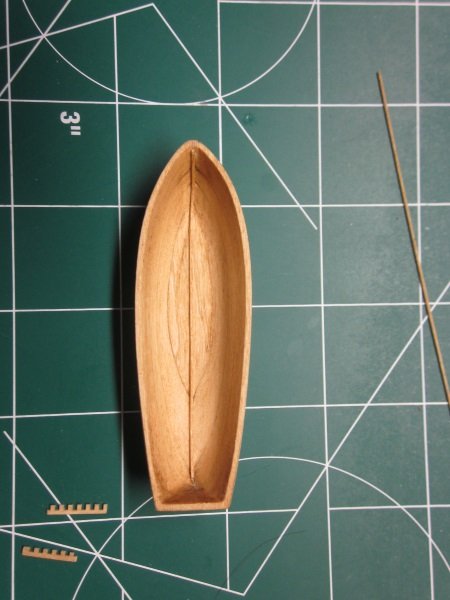
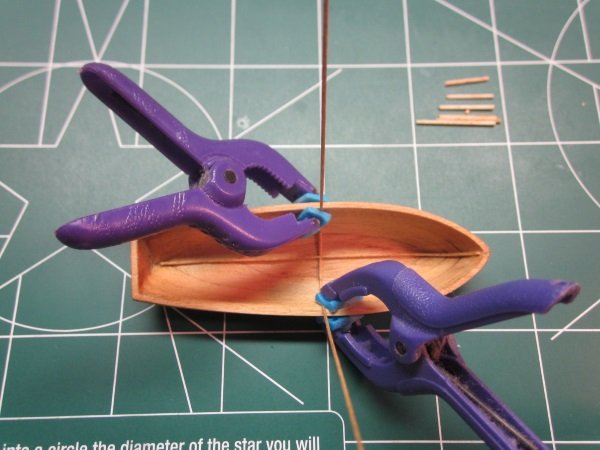
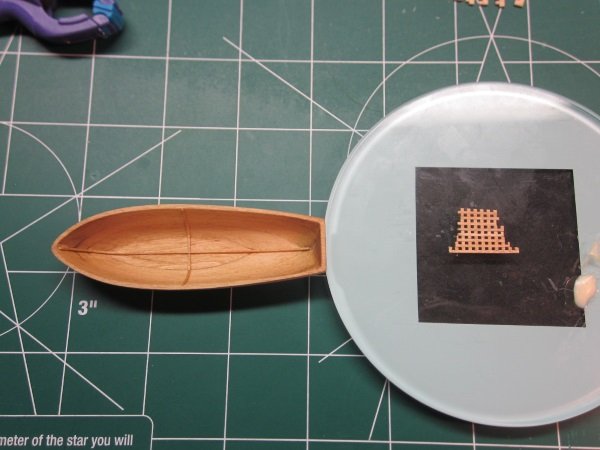
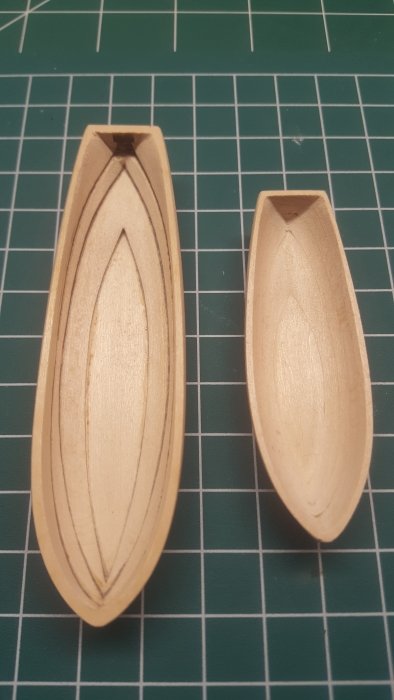
 Still sanding on my long boat, but I have made progress on my jolly boat. The sanding looks good and its an even thickness using the calipers. So I stained the interior and sanded the stained the wood for the framing, floorboards, thwarts and thwart supports. I glued in the "keel" and first frames as well as did a rough gluing on the aft grate.
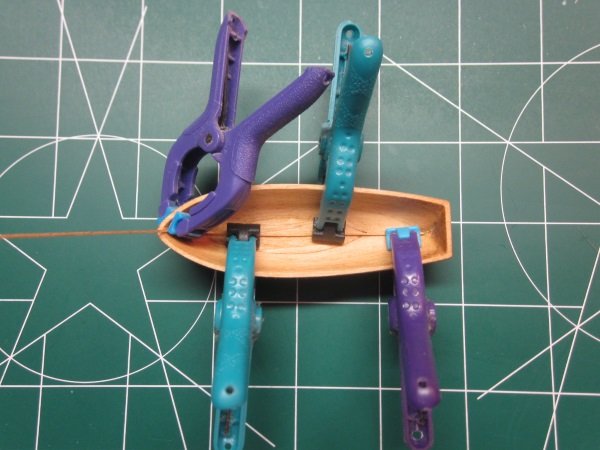
- 227 replies
-
- 7
-

-
- syren
- model shipways
- (and 1 more)
-
Welcome Steve. I need all the support I can get! Thank you.
-
I'll be glad to help. I've gotten a lot of advice from many members.
- 227 replies
-
- 1
-
-
- syren
- model shipways
- (and 1 more)
-
Thanks Doug. I'll be following your Prince de Neufchatel. They are practically the same ship.
-
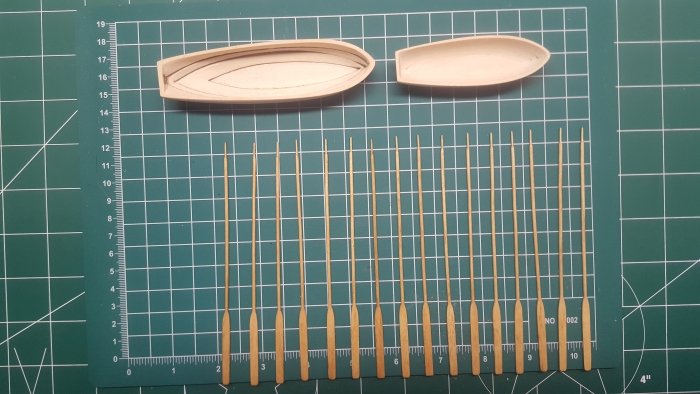
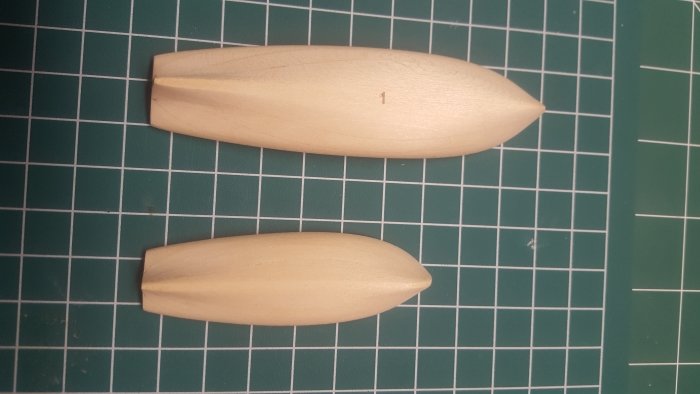
Greetings all. Sorry I've been away for a while. But I've made some progress on my ship. The long boat and jolly boat are coming along. In between sanding I decided to sand and stain the sweep oars. With that completed I can start on the boat oars. I went thru a move and now I cant find my hammock cloth so they have been put on the back burner for now.
- 227 replies
-
- 6
-
-
- syren
- model shipways
- (and 1 more)
-
Your syren is looking beautiful Jesse. Nice work on the cannons and cannonades!!
- 1,306 replies
-
- 6
-
-
- syren
- model shipways
- (and 1 more)
-
She" beautiful Sjors, quite the ship to be proud of!!!
- 1,616 replies
-
- 4
-
-
- caldercraft
- agamemnon
- (and 1 more)
-
Your Morgan looks great John!!
-
Great work Rich, I'll being following with great interest.
- 1,135 replies
-
- 3
-
-
- model shipways
- syren
- (and 2 more)
-
I was able to get that kit from the local hobby shop. It was in their store for a couple of years and got it at a discount. It is a Amati/Modelshipways collaborated kit. Mainly Amati.
-
Tom, thank you for the tip. I used the isopropyl alcohol and I was able to remove all the planks. One plank did split toward the bow. Now its time for clean up and repair. Richard
-
I'm halfway thru the planking and it hasn't been without its trials and tribulations. I was using the head post template but for some reason (me, of course) I didn't get the garboard and the plank next to it in the proper place. But I corrected this with the third plank. I tried to remove the garboard and second plank but I've been using carpenters glue since its stainable. Unfortunately its also WATERPROOF so I couldn't remove the planks and re-position them. (Hello wood filler) The good part is that my planks are aligning with the marks on the molds. Richard


-
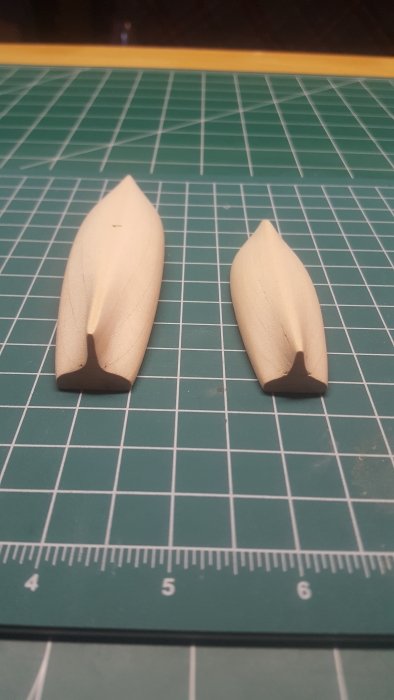
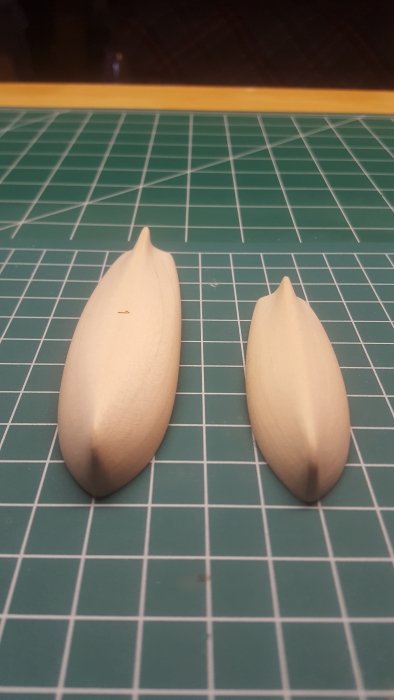
Gahm, I'm starting to lean toward using this technique on my Syren long boat. I've been sanding on the lifts for what seems forever and it doesn't seem like I've made much progress. Richard
-
I formed a single plank to the bulkheads then I cut them into sections and glued them to the bulkheads. The scale lengths were about 30'-35'. Richard
-
I third the recommendation. I'm a true believer in Blacken-it. I use it instead of paint. Richard
-
Hi Keith, great work on the planking so far. I know what you mean about using filler. The second planking gives you the opportunity to accomplish it. Richard
-
I would like to have a copy if its ok with you. thank you for the offer. Richard
-
Superb work Augie! And happy anniversary! She's got a beautiful deck now. Great choice with the pear. Can't wait to see it finished. Richard
- 2,191 replies
-
- 2
-
-
- confederacy
- Model Shipways
- (and 1 more)
-
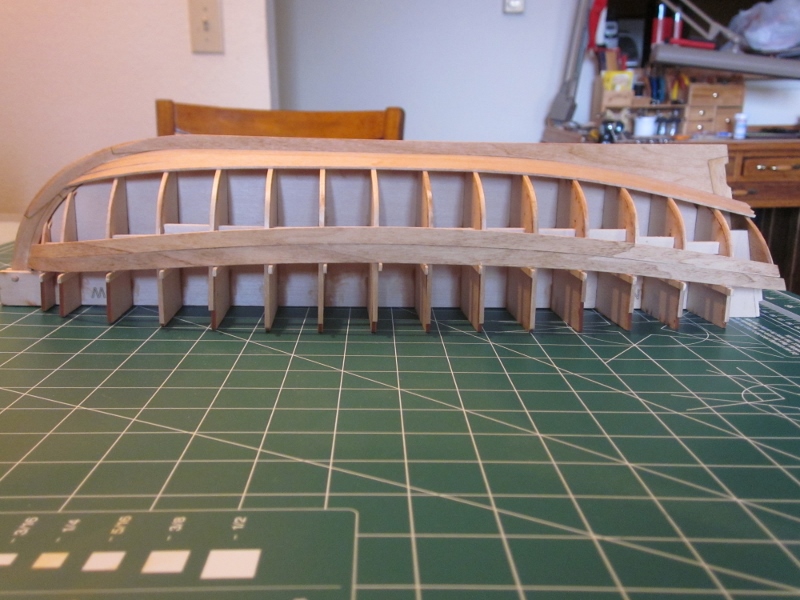
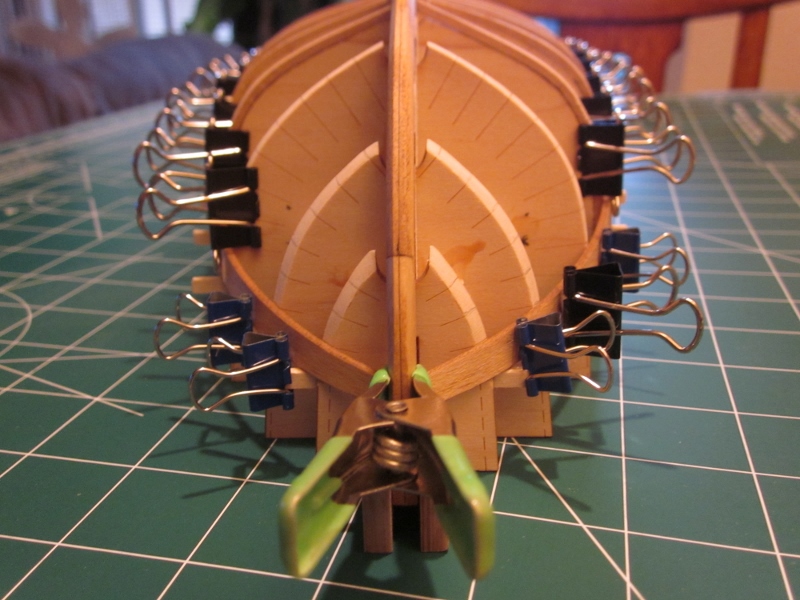
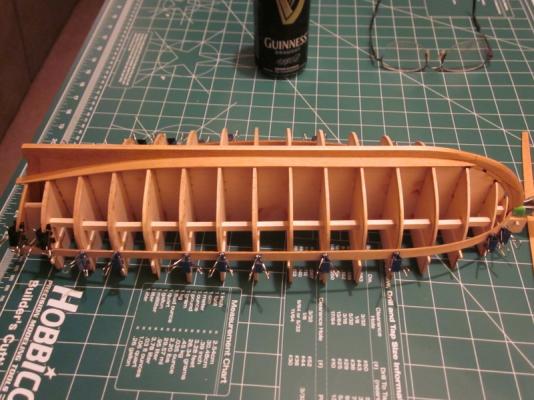
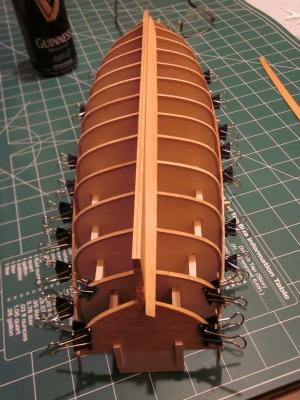
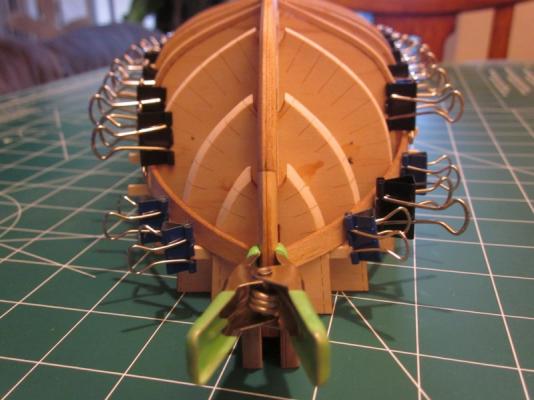
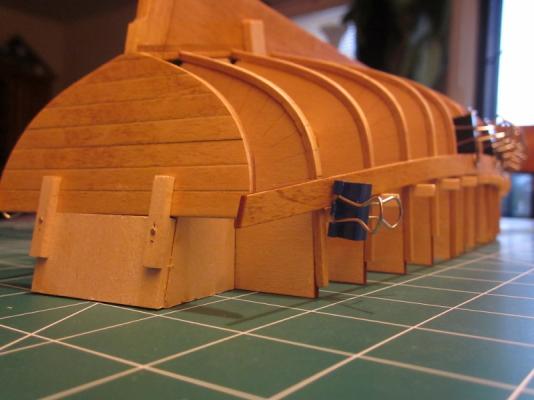
Well the 1st garboard is installed and I'm not exactly happy with it. I have a dip in the fairing at mold #7 which you can see in picture 6. Not to sure what to do about it. I'm going to go ahead and work on the starboard garboard and see how fair it is after it dries. Richard


-
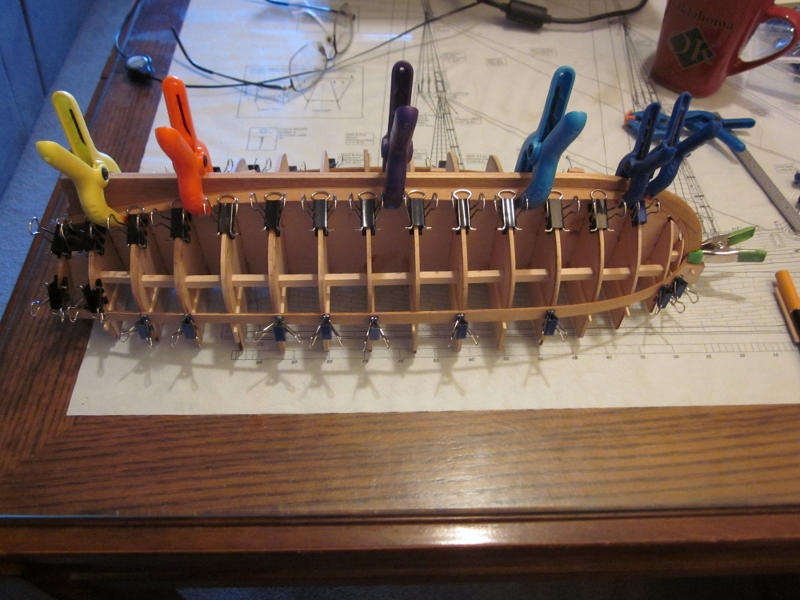
Keith - Thank you for the heads up. I took a measurement from the hull planking profile on the drawings and looked a the pics from the instructions and some build logs so hopefully I have it right. I think I may spot glue them just enough to hold while I form the second plank. Richard
-
Beautiful work ChrisLBren!! Have you looked into the model shipways pedestals? They have wood screws and work really well. I used them on my Syren. I did pre-drill the holes but it wasn't too much trouble. Richard
-
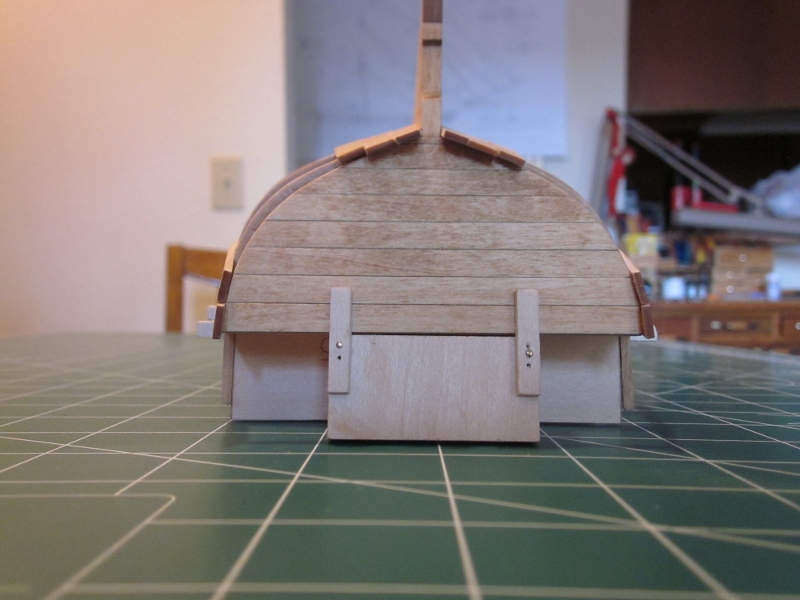
Yes, The wood is being nice to me. Its just that I'm not sure if the sheer plank and the transom should be flush or if some sanding room is designed into the plank. Richard
-
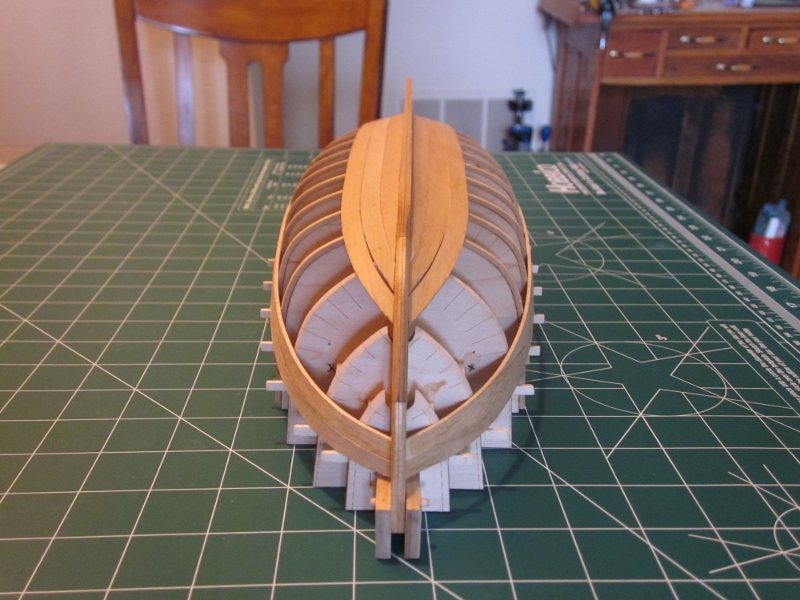
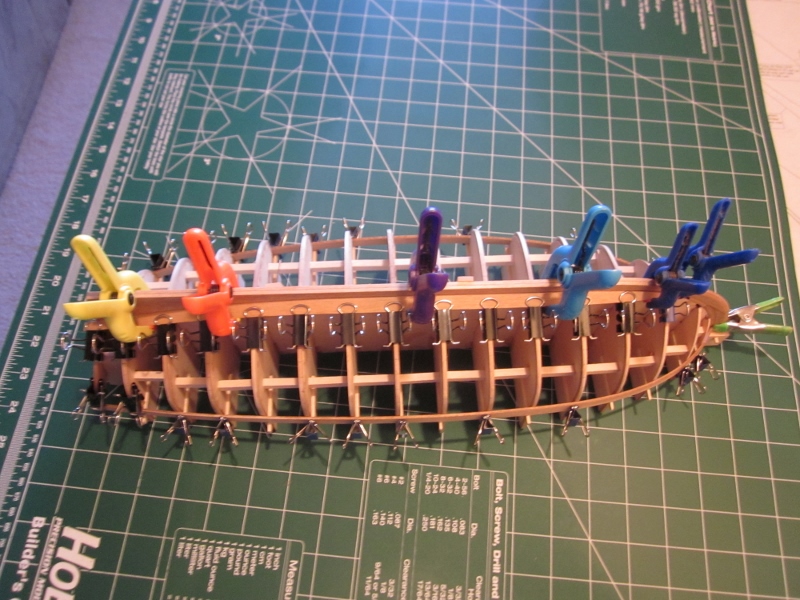
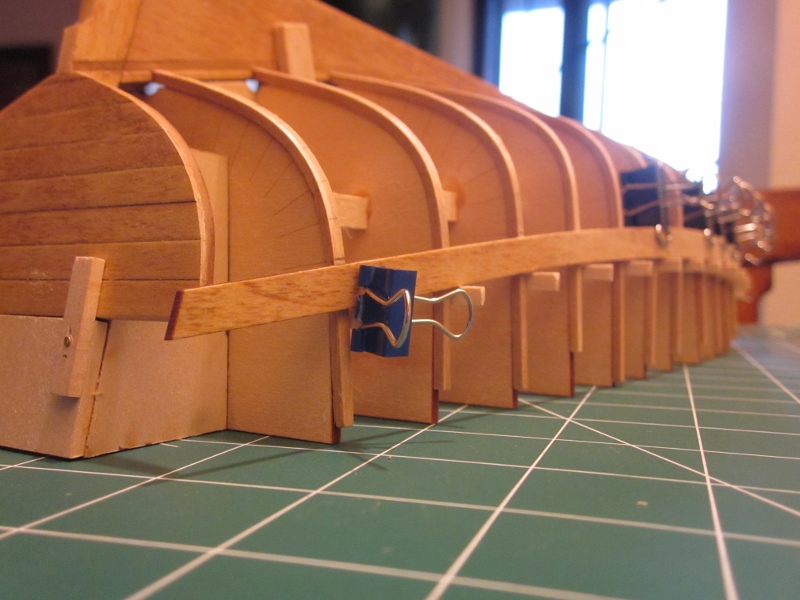
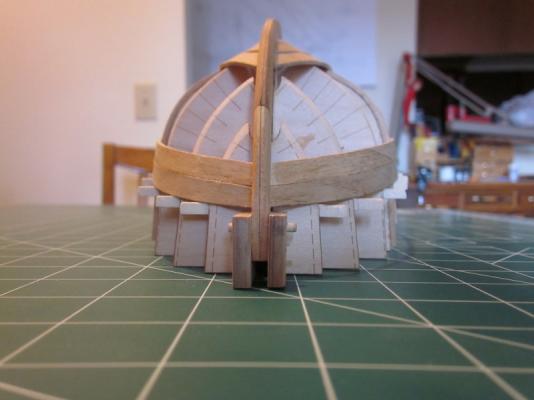
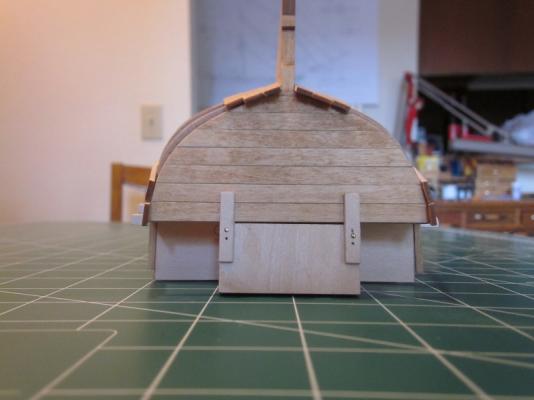
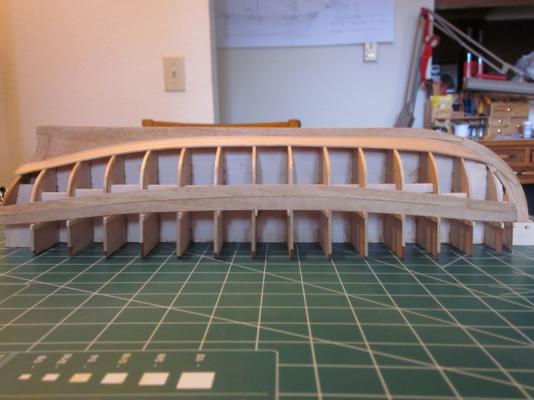
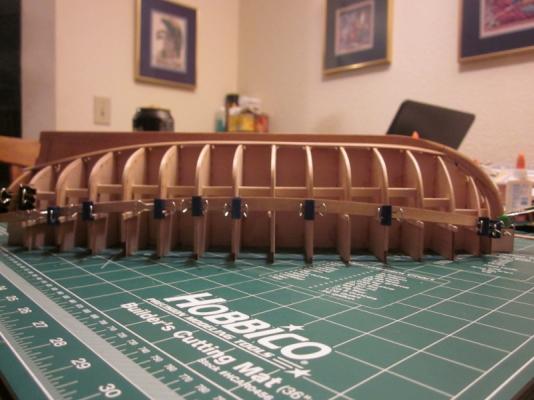
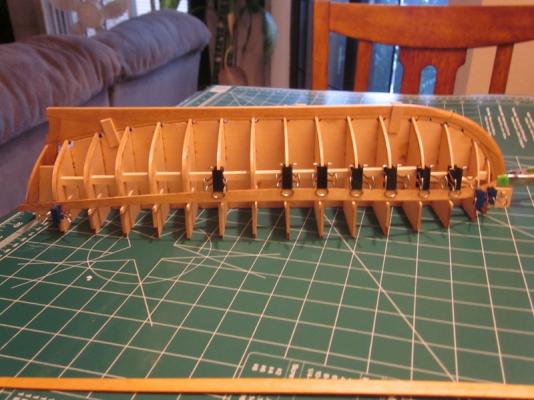
The first of the planking has begun! I have my sheer planks molded to the frames. So tonight I'm going to work on the garboards. I did find one thing curions about the kit. I glued the sheer tabs on to the molds correctly, but when I push the sheer planks flush with them the sheer planks wont line up with the planking marks on the molds. I think I should go ahead and follow the planking marks and not worry about the sheer tabs. Also when the planks are flush with the sheer tabs the planks are offset from the transom by 3/32 on each side. In pictures 4 & 5 you can see the planking lines and the distance from (top) of transom and (top) of sheer plank. Has anyone else run into this condition? Richard


-
Brilliant! Did you design it? If you did you need to patent it. I know I could of used it when I planked my Syren. Richard
-
Beautiful work Tom. I'm curious about the spreadsheet. Does it give you a total length along the circumference of the bulkhead(s)? Richard