Dfell
Members-
Posts
251 -
Joined
-
Last visited
Content Type
Profiles
Forums
Gallery
Events
Everything posted by Dfell
-
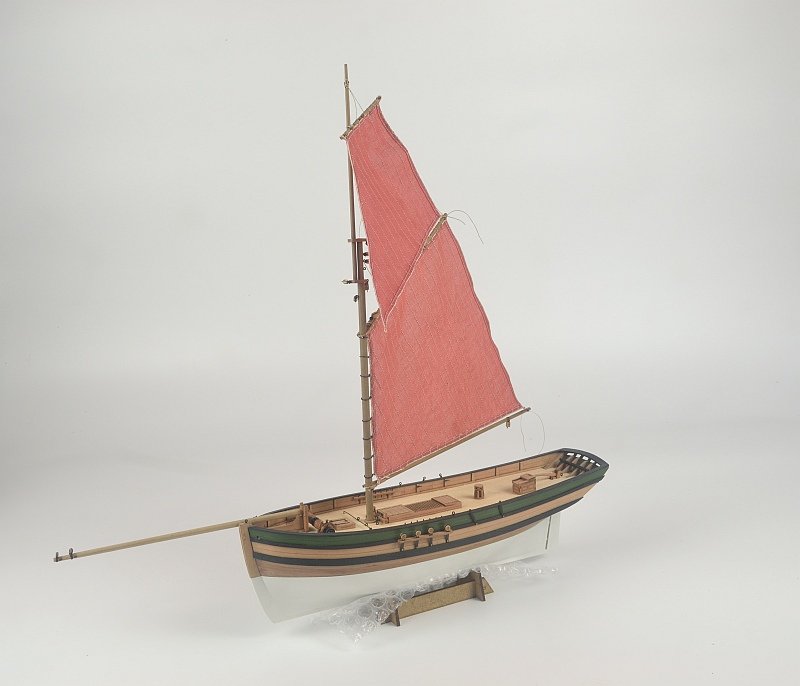
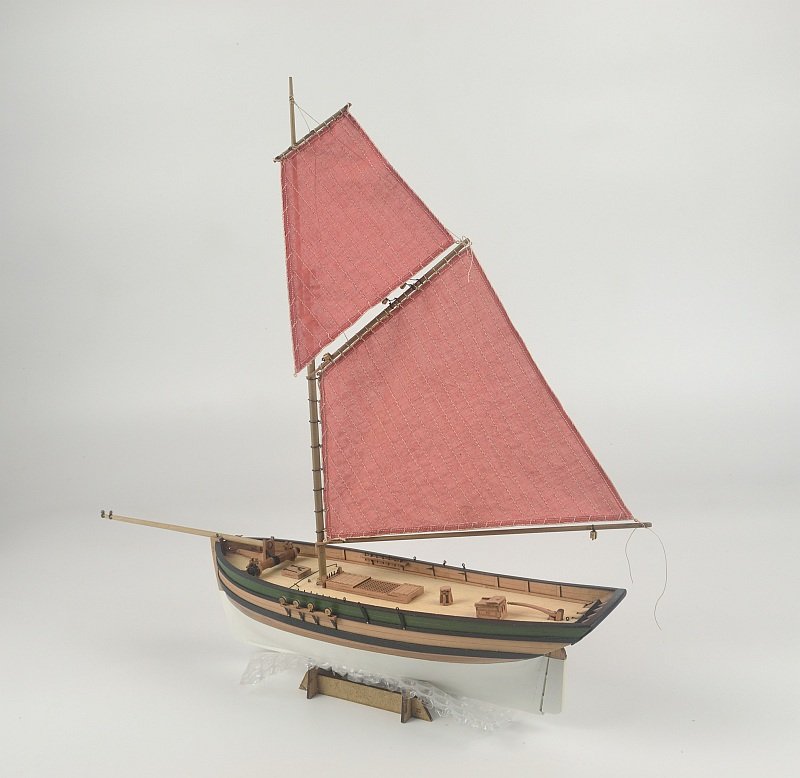
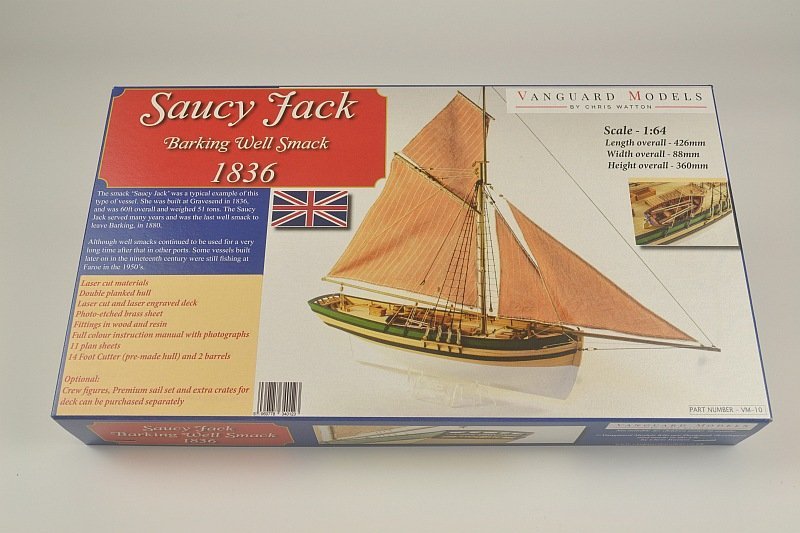
Hello - Update. Sails dyed using Rit Scarlet first - did not like the colour so re did with Rit Cocoa Brown. The sails shrunk a little bit with the dye process so the timber work was altered to suit. Next stage will attempt the Shrouds etc. Thank you for looking, the previous comments and Likes. Thank you Regards Doug
-
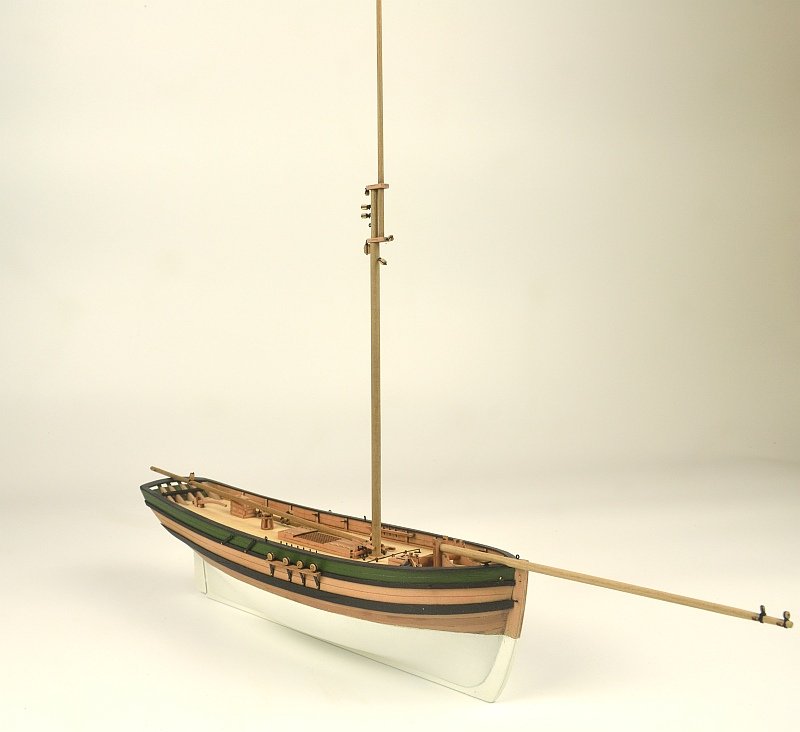
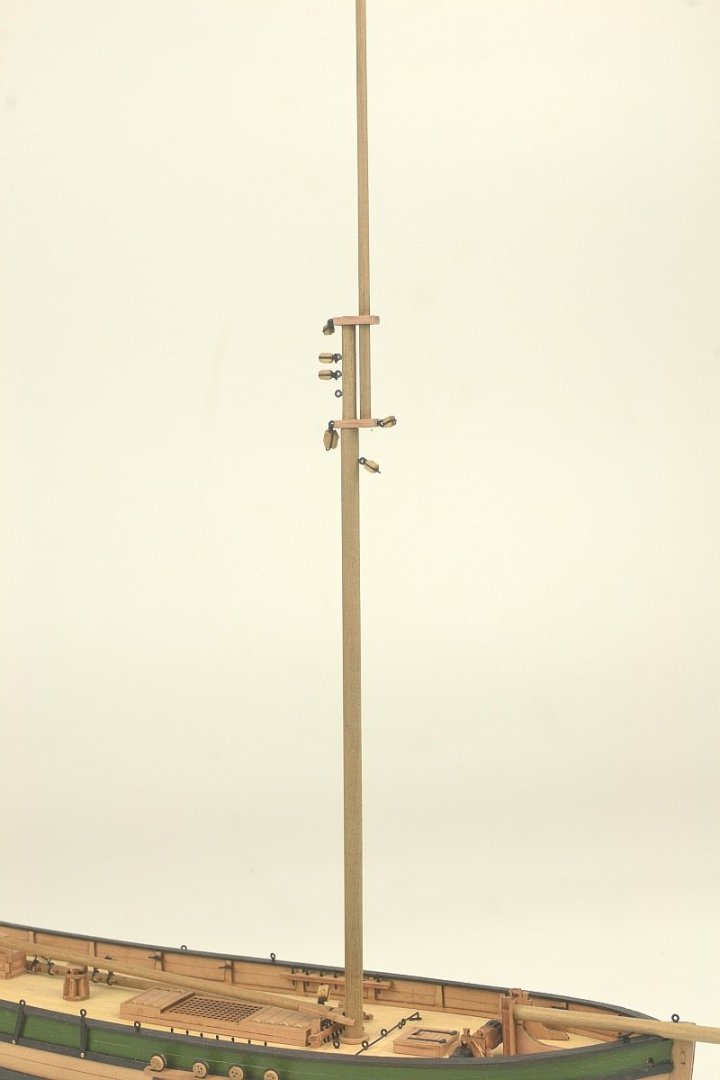
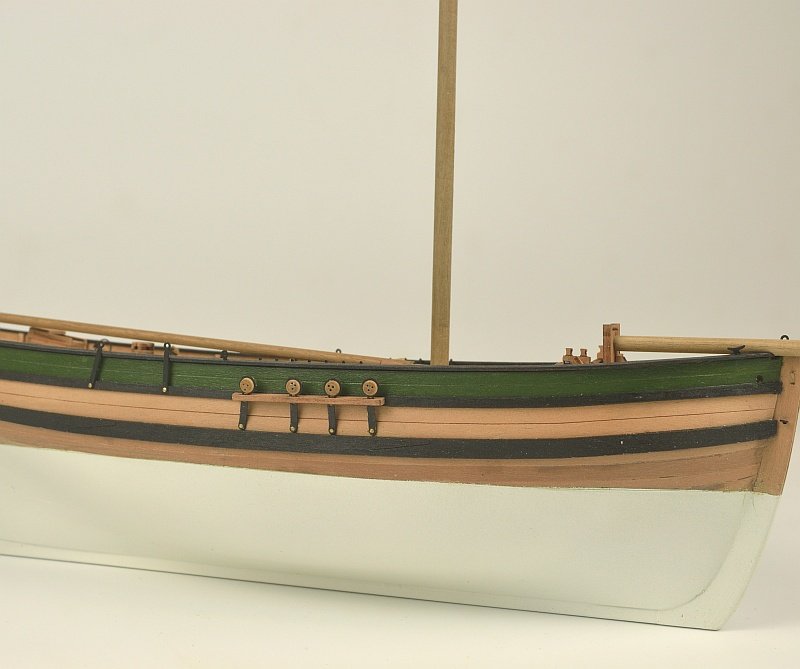
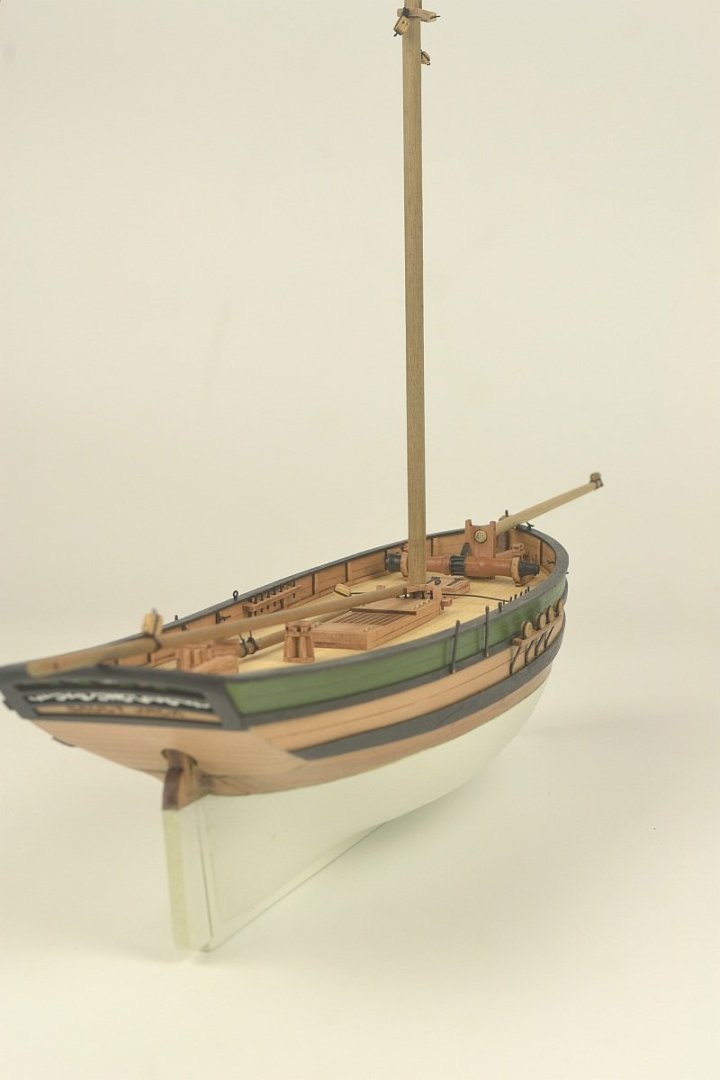
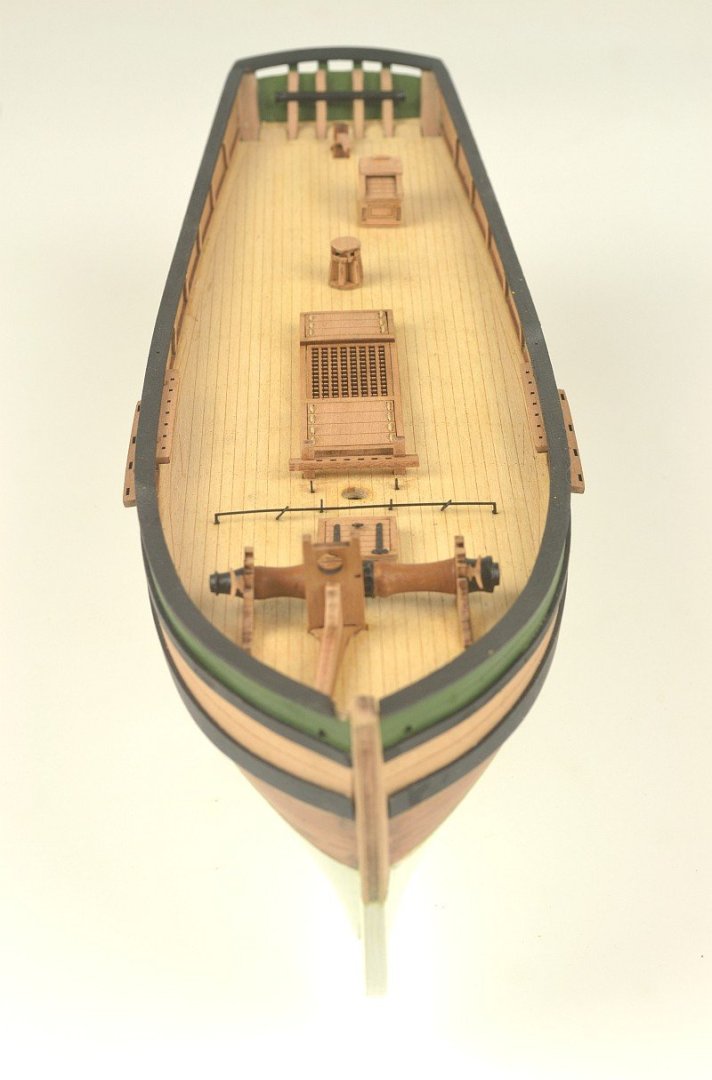
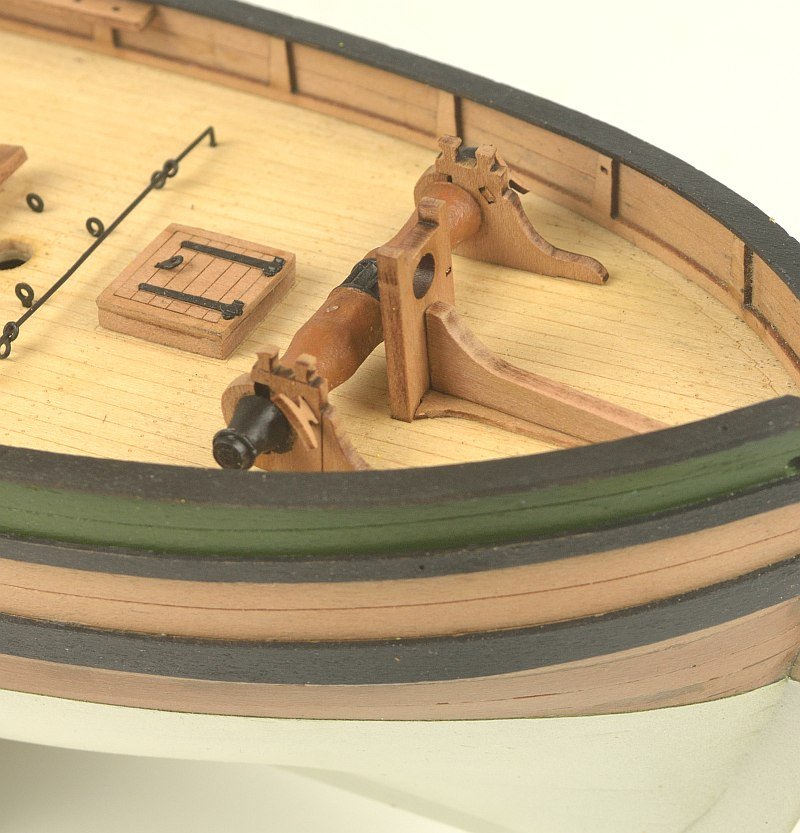
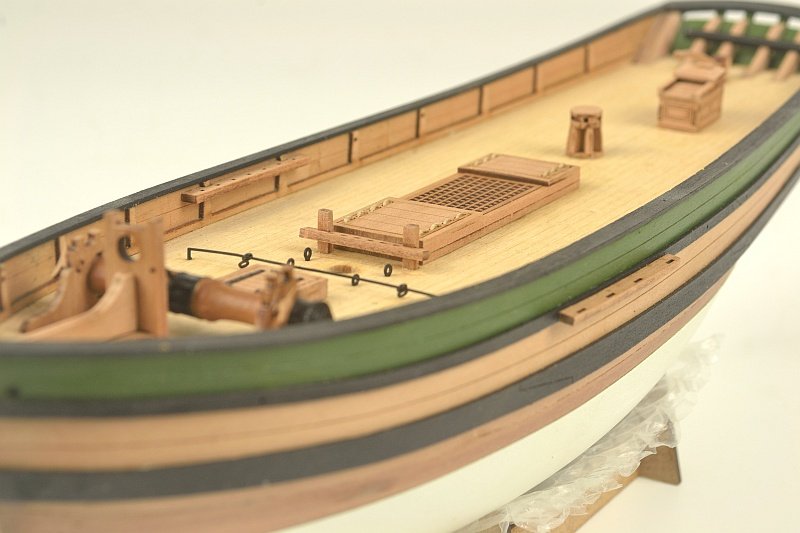
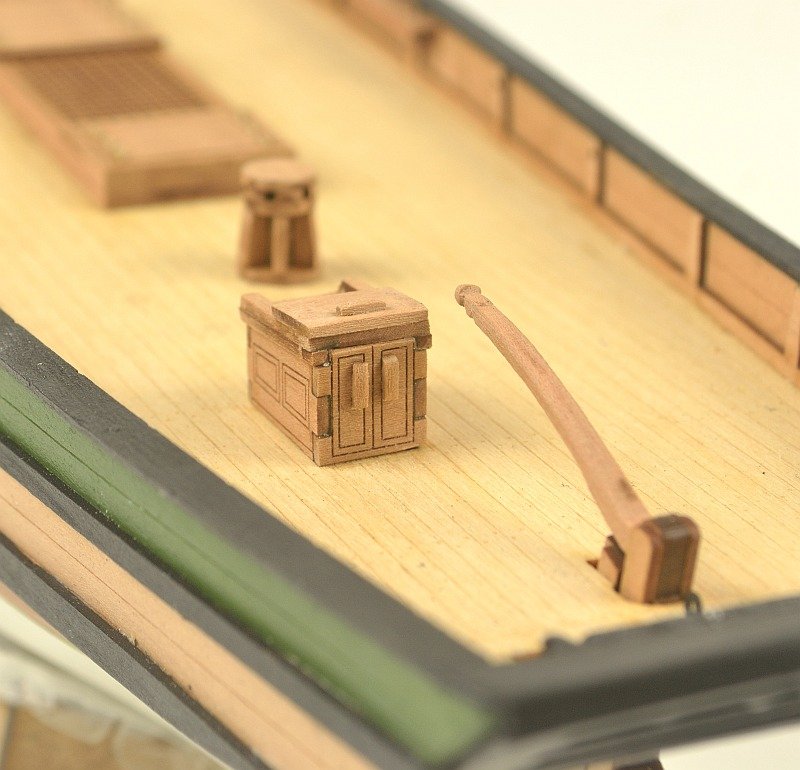
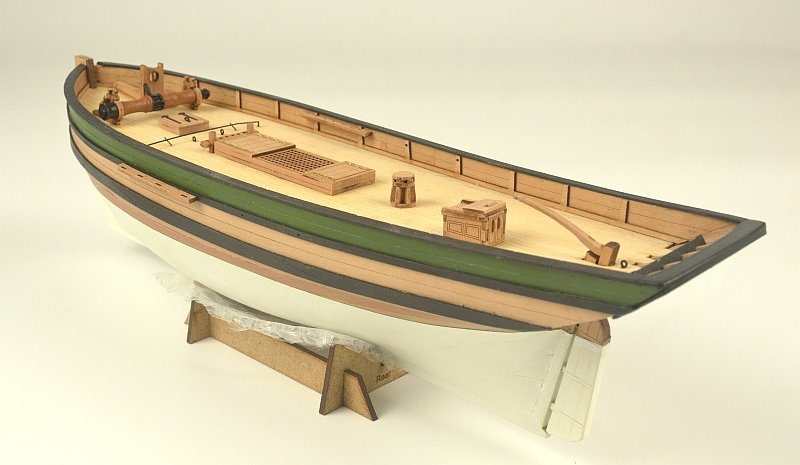
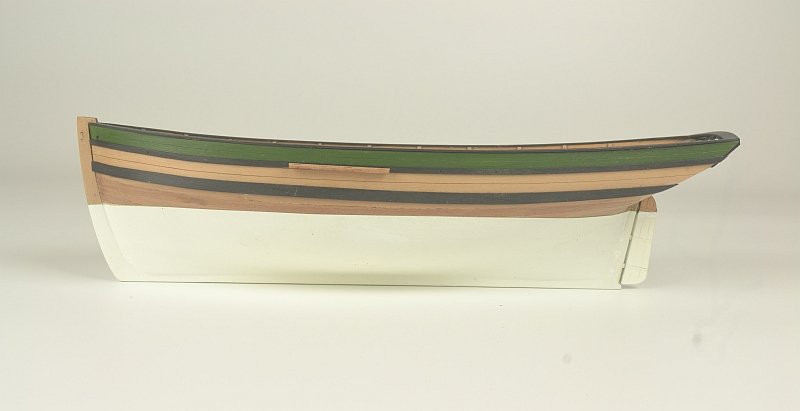
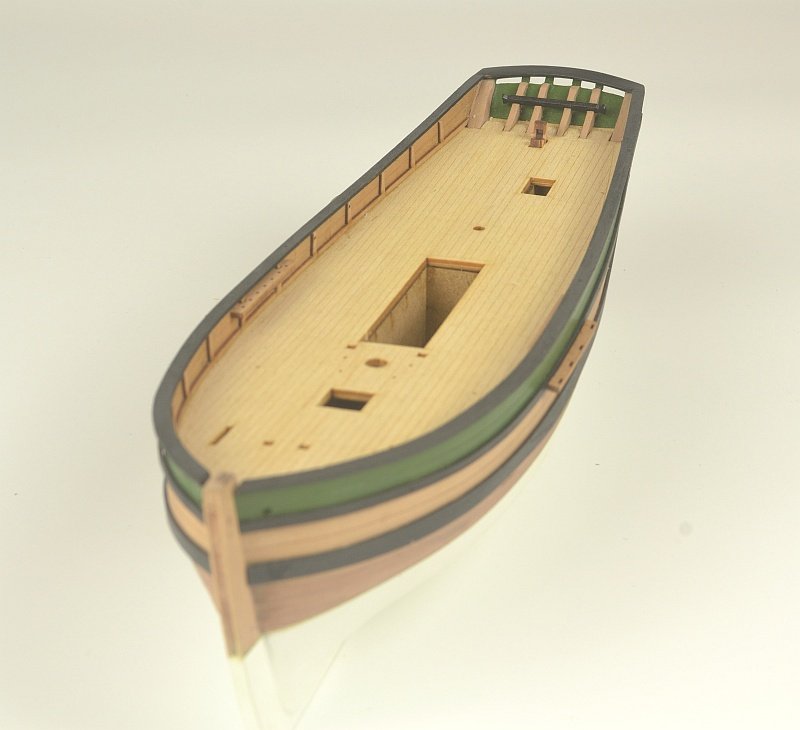
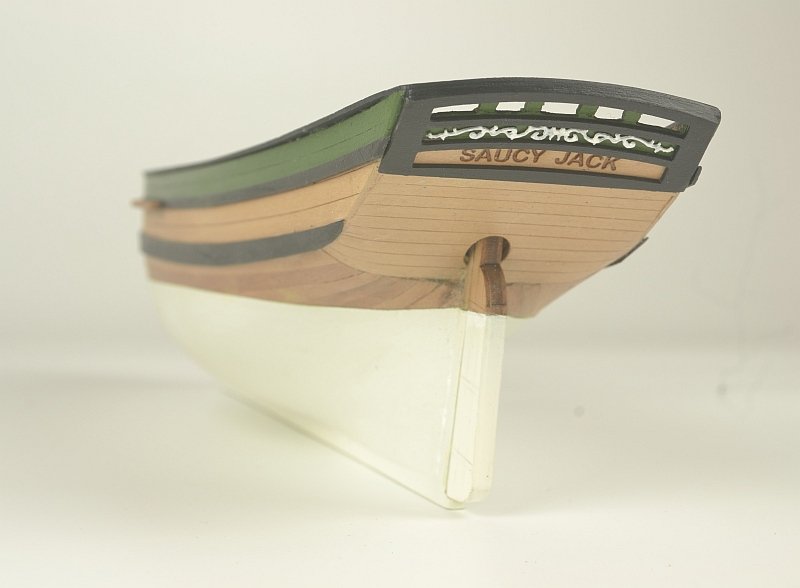
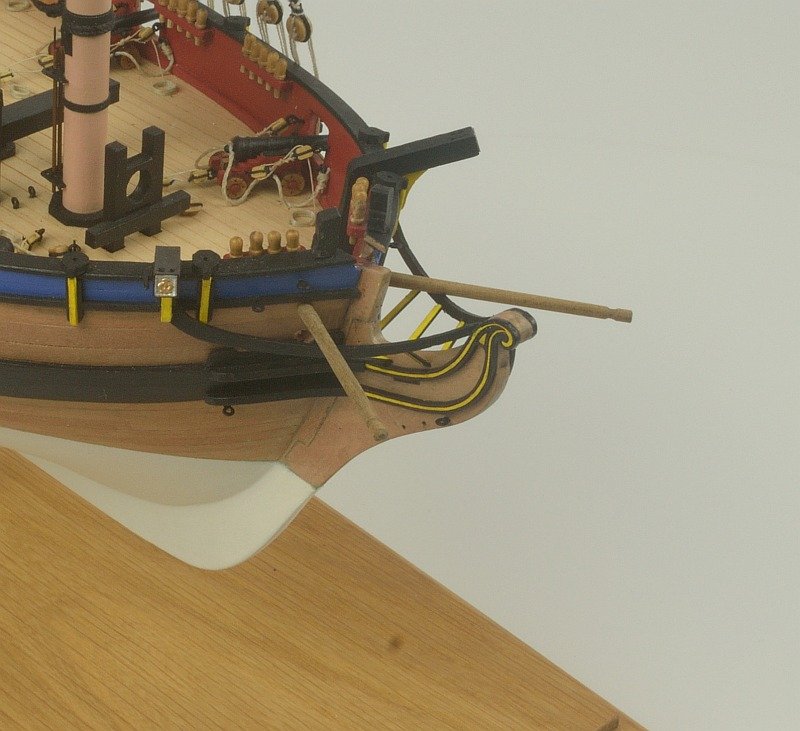
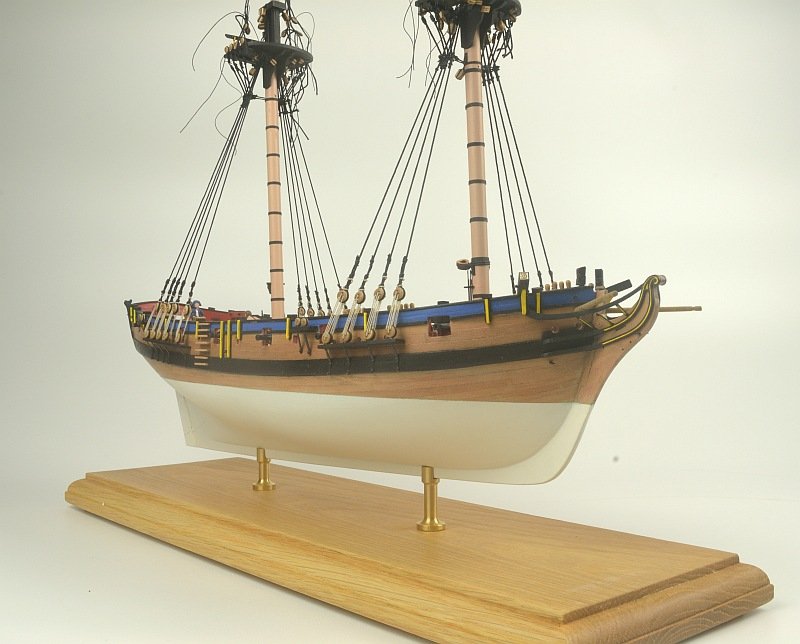
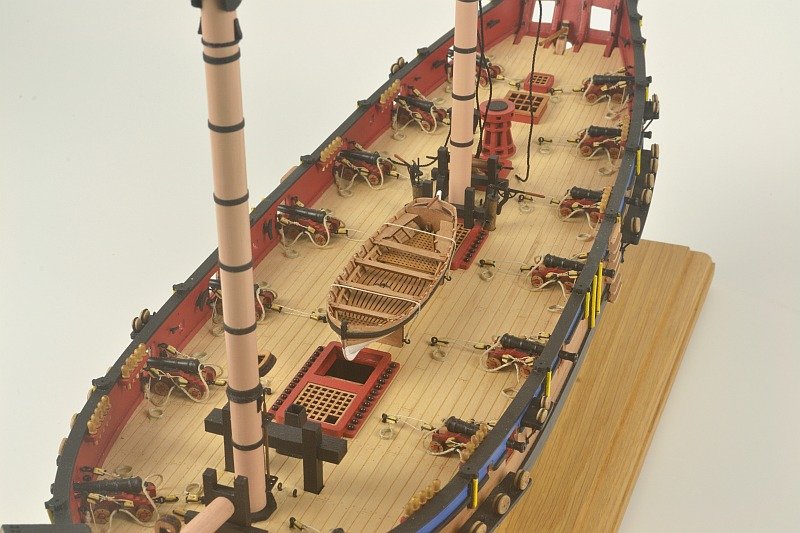
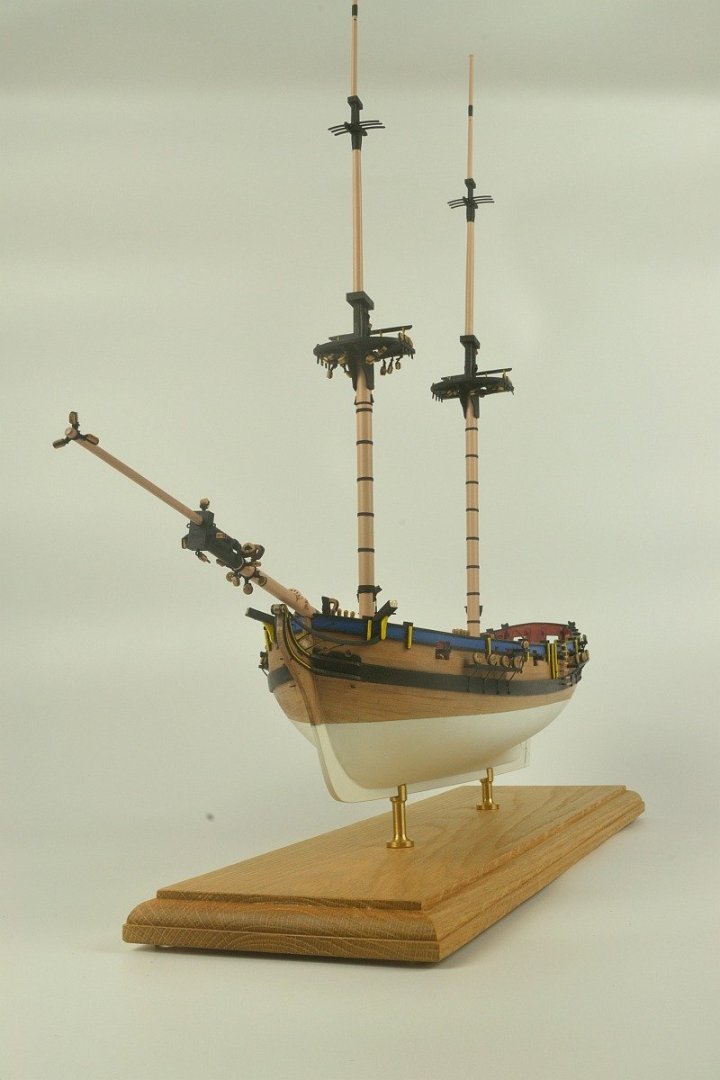
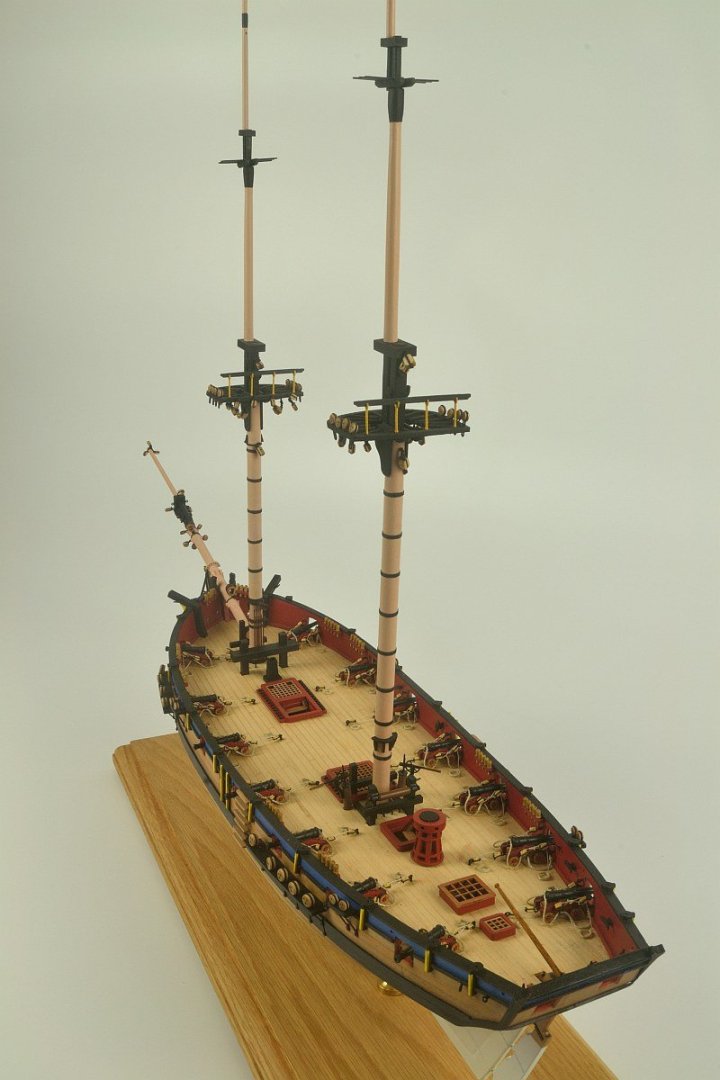
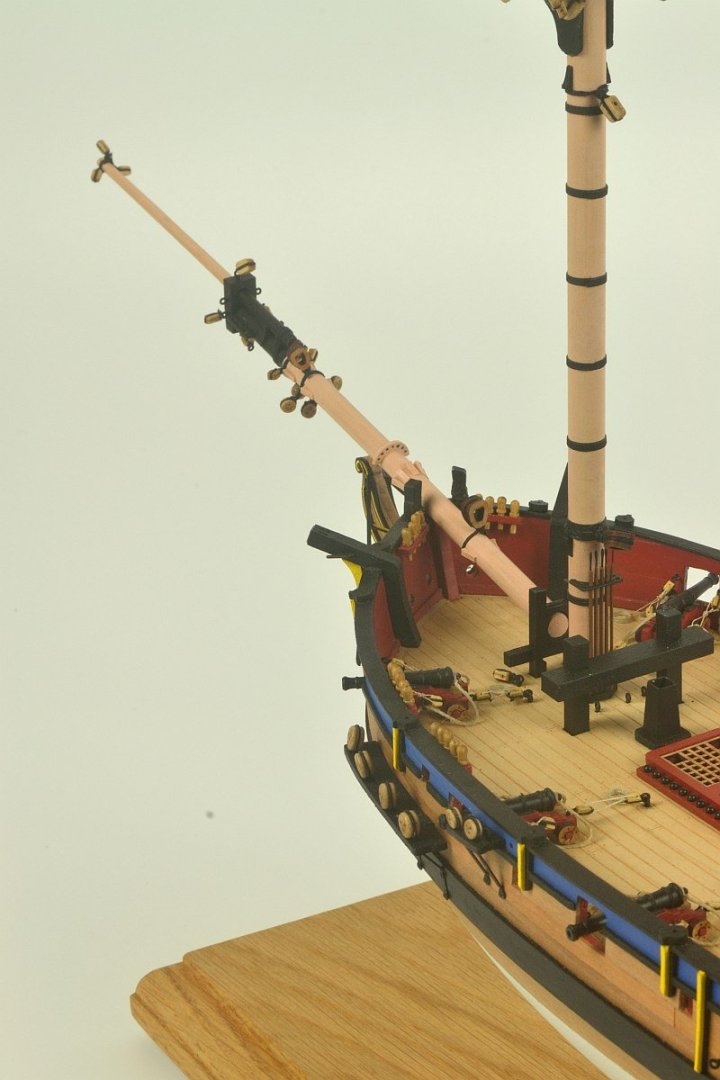
Hello - The Hull now completed. Waterline done (may need a slight alteration towards the stern) / Wale in place along with the upper trim with the green area. The green was the same as James H used but with added yellow and white. The Stern section completed along with the upper capping rails View of the Stern. Required some sanding to merge all the different areas together. Deck bits and pieces next. Thank you Doug
-
Hello cdrusn88 - fast build. Good to see another Saucy Jack being build. Nice work. Look forward to the finish pictures.
- 42 replies
-
- Saucy Jack
- Vanguard Models
-
(and 1 more)
Tagged with:
-
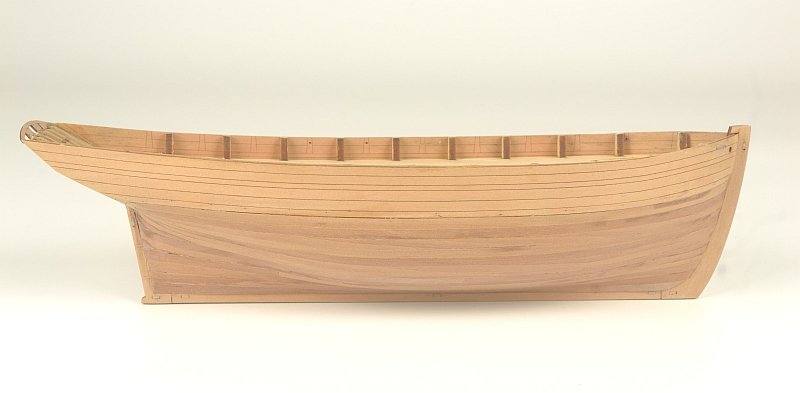
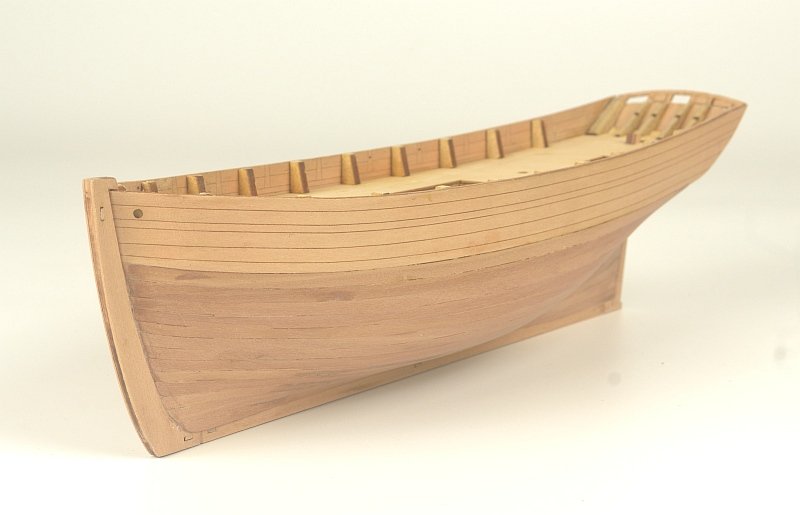
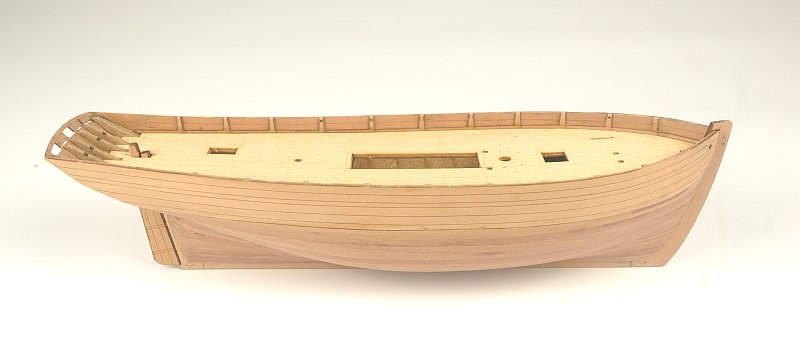
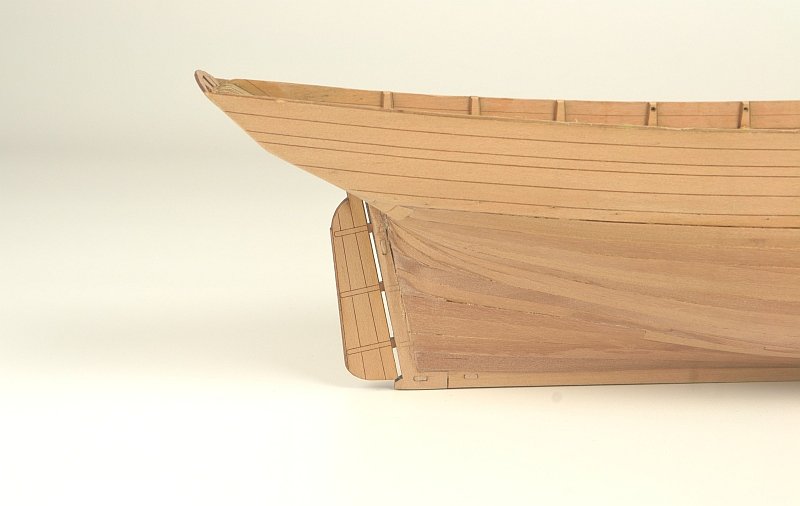
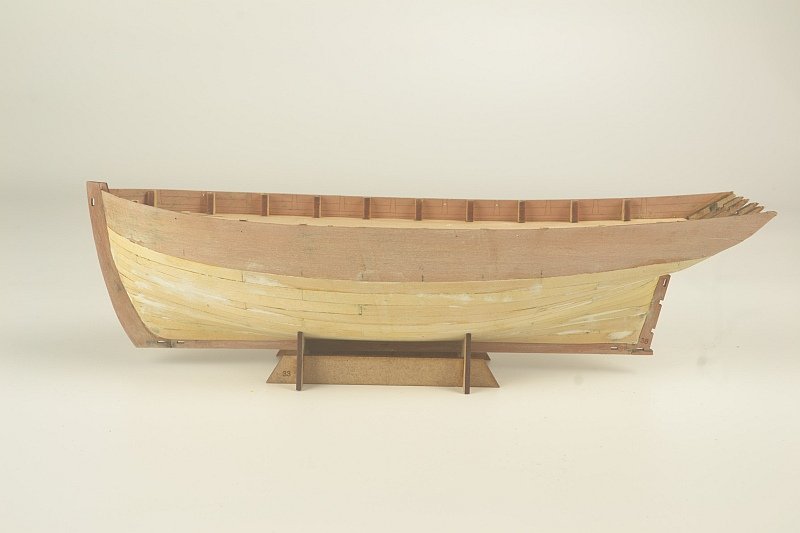
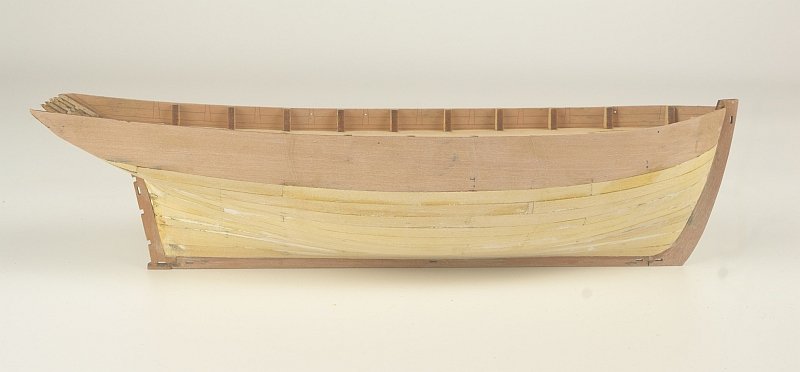
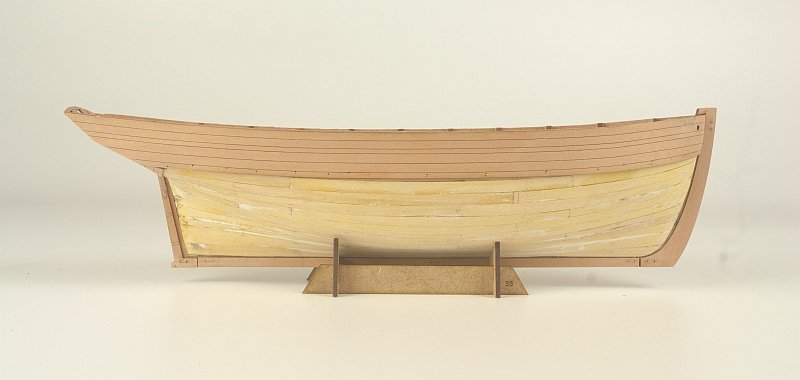
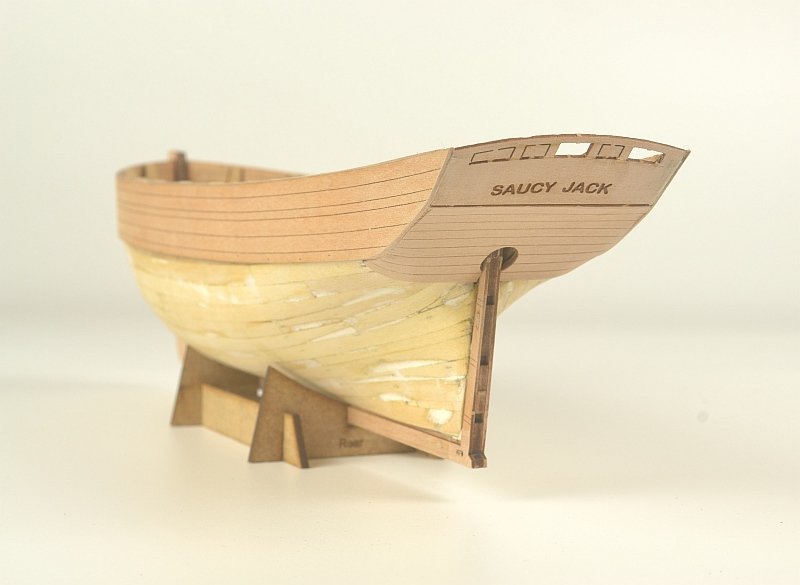
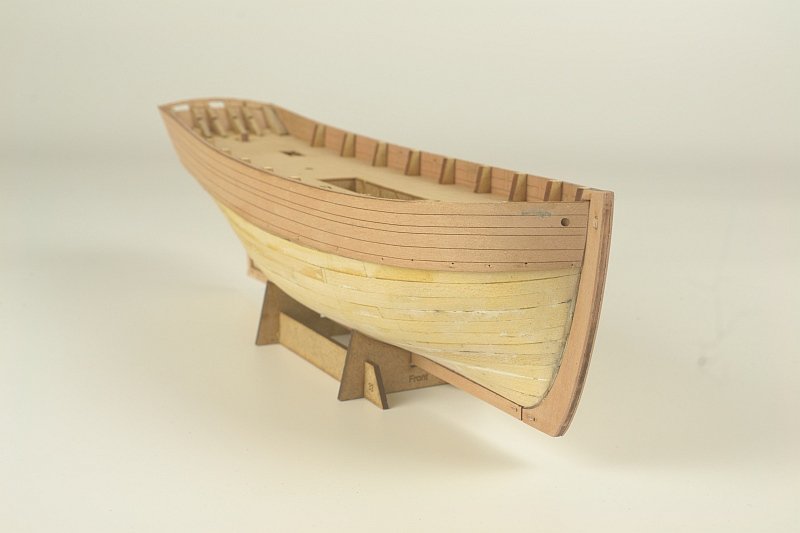
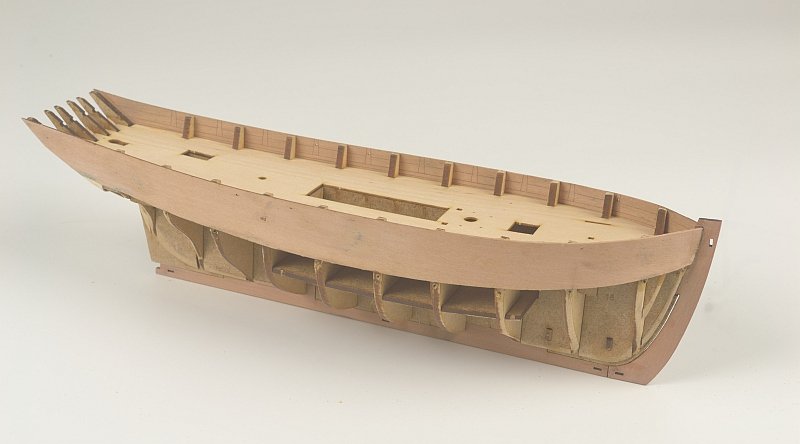
Hello - One hull second planked. Glad to have got that done as it is starting to feel like a boat. Bulkheads removed and deck in place - neat fit. Also side strips in place. Rudder assembled and temporarily in place as the next step is to sort the Waterline and paint the Hull white. Thank you for looking. Doug
-
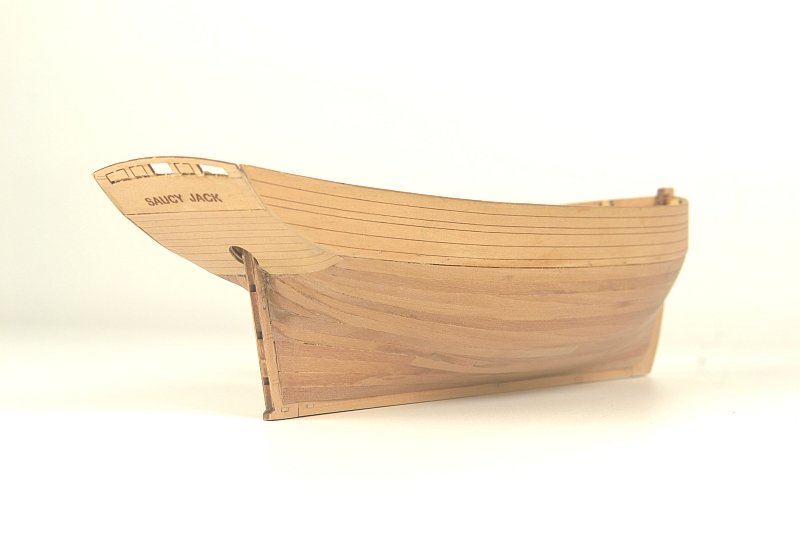
Hello - Further progress. First planking completed - not pretty but hopefully a good base for second planking, Second layer added to Keel and pegged. Also rear sections glued into place - this was a bit tricky especially getting the lower section to bend round. Managed at a later stage to break off the top part of the upper rear section - hence window pieces have come off before their were required. Also glued on the side parts. Next stage is the second planking. Thank you for looking. Regards Doug
-
Hello - a bit more progress. Additional Keel parts added along with the Bulwarks. Made the mistake of wetting the wood so as to bend it which resulted in some dark stains. Heat to bend probably been better. The maple veneer part was added with as much wrapping around as possible but had to do it as separate pieces. Onto the first planking - we will see how much of a mess I make of this...... Regards Doug
-
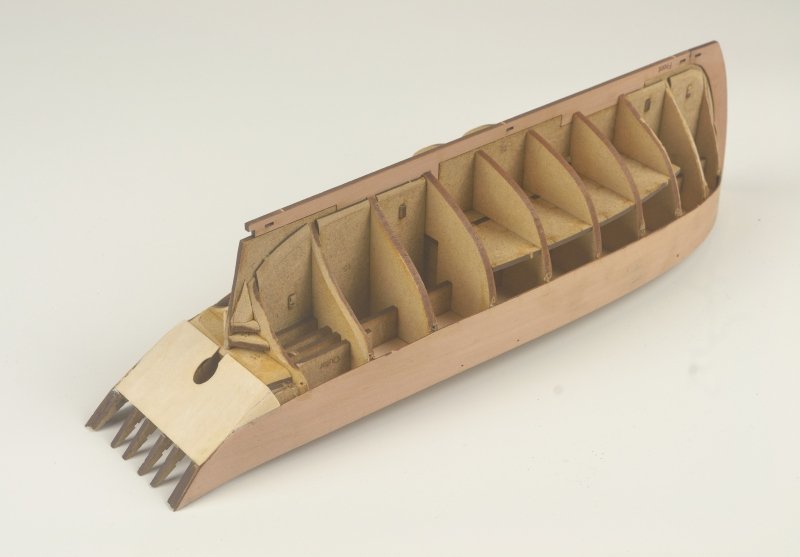
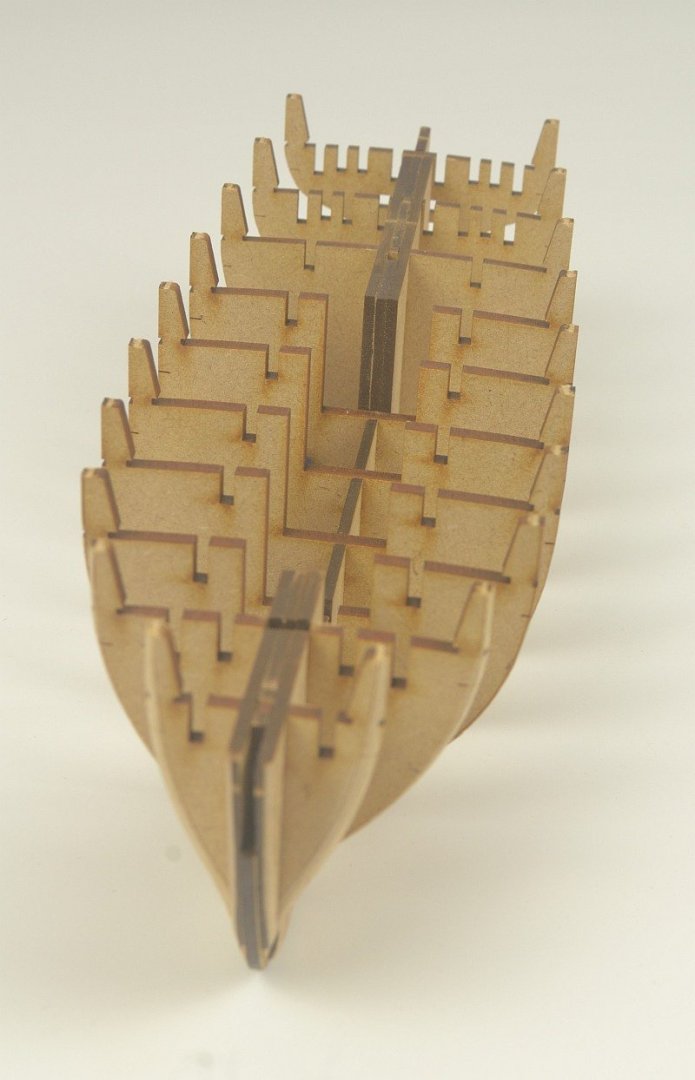
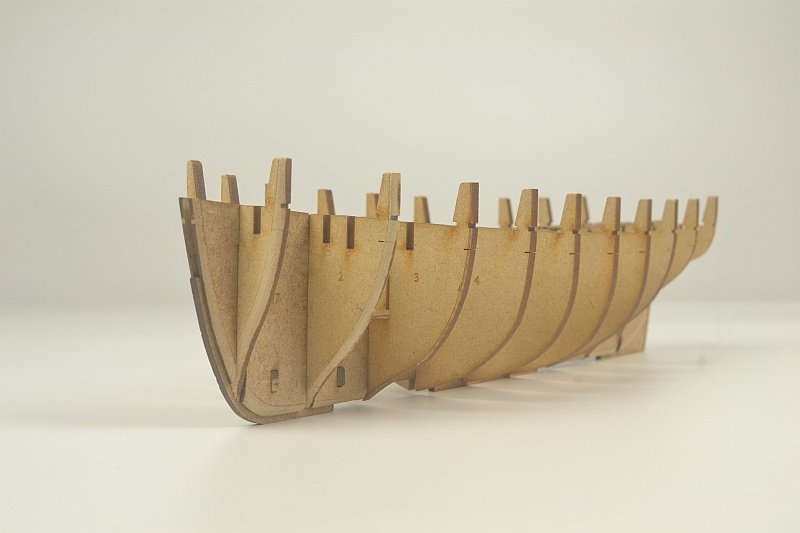
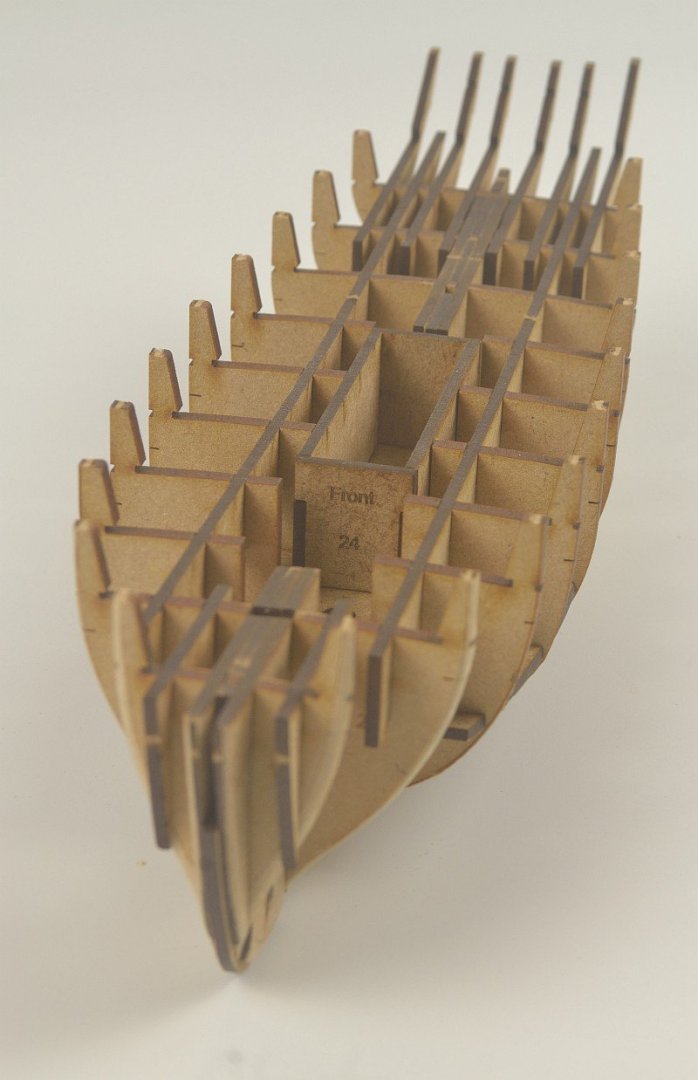
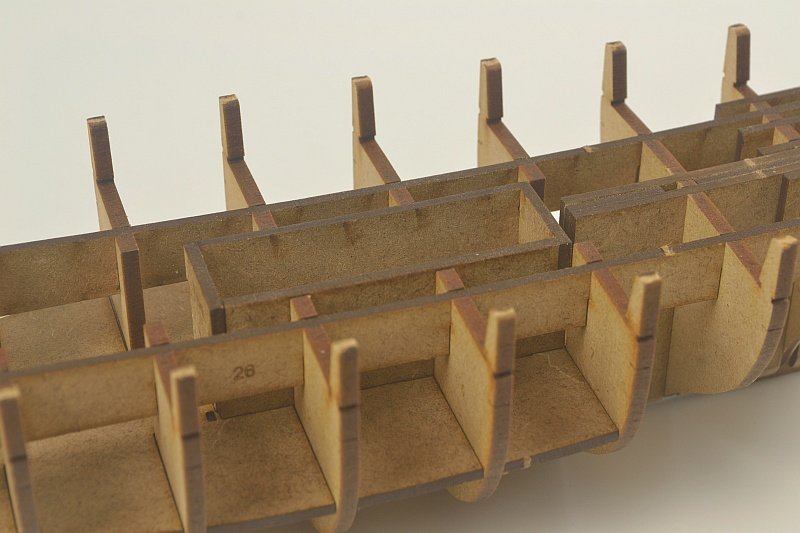
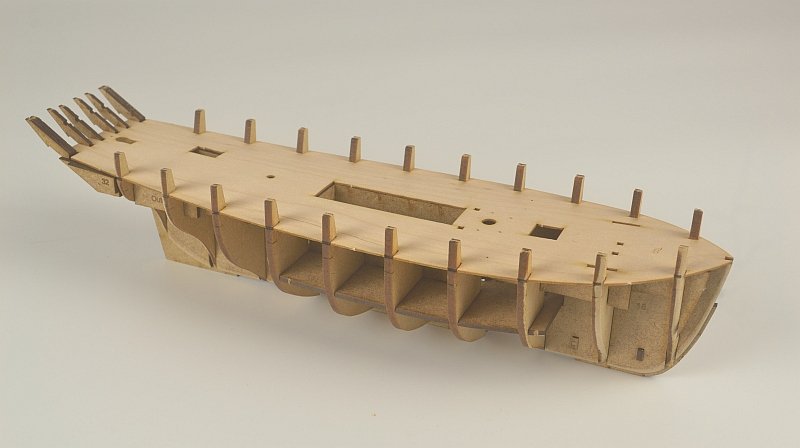
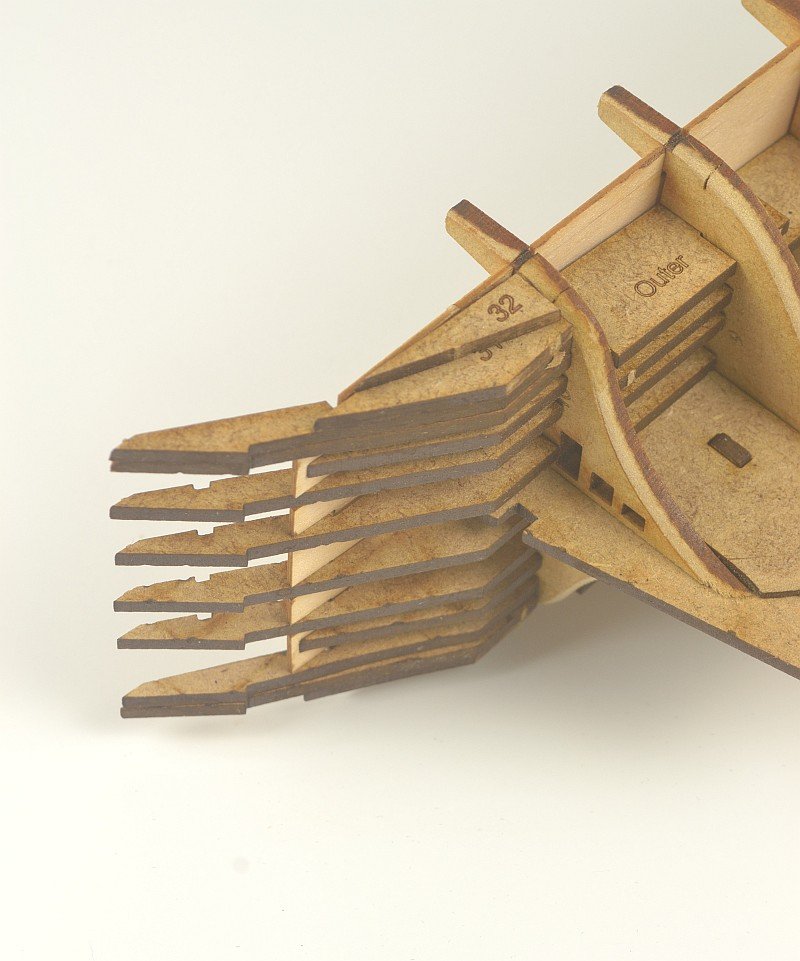
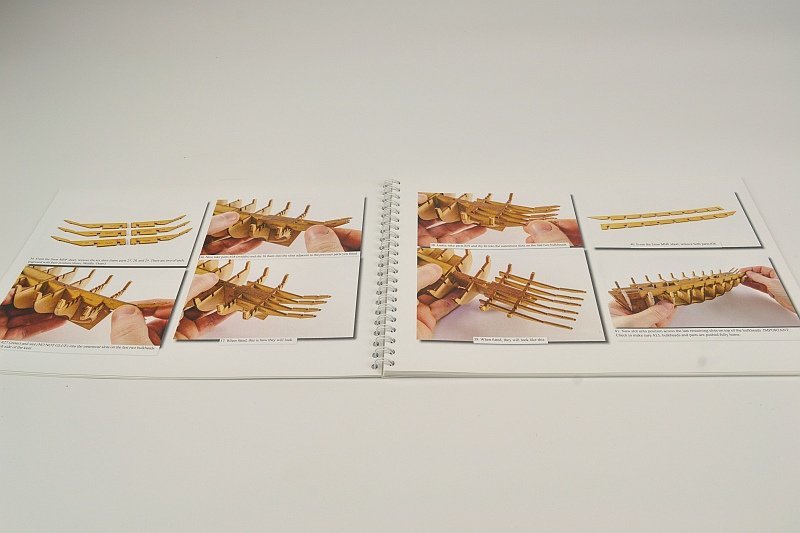
Hello - initial stages started. All Bulkheads that require some bevelling have been done prior to assembly to Keel as per instructions. Only minor sanding of slots to ease assembly was needed to prevent any breakages. No glue used at this stage. Lower Deck added along with the Well / Hold. The Well / Hold was glued in place. Then the various pieces that make up the Stern fitted along with the two parts that run parallel almost the length of the frame. The Sub Deck was slotted in along with some additional pieces at the Stern which were glued in place. Then the all Bulkheads etc were glued. Next will be some more piece to add to the underneath of Stern section. Thank you for looking and the previous 'Likes' Regards Doug
-
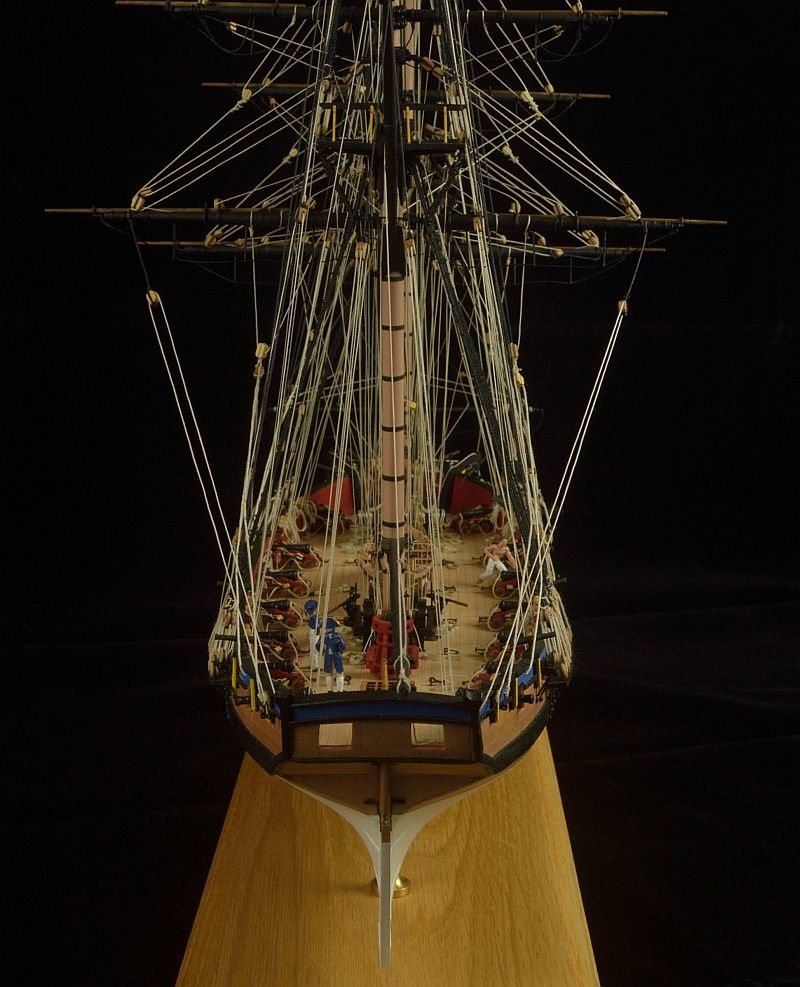
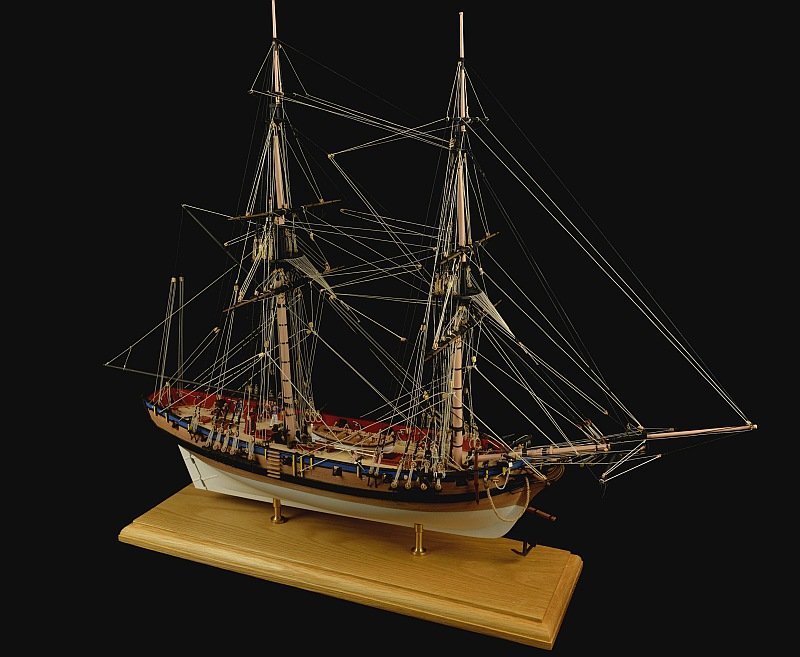
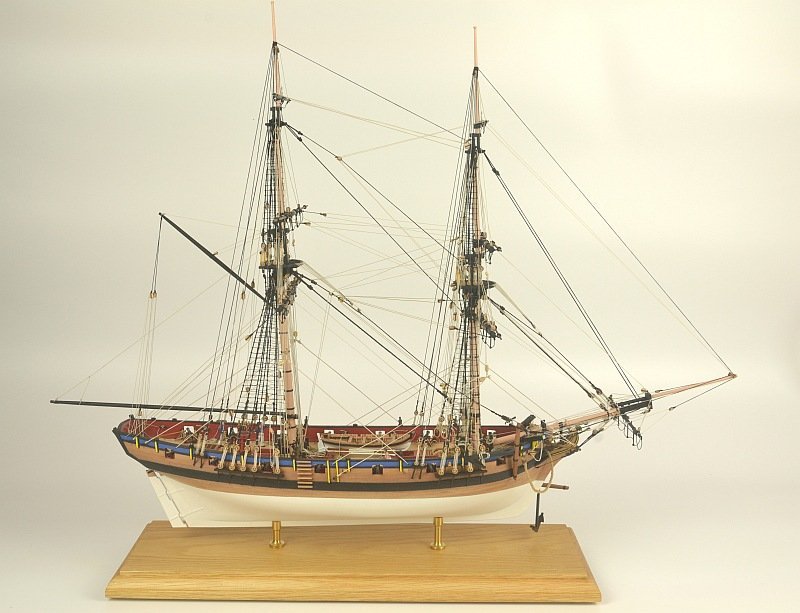
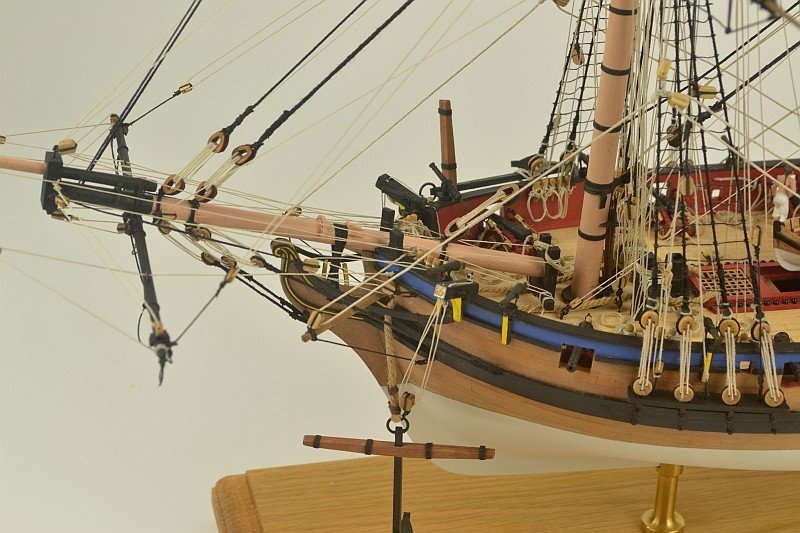
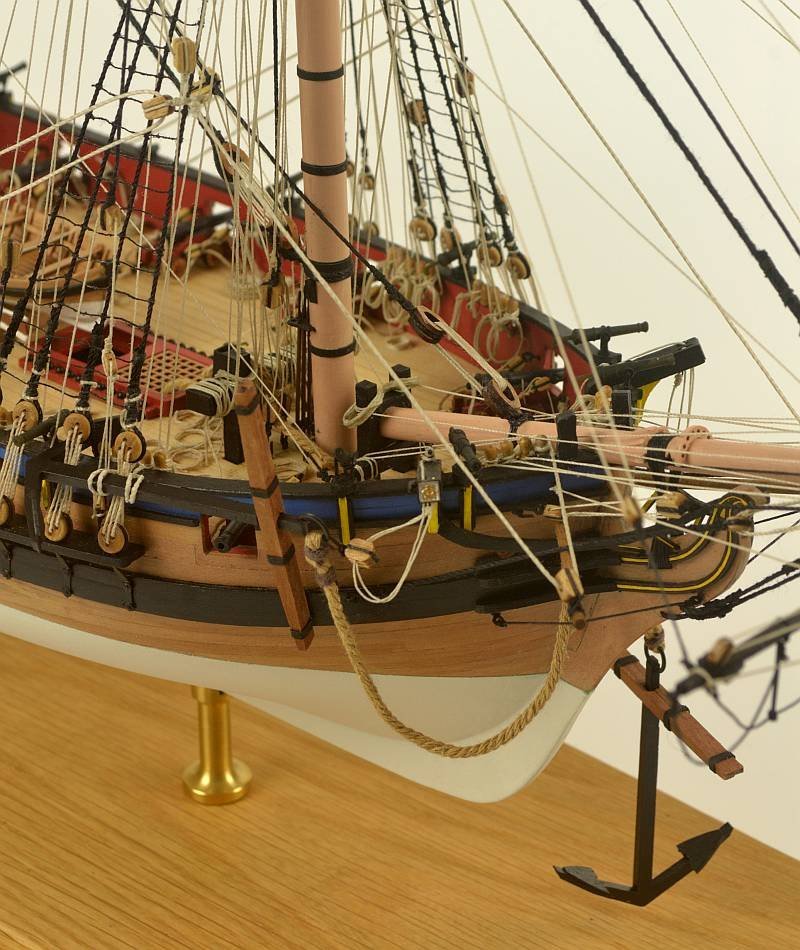
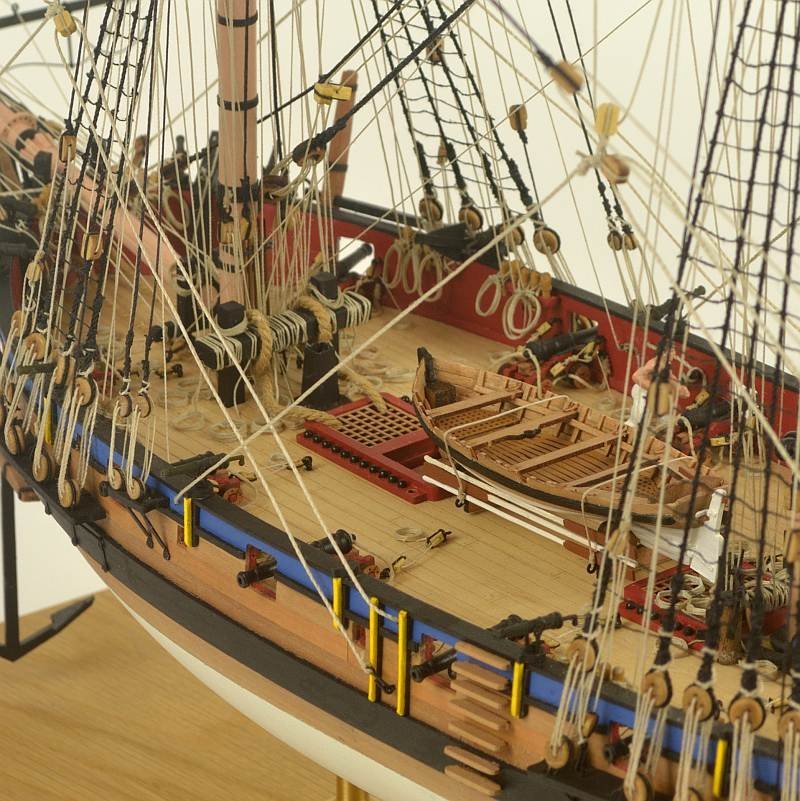
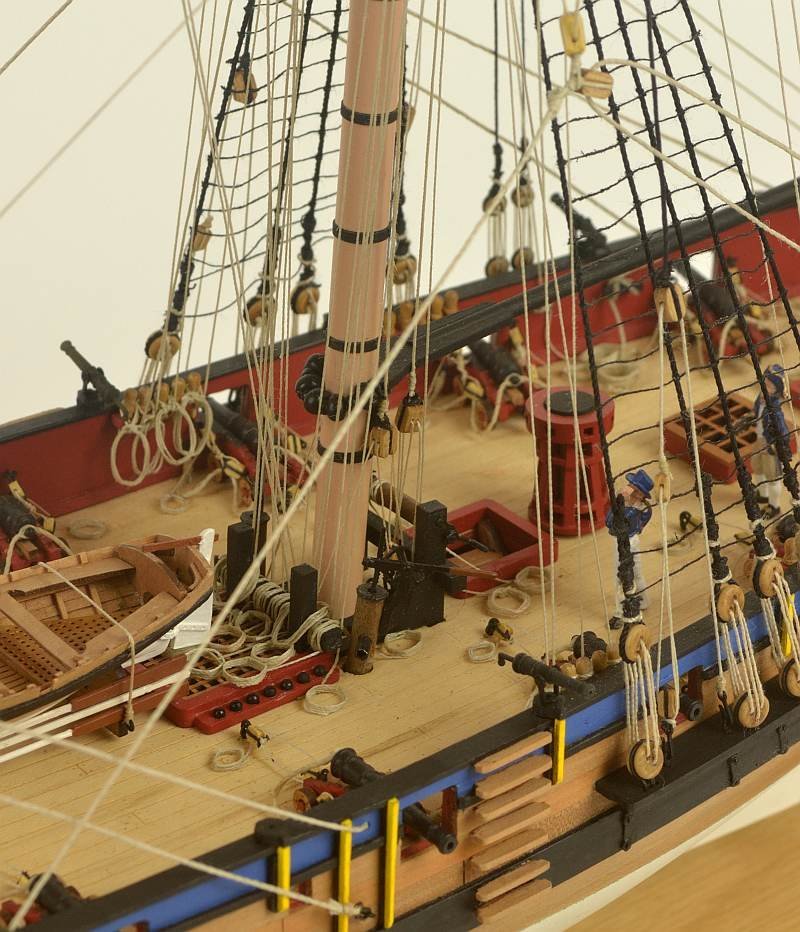
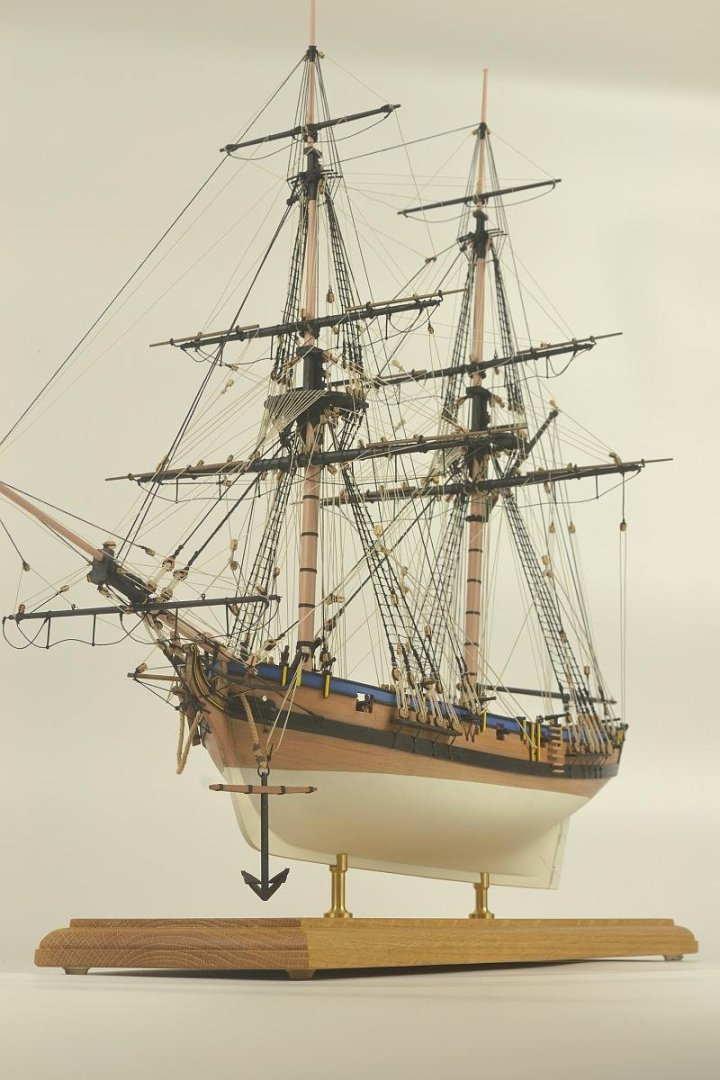
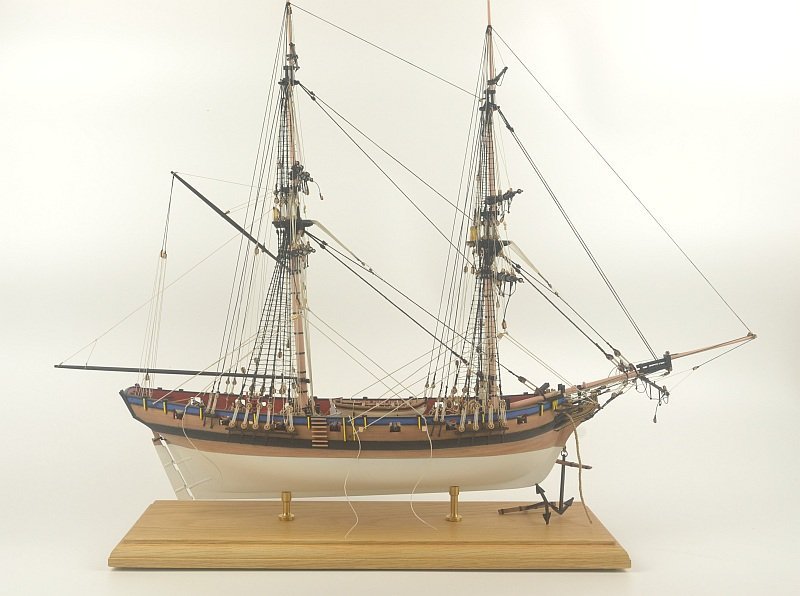
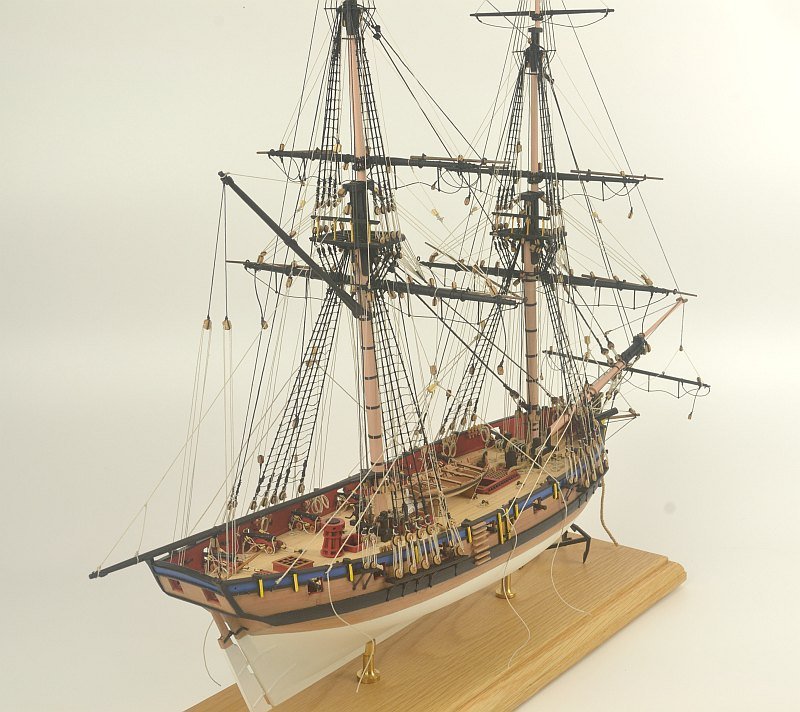
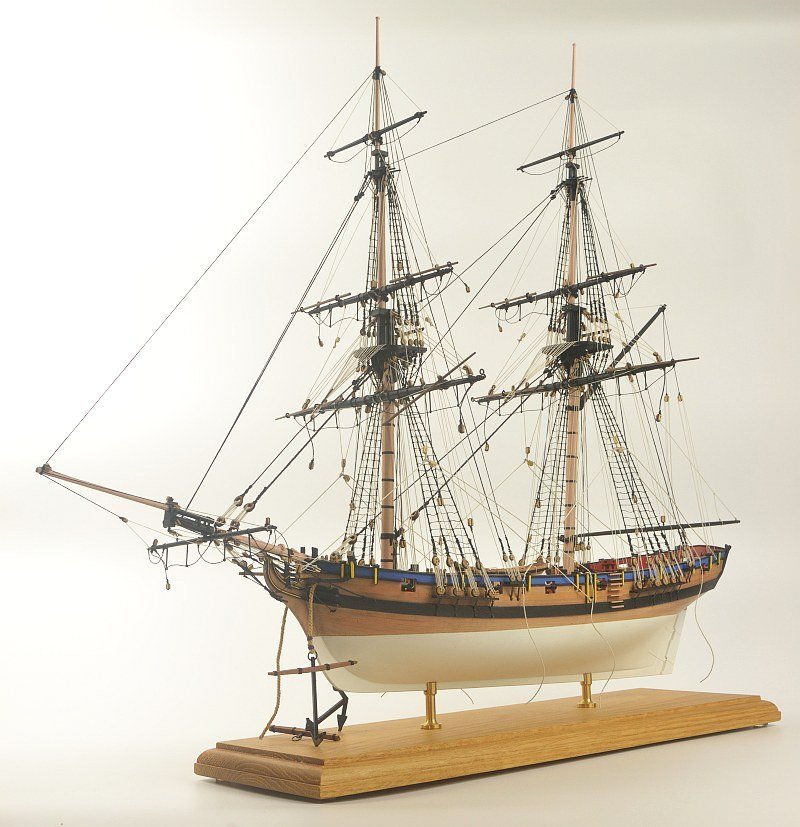
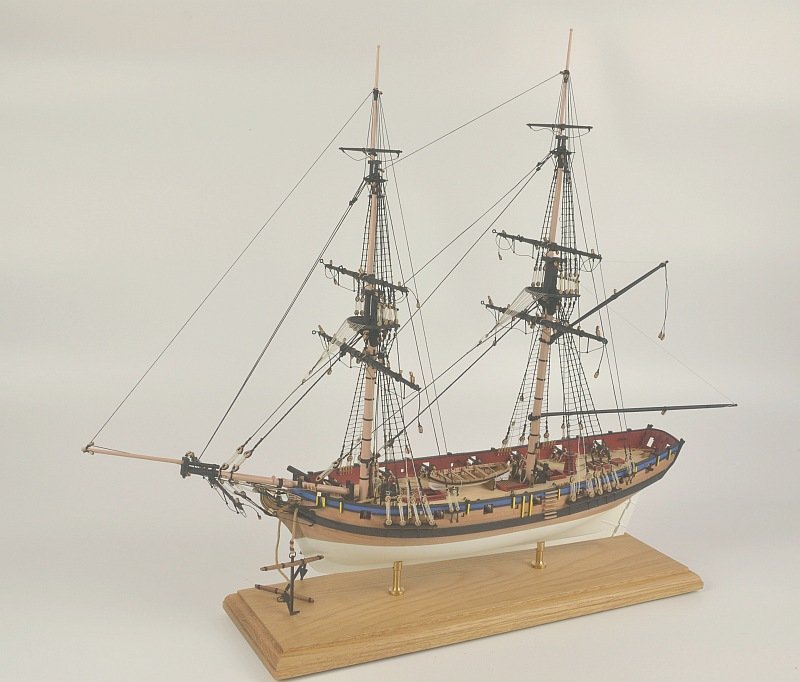
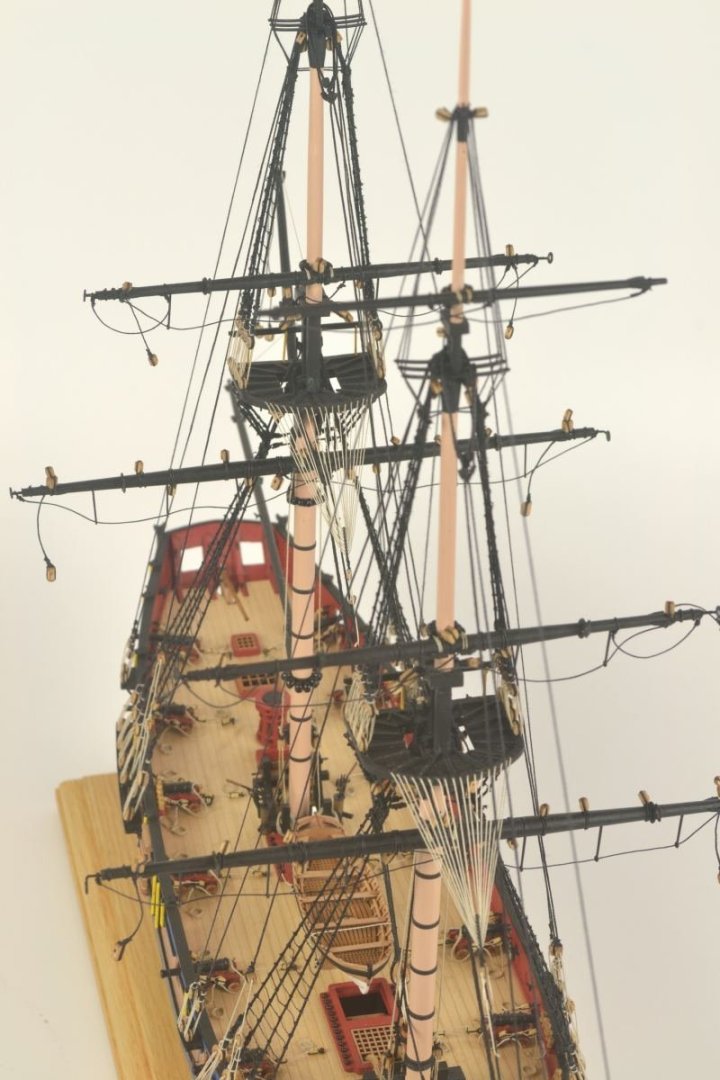
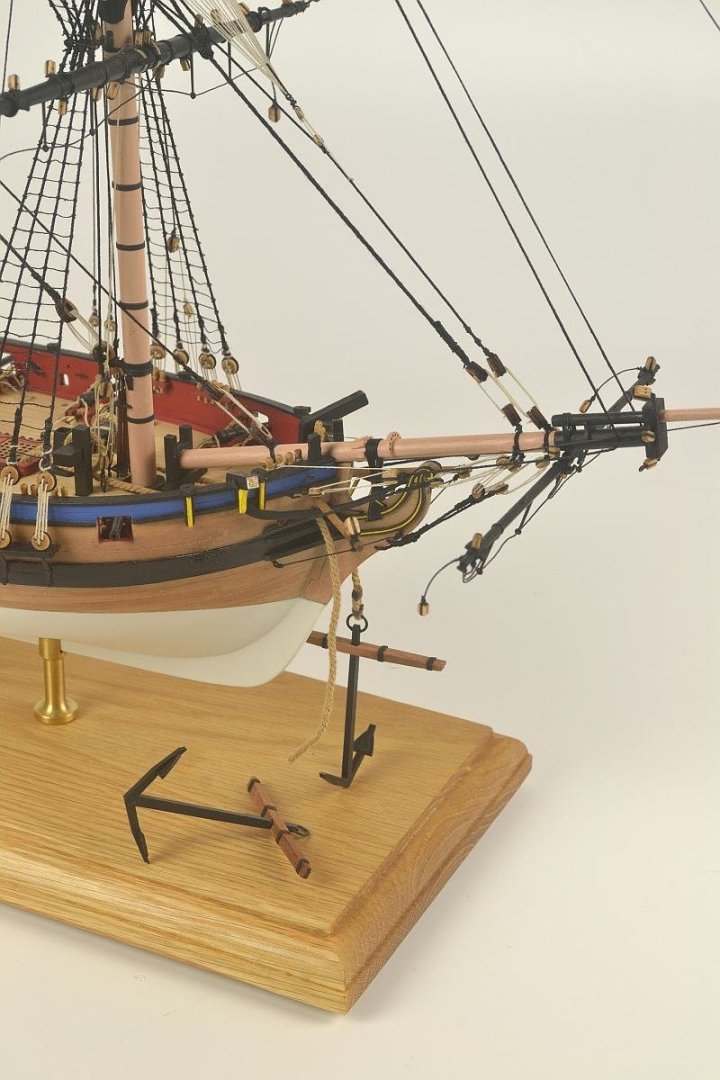
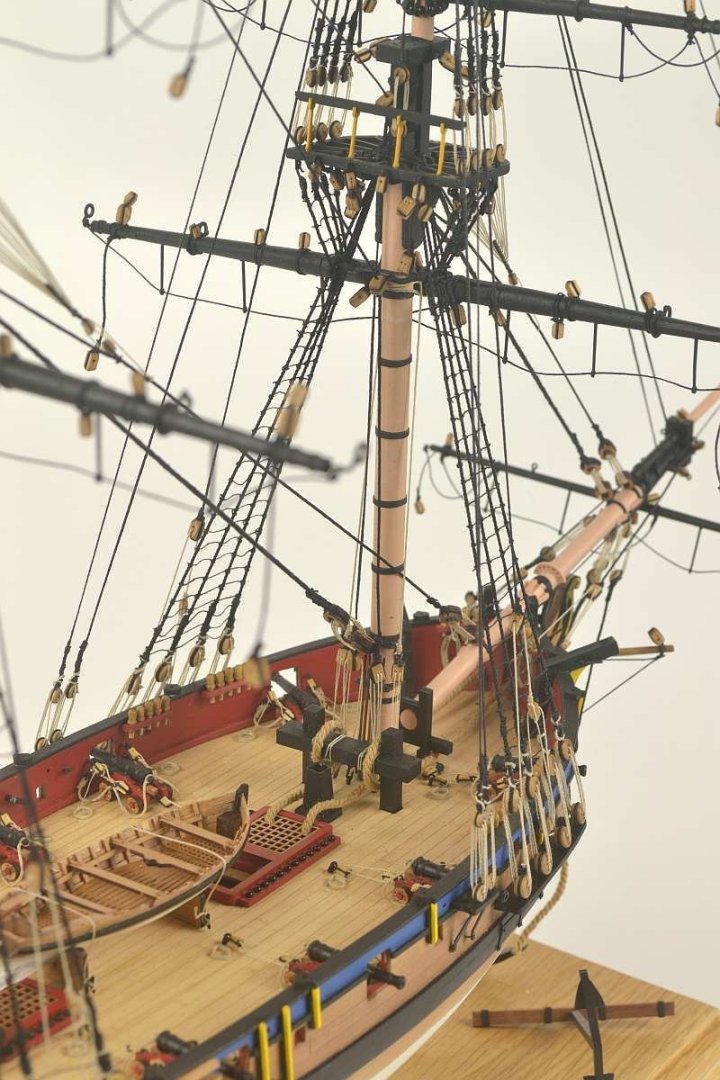
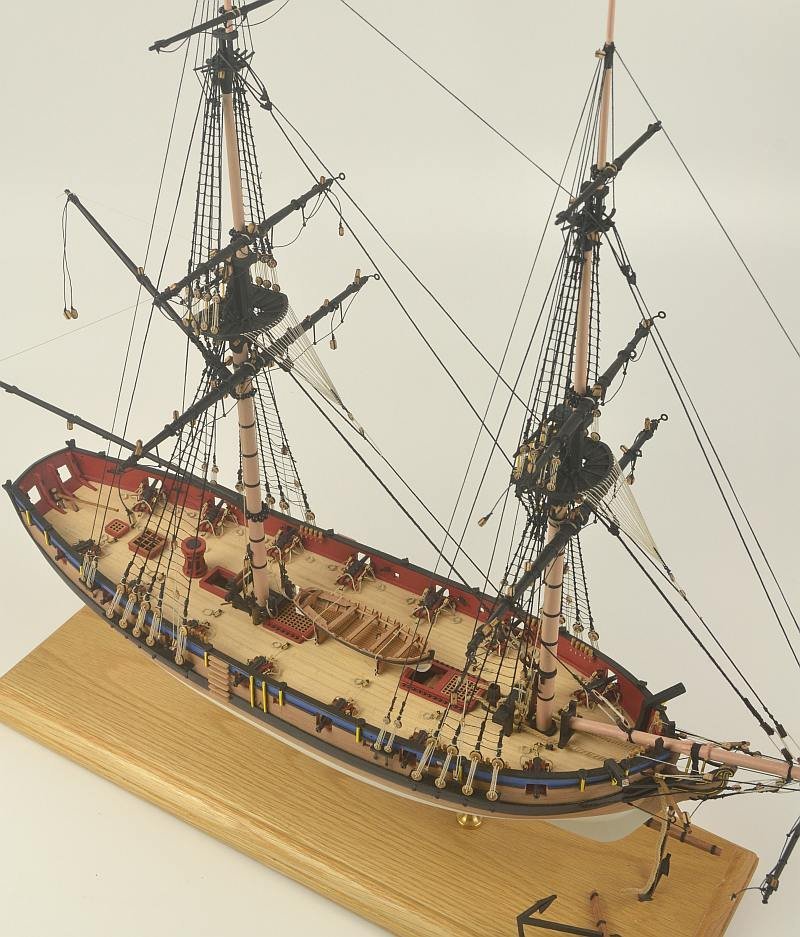
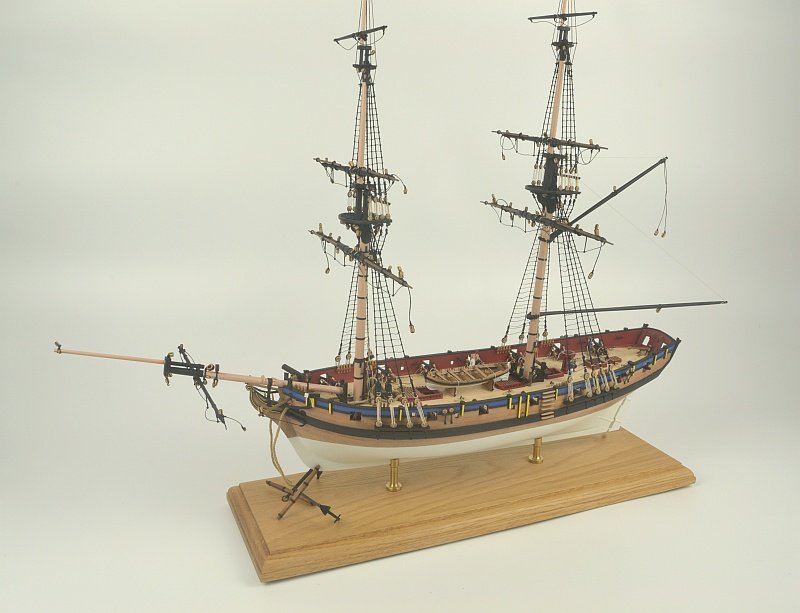
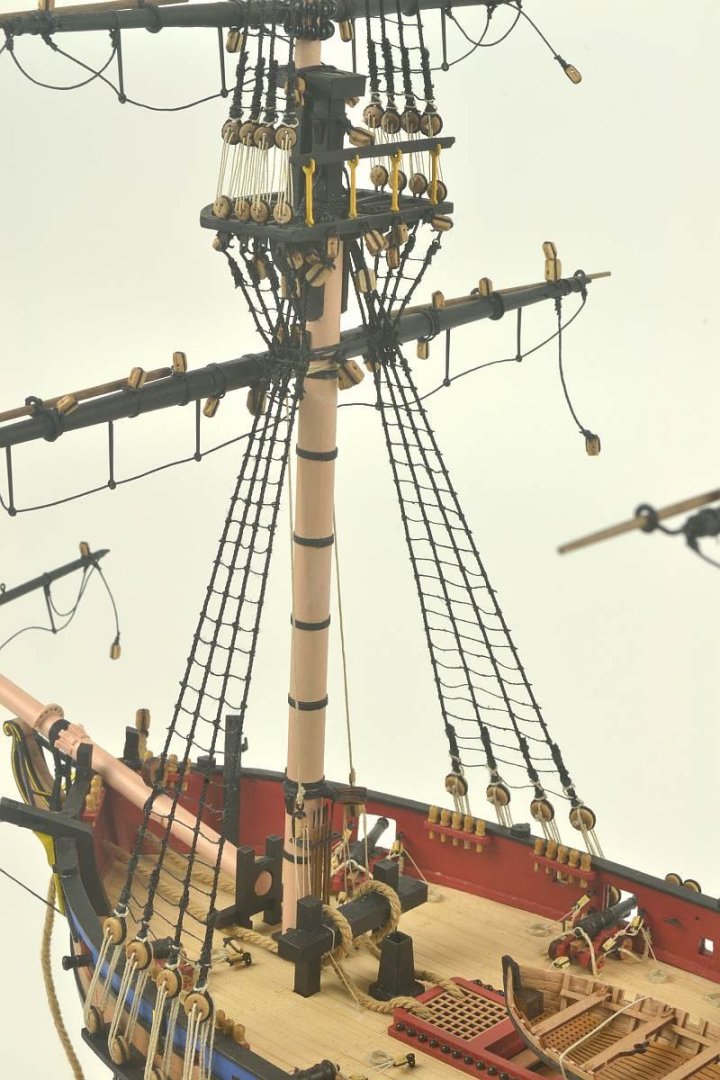
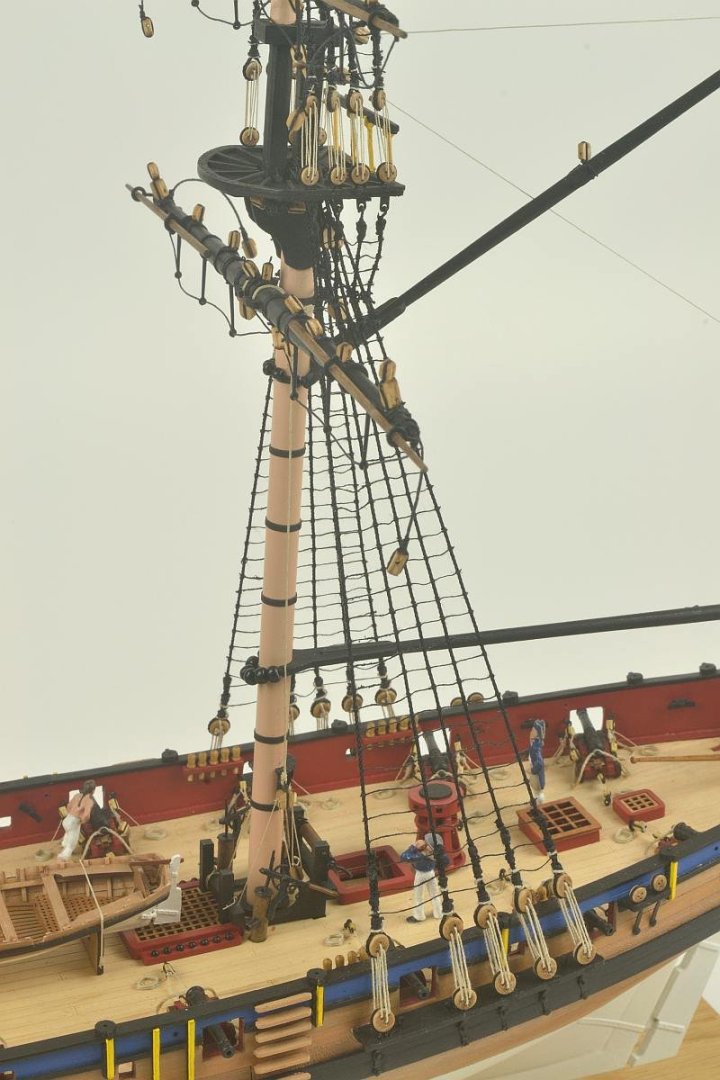
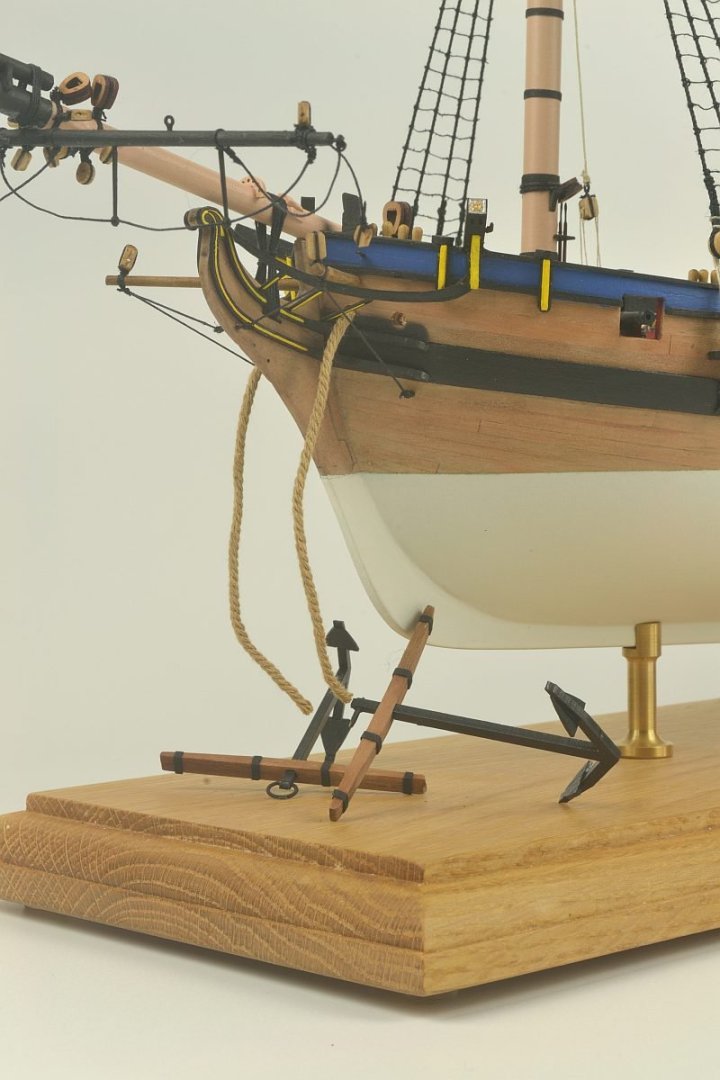
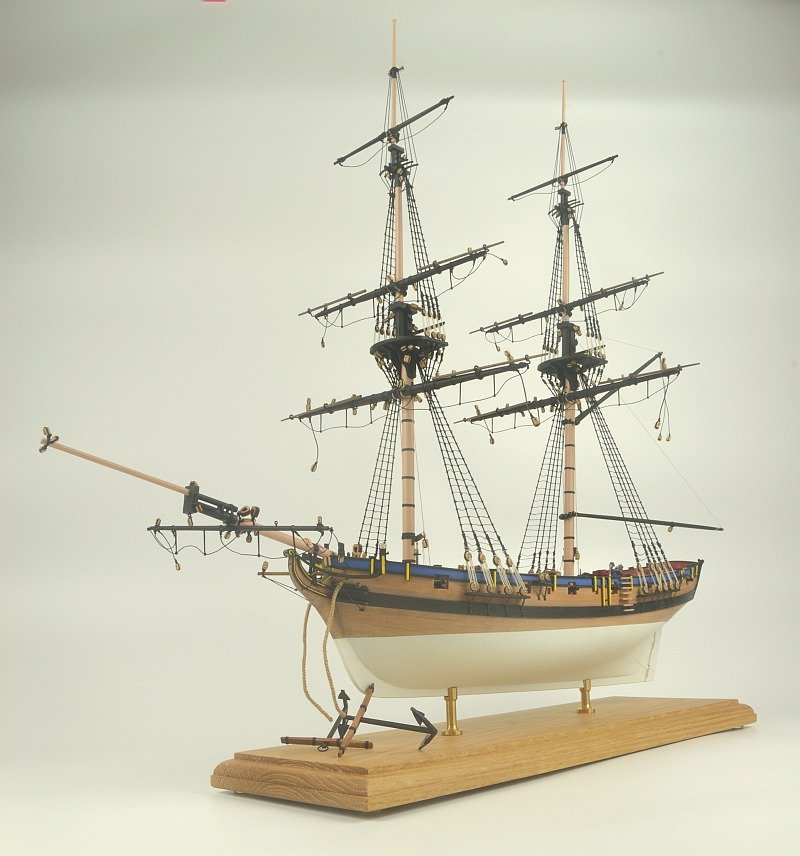
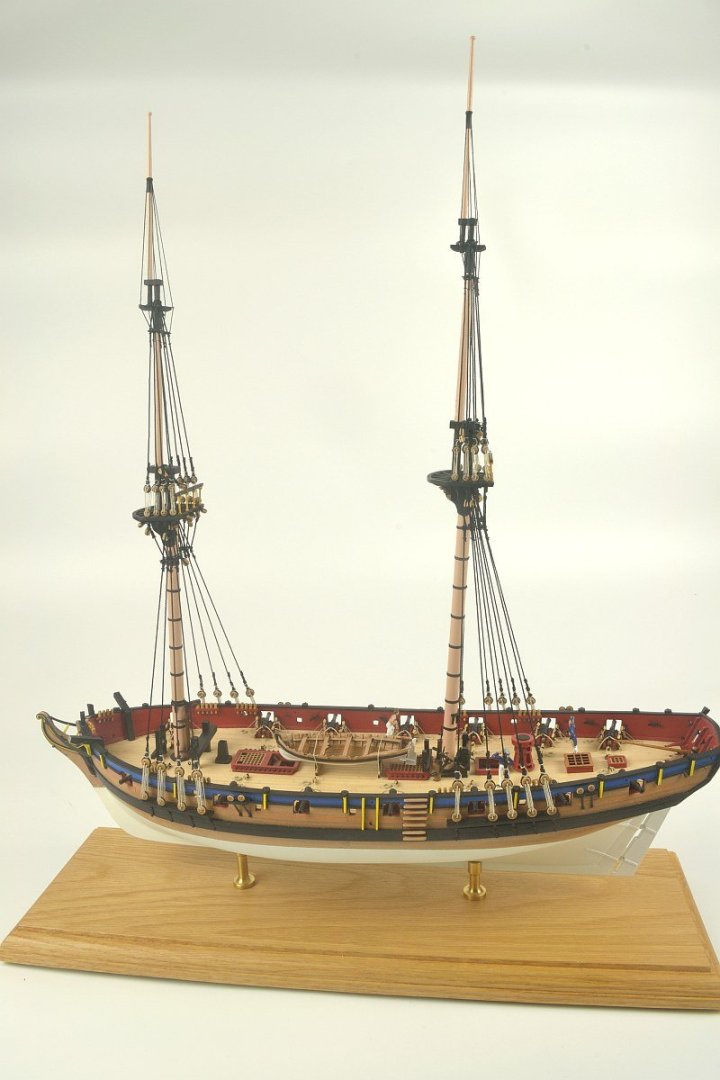
Hello - final pictures of my HMS Flirt. Trying to show the rigging hopefully a bit better. Thank you all for the encouragement and nice comments during the build. Nearly had a disaster with the waterline thinking I ought to keep the keel level as it would be a problem to source brass mounting columns. In the end sorting that out was fairly easy. Think my next build will be something with less rigging - probably Vanguard 'Saucy Jack'. This has not been a log showing how to build Flirt as it comes with a very good manual and I did not encounter any real problems other than my dodgy building skills / lack of knowledge. Anyway again thank you for looking - the comments and 'likes' Regards Doug
- 102 replies
-
- Flirt
- Vanguard Models
-
(and 1 more)
Tagged with:
-
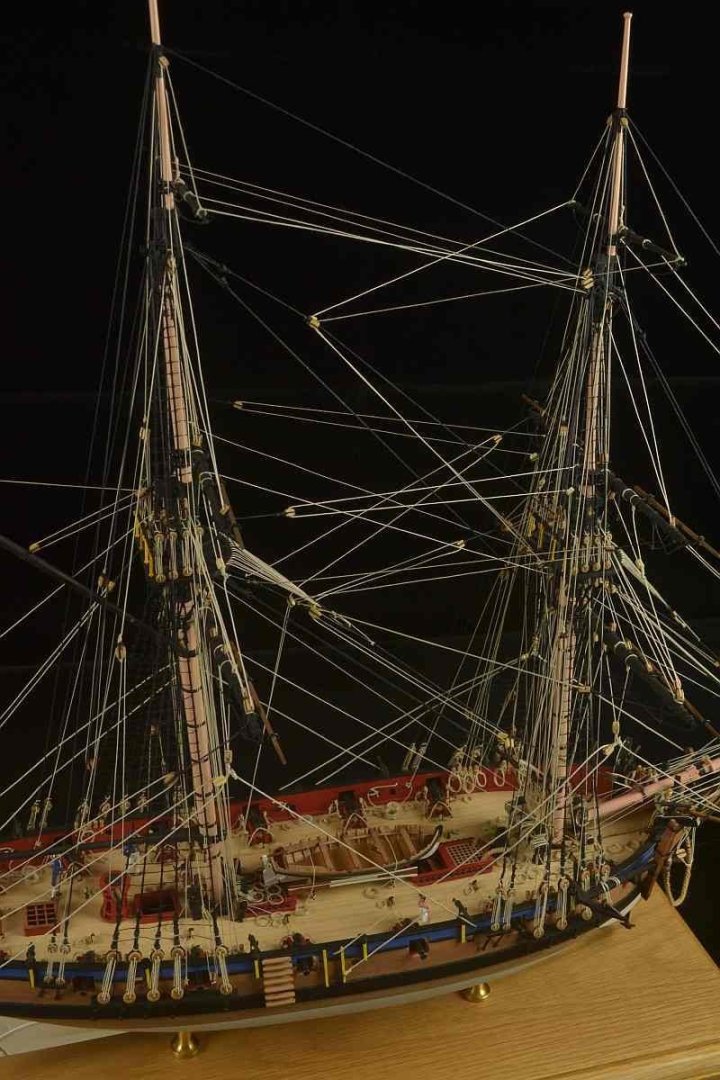
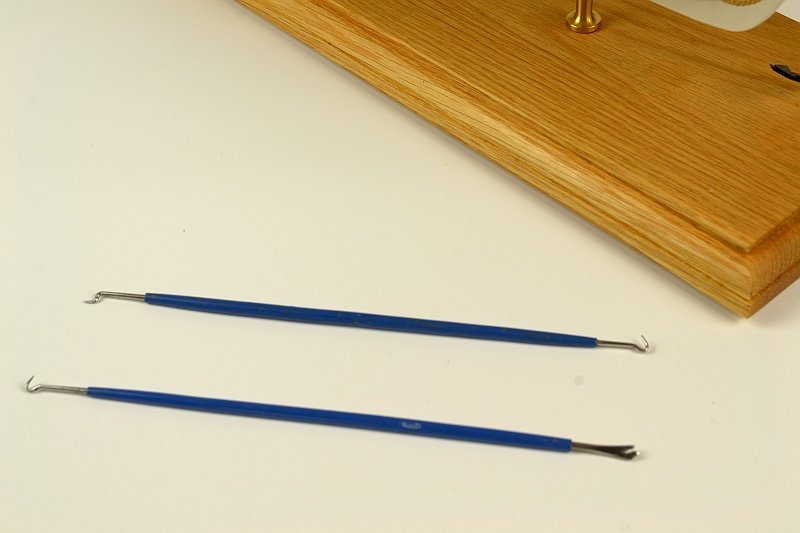
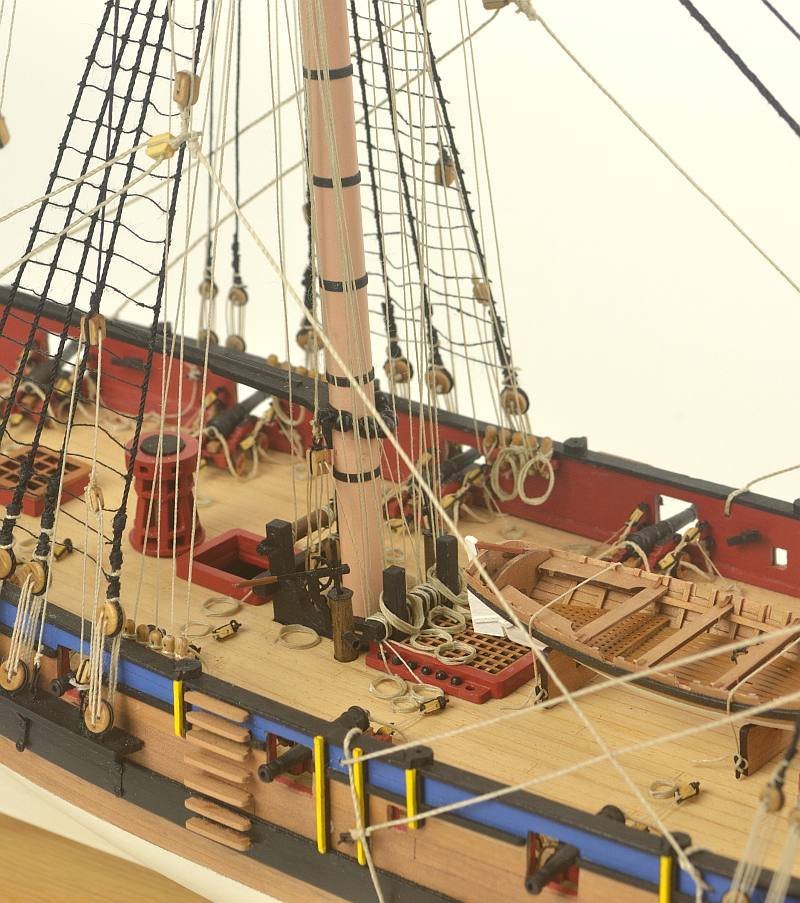
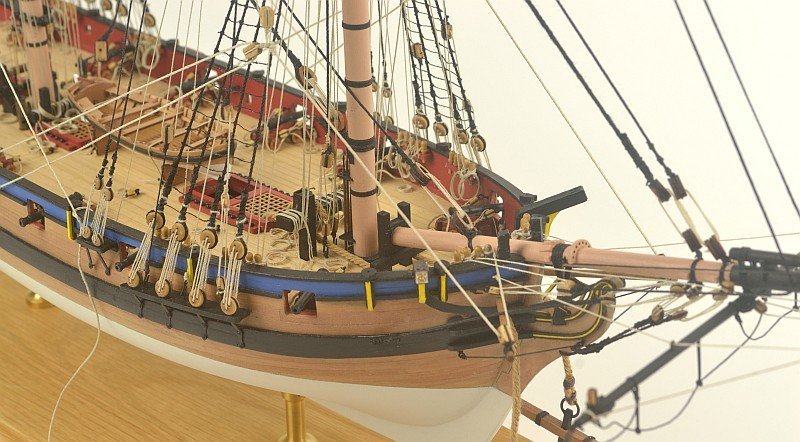
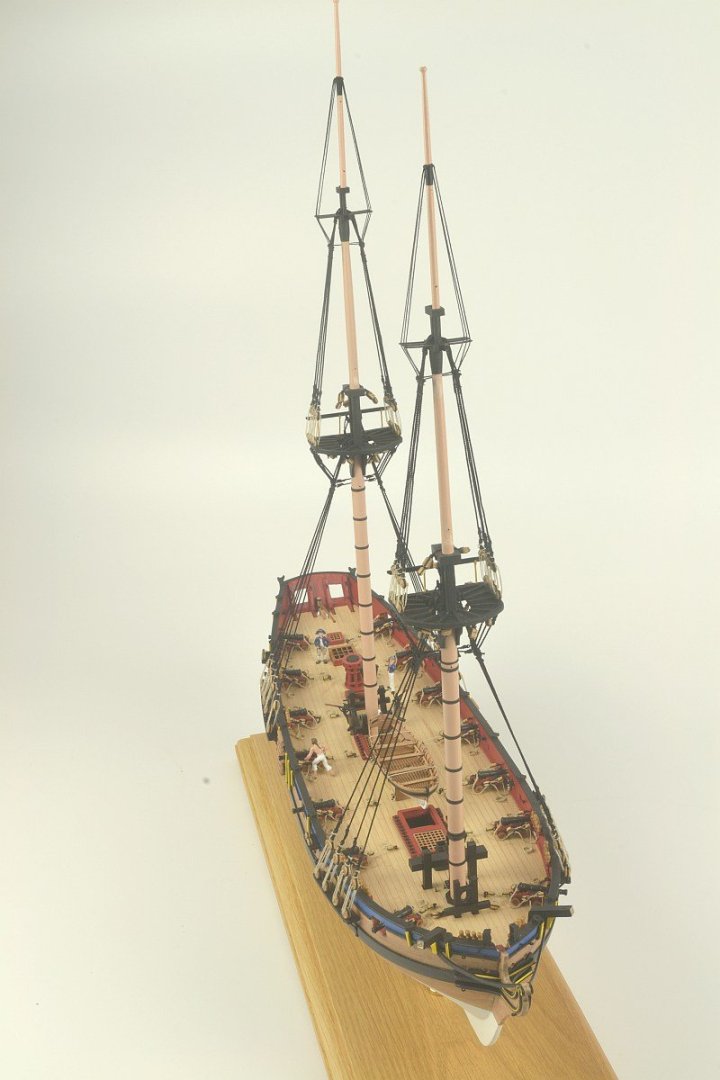
Hello - Have now finished HMS Flirt. A lot of rigging...... Going to have to take a few more photos with a black background as the white thread is not showing up as much as I hoped against the white background. Some threads not tied off as instructed - have found more suitable belaying places. Found these tools helpful with doing the rigging. Not sure if all these rope coils spoil things - maybe the way I do coils etc does.... Hope you don't mind but will upload later few more photos with a black background. Thanks for looking. Regards Doug
- 102 replies
-
- Flirt
- Vanguard Models
-
(and 1 more)
Tagged with:
-
Right - That's sheet plan 9 finished. Just one more to go for the rigging - it's getting mighty difficult to belay any lines and there is plenty more to be tied off on the same piece of furniture. Made a mistake - realised when half way along stropping the blocks for the Top Sheet Clew lines I had done them in natural thread when I should have done them in black. Having tied them off I did not fancy doing them again so carried on doing the same for the lower section. Have not tied them off so as to gain access as instructed to finish plan 10. Final picture. Just noticed one of the stunsails has dropped down 😕 Thanks for looking and the comments / 'Likes' Doug
- 102 replies
-
- Flirt
- Vanguard Models
-
(and 1 more)
Tagged with:
-
The building board a clever piece of work. Always a joy to see your work. Doug
- 648 replies
-
- Indefatigable
- Vanguard Models
-
(and 1 more)
Tagged with:
-
Hello navarcus - wouldn’t think they do. Other rope lines are attached. You need to ask someone with more knowledge than me - I can see why you’re asking but not sure how the anchors would be handled easily. The anchor rope wrapped around bitts - just followed instructions. All the best Doug
- 102 replies
-
- Flirt
- Vanguard Models
-
(and 1 more)
Tagged with:
-
Hello Alistair It’s good to see you back and you’re going to finish your superb Fly. Thank you for your lovely comments - you are being too generous but much appreciated especially coming from someone whose work is up there with the best. Like you I also make model plane kits - Guillows - balsa wood and tissue paper. Regards Doug
- 102 replies
-
- Flirt
- Vanguard Models
-
(and 1 more)
Tagged with:
-
Hello - more progress. All Stays and Preventer Stays etc installed, plus Crowsfeet. The instructions suggest to use F-14 and 15 which are larger Parral Beads for the Mouse but I had used them for the Main Boom and Driver Boom as the plans did not say which beads to use on them although the plans showed larger beads on the Booms. So had to make the Mouse with turning some dowel. Also found out what the wooden beads were used for - they are Thimble blocks for the Topgallant Mast Stay. At fault for not studying the plans further ahead. Bowsprit Stays. Thank you for looking. Regards Doug
- 102 replies
-
- Flirt
- Vanguard Models
-
(and 1 more)
Tagged with:
-
Hello - few steps forward. Ratlines etc done although have made another bad decision on use of thread. Used black sewing cotton instead of what was instructed. It started off okay but then realised the black cotton thread was varying in thickness and was getting fuzzy but as I was over half way decided to continue. Yards attached with Parral Ribs and Beads although there is no reference to which Beads are needed for the Main Boom and Driver. Used the largest Beads for the Main Boom - there was also a packet of wooden Beads which I assumed were for builds which were not being painted. Thanks for looking and the 'Likes' - much appreciated. Thank you Regards Doug
- 102 replies
-
- Flirt
- Vanguard Models
-
(and 1 more)
Tagged with:
-
Hello - Upper Shrouds completed. Kind of wished now I discarded the supplied 1.0 and 0.75 thread and used previous thread left over from other builds as there is no difference between the two sizes of the supplied thread possibly the Upper Shrouds may look wrong. Next the Ratlines - so maybe some time....... Thank youOldsalt1950 for looking and your nice comment. 1950 was a good year........ Regards Doug
- 102 replies
-
- Flirt
- Vanguard Models
-
(and 1 more)
Tagged with:
-
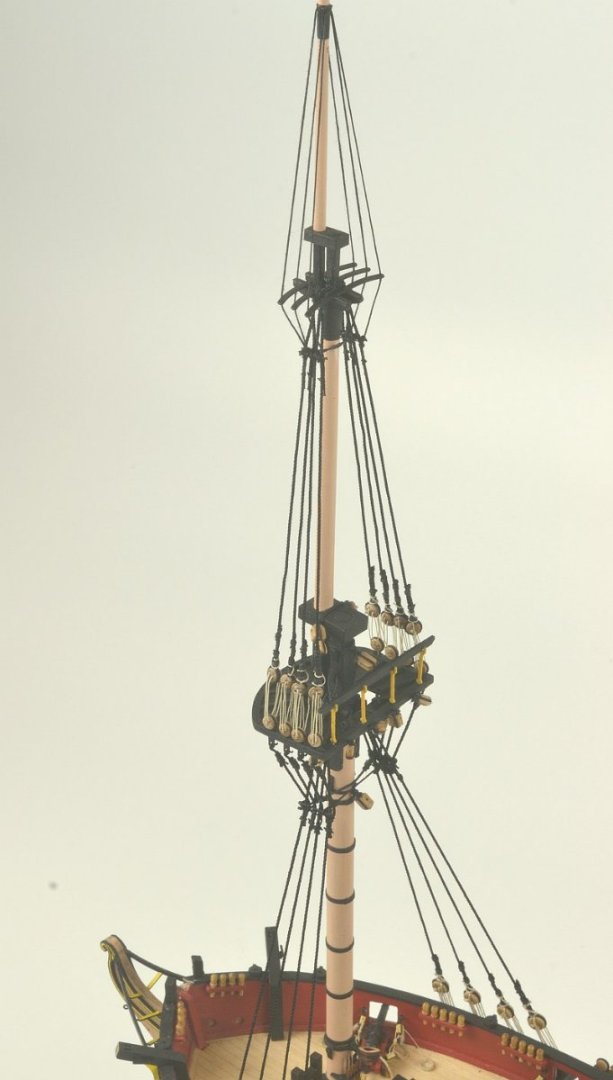
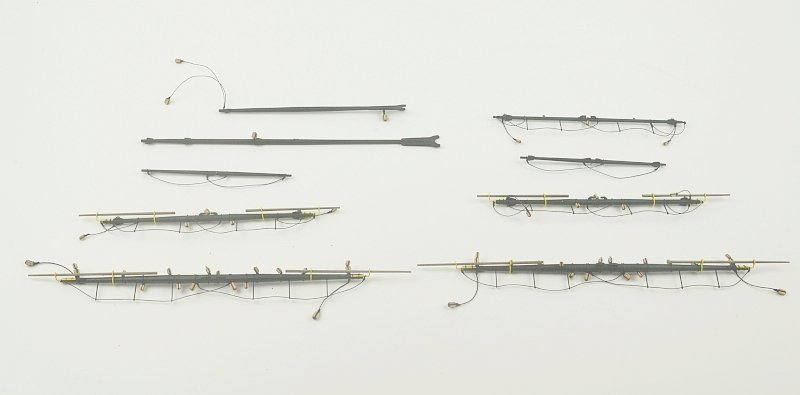
Hello - further progress. All Yards / Bowsprit Yard / Gaff and Boon Yards shaped, rigged etc. Boomkins shaped and dry fitted with pins. Lower Shrouds completed. Used hooks at the ends of the Catharpins to fix onto the Futtock Staves. Had a problem with identifying the correct size thread as it was very difficult to distinguish between 1.0 and the 0.75. and I only had what looked like half the amount of the 1.0, labelled H thread. It looked possible slightly thicker than the 0.75 but when both pulled tight the labelled 0.75 looked thicker so this is what I used for the Lower Shrouds and also there was more of it. I did ask Chris for some more 0.75 but did not hear back - it was over the Christmas hols. So I have used what was marked as 1.0 thread on the Upper Shrouds and just had enough. The labelled 0.75 was much thicker than the other thread I had left from previous builds but the texture was different so I kept to the supplied thread for the Shrouds as it looked better. Everywhere else I used the other left over 0.75 black thread. Looks like there's a mark on my camera lens which needs to be sorted..... Thank you for looking, Regards Doug
- 102 replies
-
- Flirt
- Vanguard Models
-
(and 1 more)
Tagged with:
-
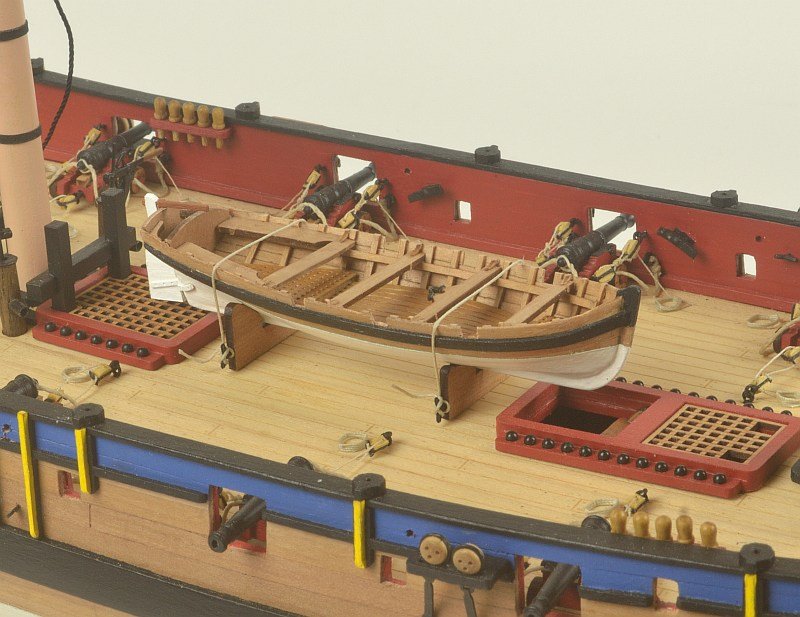
Hello - a small update. Have redone the Cutter. This time the wood colouring is better. Did not double up on the seat brackets just keep them as a single piece. Also, as can be seen have started the Shrouds. Thank you for the previous 'Likes' and your comment captain_hook - all appreciated. Regards Doug
- 102 replies
-
- Flirt
- Vanguard Models
-
(and 1 more)
Tagged with:
-
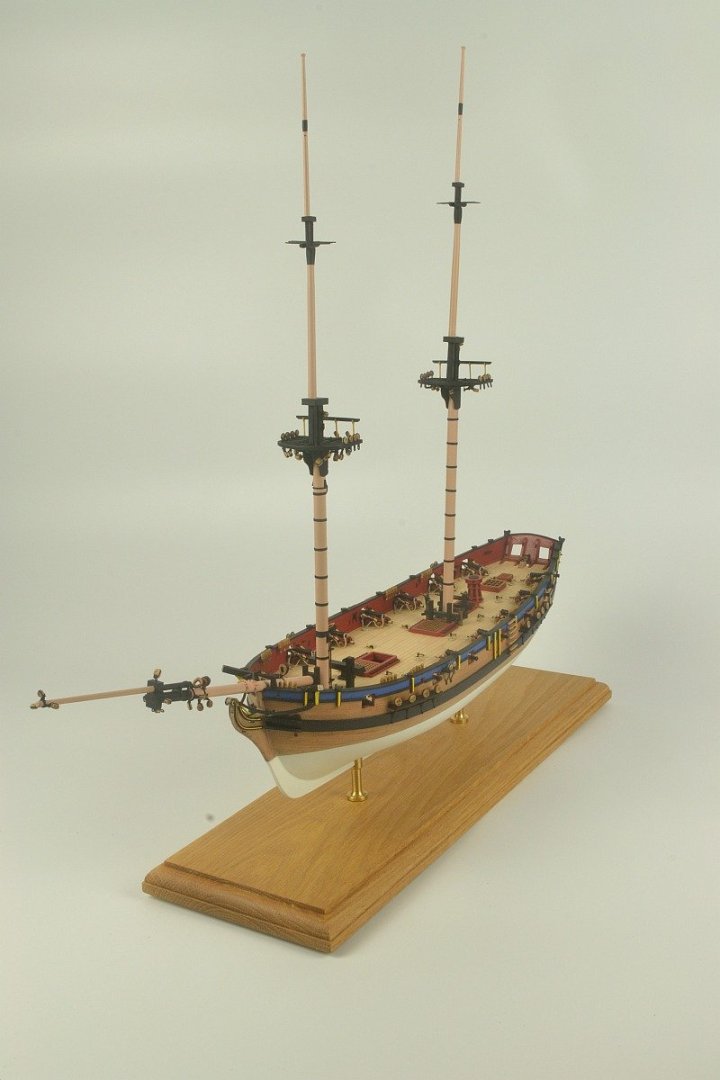
Hello - a bit of a step forward. Masts and Bowsprit all shaped and most blocks added. Am sorry to say I have painted the Masts and Bowsprit as the colour of the wood varied, a lot darker lower half. Hopefully this isn't seen as a sin . Realise this is the nature of wood and my mistake in matching the dowels up to use. Most sections of Masts are dry fitted as well as the Bowsprit for removal during rest of build. Various other views Thank you for looking. Regards Doug
- 102 replies
-
- Flirt
- Vanguard Models
-
(and 1 more)
Tagged with:
-
Hello glbarlow and hollowneck - thanks for the comments and the reference to the 3D resin hull. I have already ordered another 18ft cutter from Chris to have another go but the resin hull does looks good. Maybe the seating etc might fit the resign hull - if it does will get one. Will ask Chris if you can combine the two. You do make the cutter look good hollowneck but then again you make everything look good. Have been following your work with the sails on your build. Incredible. Likes of you and Blue Ensign certainly make us mere mortals try harder 🙂
- 102 replies
-
- Flirt
- Vanguard Models
-
(and 1 more)
Tagged with:
About us
Modelshipworld - Advancing Ship Modeling through Research
SSL Secured
Your security is important for us so this Website is SSL-Secured
NRG Mailing Address
Nautical Research Guild
237 South Lincoln Street
Westmont IL, 60559-1917
Model Ship World ® and the MSW logo are Registered Trademarks, and belong to the Nautical Research Guild (United States Patent and Trademark Office: No. 6,929,264 & No. 6,929,274, registered Dec. 20, 2022)
Helpful Links
About the NRG
If you enjoy building ship models that are historically accurate as well as beautiful, then The Nautical Research Guild (NRG) is just right for you.
The Guild is a non-profit educational organization whose mission is to “Advance Ship Modeling Through Research”. We provide support to our members in their efforts to raise the quality of their model ships.
The Nautical Research Guild has published our world-renowned quarterly magazine, The Nautical Research Journal, since 1955. The pages of the Journal are full of articles by accomplished ship modelers who show you how they create those exquisite details on their models, and by maritime historians who show you the correct details to build. The Journal is available in both print and digital editions. Go to the NRG web site (www.thenrg.org) to download a complimentary digital copy of the Journal. The NRG also publishes plan sets, books and compilations of back issues of the Journal and the former Ships in Scale and Model Ship Builder magazines.

