HOLIDAY DONATION DRIVE - SUPPORT MSW - DO YOUR PART TO KEEP THIS GREAT FORUM GOING! (Only 36 donations so far out of 49,000 members - C'mon guys!)
×


CaptainSteve
-
Posts
1,858 -
Joined
-
Last visited
Content Type
Profiles
Forums
Gallery
Events
Everything posted by CaptainSteve
-
 Vivian, Thanks for the link about Ibn Battuta. As an arm-chair historian, I find it especially fascinating to learn of the real stories behind people and places of which I have only briefly heard before. Anxiously awaiting the results of your usual studious approach and research into someone like Zheng He !! (Would you ever consider building his flagship ??)
 -
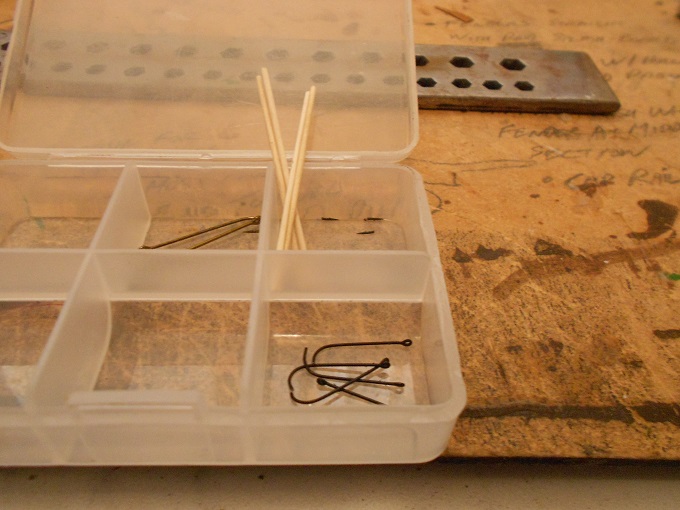
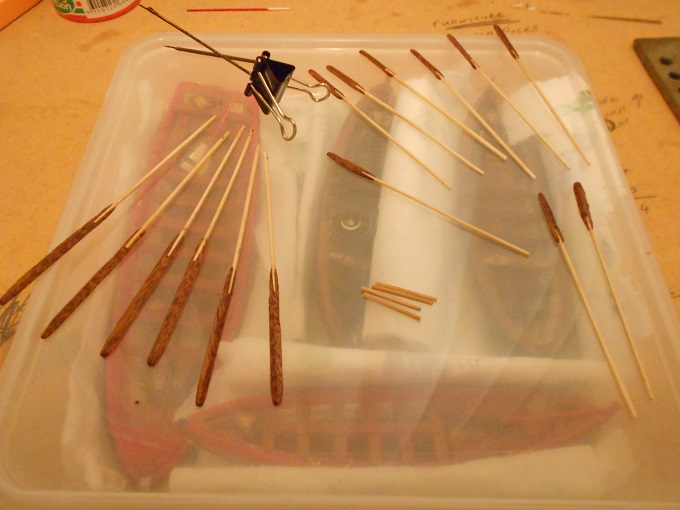
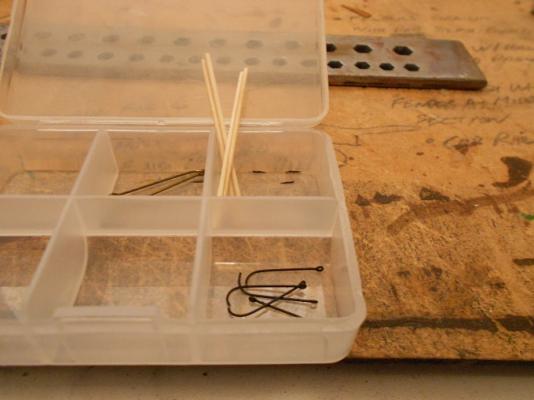
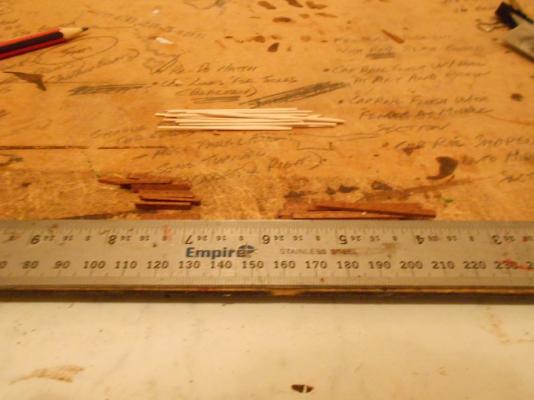
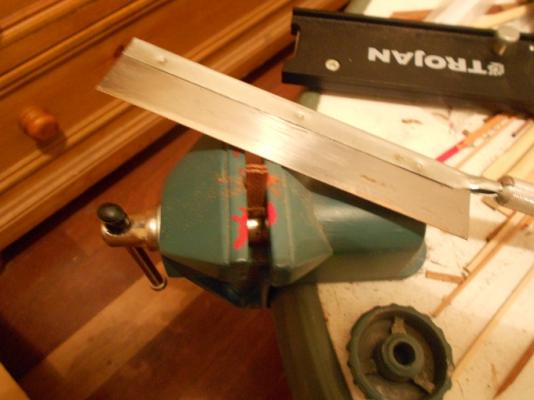
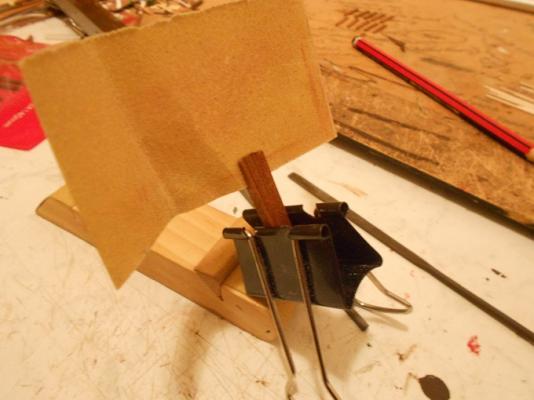
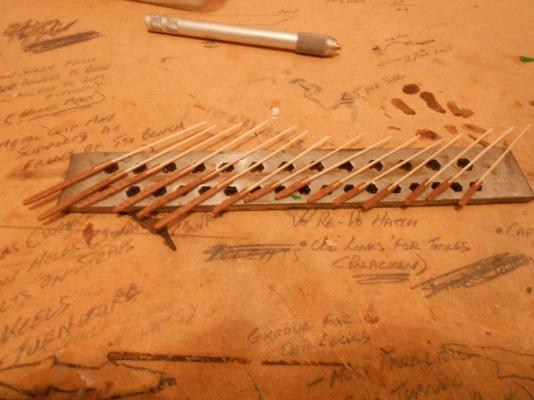
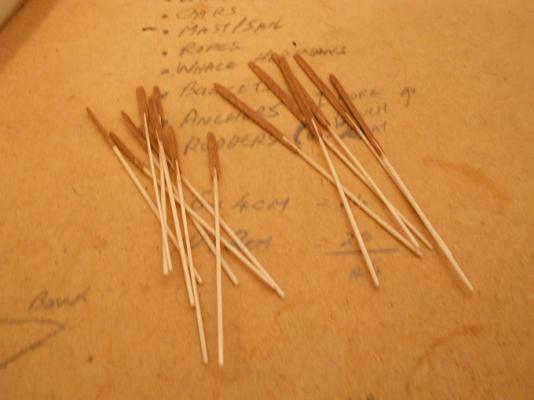
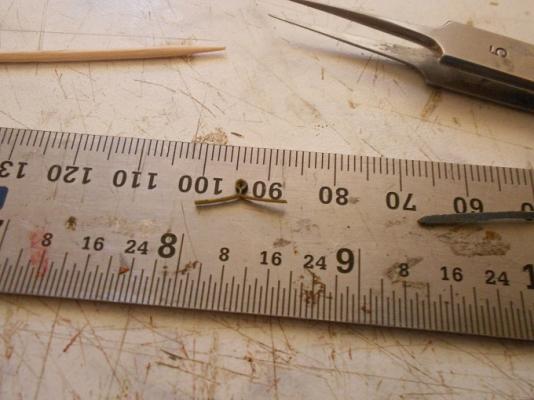
Also, yesterday, I made a large mug of strong black tea ... Not because of any hang-over I may have had, but to soak a piece of cloth to stain it. It's currently hanging on the clothes-line before being trimmed to shape and size. I'm hoping a week left in the Australian sun will fade and, hopefully, streak the cloth a little. Even though these sails will be rolled-up, I'm planning to add a bolt-rope around the edge of each piece (there will be three two: two one in the pinnace and one for the Gig). Next up, some fishing hooks have been cannibalized to make harpoons ... I originally wanted to do four - 2 per whale-boat. My tweezers had other ideas, and so I was left with two. (A worrisome thought plagues me, however. I can just imagine someone touching the barbs, pricking it into their finger, then pulling their hand back quickly in pain, as they fling my model into the wall.) 6 pinnace oars, 9 small oars, 2 harpoons and 4 winch-bars.
-
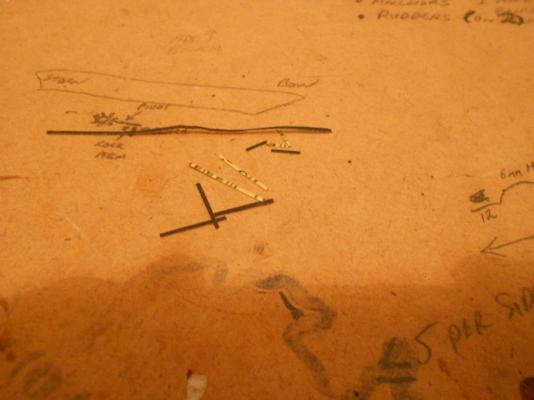
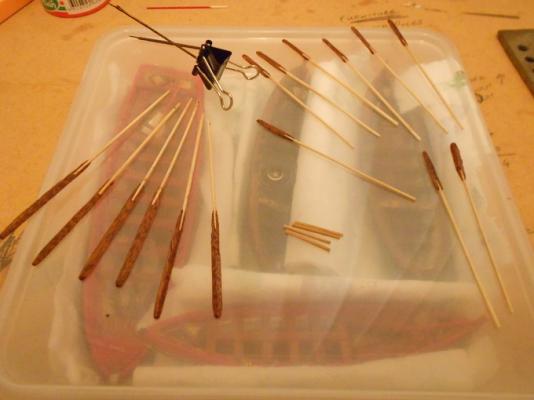
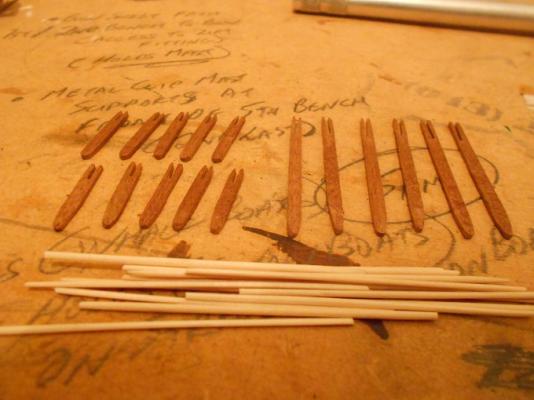
Nice pics, dg ... Tho' they'd probably look better in my new Bounty Launch build log. Made some in-roads on furniture yesterday and (very) early this morning: Starting with some 2.5mm x 1mm stock wood, I cut 6 pieces to 4cm (pinnace oars) and 10 pieces to 2cm (gig and whale-boat) ... I then clamped some of these together (lining them all up beforehand) and, using a razor-saw, cut a groove in the centre at one end ... Then using sand-paper, widened and straightened the grooves ... Before crashing out around 4am, I attached sanded-down tooth-picks as handles to my oar-blades ... Once the glue had dried, the Dremel with sanding drum cleaned them up a little ... One broke, and so I ended up with 6 longs and 9 shorts. They're not perfect, but close enough considering they will be bunched-up and tied together (I'll be sure to put the less-than-perfect ones on the bottom). I still need to clip the oar-handle lengths to size.
-
Steam plank bending tool
CaptainSteve replied to captainkangaroo's topic in Modeling tools and Workshop Equipment
With no admiral around, I had to buy my own curling iron. [MENTAL IMAGE: Shortish male, very short hair (not quite buzz-cut), in-line at KMart (our WalMart) with just a curling iron in hand] Depending on the thickness and type of wood, I leave my planks to soak anywhere from 30mins up to 8-9 hours. Then plug your iron in and let it heat up (1-2mins). Open the spring-piece, poke enough of your plank through to where you wish to begin your bend, then close the clamp. Give it about 10 seconds. (To apply some extra pressure, wear an oven-mitt or wrap your hand in clothing.) Open clamp. Push plank through further. Re-apply clamp. RINSE REPEAT BTW: When I first bought it, I actually made a wooden spring. The strips were (I think) 0.5mm X 1mm. It had four complete (360 degree) coils !! For real !! (Kickin' myself for not having saved pics)- 15 replies
-
- 1
-

-
- planking tool
- plank bender
- (and 1 more)
-
Since I have such a distinguished captive audience, a question (or two): I noticed the lack of planking joints in the build of this kit. At a scaled-up length of some 23-foot (7mtr), would not there have been at least one joint per strake ?? And would these have been scarph joints, or butt joints ?? (I think hooked-scarph would look really good - staggered every third or fourth strake)
-
I recently read through a transcript of the mutiny log. It is truly a fascinating story of survival. For myself, I was impressed by Bligh’s seamanship and leadership. He may well have been an overly-harsh disciplinarian, and perhaps a few dozen of his former crew may have preferred to spend the rest of their lives in the company of bare-breasted, nubile native girls. But give him his due; Bligh was a skilled and stoic English naval officer to the very end. One further addition which I am planning is to construct a replica of Bligh’s Log - from just prior to the mutiny event up until they arrived safely in Timor. A book-binder I spoke with has suggested that the log transcript could be re-printed into a leather-bound booklet. They could then create a water-damaged effect by staining each of the pages. I should like to include recreations of relevant maps and drawings made during the journey. More on this later. (Incidentally, it was whilst reading Bligh’s log that I decided to do away with a winch for this build. Although I was a fan of these for my Connie’s whale-boats, I found no reference to whaling anywhere in Bligh's log.) Historical foot-note: Did you know that, after the Mutiny incident, Bligh was appointed as Governor of the fledgling penal colony in Australia ??
- 625 replies
-
- 1
-
-
- bounty launch
- model shipways
- (and 1 more)
-
Welcome aboard, one and all. This is a virtual space, so there's plenty of room for popcorn carts, drinks trays, dune-buggies and even llamas ... At this point, commencement is still a couple of weeks away as I need to finish the boats of my USS Constitution prior to starting this build. The “furniture” for these is all that remains to be done. Before I begin in earnest, some ideas I’d like to share for this build: For the first time, I will have tree-nails !! I have never done these before but, especially at this scale (1/16), firmly believe they will add life to my launch. This is one of the skills which I feel I will later need, not only when laying Connie’s decking, but perhaps even when doing the bolts inside her bulwarks. I will have bench thwart knees !! Another of the skills which I must learn is small-scale metal-working. Silver-soldering and realistic blackening of metal is completely new to me. A read-thru of some of the other Bounty Launch builds has provided a few inspirations … Amfibius, I am most definitely in favour of the natural wood look. Assuming I can pull it off as well as you have, then that will be on my agenda. However, I’m planning on fully-planked. UTS – I sooooo need a line-serving contraption like yours (drool) !! Rat Fink – Your historical approach was immensely informative. I will need to give serious thought to issues such as: how the masts will be positioned; bow-sprit or no bow-sprit; how to do the breasthook; and stern quarter-knees. And your tool-chest !! You and your storm-trooper are masters of detail. I salute the pair of you. Oh, and I’m getting me a laser-level !!! That thing looks awesome.
- 625 replies
-
- 1
-
-
- bounty launch
- model shipways
- (and 1 more)
-
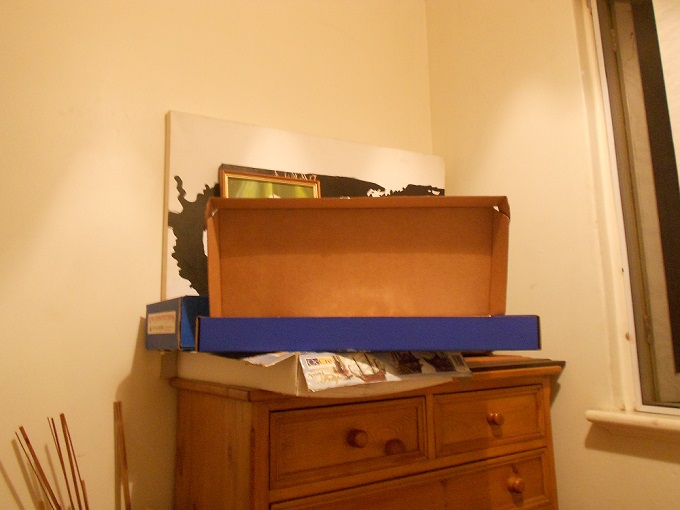
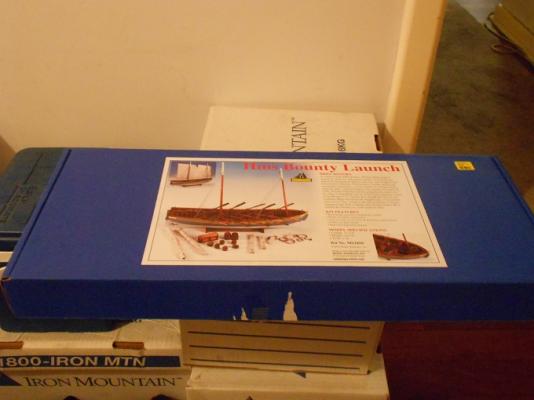
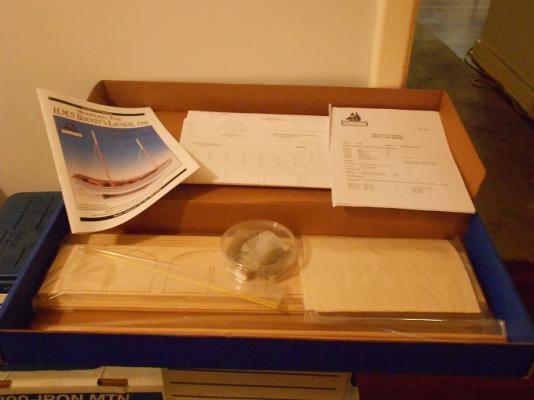
As I still have to finish off the ship-boats for my Constitution, I will leave you with the mandatory box pictures:
- 625 replies
-
- 6
-
-
- bounty launch
- model shipways
- (and 1 more)
-
First up, Welcome One and All !!! For now, my USS Constitution is currently on-hold - although some may (perhaps rightfully) argue that it hasn't even begun. (At this point, my Connie's boats are almost complete, bulkheads have been faired, keel pieces cut, but that's about it !!) I really must commence this log by stating that, to start with, I wasn't planning on doing another kit along the way. However, a number of circumstances changed my mind. First and foremost was that my expectations for my own work have grown exponentially since I joined MSW, and this is due purely to all of the amazing builds I have viewed here. Secondly, I feel there are a number of modelling skills which I need to work on before I could possibly hope to do justice to a proper rendition of Ol' Ironsides. (Especially with the number of Americans here on MSW, I well run the risk of irreparably damaging US-Australian diplomatic relations !!) Third, recently myself and a good friend were discussing a number of matters over a few beers (OK lots of beers !! It was Australia Day !!). At any rate, the topic came, somehow, to the Bounty mutiny. At some point, I brashly stated that "One day, I'll build you a model of the Bounty." To this, my friend replied that he would instead prefer to have a replica of the Mutiny longboat. (I should mention that this friend is aware of my modelling, and has seen - first-hand - how many years it takes me to do them.) It dawned on me that I could "kill two birds". And so I started to see what was around, read through a number of stunning builds of the same kit, saw some of the pitfalls that have been experienced, and also some of the "bashes" which others have taken to improve their own kits. (I am a kit-basher !!) As such, this build will be heavily influenced by the works of: UsedToSail, Cap'n Rat Fink, Amfibius, Meredith and others. Comments, tips and hints graciously accepted. EDIT: For ease of access, here is the link to the Bounty Launch "database" which I created during this build.
- 625 replies
-
- 4
-
-
- bounty launch
- model shipways
- (and 1 more)
-
I'm looking forward to commencing work on it. But, first, I really need to finish Connie's boats off ... ... and get Geoff his picture (after all, he was the one who kick-started me in the right direction in the first place - though, I confess I probably went off the rails a bit along the way). Sooo ... for now, I need to make some oars, masts, harpoons, rope coils etc etc ...
-
Arrr ... 'tis indeed. If mine comes out anywhere near as good as yours (and a few others), then I shall be more than pleased.
-
The young chappie from Massachusetts seems to know ... Tom, please enlighten everyone. Edit: I love the Arnold Horshack impersonation !!
-
Is that the Flying one ... or the one with the popcorn cart ???
-
You're close, Bob. It IS from the 18th Century. And, technically, I guess it certainly is a form of longboat. (How long does a boat need to be in order to be known as a "longboat" ??) But, no, it's not the one which you, Chuck and many others have built.
-
A few posts back, I suggested that a blue box was imminently due. It was collected today. Anyone care to guess what's inside ?? (HINT: I may have chosen to follow some additional builds recently)

-
JS, For someone who claims to be as "blind as a bat", you do brilliant work !! Arr
-
JS, Also brilliant timing for me !! A new BLUE BOX arrived just today, and therefore, I will have a number of questions to be answered regarding small boats using this POF method. So, as I pull up a deck-chair ("'scuse me", "pardon me", "oops, sorry Ma'am") over here .... ... I was wondering if glueing the jig pieces to stiff card before starting your bends would have helped ??
-
Most definitely, Slog !! If ya don't take them off, ye can quite easily walk into walls/doorways/animals. Not to mention the head-spins just from standing upright quickly !!!
-
Arrr, Bindy ... T'aint that hard. I pours 'em all out (onto one of the plan sheets), then sift thru 'em using a pair of tweezers. Once done, fold the plan sheet in 'alf and pour 'em all back into their container. Oh, and did I mention that - even though my eye-sight still be fine - I use a pair of magnifying spectacles whenever I be workin' on me model. Thoroughly recommend 'em. You can buy a pair at any chemist in Oz for around $10.00. I use the maximum ones - 3+.
-
I think it should be up to you. I'd go for the one I liked the look of most. But, conversely, you could always choose the one you wouldn't care if you made a right hash of it.
-
Incidentally, I've made a decision on what I'll be doing once the boats are safely stored away. For now, this teaser .... there's a BLUE box due to arrive this week.
-
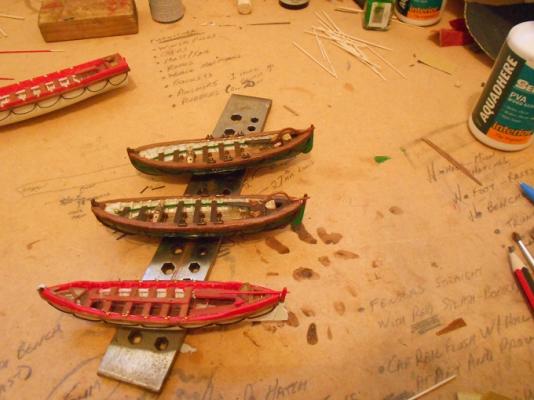
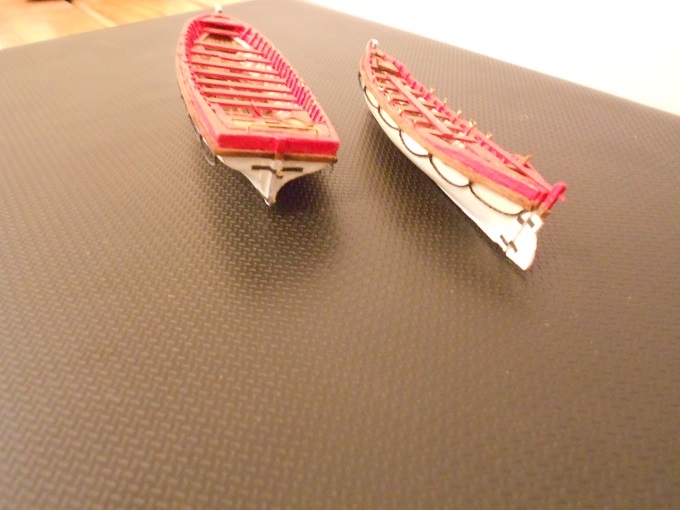
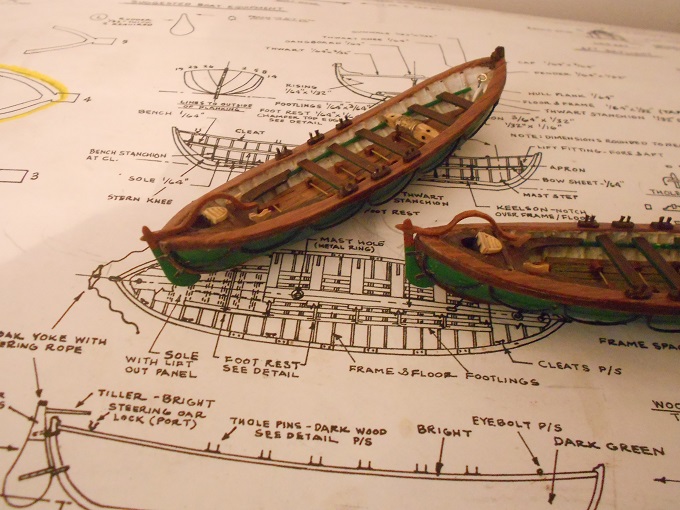
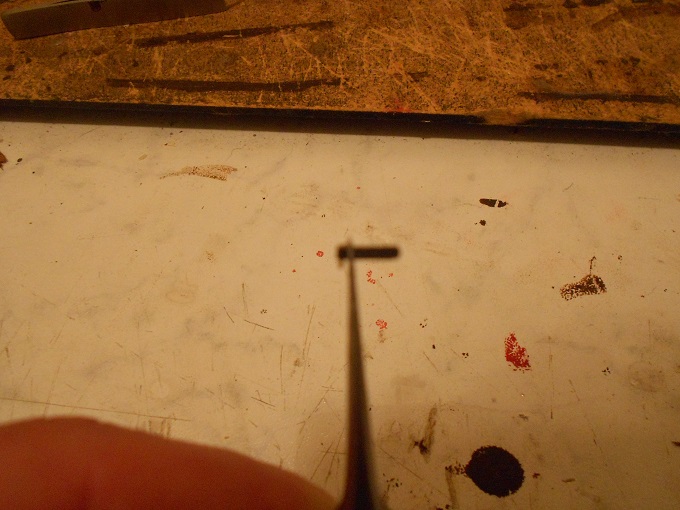
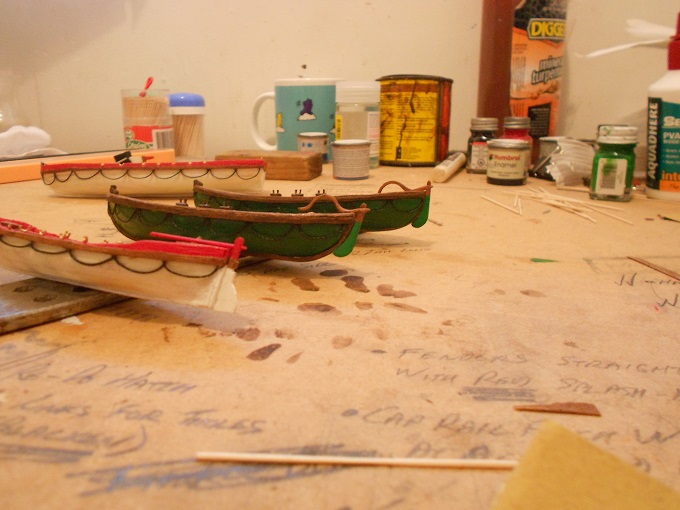
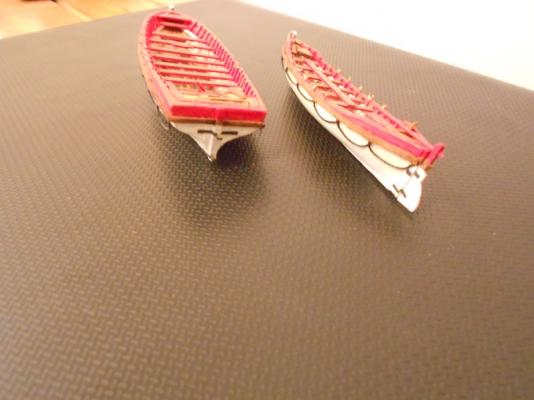
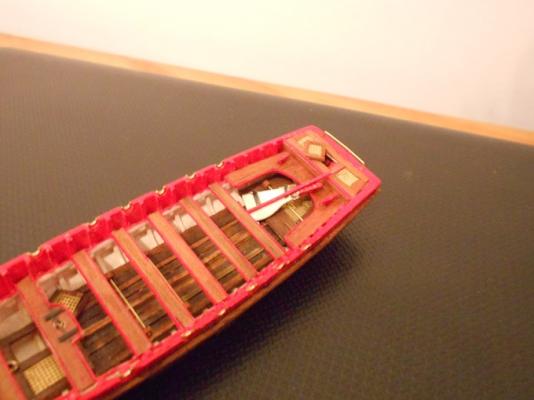
Onto the gudgeons. Searching thru a small pack of watch-parts (see Kit-Basher's), I found a pair of 1mm dia cogs. Again using thin strips of wet'n'dry .... Some fiddly attaching followed, again with strips ... The whale-boats ... ... and my boats are sooo very close to being done. Just furniture to consider now, starting with the Pinnace keel which has been "lazily" fixed in place. That's it for this weekend, Folks. Back to work tomorrow.
-
Hiya Jimmie, I agree with UV on having a go at the easier kit first. However, having just checked out a pic of your San Martin, I'm not really certain which one will prove easier. Although my own first build was Constructo's HMS Victory, it was a rather hard build and took me almost five years. If I was to do it over, there would be numerous things which I would have done differently. One advantage you have is that you discovered MSW first !!! Best advice I can offer - Aussie to Aussie - is have a read through all the information available right here before you make up ya mind. Oh yeah, and Enjoy !!!
-
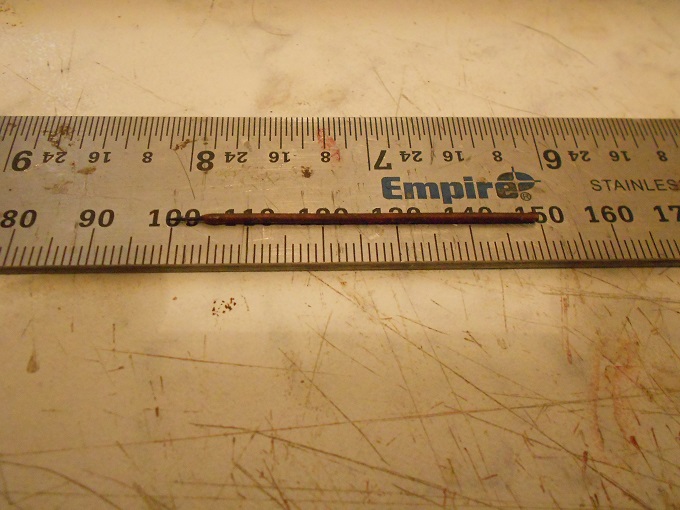
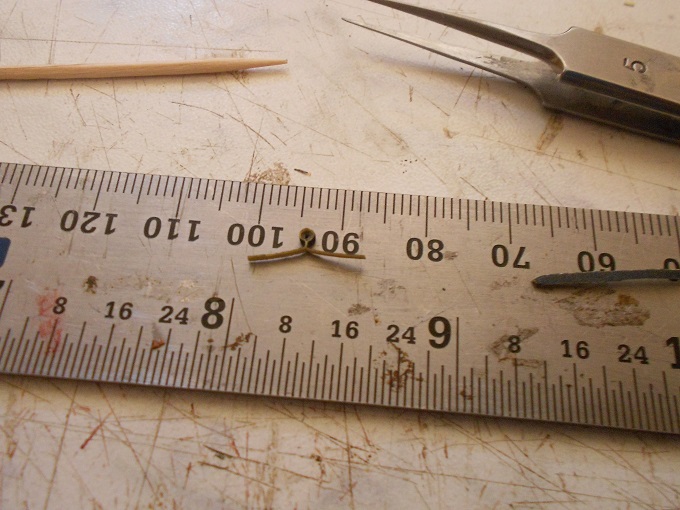
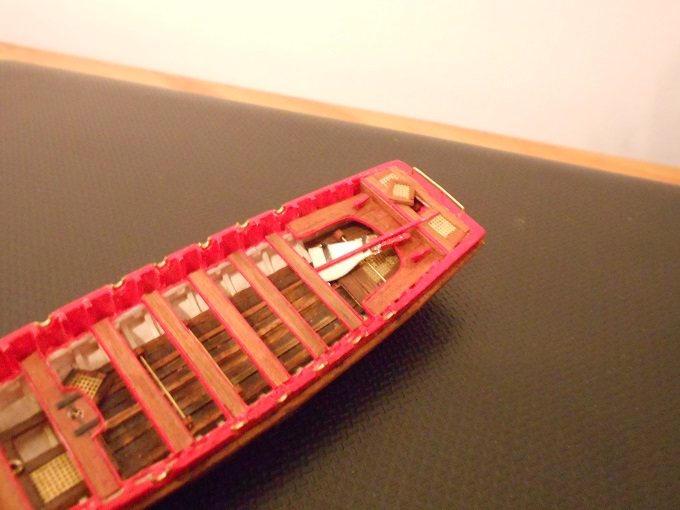
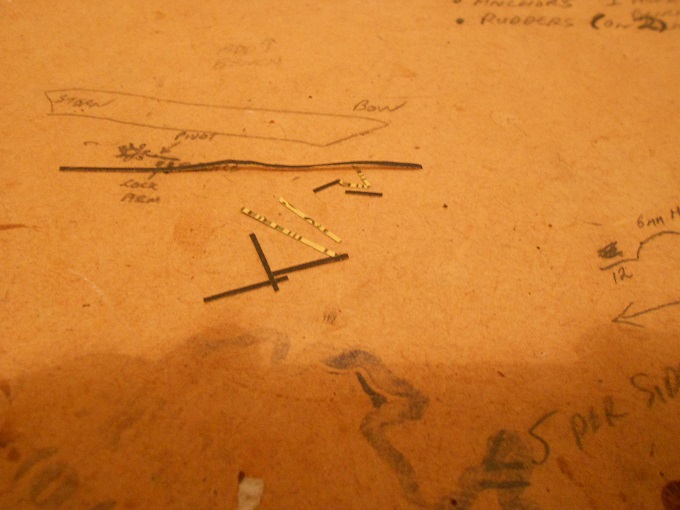
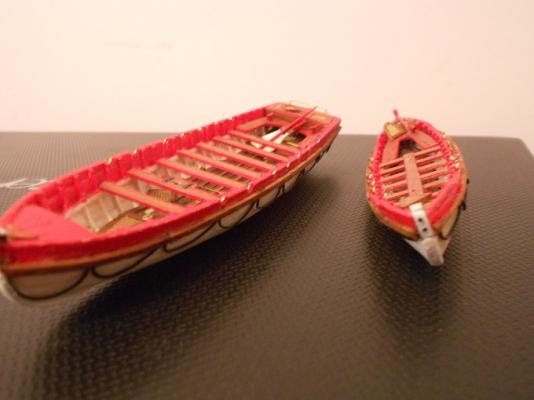
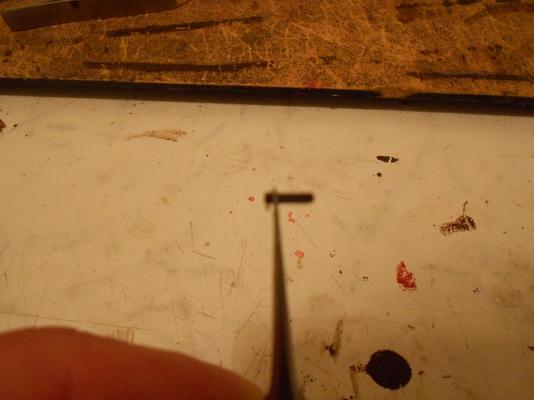
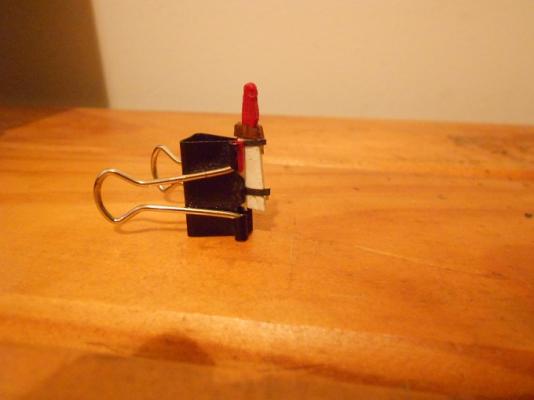
Seeing as the keel for the pinnace will now be stowed, I wanted to show the pintle/gudgeon a little better. Two short (3mm) pieces of brass wire were wrapped inside strips of the wet'n'dry ... (Sorry. It's a bit fuzzy) Once the CA glue has set, holding my pintles in place, the pinnace keel will look like this ...
-
They say you learn something new every day ... Well, today I learned TWO:- Pintle and Gudgeon. I can even put 'em in a sentence ... the pintle slots into the gudgeon providing a fulcrum (already knew that one!!) for the rudder. Having changed my mind with regards fitting/stowing the rudders, the two whale-boats and the Gig now have tillers/keels attached. I cheated with these by simply glueing them in place ... To represent pintle/gudgeon straps on these, I cut some thin (1/32") strips of wet'n'dry sandpaper ... These need to be cut to size and glued into position ....