-
Posts
434 -
Joined
-
Last visited
-
 puckotred reacted to a post in a topic:
HMS Victory cross-section by Russ2025 - FINISHED - Artesania Latina - 1:72
-
 rvchima reacted to a post in a topic:
Lisboa Tram and Diorama by puckotred - OcCre
-
 puckotred reacted to a post in a topic:
HMS Victory by gdollow - Artesania Latina - 1/72 - Cross Section
-
 puckotred reacted to a post in a topic:
Artesanía Latina - News and information
-
 puckotred reacted to a post in a topic:
HMS Victory by gdollow - Artesania Latina - 1/72 - Cross Section
-
 puckotred reacted to a post in a topic:
HMS Victory cross-section by Russ2025 - FINISHED - Artesania Latina - 1:72
-
 puckotred reacted to a post in a topic:
HMS Victory Cross-Section by RolandR - Artesania Latina - 1/72
-
 puckotred reacted to a post in a topic:
HMS Victory Cross-Section by RolandR - Artesania Latina - 1/72
-
 puckotred reacted to a post in a topic:
HMS Victory cross-section by Russ2025 - FINISHED - Artesania Latina - 1:72
-
I used airbrushthinner, but you need to do a extra coat...
- 20 replies
-
- Victory
- Artesania Latina
-
(and 2 more)
Tagged with:
-
 puckotred reacted to a post in a topic:
HMS Victory cross-section by Russ2025 - FINISHED - Artesania Latina - 1:72
-
 puckotred reacted to a post in a topic:
HMS Terror by Jond - FINISHED - OcCre - 1:75
-
 mtaylor reacted to a post in a topic:
Are there better tools for drilling tiny holes?
-
 paul ron reacted to a post in a topic:
Are there better tools for drilling tiny holes?
-
 catopower reacted to a post in a topic:
Are there better tools for drilling tiny holes?
-
 Canute reacted to a post in a topic:
Are there better tools for drilling tiny holes?
-
 Canute reacted to a post in a topic:
Are there better tools for drilling tiny holes?
-
 Canute reacted to a post in a topic:
Are there better tools for drilling tiny holes?
-
 Ryland Craze reacted to a post in a topic:
Are there better tools for drilling tiny holes?
-
 BenD reacted to a post in a topic:
Are there better tools for drilling tiny holes?
-
 Archi reacted to a post in a topic:
Experiences with 3D Printing for Ship Models
-
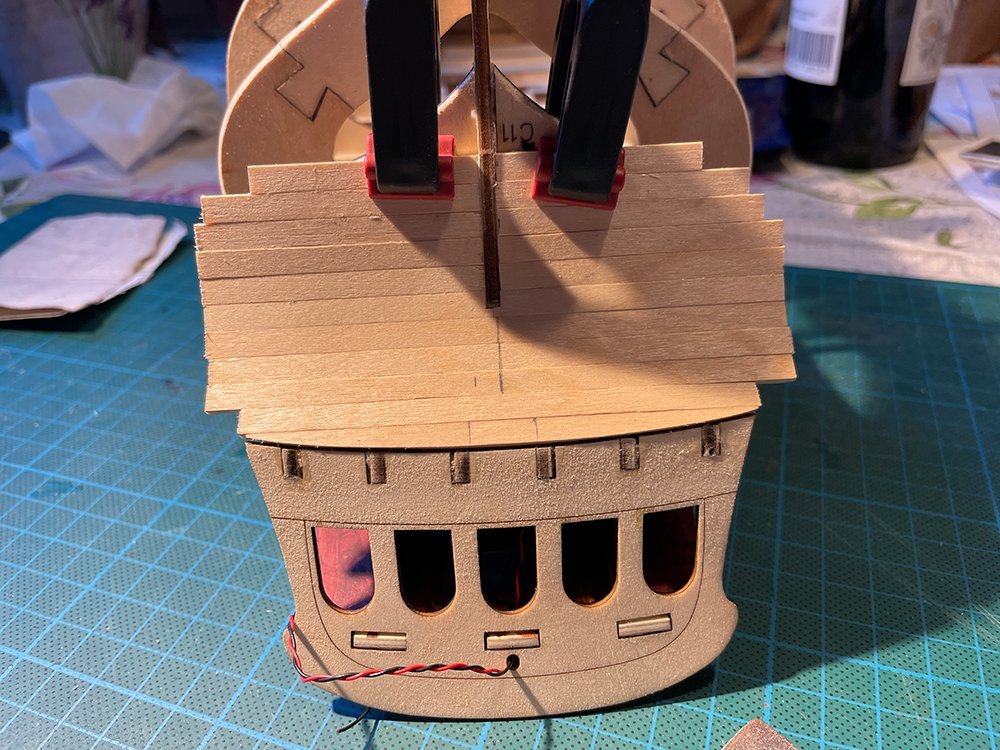
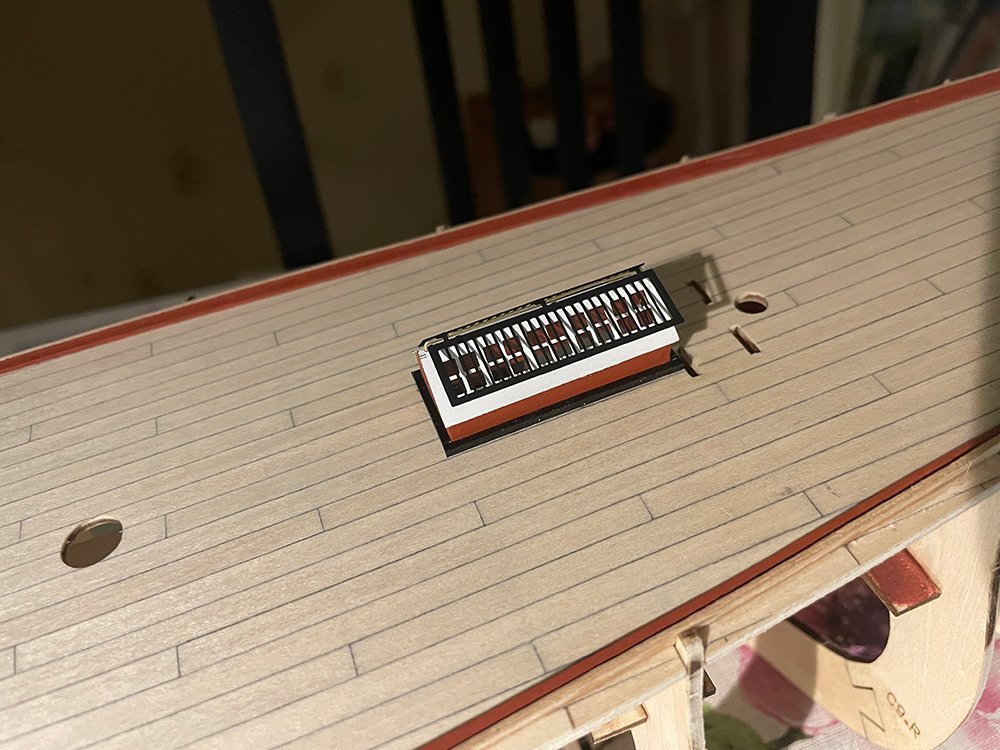
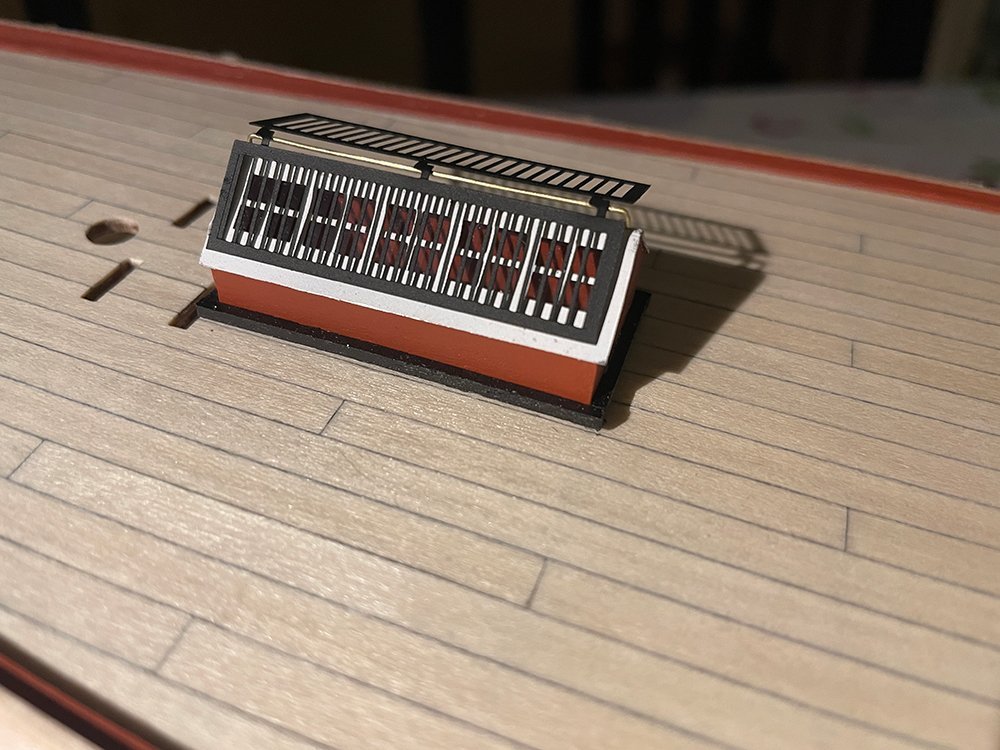
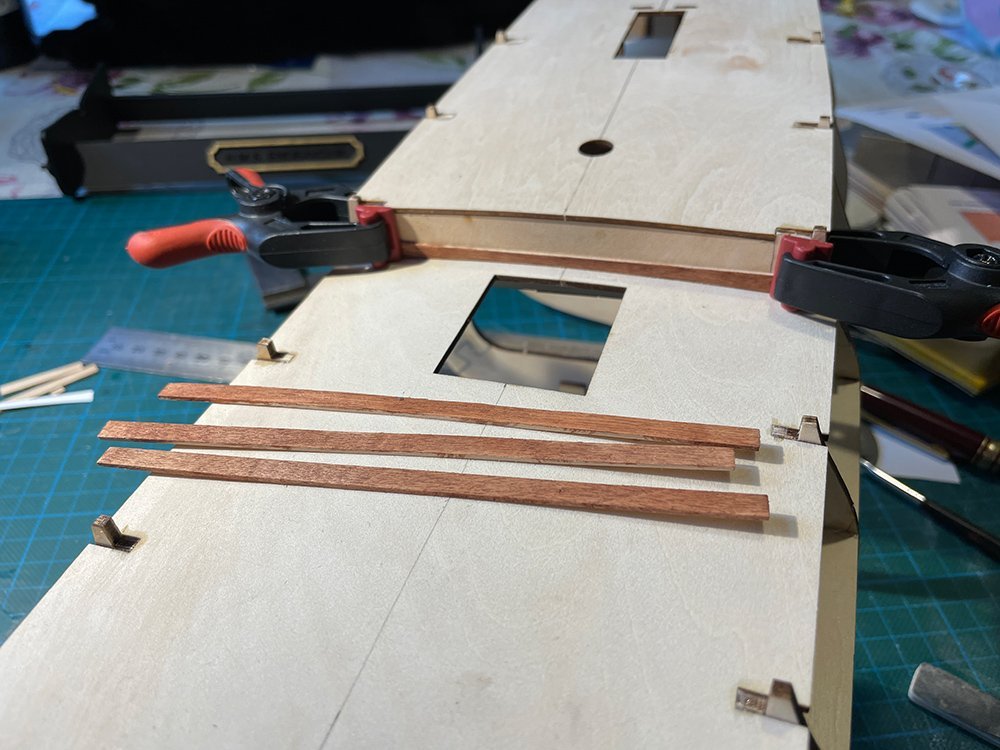
Sorry for the delay, but I'm doing 4 different builds... I have begun the planking... A nice mess on the kitchen table, first two planks: While the planks was drying after bending them I did the skylight: As planking is boring to do and watch next update will probably take a while. But I'll be back when something interesting happens.
-

kit review 1:65 HMS Endeavour - Artesania Latina
puckotred replied to James H's topic in REVIEWS: Model kits
I had just bought a new HP printer and got 6 months of free ink so I could print the whole thing at the cost of paper, about 3€ 😁 -
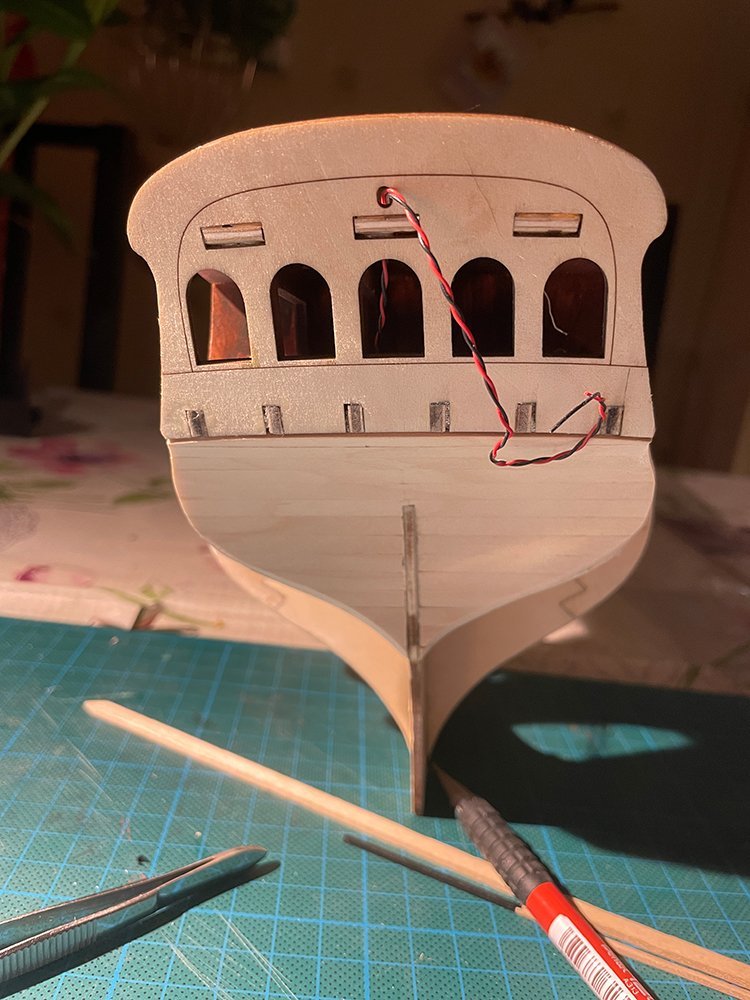
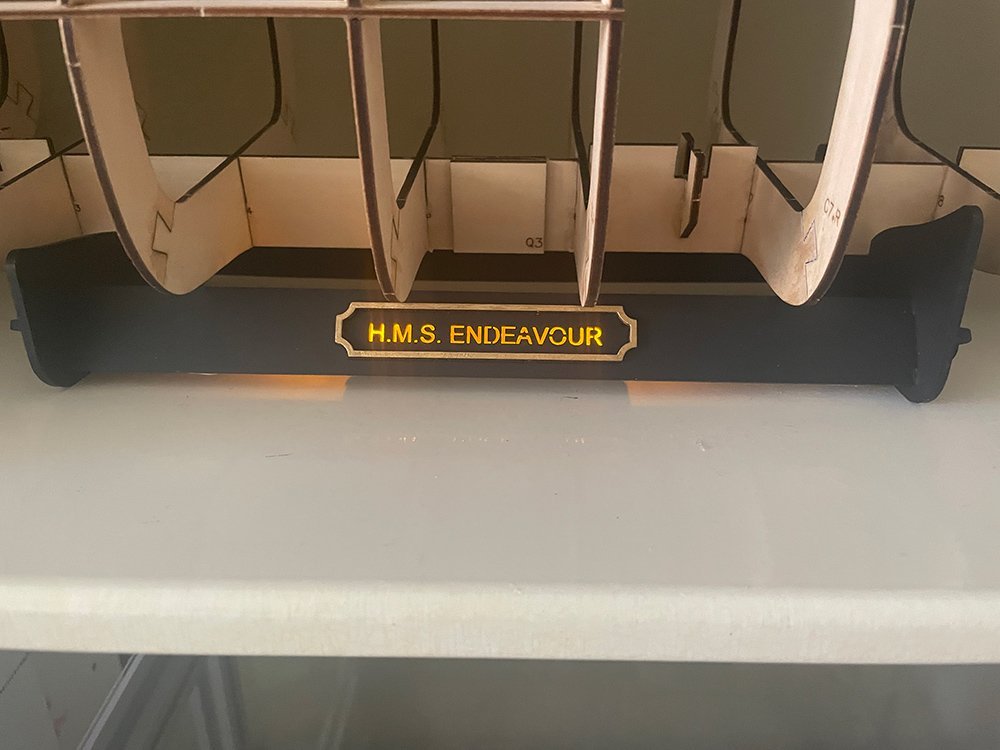
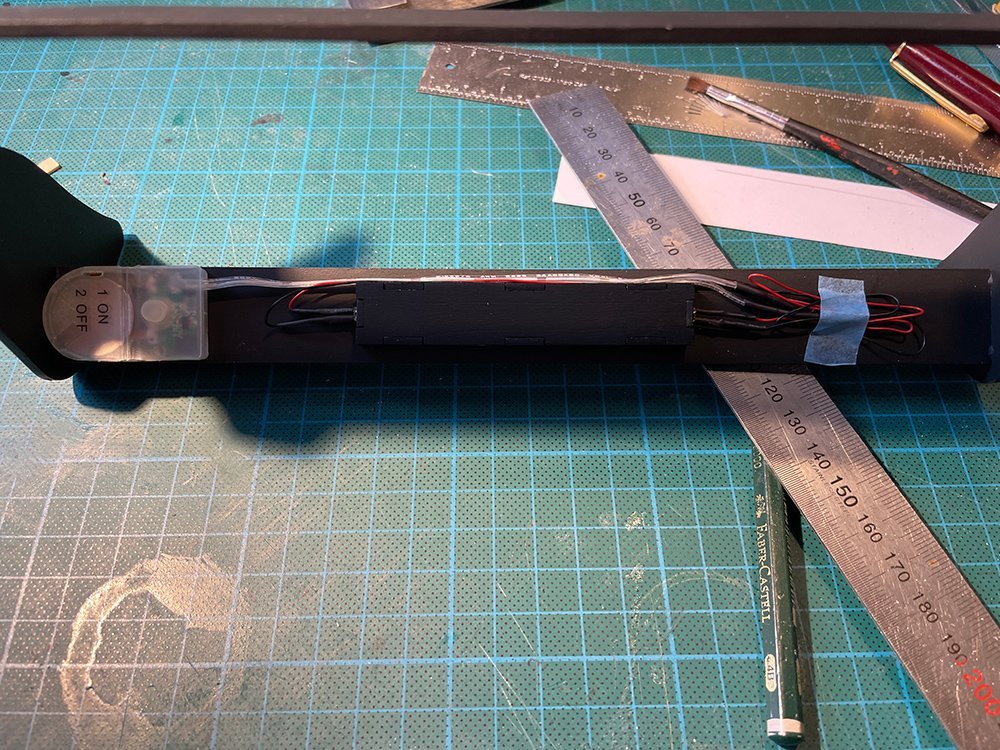
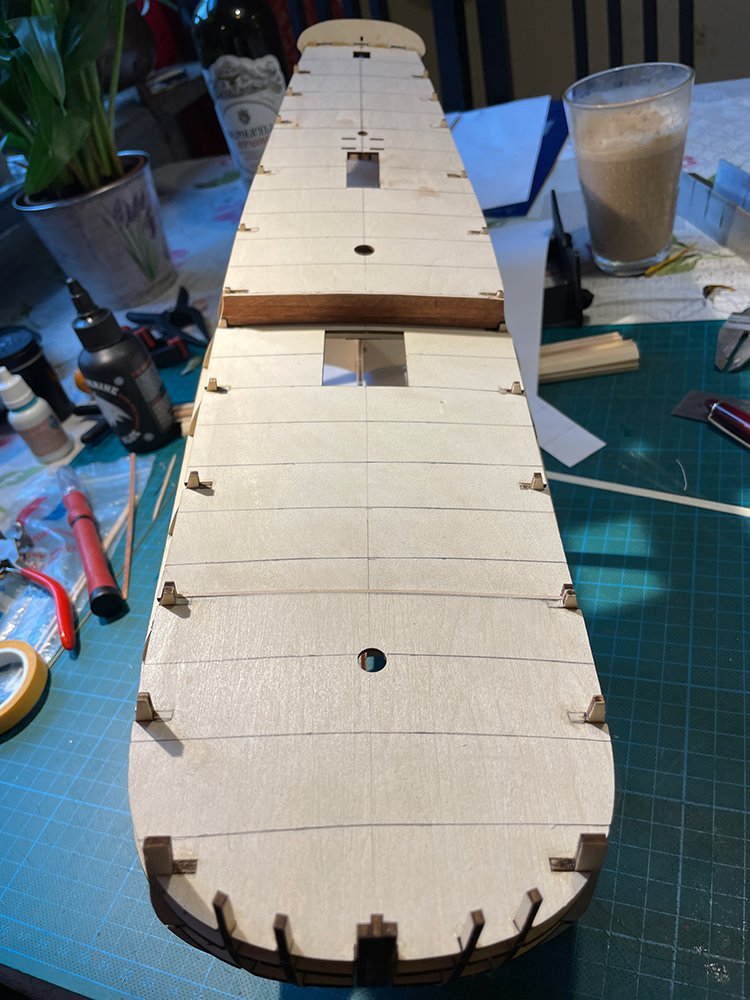
Finished deck planking yesterday: Today it was time for wiring: ++ Only four static LEDs included, two already used in the nameplate but I found some micro LEDs I could use below the skylight. The normal LED The micro LEDs work. I used two, don't know why... The wiring for the stern. The loose wire will go to the lantern wit a flickering LED at the end of the build. Testing Hopefully the LEDs and the wires will stay in place throughout the build... Next up is faring the frames and hull planking. First single planked hull for me, and as I suck at planking hulls we'll see how that turns out...
-
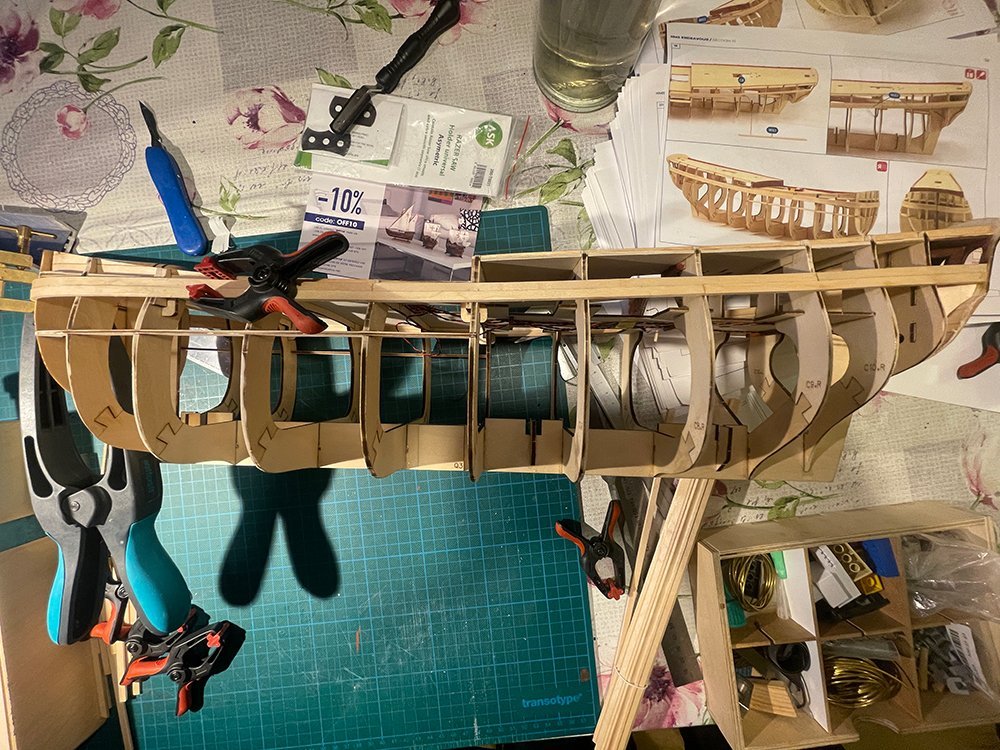
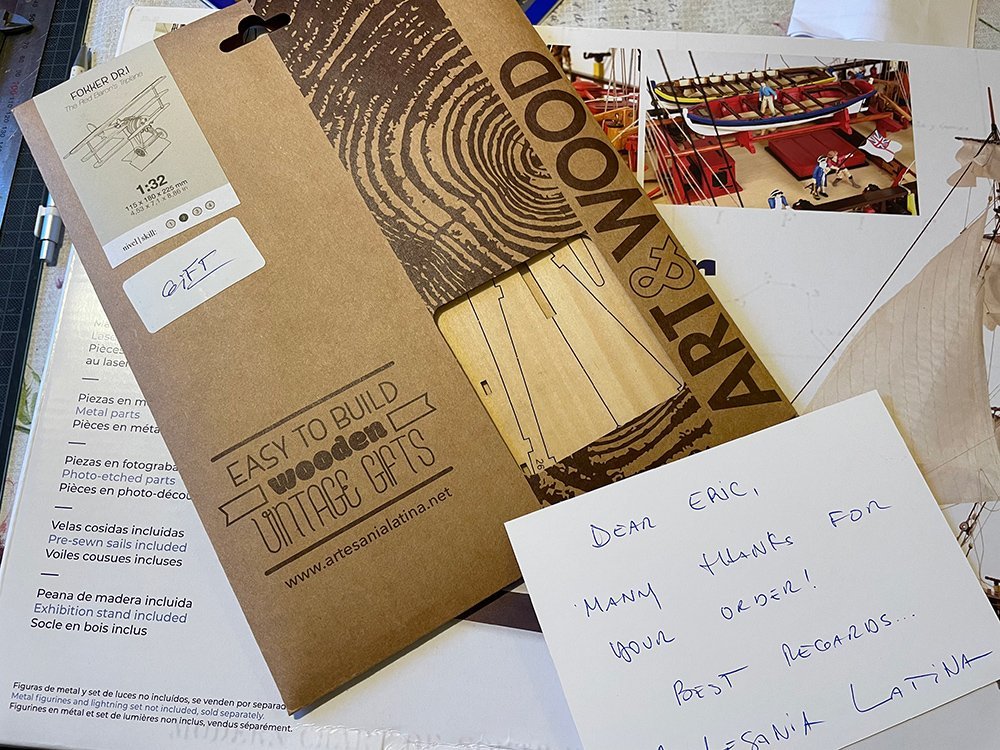
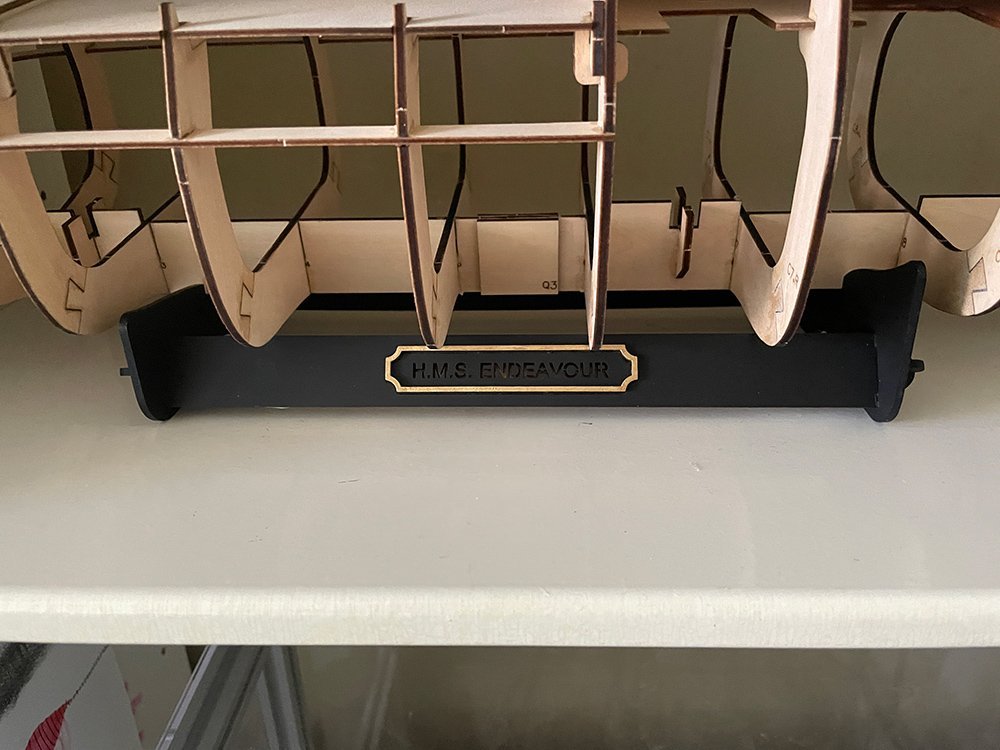
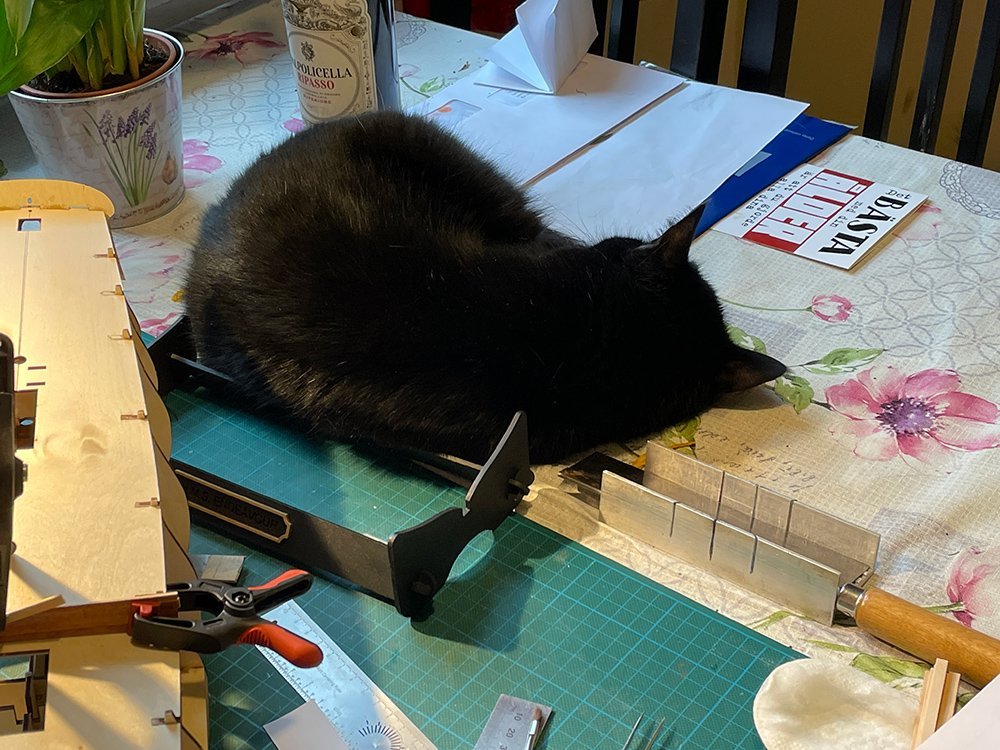
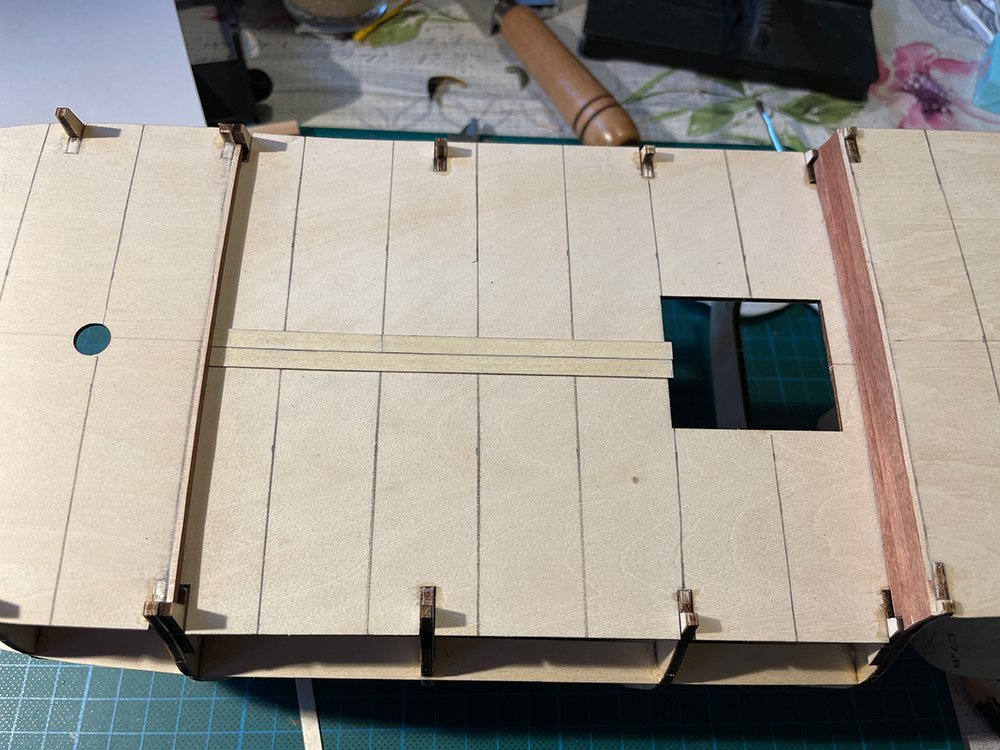
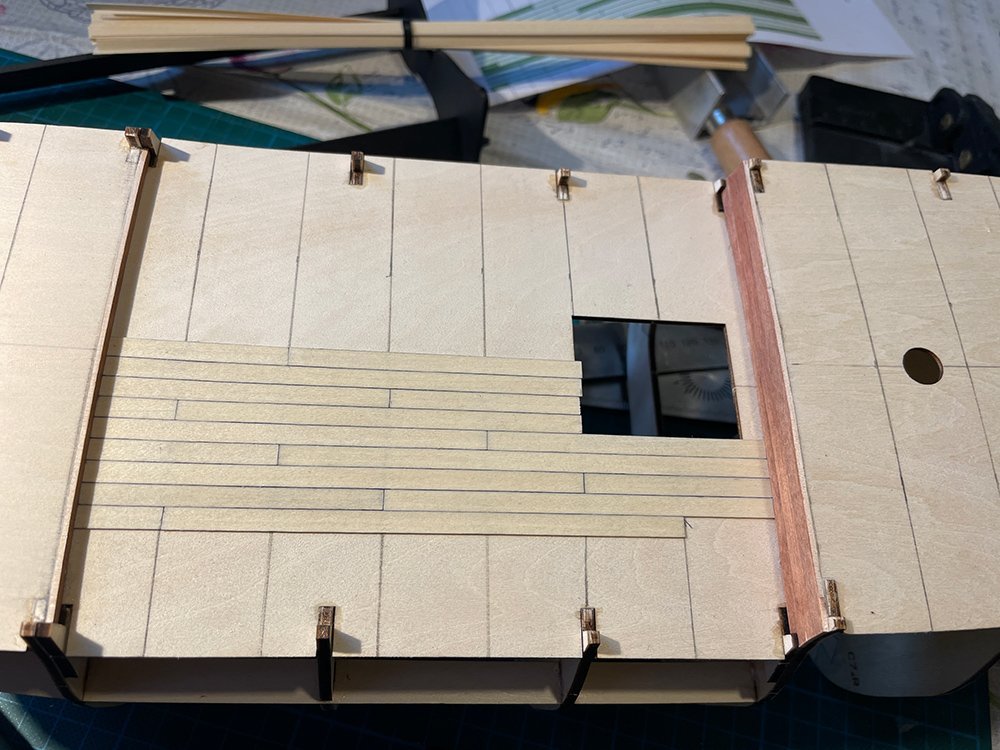
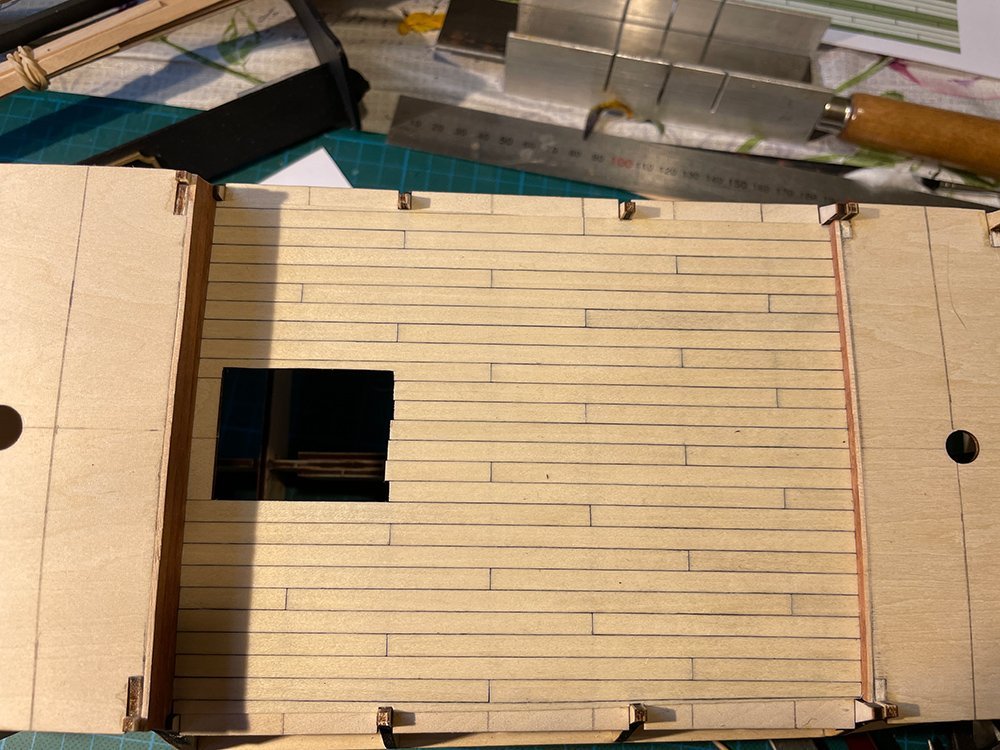
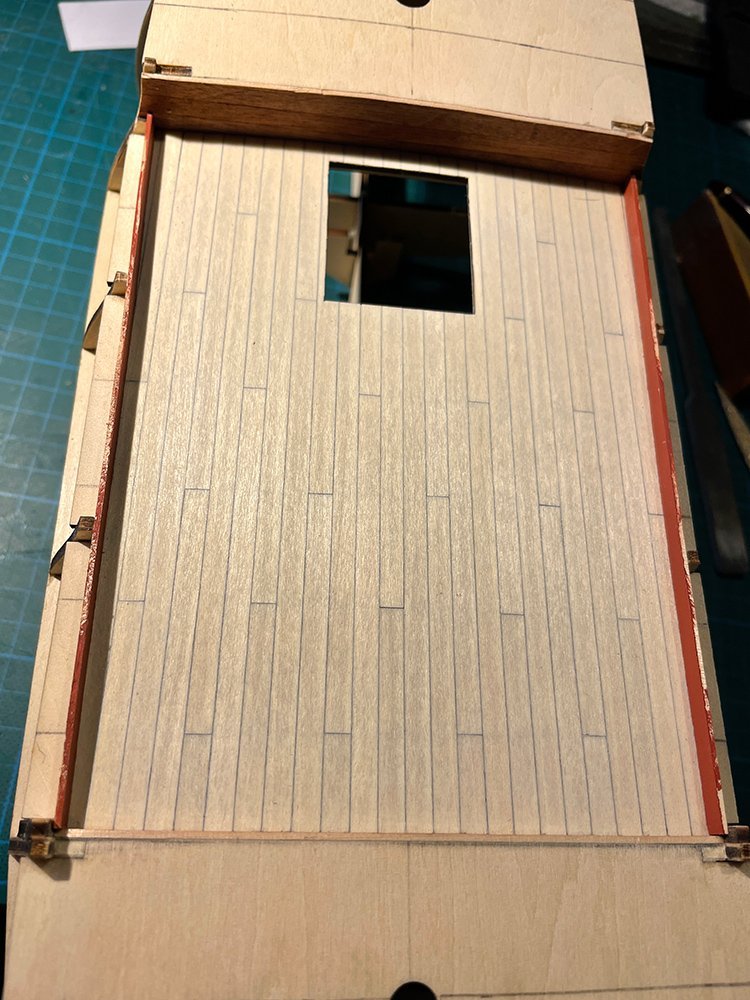
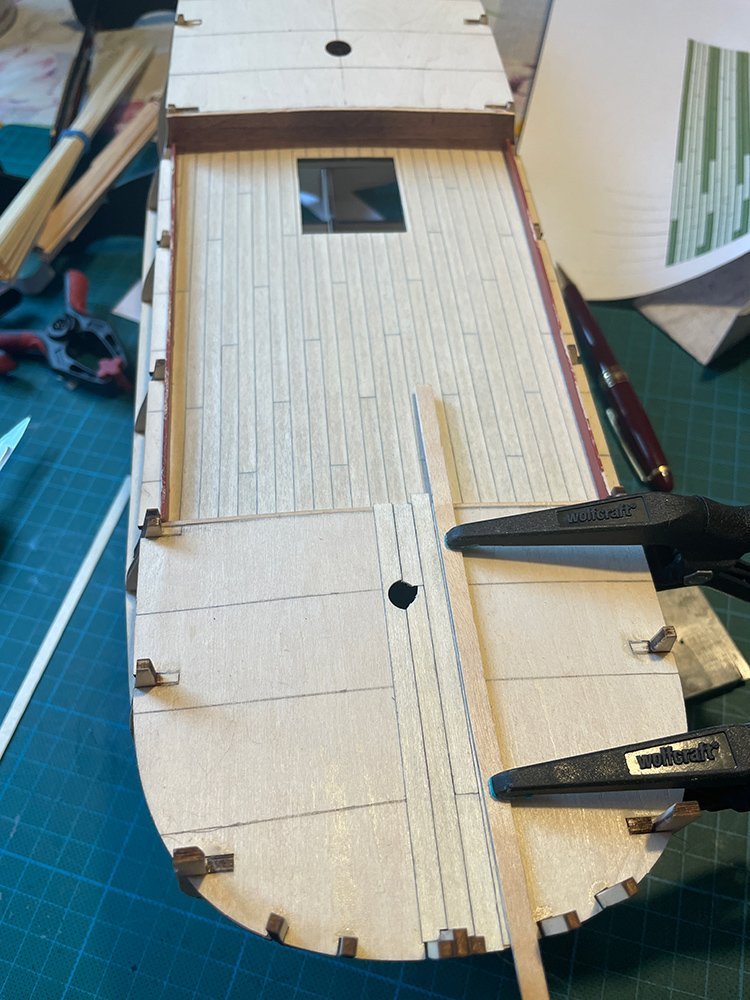
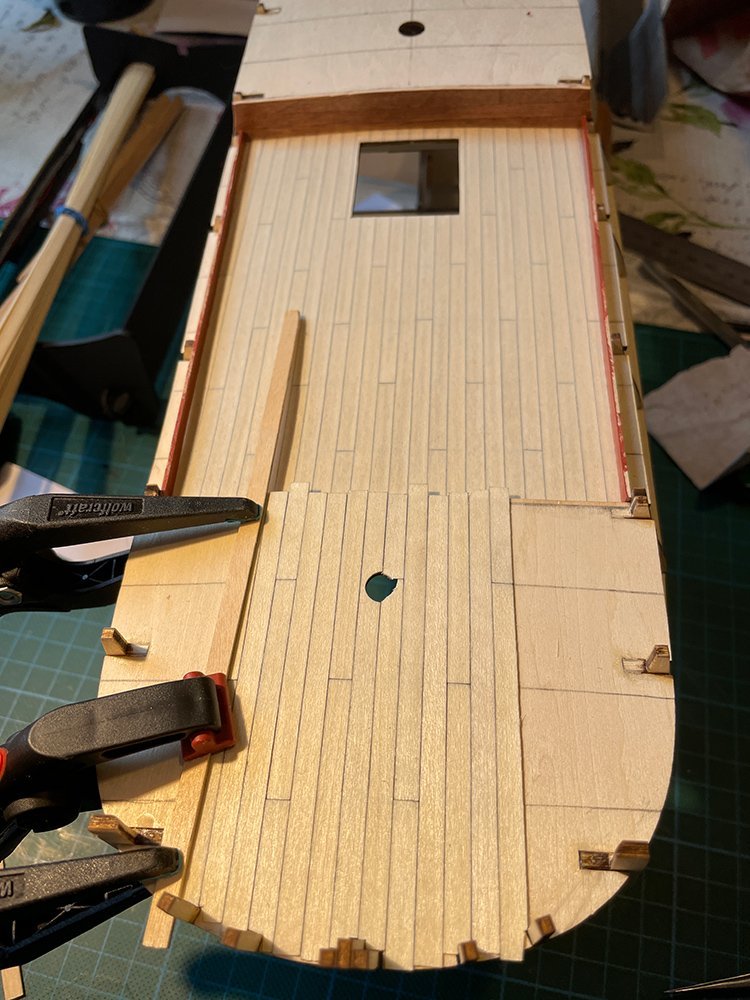
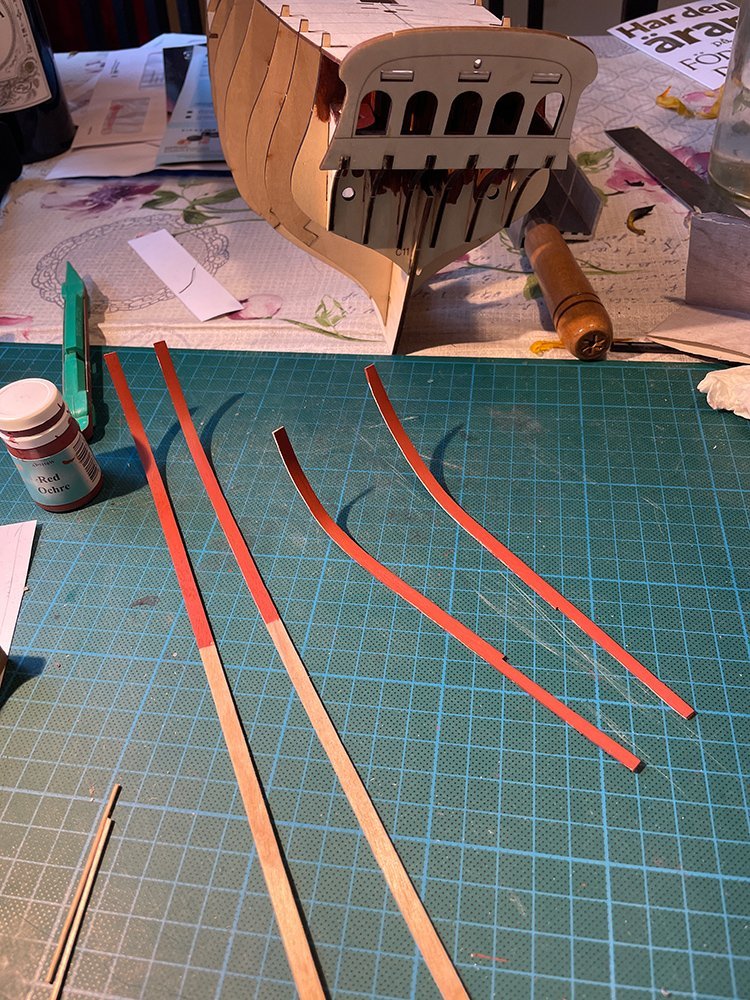
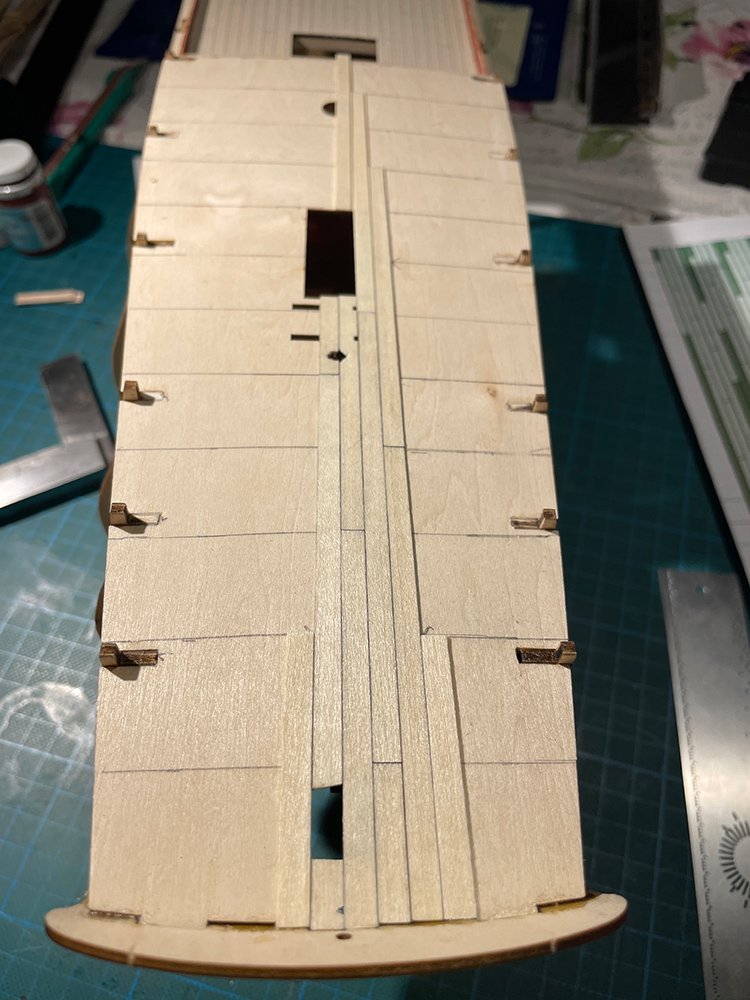
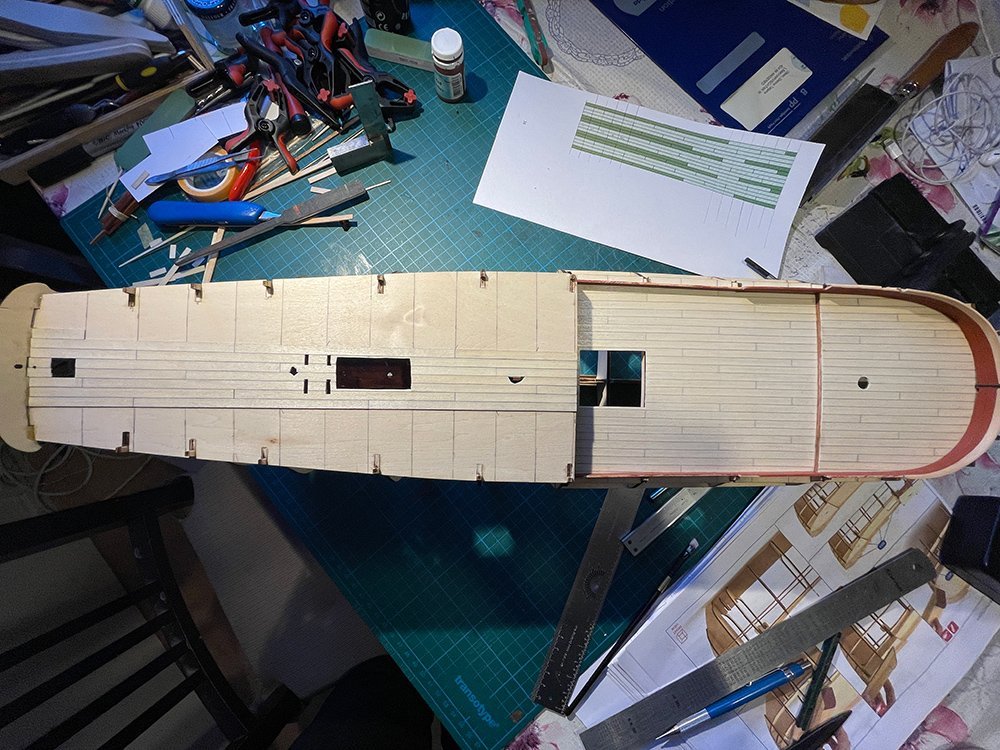
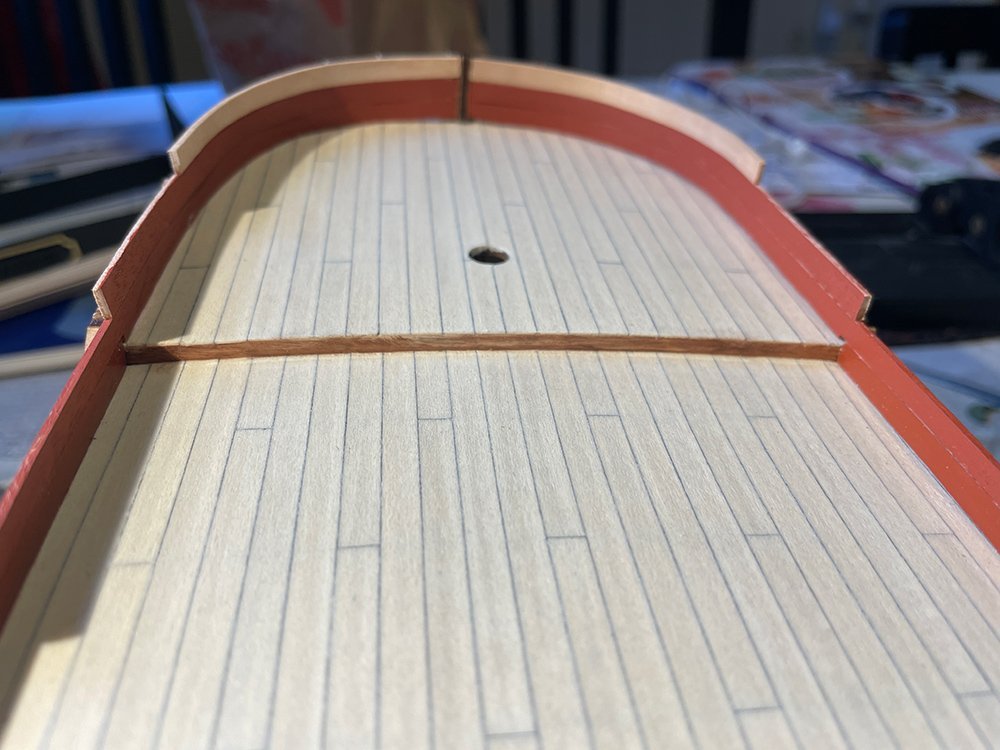
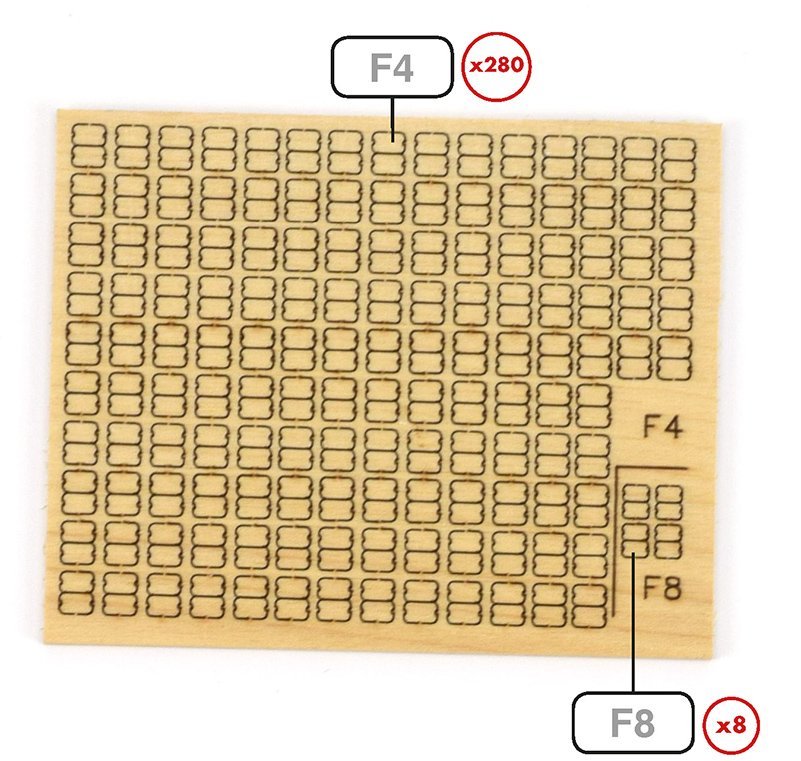
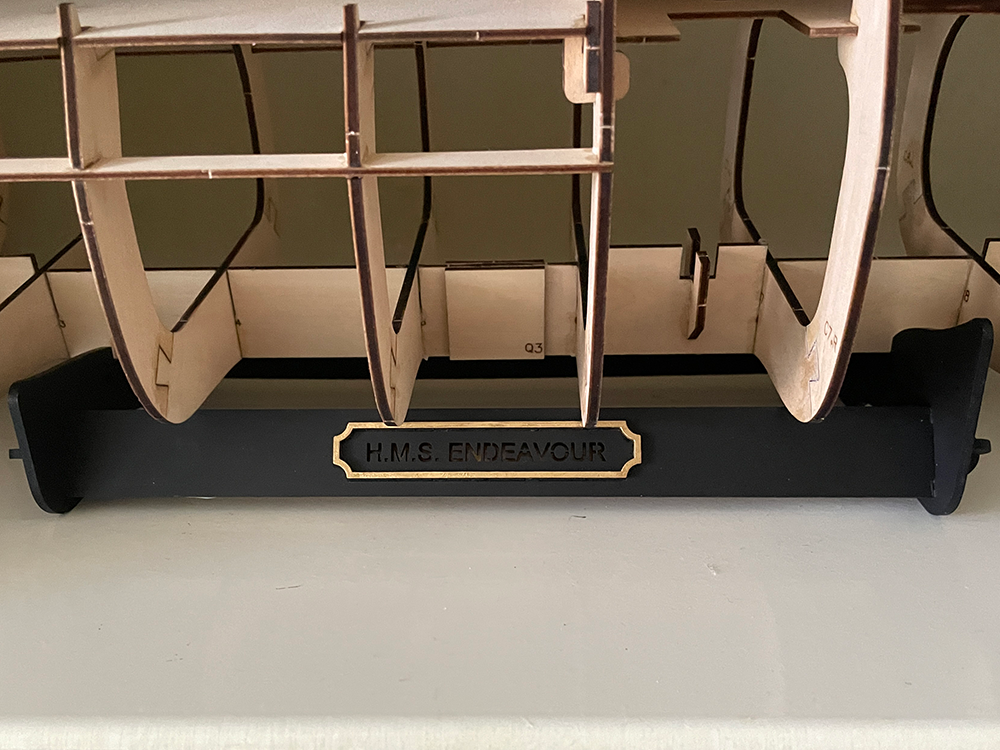
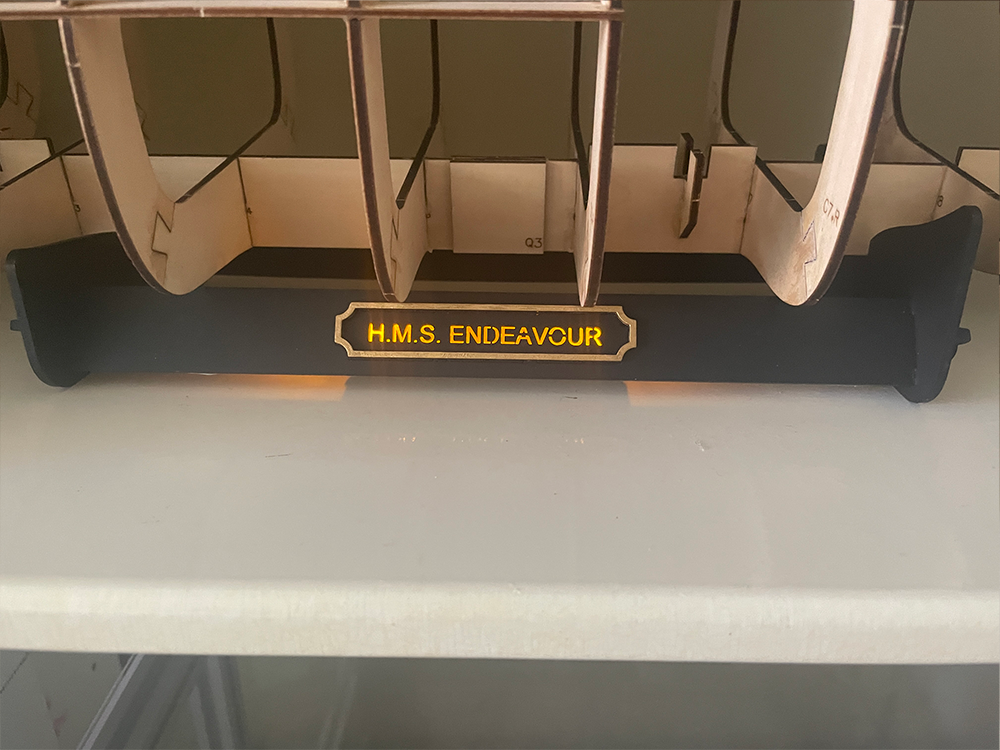
Got this kit in November last year with the optional LED lighting set. Needed a break from rigging R.C. and was as usual just dry fitting the frames and the next I knew I was building the damn thing... Whats in the box can be seen here in James H's review. There was a nice surprise in my box. Thank you Artesania Latina!!! I didn't take any pictures of assembling the frames, decks or the stand. The stand with the light works very well, even in daylight: Backside of the name plate: Yesterday I got started on the bulwarks. And this black monster helps me with getting hairs just about everywhere on the ship... Mid deck planking underway. I cut and sand the planks individually, it takes some time but the results are good: Deck sanded and varnished and inner bulwarks done: Forecastle started: 0.5 mm thick strips. Super quality but if I have too much glue on them they tend to curl: Forecastle bulwarks. I don't know what material this is. Bamboo maybe but they are extremely easy to bend. Forecastle and bulwarks ready (almost) Poop deck underway: And this is as far as I got today... I'm quite satisfied with the kit so far. Nice materials and a detailed manual without one written word. The only thing I'm not happy with are the laser cut blocks: Sanding the char and then drill a hole on 288 tiny blocks is NOT what I want to waste my time on... I was thinking of ordering the Hermione from A.L. at the end of the month, but I have to look up what kind of blocks there is in that kit first. To be cont
-

kit review 1:65 HMS Endeavour - Artesania Latina
puckotred replied to James H's topic in REVIEWS: Model kits
Well, I slept on it and decided I will start a build log within a couple of days.... Just because you asked so nicely James... 😋 -

kit review 1:65 HMS Endeavour - Artesania Latina
puckotred replied to James H's topic in REVIEWS: Model kits
@James H Me too, but I'm building the R.C. and only did the stand and frames because I was curious how it would look. And have no photos of what I've done so far (except these two I took today). Maybe in the future if I ever finish R.C. -

kit review 1:65 HMS Endeavour - Artesania Latina
puckotred replied to James H's topic in REVIEWS: Model kits
-

Lisboa Tram and Diorama by puckotred - OcCre
puckotred replied to puckotred's topic in Completed non-ship models
Thank you very much popeye!!!
About us
Modelshipworld - Advancing Ship Modeling through Research
SSL Secured
Your security is important for us so this Website is SSL-Secured
NRG Mailing Address
Nautical Research Guild
237 South Lincoln Street
Westmont IL, 60559-1917
Model Ship World ® and the MSW logo are Registered Trademarks, and belong to the Nautical Research Guild (United States Patent and Trademark Office: No. 6,929,264 & No. 6,929,274, registered Dec. 20, 2022)
Helpful Links
About the NRG
If you enjoy building ship models that are historically accurate as well as beautiful, then The Nautical Research Guild (NRG) is just right for you.
The Guild is a non-profit educational organization whose mission is to “Advance Ship Modeling Through Research”. We provide support to our members in their efforts to raise the quality of their model ships.
The Nautical Research Guild has published our world-renowned quarterly magazine, The Nautical Research Journal, since 1955. The pages of the Journal are full of articles by accomplished ship modelers who show you how they create those exquisite details on their models, and by maritime historians who show you the correct details to build. The Journal is available in both print and digital editions. Go to the NRG web site (www.thenrg.org) to download a complimentary digital copy of the Journal. The NRG also publishes plan sets, books and compilations of back issues of the Journal and the former Ships in Scale and Model Ship Builder magazines.

