Dziadeczek
-
Posts
657 -
Joined
-
Last visited
Content Type
Profiles
Forums
Gallery
Events
Everything posted by Dziadeczek
-

Triton by Jerzy
Dziadeczek replied to Jerzy's topic in HMS Triton - 28 gun frigate's Cross Section Build Logs for HMS TRITON
Nice progress, Jurek! -
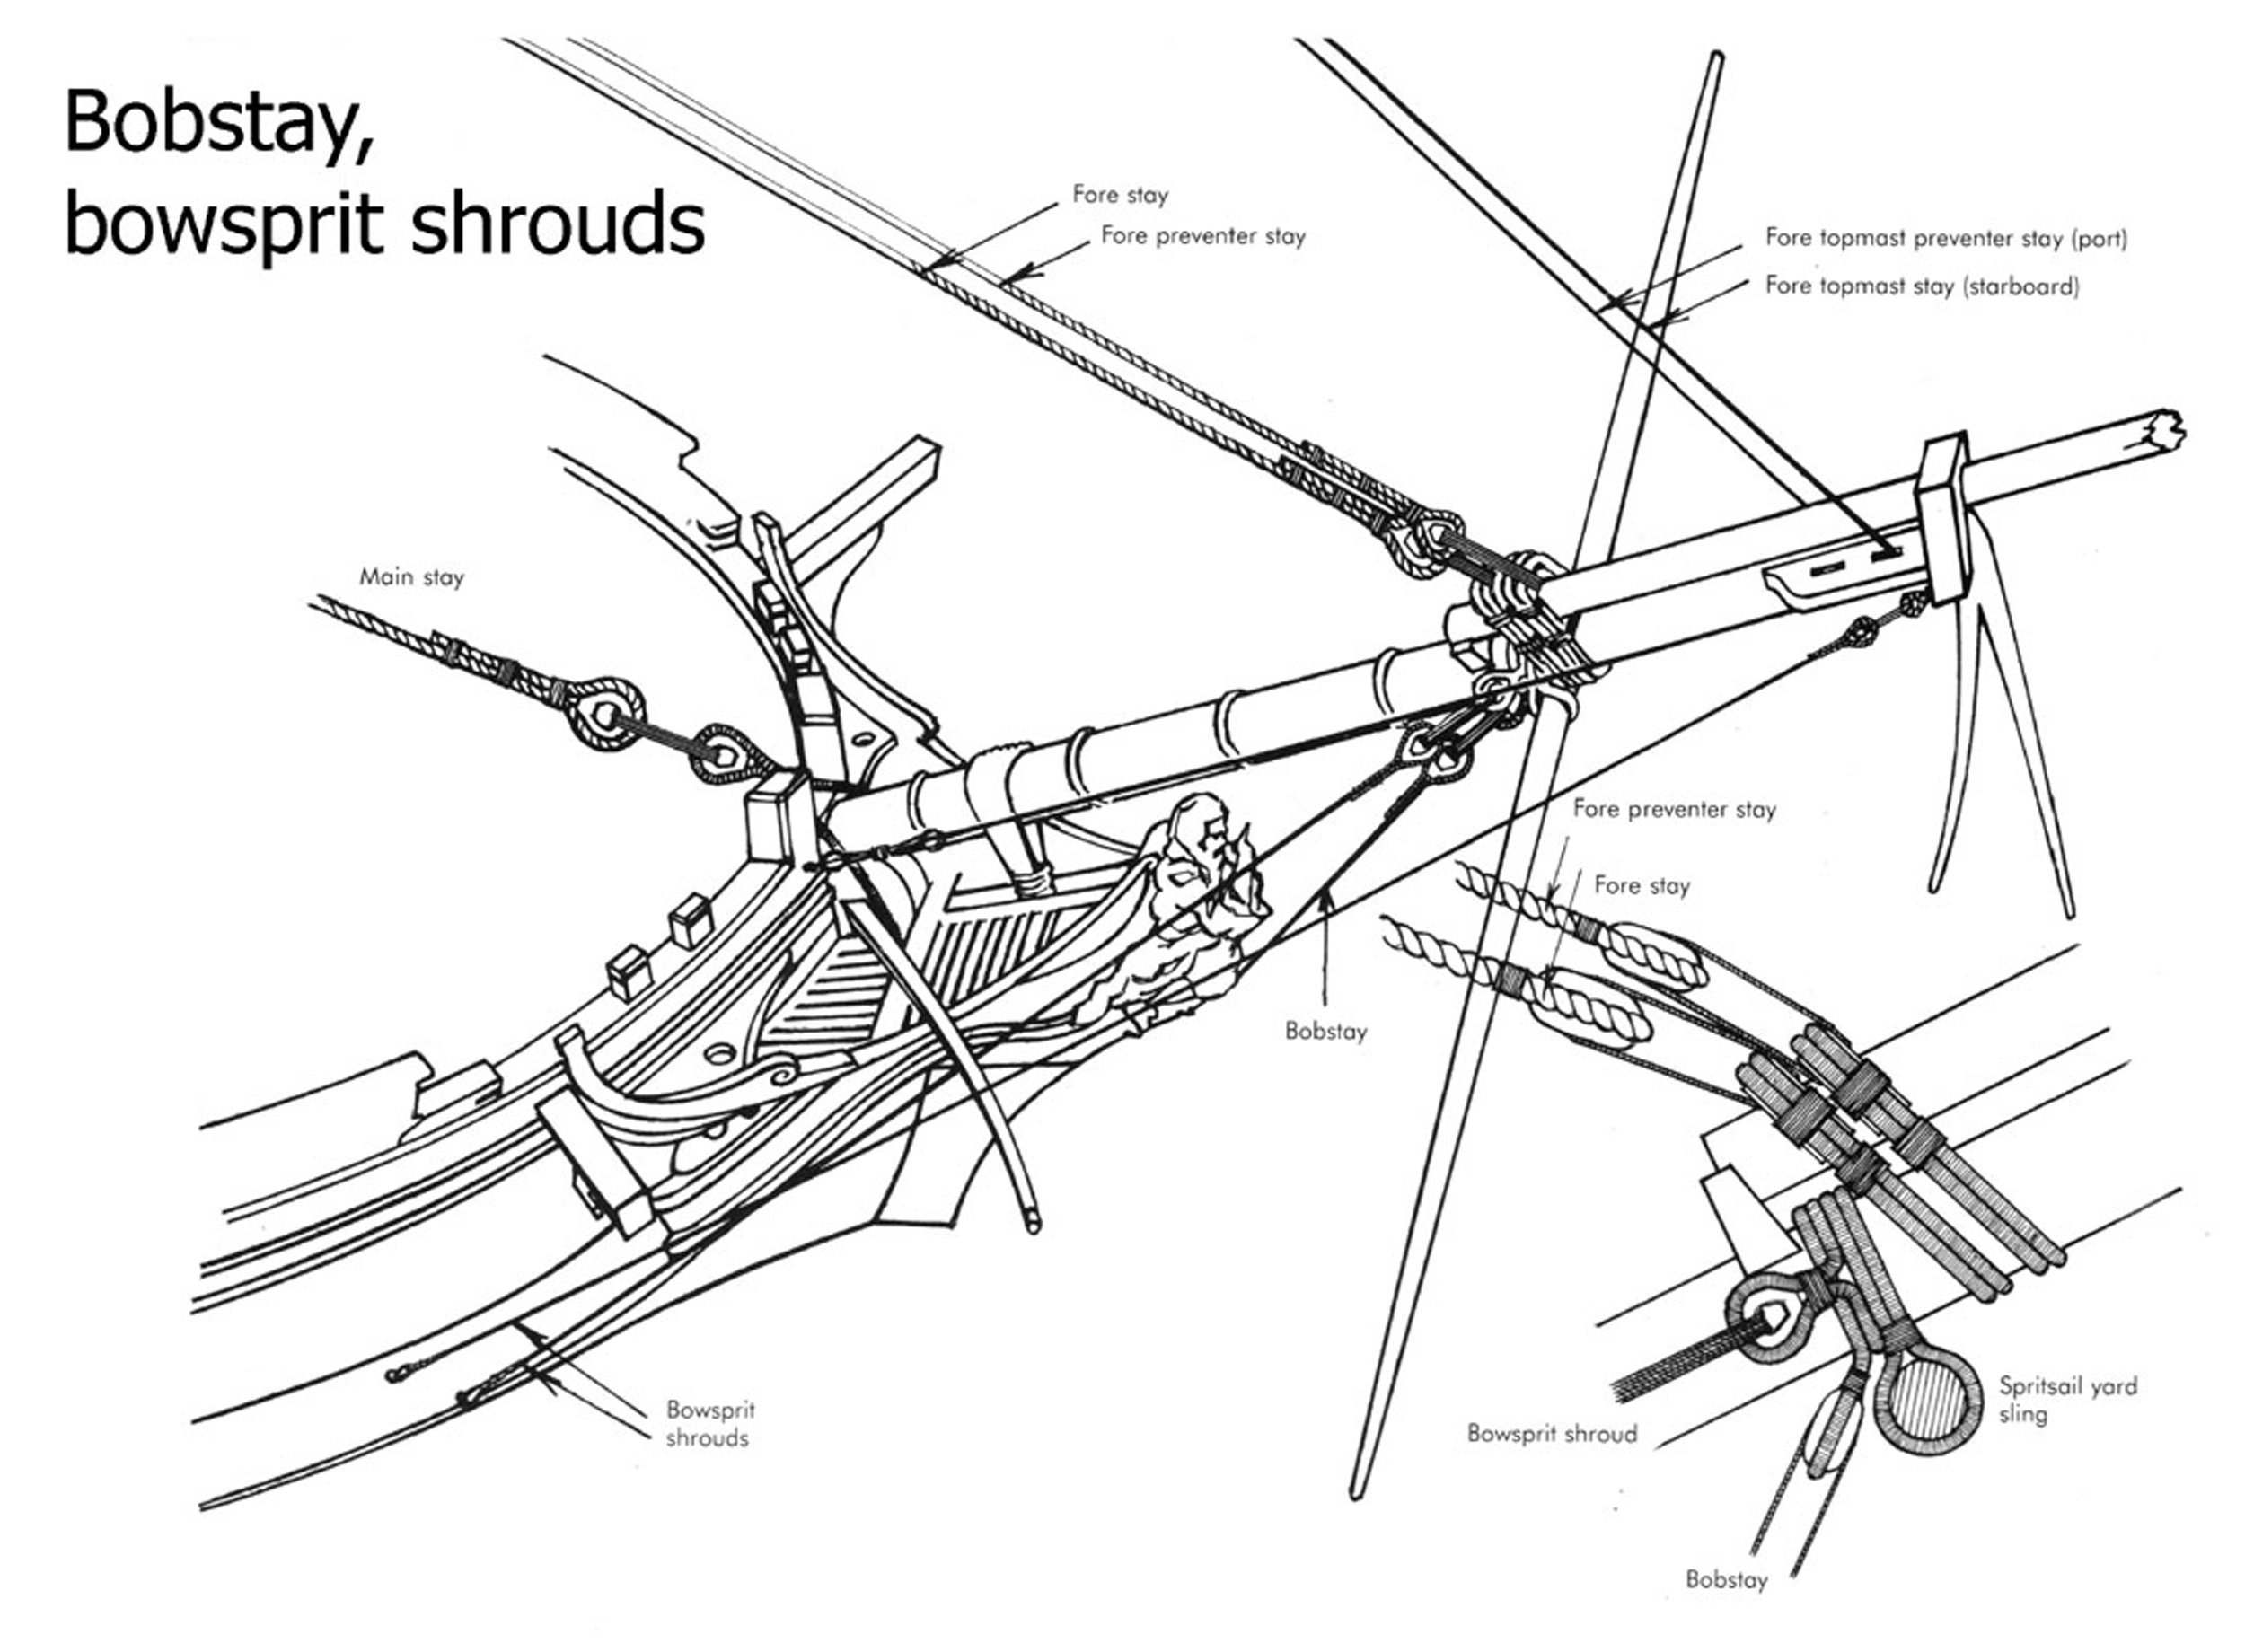
Sorry for barging in between the two of you, but (not knowing the precise situation with your Bounty), I tend to think that these lines (you numbered them as 25 and 26), fore topmast (jib) stay and its preventer would run down to the so-called bowsprit bees (these "winglets" at both sides of the bowsprit), where they would reeve through the sheeves there, and further run underneath the bowsprit towards the bow of the ship where they were tied to ringbolts there. The tensioning was provided by tackles of pairs of blocks or hearts with lanyards in the run of these lines. Similar to the situation shown in L. Petersson's book.

-
Chuck Passaro had a pretty good mini tutorial on how to strop blocks. Stropping Blocks (one method) (1).pdf
-
Wood Plank Benders - Rounding
Dziadeczek replied to MintGum's topic in Modeling tools and Workshop Equipment
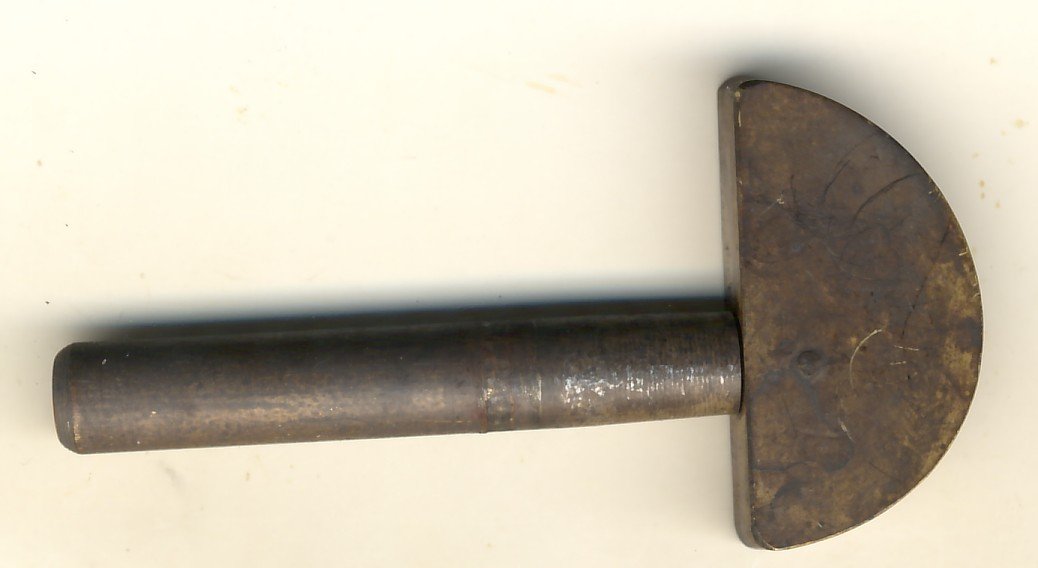
My homemade plank heat-bending iron is a modified Weller 80 Watts 110 Volts soldering iron, with a fashioned head from brass, I use for many years (~ 30+). You can obtain a brass rod of the same or very similar thickness as the rod that comes with the iron, shape its end in an angle, replace it in your iron and use it for your plank bending, or mount on it a crescent shaped head also from brass (alternatively from aluminum). Both the rod and the disc (later on shaped to a crescent by you) can be obtained from specialty shops dealing with industrial metals, or from some scrap metals. Probably 60 Watts iron would be still OK, I think... Remember you have to have temps of about 1/3 less than for soldering, otherwise there is a danger of burning the planks instead of bending them.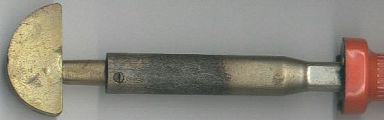
-
Wood Plank Benders - Edge Bending
Dziadeczek replied to MintGum's topic in Modeling tools and Workshop Equipment
I keep posting here this video over and over - this is Gebhard Kammerlander, a German modelmaker and kit manufacturer, who many years ago wrote an article on bending woods in the now defunct magazine "Ships in Scale". If you go down the video about 2/3rds length (or about 3 min. 15 sec), you will see what can be done bending woods sideways as well. All this is done with a standard modelmaker hot bending iron available online, or a modified soldering iron with a special head fashioned from brass or aluminum. I checked his technique - works like a charm! No special jigs required, no hot teakettles, no hot lightbulbs or hair curling irons, etc! I also put together a heat control unit from an electrical dimmer (nondigital) I use with my soldering iron, since standard heat for soldering is a bit too hot and you might burn your wood accidentally. Easy does it!!! -
Help to assemble AMATI chain plate 4090/05
Dziadeczek replied to Johnny Mike's topic in Masting, rigging and sails
I would first put a deadeye into the loop and then, with a pair of fine long nose pliers try to wiggle the unit into the holes of the chainplate, one end at a time. Trim the ends flush afterwards. -
Cant find this simple chainplate
Dziadeczek replied to Johnny Mike's topic in Masting, rigging and sails
Can't you make your own from black annealed wire? Should be fairly simple and easy... -
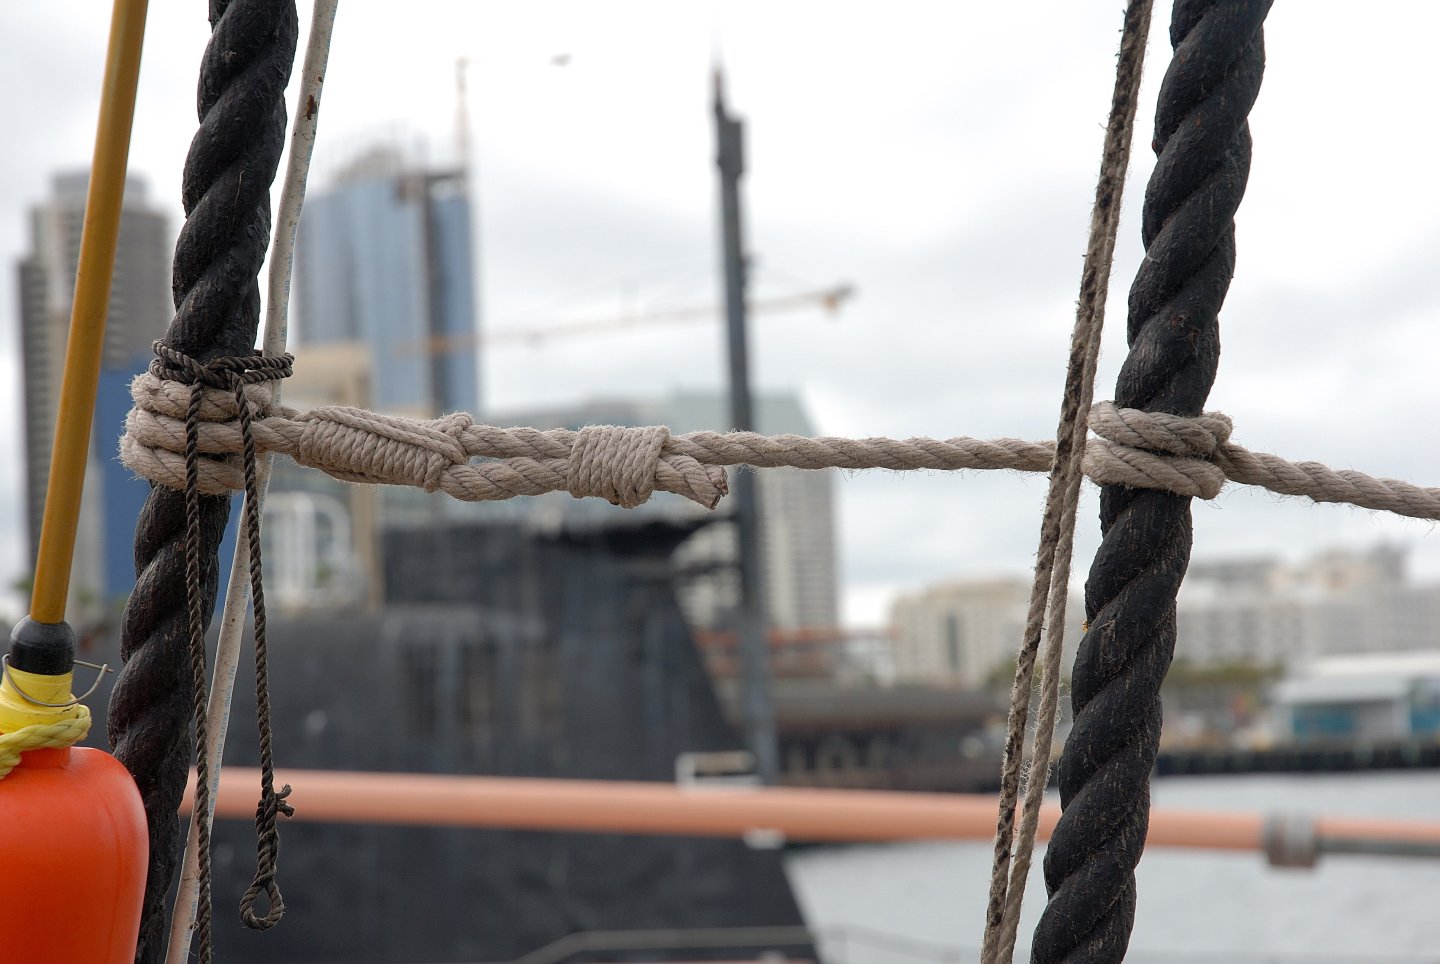
This is this detail on the replica of the "San Salvador" in San Diego, seen from the deck.
-
I would not use CA glue to reinforce the ratline knots, but rather diluted white PVA glue, which dries invisible and doesn't crumble away after some years, like CA.
-
Tool to Take Measurement Inside of a Hull
Dziadeczek replied to ChrisLBren's topic in Modeling tools and Workshop Equipment
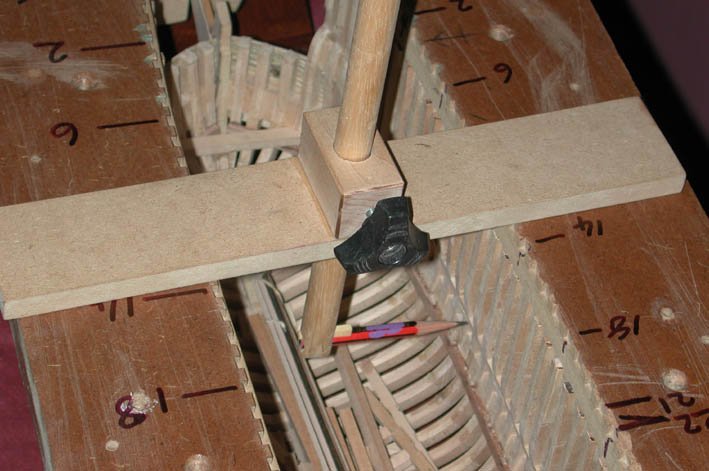
I found this somewhere in the abyss of my external drive. (Unfortunately, I don't remember who the author is and where it was originally posted...) Hope this helps, Thomas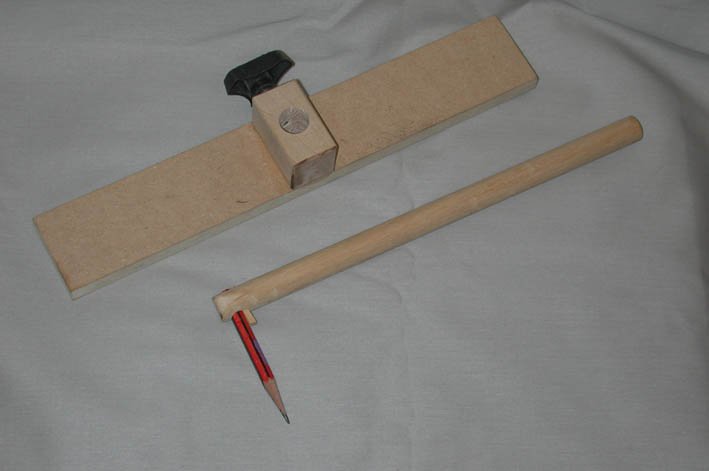


-
It looks like a beefier vertical drill press to me, rather than a mill, otherwise how do you attach your workpiece to the flat table, to mill it? I have once bought from the Sherline factory for my Sherline mill, this "sensitive drilling attachment" to drill hundreds of holes in my blocks I made for my "Frenchie", because I was already developing early signs of carpal tunnel syndrome constantly cranking the mill up and down manually. 😏 The attachment works like a charm, BTW!!! (Pity, because in the meantime, I had already drilled most of my holes before getting this attachment...) Thomas PS: You can buy such an attachment not just for the Sherline mill, but there exist many drilling attachments designed for many different mills, just search the net!
-
Repurposing Pool Cue Lathes?
Dziadeczek replied to Rich Sloop's topic in Modeling tools and Workshop Equipment
Undoubtedly, manually shaping of the masts/spars from square to round, is the more authentic method, but I always use my old Sherline long bed lathe for this task. Also, I use a Steady Rest to prevent wood deflection during turning. Still, for my French 74 1:48 by Boudriot, for some very long spars, I had to turn them in halves, drill holes in their ends and connect them together with a dowel & glue. You cannot see the joint now. Using a lathe is quite faster and more accurate than doing it manually, I think. In the end, it is a matter of personal preference... 🤔 -
12 to 14 minimum.
-
Splendid little model, very well done, considering the clinker planking! 👍 I only would recommend that for your rigging, try to get a little tighter twist of the yarns (threads)...
-
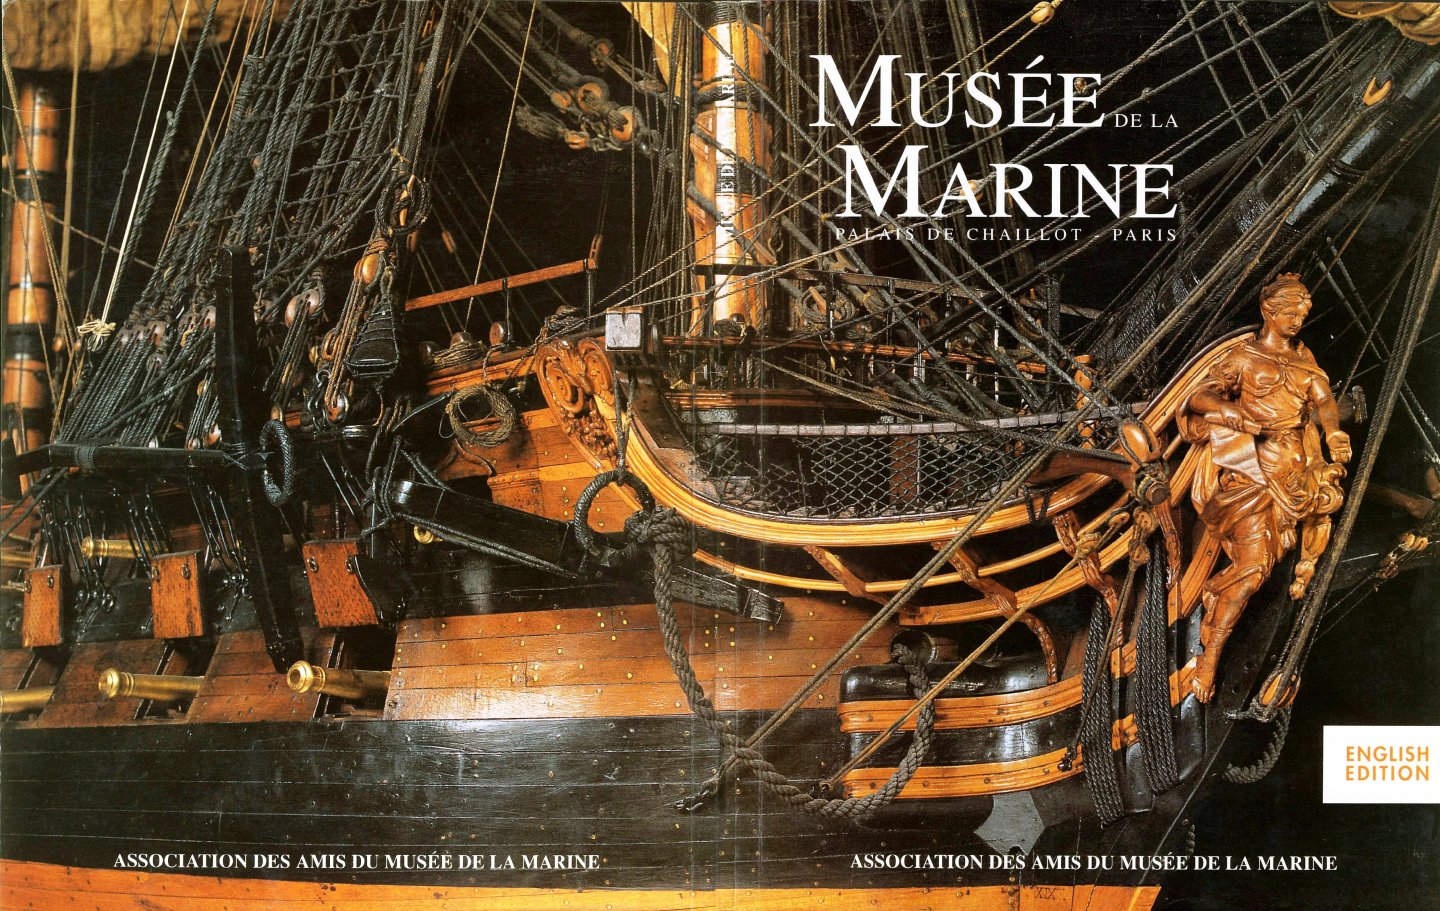
This is a front and a back cover of a museum guide, stitched together.
-
Keeping my fingers crossed for you!!! 😀
-
What is the projected price of the HMS Surprise kit?
-
My introduction on Model Ship World
Dziadeczek replied to ANDY GRAY's topic in New member Introductions
I seem to remember that Doris was building one of her spectacular models with lighting inside (was it the SotS or the Royal Katherine?). Check out the old posts of her and find out. Maybe you'll find your answers there? -
Need small repair done on jibboom of Le Superbe model
Dziadeczek replied to Mr. Matt's topic in Masting, rigging and sails
You probably could do it by yourself fairly easily, by replacing a wooden (?) dowel properly shaped for a jibboom and rerigging this part. Just don't forget before the removal of all ropes to take a series of close-up photographs of the existing situation to make sure where each line goes and replace them later on, one-by-one. Good luck, Thomas -
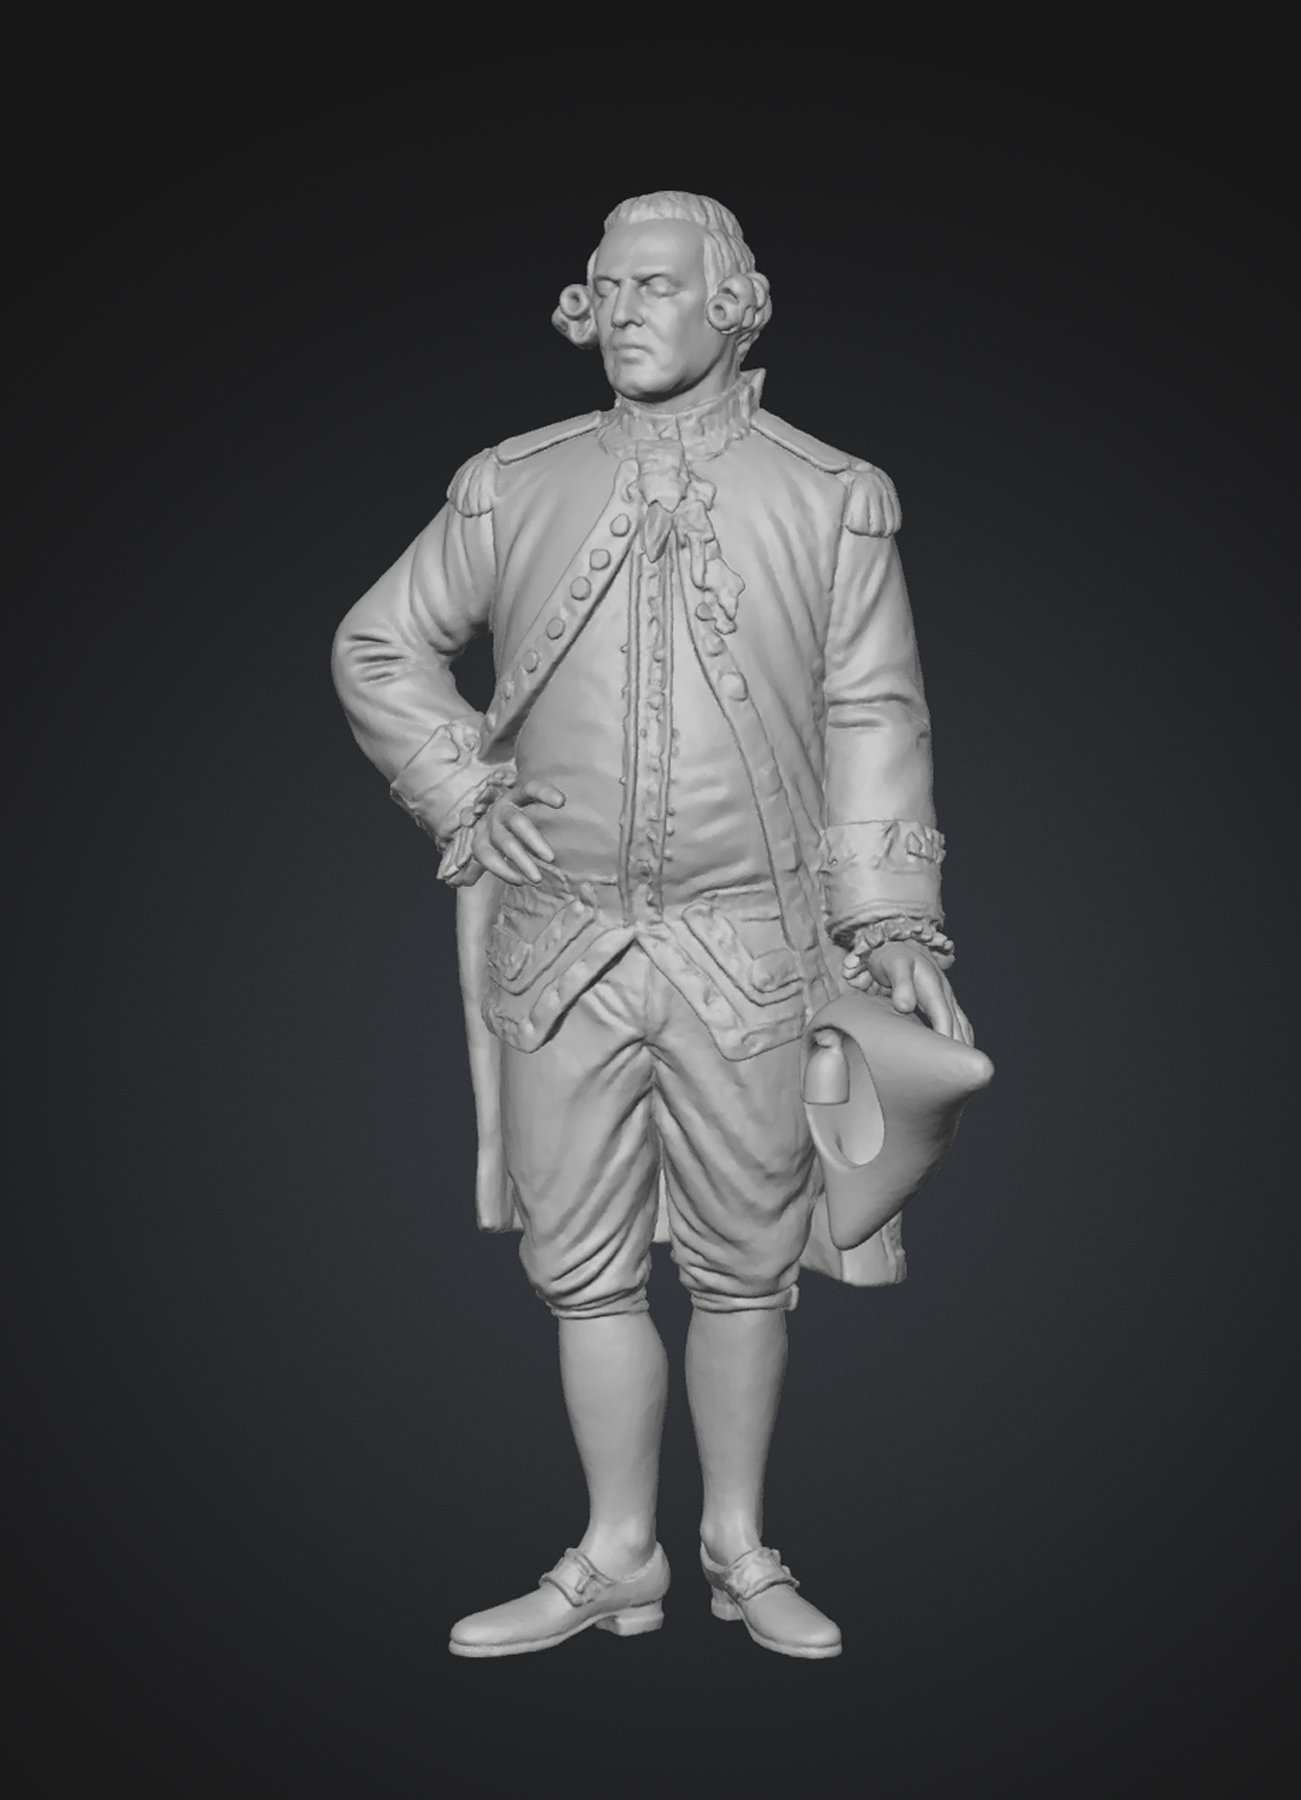
I managed to 'color' this image (texturize) in Meshy6 - that's how far I was allowed to go there free of charge.

-
Clear shellac or Danish oil - my choices. Home centers like Home Depot, Lowes or Ace Hardware, or so...
- 1 reply
-
- 3
-

-
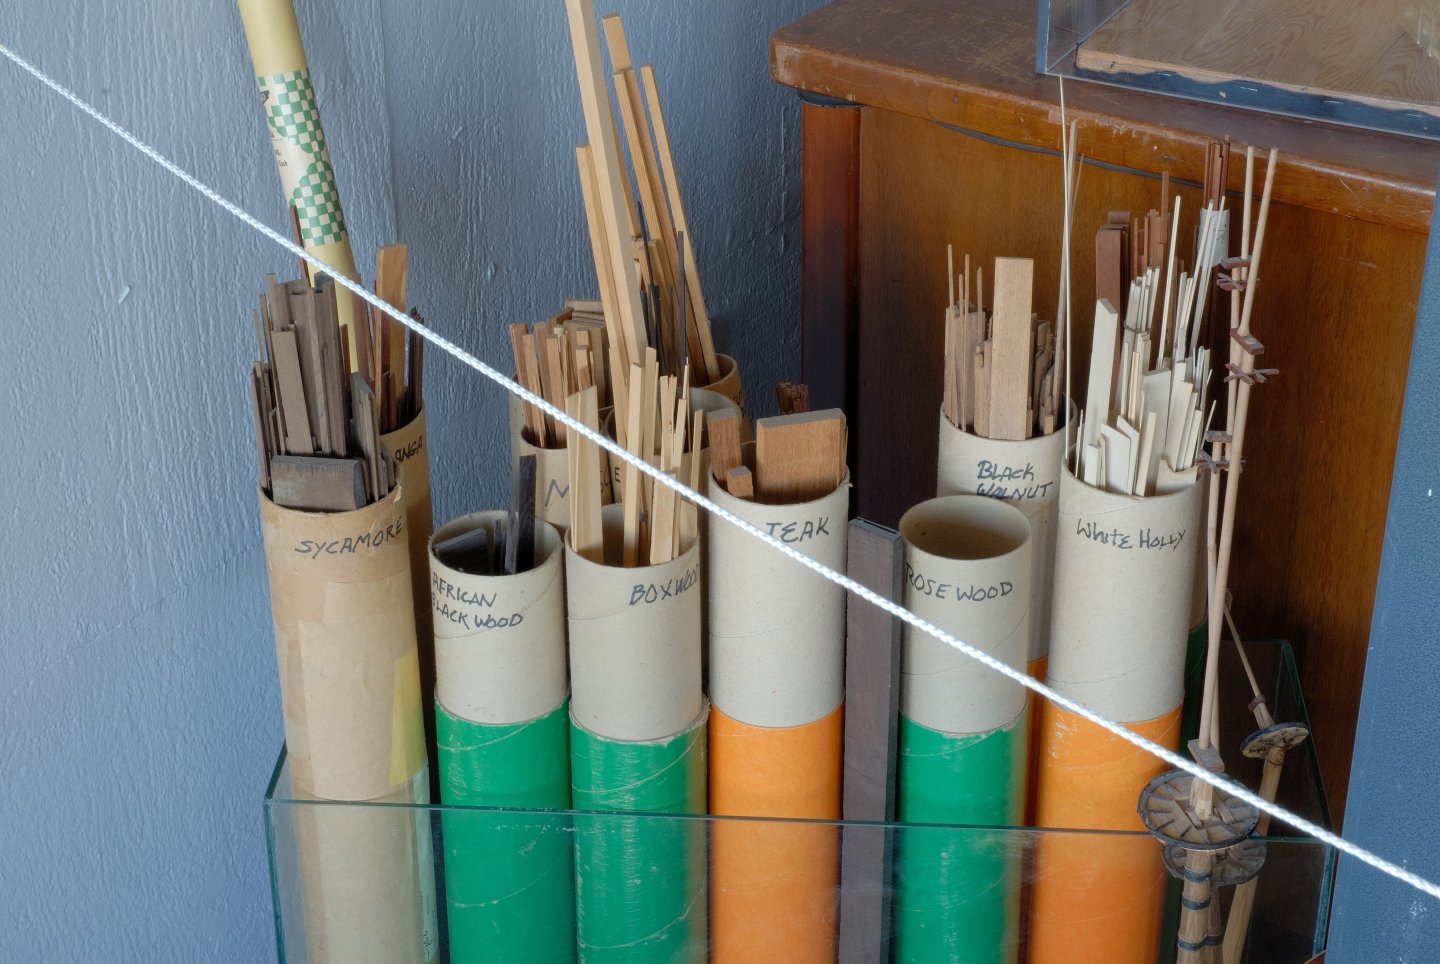
I don't have an answer to your question, but I have seen once such cardboard tubes for storing extra wood strips and similar, in the local Channel Islands Maritime Museum in Oxnard, S. California - as a part of a display of a workshop of the late modeler Ed Marple.
-
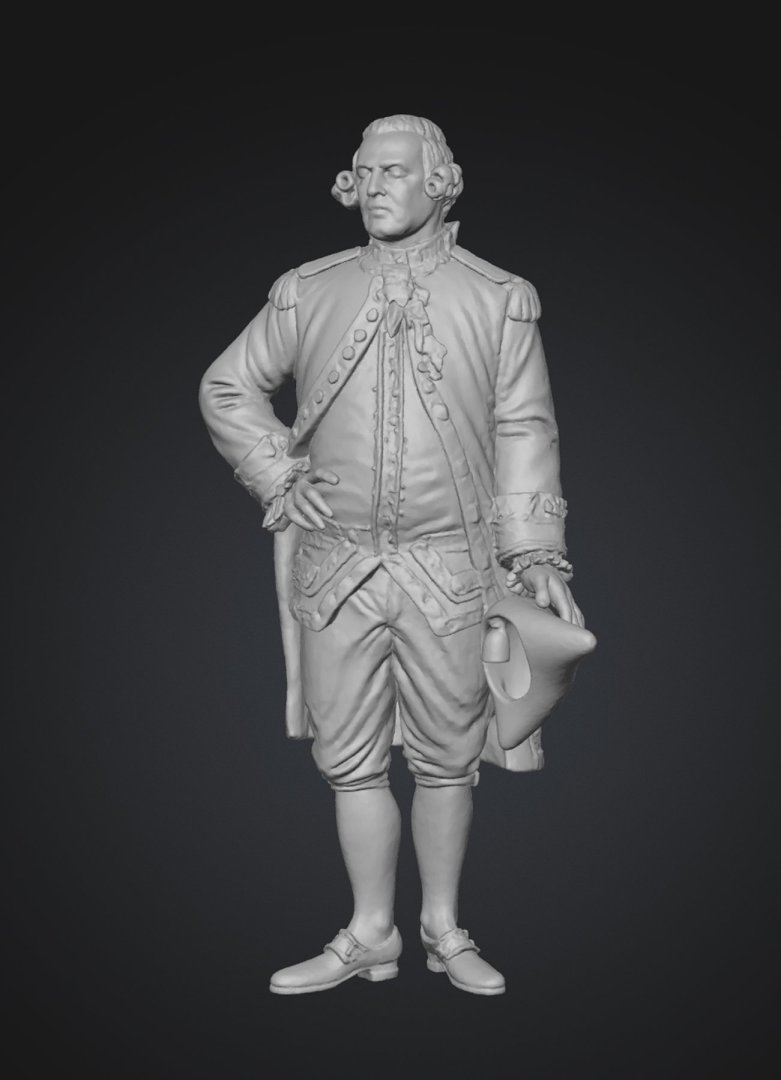
I played a little with this software and, for the experiment's sake I uploaded a drawing of a French naval officer from Mr. Boudriot's book on the 74 gun ship to see, what would develop... I was pleasantly surprised to find out that their 3D rendition turned out sooo good! - see the pic (it is only a 2D screenshot from a full 3D conversion, which turned out nearly perfectly, certainly good enough for me! I am thinking about 3D printing of a dozen or so small figurines (about 3.5 - 4 cm long, which is about 1.5 in.) to populate my 74 gun ship model I recently finished building. The problem with this free version of Meshy 6, I see, is that you can only upload your pic (photo or drawing) and convert it into a 3D sculpture, but you cannot further download this 3D sculpture elsewhere, to print it. To do that, you'd have to sign in for it and pay a minimum 8 dollars/month for a subscription (despite the statement from Meshy, that you can do it for a free trial - just to see how it goes (and if it satisfies you, then you can pay them and do your projects). So, that is this limitation..., unless I missed something.. 🤔
-
L'Ambitieux by Nek0 - Altaya
Dziadeczek replied to Nek0's topic in - Kit build logs for subjects built from 1501 - 1750
What is the website your figurines come from? I am looking for similar figurines of French sailors of 18 century for my model of the 74 guns ship (from Boudriot) in the scale 1:48 and cannot locate any suitable ANYWHERE! Thanks! Thomas