Dziadeczek
-
Posts
644 -
Joined
-
Last visited
Content Type
Profiles
Forums
Gallery
Events
Everything posted by Dziadeczek
-
 I have and use my proportional dividers throughout the years, and they work well, provided that you first properly calibrate them. For that, get a precise set with sharp and repositionable legs (like pins). Set them into, say 1:3 scale, and make sure that the shorter legs mark a distance exactly 3 times smaller than the longer ones. If not, regulate the legs appropriately. My set is a German one I bought from Micro Mark, like this one: Proportional Divider – Micro-Mark (A good set is not going to be cheap, but it will serve you well. Don't get cheap ones that look like toys! Mine at that time were 3 times cheaper than the current price. Well... blame it on progress, I guess...)
 -
(inexpensive) Lathe recommendations
Dziadeczek replied to palmerit's topic in Modeling tools and Workshop Equipment
If you are a very beginner, I think it would be a good idea to get a couple of books on the subject and familiarize yourself with some jargon and possibilities of these processes: - The Home Machinist Handbook, by Dough Briney, and - Tabletop Machining, by Joe Martin (especially the first one is v. helpful, both come with some simple projects to hone your skills). They primarily deal with Sherline machines, but the principles apply to other types as well. Plus, as always, there is the internet, with various forums, You Tube, etc... Various individual accessories you should acquire only, as they are needed for your projects, don't buy expensive packages ahead of time! Last time (a couple of years ago) I visited Sherline factory, I noticed that they were massively converting into digital machinery - very expensive, so don't get involved with these upgrades, unless you intend to extensively manufacture complicated parts, fittings... for sale, for instance... Also, if you only intend to shape masts and spars for your model, buying a lathe and/or mill just for it, is an overkill. Simply adapt for this task a handheld drill and shape them cheaply and quickly. Purchasing an expensive machine is a long-time investment, for years to come... Also, you have to remember, that the central hole in a spinning shaft (pass through hole) in case of a Sherline lathe, is 10.2 mm (0.4 in) diameter. -
(inexpensive) Lathe recommendations
Dziadeczek replied to palmerit's topic in Modeling tools and Workshop Equipment
I am sure you'll get tons of advice and opinions, but before you decide, you will have to answer yourself a question, what kind of a lathe you need? A metal lathe (for turning both wood and soft metals) or a wood lathe (for wood only)? I have a Sherline lathe for more than 20 years now. Still works fine. -
What kind of wood species do you use for your blocks, if I may ask? Boxwood, pear, or something else, perhaps?
-
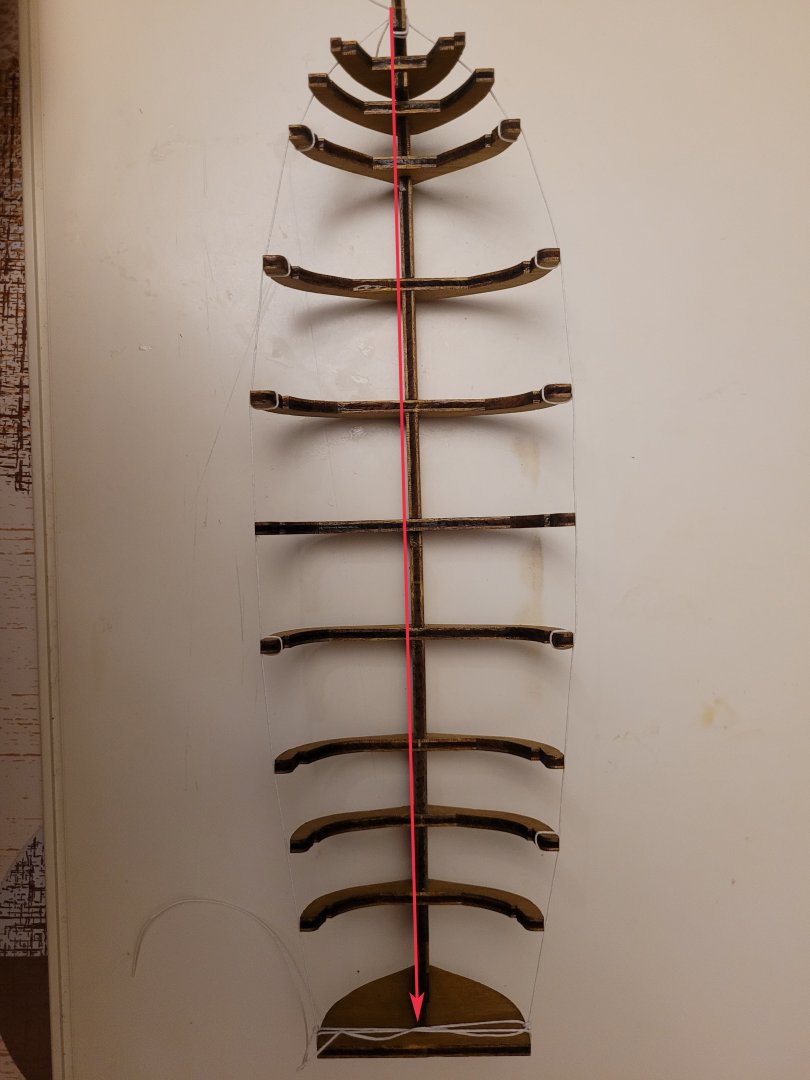
Before shimming frames that are too small with thin sliver of wood, I would first make sure that the keel is PERFECTLY straight (yours appears to be bent - see the pic) and all bulkheads are PERFECTLY perpendicular to the keel and only than I would check everything. Also, if your plans show the bulkheads profiles, check the wooden ones against those paper profiles and make sure they are the same and symmetrical. Sometimes kit manufacturer's cuts are "less than perfect", and the parts do not match their plans. Assemble your 'skeleton' in a mounting jig carefully, before you proceed further.
-
I have a Proxxon FKS saw for more than 20 years now, and I am not complaining... That's a very nice-looking thickness sander you made! Vanda Lay Ind. makes a very similar sander, either with the motor attached to it or without (you can use a handheld drill or similar power source for it).
-
Neither one, in my opinion. Why don't you try to use some fruitwood, like cherry, apple or pear. Much better...
-
Help with tapering
Dziadeczek replied to N1ckel's topic in Building, Framing, Planking and plating a ships hull and deck
I would first start with carefully placing (glueing) a wale (levels taken from plans at each bulkhead), to establish points of reference. And only than I would subdivide the hull below this wale into symmetrical 'belts' using thin battens temporarily glued to the edges of bulkheads. Spaces above the wale generally don't need planks tapered, so tapering (spiling) applies to the hull below the wale. -
Help with tapering
Dziadeczek replied to N1ckel's topic in Building, Framing, Planking and plating a ships hull and deck
This line is NOT straight! Place a barrel horizontally on the ground and compare the run of it's staves against the flat ground. You'll see that they curve. The hull is similar to the open-ended barrel, so you'll have to properly shape (spile) each plank to fit into these gradually narrower and narrower toward the bow and stern, spaces. -
I might be wrong, but I think that if you use a solder wire, you are doing "soldering", but when you just heat the parts to join them (like for plumbing), you are '"welding " or "spot welding"... Also, the units for welding are beefier than those for soldering, and so are the "tweezers". Micromark sells the units for resistance soldering - quite pricey though! Here is another video on fine resistance soldering:
-
There are quite a few tutorials on the topic of Resistance Soldering on You Tube - just type the name on Google and find them. Here are two of them: Basically the principle is similar to the one of cutting Styrofoam with a hot wire - you utilize the feature of a high electrical resistance - in this case a special NiChrome wire, which, unlike a copper wire, resist the flow of electricity and instead heats the wire red hot. For the Resistance Soldering you use a bit different electric current. The transformer changes your standard household current - in your case ~230 V/50 Hz, or in America 110 V/60Hz, into a low voltage, typically 2 or 3 Volts but very high Amperage, >15 A or so, and this gets the spot you want to solder very hot, but the areas immediately outside of it remain quite cool. So, you can solder this hot spot without accidentally desoldering neighboring sections, or - in your case, burning the wood of a block. The trick is, to use a smallest possible electrode, some people use special tweezers, connected to a foot pedal that actuates the current flow. Factory made units are quite expensive, so some modelers make their own from old transformers and fabricate their own tweezers. Apparently, it is quite possible...
-
...The biggest problem is destroying the part with too much heat from the torch... Probably fine resistance soldering would be helpful for these tight spots...
-
When you google the word "silkspan", you should obtain several sources of this material. Silkspan is also known as "modelspan", so google this word as well. Silkspan is often used by airplane modelers for covering their fuselages and wings, so look there.
-
Book on planking
Dziadeczek replied to Fraser1945's topic in Building, Framing, Planking and plating a ships hull and deck
I once learnt the process from this booklet: Planking the Built Up Ship Model - Digital Book (modelexpo-online.com) -
Instructions for rigging Cutty Sark
Dziadeczek replied to bill mckee's topic in Masting, rigging and sails
1582675905_1485165543-bb564-cutty-sark-main-plan.pdf (modelexpo-online.com) 1582675905_1551258603564-cutty-sark-vejl-040119.pdf (modelexpo-online.com) -
Sandpaper too coarse?
-
Which one is the best ropewalk machine?
Dziadeczek replied to modeller_masa's topic in Modeling tools and Workshop Equipment
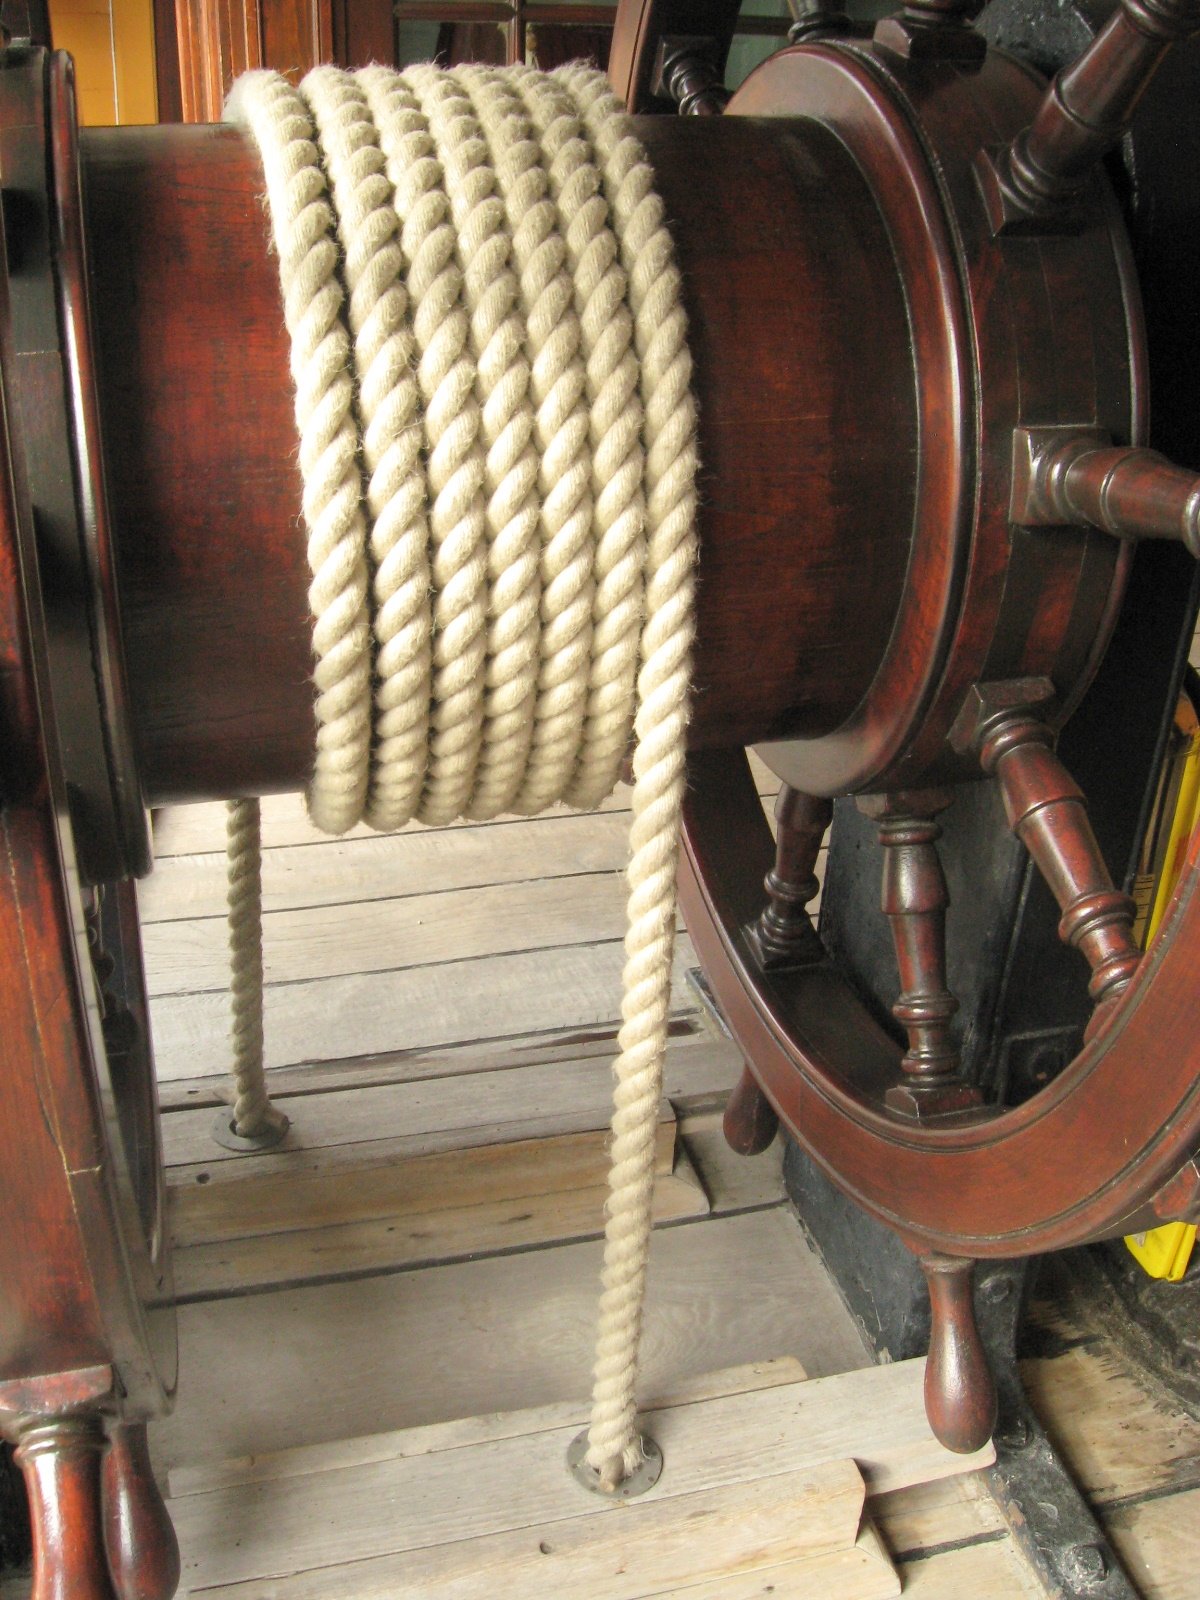
For the modeling purposes, you do not need such a complicated machine, like this one on your pics. Unless you intend to go industrial, a simple ropewalk based on three (or four) hooked spindles, manually powered or by a small DC motor, will suffice. It doesn't matter, whether your device has two spinning ends (like, for instance, the Frolich's design) or just one, the end result will be similar. I remember someone complained, that the co called, continuous ropewalk tends to give some problems with tensioning individual threads and the results are more unpredictable. I have this simple ropewalk I made many years ago and it still goes strong and is foolproof. (post # 20) I think that the quality of your rope will depend more on the quality of thread you use. Cotton threads, like the French DMC (now defunct), or German Anchor, or even Lizbeth (I had good experience with the last one), will result in good looking rope. Choose appropriate thickness and color of your thread, so that you don't need to tint your rope afterwards. After you obtain your rope, you need to stretch it, because cotton will be a little "rubbery", elastic. If you use Lizbeth thread, it already comes factory pre singed, with the "fuzz" burnt out. And it is Egyptian cotton - the best! If you use polyester threads, be careful, because those ropes tend to spontaneously unravel after you cut the ends. In any case, this topic was already asked here numerous times, so check out the archives for the best design of your ropewalk. BTW, what's wrong with your Domanoff's ropewalk, anyway? Just curious... -
How to "unstick" this chuck from the mill spindle?
Dziadeczek replied to rlb's topic in Modeling tools and Workshop Equipment
-
How to "unstick" this chuck from the mill spindle?
Dziadeczek replied to rlb's topic in Modeling tools and Workshop Equipment
Don't thread it into the chuck all the way! Just loosely place it there and tap it. -
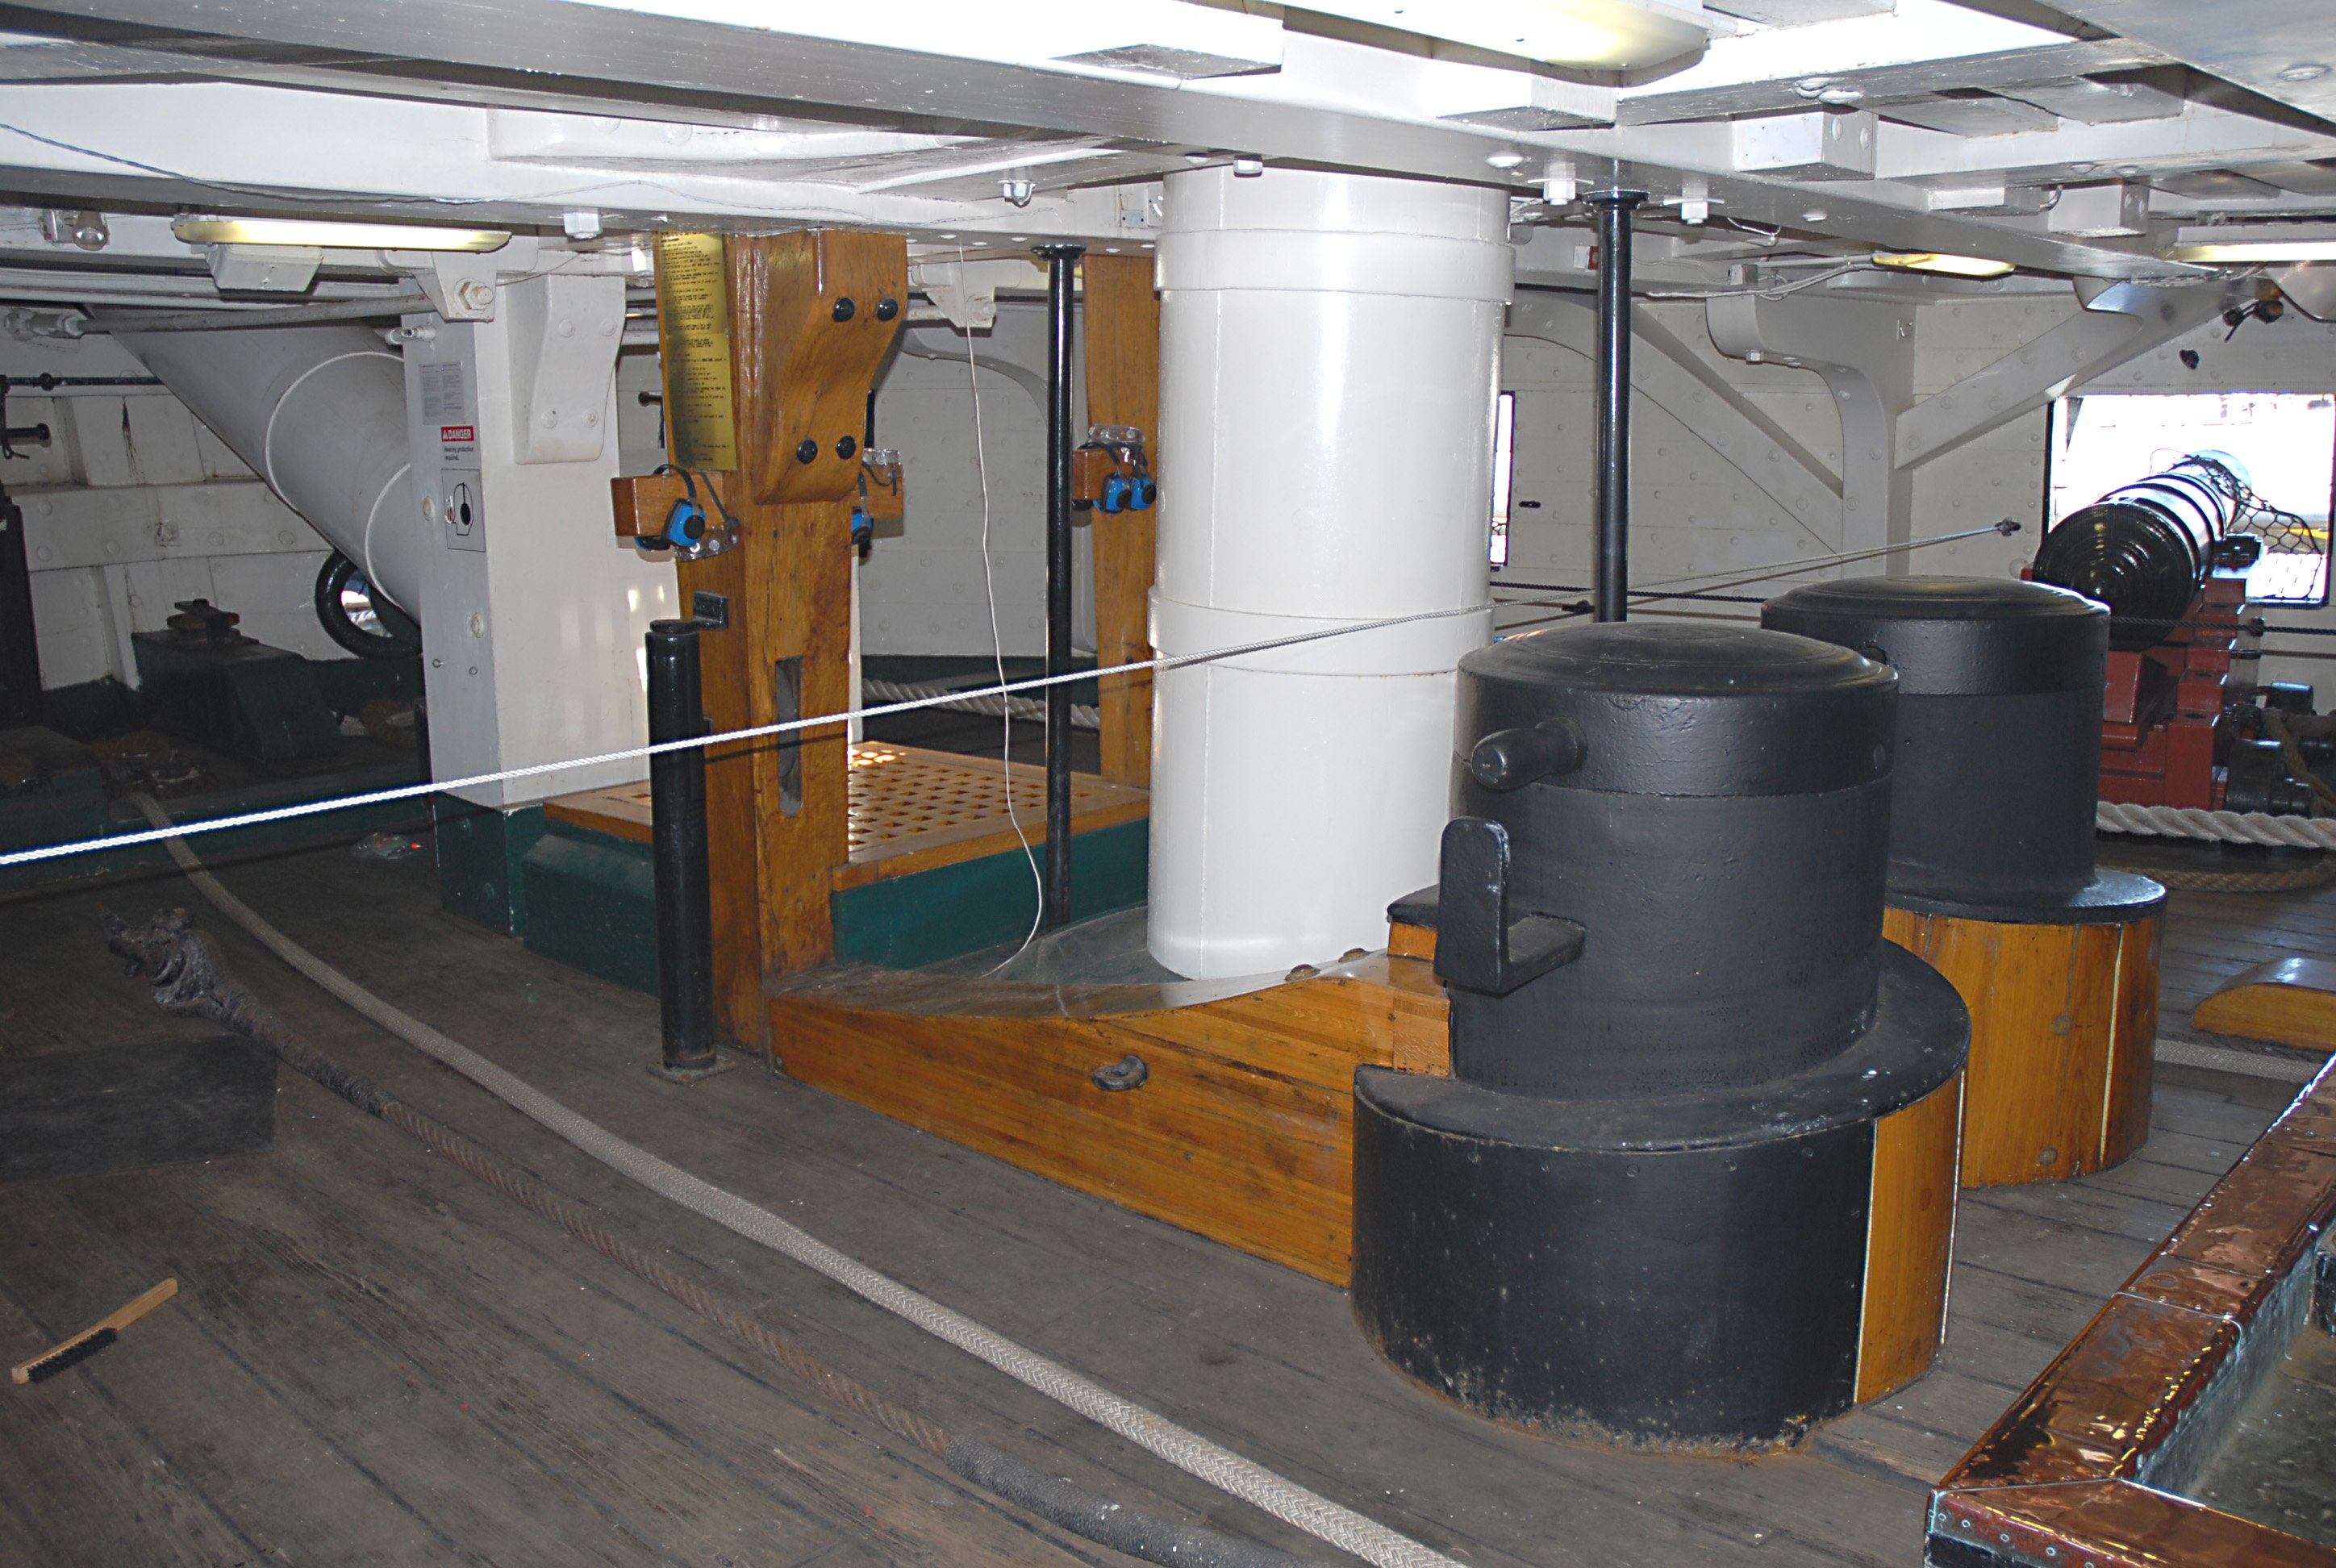
As far as pissdales, it probably won't help you, but I found this illustration in the book by J. Franklin "Navy Board Ship Models 1650-1750", showing how this device looked like on the First Rate of 96 guns c.1702. No further text on exact placement of these conveniences, though... ☹️
-
There is this Ukrainian (I think) fellow, Domanoff, who currently lives in Poland and sells his serving machines as well as the ropewalks he designed. I don't own any of his machines, so I cannot express my own opinion on how great/bad they are, but If, for some reason you don't want to build your own, he is one of the options. Just Google "Domanoff serving machine" and you'll find his address.
-
I haven't done it myself, so I don't know how it goes. From the video it appears that the wire was not annealed, he is taking it straight from the bundle. Unless the whole thing was annealed in the factory... Perhaps someone will try it and let us know?
-
Perhaps this technique (shown some time ago in this Forum) could yield satisfying results? He is making small brass nails from brass wire, but the heads appear the same as for rivets. Try it.