HOLIDAY DONATION DRIVE - SUPPORT MSW - DO YOUR PART TO KEEP THIS GREAT FORUM GOING! (Only 13 donations so far - C'mon guys!)
×


Dziadeczek
-
Posts
644 -
Joined
-
Last visited
Content Type
Profiles
Forums
Gallery
Events
Everything posted by Dziadeczek
-
 Showing results for 'windlass'. - Model Ship World™
 -
Michael Kammerlander long time ago gave detailed instructions on how to easily bend as well as edge bend wooden strips for planking, using luke warm water and his specially designed hot iron (or easily modified regular soldering iron). There is no need for boiling water, ammonia and some complicated gadgets to accomplish this! The whole thing is bloody EASY!!! His article was printed in a long defunct now magazine "Ship in Scale". (I could theoretically scan those pages for anyone interested, but here is a short video on how it is done by Mr. Kammerlander himself). (the video is lousy quality wise, and he is talking German, but you'll get the gist...).
-
Sweet! That full size lathe takes awful amount of space in your small workshop. Besides, it won't be very useful for small size, precise works for shipmodeling etc,; replace it with something smaller, IMHO. Whatever is available in the UK..., Sherline, Taig, Proxxon...
-
IMHO garboard plank should end much shorter, approx. where the red arrow points. From there the rest of the planks should run more or less like the red lines show (do precise spiling there). (You might have to install a stealer or two, if necessary).

-
The NRG office is back open
Dziadeczek replied to ferretmary1's topic in NAUTICAL RESEARCH GUILD - News & Information
Sometimes knee pain on the same side as the hip prosthesis, is a referred pain radiating down the leg from the operated hip. I remember I had it for some time after my hip replacement. It went away eventually... It is important to keep with physiotherapy to maintain the muscles healthy and strong (prevent contractures and atrophies there) but in the beginning please don't weight bear on them too much, rather only flexing and extending the joint in the bed or standing and holding the side of a chair while doing the movements... This also improves the local blood circulation and hence speeds up the healing process. And keep swallowing the pain pills from your doctor... I wish you a speedy progress and recovery. Thomas -
deck beams
-
It's here (PDF file): ColonialSchoonerSultana.pdf What's the problem?
-
Perhaps it is made from silk?
-
As you noticed, Imai is long gone, unfortunately... 😞 Replaced by another Japanese kit maker, Woody Joe - check their offer, perhaps you'll find something interesting for you. Many years ago I built a model from Imai - their "Osyoru Maru" (Oshoro Maru) - a brigantine, research vessel from the Hokkaido University's department of Fisheries. I got this kit as a gift from a friend from Japan. Cute little project, very well designed and easy to understand, even though the instructions were only in Japanese. Recommended for a beginner with some experience with his hands.

-
What Am I Missing
Dziadeczek replied to acaron41120's topic in Building, Framing, Planking and plating a ships hull and deck
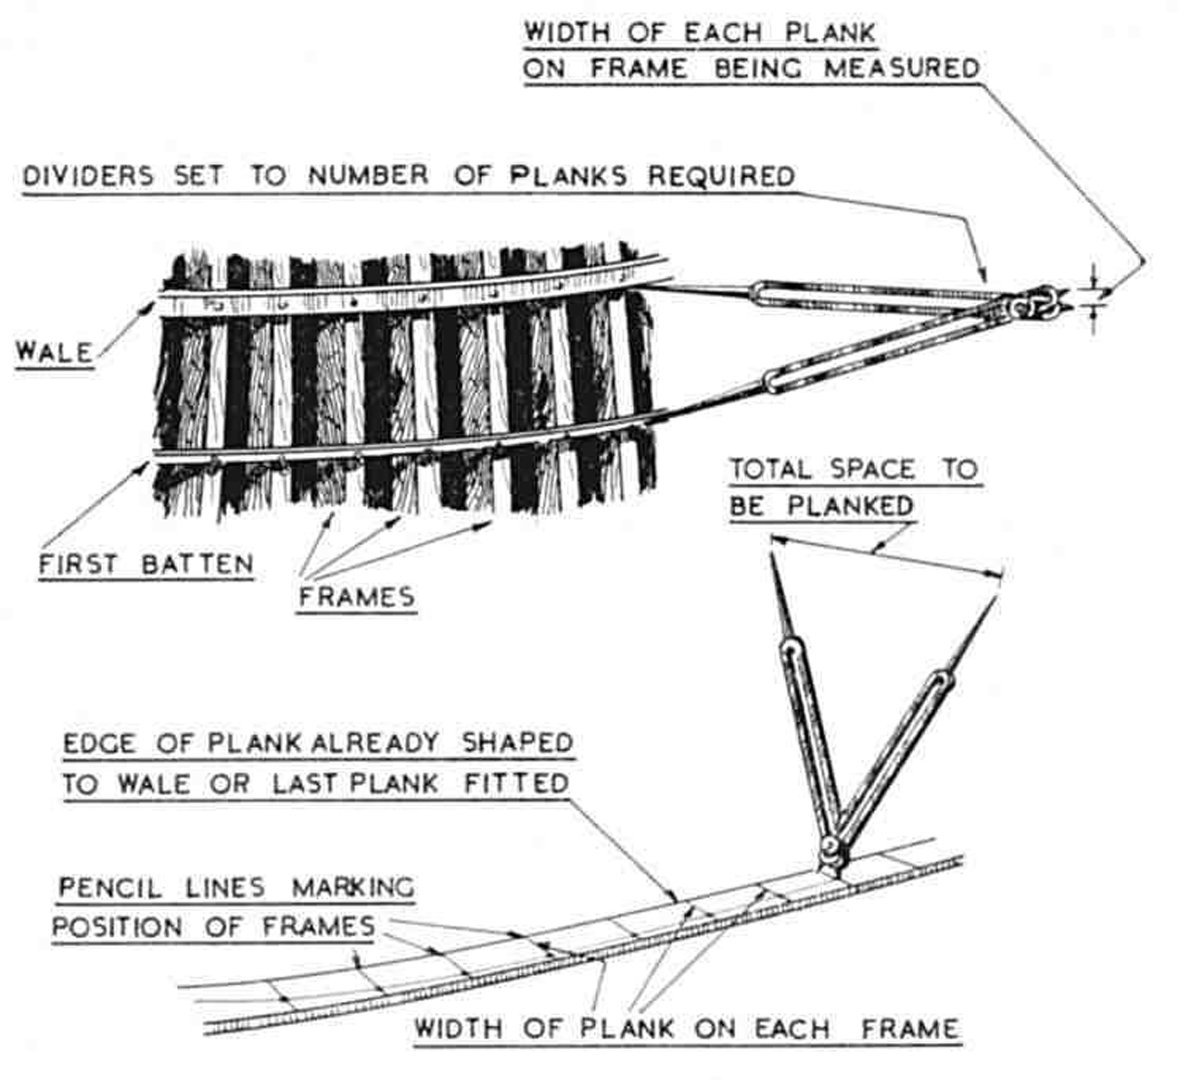
I don't know D. Dressel's book, but I first learnt the planking technique from the brochure by Jim Roberts "Planking the Built-Up Ship Model". Basically, after you VERY PRECISELY! installed the wale and the garboard strake (make sure they are perfectly symmetrical on both sides of your hull), you proceed to determine the runs of your battens (very thin temporary glued wood strips). If you chose three spaces (two battens), that's OK. Very important is that they run symmetrically on both sides, along the entire length of the hull, and equidistantly to each other. In other words, the spaces between the battens should be the same, and not like you say, one is 52 for the top space, 66 for the middle and 52 again for the bottom space! All spaces should be 52 (or something else, in your case). Reposition the battens. I assume, these measurements are for the edge of a middle frame/bulkhead, the one that is the bulkiest. Do the same for the remaining bulkheads, taking precise measurements in between the lower edge of the wale and the upper edge of the garboard strake, taken with either a strip of paper or dividers, and then divide the distance into three to obtain the width for each ellipsoid space - for the corresponding bulkhead/frame. Do this for ALL frames, make a pencil mark on each frame and finally connect them all into a curve delineating the run of your batten. It is easier to do it, than to explain it... 😬 This method is foolproof, if you do it precisely. Hope this helps, Thomas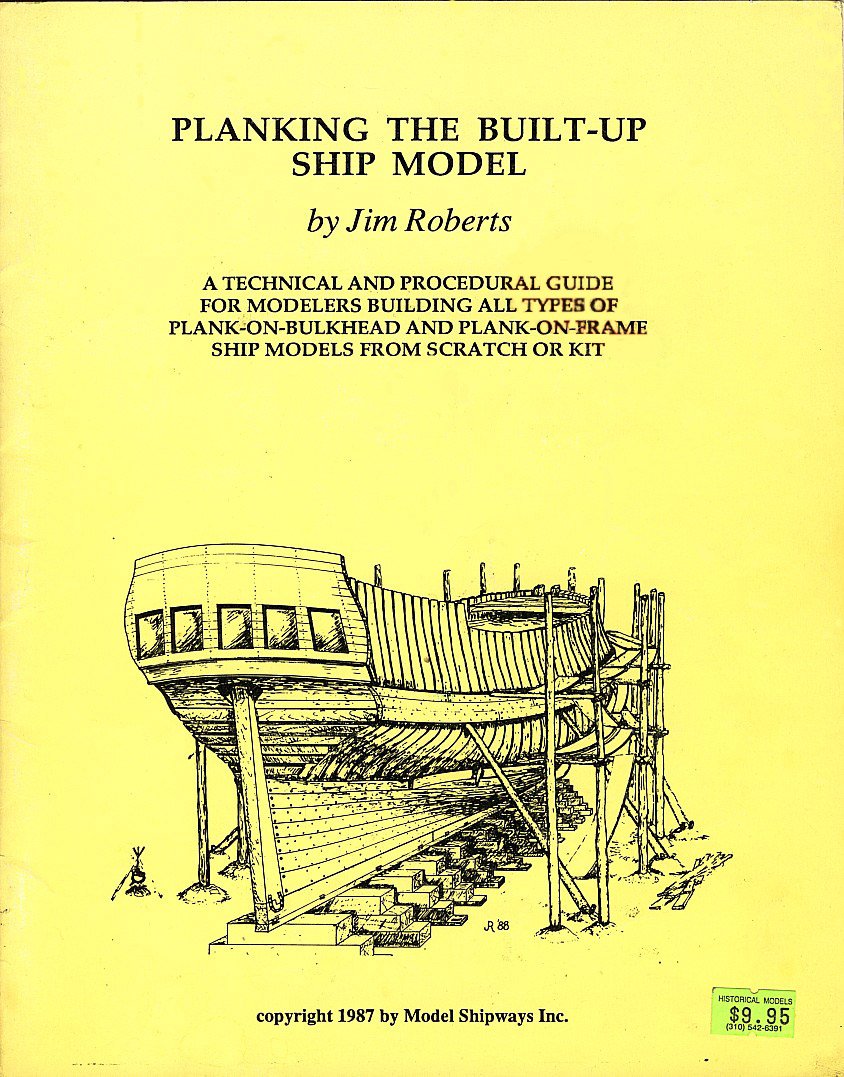

-
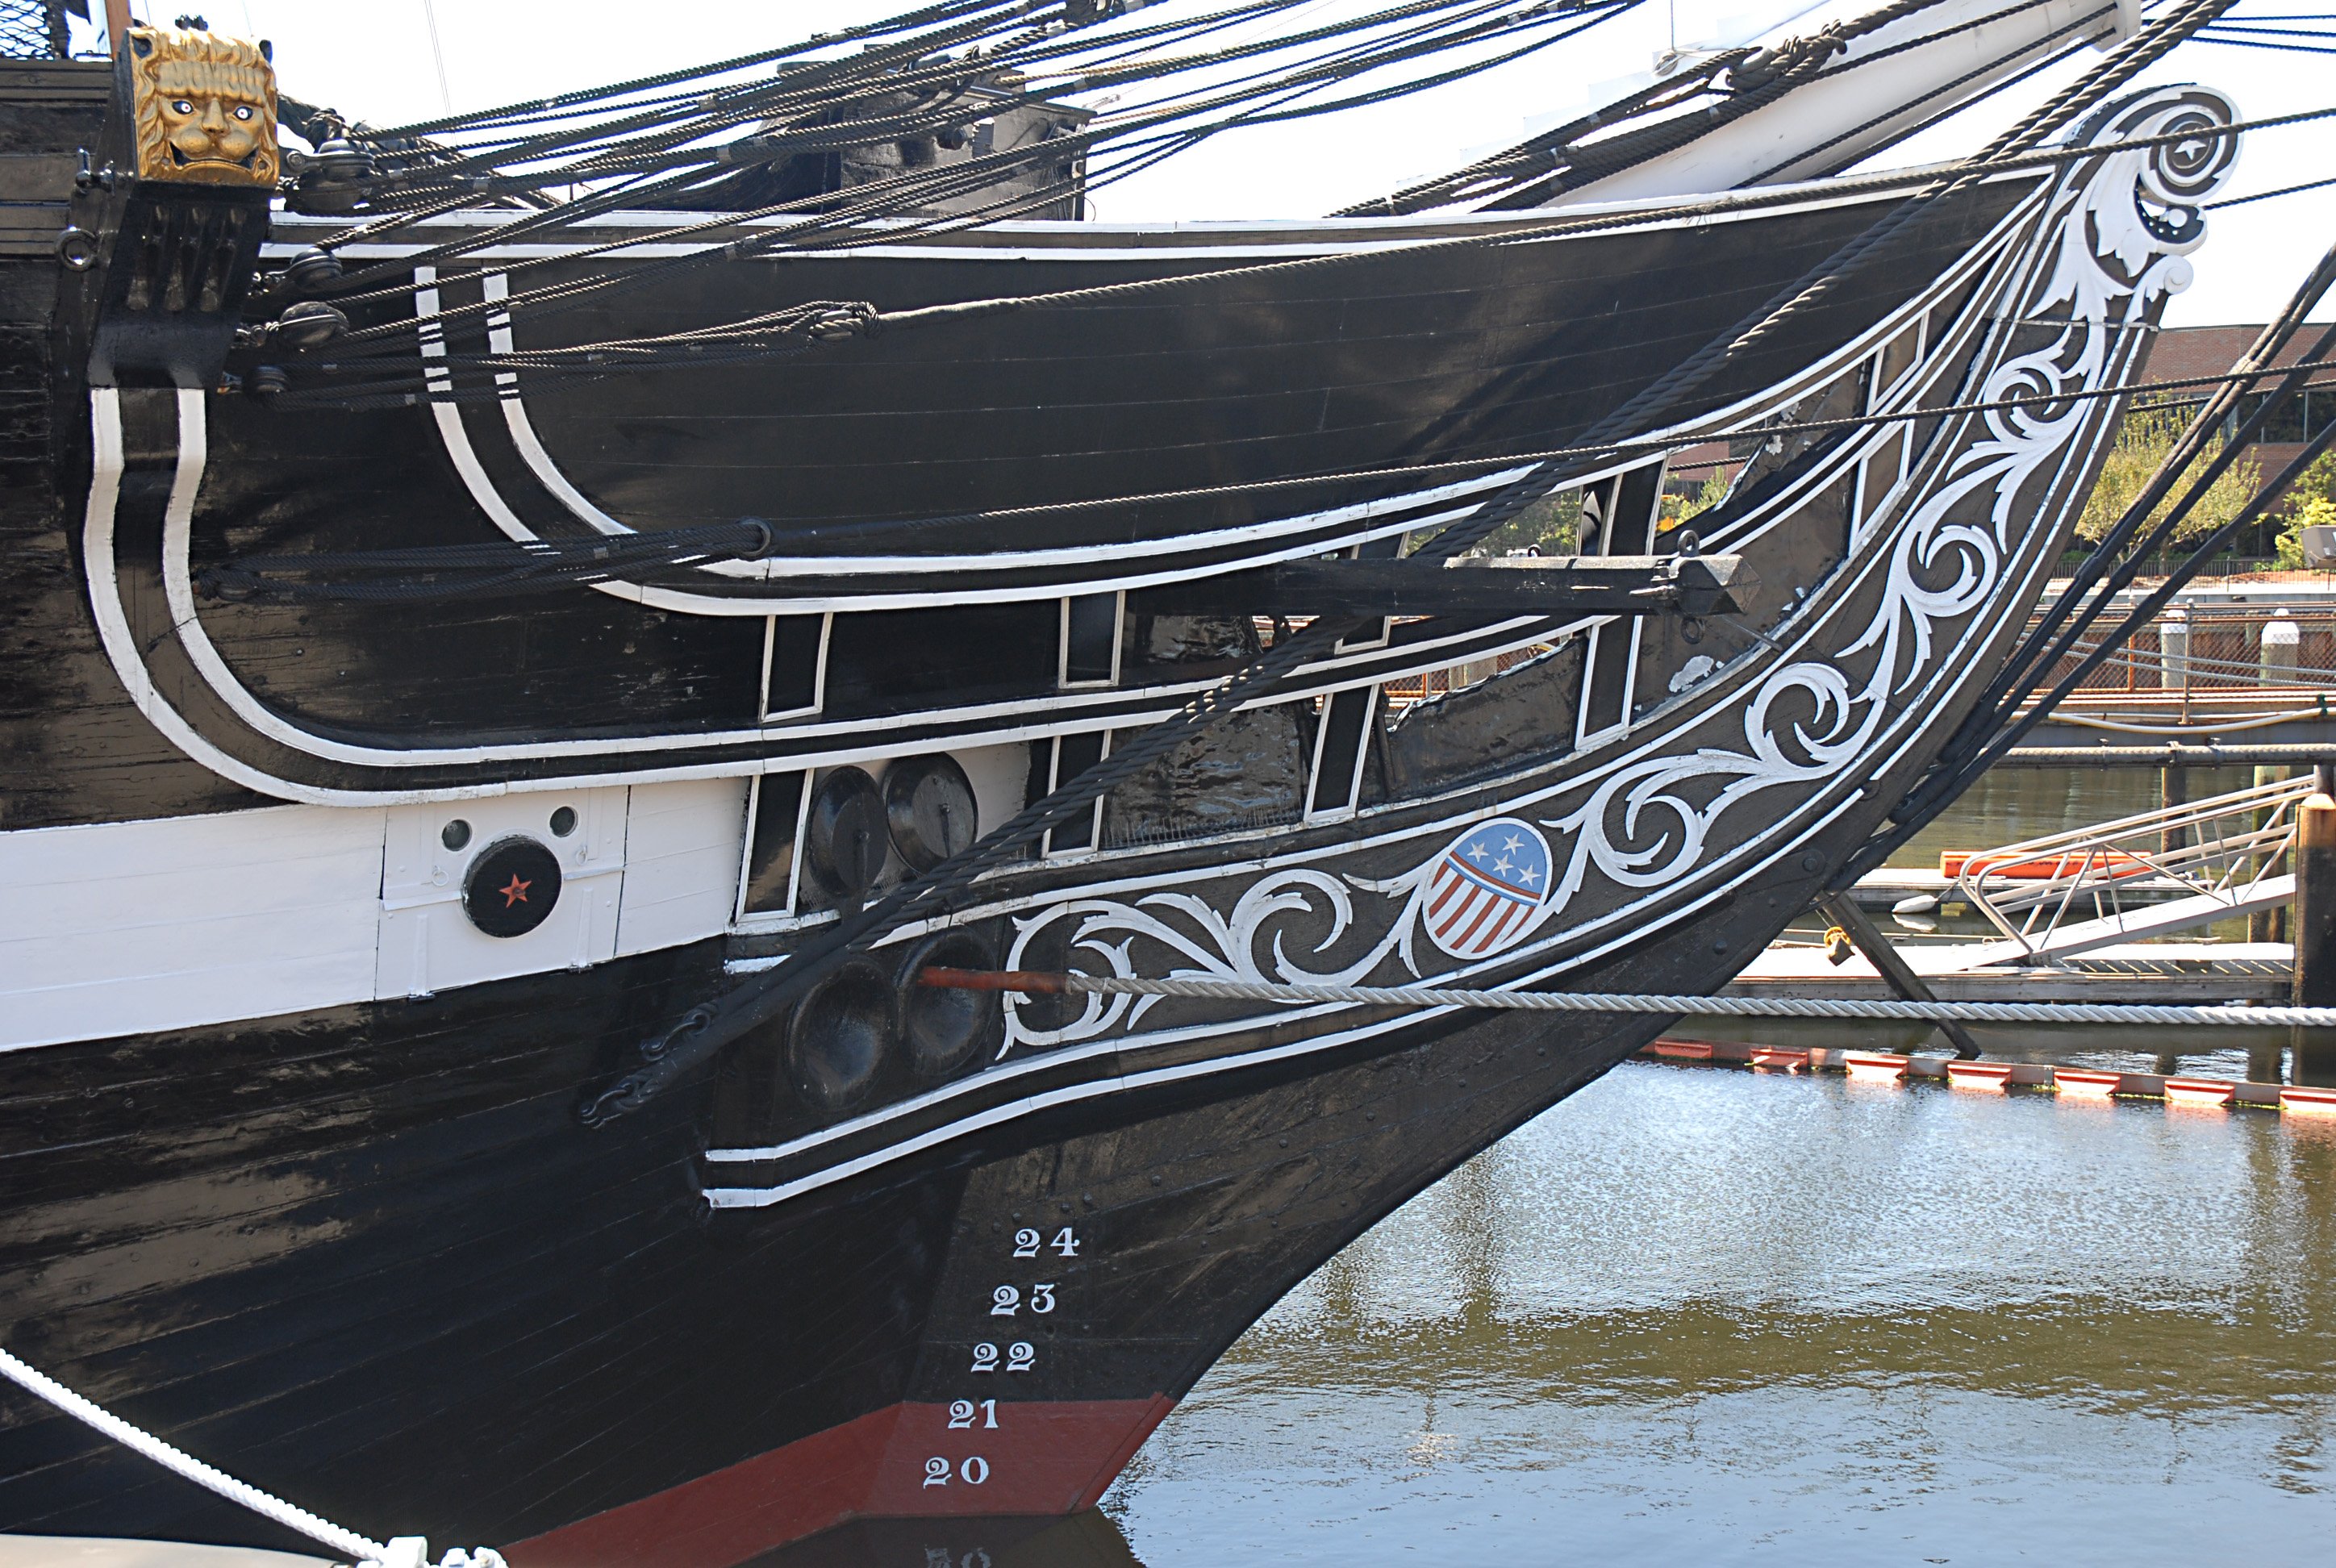
USS Constitution by mtbediz - 1:76
Dziadeczek replied to mtbediz's topic in - Build logs for subjects built 1751 - 1800
When I took this pic, there were no sails hoisted, hence the absence of a foresail tack on the boomkin. -
USS Constitution by mtbediz - 1:76
Dziadeczek replied to mtbediz's topic in - Build logs for subjects built 1751 - 1800
I am not sure if this helps, but...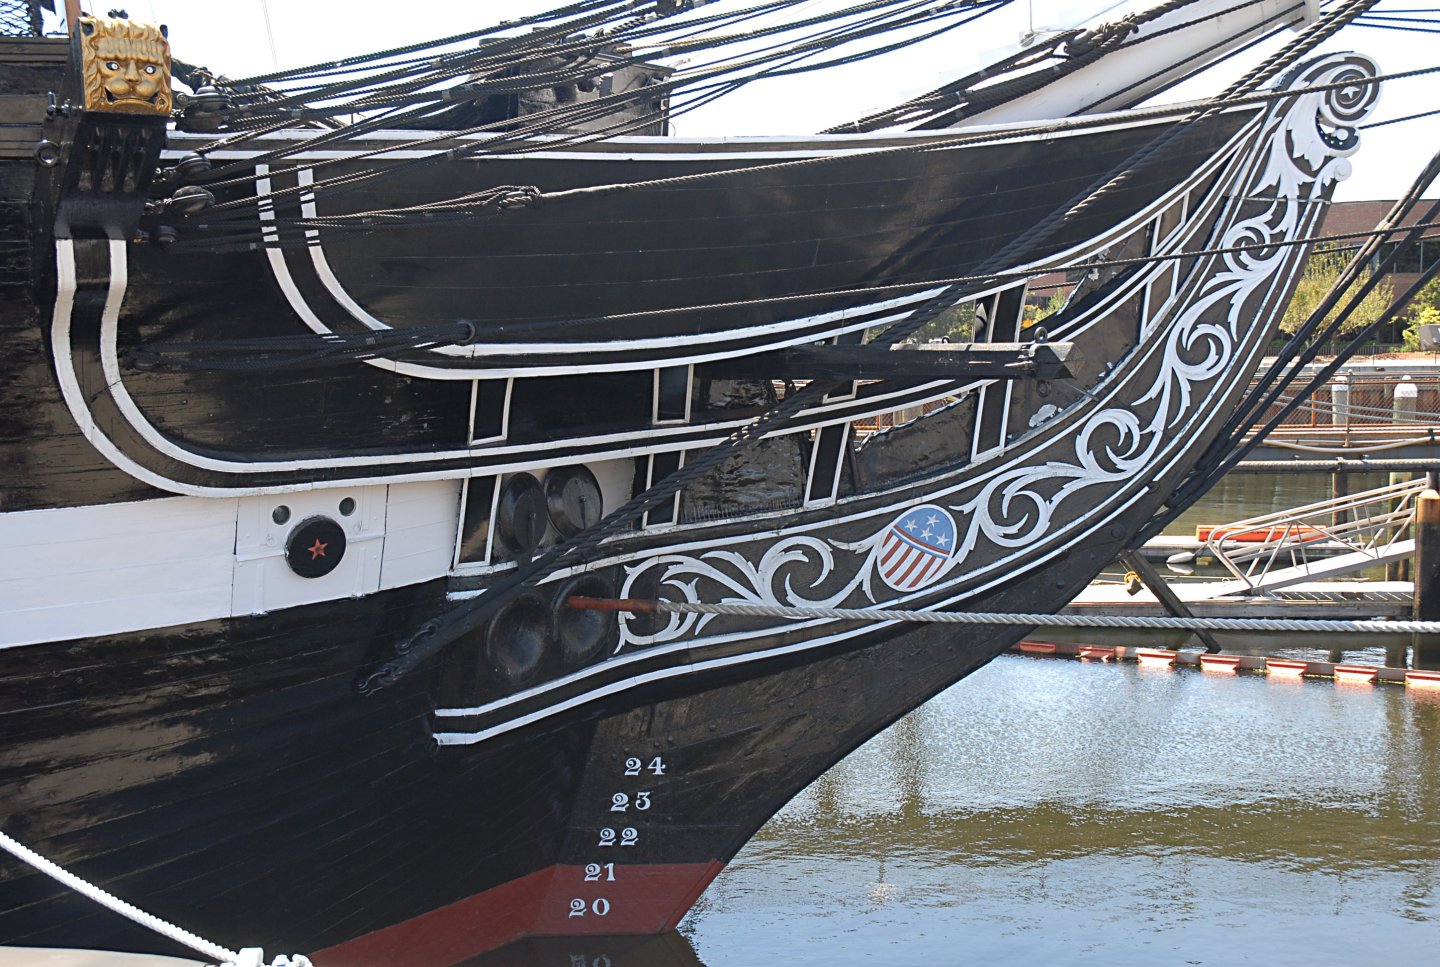
-
Best White Wood Glue For Ship Building
Dziadeczek replied to OldeManToad's topic in Modeling tools and Workshop Equipment
I built my first ship model more than 30 years ago - Billing Boats "Norske Love" only with Elmer's Glue All white glue and today it sits there, still intact. My latest, scratched French 74 guns after Boudriot, I built using Titebond Original. I'll let you know after another 30 years. 😁 I think, both are good for wood, at least for our purposes. Titebond II and III are for waterproof applications, II - for water resistant and III - for waterproof (if you are building a floating model, for RC etc.) -
Wood for bulkheads?
Dziadeczek replied to CPDDET's topic in Building, Framing, Planking and plating a ships hull and deck
I don't know much about the Hemingway's Pilar yacht, but in my opinion, if you intend to completely cover the hull with planking, either wood will be OK. Especially, good quality plywood, like Baltic plywood has great stability. If, however, you want to only partially plank your hull (Dockyard style model or similar), you do not want to show the layered edges of your bulkheads made from plywood, and in this case - use solid wood, any of the hard fruit woods will suffice, eg. cherry, apple, pear, plum, but also maple, birch, beech, etc. If your pockets are sufficiently deep, go full blast for boxwood or even some, more exotic species, peroba, etc. -
dupuytren's contracture treatment - Google Search
-
I heard there is non-surgical treatment for this as well...
-
Do this: Make sure the strip lays on the entire width of the edge of each bulkhead. If not, sand this edge a little more until flush. To help determine further, mark (smear) the bulkhead's edge with a pencil and see that this marking disappears after sanding. Or leave laser burns there intact and use them as your guide instead of pencil marks...
-
An exquisite workmanship! I regularly see your updates on the Polish Koga forum. Everybody, keep in mind that this is a paper (mostly) model! Hats off! Thomas
-
Tiziano's fabulous model was an inspiration for my French 74 guns 1:48 I finished a year ago. With everything (masting and rigging) it took me almost 20 years to build it! (But then, I am a slow builder...). 😁
-
Were pintles and gudgeons of the rudder also covered with this "white stuff", or left unpainted? I have seen models with both. Thomas
-
Fractal vise on kickstarter
Dziadeczek replied to DavidG's topic in Modeling tools and Workshop Equipment
A forgotten relic with a modern price. -
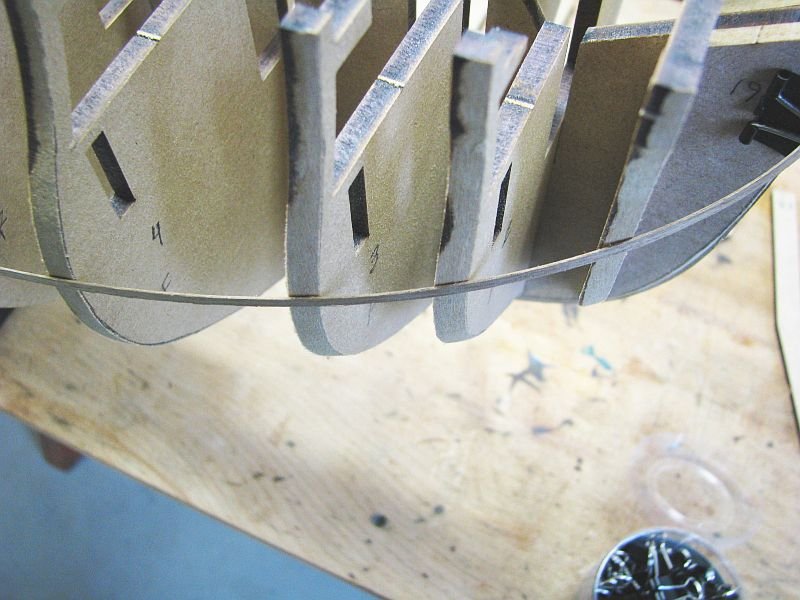
I meant to say, you did not do the spiling process properly - your planks look rectangular all the way (the same width along their entire lengths), so sooner or later you run out of space for them on the hull and ended up with those triangular empty spaces... Also, in order for your planks to fit at the bow and the stern, you have to either pre-shape them off the model (using for instance cardboard templates, or edge-bend them to follow the curve in those spaces. Like this modeler did here (post # 26 in this link - check his video).
-
chuck passaro planking - YouTube
-
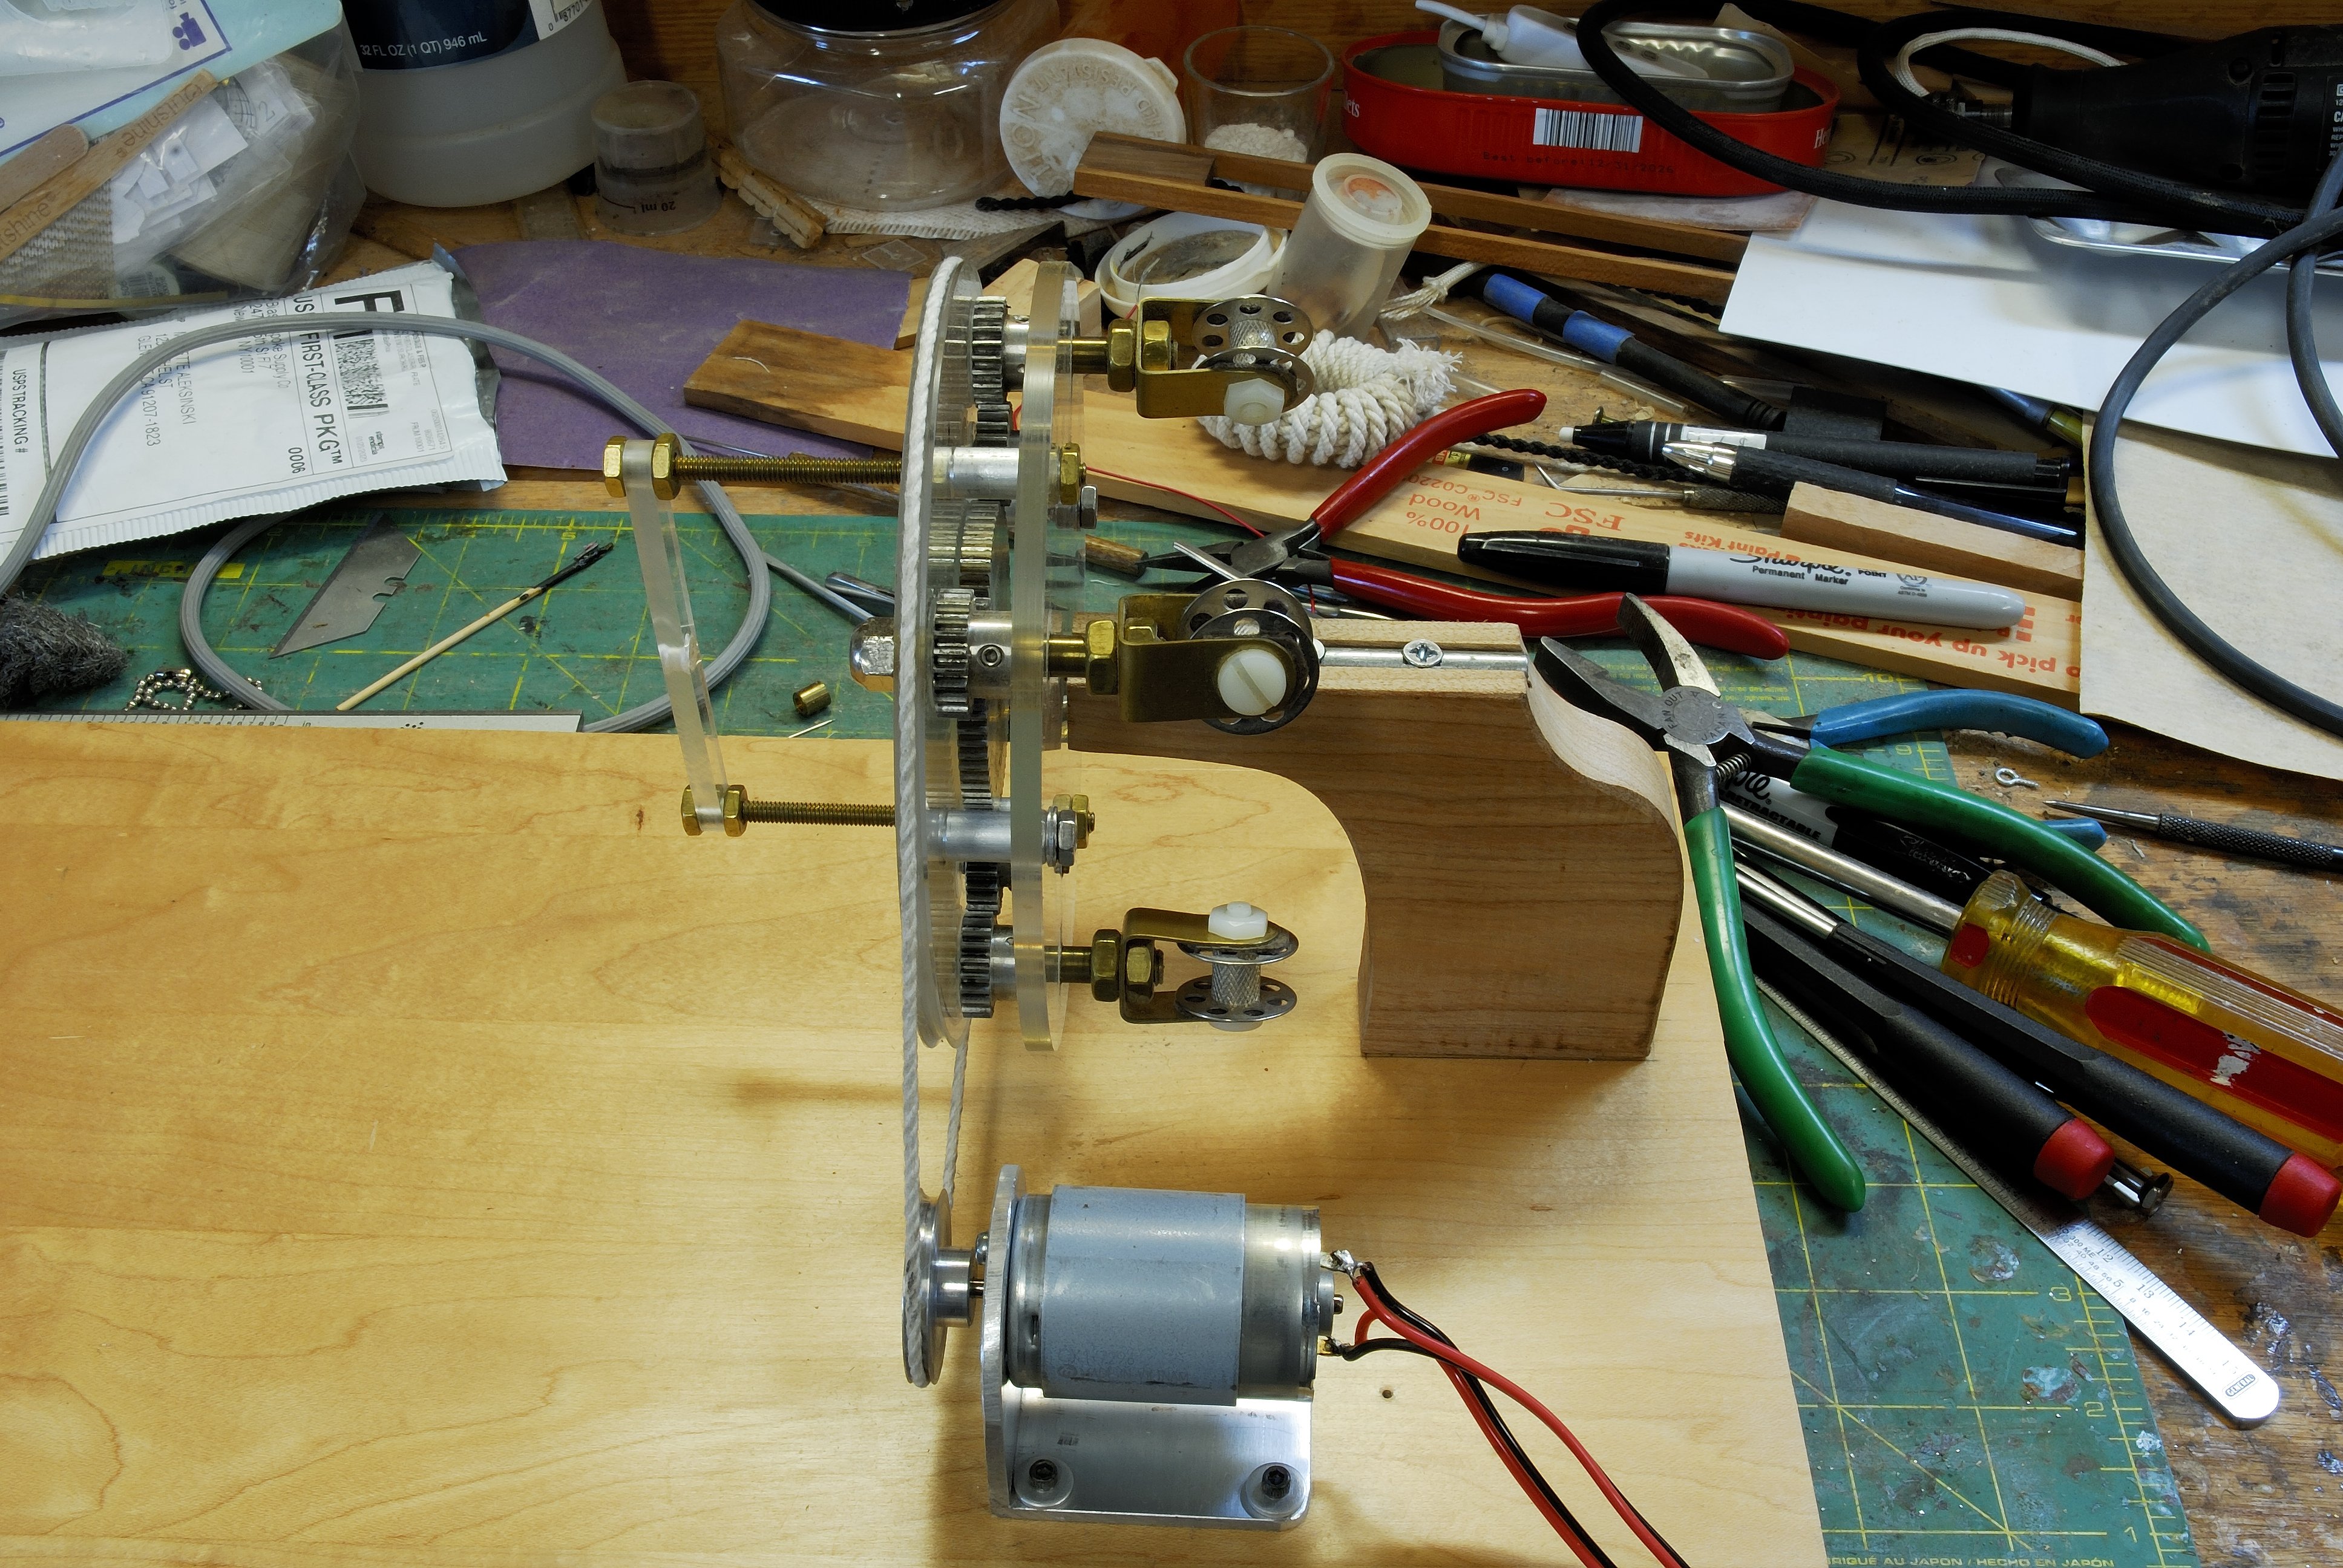
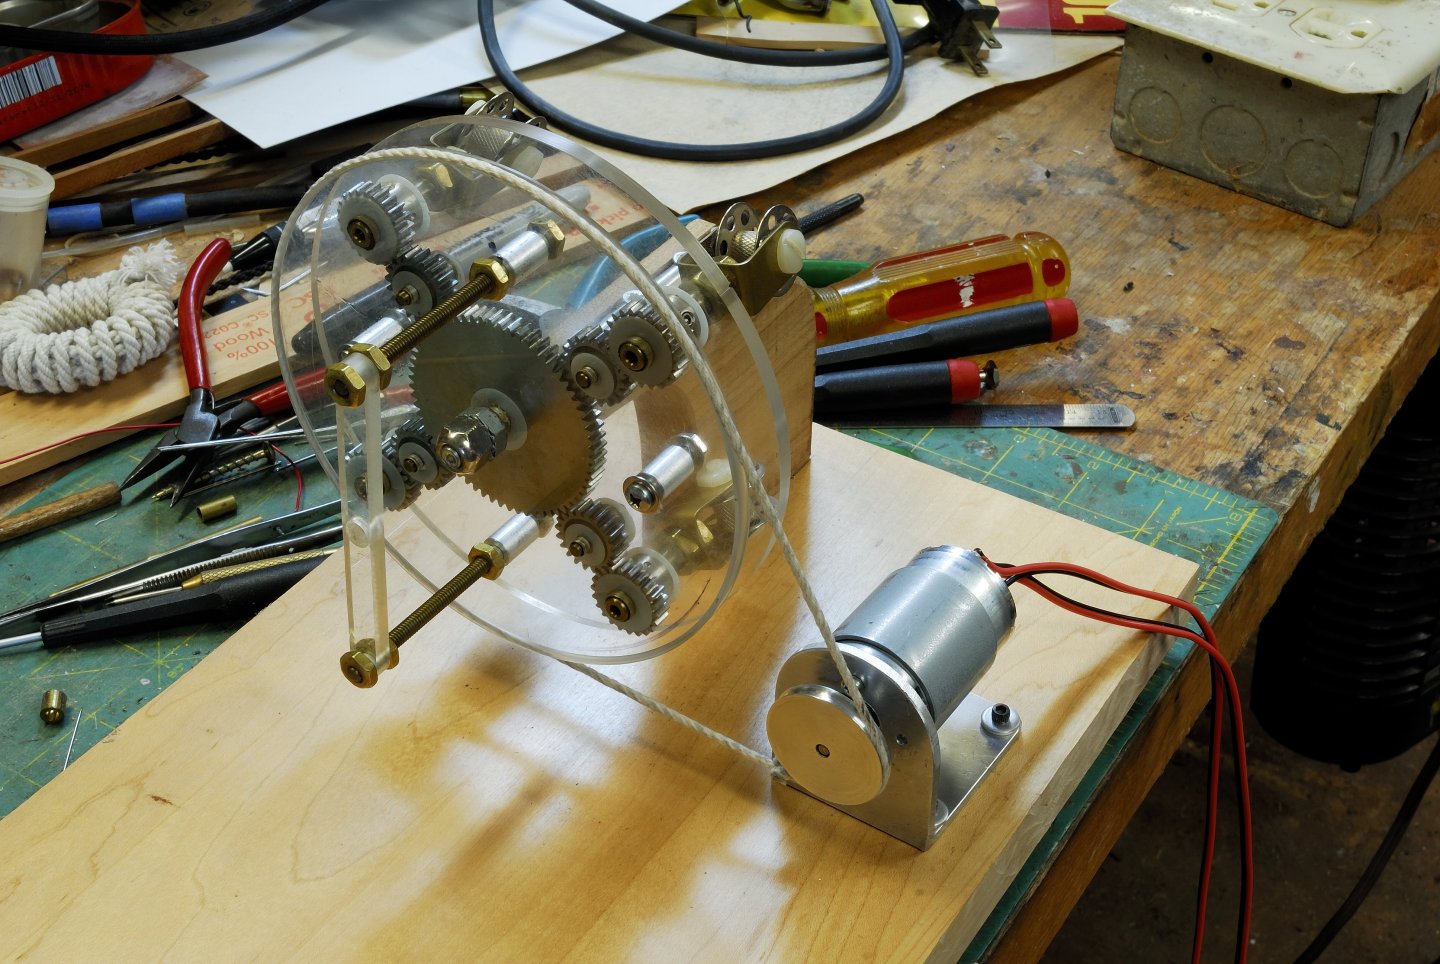
I am in the middle of building my own version of a planetary ropewalk, (in addition to my old standard ropewalk I built about 30 years ago). I heard that this type of a ropewalk has several issues in terms of evenly twisting of ropes and tension of strands that have to be carefully adjusted. I'll let you know how my own behaves, after I finish it. Thomas

-
please read my two previous posts As I mentioned, when I twist a 4 stranded rope (with no core), sometimes the strands jump over others, sometimes the twists are a bit irregular, uneven, in places individual strands collapse into this empty space in the center of the rope - end result, the rope looks bad. I am trying to improve the overall results, and I am slowly inching toward my goal, but I think I have to fill this empty space with a core to make the rope even. I don't know if I will be able to use a thin wire for that, or just a thinner 5th strand mounted in the center. I will try both. In the meantime, I attach a pic with two ropes I made today from 4 strands each with no core. Their thickness is about 1 mm (1/64 inch). I used some cheap cotton I had handy at the moment. Back to the drawing board... 🤔