


olliechristo
-
Posts
412 -
Joined
-
Last visited
Content Type
Profiles
Forums
Gallery
Events
Posts posted by olliechristo
-
-
Thanks Eamonn.. Yes the better half got a hold of the cam..
 More pics and angles, everybody loves pictures
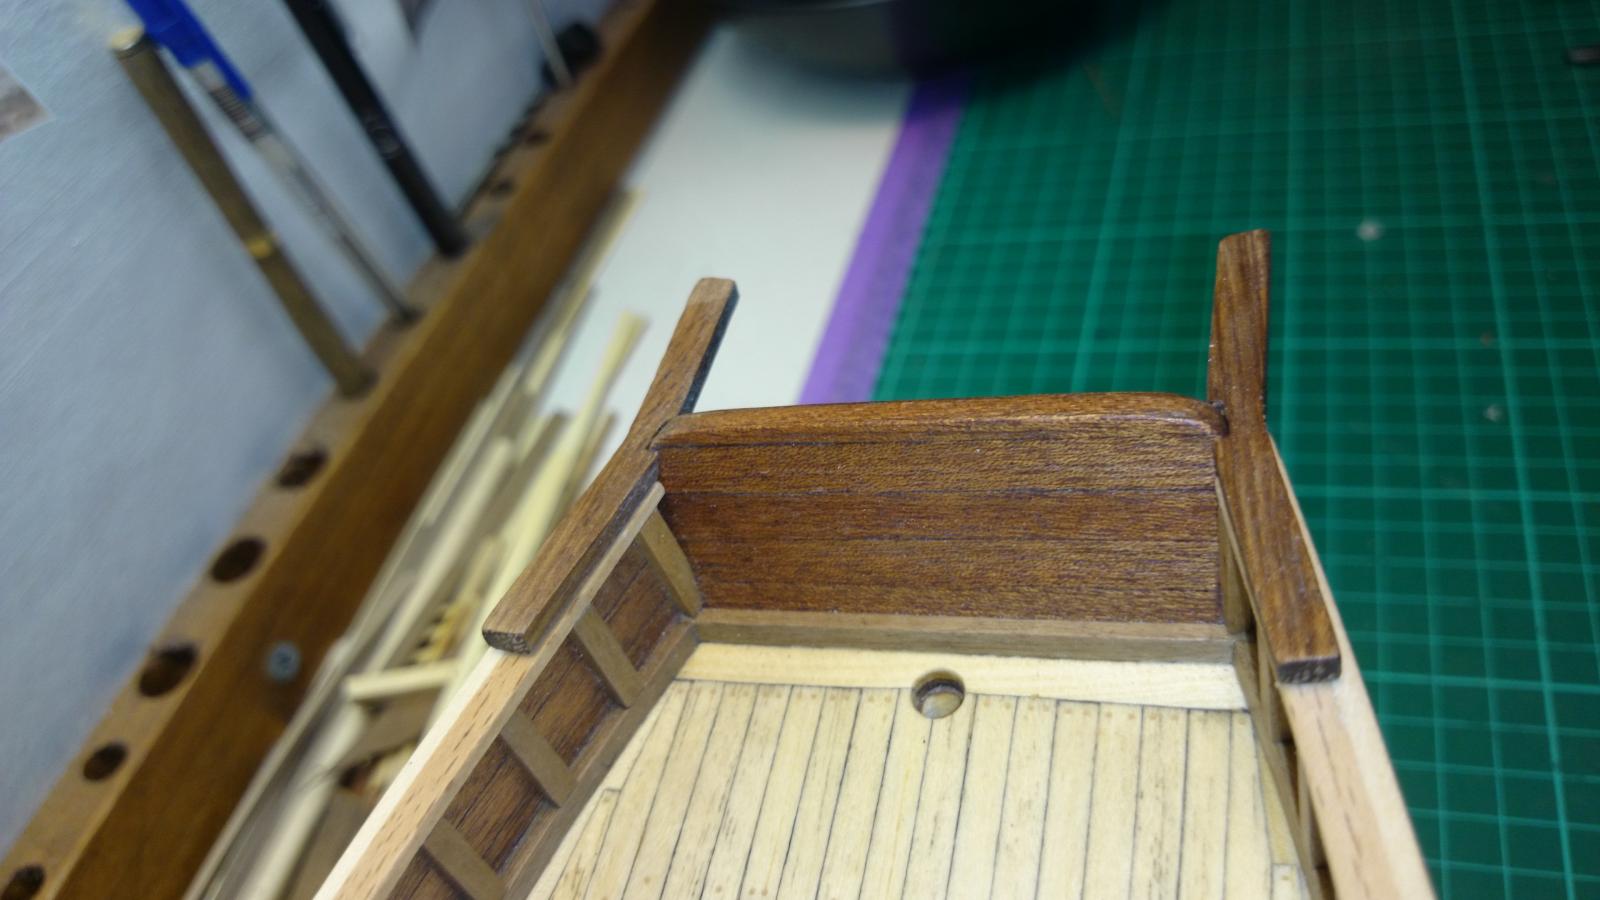
  Stern post added, very happy with how that went.. I'm liking the way the mahogony and black bean look side by side.. Ollie
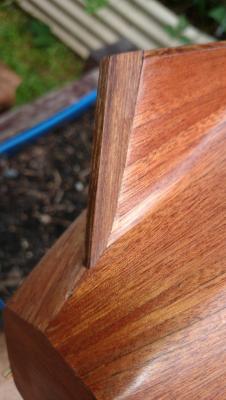

- egkb and ringbolt2013
-
 2
2
-
Hi all, adding 9 hours to log... I have finished planking
 !! A bit of a relief and a cold beer to celebrate..
Whilst i've been planking i have finished interior work and scratch built some catheads, can't be having that plywood showing, jeez
.Wales are in jig being prepared and i am studying what is the best way to copper my hull respecting the era and place of origin... (1817- Calcutta)
I think i will go for ONE parallel band and waterline... Back to my the workshop i go.. Regards Ollie


- egkb and ringbolt2013
-
2
-
Thanks Eamonn, Bindy, John and Tom,, really appreciate your compliments.. Im a bit chuffed and you lot are making me blush, a bit like the mahogony..
Having a wale of a time and its been a learning curve... or is that learning about curves
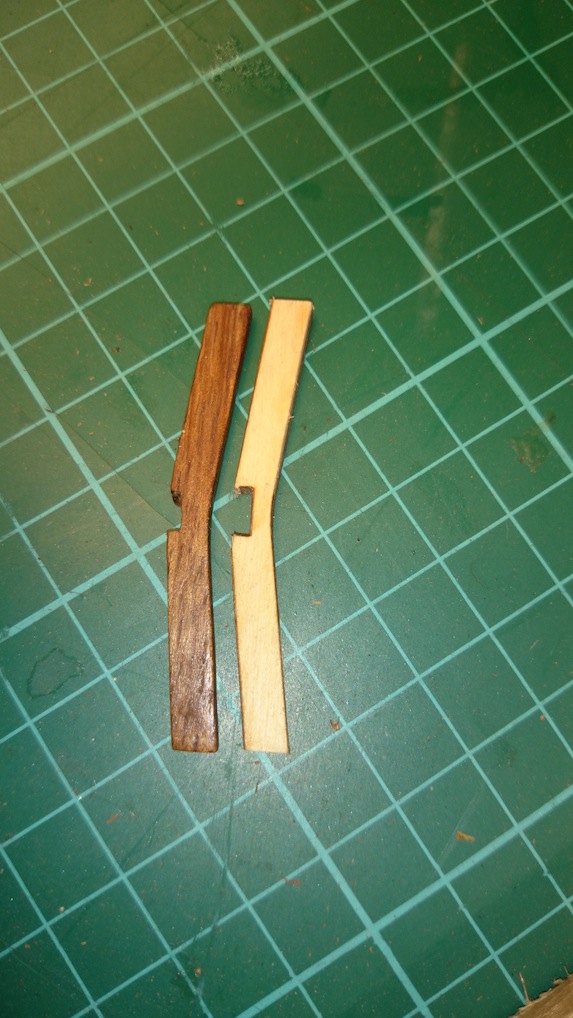
I have cut out the "cut - away" and looks great...
Something I noticed and a bit of a tip perhaps.. If you want to dull down your varnish/clear coat,.. Go over it with a very 'worn in' foam sanding pad (3m brand or the like) wipe with cloth.. looks nice... Happy crafting all. Ollie
- egkb and ringbolt2013
-
2
-
Yeah filler blocks helped me too.. Hey Eamonn, I found it hard to find good quality wood glue here also.. i think if i had of gone to a proper cabinet shop i may have found it,, but i ordered Canadian Elmers and Ameriacn titebond, my prefered one is the elmers, it contains wood fibres and it can be stained and varnished etc.. reAsonably thick and sets enough to take off clamps pins in half hour (in my climate) .. Can send you a Llnk to shop i ordered from, OLLIE
-
-
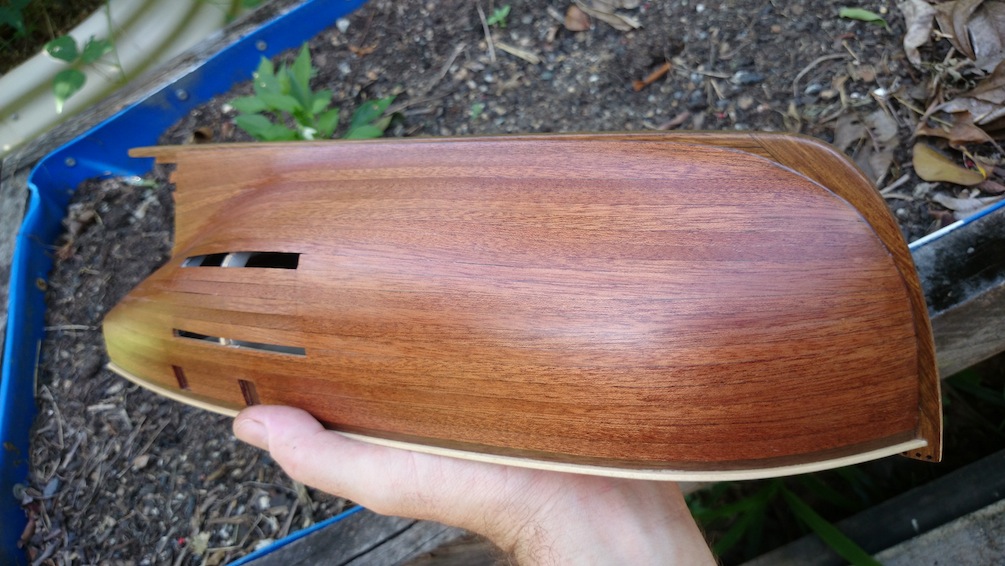
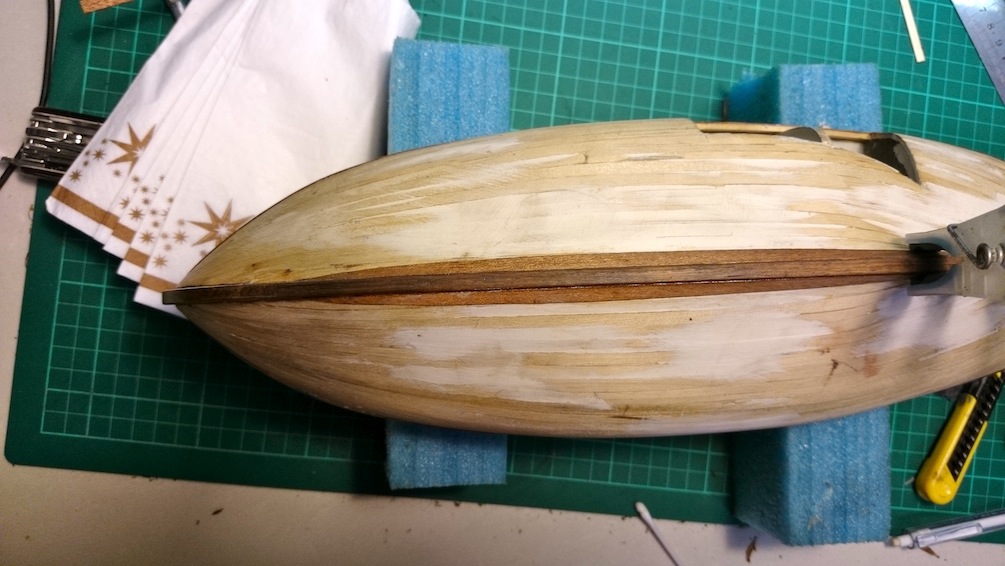
Okay guys, had some time off work, some good time in the shipyard. Did a full 9 hour day of planking yesterday,, plus another 6 added also..
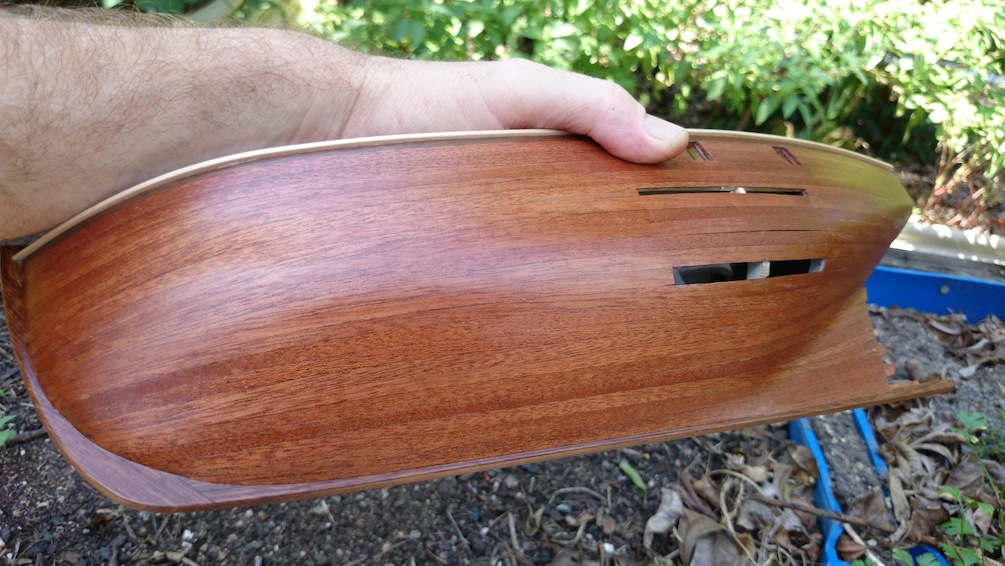
I am a very happy modeller.. I only ended up having to use 4 half stealers on the keel.. No planks are less than 2.9 mm wide.. planks were 5.7 x 0.6 mahogany
Photos make it look glossy but its a satin finish.. There are some minor glue marks through clear coat but overall im 92.5 % happy and don't want to risk sanding anymore...
I thank my sponsors and support crew..
I won't say it was easy, but I relish in a good challenge/ learning experience..I will mask off and sand where wales get fixed. Moving onto starboard side next and now to get it's planking on and think about water lines, paint and coppering.
 Regards Ollie
- dgbot, ringbolt2013, egkb and 1 other
-
4
-
News flash! With pictures..
Starting to take shape now.. Looks good to see those curves begin on her..I think you are right about focusing on the strength of first planking rather than appearance before sanding, especially if pins or planking screws are going to be used on second layer.. Which is kind of inevitable.. Pays to get glue between planks not just on bulkheads too.. (imho)
Also regarding strength.... If you look at when i installed my keel, (page 9) You will see i 'dremelled' out between planks along keel line and epoxied it all in so it will hold all plank ends in together to keel. .
Keep them news flashes coming// -
She looks beautiful, you have really made a lot of progress ! lovely shape and size.. well done, keep it up

-
Glad to see another Modellers shipyard Kit on here.. I look forward to following you on your build.. A grand looking vessel. Looks to be going really well.. I am learning how much needs to be considered on second planking.. All I can advise is treat each plank as its own entity and eventually they will add up.. The 'beginners planking tutorial' on here is great. Some good pictures.. Regards Ollie
-
Thanks Sailor.. I really appreciate you taking time to explain more about planking, I'm really soaking it up and love that there is so much to learn.. It is a great asset to understand how things were built on a real ship so it can be translated to our models respecting materials and scales used... What a wonderful hobby.. Thanks ollie
- ringbolt2013 and Bindy
-
2
-
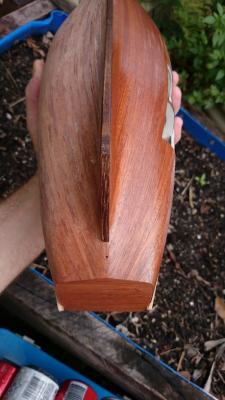
Thanks John. The only stealers I plan on having are on the stern post itself. I can see where I went wrong on first layer..
The thing i was unsure of is where planks meet from either side of hull under rudder.. . After looking at your picture im thinking they are parallel.
Regards ollie
-
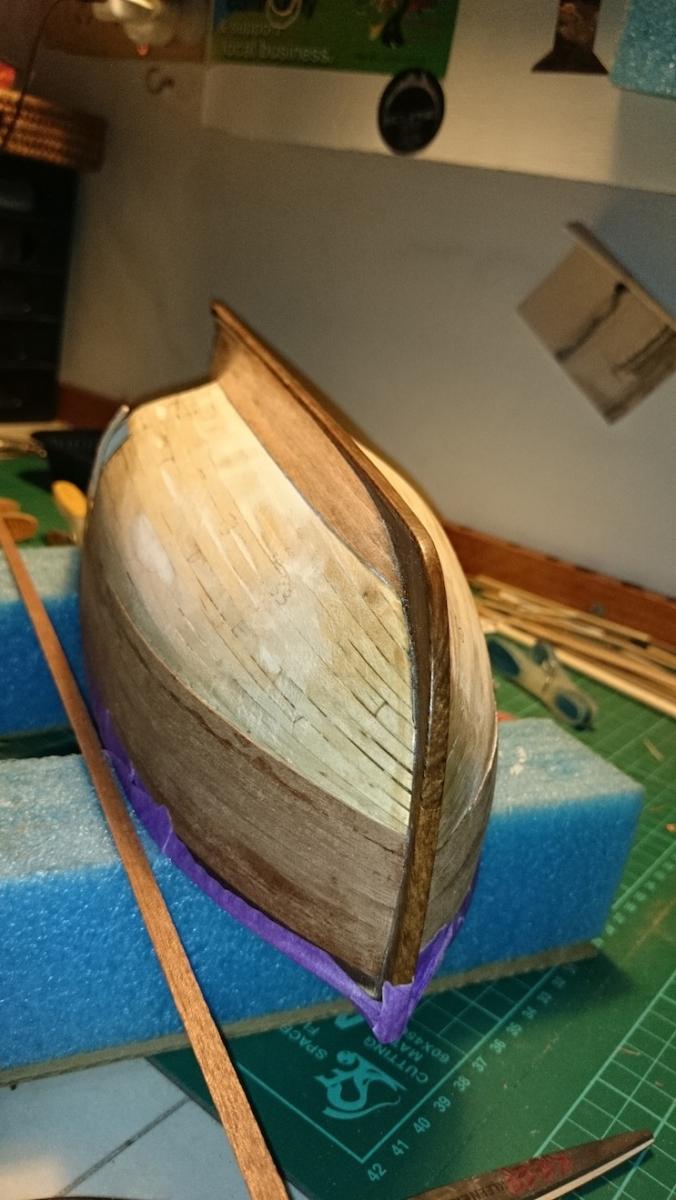
Really interesting Sailor1234 .. Makes sense also...
I have forgot to add hours to log.. estimating 15 hours since last mention..
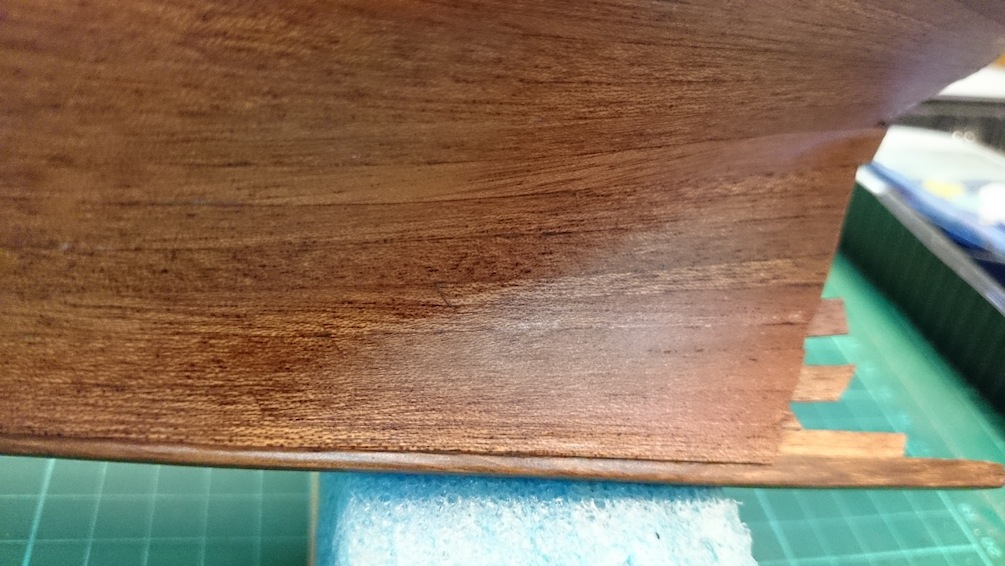
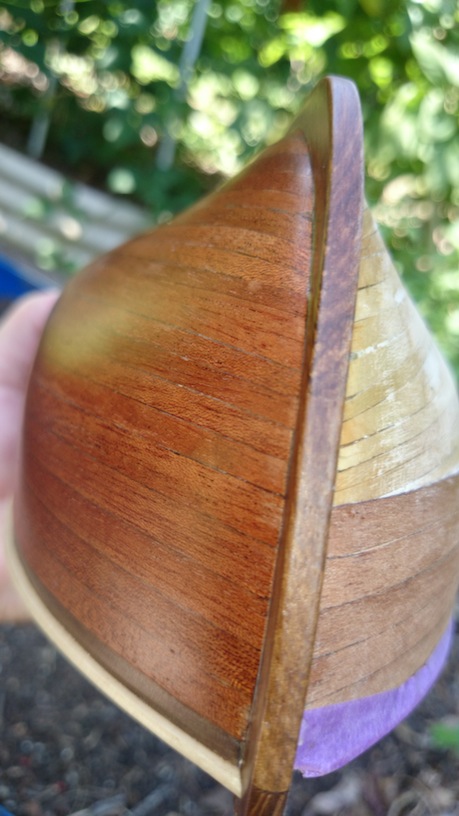
Just showing you the latest pics of the lines being created.. I have done some spiling, tapering, some wetting of timber to help bending in some areas...
Last photo. I am a bit concerned about what is the best way to finish planks, at the stern where they meet, you can see how i did the first layer planking.. Regards Ollie


- egkb, ringbolt2013 and WackoWolf
-
3
-
Thanks John and Tom.. Kerry I am glad to hear my log can be of some help... Thanks for commenting..
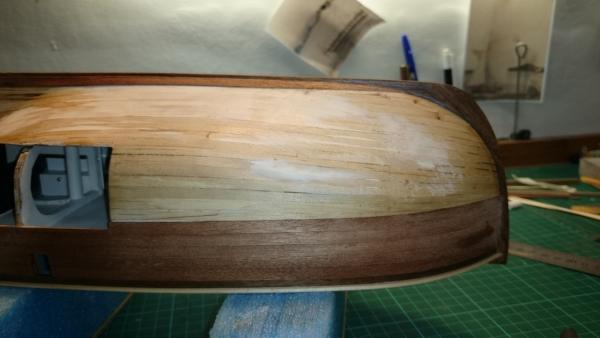
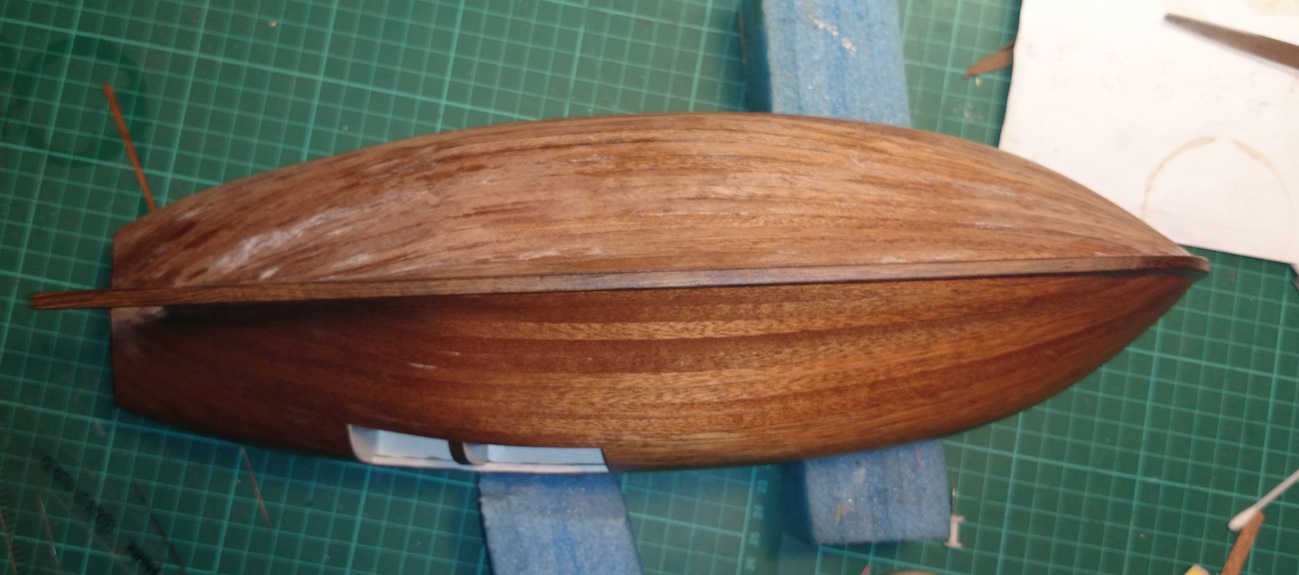
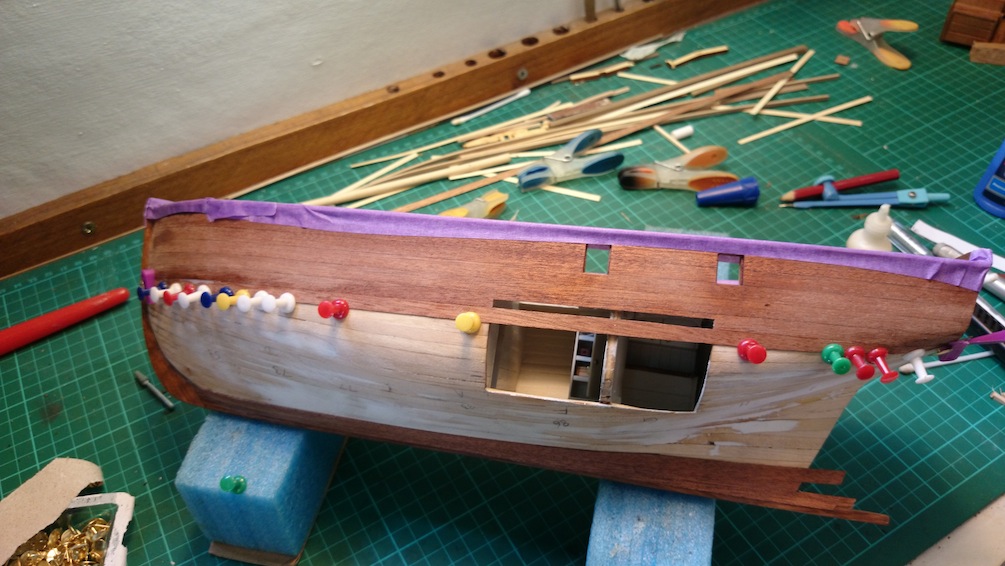
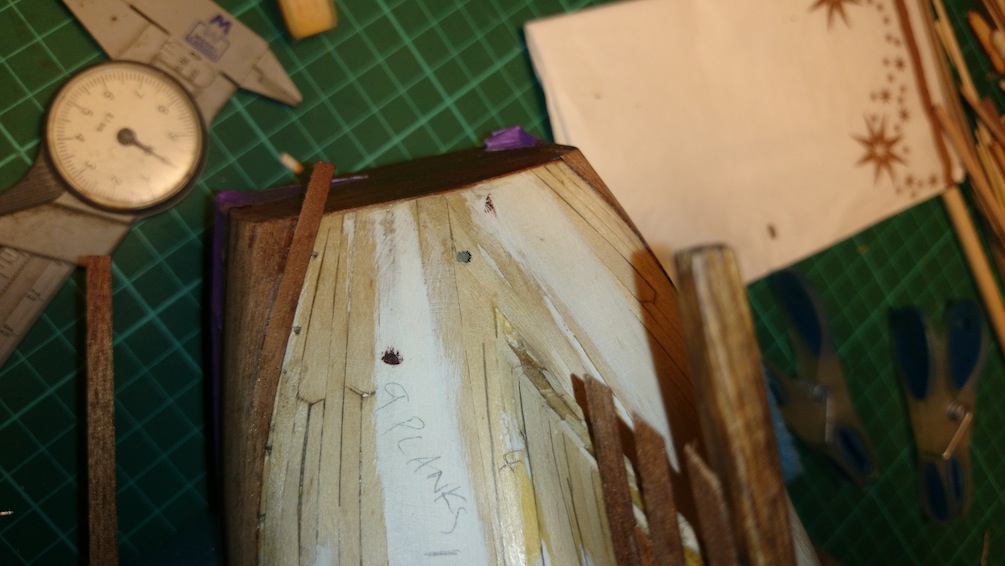
I have fitted second garboard plank and adjusted them to appropriate angles, pictures should show this.. You can see difference from first layer planking..
I am really taking baby steps, working out planking layout and am making sure i dont finish short of a plank, my gap between top planking and garboard is 84mm which is 14 planks if the planks are 6mm wide like kit says they are, but they are actually around 5.7 mm, this is okay as i end up losing about 0.5 mm per 5 plank runs.. So i fall short about a third of a plank over the 14 .. I figure i will take a milli-shave off a few planks and end up where i need. Best to be taking some off than ending with a gap i gather.. Regards Ollie

- ringbolt2013 and egkb
-
2
-
I have noticed many peoples margin planks are a different color, including mine on my build and it looks quite good.. I was hesitant about the margin plank, but very glad i did it.. i think you are doing very well here... I agree with what TONY said... ^^^ Ollie
-
It went well, see my log if your keen.. I am using 'white knight' spray acrylic clear satin. Non yellowing. would highly recommend it..regards
-
-
-
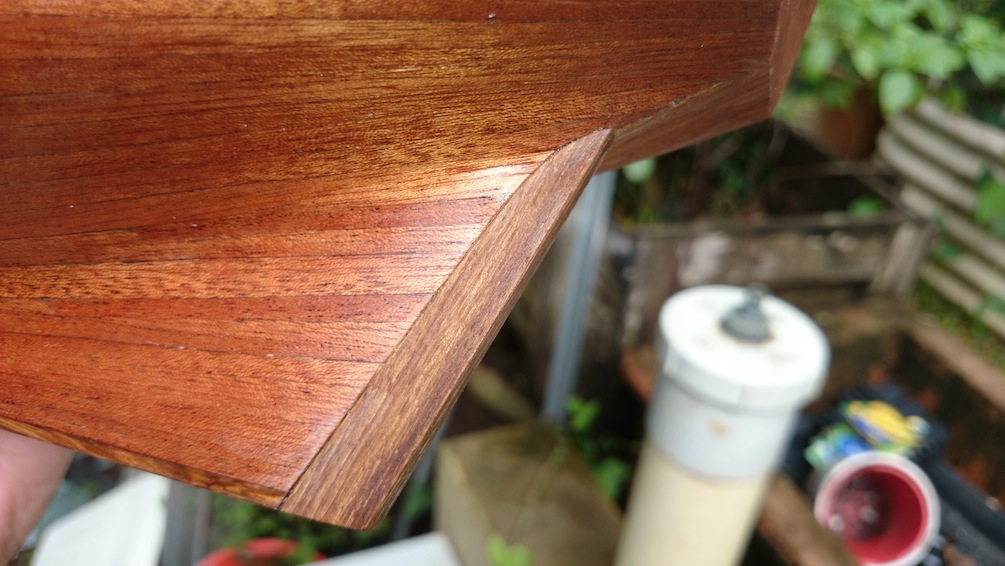
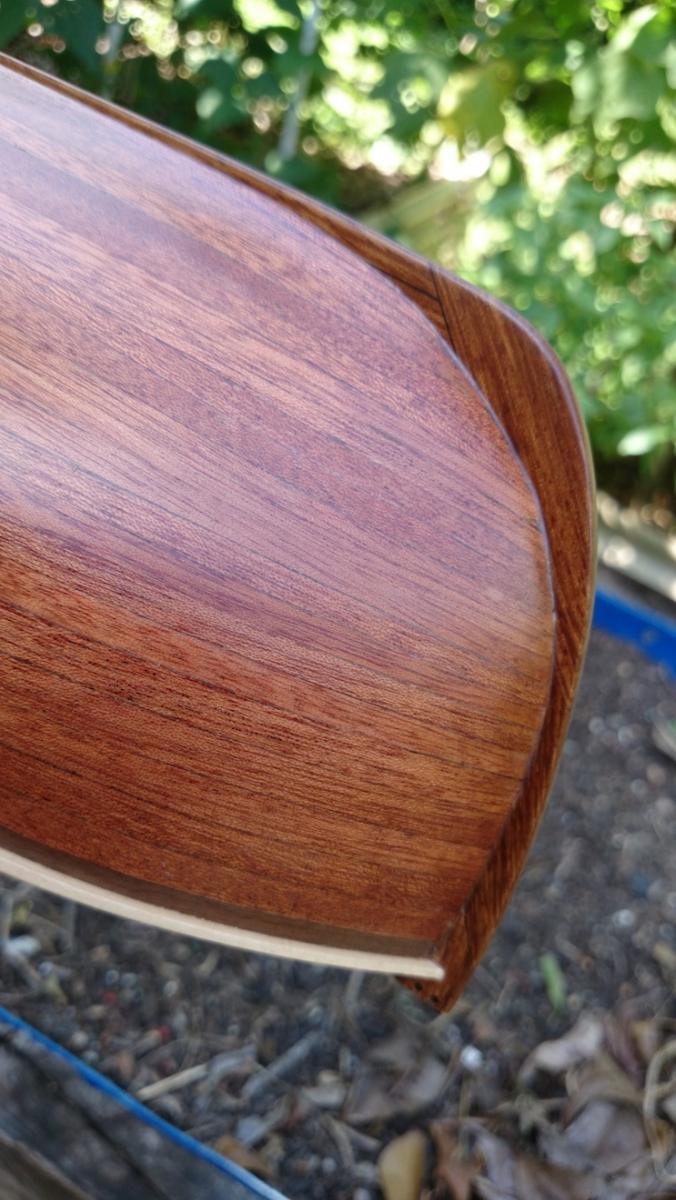
Ok John
Thanks Eamonn, that actually all makes sense to me,, appreciate your input.. I think this angle shows the situation better... I have drawn a new line and i think it will be best cut back to darker line.. Ollie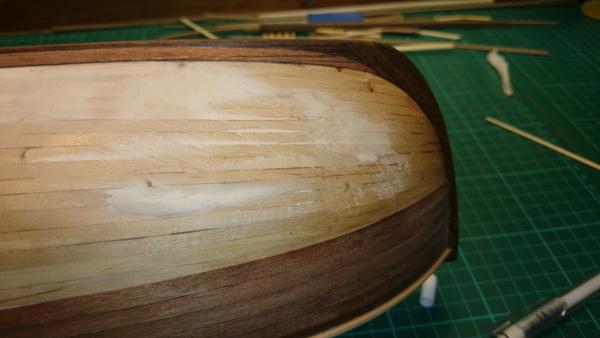
- ringbolt2013 and egkb
-
2
-
I should be more clear on what i'm actually saying.. This diagram from a tutorial shows it.. Looking at it again now i think its okay... Ollie

- egkb and ringbolt2013
-
2
-
Hi all..
I was wondering if the garboard plank i fitted looks okay where it meets the keel at bow.. Should it angle down more? Ollie


- ringbolt2013 and egkb
-
2
-
Thanks guys, Tom you raise a very valid point. I didn't think.of that about the paint and I should know being in.construction and renovations
...
-
Wow i only just found your build, this is a beautiful little ship you have built.. Look forward to browsing through . Regards ollie
-
Thanks guys, I was a bit dubious about doing 5 planks without tapering like the instructions say but i suppose it is done like this because wales follow these planks. Is this okay what i have done, John what do you mean exactly by "run of the planking"?
I want the cutout side of hull to planked as good as i possibly can but other side is being painted and coppered, so not so bothered, i think i should do the painted sides planking first.. Regards Ollie
- ringbolt2013 and egkb
-
2
-
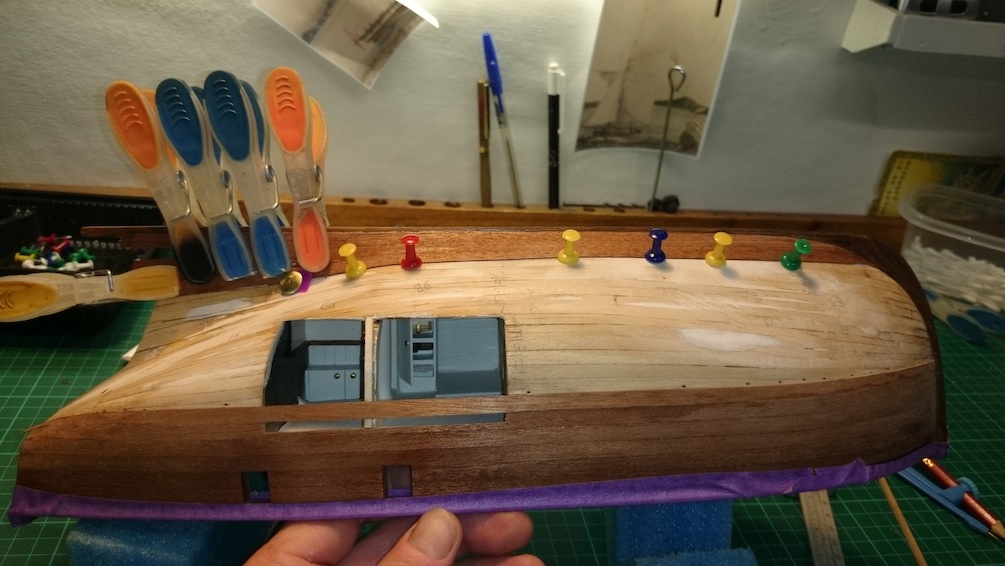
Okay, 3 hours added to build.. I have done my first 5, 2nd layer planks.. Another milestone.. They are not to be tapered till the 6th plank and i have decide to go for full length planks for ease of assembly..
I am quite enjoying the second layer planking in the thin strips.. that was an easy stretch though..
Also tidying up below deck, added some false tree nails and butt joints, thought i may as well.
Ollie


- ringbolt2013, egkb and avsjerome2003
-
3


HM Colonial Cutter Mermaid by olliechristo - FINISHED - Modellers ShipYard -
in - Kit build logs for subjects built from 1801 - 1850
Posted
Great John, Yes please correct me on terminology, I am getting better, but a long way to go.. need to do more study instead of always ripping into the prac, but thats nothing new at all.. ... Thanks for the link, much appreciated .. Regards Ollie