-
Posts
412 -
Joined
-
Last visited
Content Type
Profiles
Forums
Gallery
Events
Everything posted by olliechristo
-
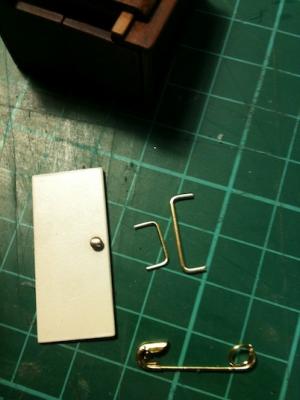
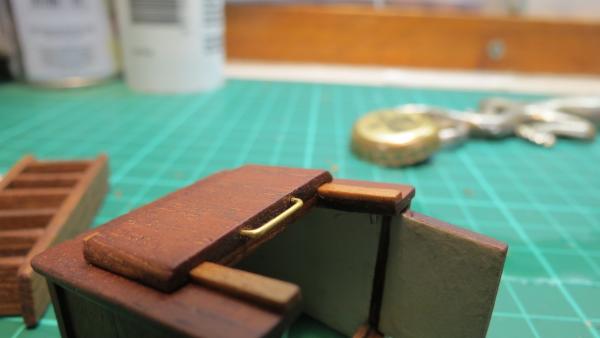
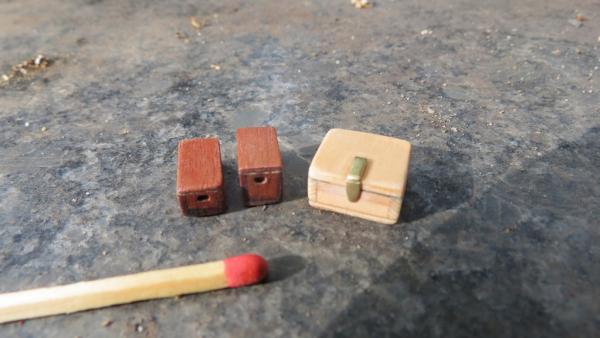
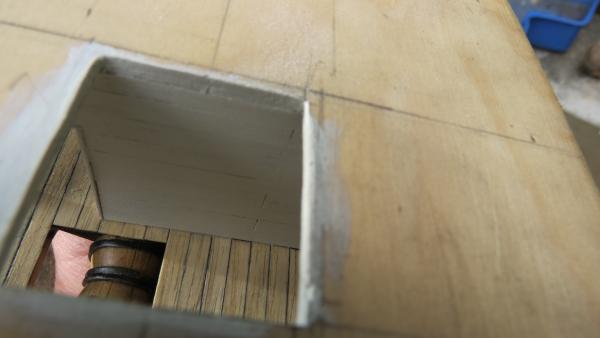
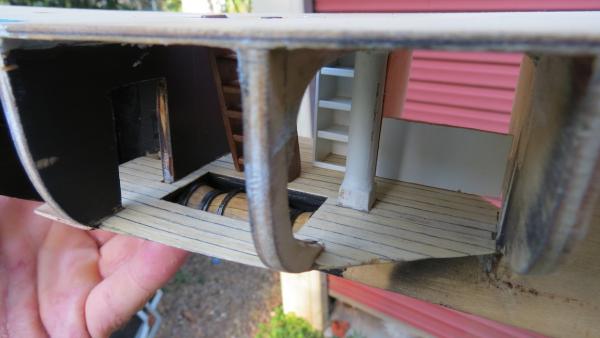
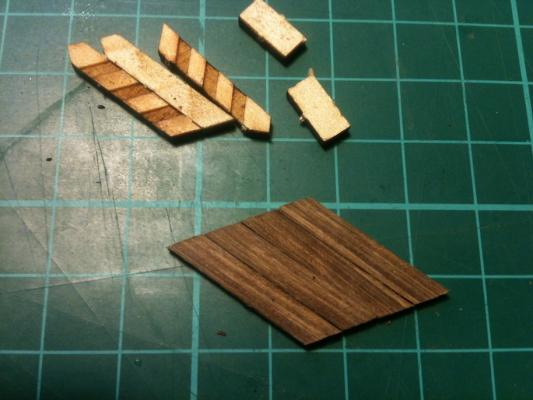
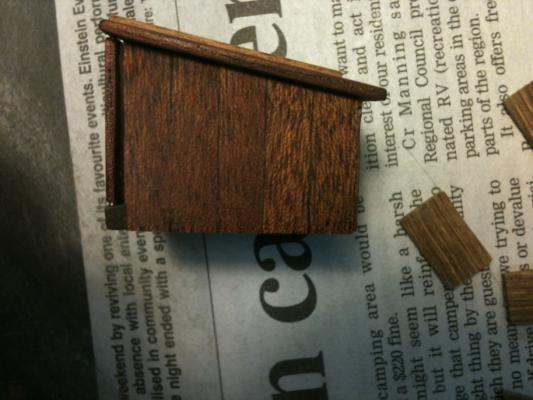
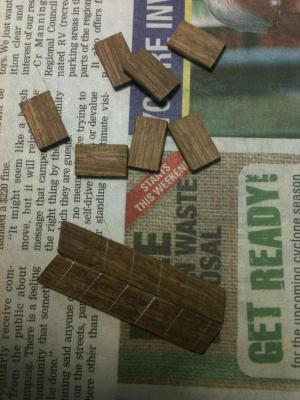
Hi all, progress has been a bit slow, I have many other things that need to be done, would spend a lot more time if the boss alllowed it,... .. I have worked towards getting my interior madness finished and onto the planking and the plan... doing reading and research on planking.. think i have sorted in my head.. I have made some brass handles and planked one of the walls.. Made a few items for the cupboard and just enjoying it really... Will let the pictures do the rest of the talking.. Happy crafting all.. Ollie
- 803 replies
-
- colonial cutter
- modellers shipyard
-
(and 1 more)
Tagged with:
-
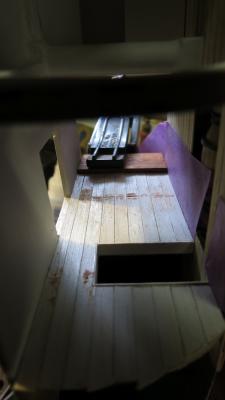
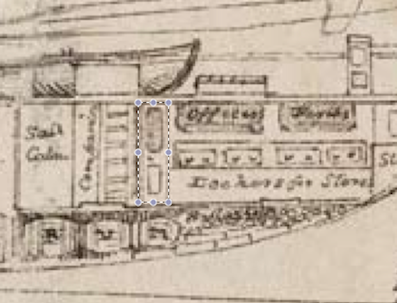
Ahh I just realised some things... I thought it said office's and something else at top... But it says officers pantry,,, feeling silly... but thankful that i noticed.. also worked out that there is quite possibly two hatches to below deck and one is right where i put it at bottom of stairs.. pretty happy with that.. At the bottom i think it says "ice chest for stores". but not too sure and doesnt matter too much.. .. Ollie
- 803 replies
-
- colonial cutter
- modellers shipyard
-
(and 1 more)
Tagged with:
-
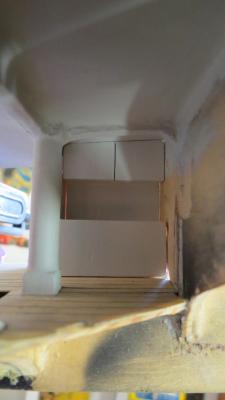
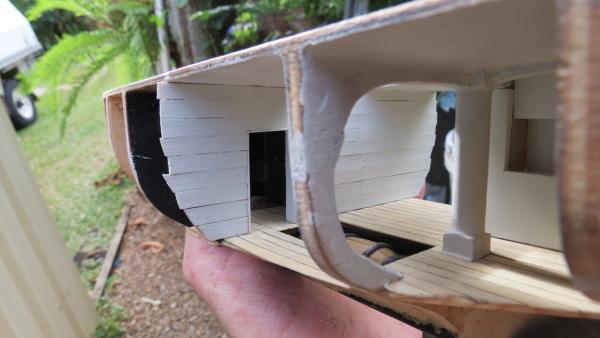
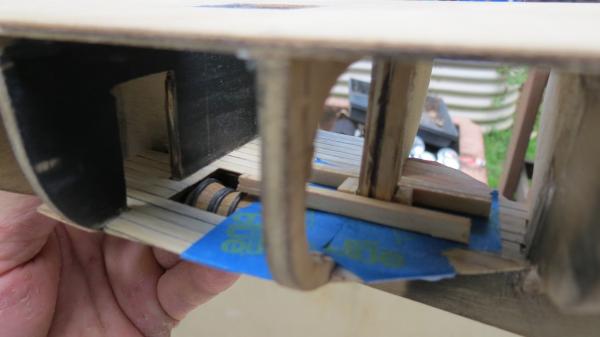
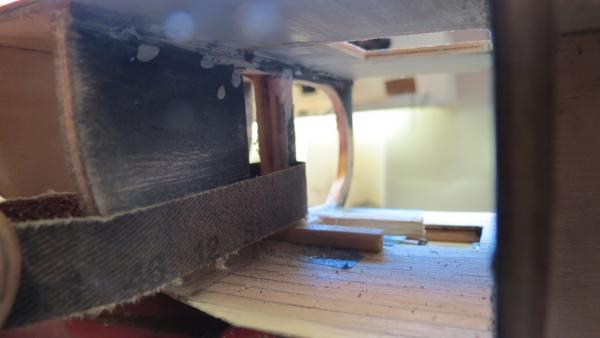
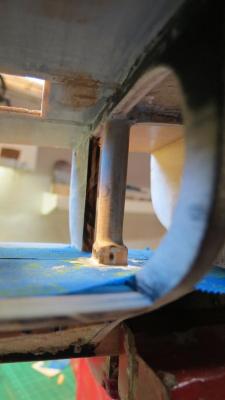
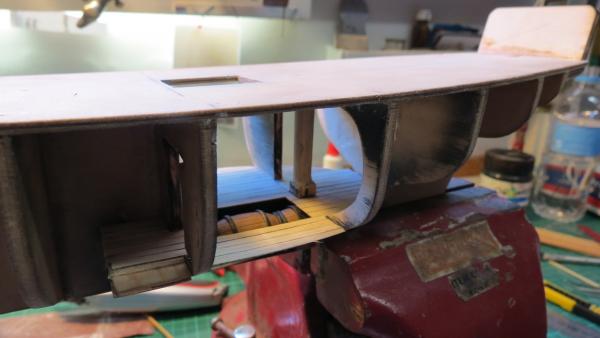
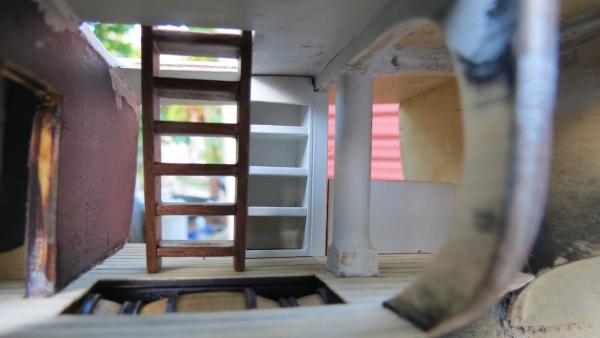
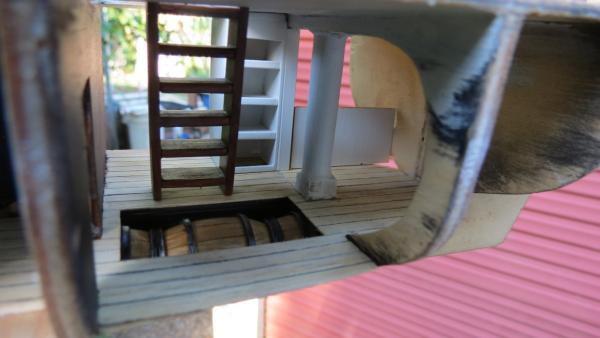
Hi all, i have spent about another 10 hours since last post.. I have spent some of that time with the thinking cap on and came up with some solutions to fulfill my desire to open up interior further without compromising hull strength.. I cut out the middle as to still leave original plywood in a shape of a "L" and filled in the gap to make a square column, i then sanded with a rough thin belt followed by a piece of quality 240 grit cut to height of post.. Carefully moving arond from different angles ( notice the laser cut number still showing on column..). It could be a bit smaller at vase but prefer to keep the strength. Very happy with the result.. It all looks to make more sense and might even have room to cut some holes for skylight.. more stores will go at stern.. I have re-planked the deck with the same planks as weather deck and will buy some more planks (silver ash) from the same supplier.. I realised the originals i made they were too thick for accurate scale.... ( i have gripped the scale element now and is very simple once you think about it...) I am also thinking of buying teak (0.5mm) planks for exterior of hull on the show side... mahogony (0.6) is supplied. What do you guys think about that? Other side is painted.. if anyone has any ideas as to fill last area on right of cupboard please comment.. I am thinking it is part of the galley cooking or washing perhaps..? (refer to earlier diagram Page 2) . Thanks for looking.. Happy crafting all. Ollie
- 803 replies
-
- colonial cutter
- modellers shipyard
-
(and 1 more)
Tagged with:
-
I was thinking boxes!! and i thought lips... no joke.. But just not that confident in the ideas.. I'm off to the shed.. Many thanks..
- 803 replies
-
- colonial cutter
- modellers shipyard
-
(and 1 more)
Tagged with:
-
Great, i'm learning heaps... Any ideas for what to put in cupboard i have.. Someone said "ready stores" what would they be? Ollie
- 803 replies
-
- colonial cutter
- modellers shipyard
-
(and 1 more)
Tagged with:
-
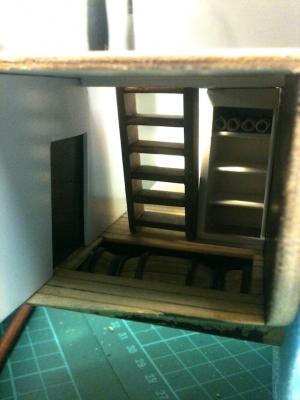
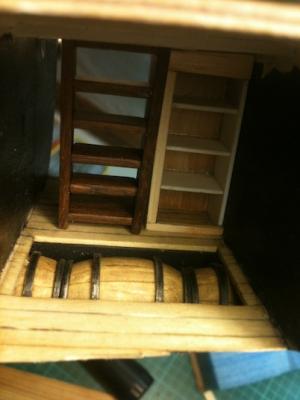
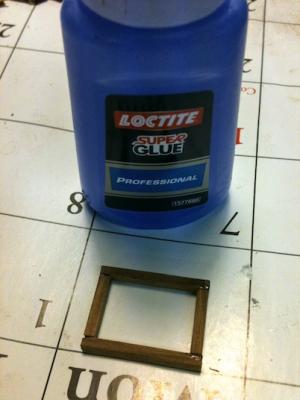
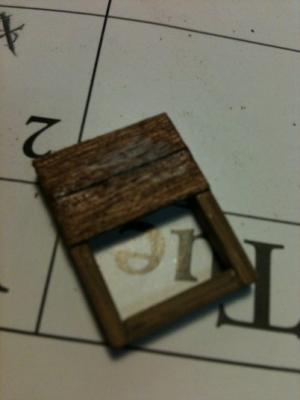
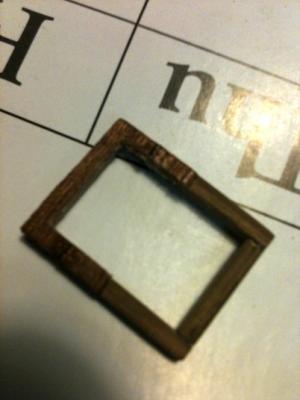
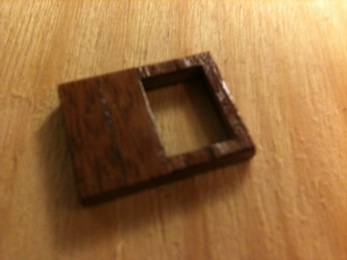
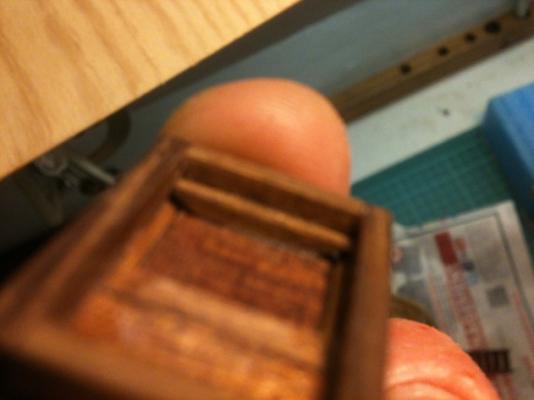
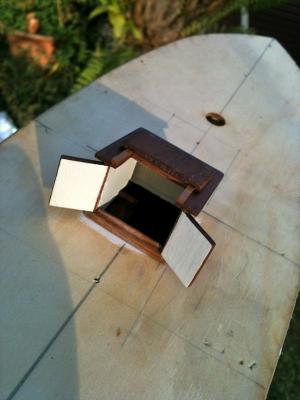
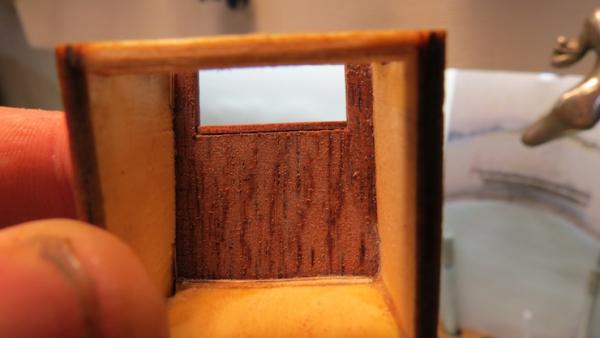
Hi again, spent another few hours on interior work, want to get that done.. I must admit i am struggling a bit with how to finish it off. How to depict thoroughfare through to main hold etc.. At the moment i am trying just having a rectangular opening with framing perhaps and black background..(pic 3) Its a bit narrow in companion too. Nothings fixed in yet. Very tempted to cut further into hull (main hold) just for peeking in.. but don't want to compromise too much strength or anything.. I tried making some scrolled maps, not sure this appropriate and they need to be smaller i think...(it is amazing how taking photos shows up imperfections and scale issues). Will be glad when my interior is done and move along.. Please feel free to share any ideas of how to finish the interior walls. Obviously this is not easy as the plans i have are quite two dimensional.. And basically i just have to do what i can with where im at now and have to accept i can never make it totally authentic inside.. .. Regards Ollie
- 803 replies
-
- colonial cutter
- modellers shipyard
-
(and 1 more)
Tagged with:
-
They are beautiful.. True craftsmanship. Thanks for sharing, Im inspired to have a go... Regards Ollie
- 803 replies
-
- colonial cutter
- modellers shipyard
-
(and 1 more)
Tagged with:
-
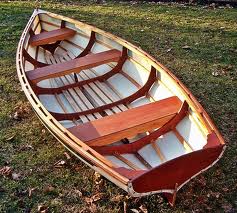
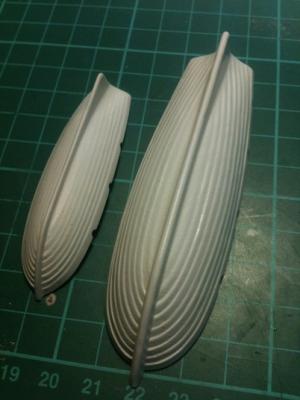
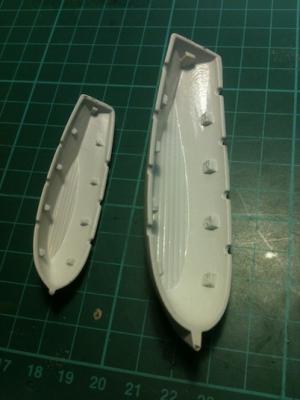
How do you think would be best to construct them? Frames then planks? Perhaps i could cut the supplied boats into frames and plank them.. hmmm I found some nice pictures of a few row boats, do you think any of these would suit the ship and era? Im thinkng the last one suits best..
- 803 replies
-
- colonial cutter
- modellers shipyard
-
(and 1 more)
Tagged with:
-
That is a good idea John, Will see how i go.. I am going to make oars thats for sure... Thanks for your compliments.. If i use these plastic hulls, i plan to embellish them a fair bit.. Thanks for the idea mate, i hadn't thought of it.. . It would certainly add another few hours.. But would also do it much justice i'm sure... Regards Oliver
- 803 replies
-
- colonial cutter
- modellers shipyard
-
(and 1 more)
Tagged with:
-
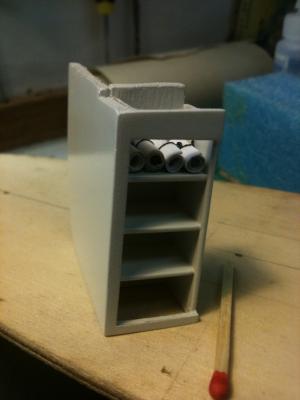
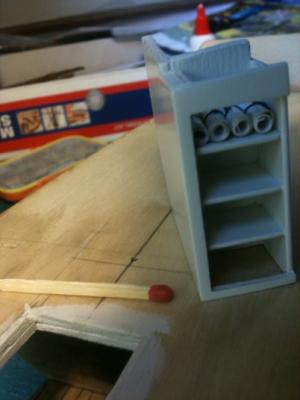
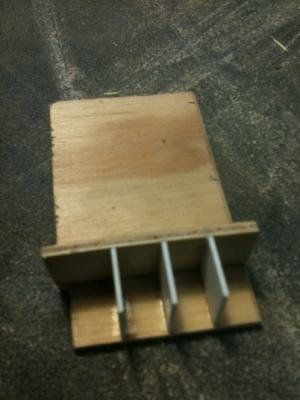
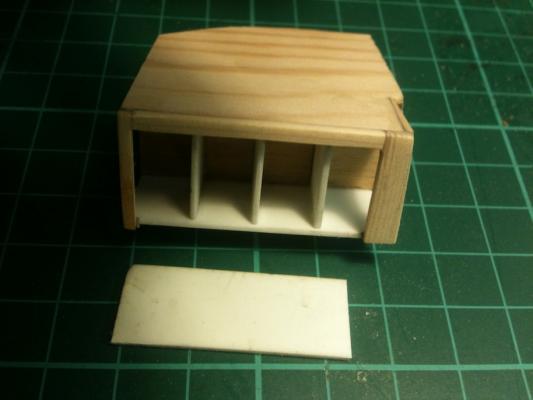
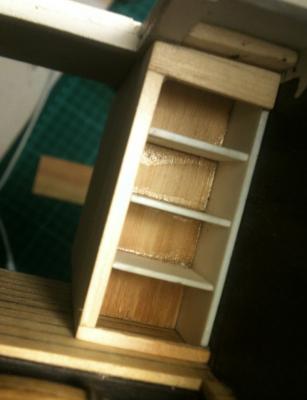
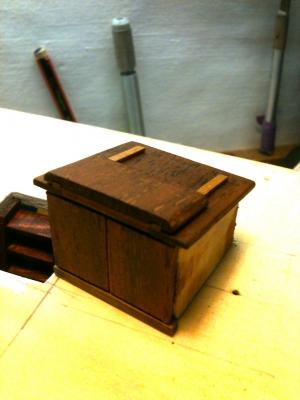
Hi all. Thanks again those who have helped with ideas so far.. Spent about another 3 hours knocking up a cabinet or call it what you will, for the interior.. The shelves are 1mm thick high density polyurethane sheet. I have used this for many projects, comes in many thicknesses. I like it.. It fits in nicely and already having trouble coming to paint things, just love timber in its natural state.. If anyone has ideas or pictures for items to go in the cabinet please share. I have a couple. Also painted the rowboats.. Happy crafting all. Regards
- 803 replies
-
- colonial cutter
- modellers shipyard
-
(and 1 more)
Tagged with:
-
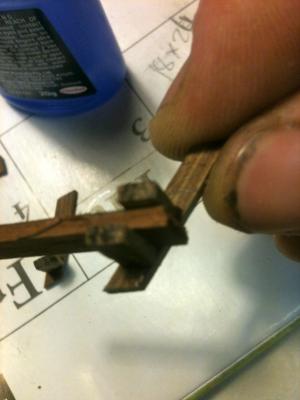
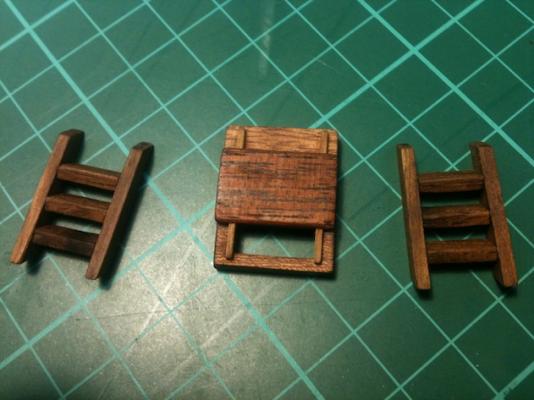
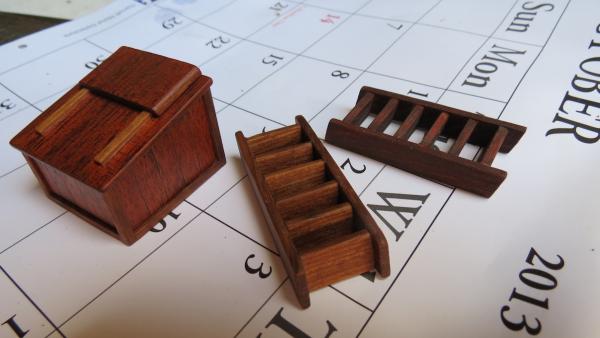
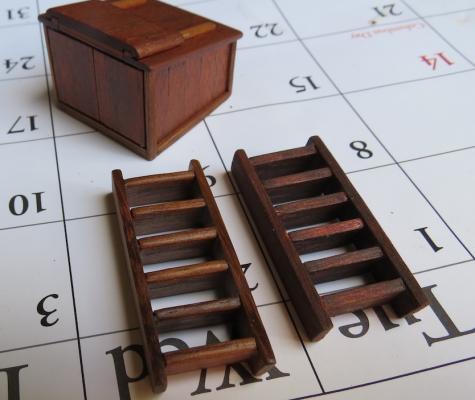
Thanks Auvergne and Jeff. I spent another 3 hours tonight and built the forward companionway.. I Built the frame out of a more sturdy piece of black bean than 2x3mm walnut provided.. It opens and closes on rails, the hatch has grooves that run on the rails like main companionway and also a mechanism to stop it just flying off.. lugs hook under rails, it too has final opening and closing limits.. Happy with it. I wasn't too excited about the laser cut stairs for deck so i used them as templates and made them as before.. They are fiddly and certainly not a breeze.. Thanks for looking and happy crafting all.
- 803 replies
-
- colonial cutter
- modellers shipyard
-
(and 1 more)
Tagged with:
-
Very nice planking Jeff. Great to see how it happens. . Really liking the look of this model... Regards Ollie
-
Ok hi again all. Must have spent about 6 hours since last pictures.. Finished Companionway besides final touches and handles.. Built a new stairway out of hard wood. was much trickier but much happier with the finish.. Still waiting on mini plane to do first planking so will move onto skylight now I think. of course I want to make it much more realistic and with real glass or perspex perhaps.. I can cut glass no worries..Its just going to be small pieces..
- 803 replies
-
- colonial cutter
- modellers shipyard
-
(and 1 more)
Tagged with:
-
Thanks so much again Jeff Cheers to you.. Great looking vessel there.. Thanks for the info on your handles, that is basically what i am thinking of doing.. I just need the brass.. Also that makes perfect sense about the lanterns.. You have confirmed my assumptions... I have just spent a while building new hardwood "Black Bean" stairs (about to glue) and working on sides of companionway, enjoying it very much.. More Pictures coming soon.. Hope the wet start of the wet season is treating you well, we are getting our first good rain here in some time... Regards Ollie
- 803 replies
-
- colonial cutter
- modellers shipyard
-
(and 1 more)
Tagged with:
-
Ah no its not red cedar at all, i think the veneer i have is QLD cedar. Auvergne. if you have a build log i will comment there, if you read my first post i am new to model ship building , this is my first. I have very little knowledge of boats and even less on your ship..,I'm just handy and have been building things for as long as i can remember.. looks good though.. look forward to finding your log.. Regards. Ollie
- 803 replies
-
- colonial cutter
- modellers shipyard
-
(and 1 more)
Tagged with:
-
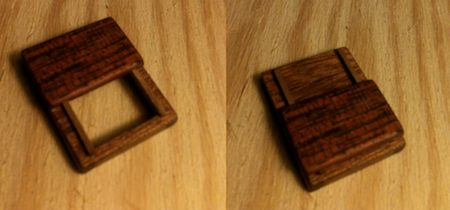
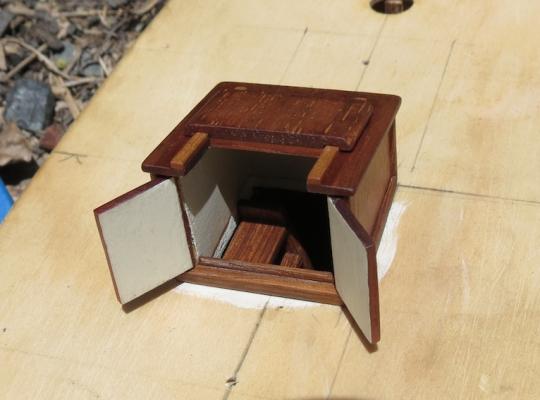
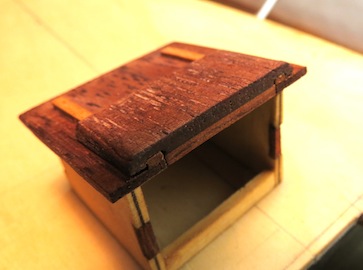
Well there goes another 2 hrs on the companionway, tidying interior paint, fixed doors in place and made a door sill at bottom to prevent water getting in and stop doors at a specific point when closed.. basically just have to decorate sides and front now.. Can anyone advise any ideas to add to interior of companionway, i figure there would have been a light, considering it is built in 1917, what sort of lighting would this ship have? Lanterns i figure.. Another thing i have to work out now is handles for doors an hatch, any ideas for making them or where to source them easily on internet? Im considering rebuilding another set of stairs as the set i have made are cut a bit short from prior fiddling. (they fall just below deck height. It would be nice to make them out of a genuine hard wood like the black bean that i made the door sill out of. Very hard.. I don't really like to stain timber. Love the natural finish and color.. Regards Ollie
- 803 replies
-
- colonial cutter
- modellers shipyard
-
(and 1 more)
Tagged with:
-
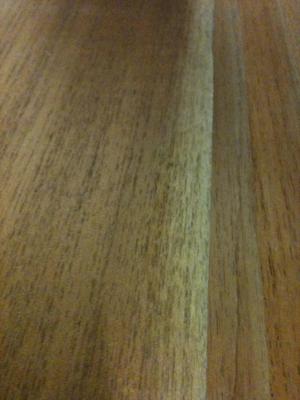
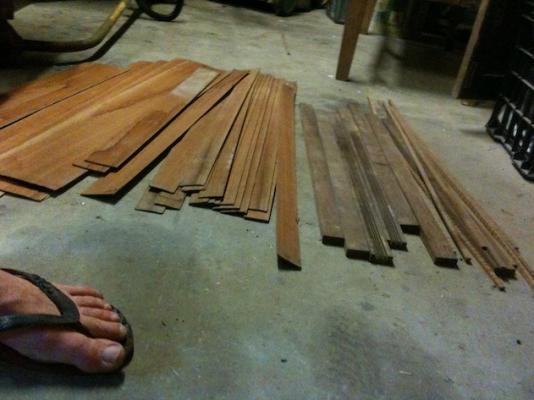
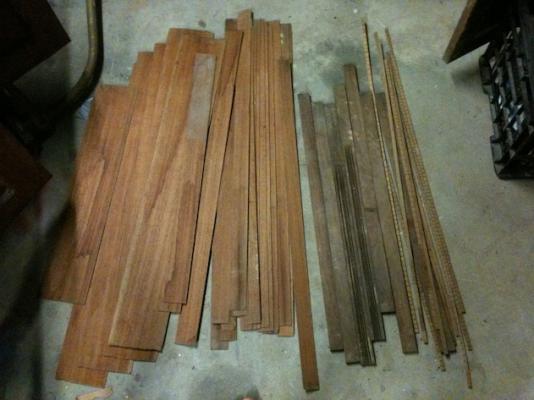
I asked Dad about the wood but havnt seen him in person to look, he said there was originally. -Western red Cedar (Oregon) -Queensland (Qld) maple -Black Bean -Qld Ash The three bottom timbers are Australian I think what i have is Red cedar 1.9mm veneer (what i have used on roof and doors) ... and then the larger pieces are Black Bean (door sill) What this ship was actually built out of was teak. Looking at some teak and the western red is kind of similar. Would be nice to get hold of some teak.. We will see.
- 803 replies
-
- colonial cutter
- modellers shipyard
-
(and 1 more)
Tagged with:
-
Yes Rowan.,it worked well, i like the fact that its metal and it was something I had.. just hammer it with a big flat hammer on something flat cut with knife and super glue on.. I then sanded and painted flat black then satin glossed the lot. regards
- 803 replies
-
- colonial cutter
- modellers shipyard
-
(and 1 more)
Tagged with:
-
Oh and the cutting tool is used in my trade and by carpet layers but doesnt get used anymore as we dont use plastic trims (rarely) we use aluminium edges and cut on a mitre saw.. (I am a tiler/renovator) Coming in handy for fine strips. Regards ollie
- 803 replies
-
- colonial cutter
- modellers shipyard
-
(and 1 more)
Tagged with:
-
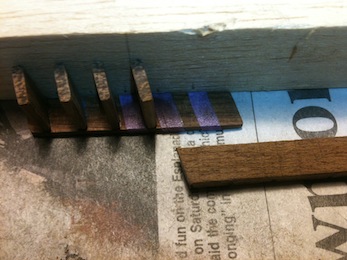
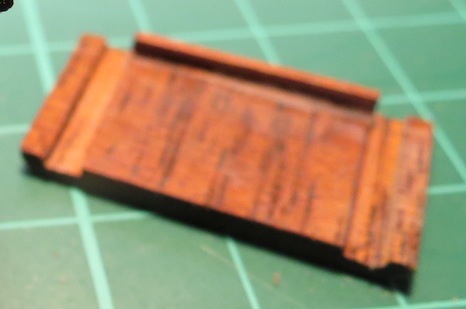
Well another 3 hrs went by on the companionway. Time flys when your having fun that is for certain.. Working in 0.5 of mm or less tolerences is testing at times, i usually work within 1mm tolerences only... not fractions of mm So I built the doors in one part first, to aid with getting everything flat straight and square.. The grid is excellent for this.. I used pins and cut them at desired length plus some, so can be sanded flat and even as required.. .. Cut bigger then work smaller and mark off the actual job are some of my tips,.. I added a "lug" you may call it, to prevent hatch being hable to come off whilst model is in transit or being fondled. The hatch can slide off once right hand door is open but will not come off otherwise ( in open position or closed with doors closed.). I have chosen an off-white for interior ceilengs etc.. There is lots more tidying to do, but very happy.. ------------------------------------ 0.5mm drill bit in the drill press. I suggest using a pin to indent wood first to aid in drill not bending and vibrating. I also found some of dads really old timber and cut some down, its hard as nails, i think it's maple or mahogany. will find out. I have lots of tools but they are not designed to work this fine, i cut the strips on a home made bench ripping saw, i like to make do with what i have.. I do have a nice dremel that will come in handy. no micro mills or lathes in this shed.. Regards Ollie
- 803 replies
-
- colonial cutter
- modellers shipyard
-
(and 1 more)
Tagged with:
-
- 803 replies
-
- colonial cutter
- modellers shipyard
-
(and 1 more)
Tagged with:
-
What a great little boat. That looks just marvellous.. Beautiful work. Look forward to seeing more. Regards Ollie
- 209 replies
-
- muscongus bay lobster smack
- midwest products
-
(and 1 more)
Tagged with:
-
I Can see another 3 hours at least just on this component.. I am going to do double doors on hinges tomorrow hopefully and maybe plank the sides.. Already losing track of the hours..
- 803 replies
-
- colonial cutter
- modellers shipyard
-
(and 1 more)
Tagged with:
-
- 803 replies
-
- colonial cutter
- modellers shipyard
-
(and 1 more)
Tagged with:
About us
Modelshipworld - Advancing Ship Modeling through Research
SSL Secured
Your security is important for us so this Website is SSL-Secured
NRG Mailing Address
Nautical Research Guild
237 South Lincoln Street
Westmont IL, 60559-1917
Model Ship World ® and the MSW logo are Registered Trademarks, and belong to the Nautical Research Guild (United States Patent and Trademark Office: No. 6,929,264 & No. 6,929,274, registered Dec. 20, 2022)
Helpful Links
About the NRG
If you enjoy building ship models that are historically accurate as well as beautiful, then The Nautical Research Guild (NRG) is just right for you.
The Guild is a non-profit educational organization whose mission is to “Advance Ship Modeling Through Research”. We provide support to our members in their efforts to raise the quality of their model ships.
The Nautical Research Guild has published our world-renowned quarterly magazine, The Nautical Research Journal, since 1955. The pages of the Journal are full of articles by accomplished ship modelers who show you how they create those exquisite details on their models, and by maritime historians who show you the correct details to build. The Journal is available in both print and digital editions. Go to the NRG web site (www.thenrg.org) to download a complimentary digital copy of the Journal. The NRG also publishes plan sets, books and compilations of back issues of the Journal and the former Ships in Scale and Model Ship Builder magazines.


