HOLIDAY DONATION DRIVE - SUPPORT MSW - DO YOUR PART TO KEEP THIS GREAT FORUM GOING! (Only 13 donations so far - C'mon guys!)
×


olliechristo
-
Posts
412 -
Joined
-
Last visited
Content Type
Profiles
Forums
Gallery
Events
Everything posted by olliechristo
-
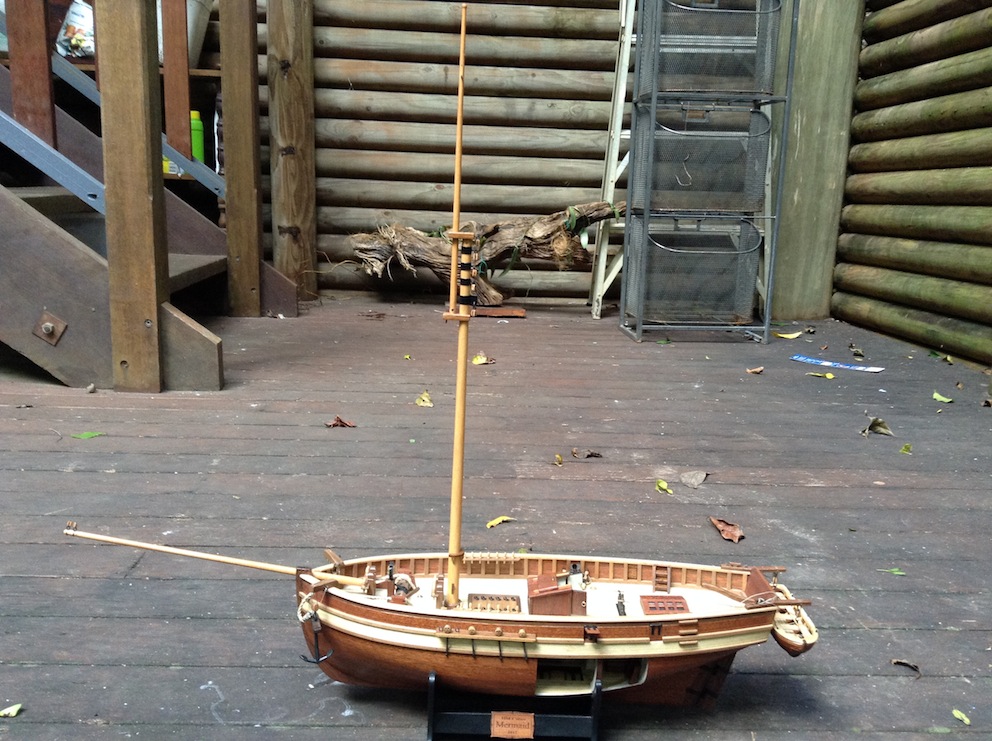
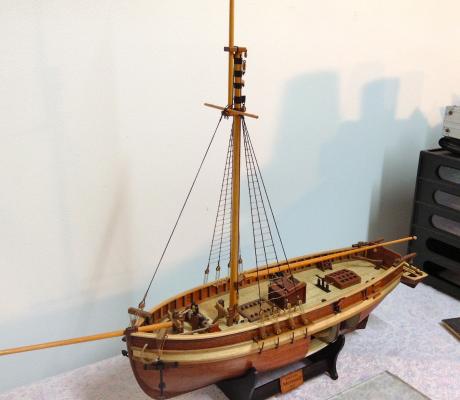
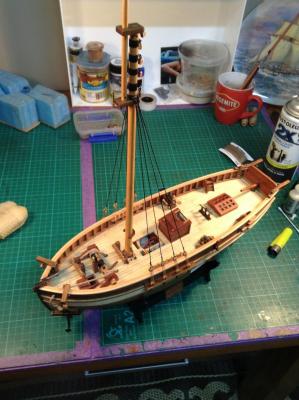
 Hi everyone. Although I generally like to tread the less trodden path, I can't help but want to build the famous Endeavour.. I was born and live not far from Cooktown.. This is what ship came to mind at first, way back.. But i needed a warm up kit.. I wanted to scratch build without caring about time, but i no longer have a shed at home, and i want to complete this one in a matter of years not decades.. i also realised that severe kit bashing is almost scratch building anyway. First I decided that this is the ship i want for my second build, this could be my last until i retire.. I heard that Artesania Latina's version of this ship has fairly accurate hull lines etc... I am a bargain hunter and quite frankly I think most model ships are very expensive considering what is really provided.. And i will rebuild most of it anyway.. I just need all the vital parts.. So I found a ebay auction I liked the look of and won a shelved kit from the 80's I'm told... ($160 incl postage from Florida) I was a little dubious about what it would look like in the flesh (my last cheap shelved kit wasn't much good) I inspected it all today and all is well, all parts seem to be there, plastic still around planks etc...Impressed at the way its held up over the years of sitting. And the original quality looks good.. Walnut dowells look good and other walnut profiles.. The saving i have made allows me to replace all the deck and hull veneers and replace any other fittings i like.. The FIRST question I had to answer..... Was the keel straight ?!? Looks good, thank the lord of decent plywood, this is manufactured before laser wood cutting, most parts seem machined in some way.. I laid it down on a piece of glass and sits flat I hope you all can help me with tips for wood that will suit best and learn a bunch more along the way. I hope to meet some new friends on the journey as well as the amazing folk from my HM Mermaid build.. It's a BIG model and it's going to be a BIGGGER journey!! Ollie
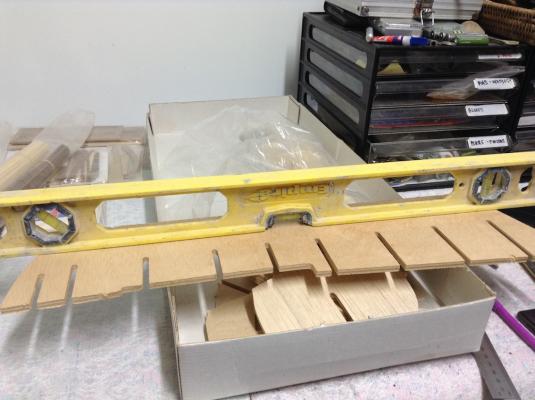
-
Thanks Ken, yes i decided to do it this way so I could have a go at coppering and paint.. Port side is my more historically accurate side... I prefer the natural side also... But the other side looks good too.. regads Ollie
- 803 replies
-
- 1
-

-
- colonial cutter
- modellers shipyard
- (and 1 more)
-
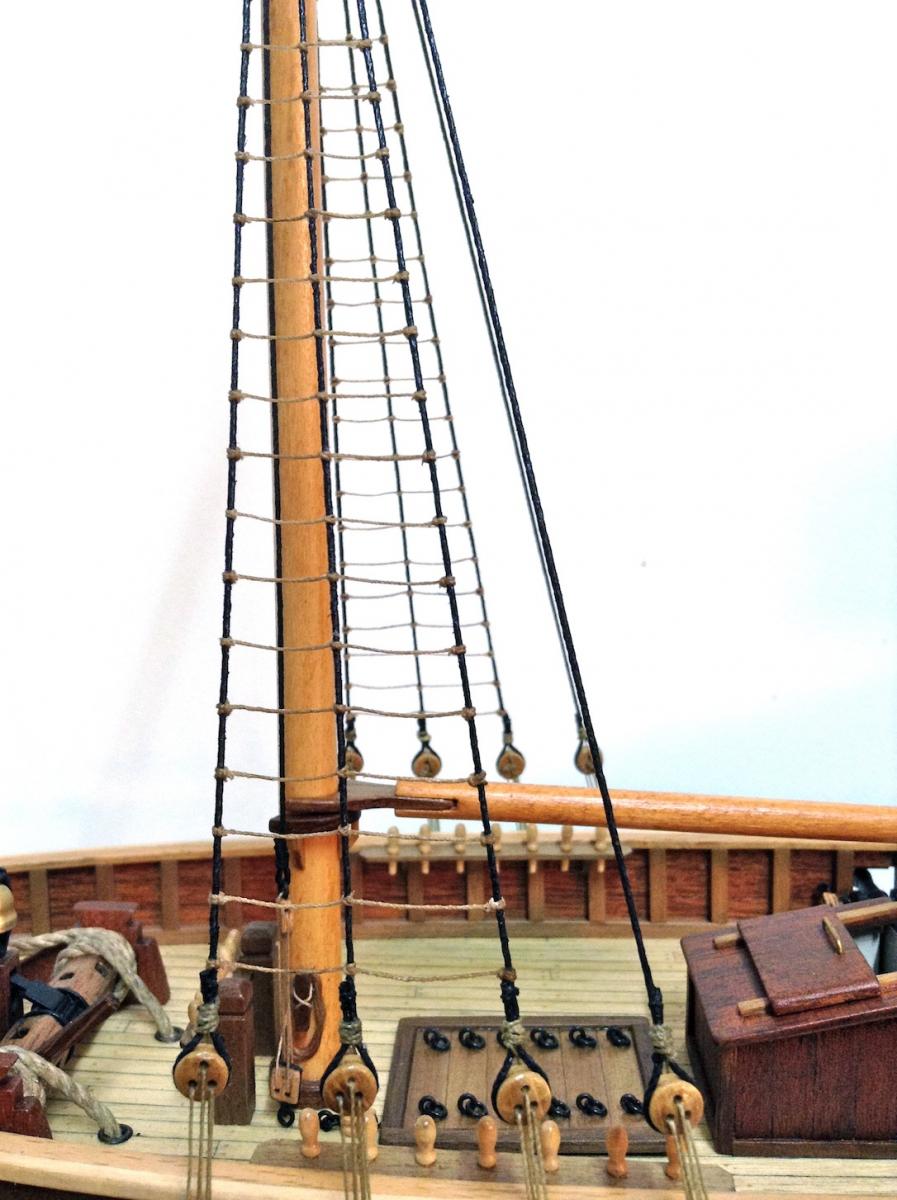
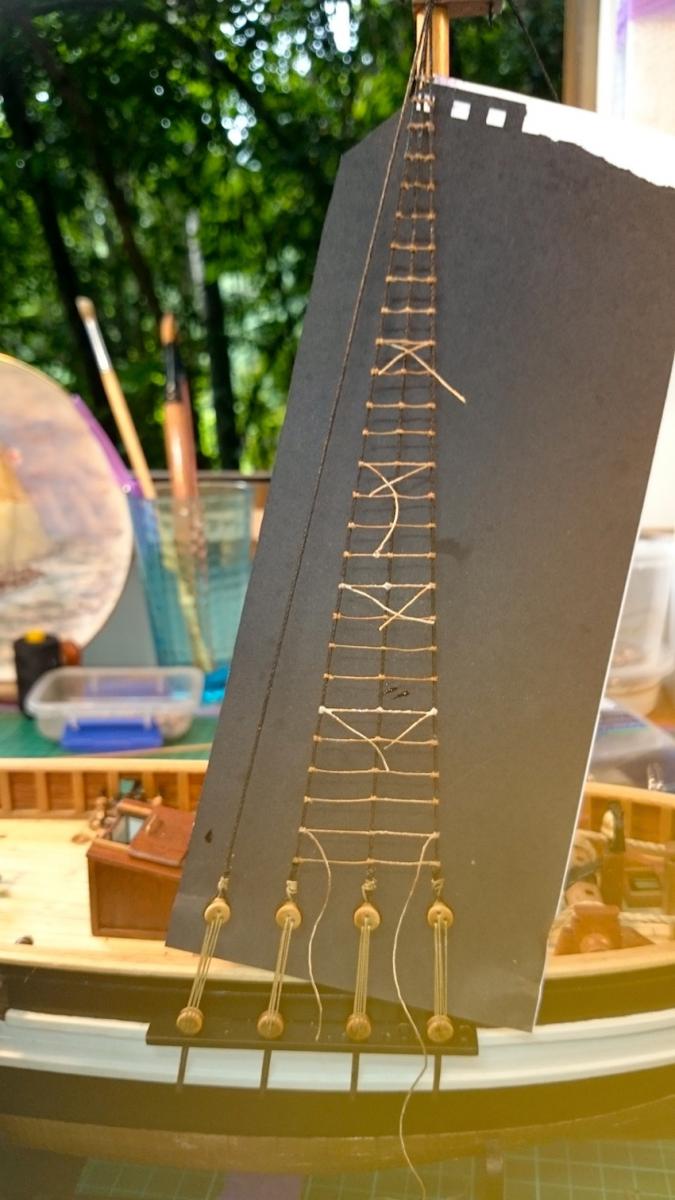
Leanne,, I"m glad i can return something, for all the help i have had is what has made this build what it is.. The whole MSW forum is a godsend.. I look forward to seeing your build log surface John thanks for the compliments, i have a tendency towards wanting perfection, which can be a downfall at times, i came to the conclusion that ratlines were probably not perfect anyway.. Anyway the second time they have come up neater, although i did redo a few to get it right, too much sag on some.. also had a flame up and two rungs burnt out that was exciting/scary.. one has gotta be quick with the flame if burning fuzz.. When i stand back and look at it all, the ratlines and shrouds are really making it look close to done.. Onto back stays next.. steady as she goes, as i want to soak up the last parts of this marvelous journey.. Ollie
- 803 replies
-
- 8
-
-
- colonial cutter
- modellers shipyard
- (and 1 more)
-
Oh and no i didn't miss a run, they just are not needed..
- 803 replies
-
- 7
-
-
- colonial cutter
- modellers shipyard
- (and 1 more)
-
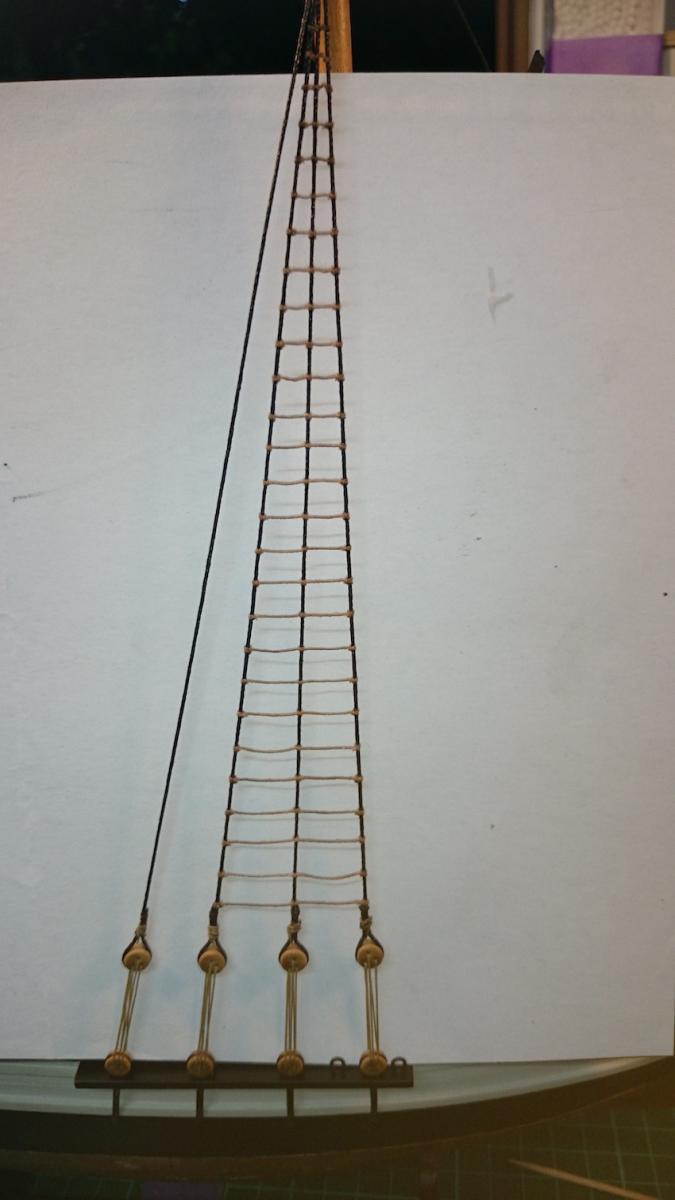
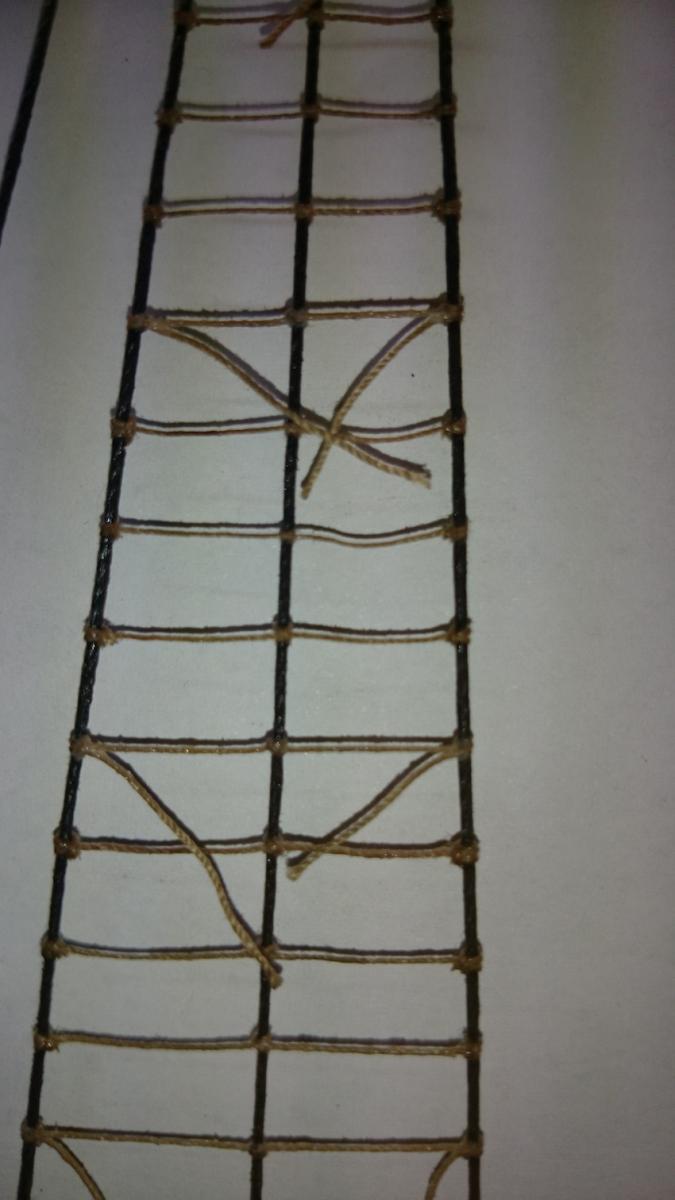
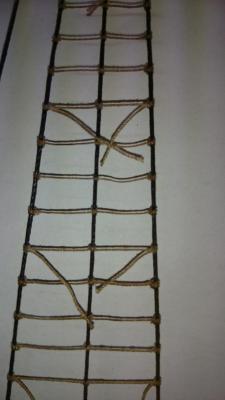
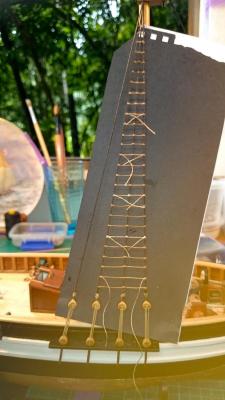
Ok, rats are done on starboard side.. reasonably happy with it, oh ok... I cant complain for a first go It's not as easy as one would like and i'm sure it will go smoother on second run.. I was brave enough to throw in a macro.. Black card helps find the fuzzy bits... best if you dont use waterbased marker to mark out card, it runs when glueng.. I have a grip on the cow and clove hitch now, handy to know.. I used the principle of doing every forth run and then coming back to fill in.. Ollie

- 803 replies
-
- 8
-
-
- colonial cutter
- modellers shipyard
- (and 1 more)
-
Thanks guys, i'm getting a bit better at noticing things out of scale. So the kit says 5mm between ratlines.. that equals 240mm or 10 inches .. Will see how that looks, not sure what the standard is... Going to try get them underway today.. just gotta go clothes shopping Ollie
- 803 replies
-
- 2
-
-
- colonial cutter
- modellers shipyard
- (and 1 more)
-
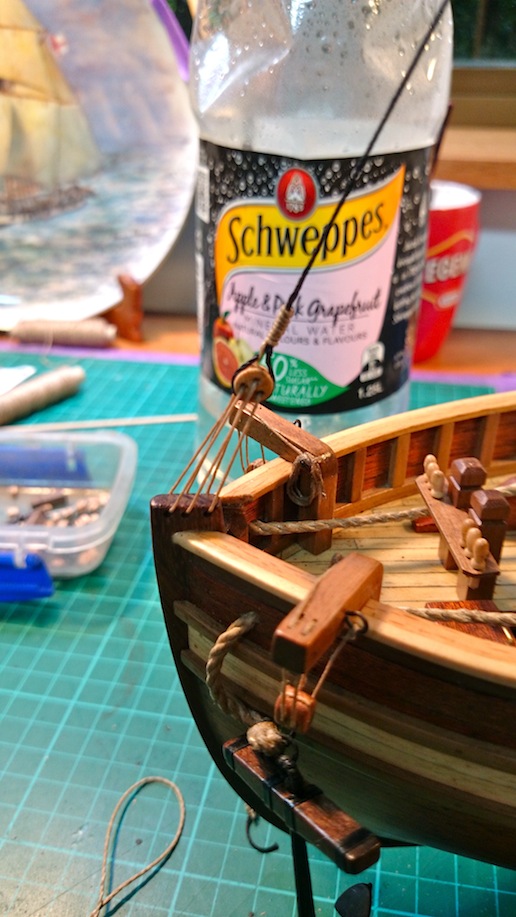
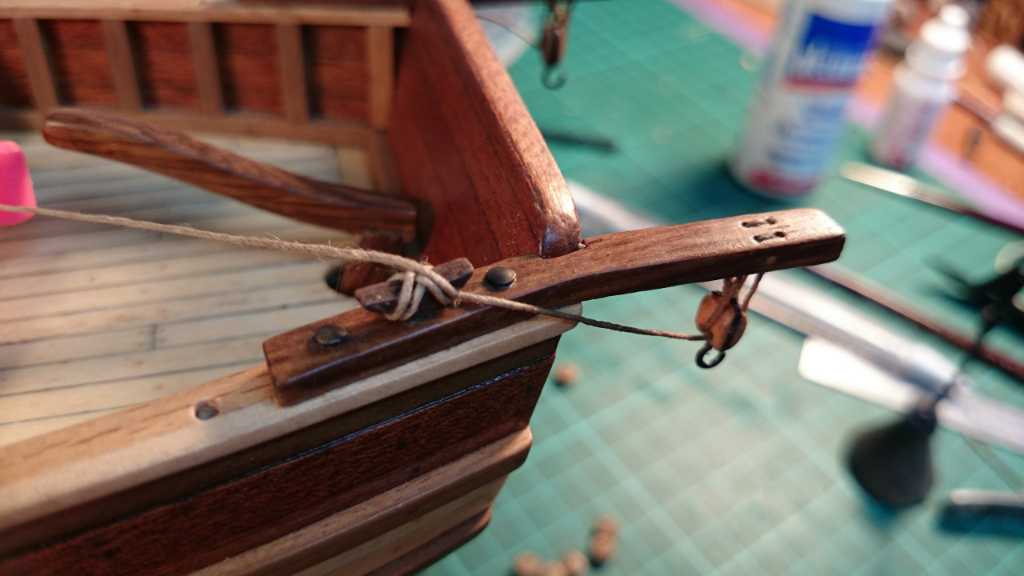
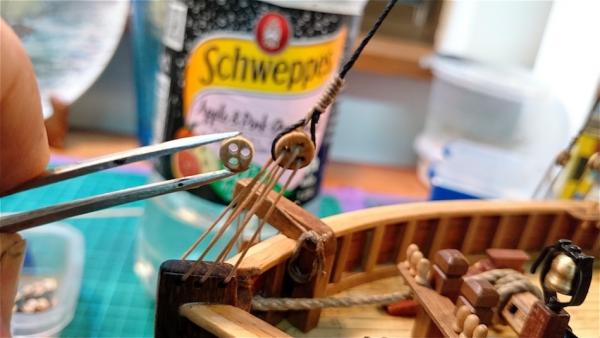
I love how much this hobby is teaching me.. So i wanted to get my front stay on, then i'm onto ratlines.. I did a few tries at getting it right.. Re did it all in the end, doesnt take long.. The deadeye supplied was the same as others used on shrouds but it needed drilling out as the kit said to use the same 1mm black cord to reeve it.. i drilled the holes a bit too large, the deadeye looked a bit small and i actually didnt like the black, tried a few cords till i got looking good,, hand made my first dead-eye.. wasnt hard, made it a bit larger than supplied ones... I'm taking my time now and very happy with the way she is looking.. Ollie
- 803 replies
-
- 6
-
-
- colonial cutter
- modellers shipyard
- (and 1 more)
-
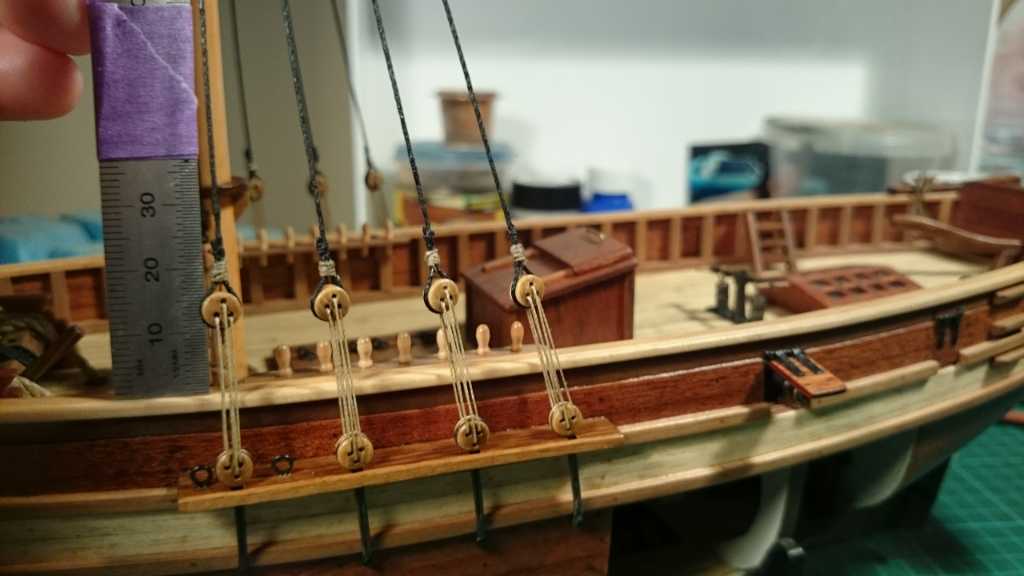
Hey Eamonn buddy, it's been too serious around here without you :-) nice you have back, good to have some time away from model at times, my girlfriend would let me build a.100 ships if I took her to see tori Amos.. . Tom you are.a wealth of knowledge and great support to keep me inspired.. that explains it, makes much more sense now.. Cheers mate... So regarding the jump up to rats.. Scaled down I stand as a man 37mm high.. The taped off ruler shows this height.. Perhaps it's deceiving because she is such a small vessel.. Most are working at smaller scale? Hmm anyway I think the crew will manage..

- 803 replies
-
- 5
-
-
- colonial cutter
- modellers shipyard
- (and 1 more)
-
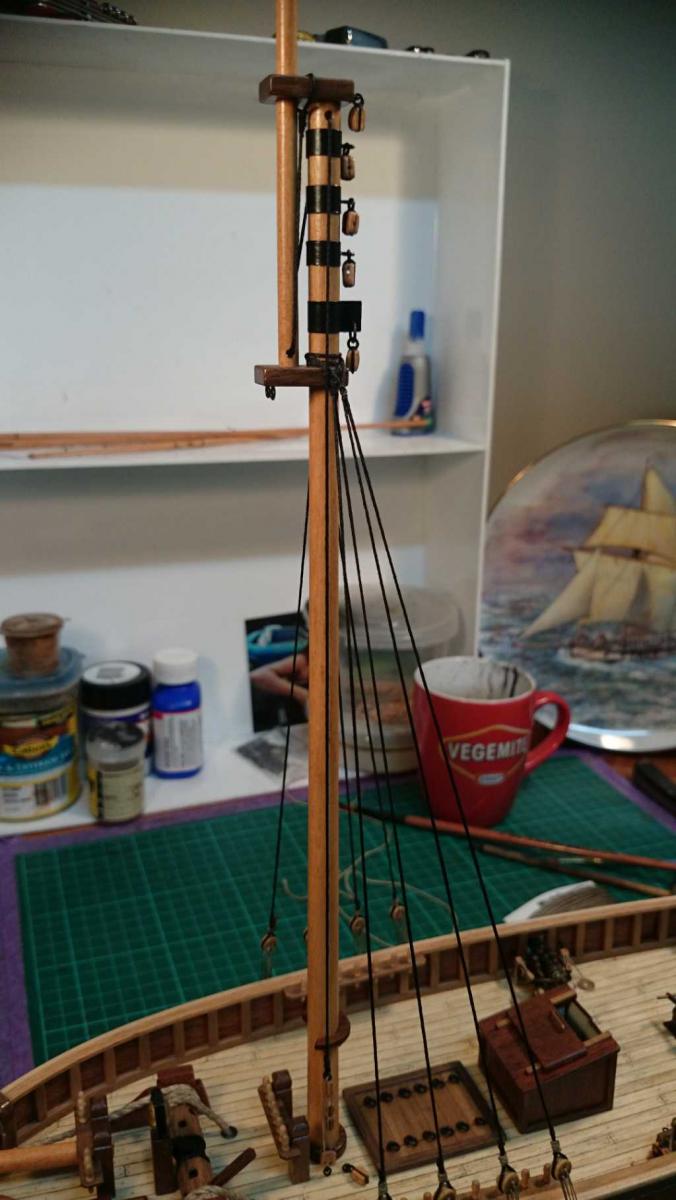
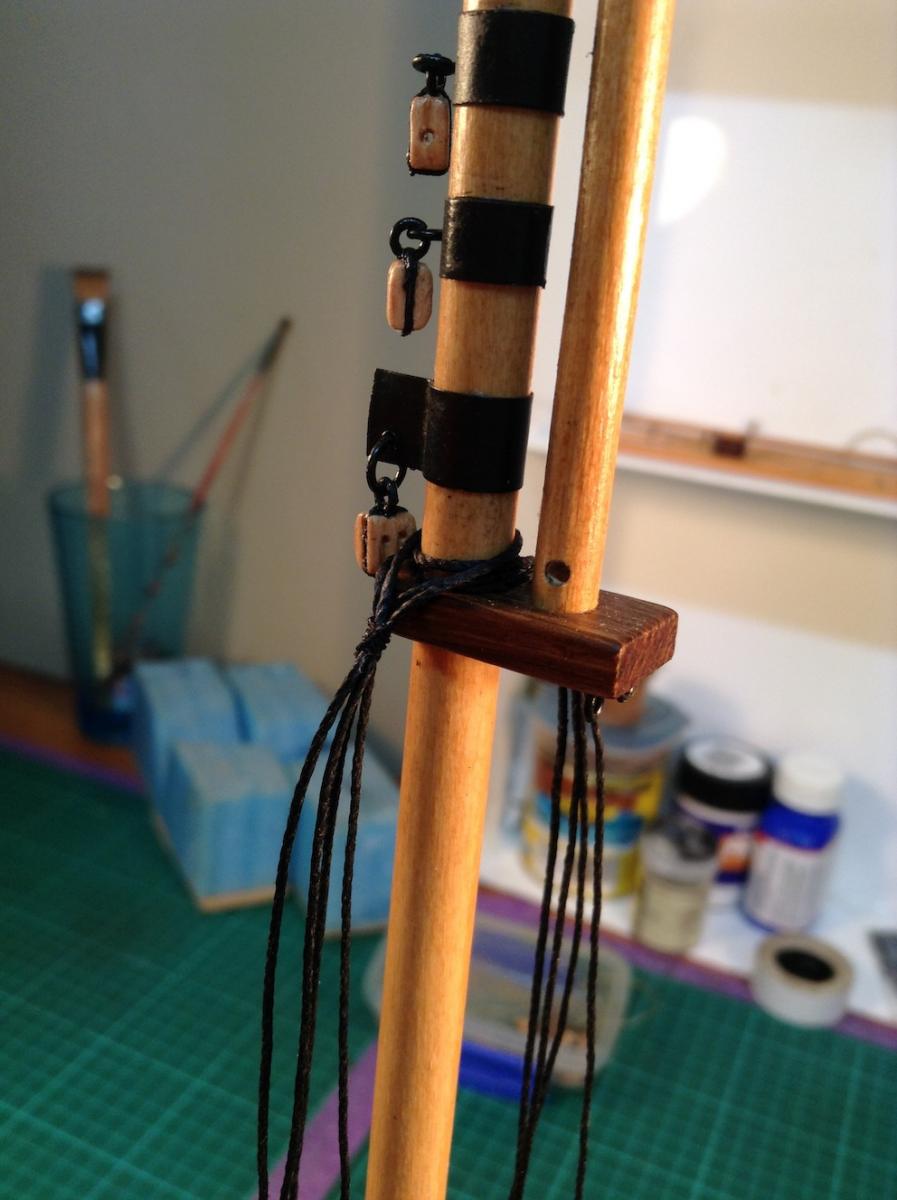
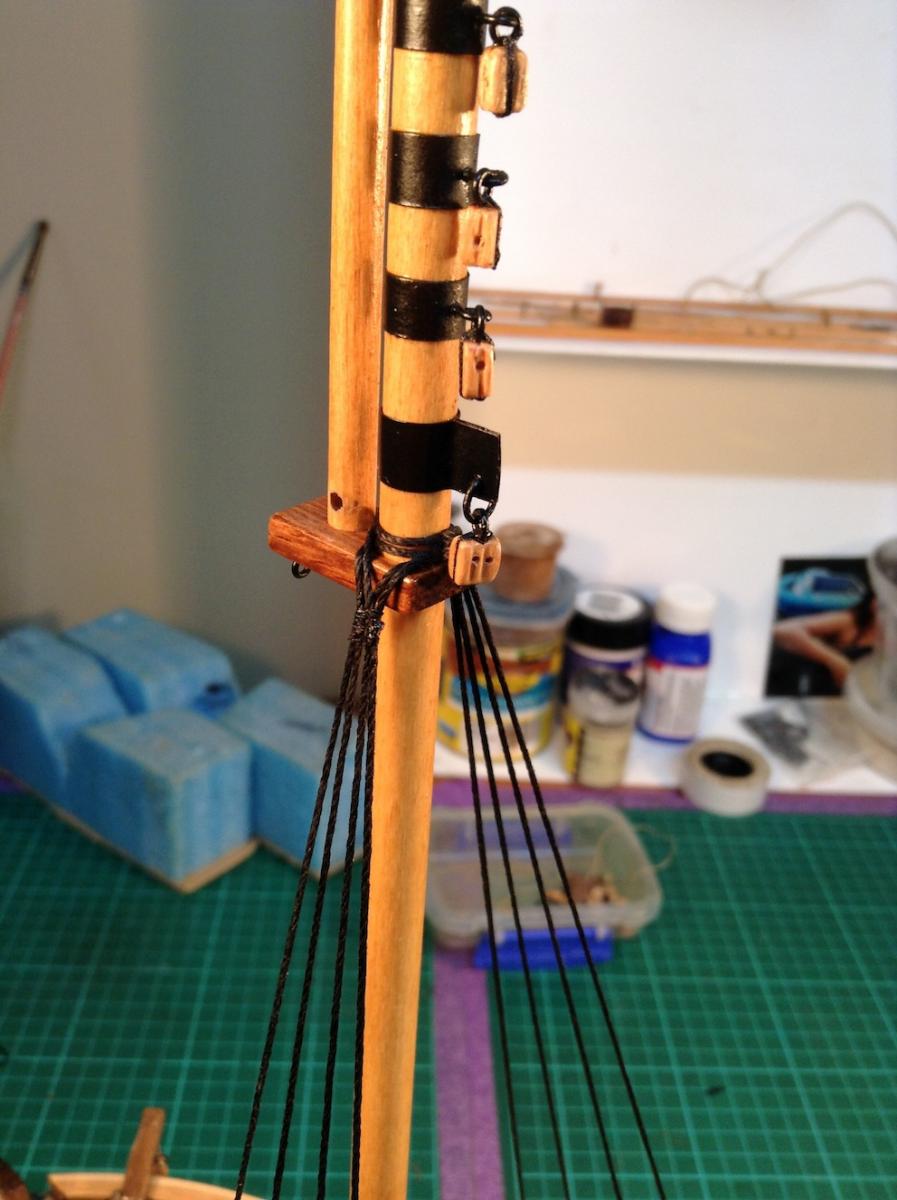
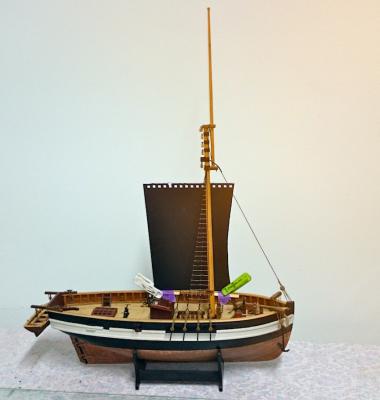
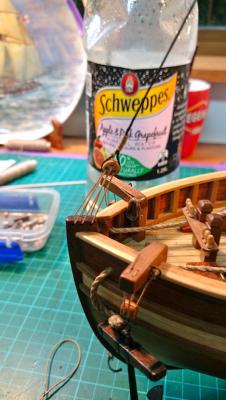
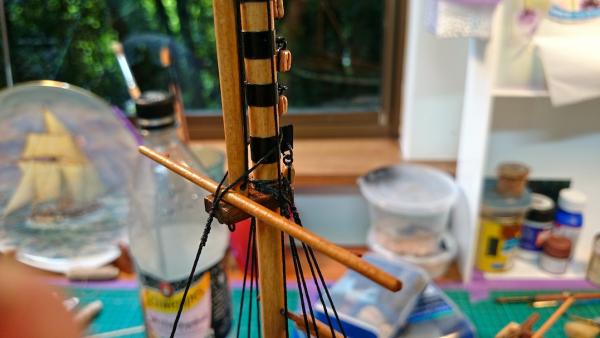
I think I'm going to leave sheer-pole off... I have learned so much from you all.. Next build will be a breeze ;-) I added top mast rope. Not sure exactly how that operates in reality. Looks like it raises the top mast out of the cap ? Any.how it's fitted as instructed.. Rat line business is next. Front and back stays... Realising blocks could be refined down more, but all good.. Most don't do black ratlines I gather.. I read they were lightly tarred.. Will probably go with fawn.. Regards Oliver


- 803 replies
-
- 8
-
-
- colonial cutter
- modellers shipyard
- (and 1 more)
-
Thanks all. John, thanks so much, very interesting and informative.. I have some new decisions to make...I wondered if strip sat down on deadeyes, makes more sense to me that it does... Many thanks ollie
- 803 replies
-
- 1
-
-
- colonial cutter
- modellers shipyard
- (and 1 more)
-
yeah i had thought that too.. too hard to change anyway.. i read one thing then i read another, its all good.. but yes maybe i refine them a bit and lower them a tad.. are they just lashed on alistair?
-
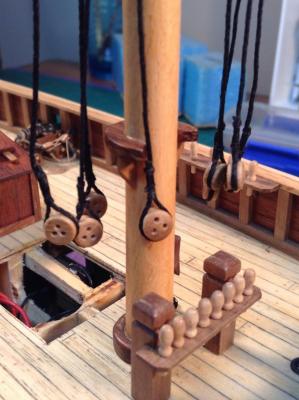
Do they look too bulky to anyone else, or do you think it suits.. 2x3mm walnut is what kit says..
- 803 replies
-
- 1
-
-
- colonial cutter
- modellers shipyard
- (and 1 more)
-
Also I noticed that they are not on all ships shrouds? And wondering what the purpose of them is exactly.. Regards Oliver
-
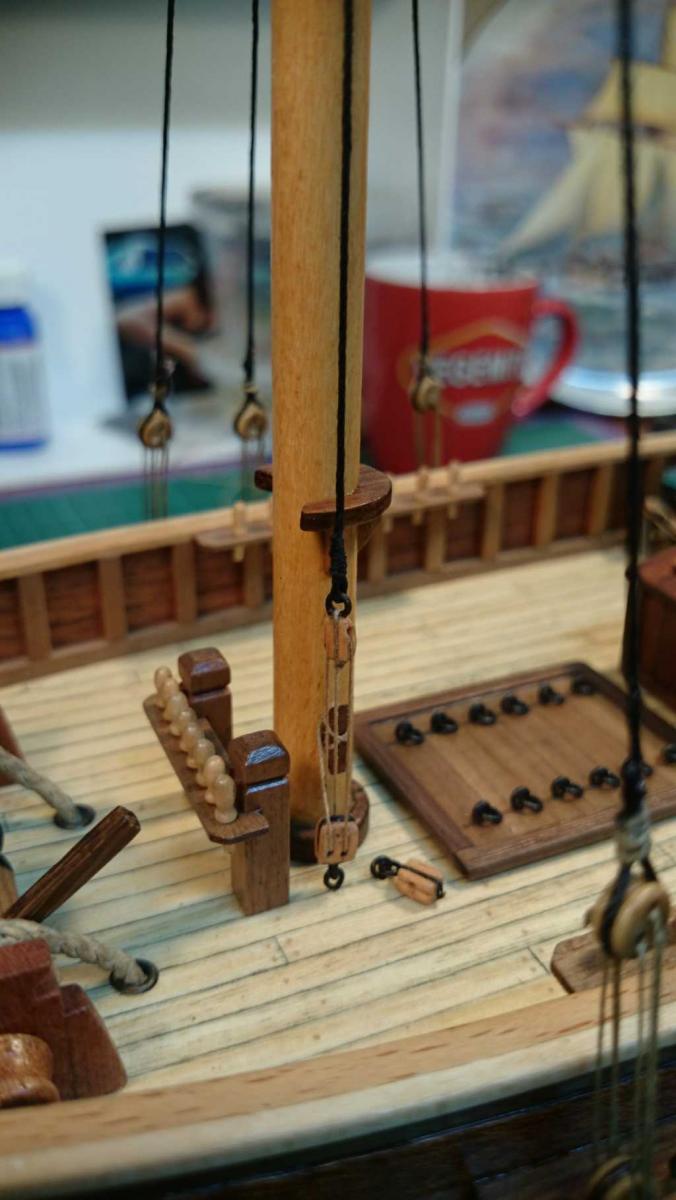
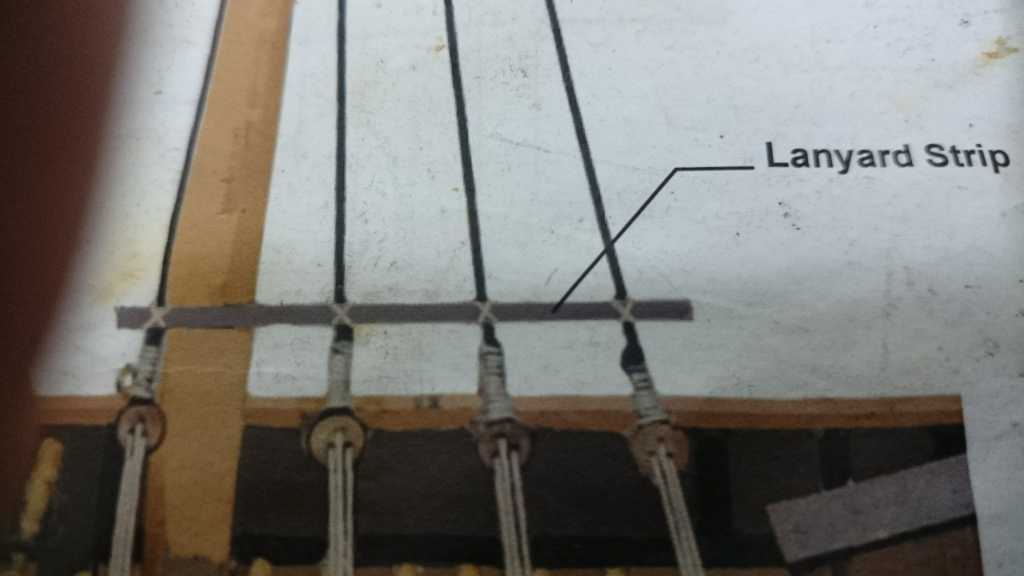
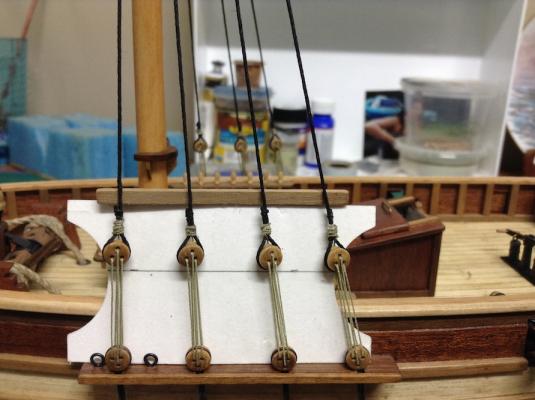
Thanks again. Yeah can't believe I'm this close.. I'm about to fit lanyard strips. They are glued only at the moment.. Kit doesn't say how to fix them. Wondering what the proper procedure is.. When I lash it like in kit photo it looks different.. Regards Oliver


- 803 replies
-
- 1
-
-
- colonial cutter
- modellers shipyard
- (and 1 more)
-
cheers guys... Yes Alistair, these are kit supplied from MS, very nice to use, i had been using some old Caldercraft line for canons and it was quite rough.. regards Ollie
- 803 replies
-
- 1
-
-
- colonial cutter
- modellers shipyard
- (and 1 more)
-
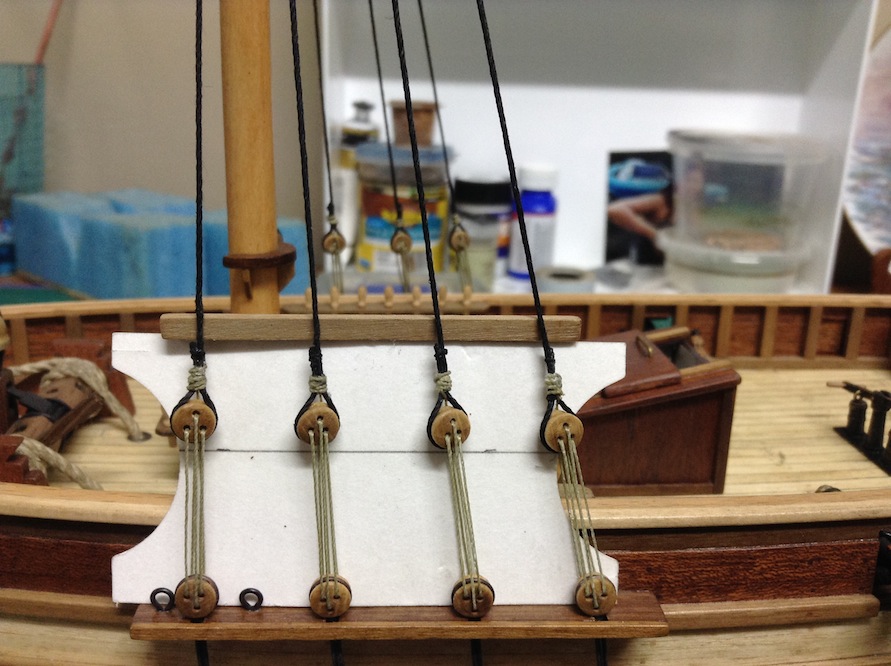
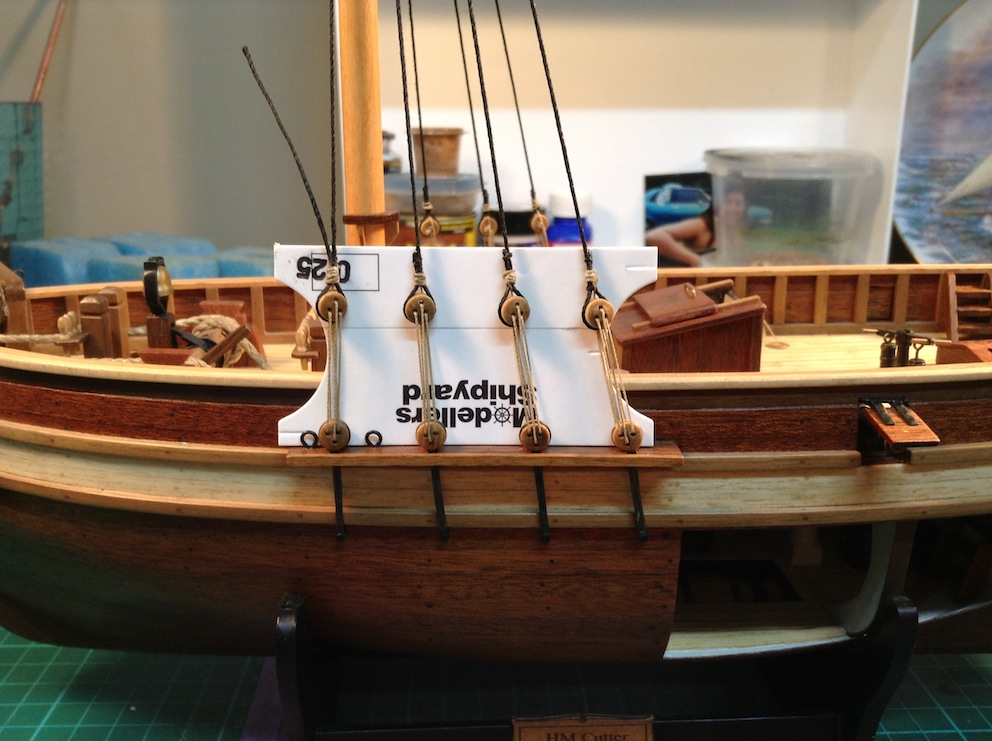
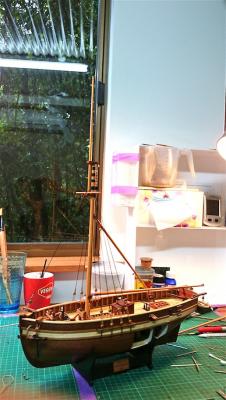
I will use the card to make sure lanyard strips are level and the same height on each side and set the way for ratlines.. Have a great day all... Ollie
- 803 replies
-
- 4
-
-
- colonial cutter
- modellers shipyard
- (and 1 more)
-
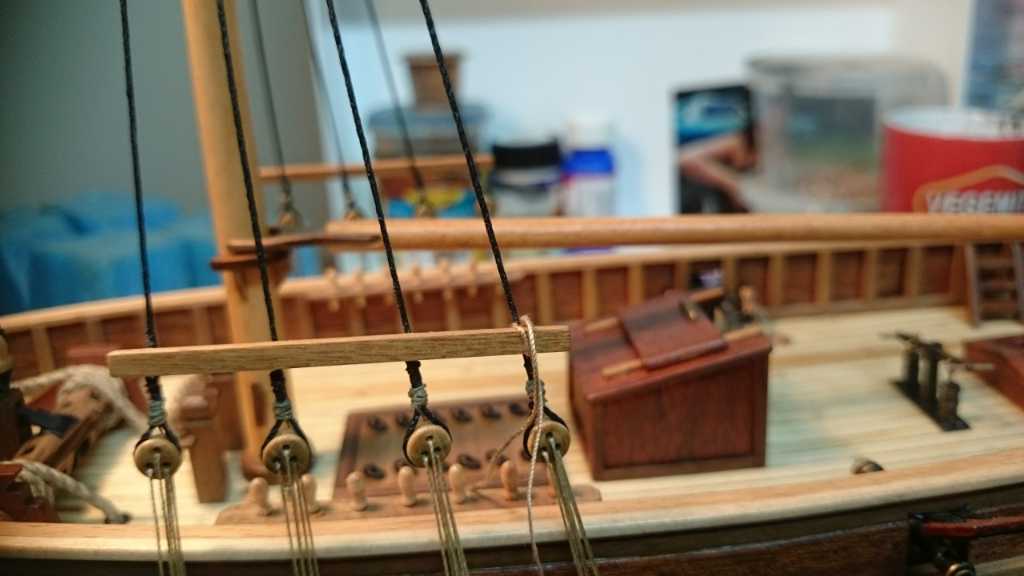
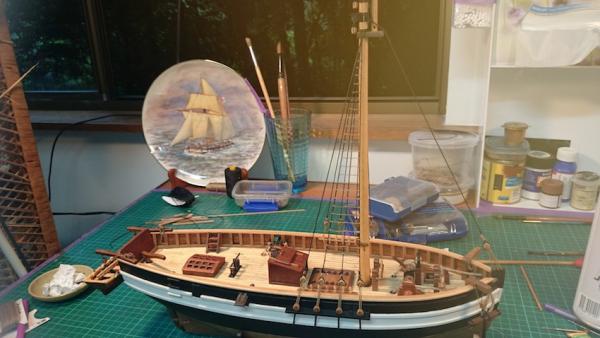
Hi all, had a day off yesterday and spent it in the shipyard.. Shroud time.. Oh and i was wrong when i said all timber work was done!! had the lanyard strips to make up.. I had trouble getting them to all line up right even after lots of jigging and testing.. I had to take one pair off and redo them.. I am very pleased to have got a step forward, although i did some reading and perhaps i should have left the dead eyes loosened so i could take up final tension once other rigging applied.. I think it should be okay and i am planning to put satin gloss to set them.. I ended up using a card to get heights close to perfect alignment with channels I will use template to make sure lanyard strips go on paralell to channel.. Regards Ollie


- 803 replies
-
- 4
-
-
- colonial cutter
- modellers shipyard
- (and 1 more)
-
It didn't go that smoothly. I may re do it, but i think it should suffice.. Thanks ands and regards ollie

- 803 replies
-
- 6
-
-
- colonial cutter
- modellers shipyard
- (and 1 more)
-
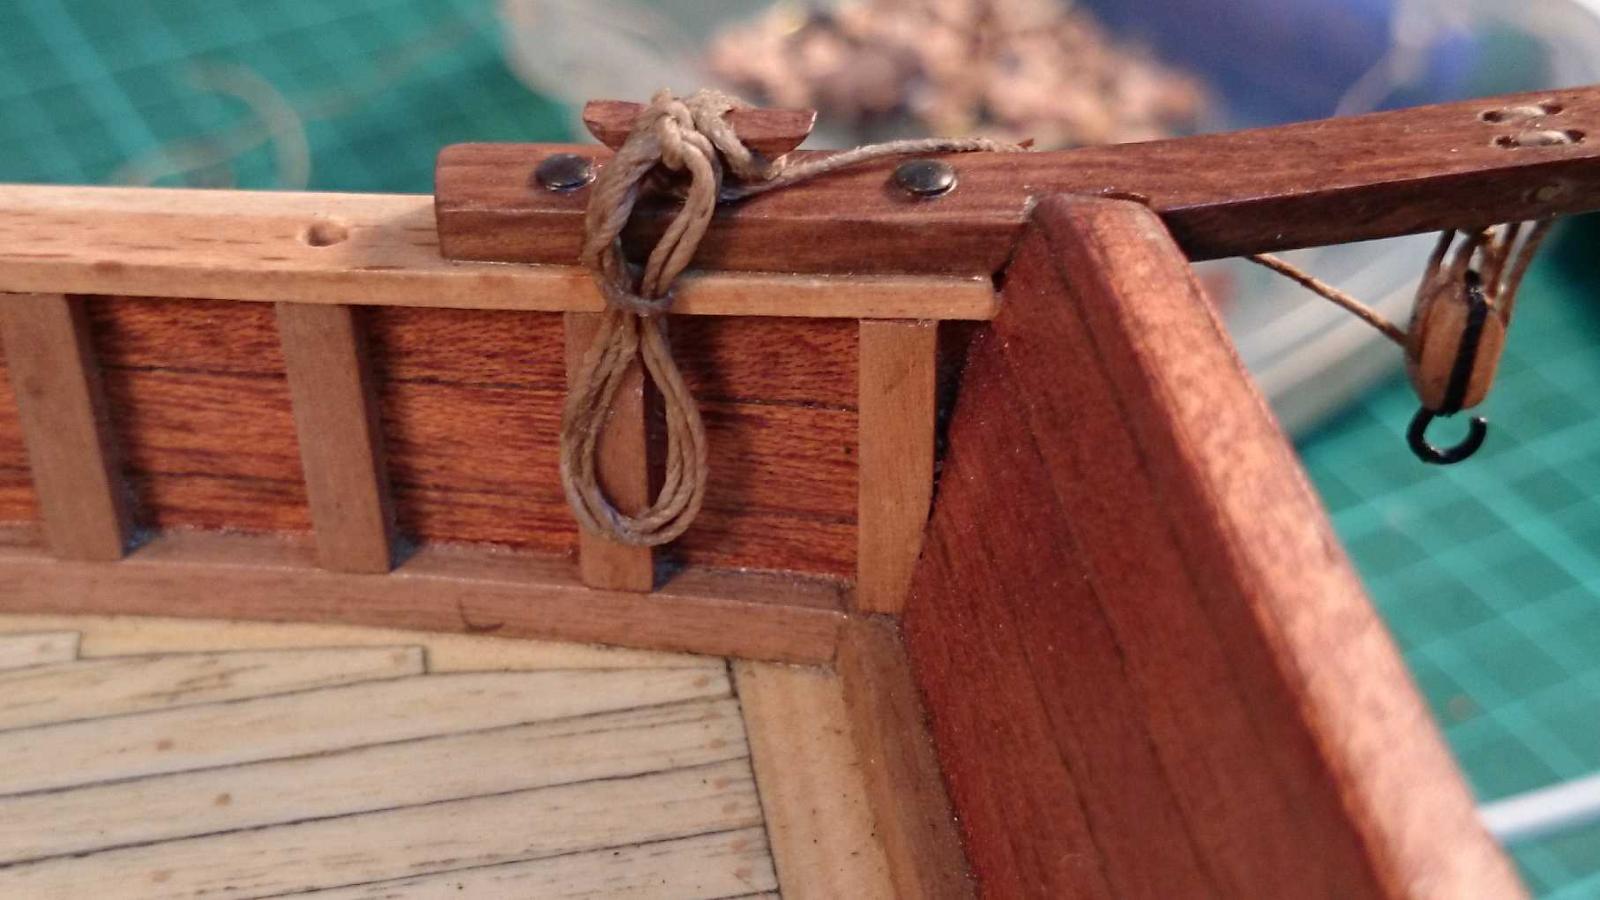
I am wondering how to keep excess rope on a cleat..? A neat rolled bundle hanging on the cleat or something else.. Or just wrap enough around the cleat itself?? Many thanks, ollie

- 803 replies
-
- 1
-
-
- colonial cutter
- modellers shipyard
- (and 1 more)
-
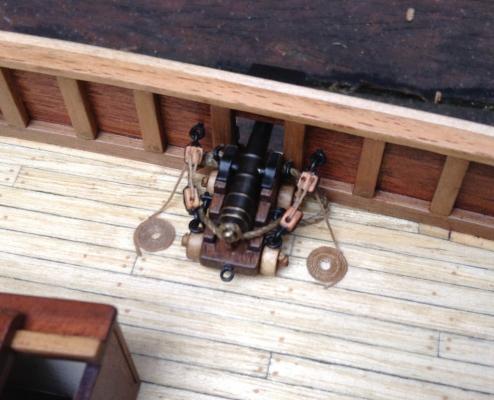
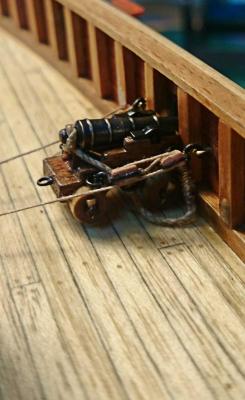
Thanks Alistair and ken..Thanks for all the likes gang.. I have finished my canons!! Woo.. I have realised all timber work is finished also.. its rigging all the way home now.. I am happy with the final outcome and it would be so much easier next time round..

- 803 replies
-
- 6
-
-
- colonial cutter
- modellers shipyard
- (and 1 more)
-
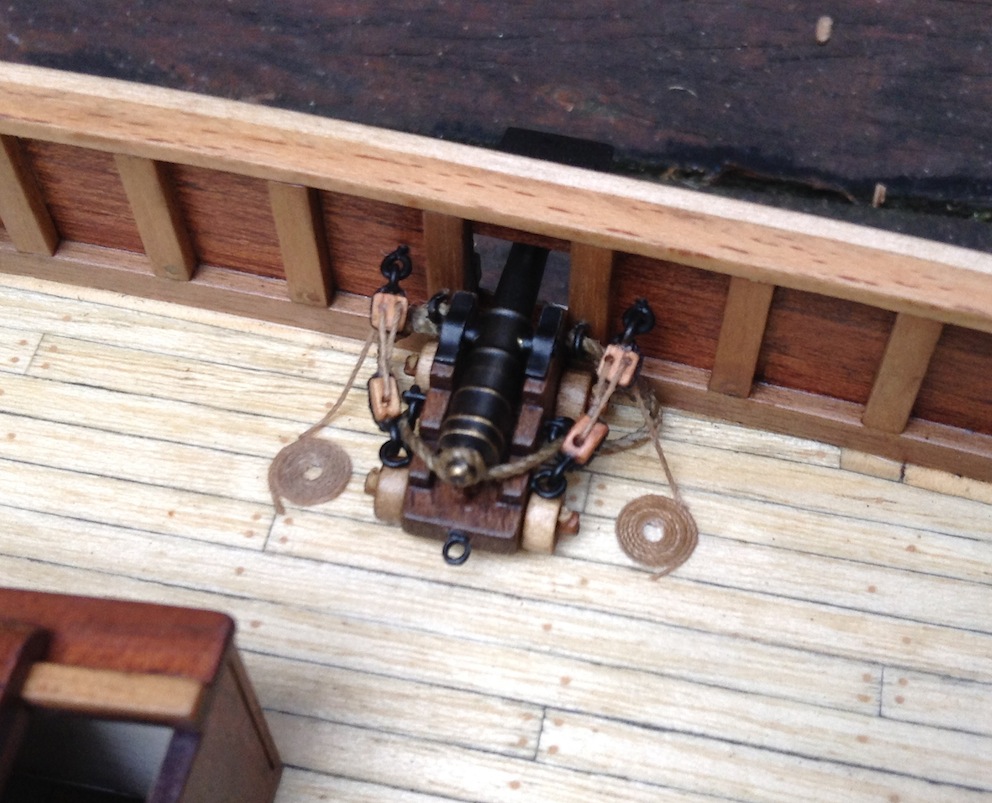
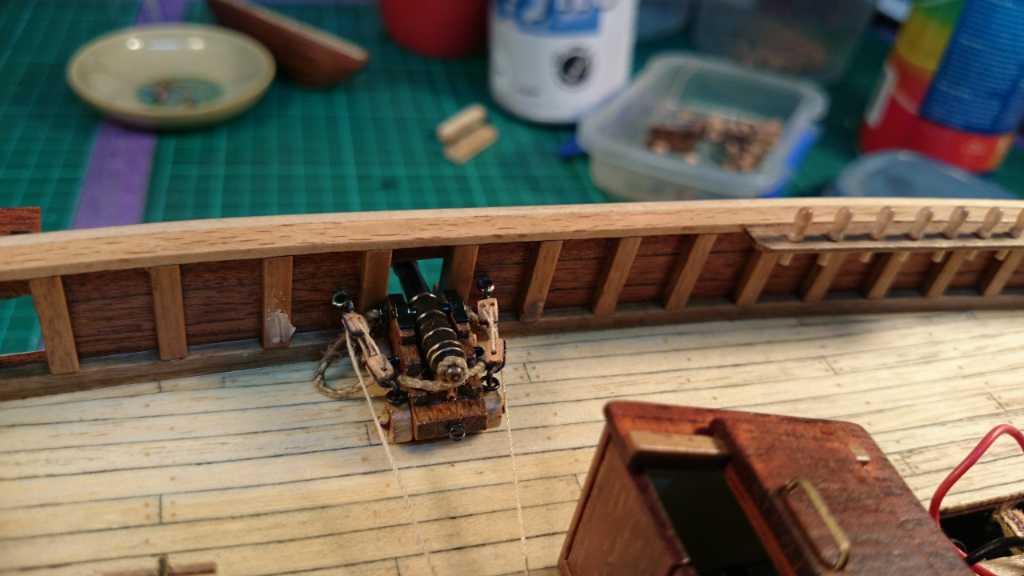
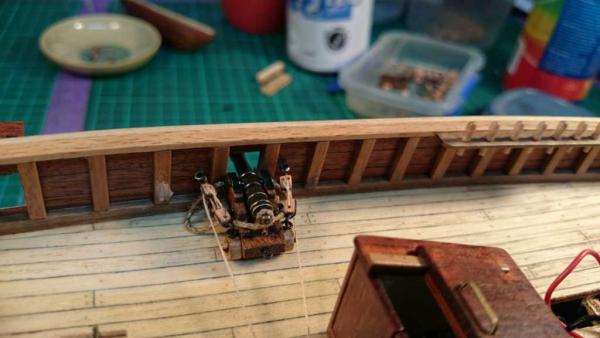
Hopefully will get a bit done later today.. Patching isn't finished yet in these photos, should tidy up reasonably. I advise any one new to the whole canon rigging, should make a mock up port and get all the mountings placed in before the real deal... Regards ollie
- 803 replies
-
- 2
-
-
- colonial cutter
- modellers shipyard
- (and 1 more)
-
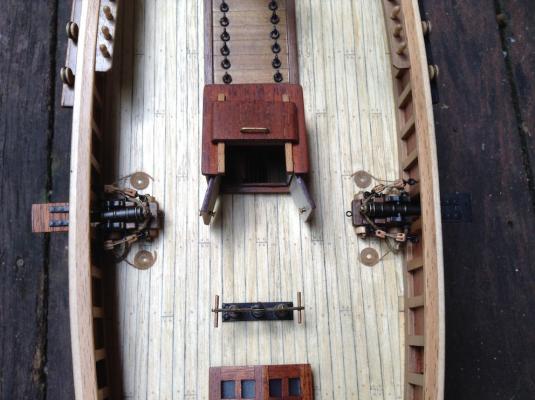
Ok canons are on the way.. Thinking it's much better. Big learning curve these finer points. It all just fits in there.. Couldn't have had tackle points any closer.. I read that it's much easier to add rope coils separate and just lay it over the existing rope, if that makes sense.. Regards ollie
- 803 replies
-
- 5
-
-
- colonial cutter
- modellers shipyard
- (and 1 more)
-
Thanks again gang... I feel the same actually Michael, thanks for that input, i have decided to keep her mounted on the stern and get them canons rigged back up this afternoon.. Time to push forward.. Onto shrouds.. Regards Ollie
- 803 replies
-
- 3
-
-
- colonial cutter
- modellers shipyard
- (and 1 more)
-
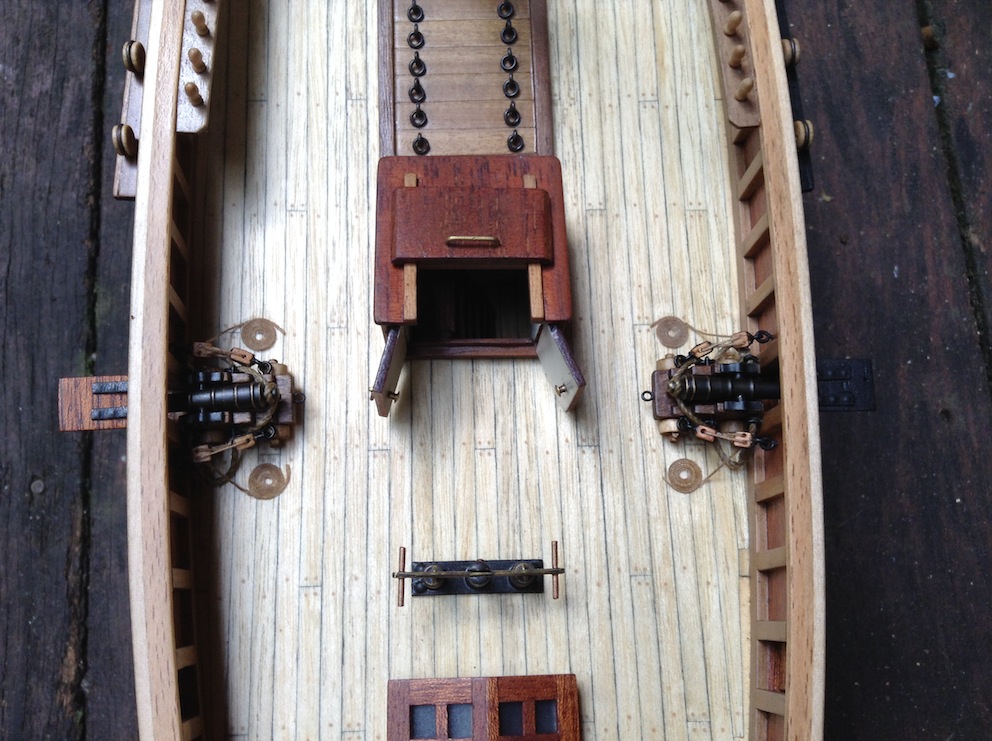
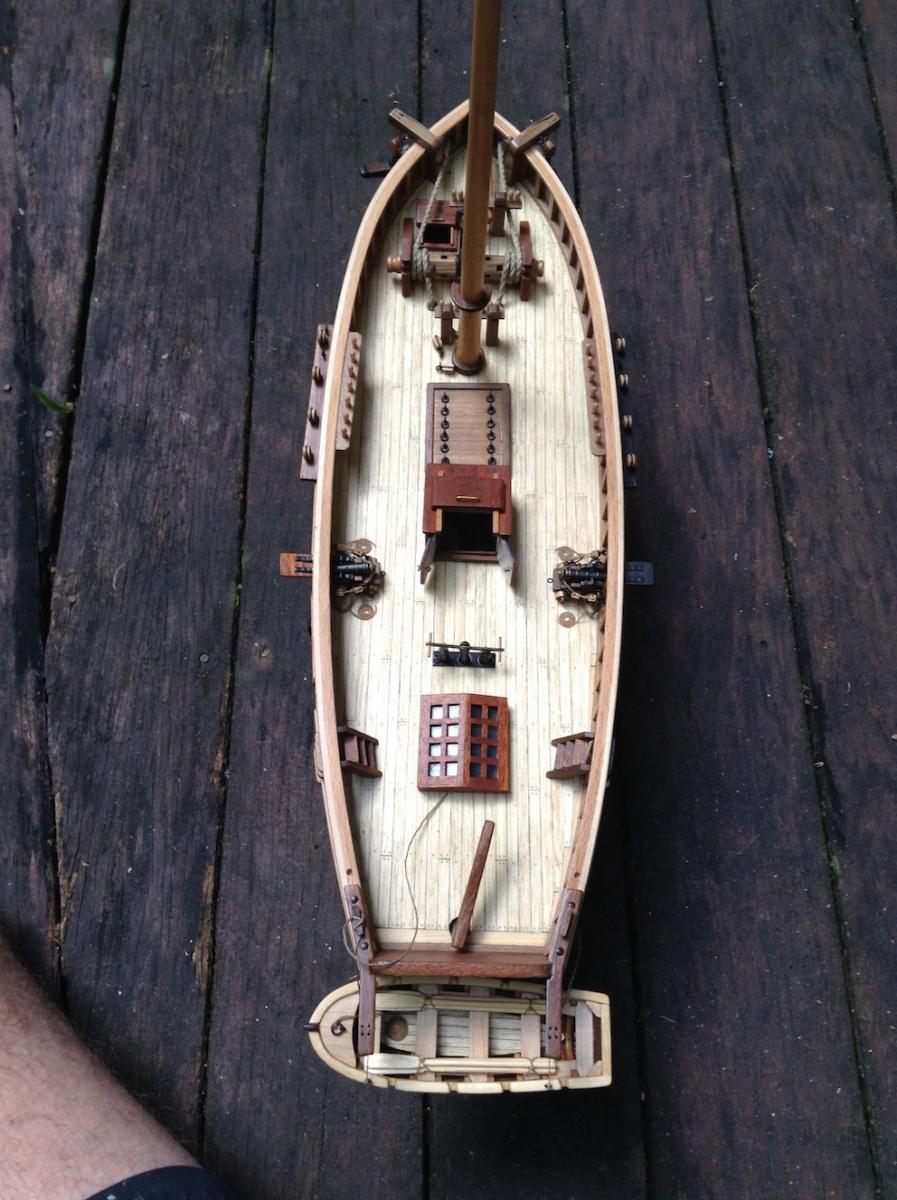
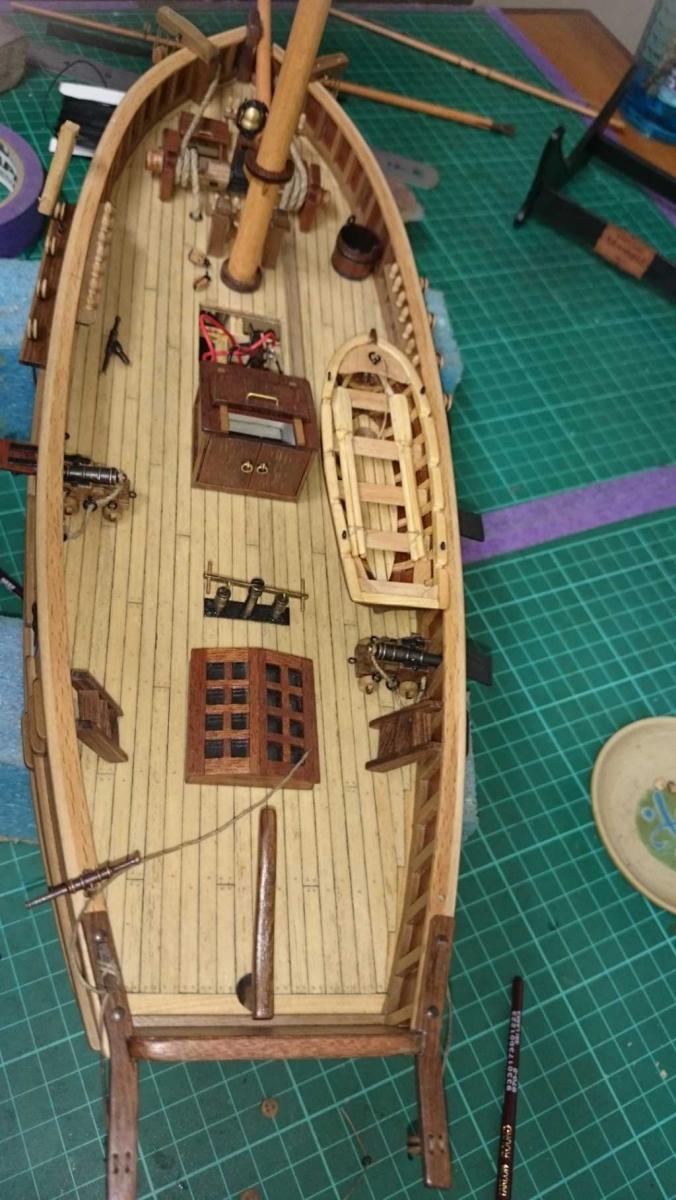
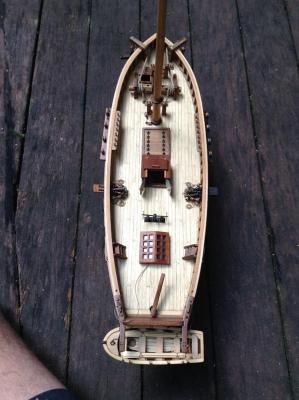
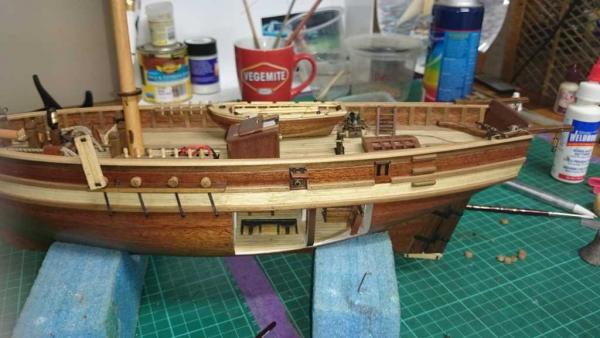
I'm getting all indecisive again... I still kind of think the dinghy shows off well on deck so might still go with that, and re do tackles of guns better.. dinghy would hide my holes from eye bolts. Do you guys think this deck layout would be okay? either way I took that rigging off guns for now, regards ollie

- 803 replies
-
- 3
-
-
- colonial cutter
- modellers shipyard
- (and 1 more)