HOLIDAY DONATION DRIVE - SUPPORT MSW - DO YOUR PART TO KEEP THIS GREAT FORUM GOING! (Only 13 donations so far - C'mon guys!)
×


olliechristo
-
Posts
412 -
Joined
-
Last visited
Content Type
Profiles
Forums
Gallery
Events
Everything posted by olliechristo
-
 Sensational Viv.. It's looking really authentic inside.. love the supports!! Ollie
 -
Wow just found your log Gary.. This is ridiculously good.. The sheer amount of work alone is bewildering let alone the quality.. hats off mate.. Ollie
-
NICE.. my first proper.wood boat build was a petrol powered swamp boat.. Lots of fun..
- 8 replies
-
- 1
-

-
- lil swamp buggy
- dumas
- (and 2 more)
-
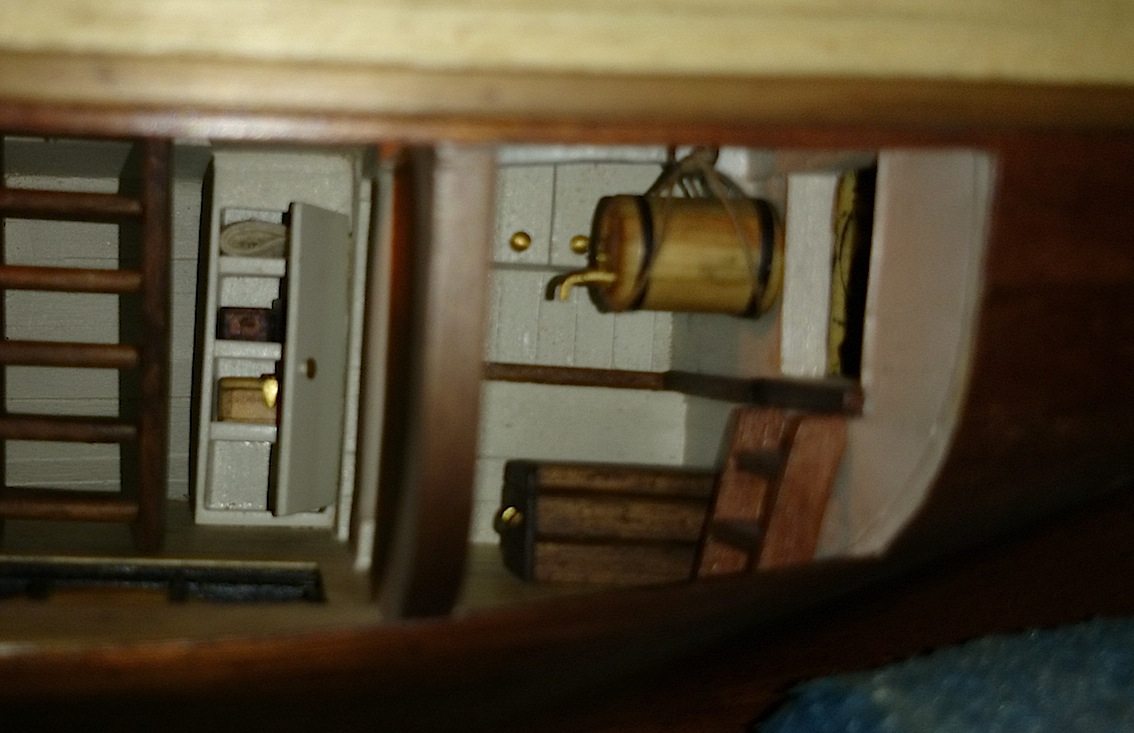
Thanks Eamonn. Your support is always appreciated. You cant see the little barrel really until you poke your head down and in a little. I like putting a few extras for people to find depending on their level of curiosity..
- 803 replies
-
- 2
-
-
- colonial cutter
- modellers shipyard
- (and 1 more)
-
Also roped up my scratched water keg for interior and fitted it.. Ollie


- 803 replies
-
- 8
-
-
- colonial cutter
- modellers shipyard
- (and 1 more)
-
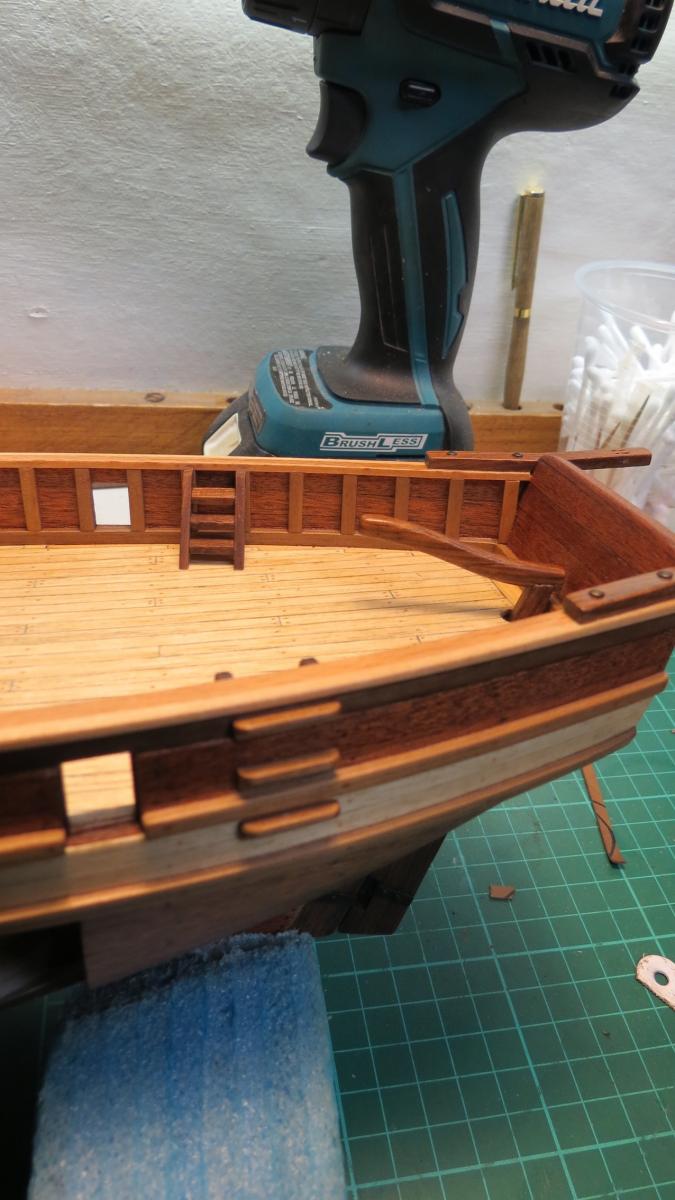
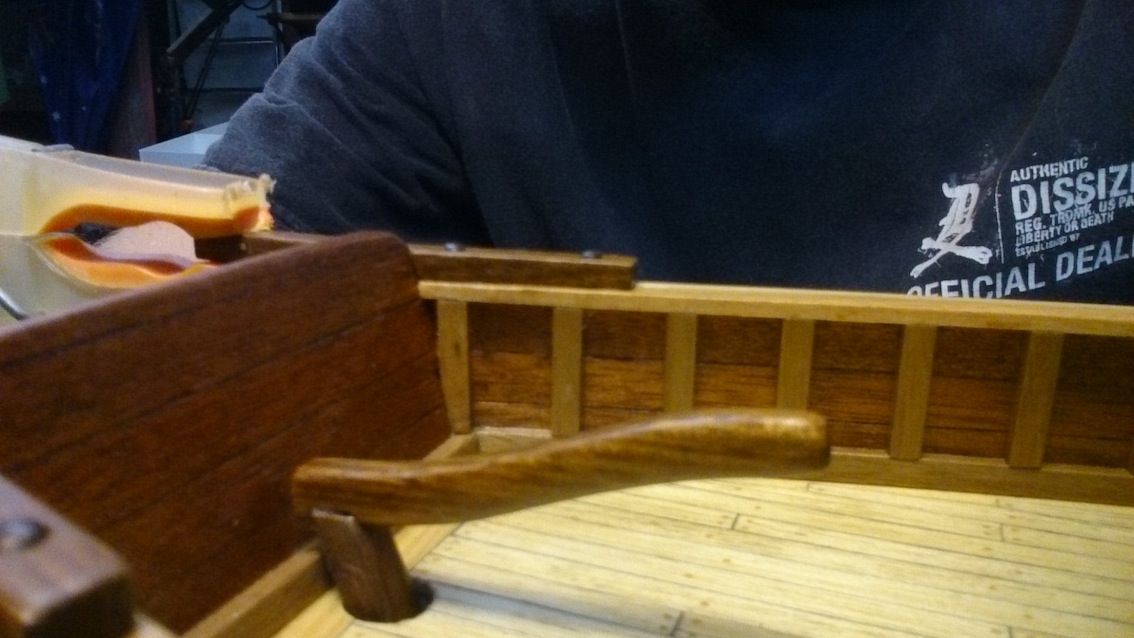
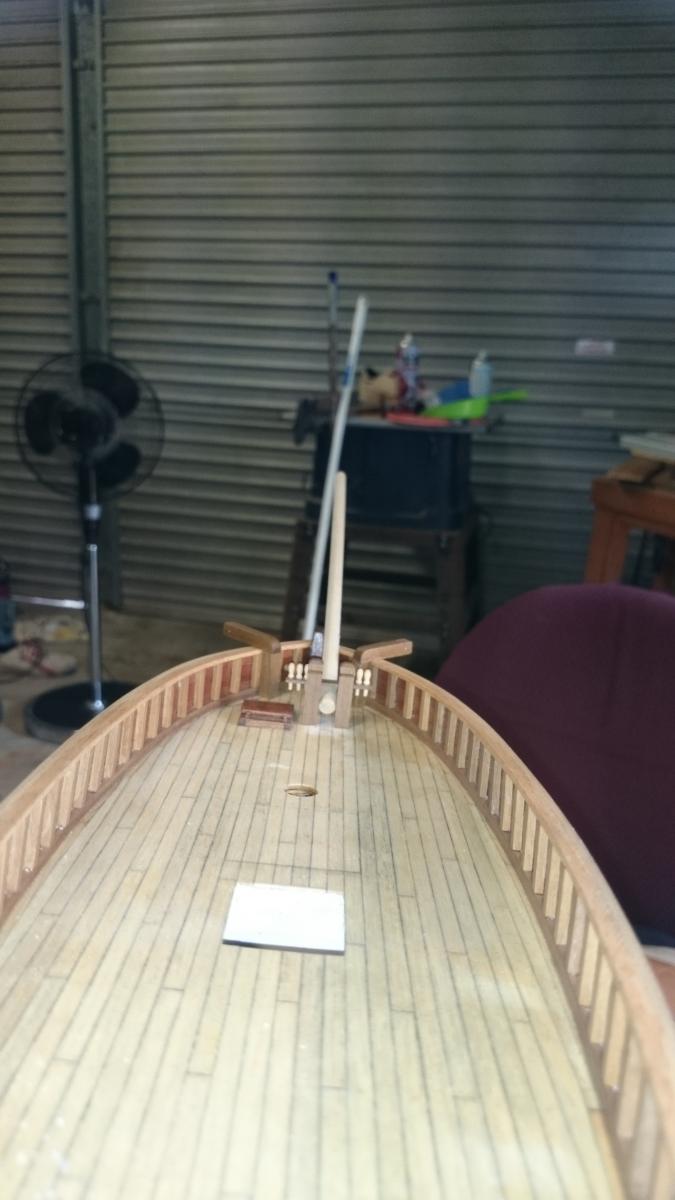
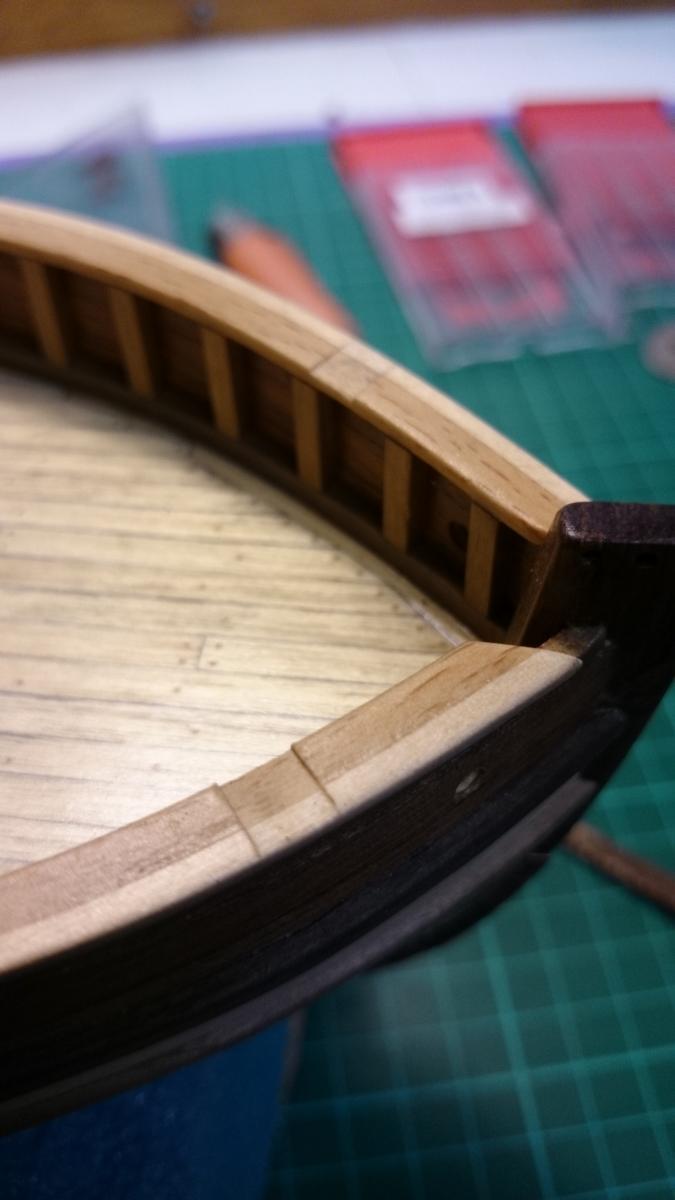
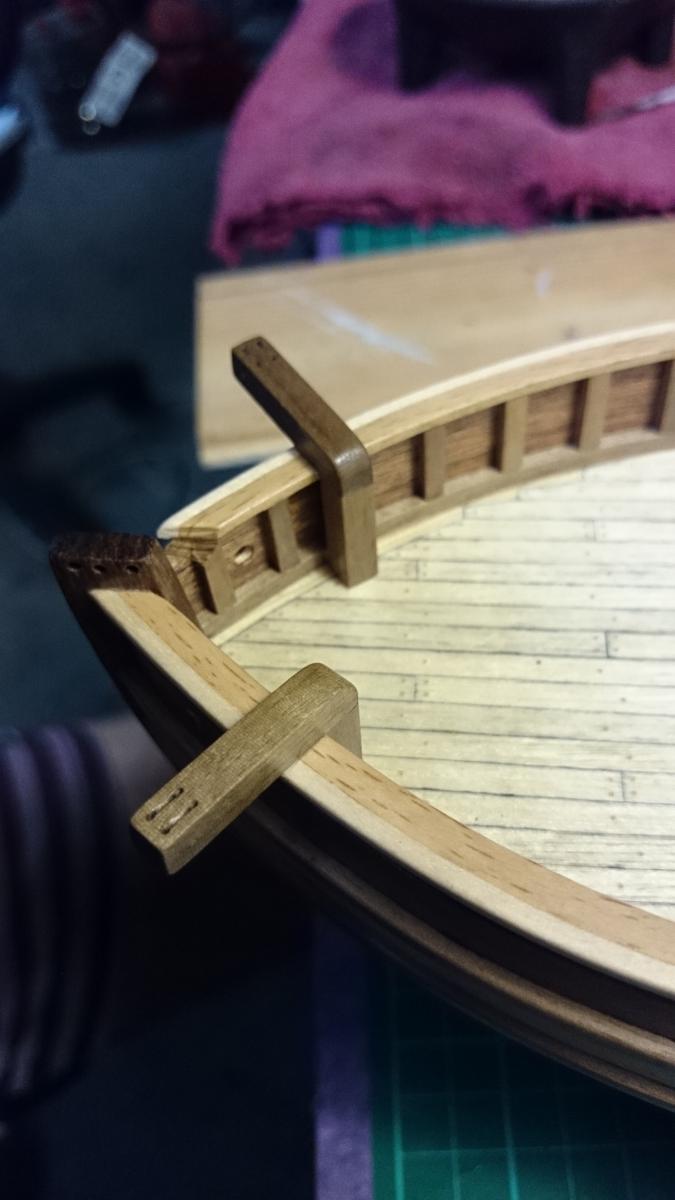
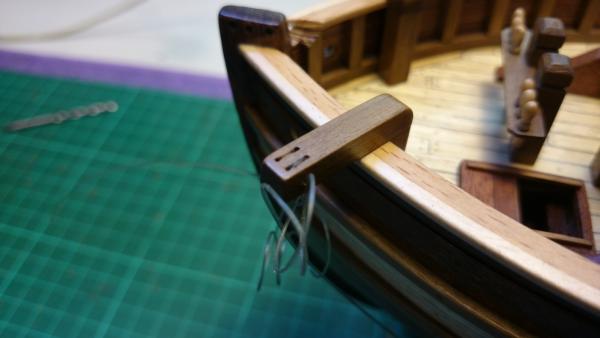
I also scratched a tiller and fitted it.. everything you see here now is fitted.. I made the bulwark steps and fitted my scratch stairs.. Progress will be slow for a while now, but i will be back soon enough.. Ollie


- 803 replies
-
- 4
-
-
- colonial cutter
- modellers shipyard
- (and 1 more)
-
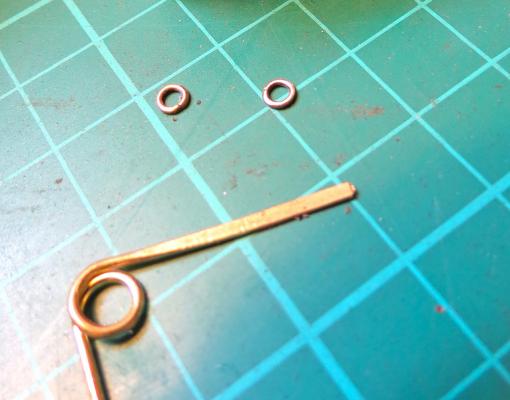
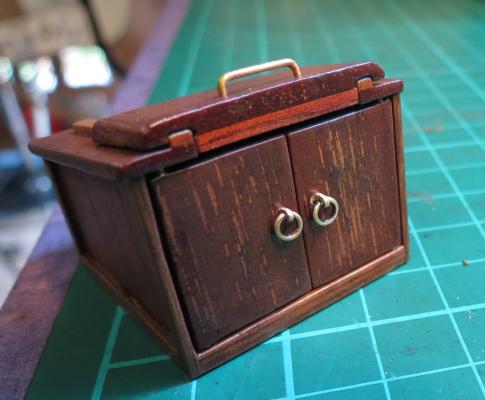
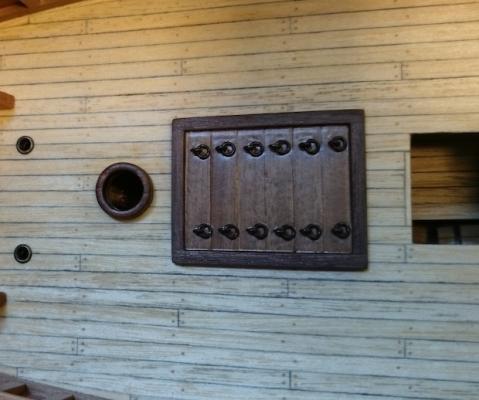
Thanks so much everyone... Adding 3 hrs to log.. Been sick as a dog last few days, so no progress until tonight.. I made some handles for my companionway, i flatten a brass safety pin of required thickness. Drill pilot holes then 1 mm holes to suit rings..

- 803 replies
-
- 4
-
-
- colonial cutter
- modellers shipyard
- (and 1 more)
-
That is looking great mate.. The trims look real sweet.. Slow is the way to go. It's hard when you're excited though.. Ollie
- 121 replies
-
- 1
-
-
- cutty sark
- artesania latina
- (and 1 more)
-
Hi guys... Antique white perhaps, that is what I have seen around these parts.. Antique white USA is nice.. Any paint brand should be able duplicate another brands colour.. Regards ollie
- 1,039 replies
-
- 1
-
-
- ballahoo
- caldercraft
- (and 2 more)
-
Nice!!! Going to look great the way you have done a pattern to your hull planks instead of continuous lengths...
-
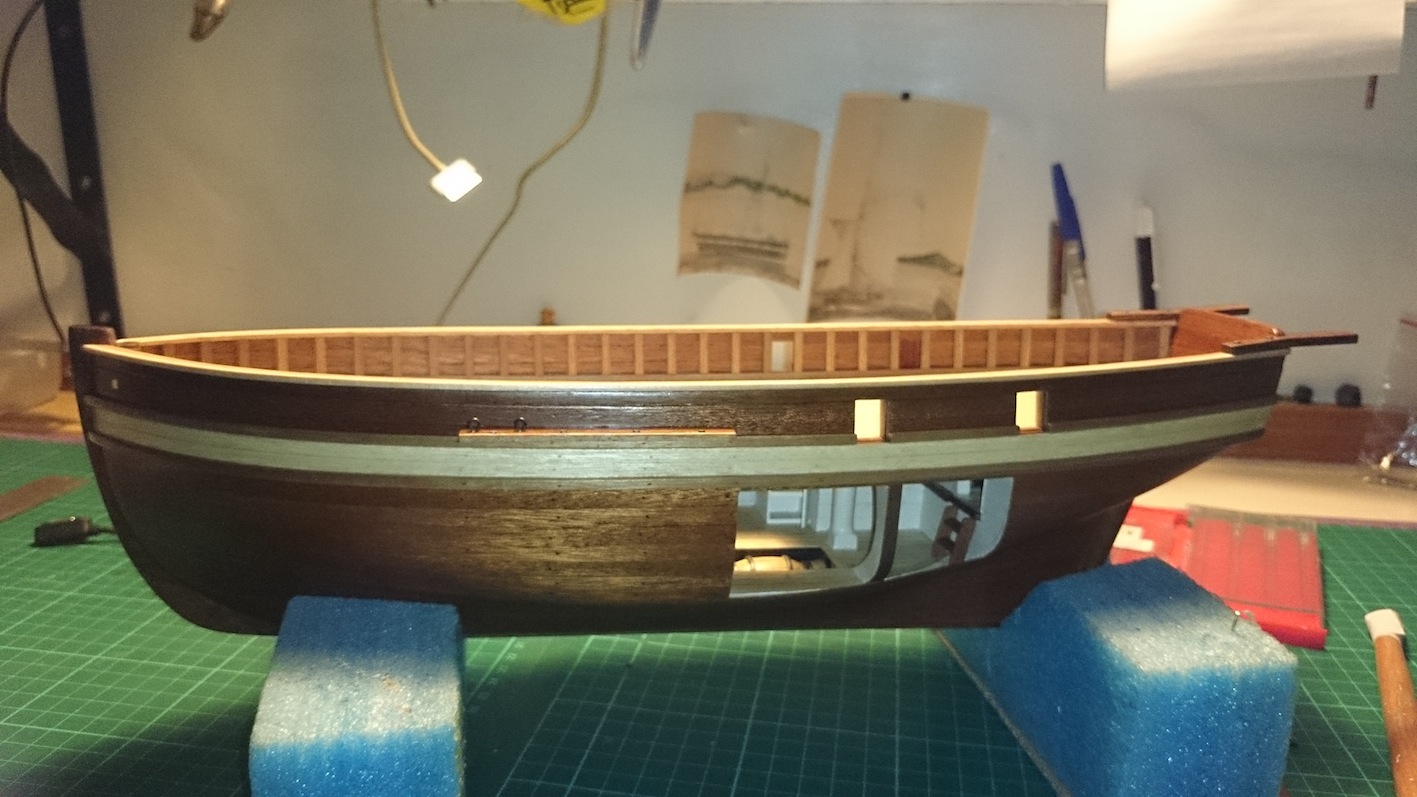
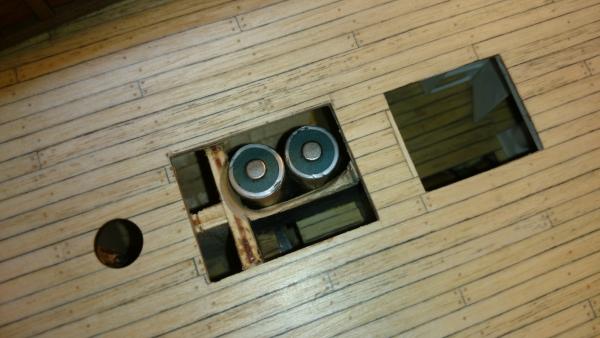
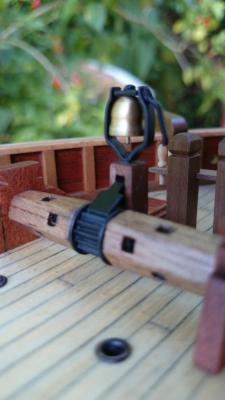
Hi all, My led project was tackled today amongst other things, quite a success.. I purchased a remote controlled 'led candle' off ebay for $11 delivered.. I gutted it and re wired and modified to suit, lost the progress pictures unfortunately. Remote works from a bout a metre, but it will need some kind of 'line of sight' (you cant box the electronics completely if you want to remote to work properly.). It is housed inside the unit originally so it does work somewhat inside a model, but in a closed timber hull may be a bit much i think.. I get a pathway through my cut-away... How long this setup lasts in the long term is unknown. But it will get used rarely.. And if fails its no big loss or can be replaced.. The light is appropriate looking, dim and flickers well... I may put a lantern over it instead of just a crude bulb... If anyone wants a link send me a msg i can provide one for Australian or NZ memebers.. NOTE - it would be safest to contain batteries in plastic bag or container in case of future leakage.. I had to make a video to help show the result..Excuse my mumbling.. Ollie
- 803 replies
-
- 5
-
-
- colonial cutter
- modellers shipyard
- (and 1 more)
-
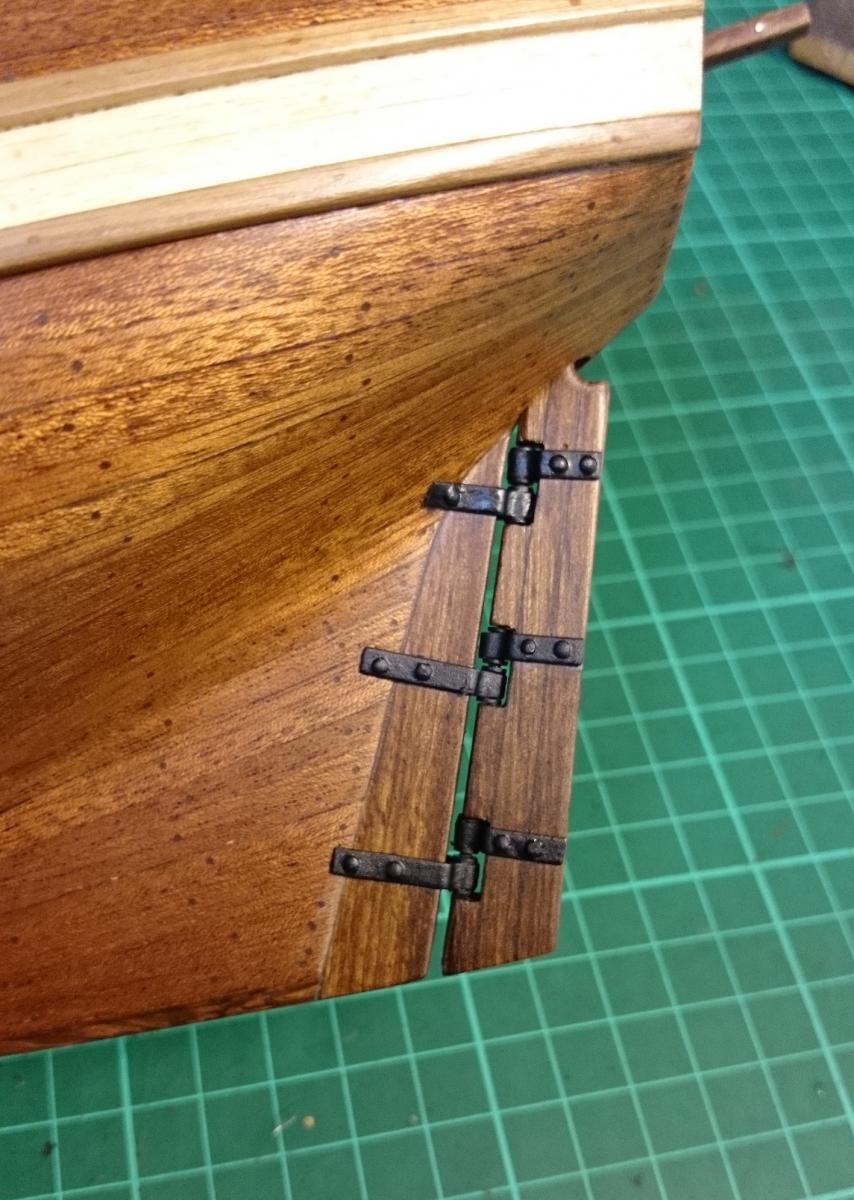
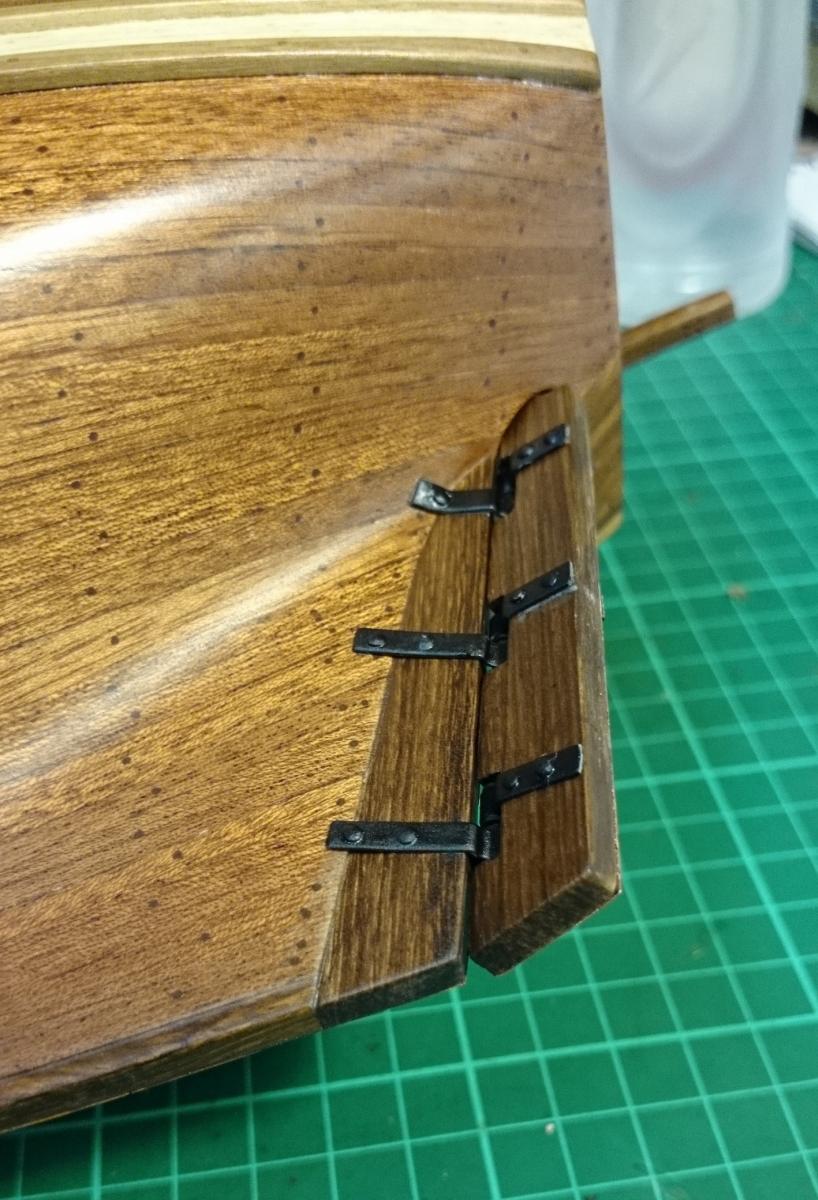
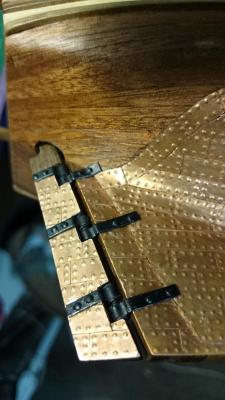
Some great bits of info guys... I didnt think of the corrosion aspect of iron agant copper in salt water.. ... When i was putting the hinges on, I did think to myself.. Jeez they stand out a bit against copper but not much more.. I probably noted this due to looking at other builds but not really noticing the bronze hinges yet... I may just paint over them with some bronze coloured paint as they are brass.. i may just leave them black also.. Tom, that is interesting and makes some perfect sense.. I thought the rudder 'screws or bolts' may carry on through keel and rudder and become like a massive rivet.. All very interesting, i love these finer things about ship contruction... Regards Ollie
- 803 replies
-
- 3
-
-
- colonial cutter
- modellers shipyard
- (and 1 more)
-
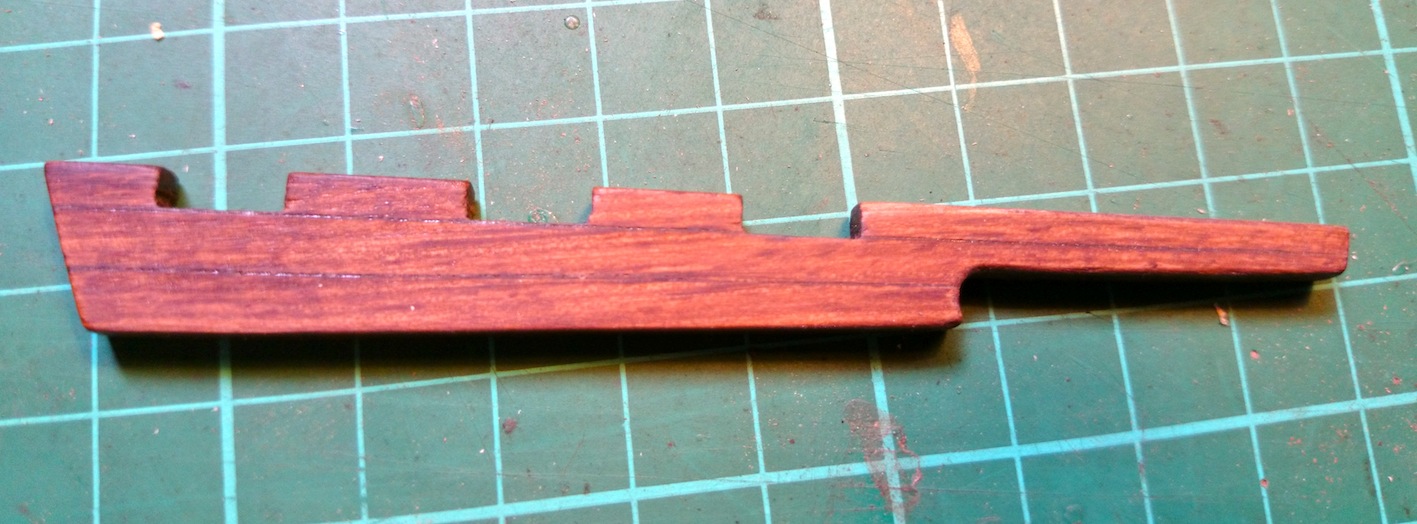
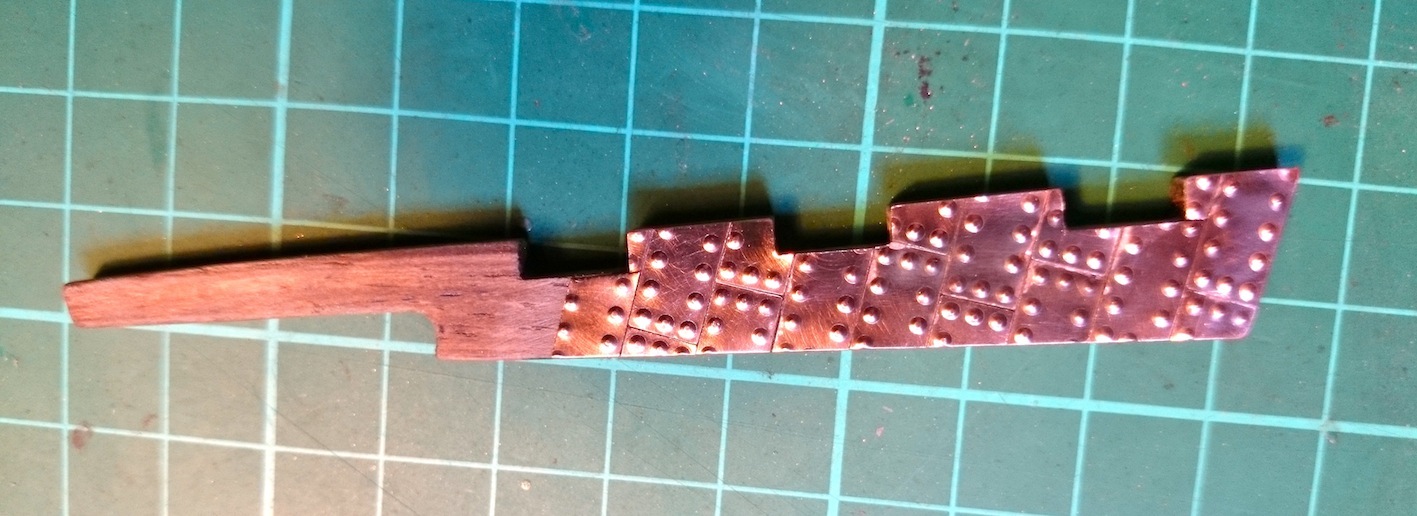
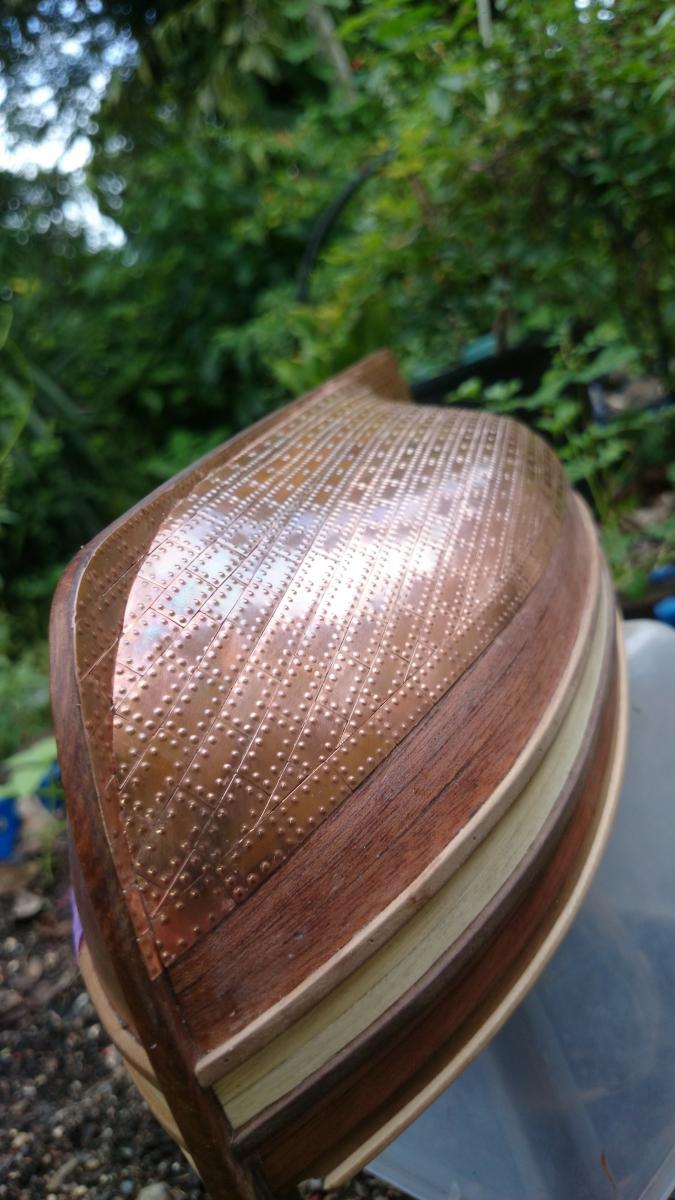
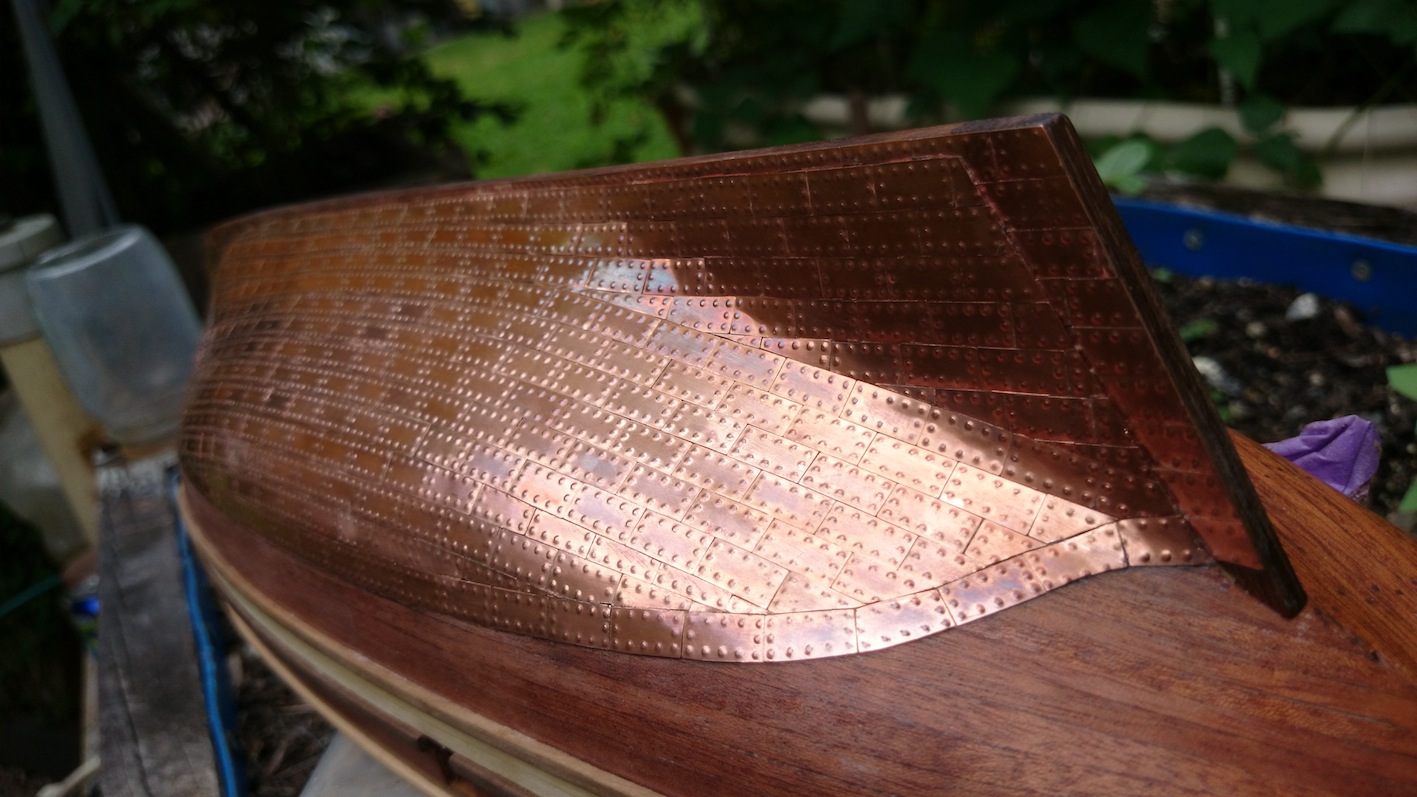
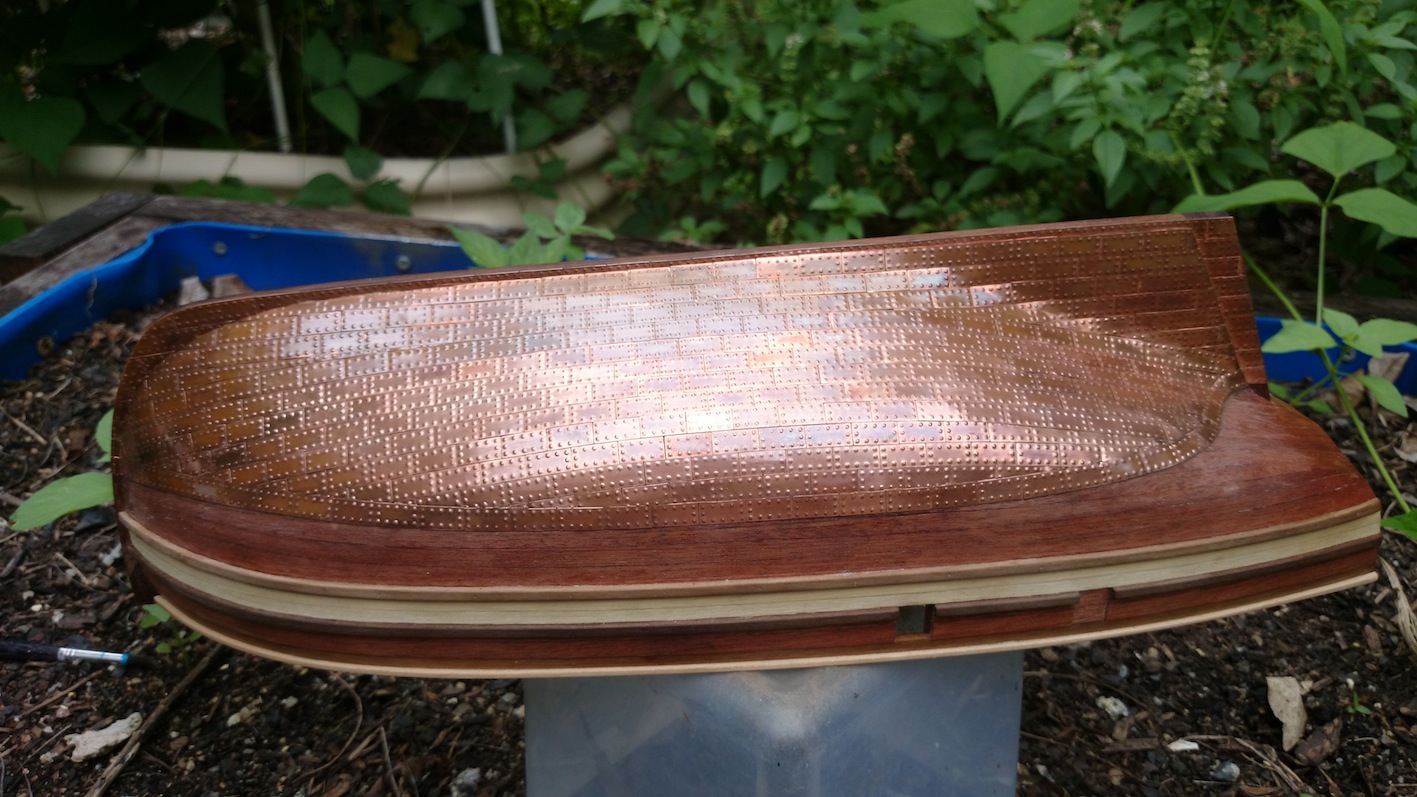
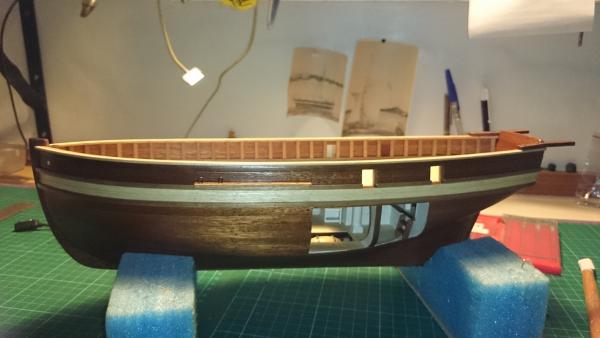
Hi gang.. i spent another 7 hours today.. my correct rudder parts arrived yesterday.. I finished my scratch built rudder, completed hole through hull to suit.. added hinges and copper etc... They move nicely and have good travel.. very happy.. took a while though.. i would have preferred to do this stage sooner, but here we are.. can move along now.. Ollie


- 803 replies
-
- 5
-
-
- colonial cutter
- modellers shipyard
- (and 1 more)
-
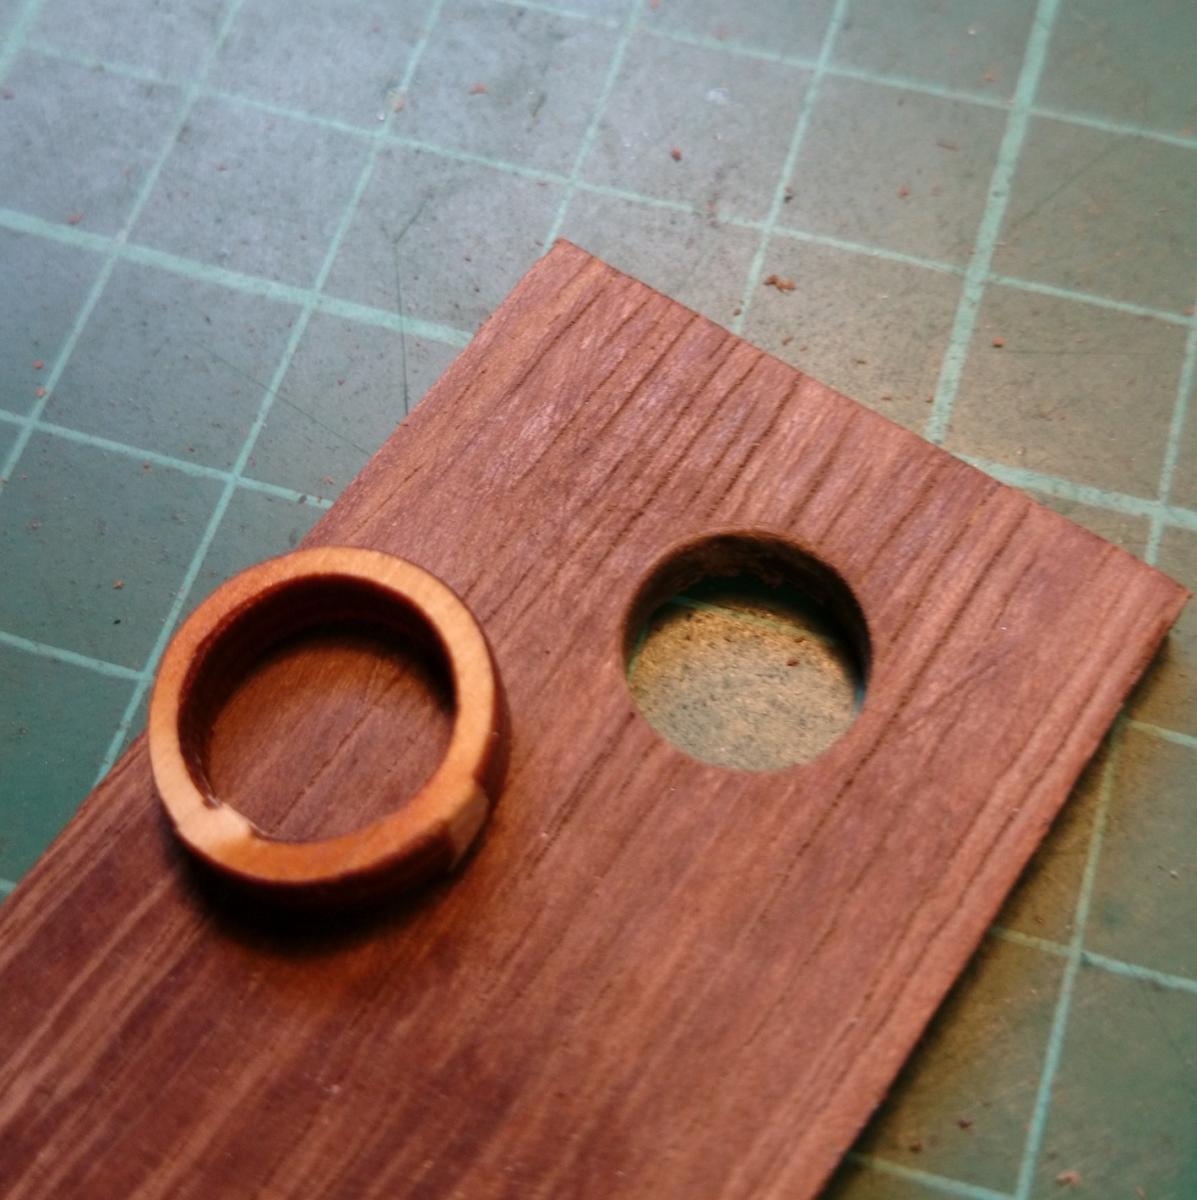
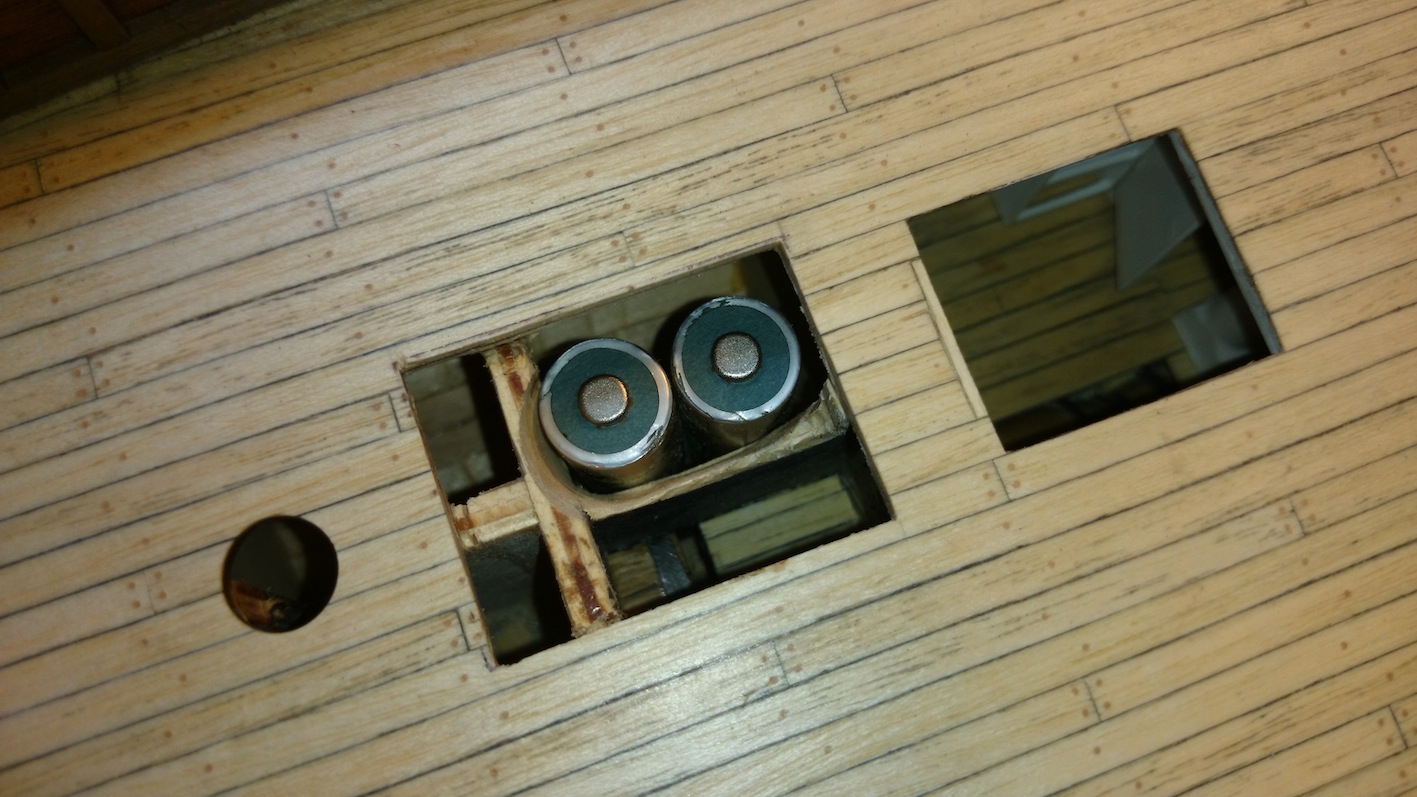
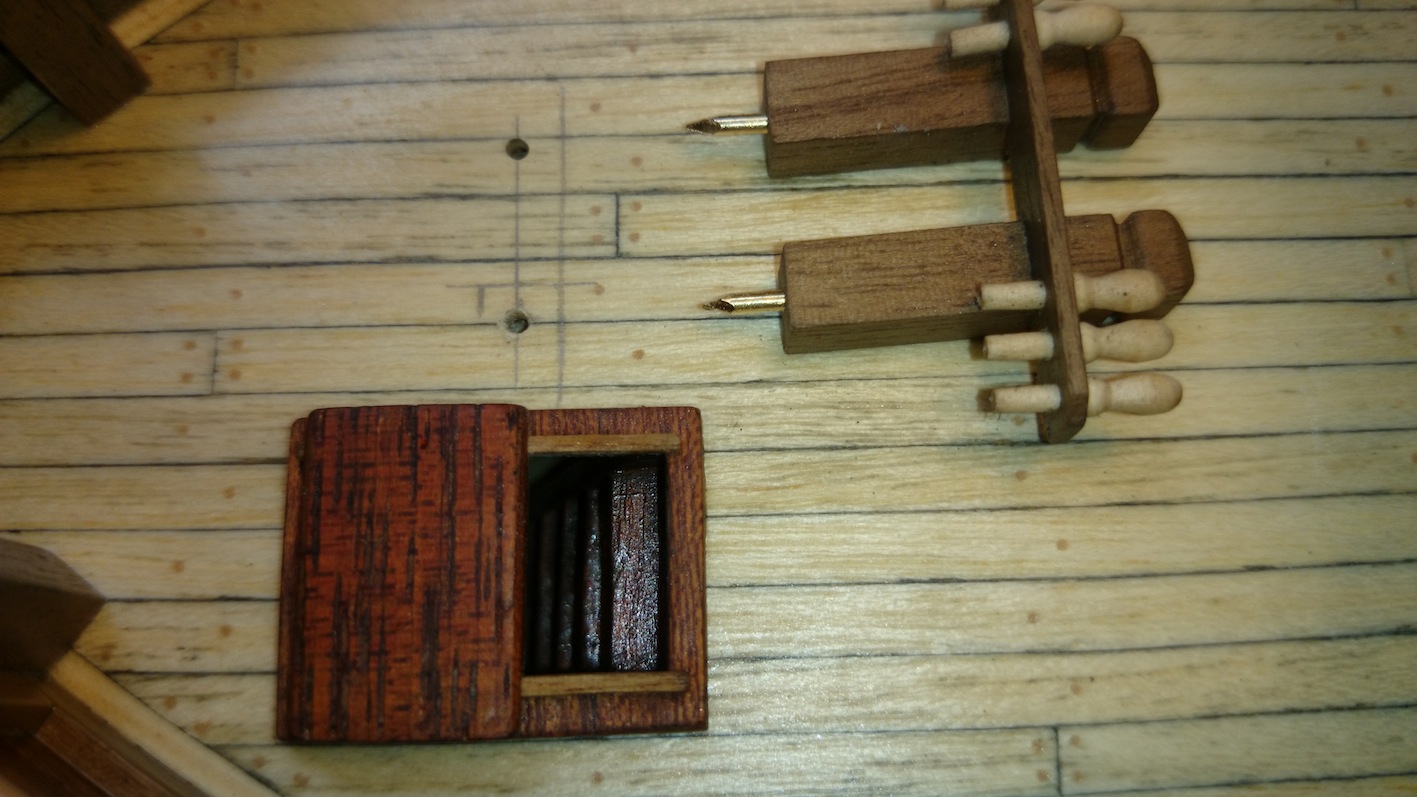
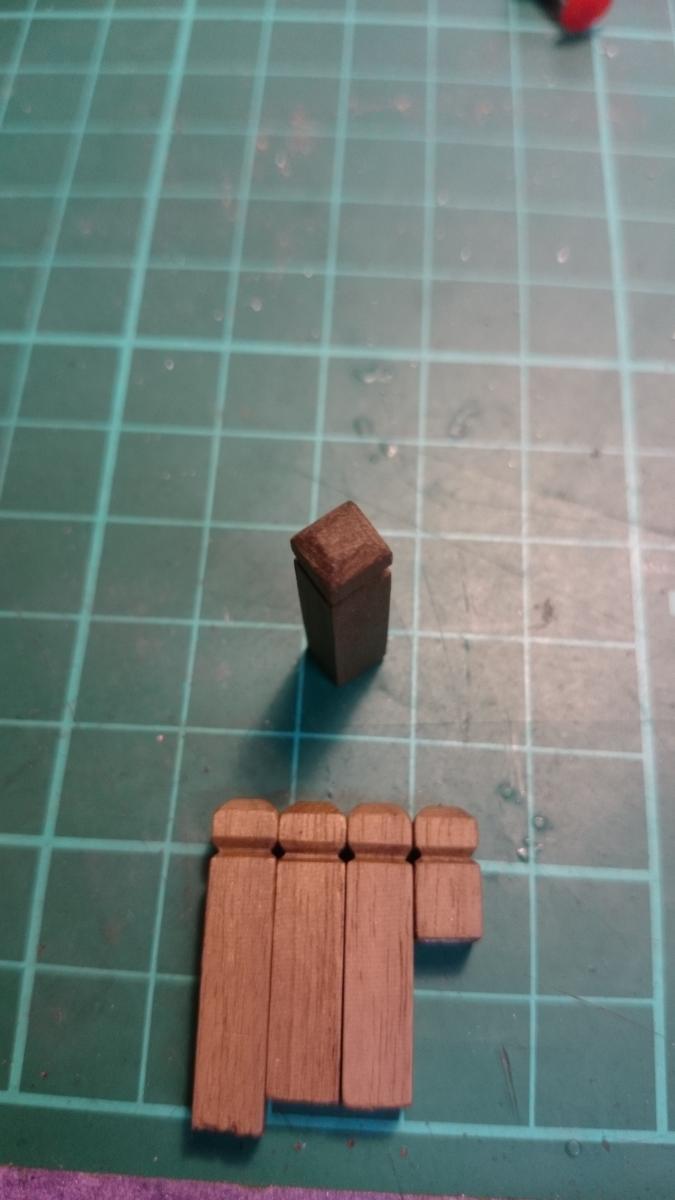
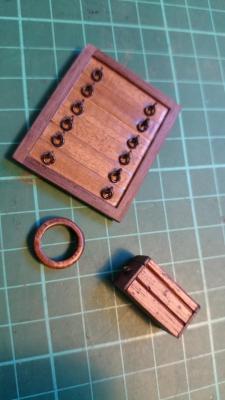
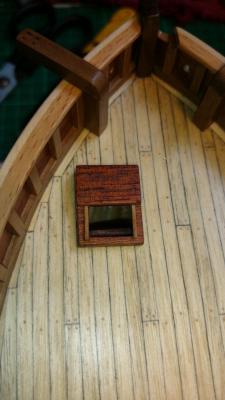
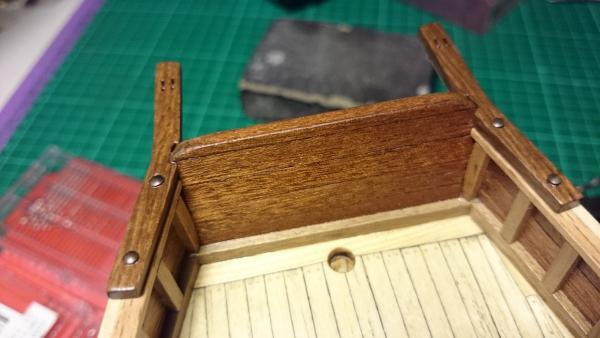
Here is a few scratch items i made today.. For making the mast ring, i really recommend drilling out the centre hole first, then gluing it to something circular and metallic.. use this as a guide to shape outside of ring.. You will struggle to get it by eye thats for sure.. I made this one out of solid black bean.. I have also decide to added a flickering led that will run off a remote control, i will show you later if it all works out.. So now my cargo hatch is my opening to access batteries.. remote will activate a 4 or 8 hour timer or on/off, flicker/constant.. etc.. The batteries should last a long time.. But it will be easy to enough to get them out as hatch is secured by a very snug fit only,.. I will only light it for show occasions .. Thanks again all, making hay while the sun shines, actuallty lots of rain, but the shipyard may close for other callings a week or three perhaps, there will be withdrawals no doubt.. Ollie


- 803 replies
-
- 4
-
-
- colonial cutter
- modellers shipyard
- (and 1 more)
-
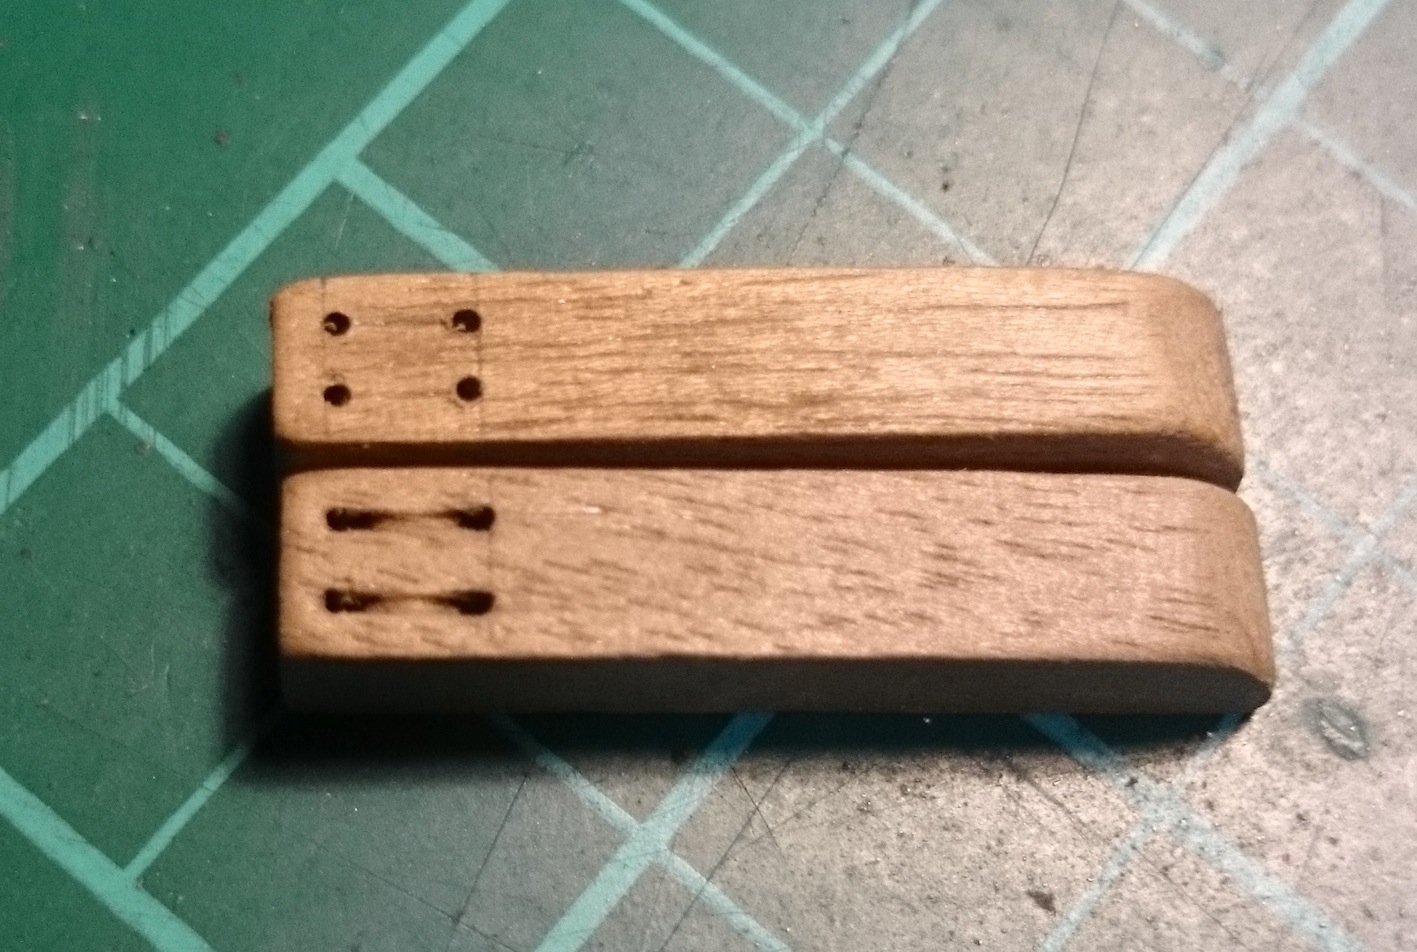
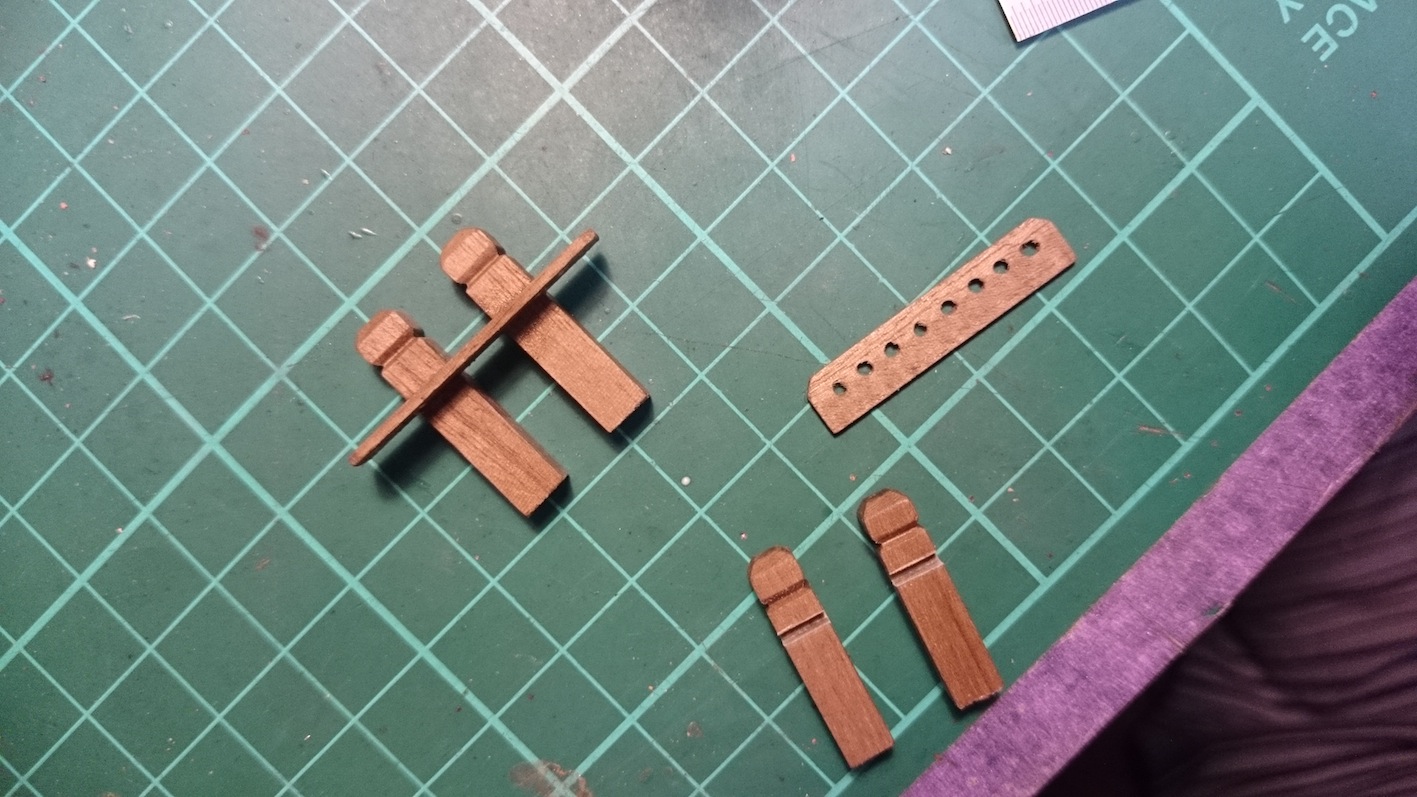
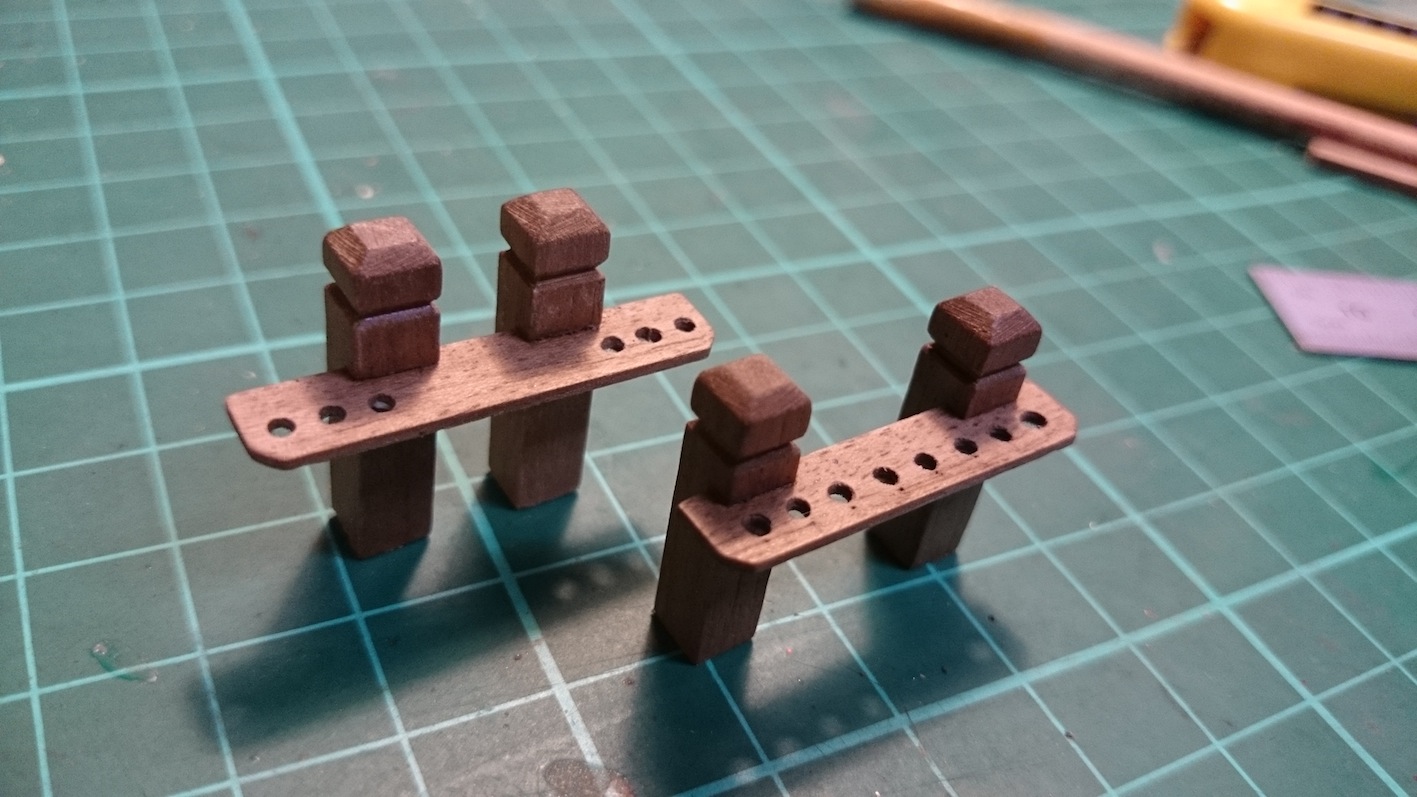
I just wanted to share a few other things... I have realised how well fishing line cuts into things (like your fingers when you catch a big one) and on other contraptions i have made.. Great for this process, Its cheap it comes in many thicknesses.. Worked a treat and took a minute.. Pull back and forth with pressure till line is at least flush with top of timber.. i did this in a vice..

- 803 replies
-
- 4
-
-
- colonial cutter
- modellers shipyard
- (and 1 more)
-
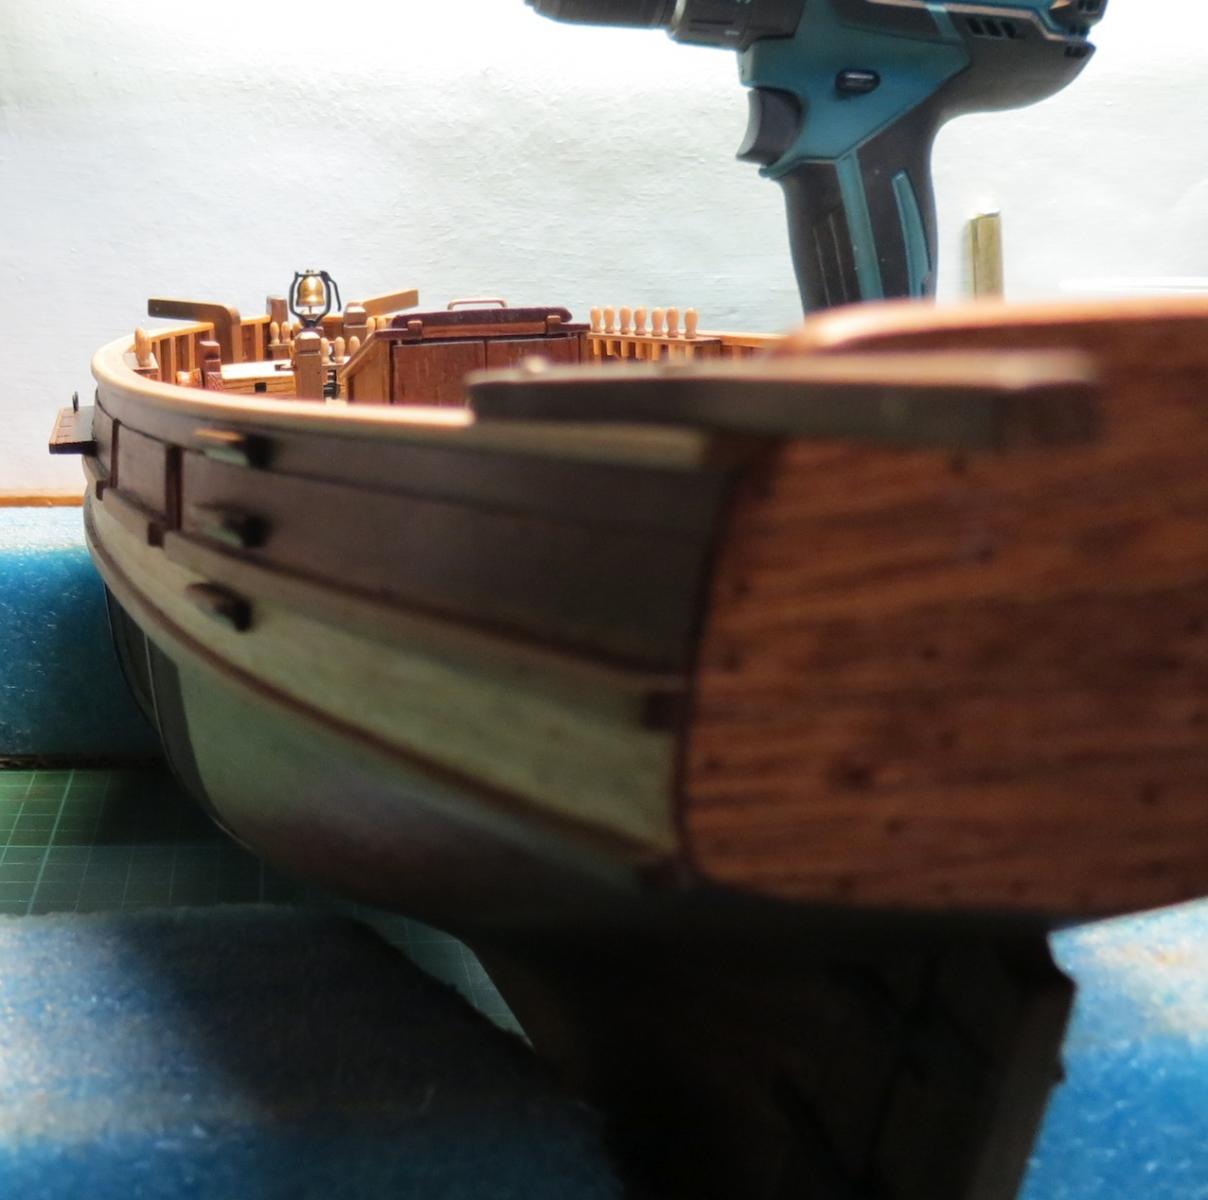
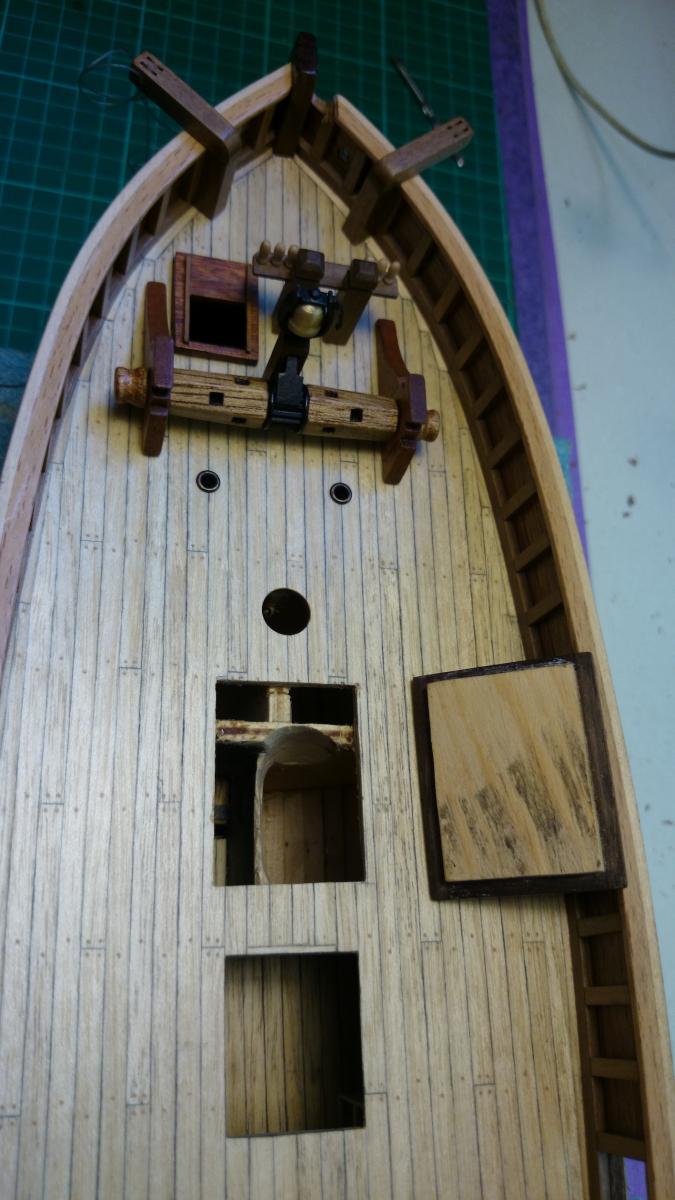
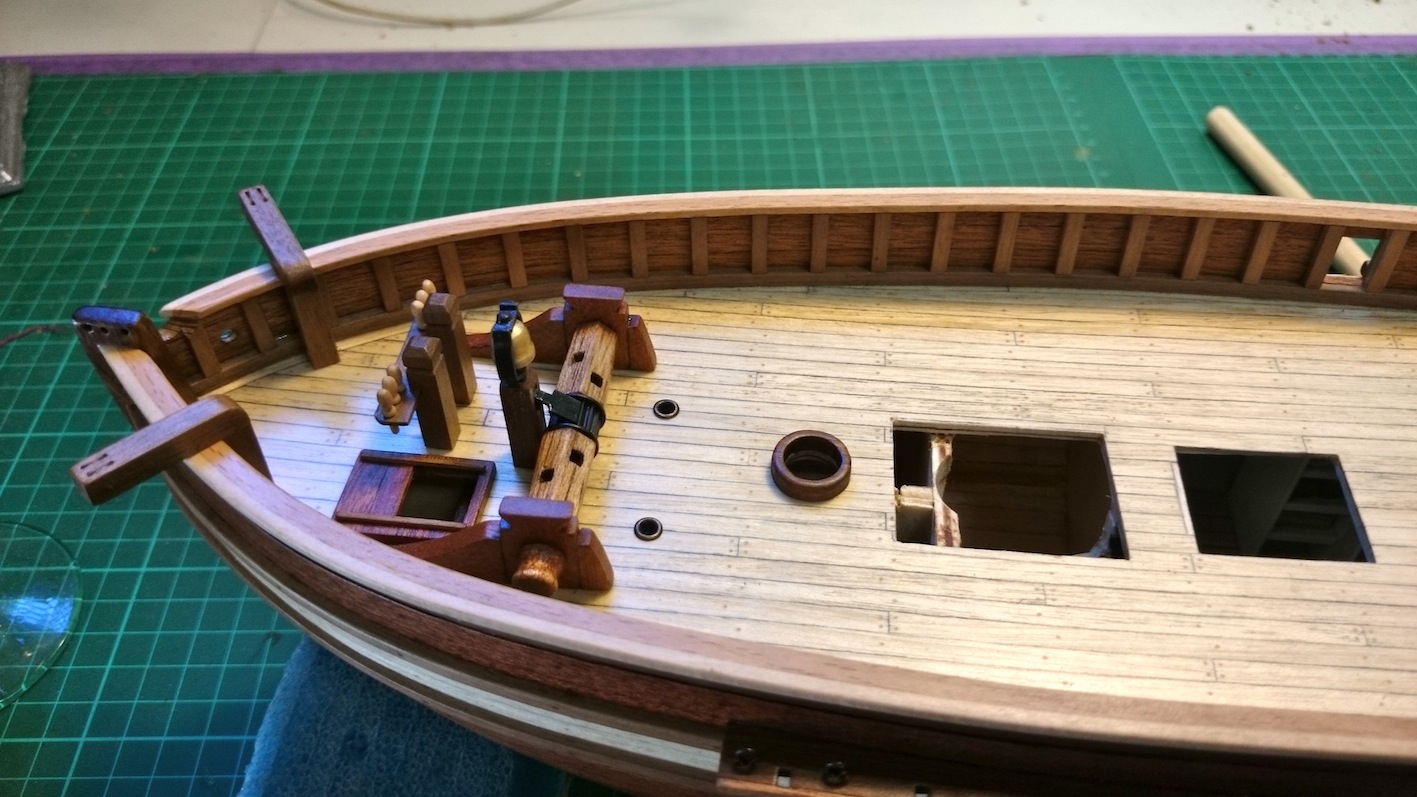
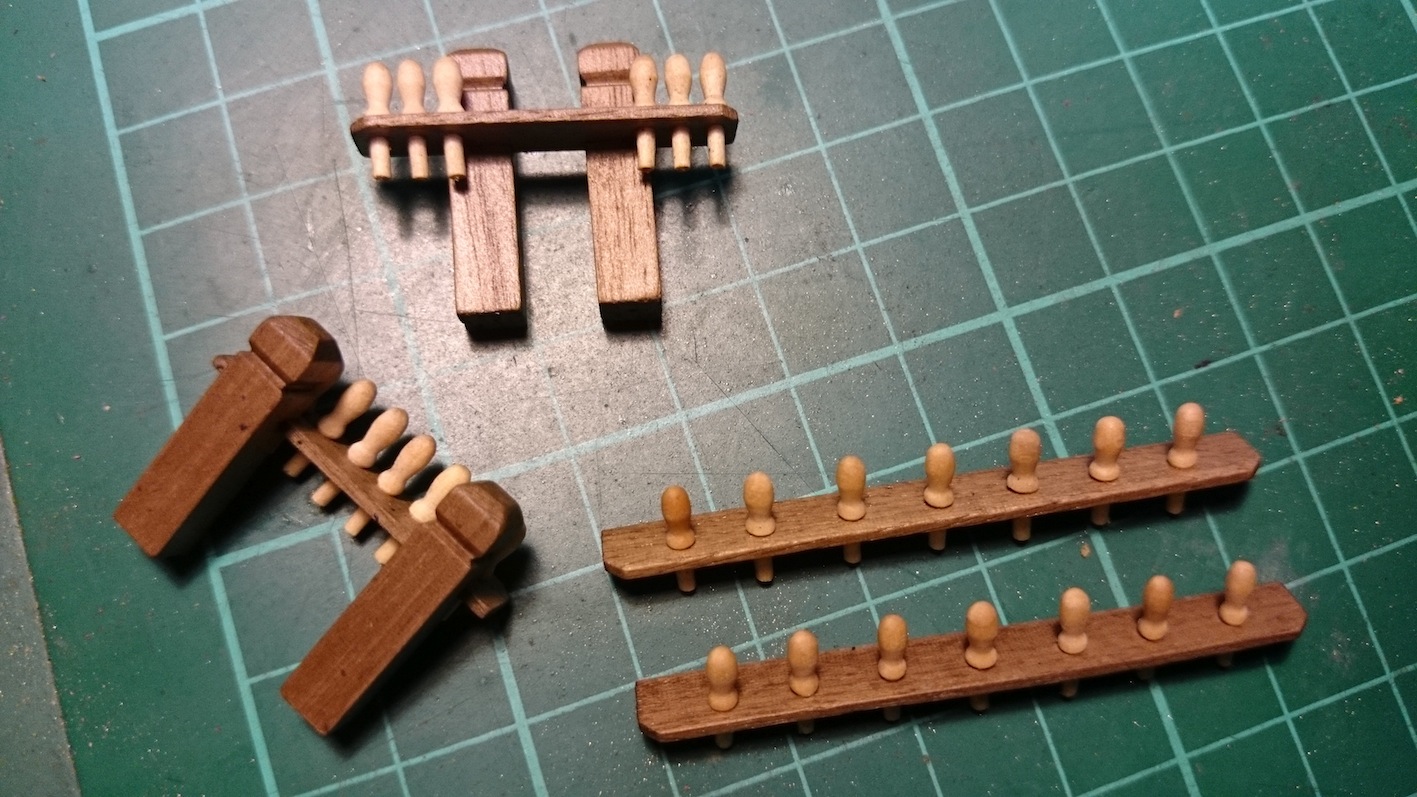
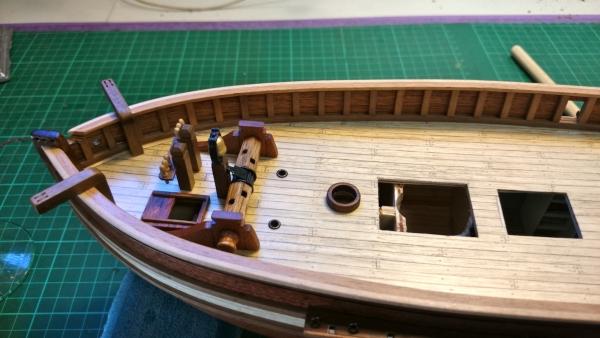
Thanks so much everyone. Your too kind... I love the contrasts also and i have soon realised i dont like painting my ship..even though im painting ones side of this one.. I would prefer to use the timbers colours to my best advantage.. Eamonn would you believe i'm taking all these pics with my phone! its 20mp.. Rod, i thought i may only build one ship and take it back up when i am older but i think the bug has bitten hard haha.. I was considering scratch building the Endeavour even if it took me many years.. But alas i am moving house and losing full access to my shed so it will be another kit build and i am leaning towards the HMS Beagle as my girlfriend is related to Charles Darwin (so she believes from records) And my grandfather was right into Darwin also looks like a great build.. also may be the endeavour yet... Ok.. Lots of work going on as i have had time off from business.. Adding 10 hours.. It is great to see my scratch built deck items finally start to go on deck! Windlass installed, bowspit rail, forward hatch/comapnionway, hawse holes etc..


- 803 replies
-
- 4
-
-
- colonial cutter
- modellers shipyard
- (and 1 more)
-
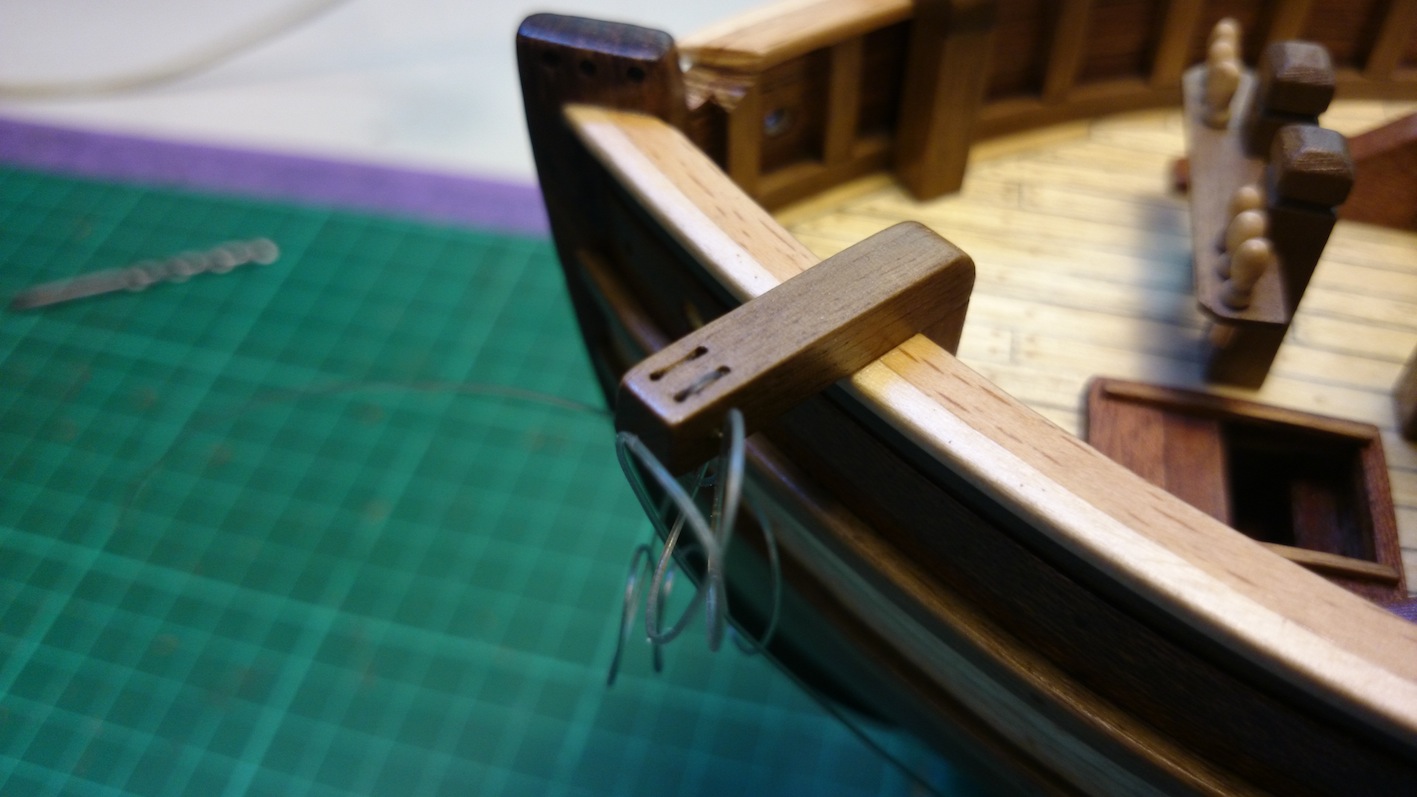
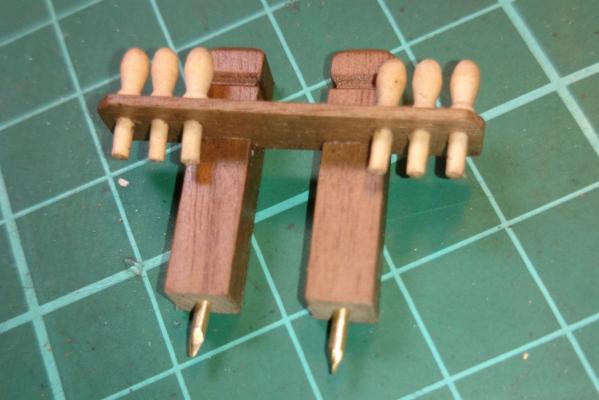
oops i somehow deleted wrong post... Thanks agin all, you are keeping me doing my best.. 8 hours spent. Wont bother re writing all that just repost the pictures... Eamonn, its not a light just natural light coming through opening in deck.. i have been considering one of those flickering led's.. Catheads installed, false brass axles for rollers..


- 803 replies
-
- 3
-
-
- colonial cutter
- modellers shipyard
- (and 1 more)
-
Yes, its slow and hard work, but doesn't that look great!! You have managed to have no stealers at bow, looks mighty fine Rod, really enjoying watching this build as it's a ship that interests me.. Ollie
-
Yes Brian, something I learned the hard way, can't believe i didn't read that somewhere..
- 803 replies
-
- 1
-
-
- colonial cutter
- modellers shipyard
- (and 1 more)
-
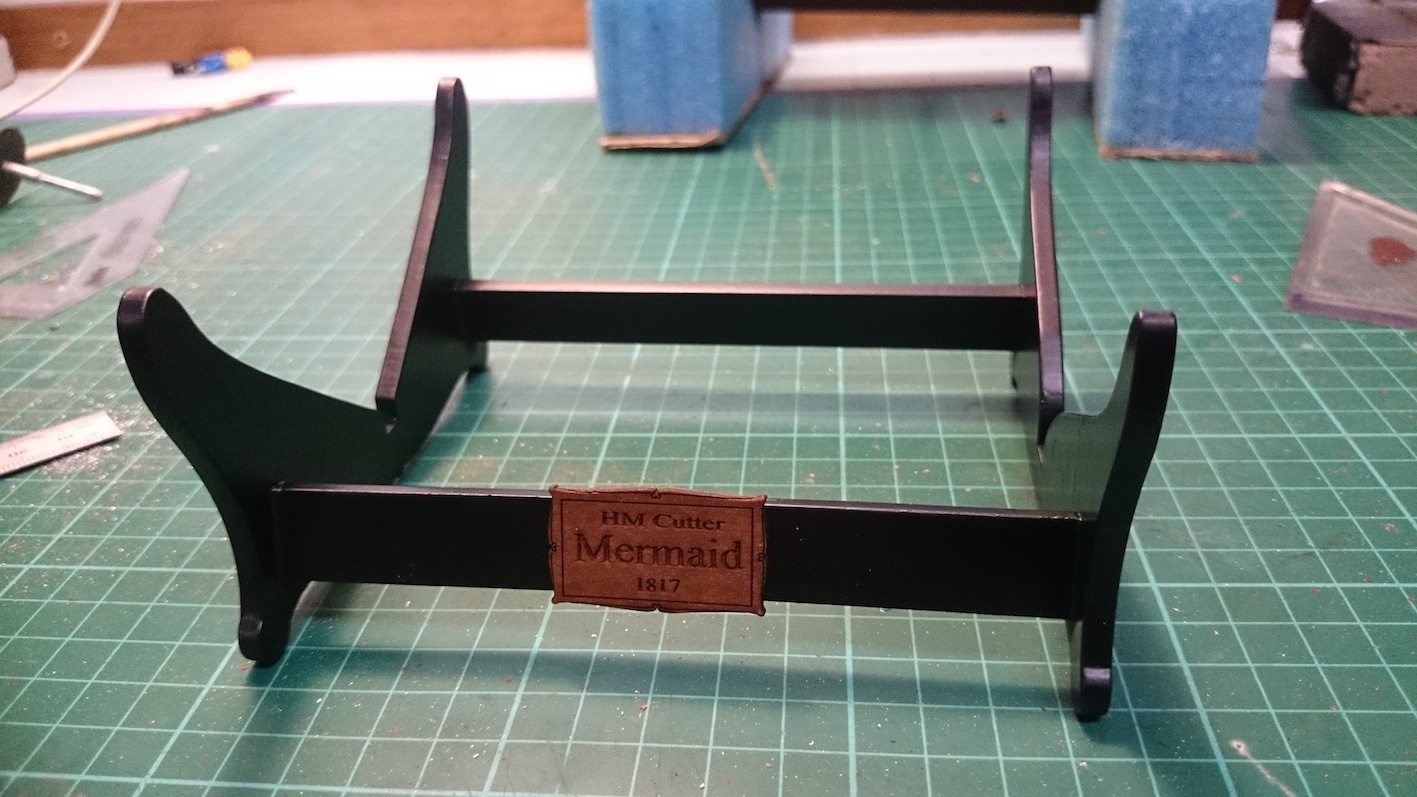
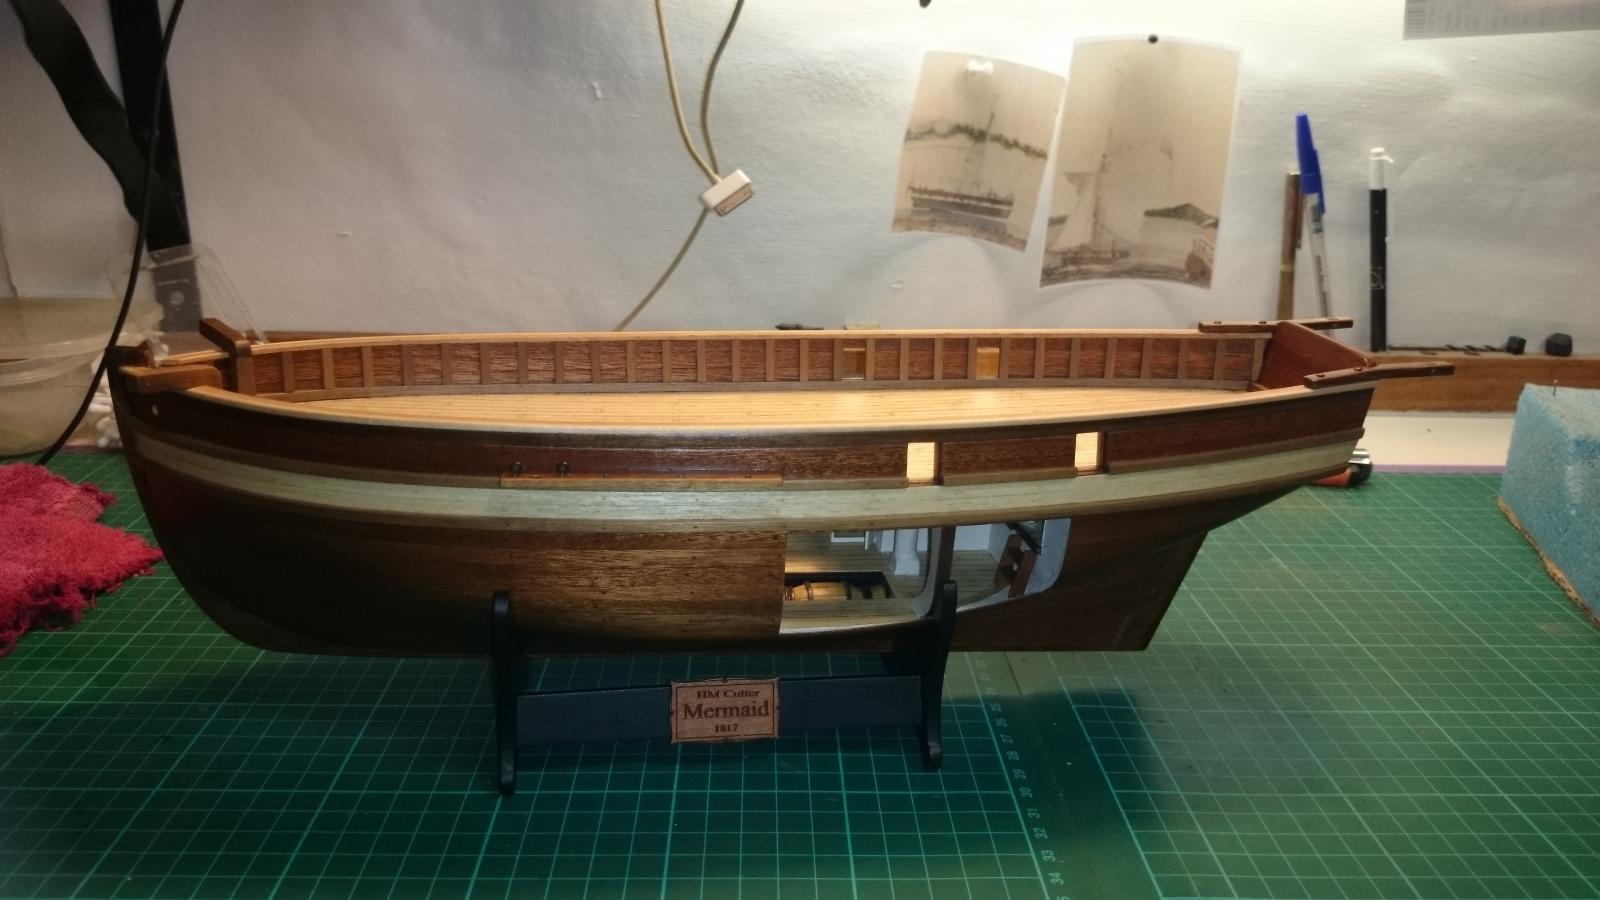
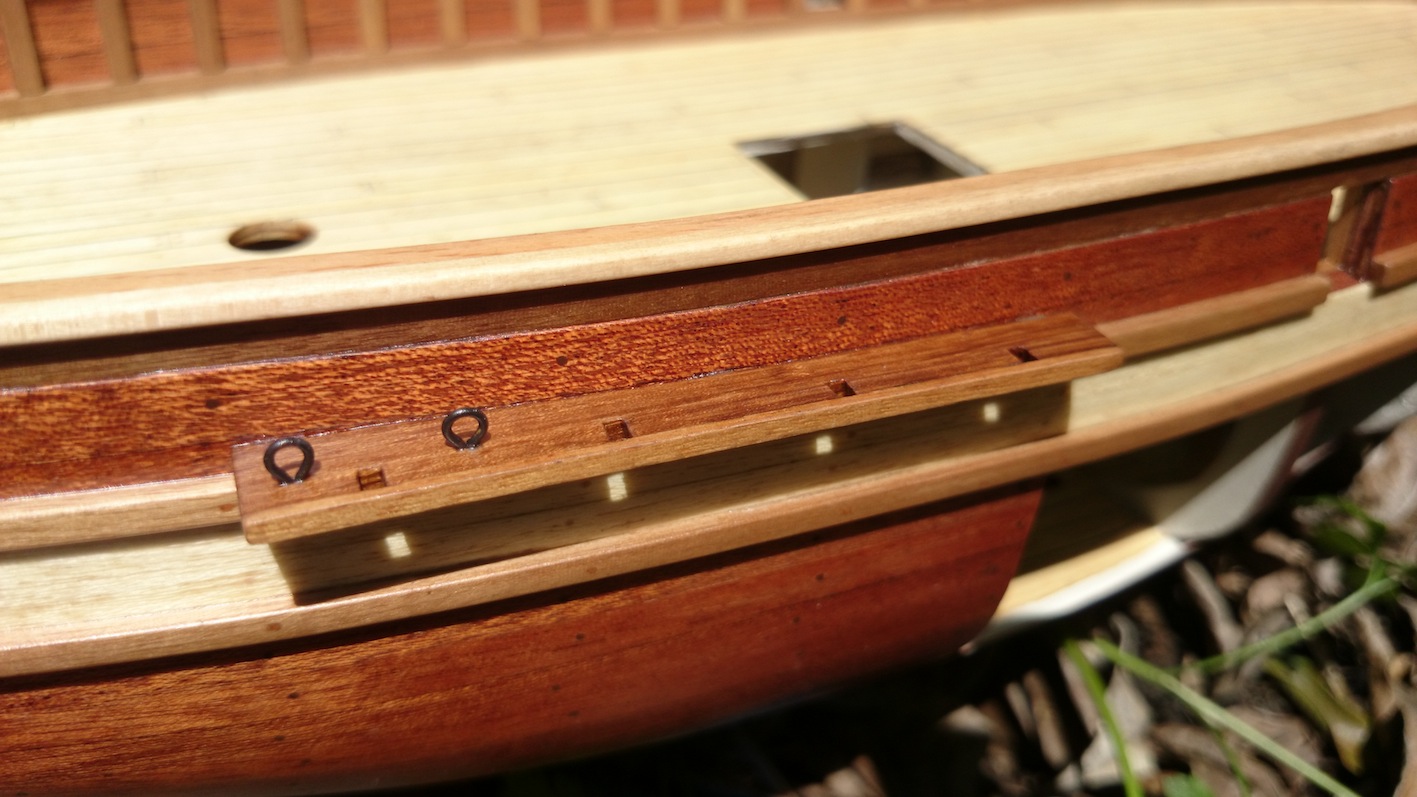
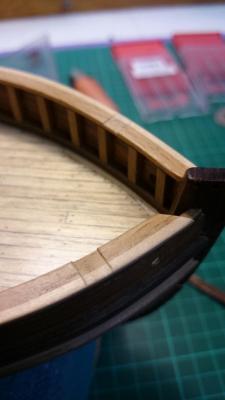
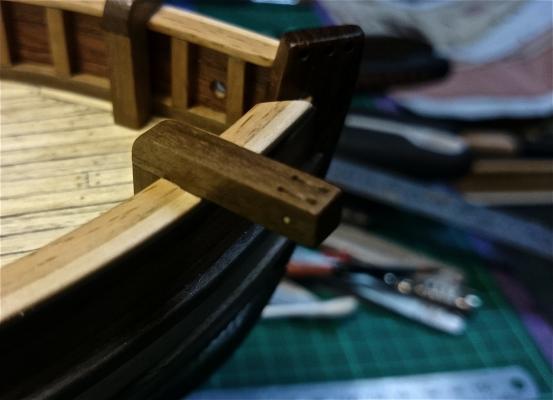
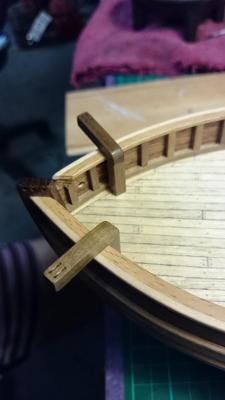
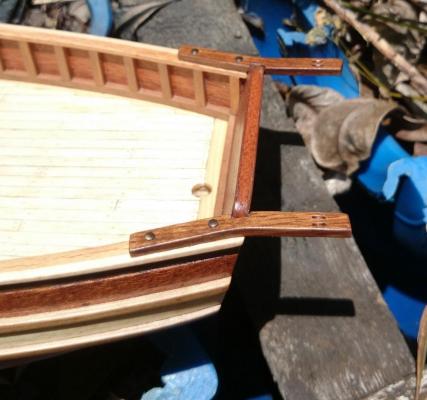
Thanks so much Ya'll I have done about another 6 hours work... Stern davits installed and channels.. Anchor holes in bow added also and miscellaneous stuff such as making the display cradle and jigs for next stages such as night heads and pin rails etc.. Moving along.. happy crafting all..

- 803 replies
-
- 4
-
-
- colonial cutter
- modellers shipyard
- (and 1 more)
-
You had me there for a minute. I'm like, show me the pegs boyo looks really good. Nothing like a good clamp down. Keep them pick coming mate .
- 1,039 replies
-
- 1
-
-
- ballahoo
- caldercraft
- (and 2 more)