HOLIDAY DONATION DRIVE - SUPPORT MSW - DO YOUR PART TO KEEP THIS GREAT FORUM GOING! (Only 13 donations so far - C'mon guys!)
×


olliechristo
-
Posts
412 -
Joined
-
Last visited
Content Type
Profiles
Forums
Gallery
Events
Everything posted by olliechristo
-
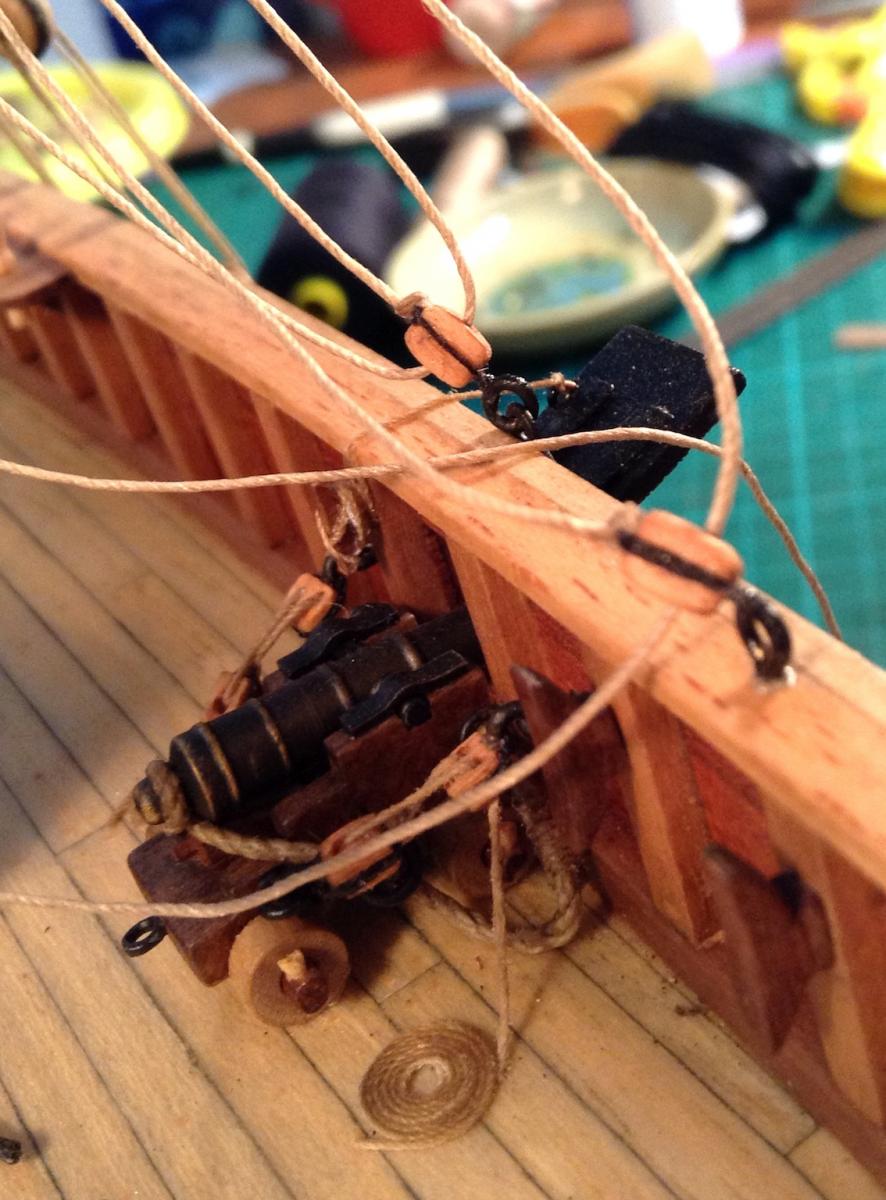
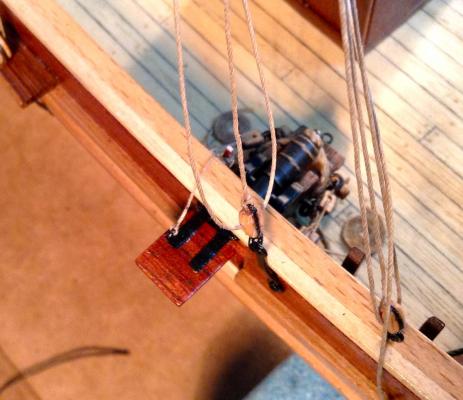
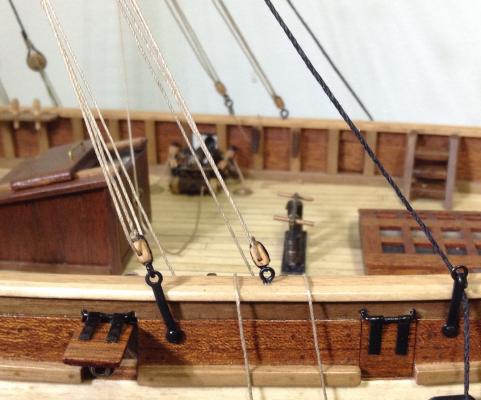
 ther has also been small touches going on at the moment, like the ropes to open and close canon port lids.. A very small cleat was added inside bulwark..
- 803 replies
-
- 3
-

-
- colonial cutter
- modellers shipyard
- (and 1 more)
-
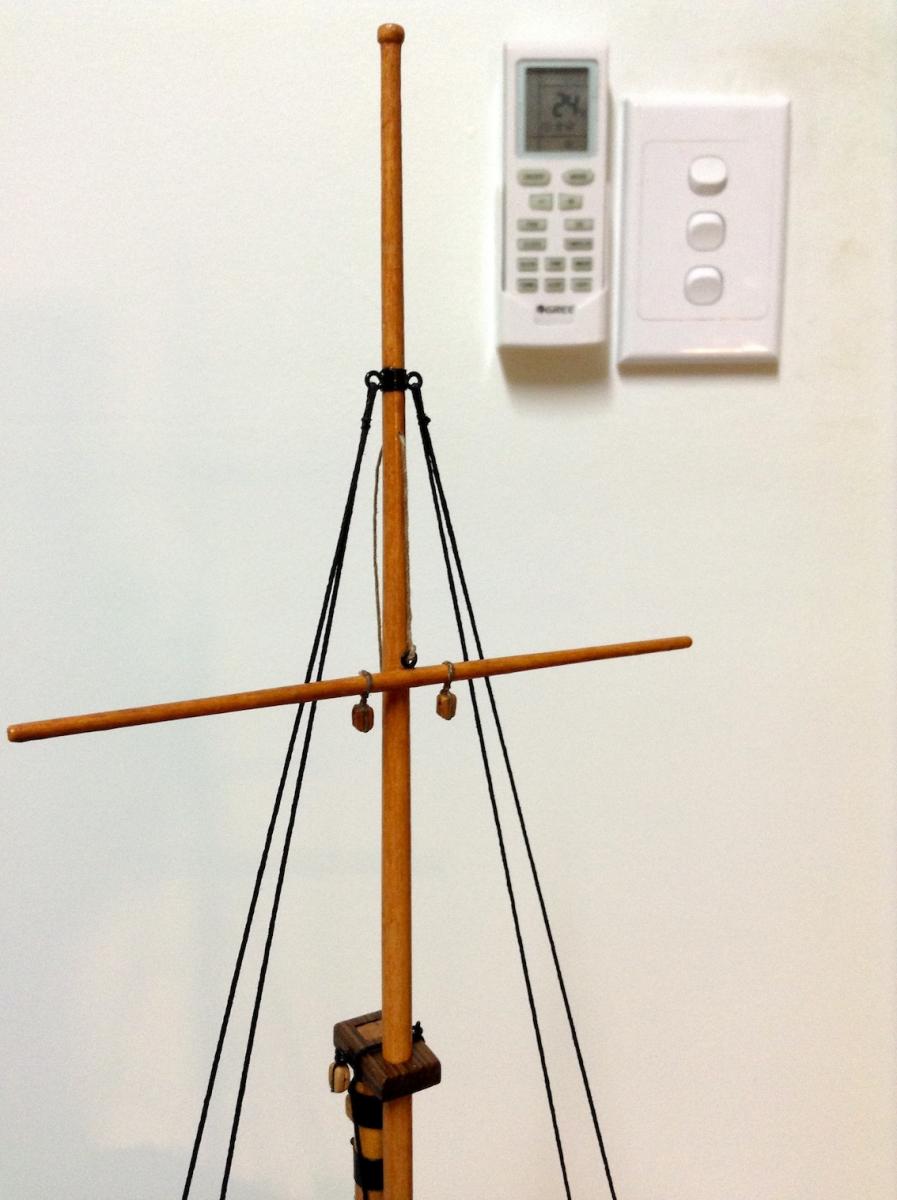
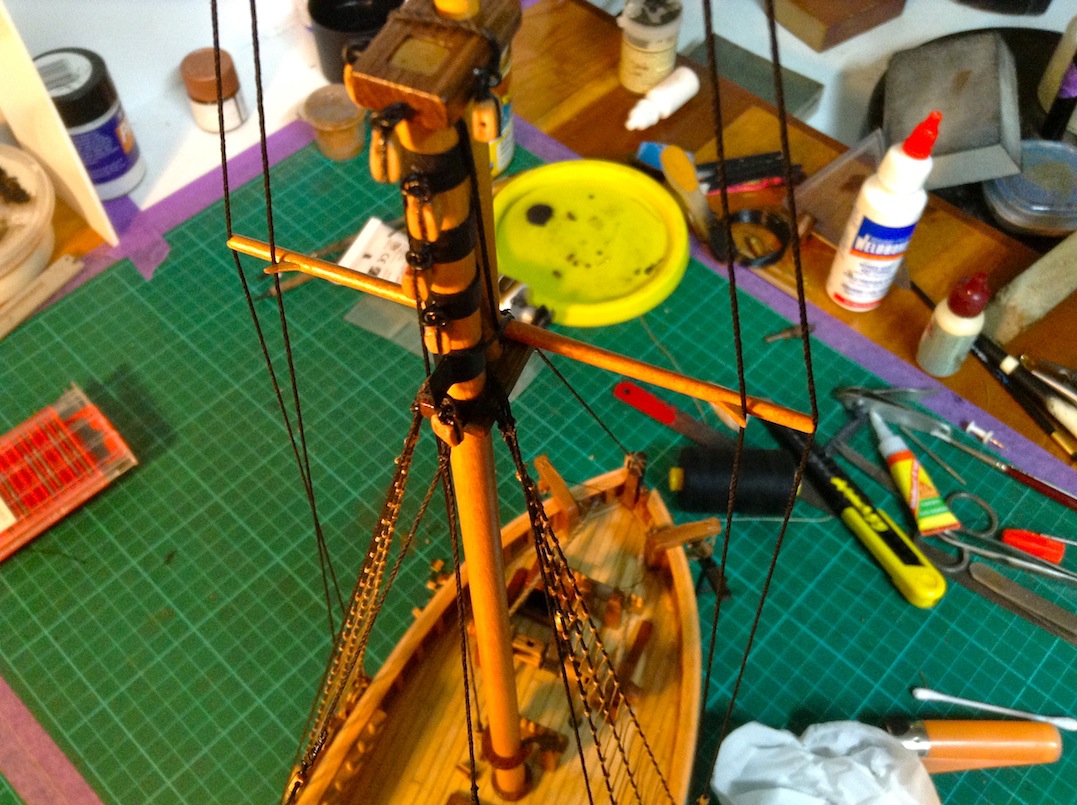
Great thanks as always gang.. With some observation of historical pics, i came up with questions regarding the top yard.. John and myself decided via msg, the top yard was rigged "flying" Which means no foot-ropes and no lashing to mast. So I changed it up and have it rigged.. It was also decided that the Yard braces would pull fore and pull yard away from mast which is ok, but looks funny on a model, so I glued it and went a step further and put a brass pin through to hold it with some security.. The halliard is on but not reeved up yet....


- 803 replies
-
- 3
-
-
- colonial cutter
- modellers shipyard
- (and 1 more)
-
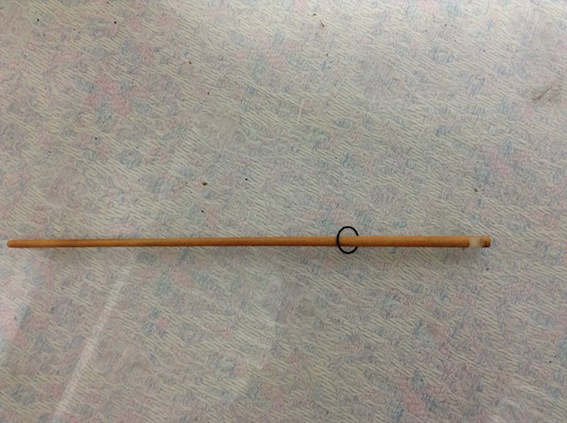
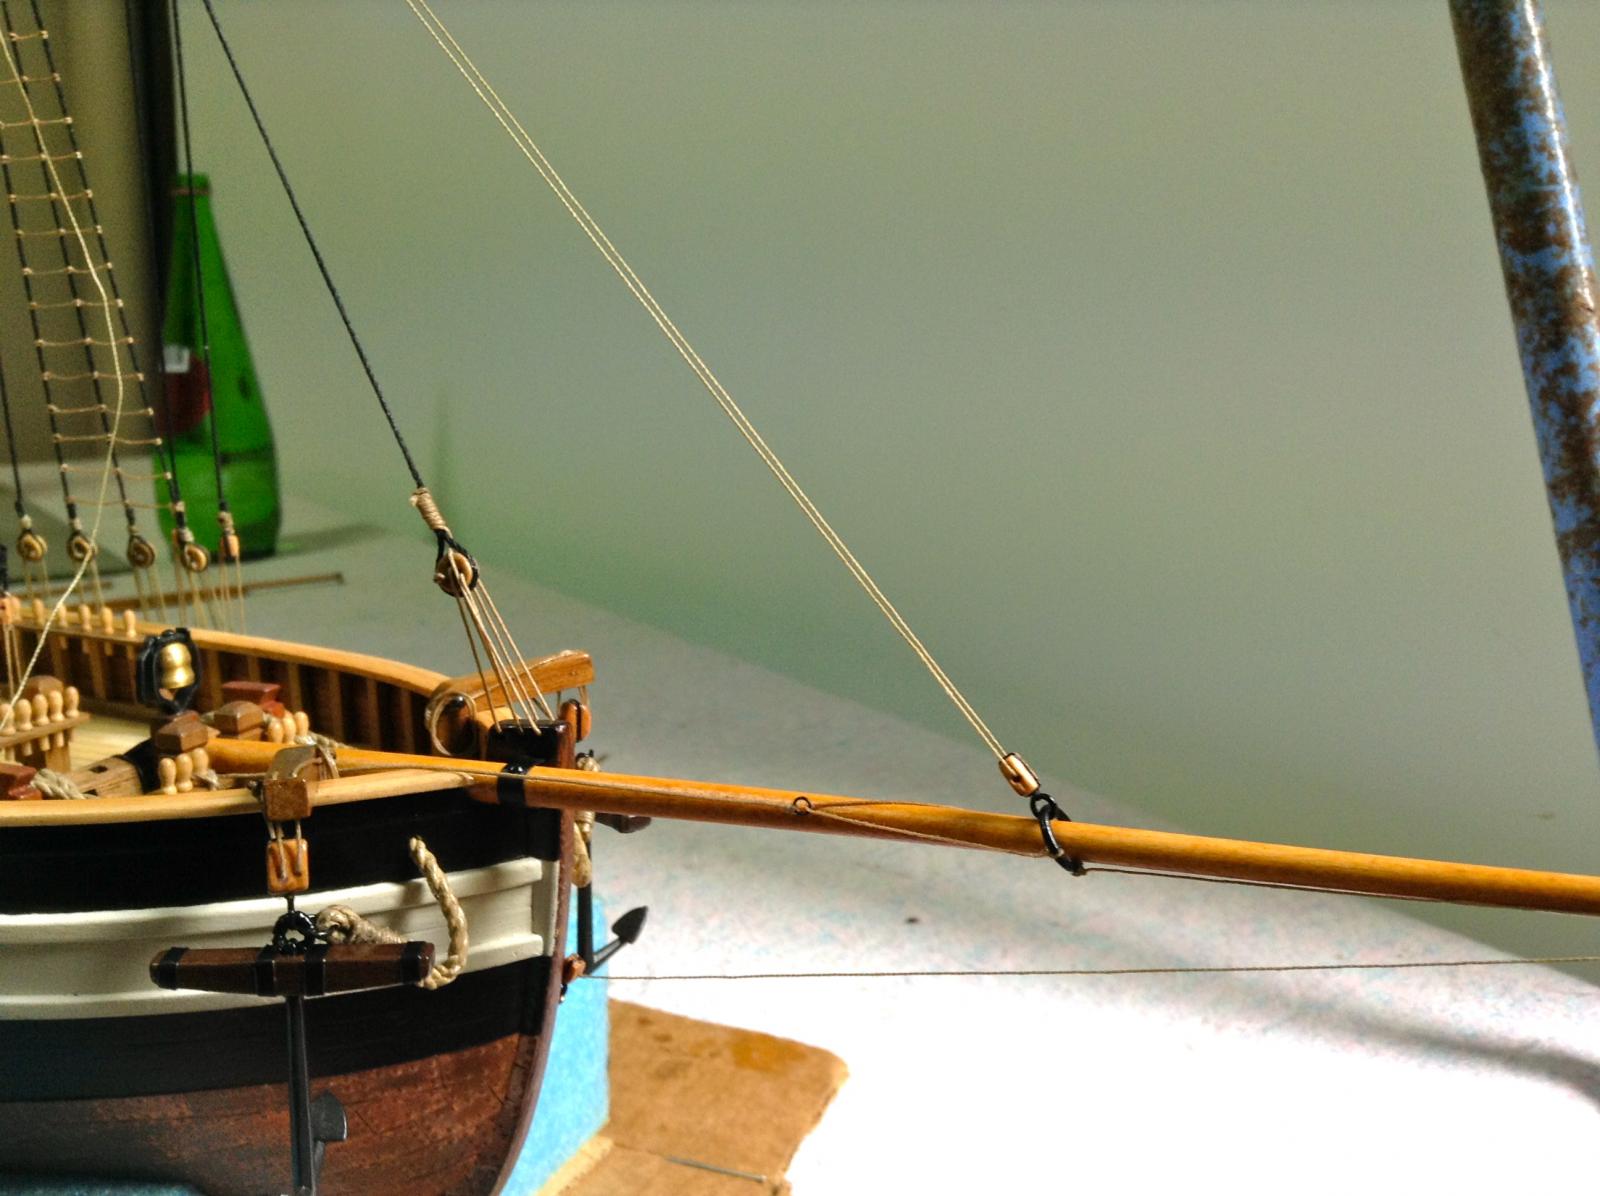
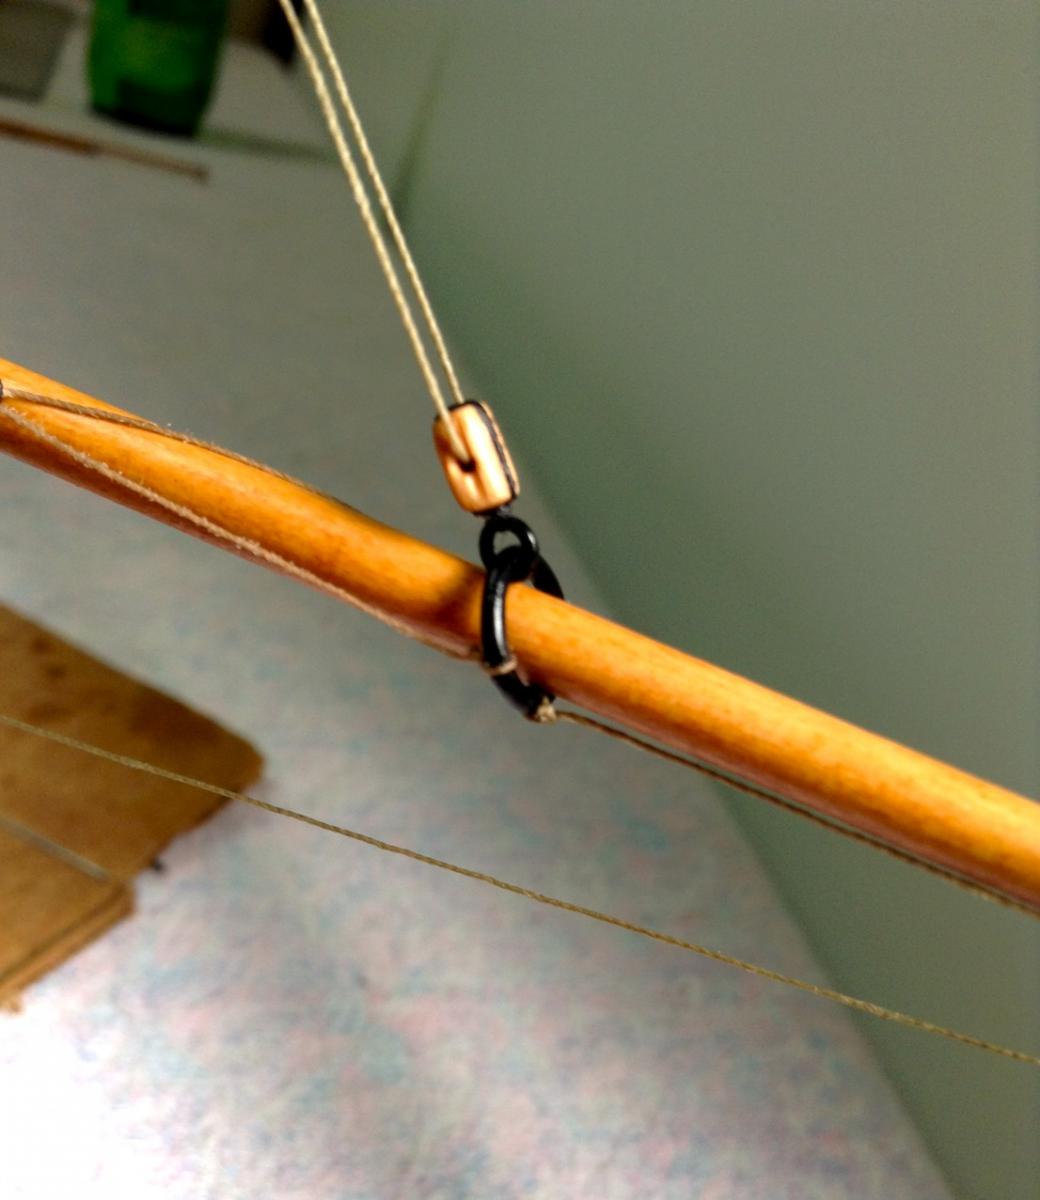
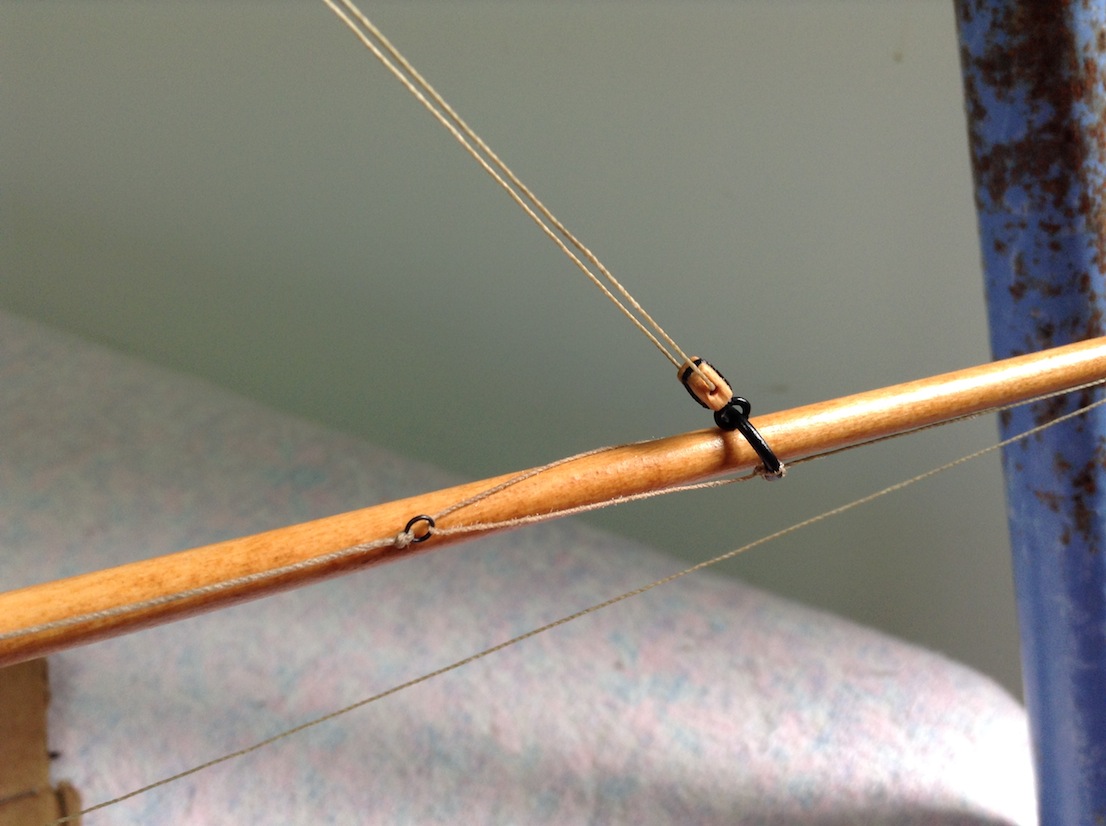
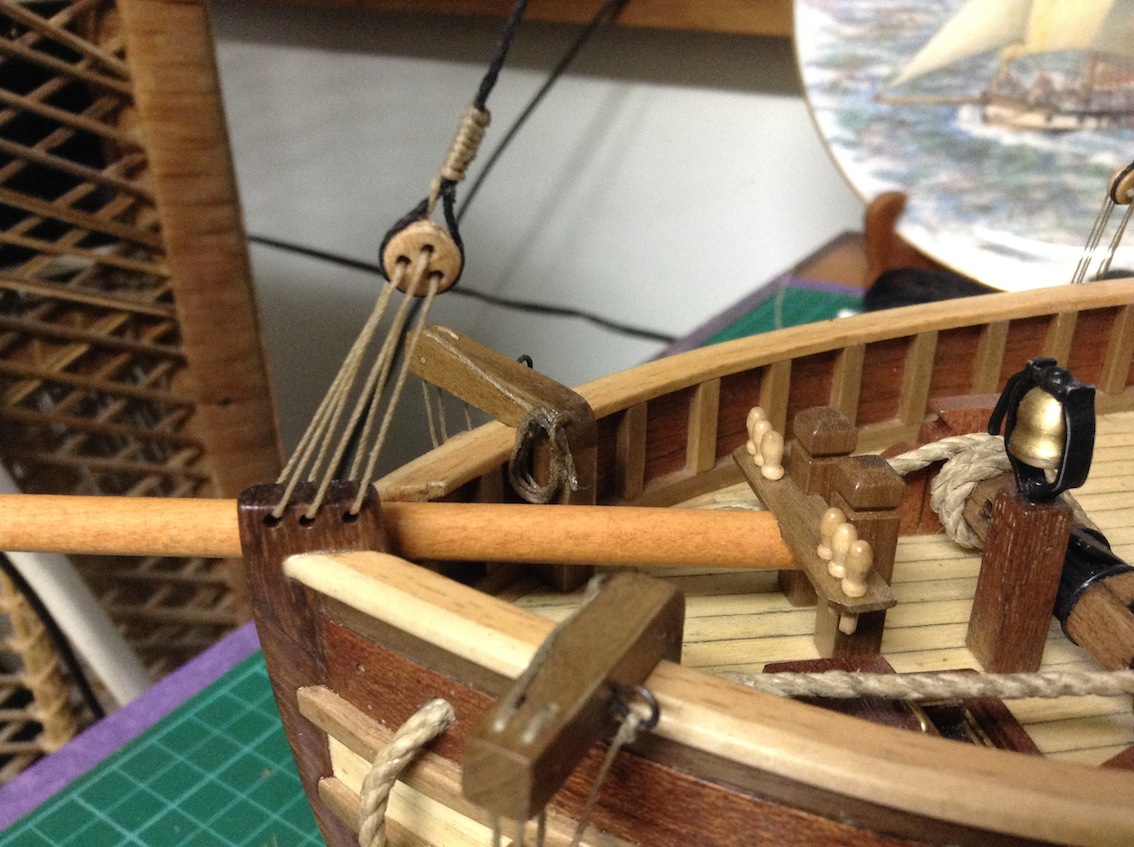
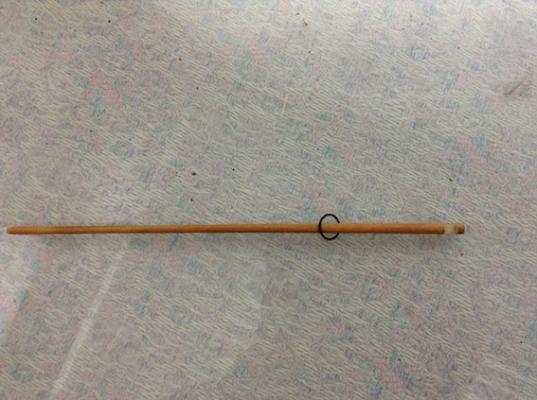
Hers what the bowsrpit traveller ring that was supplied started out like, a fraction loose i think..
- 803 replies
-
- 3
-
-
- colonial cutter
- modellers shipyard
- (and 1 more)
-
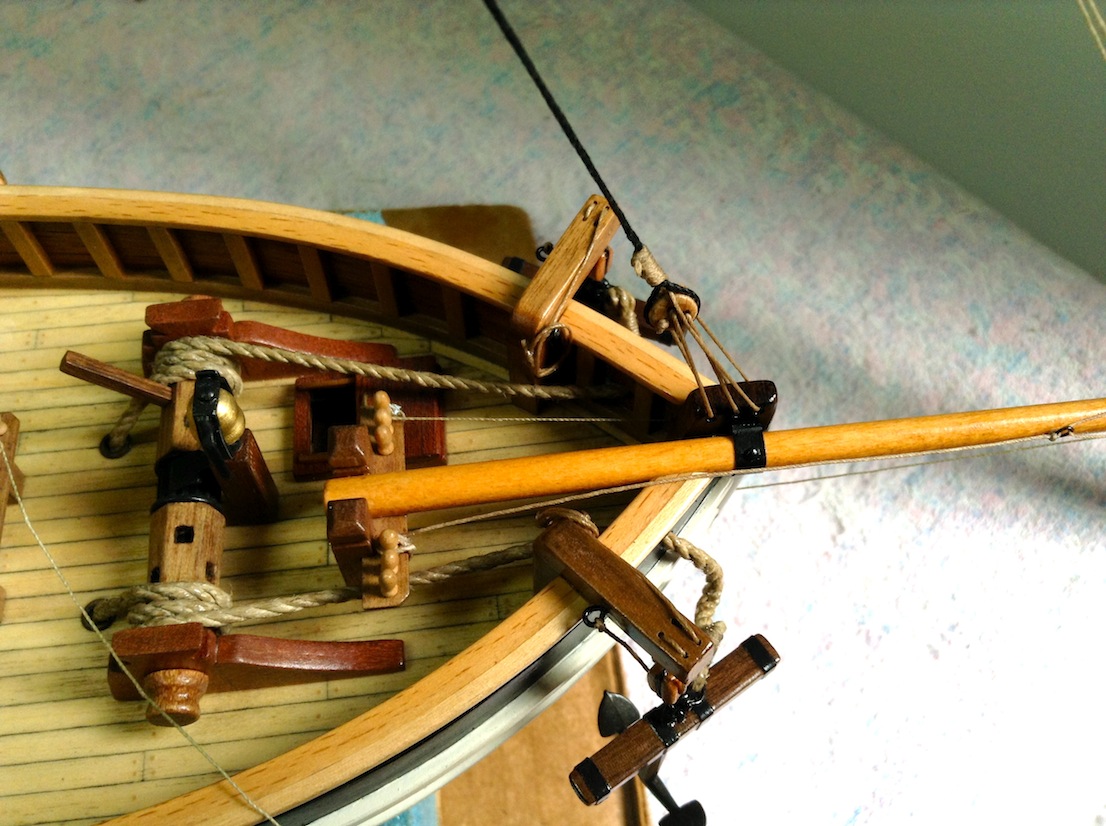
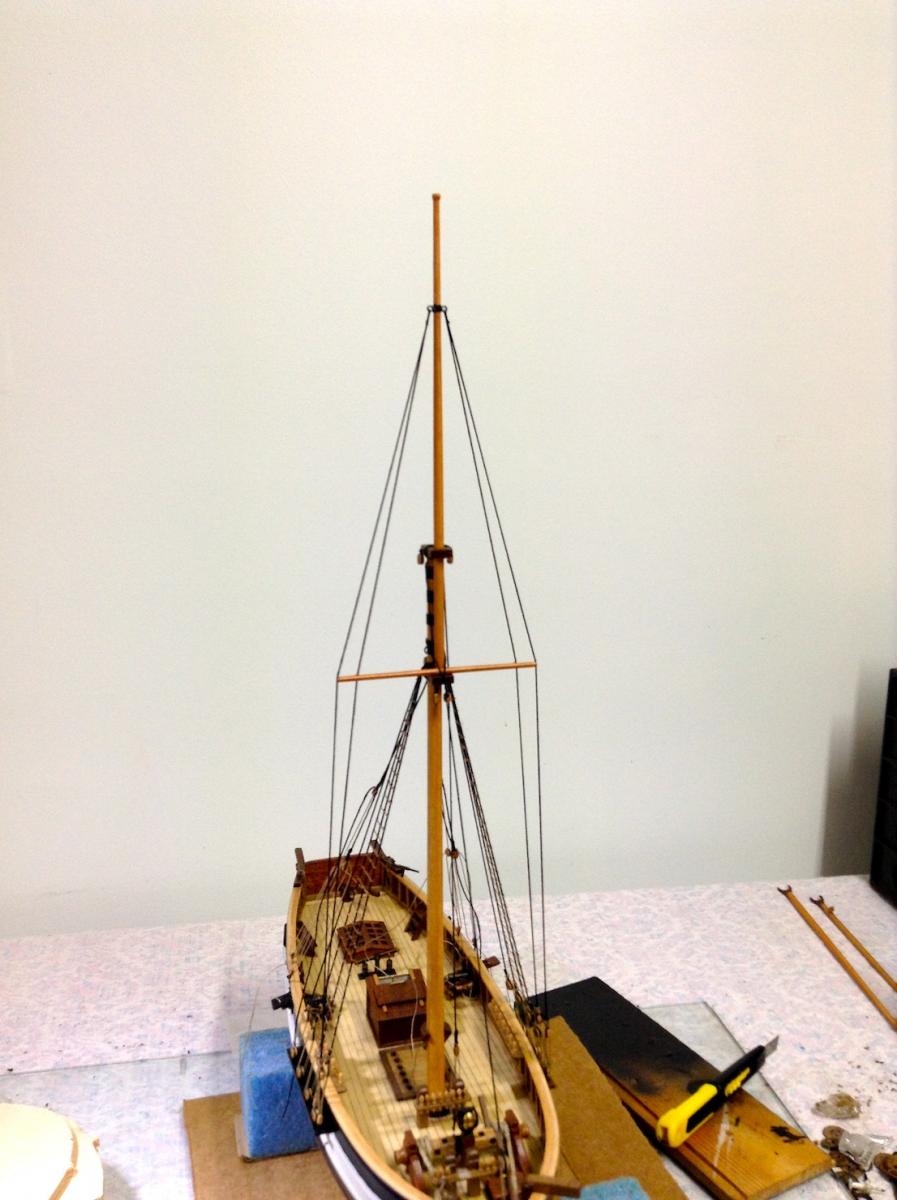
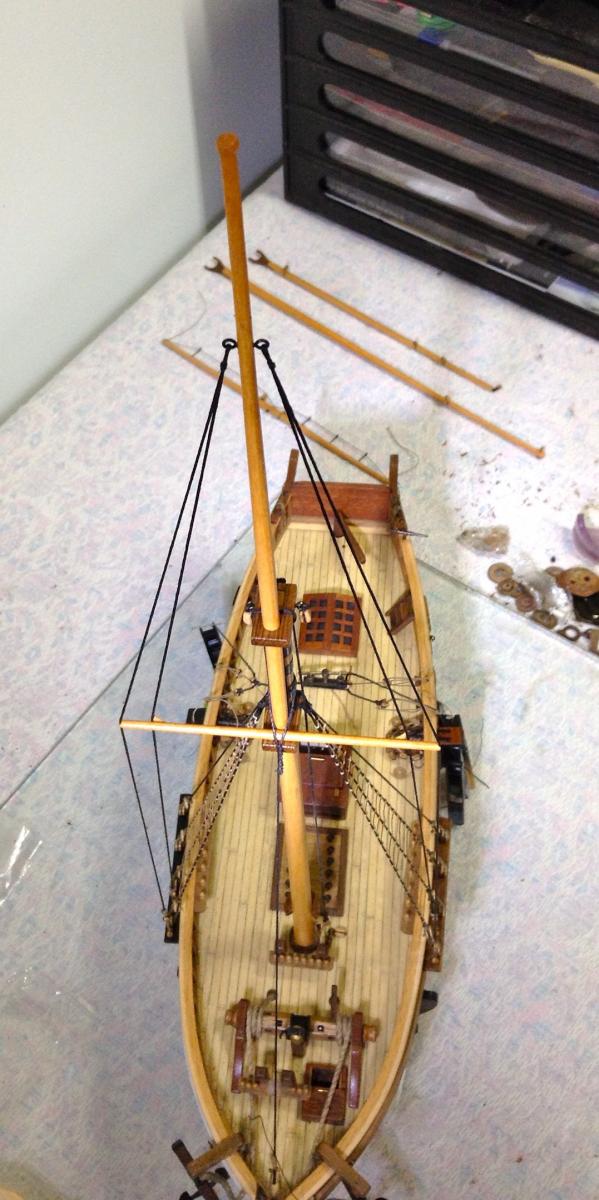
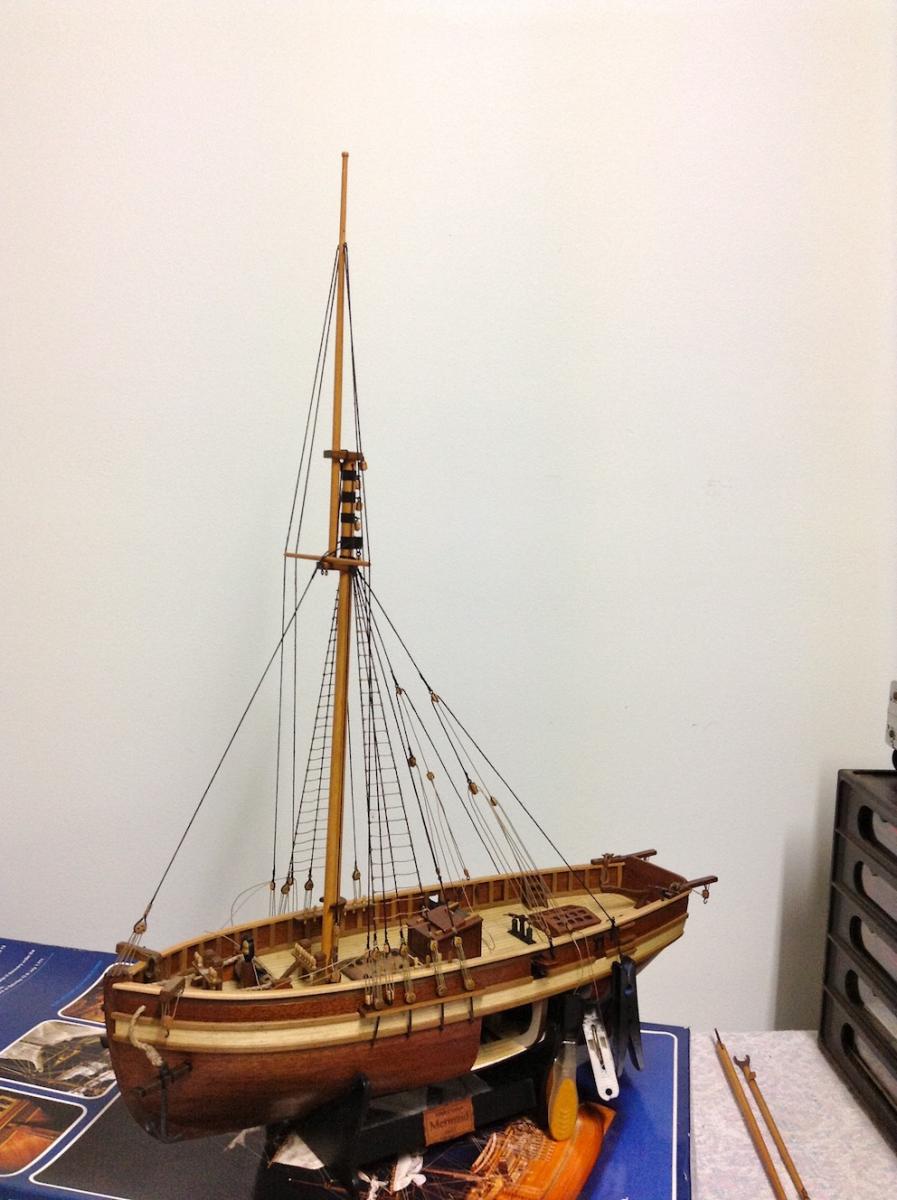
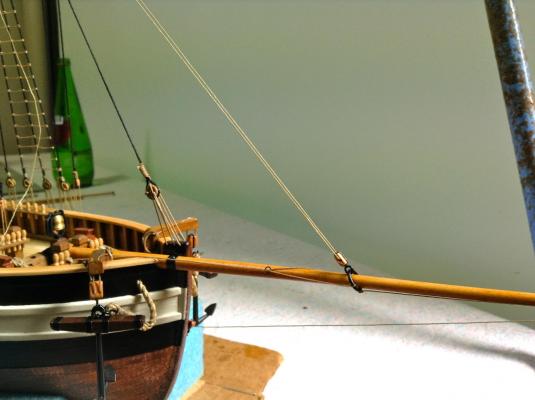
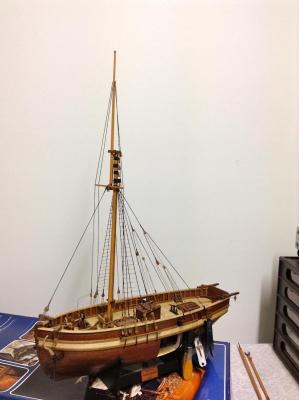
Thanks Tom, Eamm and Brian... Pygothian! Thought we had lost you. i'm glad you havnt lost the passion... Cheers mate.... John, im glad you suggested that .. Just have to figure out those grommets now.. think i will try splic a tiny eye bolt into top mast shroud.. Ok so i have been working away at bowsprit traveller which is now done.. added iron spectacle. I have fitted first yard.... do you guys think she is slung at an appropriate height? Next onto bowsprit guys and yard lifts, braces and halliards... Few pics to show you whats happening, really not far to go now!!! Ollie


- 803 replies
-
- 6
-
-
- colonial cutter
- modellers shipyard
- (and 1 more)
-
Hey buddy. i don't think you will miss the tree nailing although i wouldn't put it totally off limits.. I would only recommend a soft putty fake style nail... then sand carefully then clear coat the painted work and all!.. I use acrylic clear coat for everything.. It doesn't yellow, easy clean up and better resistance against mould and mildew here... I can then use enamel where needed for metal etc or acrylic colours and still do my clear coat over the top... ( you see acrylic can go over enamel but enamel wont go over acrylic) so if you use enamel clear coat it all has to be enamel.. I clear coat everything as i go.. I realise many don't but it helps me keep things clean and sealed as i go.. I sand an area for gluing or 'scratch it up' With added pins it would be no worries... I advise it.. I also would advise if you want to putty and sand the deck to mask off inside bulwarks to prevent any knocks.. i always use that non tack, less-stick stuff. it doesn't ever pull paint off... i also cherish my well worn in 3m sanding pads for jobs like these and you can cut them to a point or into small blocks.... Also scraping would be acceptable... I pre-seal deck etc before doing the putty then do final coats.. All just my suggestion if you really wanted to do those nails.. It is doable but the other guys are surely not wrong in saying it could have problems.... hope that makes some sense and is some use to you buddy.. Ollie
- 1,039 replies
-
- 1
-
-
- ballahoo
- caldercraft
- (and 2 more)
-
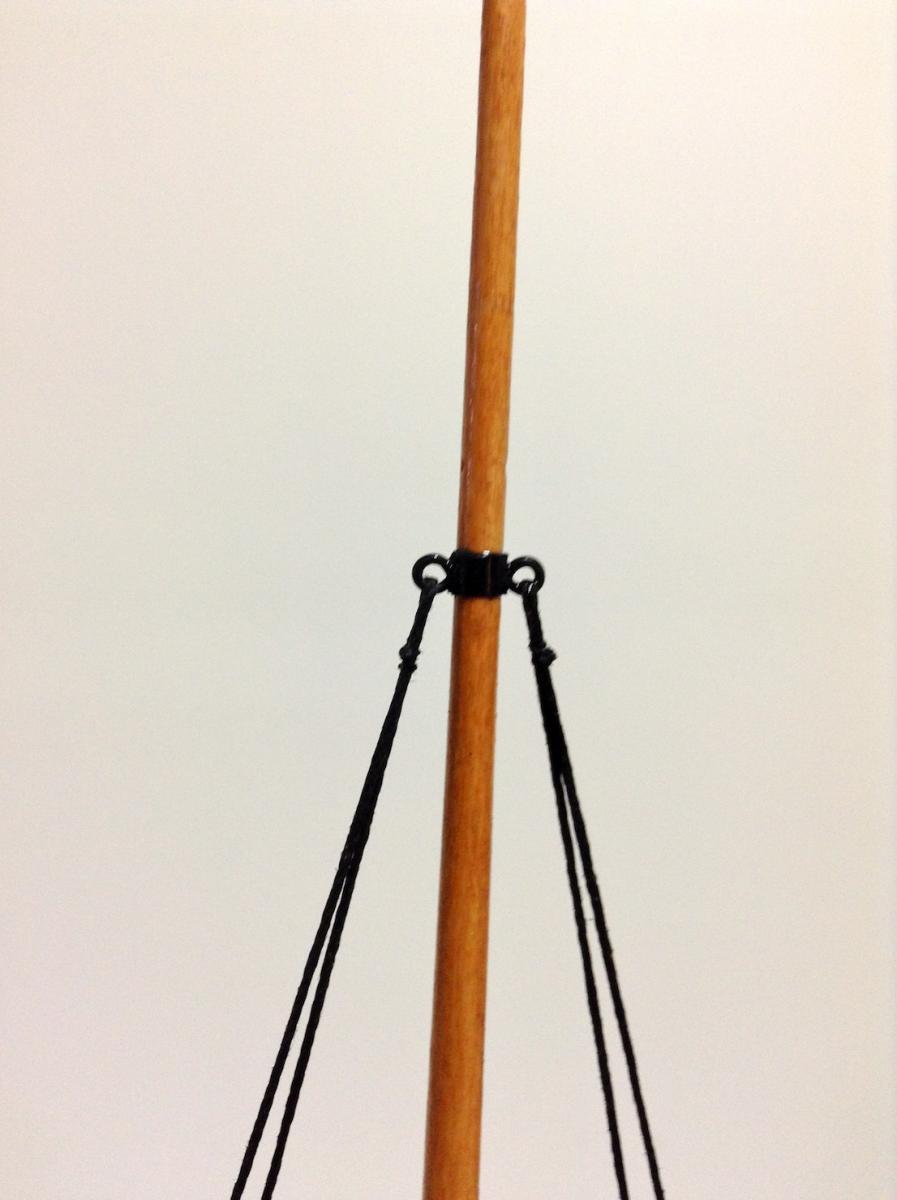
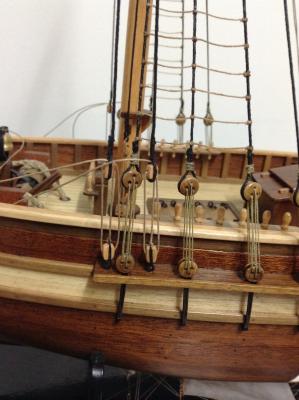
Okay, band added, I think it looks good, gives a sense of strength. As narrow as i could without being impossible... Onwards with other little corrections. redoing anchor tackles.. want steel bands around blocks and rigged a bit higher and smaller eyebolts on catheads.. it was my first rigging so it was bound to look shabby as i progressed... Hope your all having a splendid weekend. Ollie..

- 803 replies
-
- 6
-
-
- colonial cutter
- modellers shipyard
- (and 1 more)
-
Yes I could do that I think John. So like the bands already on mast but not as wide i presume.. I can already envisage that is going to look much better.. Regards Ollie
- 803 replies
-
- 2
-
-
- colonial cutter
- modellers shipyard
- (and 1 more)
-
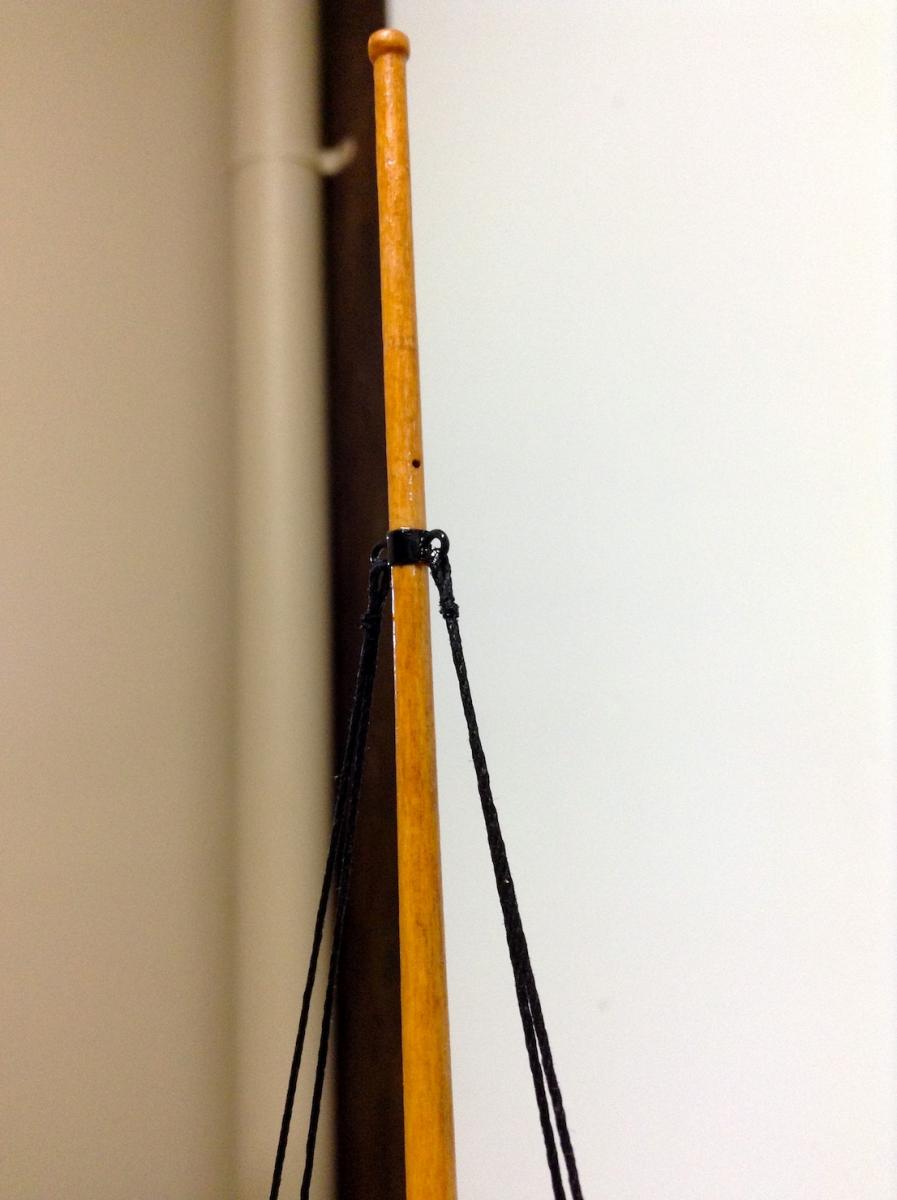
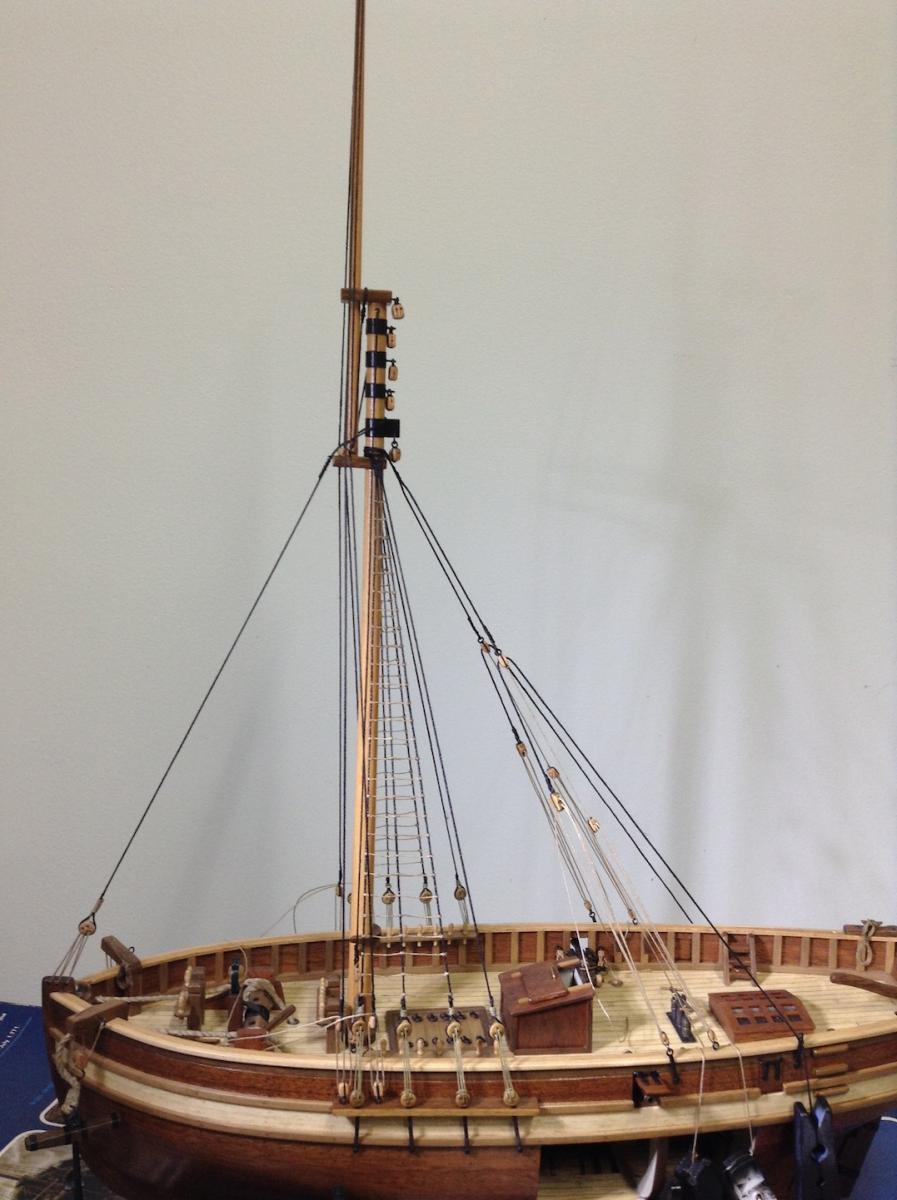
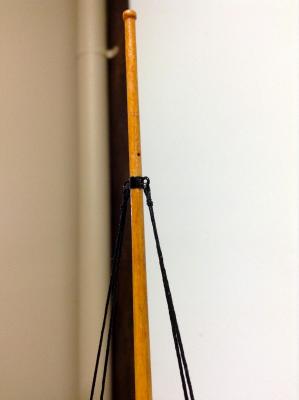
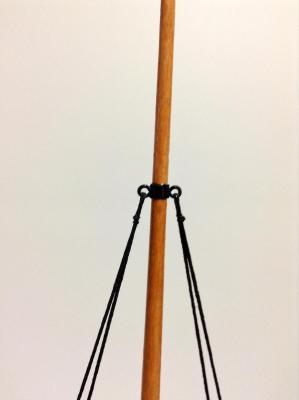
Okay I got my top mast shrouds all finished, seized and tidy.... Then I notice i have made a mistake! I should have attached top of shrouds a little higher than eyebolts and put a brass ring around mast to come off... Oh well I think I will have to live with this one and it may not be too much of an issue, certainly wont stand out in the grand scheme of things.. Lesson learned, examine the plans 8 times not 7! Other than tearing down that whole step and redoing it. its not a 'fixable' I think.. Plus i would probably run short on black cord then.. When i look at the historic sketches it looks as if all top ropes meet at a similar point anyhow... Also looks like only one of these shrouds per side.. Onwards Ollie


- 803 replies
-
- 4
-
-
- colonial cutter
- modellers shipyard
- (and 1 more)
-
Nice to see your back on,,, chicken pen looks nice.. Good start to your planking, you may want to try some of those map pins, you can push them it bulkheads to help hold planks on tight.. may be of help, easy to find and cheap.. Regards Ollie
-
I have also done my topsail (or is spreader) shrouds. I have redone a few things and a few more to do, decided to downsize some of the original kit supplied eye bolts for smaller.. I was a bit concerned with the way the shrouds angle back aft from spreader but i think this is ok, certainly wouldn't want to protrude forward any as would interfere with yard... starting to look a bit busy up top now!!! Regards Ollie


- 803 replies
-
- 6
-
-
- colonial cutter
- modellers shipyard
- (and 1 more)
-
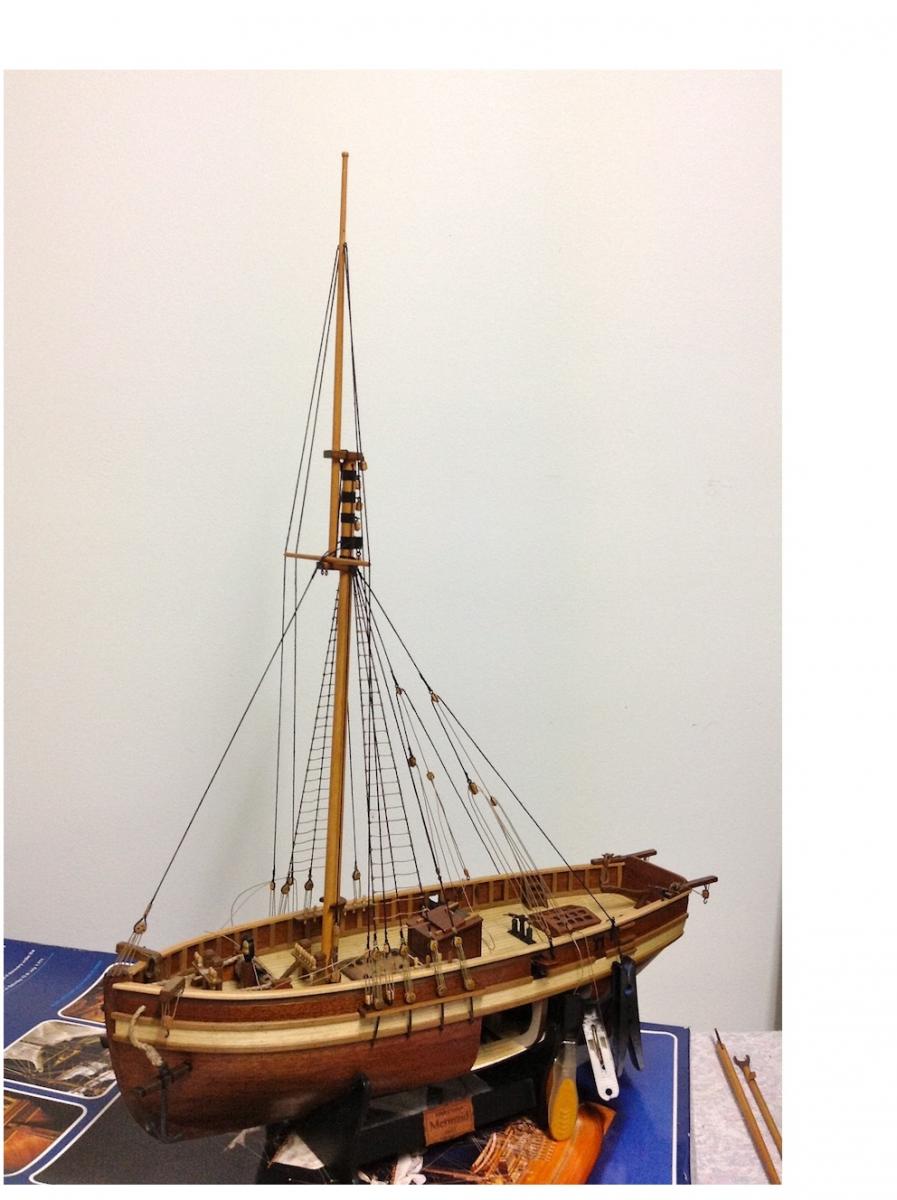
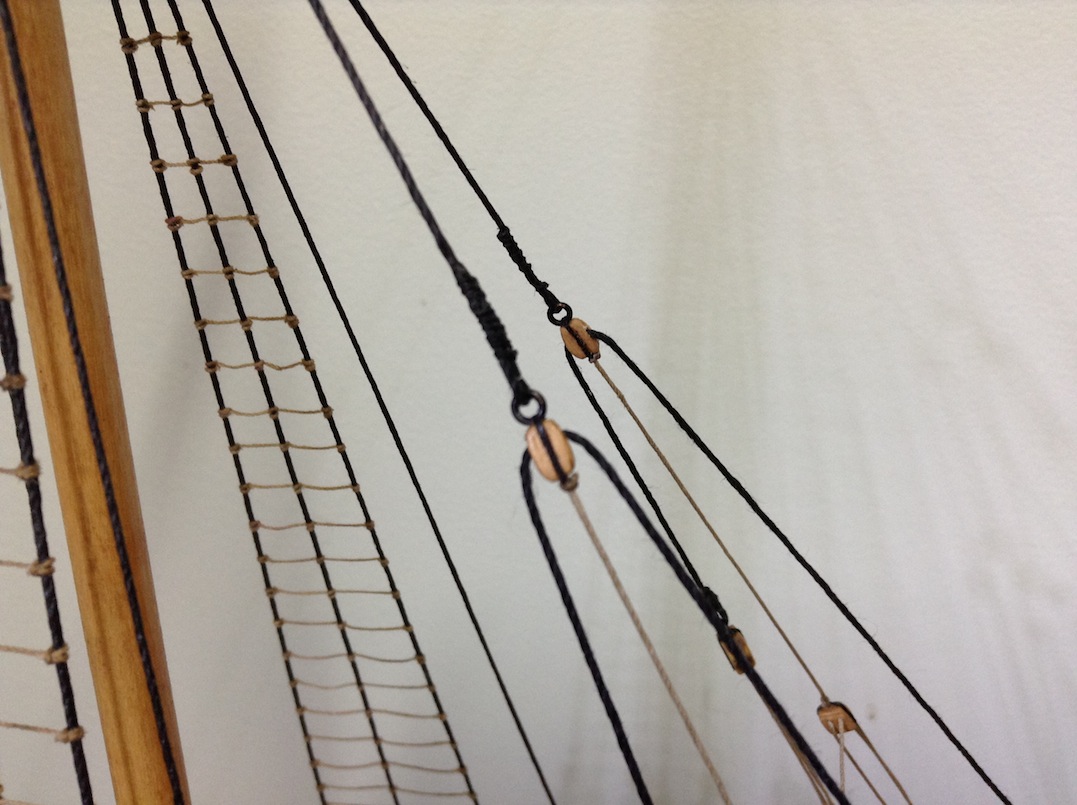
Hi gang. I have some progress to show... Backstays done except for that pesky part lost which is in the post... So not reeved up yet..


- 803 replies
-
- 5
-
-
- colonial cutter
- modellers shipyard
- (and 1 more)
-
Very nice, you must be at that stage of feeling extremely proud!!! Looks sweet, love the colours.. Top stuff, spoiling us and a man who keeps to his word.. Tops stuff buddy...
- 1,039 replies
-
- 1
-
-
- ballahoo
- caldercraft
- (and 2 more)
-
About right will do!! cheers John and everyone else onboard.. Just looked through all i have to do and its not that much considering how far i have come!!! Ollie
- 803 replies
-
- 1
-
-
- colonial cutter
- modellers shipyard
- (and 1 more)
-
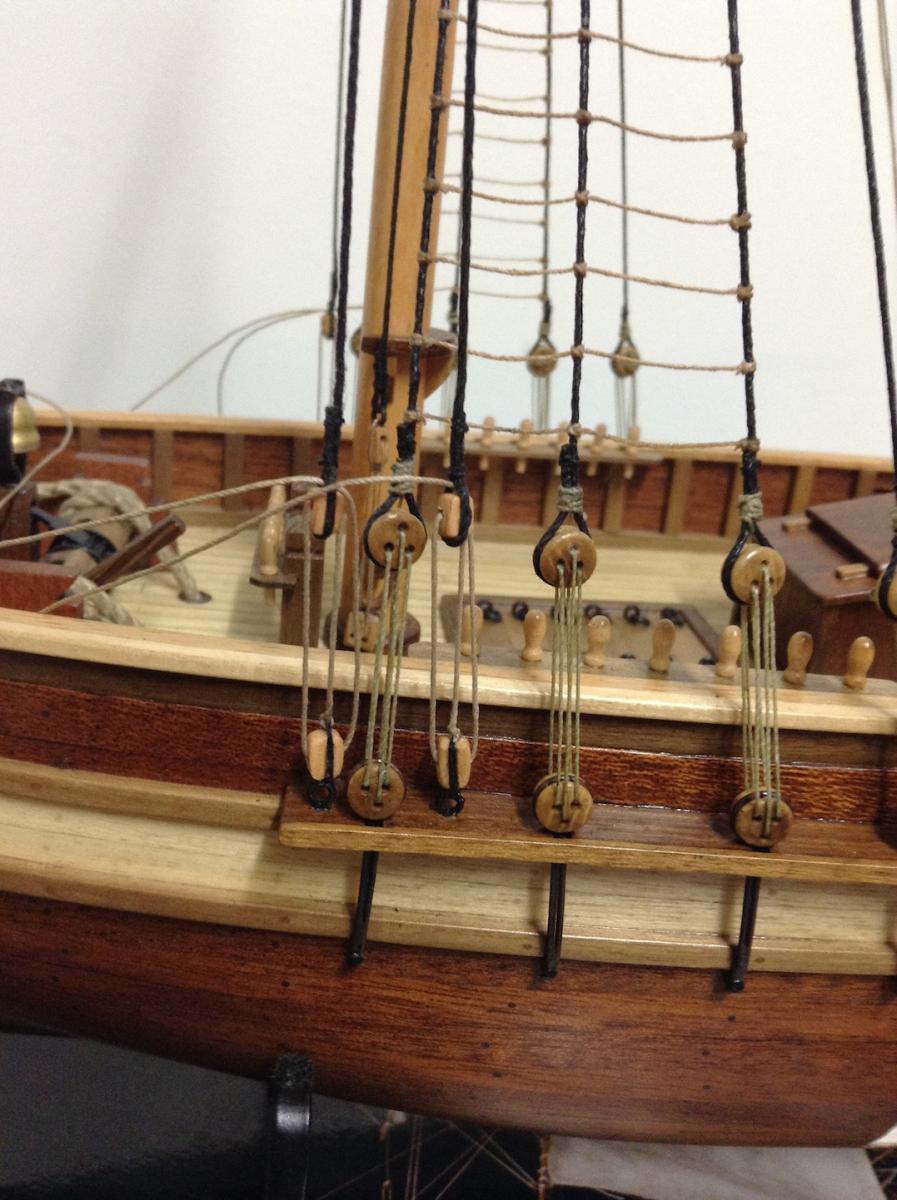
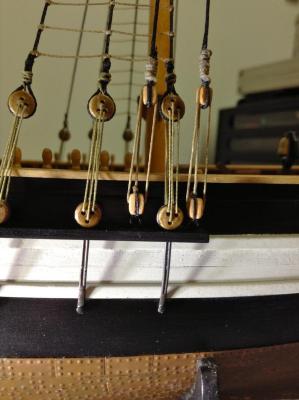
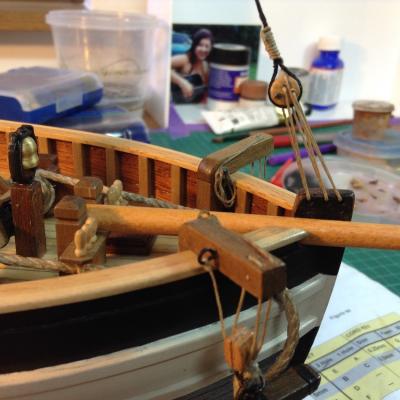
Okay been working out the backstays, been a lot more to it than i imagined, lots of fiddly bits to rig and metal to paint.. Gave up on blackening a while back, too many variations in metals.. too many varied outcomes.. Anyway with some help from Jimlad, i have deviated from the plans a little, had a bit of indecision with the cleats but think they are okay vertical. Would work better like that i figure.. tight squeeze between canons etc.. I lost one of the chainplates after forgetting it was on a book drying.. off the deck i think.. Would make one up myself but cant find the appropriate brass handy so just ordered some pre made ones that should be identical, ordered 4 anyway.. .. that may hold up starboard backstay, but will fiddle with other small rigging tasks, adding eyebolts and cleats to hull for next stages.. planning fiddling.. Hopefully this looks okay John! Regards and thanks to all... Ollie

- 803 replies
-
- 6
-
-
- colonial cutter
- modellers shipyard
- (and 1 more)
-
Yes I'm happier with it.. Yeah I'm actually enjoying the rigging.. One of the strange ones .but yeah still a bit to go buddy.. Regards Oliver
- 803 replies
-
- 2
-
-
- colonial cutter
- modellers shipyard
- (and 1 more)
-
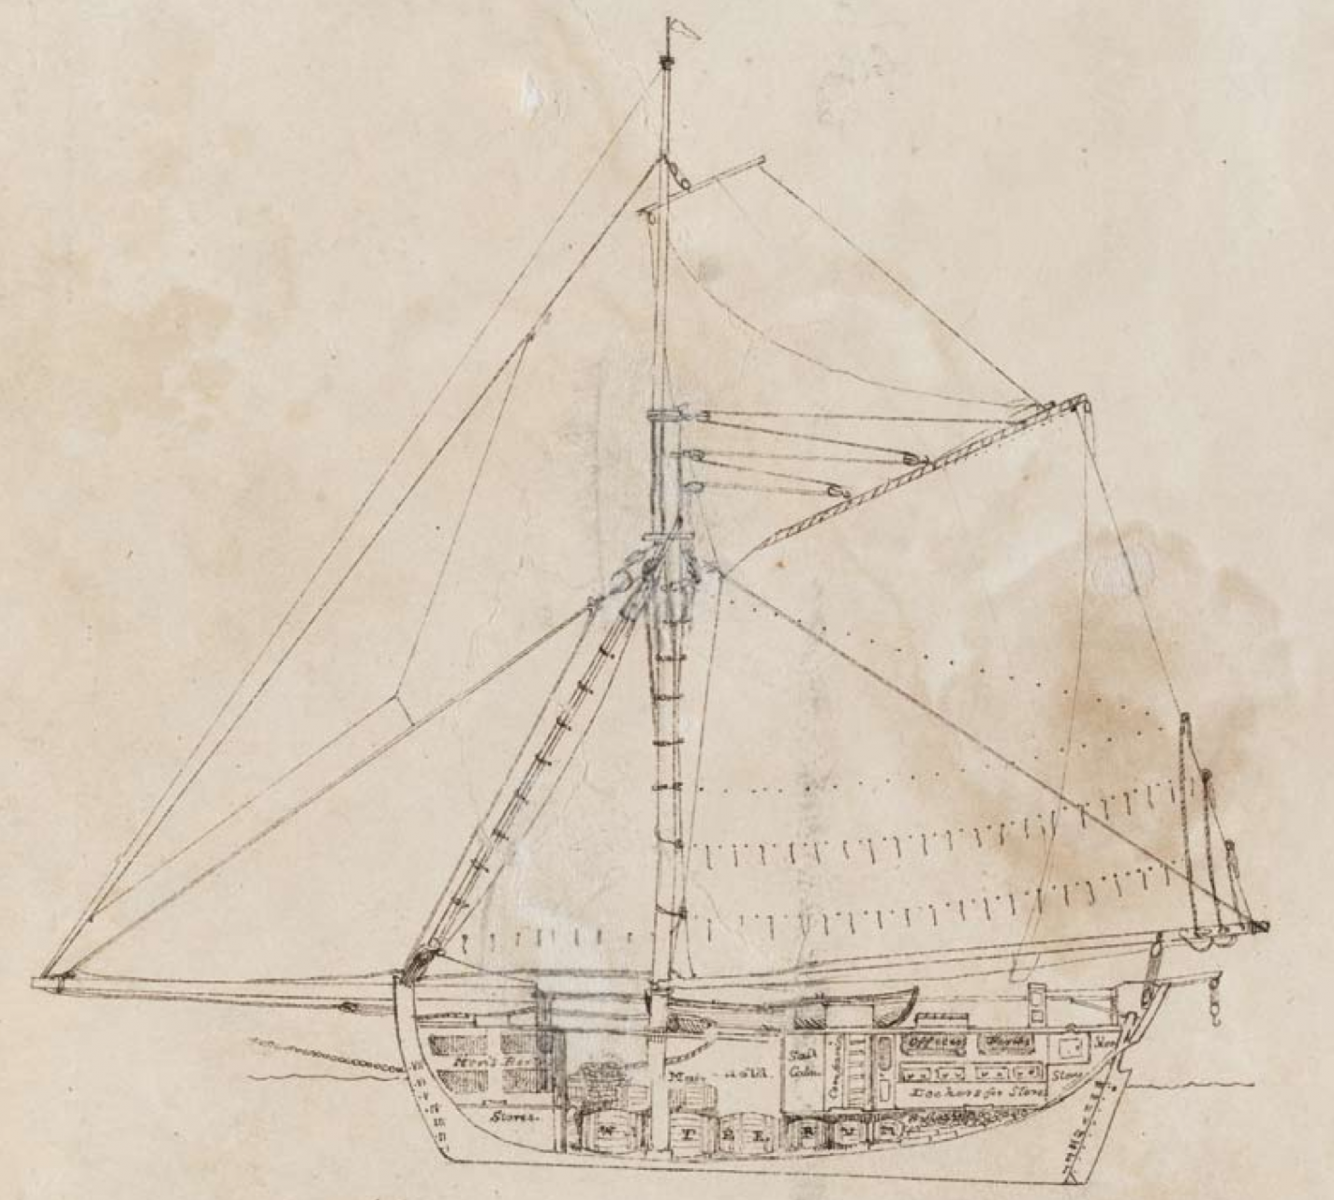
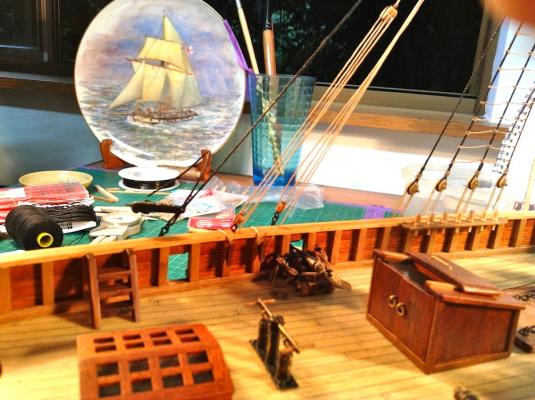
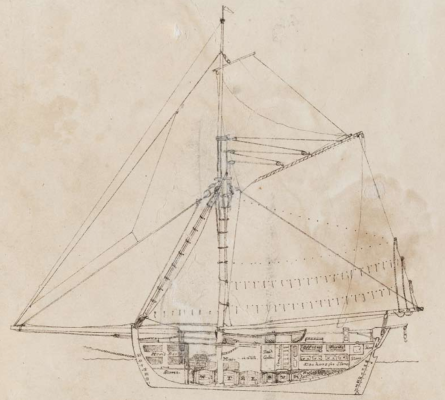
Here is Phillip Parker King's Sketch for reference for some late in the log.. .. This is probably the best drawing to work off that is in existence.. Here is a great pdf link for those who have not read.. Amazing history this little cutter had.. was later refitted into an armed Schooner.. http://www.anmm.gov.au/webdata/resources/files/Signals86_Mermaid.pdf
- 803 replies
-
- 3
-
-
- colonial cutter
- modellers shipyard
- (and 1 more)
-
Nice one.. problem solved!! I will add the spectacle iron, probably out of black card, saturated with satin clear coat,.. I feel much better about the arrangement in many ways... Thanks gang... Get back to you when i have backstays done.. Regards Ollie

- 803 replies
-
- 4
-
-
- colonial cutter
- modellers shipyard
- (and 1 more)
-
Thanks Geoff, Alistair... Tom and John, i think this solves the problem.. I thought i could let this problem slide, but it was going to bug me forever, Yes it needs to be almost flat... A spectacle iron?? hmm you got me there mate... I am about to spend a few hours in the den to unwind.. , so im onto it.. More great help understanding these little cutters.. Bindy! nice to have you pop in, thanks and hope you are doing well... Be back with more pics in coming days..
- 803 replies
-
- 2
-
-
- colonial cutter
- modellers shipyard
- (and 1 more)
-
Thanks Geoff, i got a close watch on your sloop also.. shes looking great Ken, thanks for that link and input. I also like the natural timber look and use contrasts and the timbers colour to represent. I will likely go this way.. Thanks Karl and Johnroy. Hello from over here in the land down under! Greg and Pat, I chose this AL kit after seeing both of your beautiful builds and reading good things, inspiring and great work, its a shame so much of logs were lost.. I will be lurking on your logs dont you worry John, thanks as always and i will be pestering you no doubt and am due for a trip to Syd soon.. Alistair, yeah im coming out of hiding.... I think i got a bargain.. I will take you and Pat's advice, get some holly and check it out, sounds nice.. working with quality wood is so much nicer. Steve, nice to have you here mate.. Thanks for that info, Its so good to have others who have built the same kit.. Its certainly held up well for its time shelved.. I'm mainly going to be planning for the first month and get in the rhythm of ordering gear in advance. we have no hobby shop here.. Warm regards to all. Ollie
-
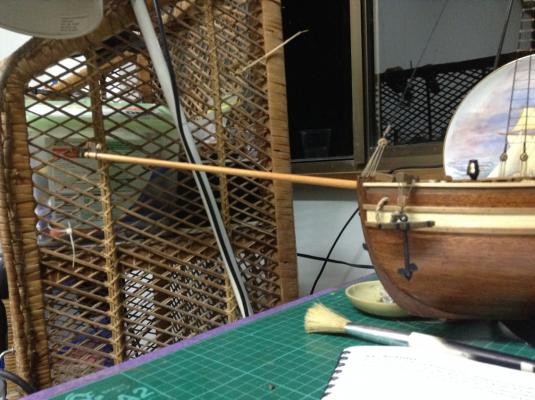
I have been preparing all the parts for rear stays, sanding and filing blocks and clear coating them, painting straps, eye bolts etc. I have been looking at bowsprit for some time knowing it is rising too much..( sill not fitted..) Kit says to have it about 5 degrees which looks right with historical sketches.. I can either make groove deeper or rebuild bowsprit rail to be higher... It must be a kit error.. although it doesn't say how deep to cut into bulwark... Also would it have been lashed in or a pin to hold it through uprights of railing? Regards Ollie

- 803 replies
-
- 3
-
-
- colonial cutter
- modellers shipyard
- (and 1 more)
-
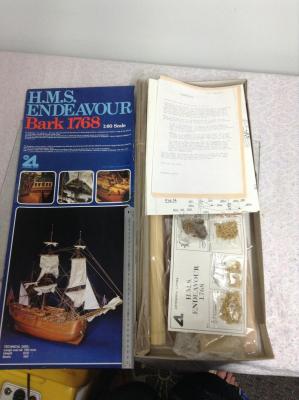
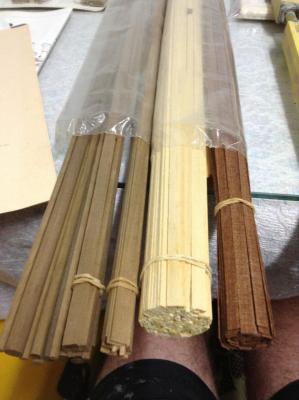
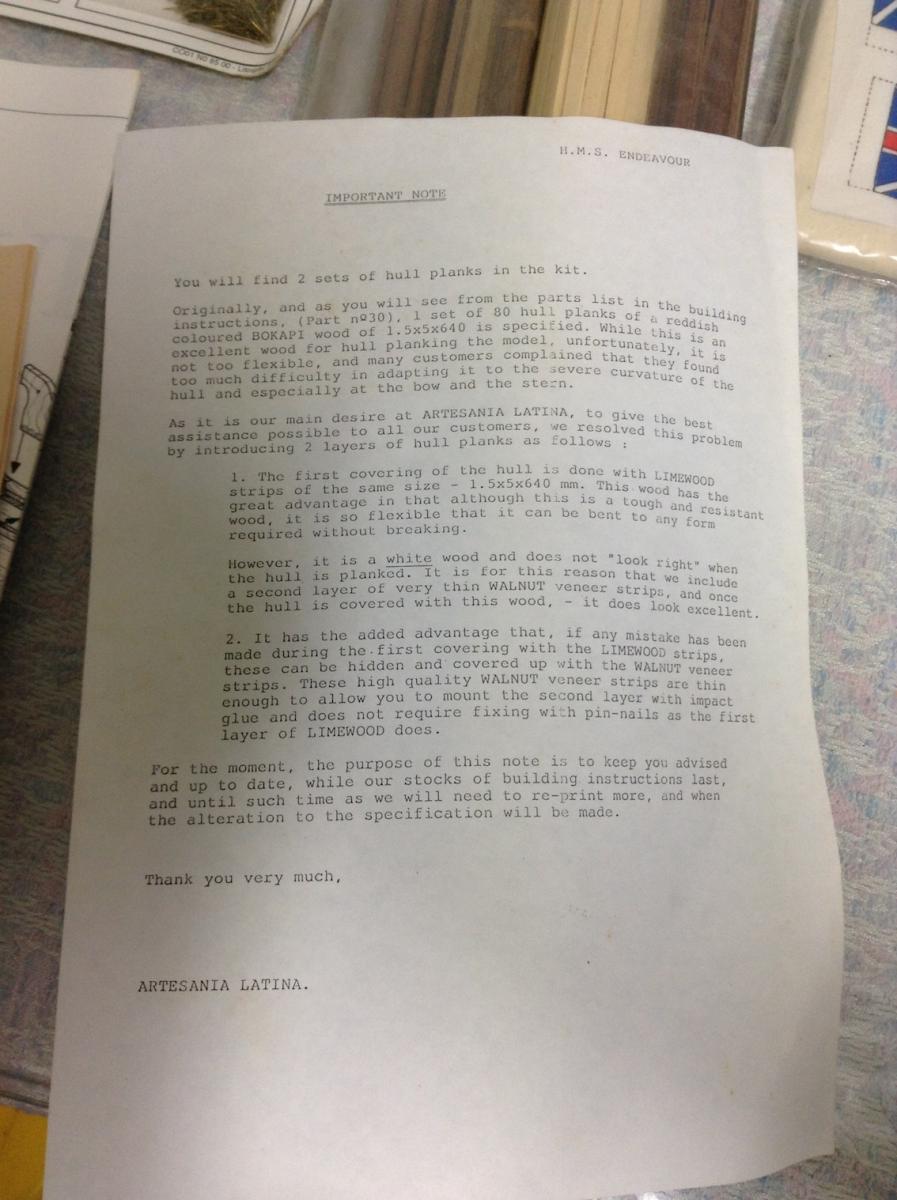
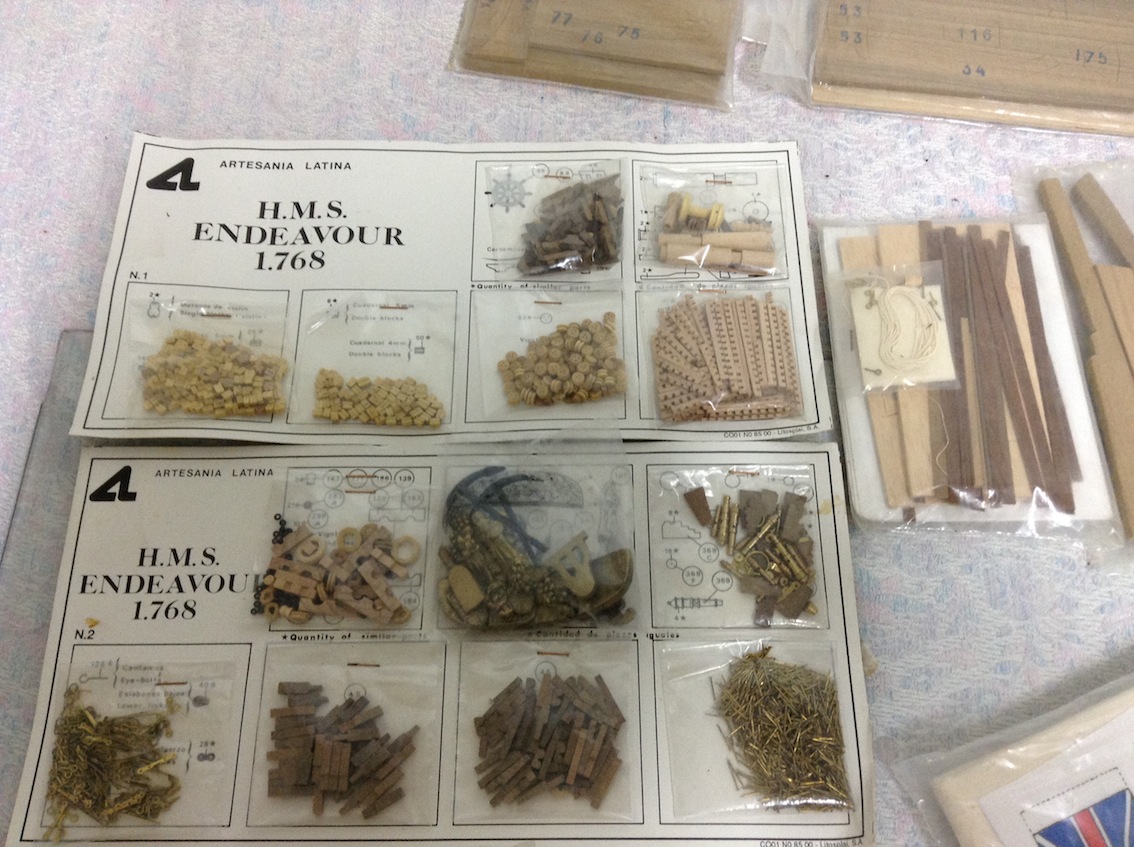
This kit came with a letter stating that people had complained about he wood supplied for hull planking, it was originally single layer planked.. This says that it now has limewood 1st plank (which i plan on still using) and walnut strip for final layer.. Instructions still say it has one layer.. This could help me establish the date of manufacture... perhaps someone knows? i am open to suggestions for the best suited timber for this ships hull... And for the deck for that matter.. (the supplied deck timber looks very yellow, may be the age) The hull walnut looks ok.. Regards Ollie

-
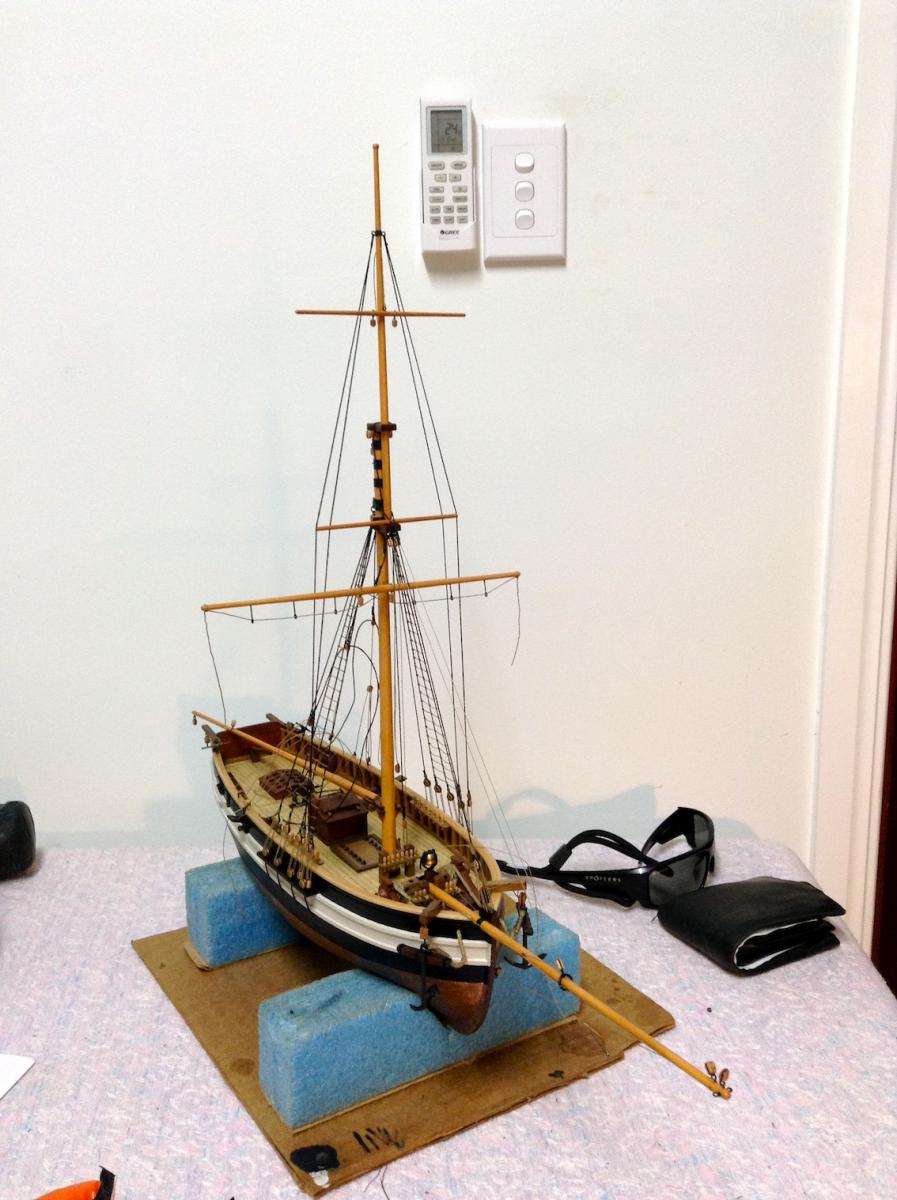
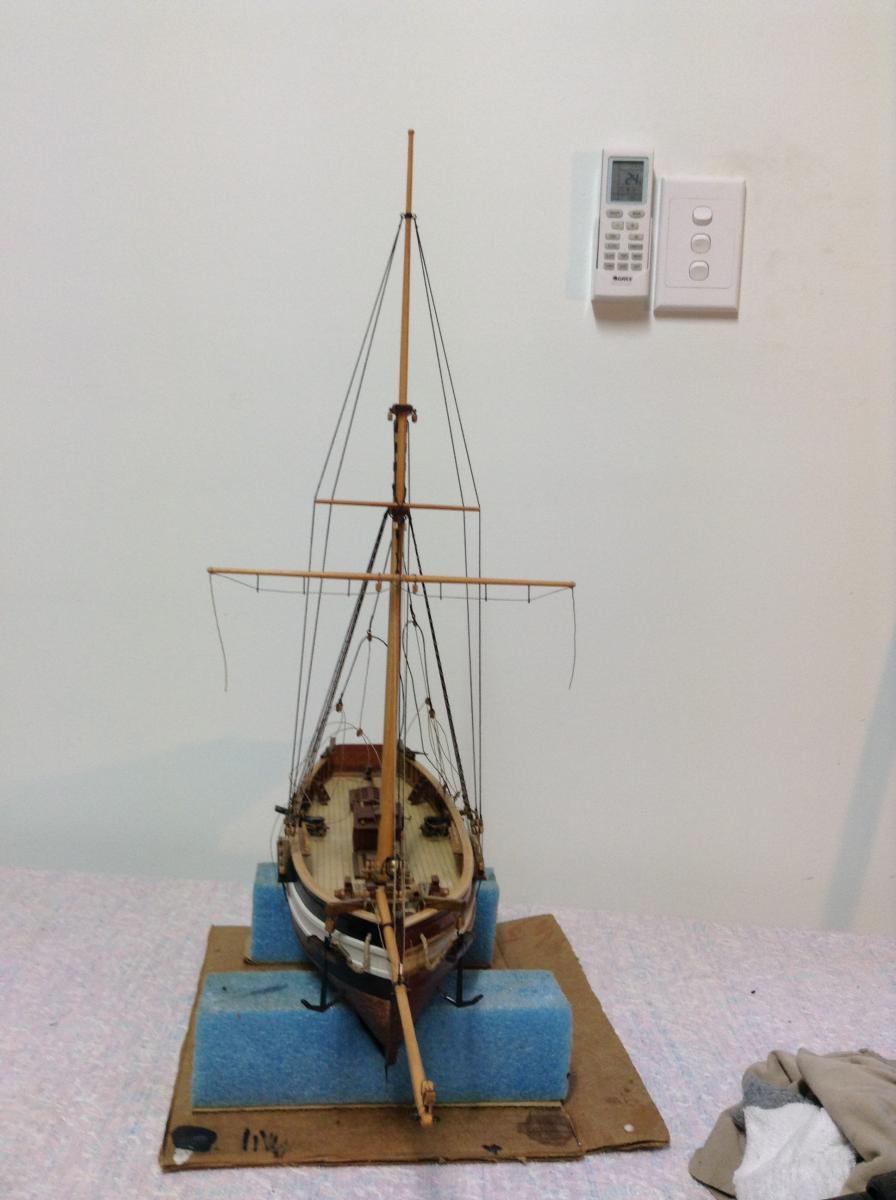
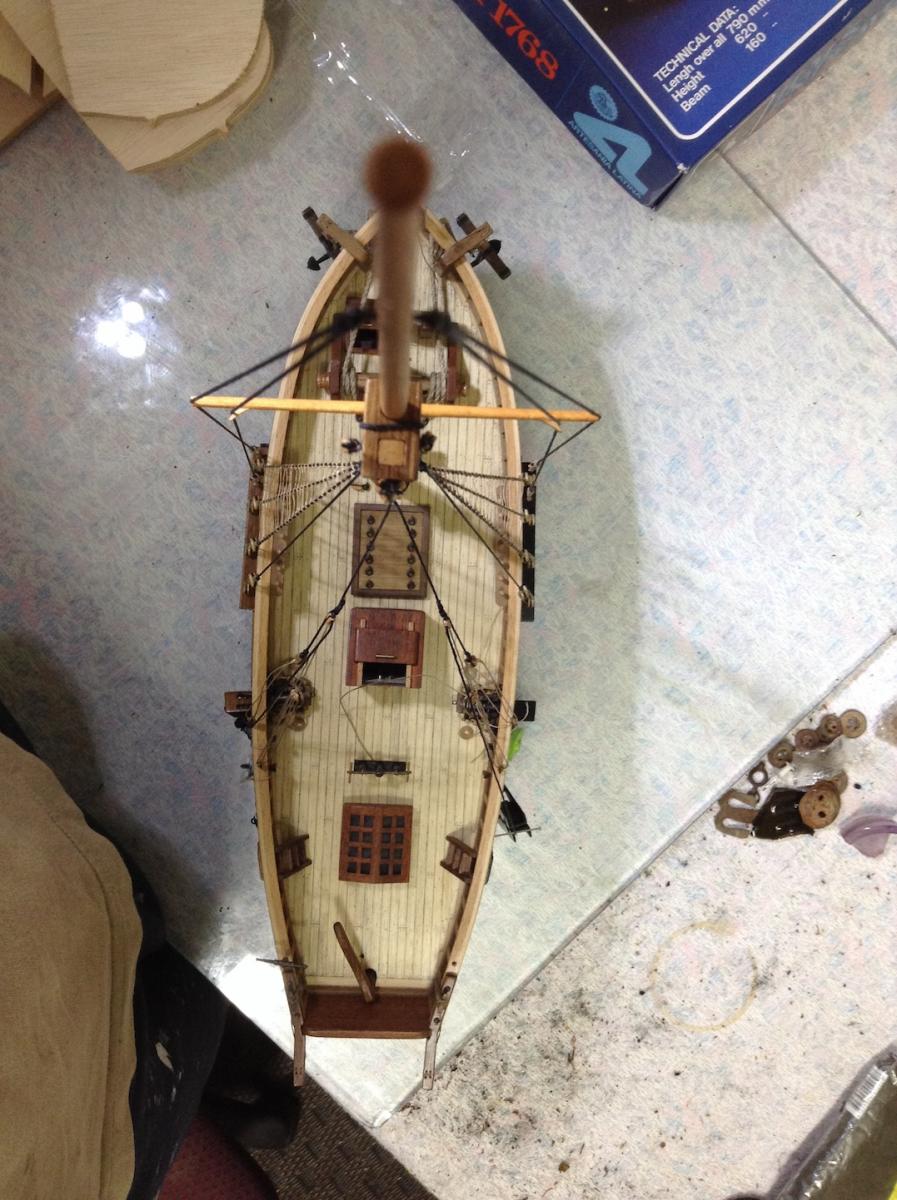
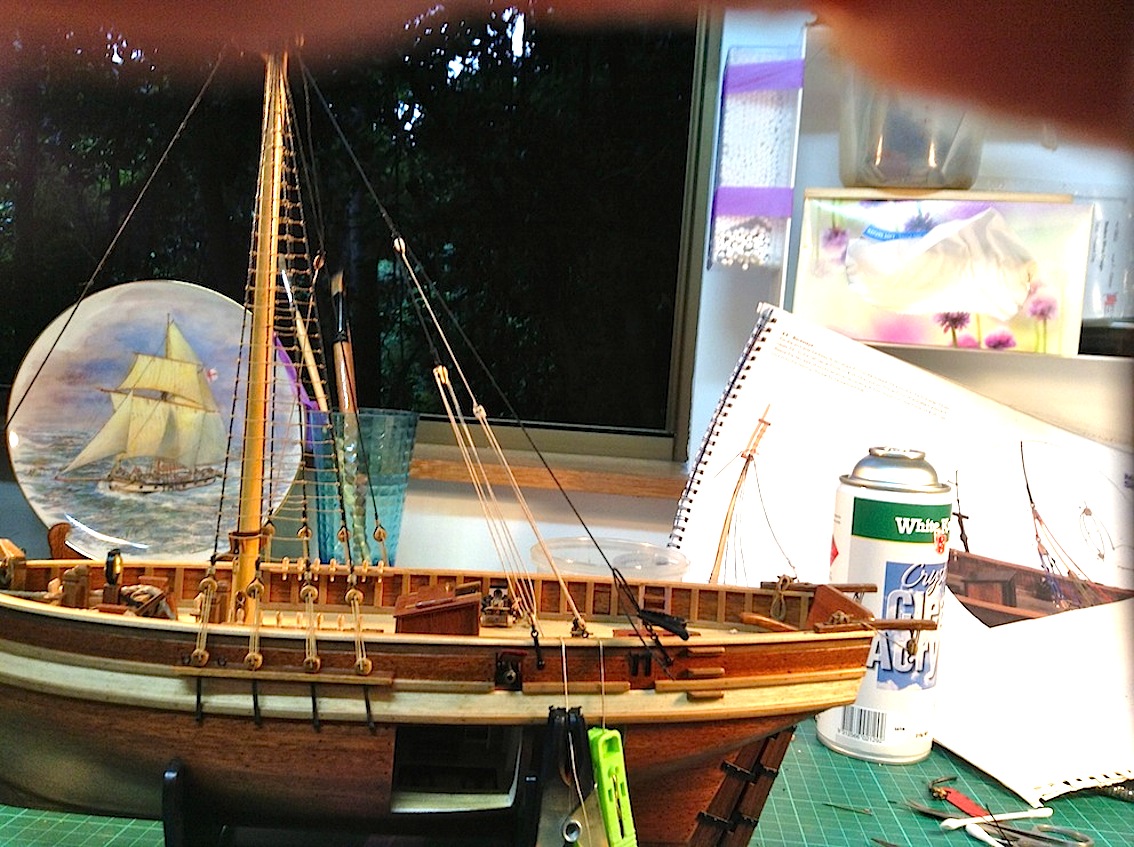
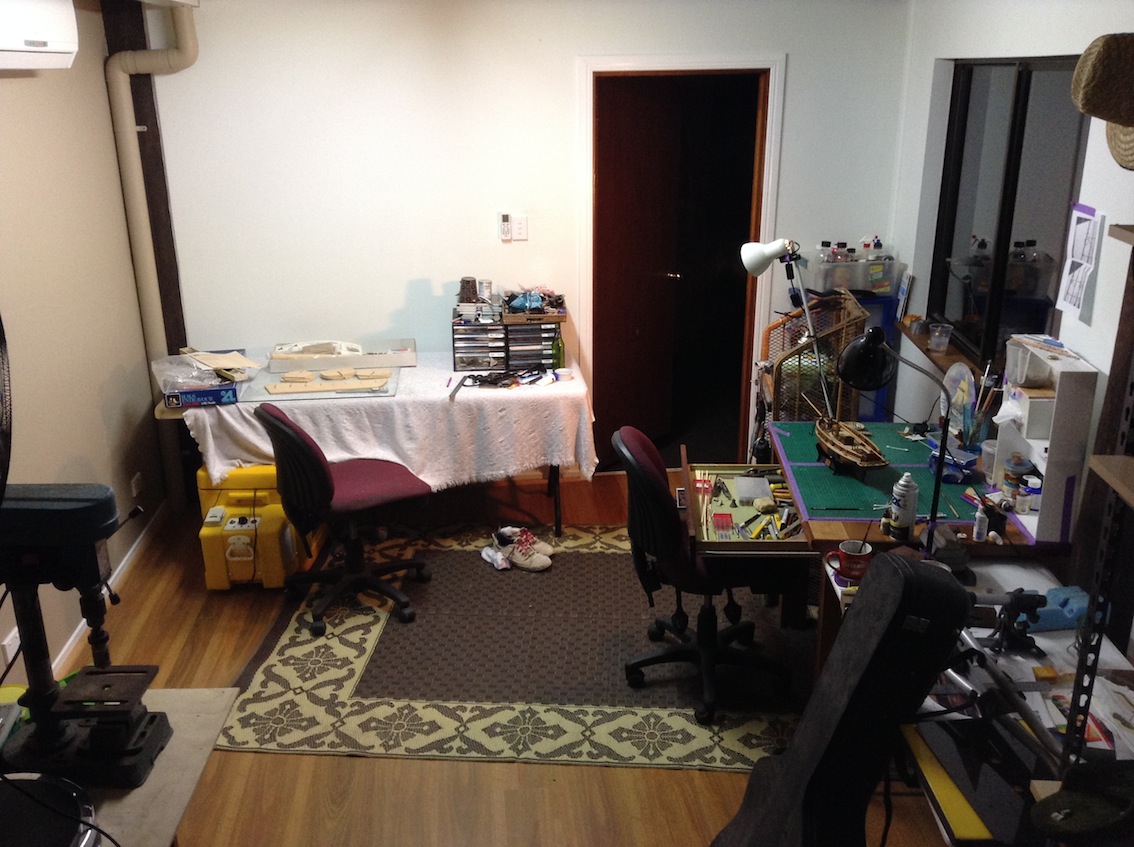
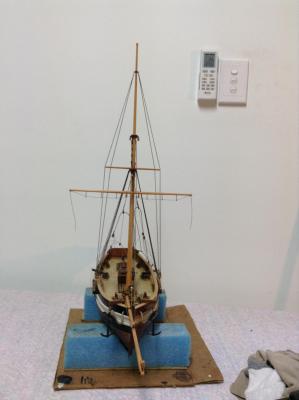
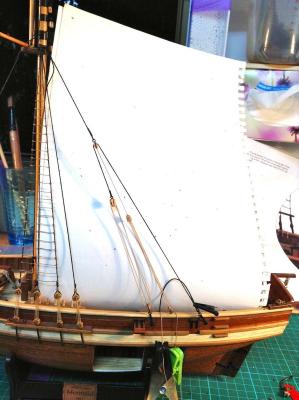
My model room can accommodate her, Mermaid under final rigging on right.. So i may start building a building board or slipway to help construction go straight and forward..

-
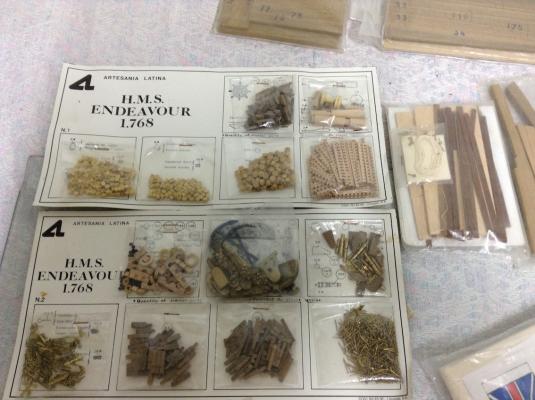
Some of the kit getting checked over.. length 790 mm, height 620, beam 160