-
Posts
719 -
Joined
-
Last visited
Content Type
Profiles
Forums
Gallery
Events
Everything posted by Geoff Matson
-
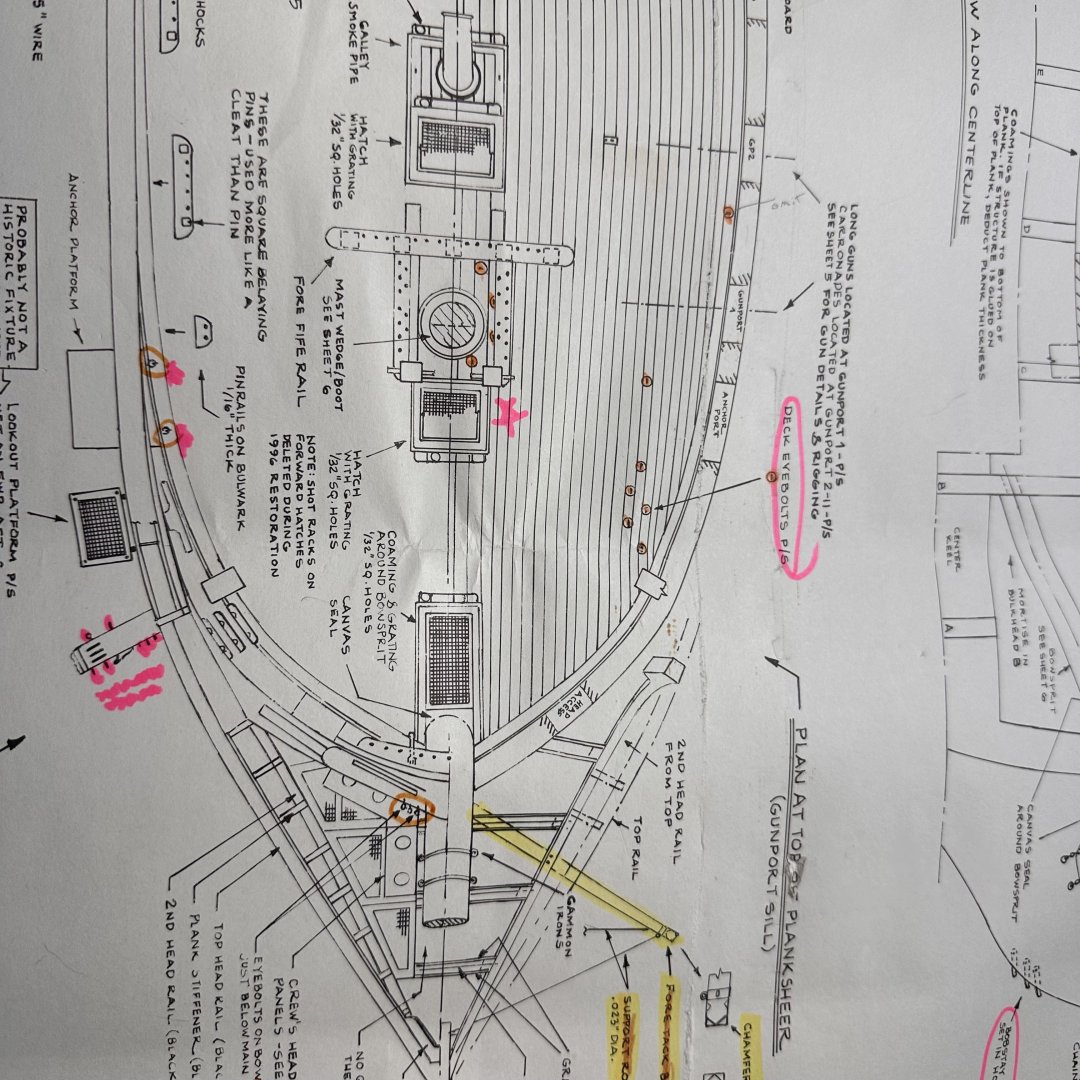
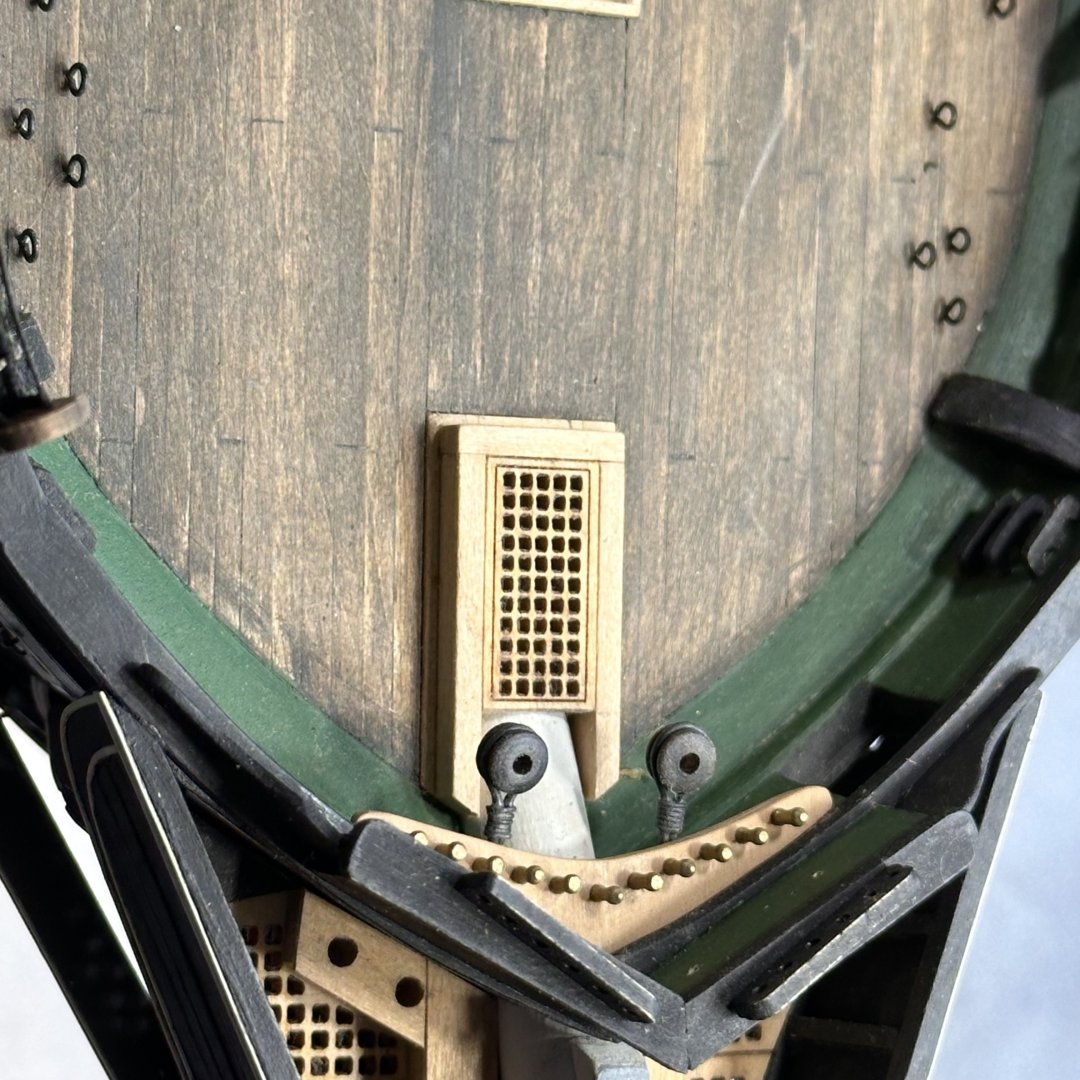
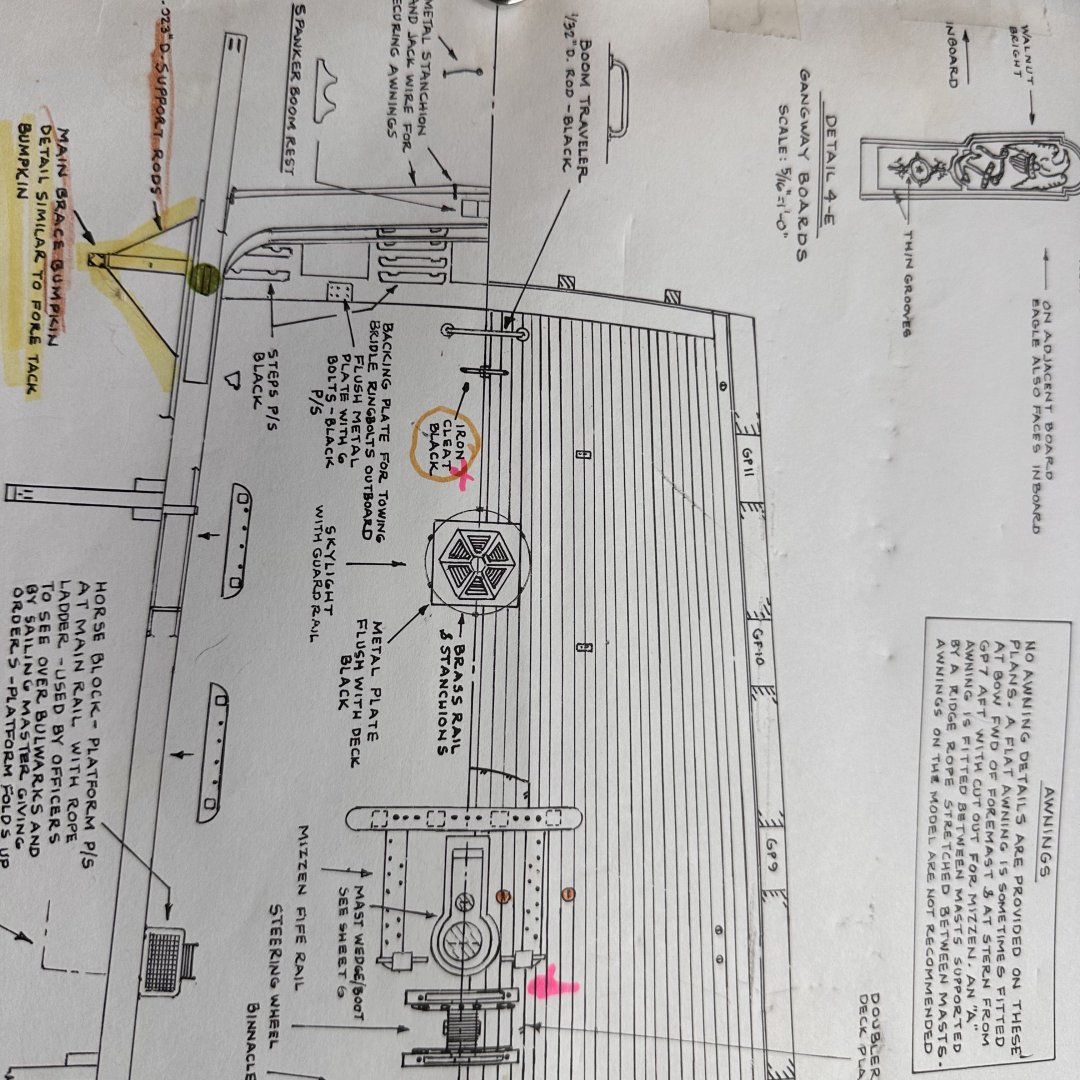
I planked my deck using Bob's practicum and the ship plans. The bow is wider and stern is narrower. I planked from the center of the deck outward to the water ways. I then tapered the planks to fit accordingly at the bow and stern to the water ways. I hope this helps you. My way is not right or wrong, but it is the way I understood the practicum and the plans. There are a number of outstanding builds of the Constitution on MSW any of which will help you with your Constitution.
-
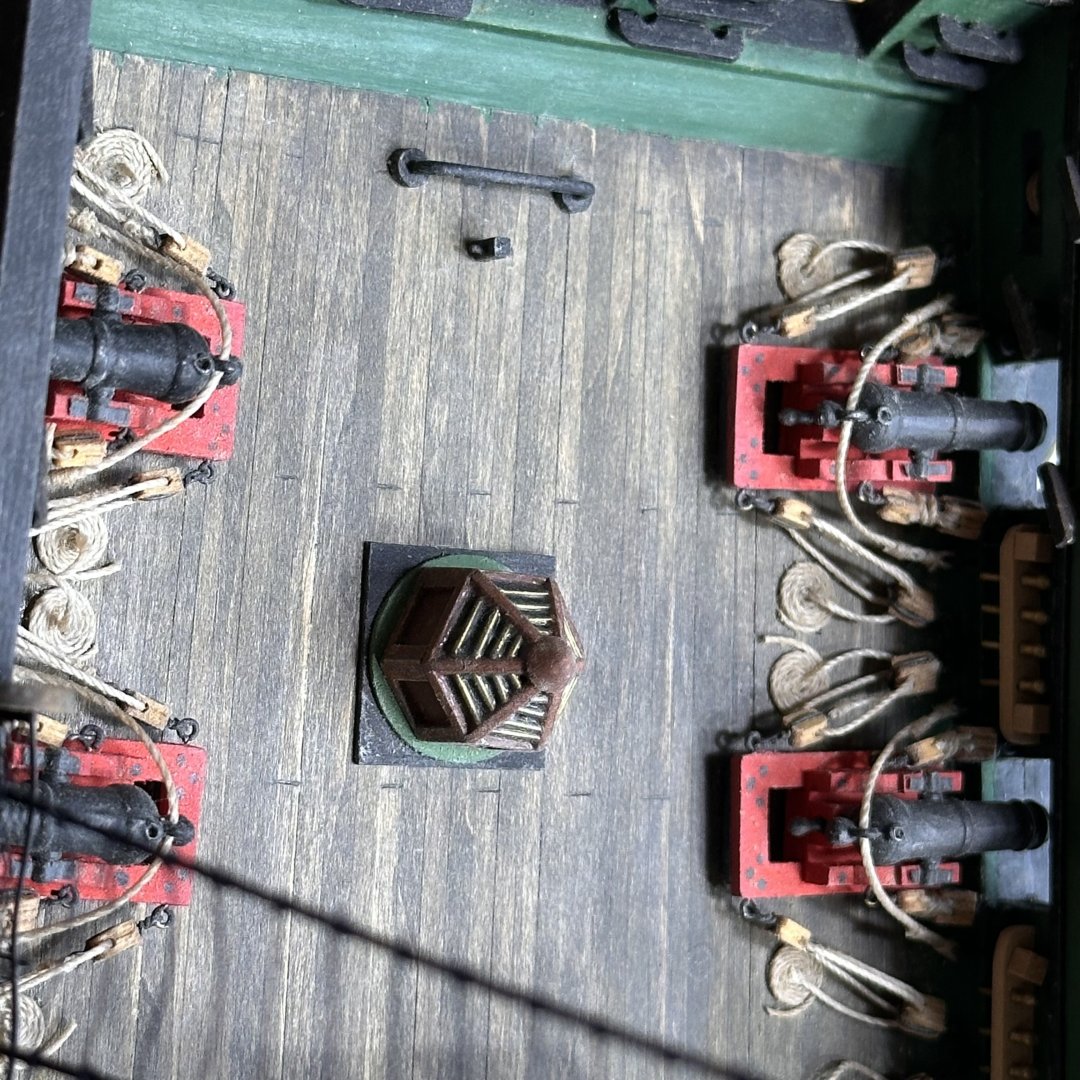
Thanks for your interest in my build. I pretty much followed the Hunt Practicum for the deck planking. Yes I tapered the planks. I did not scribe any of the joints they were made by the individual planks. I used Bobs staining methods. Only problem now a days, is that Floqual paints are out business. I painted the mixture on and then scraped it with a razor blade. I was amazed how much it looked like the real planking on the Conny. Bob hit a home run on that part. I promise I will look back and try to find pictures of the decking. Because of the tapers it is kind like doing the hull planking, The only problem with Bob's pacticum is I feel he fell short on the rigging part. That is where I am right now and still hung up some parts and trying to figure out how to do things without turning it into a spider web. I did find a picture on the internet that shows an unusual picture of the rigging and I think I am on the right track as I am rigging from the bottom up and from the inside out. Take a look. Again, thanks for your interest.
-
I always used the plans or practicum as a GUIDE line. You will always have to make adjustments because of wood used, measurement, etc. I used a Byrnes thickness sander to make sure all my planking was the same thickness, this made finish sanding a lot easier. I always test fitted everything first before committing to assembly. I also used Bob's Practicum. Ir was a great help in construction. However, I felt the rigging part of the practicum left a lot to be desired. That's why MSW was big help. Being able to follow other builders logs and how they did things was a great help. I am amazed how one kit of the Constitution, can be assembled in so many ways and add so much detail. You are making great progress and look forward to your posts.
-
Mistakes are part of the game. Success is not making the same mistake over and over. We all learn as we go. The best thing is you came to right place to learn. Check out the build logs and you can often see how other modelers solved the same problems that you are having. Check out how the real planking and decking were done for future models. The best thing is that you are here and willing to learn. Looking forward to future posts.
-

USS Constitution by mtbediz - 1:76
Geoff Matson replied to mtbediz's topic in - Build logs for subjects built 1751 - 1800
That pump looks great. I appreciate all the time that went into making the pump -
You are right about the rigging. That is where I am right now. I seem to find any excuse to avoid rigging. I do not know why it is such a hurdle to get down to business. That is the one good thing about Model Ship World, it will motivate you get going. You might want to check out other build logs when you start to do the planking. You might need to put in some spacer blocks or braces between the bulwarks to aid in your fairing. Things are looking great and keep up the good work.
-

USS Constitution by mtbediz - 1:76
Geoff Matson replied to mtbediz's topic in - Build logs for subjects built 1751 - 1800
Those pumps look realistic. Again, great job with your metal work.
About us
Modelshipworld - Advancing Ship Modeling through Research
SSL Secured
Your security is important for us so this Website is SSL-Secured
NRG Mailing Address
Nautical Research Guild
237 South Lincoln Street
Westmont IL, 60559-1917
Model Ship World ® and the MSW logo are Registered Trademarks, and belong to the Nautical Research Guild (United States Patent and Trademark Office: No. 6,929,264 & No. 6,929,274, registered Dec. 20, 2022)
Helpful Links
About the NRG
If you enjoy building ship models that are historically accurate as well as beautiful, then The Nautical Research Guild (NRG) is just right for you.
The Guild is a non-profit educational organization whose mission is to “Advance Ship Modeling Through Research”. We provide support to our members in their efforts to raise the quality of their model ships.
The Nautical Research Guild has published our world-renowned quarterly magazine, The Nautical Research Journal, since 1955. The pages of the Journal are full of articles by accomplished ship modelers who show you how they create those exquisite details on their models, and by maritime historians who show you the correct details to build. The Journal is available in both print and digital editions. Go to the NRG web site (www.thenrg.org) to download a complimentary digital copy of the Journal. The NRG also publishes plan sets, books and compilations of back issues of the Journal and the former Ships in Scale and Model Ship Builder magazines.


