Geoff Matson
-
Posts
720 -
Joined
-
Last visited
Content Type
Profiles
Forums
Gallery
Events
Everything posted by Geoff Matson
-
 Nice solution to a solve the problem.
 -
It sure is nice when things are working out and you can see your results and you progress. Everything is looking great and it shows the time and planning you are using to do the planking.
-
It is really nice when things come together for you. The hatches look great. Again, all these mini models that make the ship look great. Remember the old days of plastic when all had to do it just glue the part on the model instead of making it?
-
I like it. It looks great. Thanks for the airbrush info.
-
I planked my deck using Bob's practicum and the ship plans. The bow is wider and stern is narrower. I planked from the center of the deck outward to the water ways. I then tapered the planks to fit accordingly at the bow and stern to the water ways. I hope this helps you. My way is not right or wrong, but it is the way I understood the practicum and the plans. There are a number of outstanding builds of the Constitution on MSW any of which will help you with your Constitution.

-
Thanks for your interest in my build. I pretty much followed the Hunt Practicum for the deck planking. Yes I tapered the planks. I did not scribe any of the joints they were made by the individual planks. I used Bobs staining methods. Only problem now a days, is that Floqual paints are out business. I painted the mixture on and then scraped it with a razor blade. I was amazed how much it looked like the real planking on the Conny. Bob hit a home run on that part. I promise I will look back and try to find pictures of the decking. Because of the tapers it is kind like doing the hull planking, The only problem with Bob's pacticum is I feel he fell short on the rigging part. That is where I am right now and still hung up some parts and trying to figure out how to do things without turning it into a spider web. I did find a picture on the internet that shows an unusual picture of the rigging and I think I am on the right track as I am rigging from the bottom up and from the inside out. Take a look. Again, thanks for your interest.

-
Isn't fun when you start with a kit build and end up using a lot o f scratch building skills. Just think how much your modeling skills have increased by just building one model.
-
I always used the plans or practicum as a GUIDE line. You will always have to make adjustments because of wood used, measurement, etc. I used a Byrnes thickness sander to make sure all my planking was the same thickness, this made finish sanding a lot easier. I always test fitted everything first before committing to assembly. I also used Bob's Practicum. Ir was a great help in construction. However, I felt the rigging part of the practicum left a lot to be desired. That's why MSW was big help. Being able to follow other builders logs and how they did things was a great help. I am amazed how one kit of the Constitution, can be assembled in so many ways and add so much detail. You are making great progress and look forward to your posts.
-
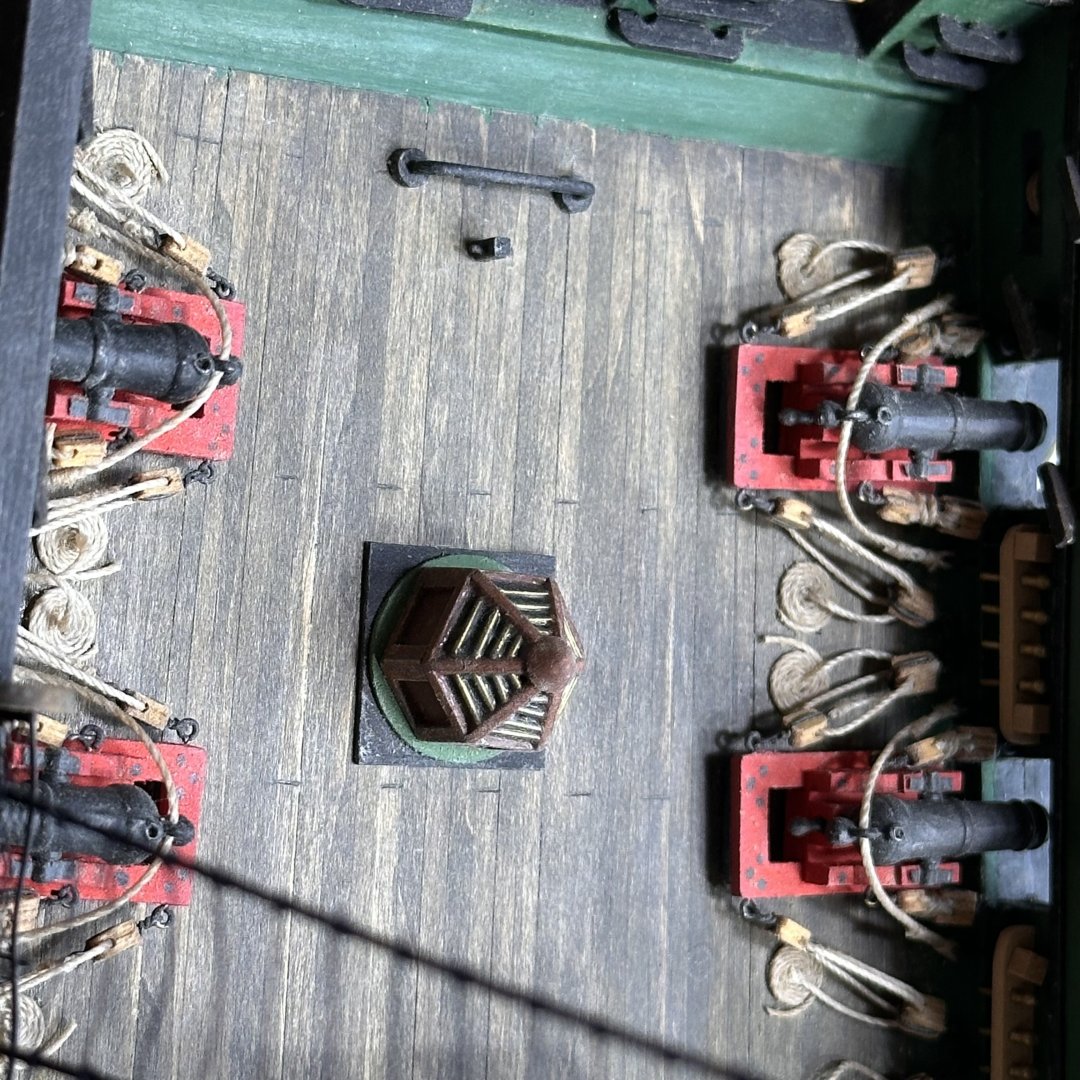
Great job on the spark arrestor.
-
Mistakes are part of the game. Success is not making the same mistake over and over. We all learn as we go. The best thing is you came to right place to learn. Check out the build logs and you can often see how other modelers solved the same problems that you are having. Check out how the real planking and decking were done for future models. The best thing is that you are here and willing to learn. Looking forward to future posts.
-
I can see a lot of thought and design went into stairwell openings. Things are coming along well.
-
Glad things are going well. I have the spring chores at the farm underway and am anxious to get back to the Conny. I will post soon. I really enjoy your thought process and how you adjust to the build. Looking forward tumor progress
-
Hatches look great
-
Major milestone. Looks good
-
Thanks for all the pictures. Hope you had a good time
-
USS Constitution by mtbediz - 1:76
Geoff Matson replied to mtbediz's topic in - Build logs for subjects built 1751 - 1800
That pump looks great. I appreciate all the time that went into making the pump -
With spring time lots of outside stuff to get done. I do not like rigging so it is easy to find things to do first. I will be back hard at it this next week. Thanks for the interest and I will be posting soon
-
That is a lot of detail, but that is what makes the model. Nice job
-
Looks like all is coming together nicely. Lots. of work, but big rewards. Have fun
-
It always amazes me that all the work we put into our models. But, there is only one way to do things, and that is the right way. Great job.
-
You are right about the rigging. That is where I am right now. I seem to find any excuse to avoid rigging. I do not know why it is such a hurdle to get down to business. That is the one good thing about Model Ship World, it will motivate you get going. You might want to check out other build logs when you start to do the planking. You might need to put in some spacer blocks or braces between the bulwarks to aid in your fairing. Things are looking great and keep up the good work.
-
Looking good. It seems like when you think you have it right you can always find a little more to do. Your final test will come when you have your bulkheads all faired and then using a text plank to check how things fit.
-
You got the stern filler blocks looking great. Now with the bow filler blocks, it should go a little faster by applying what your learned from the stern filler blocks. GREAT progress so far.