DONATION DRIVE - SUPPORT MSW - DO YOUR PART TO KEEP THIS GREAT FORUM GOING!
×


Geoff Matson
-
Posts
719 -
Joined
-
Last visited
Content Type
Profiles
Forums
Gallery
Events
Everything posted by Geoff Matson
-
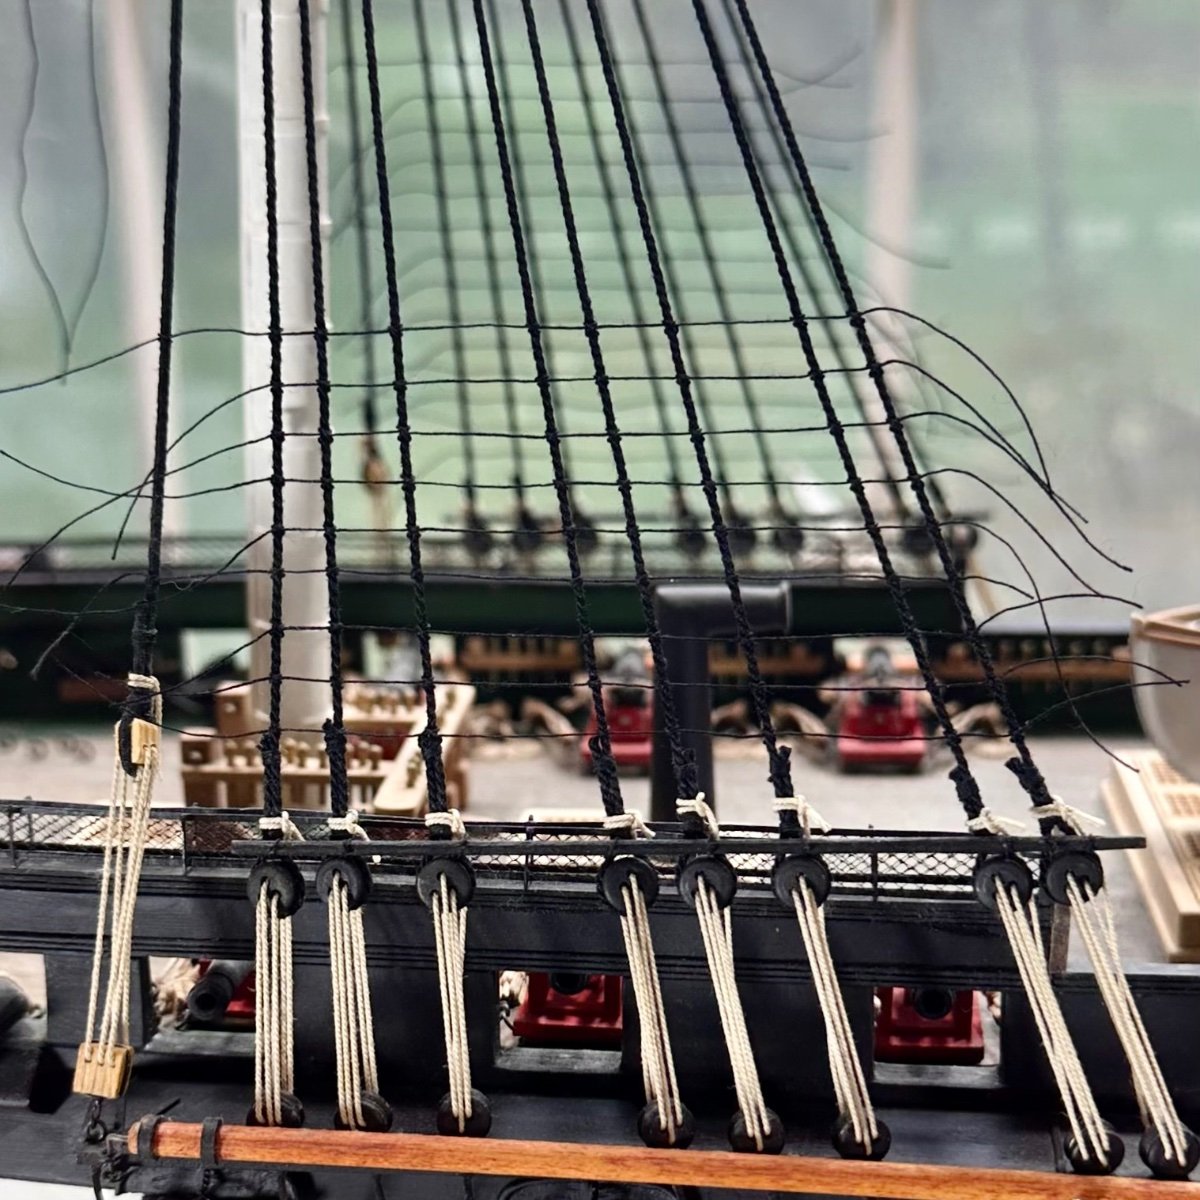
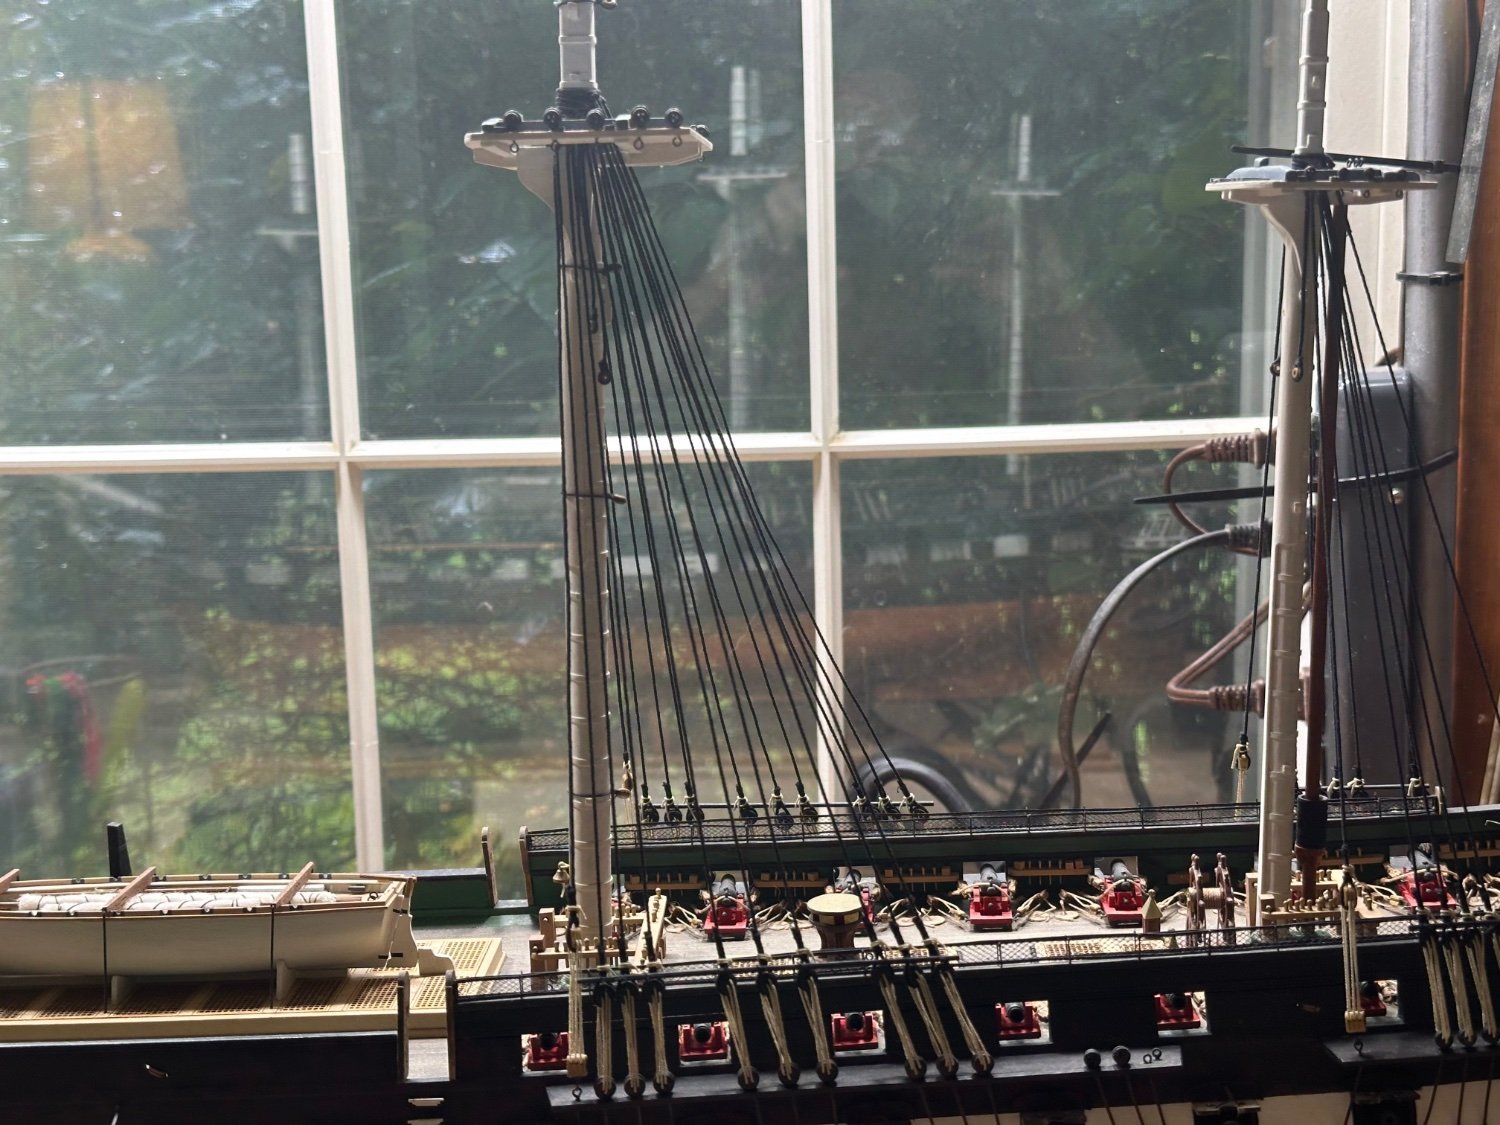
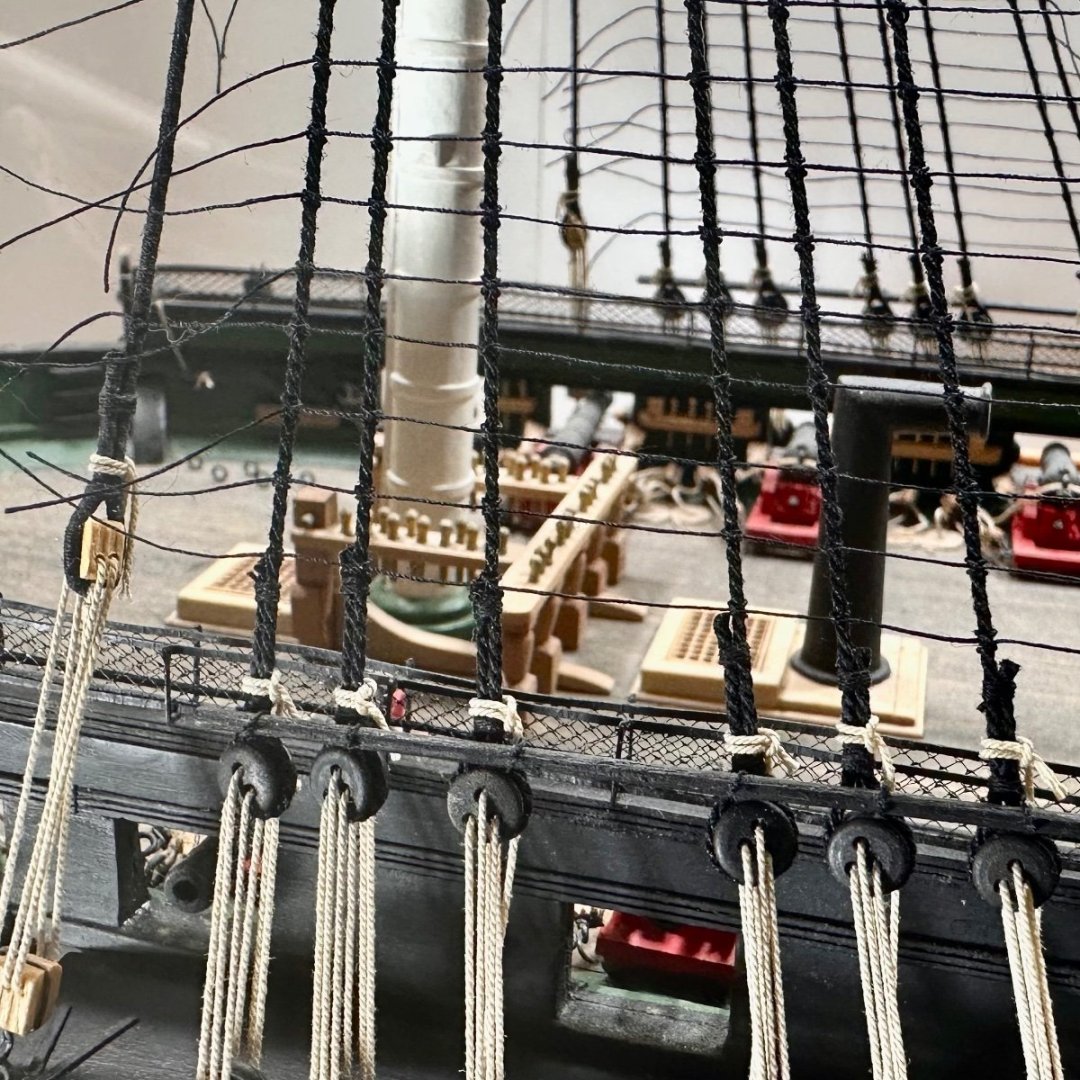
 I finished up the ratlines on the lower shrouds. I am glad this part is over. I learned a lot on rigging the ratlines. First, make sure you use long lines to make the knot trying easier. Second, I used my rigging card as a sort of backstop when I tied my ratline. Third, I used diluted white glue to set my knots. This worked out well for making adjustments. Just wet the line to unglue them, make your adjustment and then set the ratlines with the diluted white glue. Fourth, I alternated from port to starboard to keep the tension on the shrouds equal. Fifth, if you have some slack in the shrouds, just wet them with water and will tighten up a bit taking the slack out. Sixth, when you put your eyebolts on the channels for your shifters, pay attention to where they go. My mainmast swifter eyebolts were to close to the shrouds, My foremast and mizzen mast swifter's were at the proper distance. Seventh, I made sure my tweezers were sharp and easy to help tie my lines. Overall, I learned as I went along and I am sure the next section of shrouds will go easier.
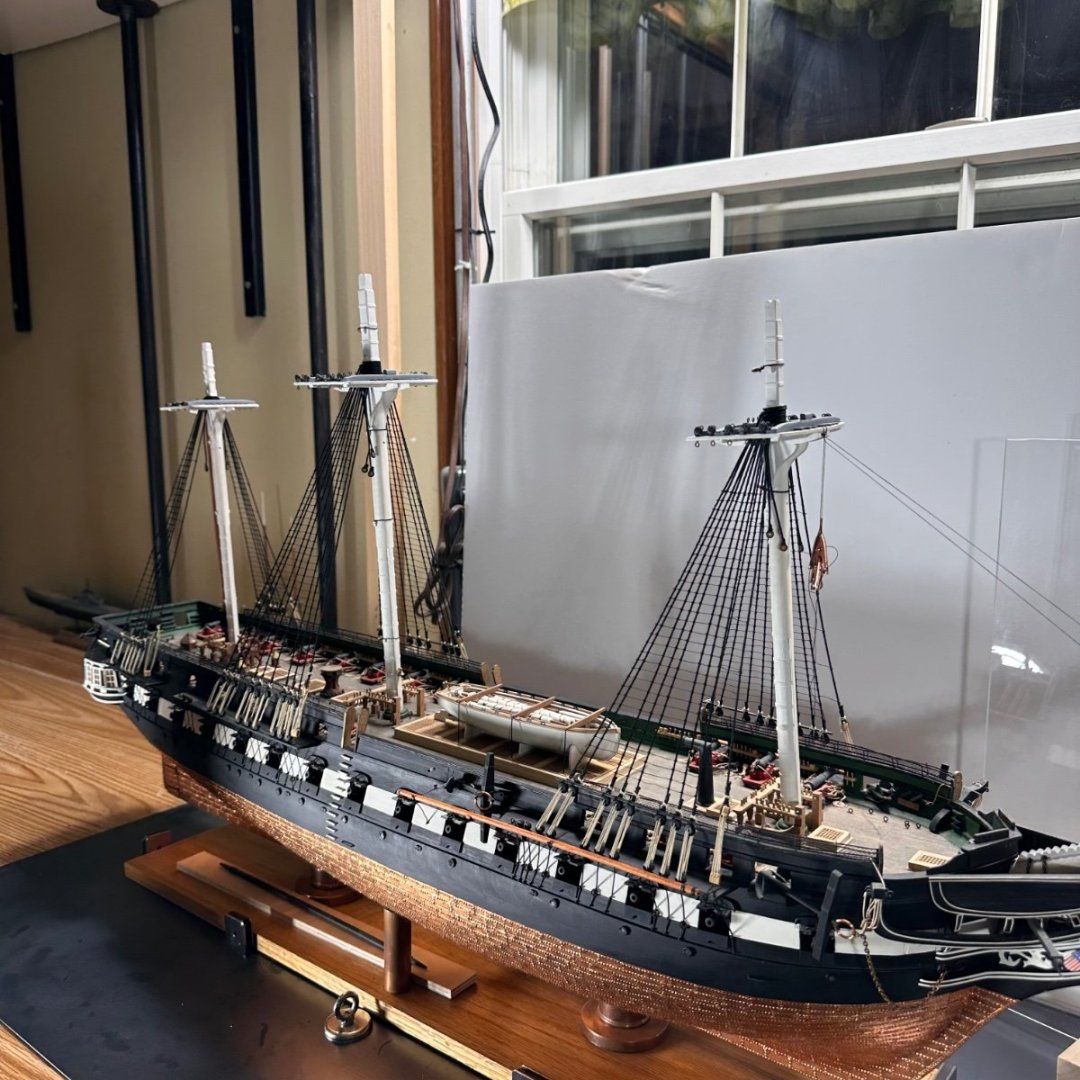

-
His family is in my prayers. What a great loss to our community.
-
Sometimes, you just have to regroup and forge ahead. I also am building my Conny with the help of Bob Hunt's practicum. I too scraped my first frame and purchased second one off eBay. I am glad I did and was very happy with my new start. One thing I Can rell you is this model is a bear. It will test all of your skills and patience. Just make sure you have things the way you want before you proceed. A little mistake early on will come back to haunt you. You are doing a great job. I look forward to your progress.
-
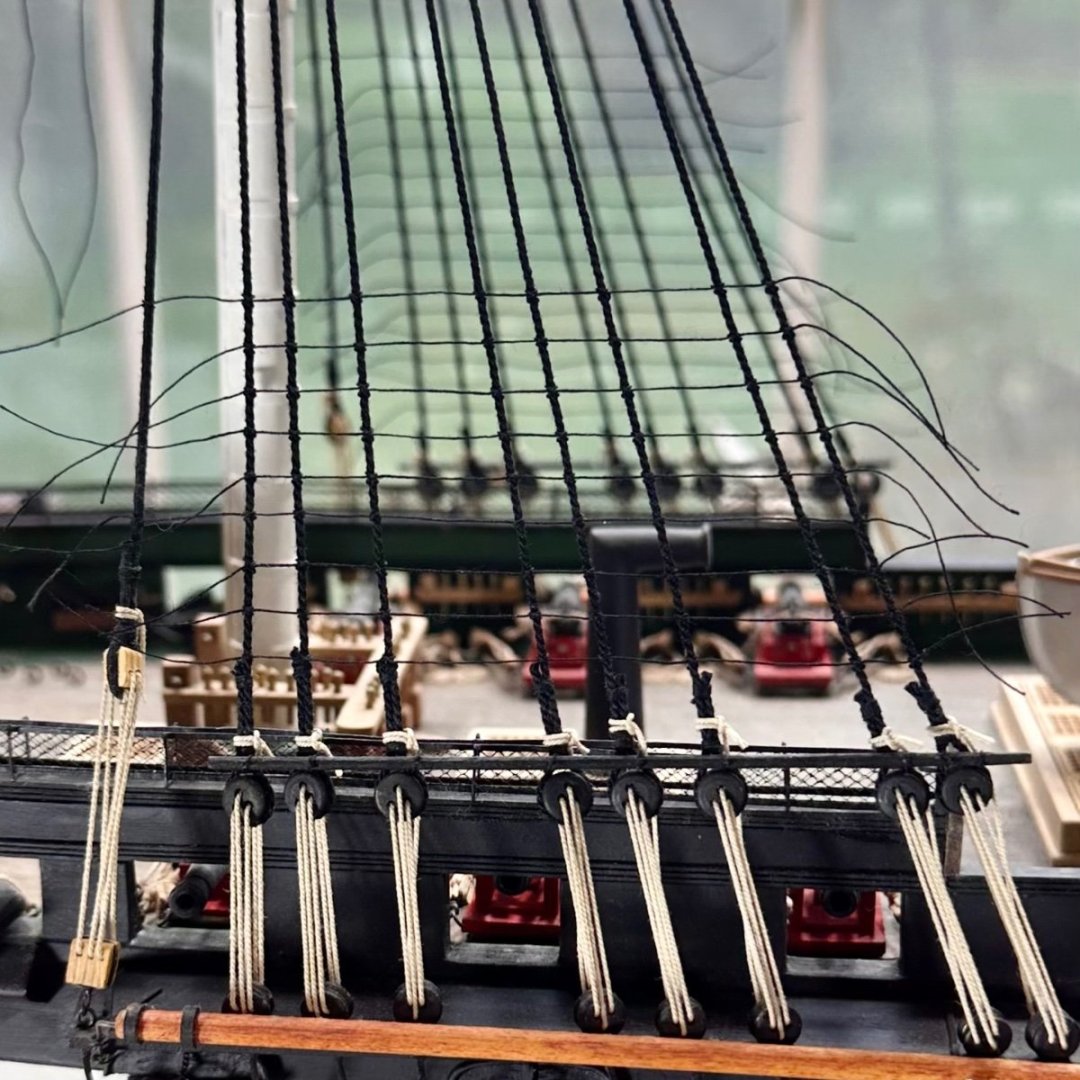
I finished my foremast lower shroud ratline rigging. Lots of knots and lots of time. I am happy the way it turned out. It is really a learning experience as I go. A few techniques I learned as I progressed is I wet the ratline line first and then tie the knots. The water on the line seems to make the knots set and stay in place better. Then I set the knots with diluted white glue after each row is done. I am working from the bottom to the top. I am leaving the tails on each end of the ratlines in case I need to make some adjustments. As you are working it seems easy to snag line as you work your way up.

-
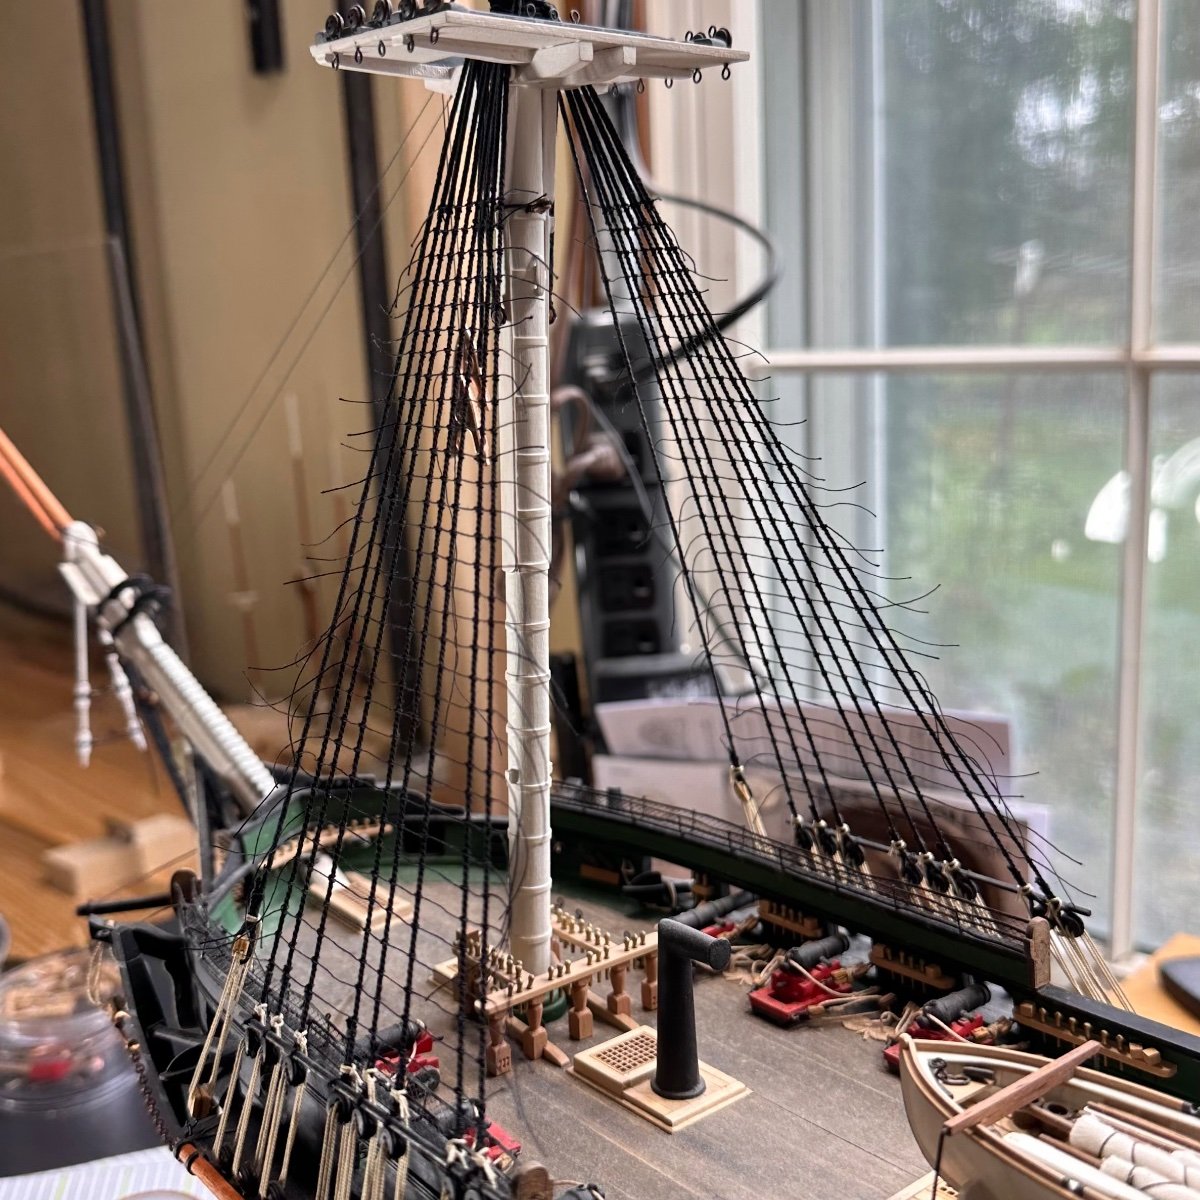
I am making some progress on my shroud and ratline rigging. To keep everything equal, I am tieing the ratlines on both sides as I progress up the foremast. There are lots and lots of knots. I think I am getting a system with the clove hitch. The tweezers really help out a lot. One thing I found is that it is better to have a long line of thread to tie the knots. The short thread seems mohave mind go its own and goes where ever It wants. I usually go about five rows of ratlines and then double check them with my card and then set the knots with diluted white glue. (Elmer's). I also use just water with brush to help take some slack out of the lines. That is why I am doing both sides of the shrouds to make sure I don't get too much tension on the masts. So are it seems to be working.
-
Isn't it amazing how many little "models" there are in this model. The ships boats, the cannons, it is really a kit that tests your modeling skills. It is also a kit that lets you expand your kit bashing ideas. Everything is looking great. So...go make some sawdust and have fun.
-
USS Constitution by mtbediz - 1:76
Geoff Matson replied to mtbediz's topic in - Build logs for subjects built 1751 - 1800
What a great job! I am enjoying following your build. -
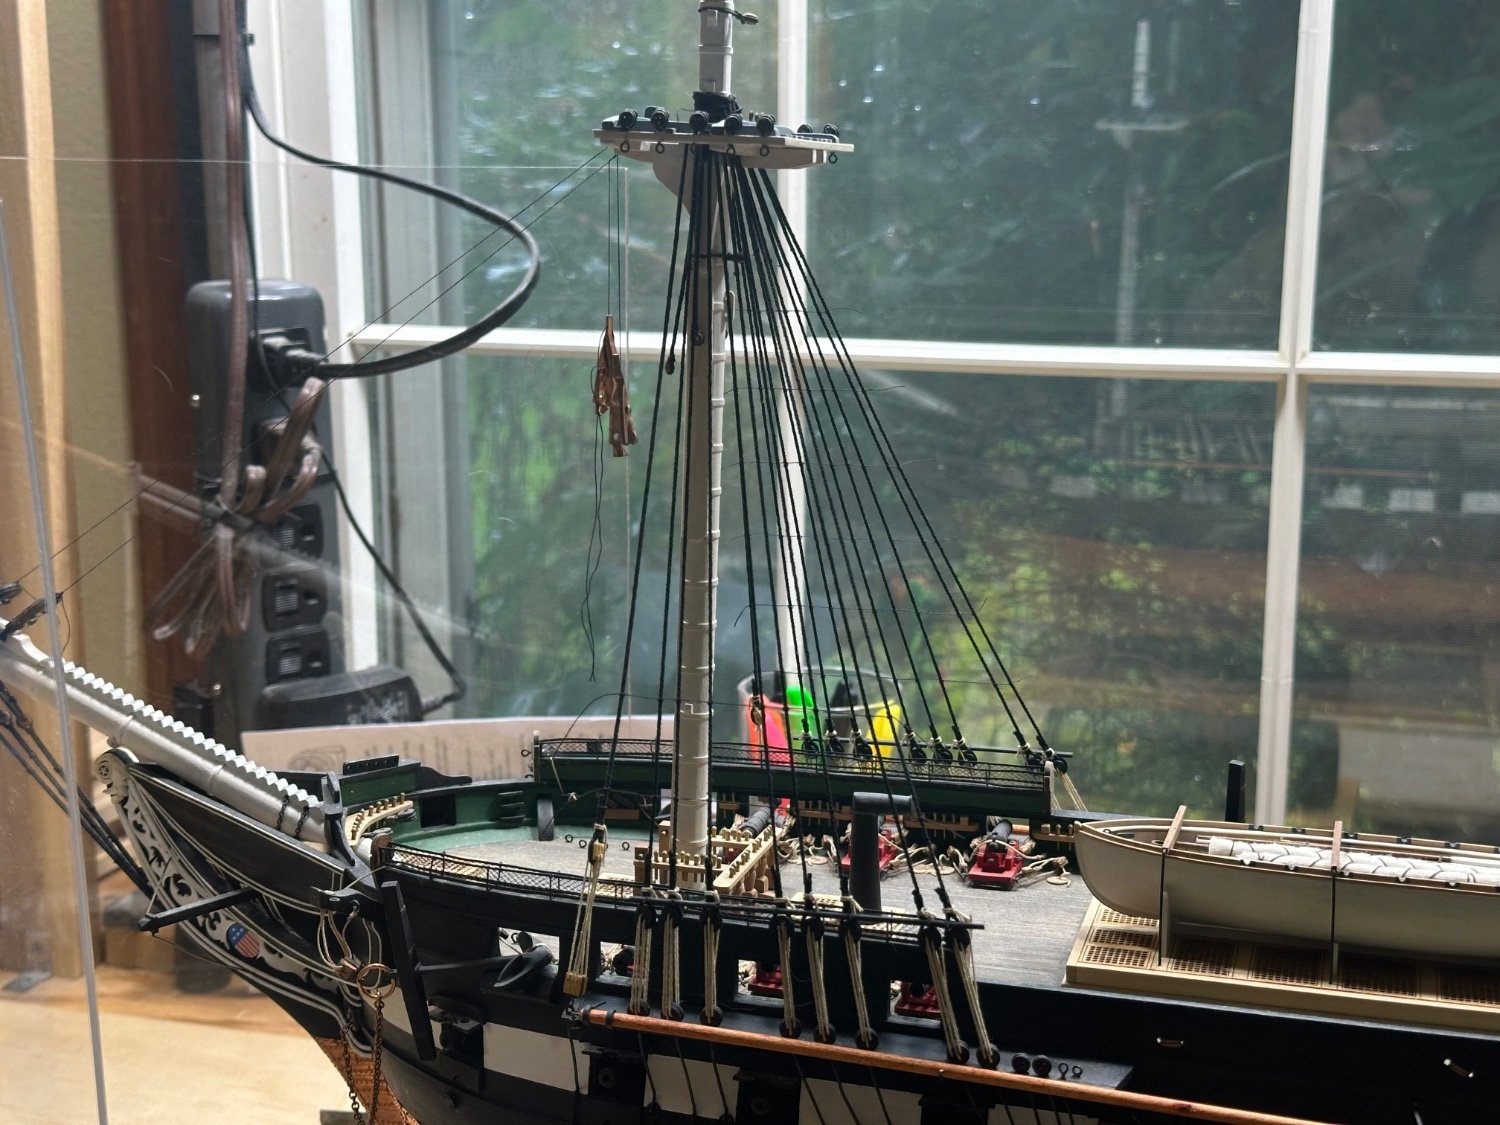
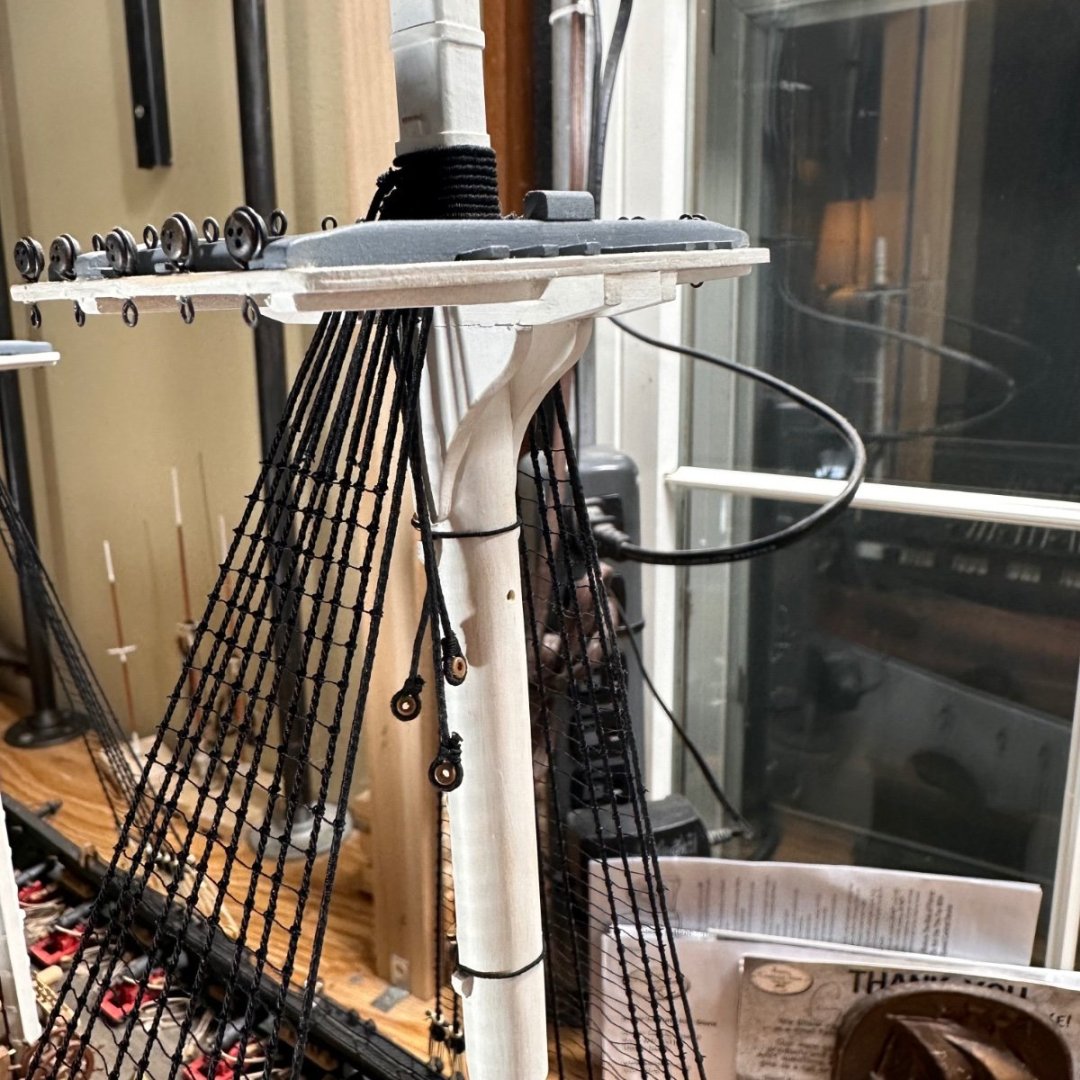
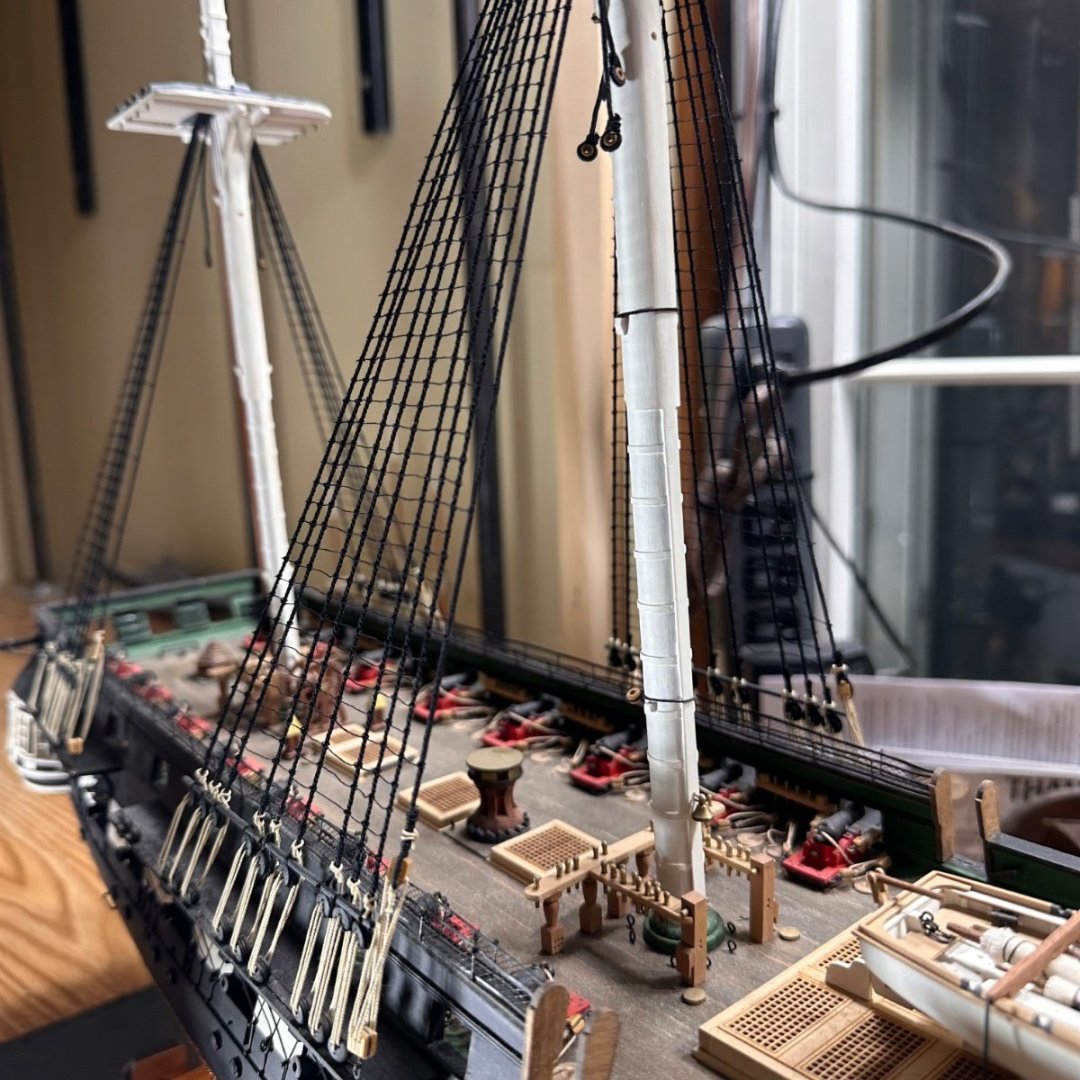
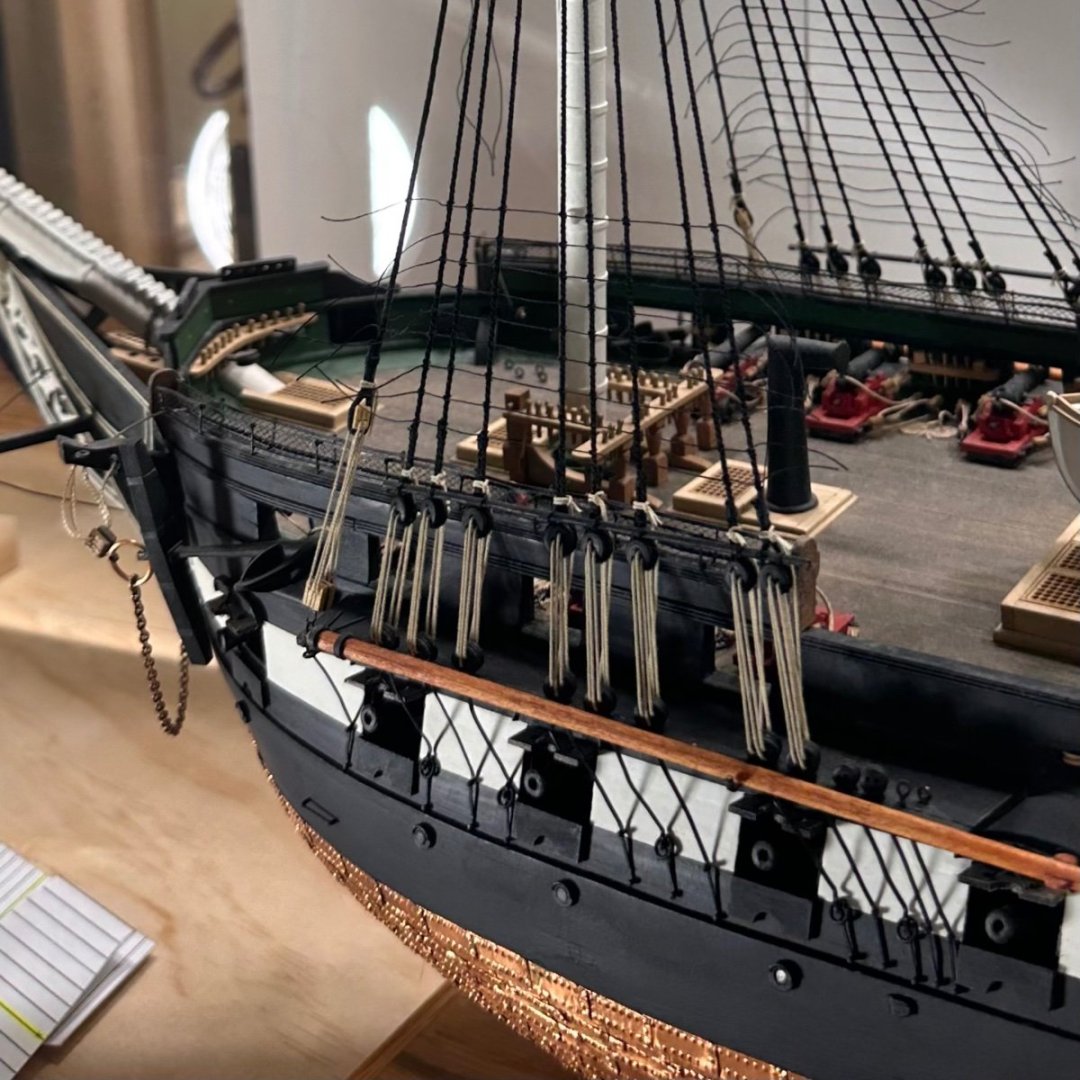
As I continue my rigging I have changed my plans a little. I have finished my top mast pre rigging. I now will proceed with rigging the lower shrouds on all three masts per the sheet plans. Then I will do the lower stays with the snaking. I still have to figure out how to do the snaking. So far the only thing I wish would have done is leave off the bowsprit until I did more rigging. I think it would have made things a little easier. I have to be careful not to break it off.
-
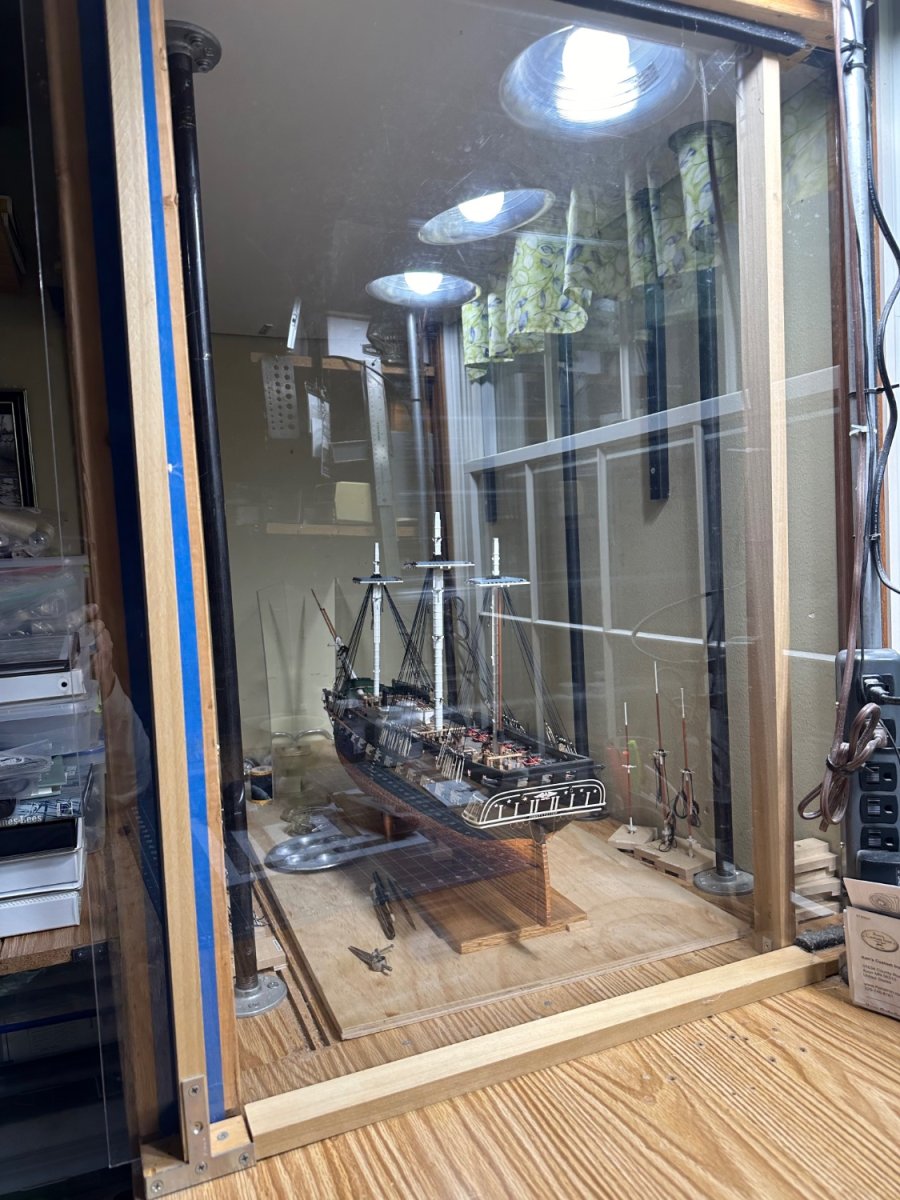
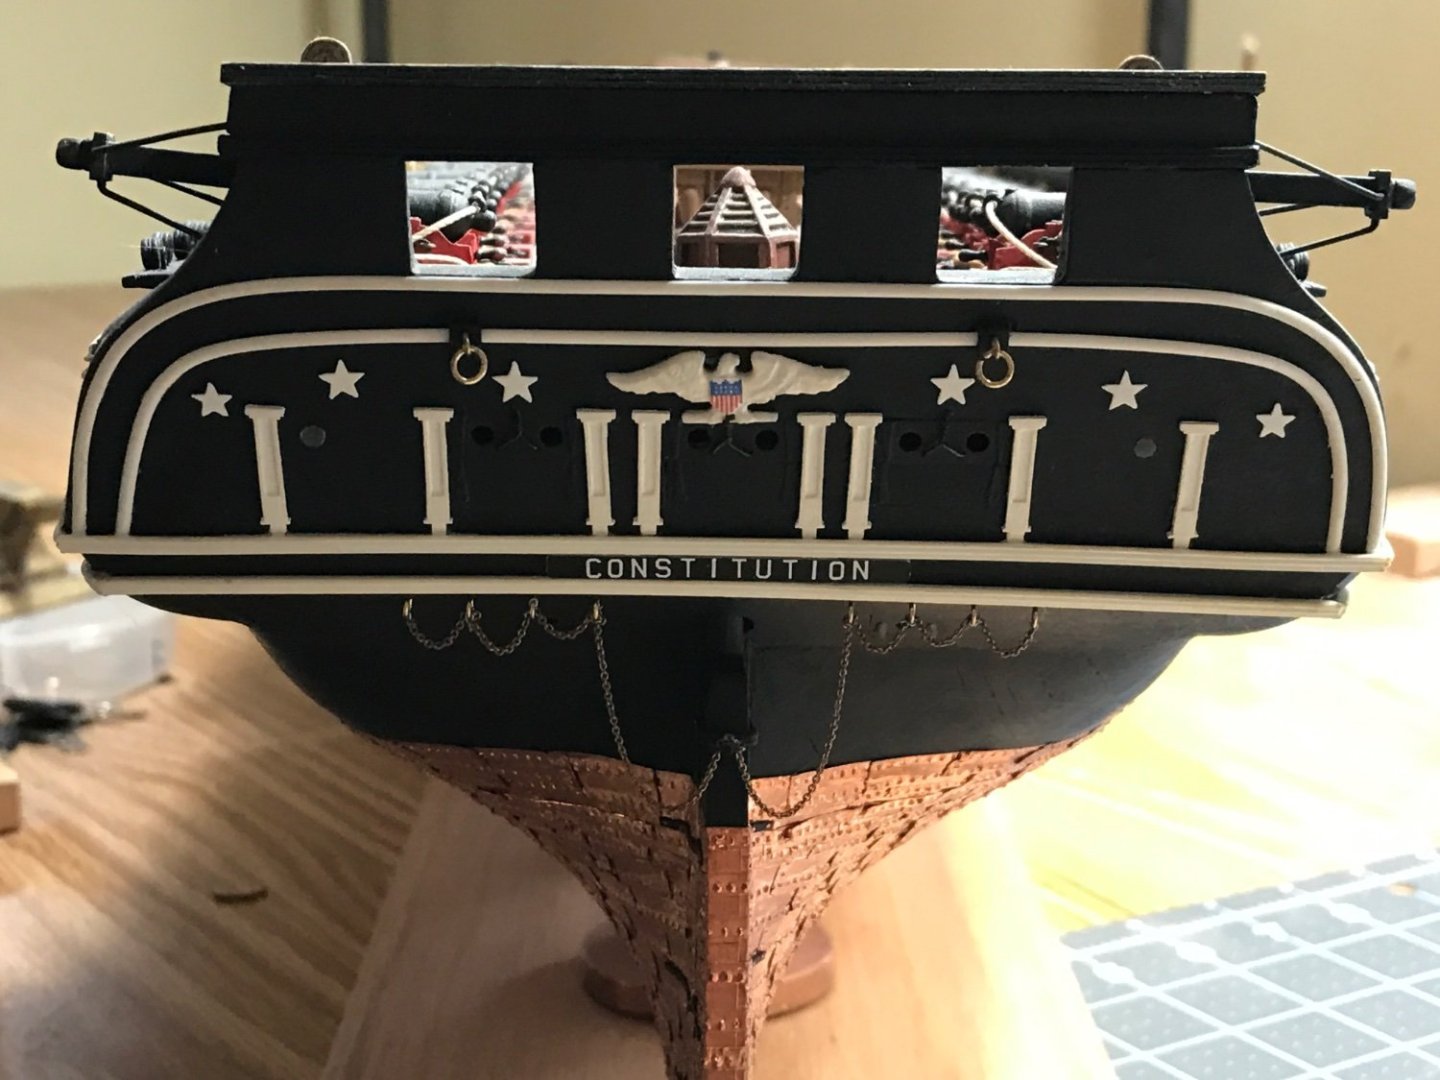
Your build is looking great! The gun carriages bring back fond memories of repetition. Here is one of my favorite pictures looking through the aft gun ports down along the cannons on both sides. By the way, I am going nuts on how to case this behemoth of a model. Have you any thoughts on that? Happy modeling Jon
-
It is good to be back. I am really glad I documented all my work. It makes it much easier to pick up where I left off. After a weekend of tying knots for the top mast assemblies I remember why I don't like rigging. My next model will definitely be a admirality style. Happy modeling
-
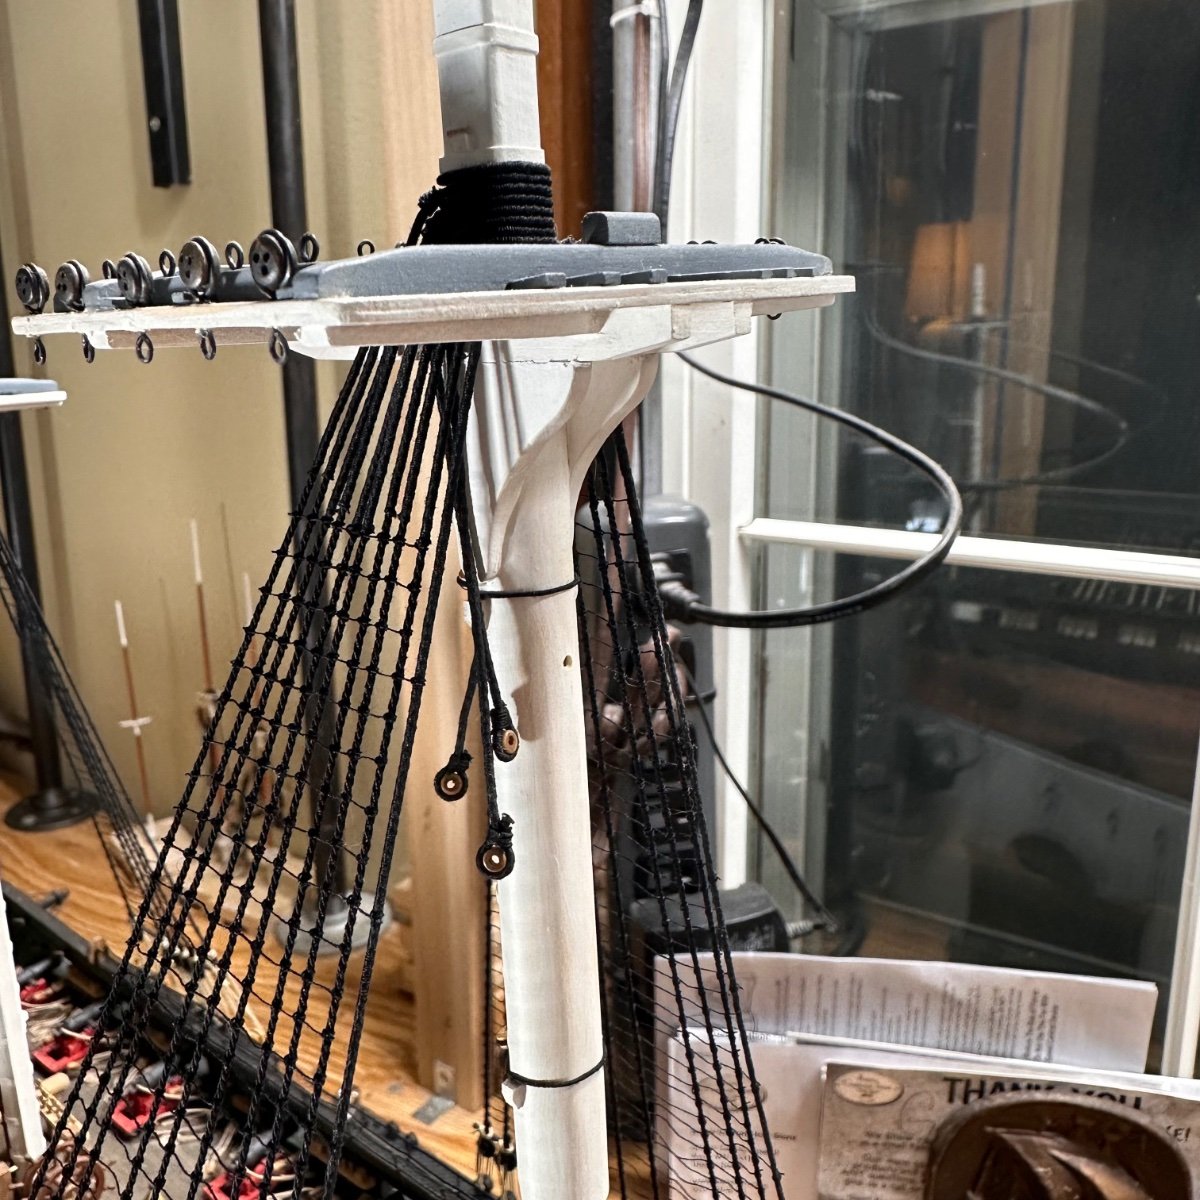
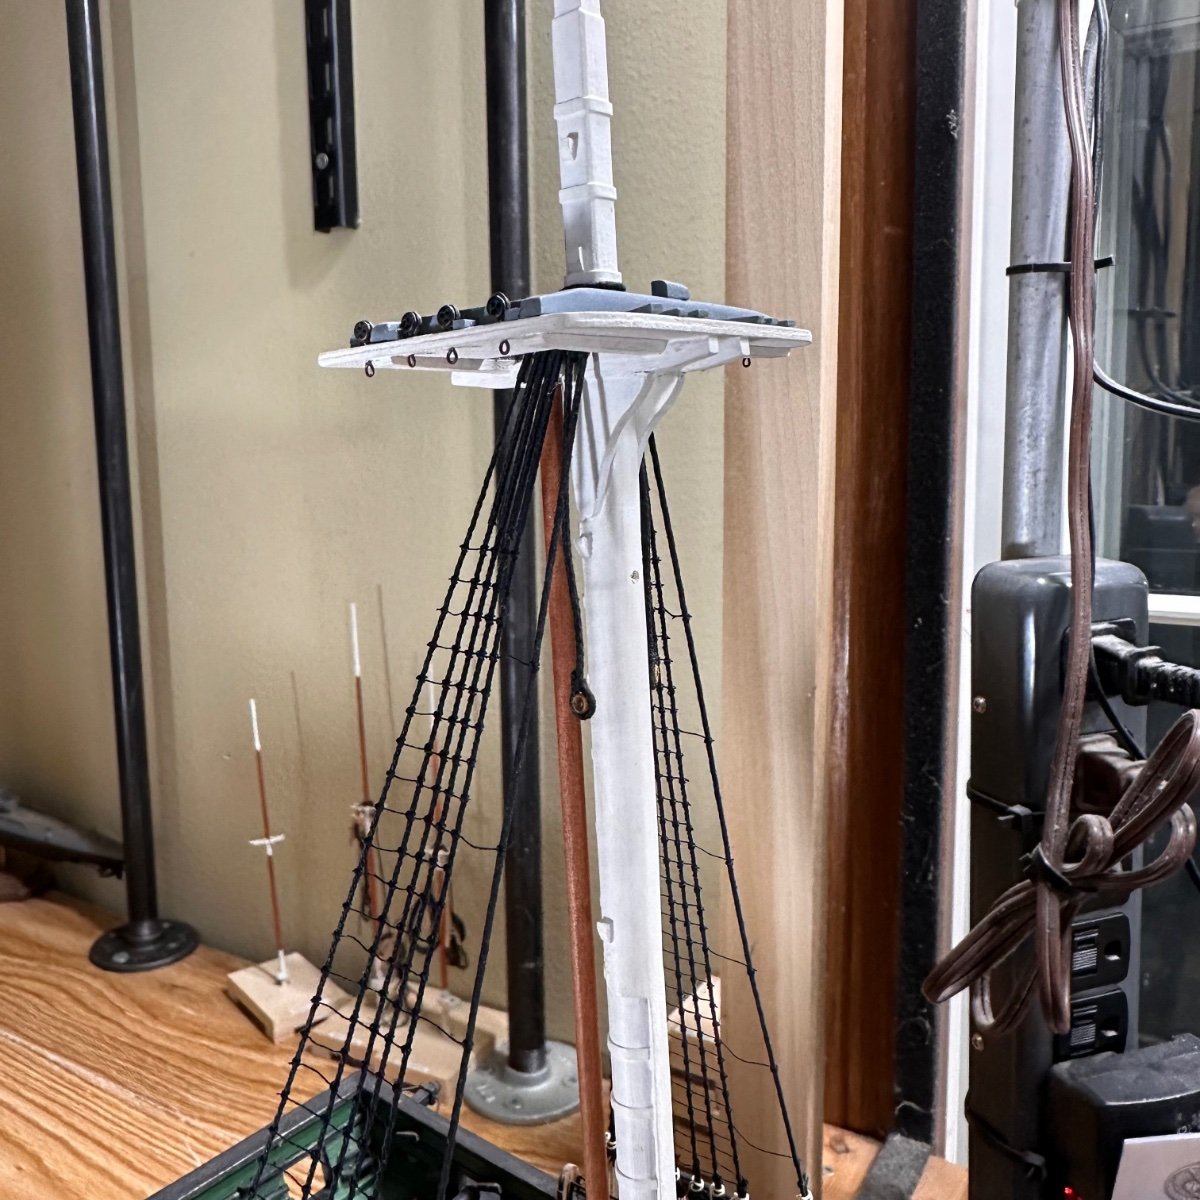
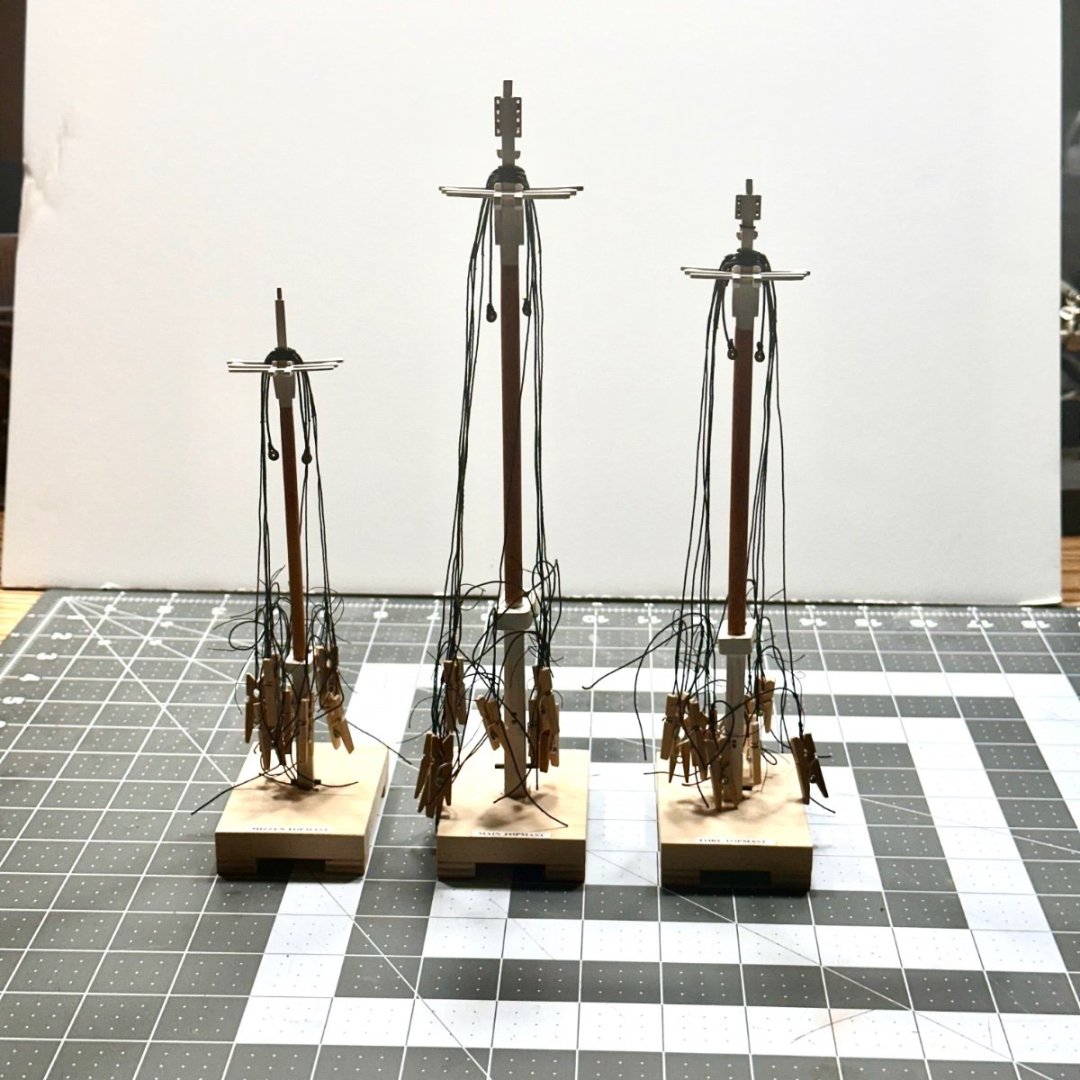
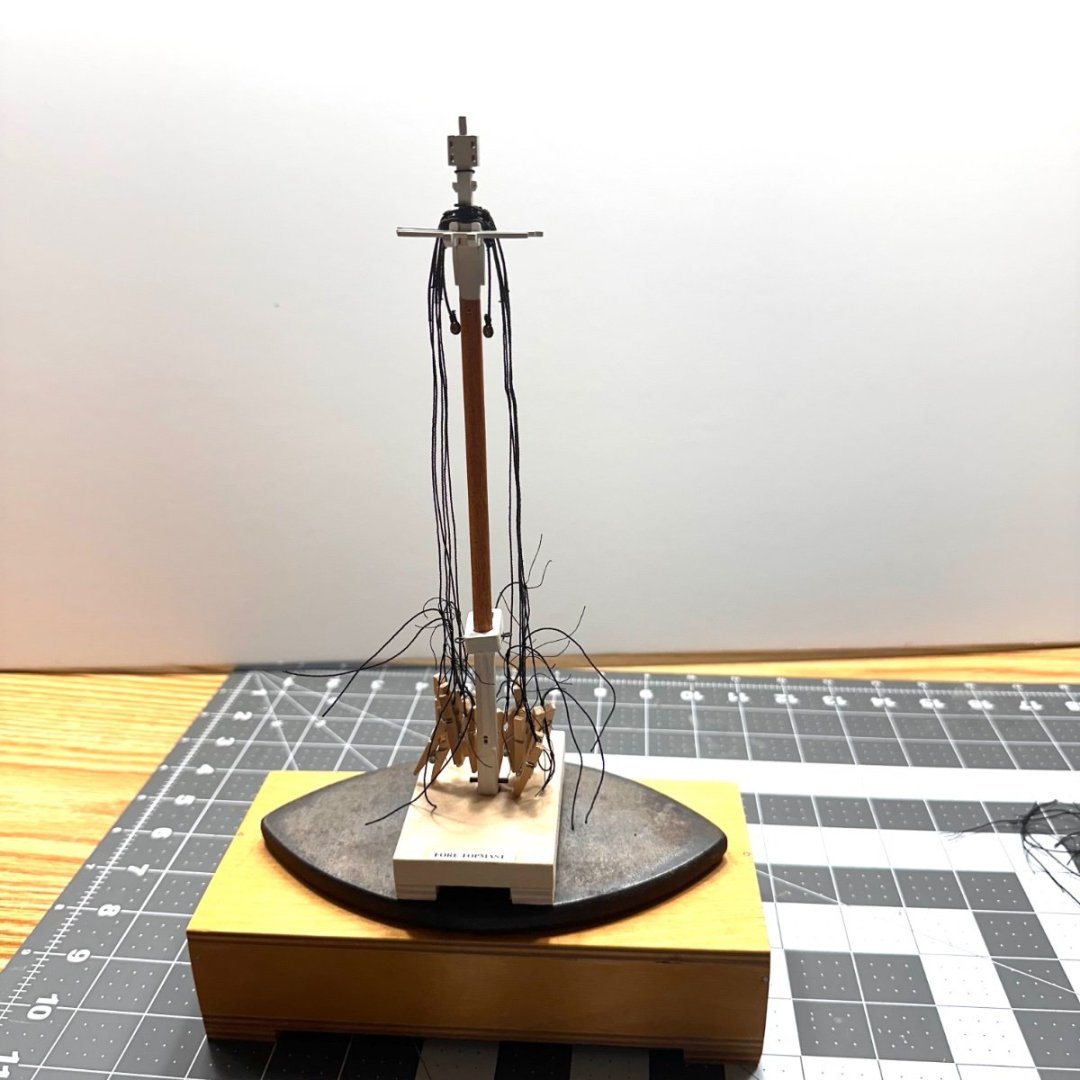
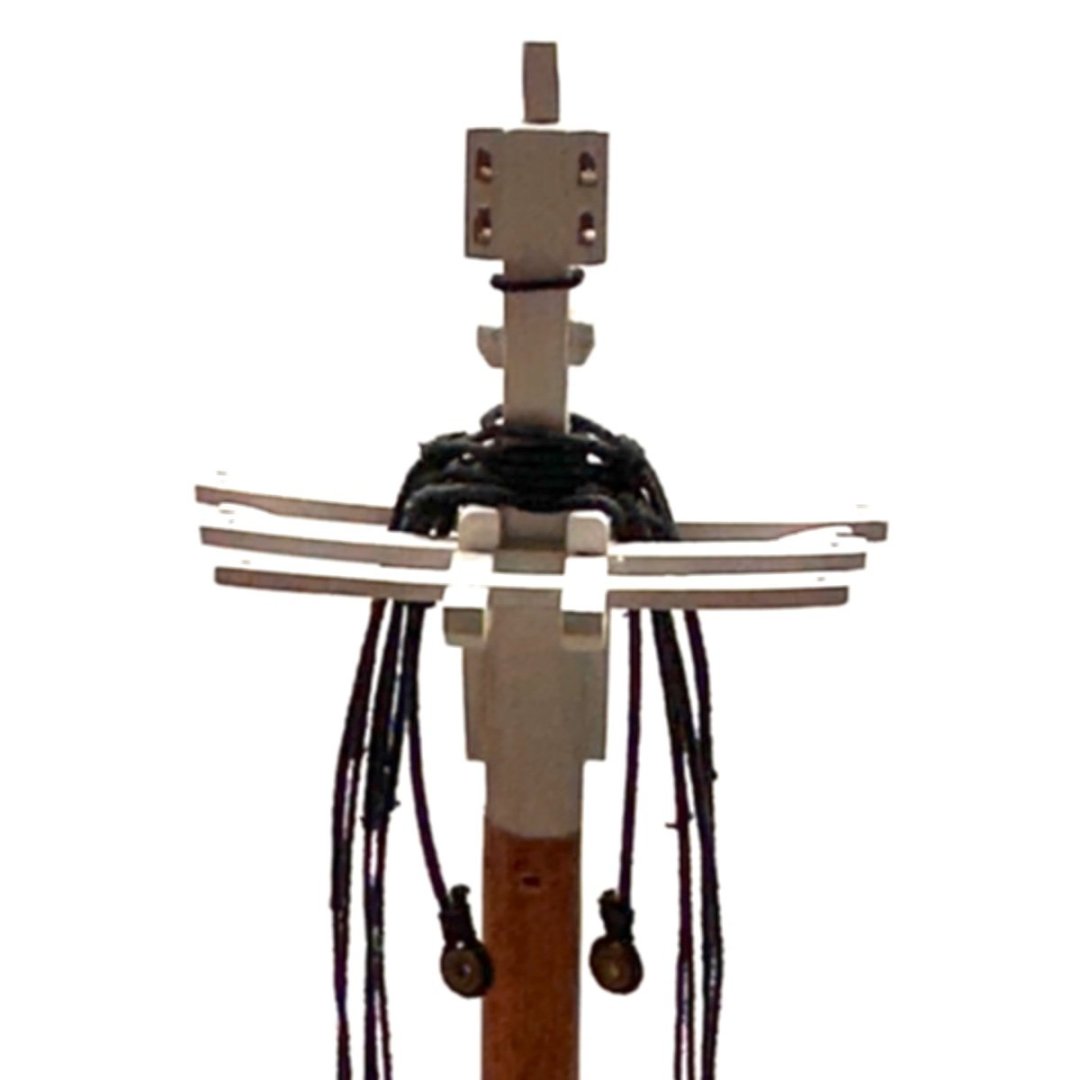
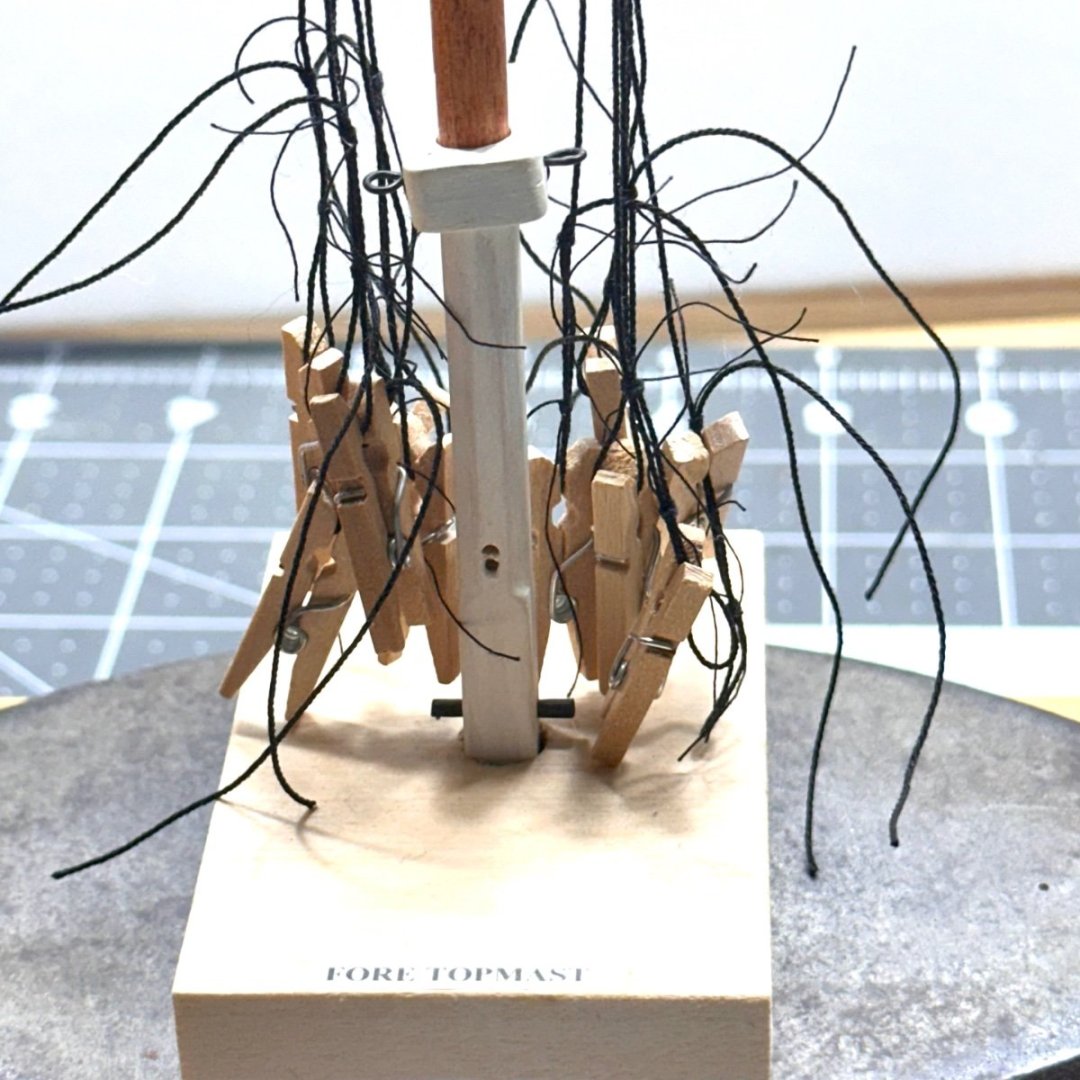
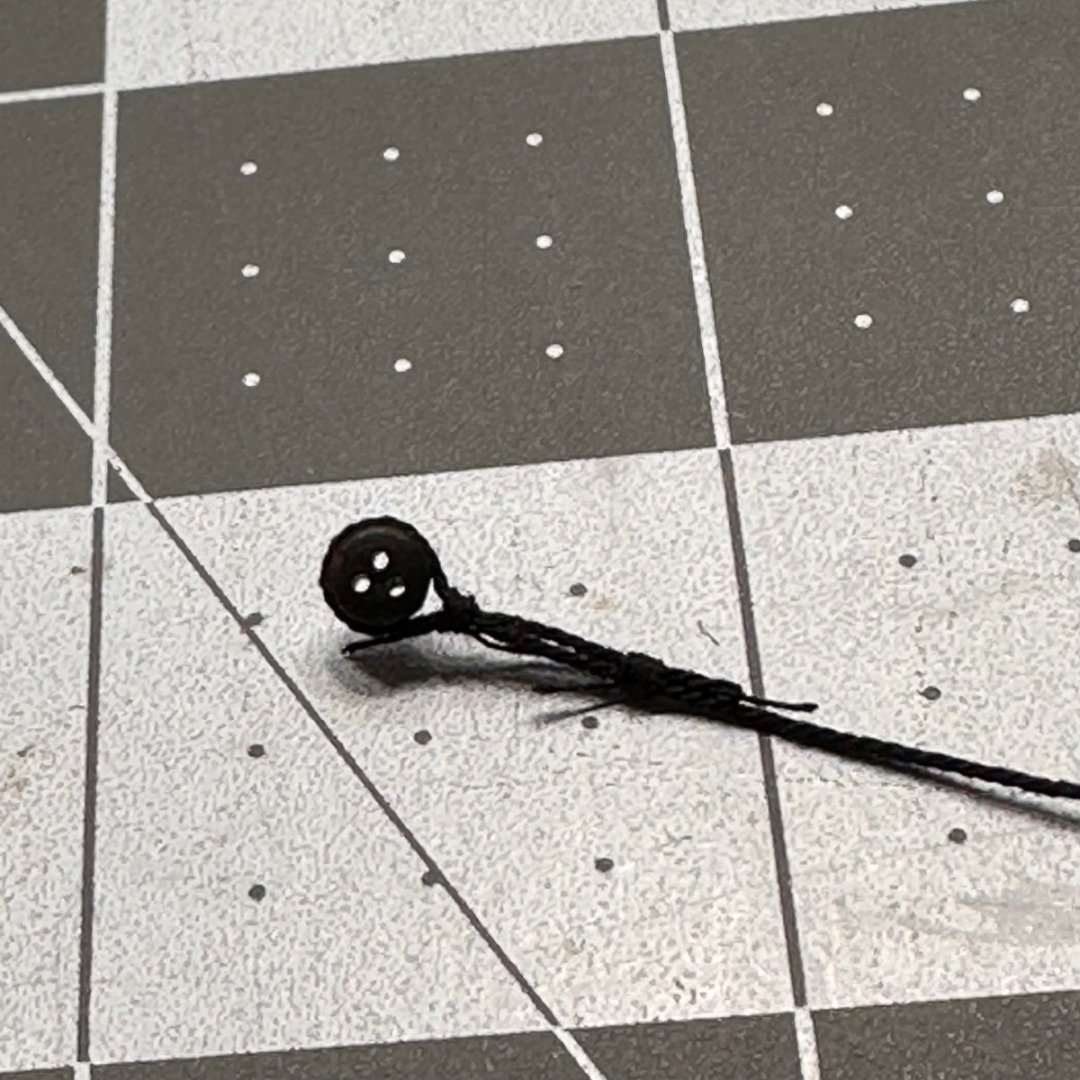
I made some progress on the foremast top. I try to do as much pre rigging off the model as I can. I am so afraid of breaking something. I will do the same for the mainmast top and mizzen mast top. Lots of knots and I am glad I have the third hand to help out. I posted a couple of pictures of the progress. I have a picture of the deadeye seized and done up. It looks like one big rats nest, but it does sort itself out when I rig the dead eyes.
-
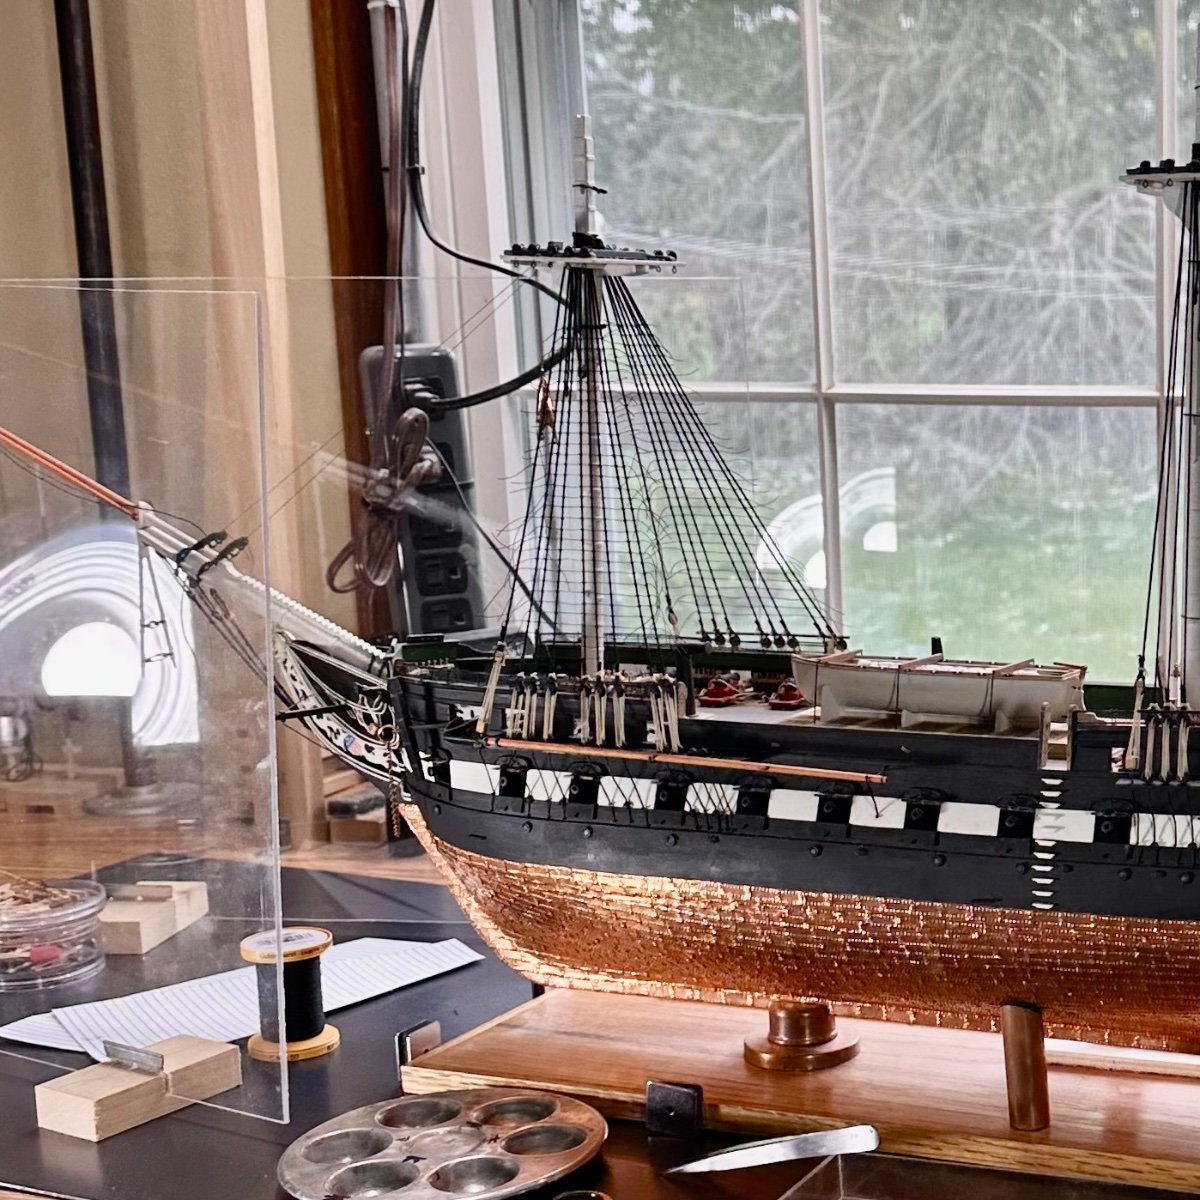
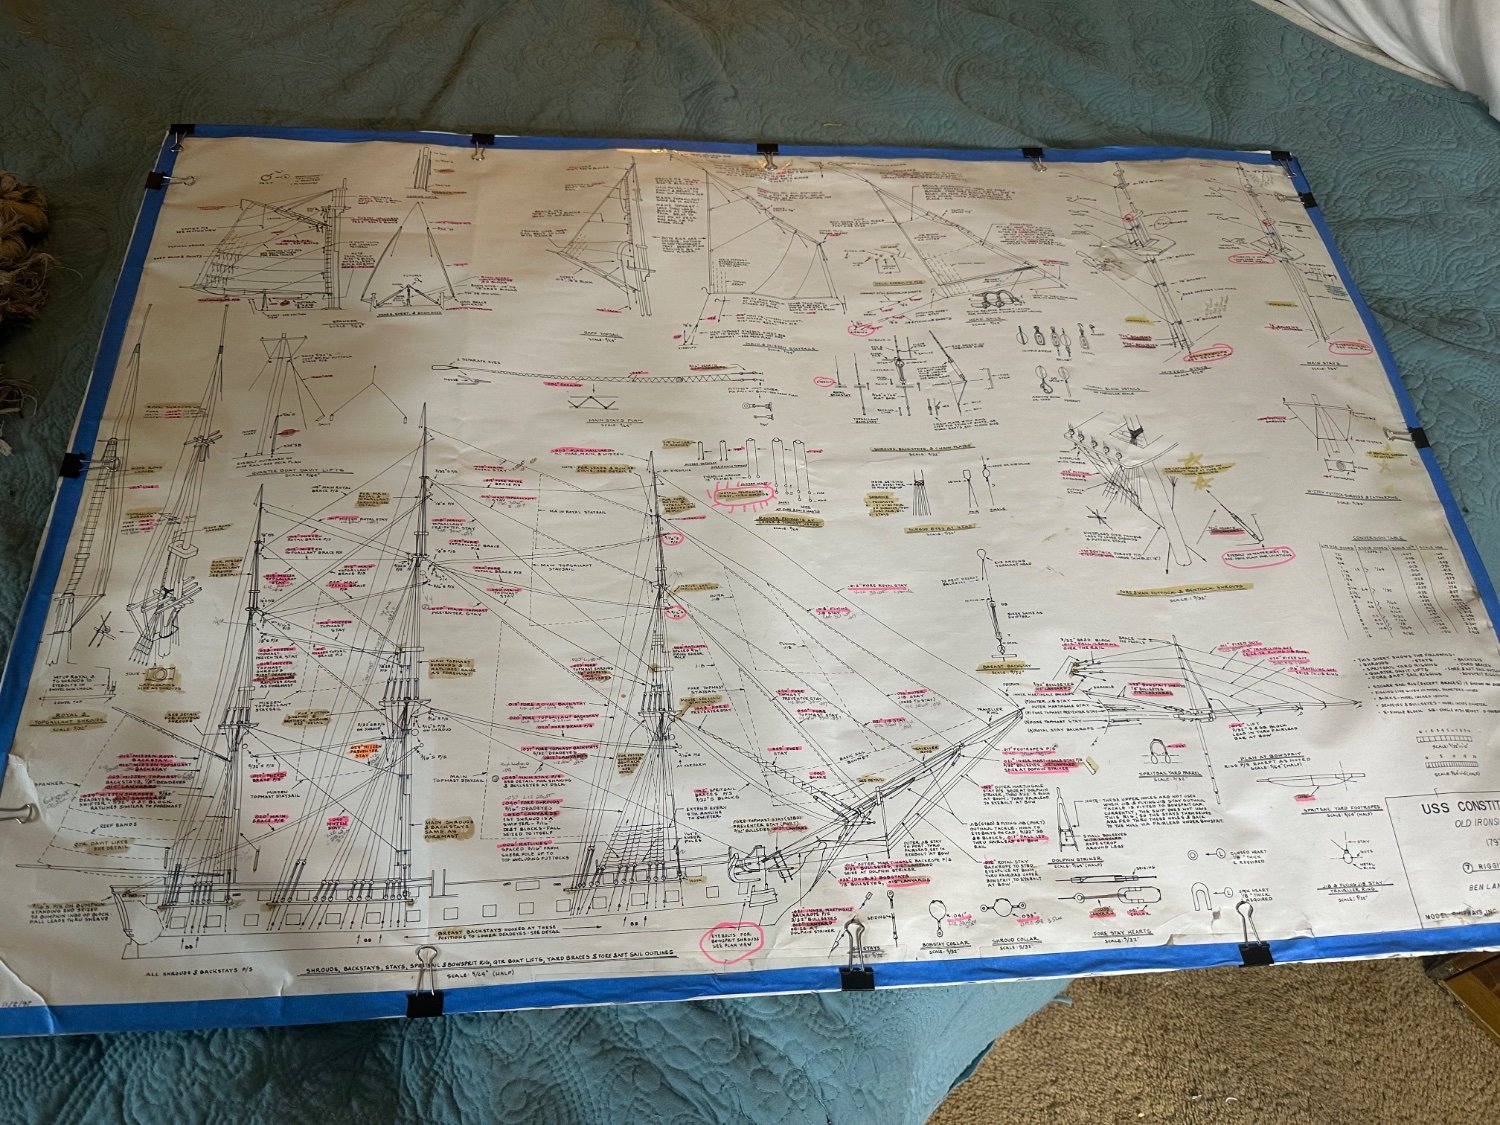
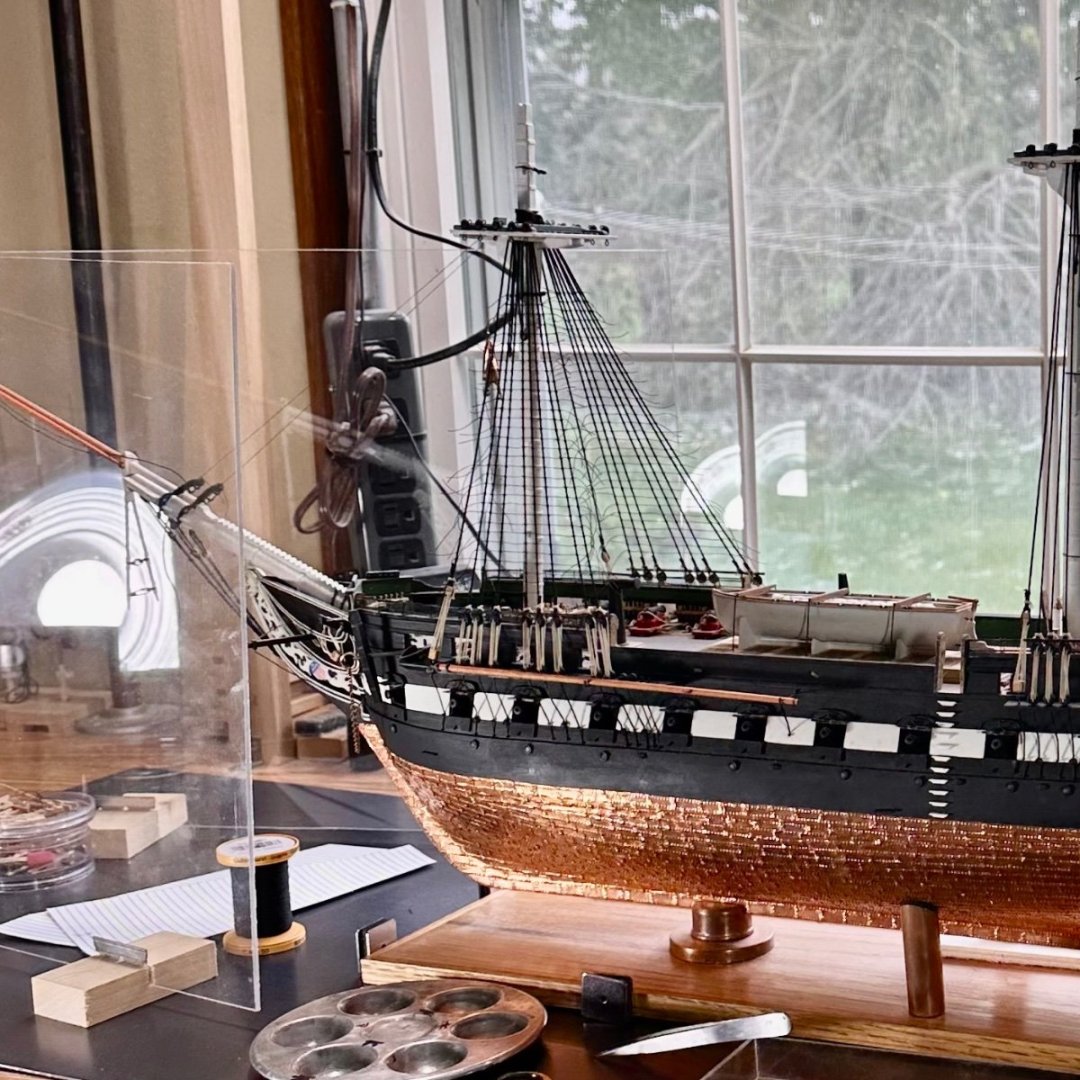
I am back after four years of avoiding rigging my Conny. The more I looked and researched it the harder it looked. Well, I finally decided I could do it and with winter coming to Northern Illinois I can now allow some time to work on it. I have backed my Conny out of dry dock and am ready to proceed. I am following Bob Hunt's course on building the Conny. I have gotten this far with the course and will follow along to the end. I have made all of my modeling scale rope with the help of Jim Byrnes Ropewalk and numerous kinds of cotton threads. I went over all the rigging lines with Plan 7 sheet of the plans. I have labeled all the line sizes and what I need. I feel. like this took all the four years to get this far. I have all the lower shrouds rigged and am progressing to the top shrouds.


-
Hello, nice job so far. One thing I did with my plans was to just iron them with my wife's iron. Then I cut foam board to size and attach the plans with clips. You could also use just thick poster board. Just an idea. I look forward to you progress
-
Looking great, hang in there it is all worth the effort in the end
-
Hopefully things are turning for the good. Looking forward to your progress. Be safe
-
obsidian 12 It works well for me. Right now I am doing the lower ratlines and working my way up. Once all the ratlines are finished I plan on installing and rigging the yards. The hardest part is to plan ahead and make sure you have enough room to install the rest of the lines. The bottom area of the masts will be a real chore to rig. It will be a lot of monkeying around, but I like to solve those problems ahead of time. Thanks for your interest.
-
Great problem solving skills and your rails turned out great.
-
I cut mine from a pattern and then adjusted it by sanding to fit the width at the bow. Glad to se you having fun!
-
Your Conny is looking great. Isn't it amazing how building a kit model turns you into a scratch builder. I did the same thing with my transom rail. I have been busy with other projects this last year and am looking to getting back with Conny soon.
-
You are doing a great job. I know the Constitution is a big project. It is really two parts. All the construction, which you seem to be enjoying and the the Rigging part. Just be patient and enjoy the process. I look forward to you coming posts. Have fun making sawdust.
- 55 replies
-
- 1
-

-
- constitution
- model shipways
- (and 1 more)
-
Looking great Jeff. Great job!
-
Looks like you have outdone yourself again. Great looking boat. Just keep making sawdust and all is well.
- 78 replies
-
- 1
-
-
- medway longboat
- Syren Ship Model Company
- (and 1 more)
-
What a great project Hank. Looks like you are progressing right along. It sure beats my bead room model shop! I will be following your progress.
-
Looking good Jeff. Glad you are back. Your Conny looks great! Looking forward to watching your progress.