Glenn-UK
-
Posts
3,168 -
Joined
-
Last visited
Content Type
Profiles
Forums
Gallery
Events
Everything posted by Glenn-UK
-
 Looking forward to seeing the Victory in the case you've done a really great job on your build, a true inspiration.
- 439 replies
-
- 1
-

-
- victory
- caldercraft
- (and 1 more)
-
Beautiful work, a job well done by a master craftsman.
-
Hi Jerry I have suffered with back problems for over 20 years. Many thanks for your kind comments, as always, I'm having a great time with the build at the moment.
-
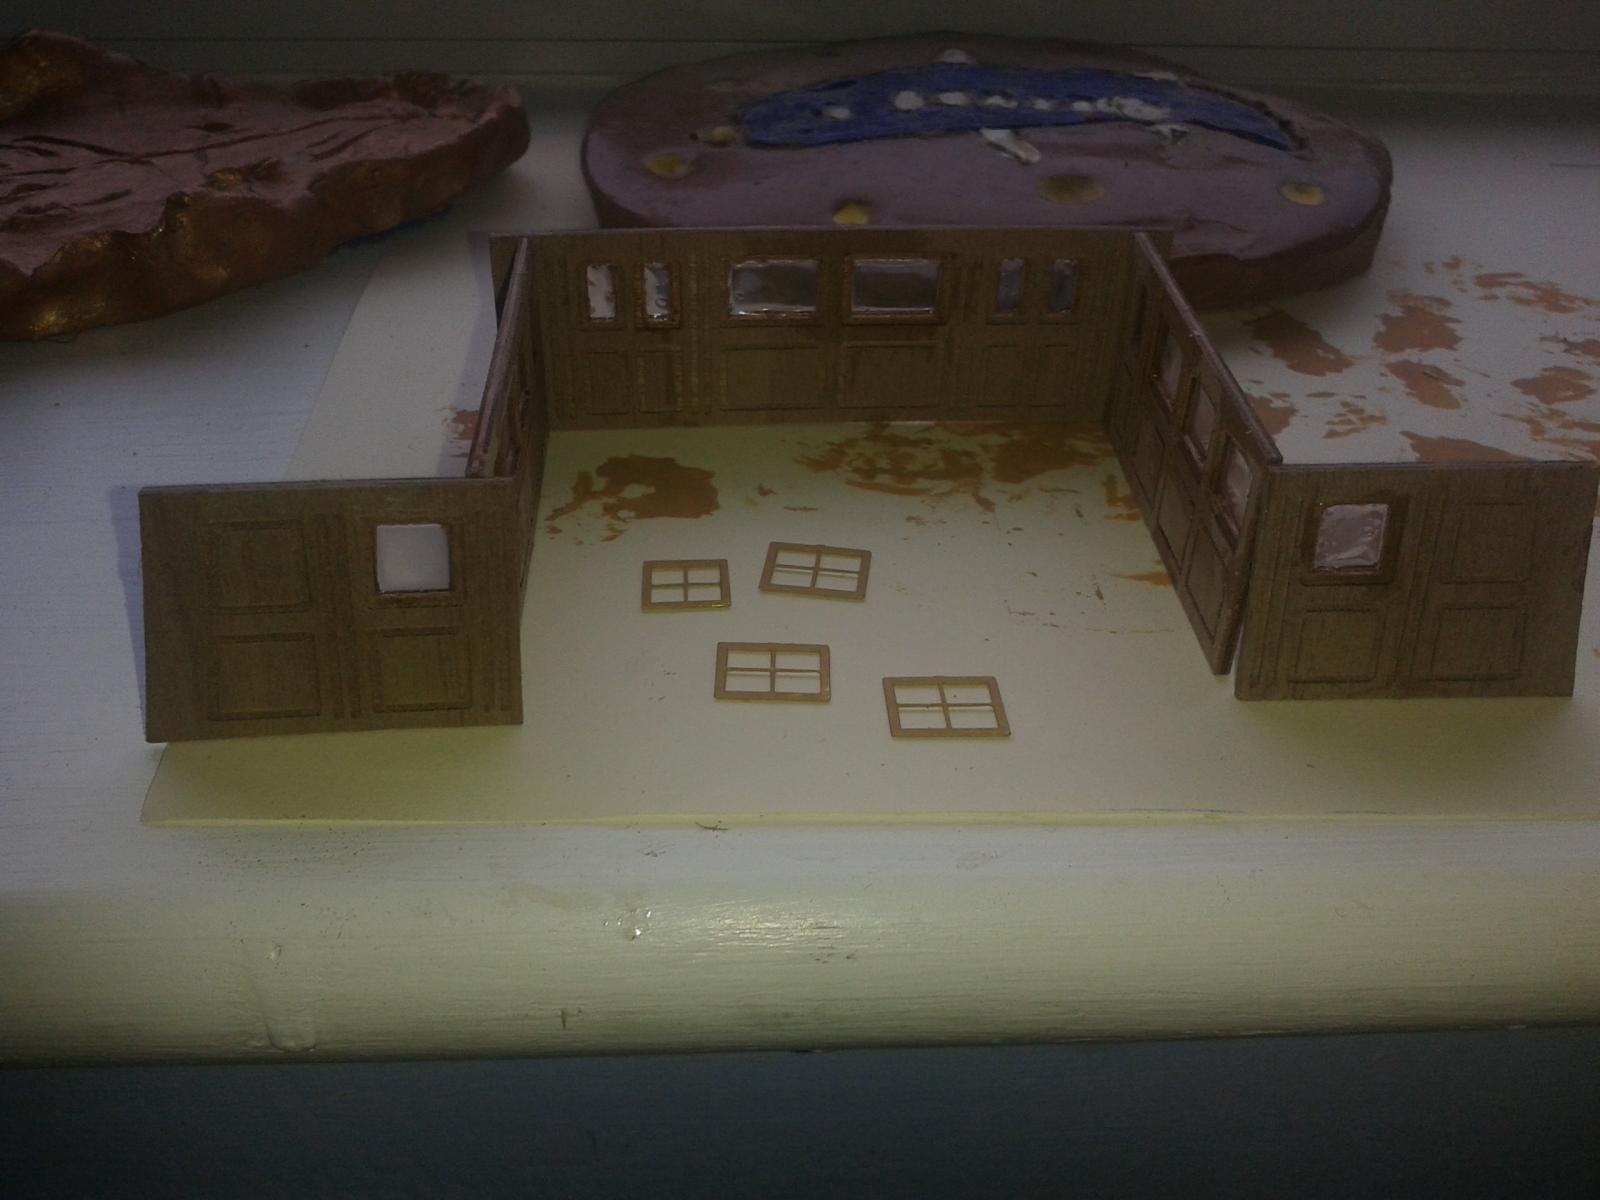
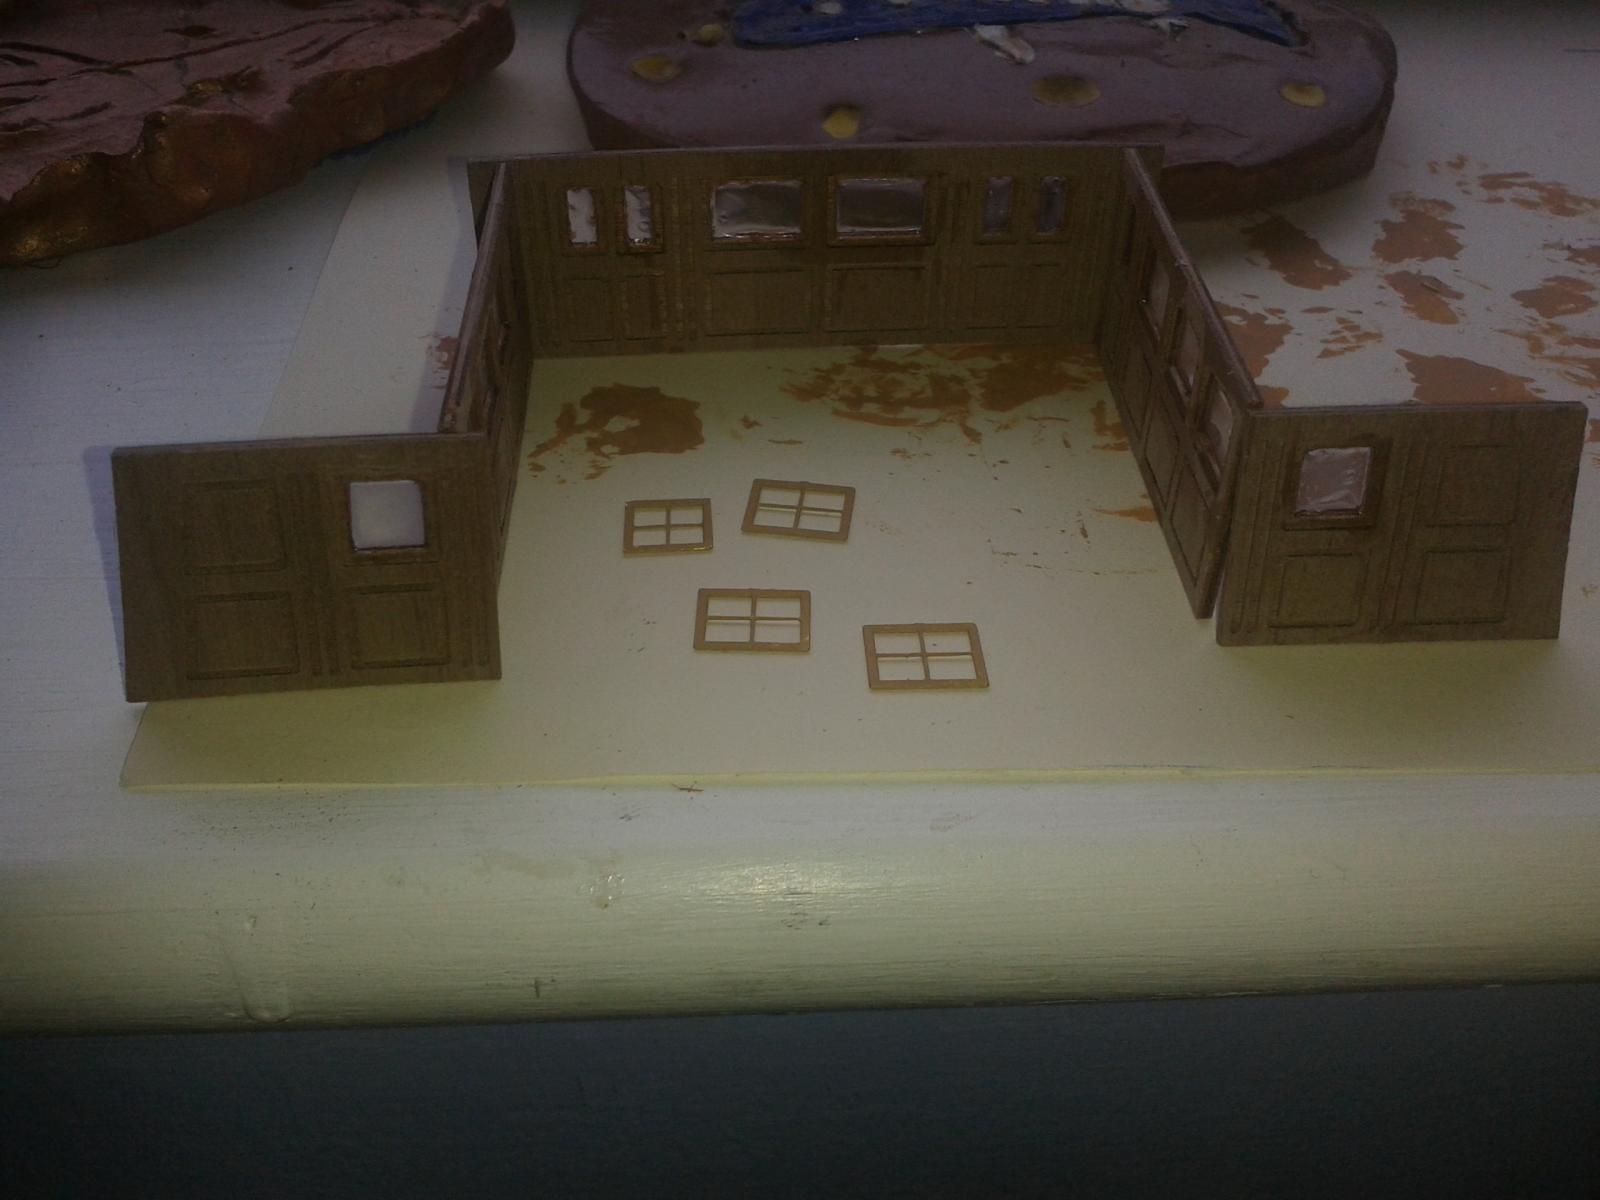
Minor setback on Sunday when I slipped my disc (again), thankfully after a couple of days rest I've been able to resume work on the Victory build, in small sessions. Started planking the quarterdeck, I have been adding a caulking effect to the edges as each plank is fitted. I have also used micro glaze on the quarterdeck screen assembly, which I have dry fitted.


-
Looking good Jerry. Nice description about the use which was very informative.
-
Hello Lawrence Many thanks for your visit and very nice comments. I think I will spend more time working on the boat as I really enjoy the wood working build aspect on the build I seemed to get bogged down with the cannon build and rigging which took an age to complete.
-
Hi Jerry Thanks for your very kind comments, if my turns out like yours I will be very happy. I seem to recall Caldercraft may have sent me the duplicate quarter deck when I had to redo the bulkheads at the start of my build.
-
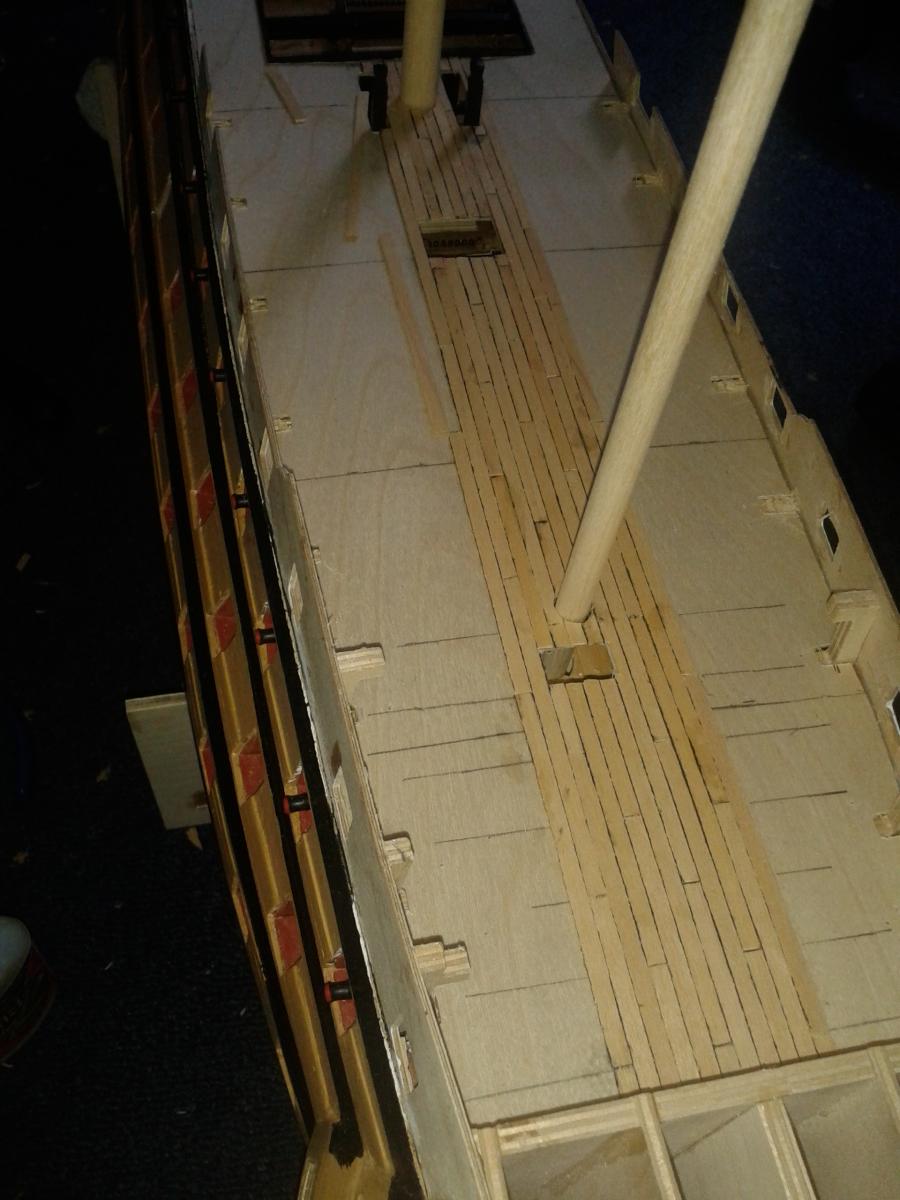
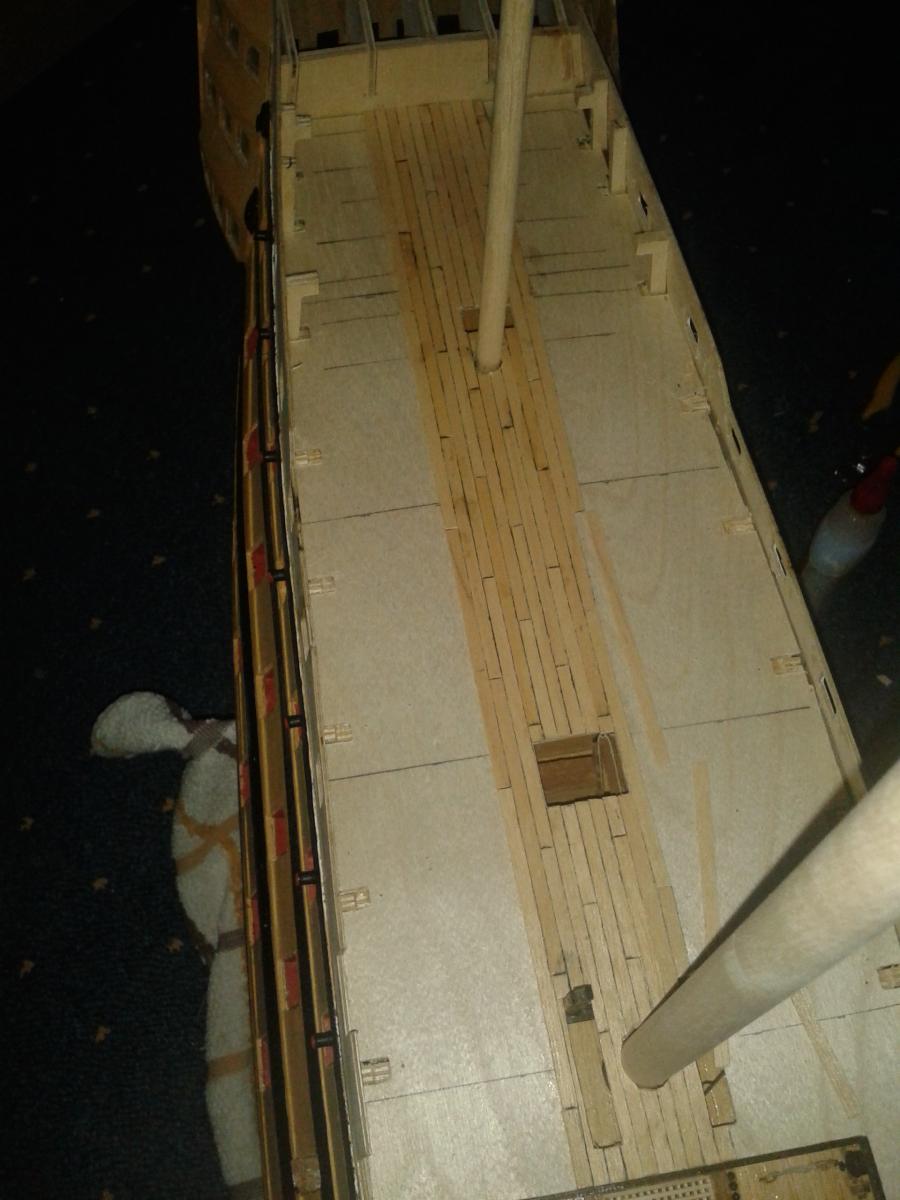
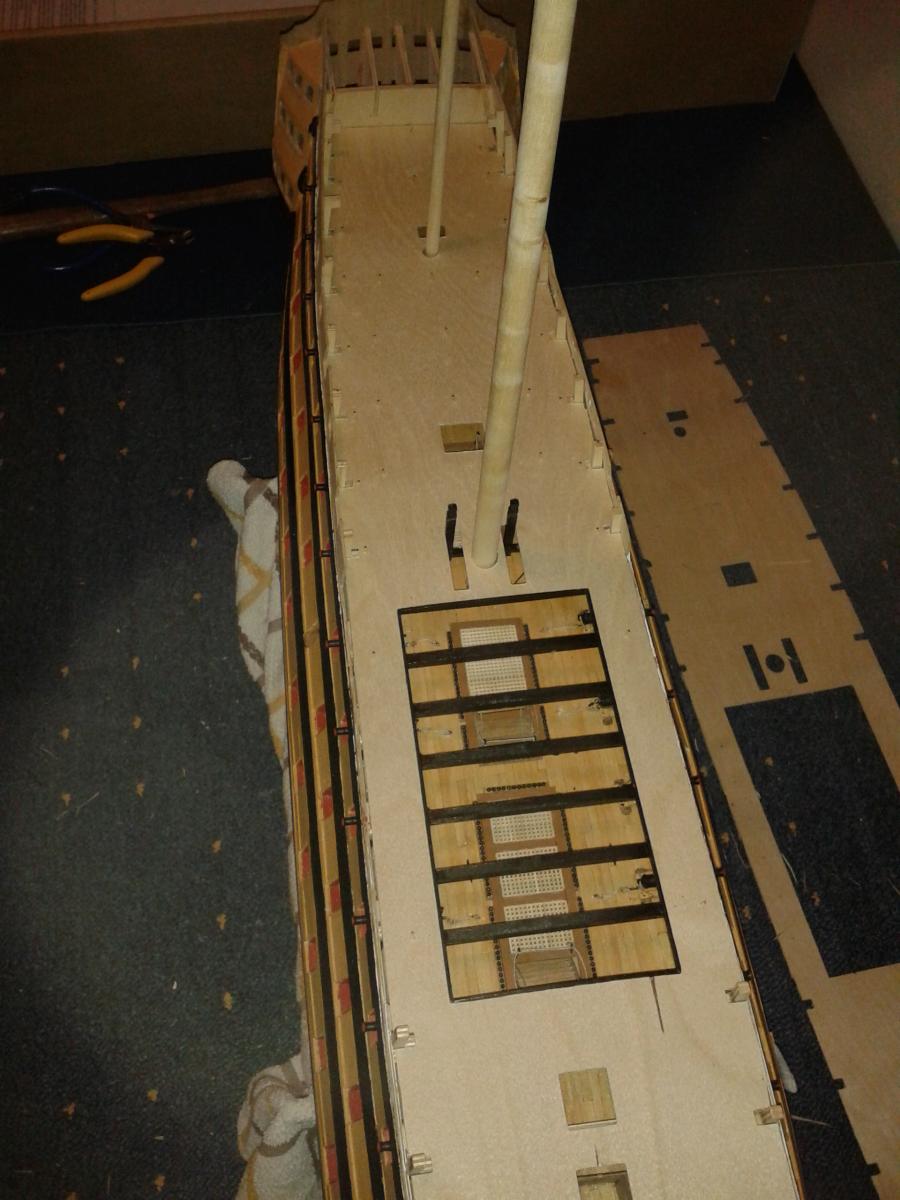
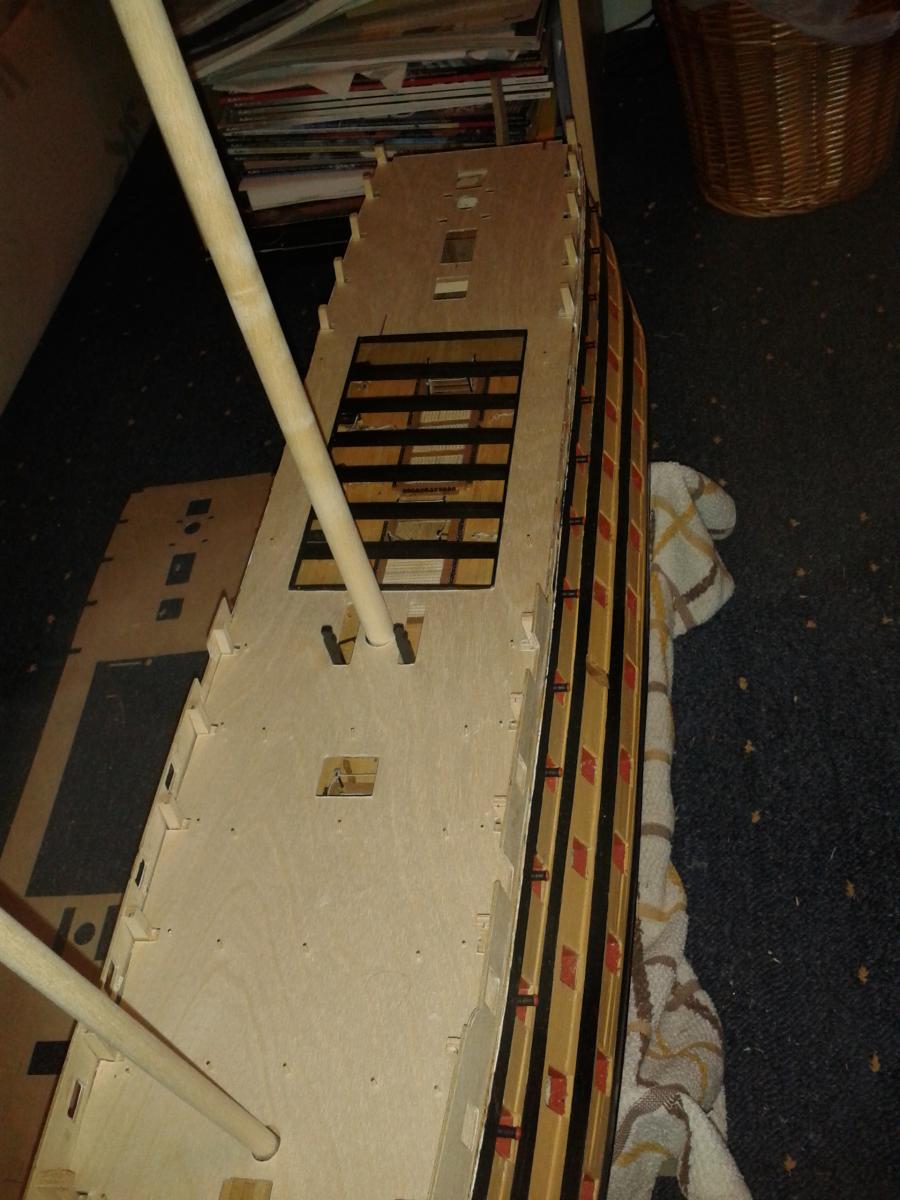
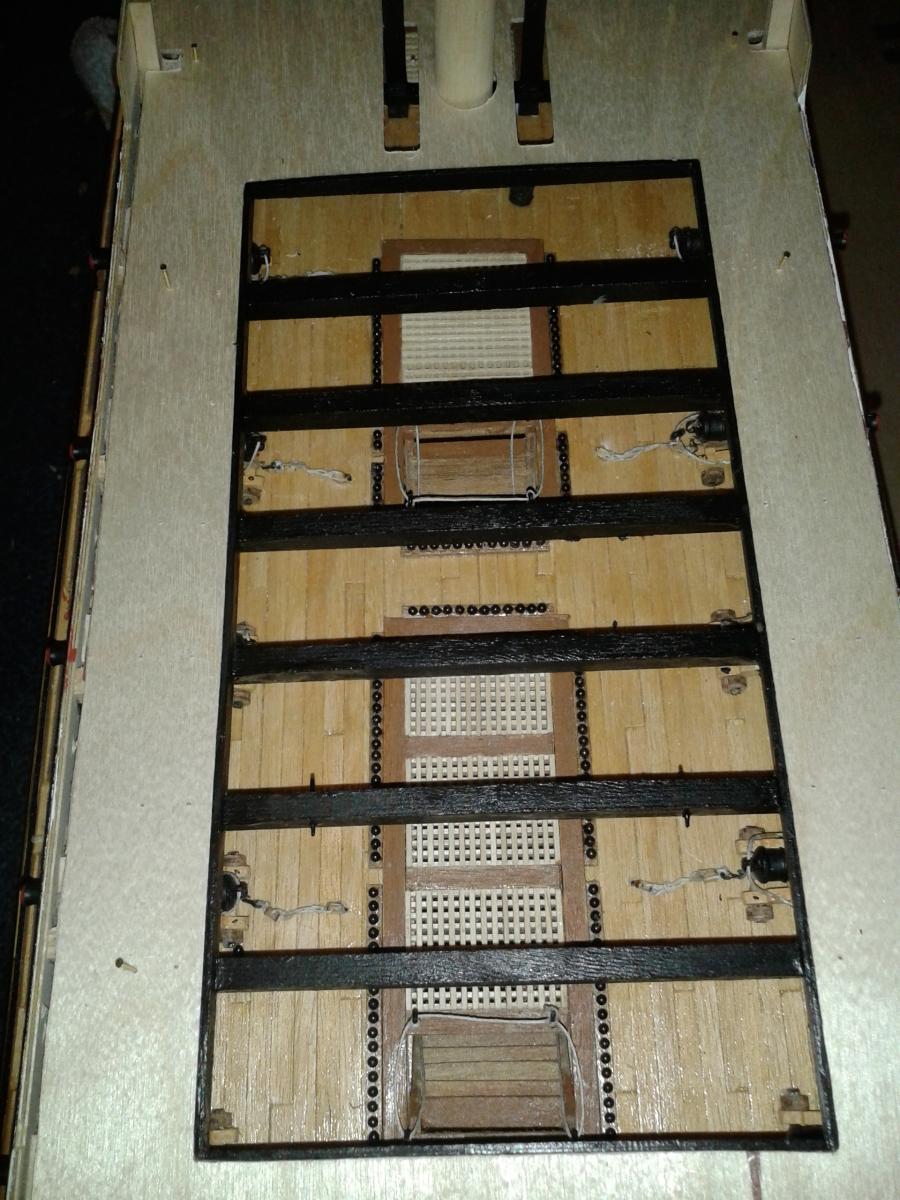
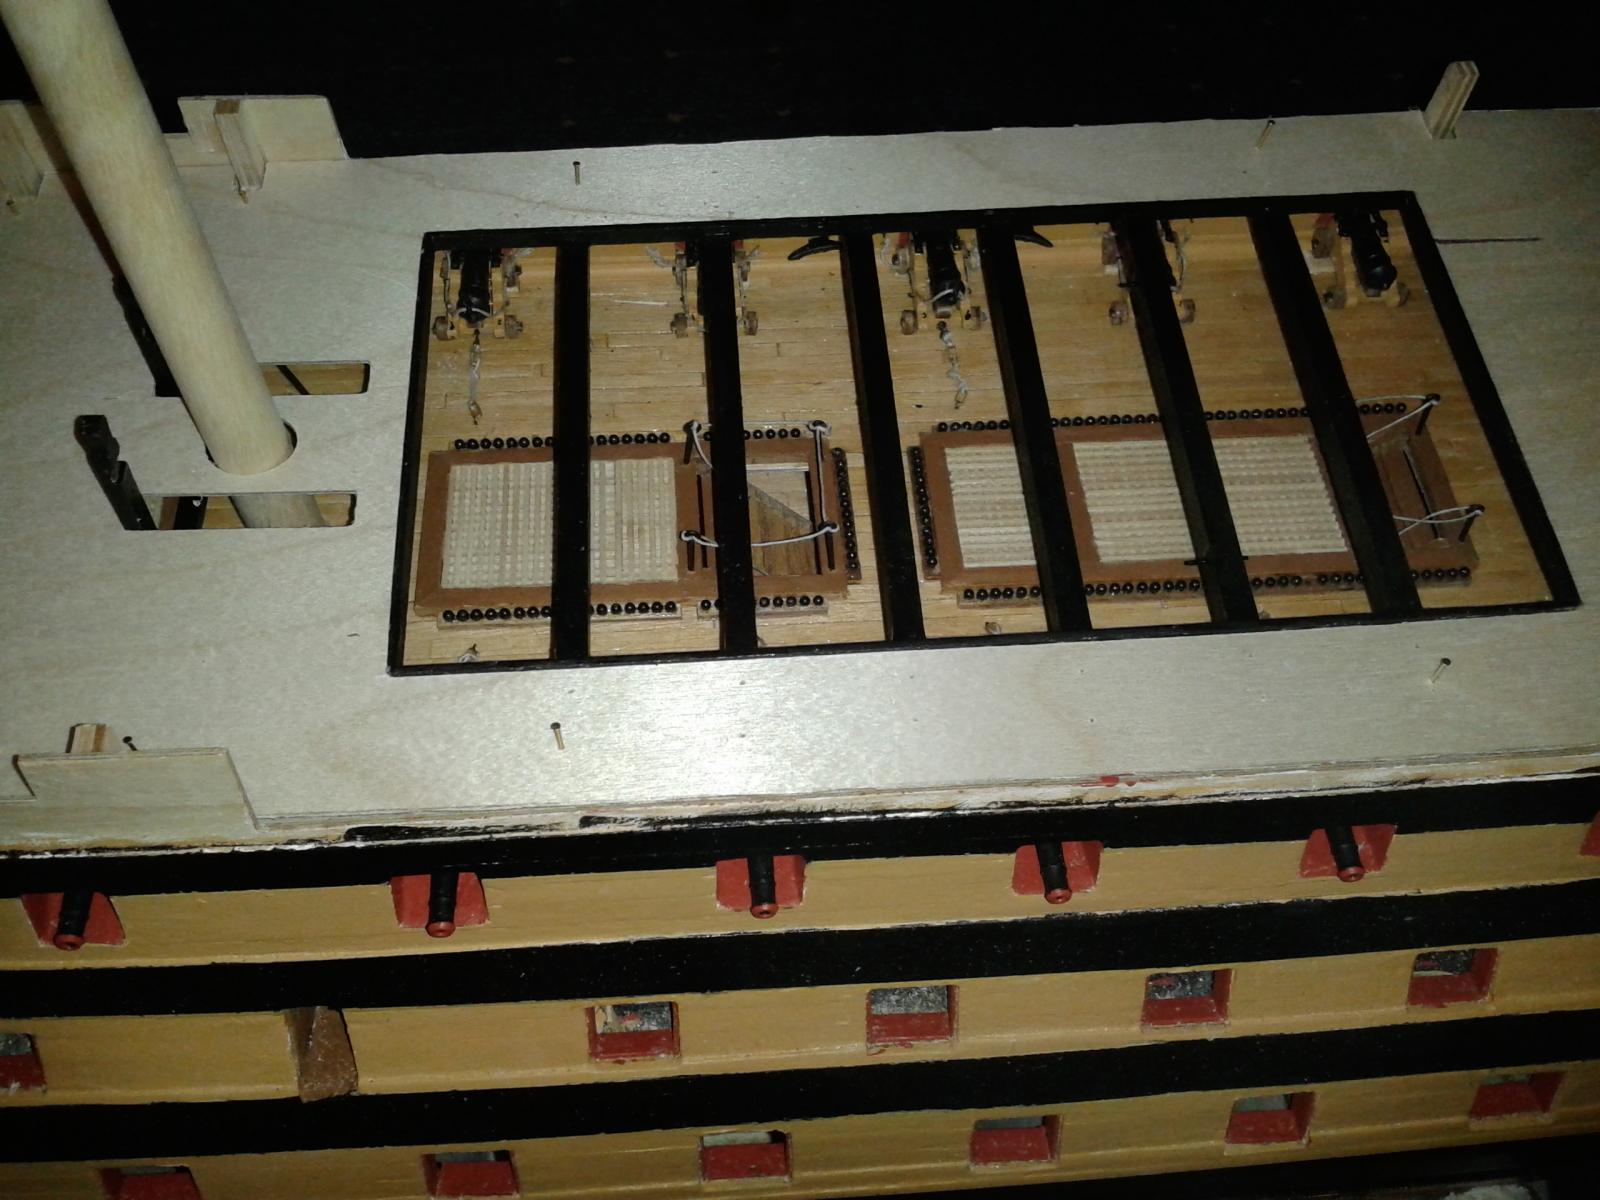
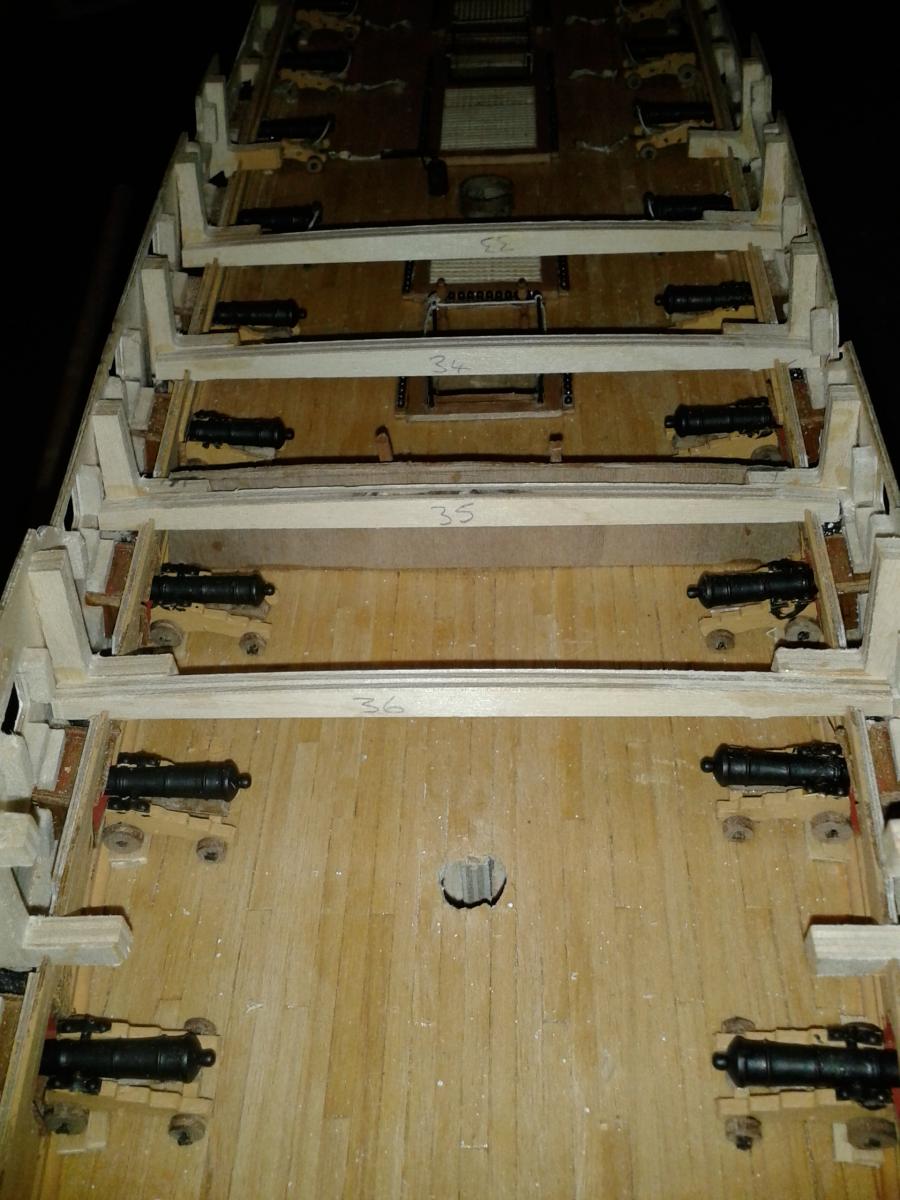
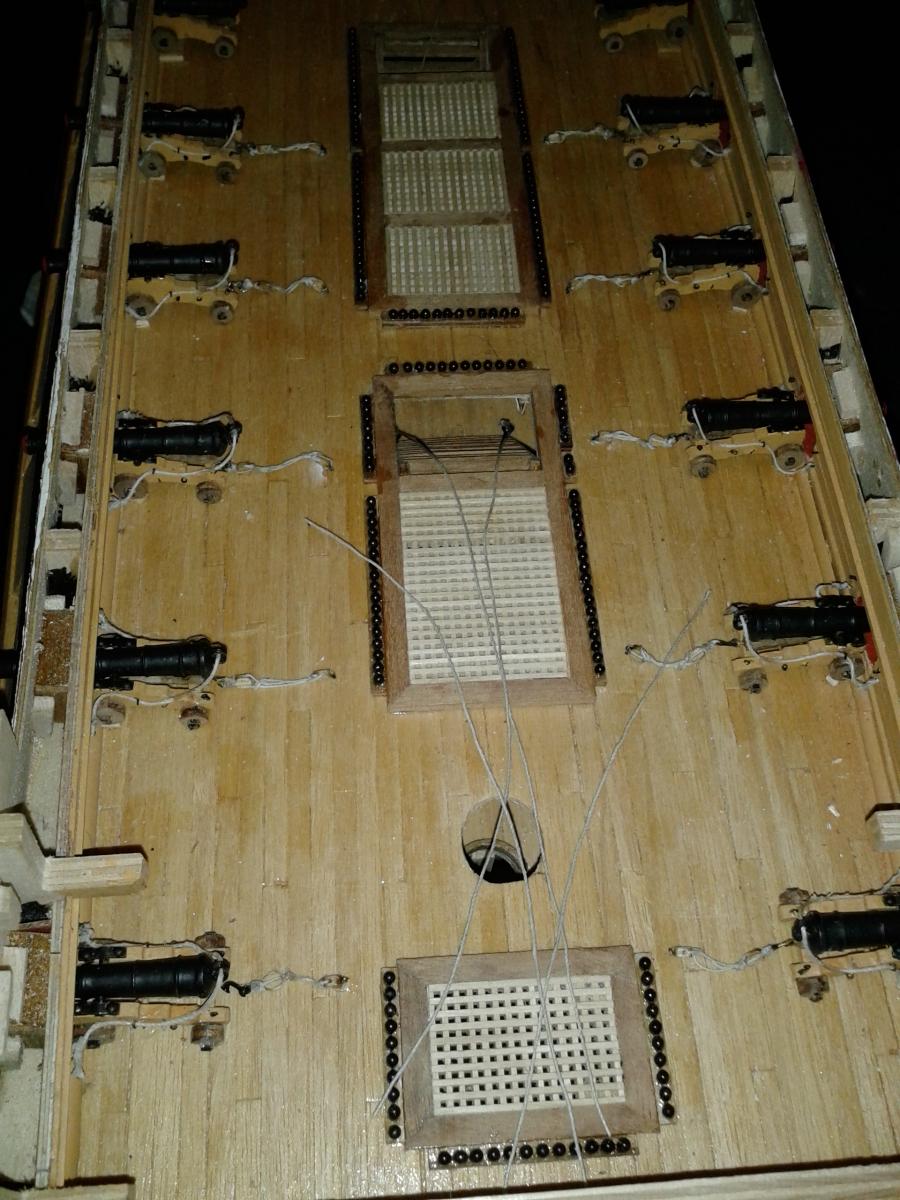
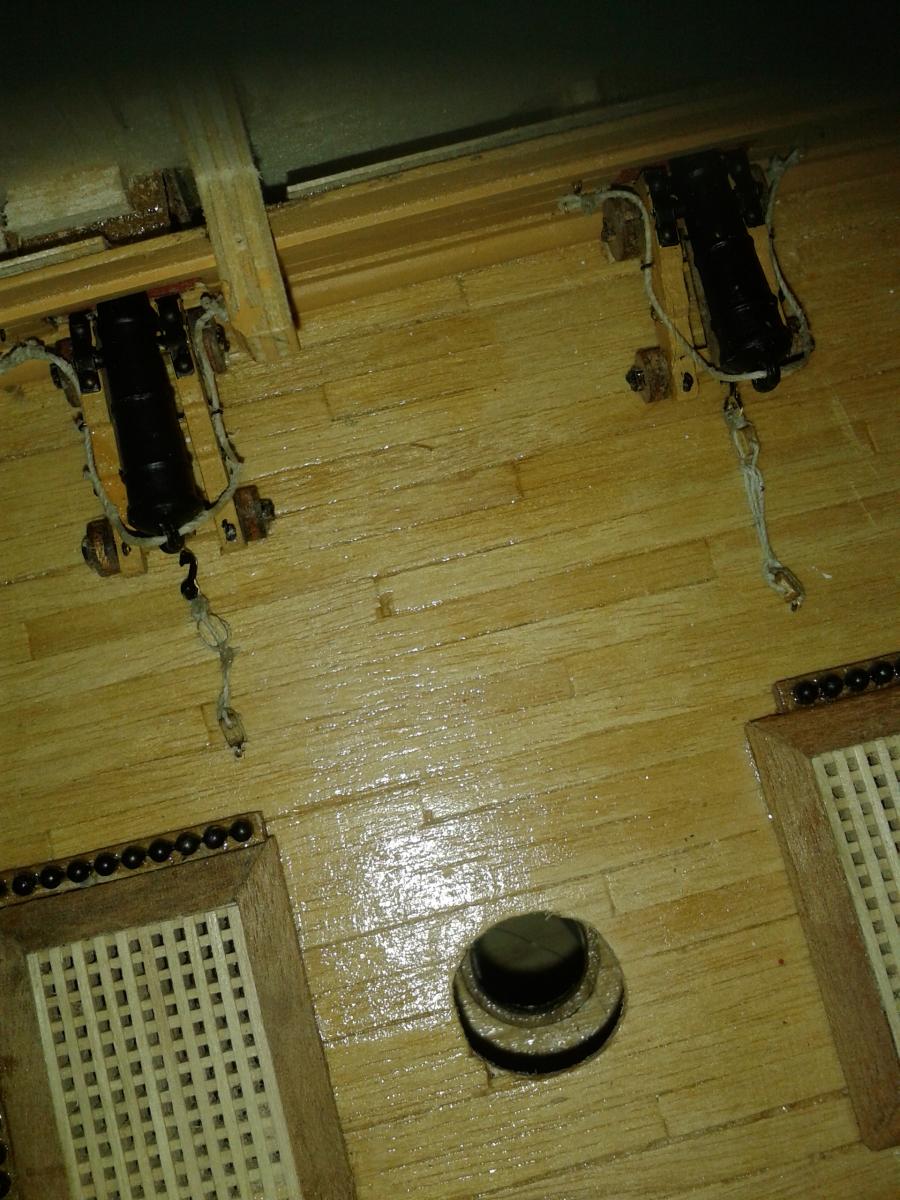
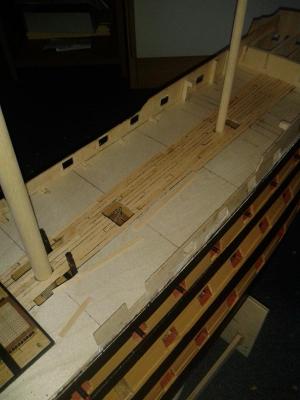
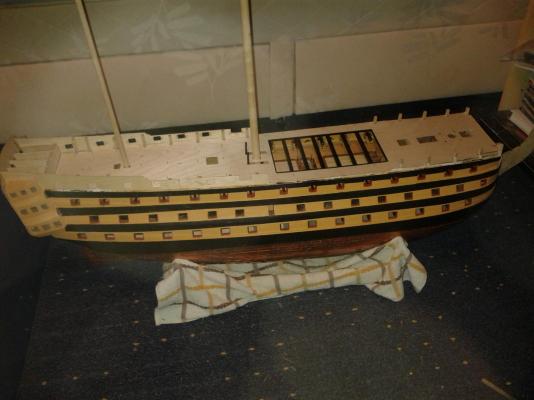
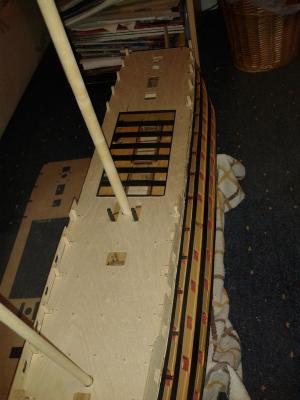
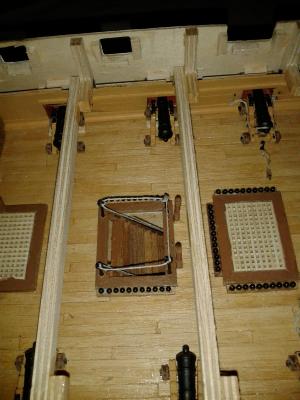
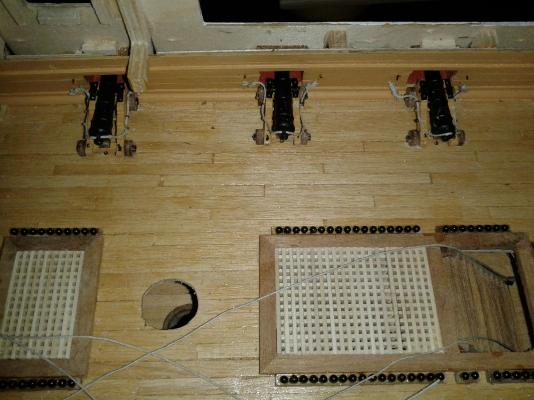
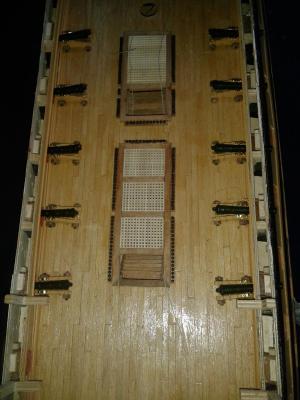
Good morning MSW Quarterdeck has now been installed. I checked the alignment of the mast installation and all looks good. View to stern. As can been seen I discovered I had two quarterdecks in my kit. View to bow Close up of skid beam assembly installed. Close up of skid beam and bitt pin assembly installed. As can be seen I had rigged 10 cannon which were visible through the skid beam opening, except I seemed to have offset the rigged cannons by one cannon; i.e. the last partially visible cannon nearest the stern is not rigged. I'm just a tad annoyed with myself for making such a simple error, but it will not affect the build.


-
Nice work Jerry and belated happy birthday. Great news that you are well on the mend.
- 900 replies
-
- 2
-
-
- victory
- caldercraft
- (and 1 more)
-
Hello Gary Alexey Domanoff's Rope Serving Machine does look very good, I was looking to build my own serving machine, but having watched the video I may be tempted to buy one later in the year, or request one for an XMAS present. Trust you enjoyed your visit to HMS Victory as much as I did. My build time slowed down recently as I have been stripping and repainting all the internal doors in the house, 6 down, 7 to go.
-
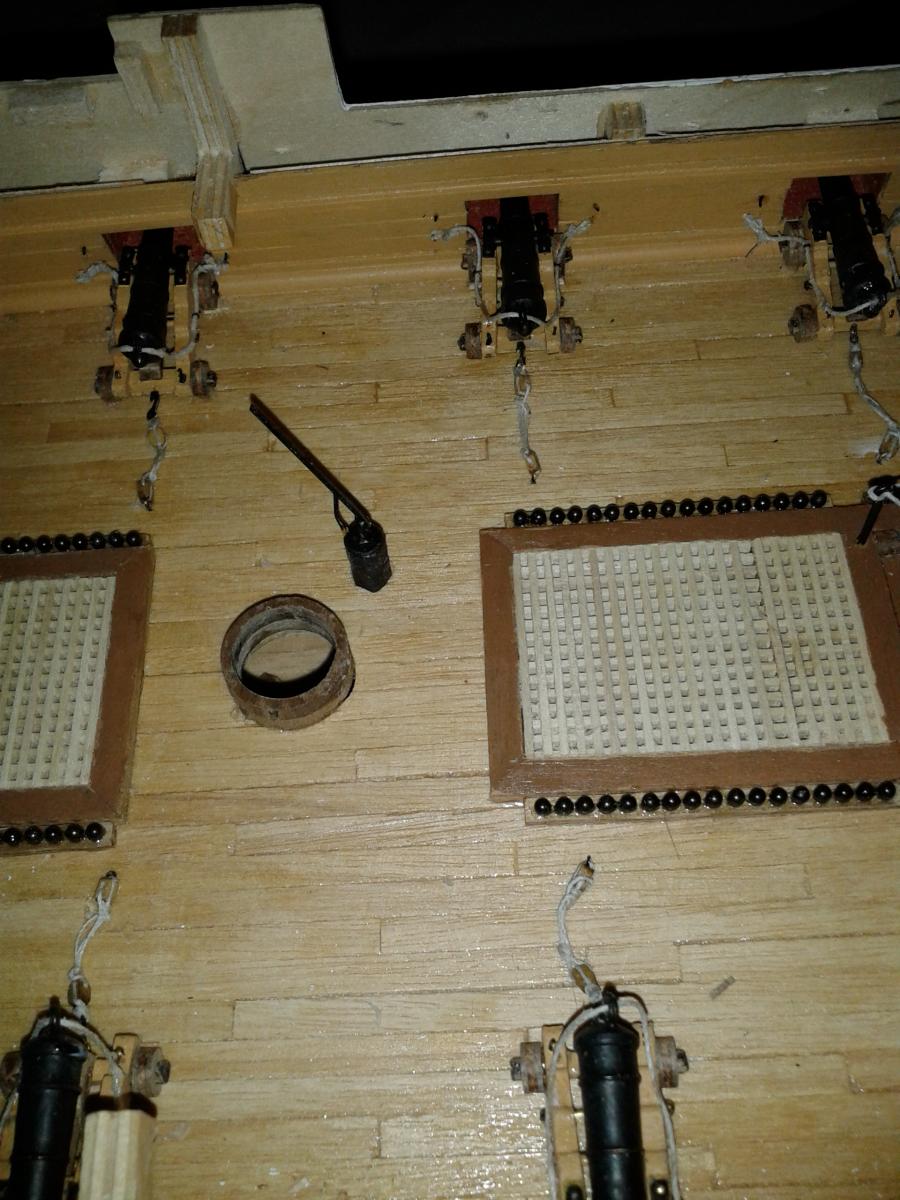
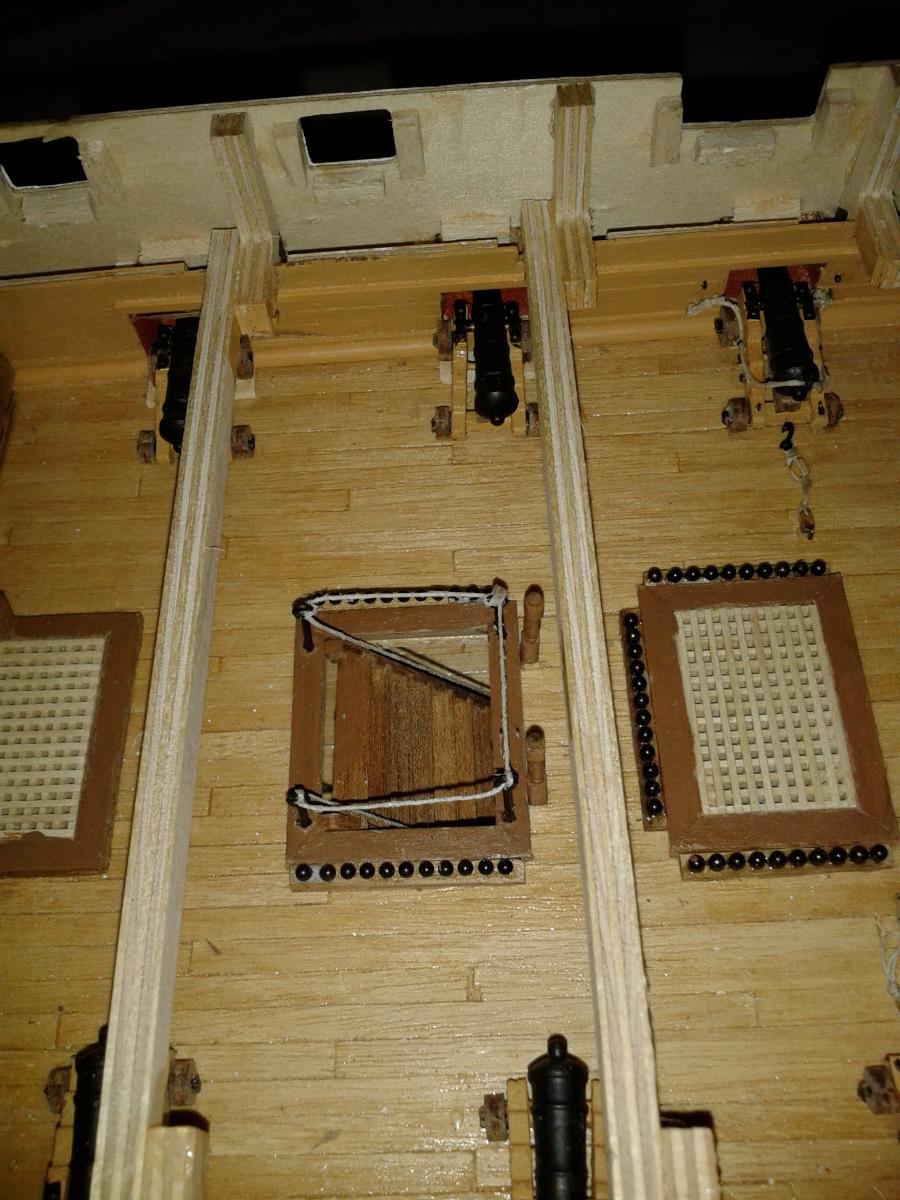
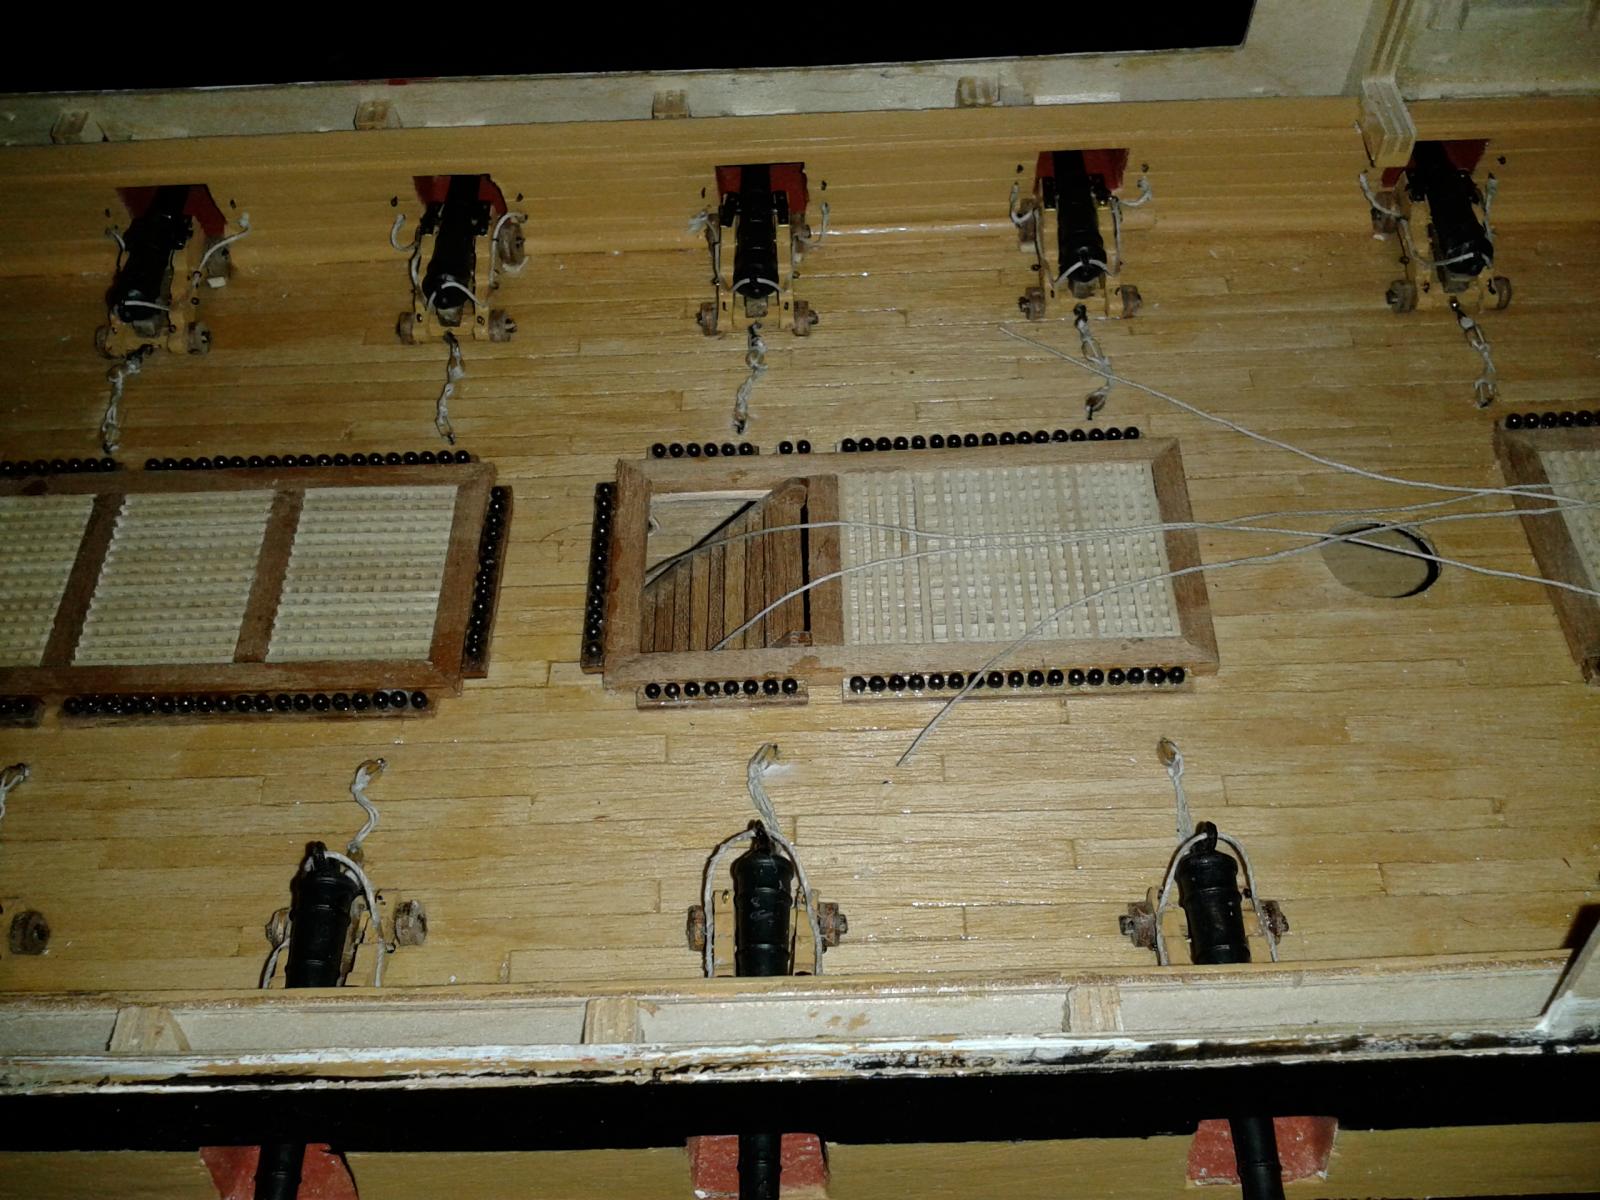
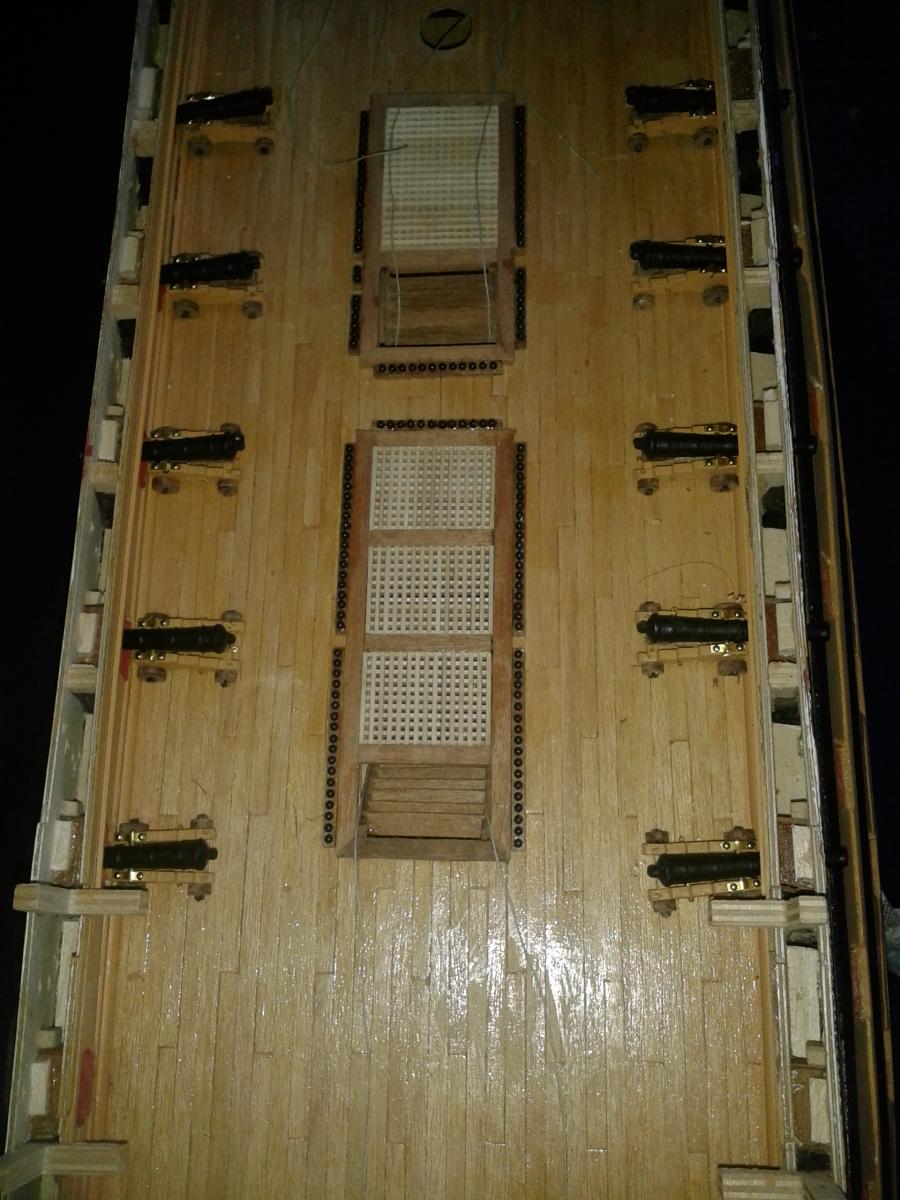
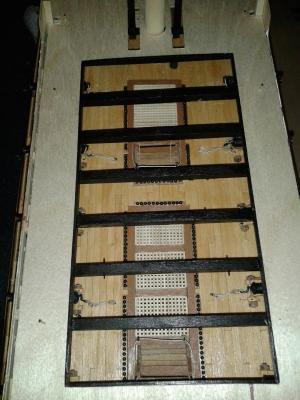
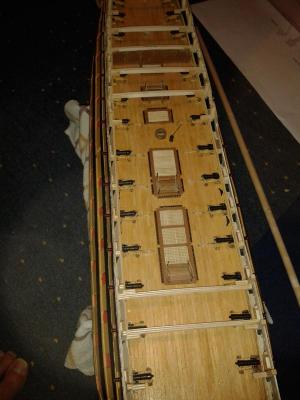
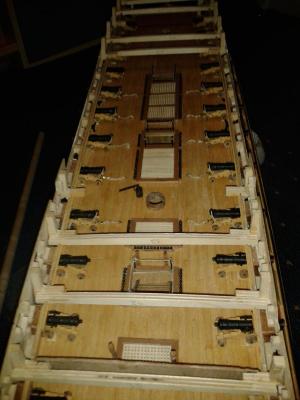
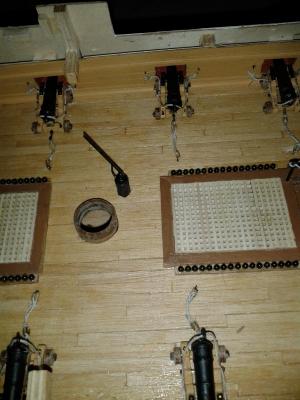
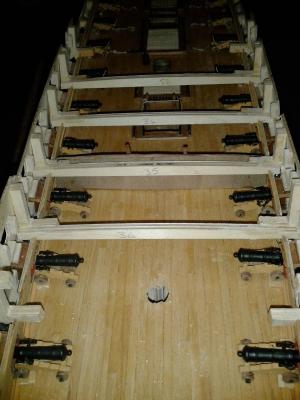
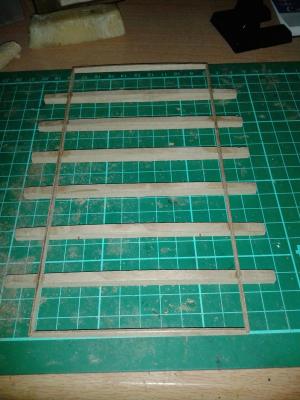
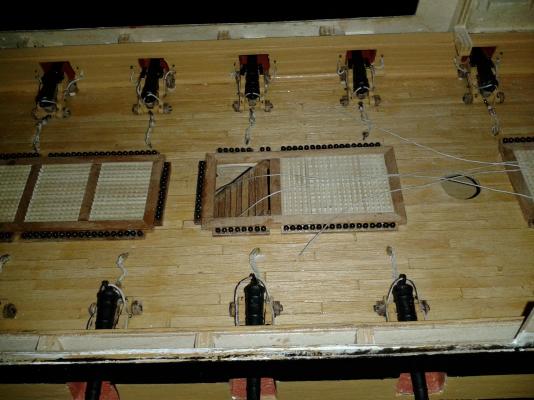
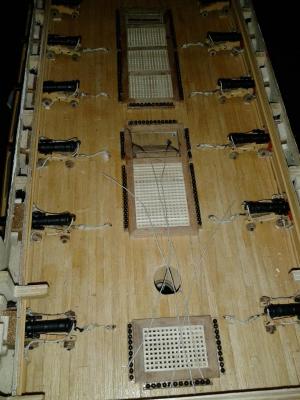
Finally completed work on the upper gun deck and I'm now ready to start work on fitting the quater deck. To start the ball rolling in this post here is a couple of pictures of the finished upper gun deck. I do still have 4 x support pillars to glue to the companionway coamings, but I'm waiting until I have dry fitted the quarter deck to make sure they are trimmed to the correct height. Pictures of the Elm Tree Pump Assembly and Mast Coat. Completed companionway rigging Camber beams ready for the quarterdeck. Picture of the hull with cannons ready for action In readiness for the quaterdeck installation I have assemblied the Skid Beam Assembly
-
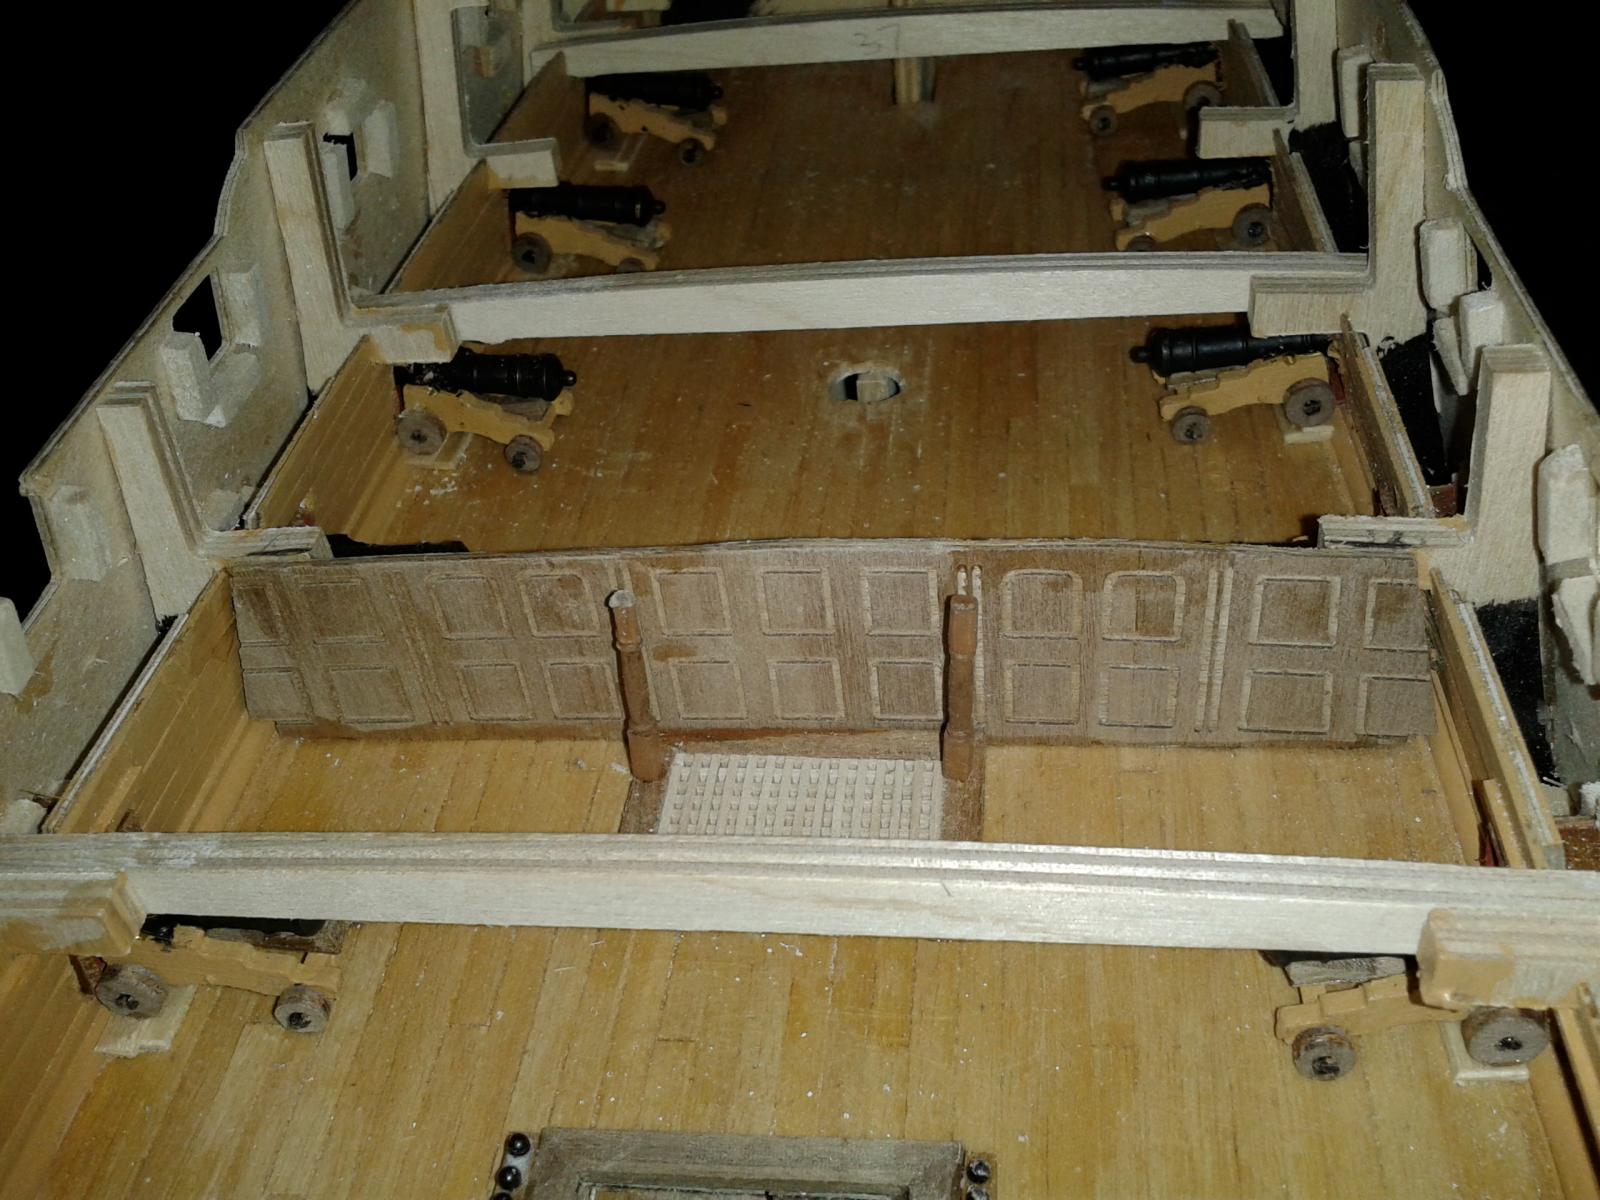
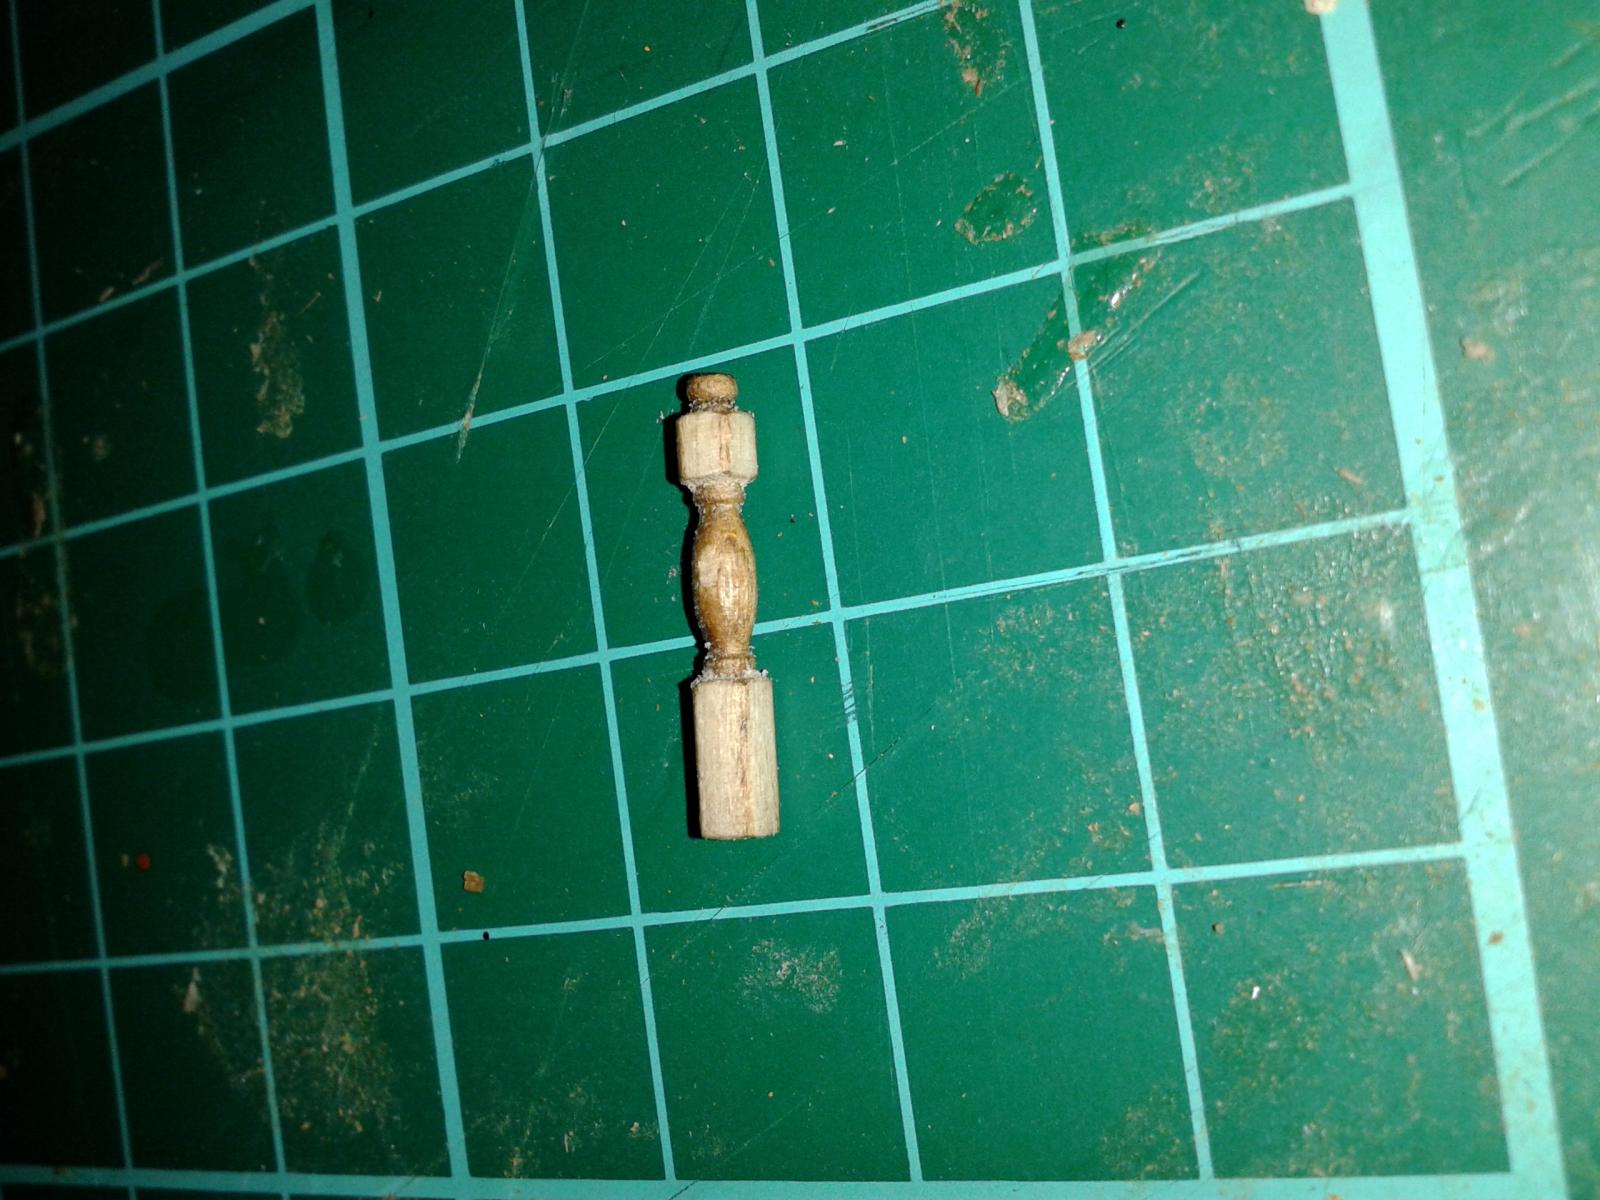
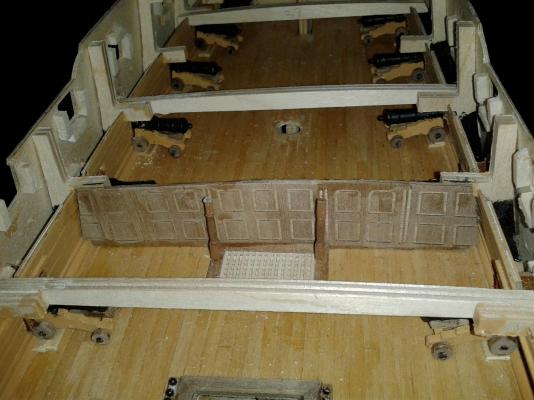
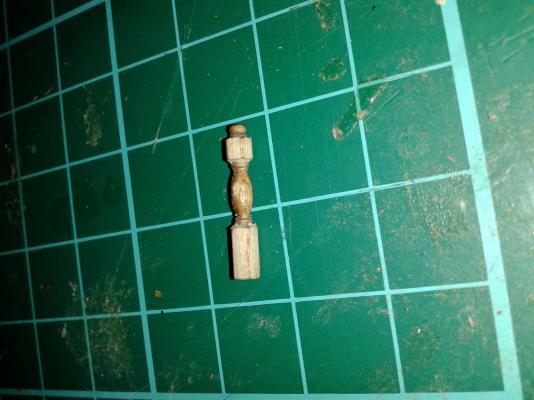
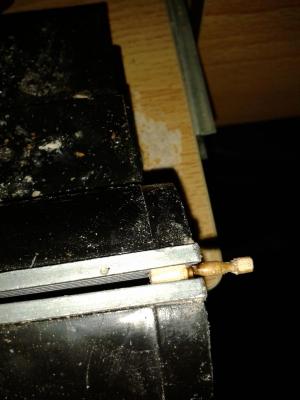
Finally completed the assembly and rigging of the 30 x 12 pounders, I'm so glad! Now working on completing the upper gun deck fixings prior to instaltion of the quarterdeck, currently working on shaping the balusters. As can be seen in the attached photos I have dry fitted the camber beams as I was checking the installation.

-
Gerry and David Many thanks for your comments, will finish the rigging in my next session, it's been a long task, perhaps not my most favourite one but happy with the end result. I will be glad when I can finally move one to the quarter deck build.
-
Hello Lawerence. Many thanks for your visit and kind comment.
-
Great work Jerry. You are doing the right thing by short spells with plenty of rest. I'm still rigging cannons but expect to have finished in a few days time, just 4 more left to rig.
- 900 replies
-
- 1
-
-
- victory
- caldercraft
- (and 1 more)
-
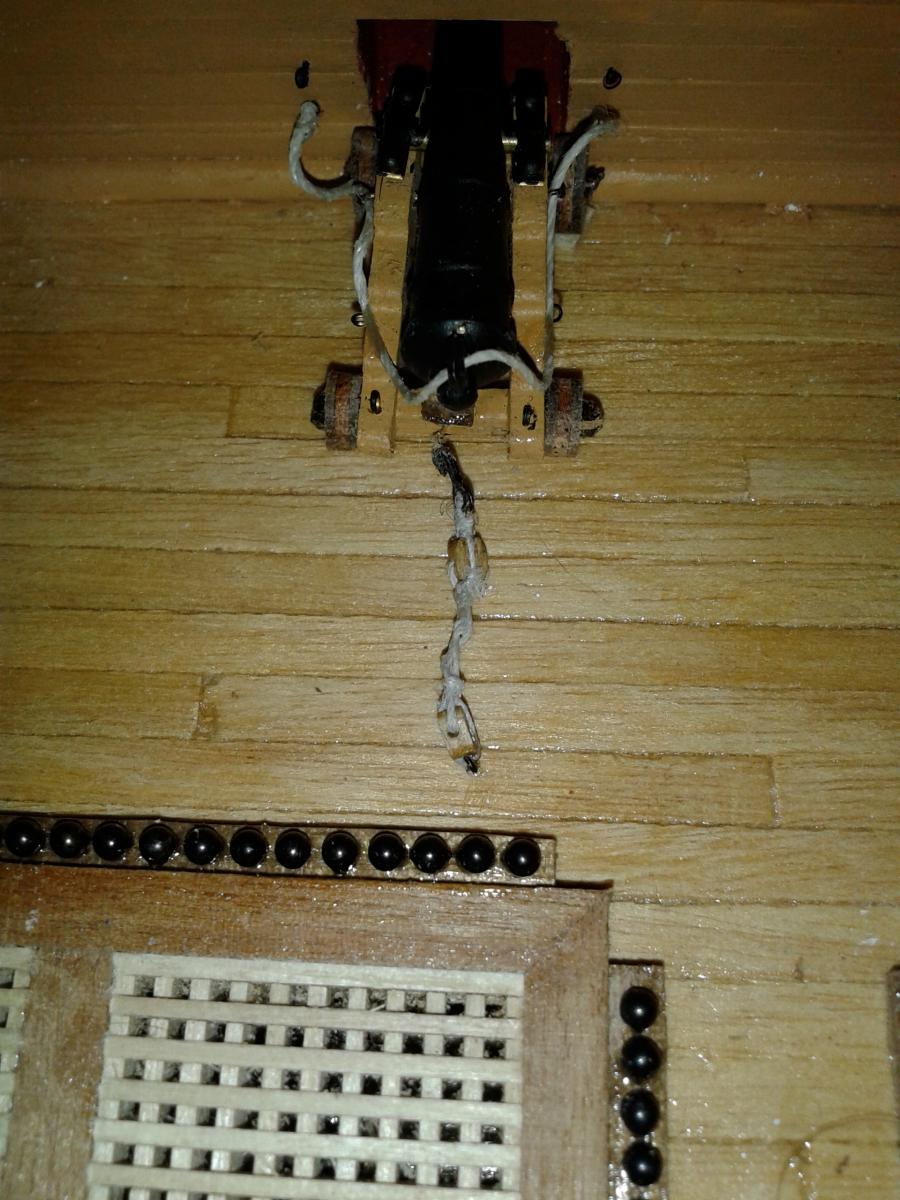
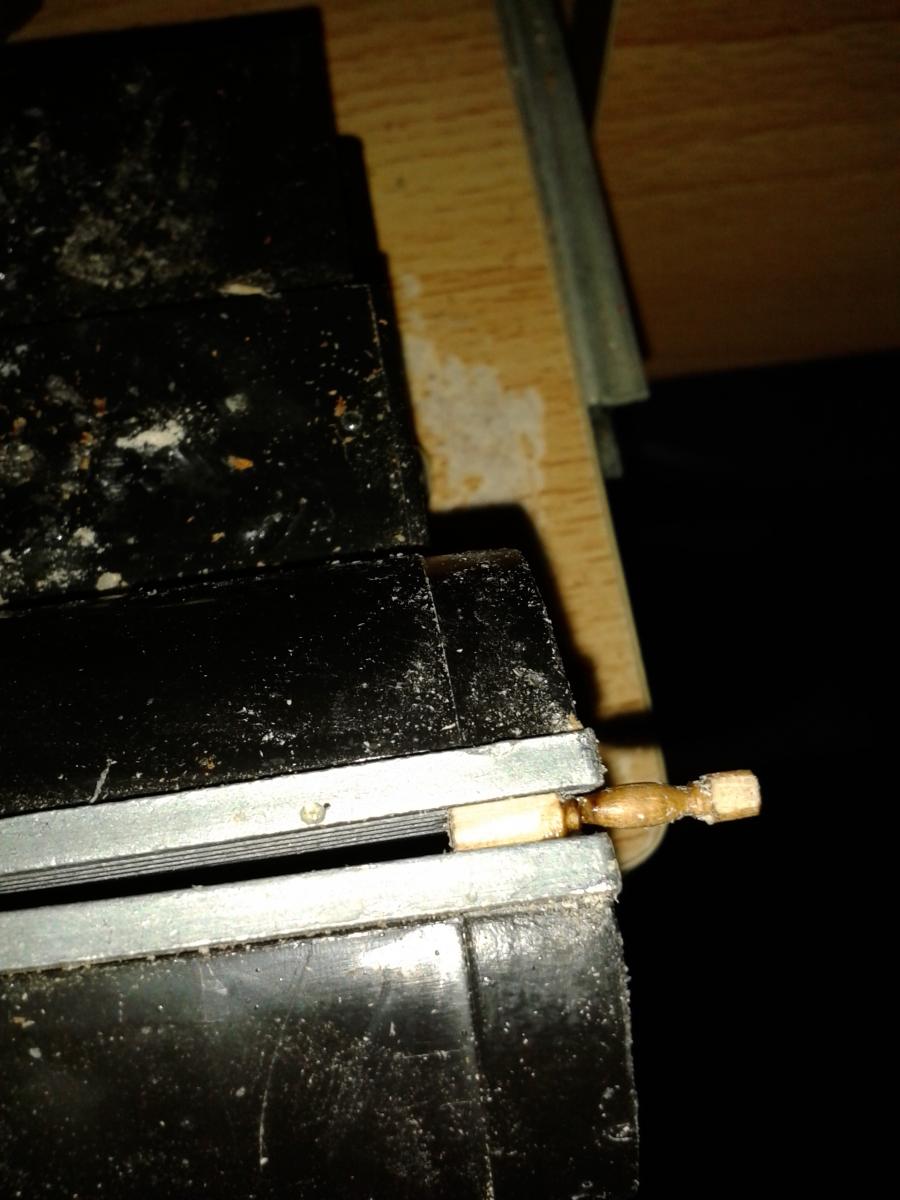
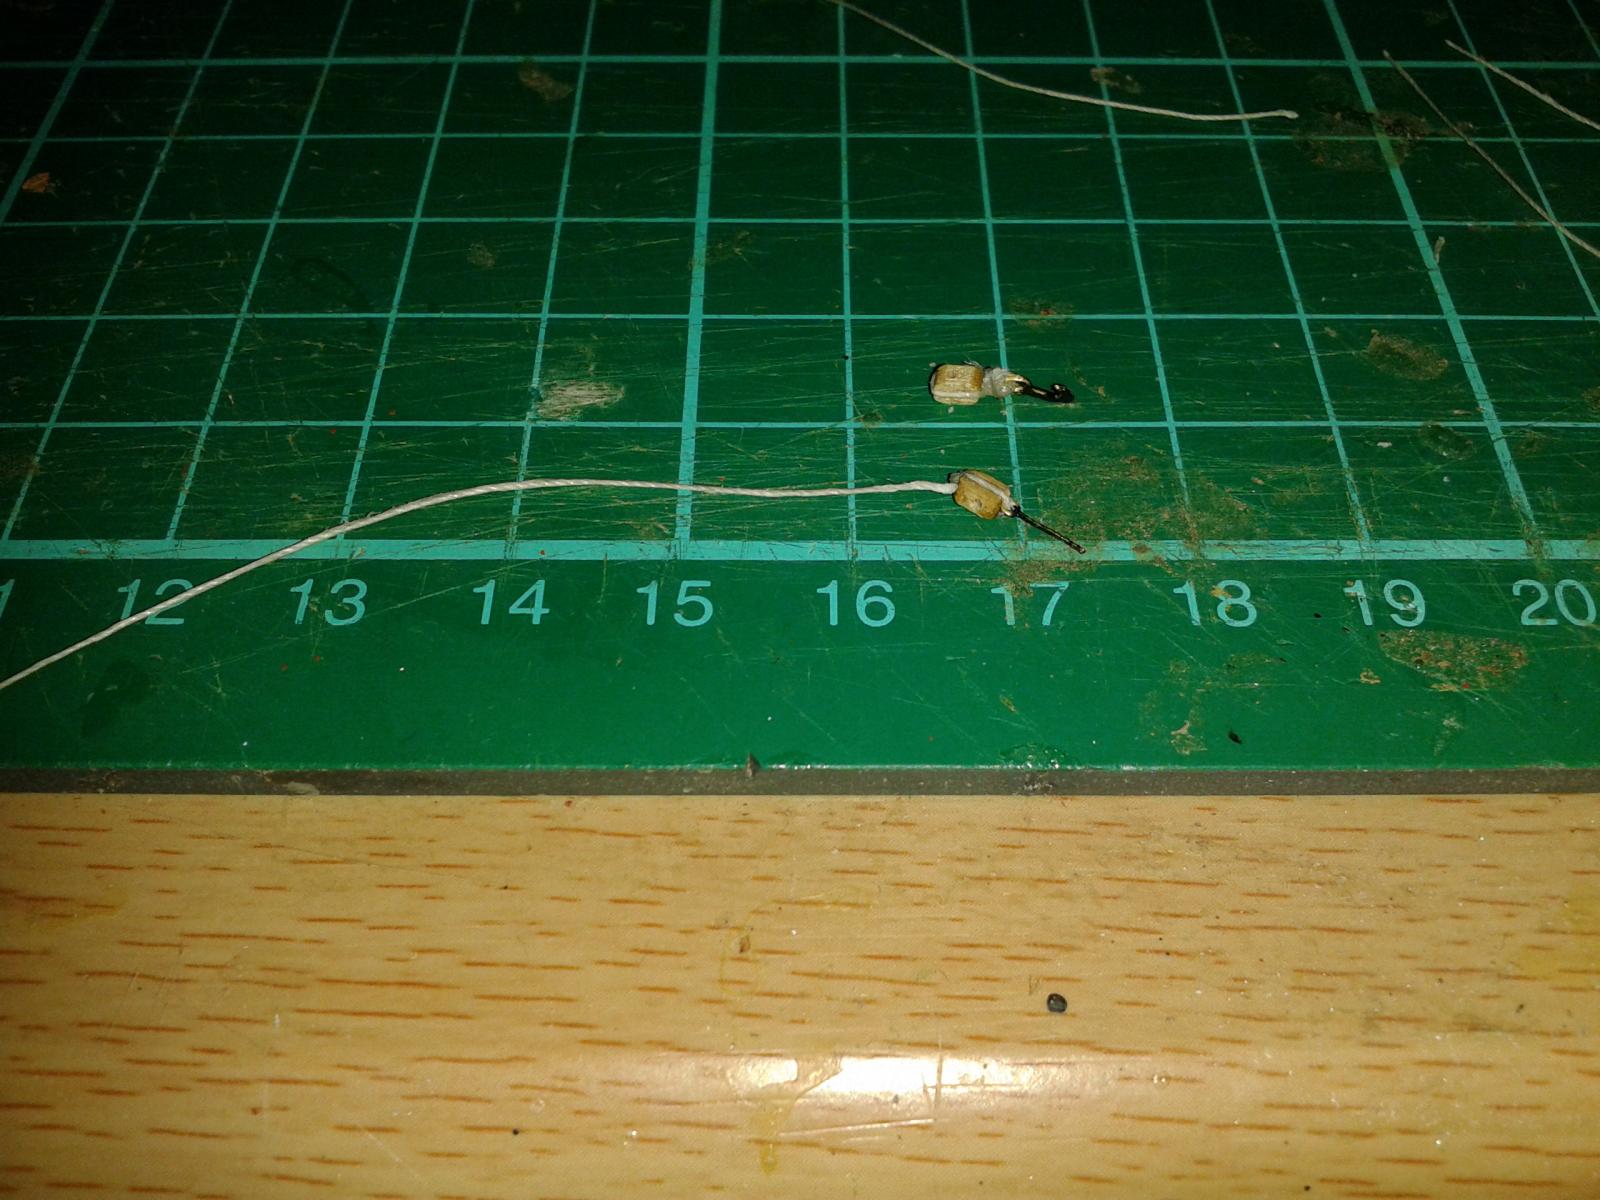
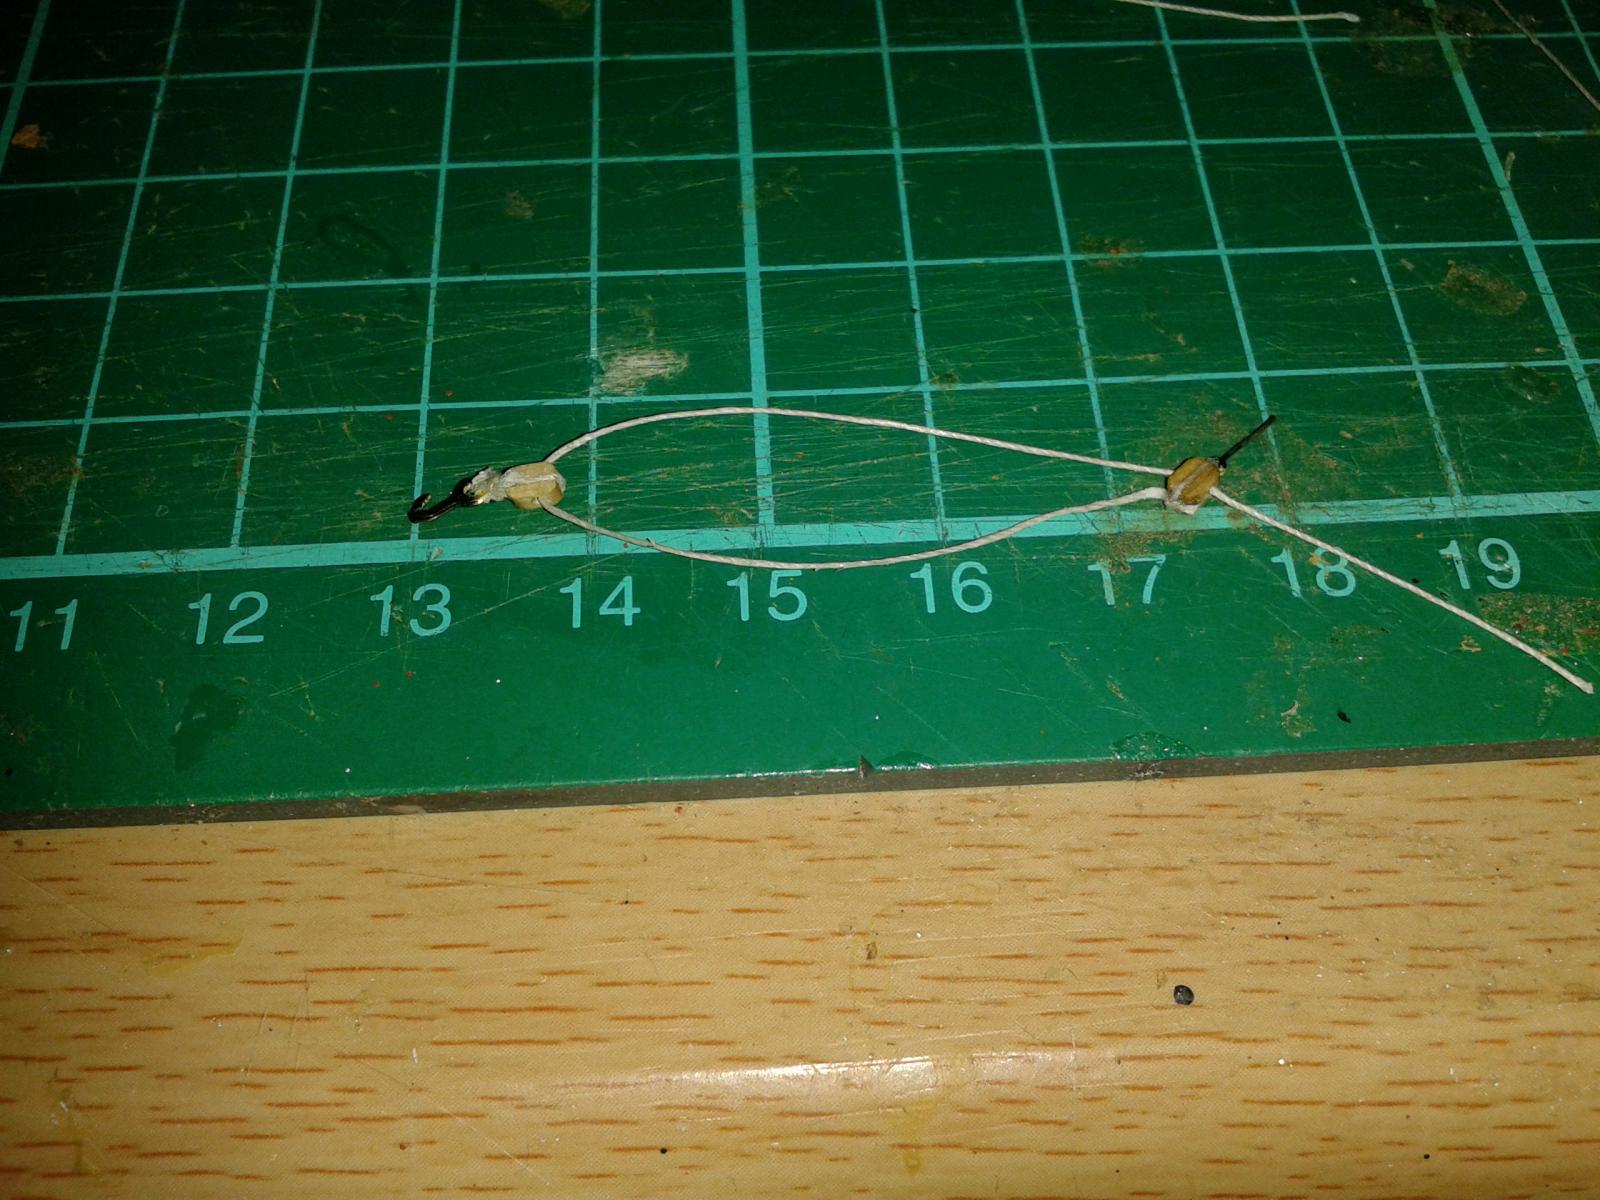
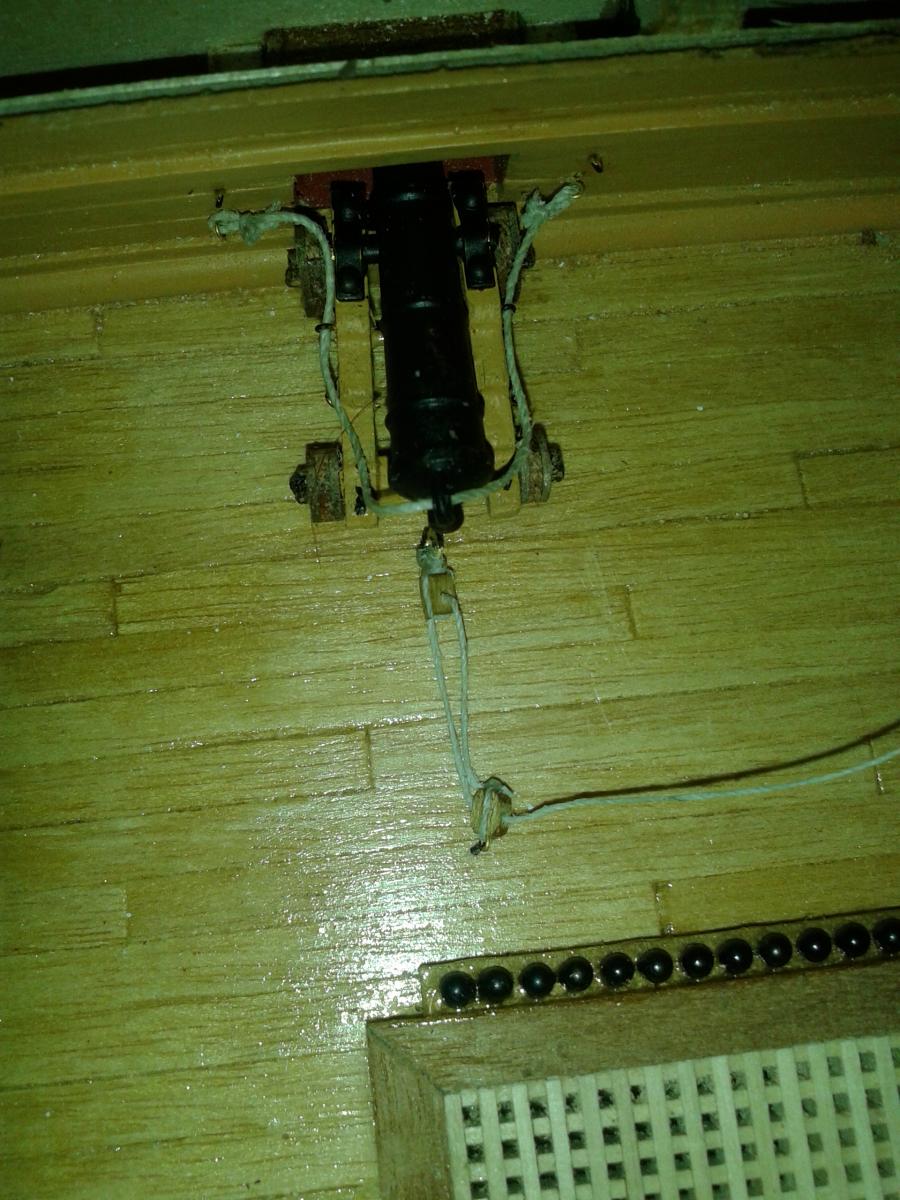
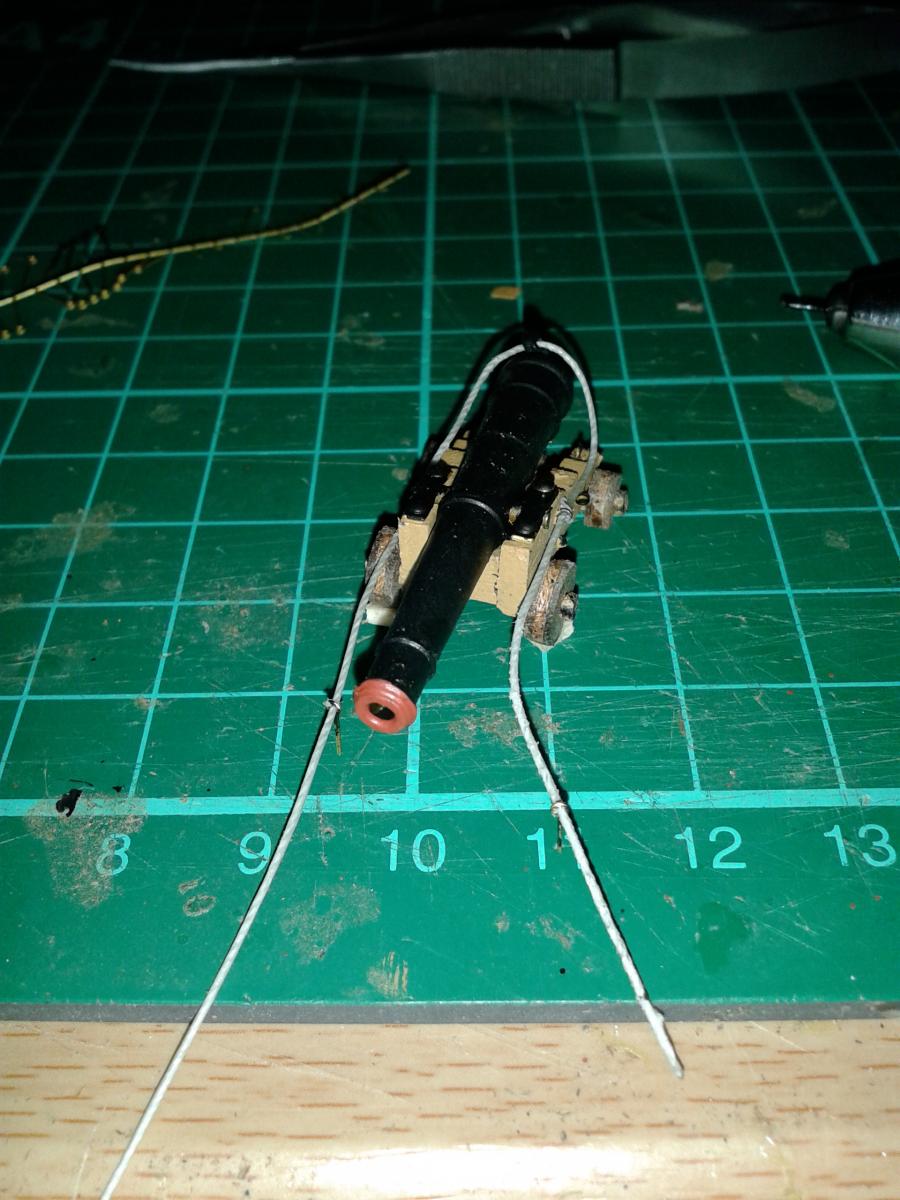
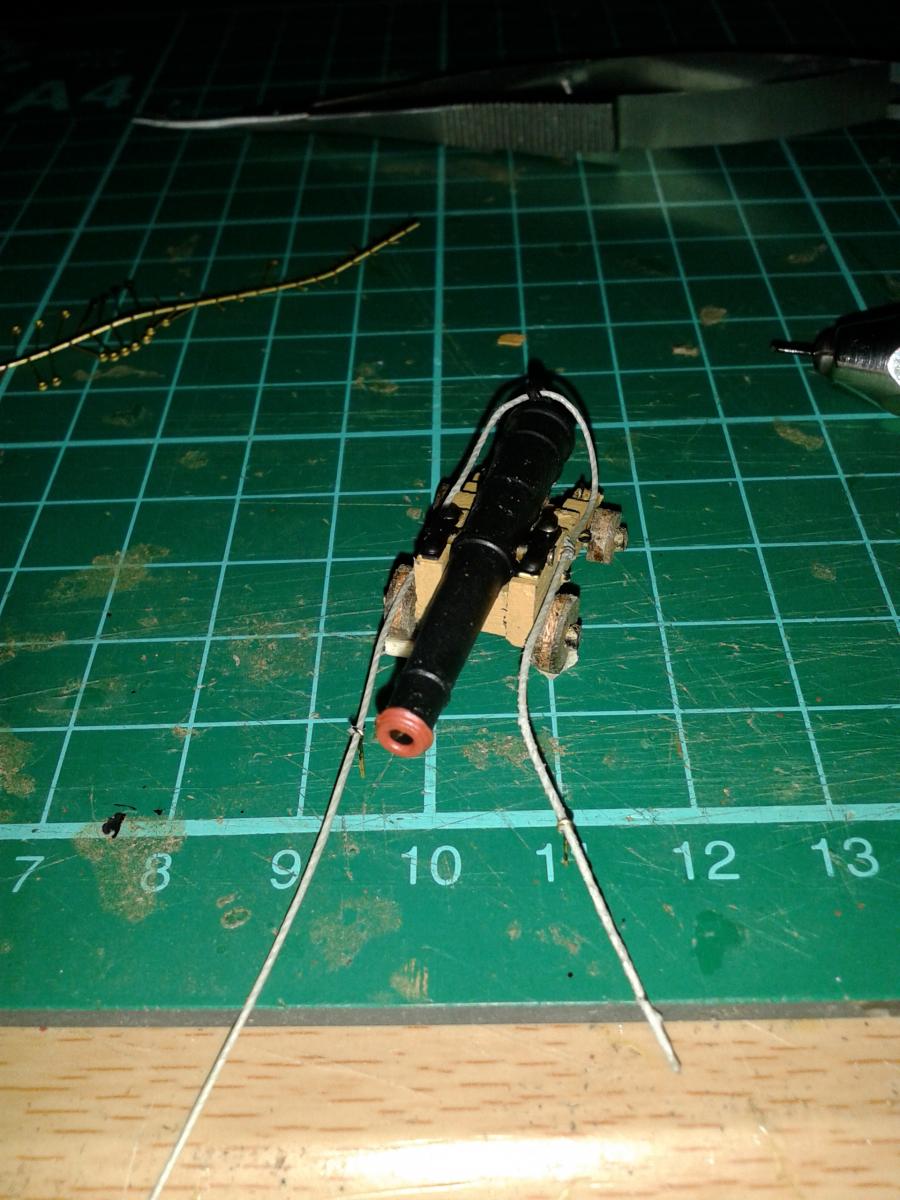
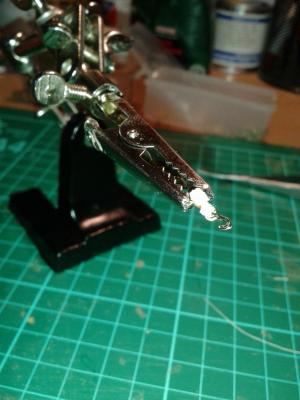
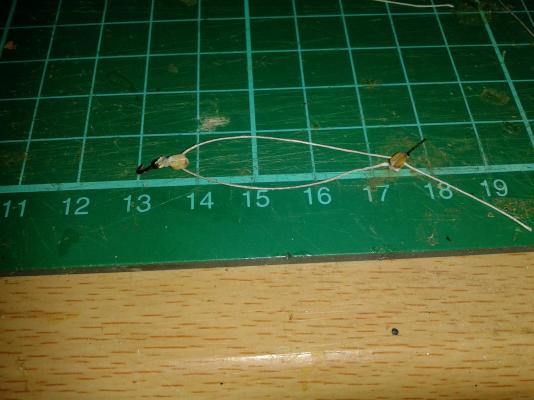
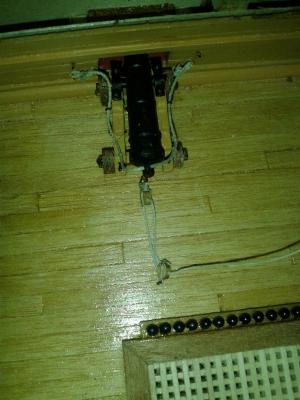
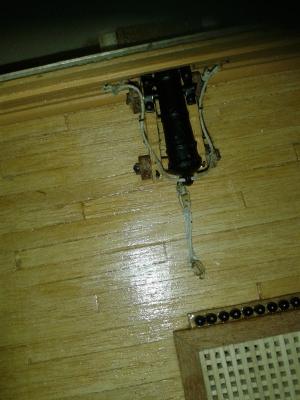
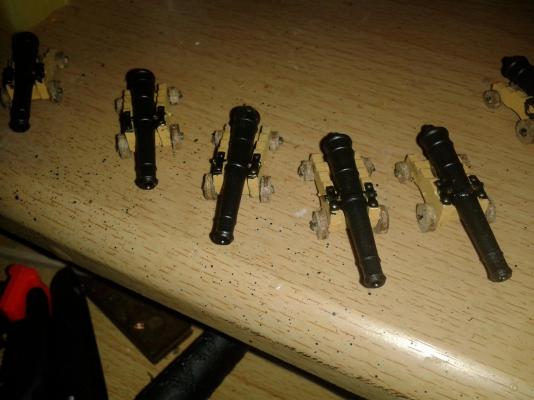
Started work on the cannon carriage to deck rigging tonight. With the first block I attached an eyelet to the block; this will be used to secure the rigging to the deck. I also ran a long thread from block ready for rigging to second block. With the second block I attached a small hook to the block when sizing; this will be used to attach the rigging to the cannon carriage. After installing the rigging on the gun deck I tied the running end thread in a manner similar to that shown in the manual. Here are some pictures of my process; the helping hand tool was of great benefit when sizing the blocks.


-
Looking very good, take it slow and take regular breaks
-
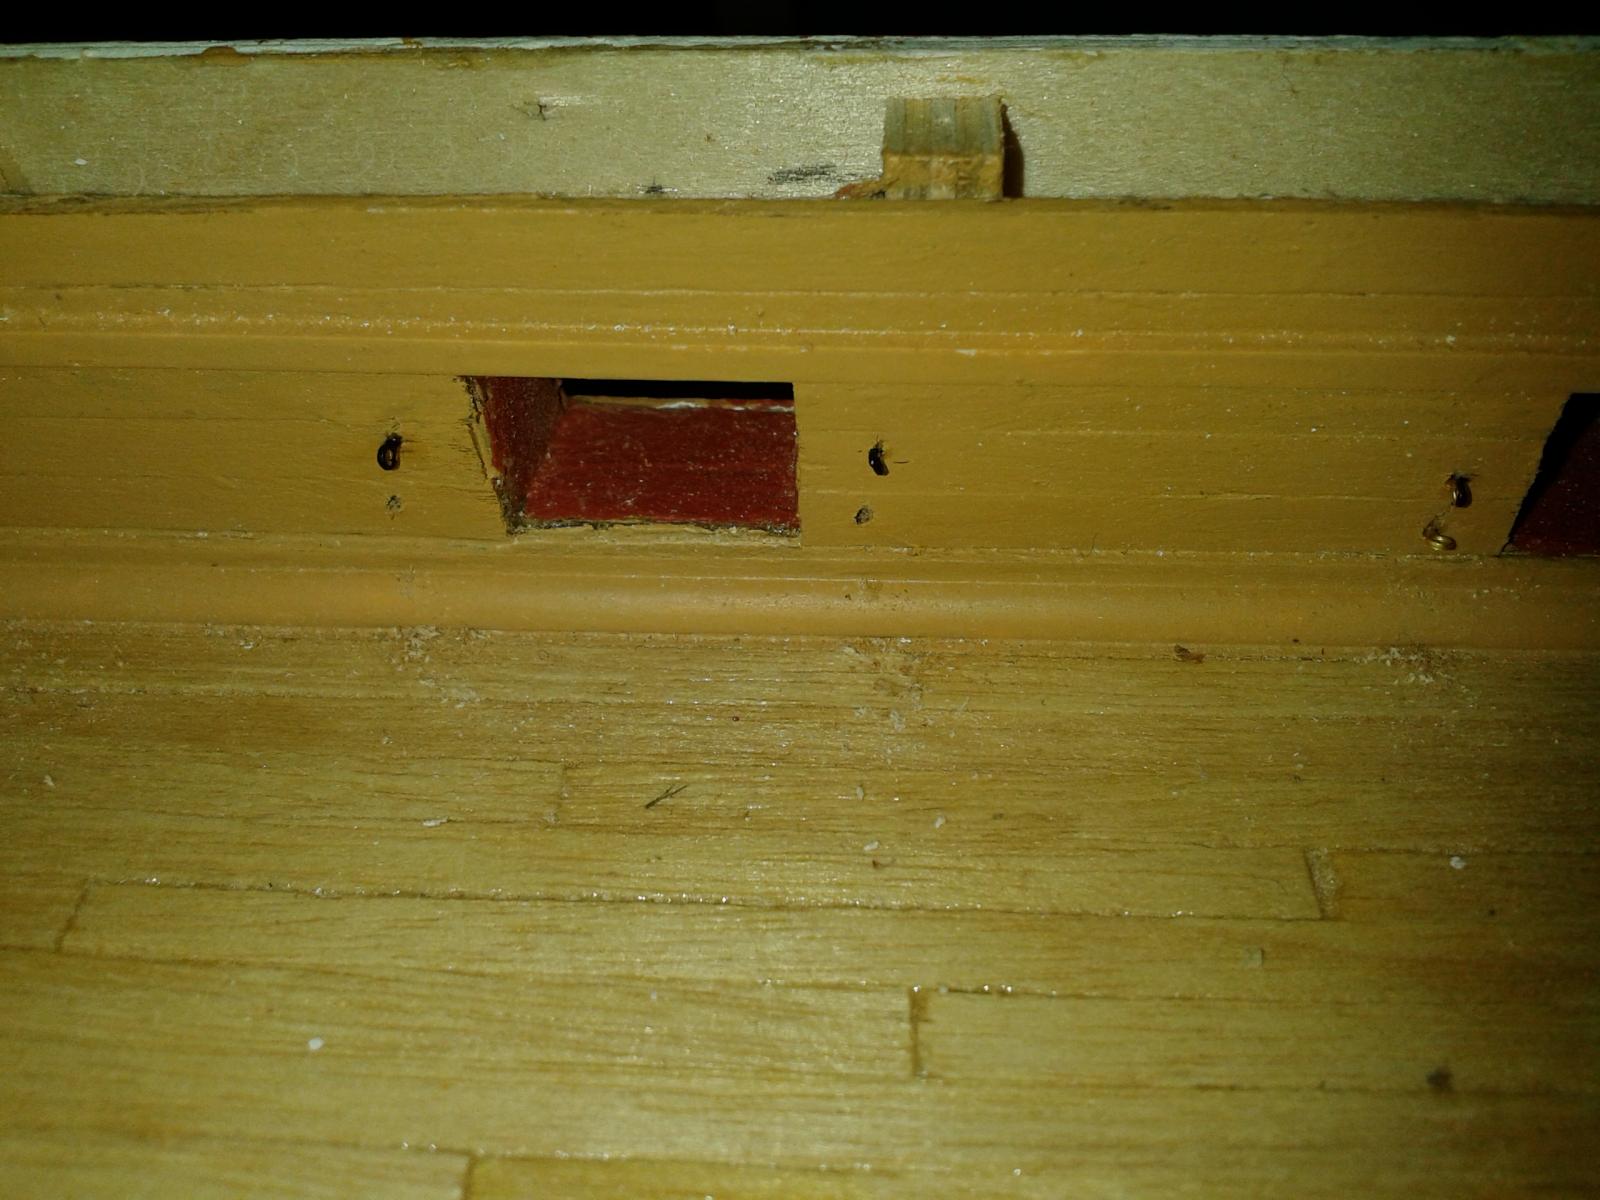
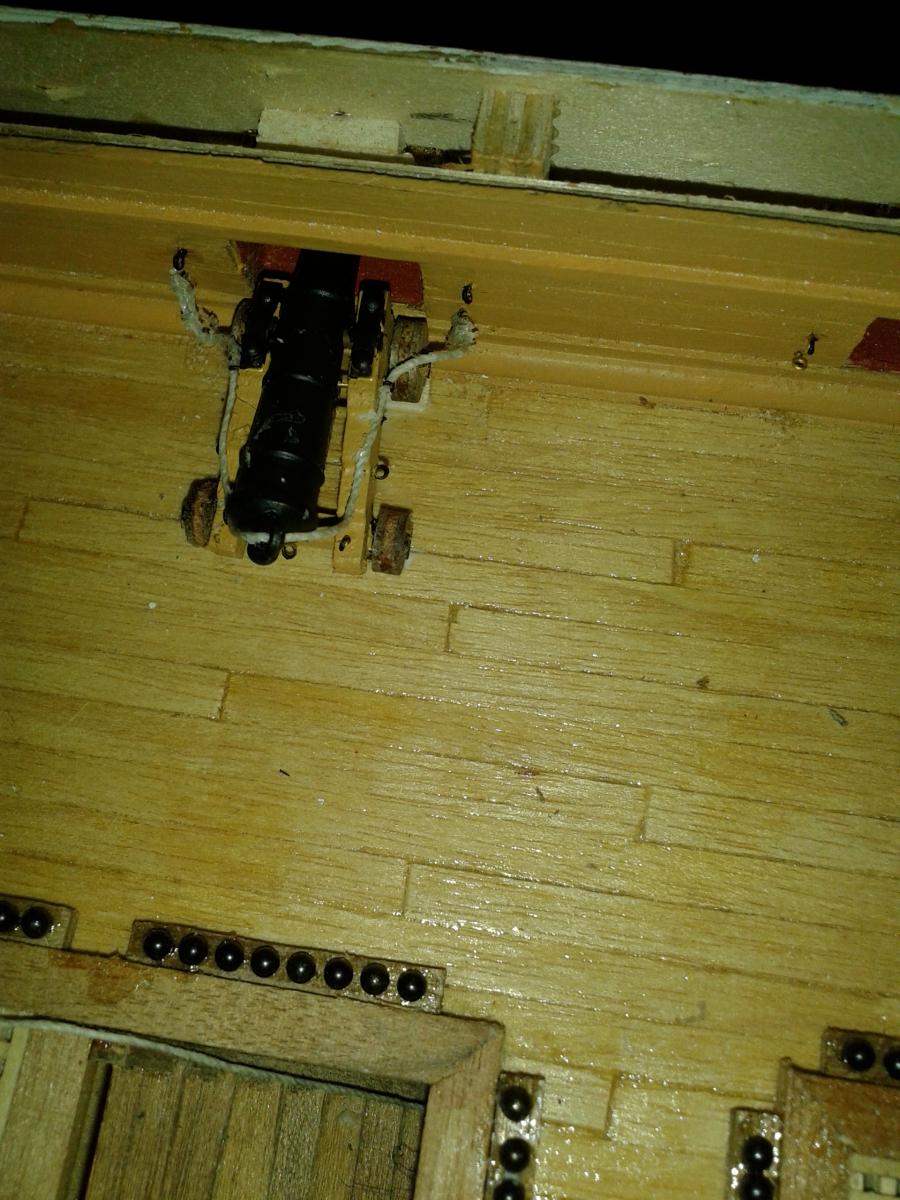
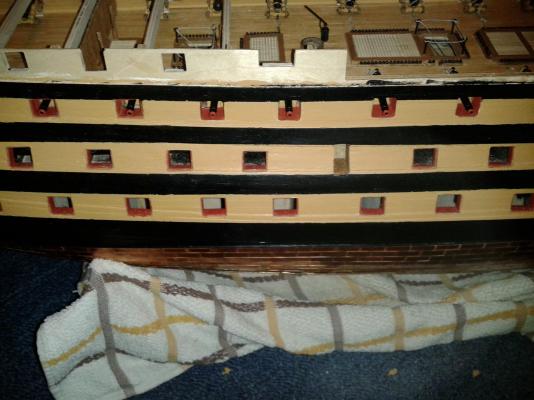
My method for installing the breaching thread is as follows: 1) Drill the bulwarks and fit the upper eyelets 2) Cut a 150mm length of 0.5mm thread and feed through all the eyelets 3) Size the thread at each end to the bulwark eyelets. 4) Apply some glue to the carriage wheels and locate on upper gun deck 5) Insert the eyelets in to the bulwarks It may not be neat and tidy but given the location of the carriages under the quarterdeck I'm happy. I'm starting to think about the next rigging task which is from the rear of carriage to deck. Longbridge's book shows a double and single block arrangement but kit seems to be based on 2 x single blocks so I will draw out the arrangement before I start.


-
Hello Gary I have sent you a PM detailing my methods.
-
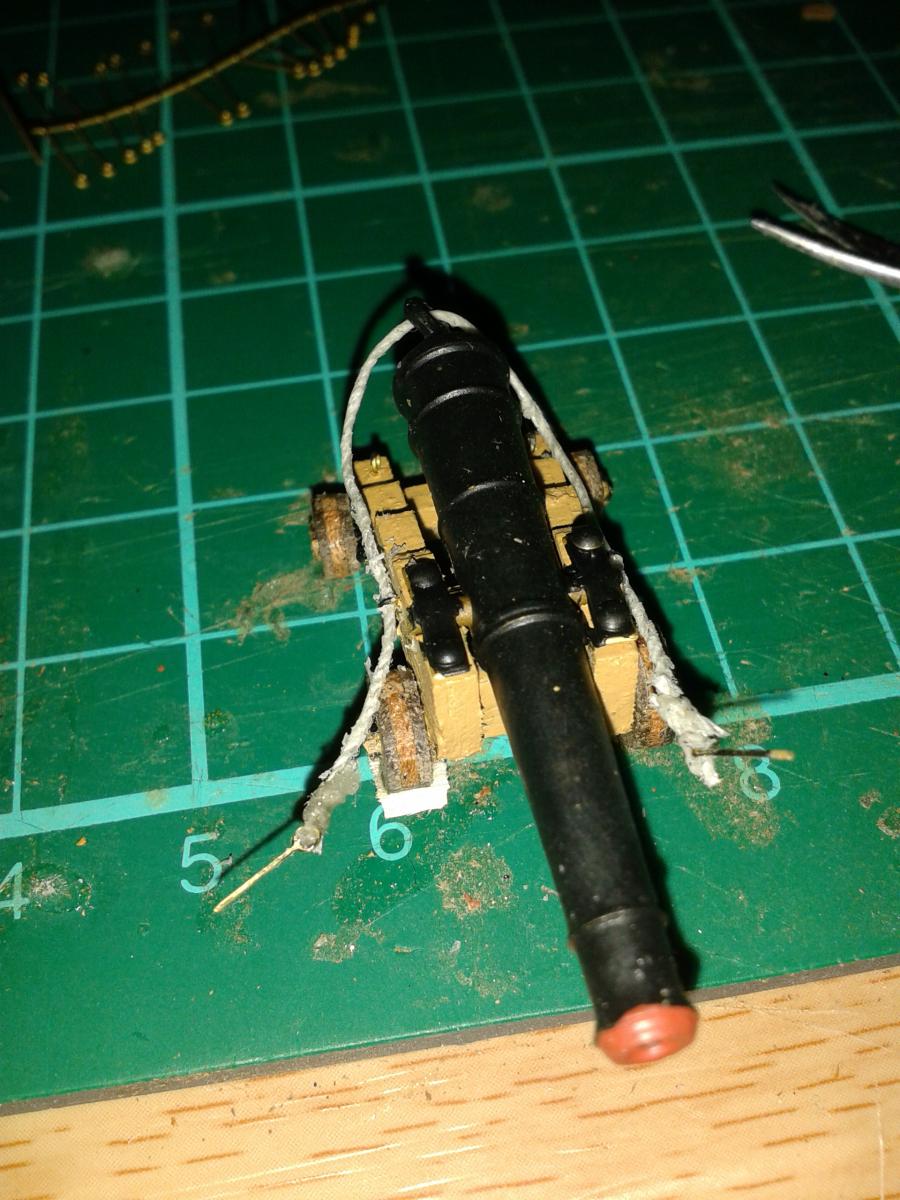
Started rigging the cannons today. Spent a over an hour trying different methods for installing the breach rope (0.5mm) before finding a solution that works well for me, . Pictures and details of my method to follow in the next day or two.
-
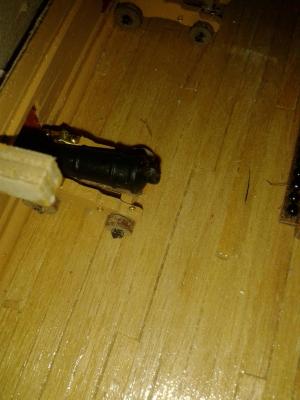
Hi Jerry. By trial and error I found the best method was to drill an undersized hole and then to part drill the top of the hole with a larger drill that was same diameter as the shorten nail. This meant I could locate the pins and brackets in place and then using my small pliers I could simply push the pins home at the same time bending the trunnion bracket around the copper bar.
-
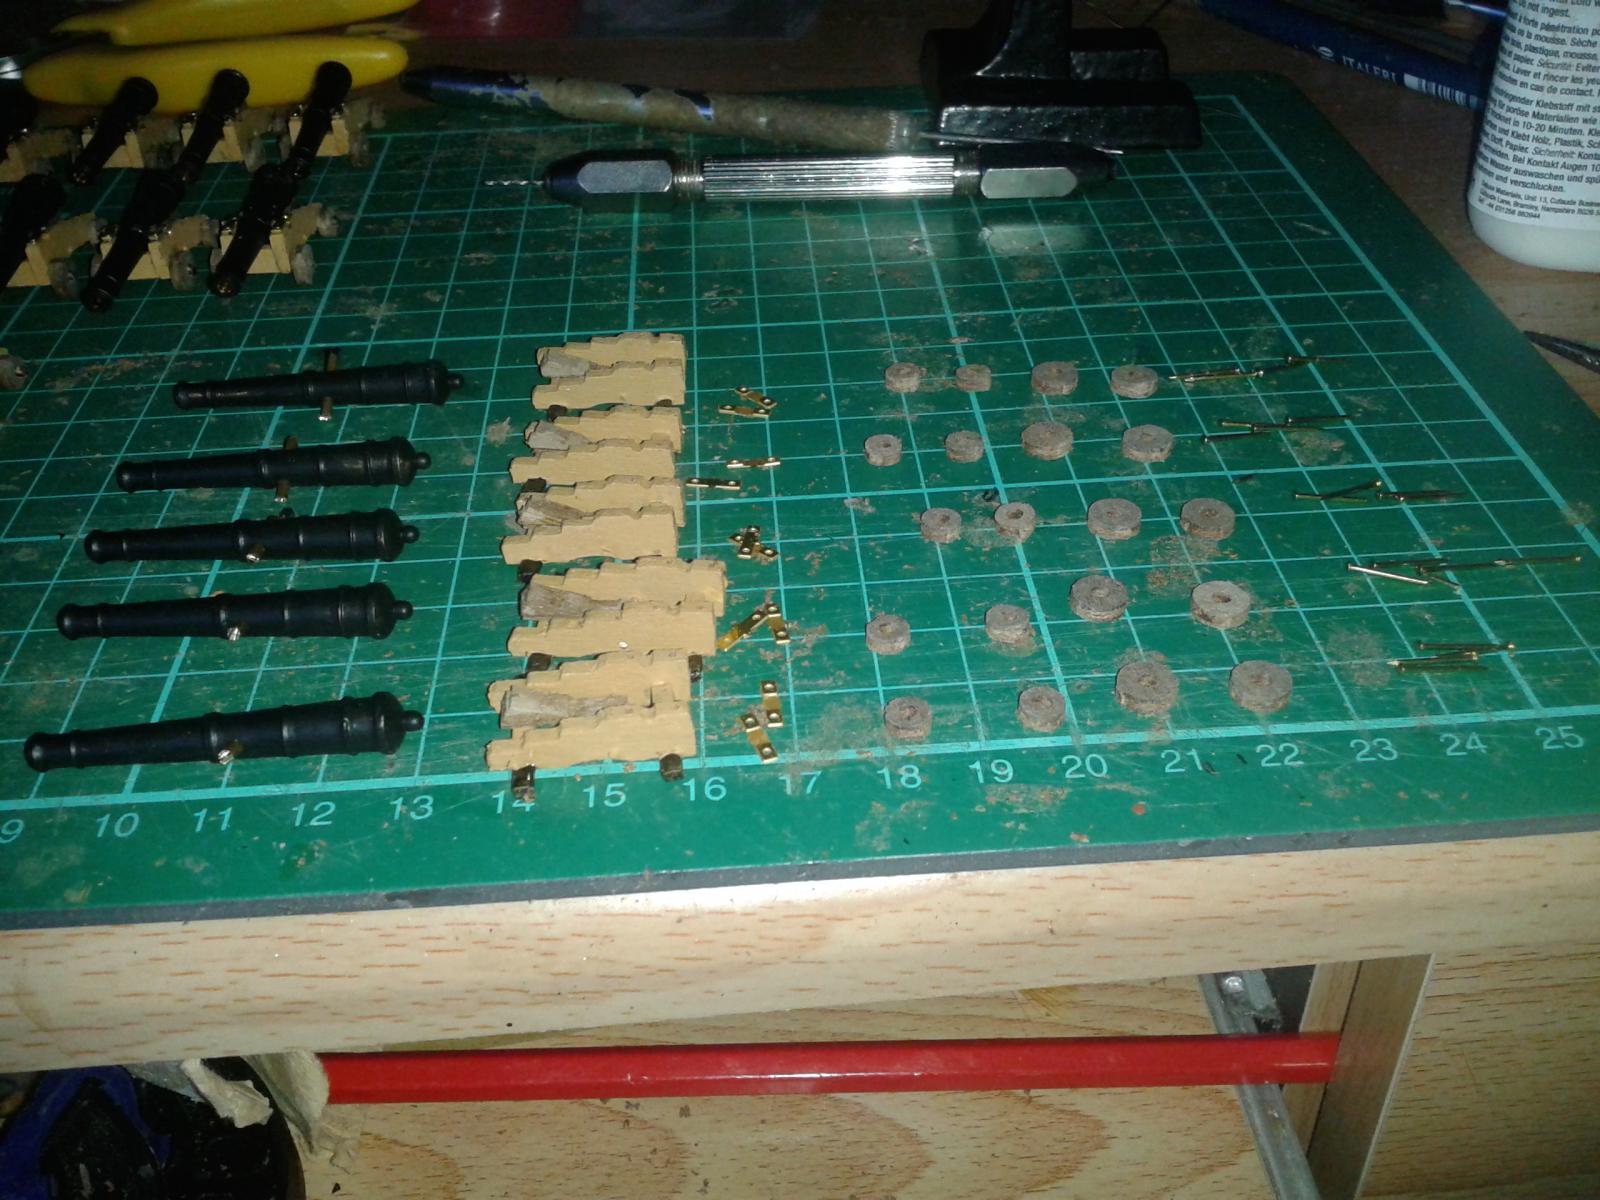
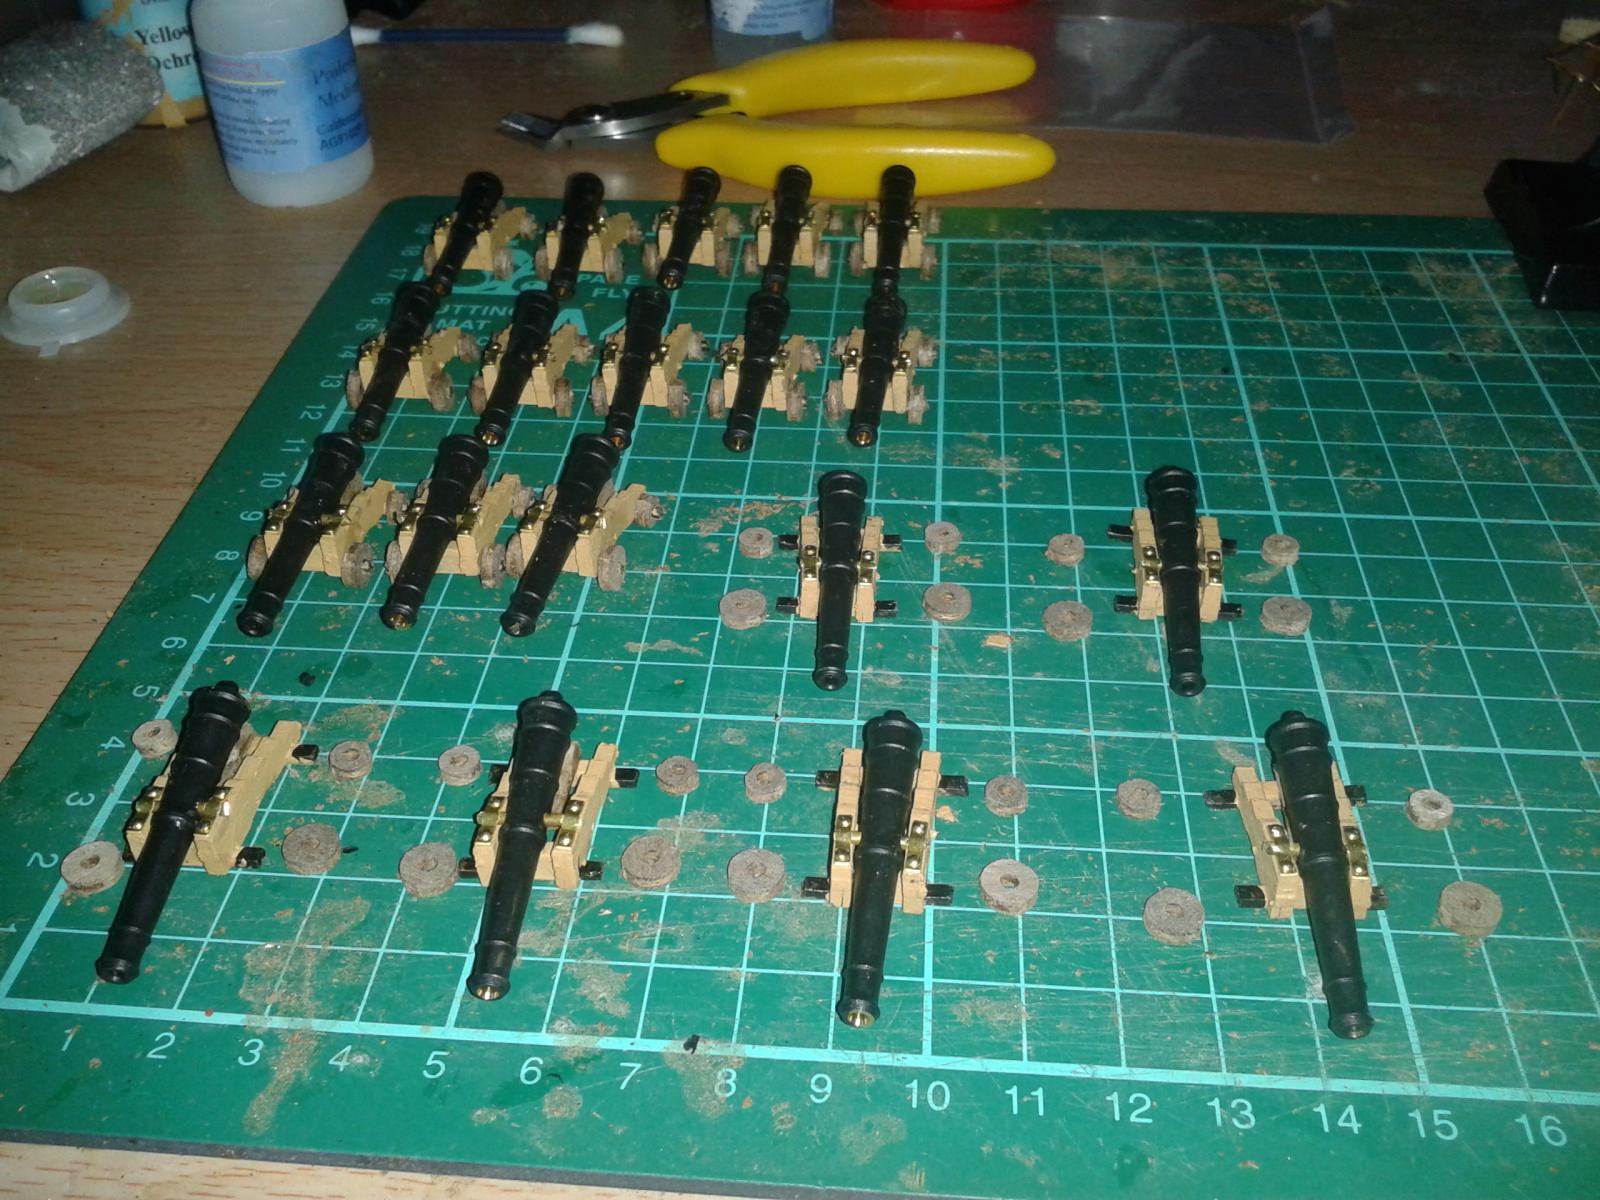
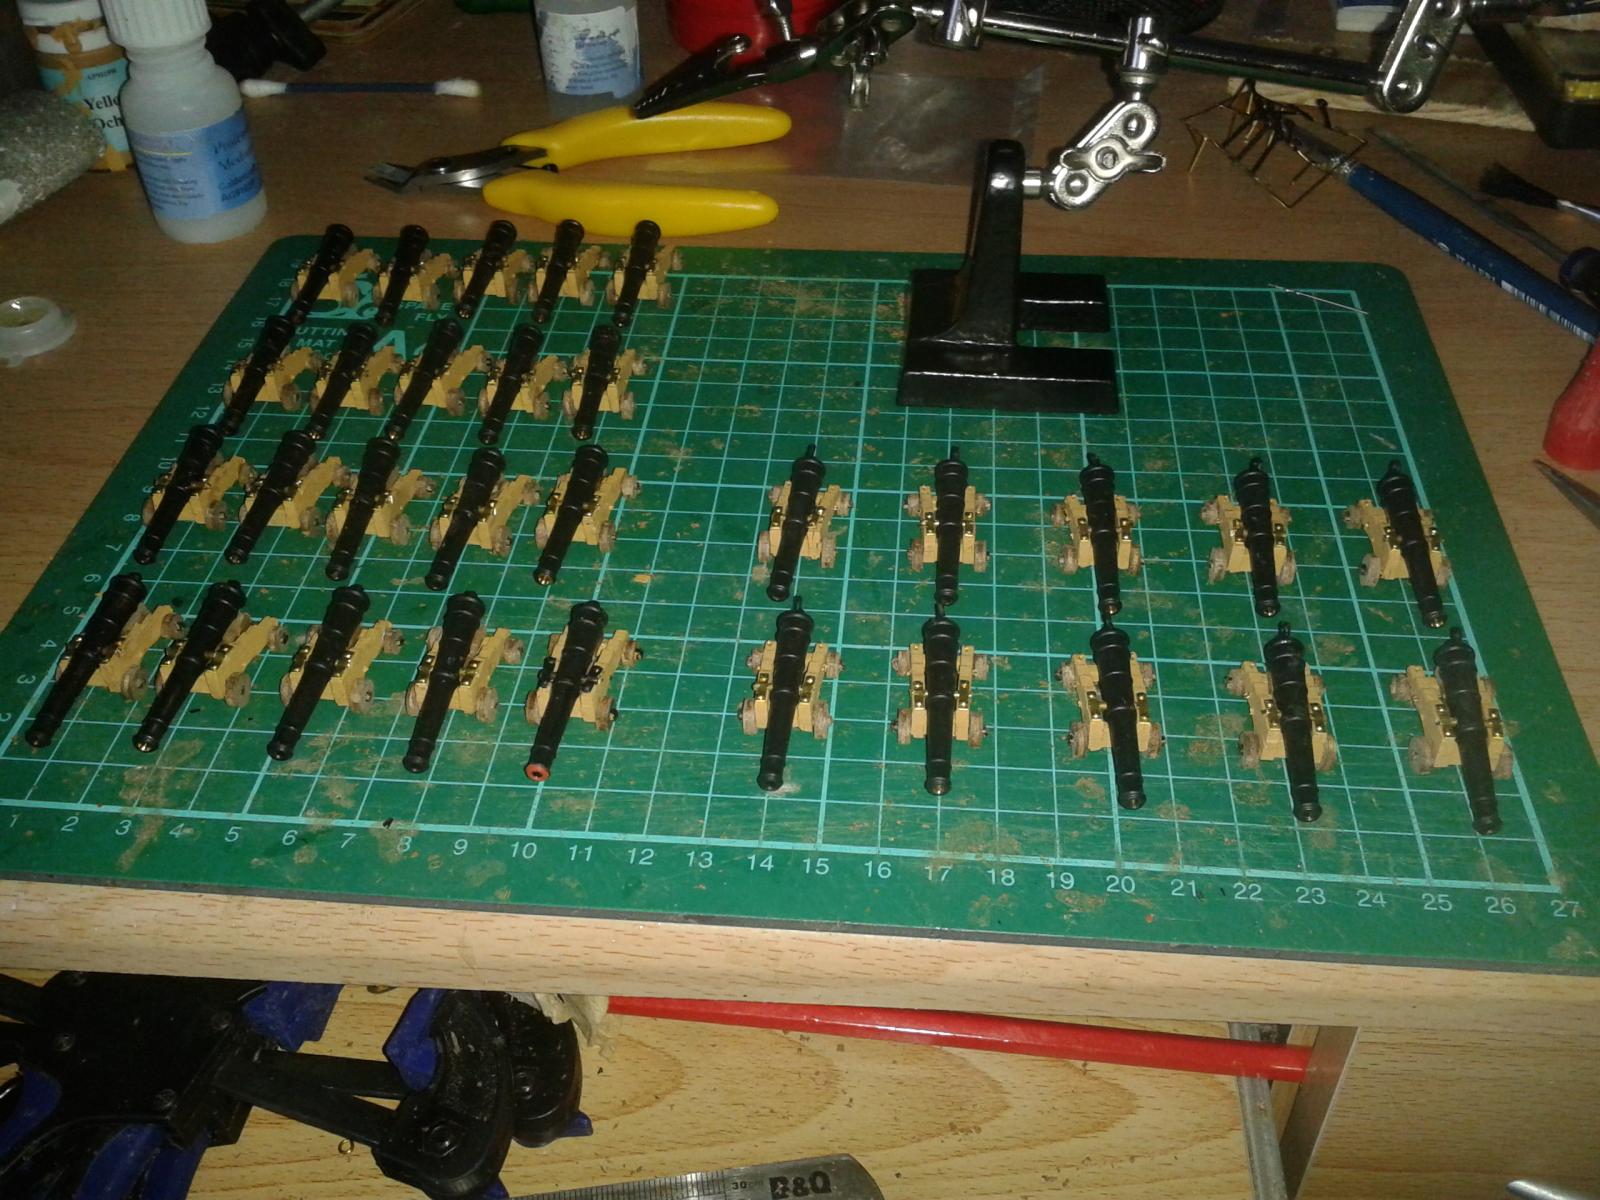
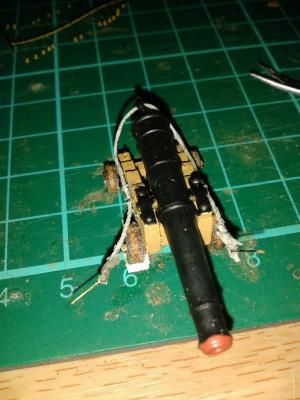
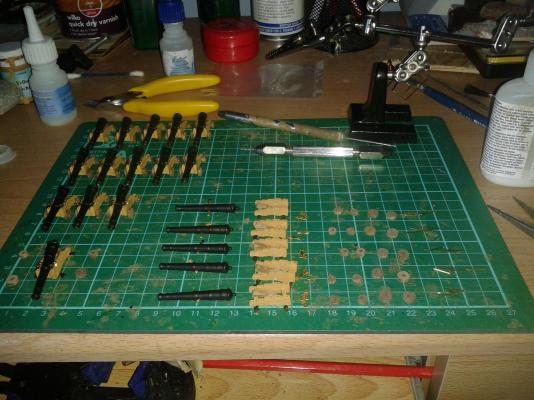
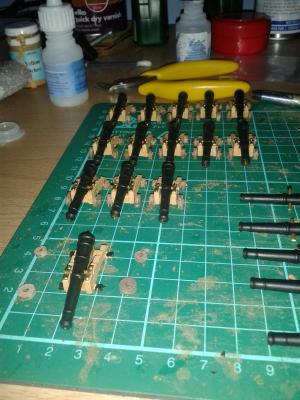
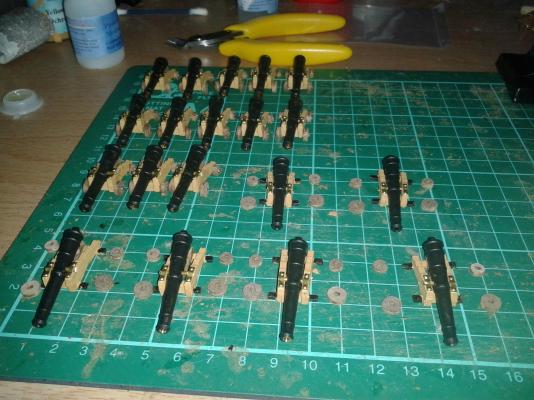
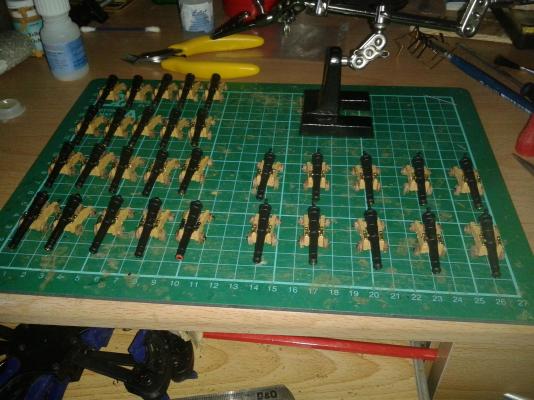
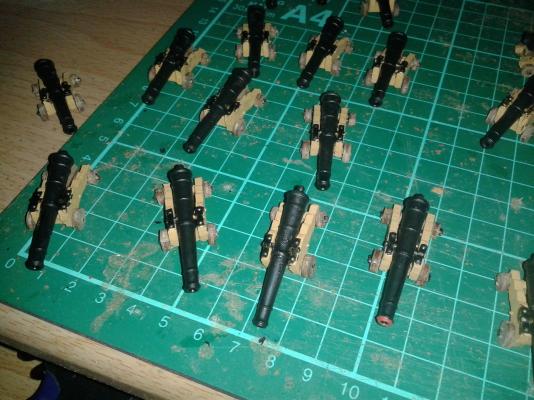
Finally completed the assembly of the 30 x 12 pound cannons tonight. Just got to finish the painting of the trunnion brackets and red rim on the cannons before I start the rigging phase of the 10 visible carriage assemblies I have provided some pictures of the gun carriage assembly line and then some pictures of the completed assemblies. I also bought a helping hand tool today as I think this will help when I start to rig the cannon rigging blocks. This new tool can be seen in some of the photos below.

-
Nothing much to report, as I'm still working on the 30 x 12 pound carriage assemblies. I have fully assembled the first 10 carriages complete with cannons fitted with a breach ring. On the remaining 20 carriage assemblies I only have to: 1. Fit the cannon and trunnion brackets to the carriage assembly 2. Remove the wheels from the strip and fit. I have found the most time consuming and fiddly task is fitting of the trunnion brackets, but I have refined the assembly method so I expect to complete this task over the next few days. It will not be long before I start with the rigging, like most builders I'm only planning on rigging the 10 visible through the quarterdeck. There is very scant information in the manual on this task so will use the picture in Longridge's book as my guide for the rigging from carriage to deck and Gil's very clear picture in his log for the Breach rope rigging.
-
Hello Jerry That great news from the Doctor, look forward to watching your progress.
-
Hi Jerry Plenty of time for you to pop across the pond for a visit