Glenn-UK
-
Posts
3,168 -
Joined
-
Last visited
Content Type
Profiles
Forums
Gallery
Events
Everything posted by Glenn-UK
-
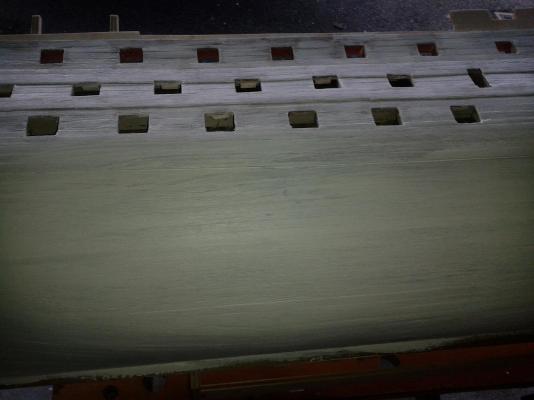
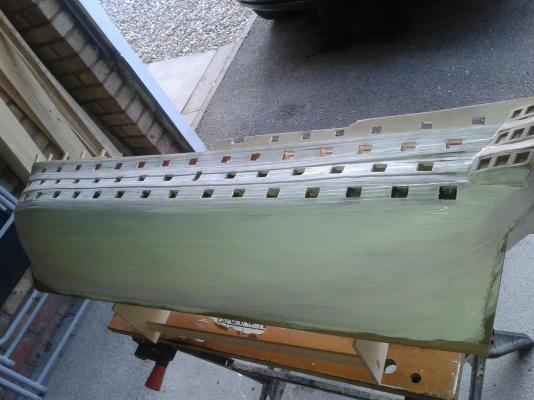
 Hello Lawerence Many thanks for you visit to my log and kind words. Certainly adding the primer has highlighted the areas to be filled and filled. Spent another 3 hours this morning sitting in the sun sanding and filling and just added a second coat of primer to the starboard side, will do the same to port side once the primer has dried and I can turn the boat around.
 -
Hi I used the cheapest I could find which was Diall £5 from B&Q
-
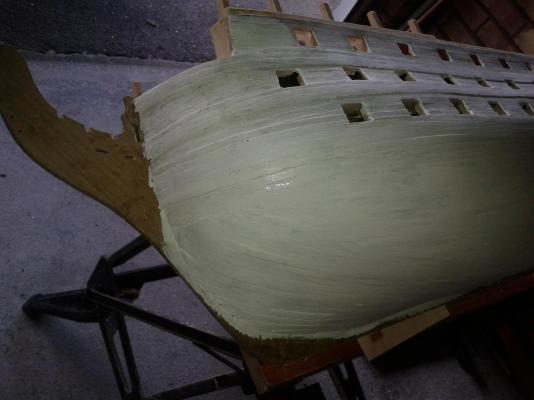
Pictures of the sanding and hull coating with 1st coat of primer; this has shown a few areas which will need a bit more sanding.


-
Hello Mort Many thanks for taking the time to visit my log. I will work on 1mm back from 2nd plank level as the wales are an additional external feature to the hull
-
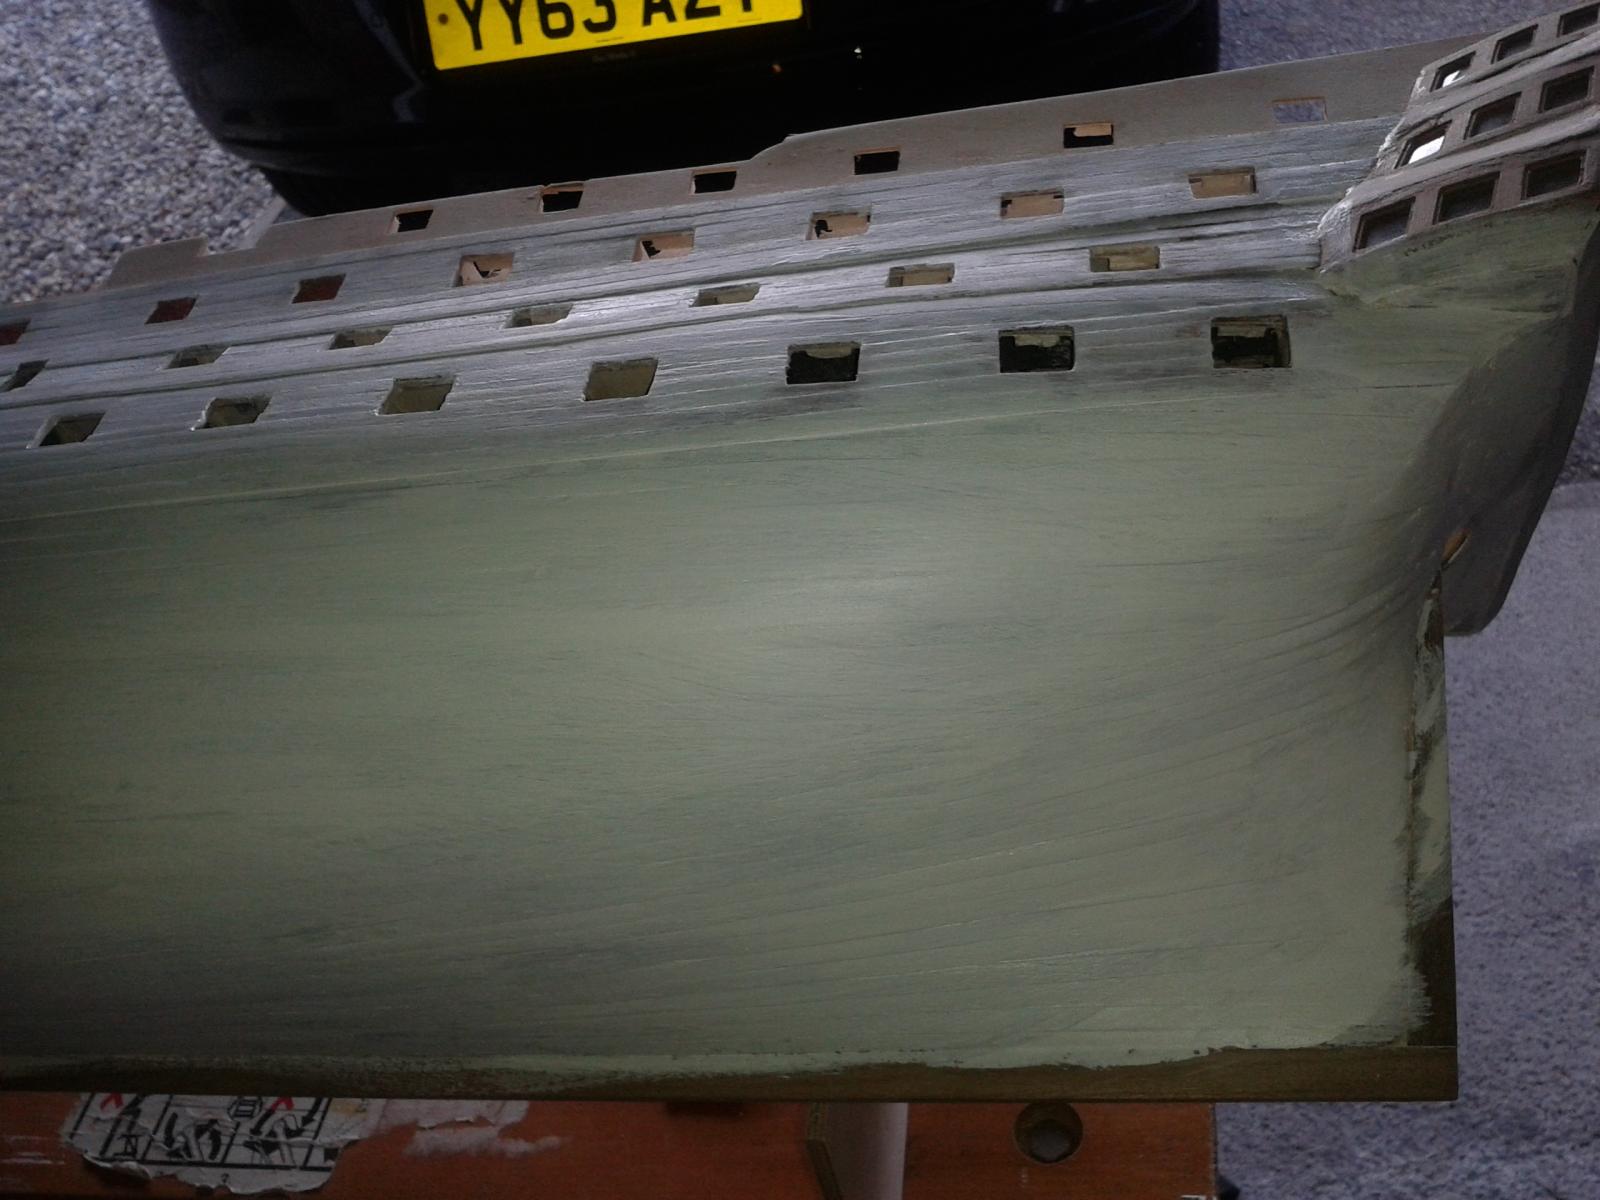
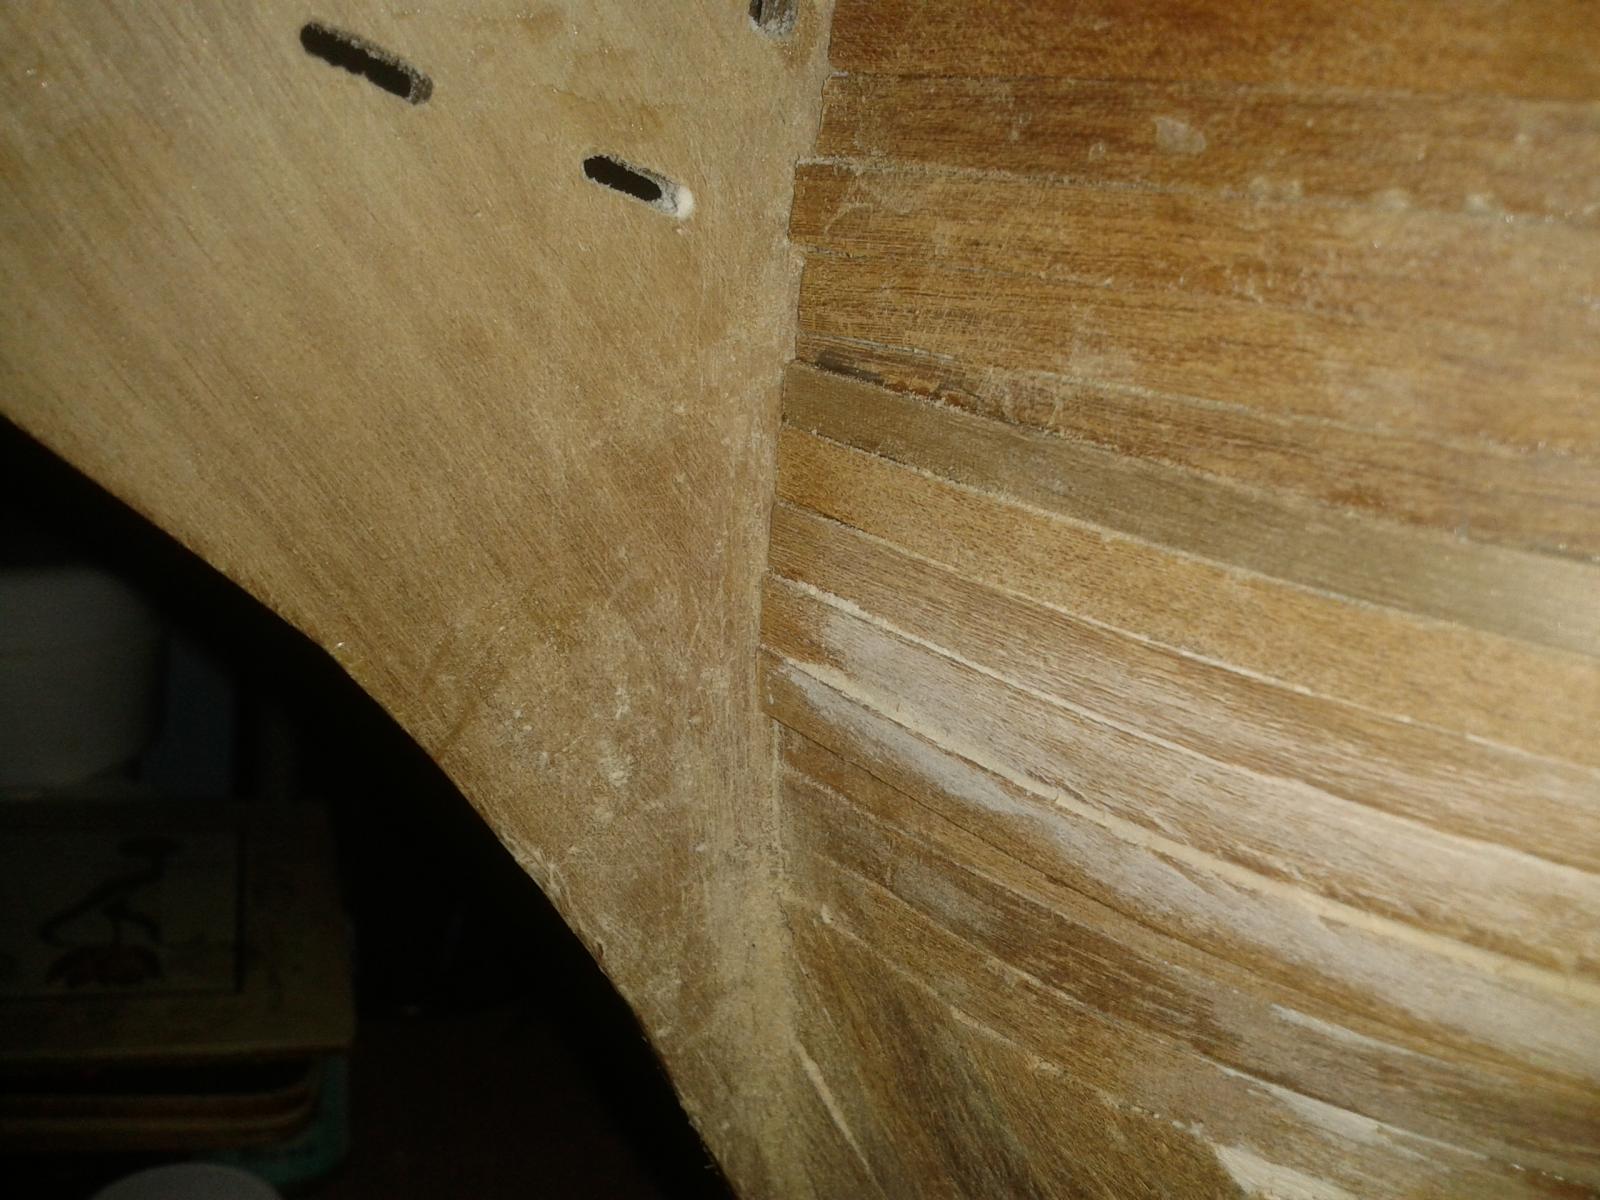
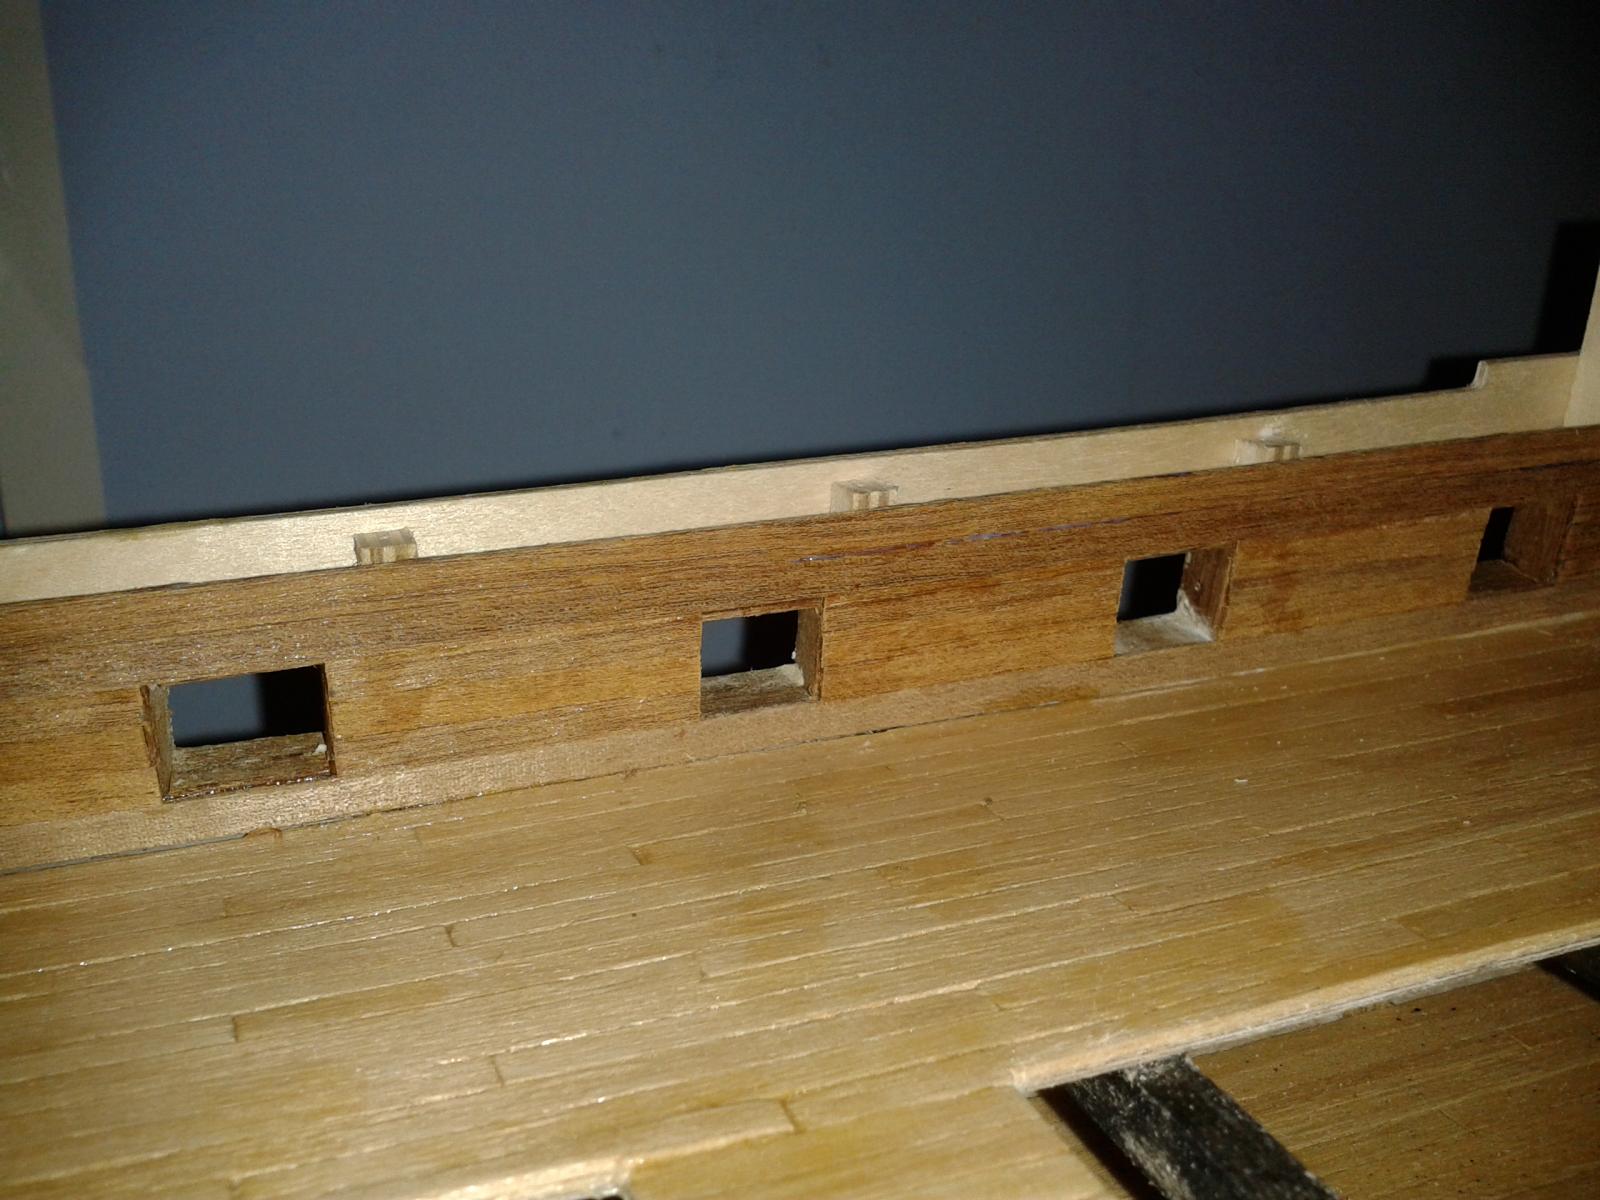
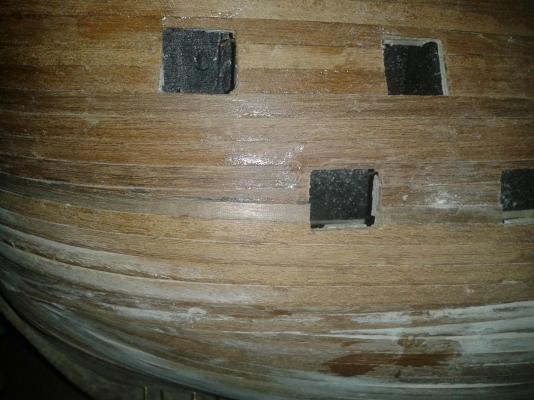
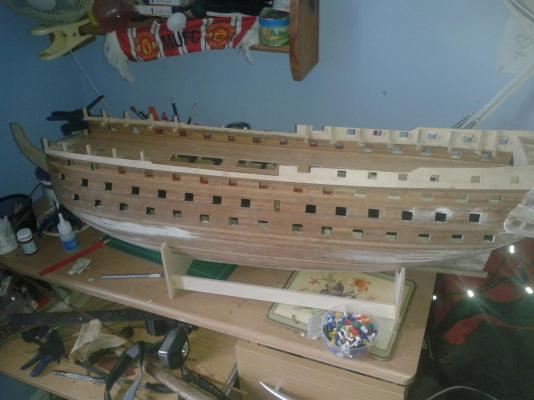
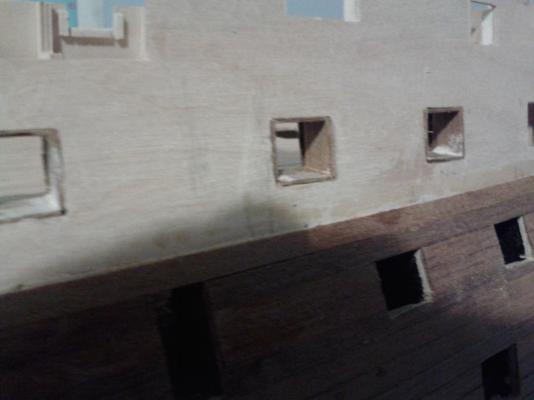
All the Wales are now fitted. Have checked all gun ports have been cleared of excess planking and wale material. Spent 2 hours this afternoon sitting in the sun sanding the hull and filling all the obvious gaps; I was pleasantly surprised as there are not that many. Have now applied a primer coat to the port side and it will require a second coat when dry. It has shown a couple of small bits which need some filler. Will continue on adding the primer on Monday as tomorrow we have the grandkids. Will post some pictures with next post.
-
Material arrived today from CMB today so I was able to start work on the Wales. Completed the lower port side tonight, expect to complete fitting the remaining port and starboard wales over the next day or two. Here are some repetitive picture of the lower wale. Fitting the Wales did pose a question regarding the gun port with lids linings which have to be set back 1mm. Is this 1mm back from 2nd planking level or from the wale level; some gun ports will be stepped as only part of some of them have wales.


-
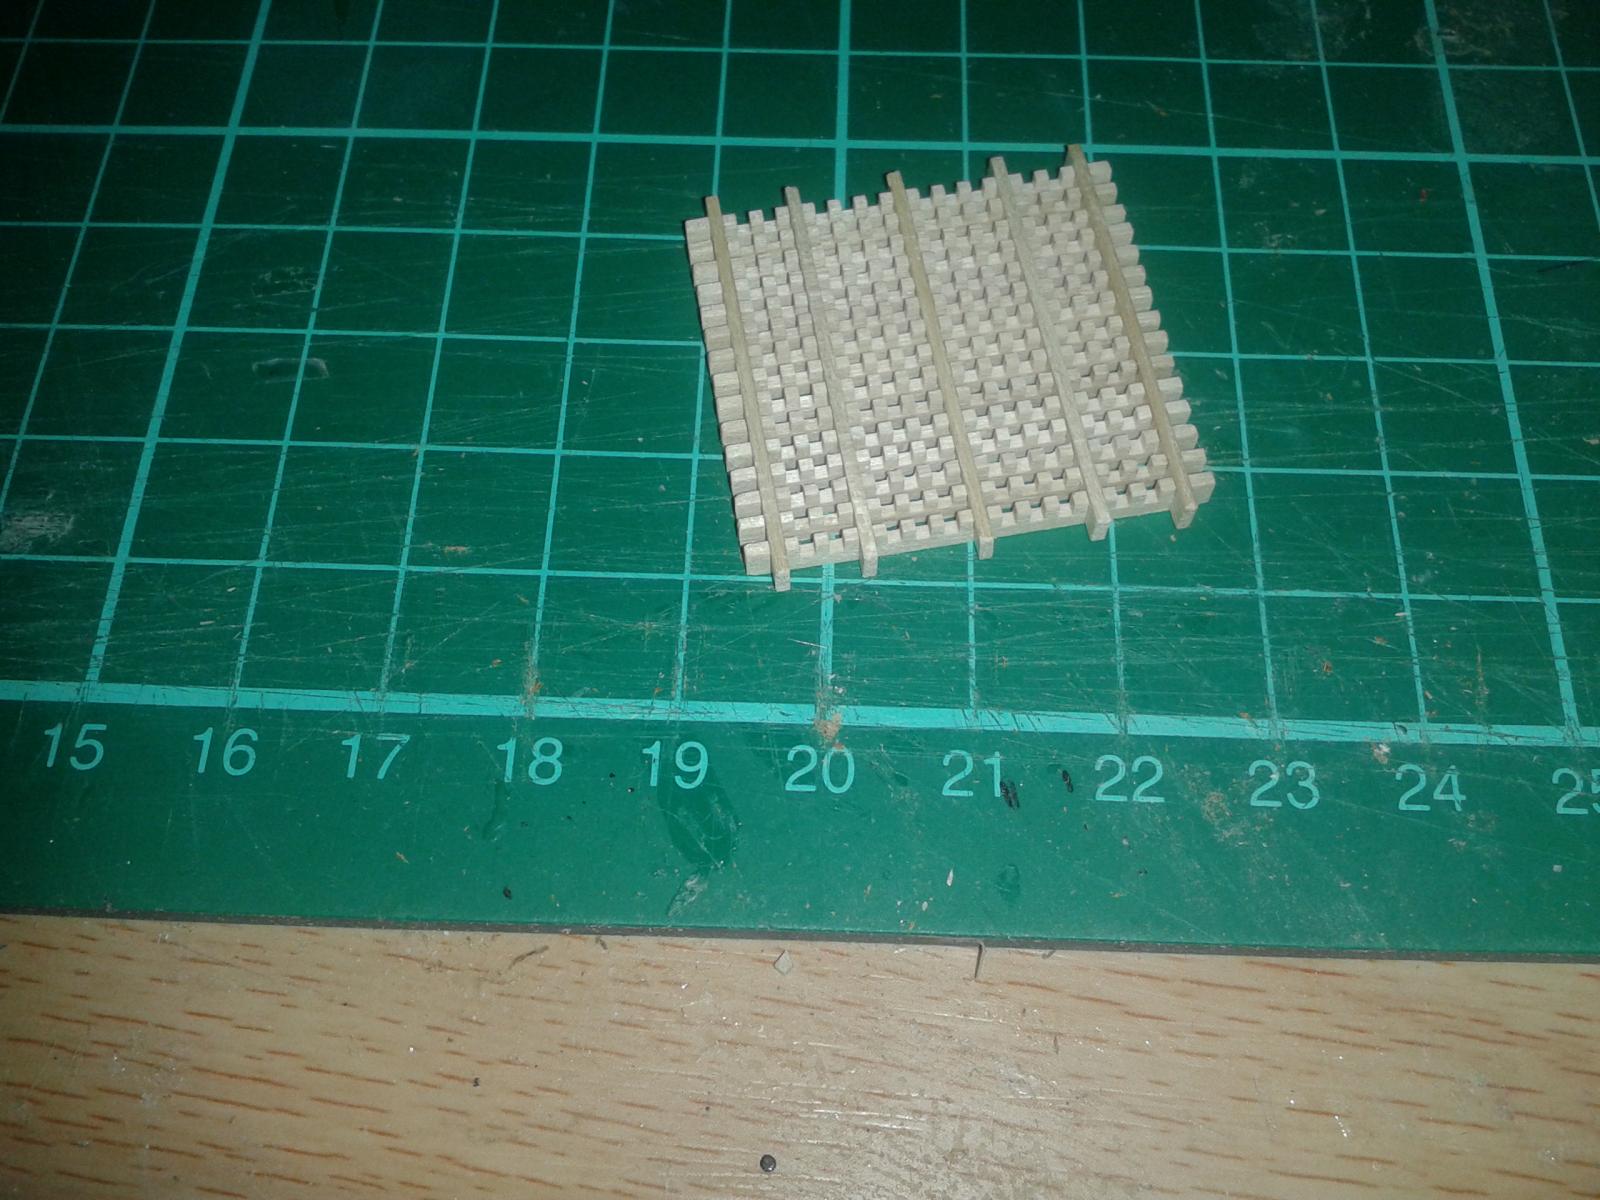
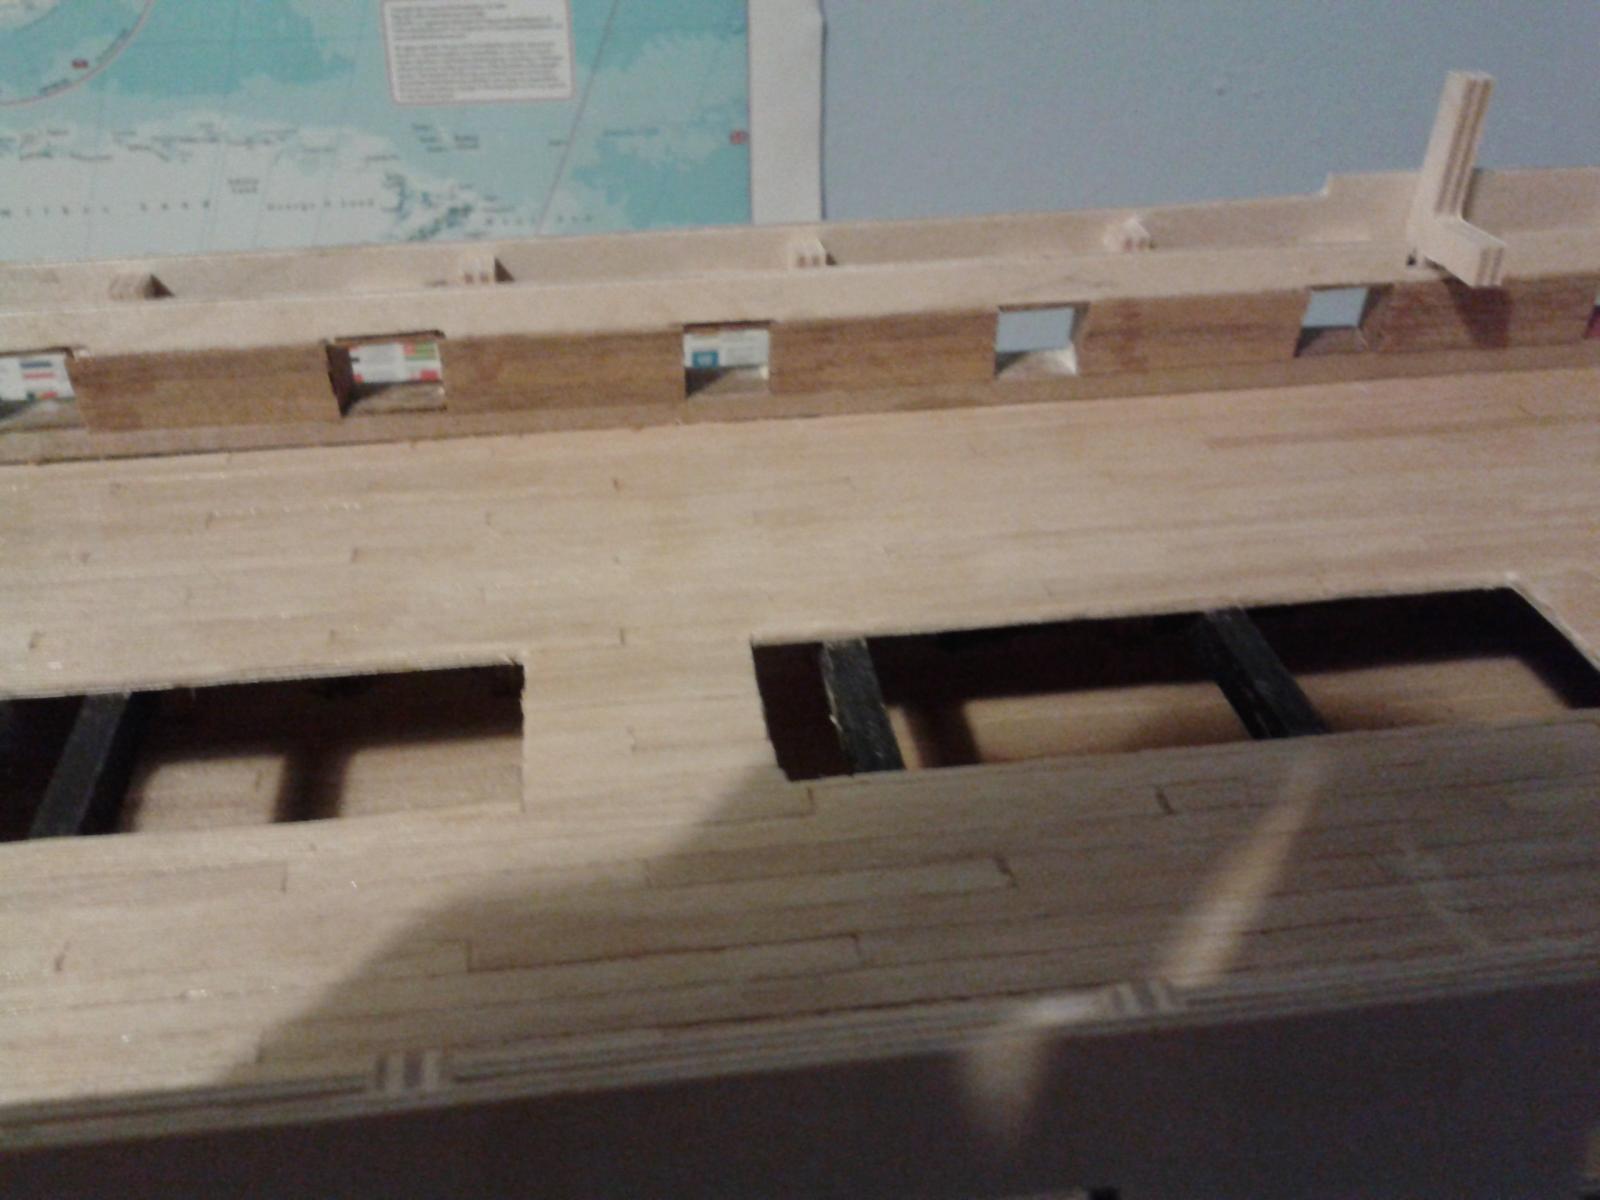
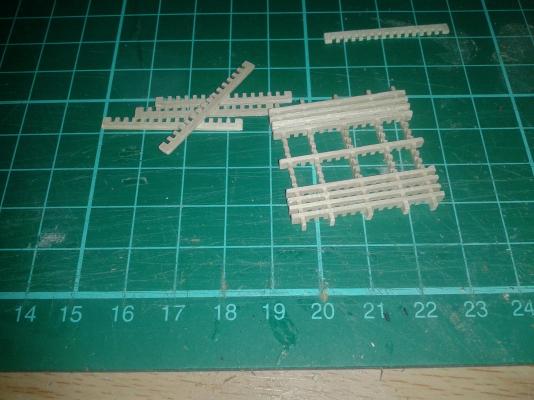
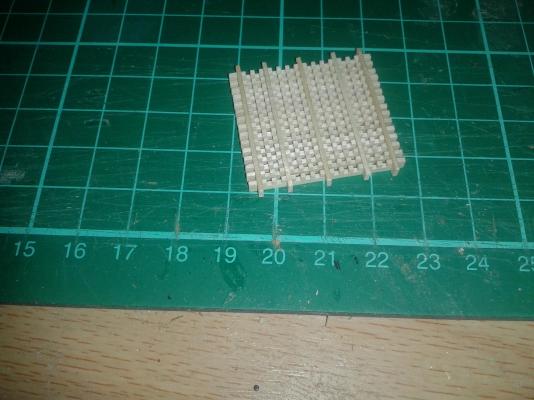
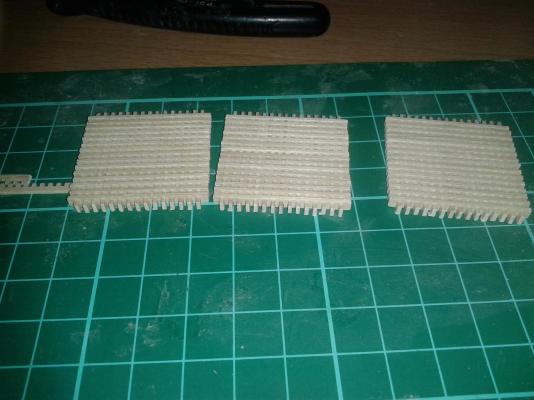
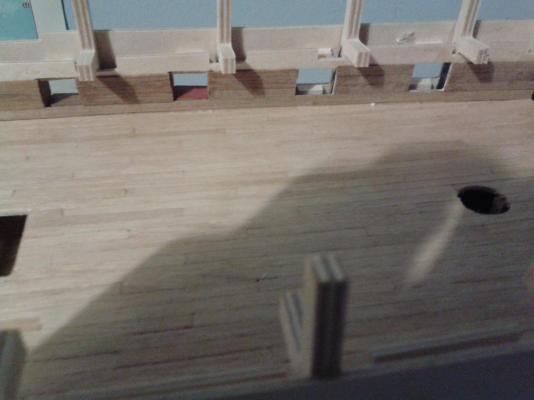
Assembled the 7 gratings last night and coated with a watered down glue. Next task will be to trim as necessary for the openings on the upper gun deck before adding the coamings.
-
Ah I get it now knit one perl one, should have known! Great set of photos as always and she nearly looks ready to set sail, are you going to crack a bottle of bubbly across her bow?
- 439 replies
-
- 1
-

-
- victory
- caldercraft
- (and 1 more)
-
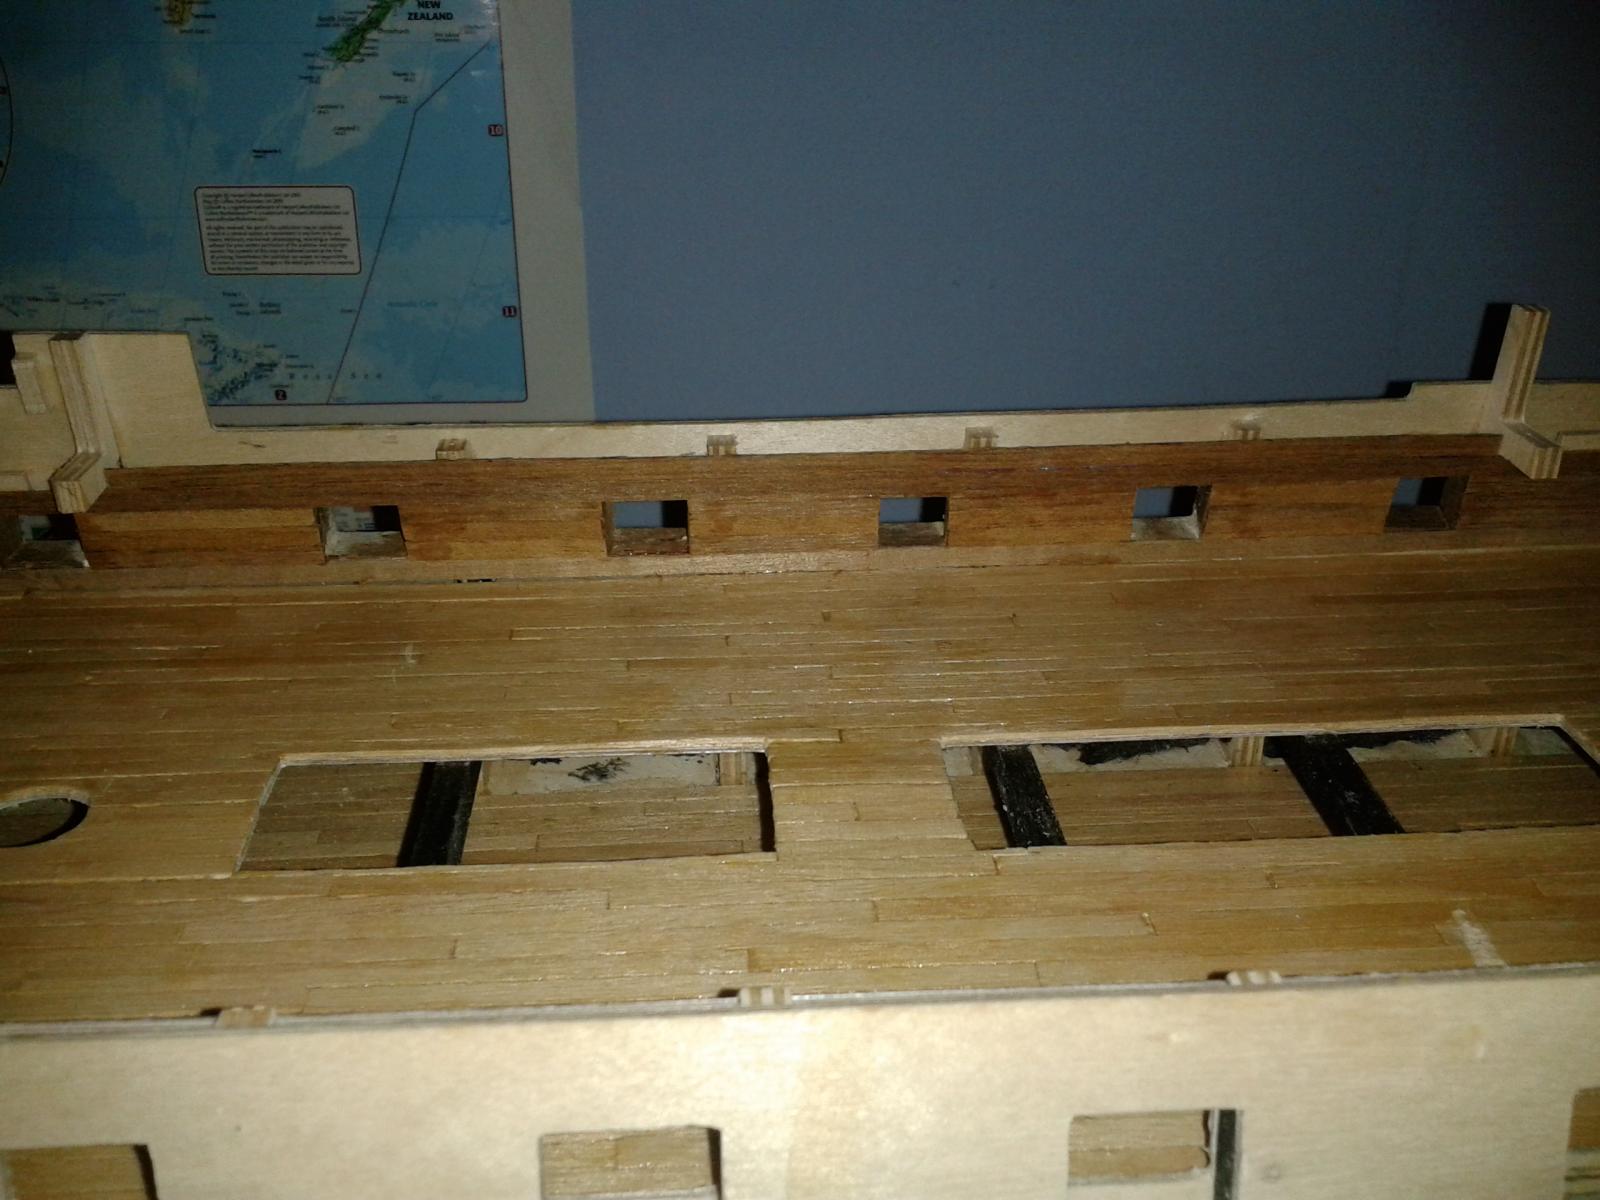
Went to fit the Wales last night, discovered, after going through all the wood strips in the box, that I didn’t have any 4mm by 0.5mm walnut strips for the top of the lower wale, order has now been placed with CMB as this is not stocked by my local hobby shop. Checking all the other strips, I only had enough 3.5mm x 1mm strips, not stocked by CMB After checking all the wood strips I decided to start work on the gratings and will continue on with these tonight and will post some picture as the progress progresses. Also ordered some material to add the waterways, stringers etc. to the inner bulwarks I may also make a start on the companionways to check it’s fit with opening on the upper gun deck.
-
Many thanks Jerry and David for your visit to my log and your positive comments; they mean alot to me
-
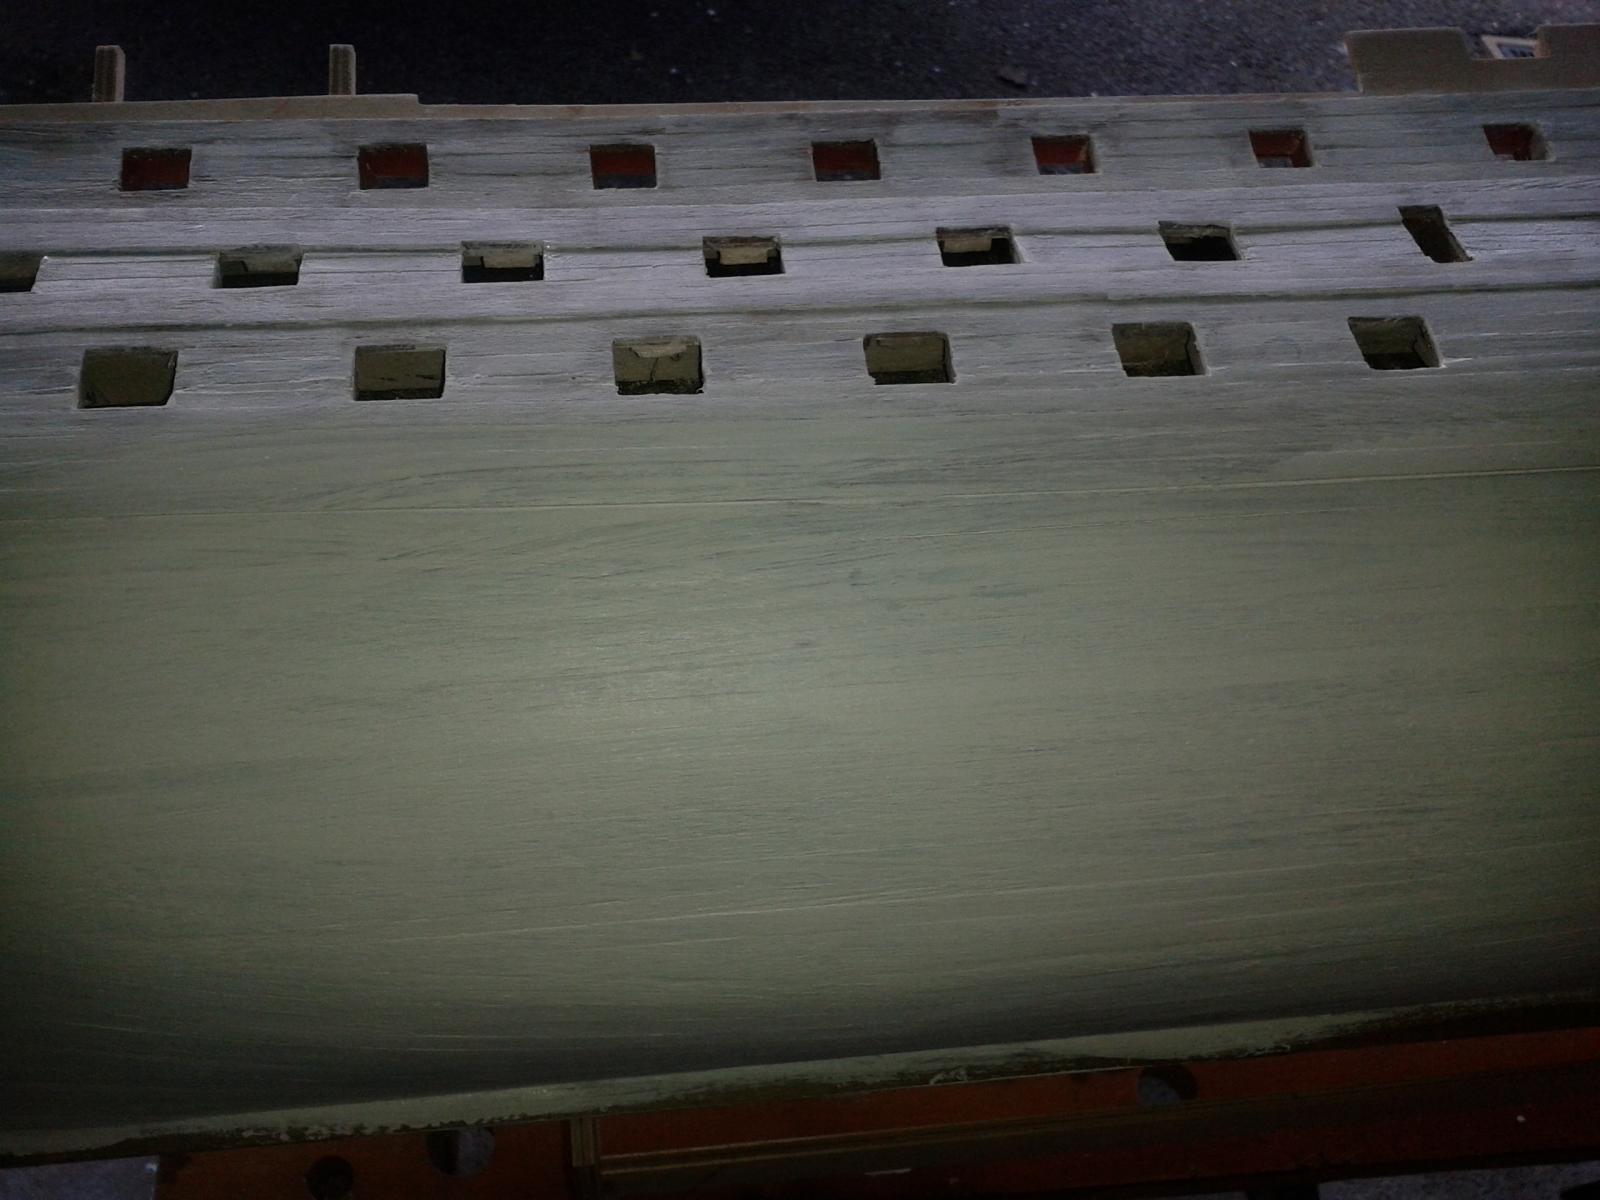
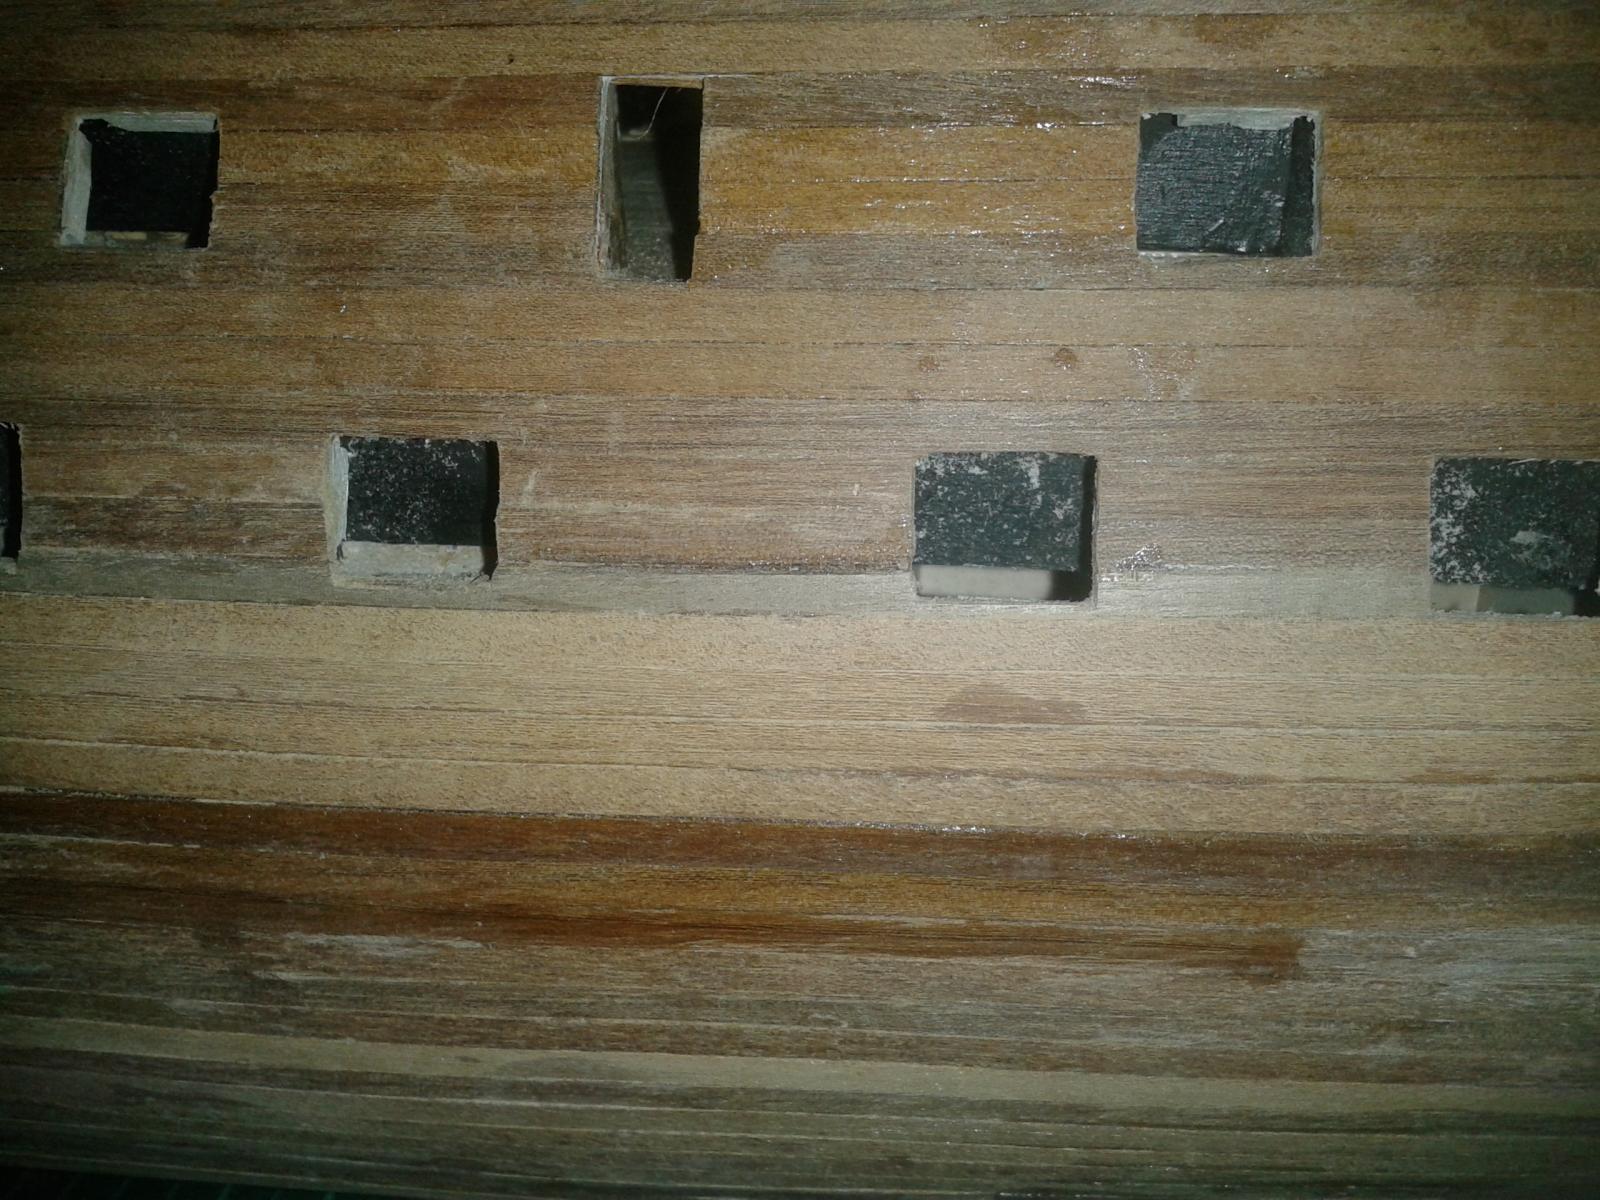
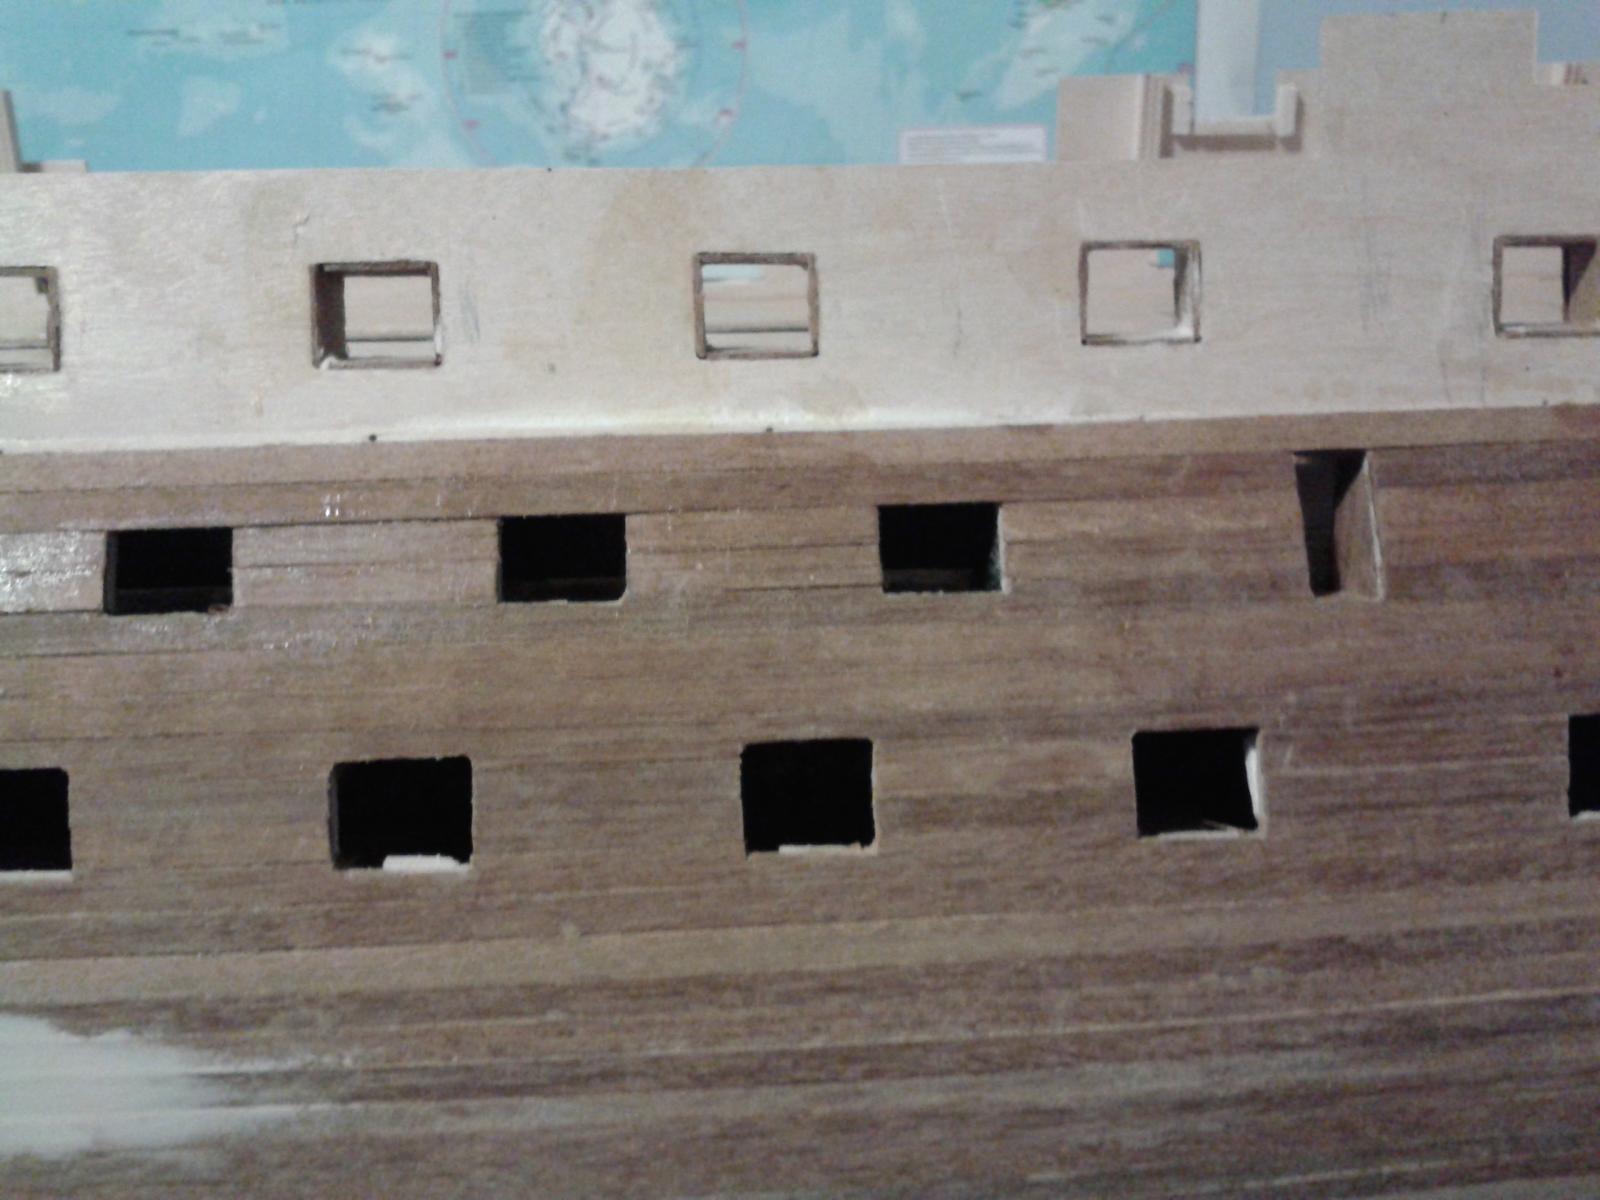
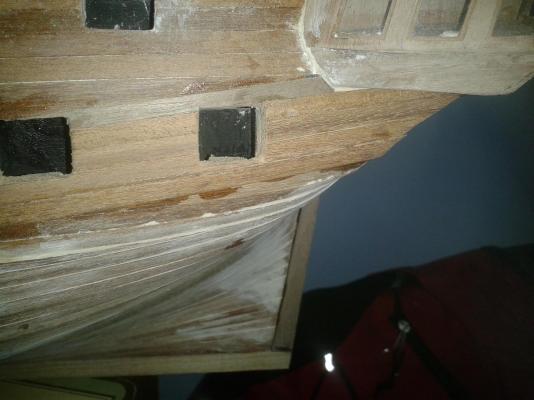
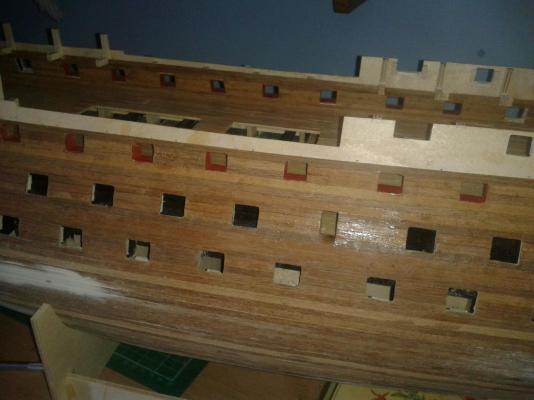
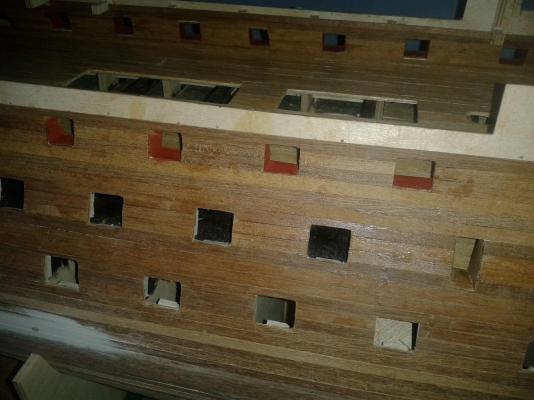
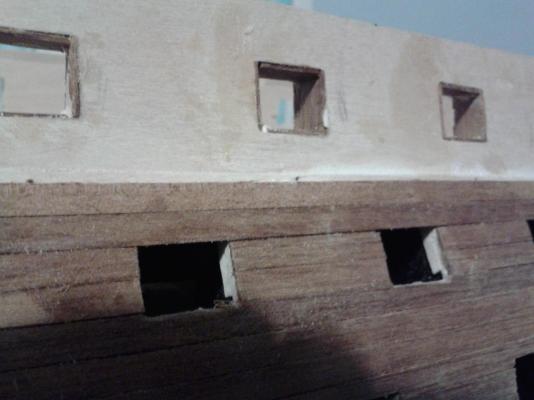
A couple of good days working in the Victory; completed planking of the inner bulwalks, completed fitting linings to gun ports 3 to 10 and painted red orce and completed the 2nd planking to above the gun deck gun ports. Also checked and cleared all gun port, as necessary. According to manual the next task is to fit the wales. Also still need to fit stern post
-
I rang Jotika when I misplaced my stern post and a new arrived it couple of days later. Nice work and great photos as always
-
Someone asked what building HMS Victory was like and I replied with "It is a series of highly repetitive building tasks; just as you get the hang of a task in hand it's completed and its time to move on to the next repetitive task."
-
Was able to spend 5 hours working on the ship today. Completed port side gun port (without lids) lining and about 1/3 of inner bulwark planking. Should finish planking tomorrow night. I have ordered some additional material from CMB for the waterways, stringers etc. not forgetting the replacement eyelets for the stauctions as recommended by Shipyard Sid, many thanks for the heads up! Next task is to continue on with second planking to top of gun deck gun port linings.
-
My five day enforced break from the ship build activities is now over so all being well I can resume work tomorrow night.
-
Hi Jerry The good work continues and I wait with baited breath for the next instalment
-
Hi Patrick Many thanks for your visit and great pictures. I think your inner bulwarks and gun deck look great and makes me more inclined to fit the additional pieces. I was looking at some pictures of the inner bulwarks from the actual ship earlier as well showing the waterways, stringers etc.
-
Excellent work once again. My shipyard has just had a major clean as it returning back to its secondary task of being a bedroom when our youngest son comes home tonight for a visit; I'm hoping I can steel and hour or two this weekend to start to fit the port side gun port without lids lining linings. Keep up the good work and keep posting your pictures as they are an inspiration to the inexperienced modeller such as myself.
-
Couple more picture of the inner bulwark which is now completed. Just got to decide if I also will fit the waterway, stringer and beam shelf, as shown in Gil log. Copied from Gil's Log Plans call for simply flat planking for the ceiling (inboard lining of the hull), while on the real ship, the inner lining consists of a waterway, stringer, ceiling and beam shelf.


-
Thanks Dave for your kind comments, I'm happy with the result so far.
-
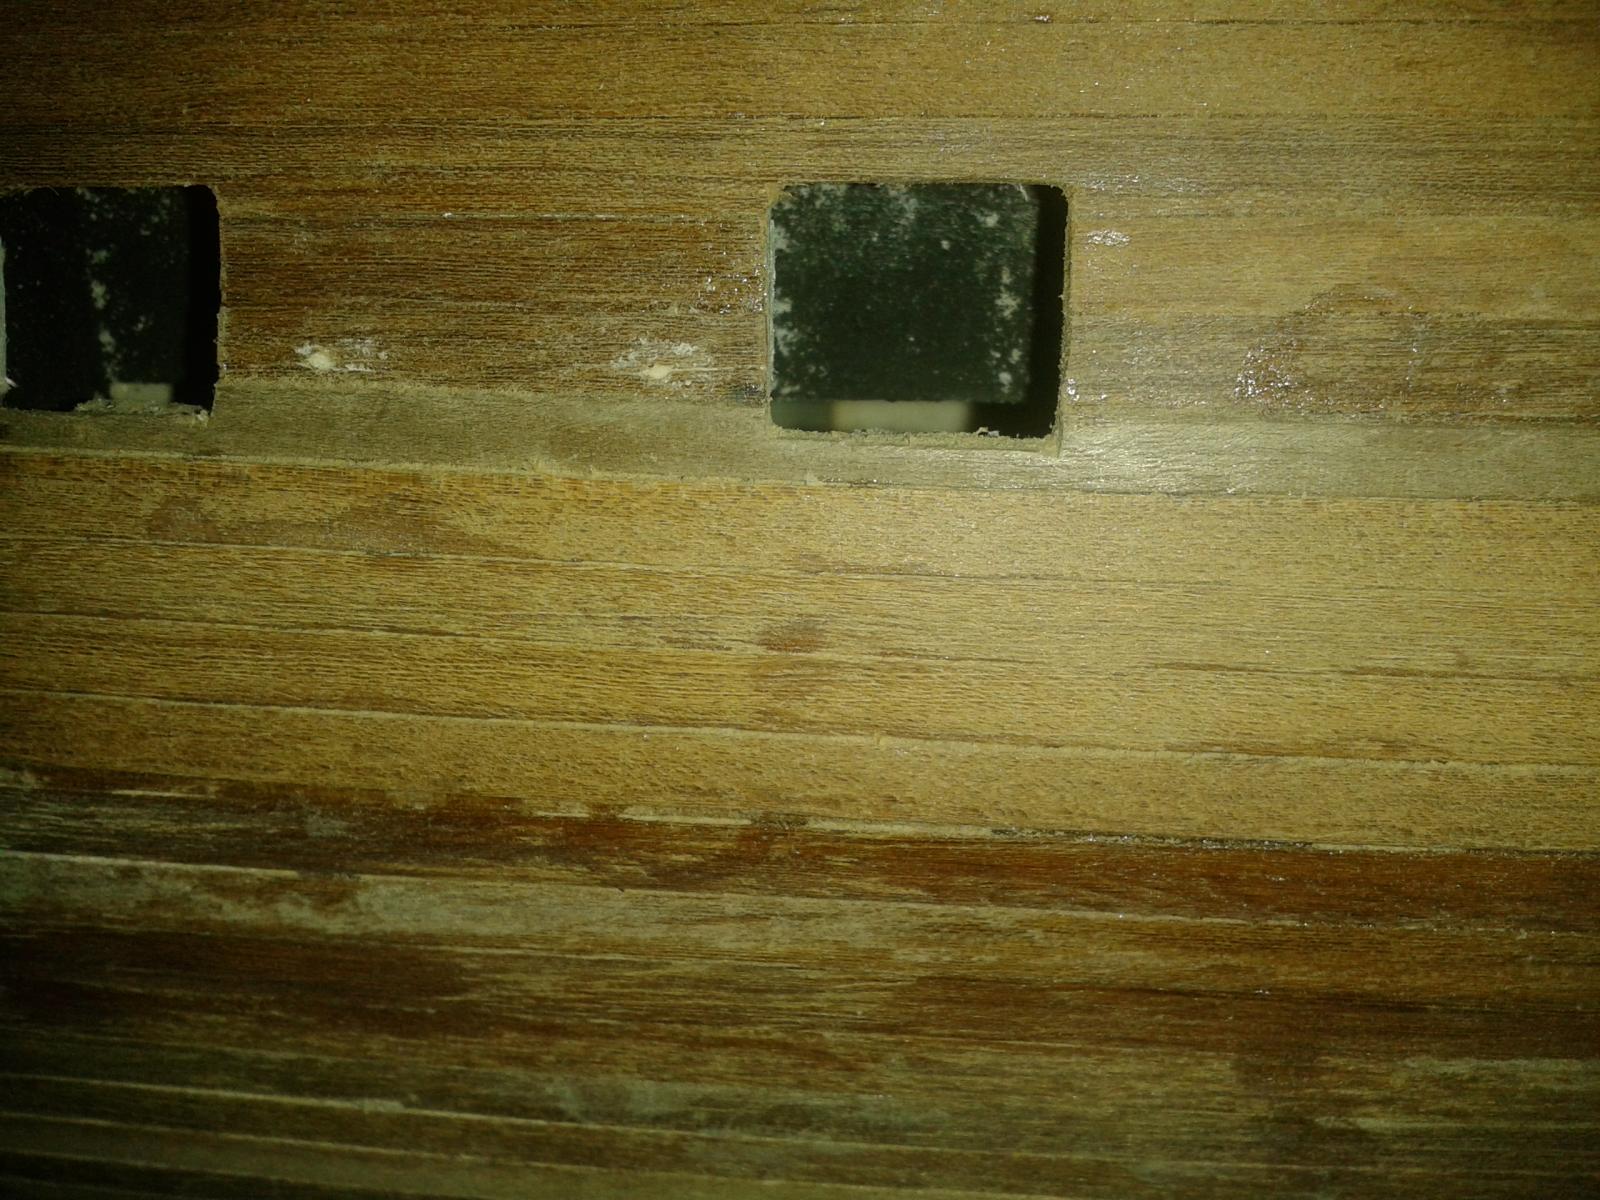
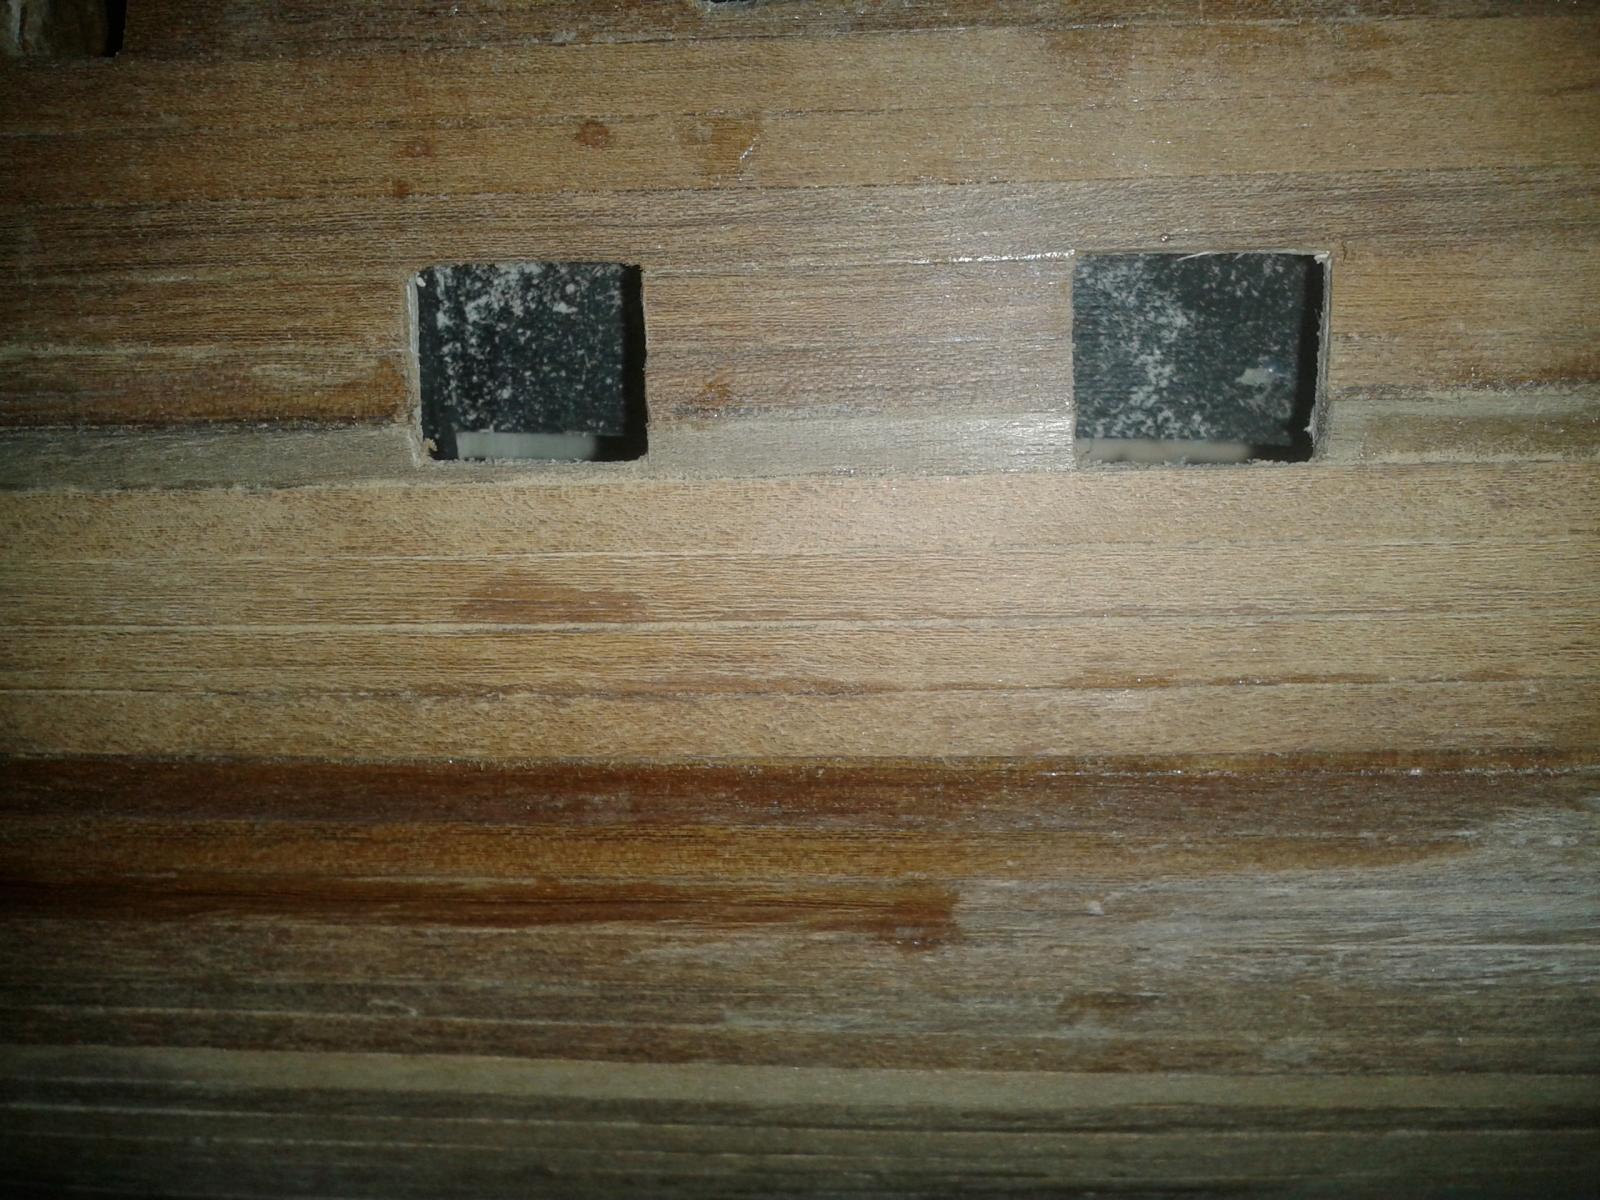
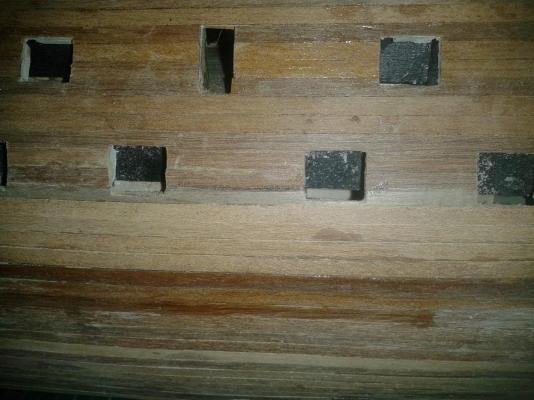
Completed lining the first 8 gun port without lids on starboard side. I decided to start planking the inner bulwarks next on starboard side. Once complete I will do the same on the port side. Here are some pictures. Gun port linings Planking inner bulwarks


-
Thanks I will be able to spend a bit of time tonight working on the gun port linings and inner bulwark linings and will post some pictures of progress. I then have to return the build area back to a bedroom as my youngest son is coming home tomorrow so will have very limited time over the few days to make any further progress.
-
Jerry A very good set of pictures and very informative support text as well. She is really starting to look the part now, a job well done so far
- 900 replies
-
- 1
-
-
- victory
- caldercraft
- (and 1 more)
-
Hello Jerry Many thanks for visiting my build log and I appreciate your kind words. I will continue to use you log to guide me along this long build project,
-
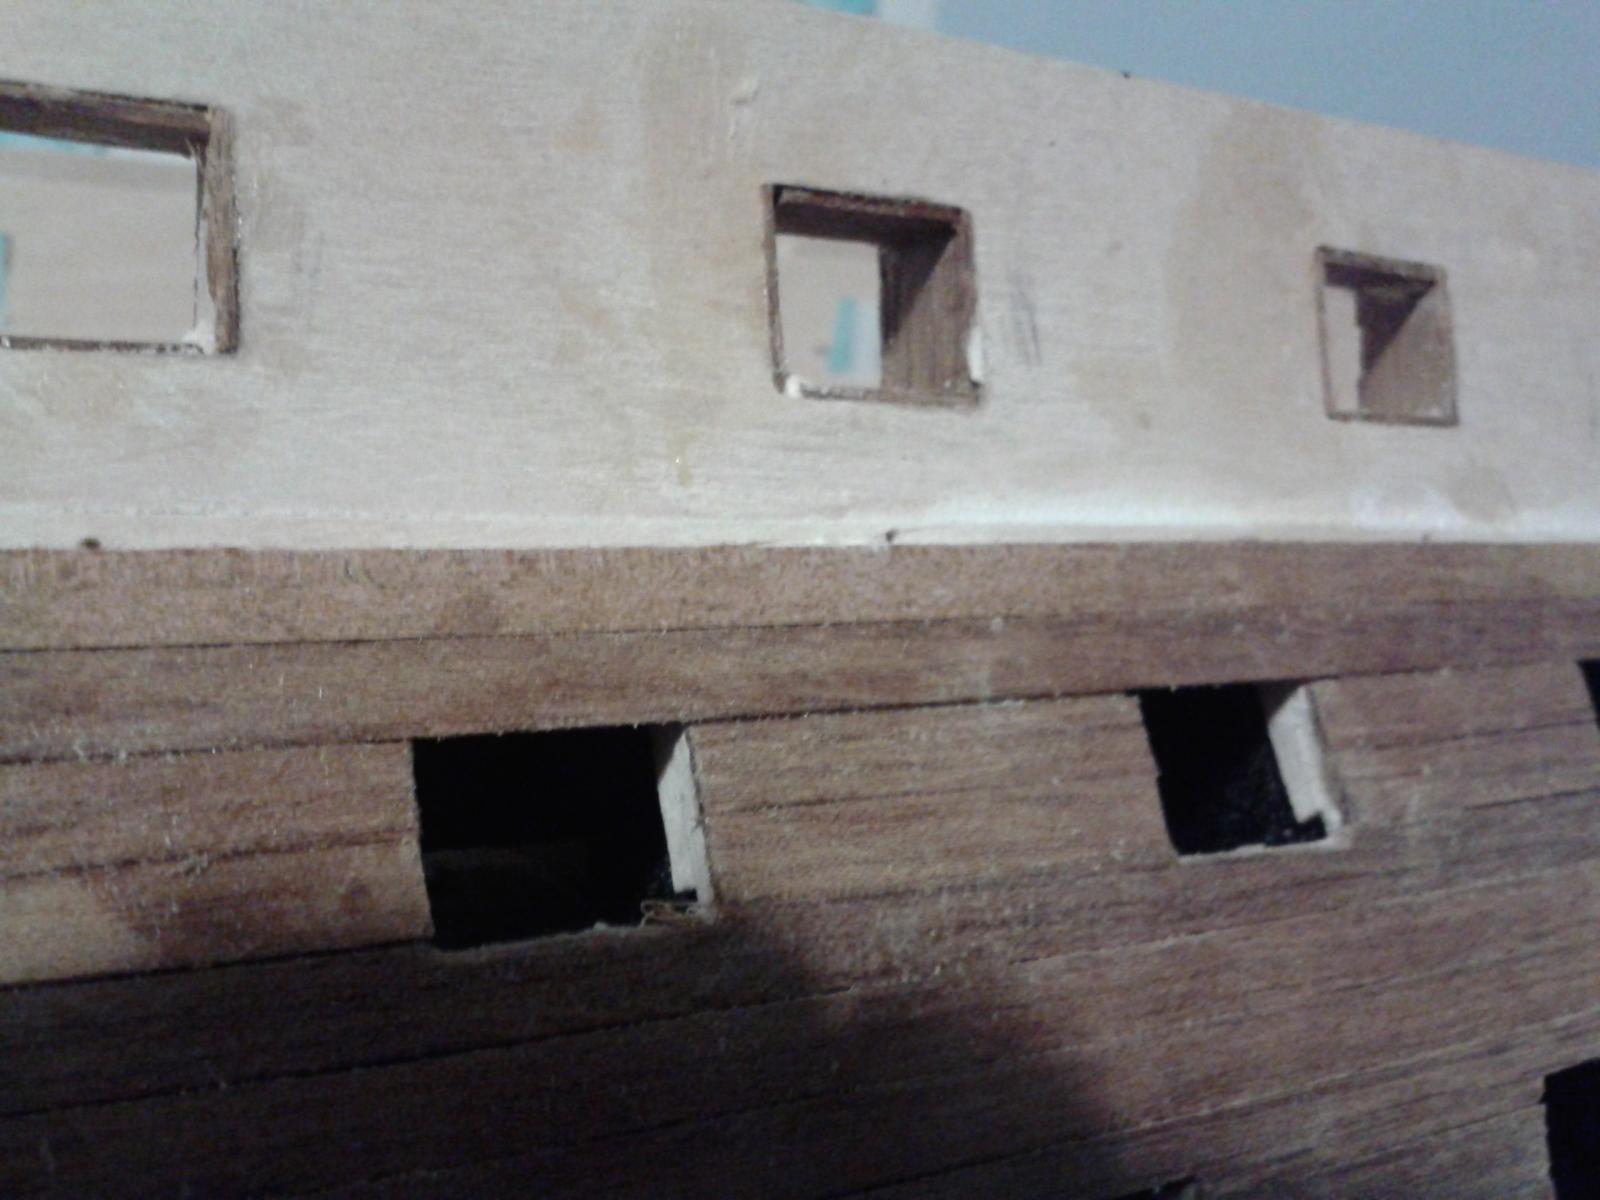
Hello David I did try with both wood glue and super phatic, but the linings did not seem to grab very well. As there is plenty of room to work and I make sure I have a good fit before applying the glue I had not too many problems, only one lining out of the 20 fitted had to be replaced due to the fast grab time of the CA glue resulting in a bad fit. I hoping the use of the seats (and a bit more patience) for the 1mm set back gun ports will let me use my super phatic glue.