Glenn-UK
-
Posts
3,168 -
Joined
-
Last visited
Content Type
Profiles
Forums
Gallery
Events
Everything posted by Glenn-UK
-
 Hi Gary I'm using CMB83506 eyeleys for the companionways stanchions and breach rings, you need two packs for now 52 off.
 -
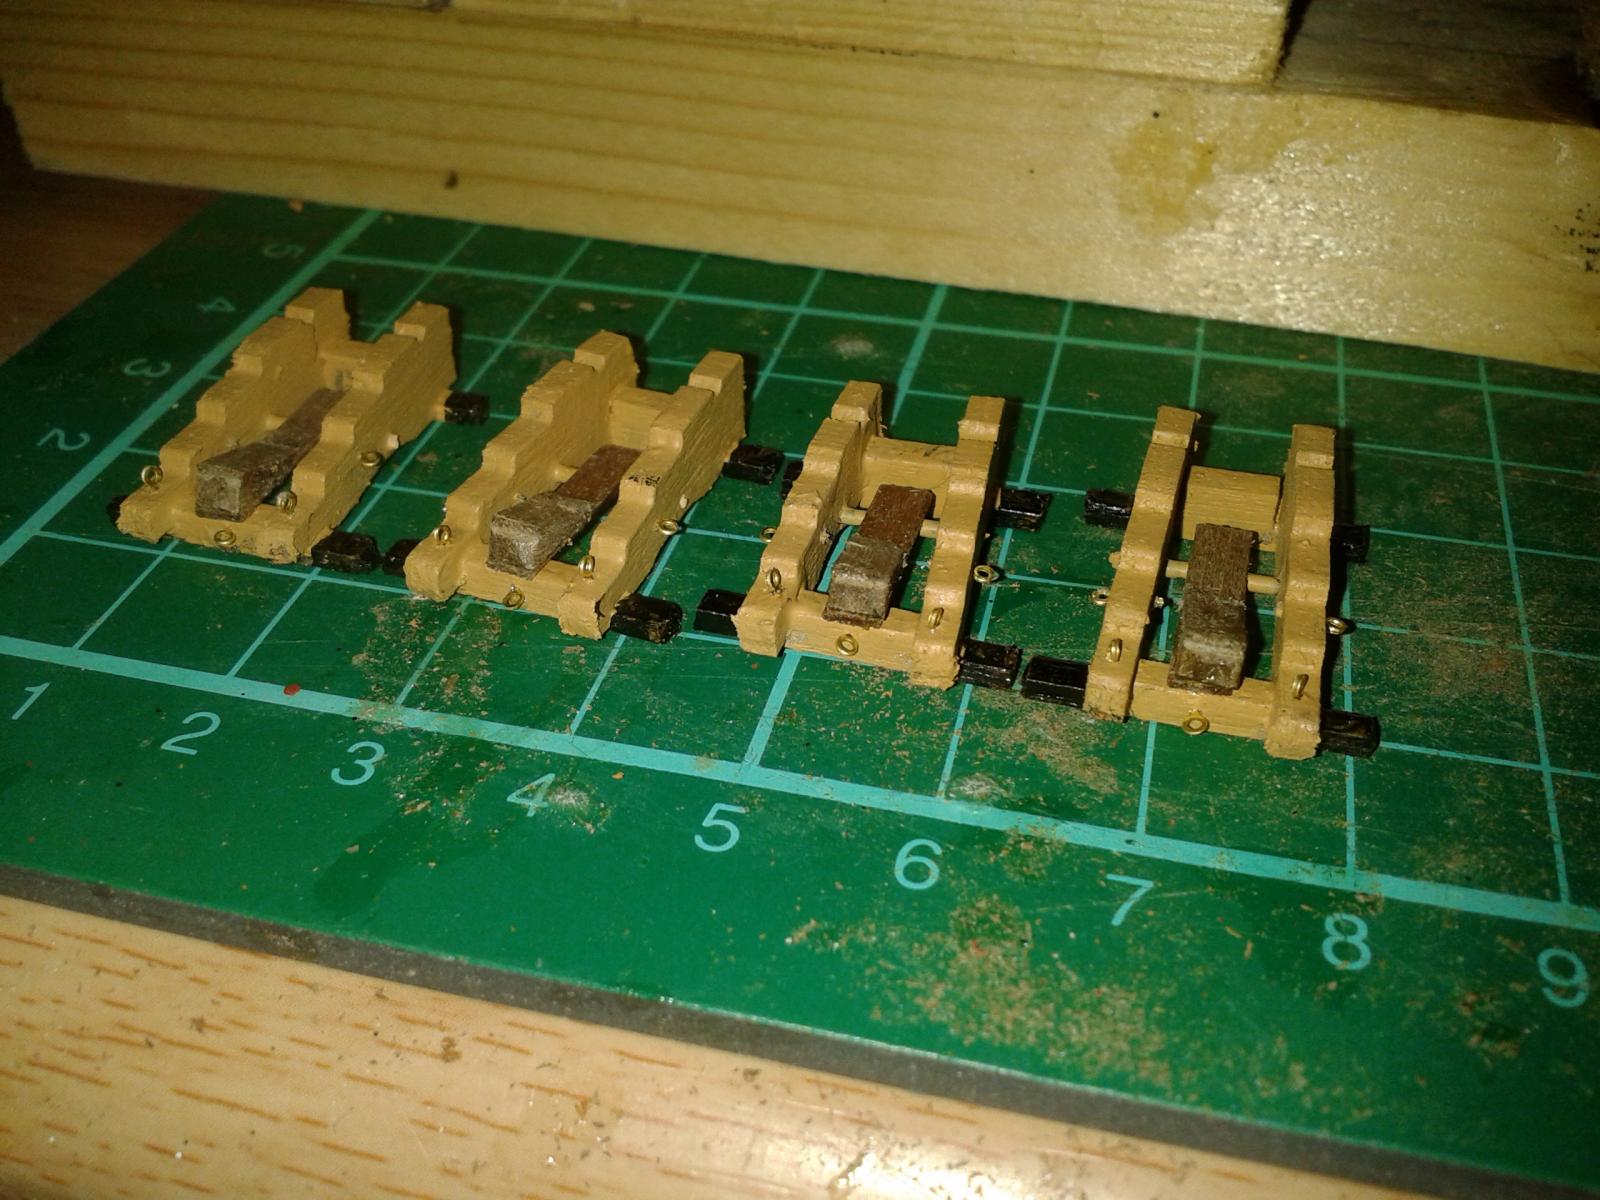
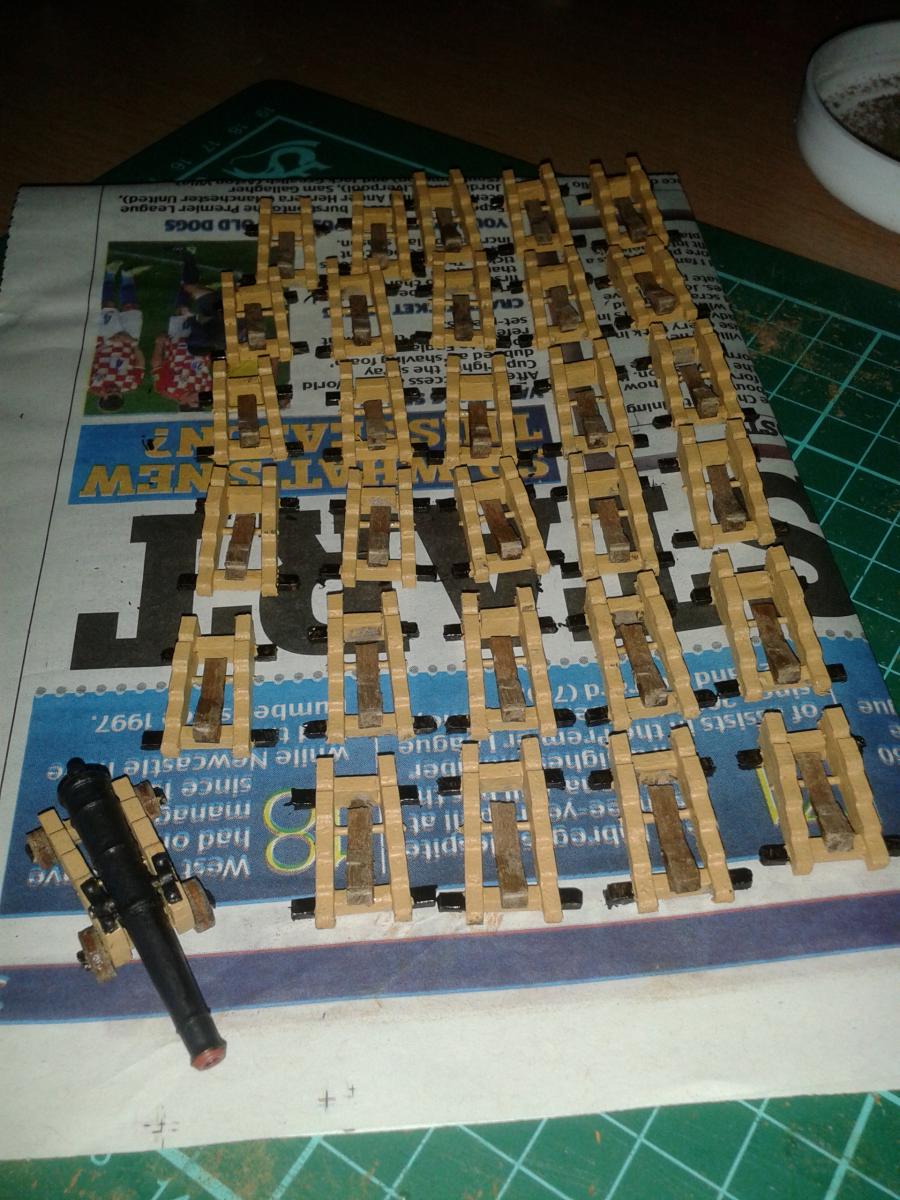
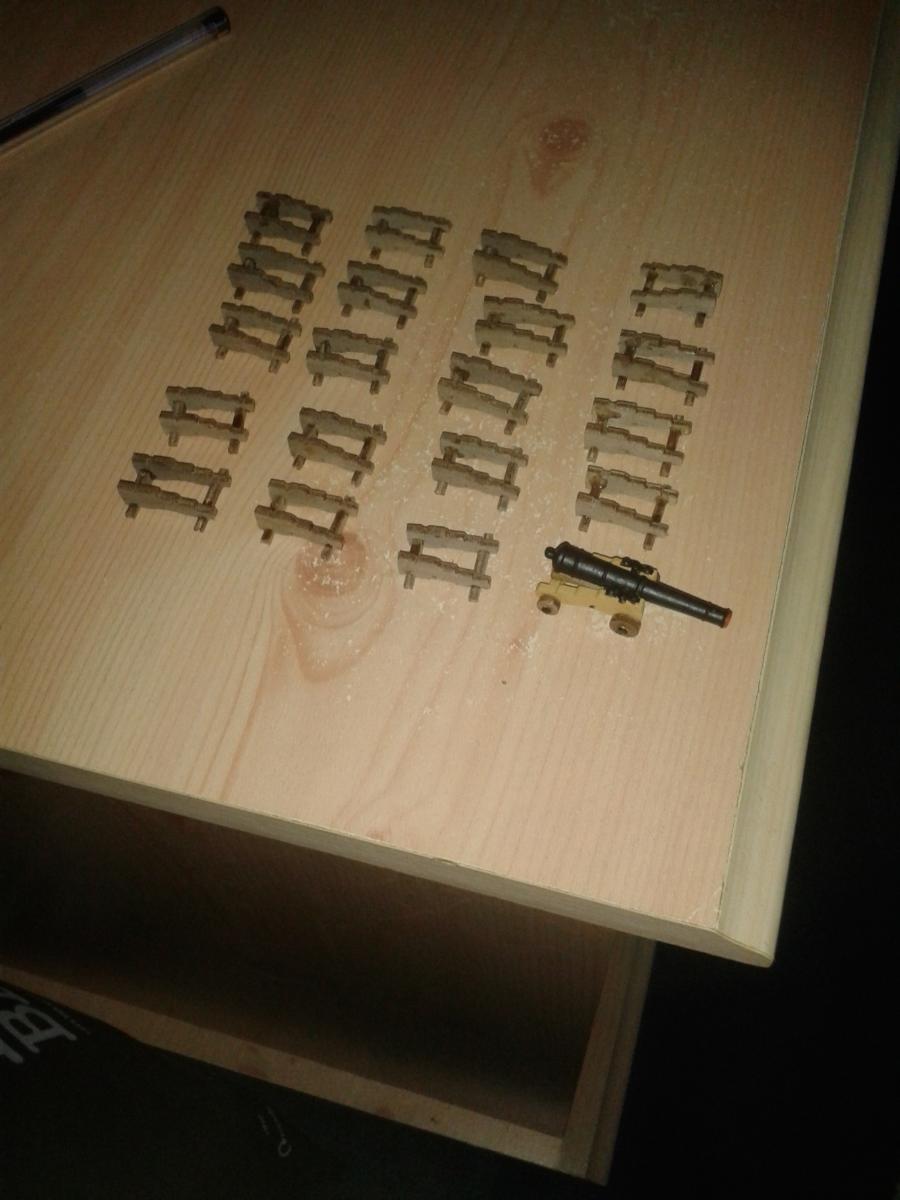
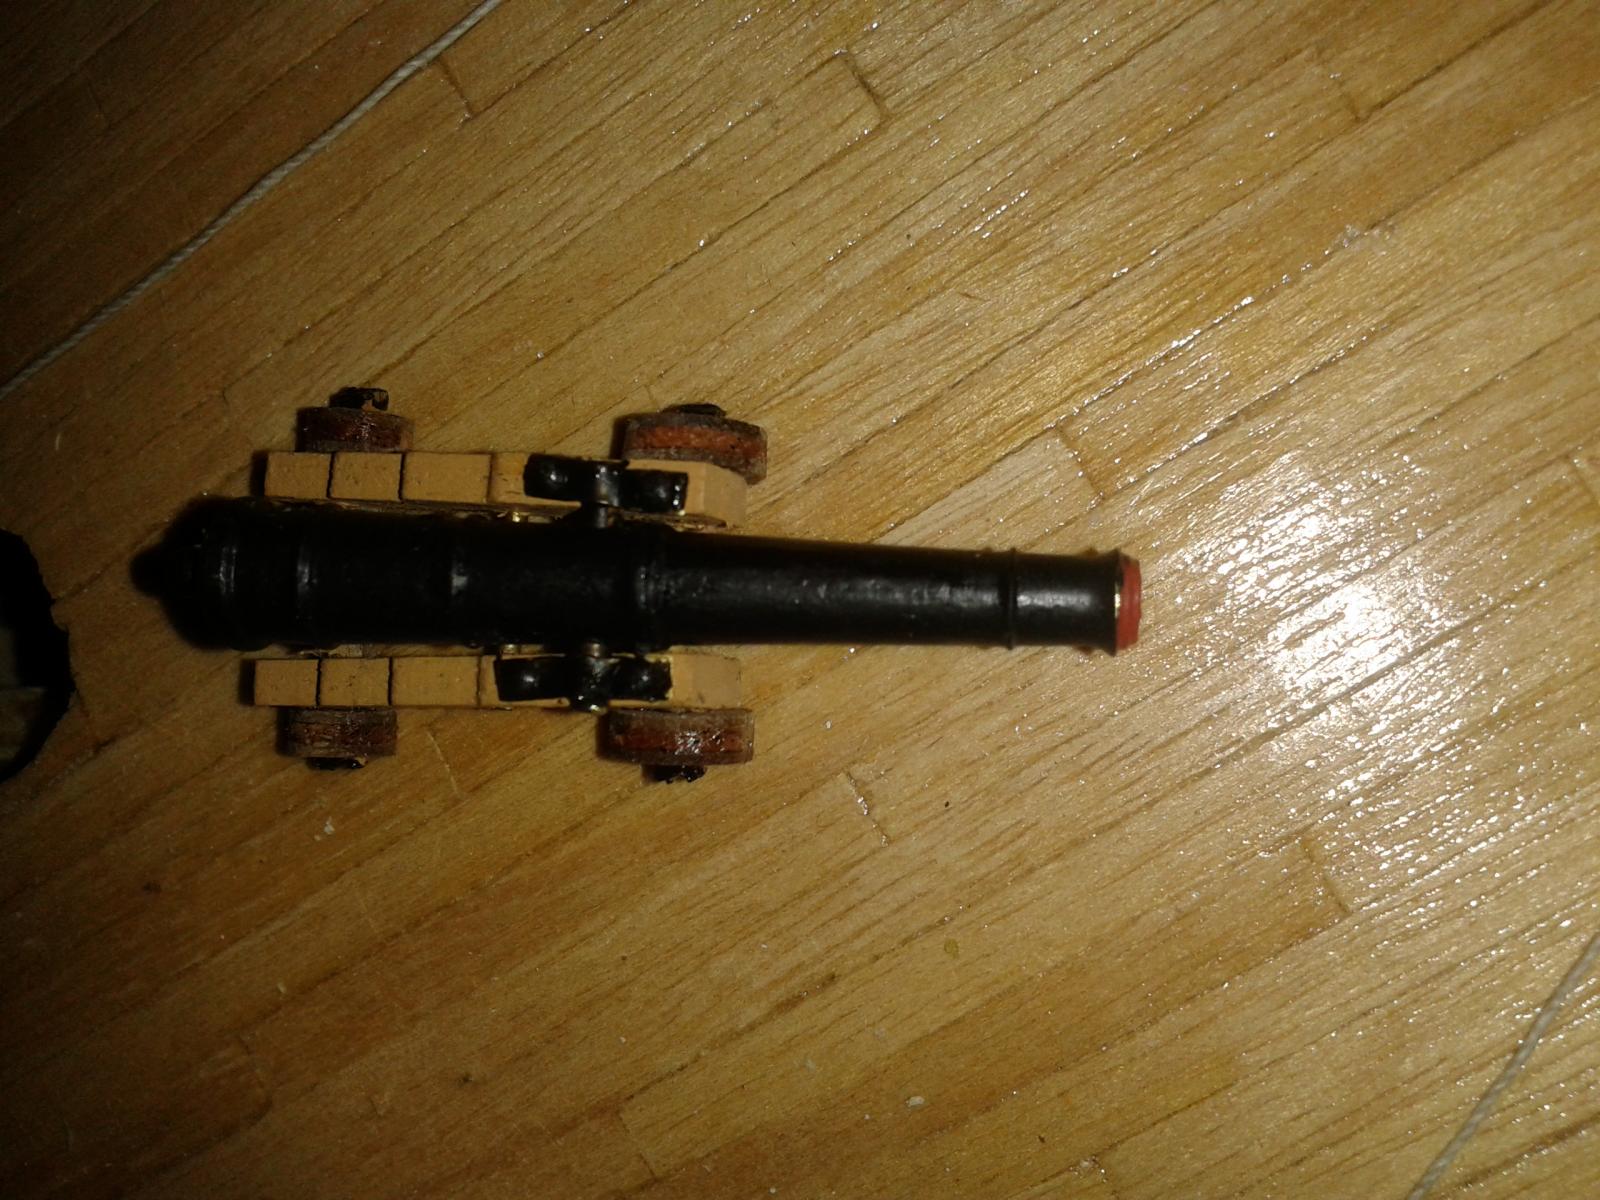
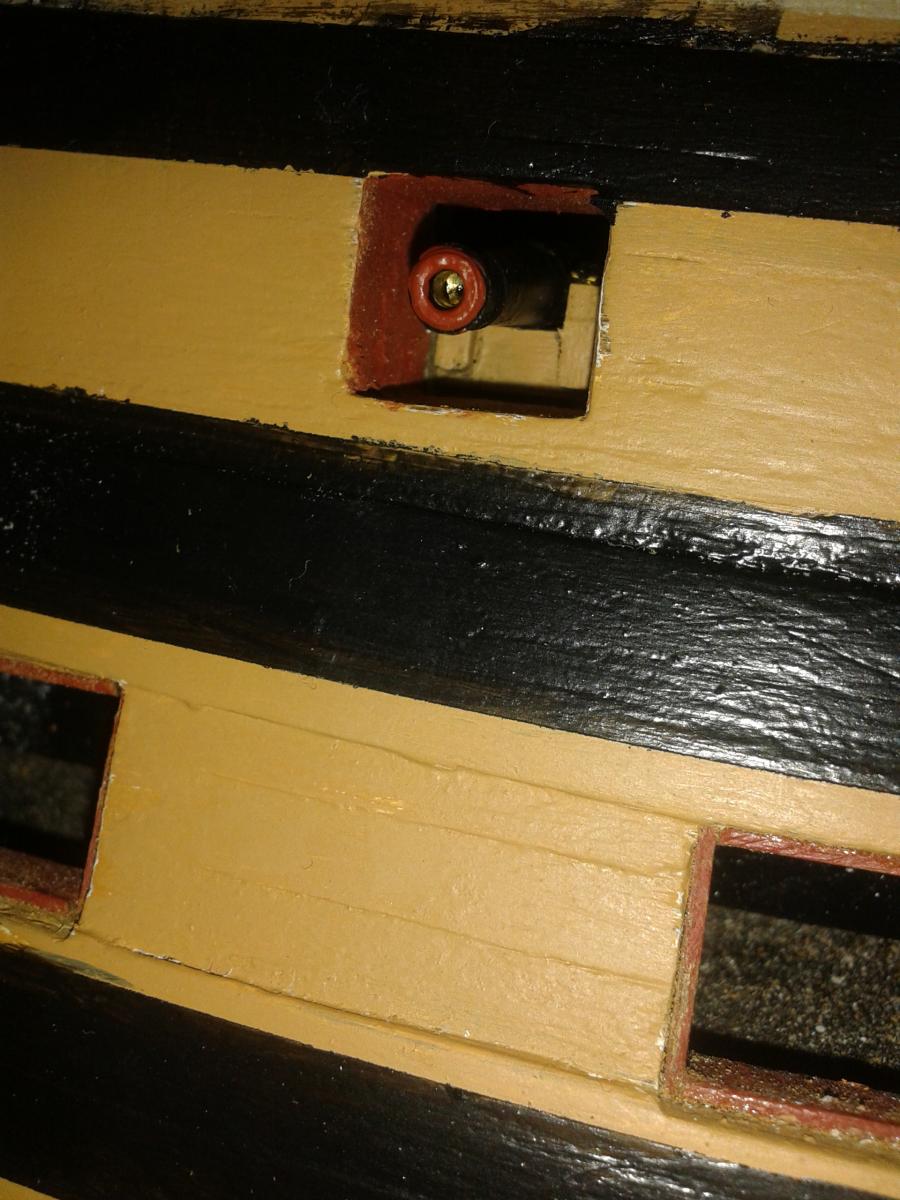
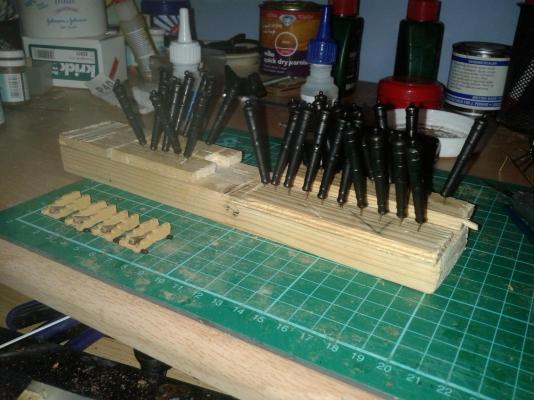
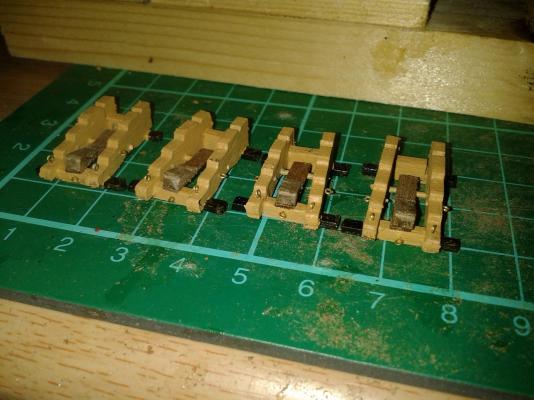
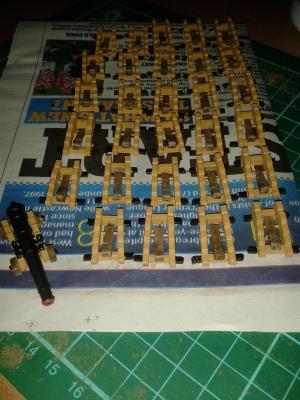
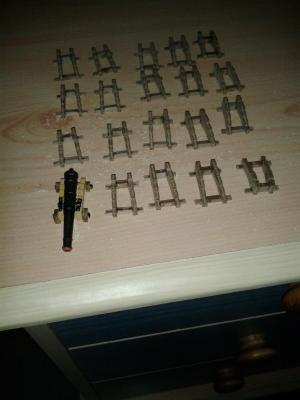
I'm still working on the 30 x 12 pound cannon carriages assemblies. I have completed all 30 frames carriages ready for the cannons include the stool bar and wedges, but I have only fitted the eyelets to 4 of the carriage assemblies so far. I have also fitted breach rope rings to 10 cannons which will be visible through the quarter deck. All cannons have been painted black. I will hopefully complete this phase, including the rigging, by the end of the week.

-
Hello Jerry They said it was a 20 year program for the HMS Victory and they have only being working on it for a couple of years!
-
Welcome back, you have been missed. Sounds like you had quite a repair job on the back, so I would recommend you take to slow and easy to start with I look forward to watching your progress once your able to spend some time in the shipyard.
-
Work still progressing on the assembly of the 30 off 12 pounders, gun carriages now ready for the cannons. I plan to start paint the cannons this week prior to the assembly.

-
After a 2 week break I'm back in the shipyard and have started the mass production of 30 x 12 pounder cannons, 10 more basic cannon frames to assemble, then comes the painting and further assembly and rigging (for a select few cannons). The time consuming aspect is the removal and filing of each part from the 2mm walnut strip

-
I think this picture shows my port and starboard navigation skills have slipped somewhat!

-
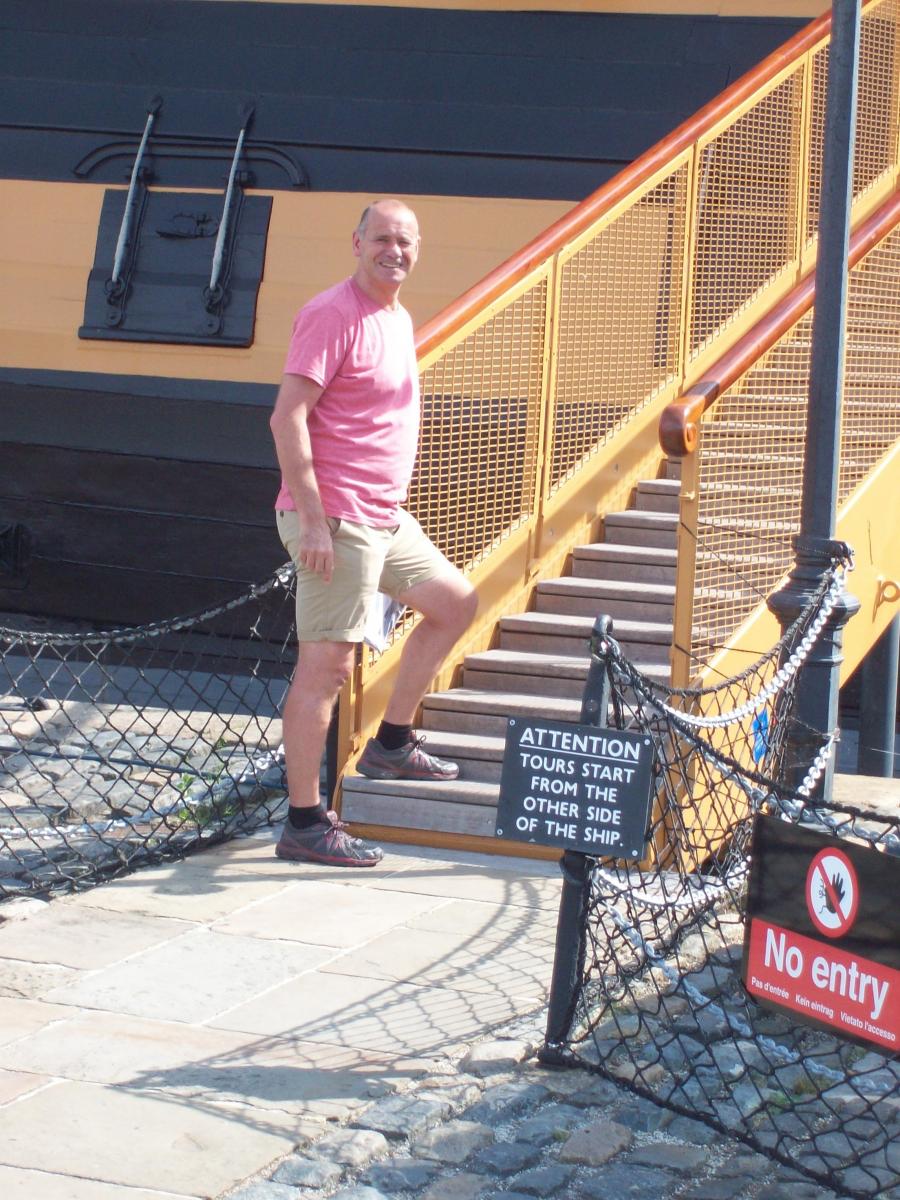
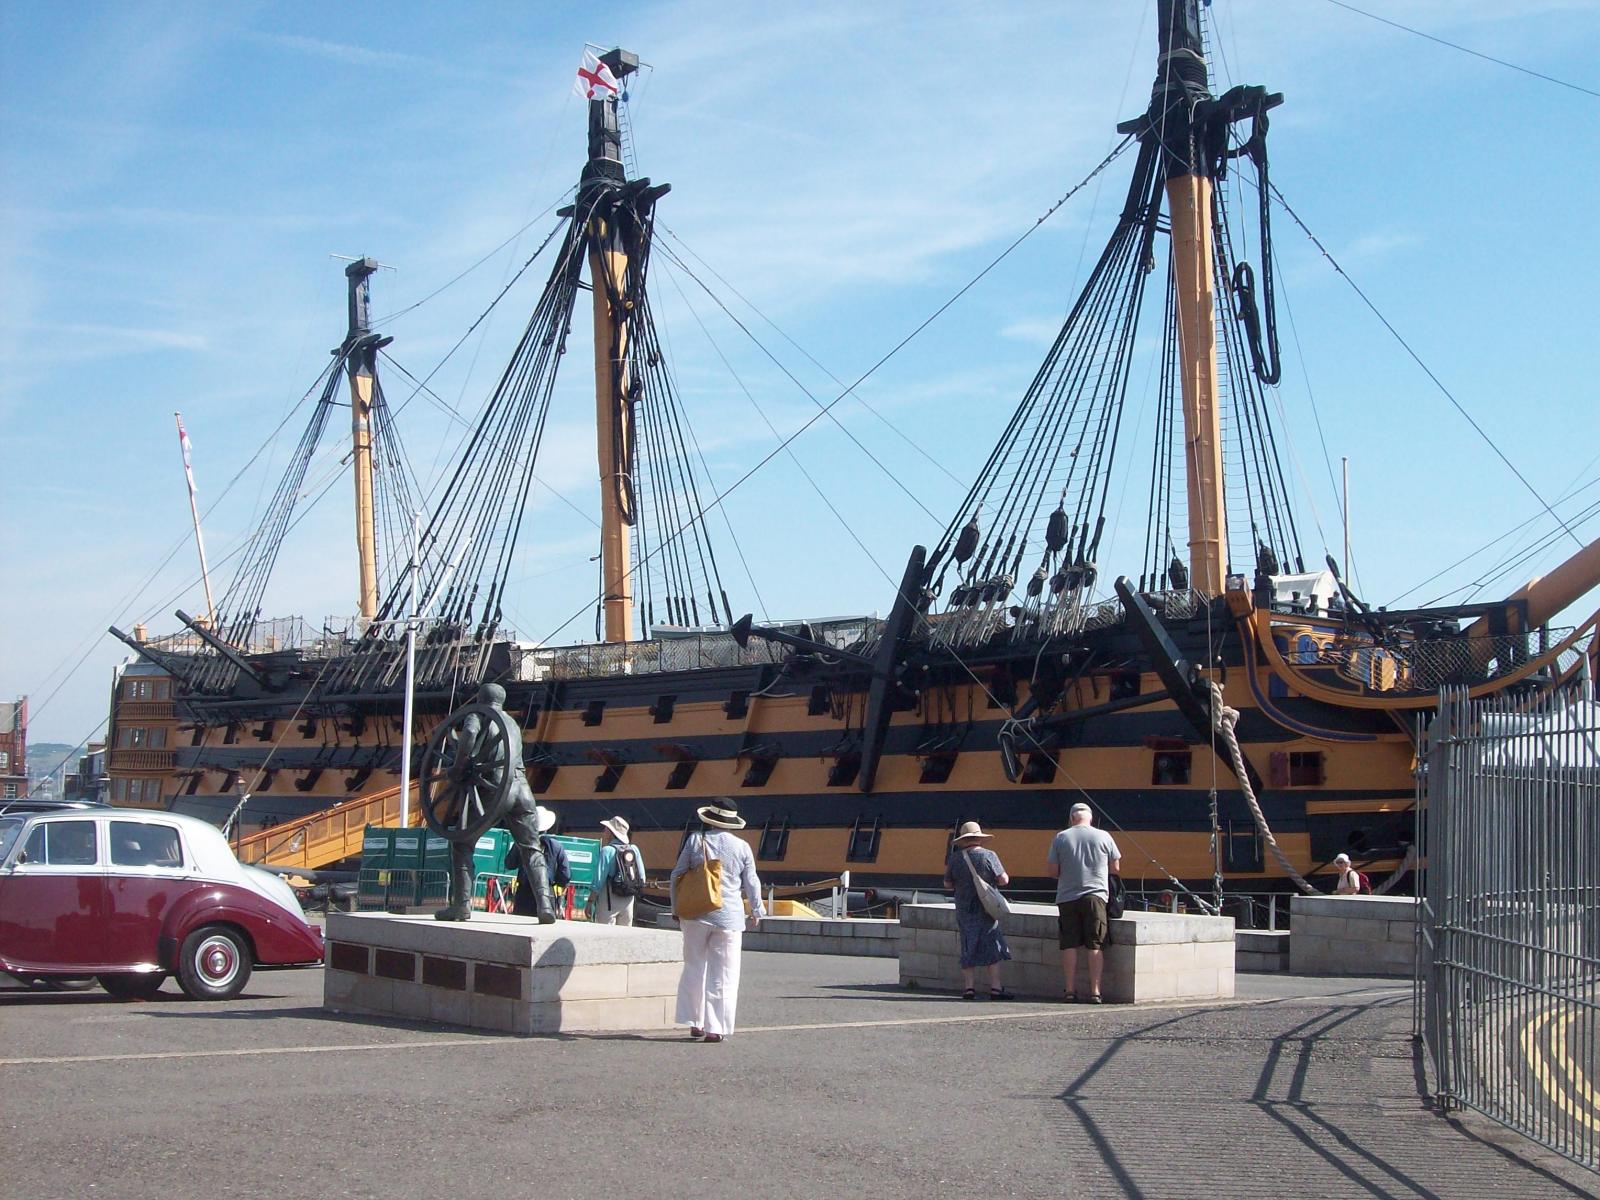
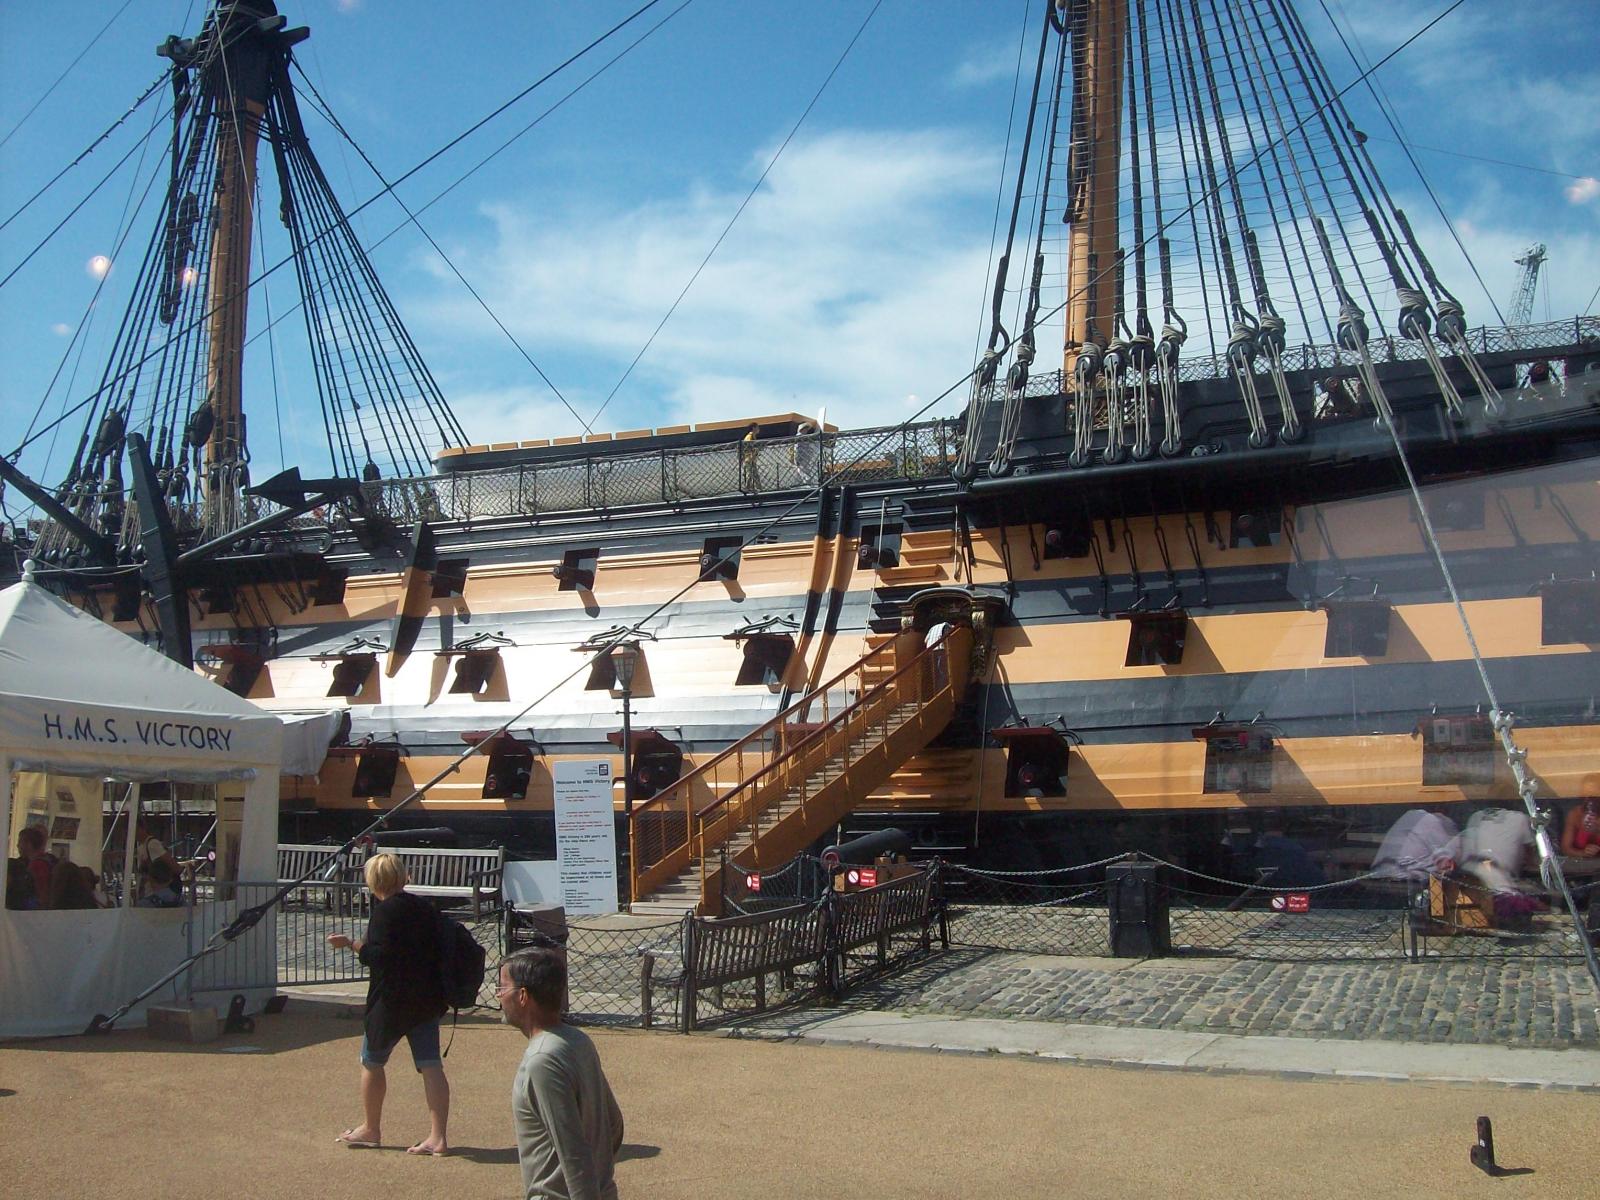
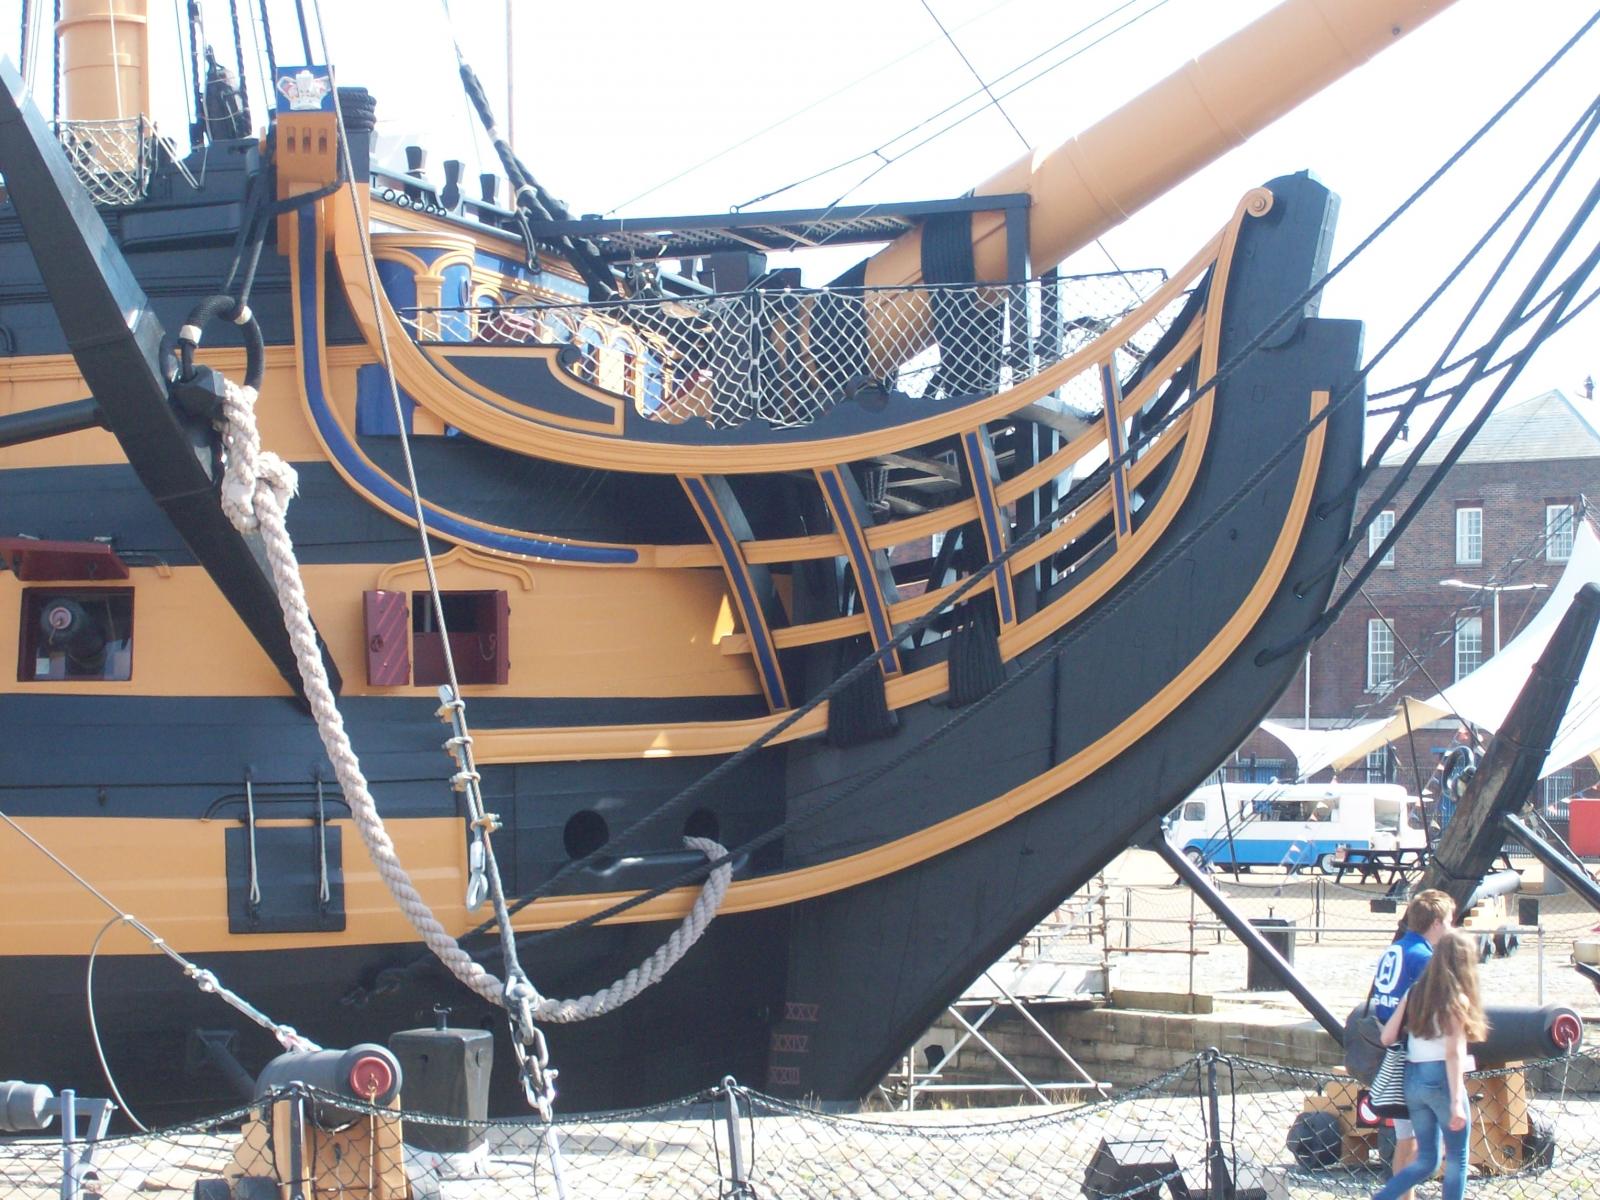
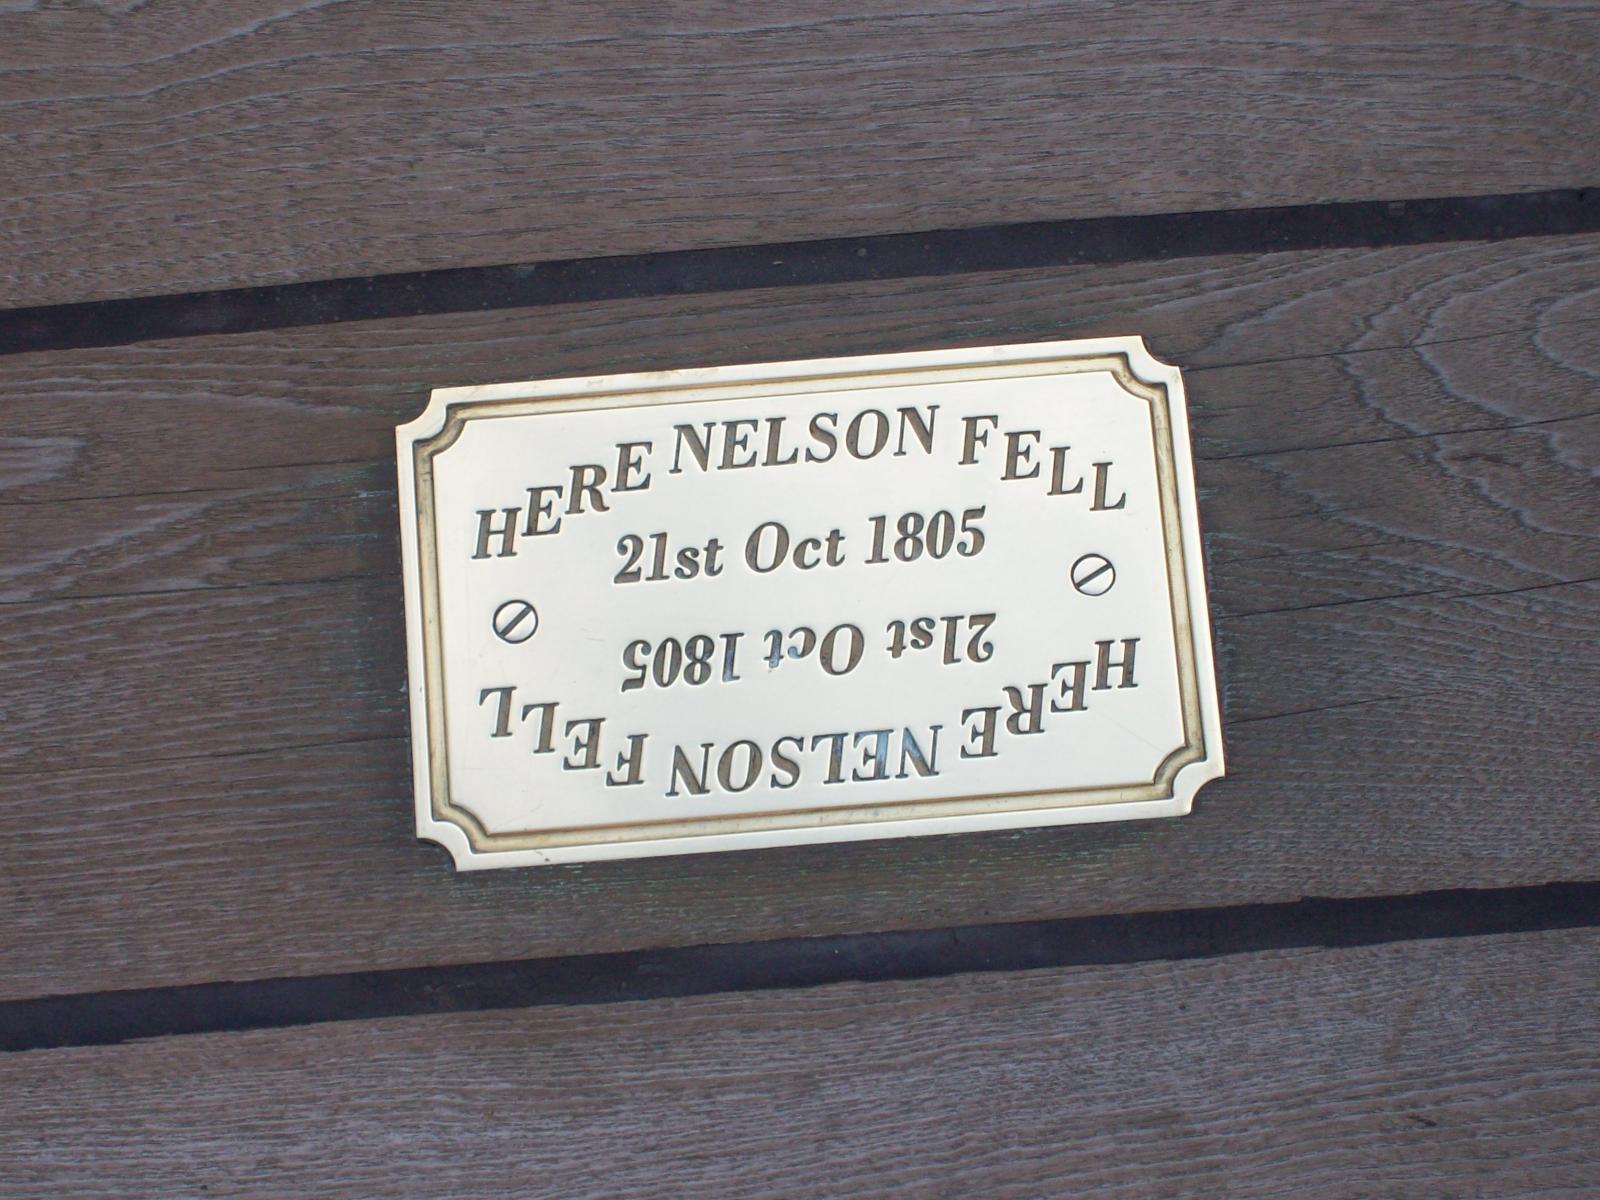
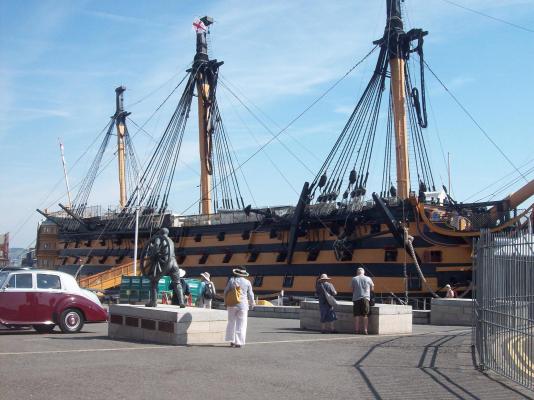
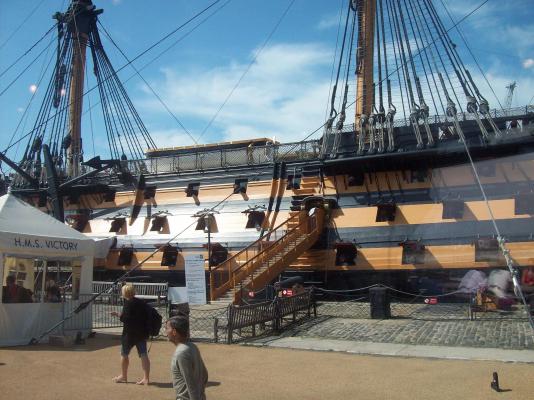
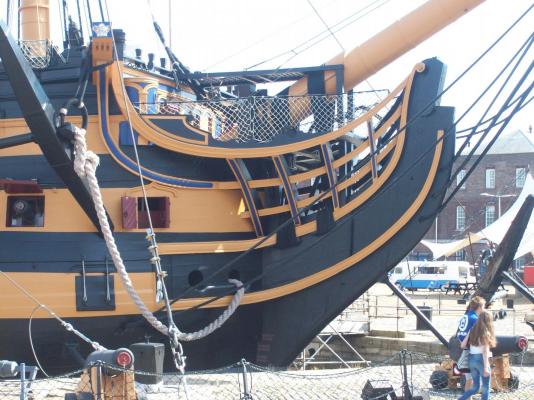
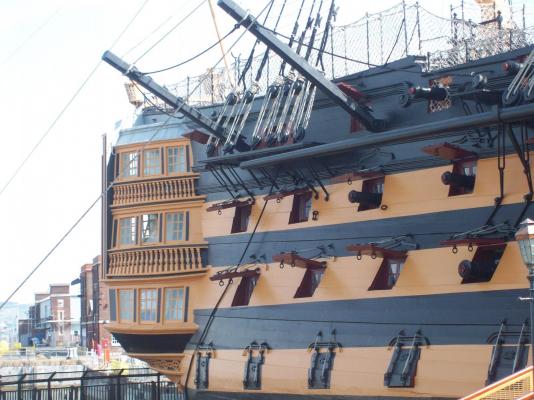
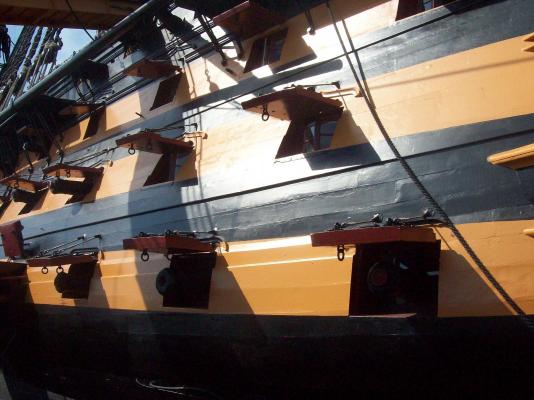
By the addition of magic dust the build is starting to look at bit more like the HMS Victory! It was a great visit, didn't really have long enough to take it all in (wanted to visit the submarine but ran out of time); tickets are valid for 12 months so another visit later in the year may be necessary, when it's not quite so hot (27'C on day of visit). We may think our build time is long, the current restoration work will take 20 years to complete. The tour of The Mary Rose was also very interesting.


-
My thoughts will be with you and trust you will have a speedy recovery.
-
Final post before I take a weeks leave of absence for a holiday to Jersey and then Portsmouth for my HMS Victory visit. Companionways installed and I will complete the ropeways after the cannons have been built and installed. Shot has been glued to the garlands First cannon has been assembled, this is going to be one of the unrigged cannons hence no eyelets fitted.


-
Good to see you back, sorry to hear about the bad back; it's something I have a lot if problems with also since slipping a disc a few years ago, so I know how painful and disabilitating it can be. You rigging looks good continue as best you can and I hope the back gets better soon.
-
Hi I'm aware about the restoration work, but since we've have planned our holiday I just happy I get a visit as it will be very educational. I staying very near to Curry Sark on Tuesday / Wednesday but with travel arrangements a visit is not possible.
-
Hi Jerry Welcome back trust you had an enjoyable holiday. Got tickets to see Monty Python for Tuesday night who are doing 10 shows in London. I then go on holiday next weekend which includes a trip to HMS Victory on the way home.
-
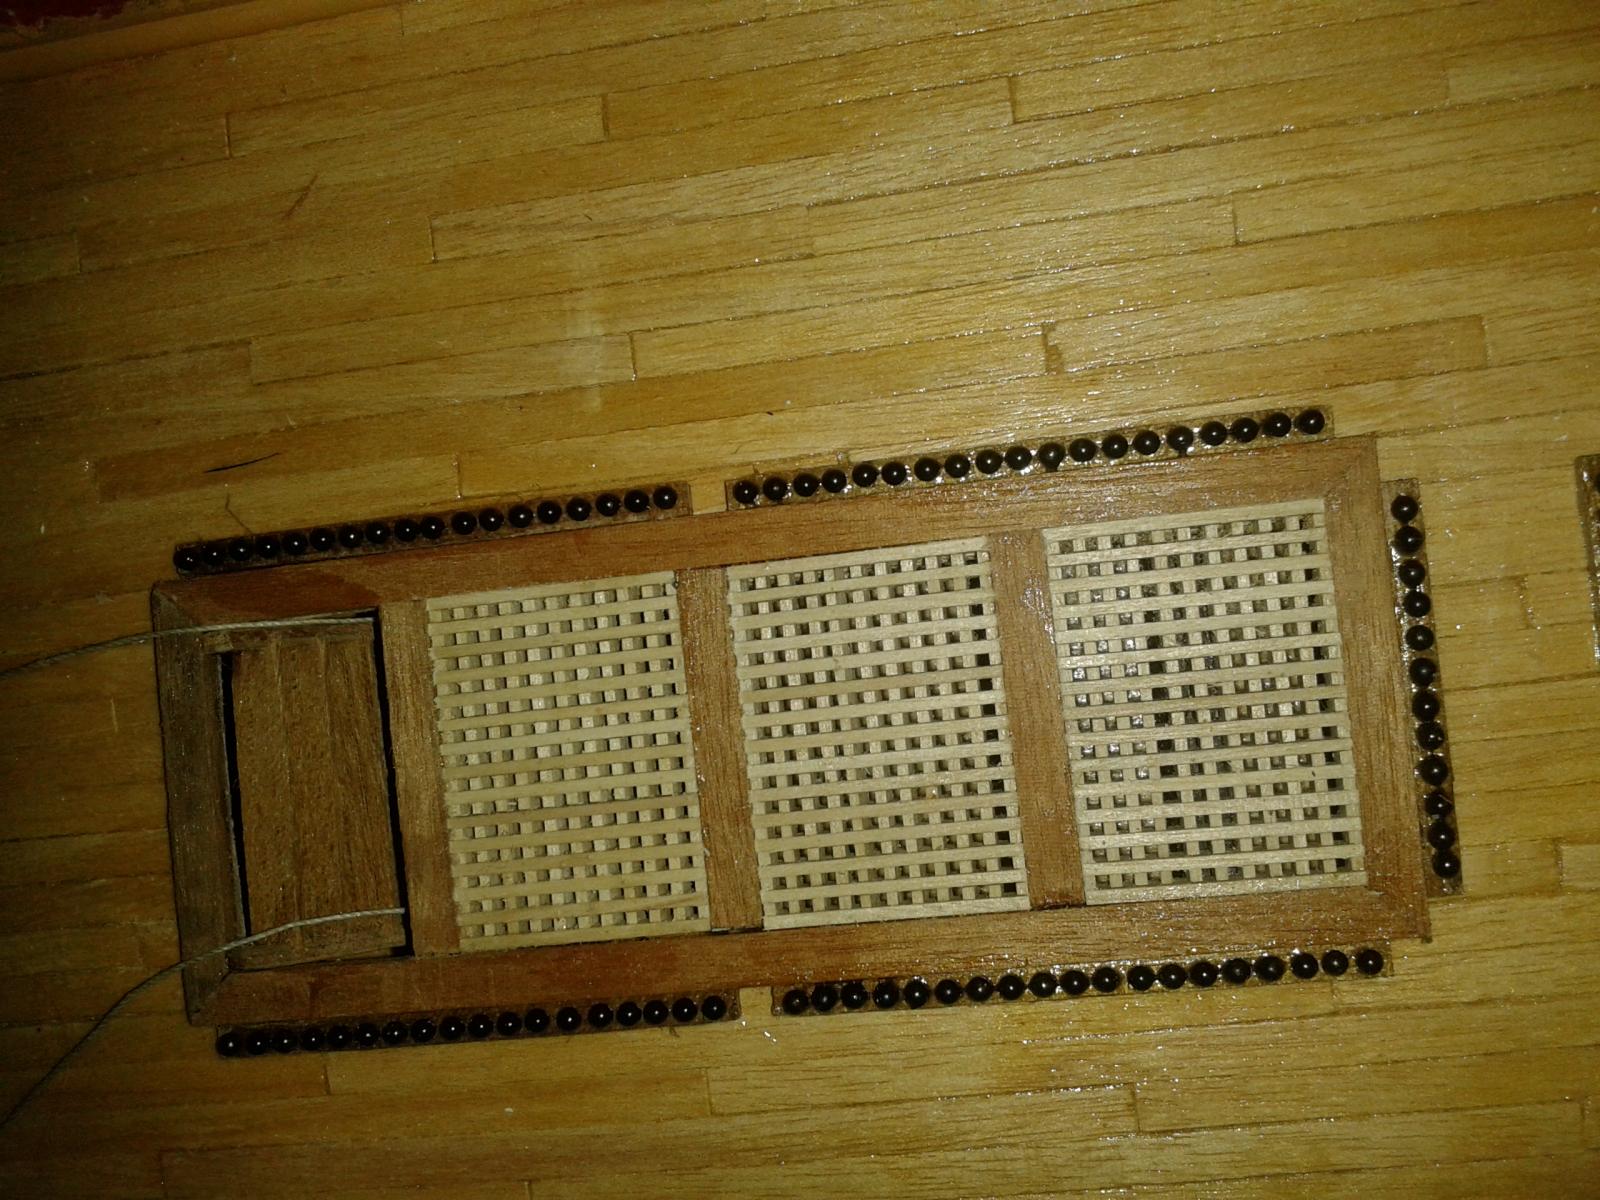
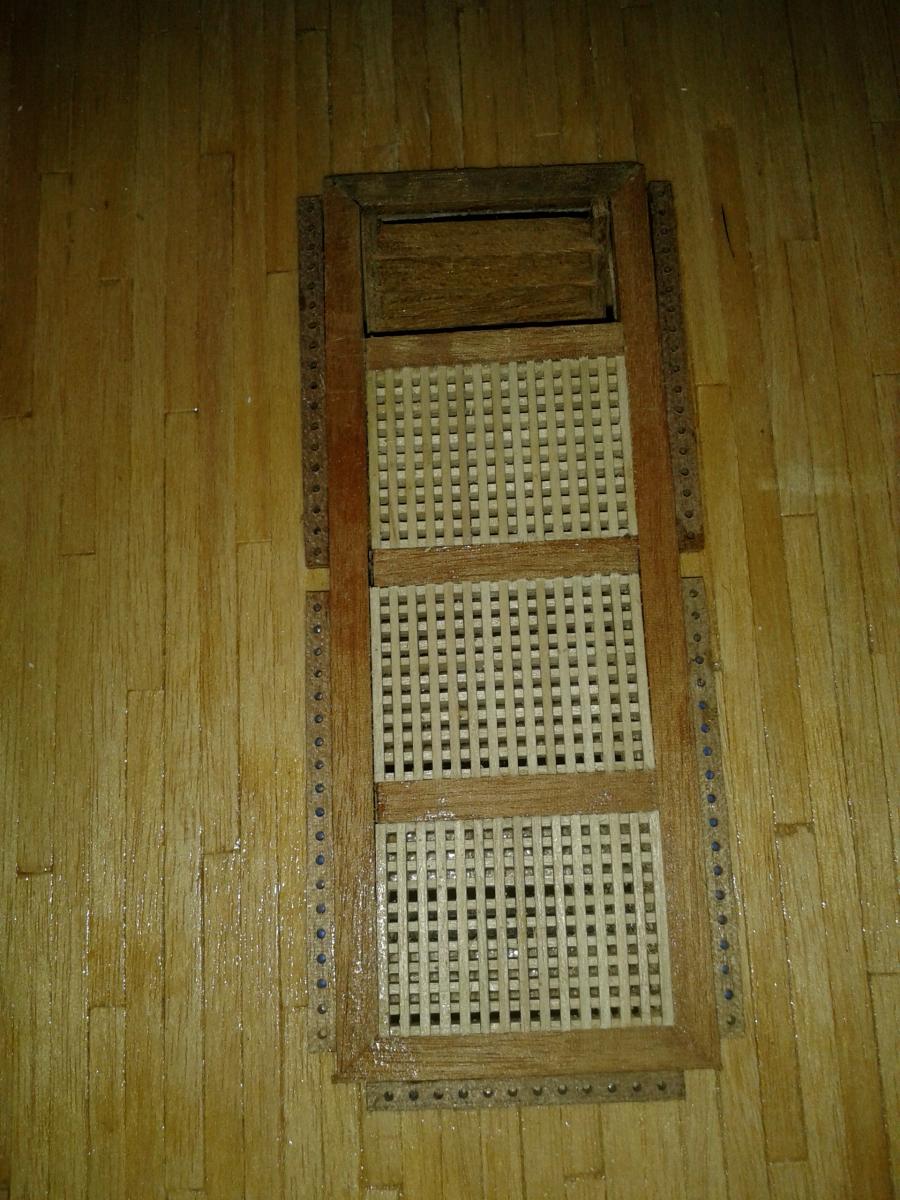
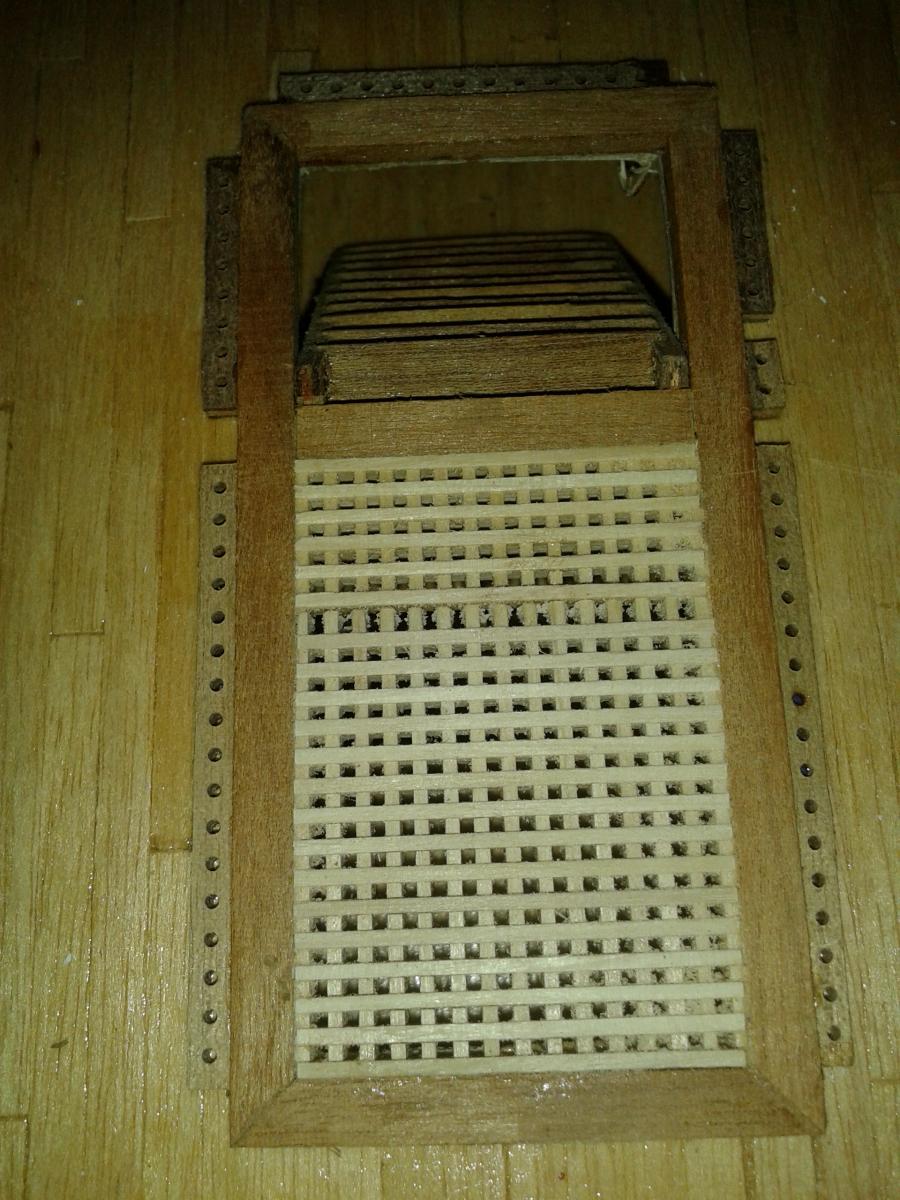
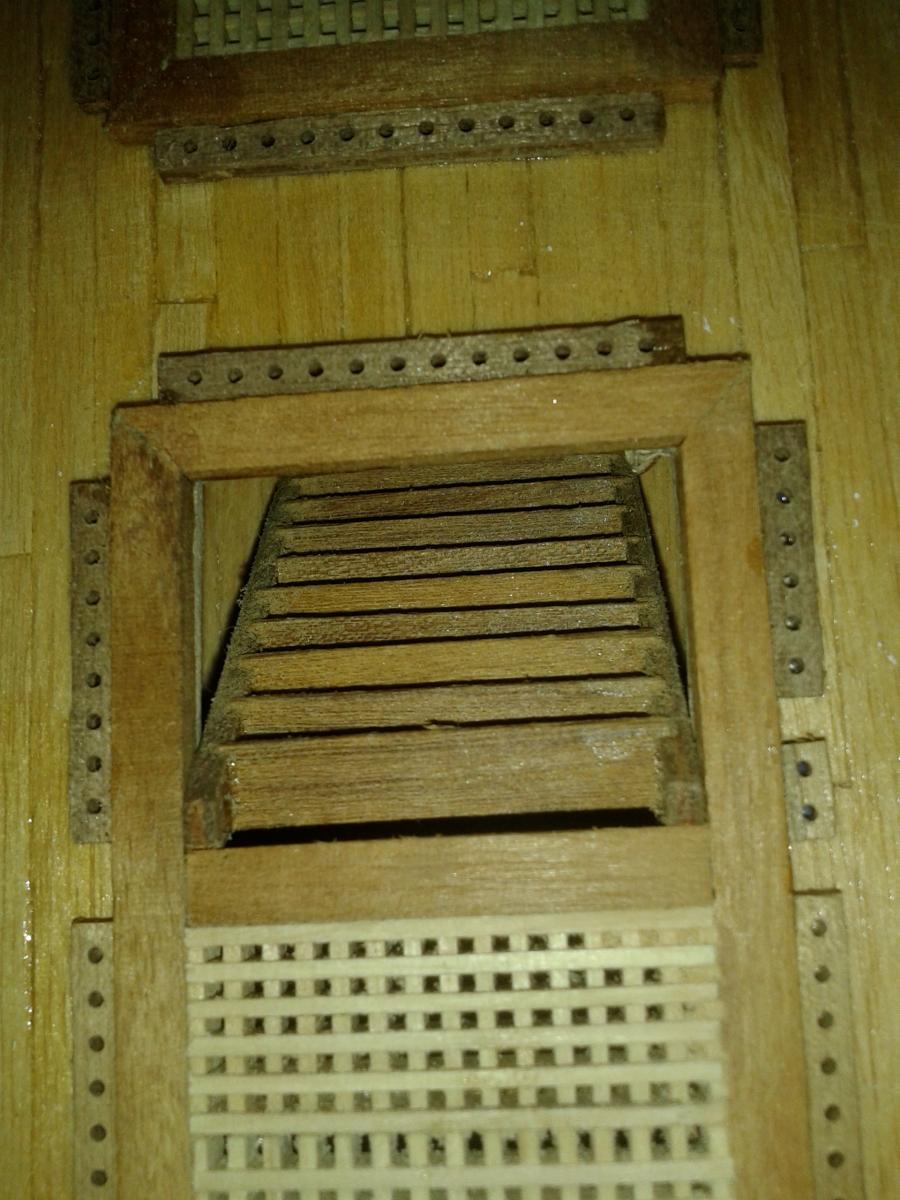
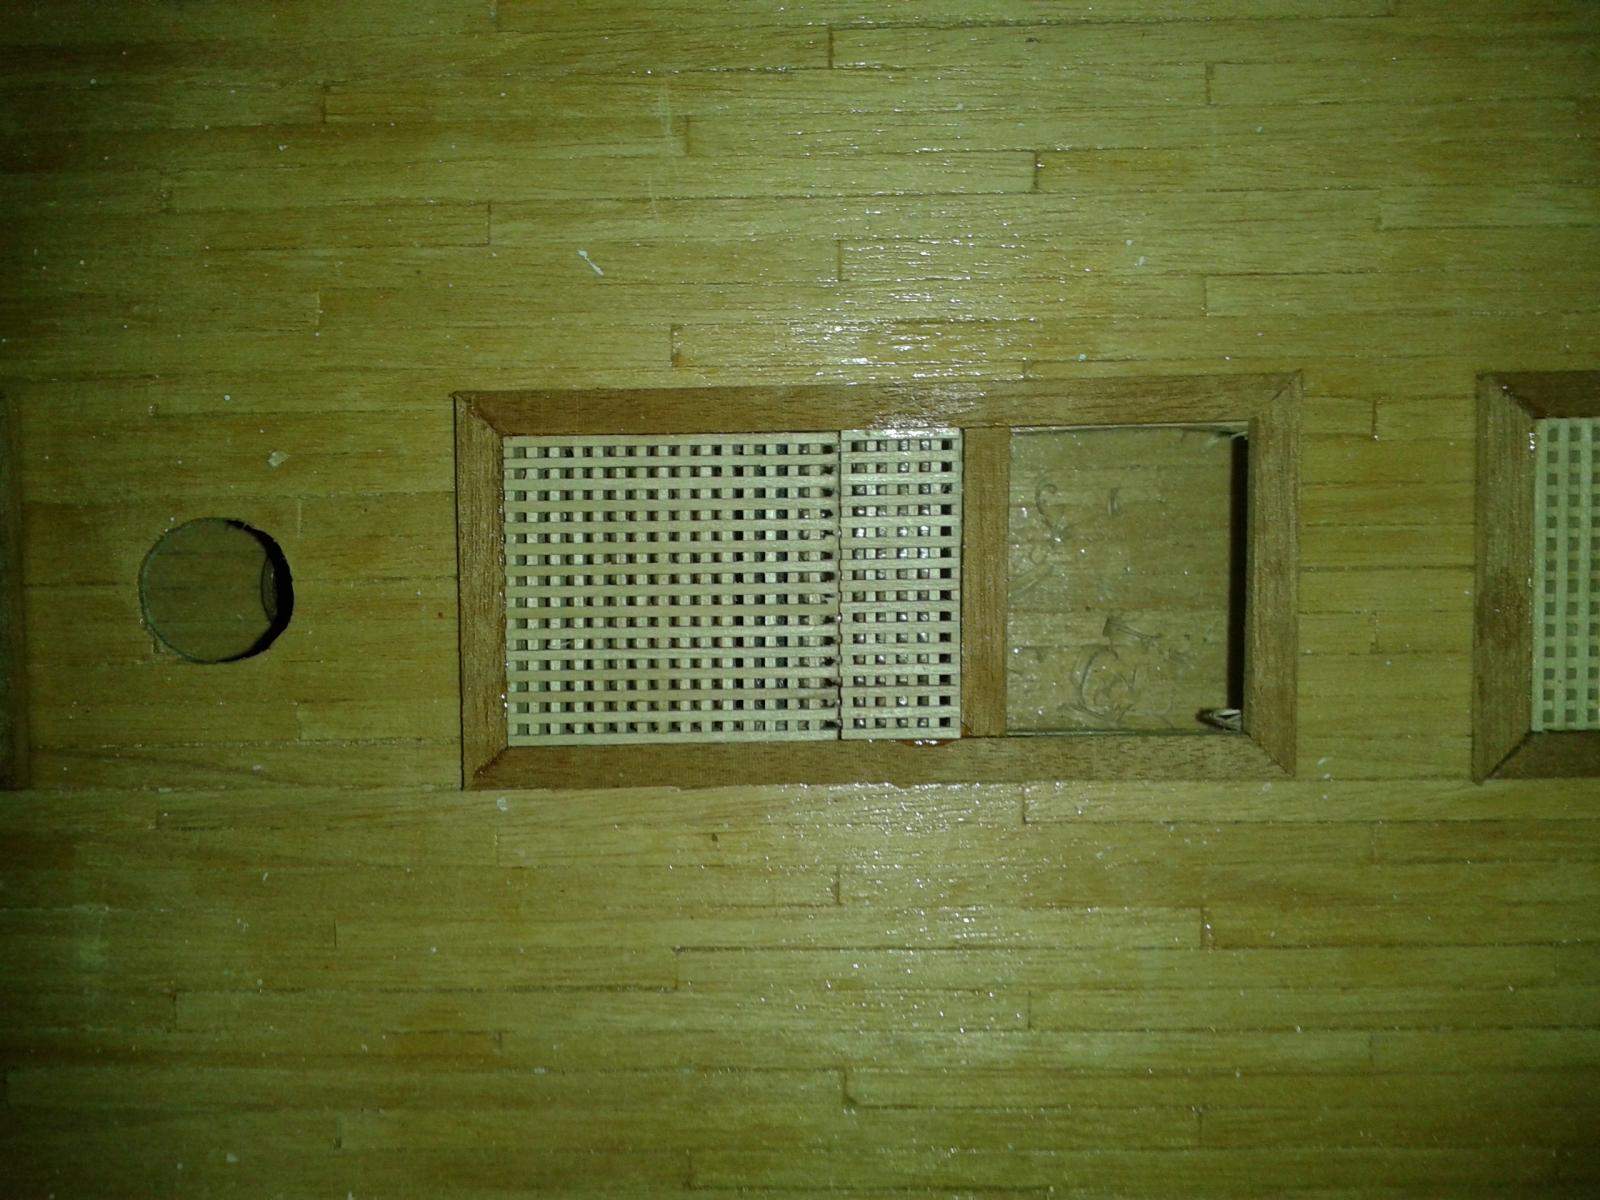
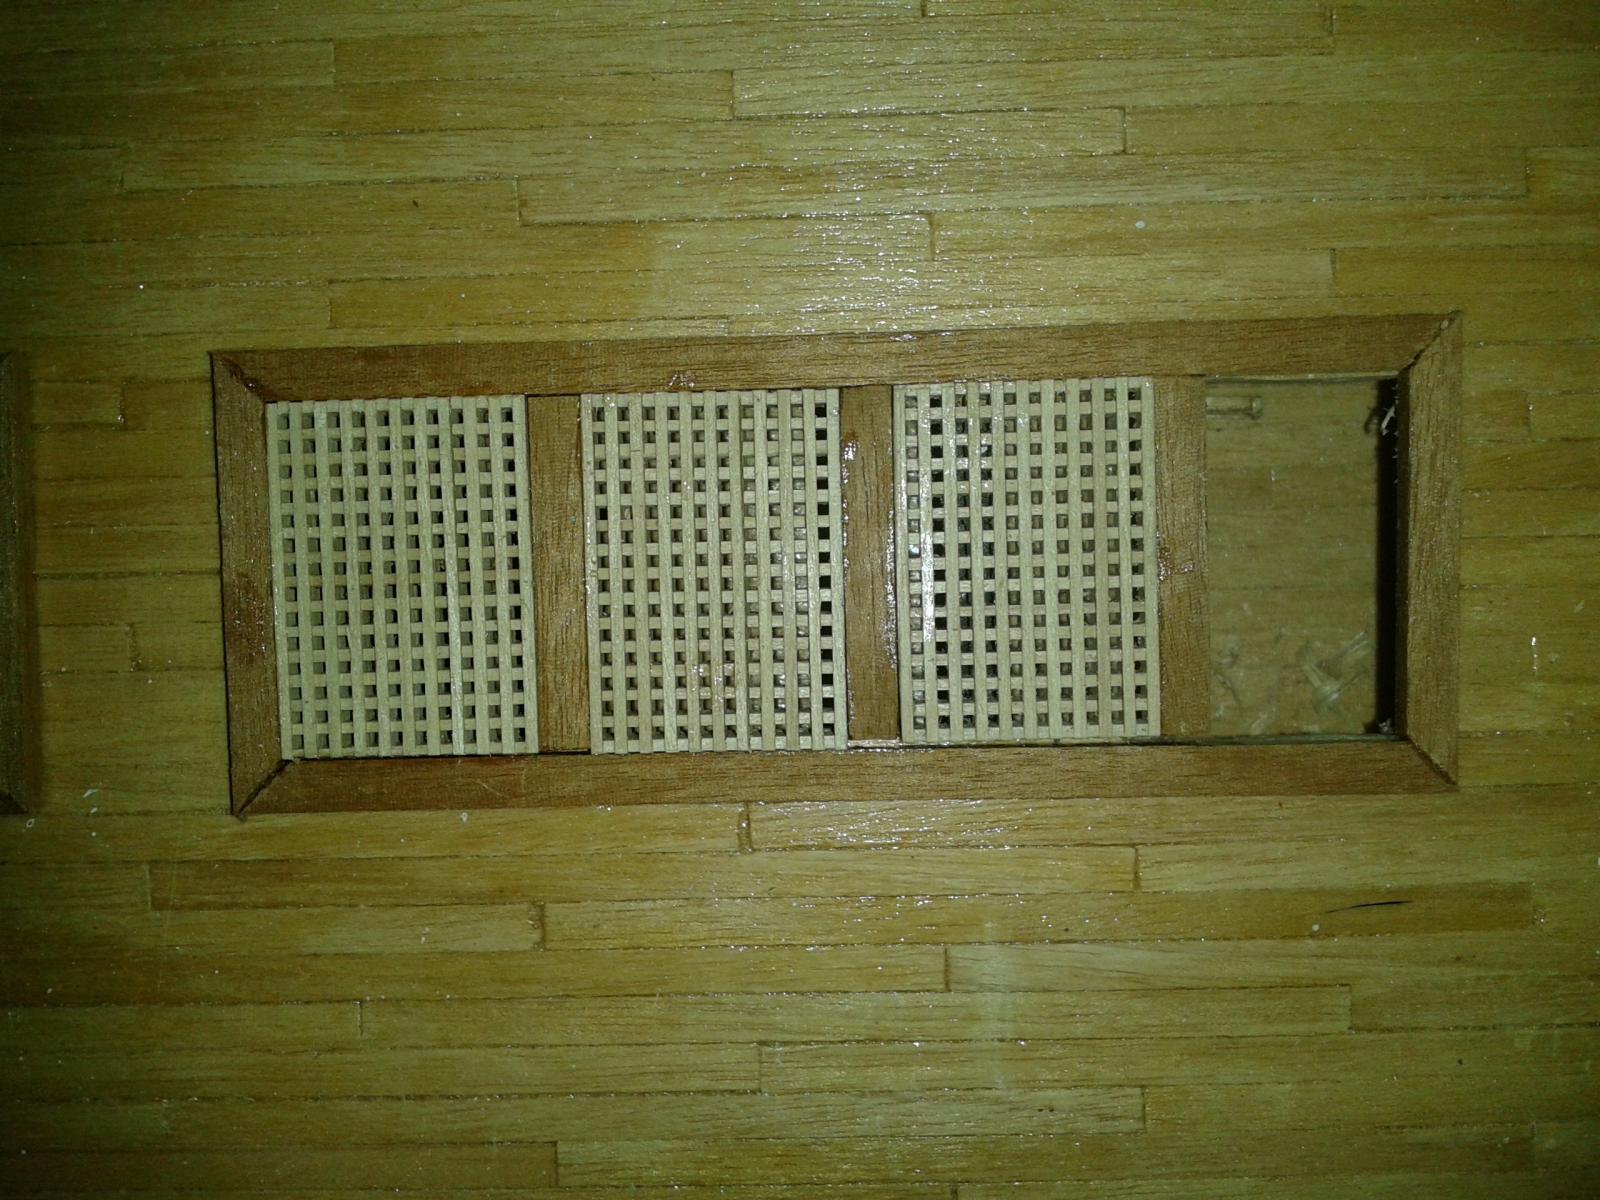
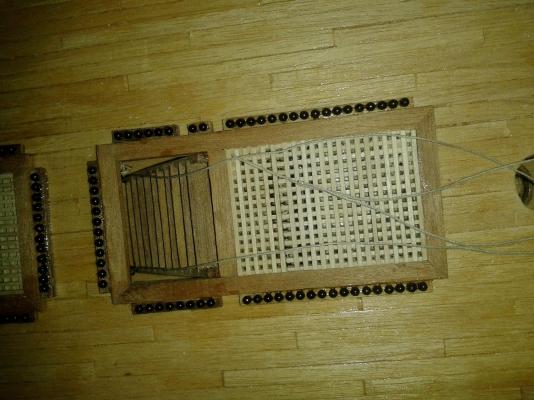
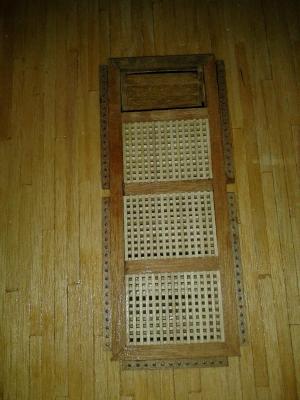
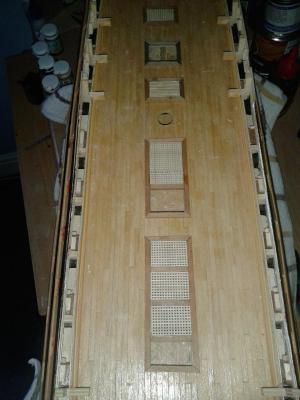
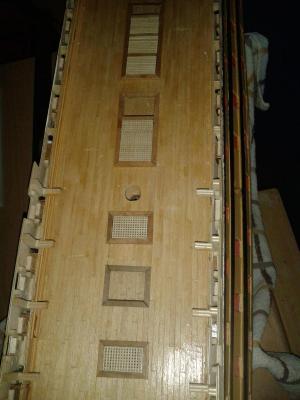
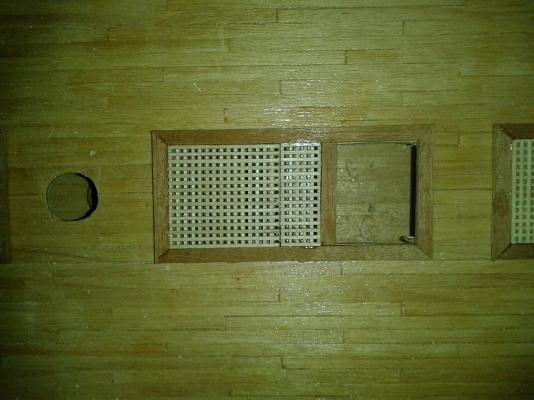
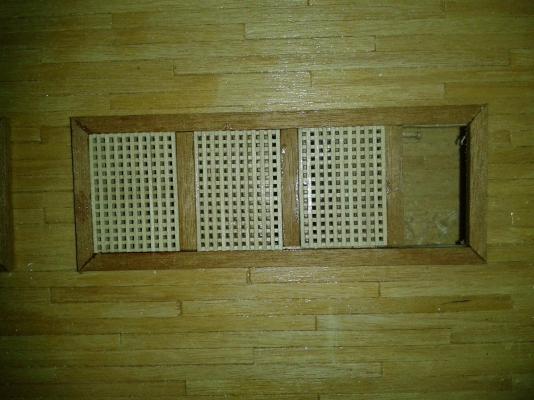
Gratings have now been sanded and glued in to position. Also glued the shot garlands to the edges of the grating coaming. I have also made the 3 companionways, which I have dry fitted into position. I just need to fit the eyelets and hand rail thread before I gluing the companionways into position which I will try to get done tomorrow night as I'm off to London the day after for a couple of days.


-
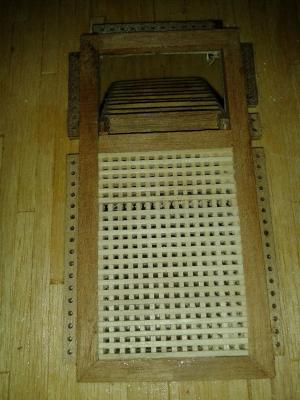
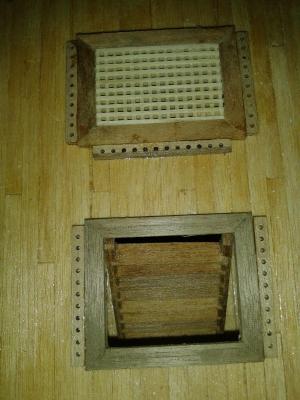
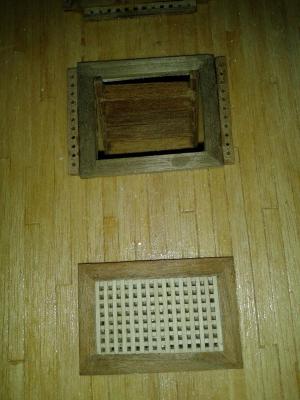
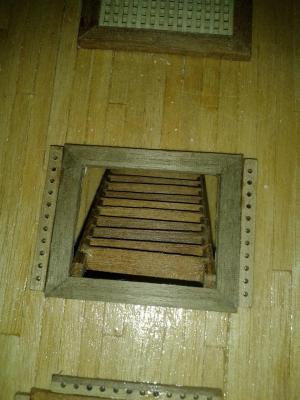
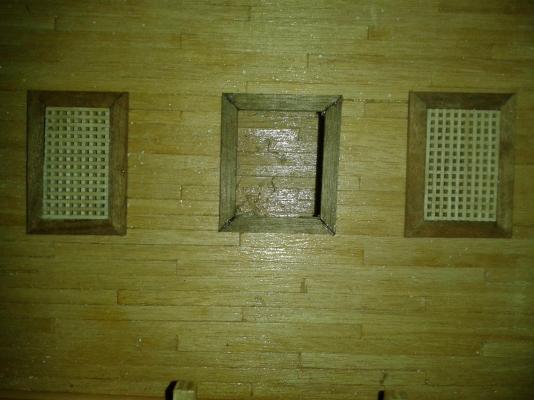
I have completed the gun deck gratings and coamings. Shot garlands and companionways to follow. Just need to trim the hatch openings a tad in a couple of places, even though it will not been noticeable when the quarter deck is fitted.
-
What a fantastic workshop, you've done a great job with that, and the Victory looks great in the dry dock.
- 1,319 replies
-
- 1
-

-
- caldercraft
- Victory
- (and 1 more)
-
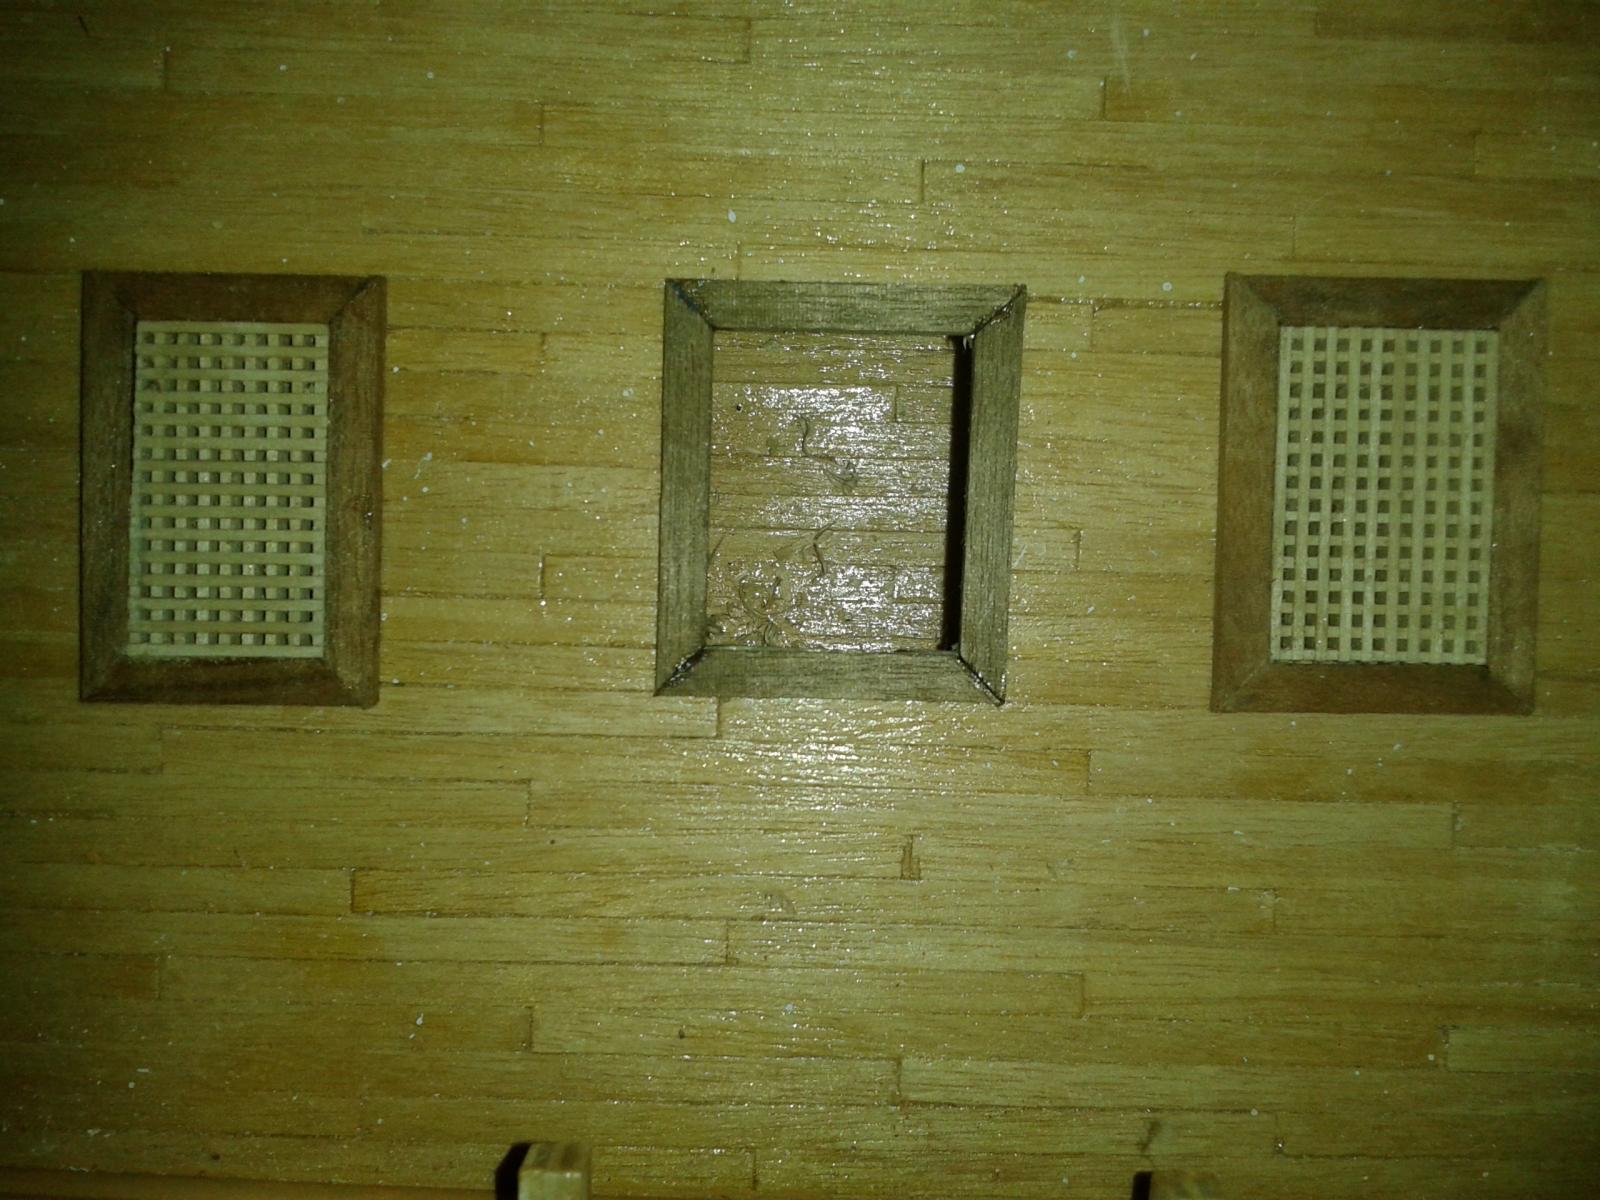
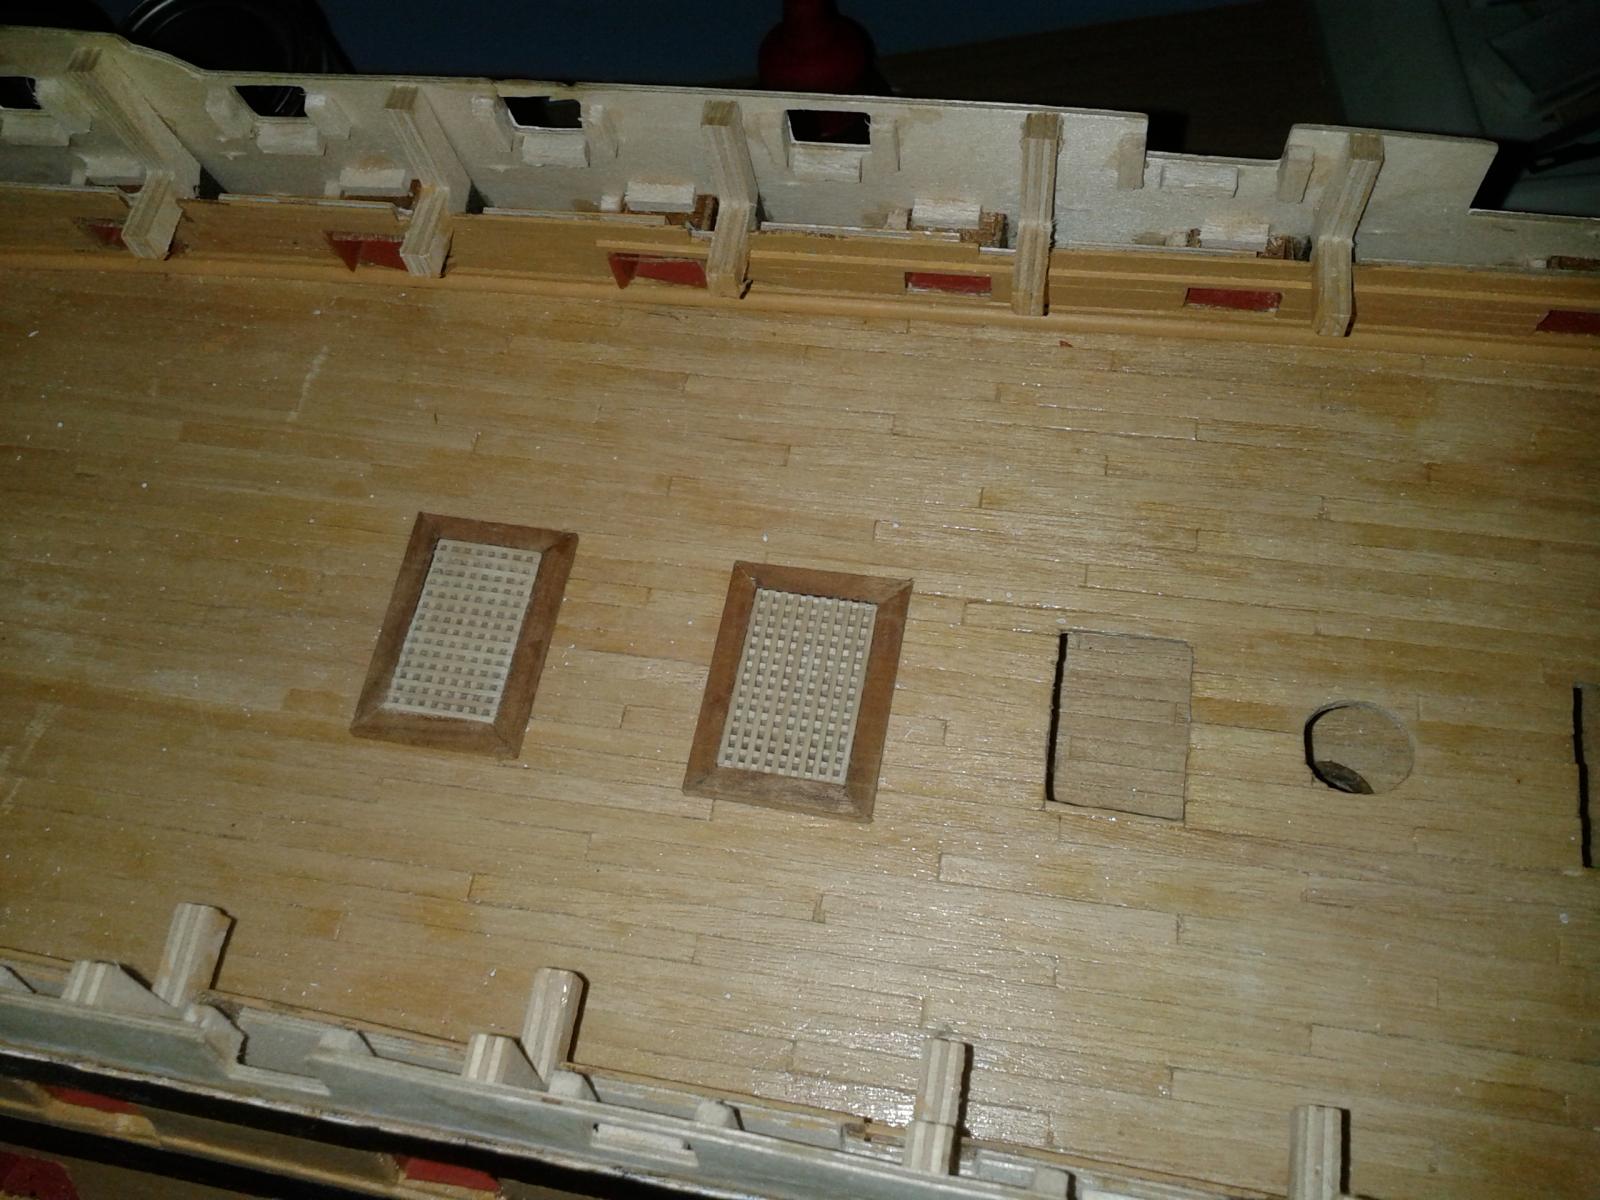
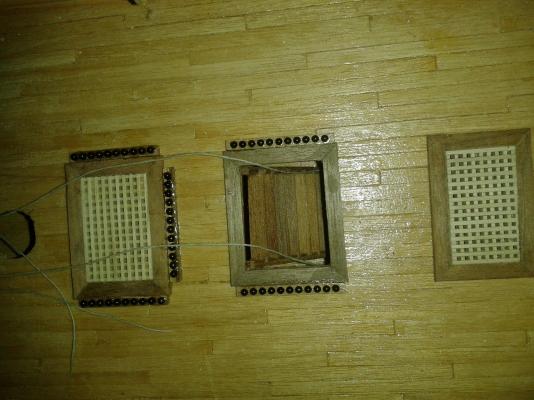
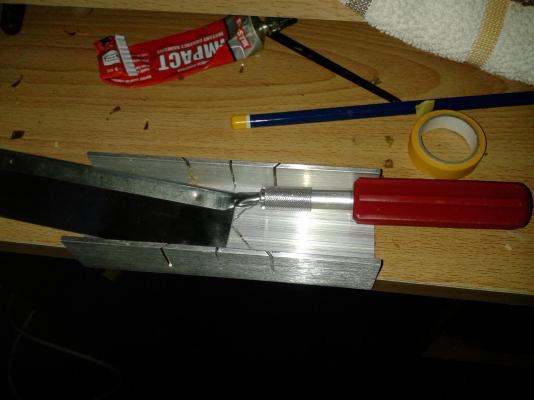
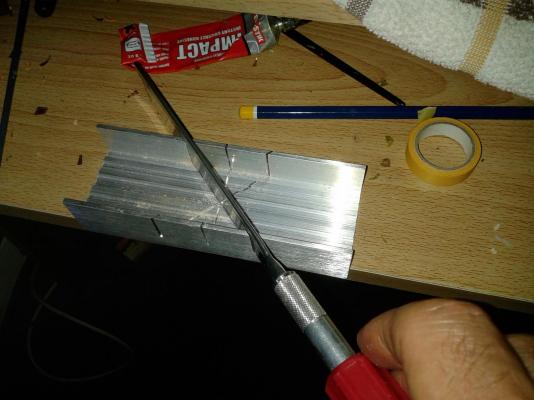
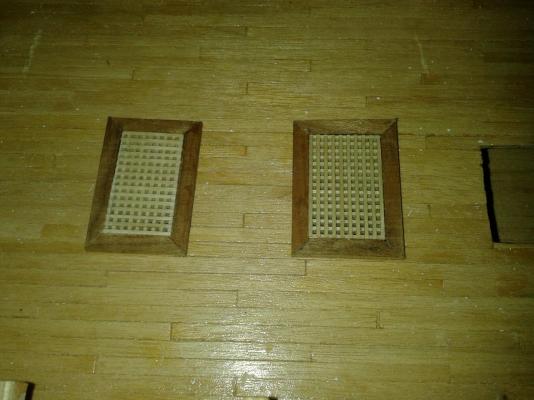
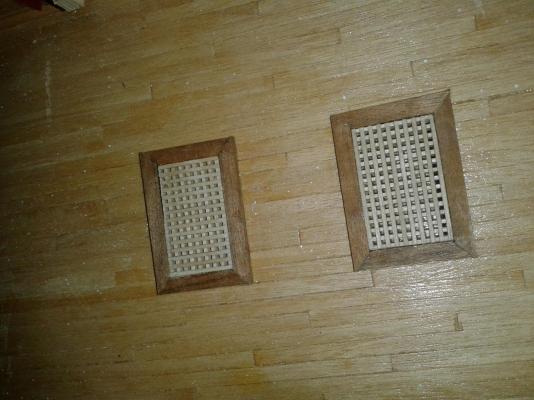
Today I made a quick visit to my local hobby shop and bought two new tools, a mitre box and fine tooth saw. A great investment for £16.00. A couple of pictures attached. I have completed the 7 off grating assemblies for the upper gun deck and have also added the coamings with nice mitred joints on the first two assemblies. I have only loosely placed these completed hatch cover assemblies on the upper gun deck as I will wait until all the sub assemblies are complete before I finally glue into position including the cannon ball holders. Also want to clean and revarnish the upper gun deck planking.

-
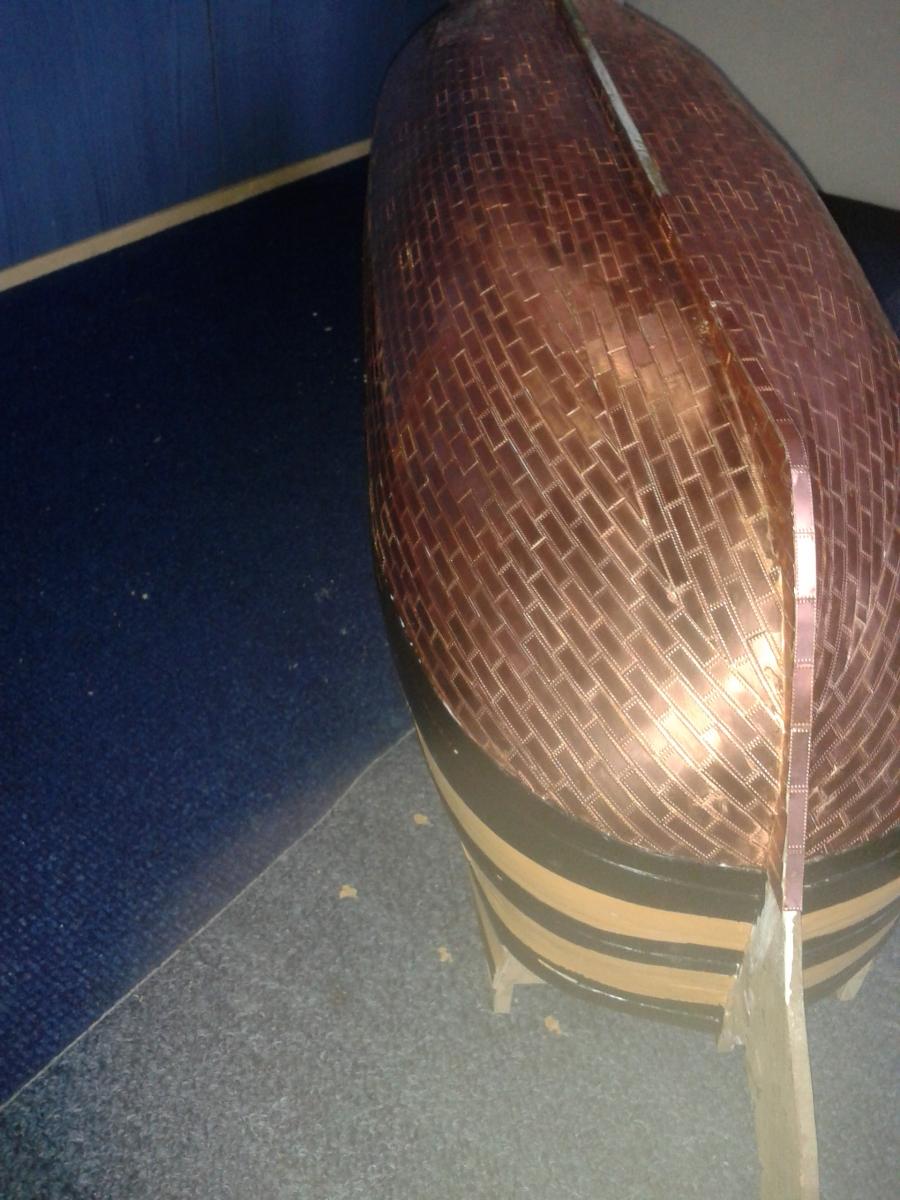
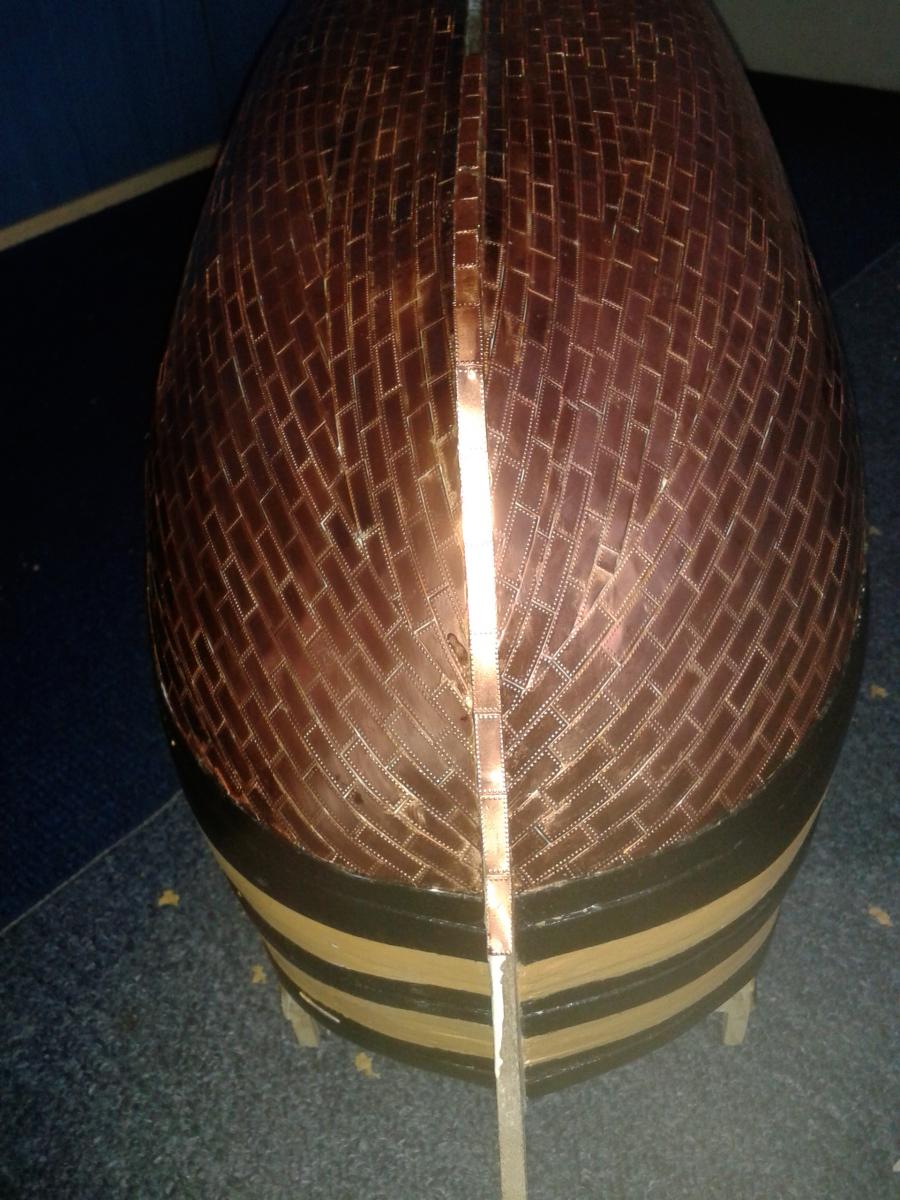
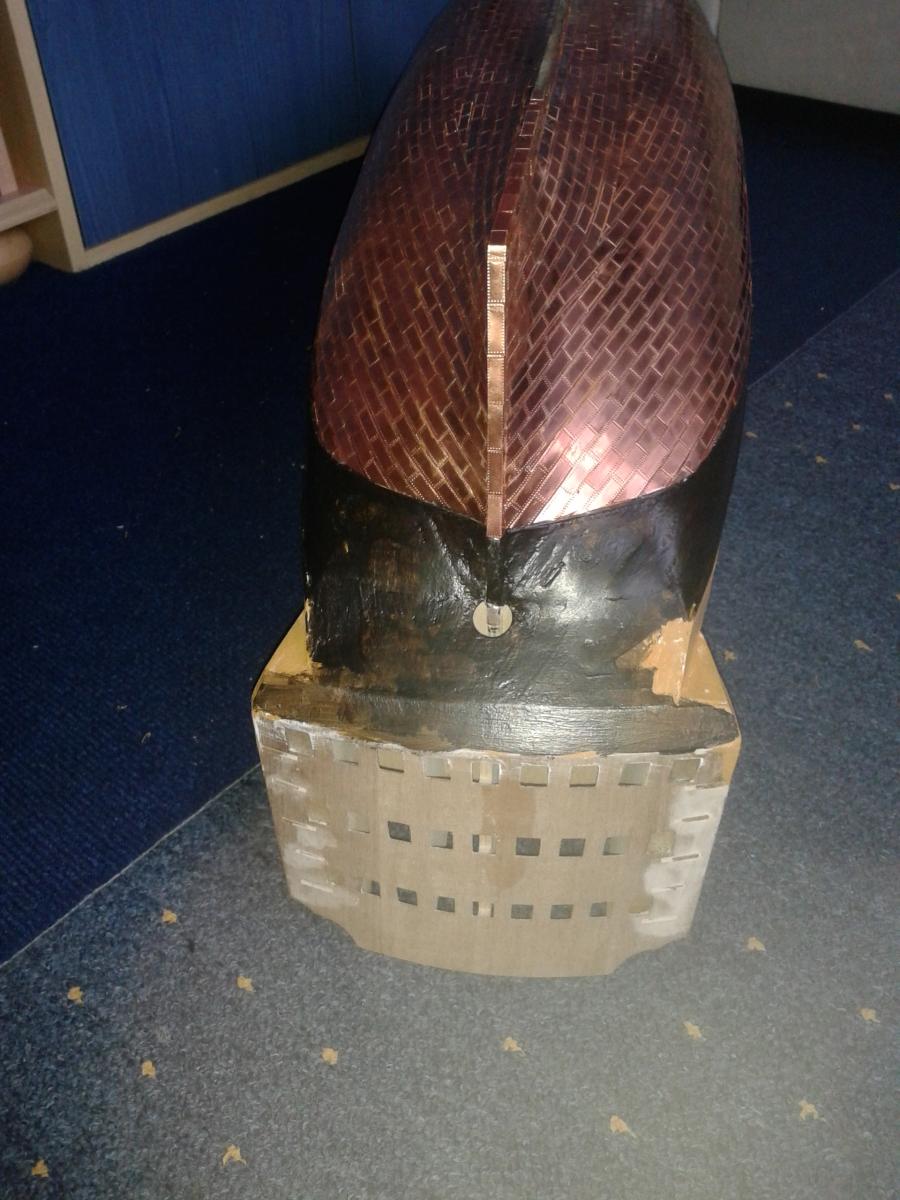
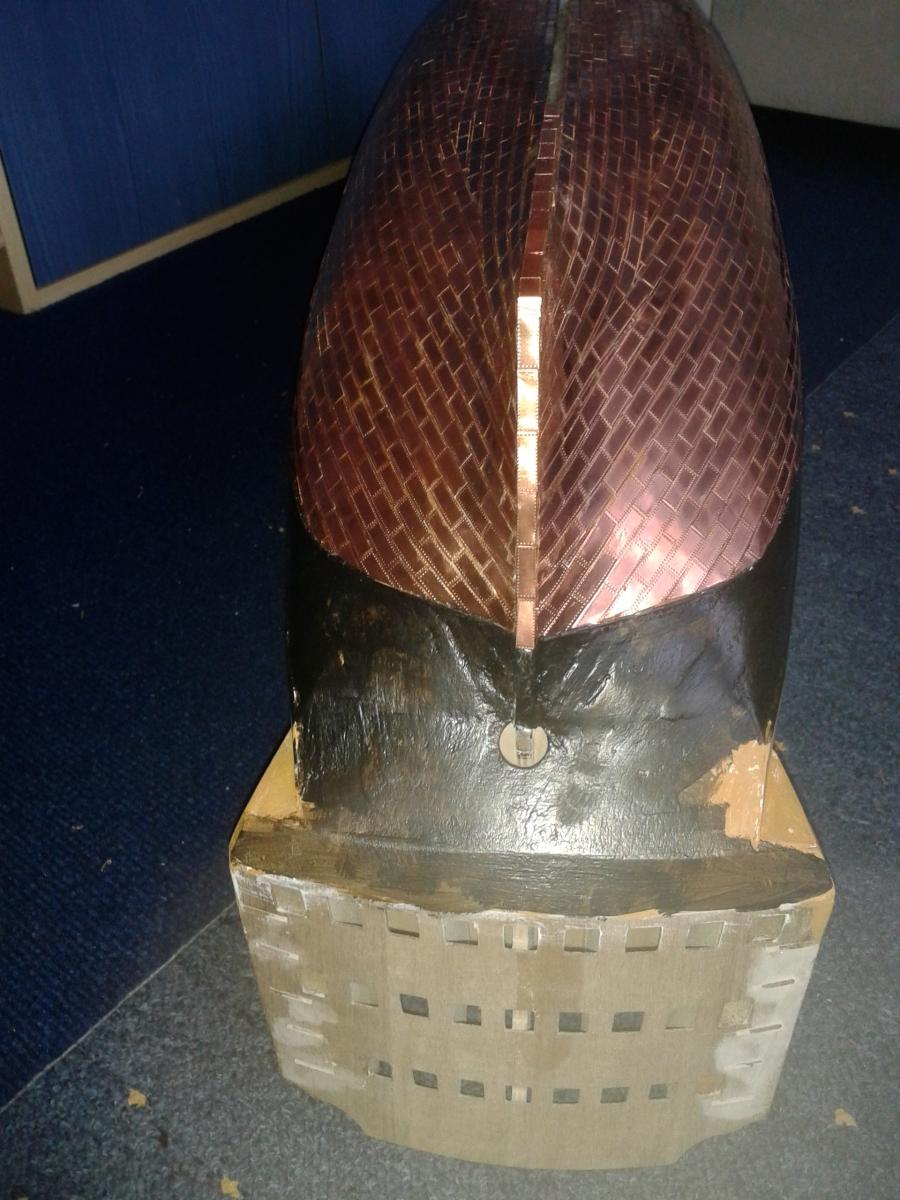
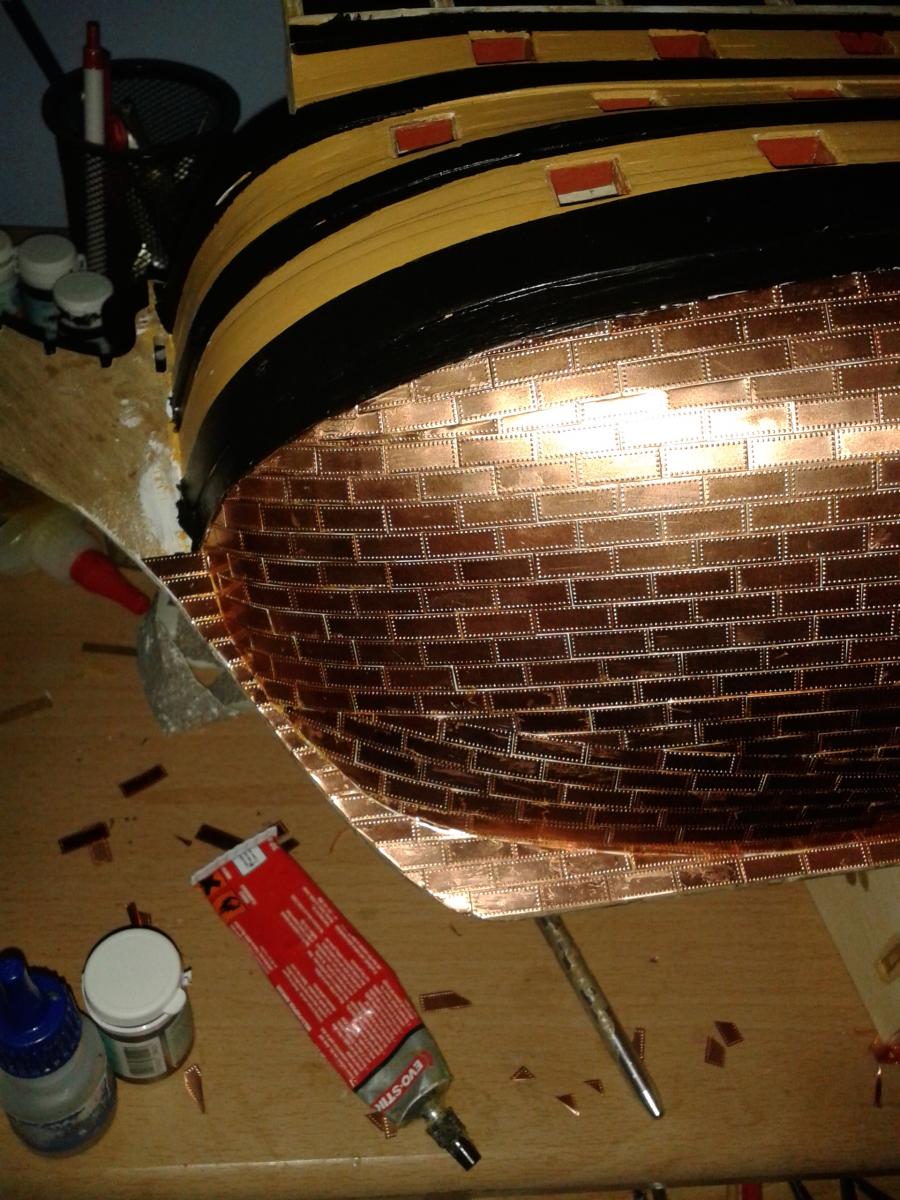
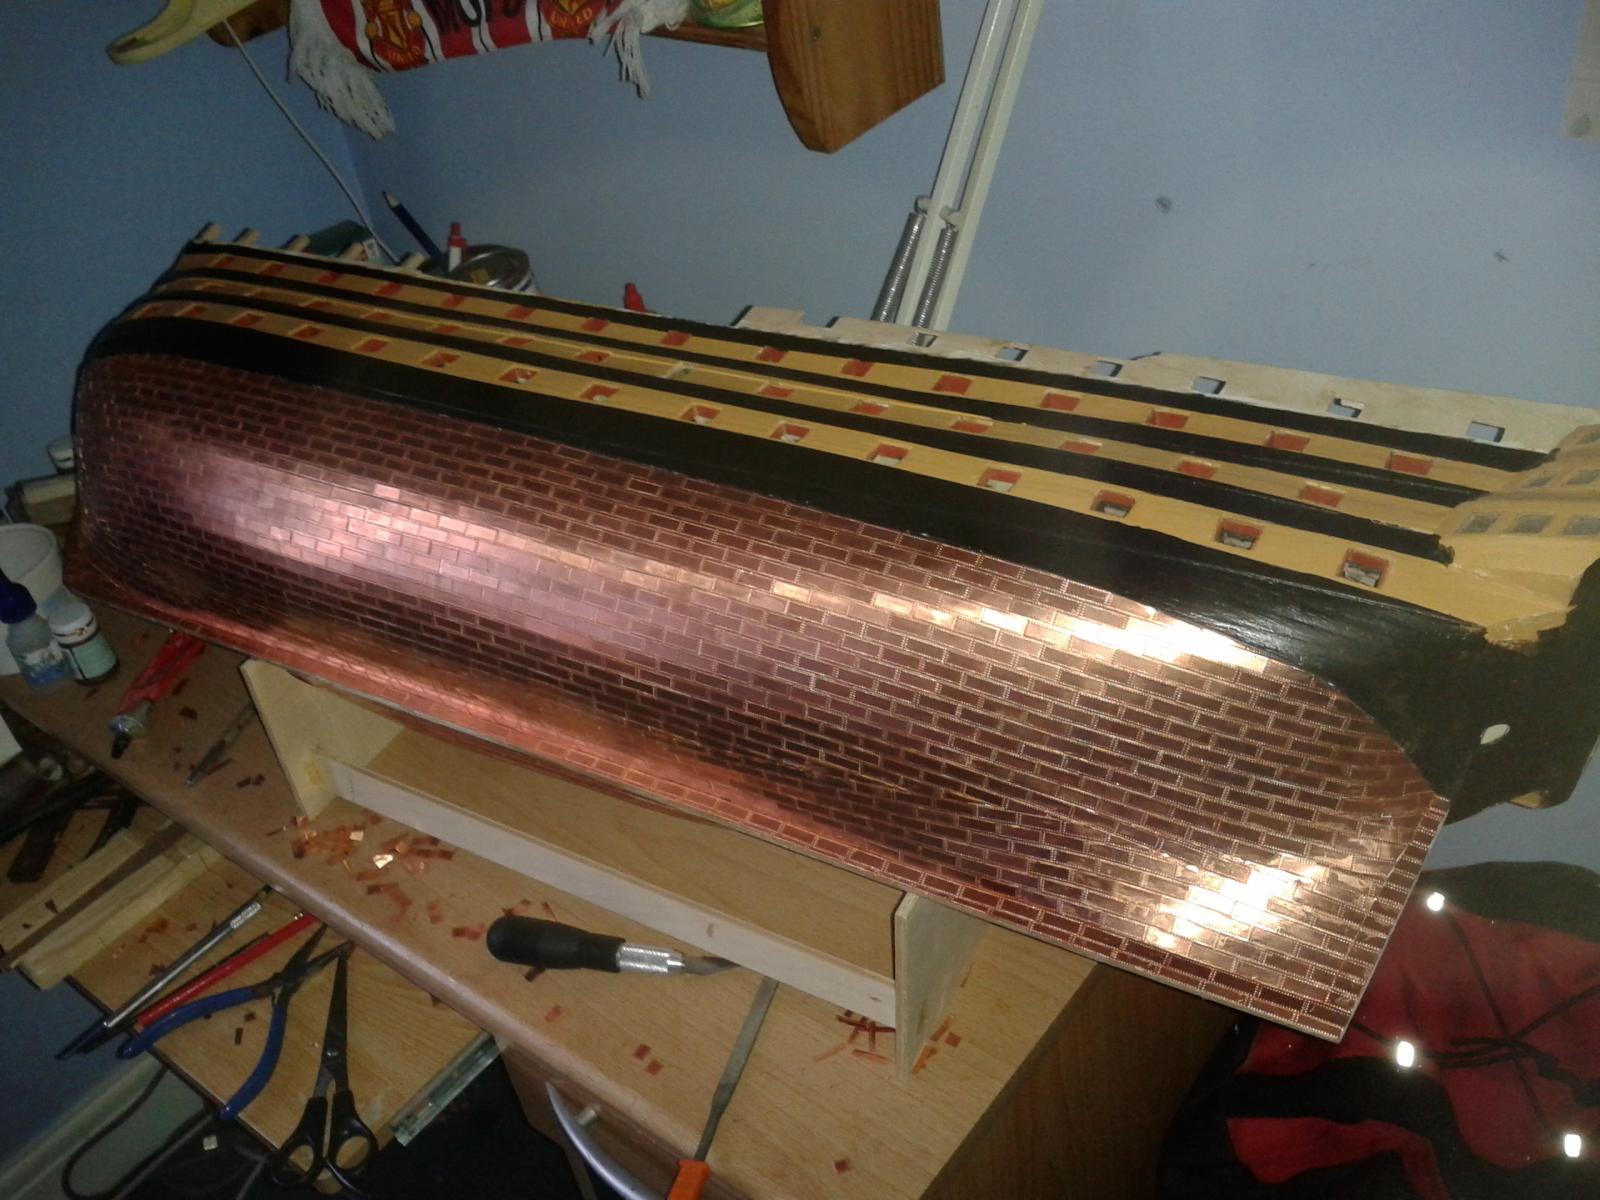
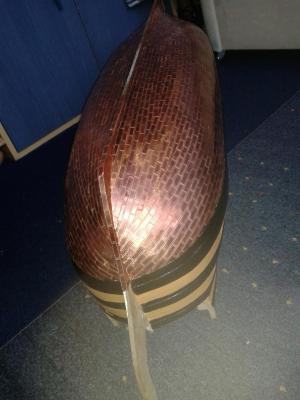
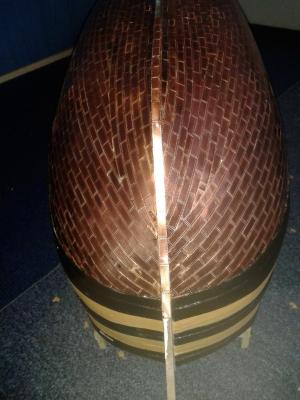
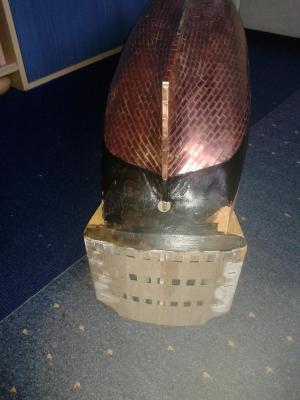
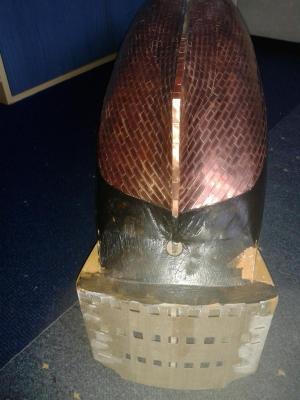
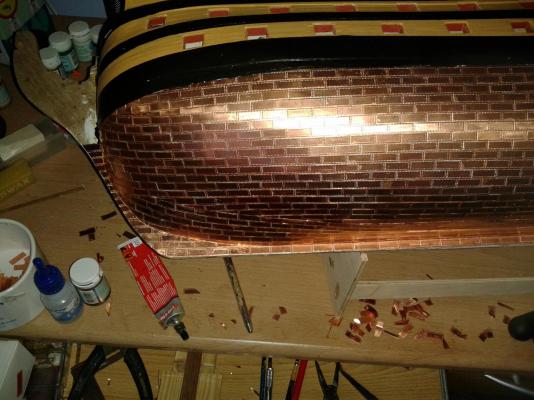
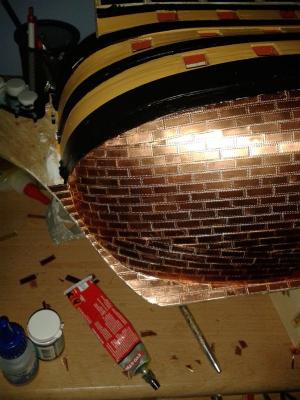
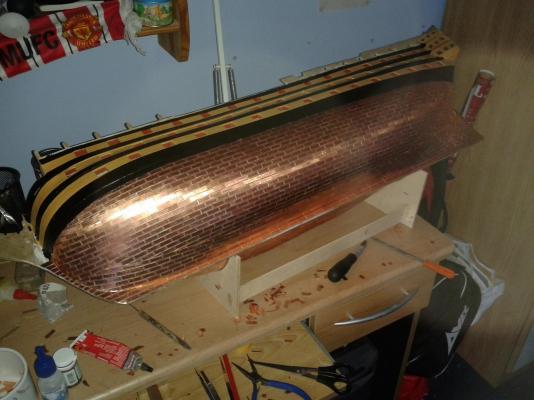
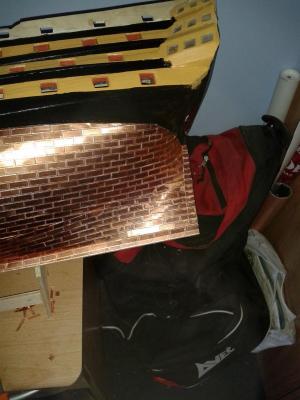
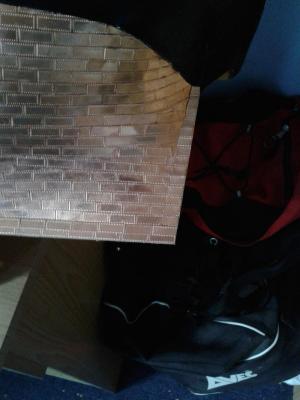
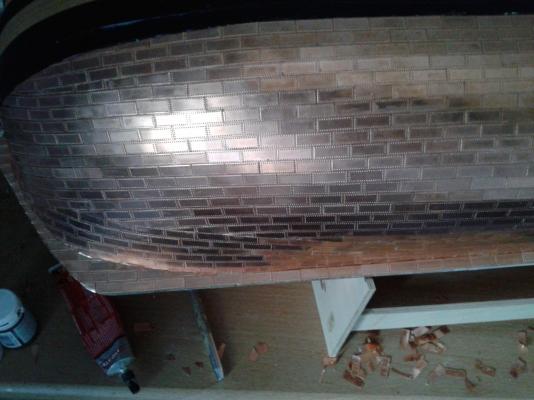
I have been fitting the 5mm edging copper plating this morning, about 10 to 15 more plates to fit but now taking a short break to watch todays start of the Tour de France which is from York this morning which is just a stones throw away from where I live. Fantastic footage yesterday from the Yorkshire Dales. It will be strange not having to cut and glue copper plates as its seems to have been part of my daily routine for some time now. I do know I will have to copper plate the rudder later on in the build. I can now move on the upper gun deck fixtures and fittings

-
Thank you David for you generous advice during the plating phase and your very kind comments. I'm looking forward to the next stage of the build, which may be slightly delayed due to going on holiday later this month.
-
It looks the business. My dad had a lathe in his hobby workshop and like a fool I got rid of it and a lots of other useful tools when he died because, at the time, I had no use for them.
- 439 replies
-
- 1
-
-
- victory
- caldercraft
- (and 1 more)
-
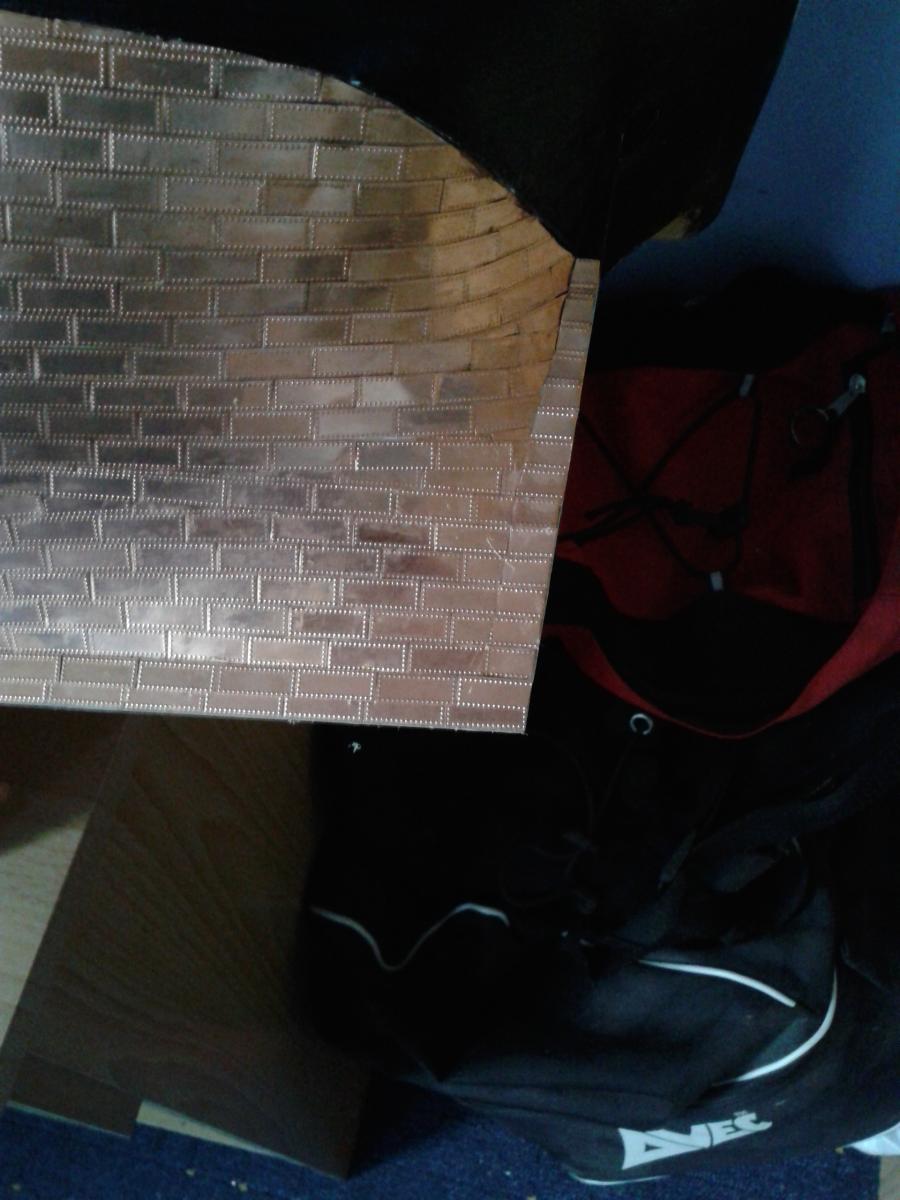
Well I finally completed the copper plating on the port side stern post and keelson. It was a much harder task than I thought it was going to be. Two or 3 more sessions required to complete plating on starboard side keelson and stern post.


-
I know just how you feel, there are times I wish I could start all over again so I can execute each stage property having learnt from all my mistakes. I don't think I could persuade the boss to let me spend another £700 just yet.
- 1,319 replies
-
- 2
-
-
- caldercraft
- Victory
- (and 1 more)
-
Glad to see other HMS Victory build has started, good luck and enjoy the project and look forward to seeing some picture of your progress. Will be glad to offer help and advise along the way should you need it, as will other MSW members.
-
Hi Rich You are making good progress and I'm looking forward to watching your progress as the build progresses.
-
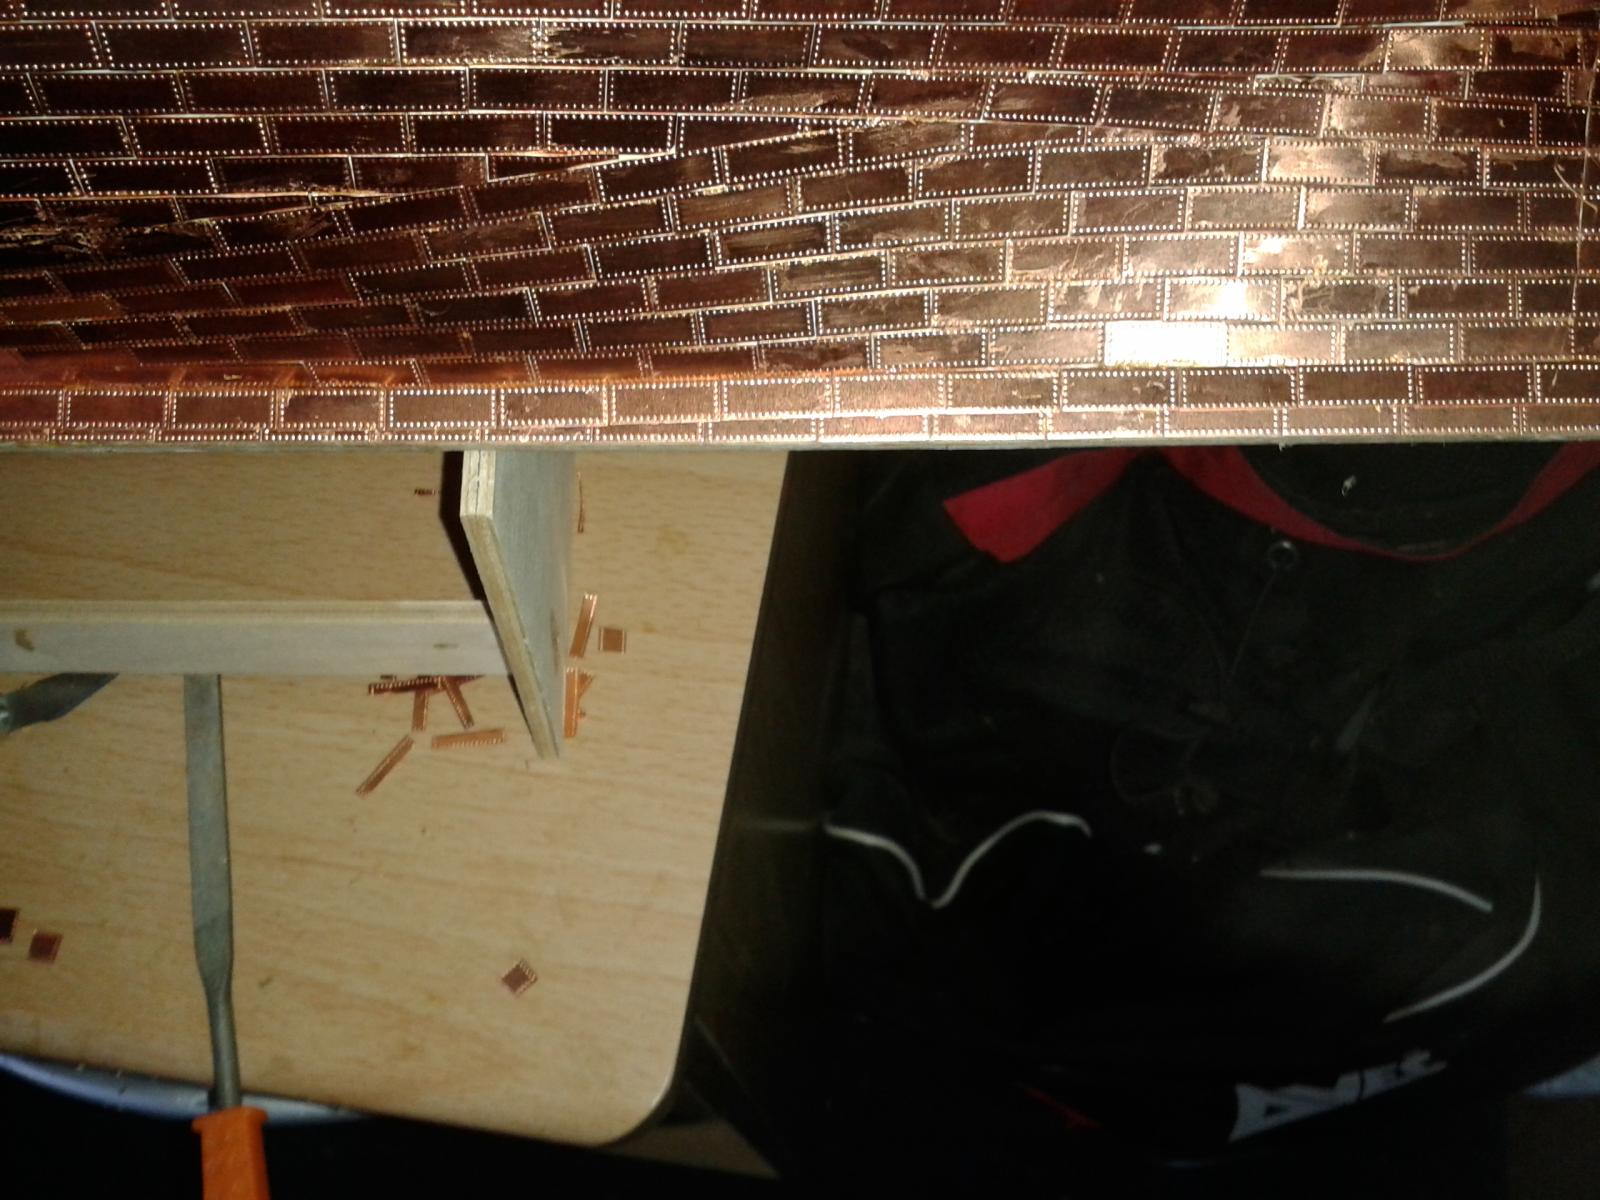
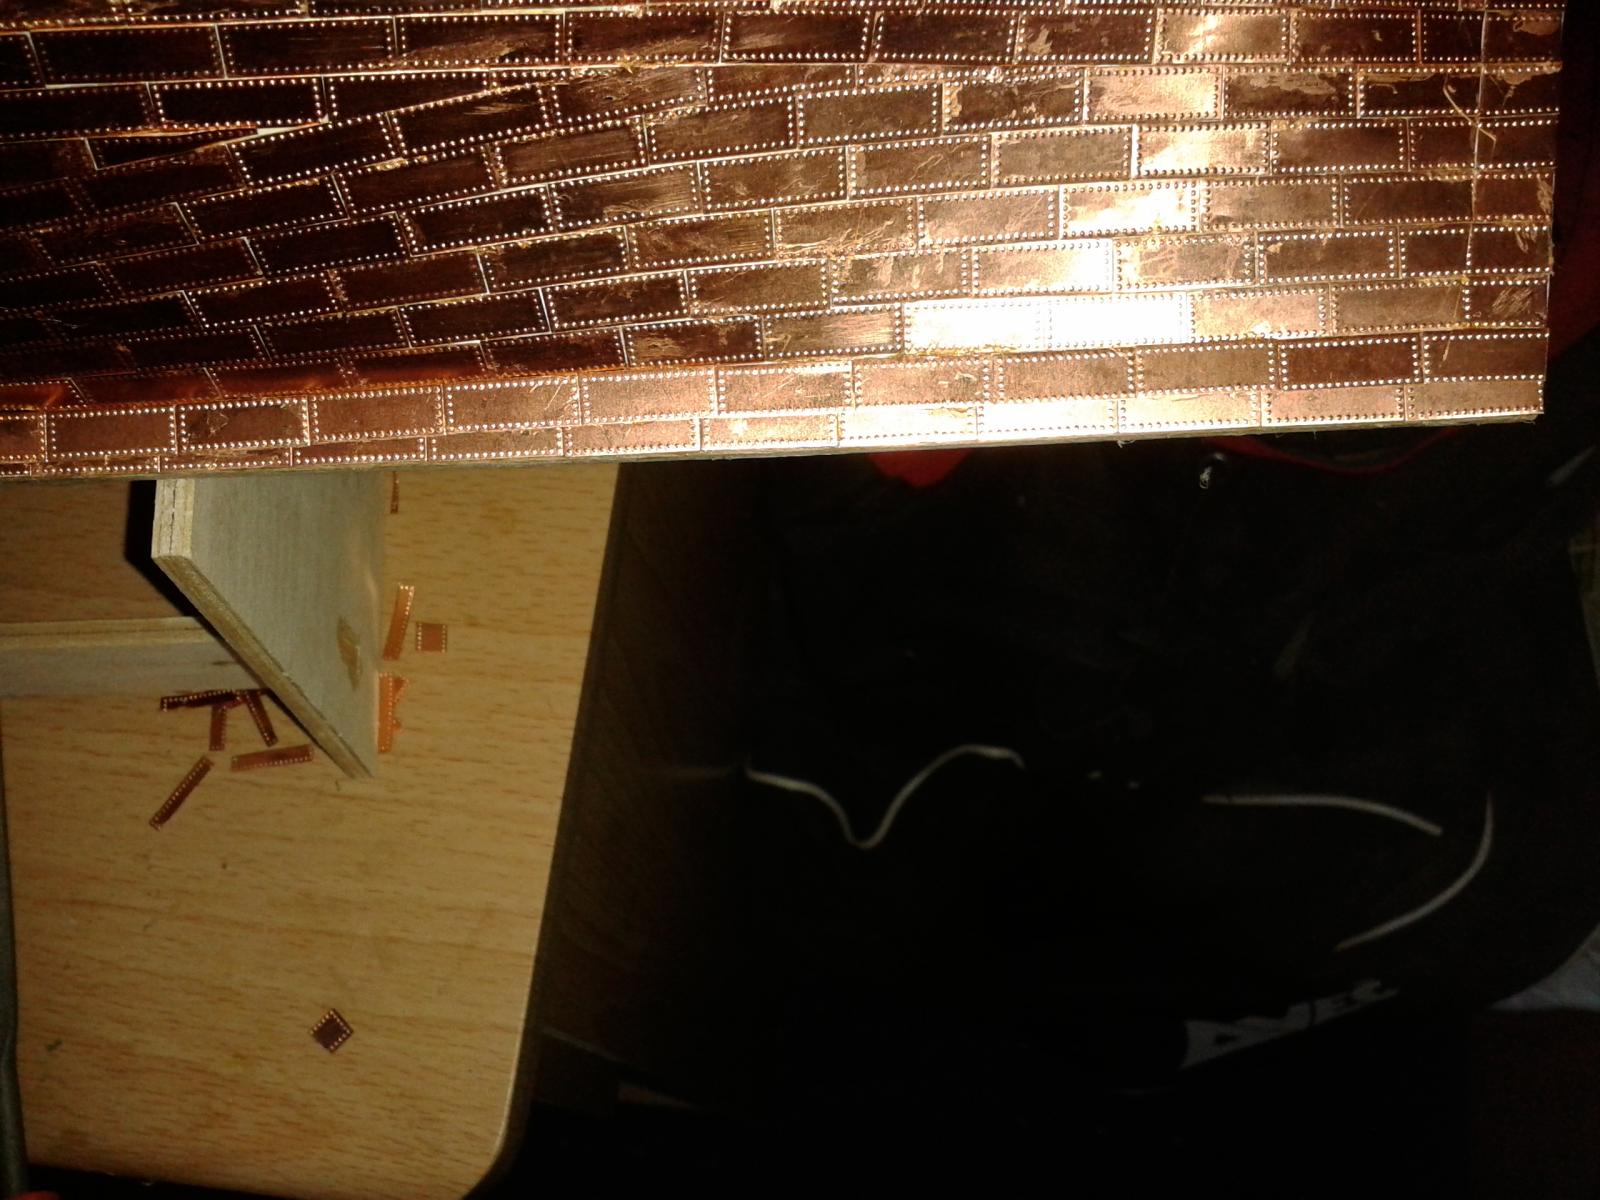
Hi Rich I tried a few different tools before I started and found it best using a good pair of scissors which cut the plates easily. Some plates required a bit of filing after the cut. I wasted a few tiles by not getting the plate cut right, but I did manage to reuse some of these plates when off-cuts were need for infill's. I haven't decided on the varnish as yet, but probably find a suitable matt varnish in B&Q