Glenn-UK
-
Posts
3,168 -
Joined
-
Last visited
Content Type
Profiles
Forums
Gallery
Events
Everything posted by Glenn-UK
-
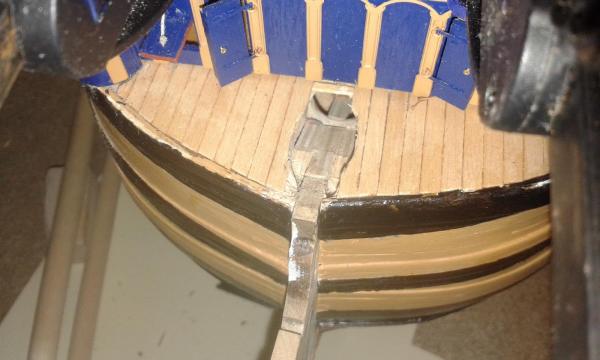
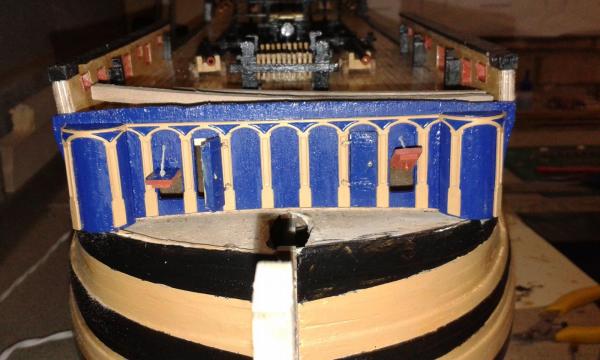
 Beakhead capping completed. Paintwork will need a touch up once the glue has dried. Realised I had missed the top brass profile on the beakhead bulkhead View from hull, showing beakhead capping and shot garlands. Brass profile, painted yellow, now attached Once the two forecastle Carronade's have been assemblied the work will move on to the bows assembly phase, which looks will take some time and plenty of hard work to get right.
-
Nice to see you have started another build and you've made an very good start. I'm sure the Victory build will have stood you in good stead for this build. I will follow with great interest.
-
Fantastic work, description and detail. Many thanks for sharing.
-
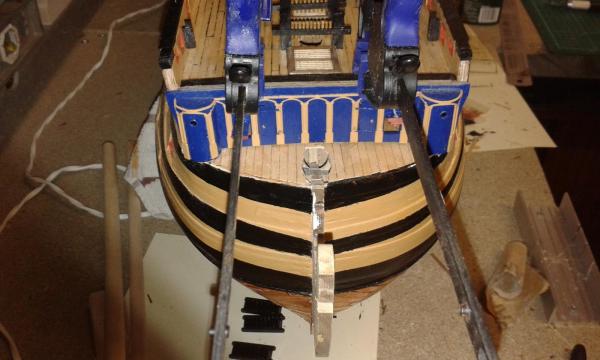
Good news the beakhead assembly has finally been glued to the hull. As can be seen the portholes have been painted black, There is a bit of dust following fitting the cat tails and filing the top edge smooth Was a quick and easy task to fit the beakhead deck planking. The cat tails have been fitted, and clamped whilst the glue is drying The two shot garlands have been painted and dry fitted. Will glue in place once the clamps have been removed. I have started reposting some earlier pictures which have gone AWOL from this build log; I hope to complete this task over the next week or two, providing I can locate all the missing pictures!
-
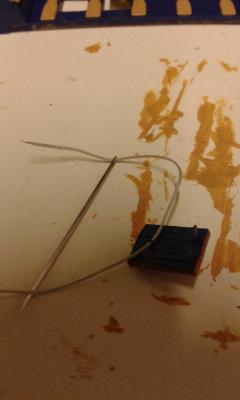
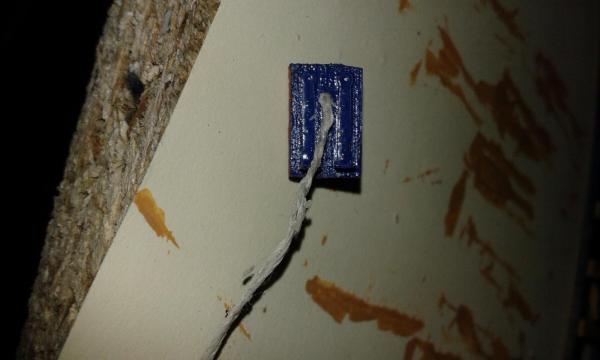
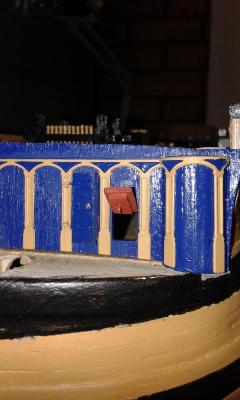
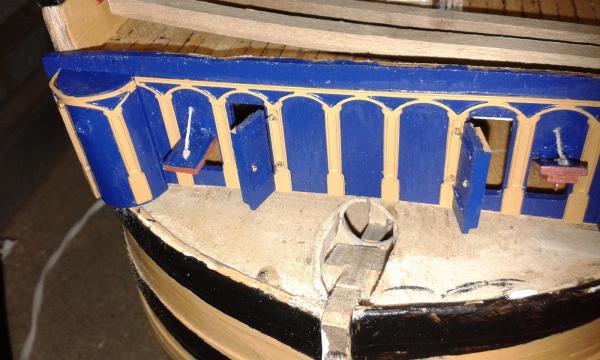
The labour of love that is the beakhead roundhouse assembly is nearing completion and tomorrow and I move on to fitting the cat tails. I decided to experiment with different rigging methods. Here is my attempt at splicing the thread with a needle The problem with this method was the neddle was too big which resulted in damage to the thread. I did try to twist the thread to compensate, but still looked a mess so I abandoned this method. The doors are fully functional, and I added to handles to spruce up the build. At this stage I had not fitted the roundhouse portholes and some of the painting needs touching up. If you refer to page 58 of the Haynes Manual for the Victory there is a nice picture of the gun port lid. I replicated this by added another piece of wood to the bottom of the gunport lid and then added a single eyelet. As per my earlier post there is only one rigging thread per lid, so I replicated this. I did experiment with adding sleeves and parrel bids to simulate the rigging entry point at the beakhead. I didn't like the end results. I may simply add a touch of black paint to replicate the sleeve. Portholes are now fitted and paintwork touched up. Just need to paint the inner porthole circle black to replicate the window
-
Thanks David I already had secured some insulated sleeving which I was going to use to cover the thread through the hole.
-
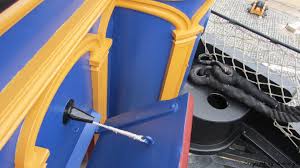
I was doing some research and found the following picture which shows the actual rigging of the beakhead gun port lid; located adjacent to the roundhouses. Most builds seem to have two eyelets / rigging lines fitted, one each at the end of the hinge. I think I will try to replicate this tonight. I have already modified the red side of the lid to match the picture shown in the owners Haynes manual. I will post some pictures of my arrangement when I have completed the task.
-
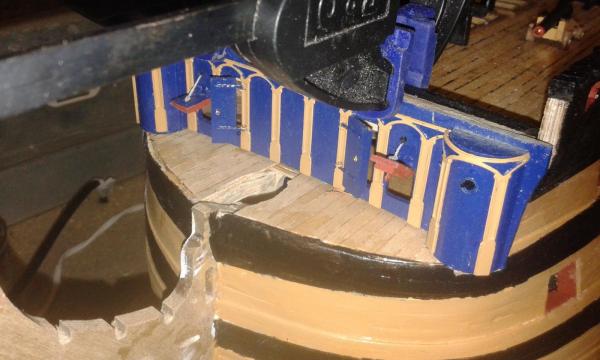
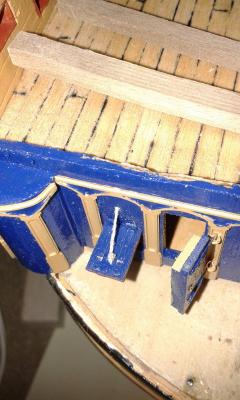
Hello David Many thanks for the kind words. I have been in contact with Yon. He's lost all the pictures due to a hard drive failure but may have a few on another computer but can't check that out until next week sometime. Doors and pilasters have been fitted and doors fully functional.Hinges fitted to the two gun port lids. Plan to fit tomorrow night as I'm waiting for glue and paint to dry fully.
-
Hello Lawrence Many thanks for your visit and kind comments. You have completed an outstanding model and should be righty proud of your achievement. I will keep referring to your log as I continue on with my build.
-
Hello Gil As always very informative and detailed information. I'm finding your build log invaluable as I progress with my build. Thank you.
- 755 replies
-
- 1
-

-
- finished
- caldercraft
- (and 1 more)
-
Hello Jerry Many thanks for your kind comments. I'm looking forward to completing this assembly and getting to grips with fitting my first ever gun port lids. I hope the finished result lives up to the initial promise! I have also made a small jig so I can set the hinge back 1mm from the edge of the gun port lid
-
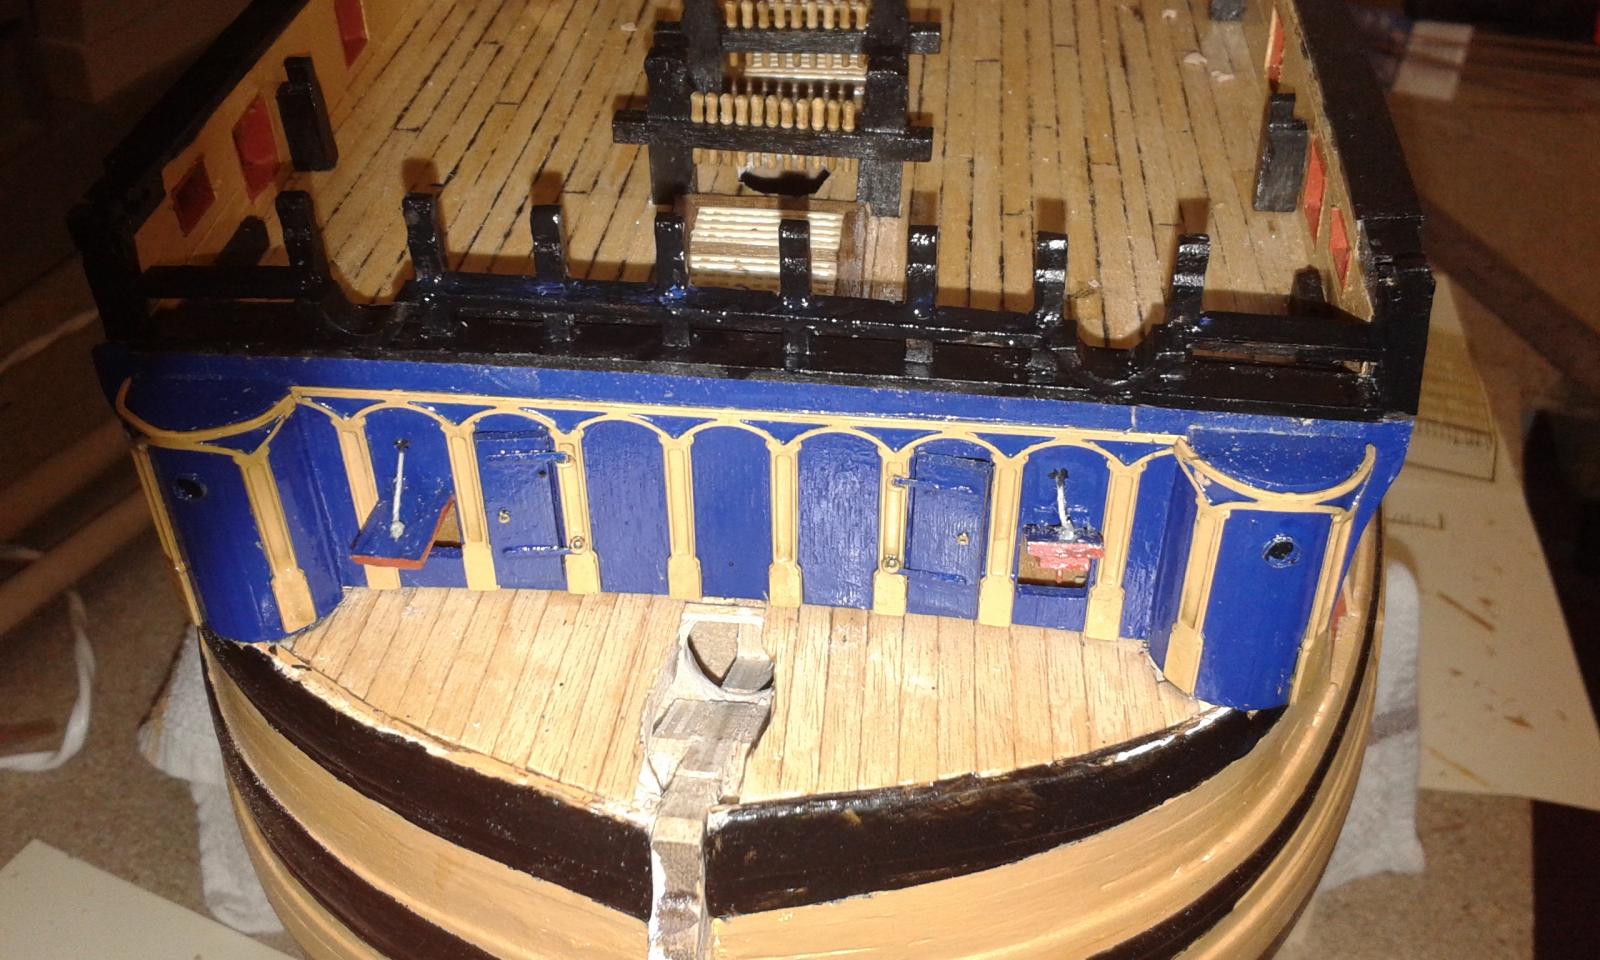
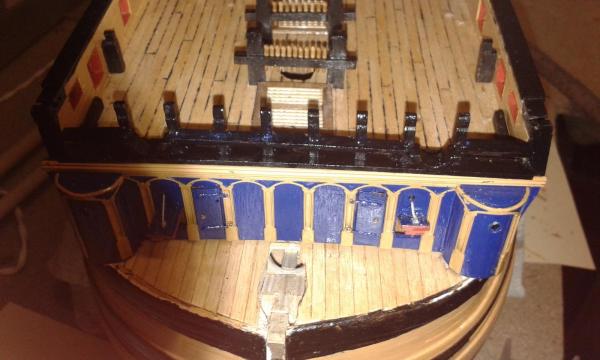
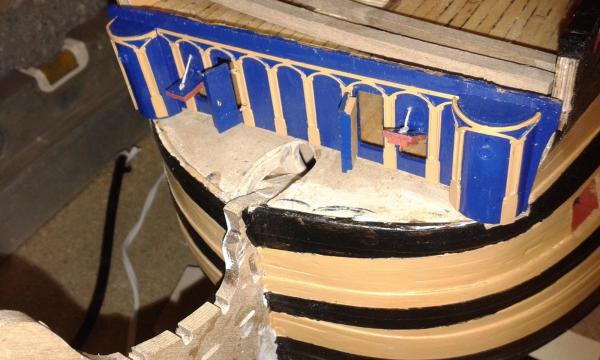
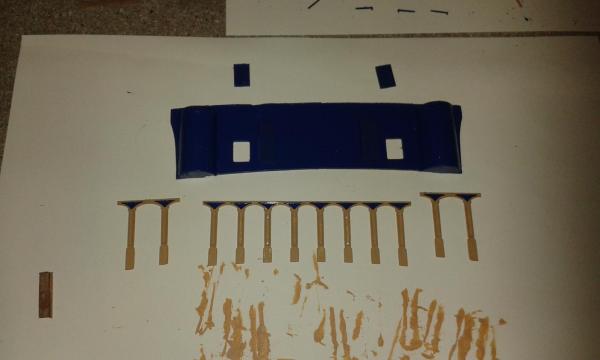
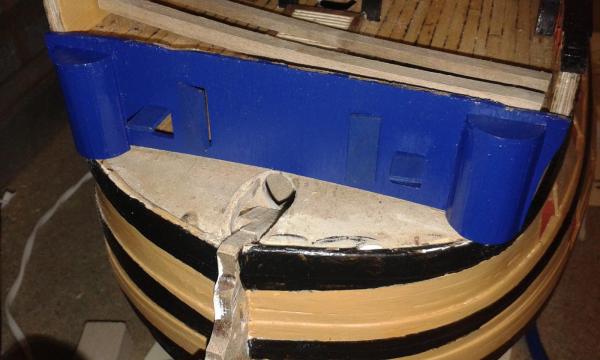
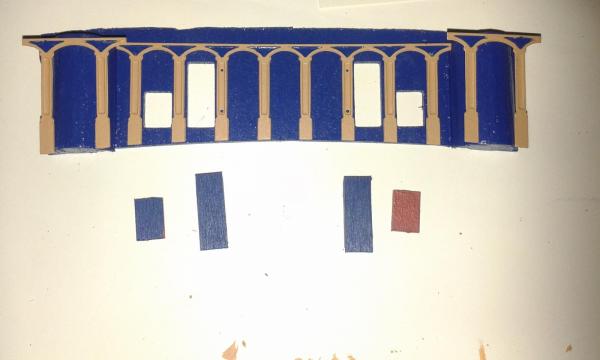
Next stage of the beakhead roundhouse assembly. The roundhouse assemblies are now complete and painted blue Dry fit of the roundhouse assembly to the hull. YOu will note that I have also dry fitted the doors and gun port lids, just for fun. It has taken a couple days to paint the pilasters, so I thought I would dry fit them. I think they look good. The roundhouse pilasters still require bending to fit correctly. I plan to glue the pilasters to assembly tomorrow night and will also fit the hinges, doors and gun port lids. Bottom and edges of lids painted red, slight leakage of red paint on one lid to correct
-
Congratulations on a job well done; a fantastic acheivement, cant wait to see the Victory in your display case.
-
Wow, looks even better than i would have imagined in your case. Fantastic job from start to finish; I'm very impressed.
- 439 replies
-
- 1
-
-
- victory
- caldercraft
- (and 1 more)
-
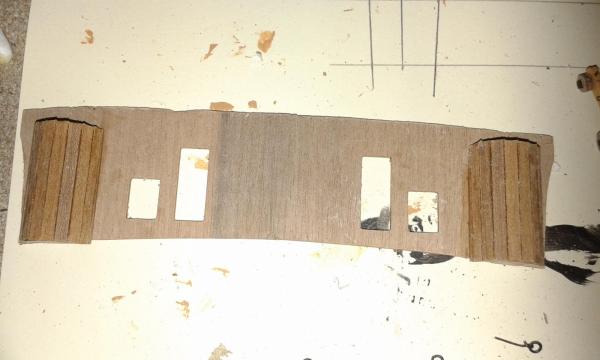
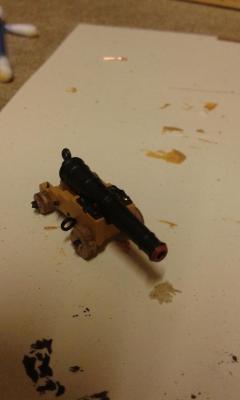
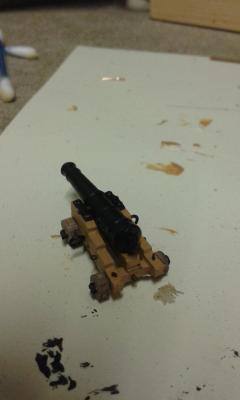
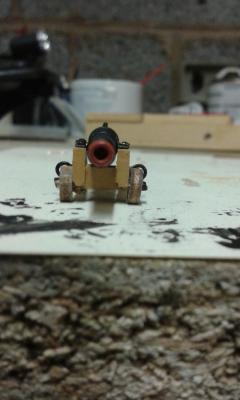
Just a quick update as not much work carried out this weekend. I decided to build the beakhead roundhouse assembly offship, the first task was to construct the roundhouses. Roundhouses built, ready for final shaping Before starting the shaping I decided to use my super phatic glue to seal all the gaps. Will start the shaping tomorrow once the glue is fully dry. I have also completed the cannon assemblies, looking at the real cannons the side breach rings were much larger than the normal eyelets, I decided to replicate this. This picture show the rear and side breach rope rings fitted to a cannon I like the menace of this picture


-
An end of an era, I can't imagine the joy and pride you must feel at the moment on a job well done. Your next task should be a visit to Scarborough to help me with my build.
-
Hello David Great result at weekend and last night for Newcastle, very pleased for you. In truth I did decide to move out as space was fast becoming an issue after we had rearranged two of the bedrooms. There was no pressure from the Admiral to move out, but she is now very happy with the new arrangement. How's the display case coming along?
-
Hello Lawrence The additional room is a godsend, wish I'd moved in months ago as it has made working on the build so much easier. And of course the added benefits of better lighting and better storage facilities for the tools / build materials. The garage it not too bad temperature wise at the moment so no need for any additional heating. I have sourced a suitable heater which I will buy when the temperature drops a bit more.
-
Thanks Jerry, your comments mean a lot to me.
-
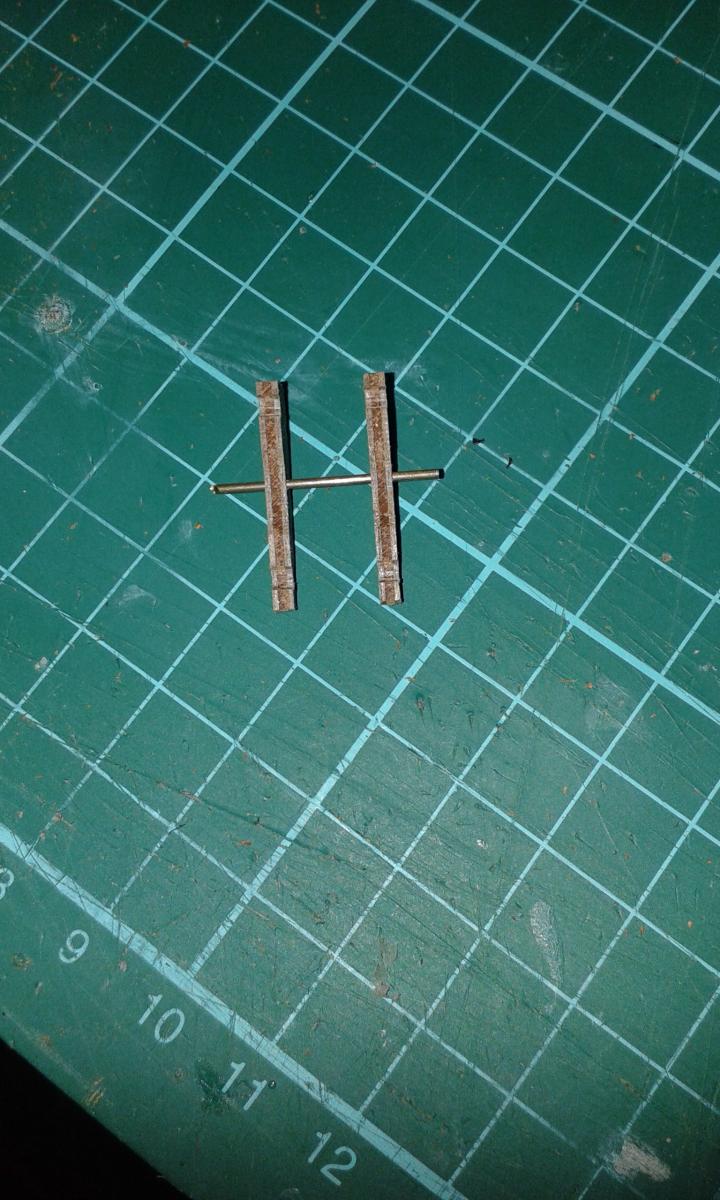
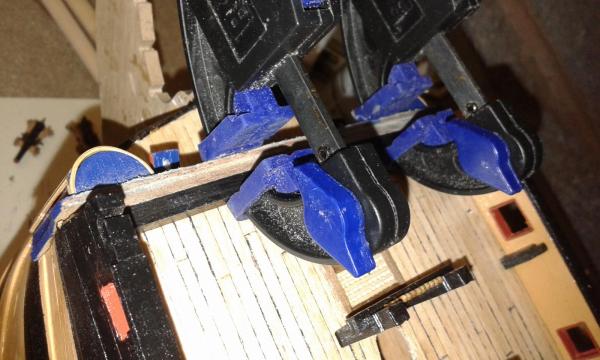
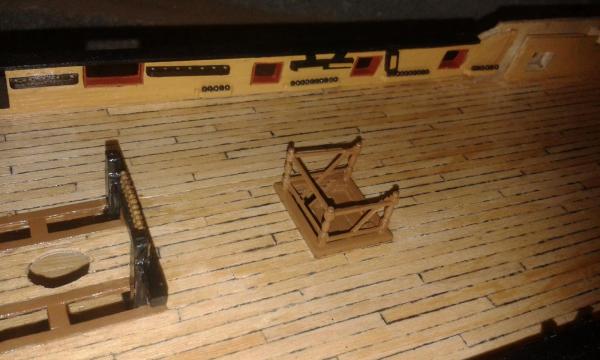
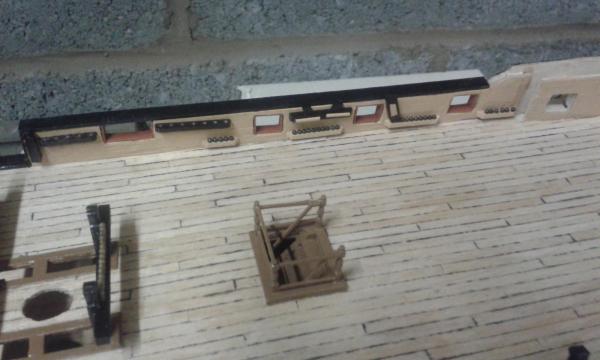
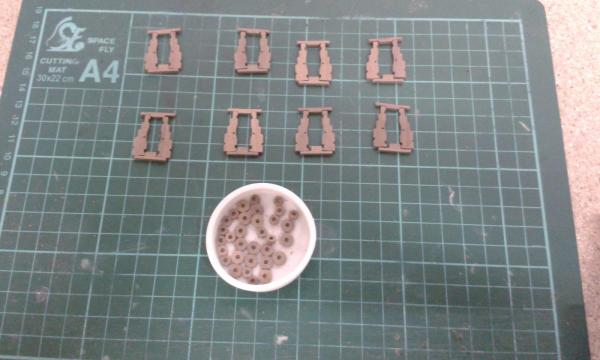
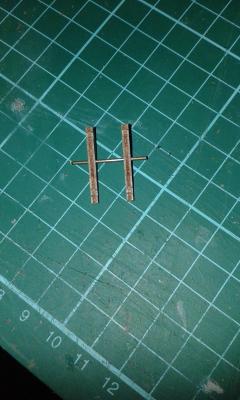
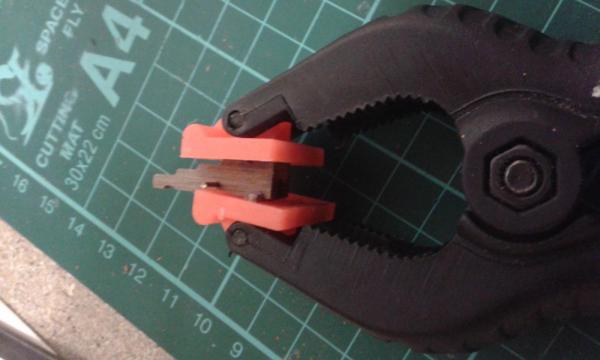
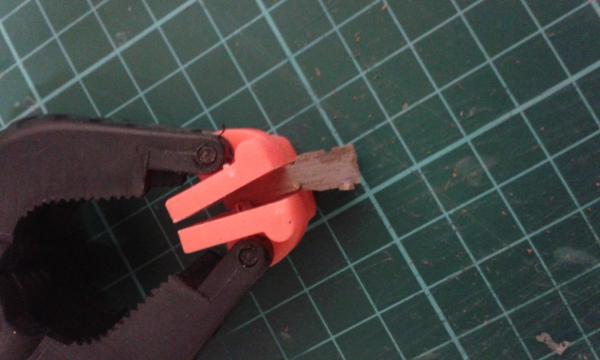
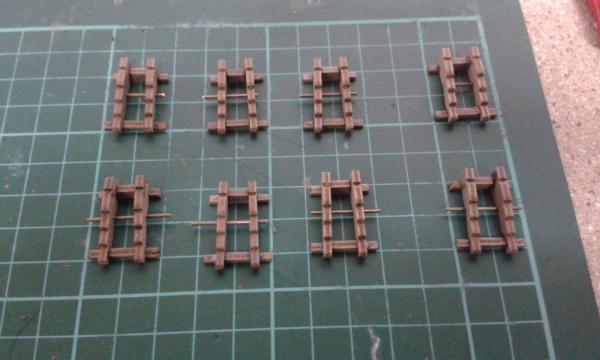
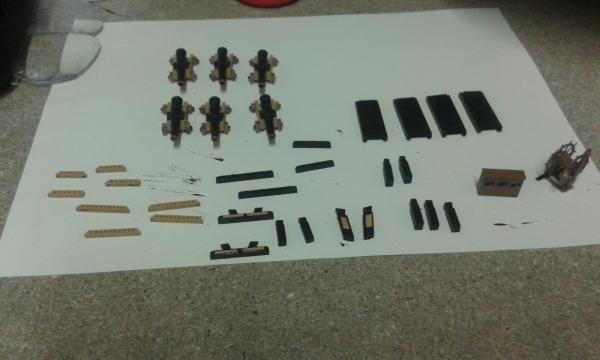
I have attached the kevels, pinstrips, staghorns and shot garlands to the quarterdeck. Here are a few pictures. Following this I decided to start the assembly of the remaining 8 cannon assemblies Parts removed and ready for assemby Having refined the task, I have found it best to insert the 1mm copper strip first, not glued in at this stage. I then used some super phatic glue as I inserted the front cross beam and then clamped for a couple of minutes whilst the glue grabbed. During the phase I did also check the width ready for the fitting of the rear cross beam I repeated the process for the rear cross beam After about an hours work all 8 basic assemblies were completed.
-
A masterpiece Jerry, and you've painted the name on it as well. One more to go then.
-
I building Caldercraft Victory ( 10 months into the build and started fitting out the Quarterdeck, highly recommend it, but not for the faint hearted
-
Hello Kevin Really enjoying your build, great set of pictures.
-
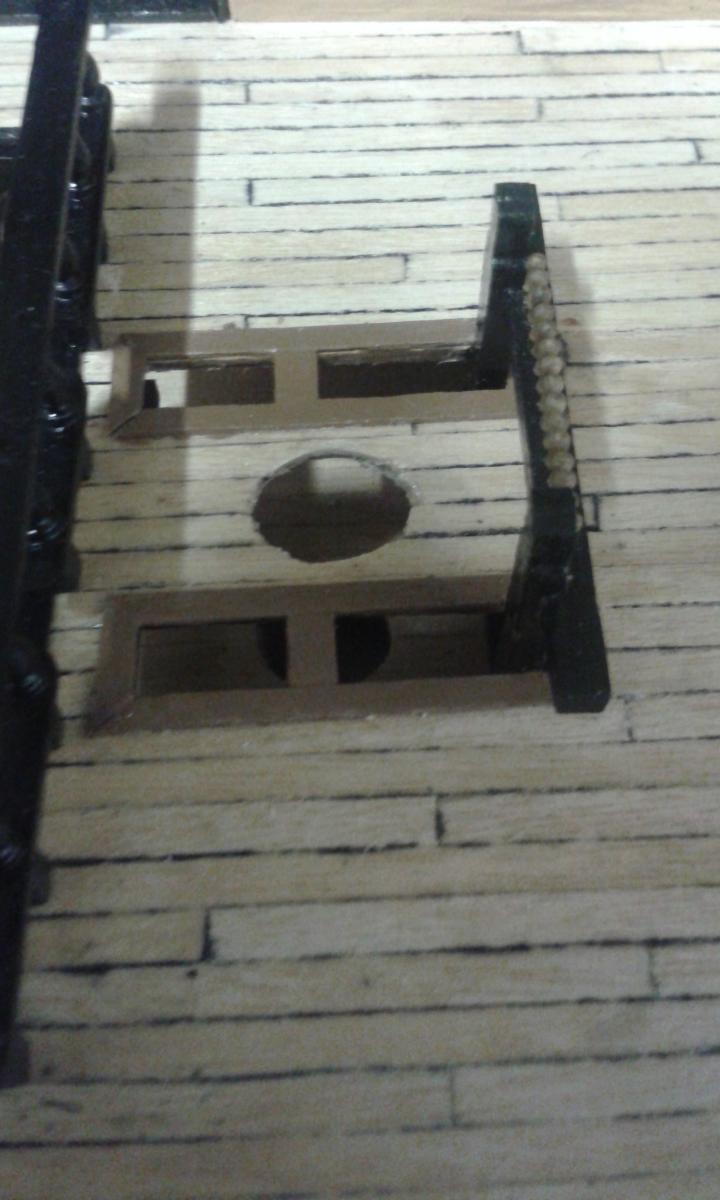
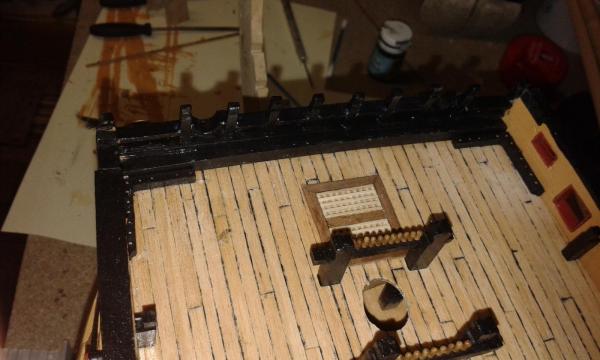
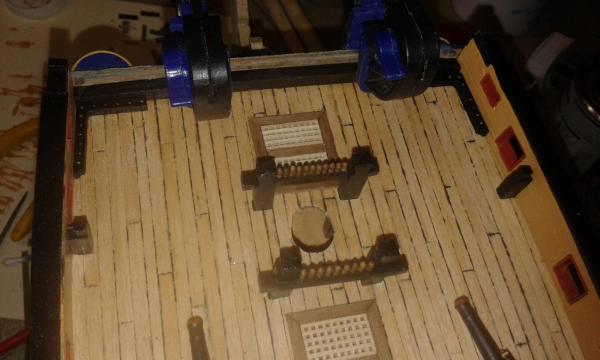
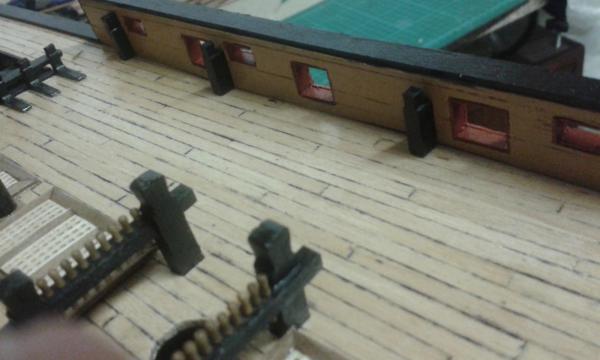
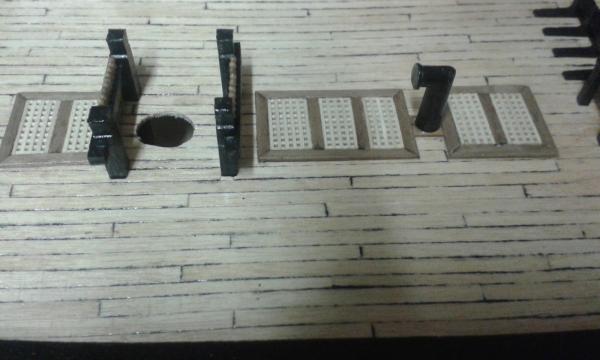
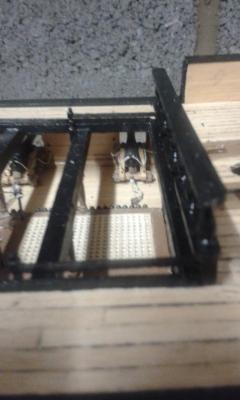
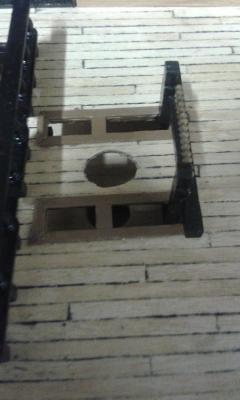
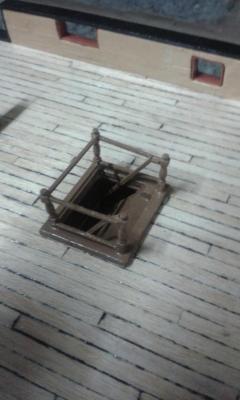
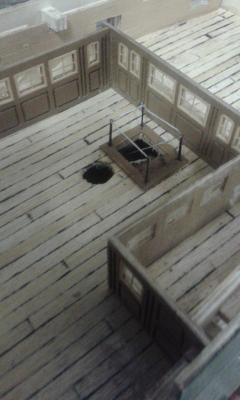
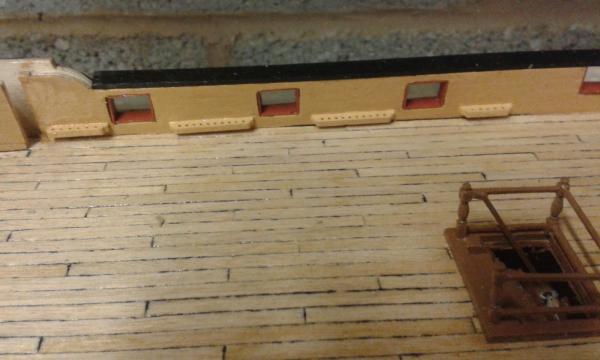
Just a quick update I have installed the waist ladder baluster and associated wood strip, but will delay fitting the waist ladders for the time being as I want to decide on the best eyelets for the hand rails. Also I have completed the rigging opening, main companionway and admiral companionway. Finally I have prepared the kevels, shot garlands, staghorns and belay pin strips. I noted there was an error in the build instructions regarding the shot garlands which should be painted yellow and not black as advised. I have also inserted a yellow infill into one of the quarterdeck kevels and yellow strips to the staghorn assembly. Here are some pictures, the last one is the progress as it stands. No more work to day as I'm off to the Man United V Chelsea game.
-
Welcome back Jerry It seems you have the measure of the small boats, well done.