Glenn-UK
-
Posts
3,168 -
Joined
-
Last visited
Content Type
Profiles
Forums
Gallery
Events
Everything posted by Glenn-UK
-
 Hello Lawrence Many thanks for viewing my post and your very kind comments I find it trying remove the CA glue from fingers and getting my fingers stuck on the ship as I'm trying to install the biggest problem, but have found the best method is by application of the CA glue to the gun ports rather than the linings. I will post more pictures one I have completed the first set of gun port linings
 -
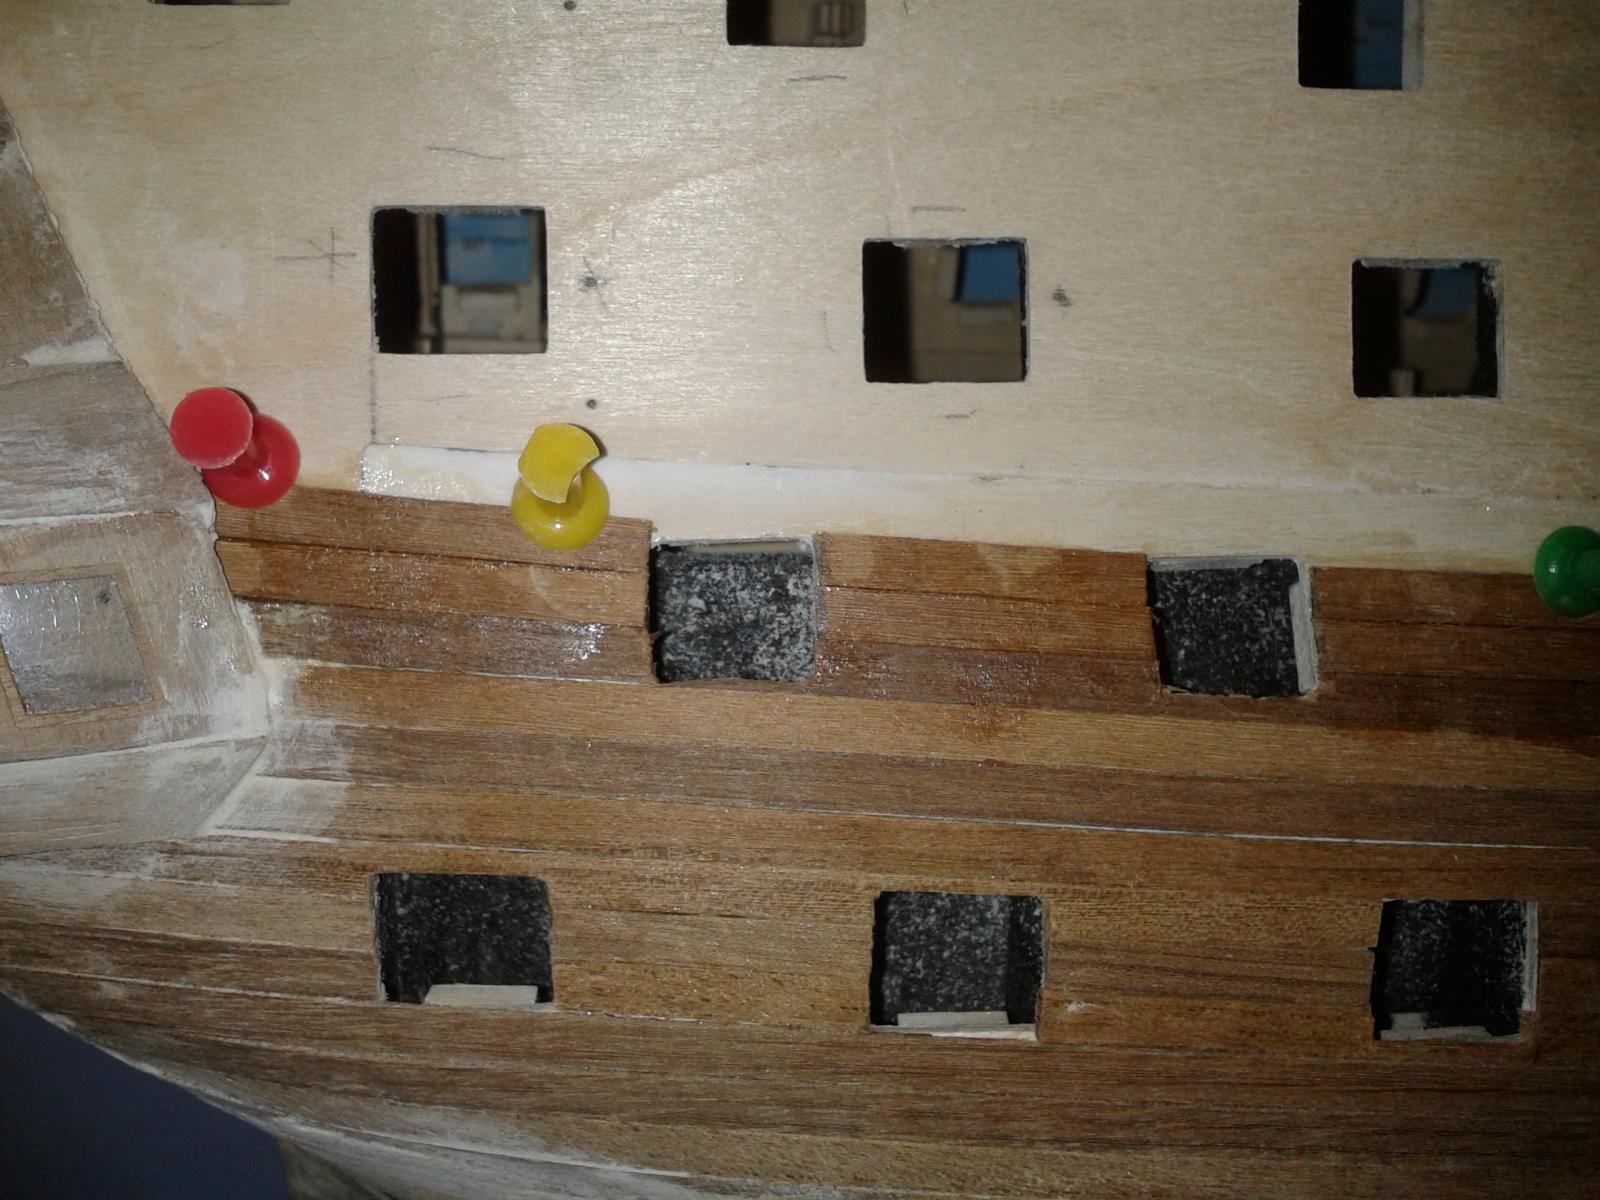
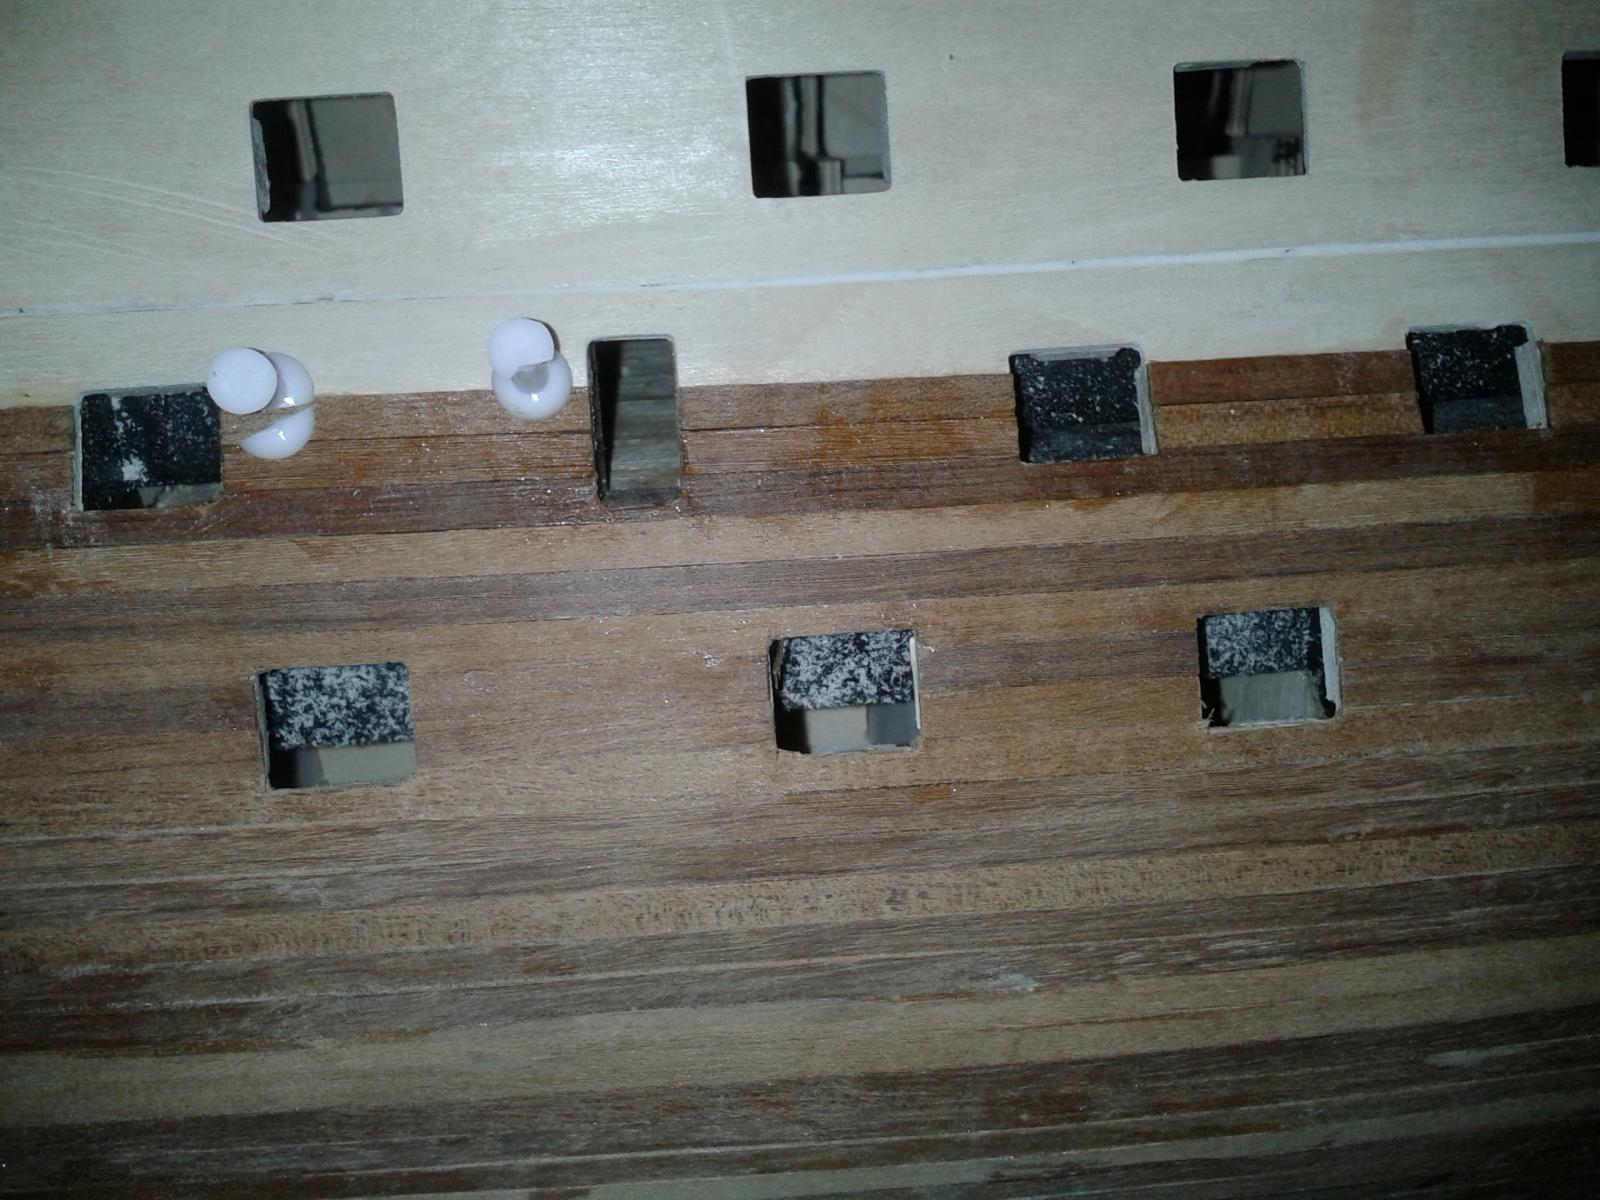
Hello Mort All the gun ports will be lined at different stages during the build. The first 8 without gun port lids need to be done first prior to planking of the inner bulwarks. I have completed 3 on the starboard side and 50% lined the remaining 5. Would expect to complete starboard side tonight.
-
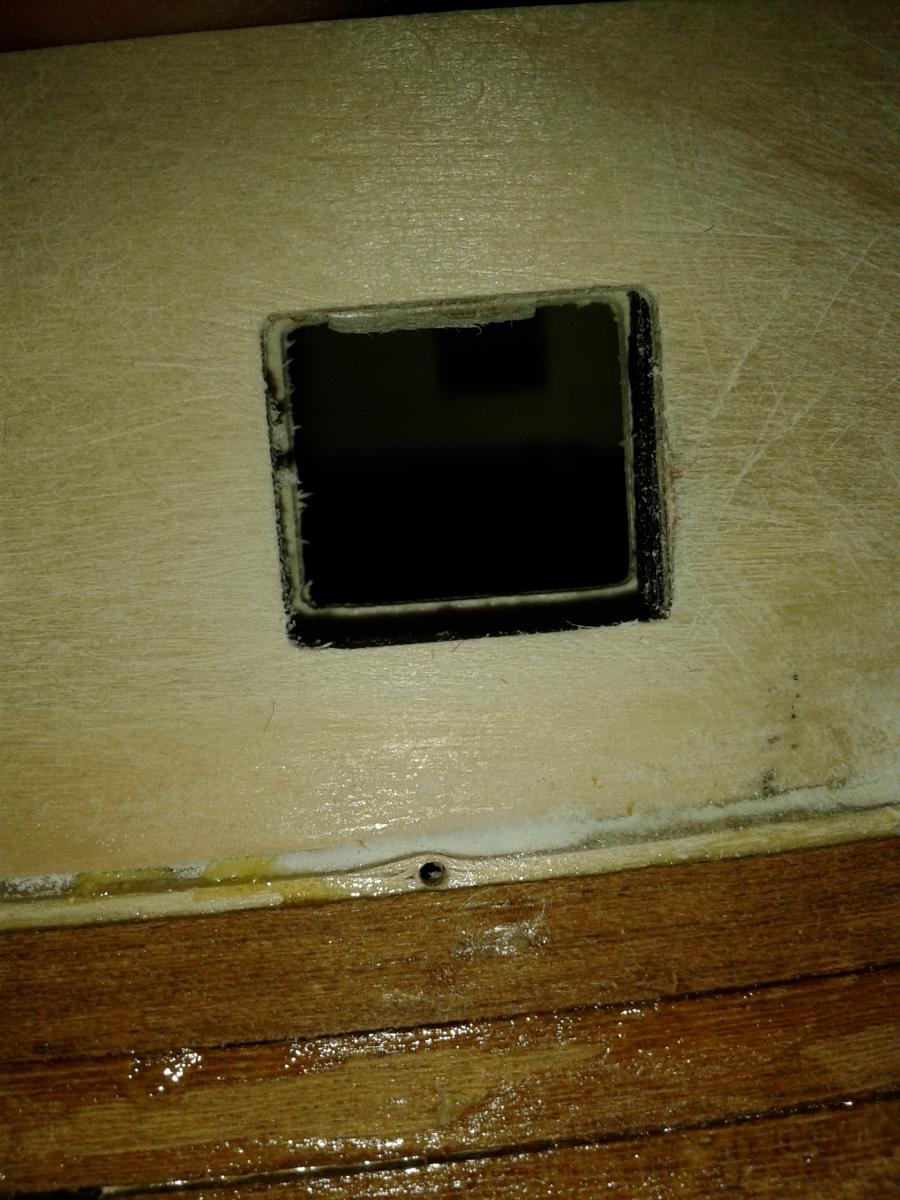
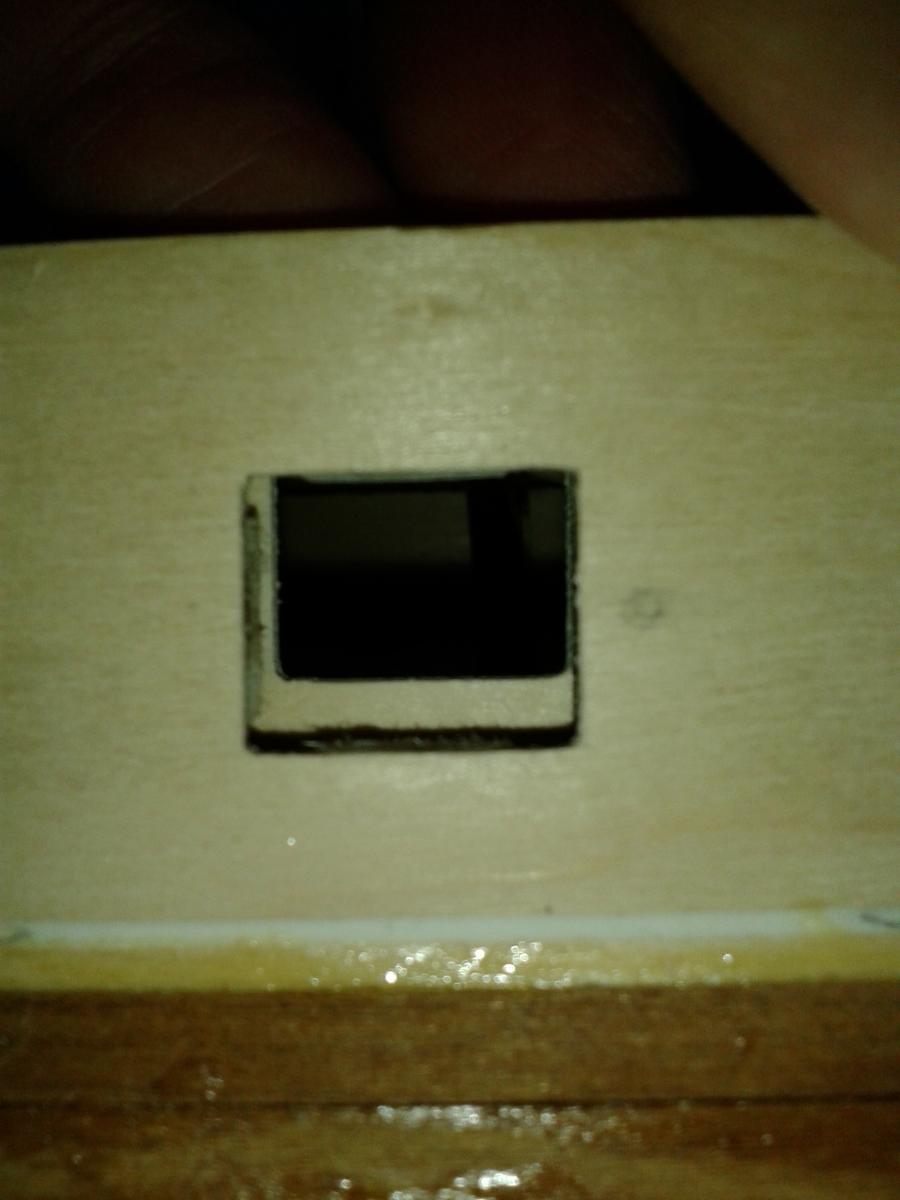
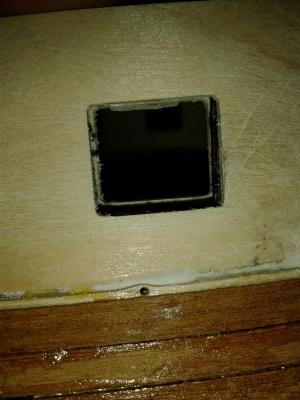
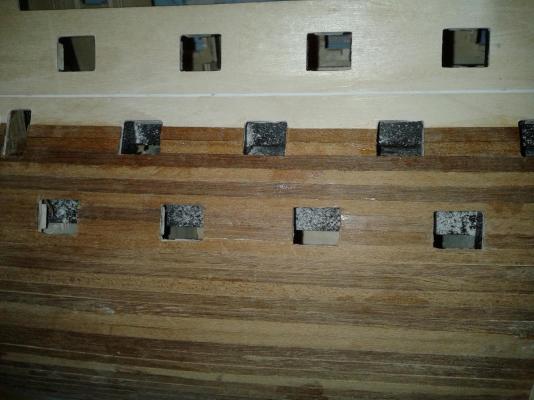
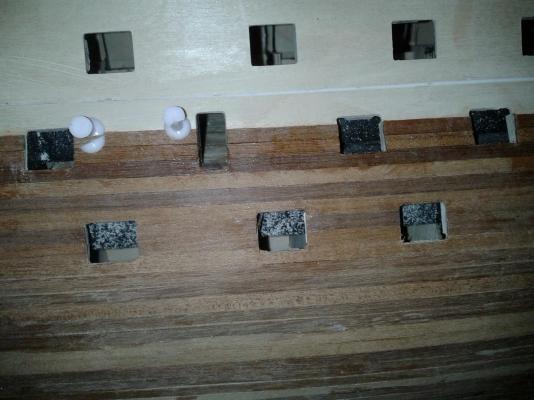
Works started on the next repetitive task; the lining of the first 16 gun ports (without lids). I can see this is going to take a few days to complete, mainly cutting and shaping the lining for a good fit. I had to relent and revert to using CA glue for this task! Pictures of the first port lined, sorry about the quality of the photos.


-
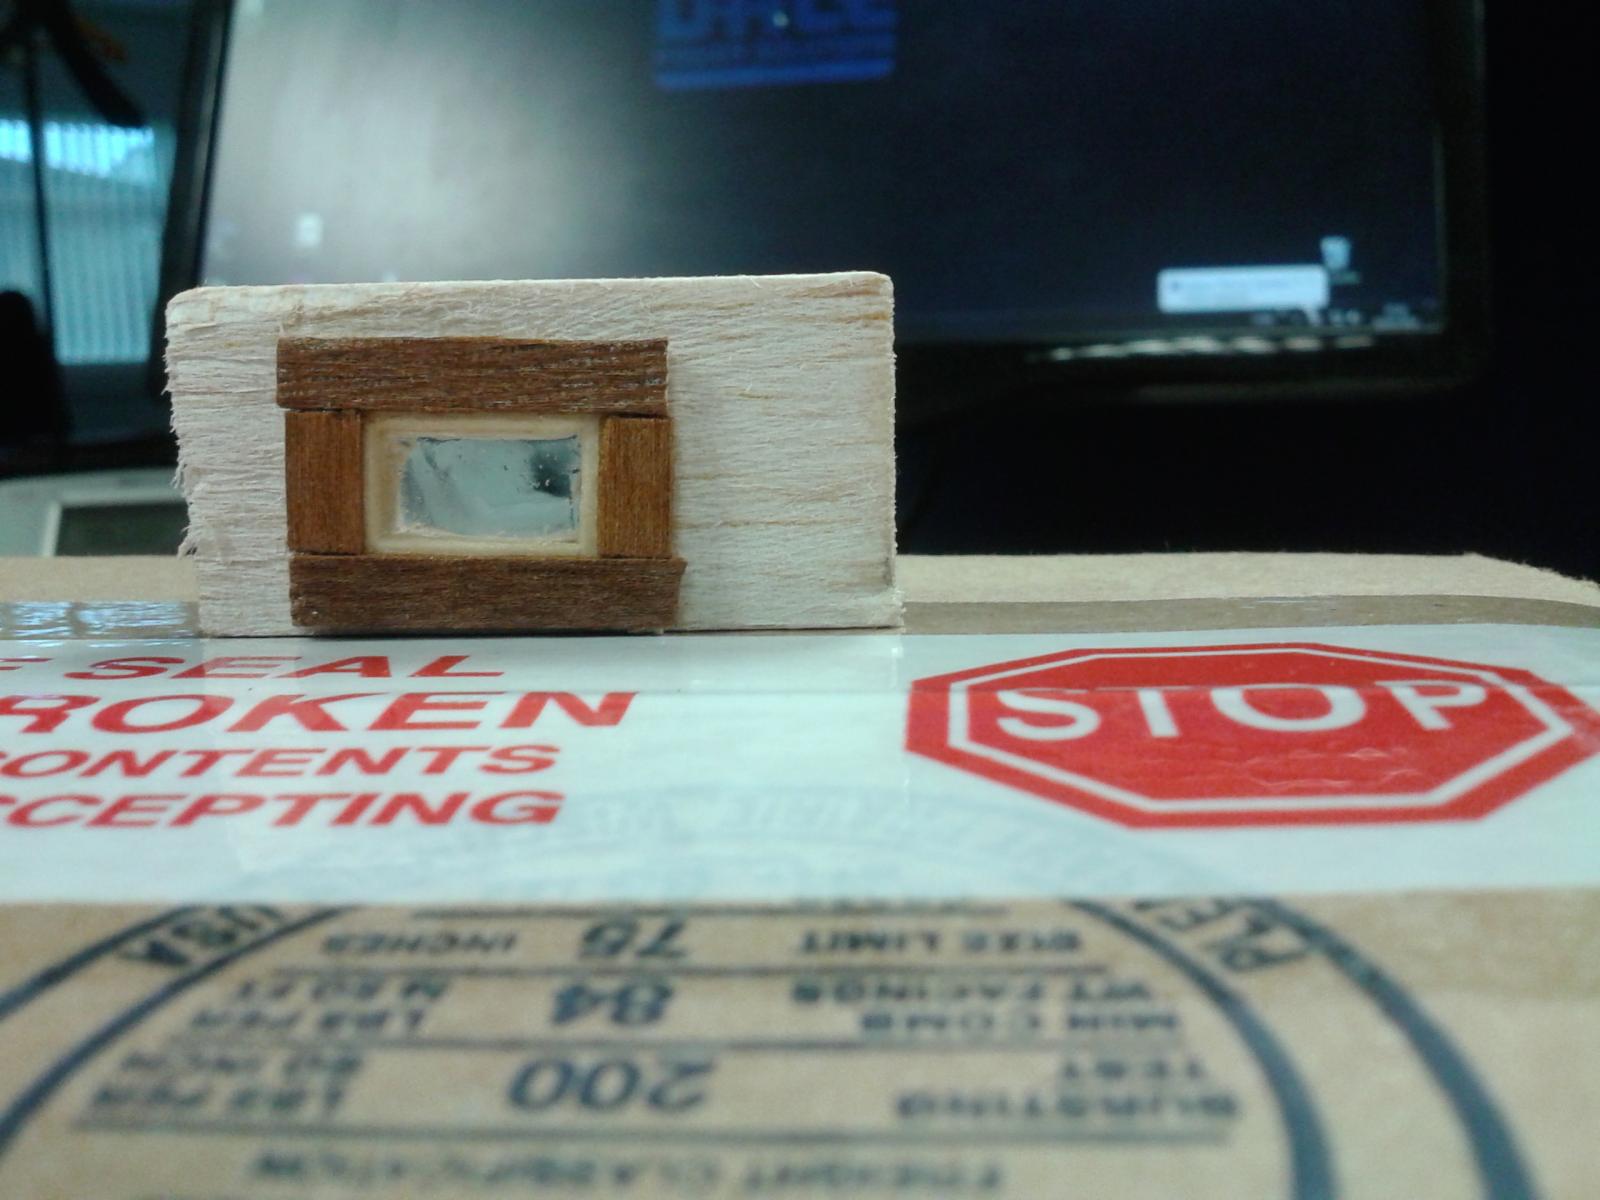
0.5 looks better. Just need to order some micro.glaze from micromart in the States so you can glaze the windows. I got some recently and was very happy with the test piece result.
-
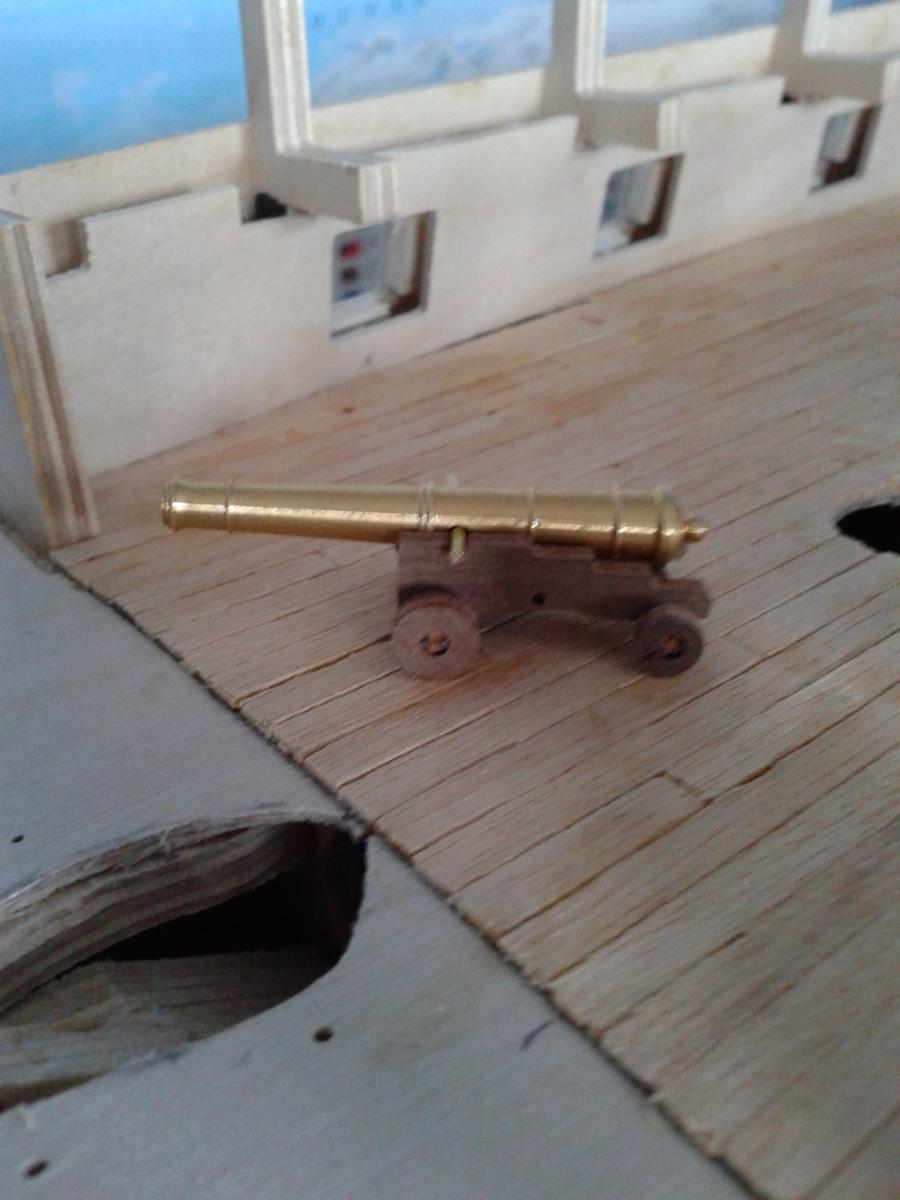
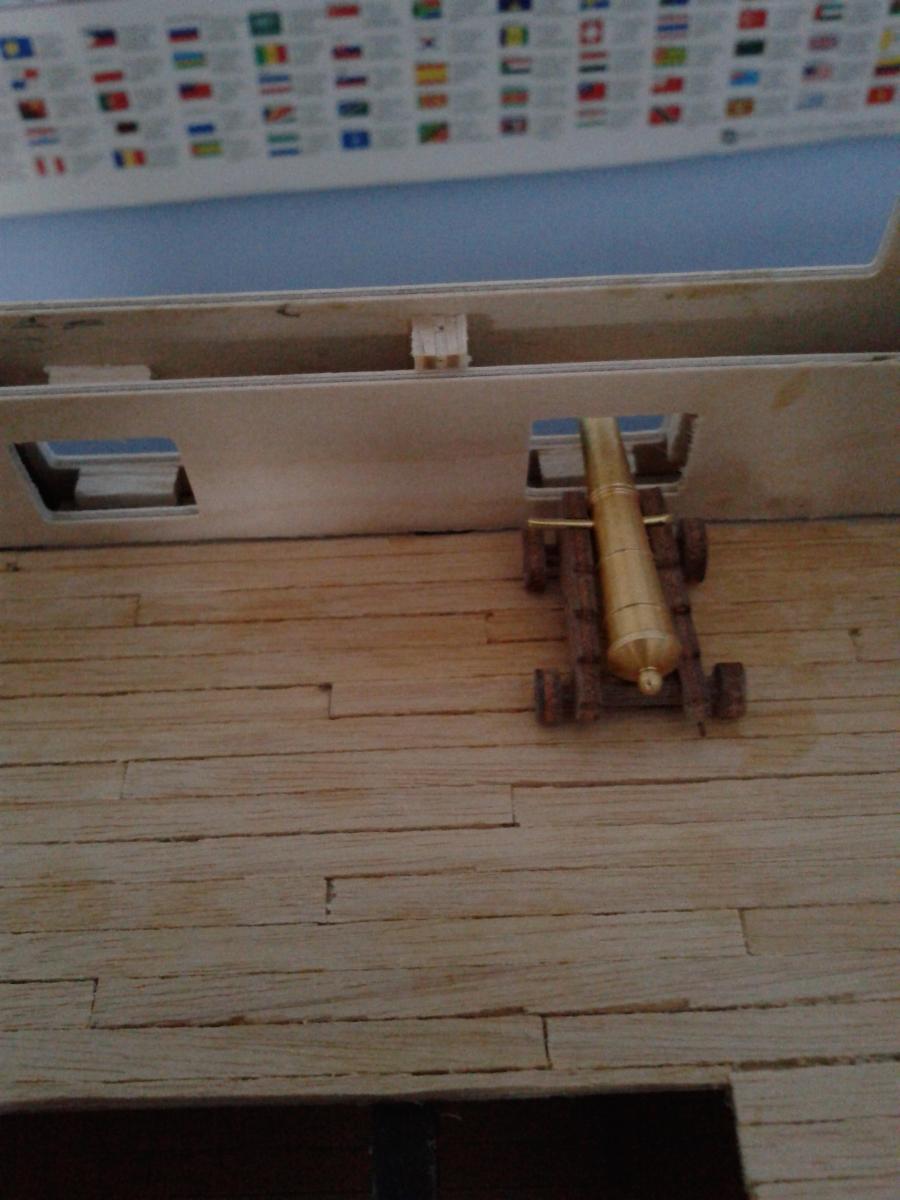
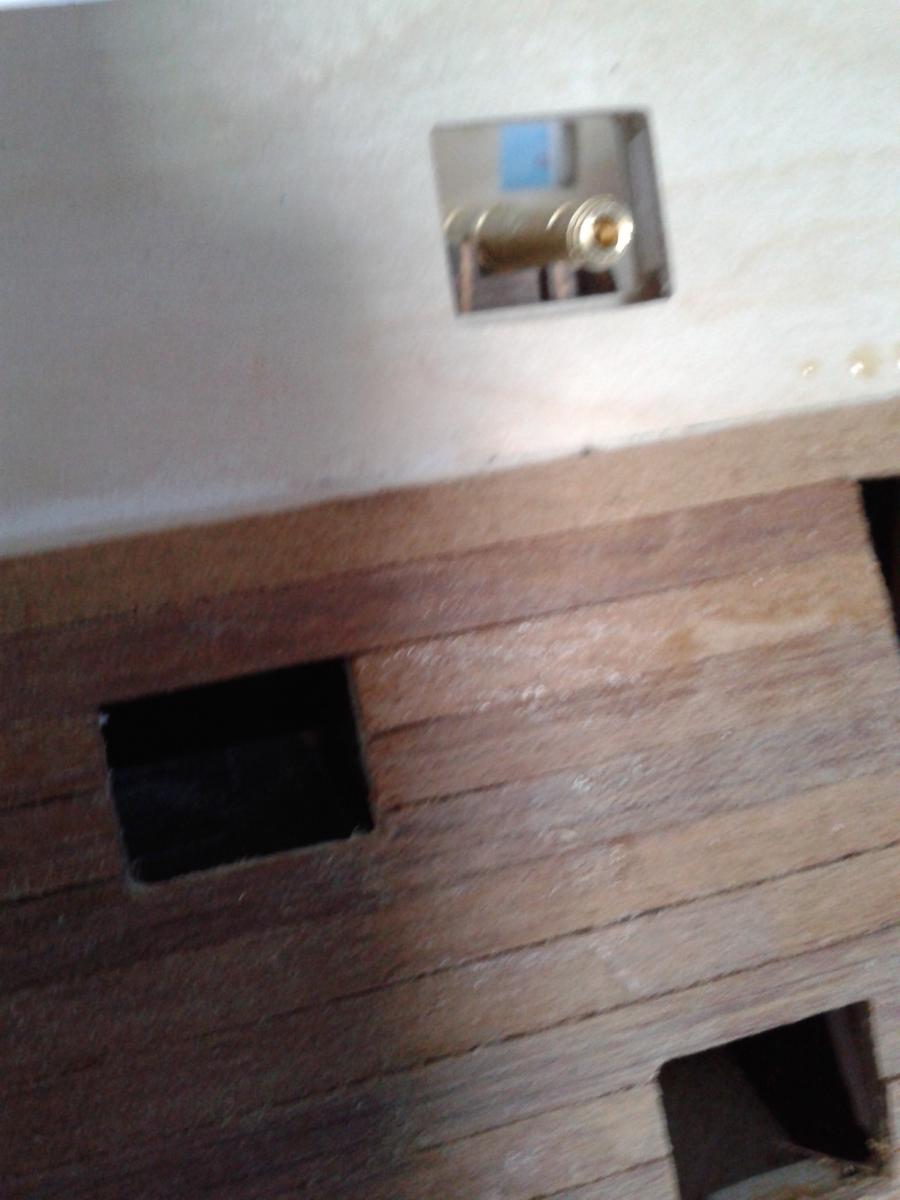
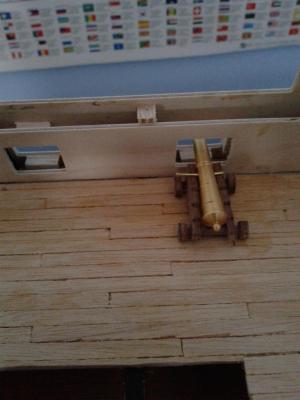
Couple of thing to report; seemingly I have lost the stern post. It is really strange as I kept it with the rear keelson which is not missing. I have turned the shipwrights office upside down, without any luck. I could make a new one using some of the excess 3mm walnut, but I think I will ask JoTika to supply a new one, as I'm in no hurry to fit at the moment. Secondly I dry fitted a gun carriage assembly and tried it in position. Generally Ok, but will need a bit of tweaking to ensure the gun is positioned centrally in each gun port opening. Gun Carriage assembly dry fit Gun Carriage in position


-
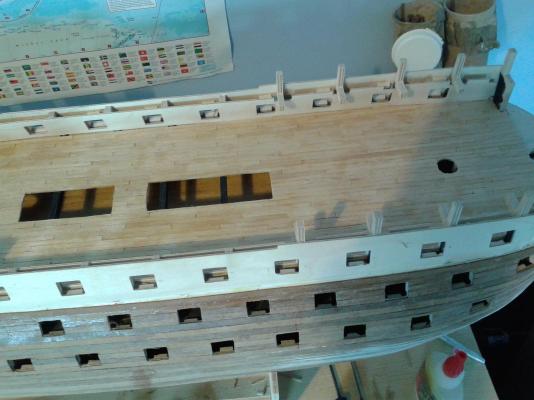
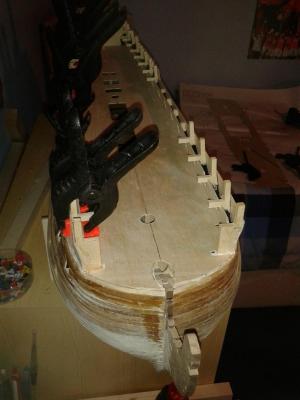
Thanks Dave Inner bulwarks have been fitted, they can be seen on the photos, I fitted before the gun deck planking as per the build instructions; they still need to be planked and painted.
-
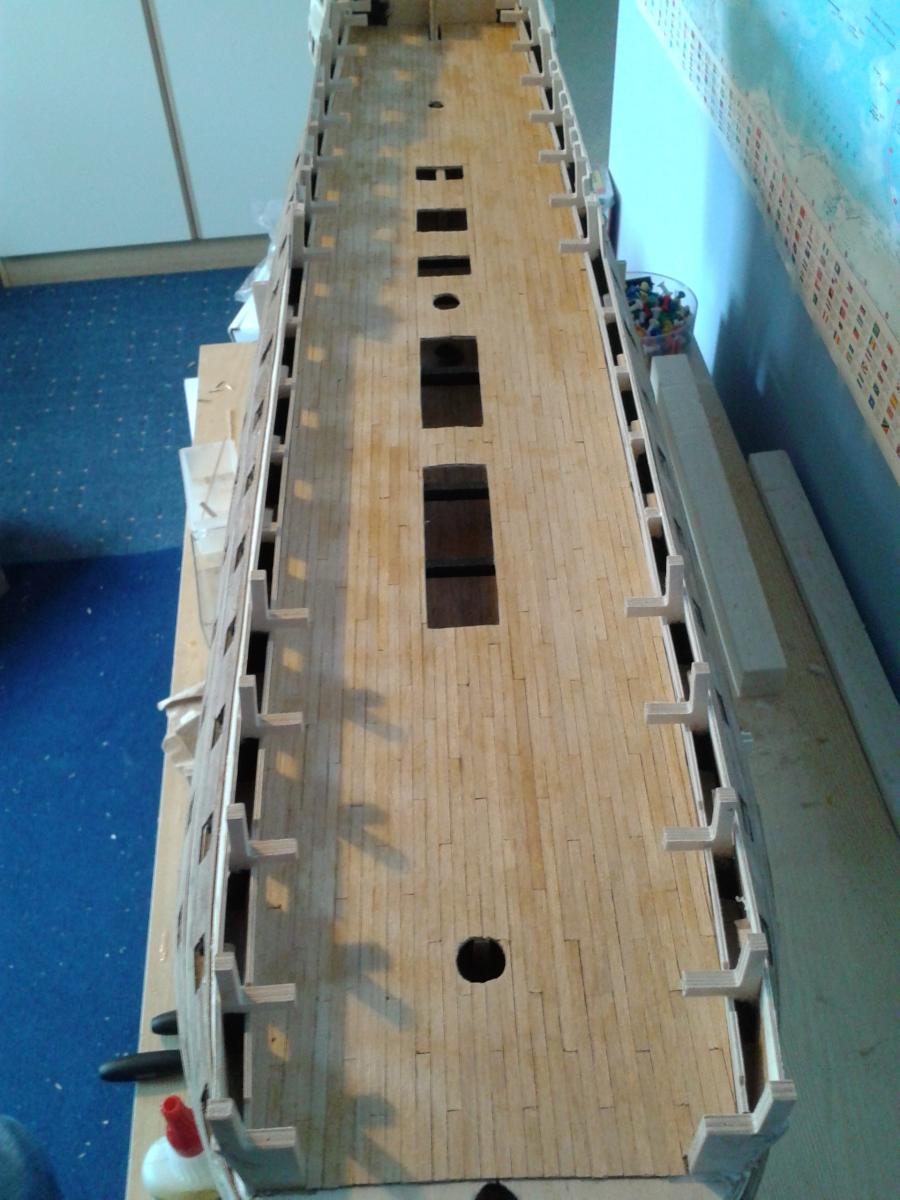
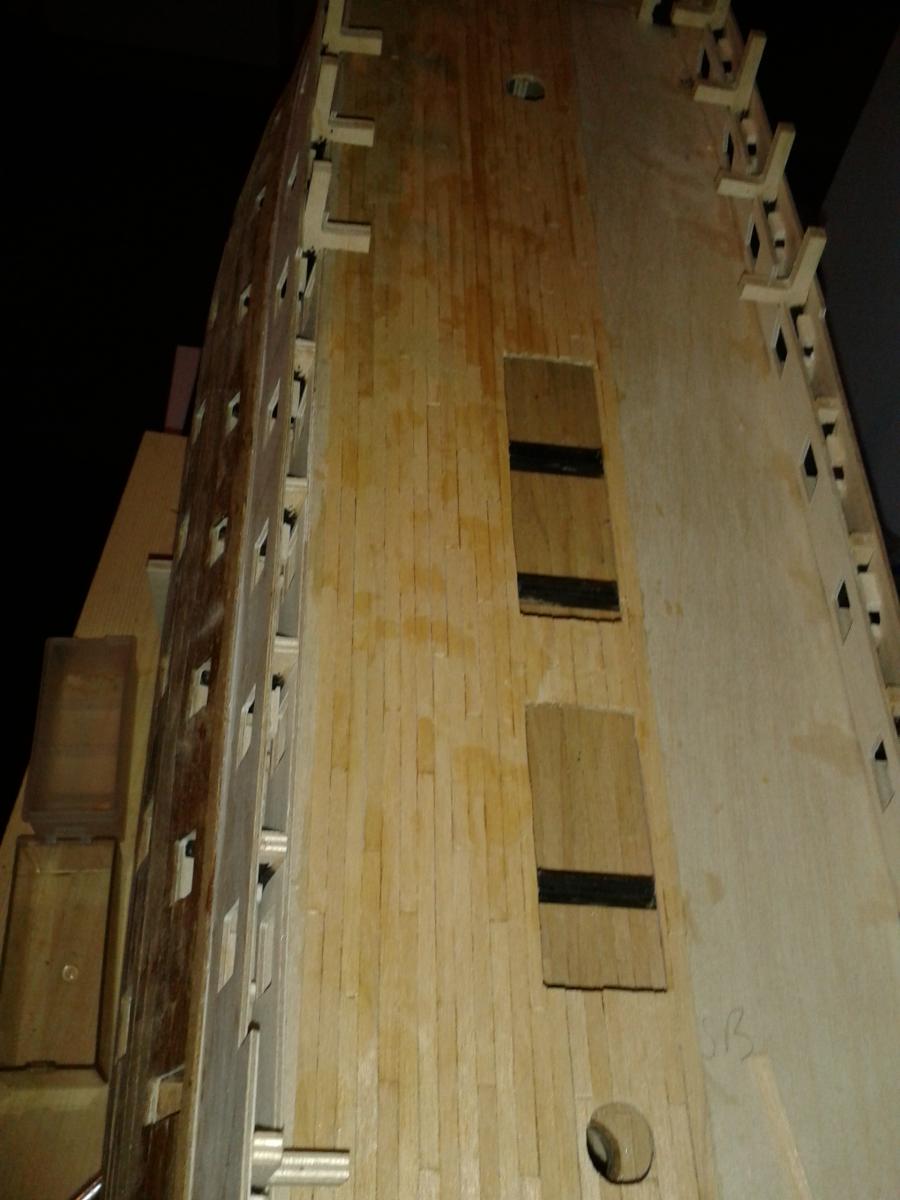
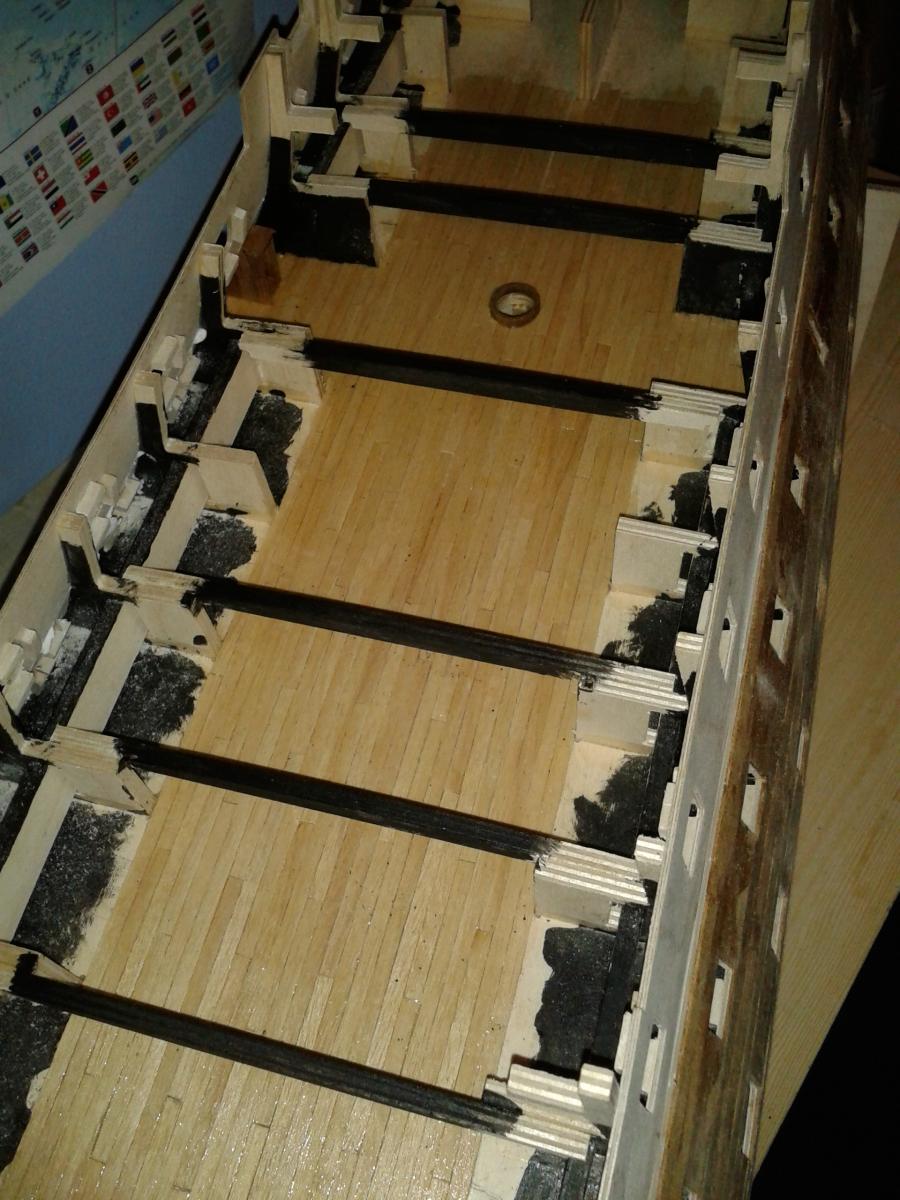
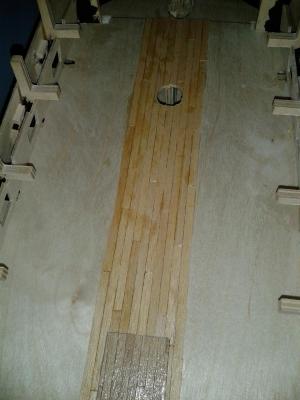
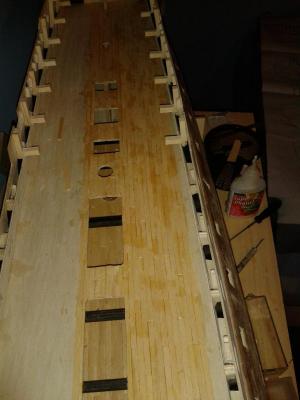
Completed the planking of the gun deck this morning, just need to scrape smooth with razor blade and varnish. The sun is shining through the window to cast a very nice gun port shadow on the deck. It now time to line the first of the gun ports, but I think I will assemble a cannon first to check its position in respect to the gun ports.


-
And she was well worth the visit and have 4 more free trips left this year.
-
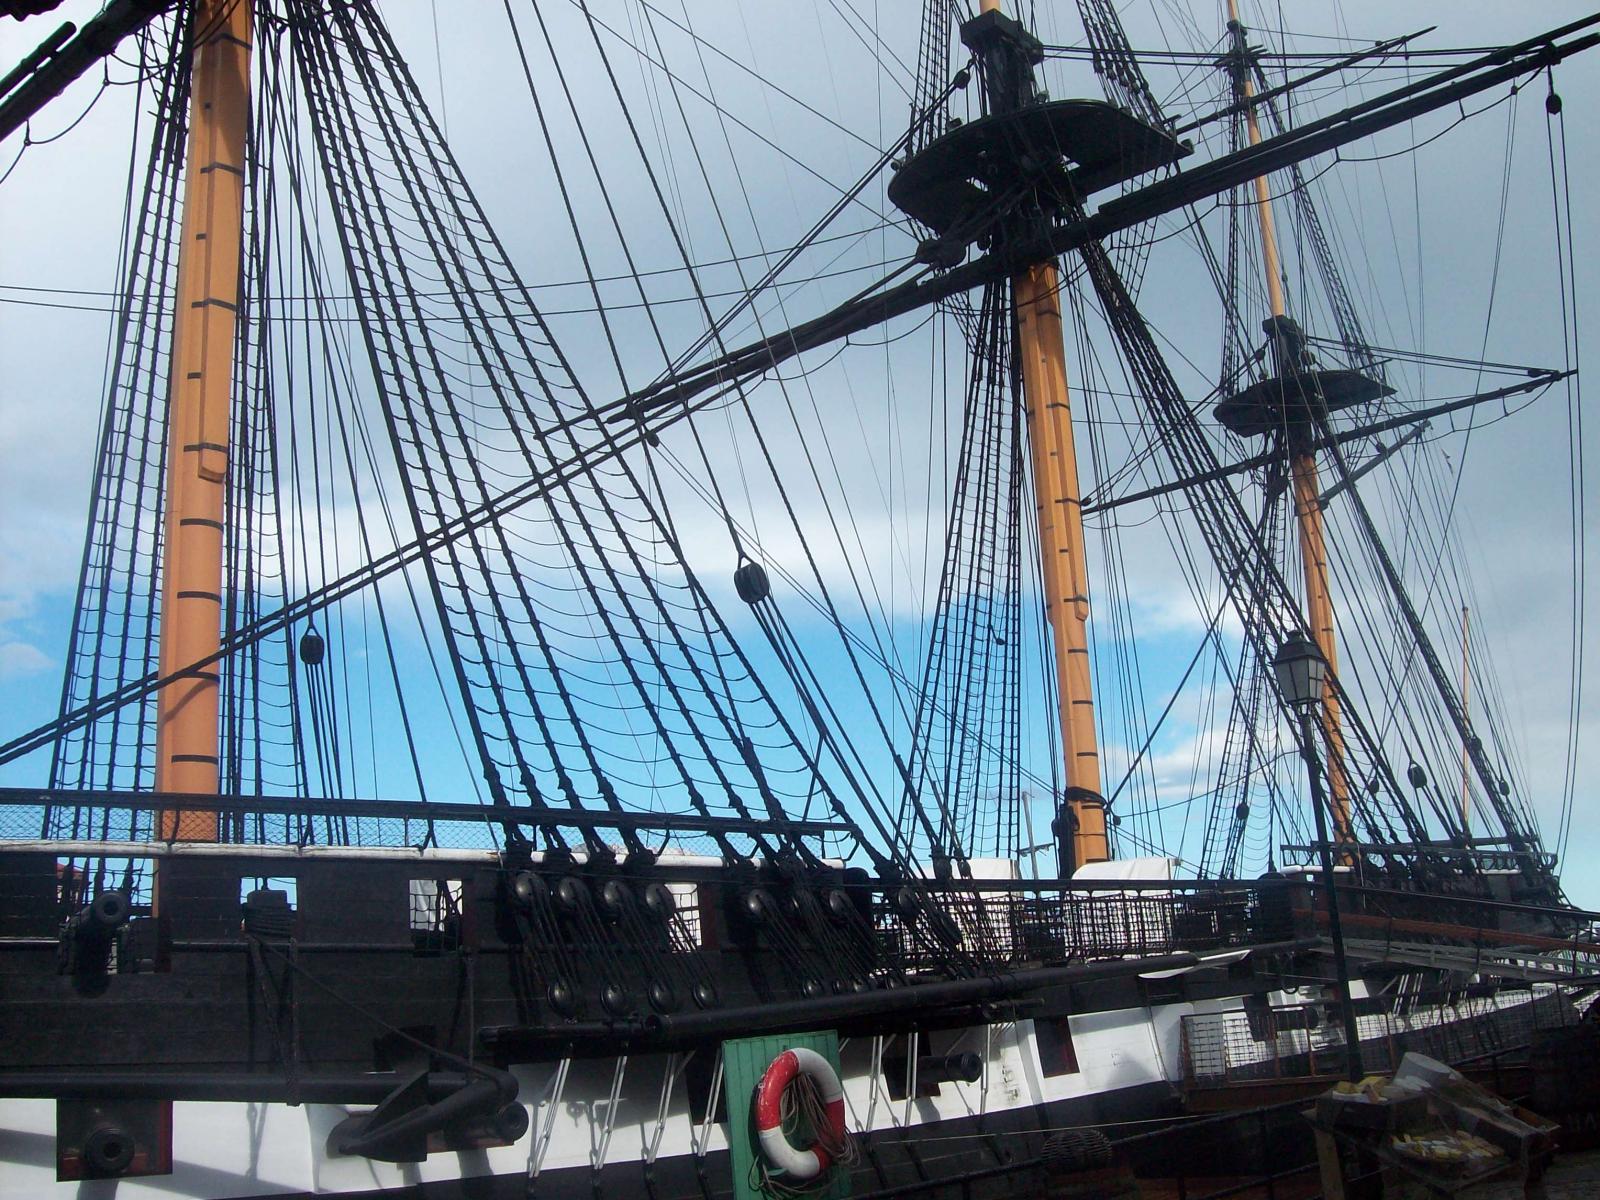
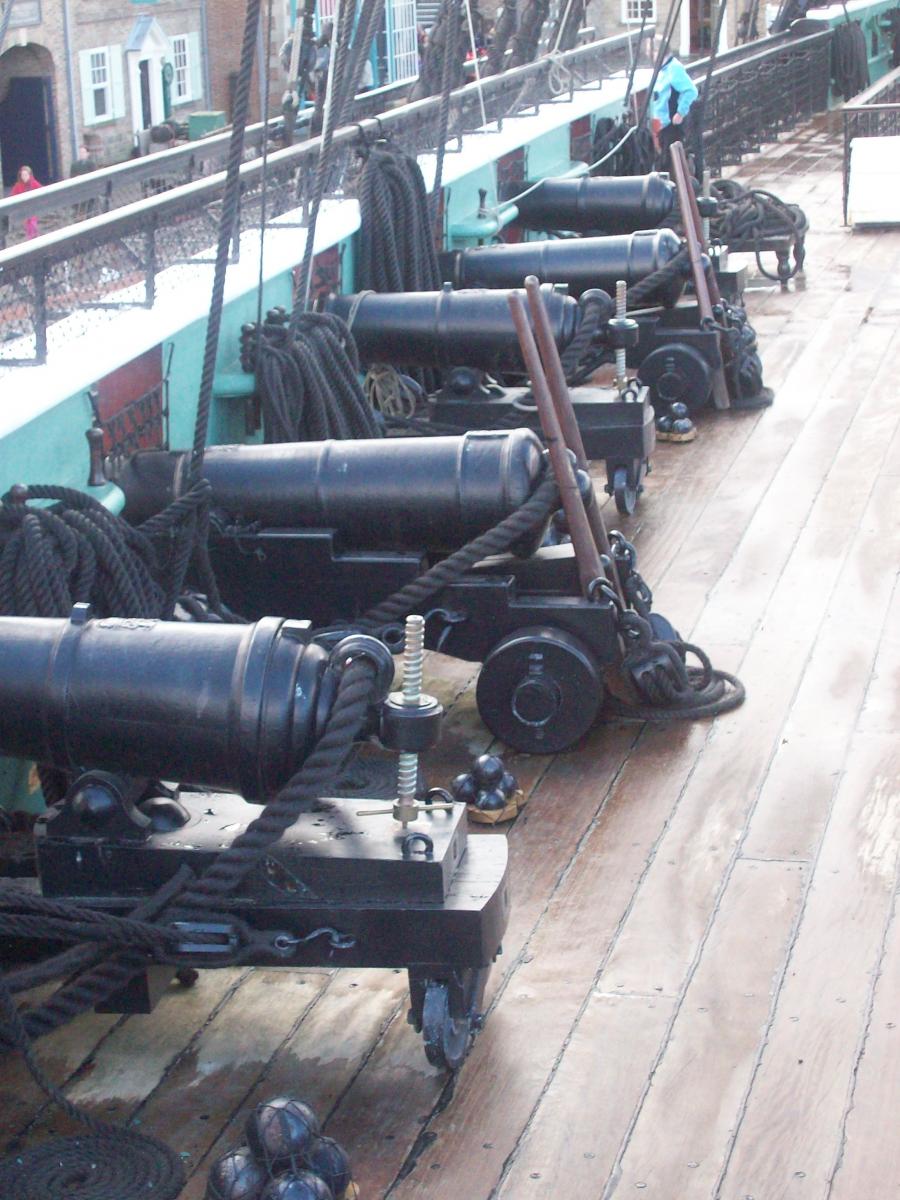
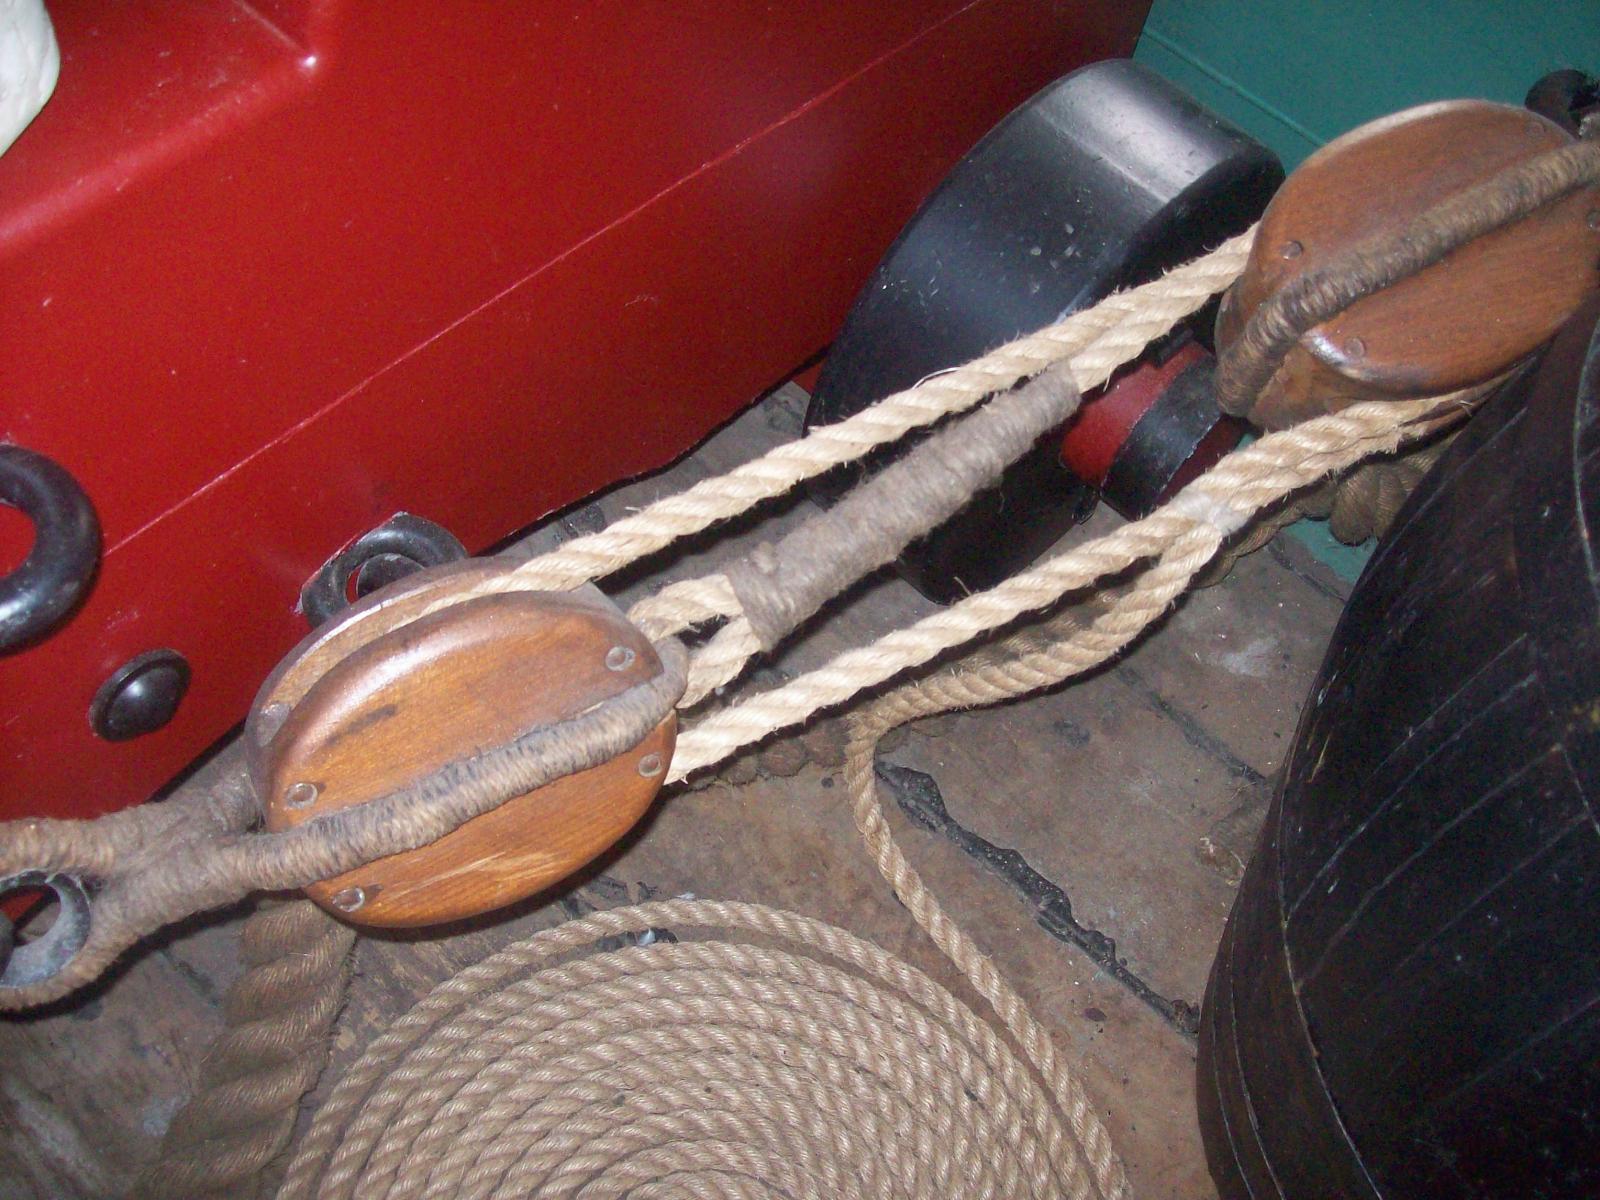
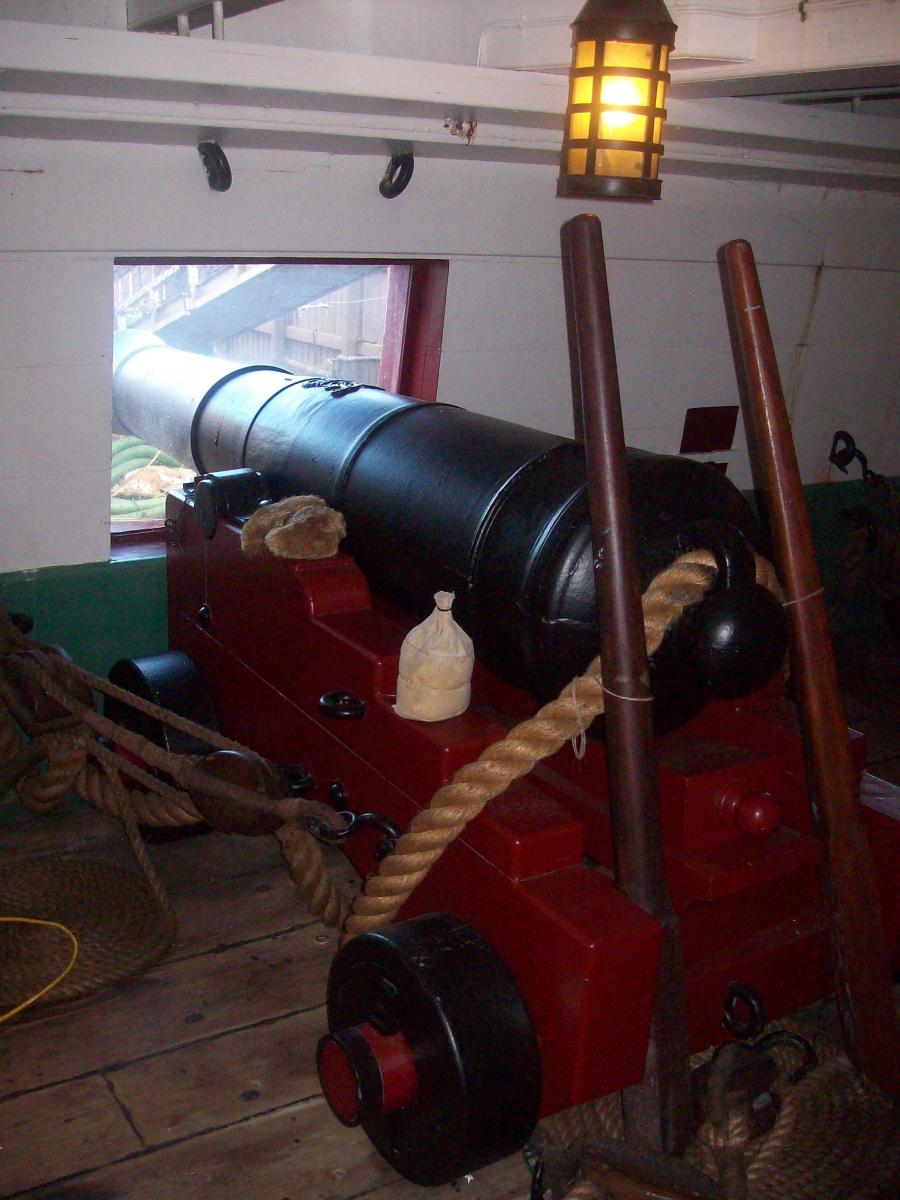
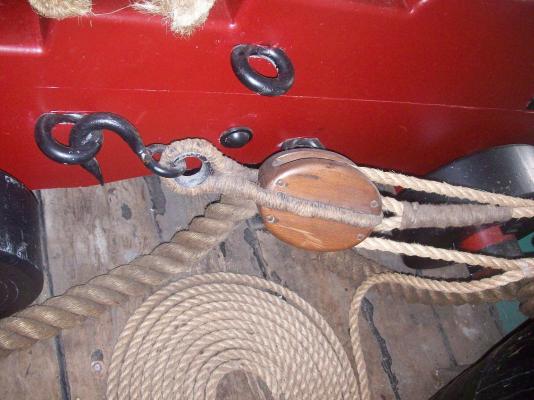
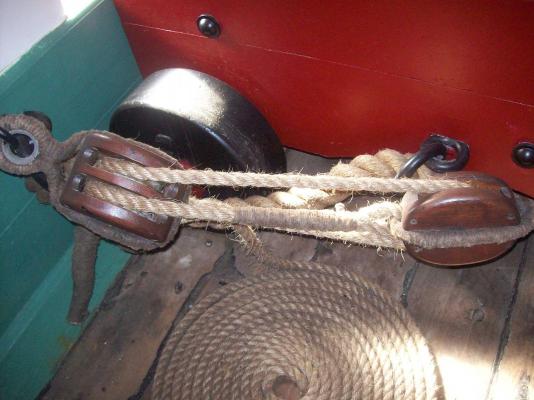
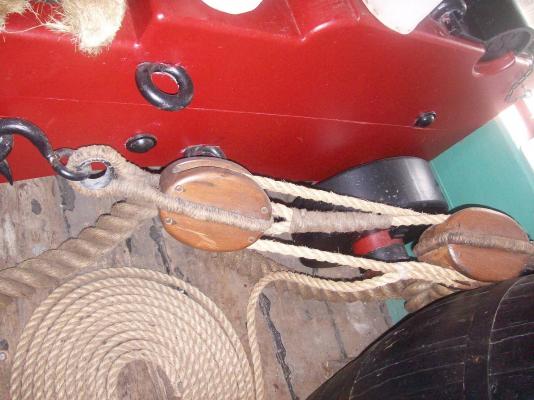
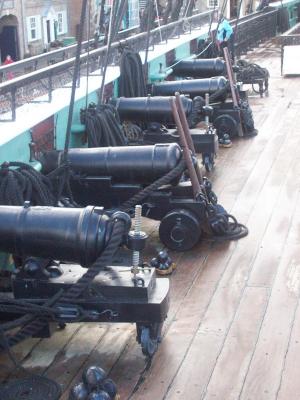
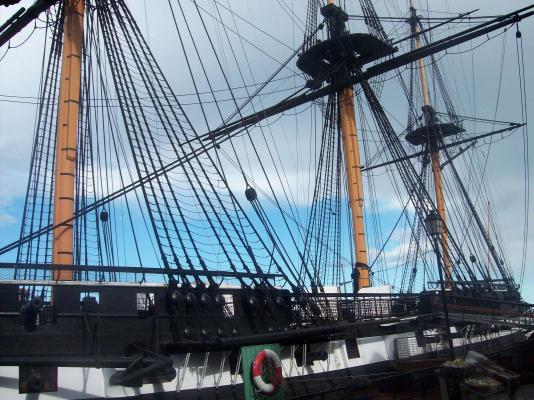
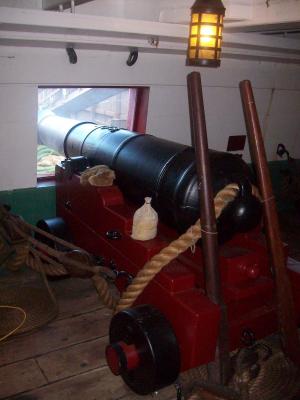
Some more pictures of my recent visit to HMS Trincomalee, showing great detail of the gun rigging. A fine looking ship Close up of rigging Nice set of cannons


-
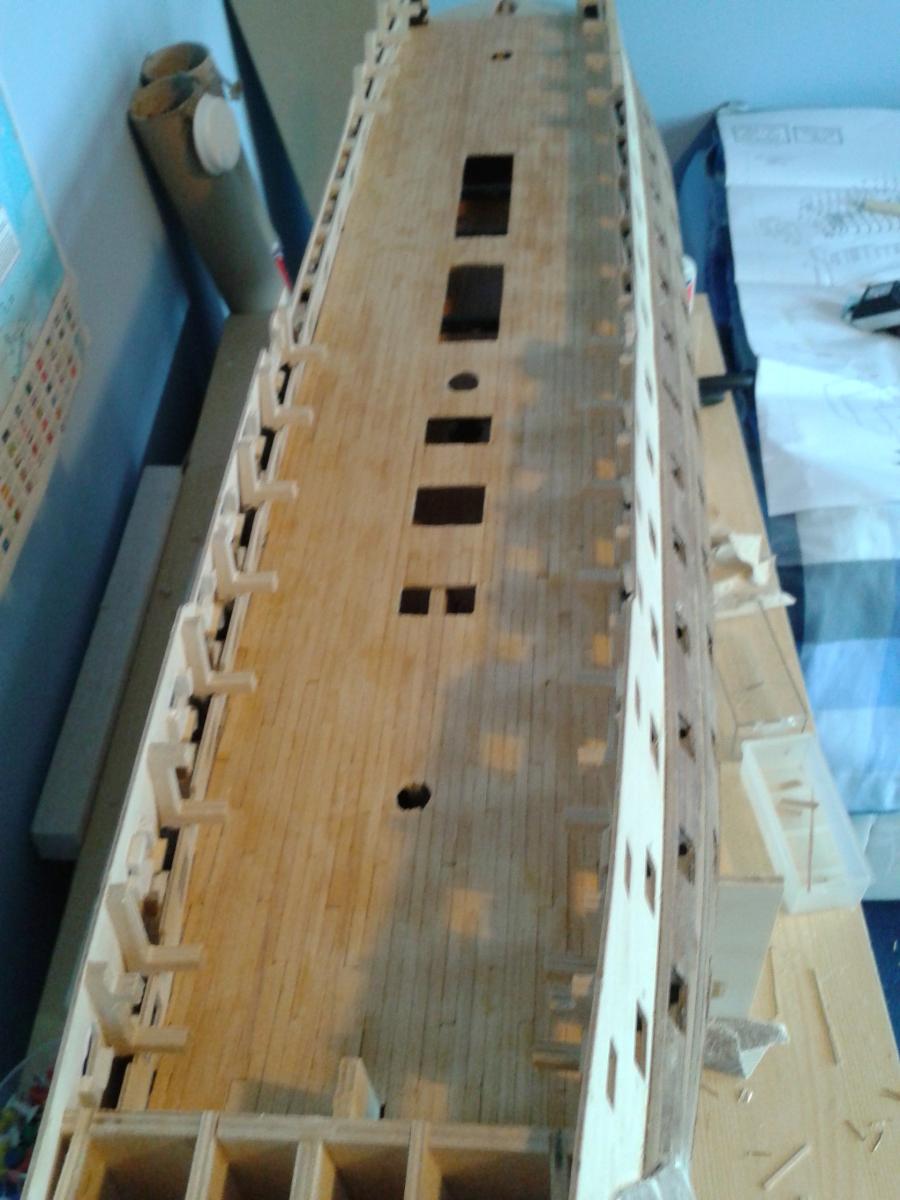
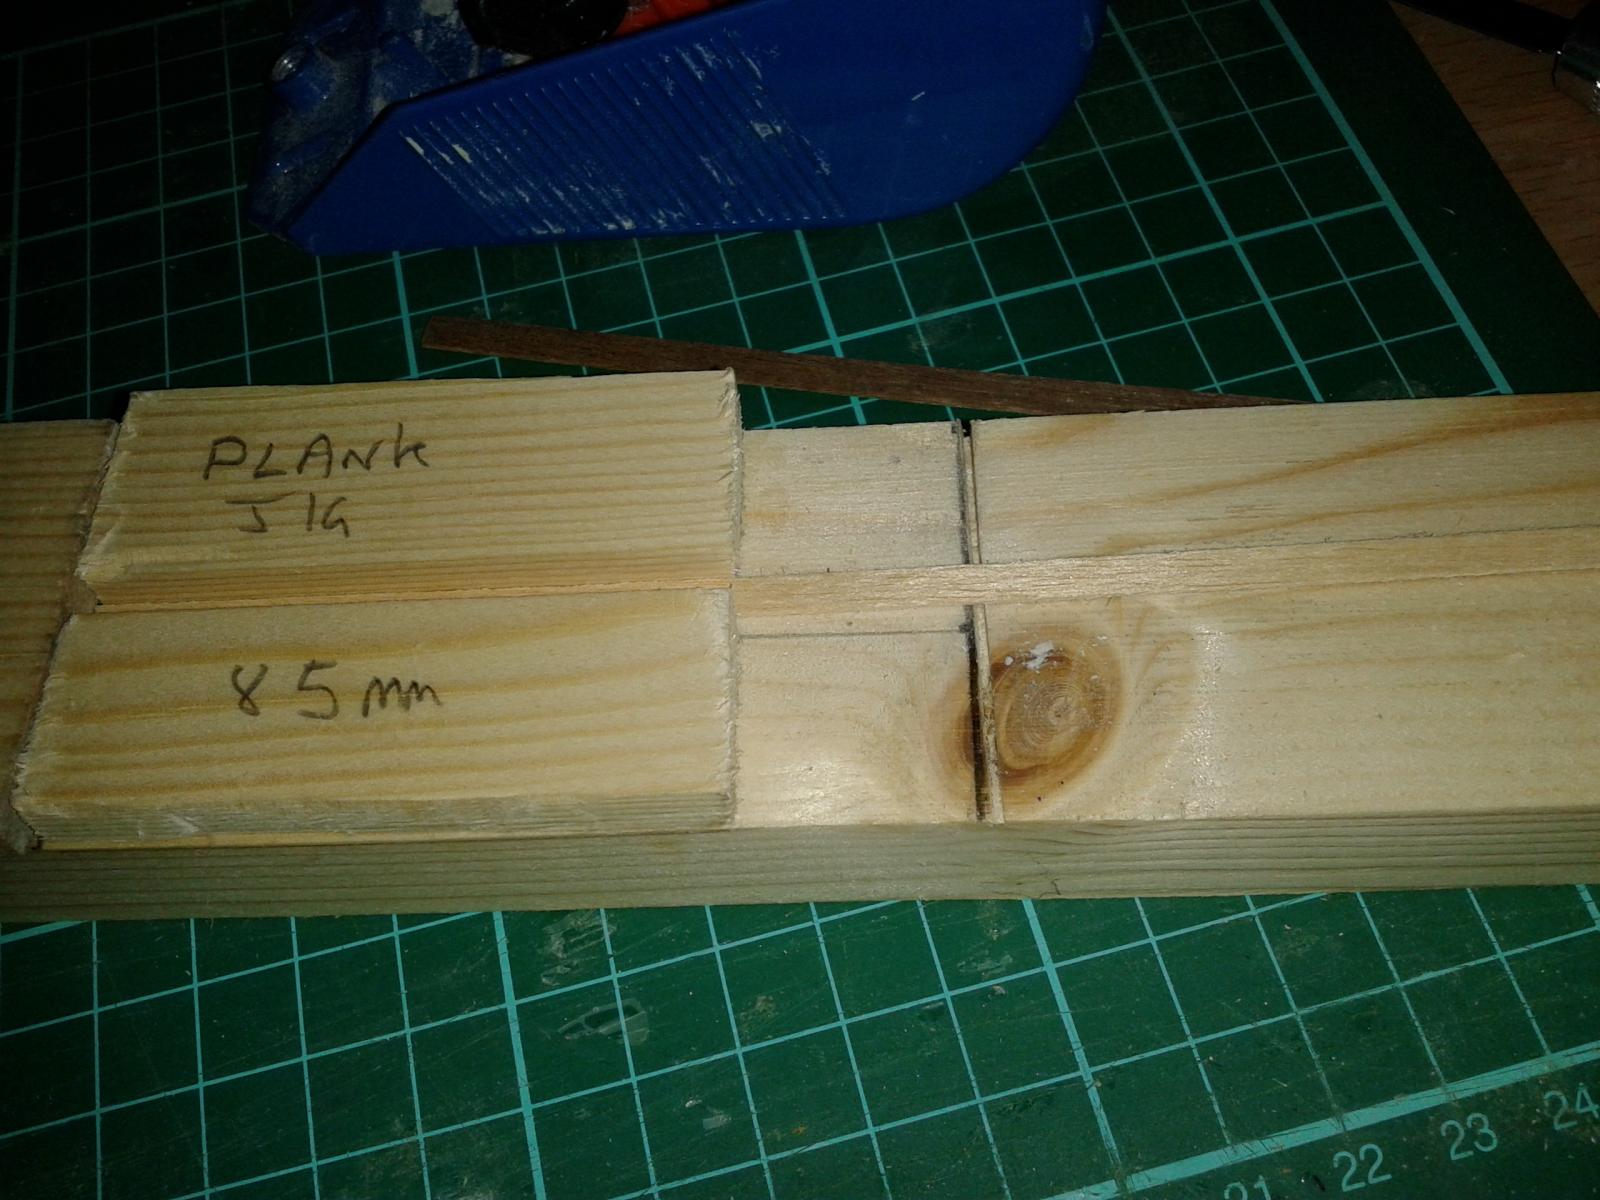
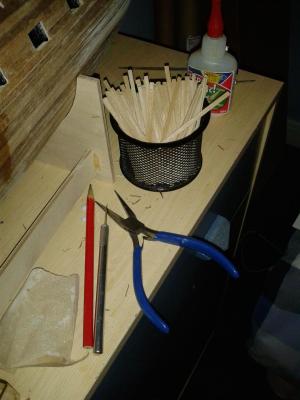
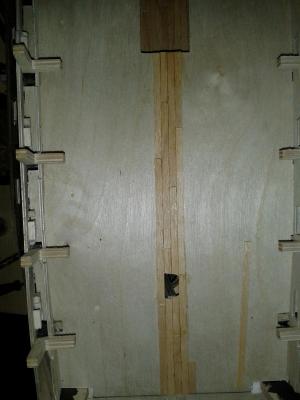
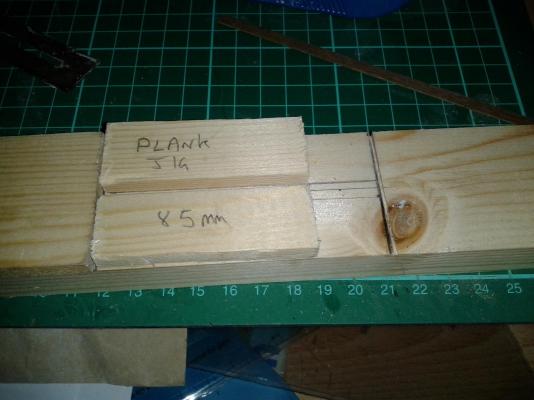
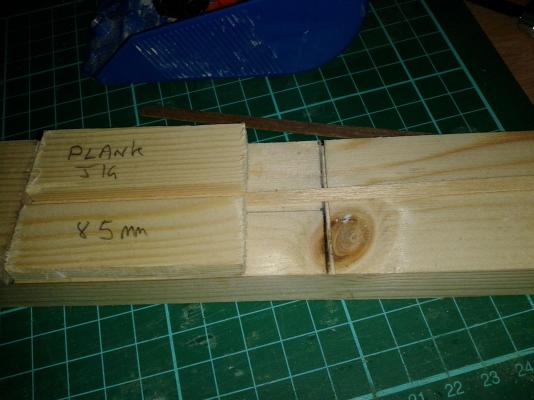
Work progressing well on the planking of the gun deck, about 50% through this task. The plank cut jig worked like a dream, calculated I would need in excess of 300 planks, took an 1/2 hour work to get over 200 planks cut. Decided against adding any caulking effects to the planks for this deck, but may apply caulking to quarter deck planking. Progress over the last couple of days Expect to complete this task in next 2 to 3 days then I will use a razor blade to smooth the planking before I apply the varnish as it worked well on the lower planking.


-
It sure looks complicated, but you have it all under control it seems; amazing pictures of your build.
- 439 replies
-
- 1
-

-
- victory
- caldercraft
- (and 1 more)
-
Hi Mort If I had trimmed the top then the alignment of the gun port opening on the inner bulwarks with the outer gun port strips would be worse, I needed to trim to bottom so they could be lowered.
-
Dave Thanks for the heads up
-
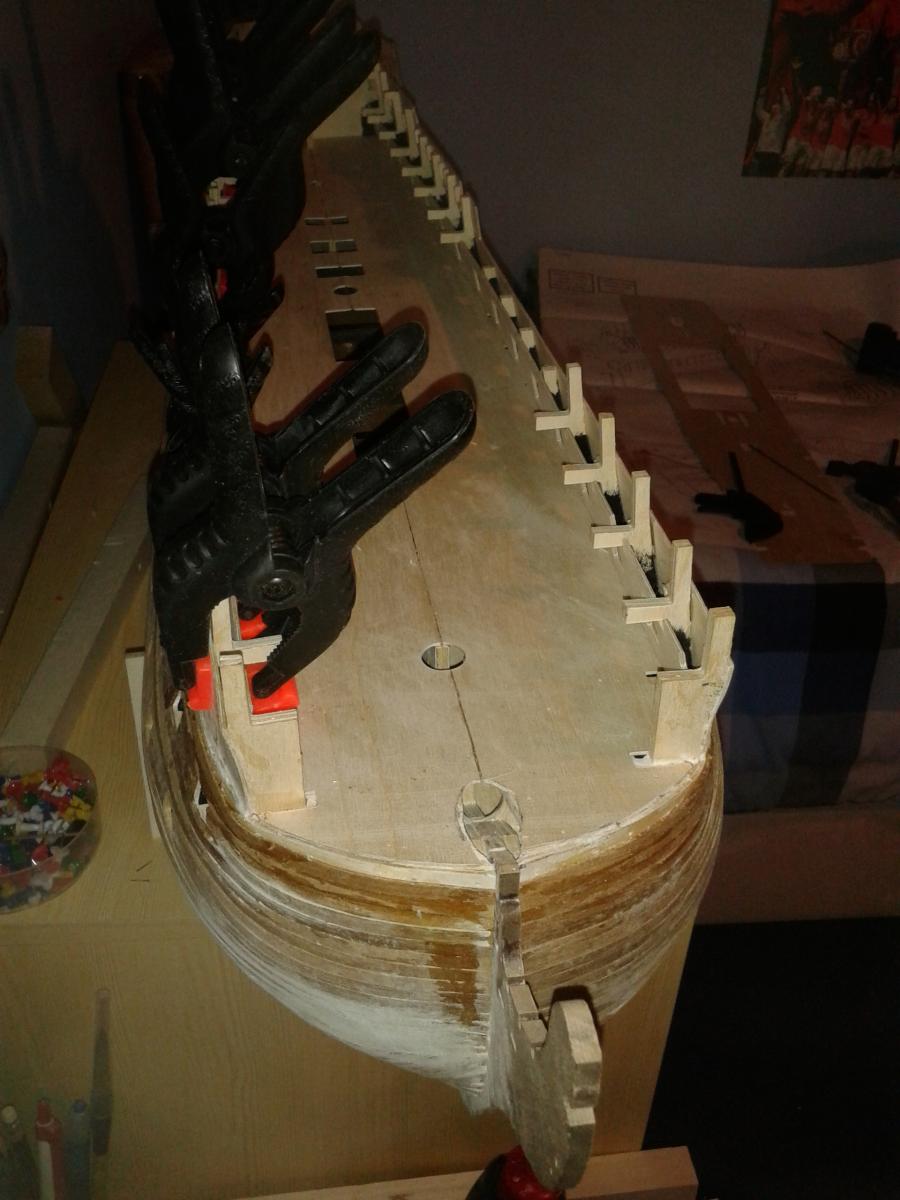
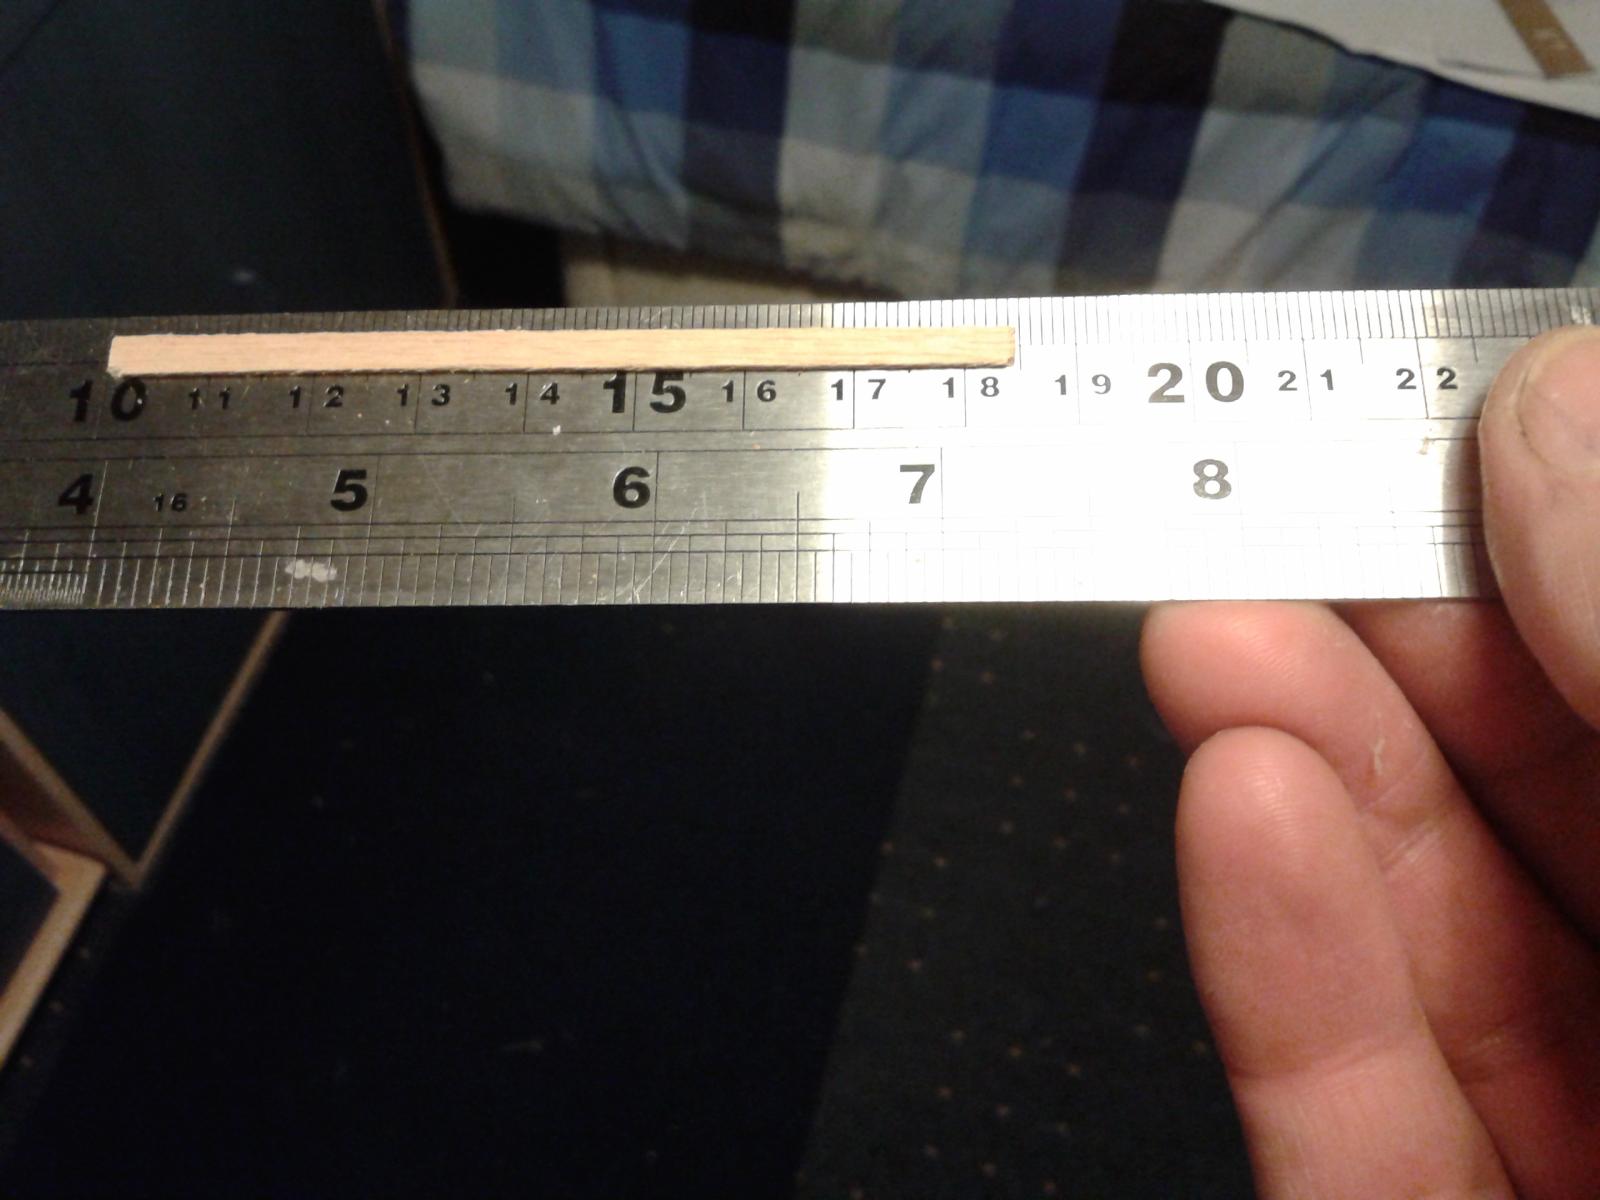
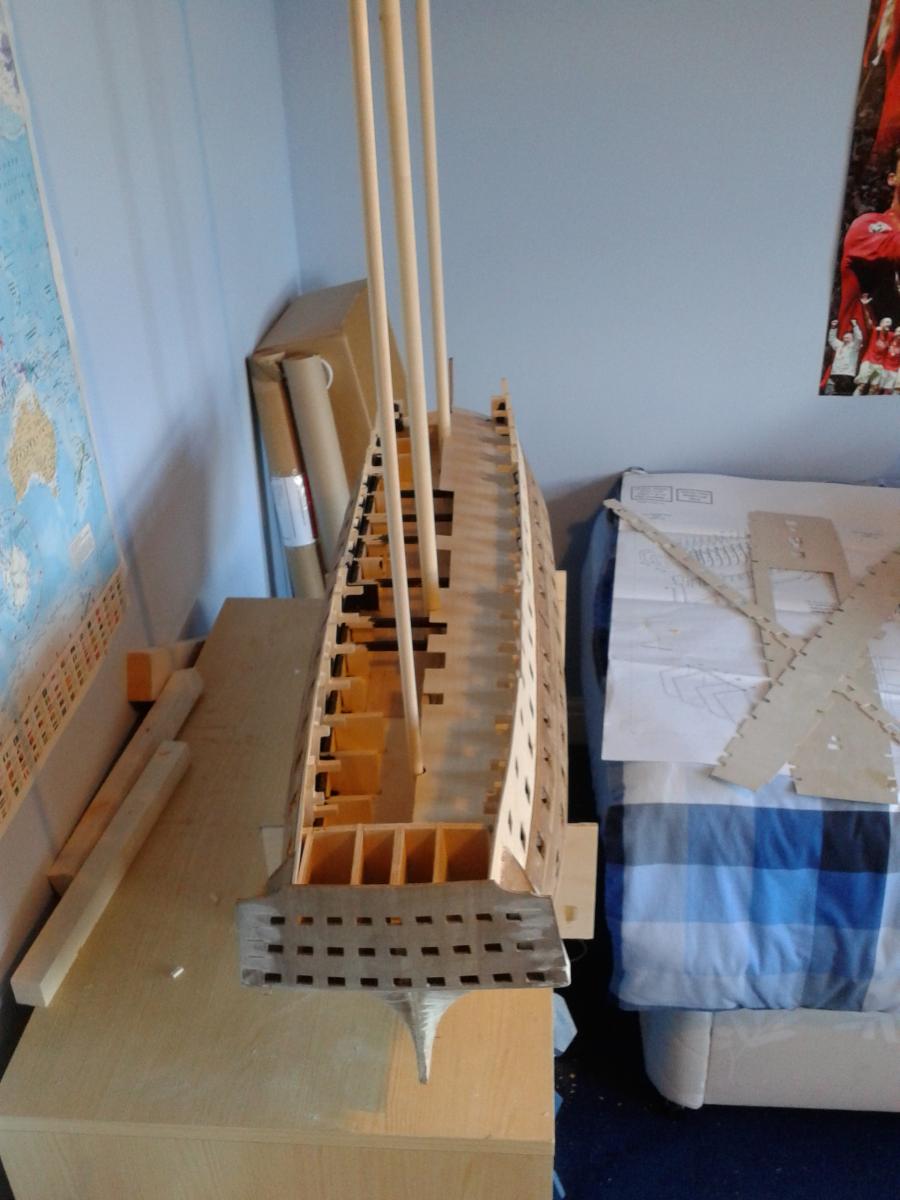
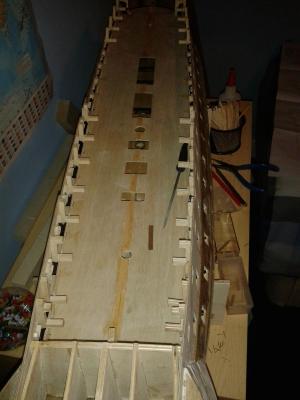
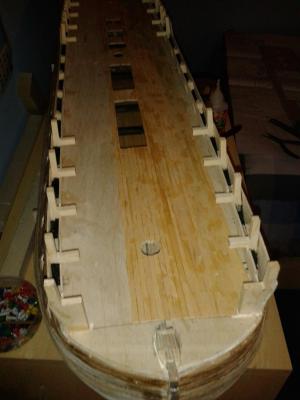
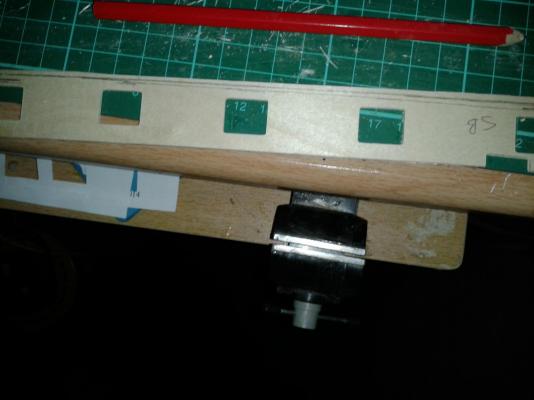
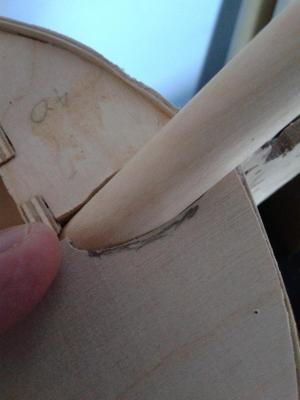
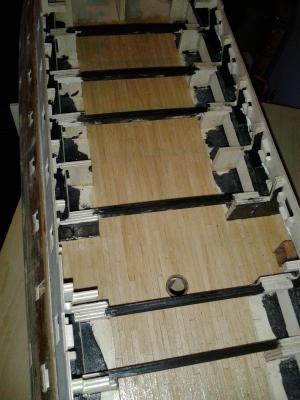
Progress to date. Gun deck fitted, the front part is dry fitted Trimming inner bulwark, I did know which pencil line was the cut line! Bulwarks fitted Planking jig Plank fitted ready for cutting End result 85mm long, plank moved when trying to take this picture, I only noticed when uploading picture, but the plank is 85mm long


-
The HMS Trincomalee is in Hartlepool which is located in the North East of England. For £10 entry fee you are entitled to 5 visits in one year, so will be going back again soon. I did take plenty of pictures showing how various items were rigging which will be useful. I will visiting HMS Victory sometime in the summer also. The gun deck is now glued in position and I have started work on trimming the inner bulwarks so hopefully will have that completed in next day or two before moving on to planking the gun deck.
-
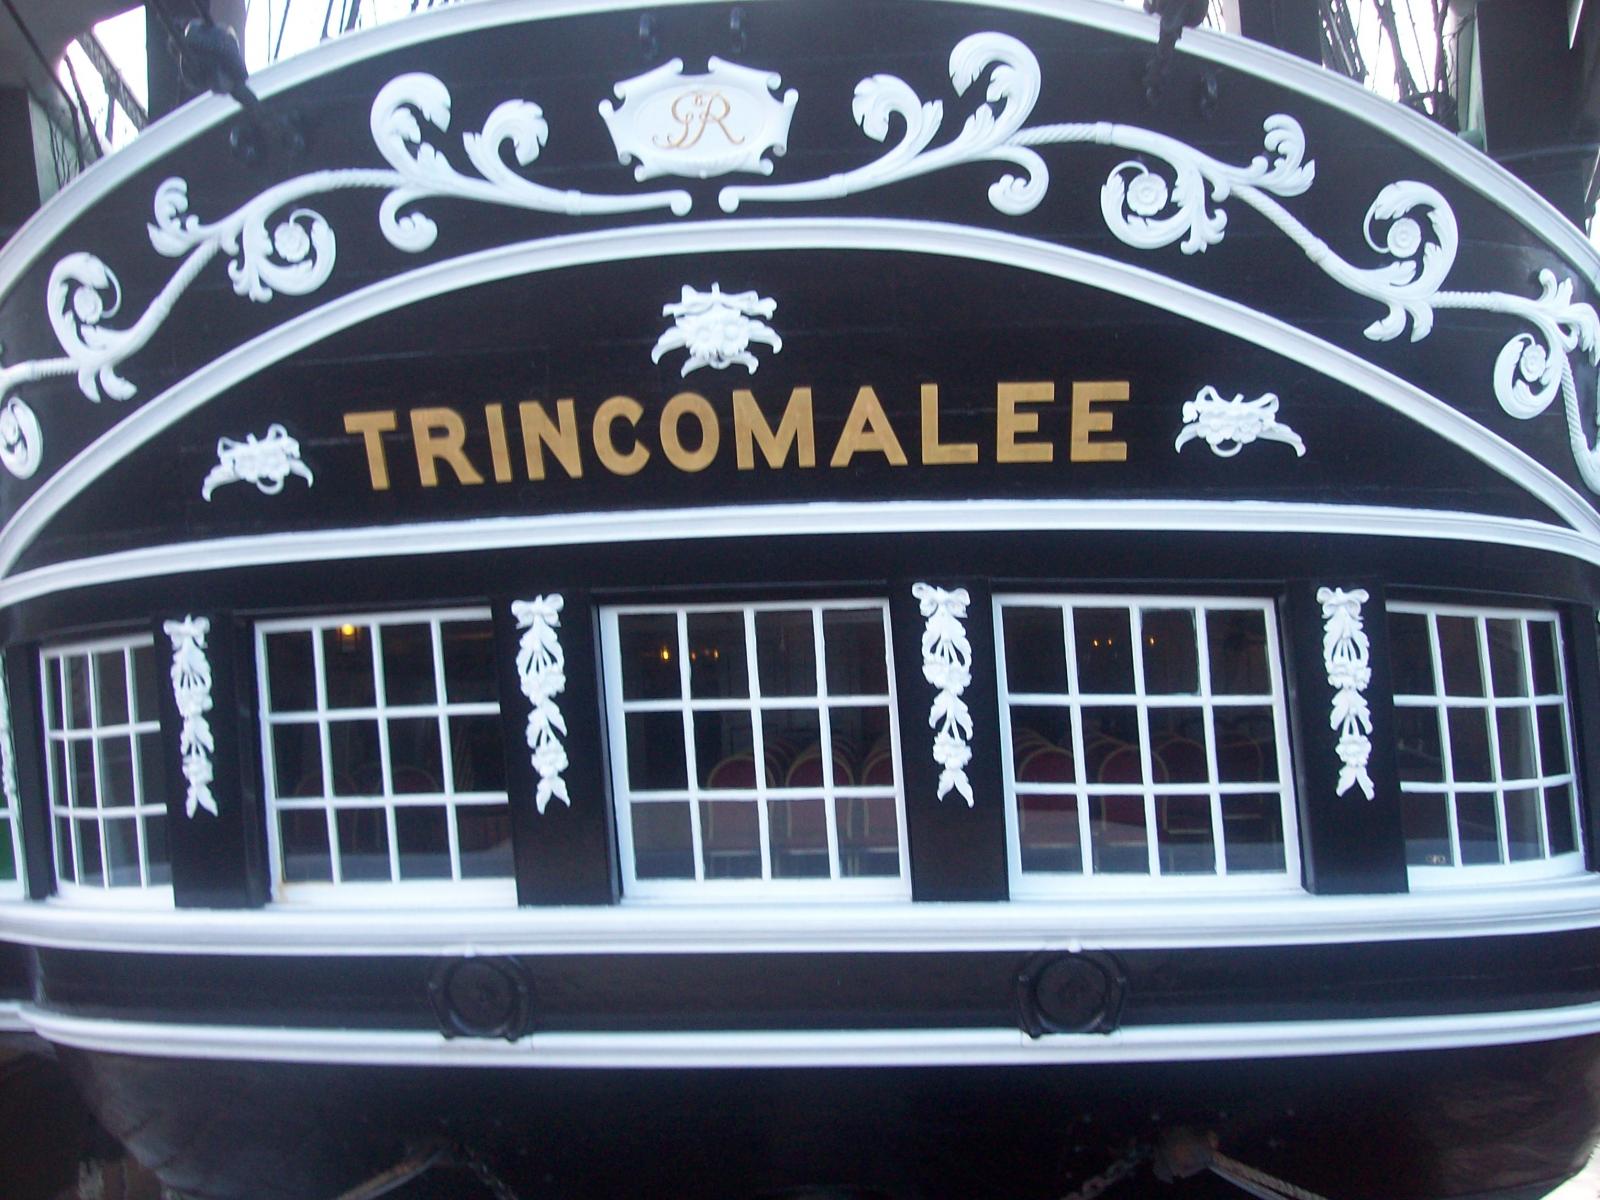
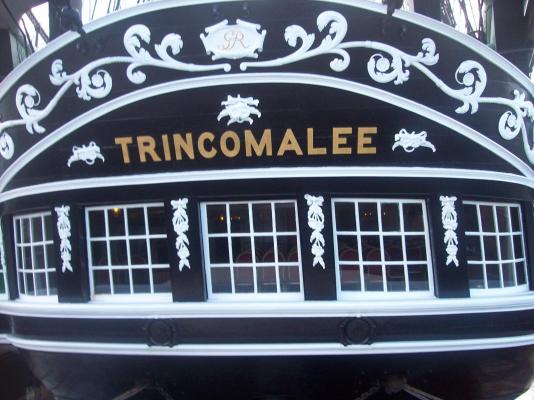
HI Jerry and Patrick Many thanks for your kind comments and positive encouragement, I'm sure there will be many more problems along the way and with everyone help and guidance I'm sure everything will turn out fine Did I make an error in the scale HMS Trincomalee Had a visit to HMS Trincomalee, the oldest ship a float in Europe. Built in 1816 - to 1817. Here are some pictures.


-
Enjoy the ratlines, its repetitive work, but satisfying when you see the end results. I'm off to visit the HMS Trincomalee tomorrow which is the oldest British warship still afloat; the last fully commissioned sailing frigate of the Nelsonian era.
-
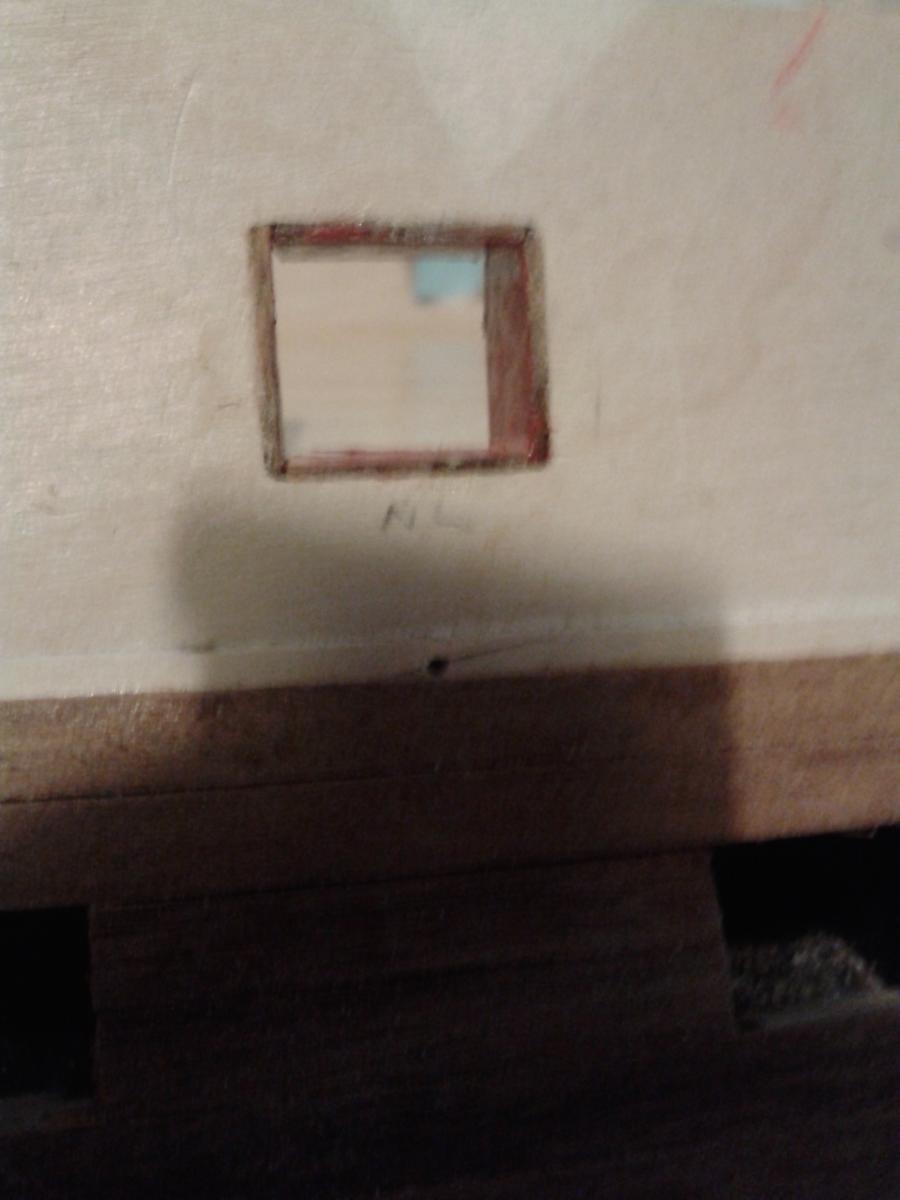
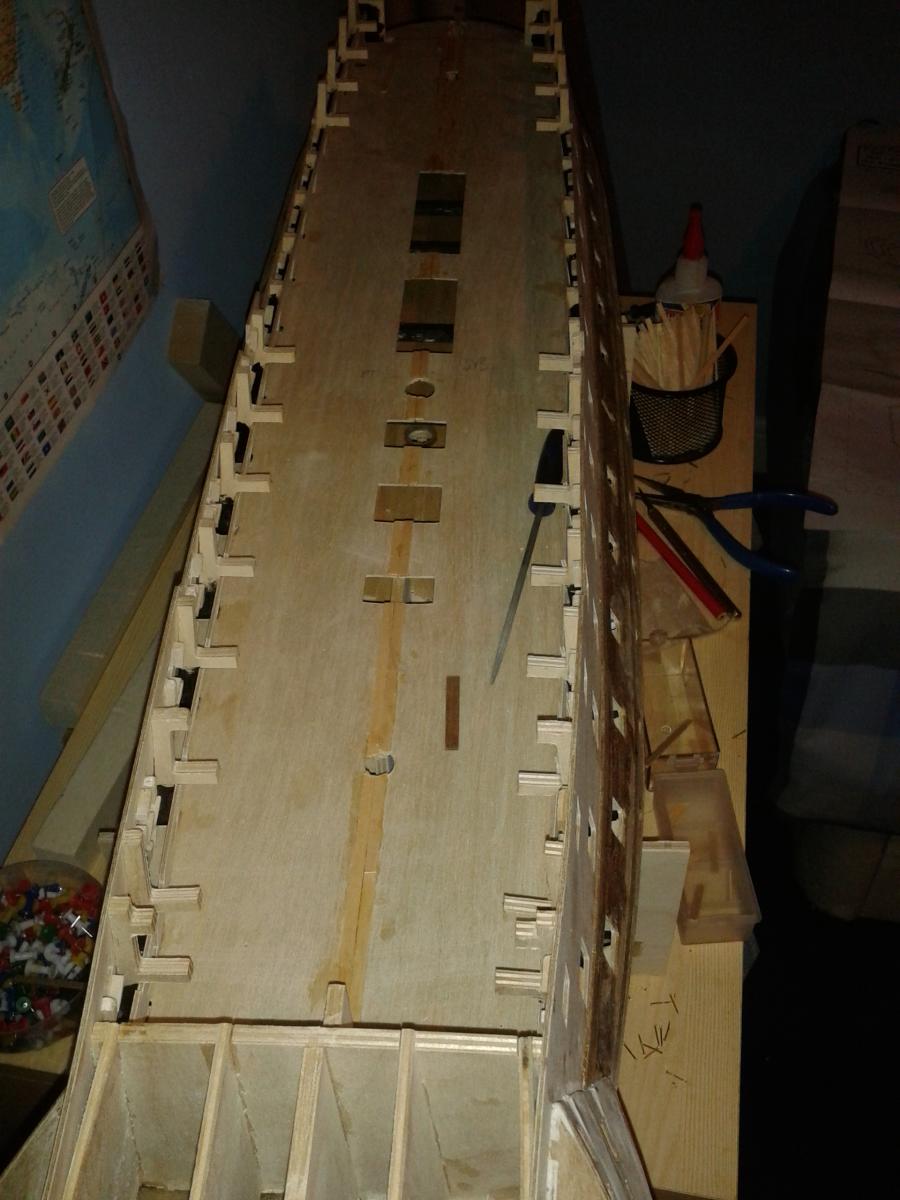
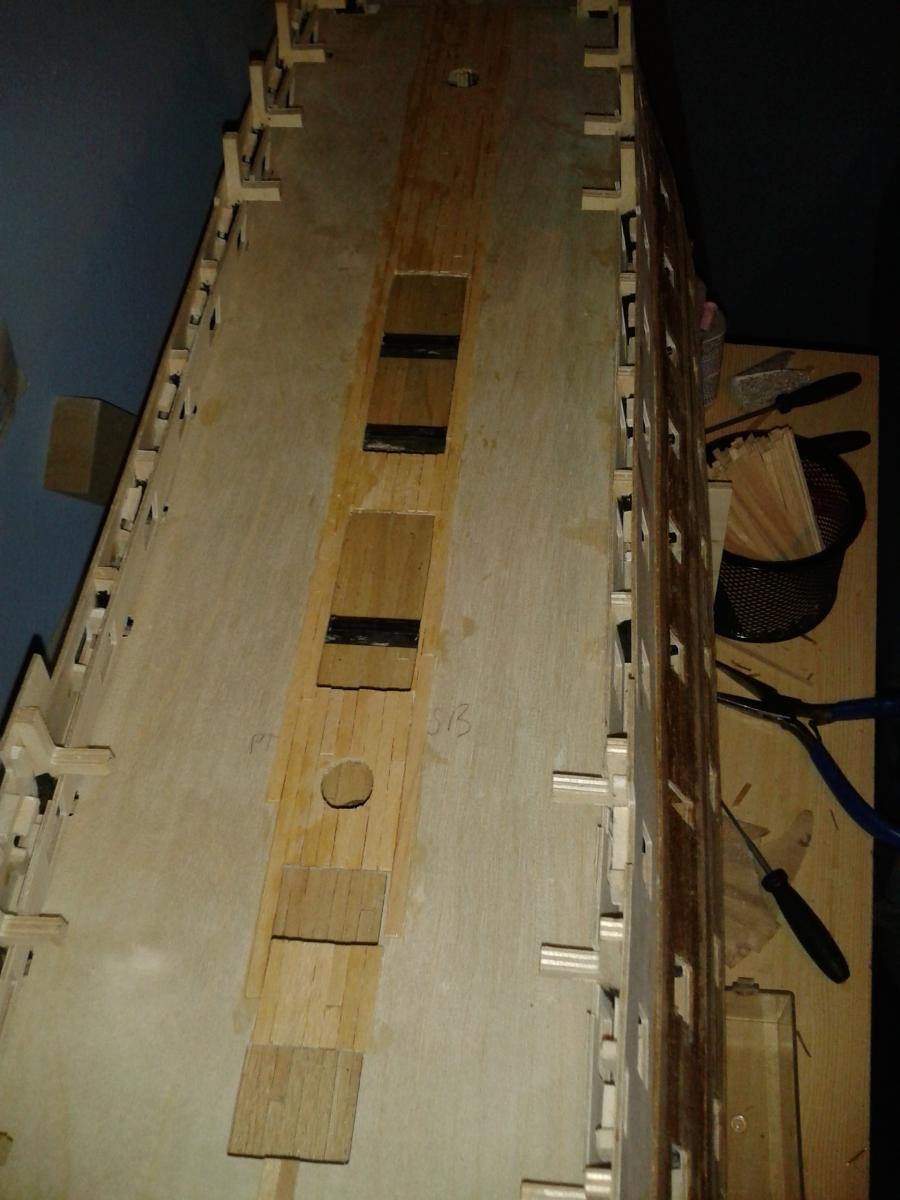
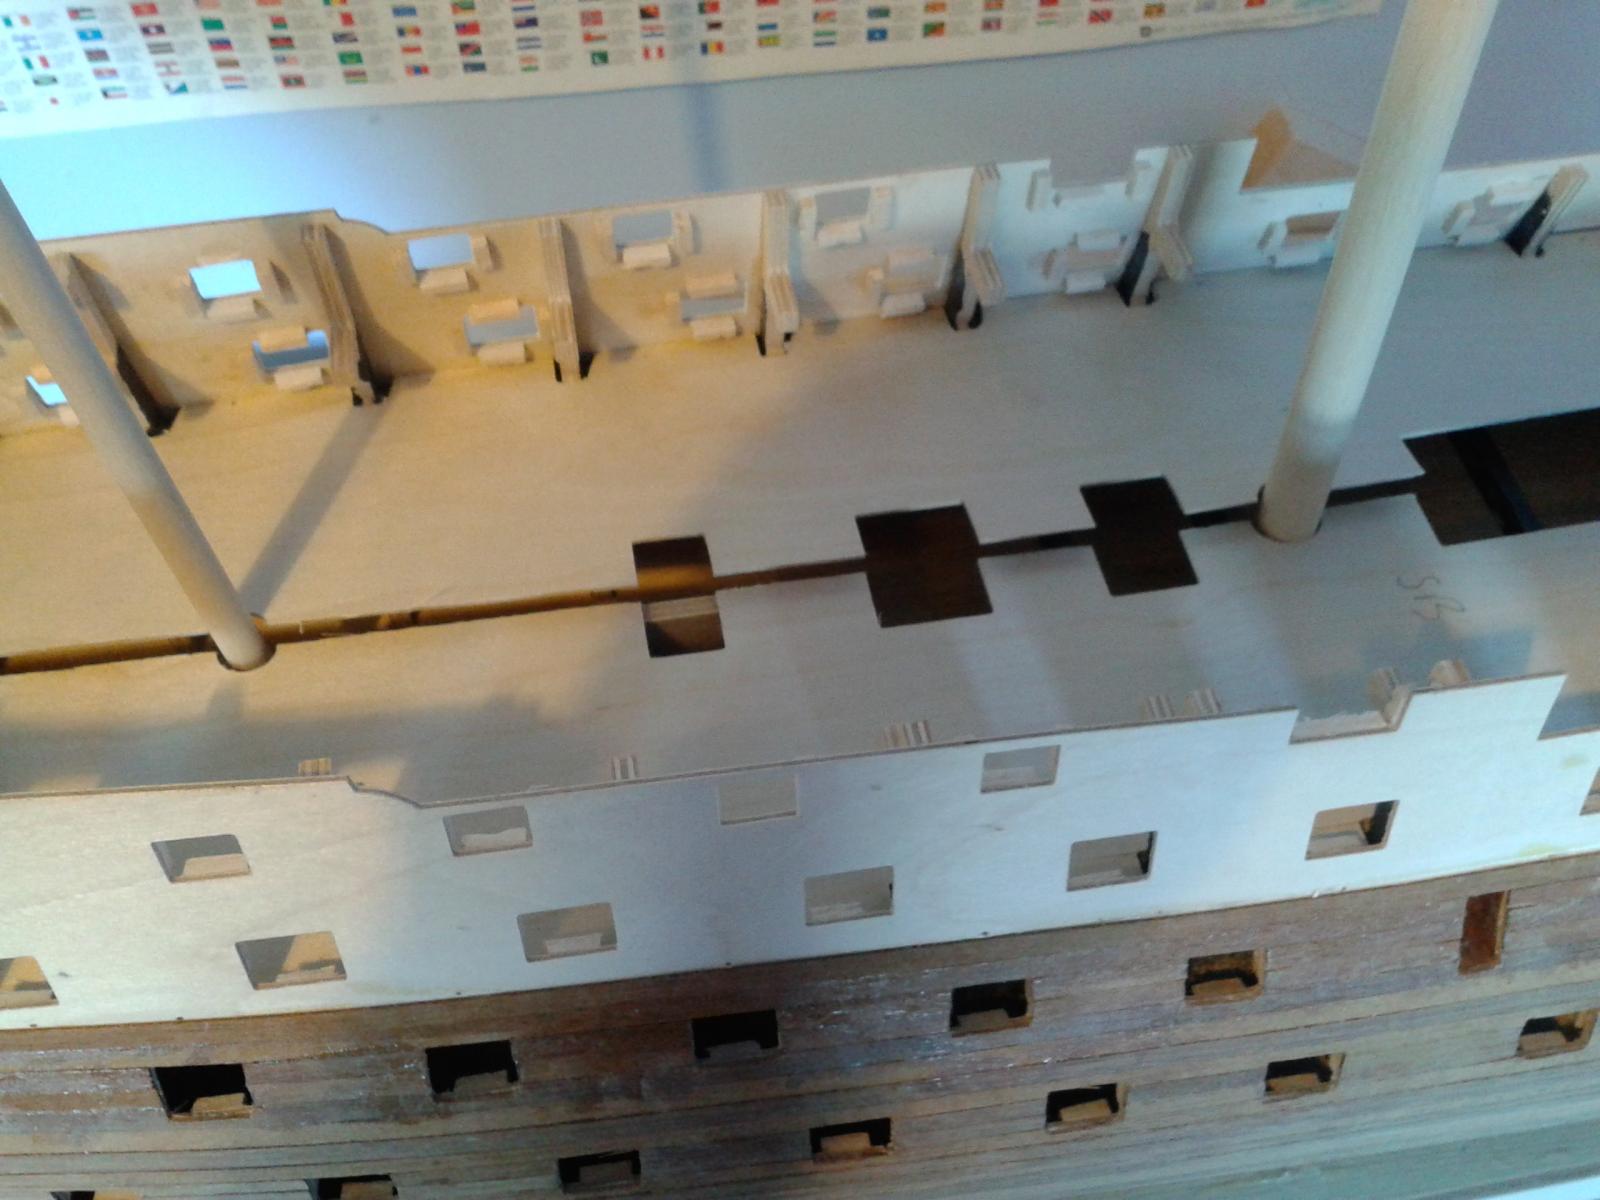
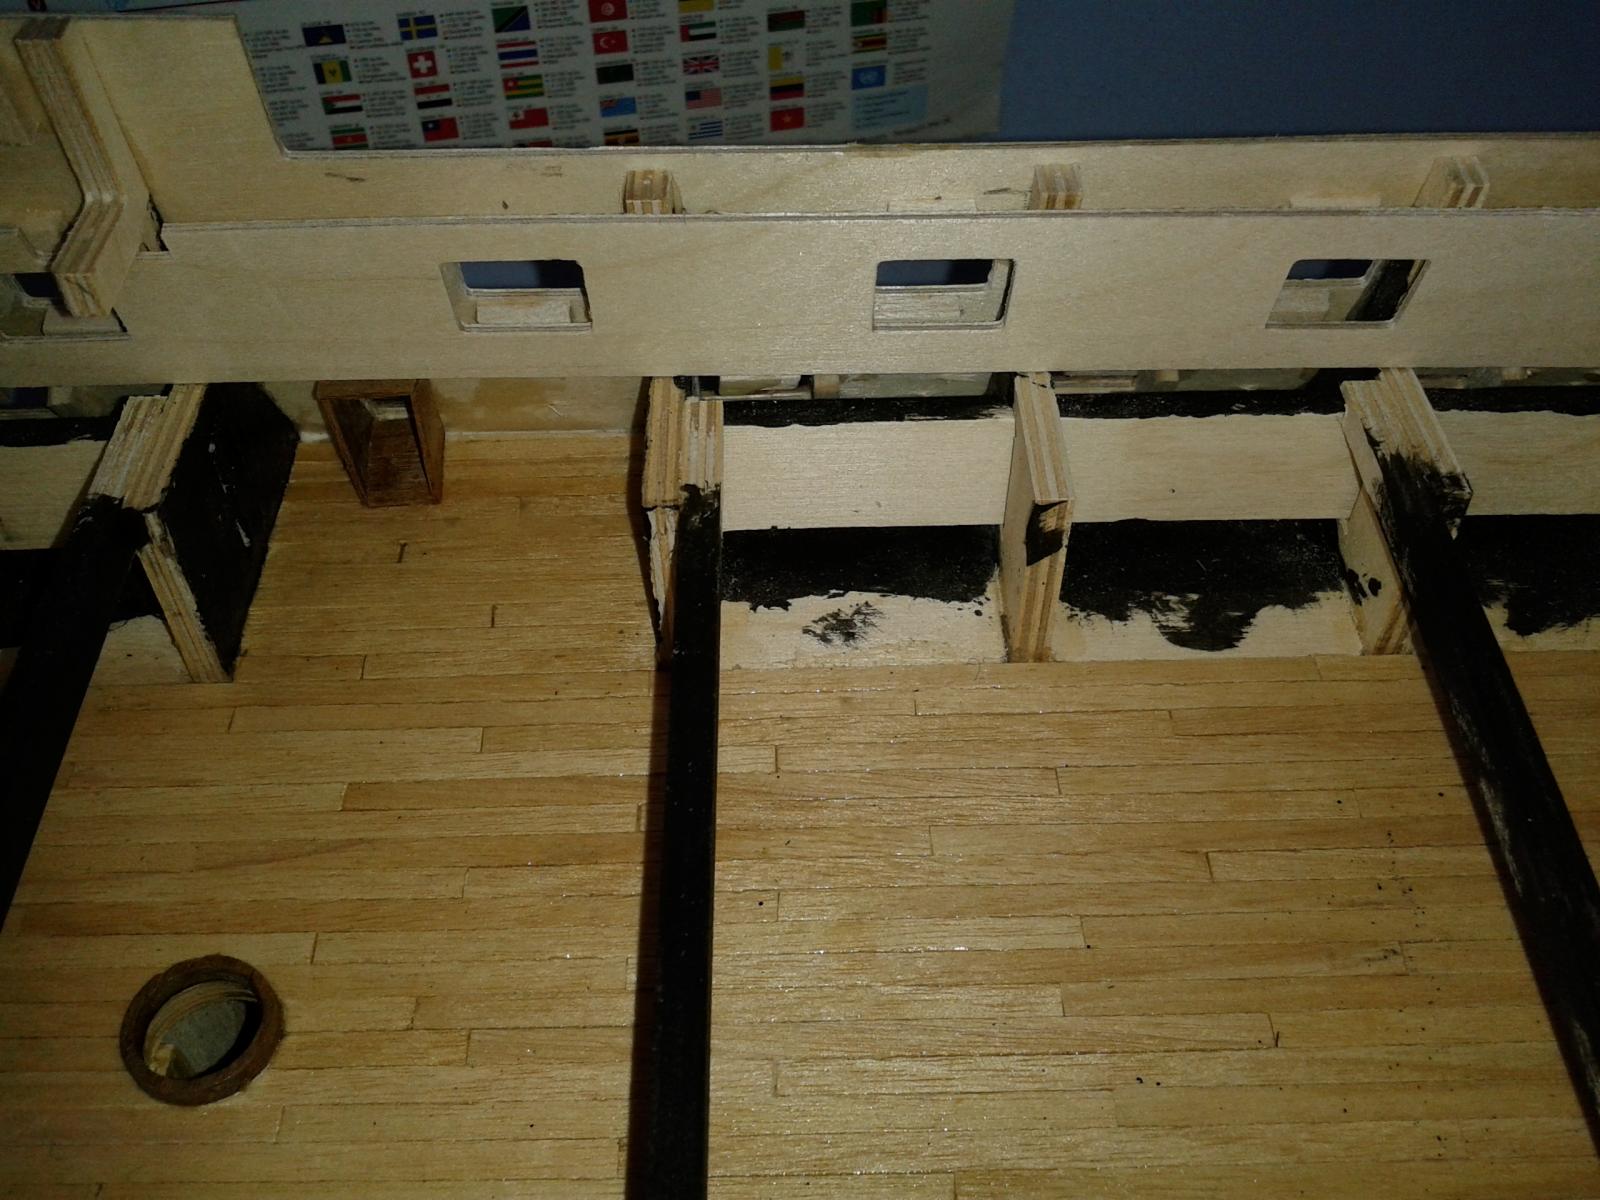
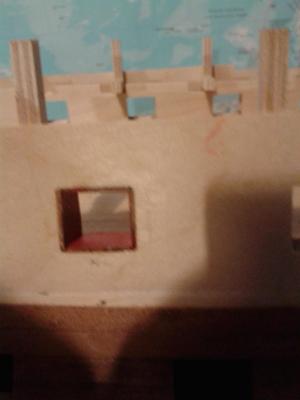
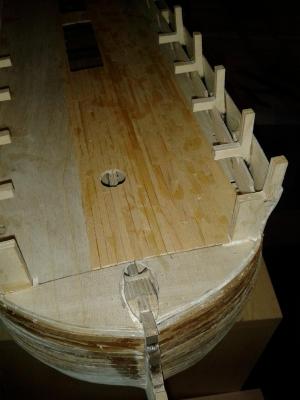
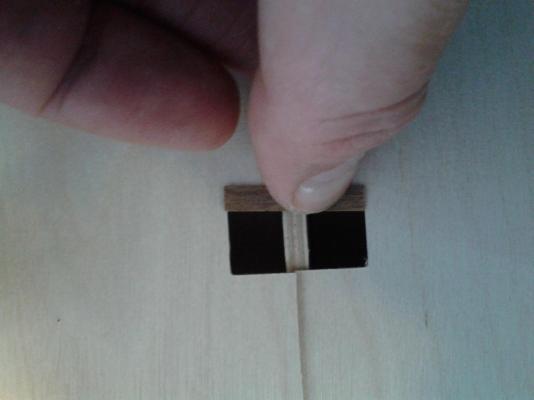
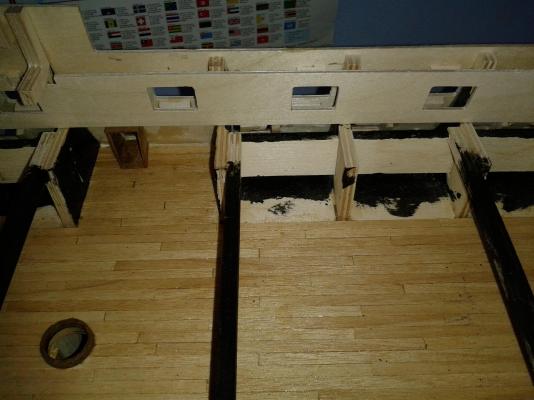
Started fitting the gun deck. I soon realised that it was not going to fit in one piece without trimming. I therefore took the decision to split the gun deck into two - glad I did as it has made the fitting and trimming so much easier. Taking note of a problem reported before on MSW regarding the change of dimension of the openings when splitting the deck into two, I took measurements of the openings to make sure I keep them true and central. Following some discussions with Dave (Shipyard Sid) I will trim the inner bulwark bottom edge as necessary when it is time to fit, and will also make a cannon assembly to double check it's position in the gun port You can see the fitting problem of the gun deck When split in two I want to make sure the masts can be fitted true and vertical The width of the openings is 28mm, I did made a test piece to double check the gap when the deck is fitted Still need a small adjustment for the bow sprit


-
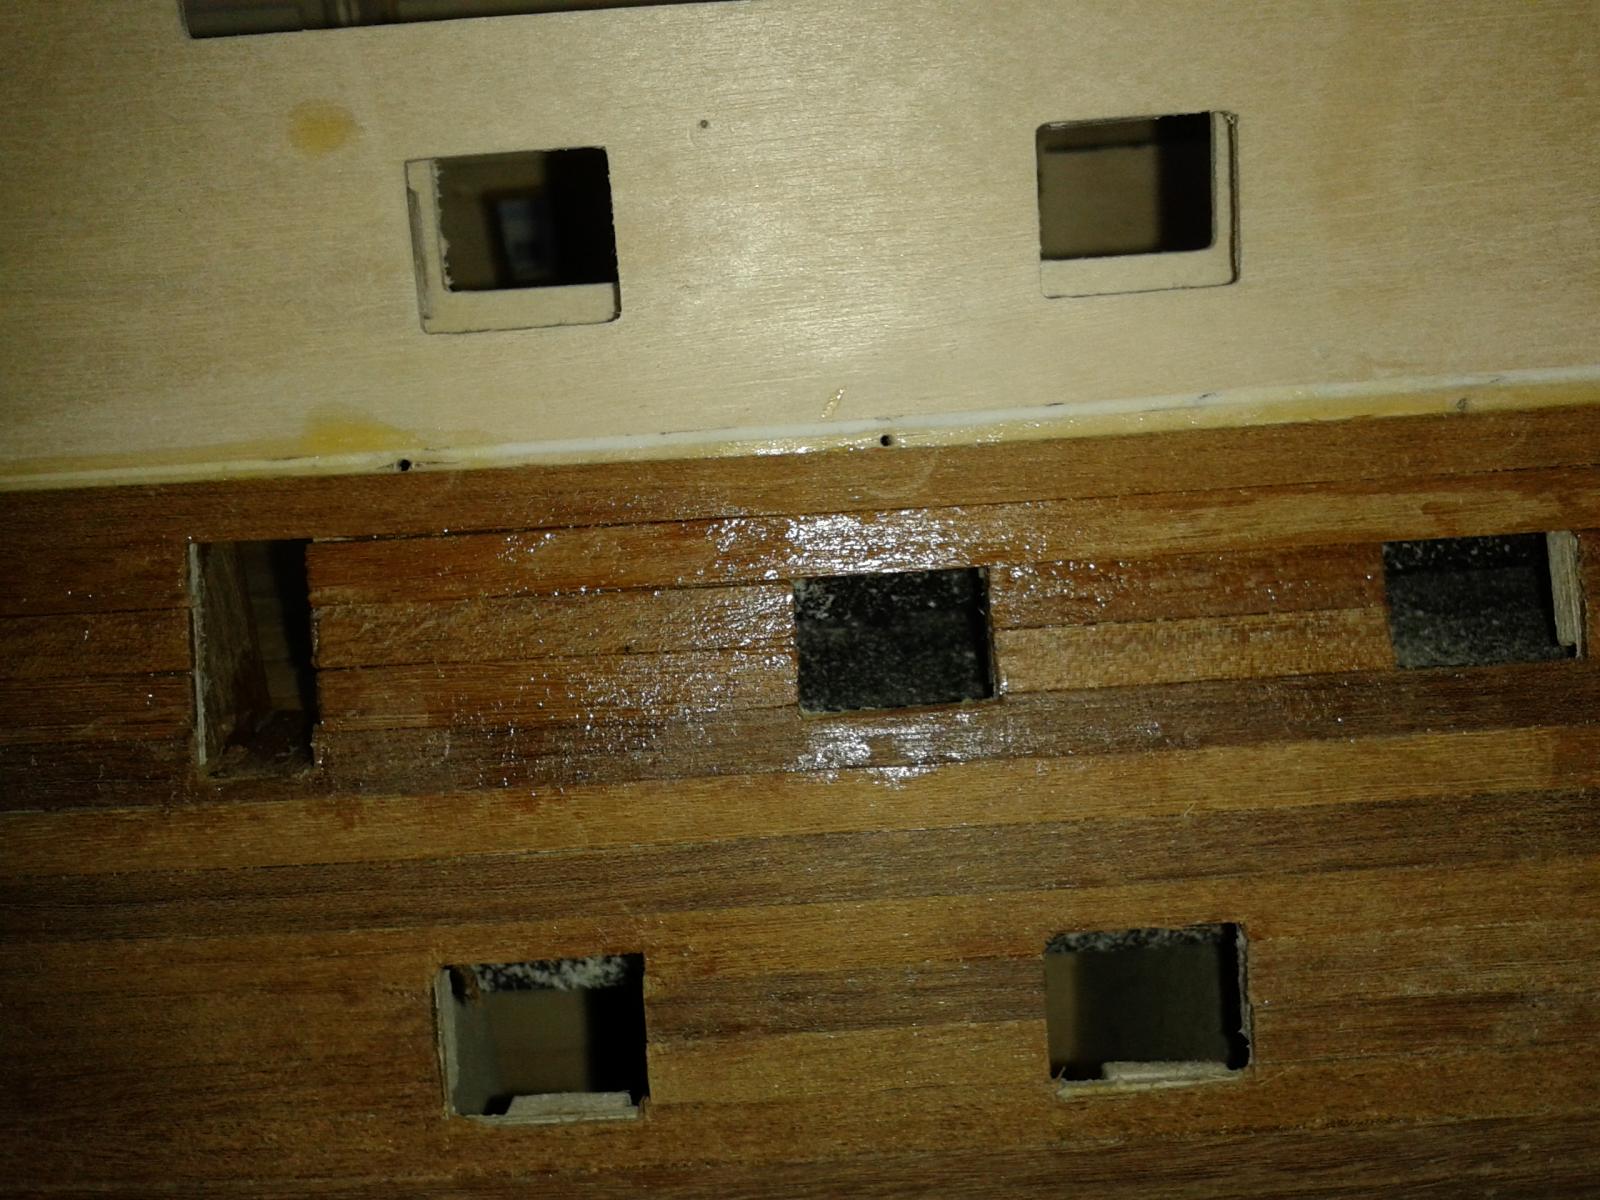
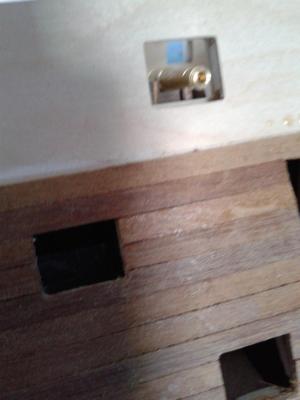
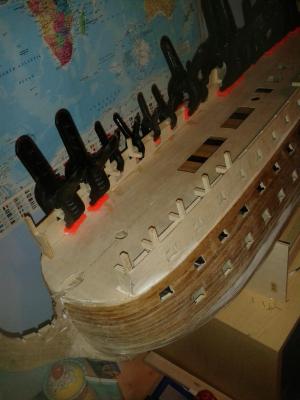
This morning dry fitted the inner bulwarks for the upper gun deck, hit a major alignment problem. The inner bulwarks are designed for lateral movement to ensure they are properly positioned with the ports. The first gun port is perfectly aligned, however the bulwarks sit too high for all the remaining bulwarks. This implies I have incorrectly fitted the outer gun port strips which I find difficult to believe and I did make sure I used the 1mm clearance guide detailed in the manual. I think I will either have to trim the bottom edge of the inner bulwark so the gun ports are aligned which is a pain or I could enlarging the gun port openings along the bottom edge on the inner bulwark and then fit a strip across the top edge, as this will be hidden once the quarter deck is installed. Time to ponder. First gun port OK Problem gun ports


-
Last night fitted gun deck camber beams, painted them black for good measure as well.


-
I may use the evo stick glue that Dave used when I get to that stage or I may try the super Phatic glue I currently use, but will need to see if that will bond the tiles with the hull, It should do as it is a mix of wood glue and CA, good grab and 20 minutes dry time I had a horrible feeling it was a long drawn out process; something to look forward to then!
-
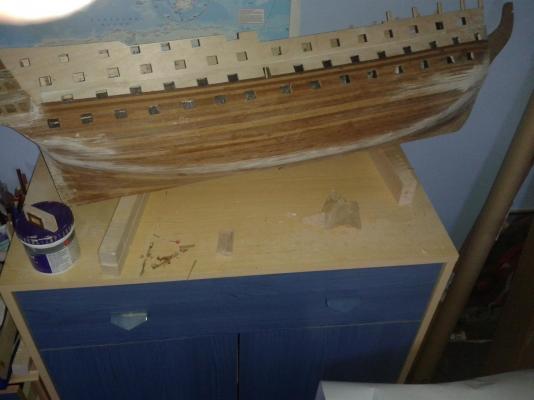
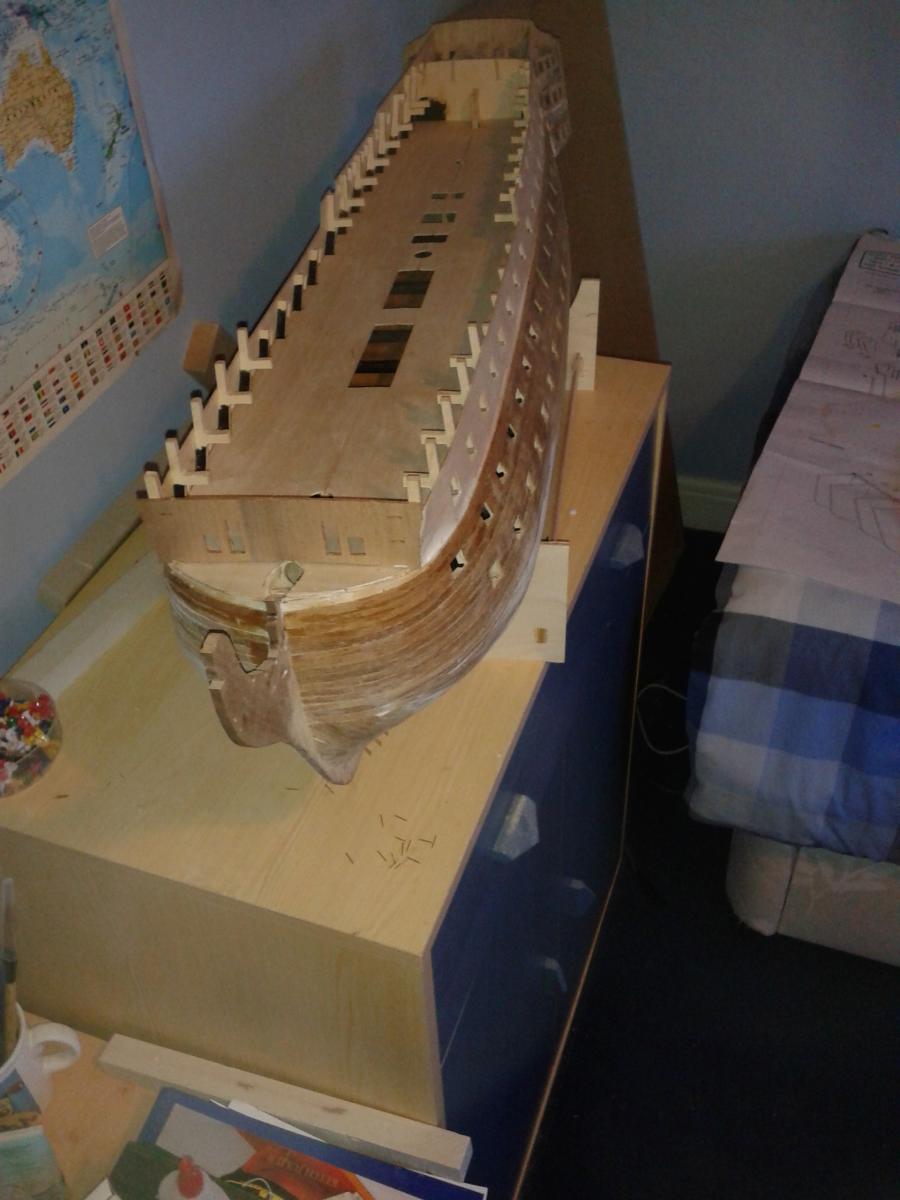
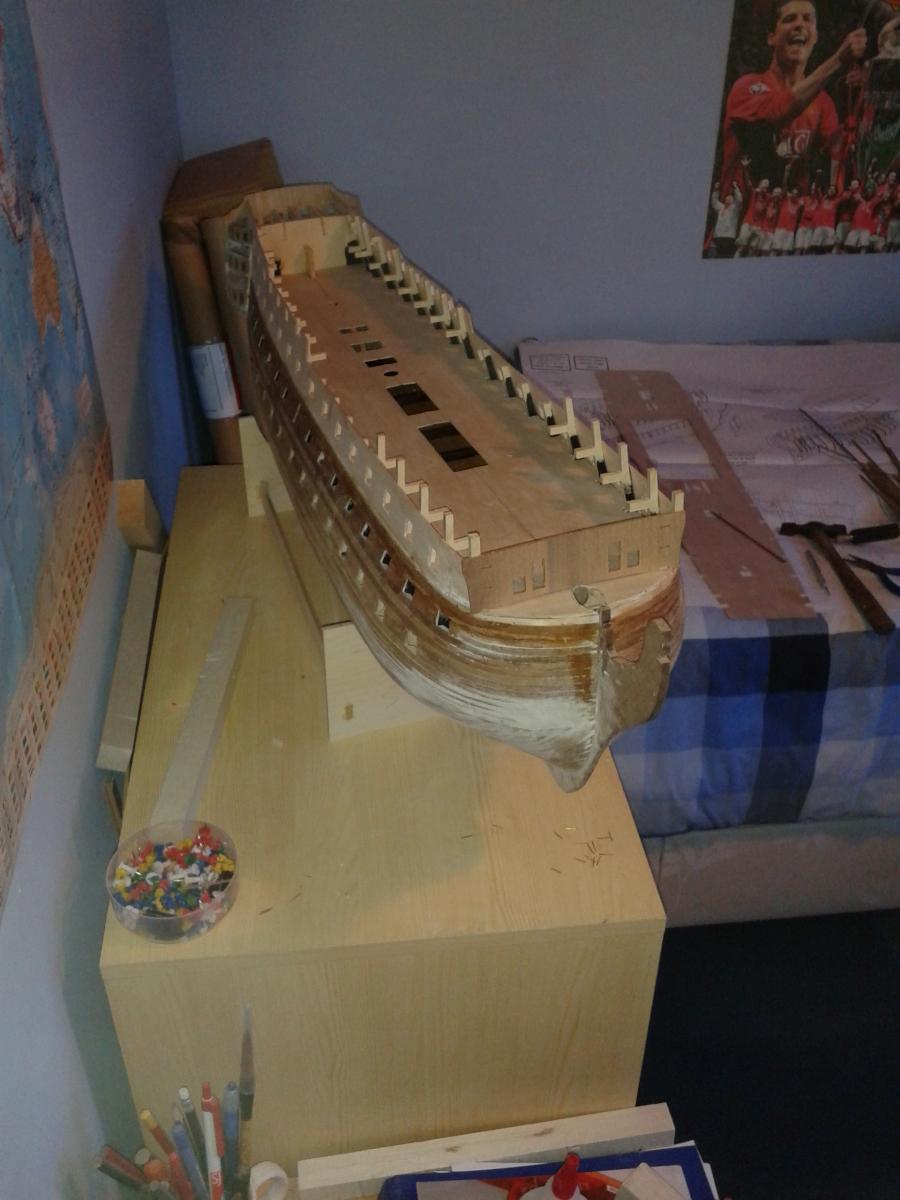
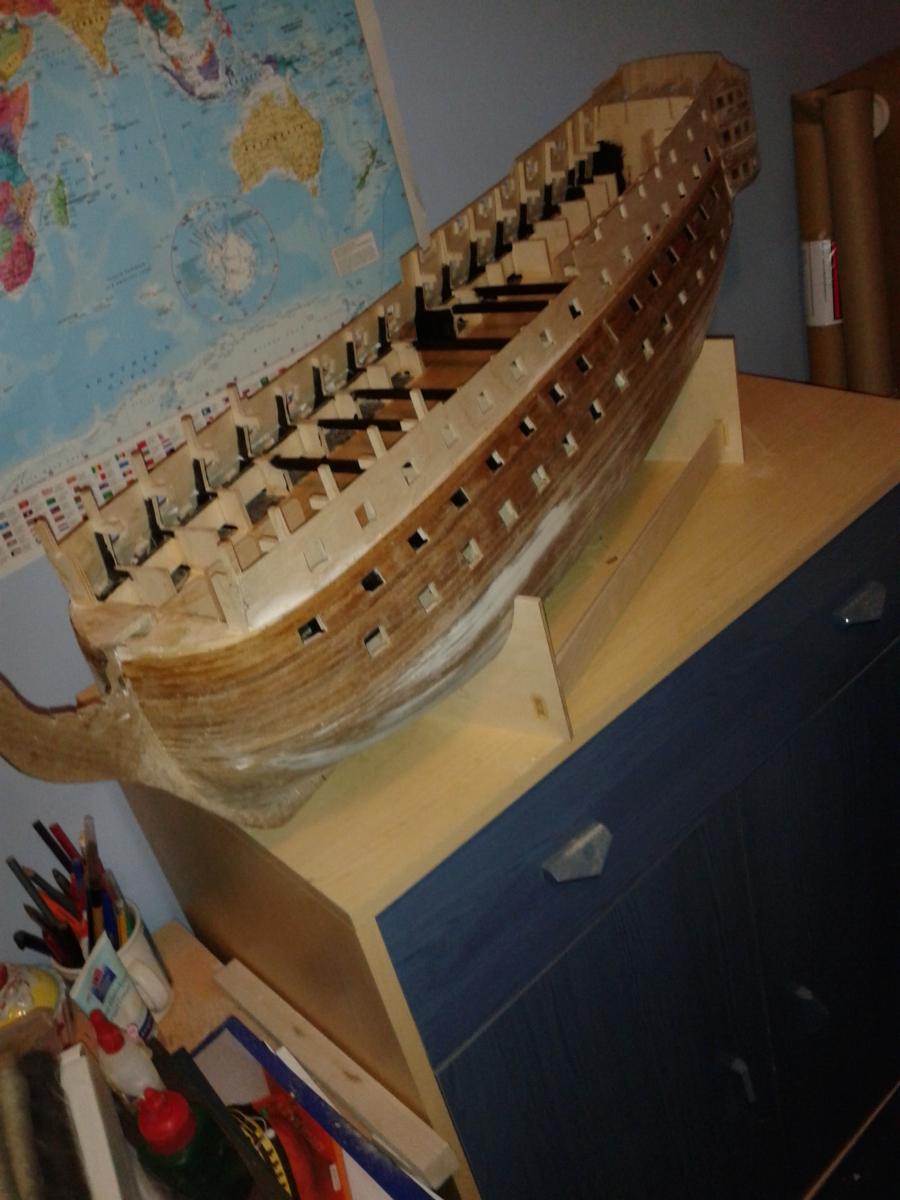
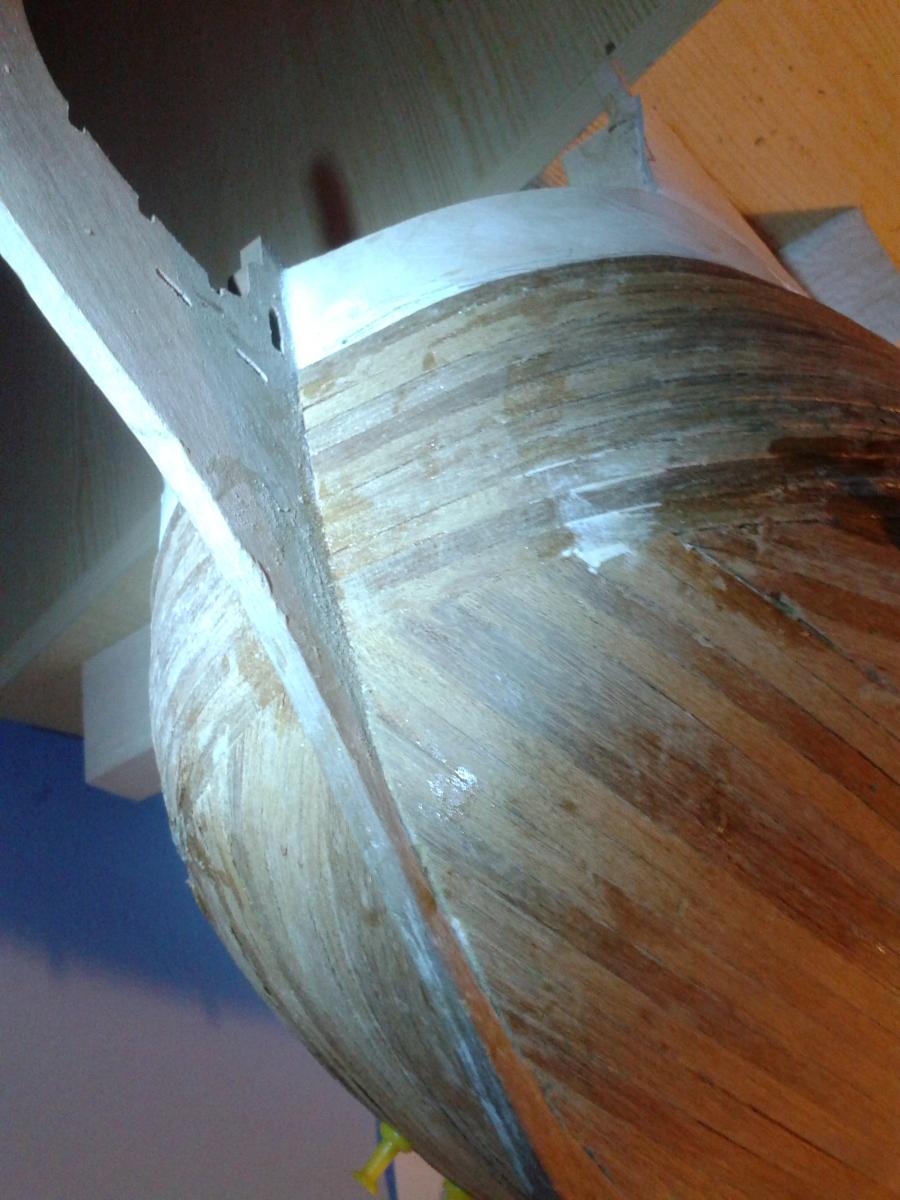
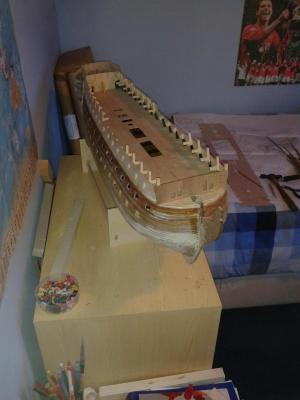
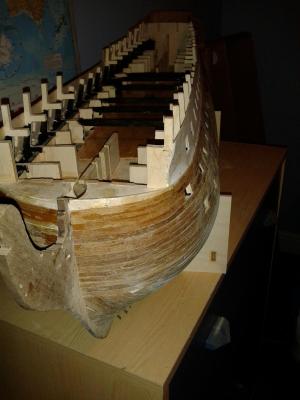
Started planking up toward upper gun port opening, this is very slow work, managed two plank widths in 2.5 hours work last night, but expect to be able to complete sometime this weekend before I can finally move on to installation the upper gun deck. I still have to finish sanding the second planking but will leave that for another day. I plan to coat with a primer once the sanding is complete to find the areas which may need filling to get the best possible surface for the copper plating; a slow repetitive task I can hardly wait to start! I also still need to fit the rear keelson and stern post, but again this can wait a few days. I have dry fitted them and the fit is good, just a small amount of work to do near the lower stern counter before I can fit the stern post to ensure a good flat fit. A couple of pictures below showing the progress to date.

-
Looking good, keep up the good work Patrick
-
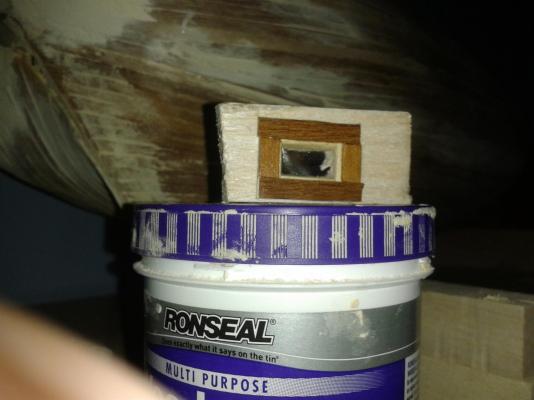
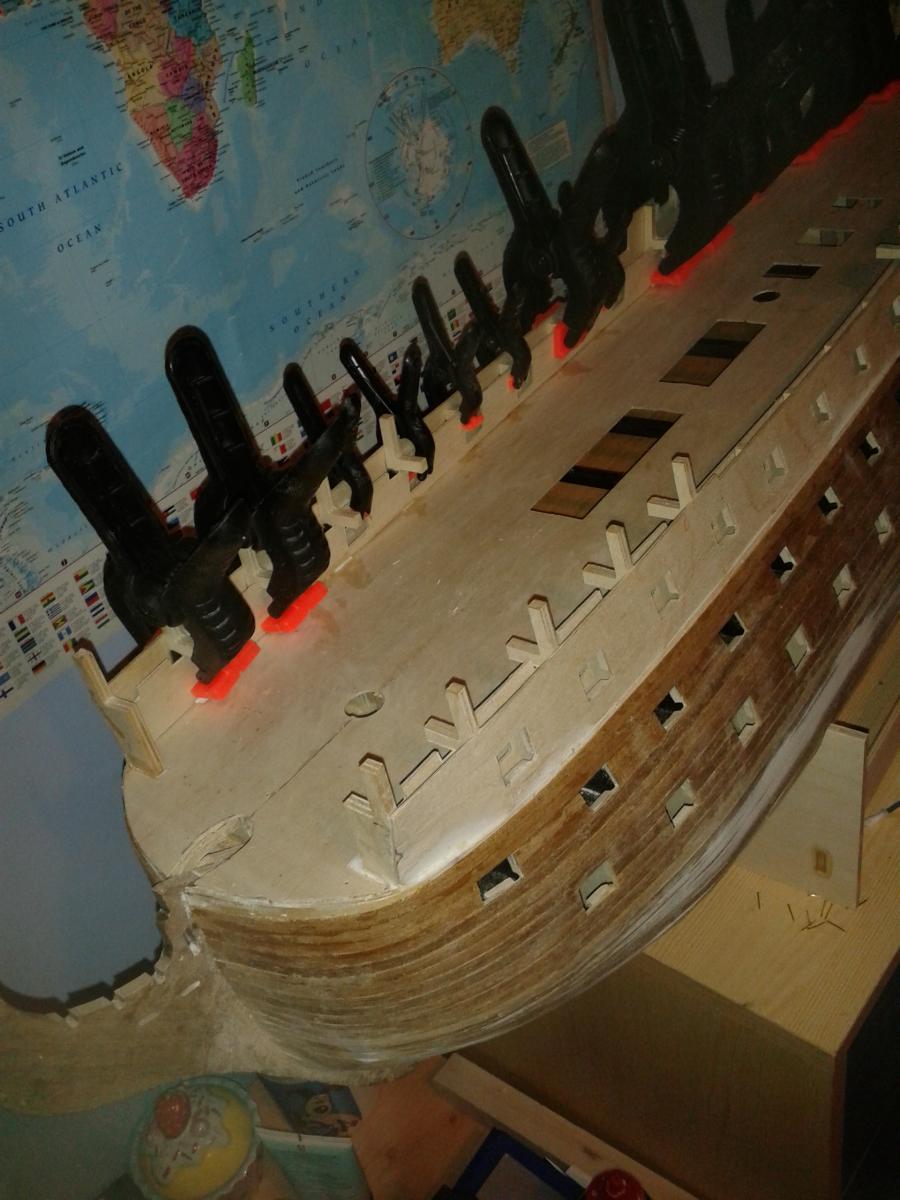
Back from a short break holiday and finally completed the first stage of the 2nd planking last night and started adding some filler, its still very much work in progress. Plan to start the first stage of the upper 2nd planking tonight. Picture of the bow Picture of hull with filler, much of this will disappear once I start sanding in earnest The MicroGlaze I ordered from the States arrived whilst I was away. It was very easy to use and gave a nice result. I made a dummy window frame and then applied the MicroGlaze.