HOLIDAY DONATION DRIVE - SUPPORT MSW - DO YOUR PART TO KEEP THIS GREAT FORUM GOING! (Only 24 donations so far out of 49,000 members - C'mon guys!)
×


Glenn-UK
-
Posts
3,155 -
Joined
-
Last visited
Content Type
Profiles
Forums
Gallery
Events
Everything posted by Glenn-UK
-
 This is testament to Chris's excellent design work and the stunning prototype model built by James.
 -
Looking forward to downloading the manual. Great news everything is now with the printers.
-
Enjoy the build, I found everything was well designed and robust. The only problems encountered were of my own making and not with the kit.
- 345 replies
-
- 1
-

-
- Duchess Of Kingston
- Vanguard Models
- (and 1 more)
-
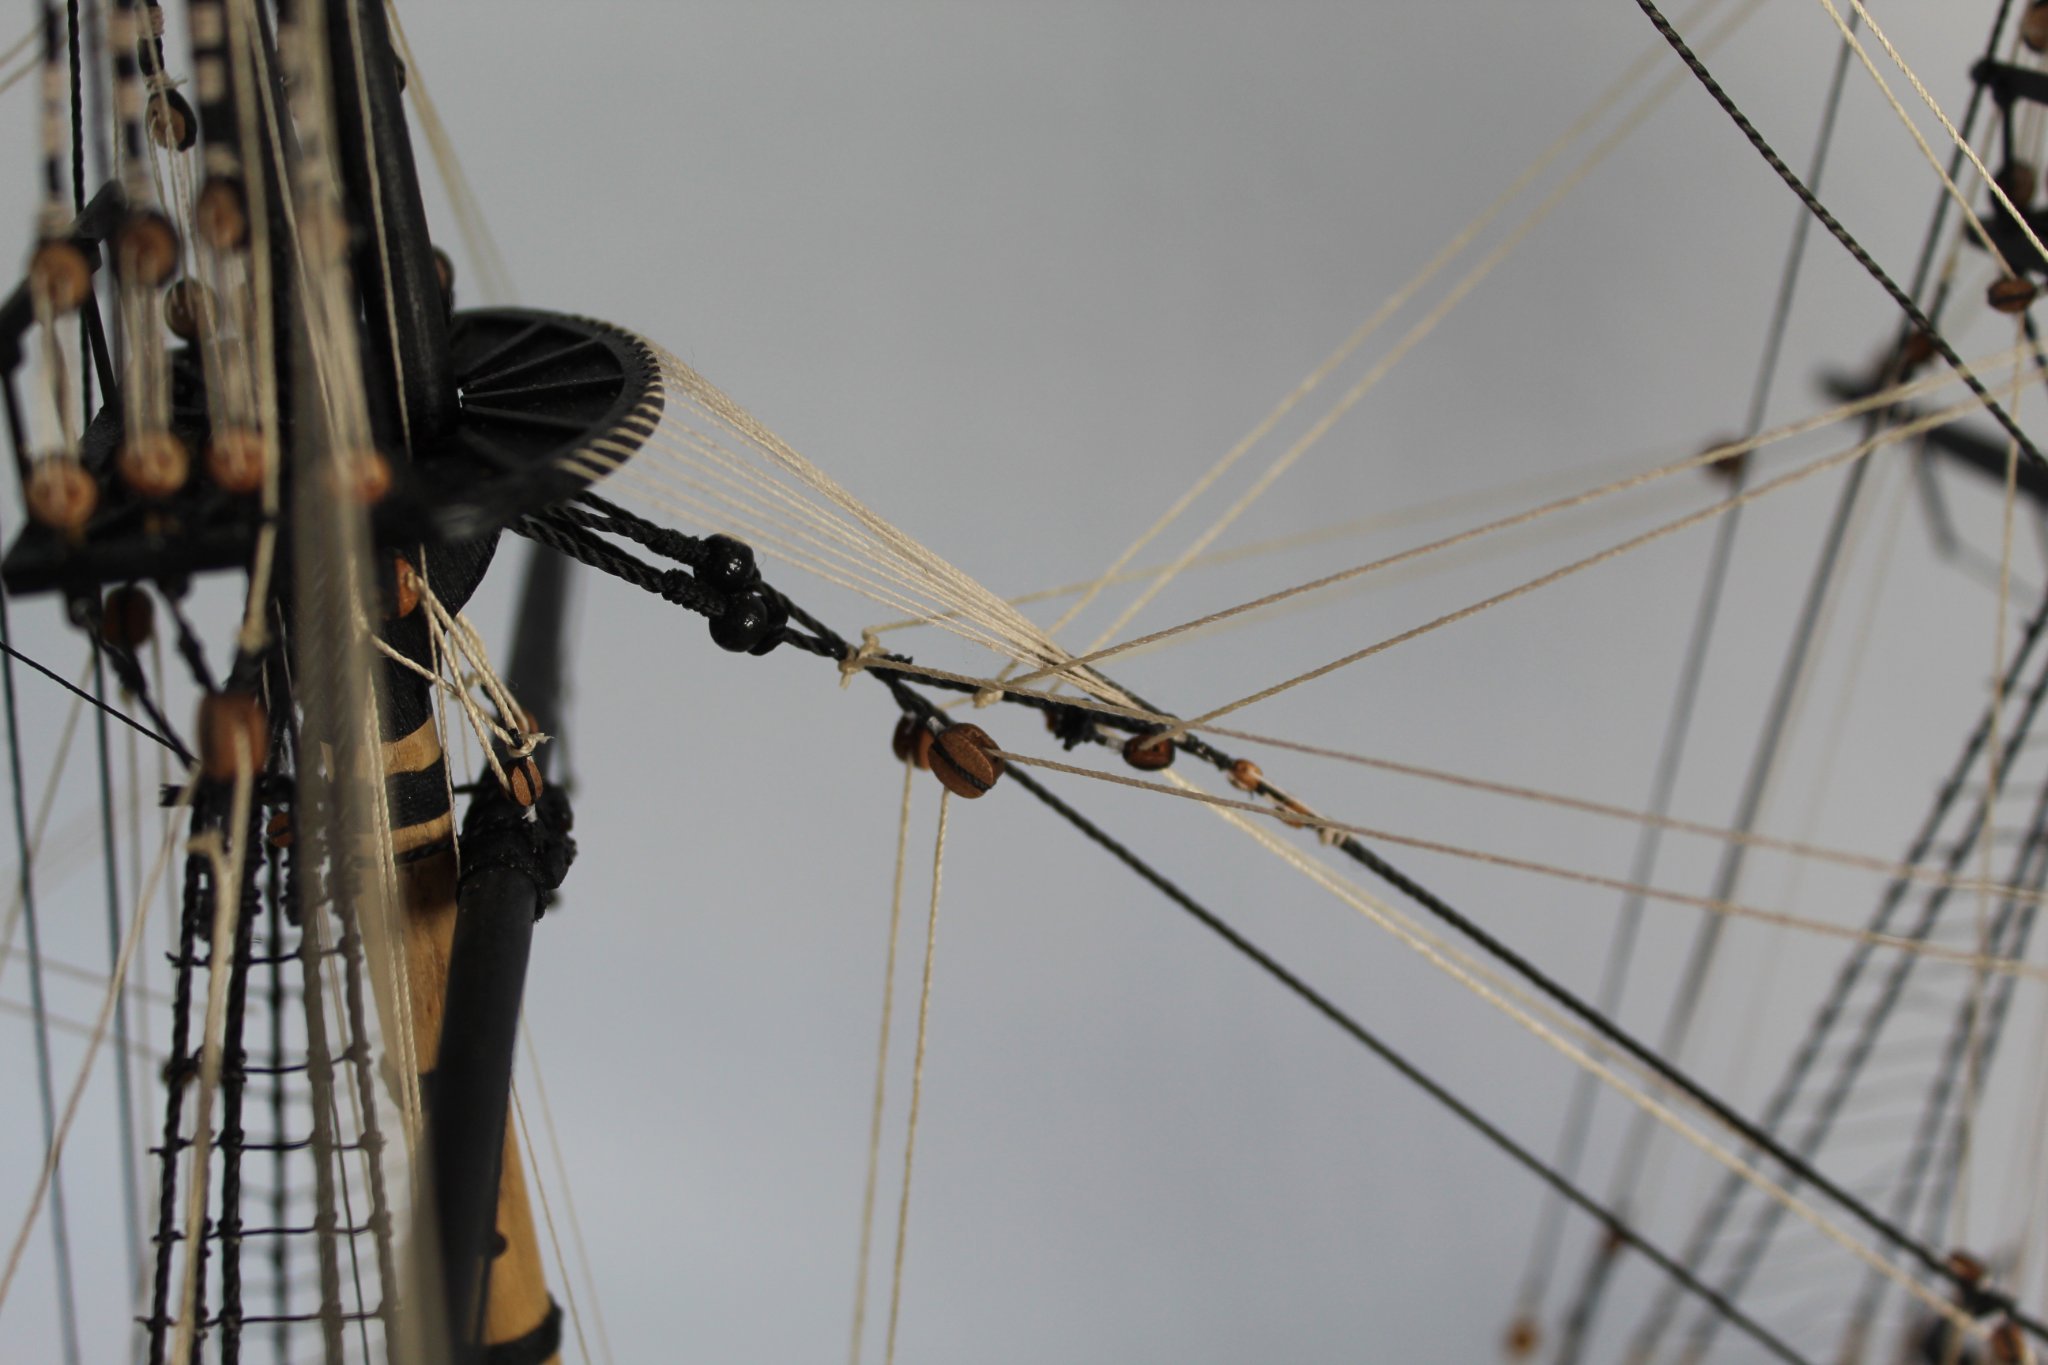
Thanks @DelF With the help already provided by Richard, Tim, Glenn (USA), James, etc. I have made some improvements, but there is still much more I need to do, so more experimentation needed as I get to grips with it all. Test Set Up No 1 Some initial pictures

-
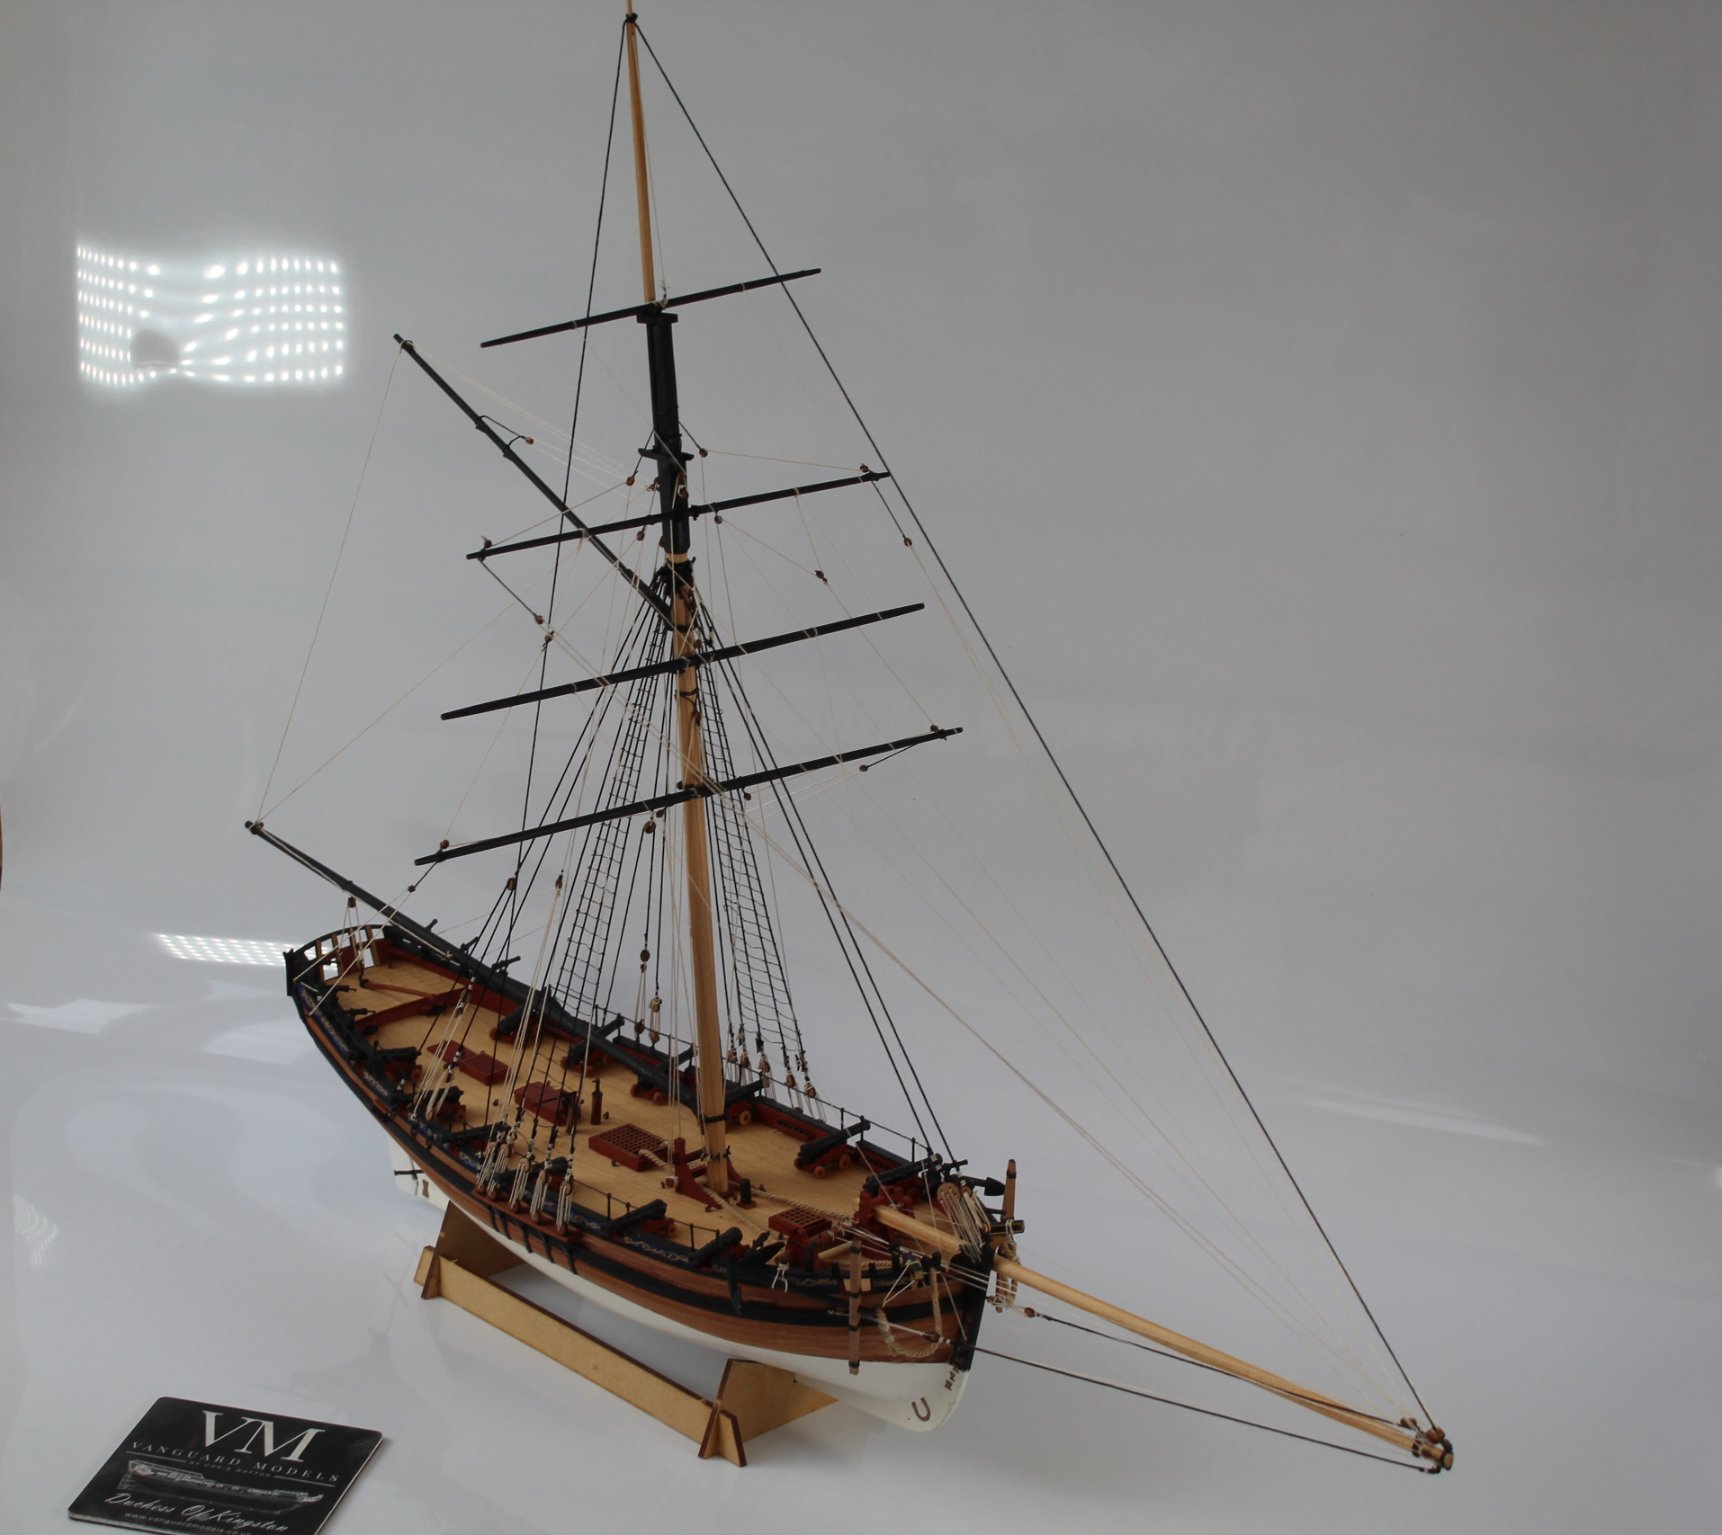
@Rik Thistle many thanks. I am going to experiment with using the Canon's AV mode which will let me adjust the f setting manually. I will also look at adjusting the "setting exposure compensation" for brighter or darker pictures
-
Thanks @glbarlow. I know I need to use the matte side of the white backdrop rather than the smooth side. I will also experiment with light positions and larger f/stops
-
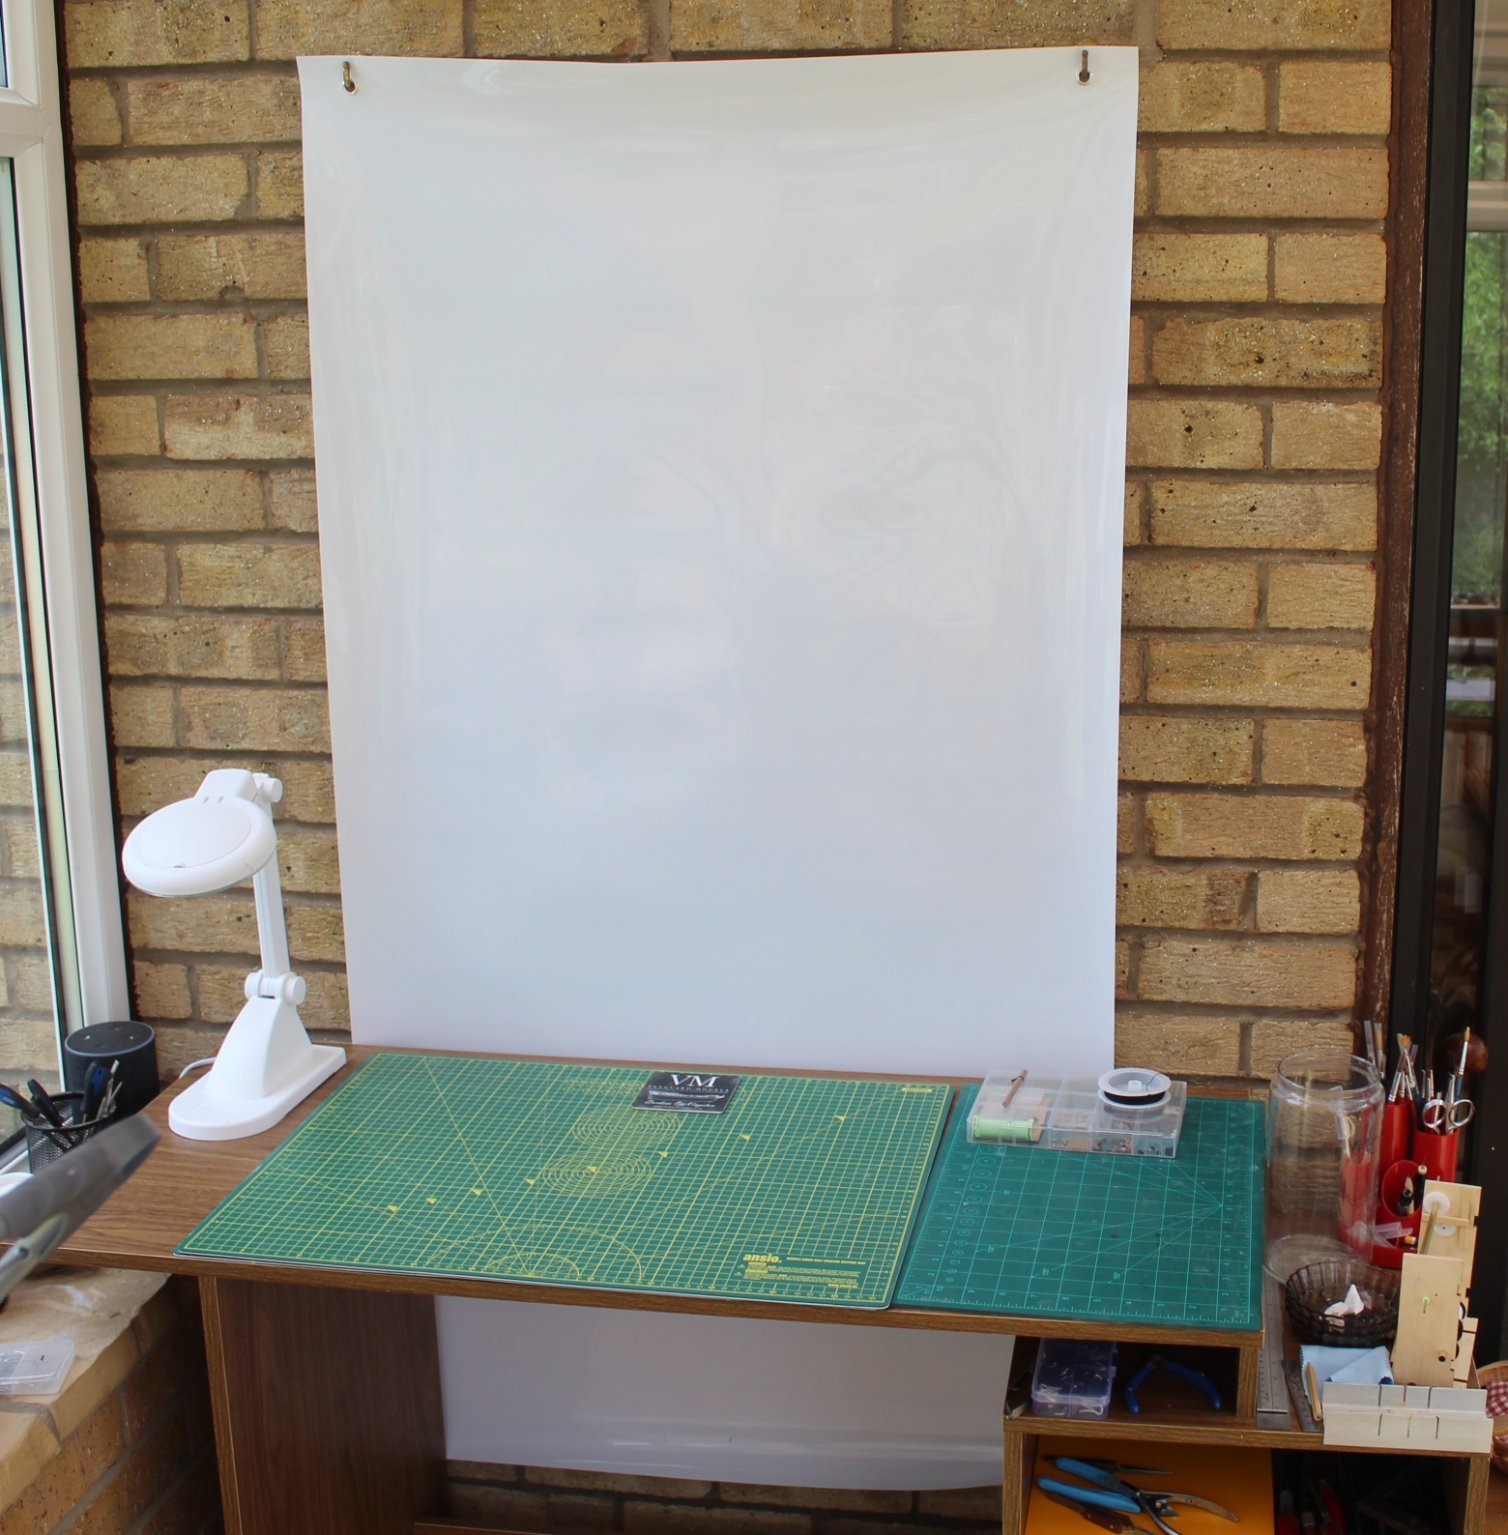
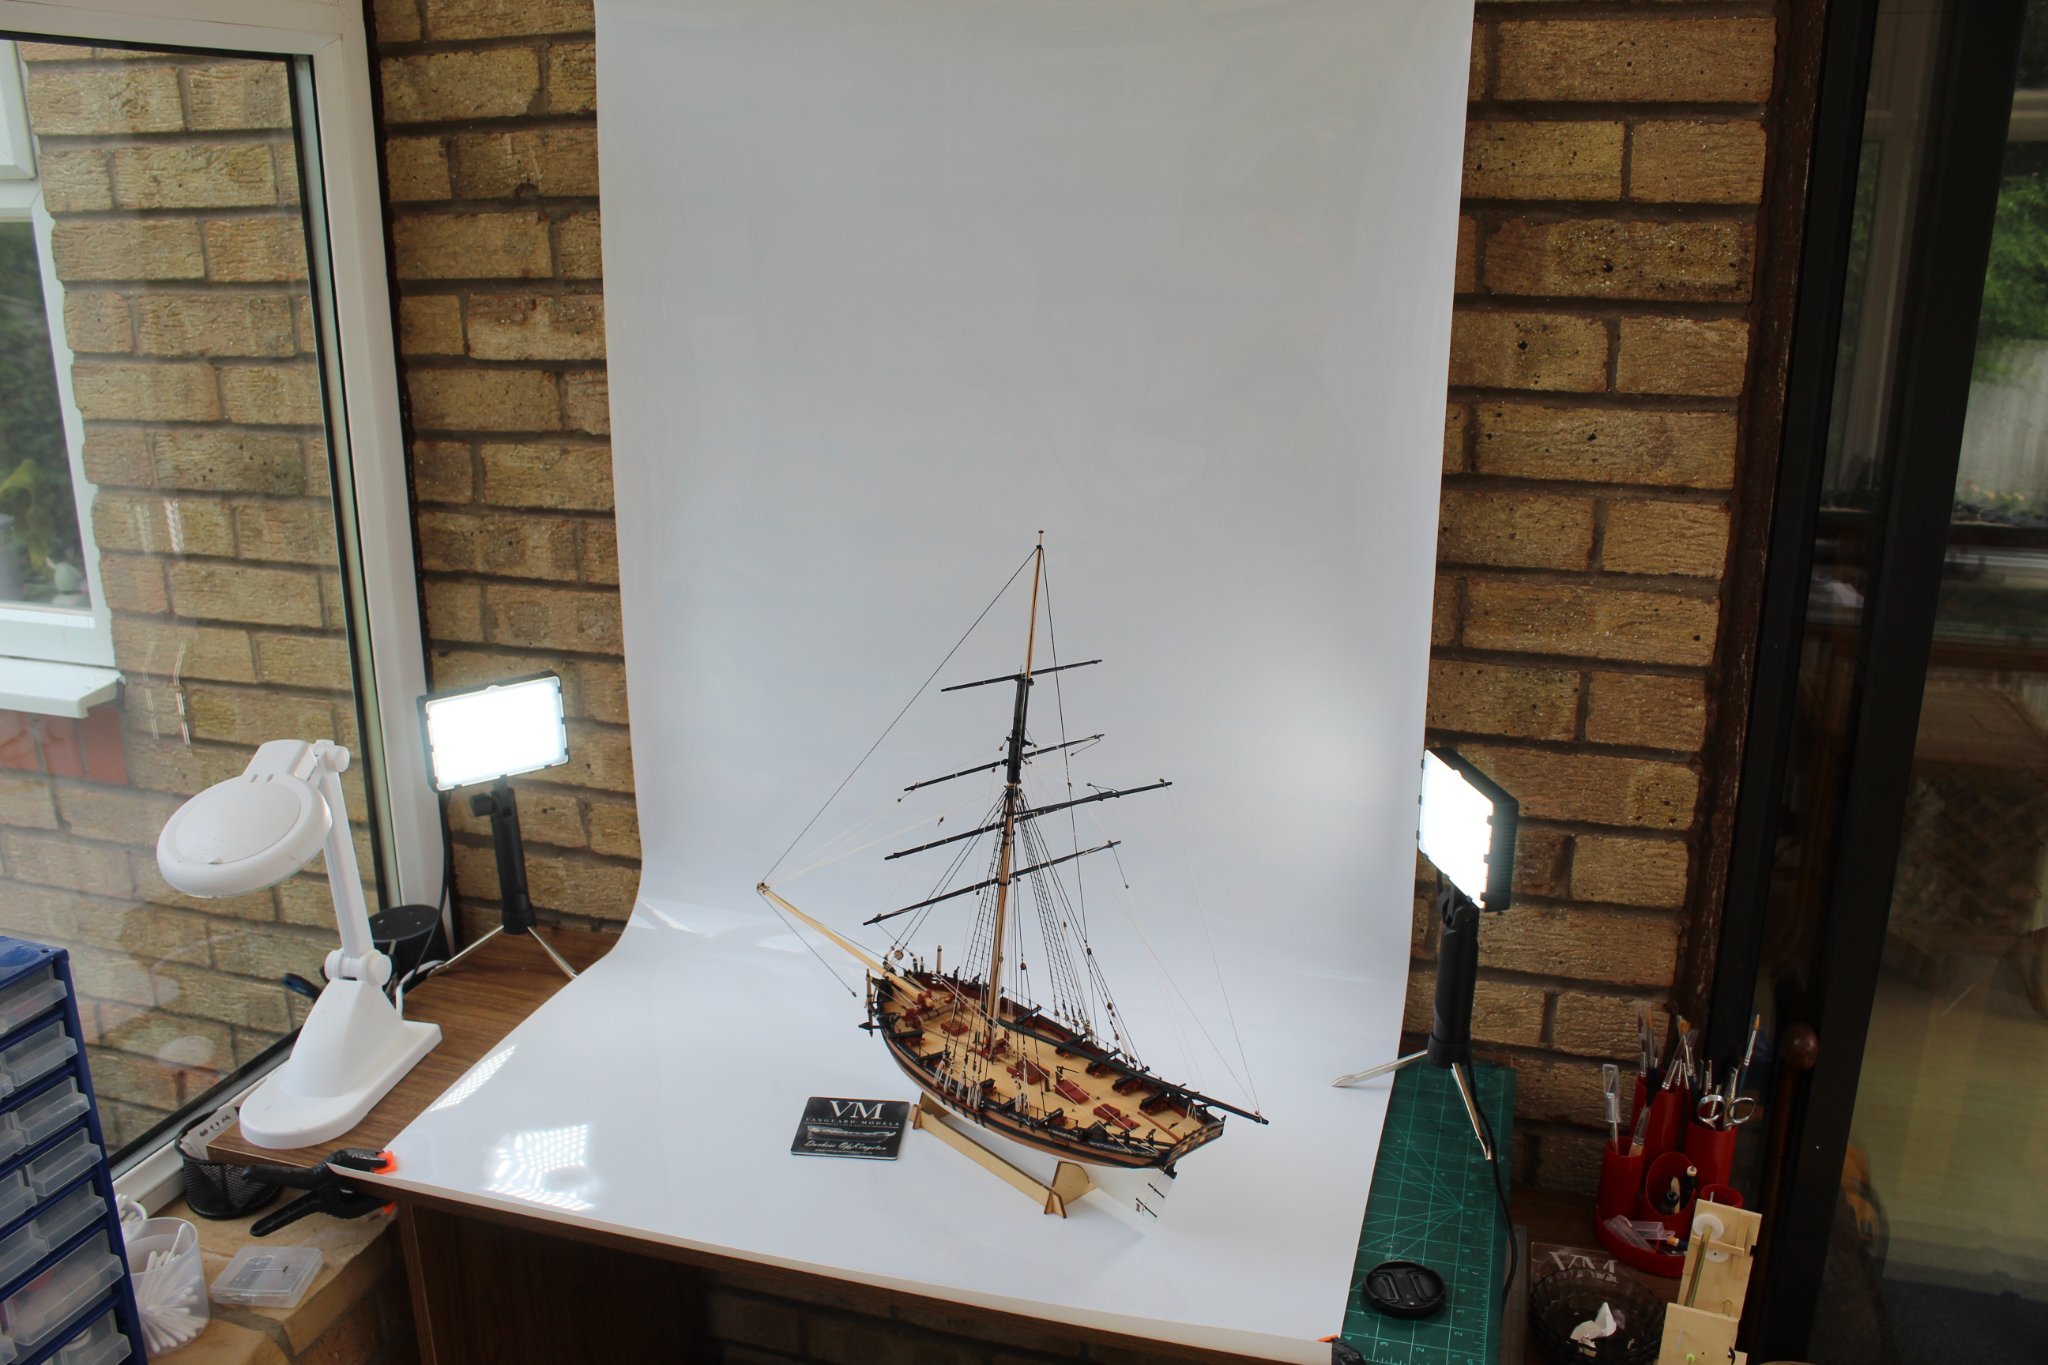
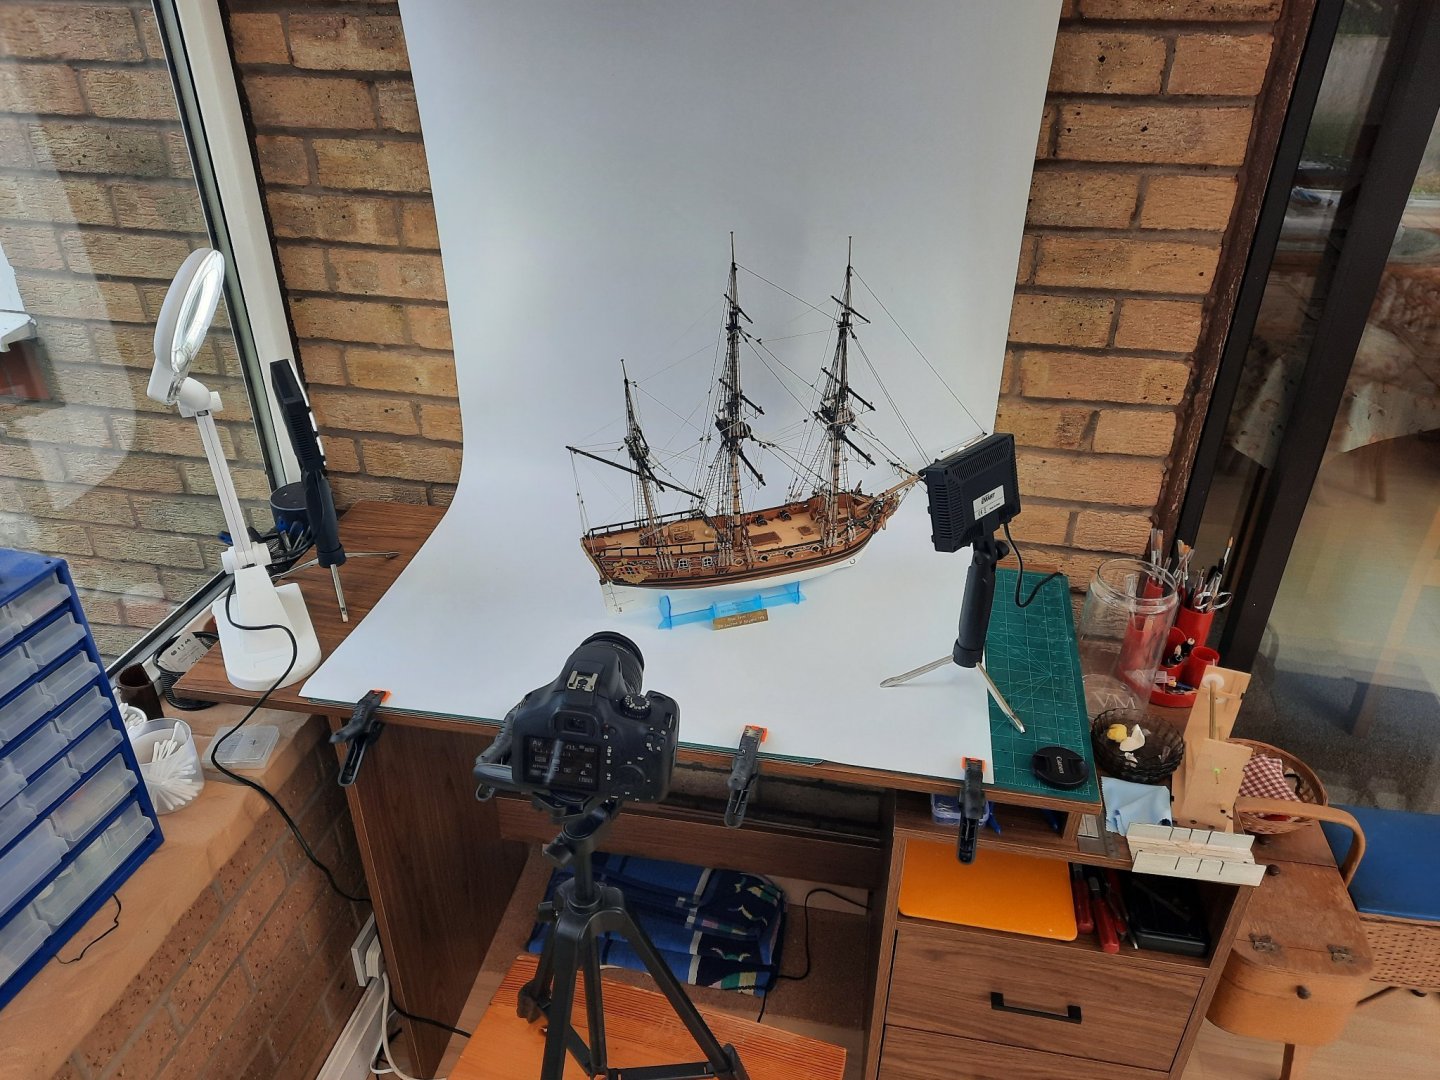
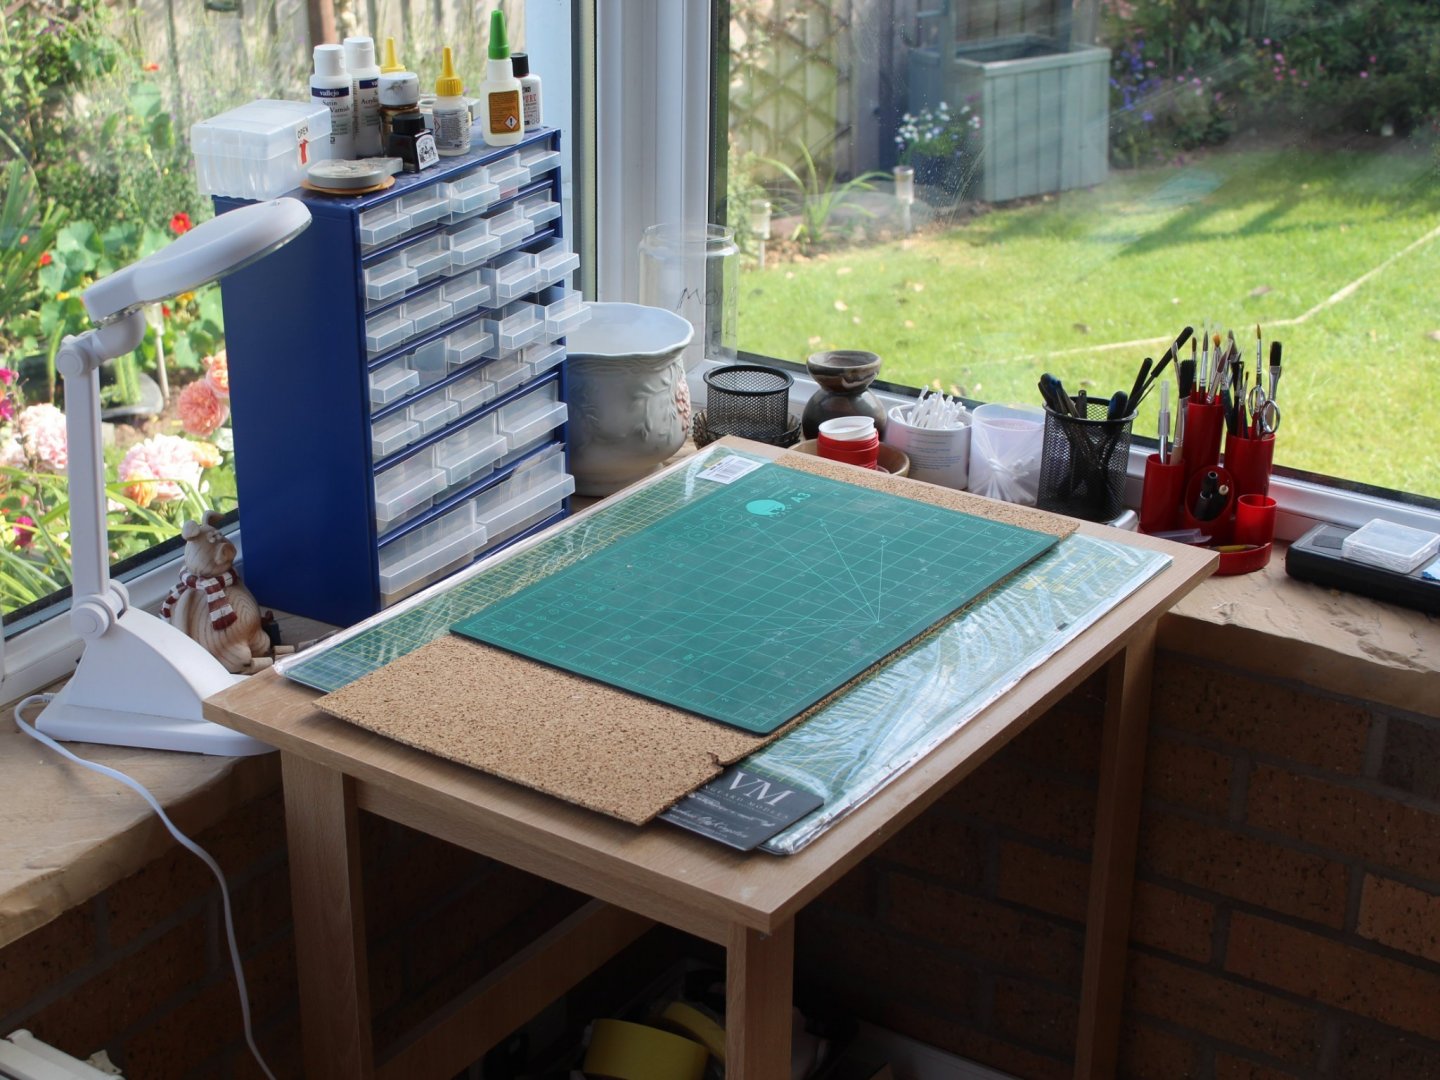
Hello Richard I have recently bought a Canon 4000 DSLR Camera, complete with a EF-S18-55mm f/3.5-5.6 lens along with the white backdrop and LED lights to try to take better pictures, noting I am a complete novice with regards to photography. I would welcome any tips from you or any other who tale great pictures such as @glbarlow, @James H, @DelF The photo below shows the basic set up. I am not sure what to do with regards positioning the LED lights as there is a lot for LED reflection on the Selens Photography backdrop. I have the backdrop shiny side forward, maybe I need to use the other side. I do also have a fabric white photography backdrop which I could try, but I would need to iron out the creases. As can be seen below the LED lights are clearly reflected I have improved it somewhat with the next photo by pointing the LED lights away from the backdrop, but there is still some LED light reflection visible on the left hand side by the stern. This is the set up when not in use.


-
Did you not think to take the prototype on holiday with you🤣
-
3 weeks is perfect. I have a 1 week family staycation in Wales starting next saturday, so a kit release after my return is ideal.
-
AIM OF MY BUILD LOG My aim with this build log, as with all my previous build logs, is to show how I have implemented the build instructions & plan sheets and to also share any tips, problems, etc. which may help others with their build. It will probably repeat / show several of the processes / instructions detailed in the official build manual and plan sheets. I really appreciate comments and likes on my build. BUILD LOG INDEX I have also set up a build log index to help you (and me!) locate the different sections of my build. Simply click on the links of the completed tasks to be taken to that post of the my build log. TASK TITLE (Click link on done tasks) STATUS 1 MDF Build Cradle Assembly Done 2 Stern Bulkhead Assembly Done 3 Bow Bulkhead Assembly Done 4 Bulkheads & Lower Deck Assembly Done 5 Longitudinal Gun Port Assembly Done 6 Lower Deck Coaming Assembly Done 7 Gun Deck Support Beams Done 8 Stern Counter Frame Assembly Done 9 Gun Deck, Gun Ports & Filler Blocks Done 10 Fitting Inner Bulwarks Done 11 Painting Inner Bulwarks Done 12 Cabin Seat Assembly Done 13 Adding Patterns to Bow Done 14 Building the Bulwark Jig(s) Done 15 Fairing the Hull Done 16 Adding the Upper Side Panels Done 17 First Planking - Part 1 Done 18 First Planking - Part 2 Done 19 First Planking - Part 3 Done 20 First Planking - Part 4 Done 21 Sanding 1st Planking Done 22 Fitting Outer Planking Patterns Done 23 2nd Planking - Stage 1 Done 24 Fitting wales WIP 25 Fitting wales WIP 26 Fitting wales WIP 27 28 29 30 31 32 33 34 35 36 37 36 39 40 OTHER HMS SPHINX BUILD LOGS James Hatch's Prototype Build Log - A must read build log Blue Ensign's Build Log Jasseji's Build Log Mark Taylor's Build Log myxyzptlyk Build Log
-
Great news, do you have a forecast date in mind for kits being available, noting you are waiting for Jim to complete the prototype.
-
Fingers crossed that the delivery of the PE parts will arrive this week and that they all look good so the kit is ready for pre release very soon.
- 355 replies
-
- 4
-
-
- vanguard models
- Sphinx
- (and 1 more)
-
One amazing build and one your should be very proud of. Your build log has really helped me improve my modelling skills, especially with some of the rigging aspects. Yesterday I bought a DSLR camera (an entry level Canon 4000 complete with a 18-55mm lens f/4 - 5.6) which I hope will enable to take some better photos for my next build. For the closer details I suspect I might need to invest in an macro lens (35mm or 100mm f/2.8 Macro). I would be interest to know what lens(s) you use for taking your photos. I will probably invest in some LED Lights for as well, something like these LED lights. Thanks The UK Glenn
- 725 replies
-
- 2
-
-
- vanguard models
- speedy
- (and 1 more)
-
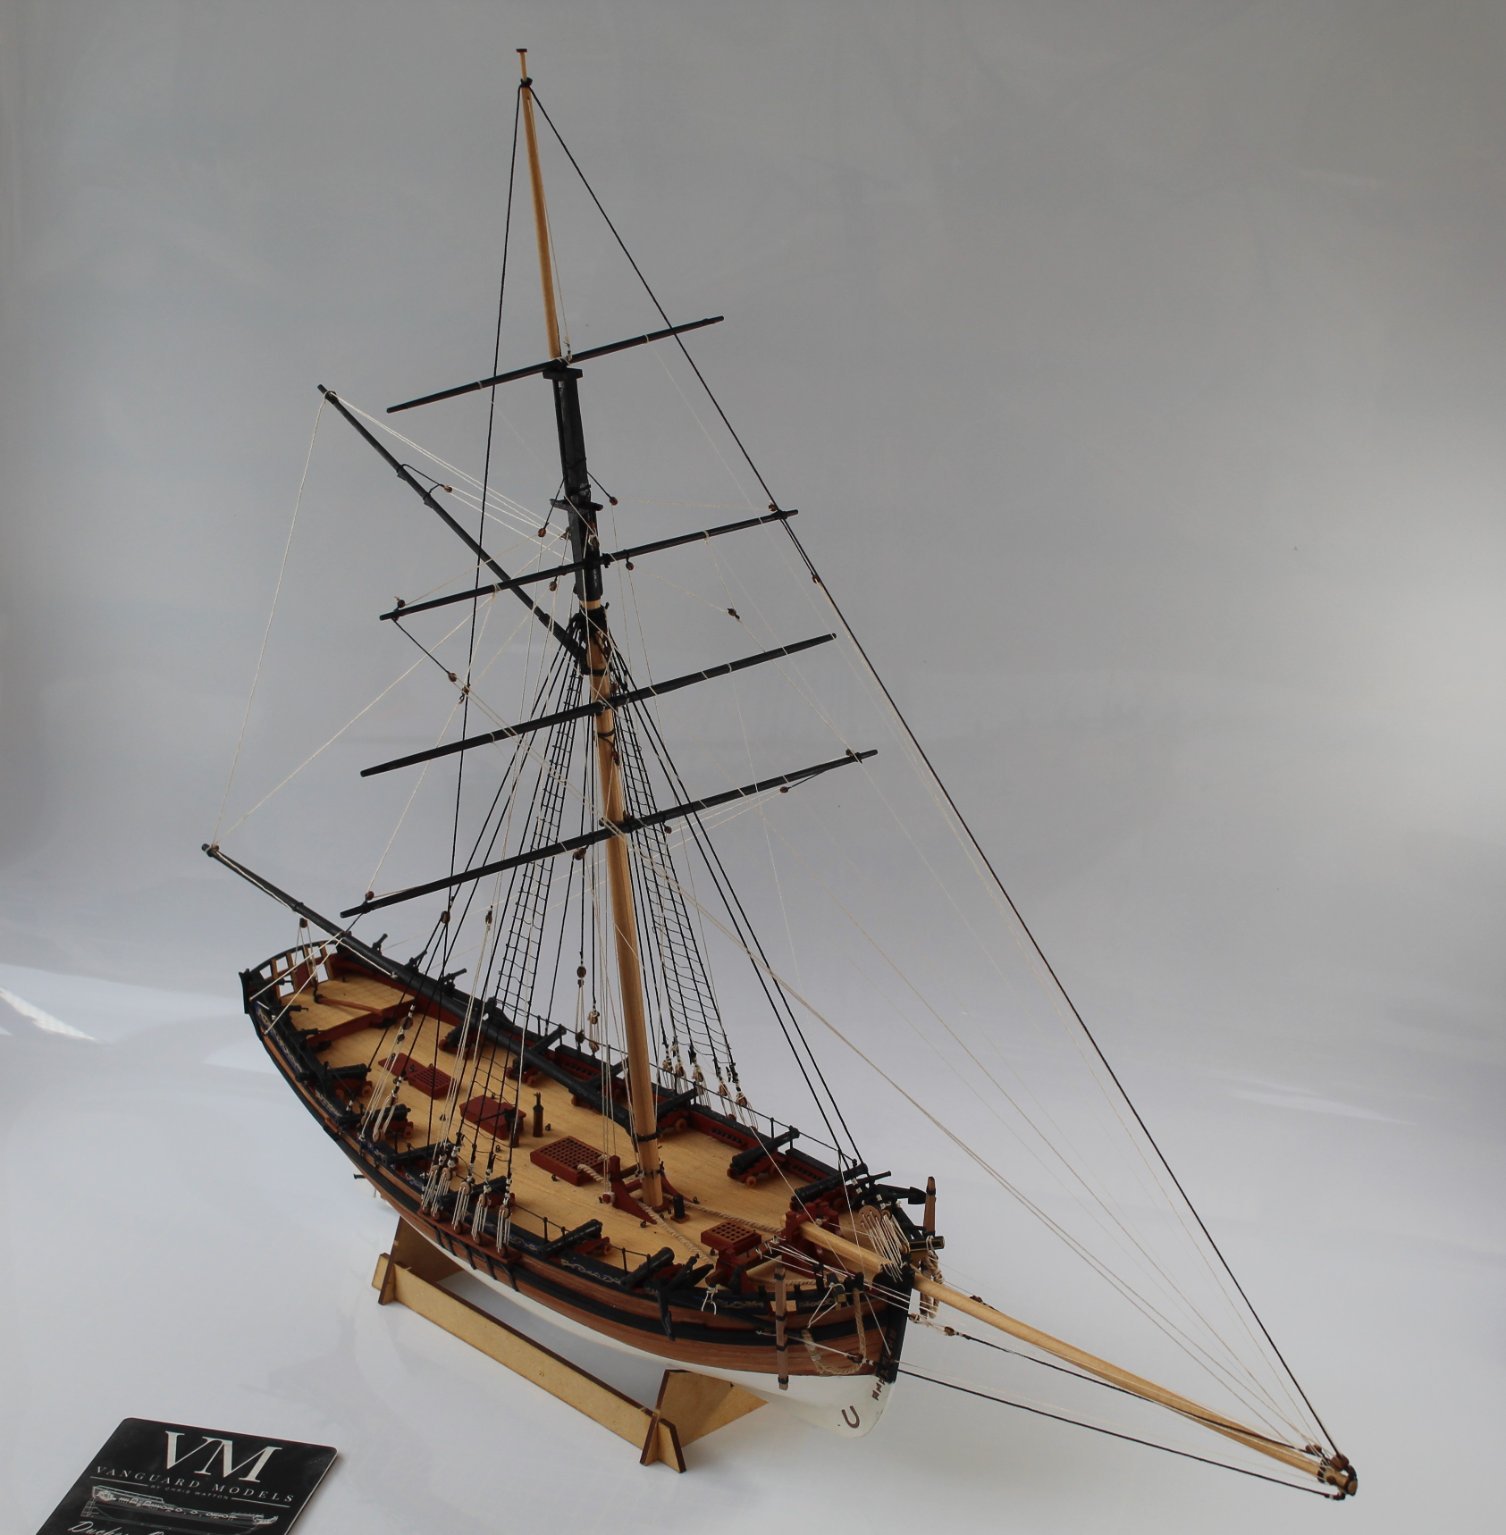
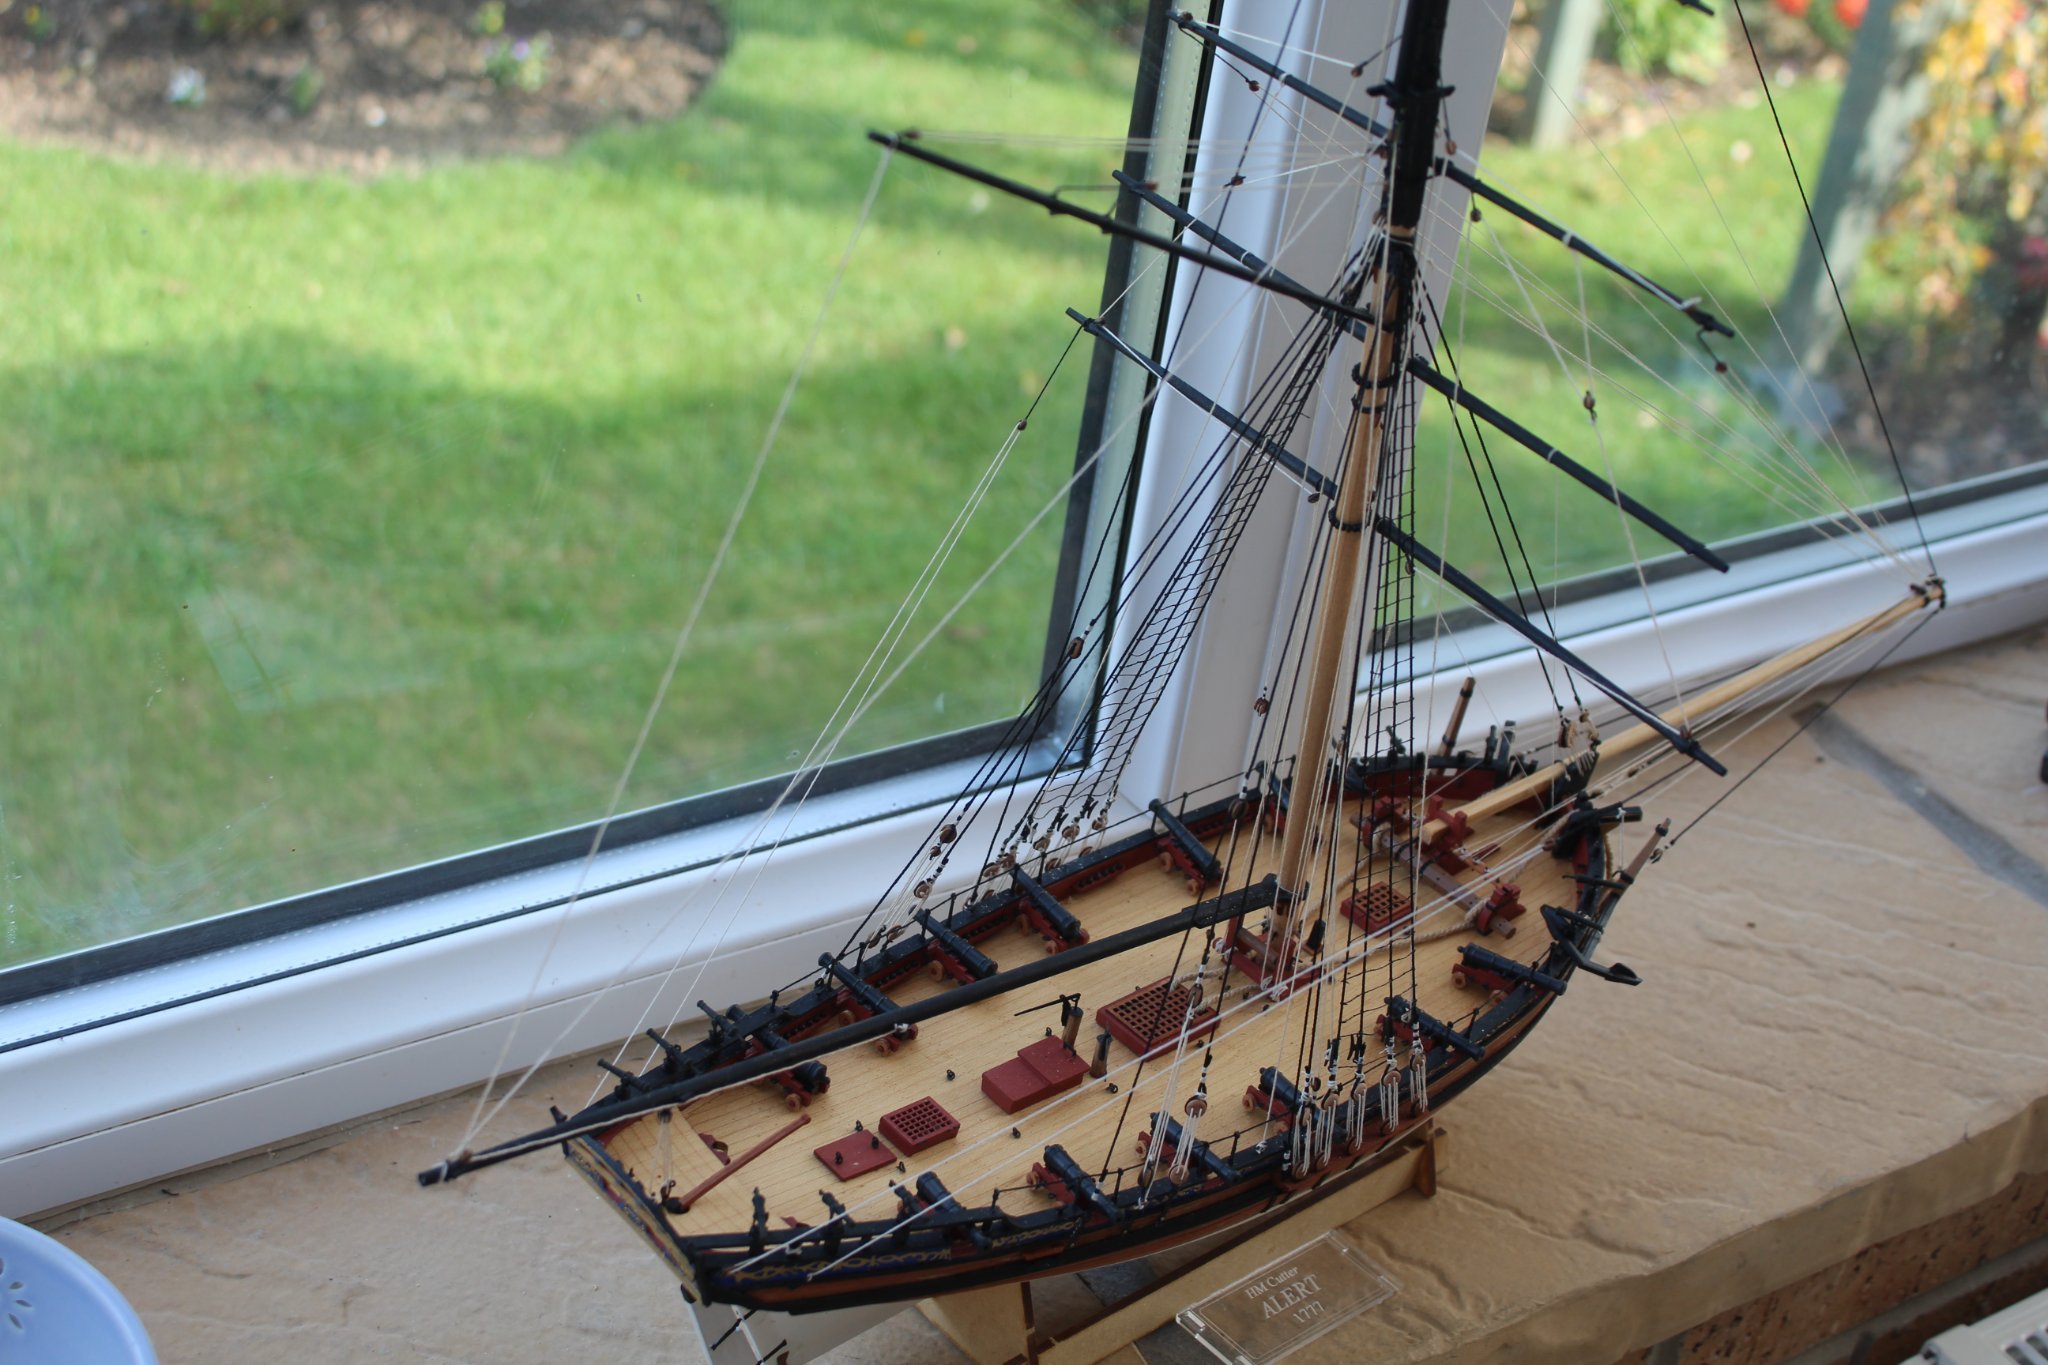
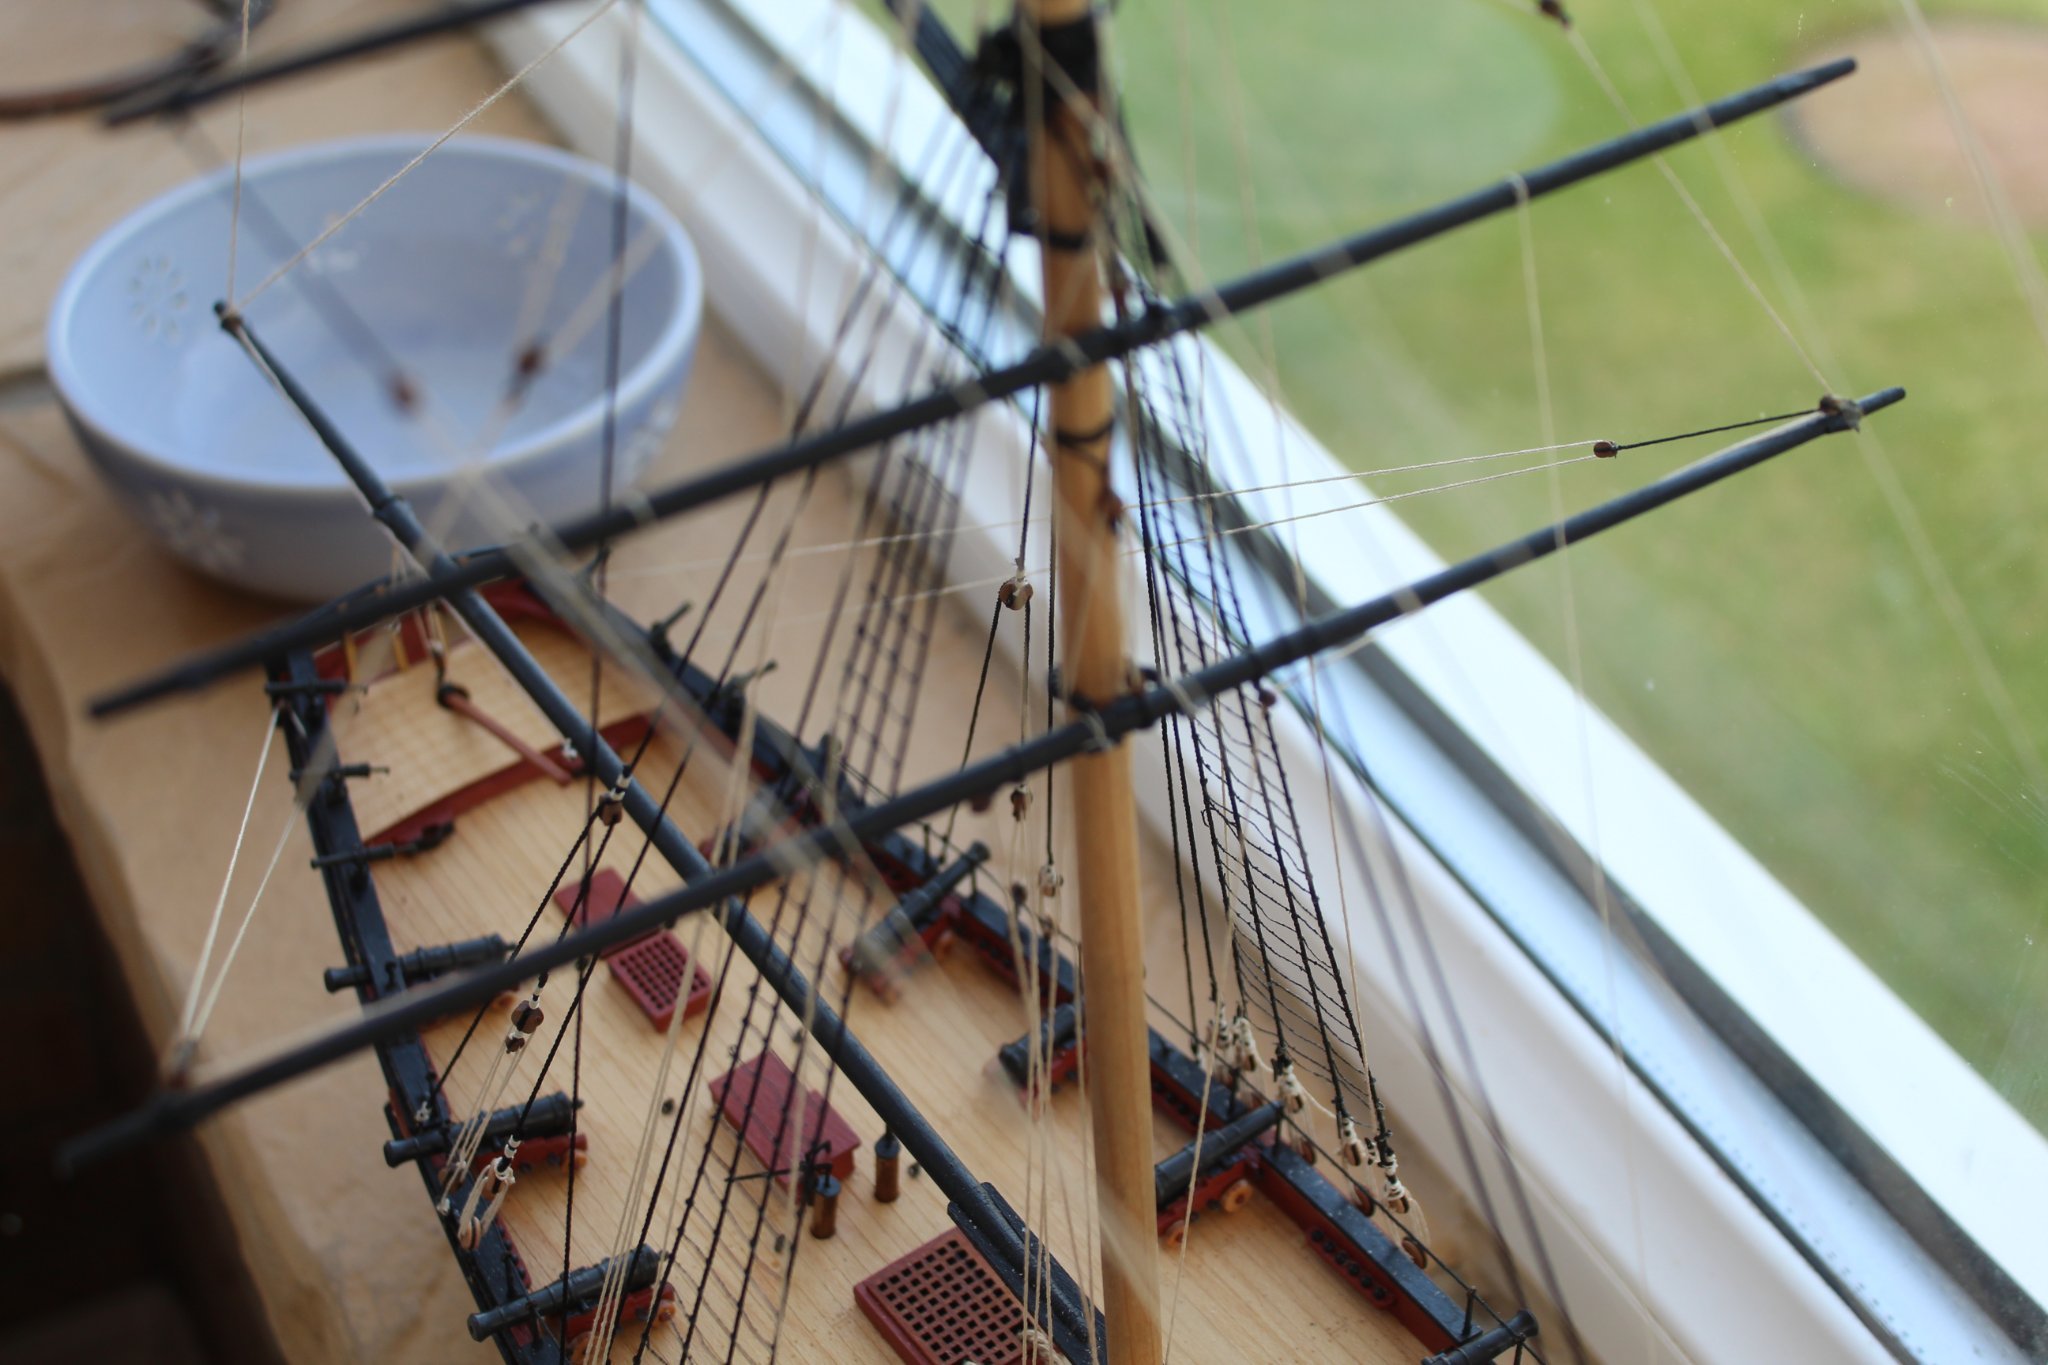
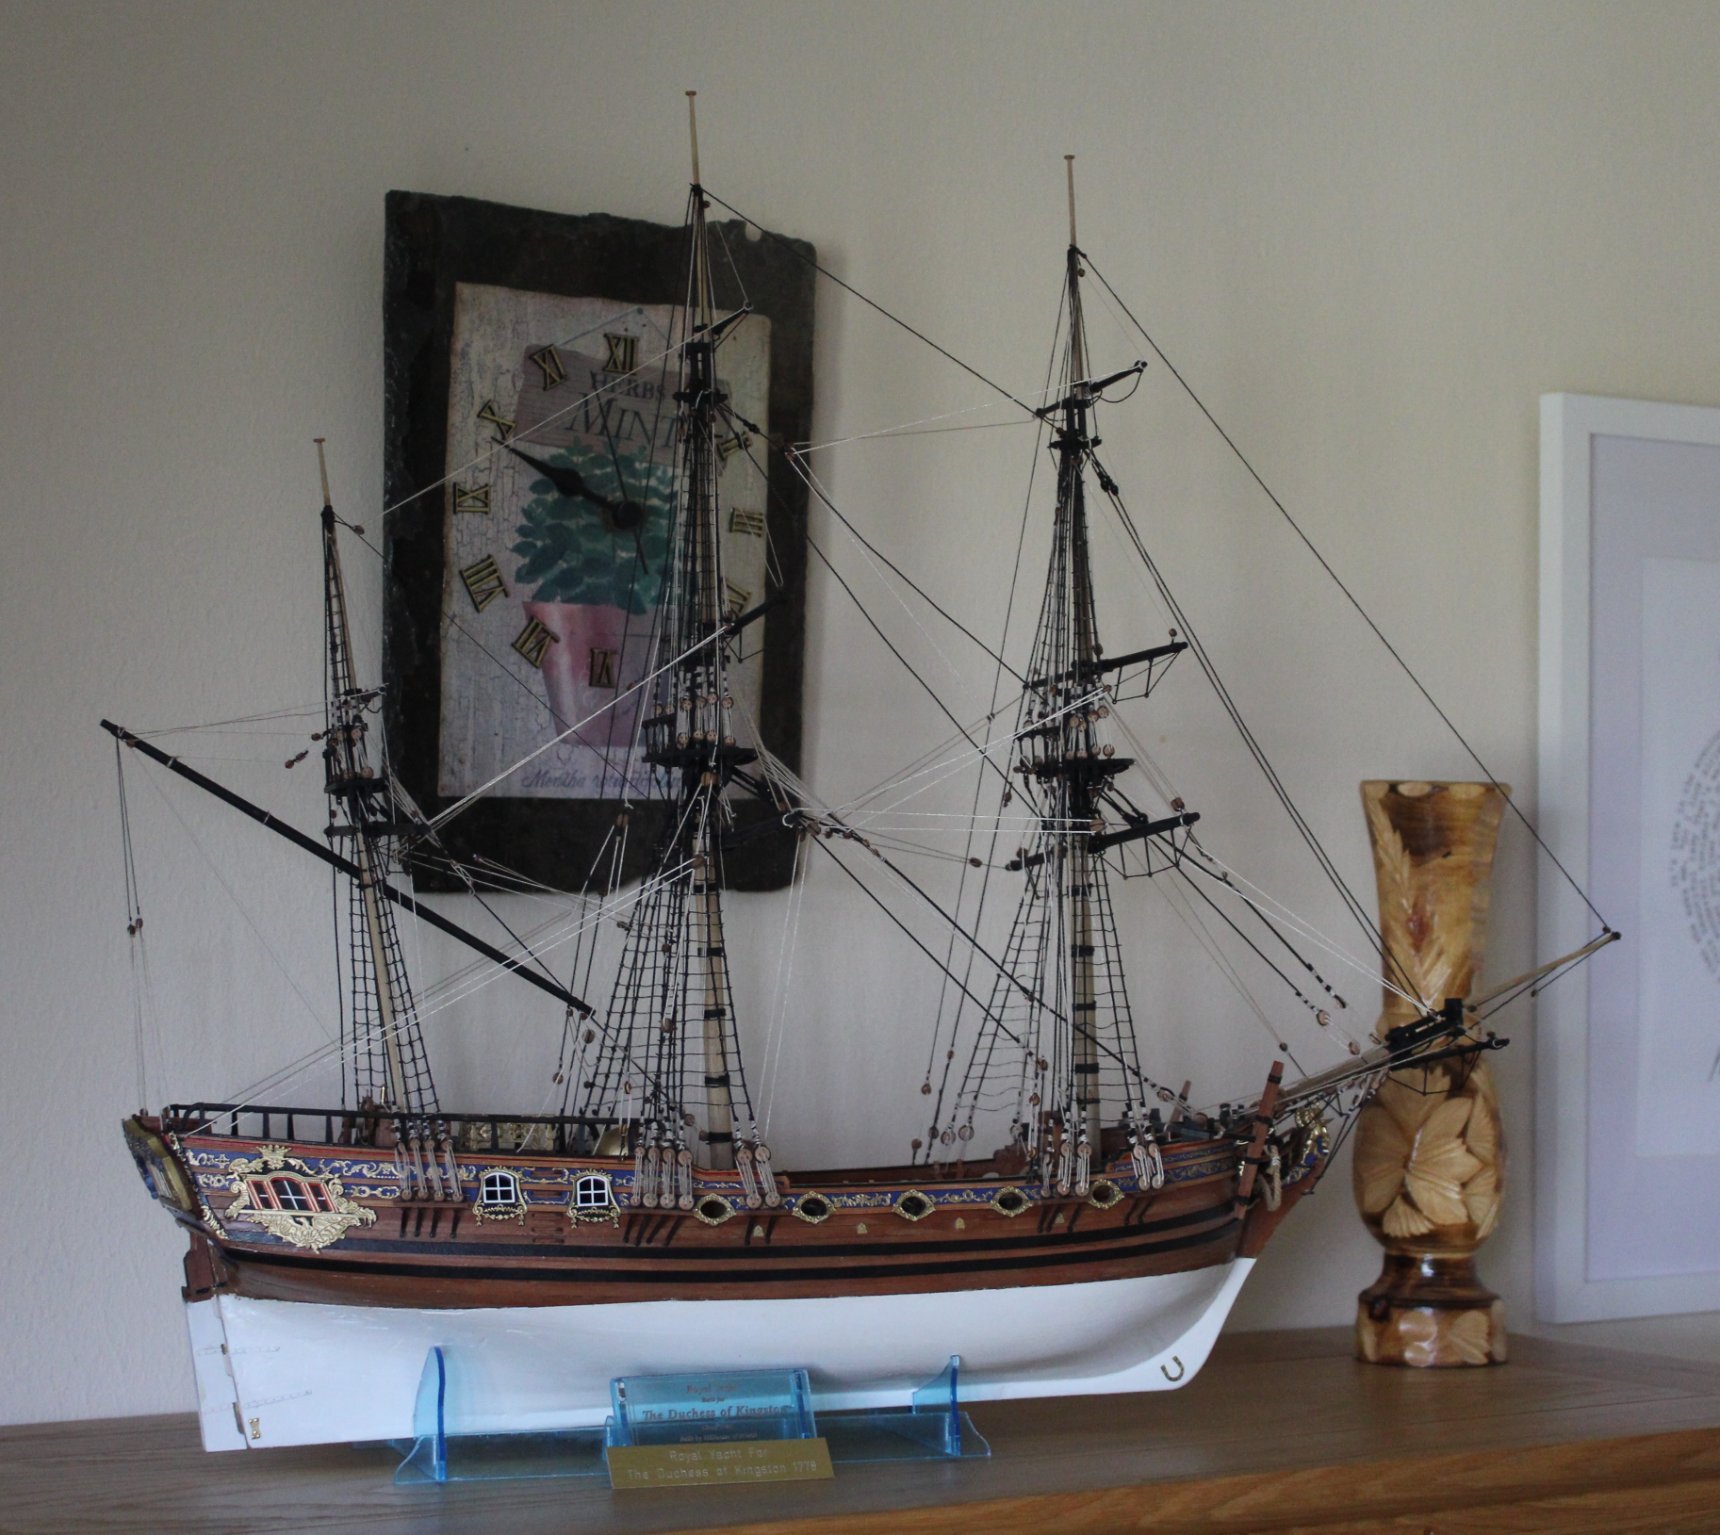
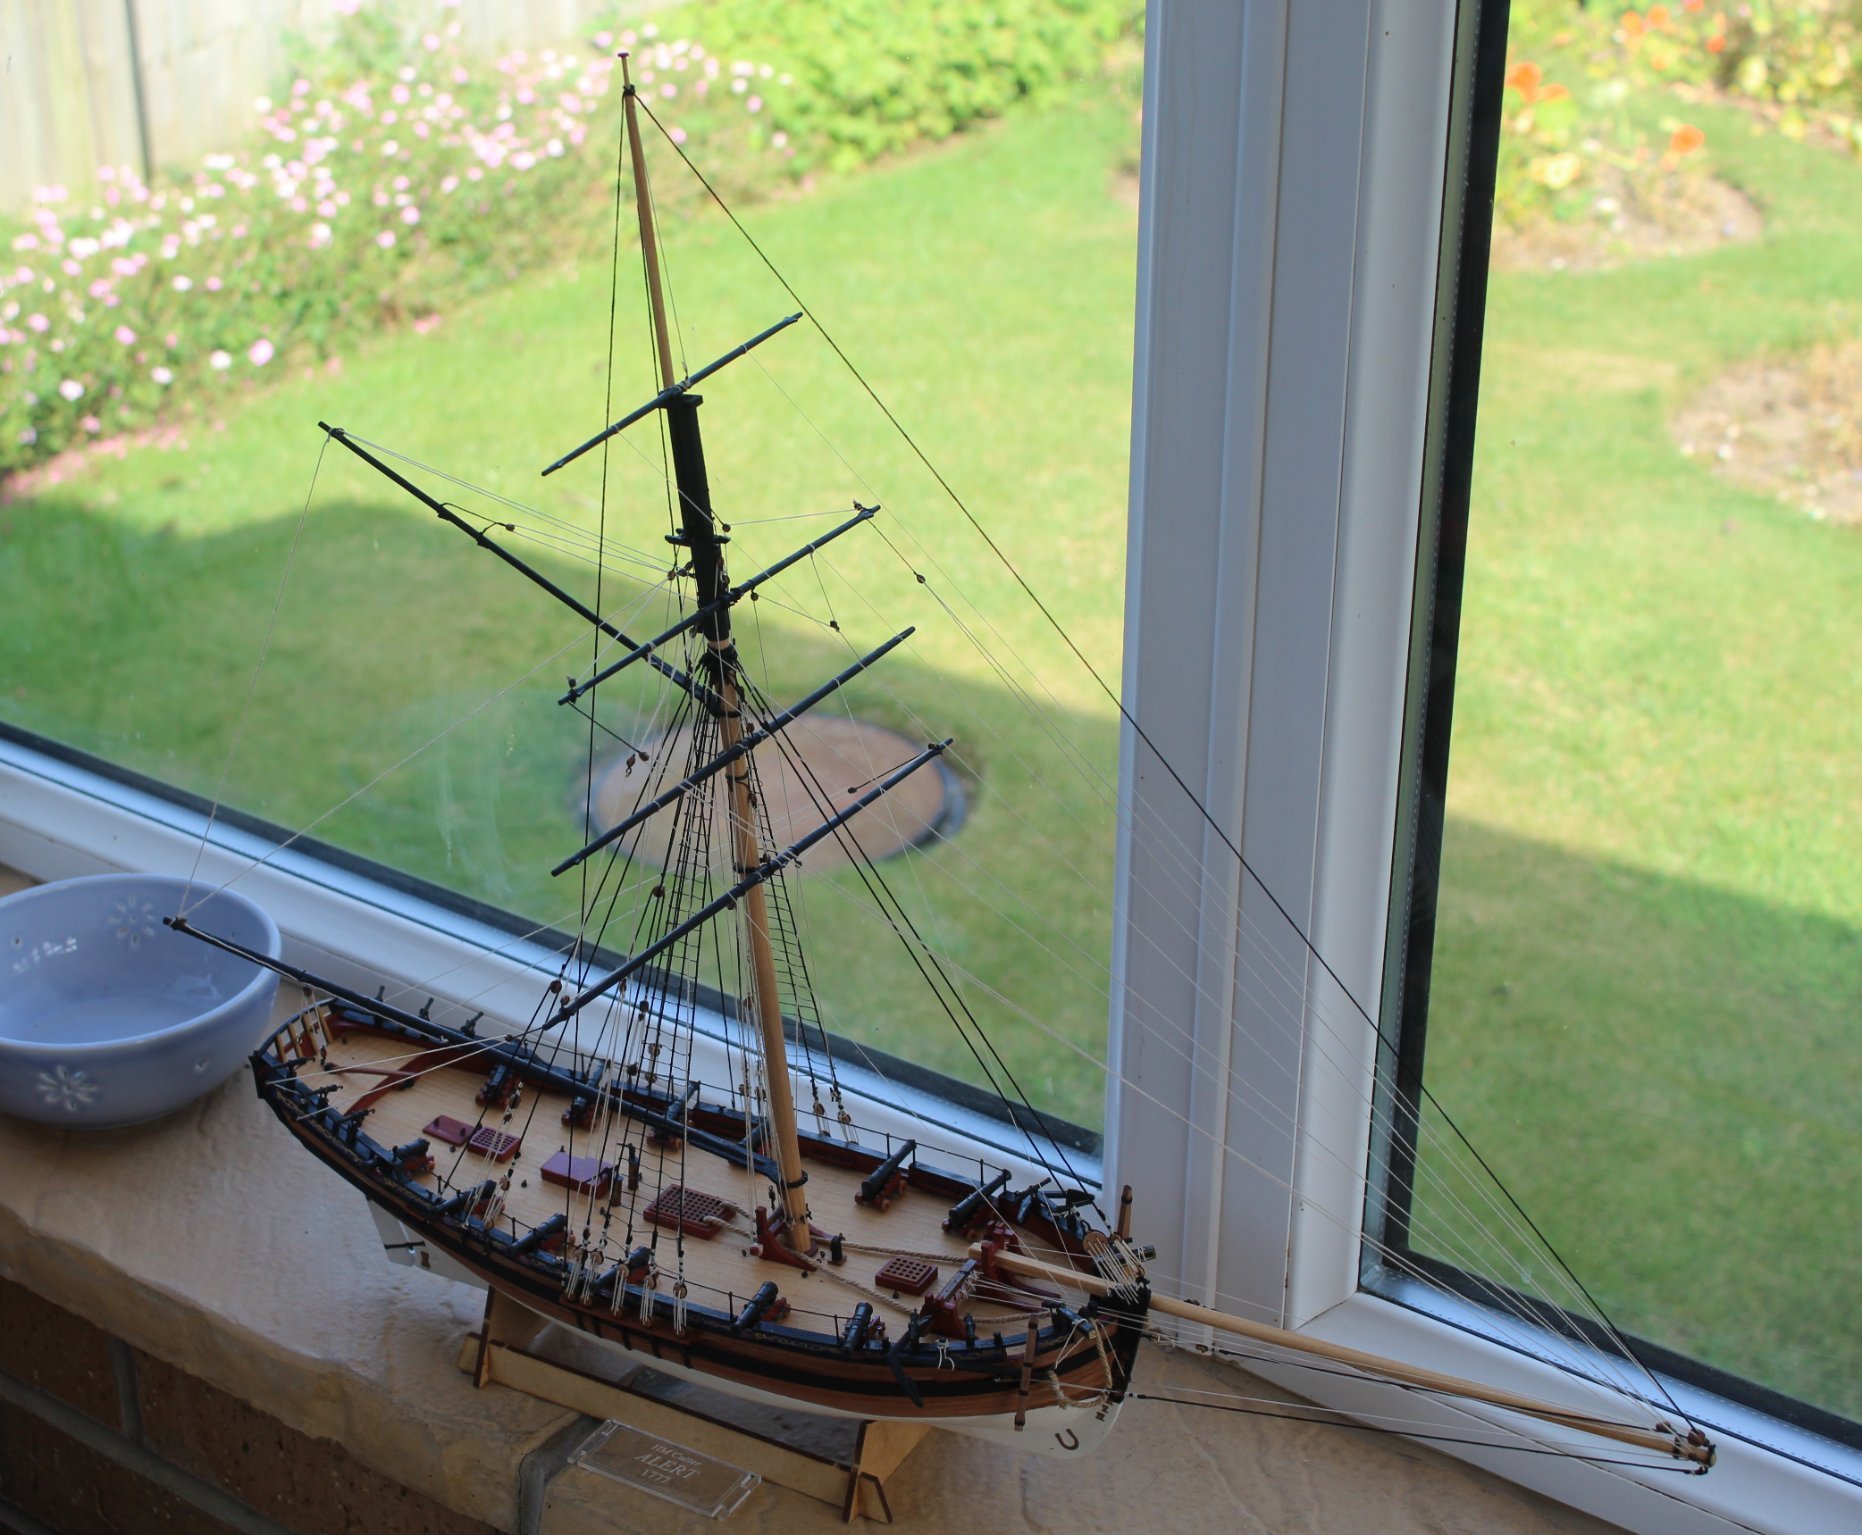
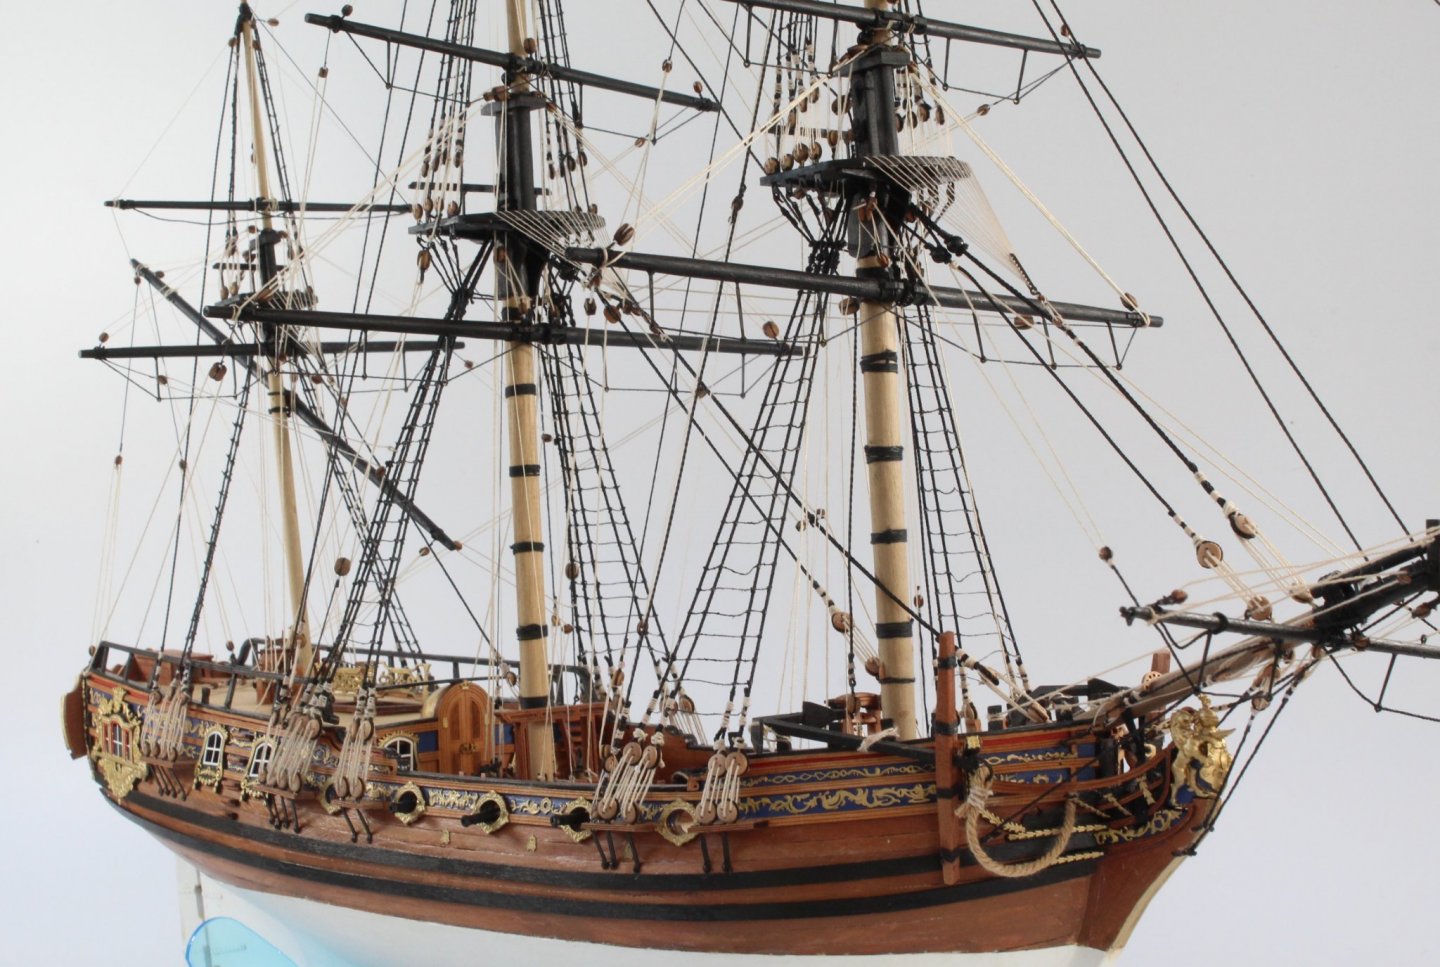
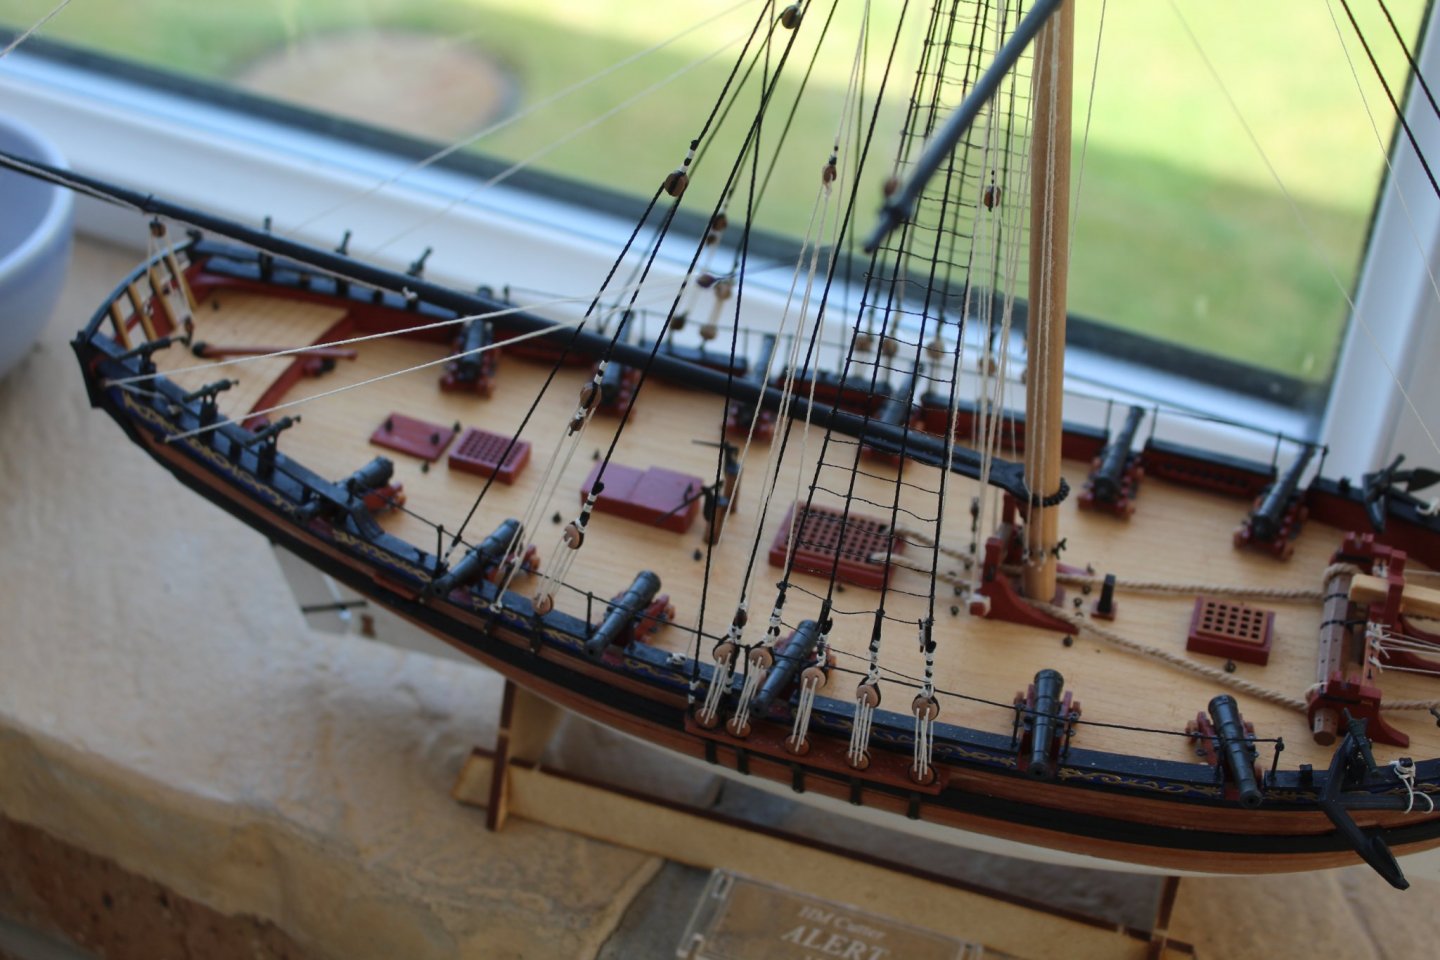
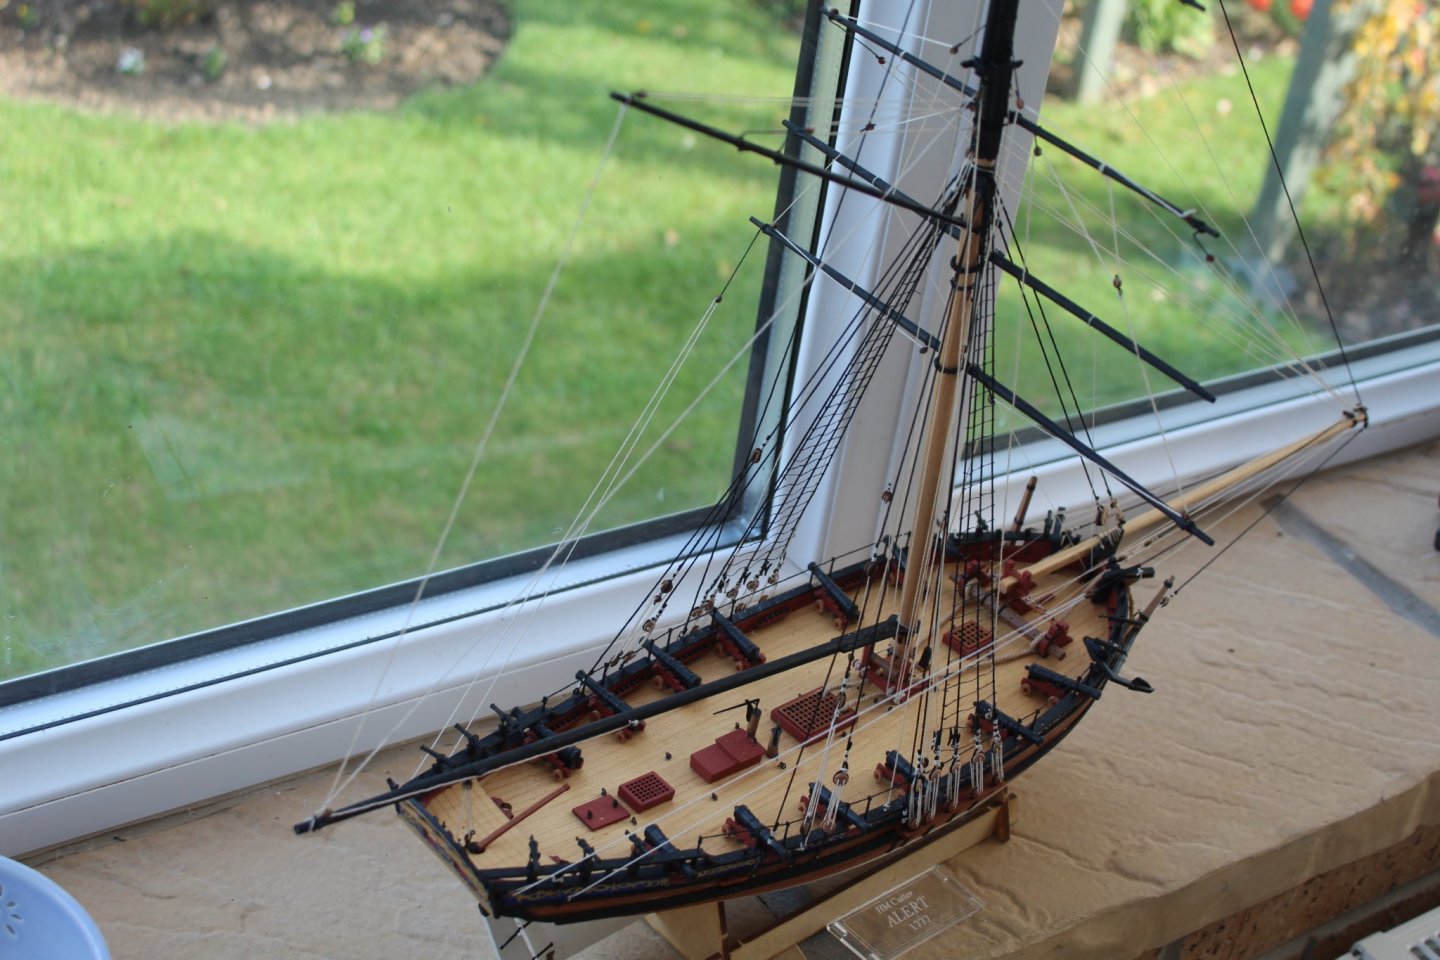
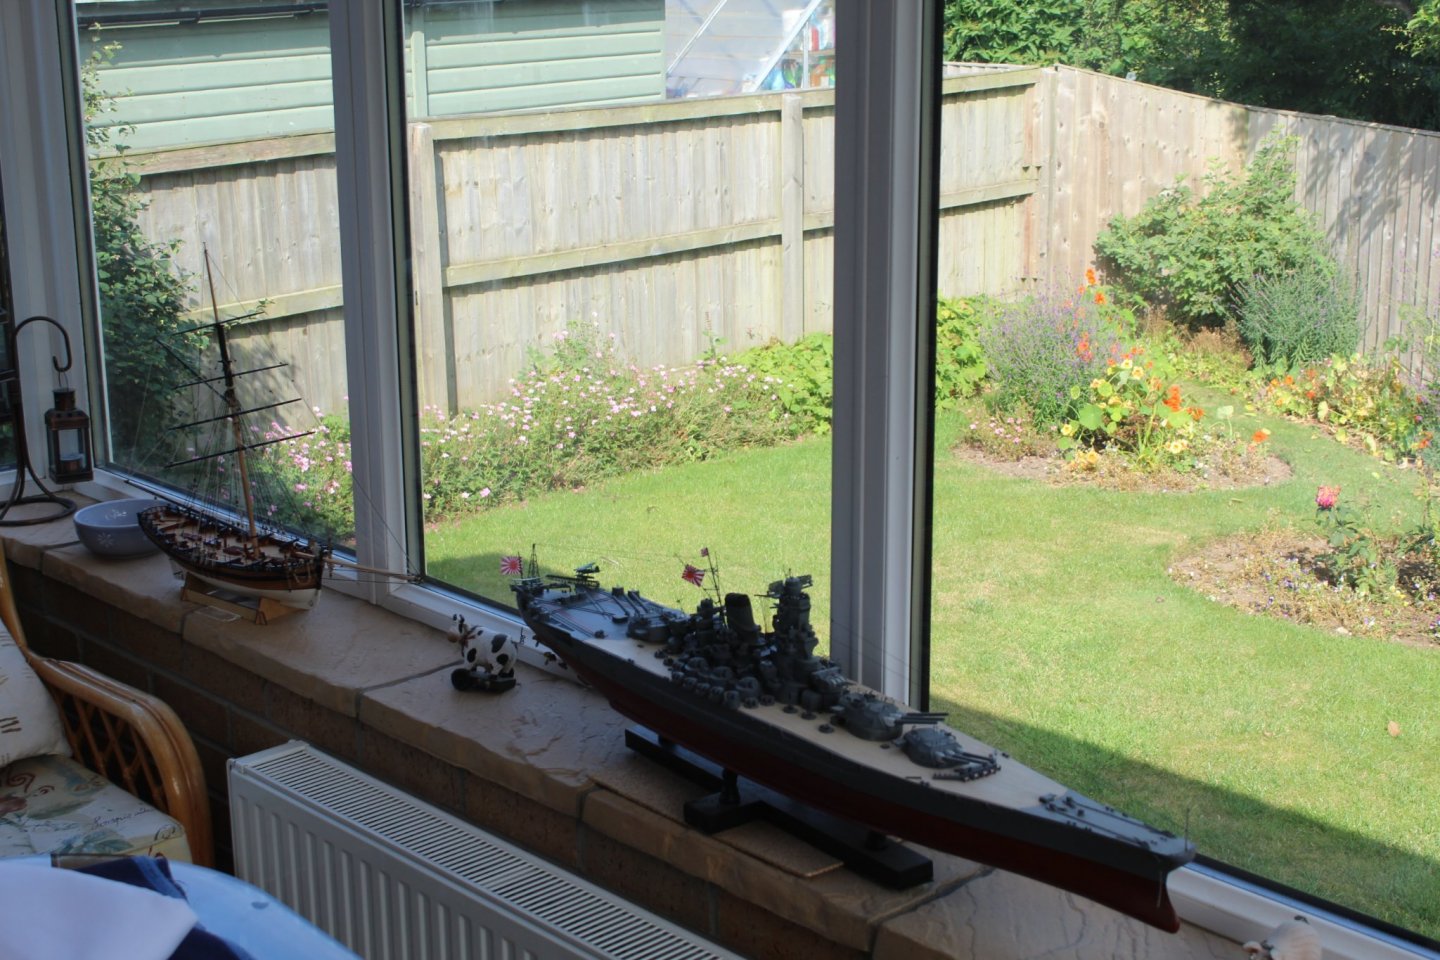
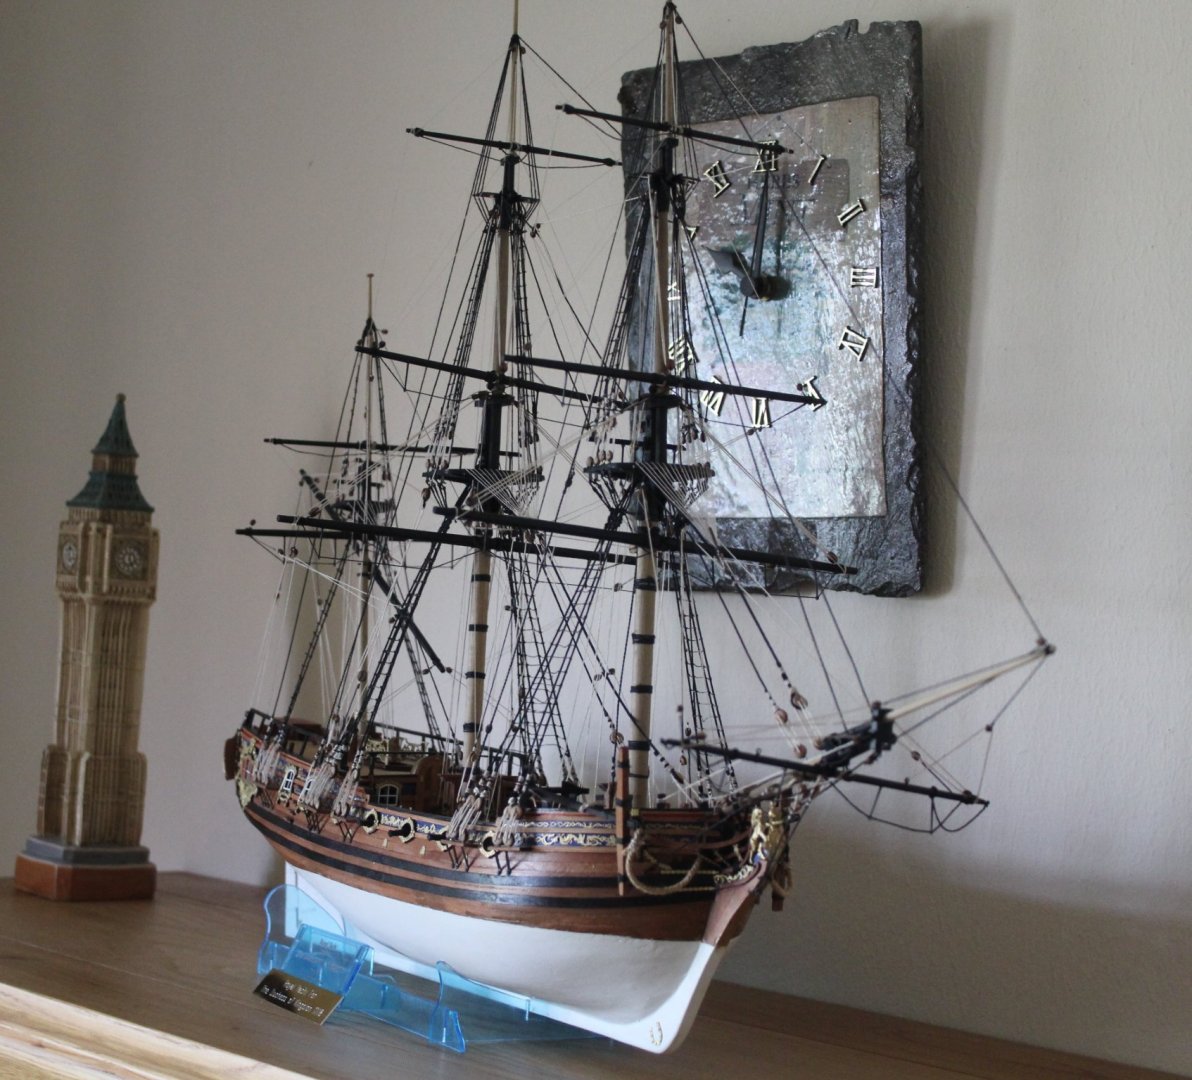
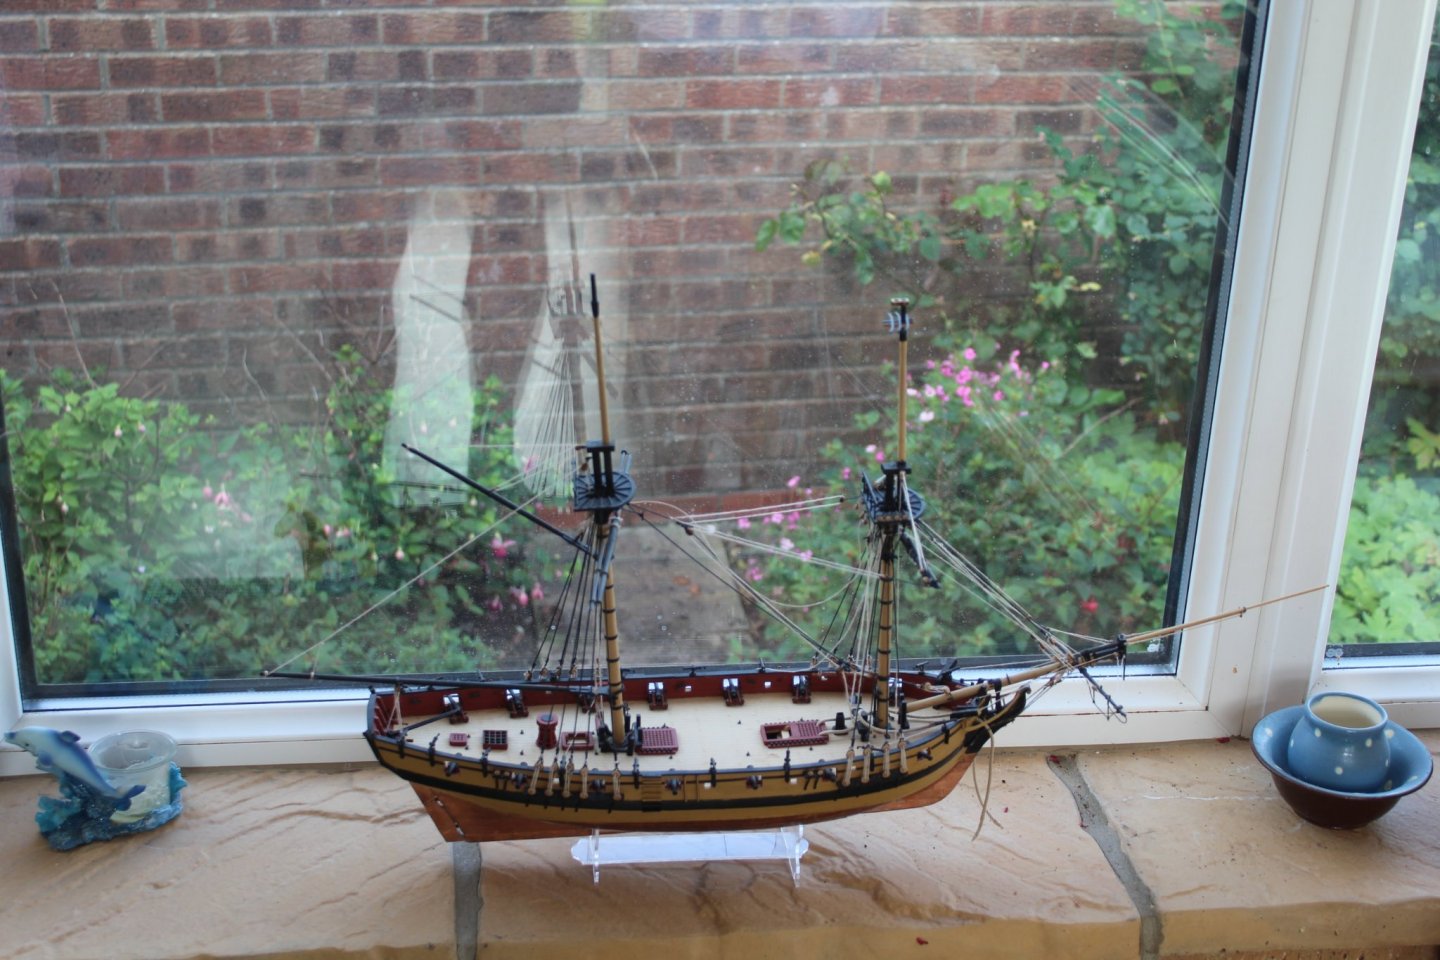
I have plenty of free time while I wait for James to complete the HMS Sphinx prototype build and for Chris to release the kit for pre order. Yesterday I bought an entry level DSLR camera (Canon EOS 4000 with a 18-55mm f/3.505.6 III Lens) so hopefully I will be able take some better pictures for the HMS Sphinx build log. I have had a quick play with the camera and taken some pictures which I thought were worth sharing. This is a picture of the empty shipyard with a tidy desk. I have ordered a new desk with plenty of some storage facilities which will come in the next few days. Hopefully this help me keep the shipyard cleaner and tidier during the build process. I also have new cutting mat ready to use. The next few pictures show the Cutter Alert in her new location. I managed to break some of the kit stand but thankfully one of the older wooded stands was an ideal fit. I have the IJN Yamato to keep the Cutter Alert company. I am still looking at the improving the exposure when taking pictures with the new camera. In this picture I managed to get the exposure better for the outside. The Duchess takes pride of place in the dining room. I did order and receive a very nice glass display case. However the display case did not look right so it is now collecting dust in my garage. I ended up using the Speedy kit to help improve my modelling skills, as I made quick a few mistakes during the build and initial rigging process. I have kept the model in its unfinished state.


- 160 replies
-
- 7
-
-

-
- Alert
- vanguard models
- (and 1 more)
-
Impressive build and build log. I have learnt a lot by coping some of your methods.
- 725 replies
-
- 3
-
-
-
- vanguard models
- speedy
- (and 1 more)
-
Many thanks. I will be updating my profile shortly.
-
Thank you. I am happy with the finished model.