-
Posts
1,498 -
Joined
-
Last visited
Content Type
Profiles
Forums
Gallery
Events
Everything posted by archjofo
-
Hi Nils, thanks for the reply and explanation.
- 2,625 replies
-
- kaiser wilhelm der grosse
- passenger steamer
-
(and 1 more)
Tagged with:
-
Hi Nils, very good work. Do you have a form for the boats, or how were they built? I hope I have not overlooked anything.
- 2,625 replies
-
- kaiser wilhelm der grosse
- passenger steamer
-
(and 1 more)
Tagged with:
-

HMS Naiad 1797 by albert - FINISHED - 1/48
archjofo replied to albert's topic in - Build logs for subjects built 1751 - 1800
HI Albert, this is absolute top model construction! I'm excited. How long do you build on this model? -
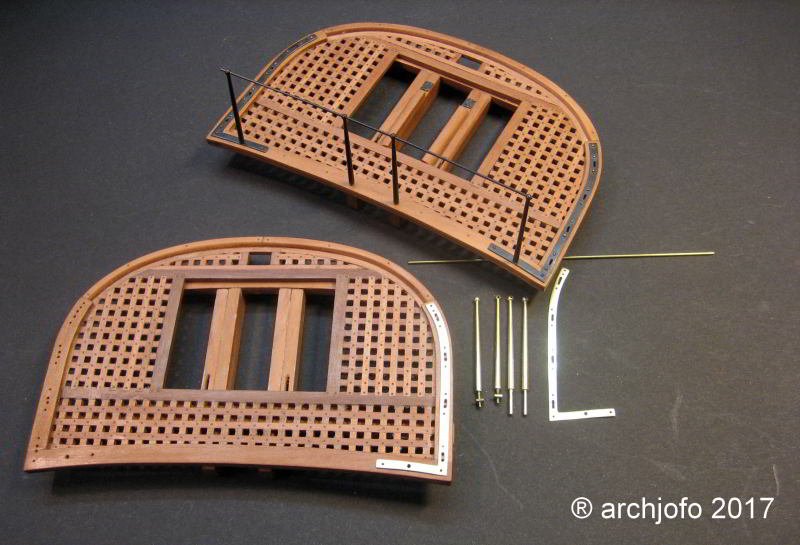
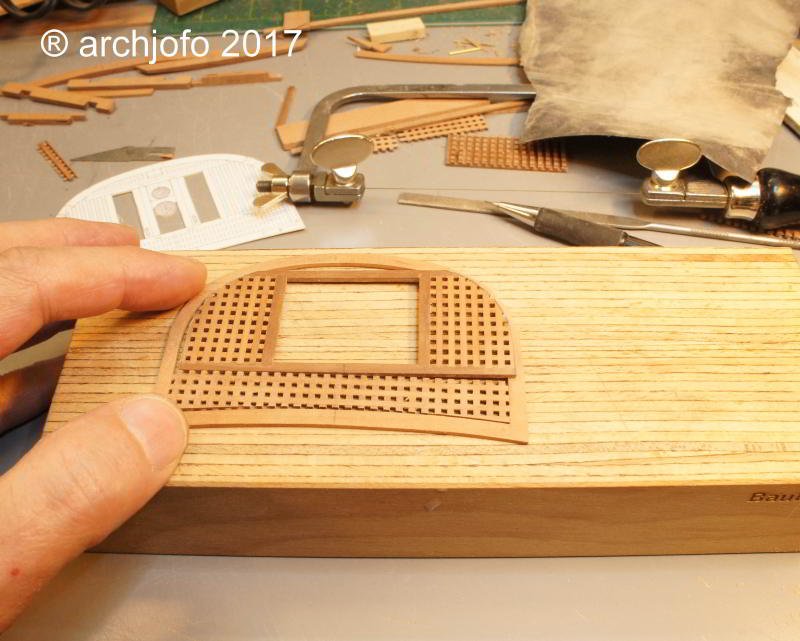
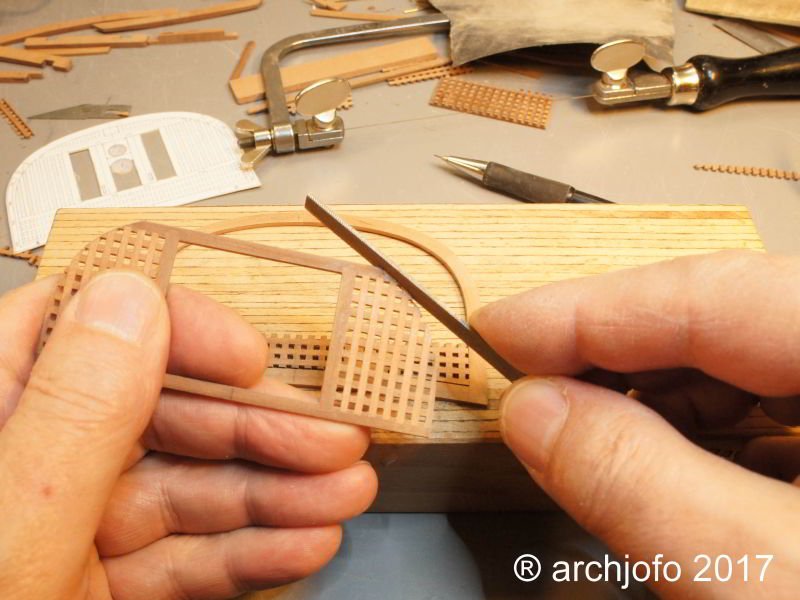
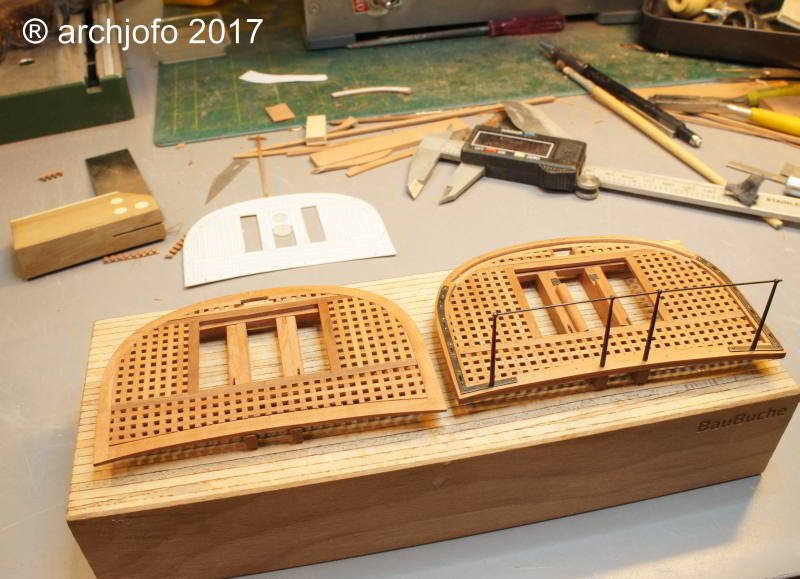
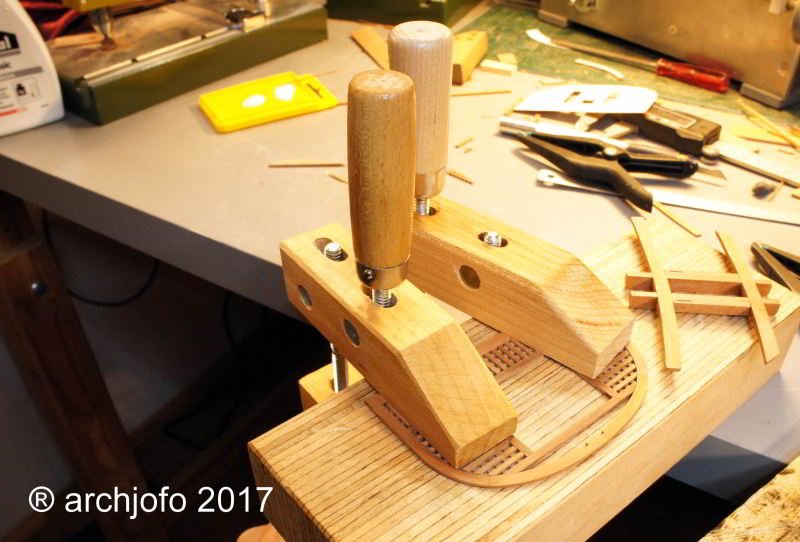
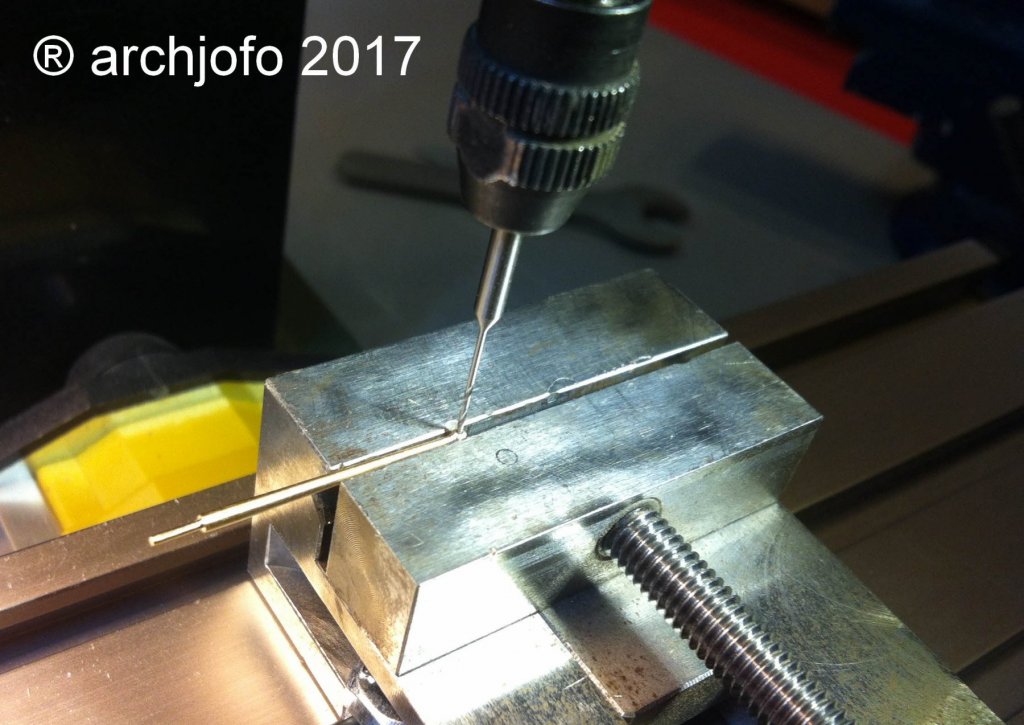
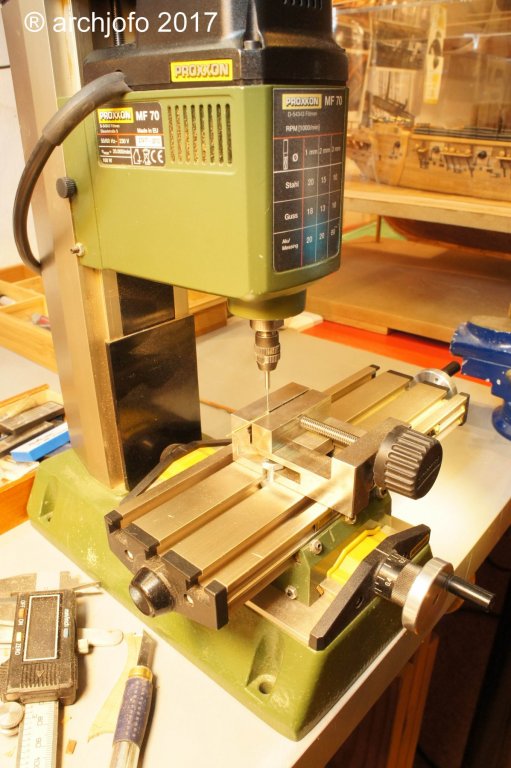
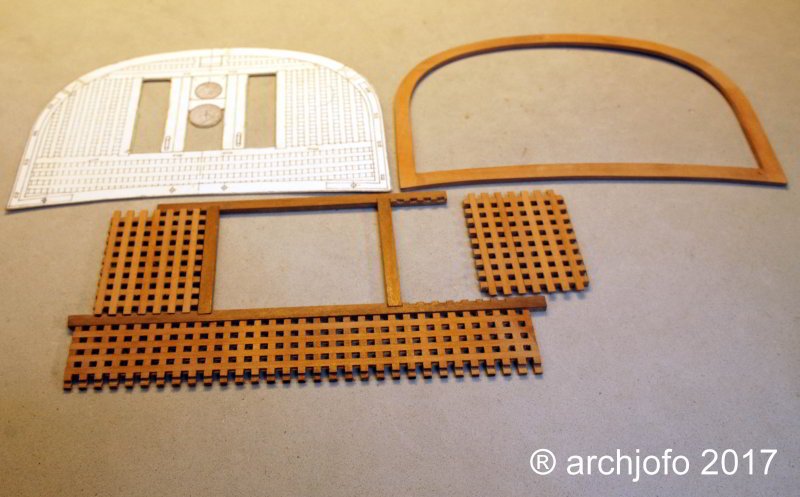
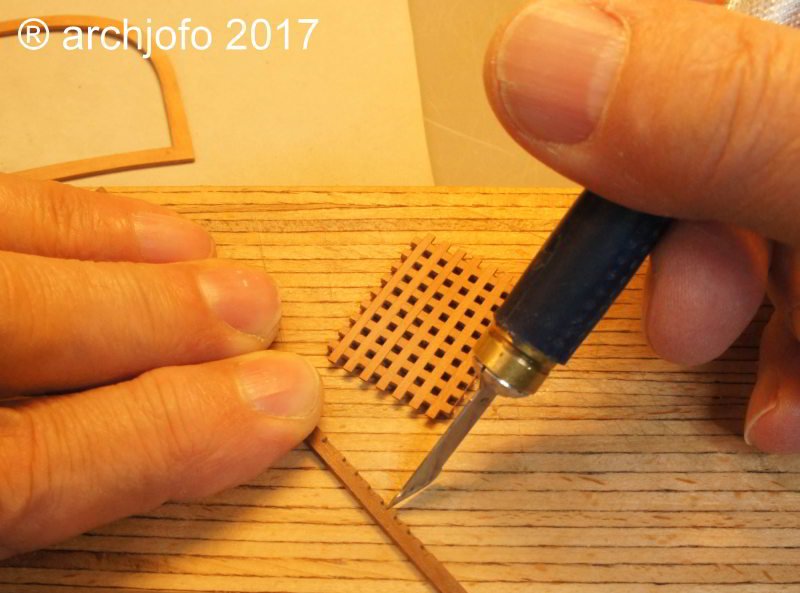
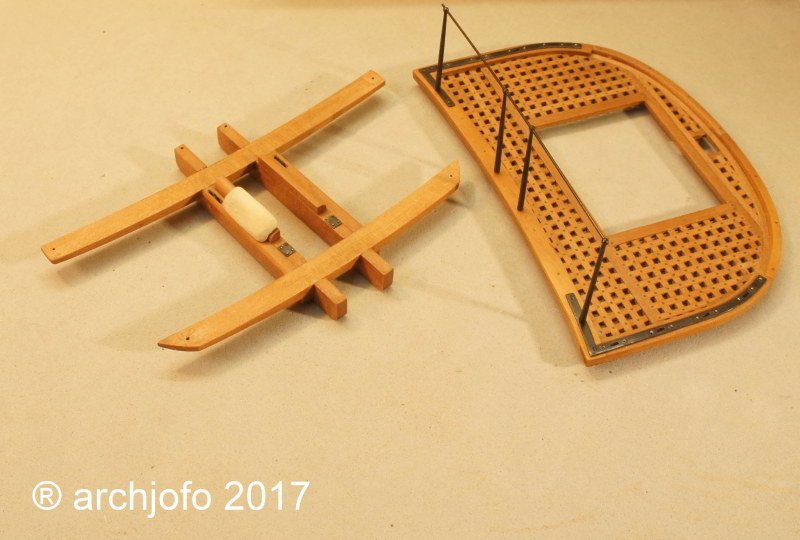
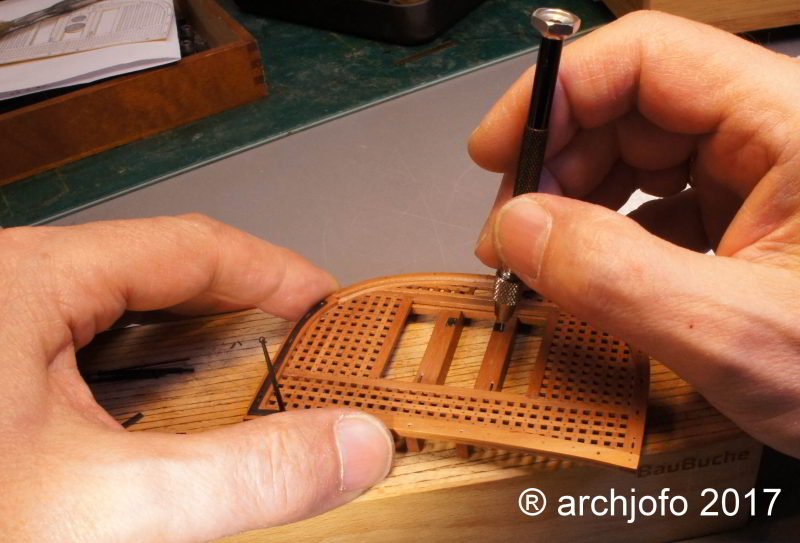
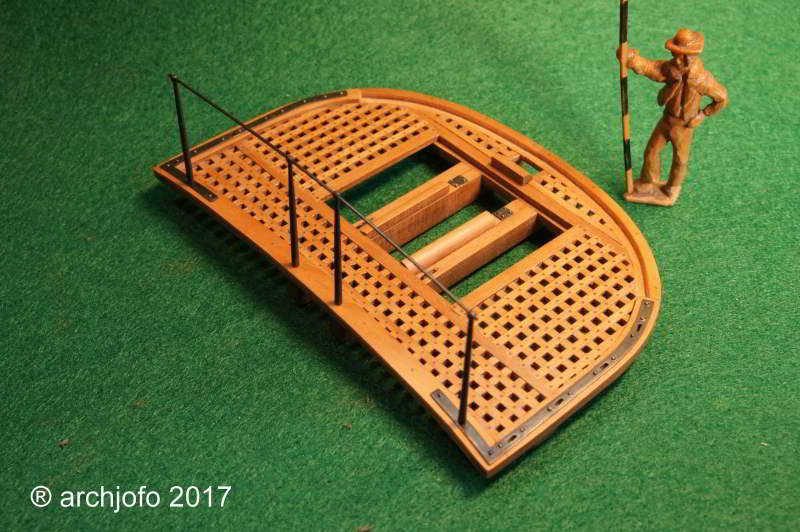
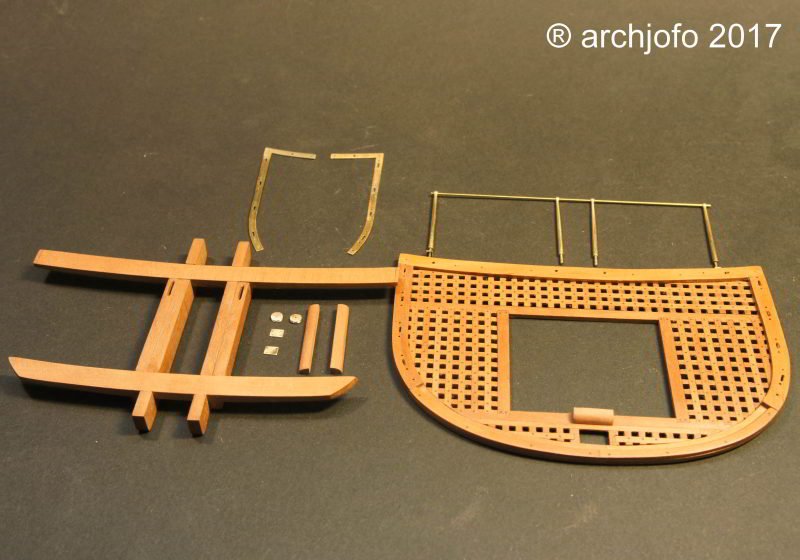
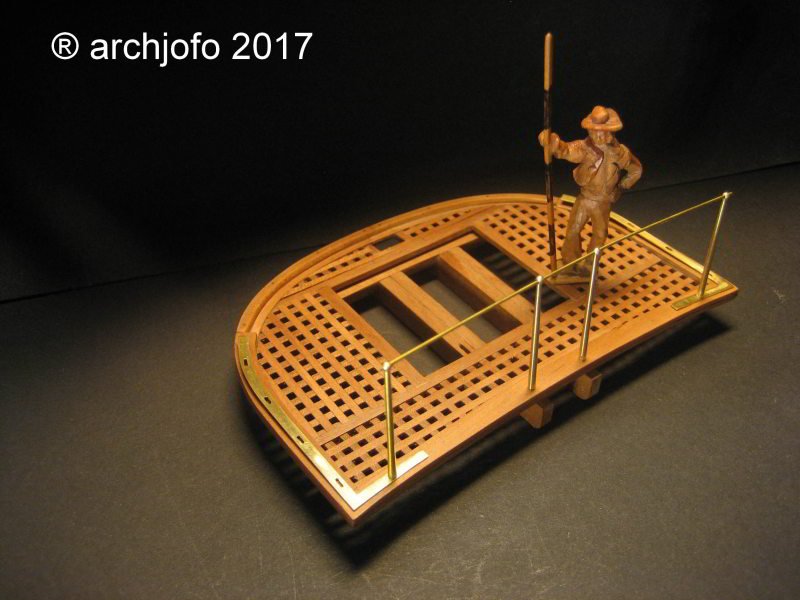
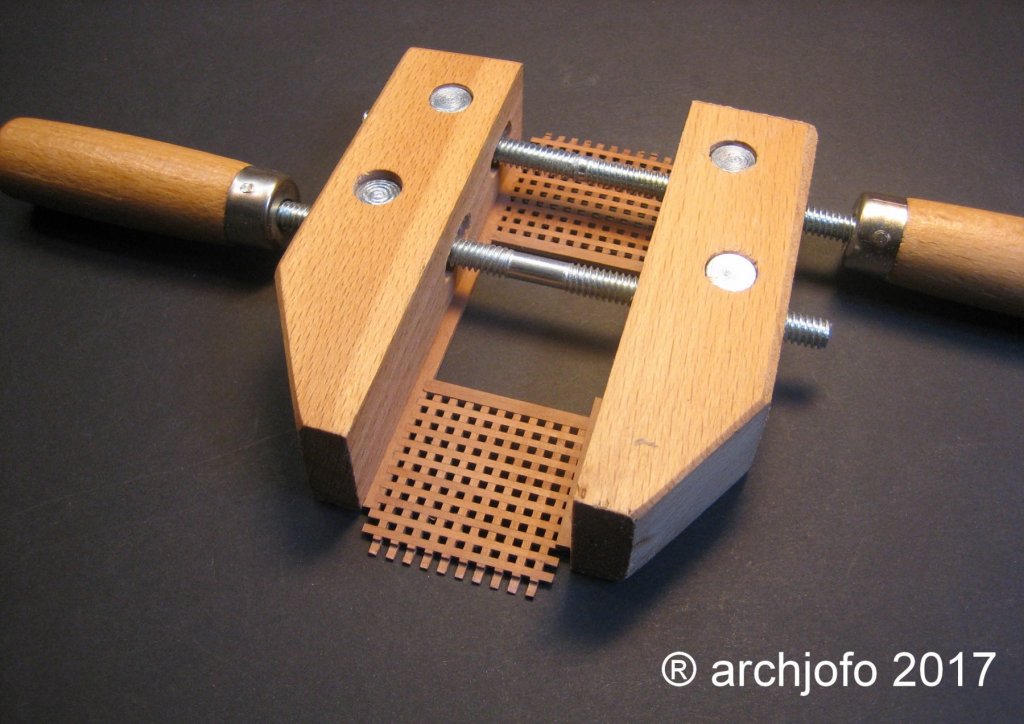
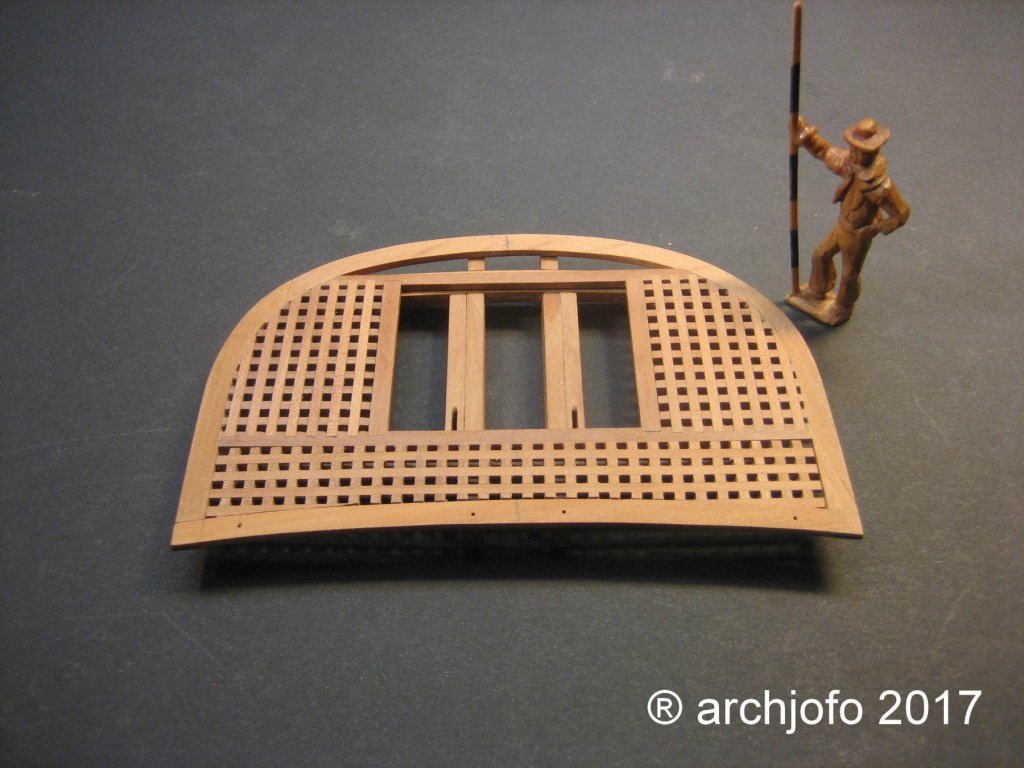
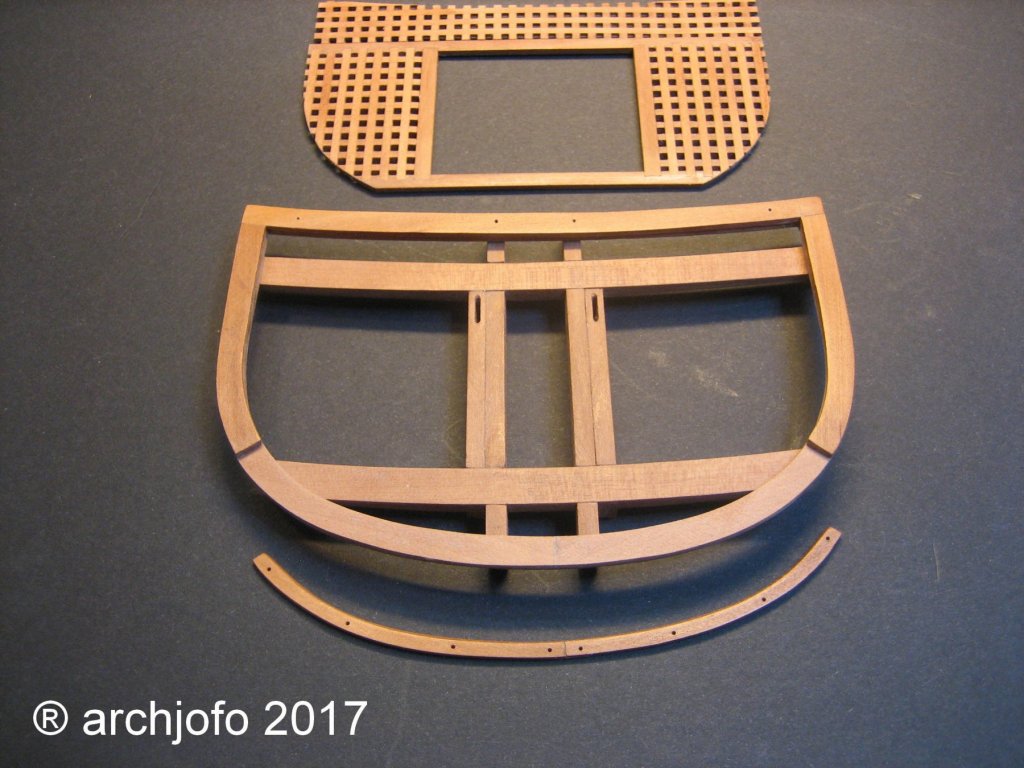
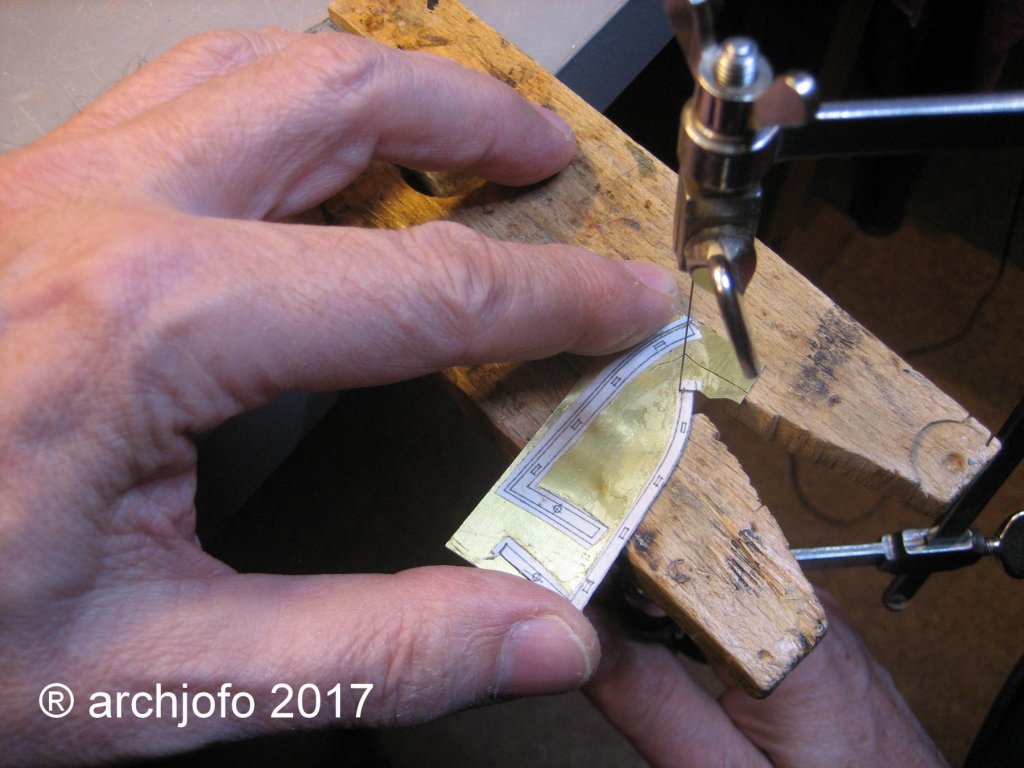
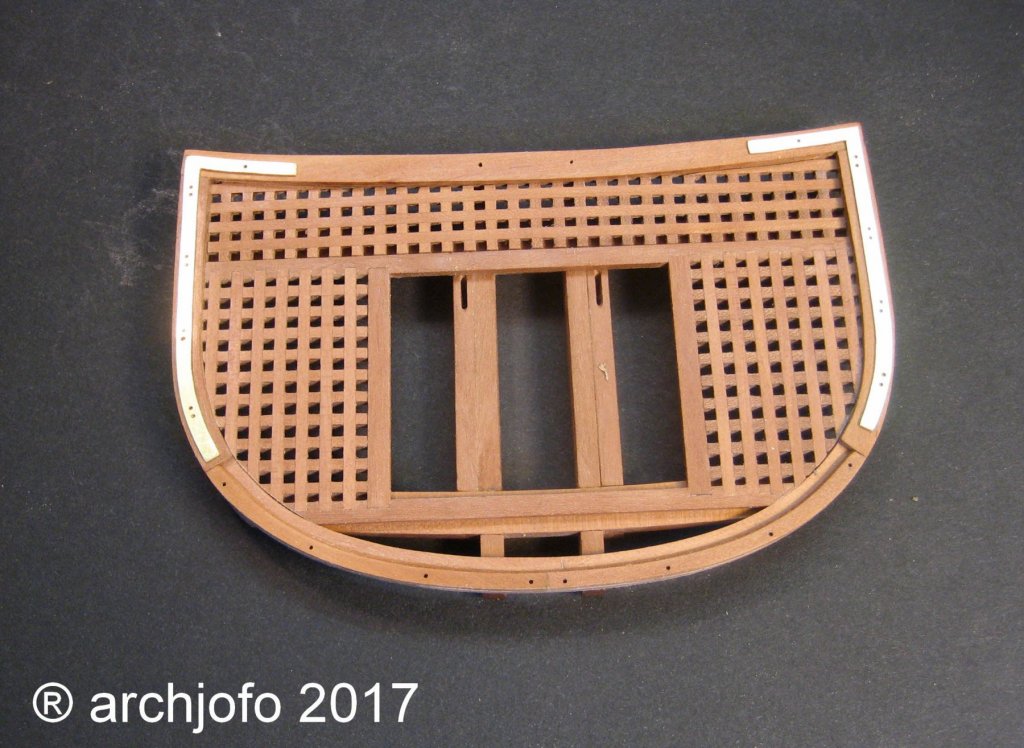
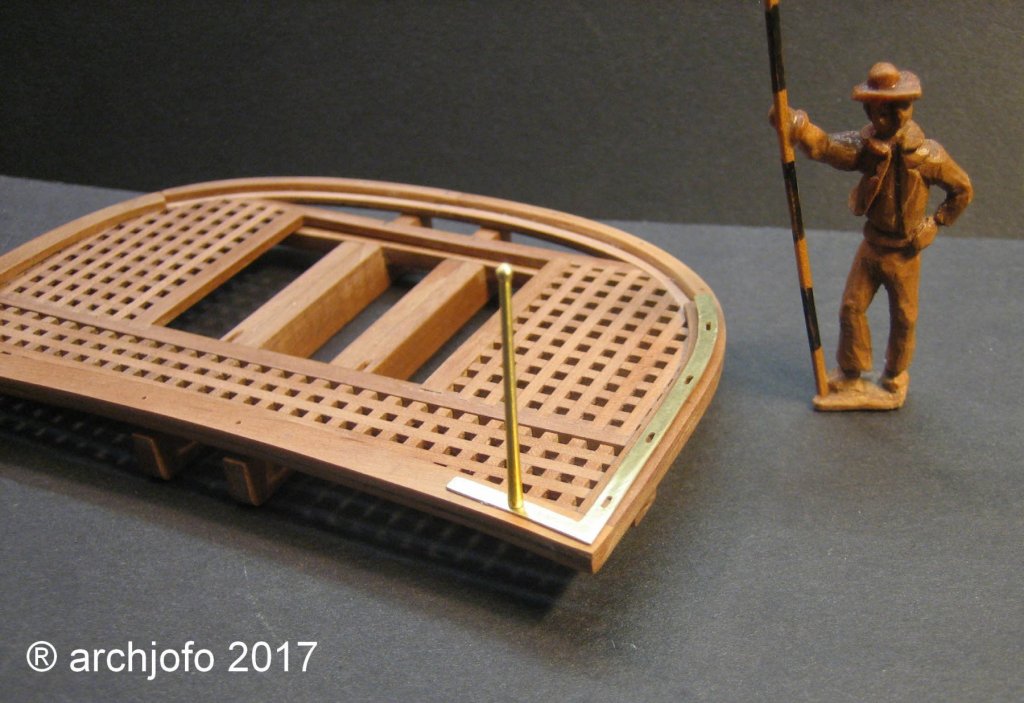
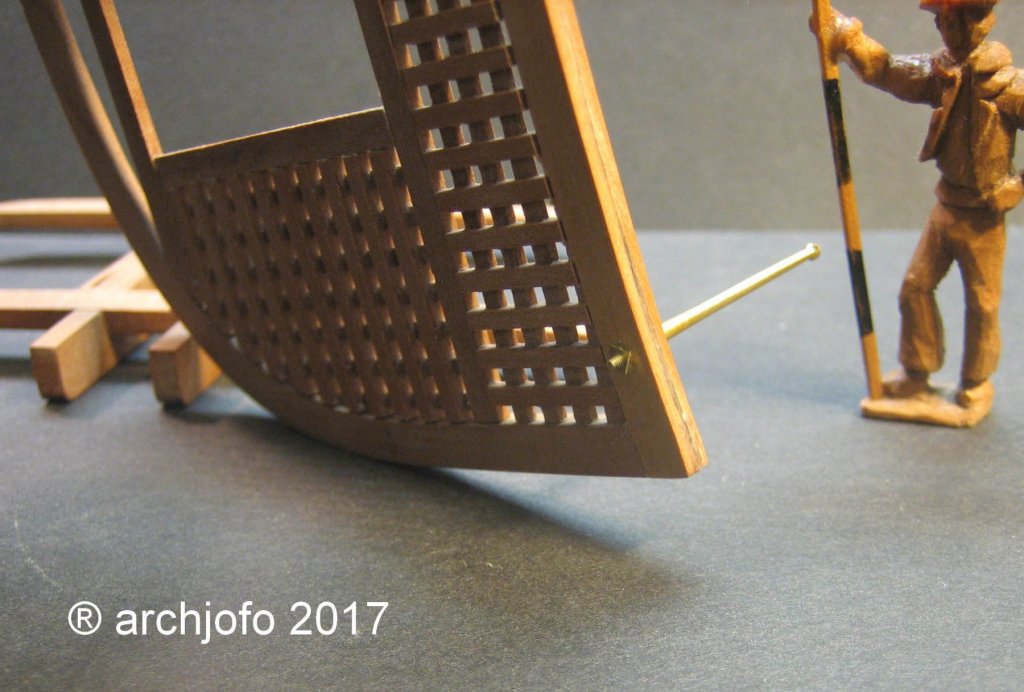
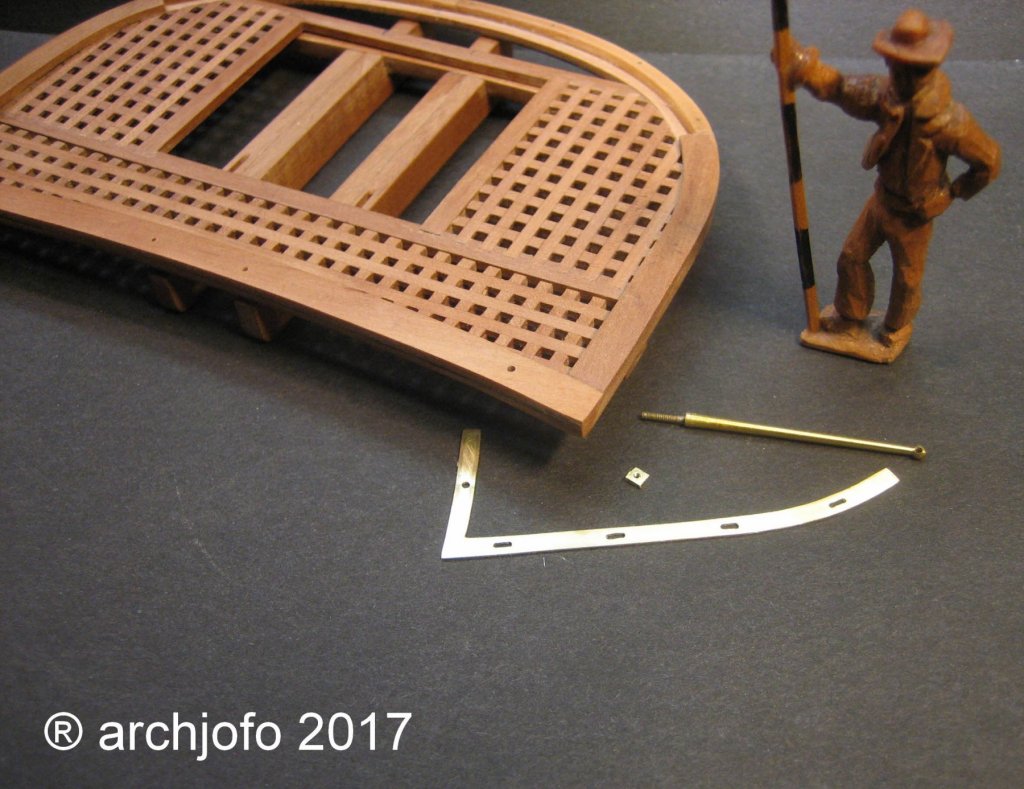
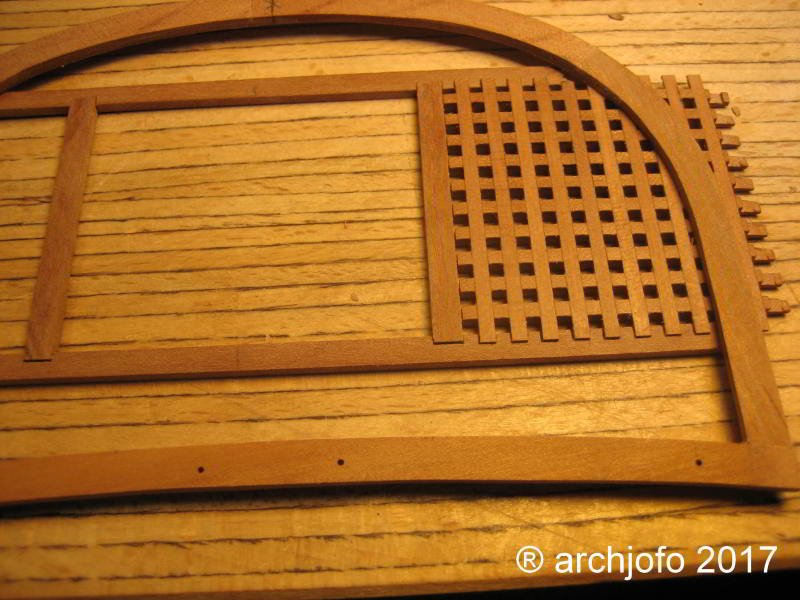
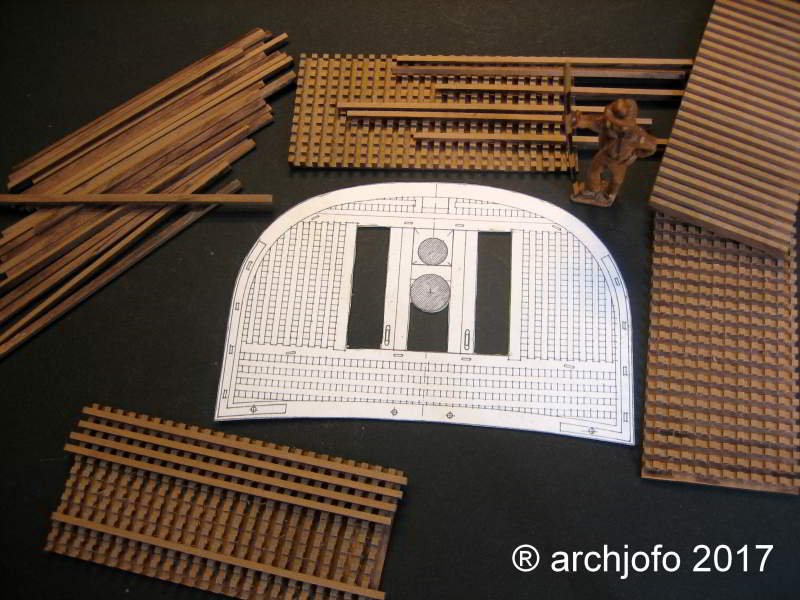
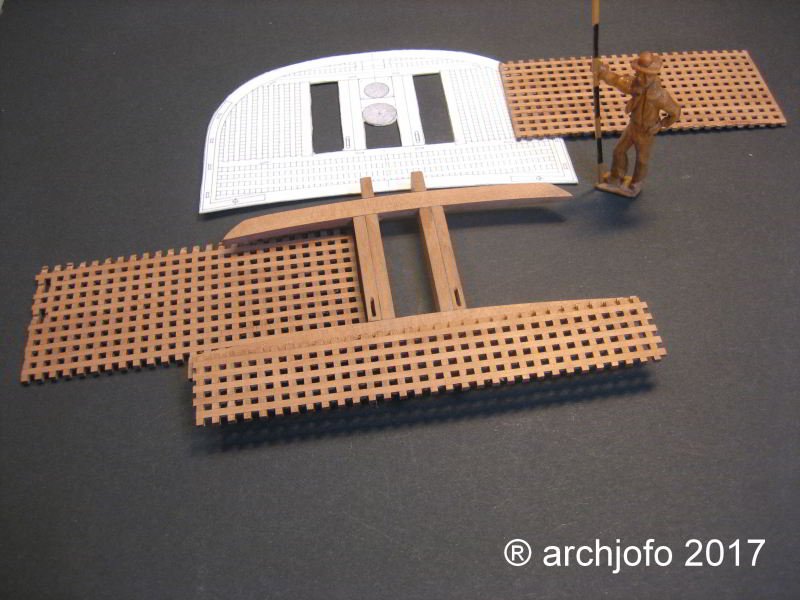
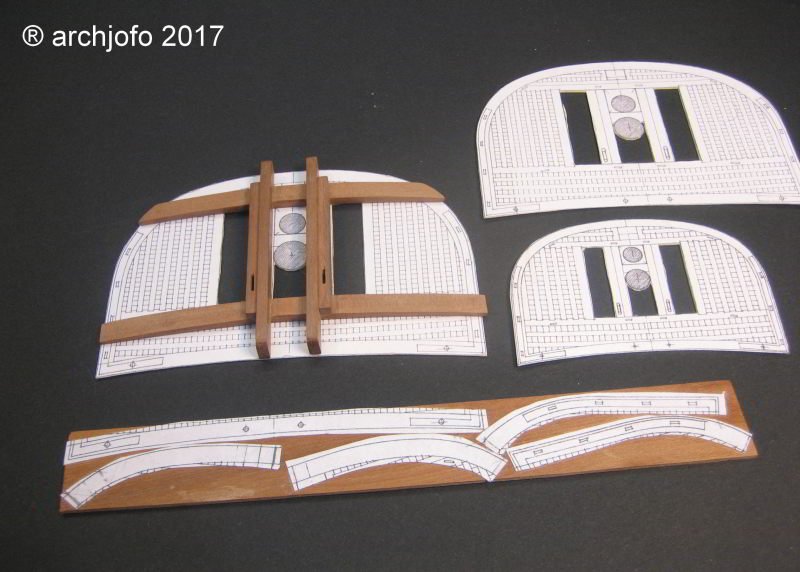
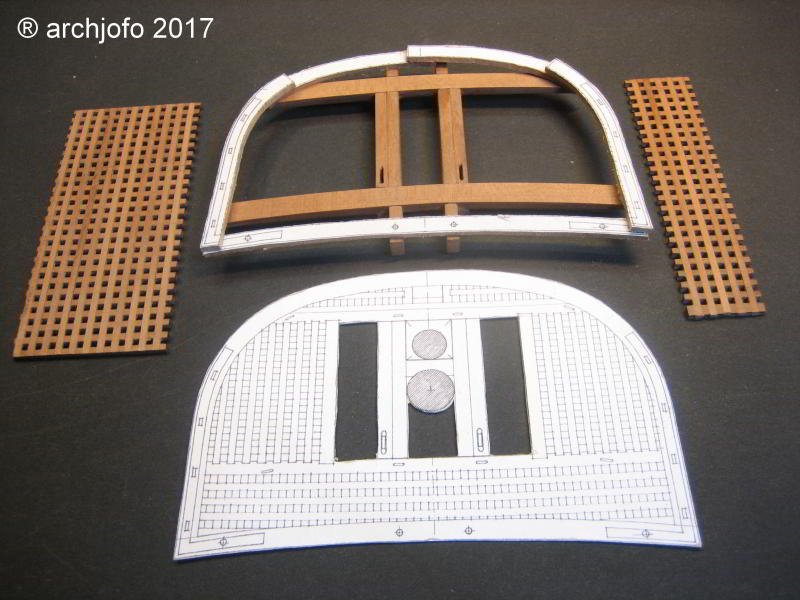
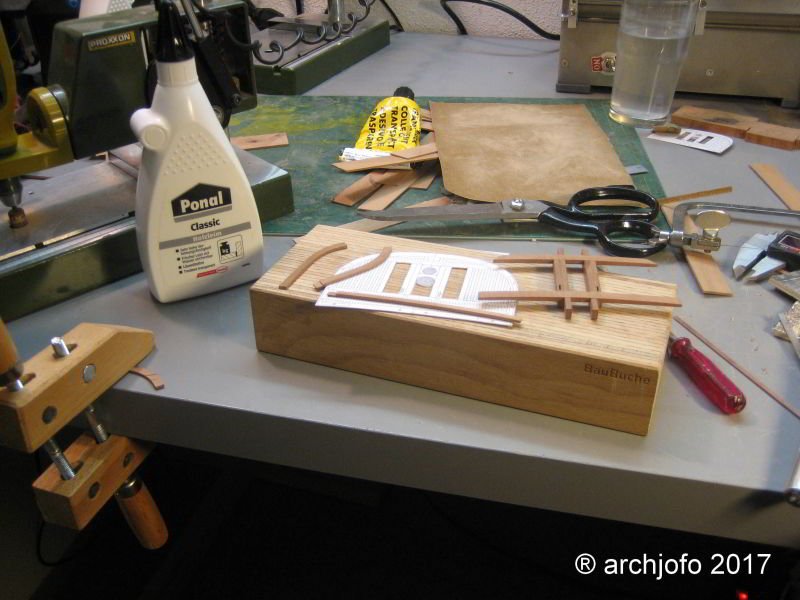
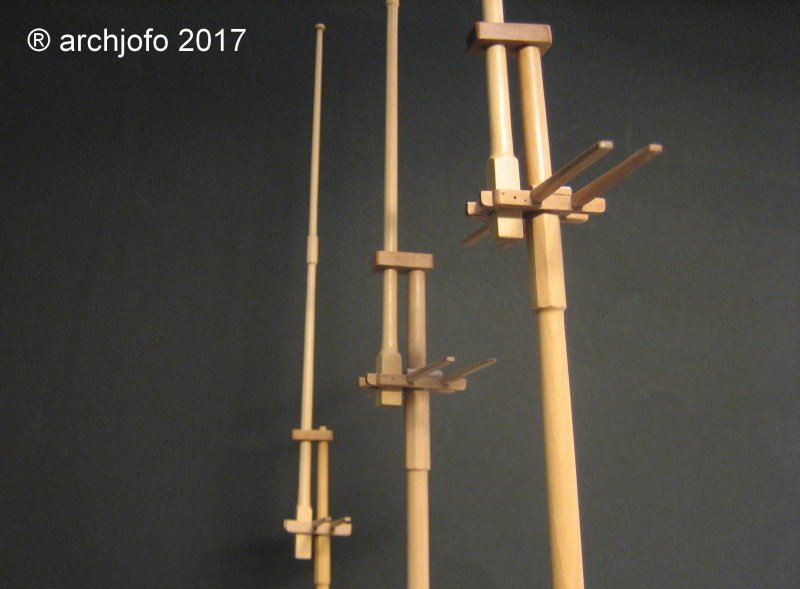
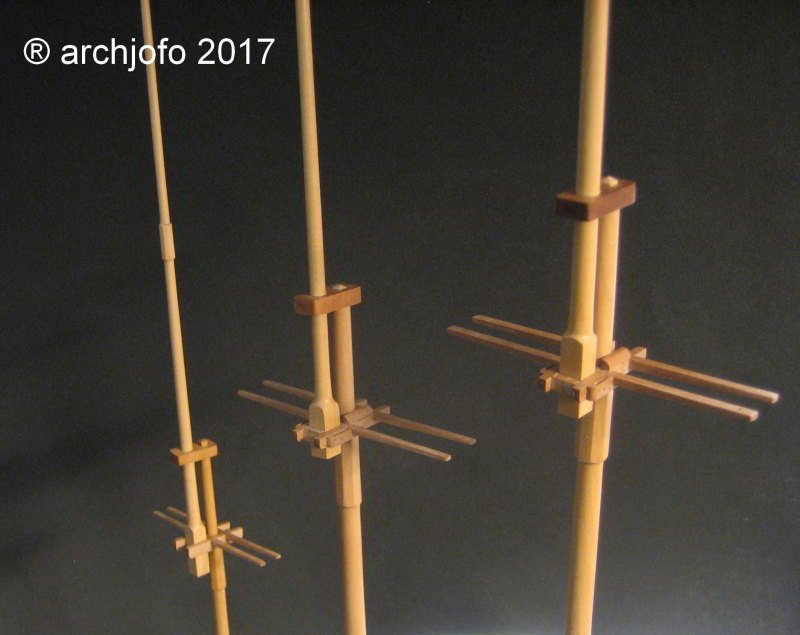
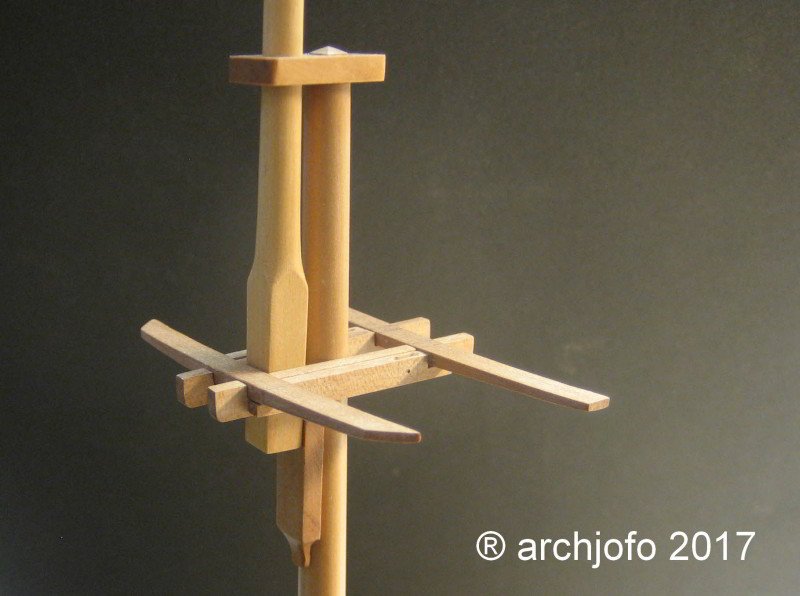
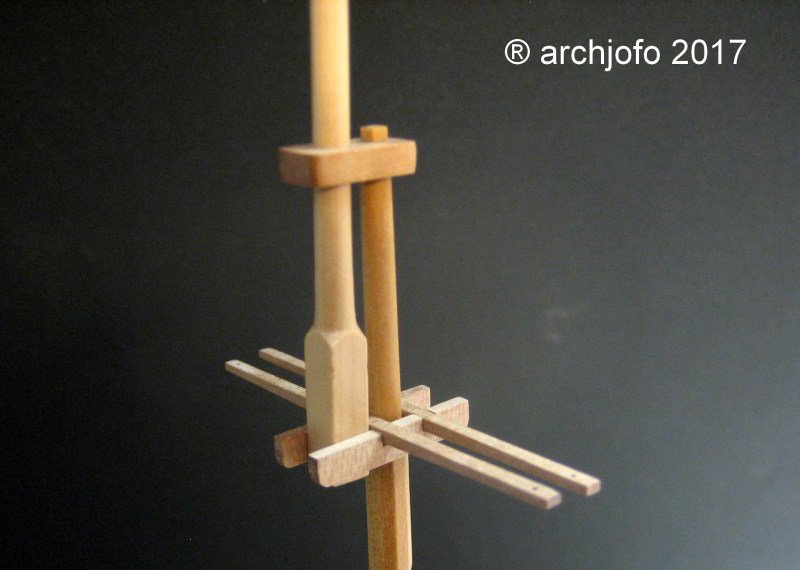
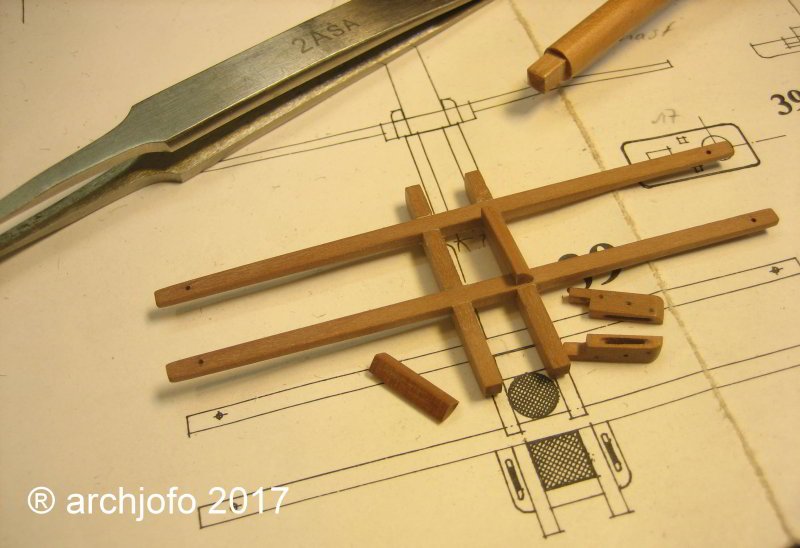
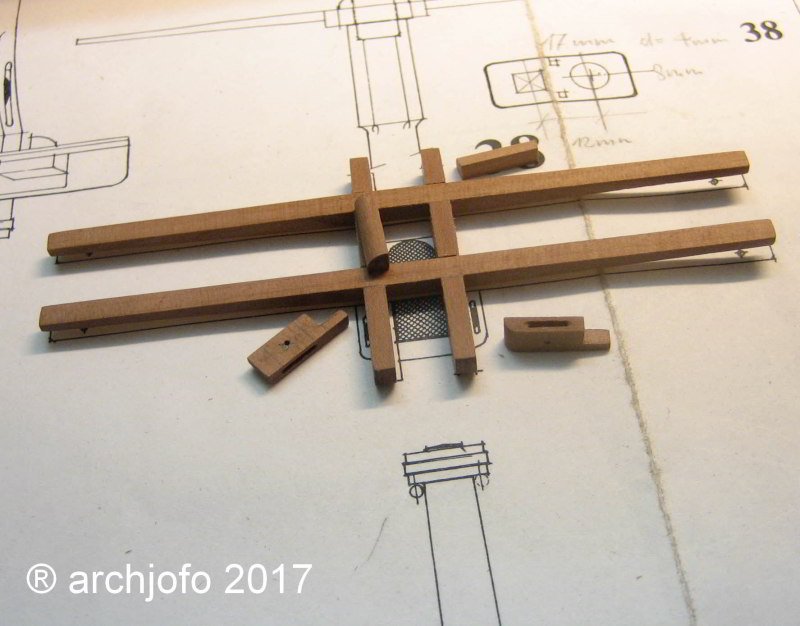
@all Many thanks for your interesst und the LIKES. Here is my interpretation of the Bolsters on the trestle trees. This gives an optimal support for the shrouds. Thanks to Dirk @Dubz for this. He gave the decisive hint. And here we continue with the top for the foremast. The following two pictures show the basic structure of a top.
-
Hello Nils, it always gives me pleasure to see in your report. A wonderful model with excellent details, what you do.
- 2,625 replies
-
- kaiser wilhelm der grosse
- passenger steamer
-
(and 1 more)
Tagged with:
-

ancre Chebece 1750 by Jeronimo - FINISHED
archjofo replied to Jeronimo's topic in - Build logs for subjects built 1501 - 1750
Hello Karl, I admire your work! -
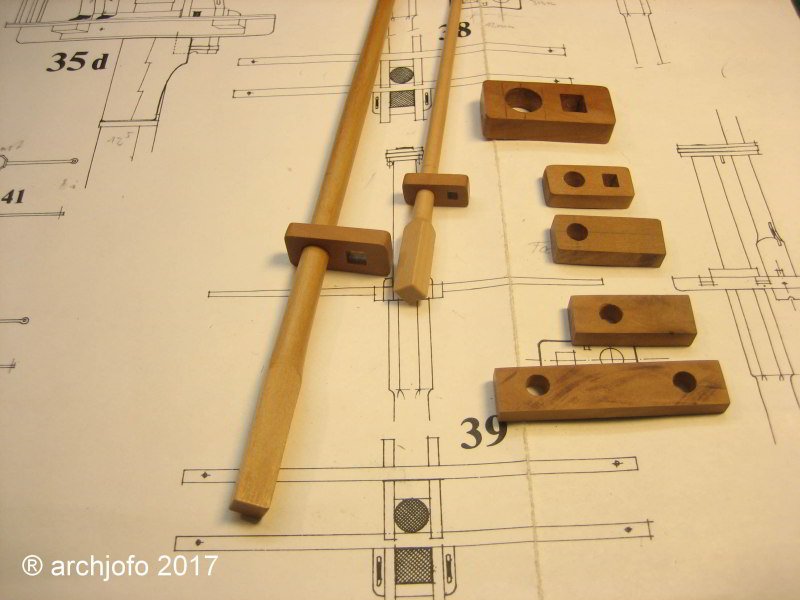
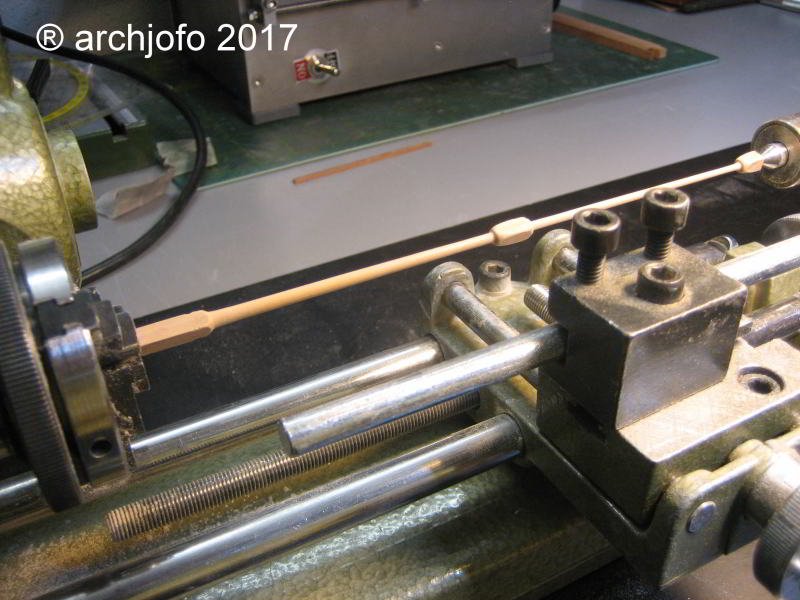
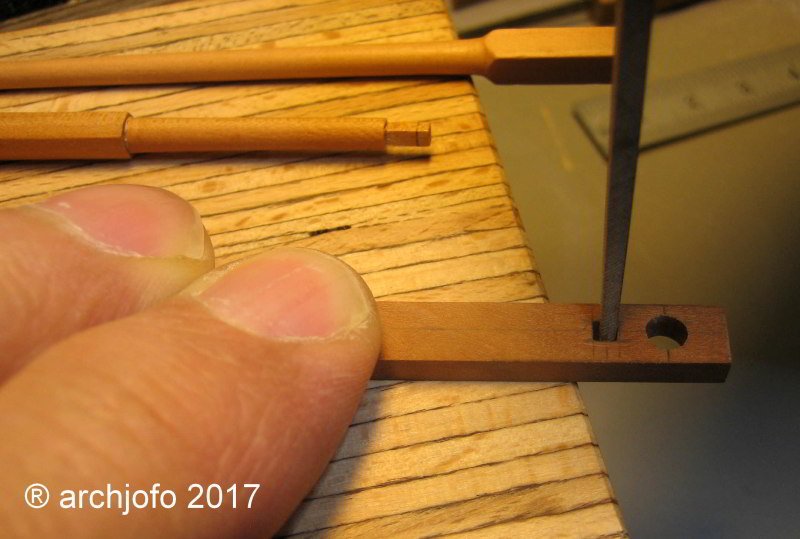
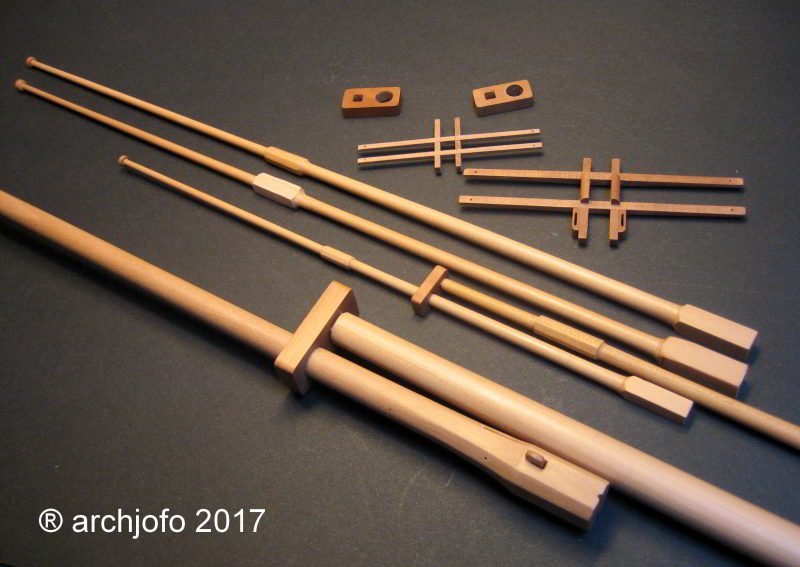
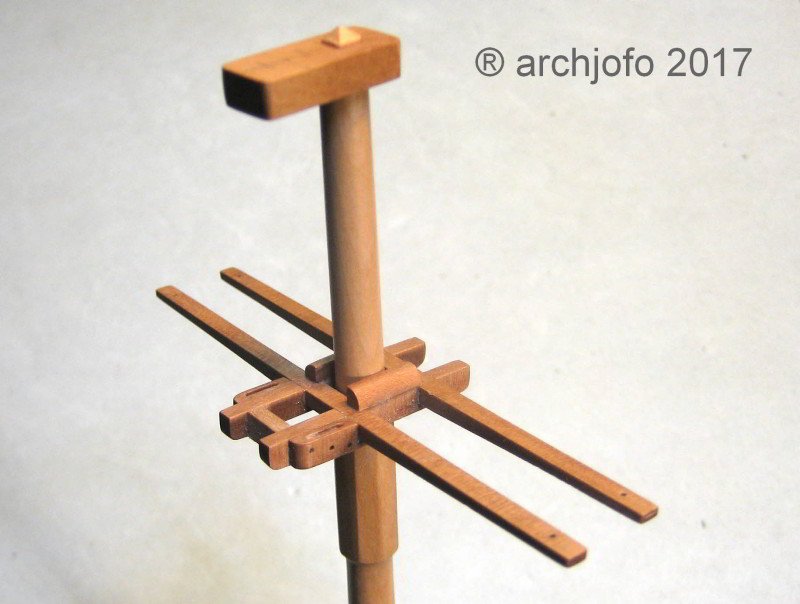
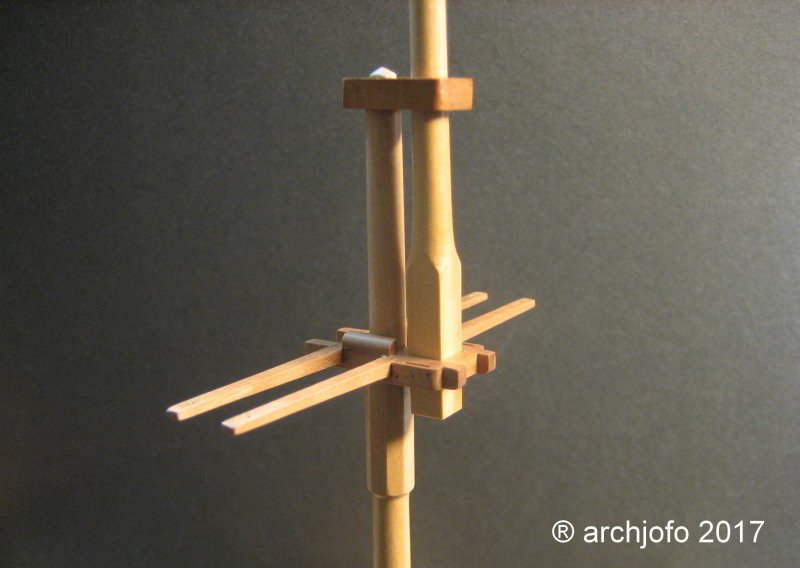
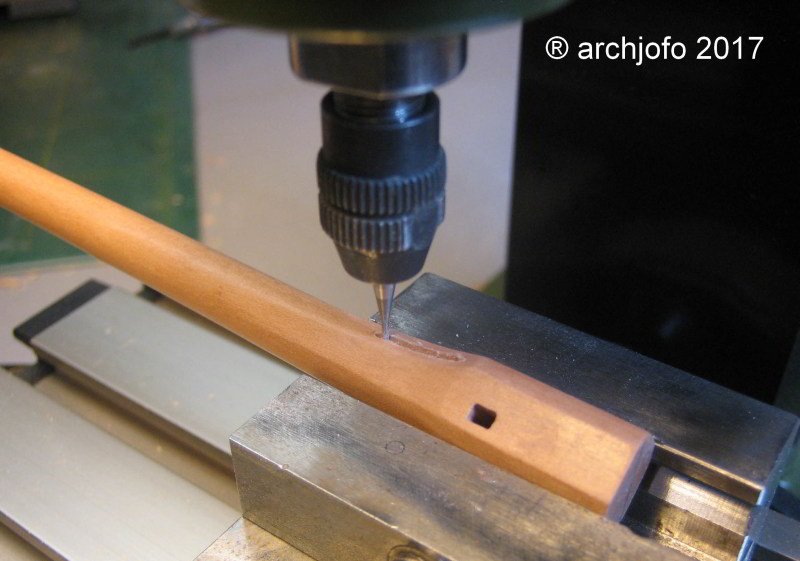
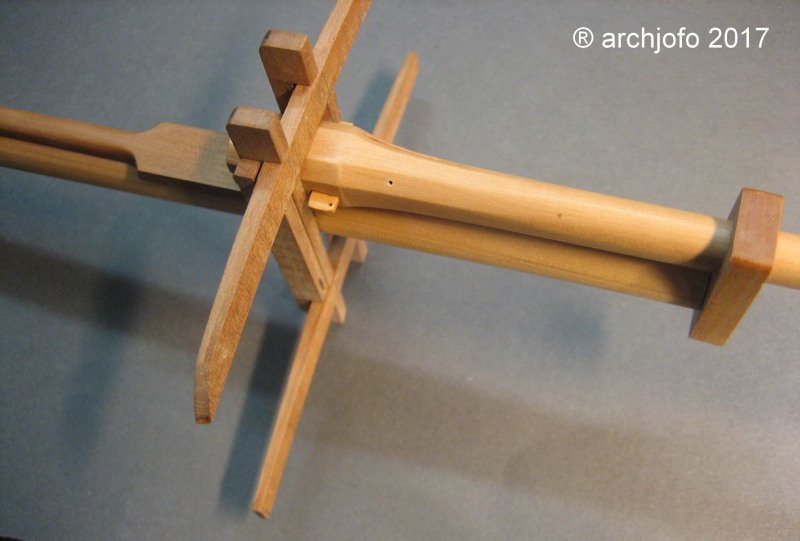
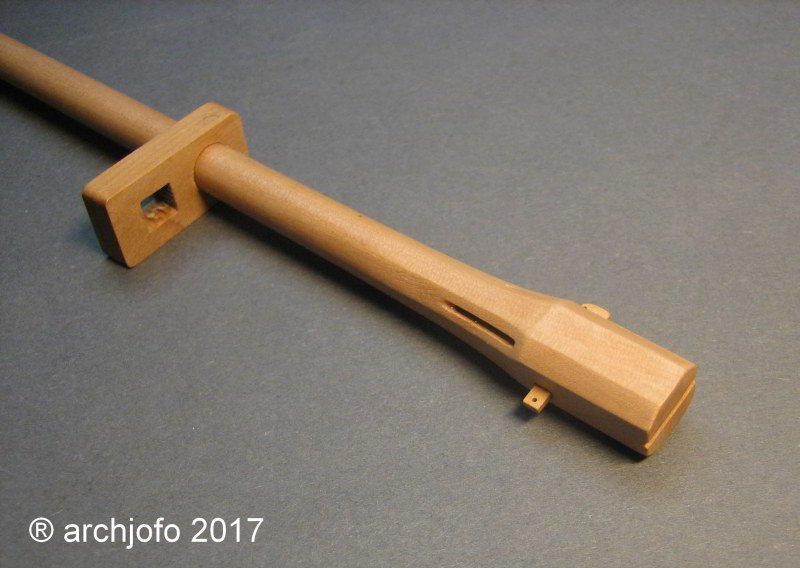
Thank you, Albert! Here is an update on the construction of the masts and topmasts. On the first picture is to see how I just made the hole for the sheave of the top ropes. The next picture shows the topmast heel with the fidhole and the fid. On the last picture, the components are provisionally composed.
-
Hello Ed, I am always enthusiastic about this great performance.
- 3,618 replies
-
- young america
- clipper
-
(and 1 more)
Tagged with:
About us
Modelshipworld - Advancing Ship Modeling through Research
SSL Secured
Your security is important for us so this Website is SSL-Secured
NRG Mailing Address
Nautical Research Guild
237 South Lincoln Street
Westmont IL, 60559-1917
Model Ship World ® and the MSW logo are Registered Trademarks, and belong to the Nautical Research Guild (United States Patent and Trademark Office: No. 6,929,264 & No. 6,929,274, registered Dec. 20, 2022)
Helpful Links
About the NRG
If you enjoy building ship models that are historically accurate as well as beautiful, then The Nautical Research Guild (NRG) is just right for you.
The Guild is a non-profit educational organization whose mission is to “Advance Ship Modeling Through Research”. We provide support to our members in their efforts to raise the quality of their model ships.
The Nautical Research Guild has published our world-renowned quarterly magazine, The Nautical Research Journal, since 1955. The pages of the Journal are full of articles by accomplished ship modelers who show you how they create those exquisite details on their models, and by maritime historians who show you the correct details to build. The Journal is available in both print and digital editions. Go to the NRG web site (www.thenrg.org) to download a complimentary digital copy of the Journal. The NRG also publishes plan sets, books and compilations of back issues of the Journal and the former Ships in Scale and Model Ship Builder magazines.


