HOLIDAY DONATION DRIVE - SUPPORT MSW - DO YOUR PART TO KEEP THIS GREAT FORUM GOING! (Only 20 donations so far - C'mon guys!)
×


sawdust
-
Posts
71 -
Joined
-
Last visited
Content Type
Profiles
Forums
Gallery
Events
Everything posted by sawdust
-
 Hello Holty, a subscription to Hubert Sicard,s site "Woooden Ship Modelling for Dummies" is definitely money well spent . Many of his tips and techniques are well illustrated with excellent photos and video clips. He continually updates and adds to his site.. As Tony has said the site is better than many books . Kip
 -
Hello David, pleased to see your excellent photographic record of your Sultana build. I will be invaluable to future Sultana builders. Thanks for sharing, Kip
-
Hello Fenous, I have the Caldercraft kit and my friend shortgrass has the Amati version so we were able to do a side by side comparision. We concluded both were excellent kits . There was nothing to choose between them regarding quality of material and drawings. The difference in the mortar sizes is due to the date . The Amati kit represents the ship when launched in 1742 and the Caldercraft kit after it was regunned in 1756 Kip
-
Hello Ship mates,Thanks for dropping by. Michael always pleased to meet up with a fellow crew member if your time permits. Kip
-
Question on false seizing / zip seizing
sawdust replied to slagoon's topic in Masting, rigging and sails
Hello Sarah , although I used Brass because I had some , there is no reason why you couldnt use any sheet metal. A scrap from a tin can would suffice on a short term basis. Kip -
Question on false seizing / zip seizing
sawdust replied to slagoon's topic in Masting, rigging and sails
Hello Sarah, I use Hubert's technique for zip seizing and after a number of trials and errors suggest the following:- 1. Use drill shanks as the formers for creating your zip seizings. 2. The metal faced hardwood strips are essential for successful creation of the seizings . Debur the hole in the metal strip before use. 3. Sand the shank of the drill . Burs may have been created in its earlier use . I also roundoff the very end of the shank to reduce the chances snagging the seizing when removing it from the shank . 4. When creating the seizings I maintain tension on thread by attaching weight to the free end. 5. I use my pair of strips to compress the seizing befo before applying. 6. I apply glue sparingly using the end of a short length of fine wire. I use Loctite thin CA. Avoid excess glue. 7. After a few seconds i push the seizing of the shank using the metalfaced hardwood strip. with 8.I no longer use Wd40 or Wax to lbricate the shank as i found it sometimes contaminated the glue causing the seizing to unravel. I frequently clean the drill shank to avoid any glue build up. 9. I allow my seizings to set for tenty four hours before use. 10. I usually make a whole bunch of seizings at a time and like Hubert store them in a well organised container. I hope this is of use to you. Kip -
Hello Robbyn, It ia always a joy to rediscover something that was thought to be gone forever. My own frugality would not permit me to throw the old girl away. She deserves a second chance.. If the wood seems excessivel dry amd brittle try rehydrating it by wrapping the strip wood up in very damp towels and then placing the package in a sealed garbage bag for a few days. i look forward to seeing a build log on this one. Kip
-
Hello Russ it is great to see your build log almost completely intact . A great inspiration to both old and new members. I must admit in this last week its like walking around after a disaster and experiencing a sense of relief when one encounters a familiar face. Thank you, Kip
-
Hello Pete i am really pleased to see you have been able to almost completely salvage and restart your build log, How fortunate you are to have acess to a good supply of cherry. Old files for new cherry seems like a really good deal. I am looking forward to seeing everything "jigged up". the forum is quickly coming back to life thank goodness. Thanks for sharing And also for dropping in on me, Kip
-
Hello Russ and Aldo thanks for loooking in. I will soon be needing help from the rigging fairies. I must pay a visit to Cathedral Grove to invoke their assistance. Kip
-
Hello Dave, it is good to seee the Mars is underway again. I like your new avatar. Take care, Kip
-
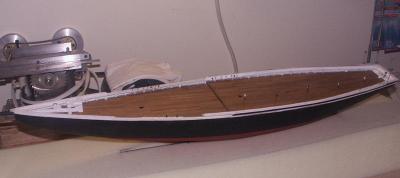
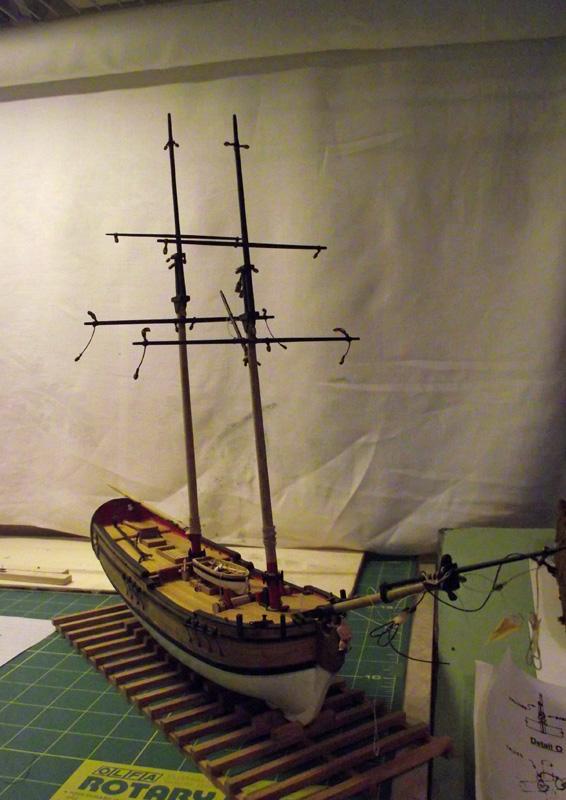
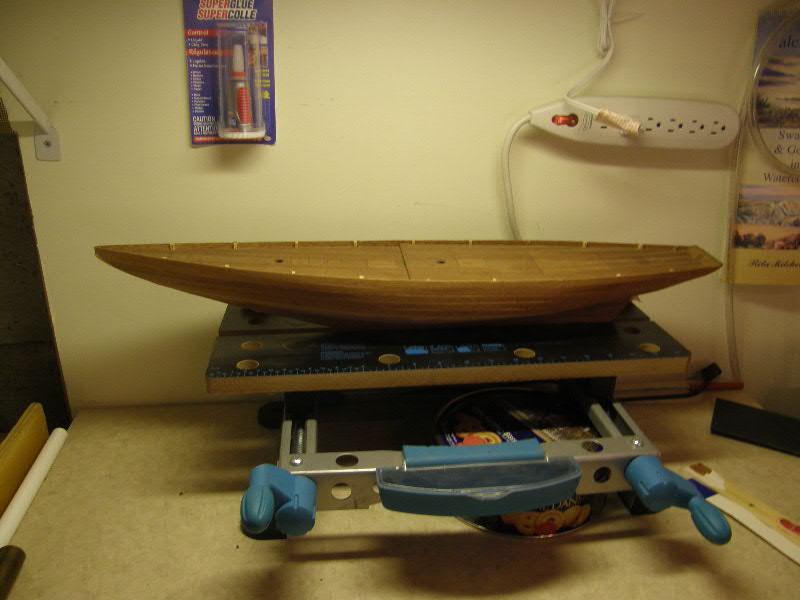
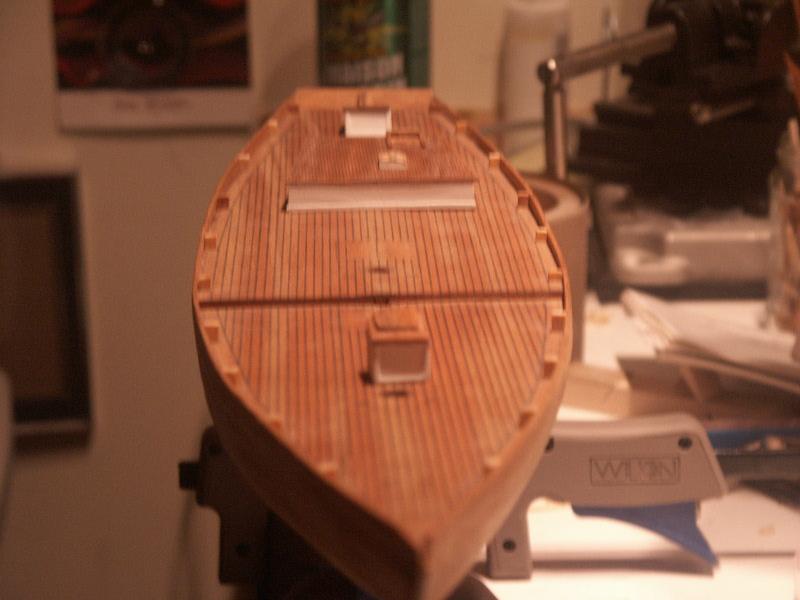
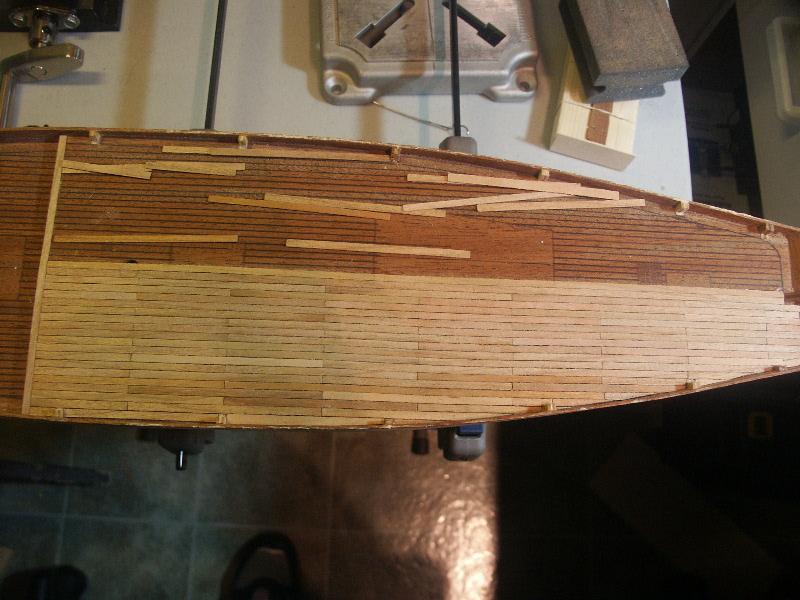
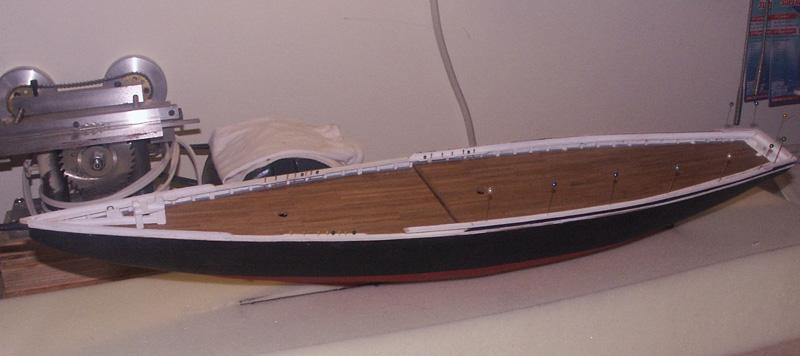
I guess the sooner I restart my Sultana the better. Once we were quite a fleet but now rhere are none left. In scanning through photos this one came to hand. It shows the hull with spars temporarily pinned in place . and is as good aplace as any to begin. Kip (aka Sawdust)

-
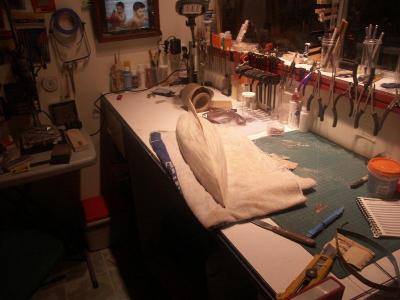
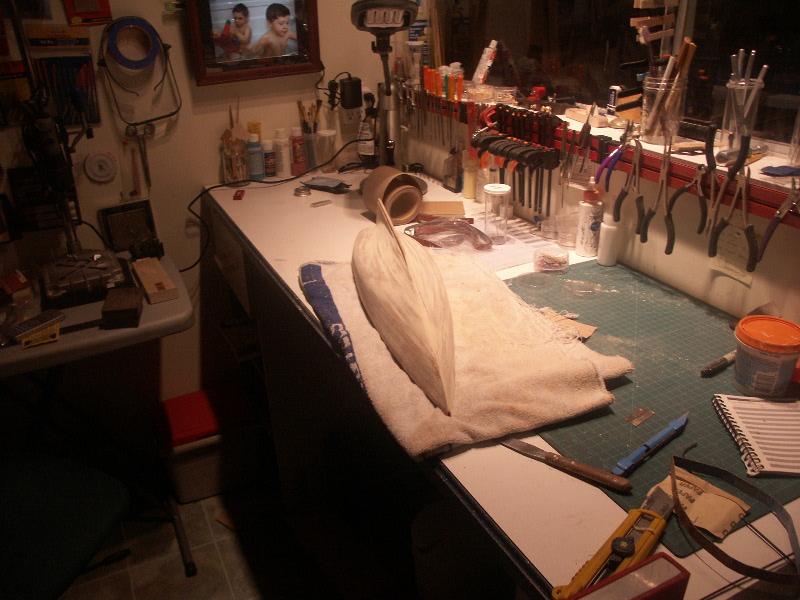
This was a project begun many, many years ago (pre internet) on the other side of Canada. After my initial enthusiasm I begun to realise that this kit represented more of a Scandinavian fantasy of a Grand banks choomer than the real Bluenose. Discouraged I lost interest and with the pressures of career and family my model ship building was put on hold. "Old Blue" accompanied me to Vancouver Island when I retired and eventually made its way on to the bench. if I was to resurrect this project I first had to accept the inaccuracies of the kit and my ability to remedy them. Having grown upin post war UK i learnt frugality at an early age and nothing is thrown away, Maybe rebuilt or recycled. I even save sawdust and shavingsand have put them to good use. Now my build log is lost I will repost some earlier photos and huopefully "Old Blue" like the Phoenix will rise from the ashes. I am enjoying the journey and not worried about the destination, Kip (aka sawdust)