-
Posts
712 -
Joined
-
Last visited
Content Type
Profiles
Forums
Gallery
Events
Everything posted by rvchima
-
Trevor, Thank you so much for your help with this question. It seems like I can't go wrong no matter where I position the staysail. I am not a sailor but I do enjoy making models of beautiful ships. I usually rely on a kit with good plans and instructions to get the details right. This is not one of those kits, so your help is greatly appreciated.
-
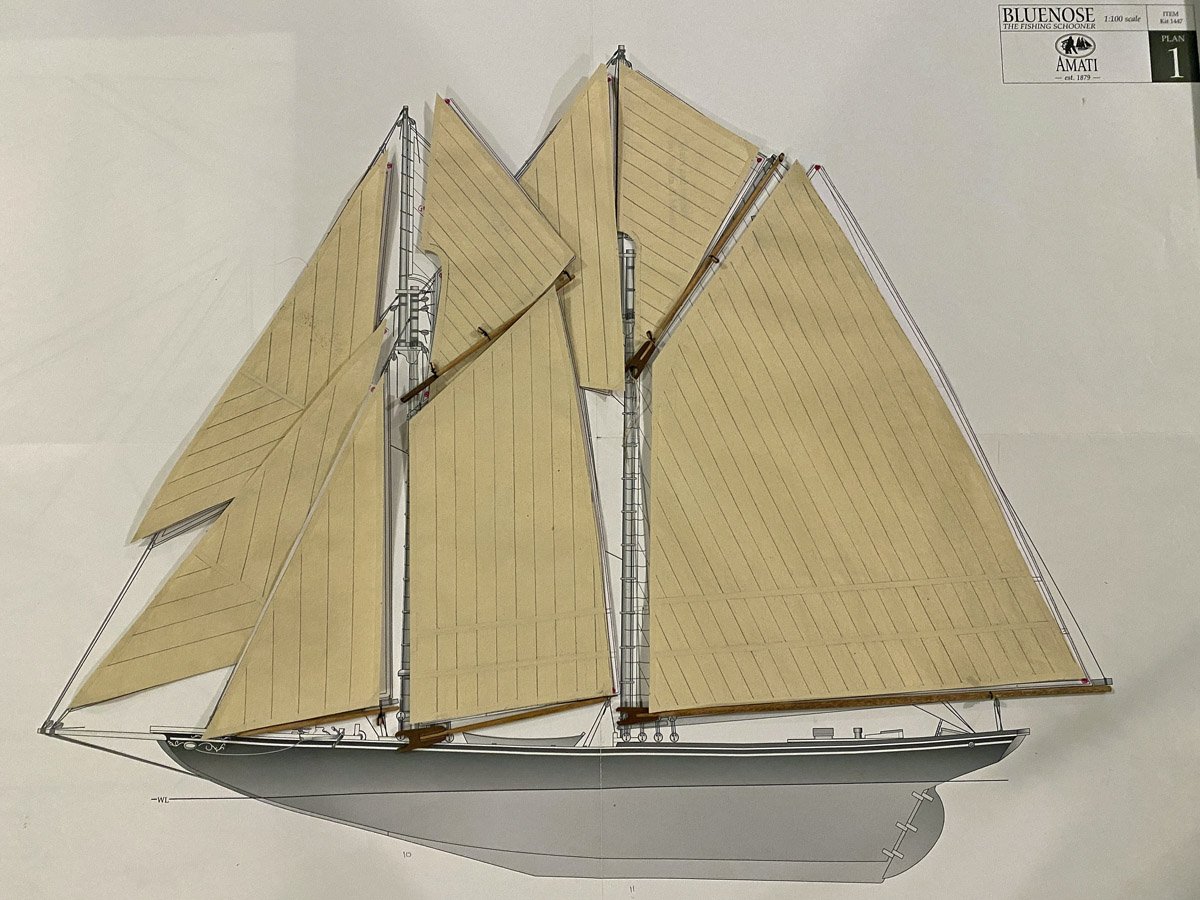
Location of Staysail & Gaff Topsail I am behind on posts but ahead on construction, and have run into a question of where to rig the Fisherman's staysail relative to the gaff topsail & foresail. The instructions by Amati below show the staysail between the foresail and the gaff topsail. This is impossible because those two are rigged together with a clew line. Another Amati error. The two following images from Jensen show the staysail rigged inside the gaff topsail & foresail. The two following images from EdKu20 and Model Shipways online show the staysail rigged outside the gaff topsail & foresail. Rigging the staysail outside the other two seems more intuitive. It leaves the staysail free to fill as it wants to without pushing the other sails. But I sure could use some advice on this.
-
Trevor and Phil, Thank you for the excellent explanations. I suspected that was the case, but with no experience sailing I wasn't sure. Now I understand why many blocks are attached with removable hooks. And why a race on a triangular course would be so difficult.
-
Rigging Question Jensen's book shows foretopmast and maintopmast backstays, which of course are not shown on the Amati plans. Jensen mentions different locations for securing these backstays when they are or are not setup. When would they be used? They would seriously limit the motion of the fore and main booms. Is that important, or do the booms not have to move that much? I'll admit to complete ignorance on this question.
-
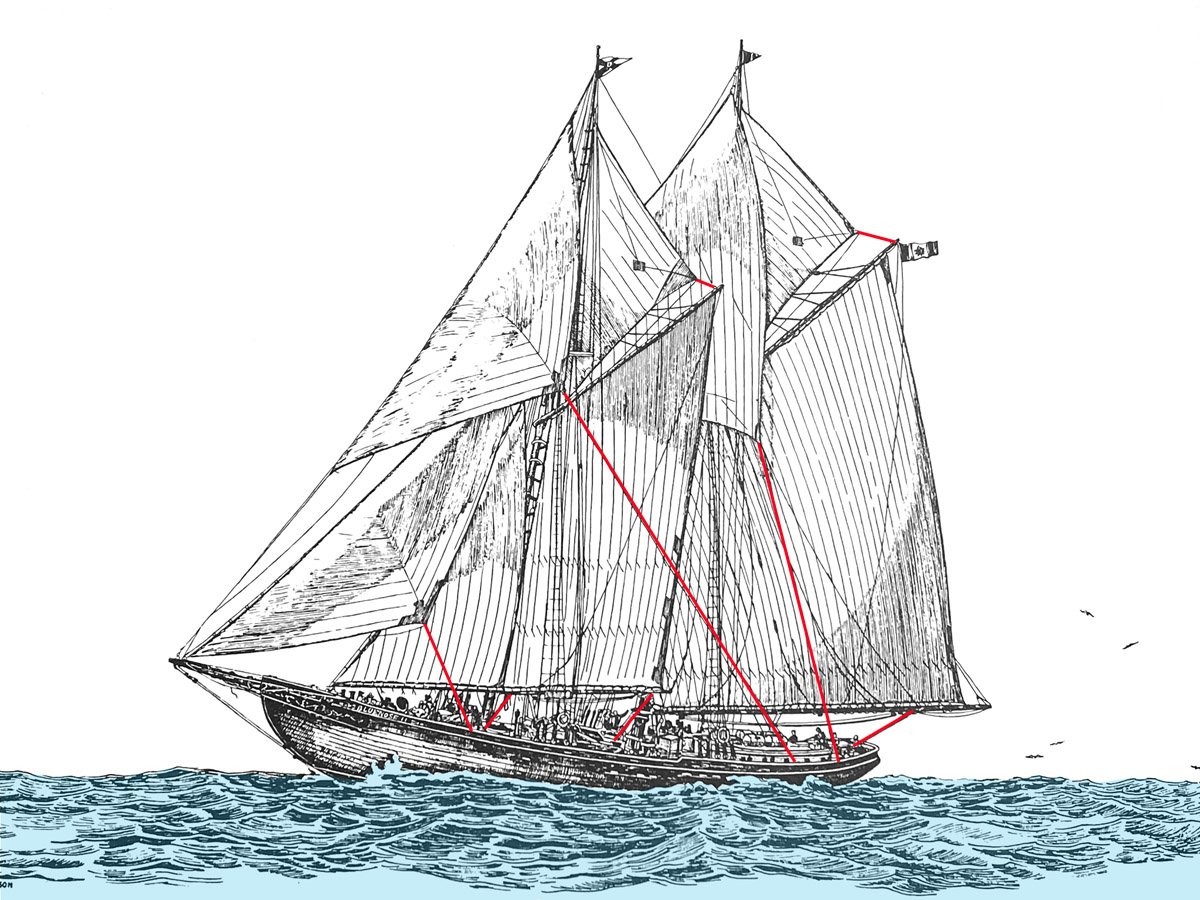
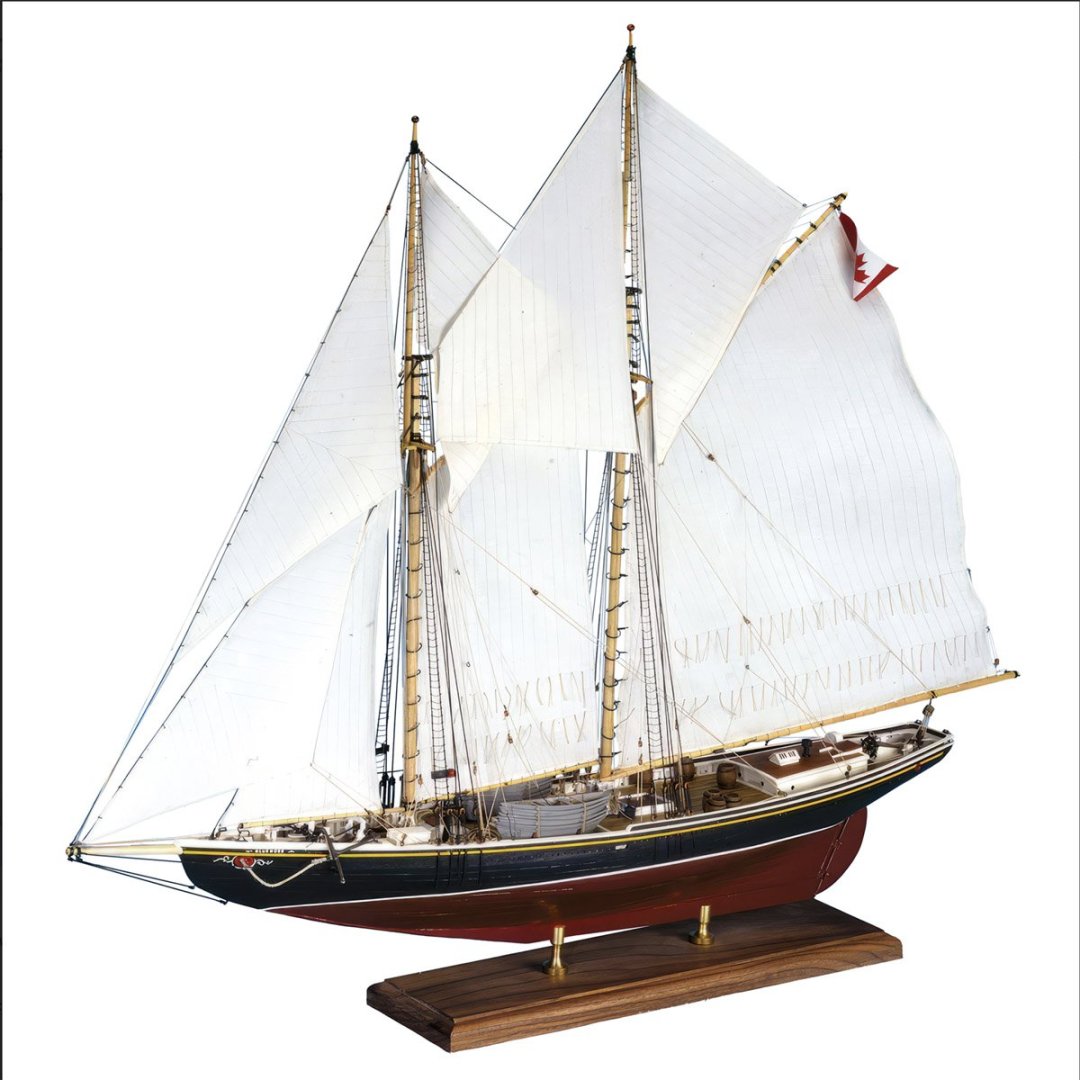
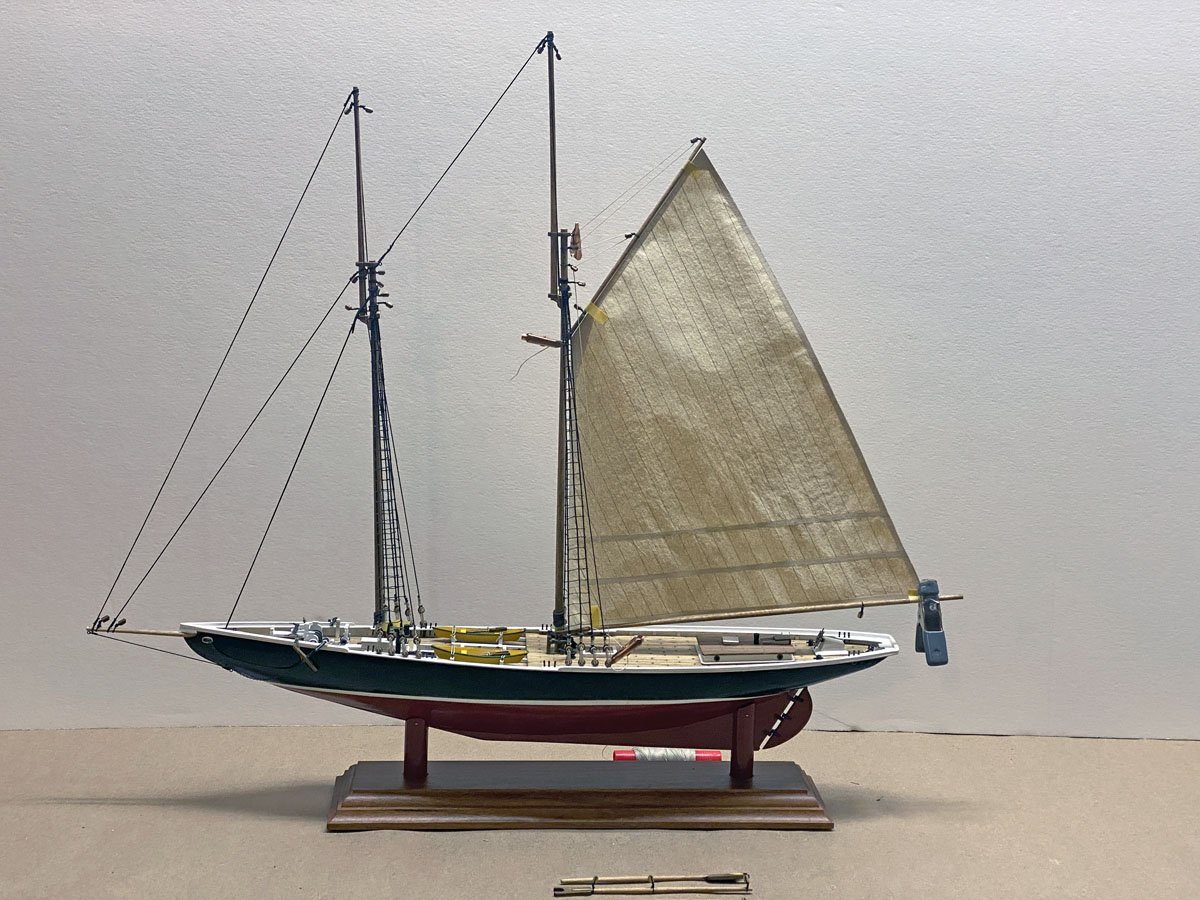
Mainsail Complete - 110 days, 211 hours I'm trying to include some of the details that Amati left out of this kit. I am using Jenson's book as my main reference. His drawings show details of the rigging but aren't always clear where lines are belayed. I'm pretty much stuck to using belaying pins that are already installed and don't look like they will be needed later. The scale is small enough that I've had to cheat a little. I've used single blocks on many lines that should go through double blocks. Going to need some really strong sailors. Here' the ship with the mainsail installed. In the next photo I've highlighted in red everything that is not included in the Amati kit. Quite a lot actually. And two detail shots.
-
Hi David, For the reef lines: Punch the holes in the sail first with a fine needle. Attach 1/2" steel rulers to each side of the sail with a spring clamp. Starting near the clamp, sew the thread around a ruler, through the sail, then repeat on the other side. At this point the threads will be too loose to cut the bottoms without glue. Put a drop of dilute Elmer's glue, maybe 40% water, on each hole with a fine brush. Flip the sail and glue the other side. By now the glue is already getting tacky. Lay the sail on the bench, hold the tops of the threads to the ruler with a finger, and cut the bottoms with with a sharp razor. Lift the ruler out when the bottoms are all cut. Straighten the threads while the glue is still tacky enough to hold them in place. Flip the sail over, do the other side, and trim any long threads to length. I experimented a lot on scraps to get this to work.
-
Better Baggy Wrinkles (BBWs?) The answer was in front of me all along in the rag that I tried to use. Instead of using the roping from the edge I cut strips of the rag itself along the stitch lines. They are nice and fuzzy, the width is perfect, they don't unravel, and they are easily stitched along the lines. Many years ago we had a young Amish woman who cleaned for us. She gave us a huge stack of these rags, and as I recall she bought them in the automotive department at Walmart. Thank you Ada.
-
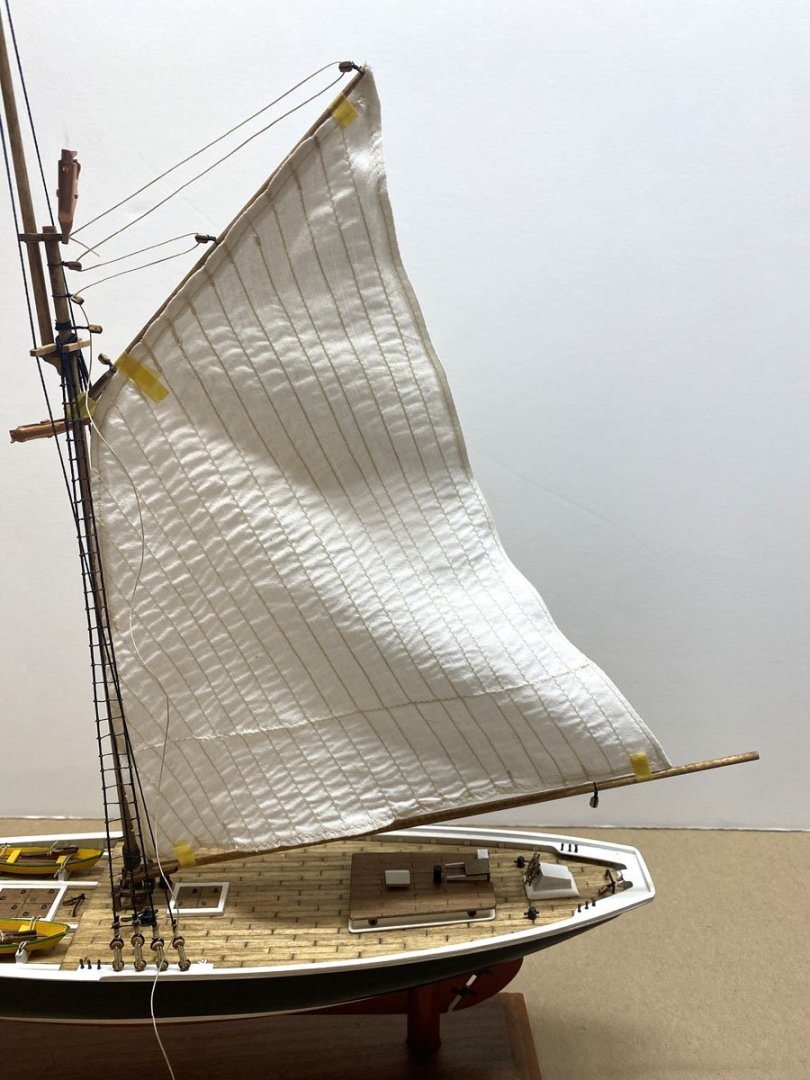
Sails Redrawn and Reefing Lines Added I redrew the sails that had incorrect cloth seams, and added reefing lines to the fore and main sails. I made the reefing lines by clamping 1/2" wide stainless rulers to each side of the sail, then stitched some cotton thread side-to-side through the sail and around the rulers. I dabbed some thinned white glue on each hole, then carefully cut the bottom of each stitch with a new blade before the glue dried. I barely had time to clean the glue off my rulers. I then stitched the boom and gaff to the mainsail. I really wanted to attach the mainsail, but as noted in the previous post, there are a lot more things to attach to it first. I plan to attach the main boom lifts, and they are padded with baggy wrinkles (BWs) to prevent the sail from chafing against the lines. There are lots of questions on MSW about how to make BWs, but not a lot of answers. I tried making some by cutting the edge roping off a rag that we had. It was surprisingly hard to thread a needle through the pieces - you may notice some blood on one or two. I wasn't sure if I liked them so I tried a technique recommended by PopJack. Basically he tied some line with a running stitch while including some wool fiber. I used a crochet hook and omitted the wool, but ended up with a similar result. The photo shows the rag with some edging removed, a line with edging used as BWs, and a line with crocheted BWs. The BWs are all loose on the lines and can be re-positioned, trimmed, and glued later. I think I like the rag BWs best.
-
Jenson's book is showing me so many things the Amati kit omitted that it's making everything a lot harder at the moment. No upper shrouds or ratlines. No upper mast backstays. No halyards. Incomplete rigging for the booms. No boom lifts. I added the upper shrouds and ratlines, which was difficult because of other lines in the way. But I can't decide what else to add and what to just give up on.
-
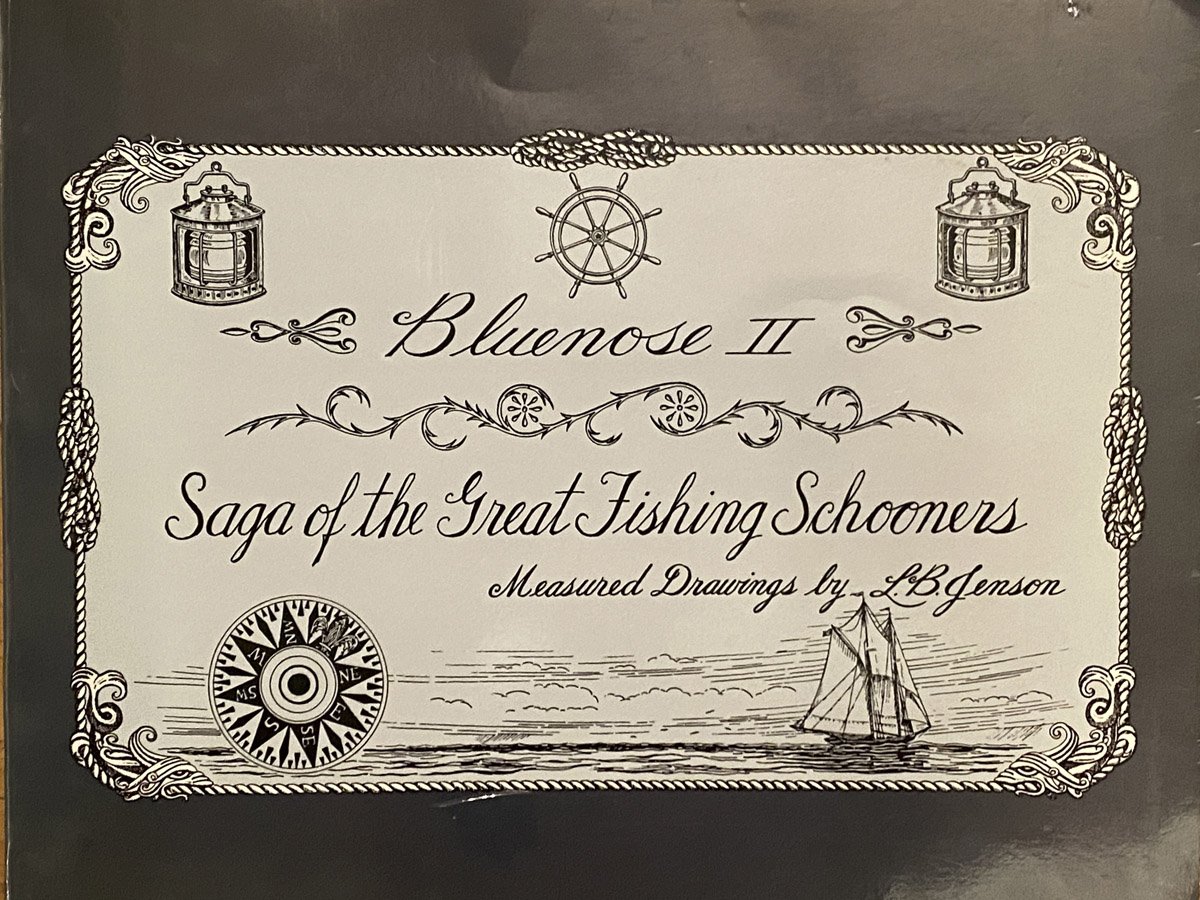
Bluenose II, Saga of the Great Fishing Schooner by L. B. Jensen I finally bought a good reference book for the Bluenose, at least Bluenose 2.0. The cover is deceptive - the book measures 11" x 14". It is entirely hand drawn and lettered, and is filled with excellent detailed drawings of the ship. Now I can see what details I've already got wrong. So what's wrong with this picture? If you guessed that the seams between fabric pieces on the jib and jib topsails are much wider than those on the mainsail you are correct. I copied all the seam patterns directly from the plans and never noticed the discrepancy until now. The seams on the mainsail are spaced 1 cm apart, or 39" at full scale - very reasonable for 1920s fabric. The seams on the jib and jib topsails are 13 mm apart, or 51" at full scale - way too big. Would anyone ever notice? Probably not but I'll have to redraw them anyway. Note: you cannot erase pencil marks on silkspan.
-
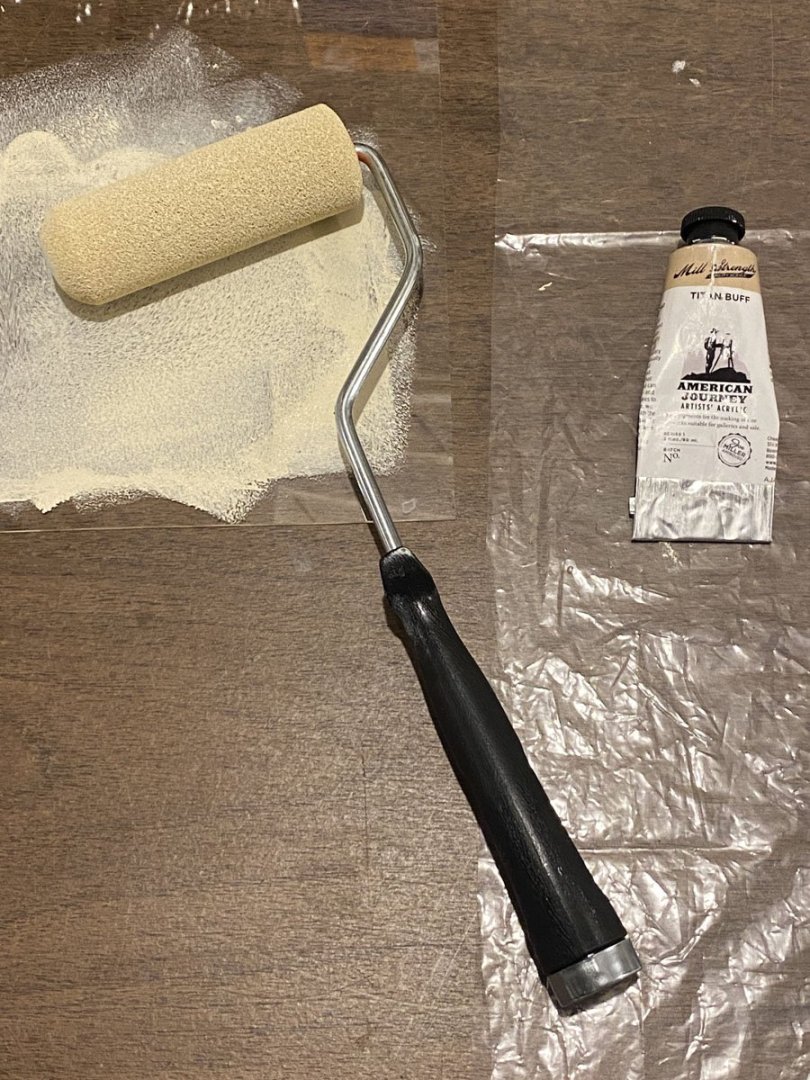
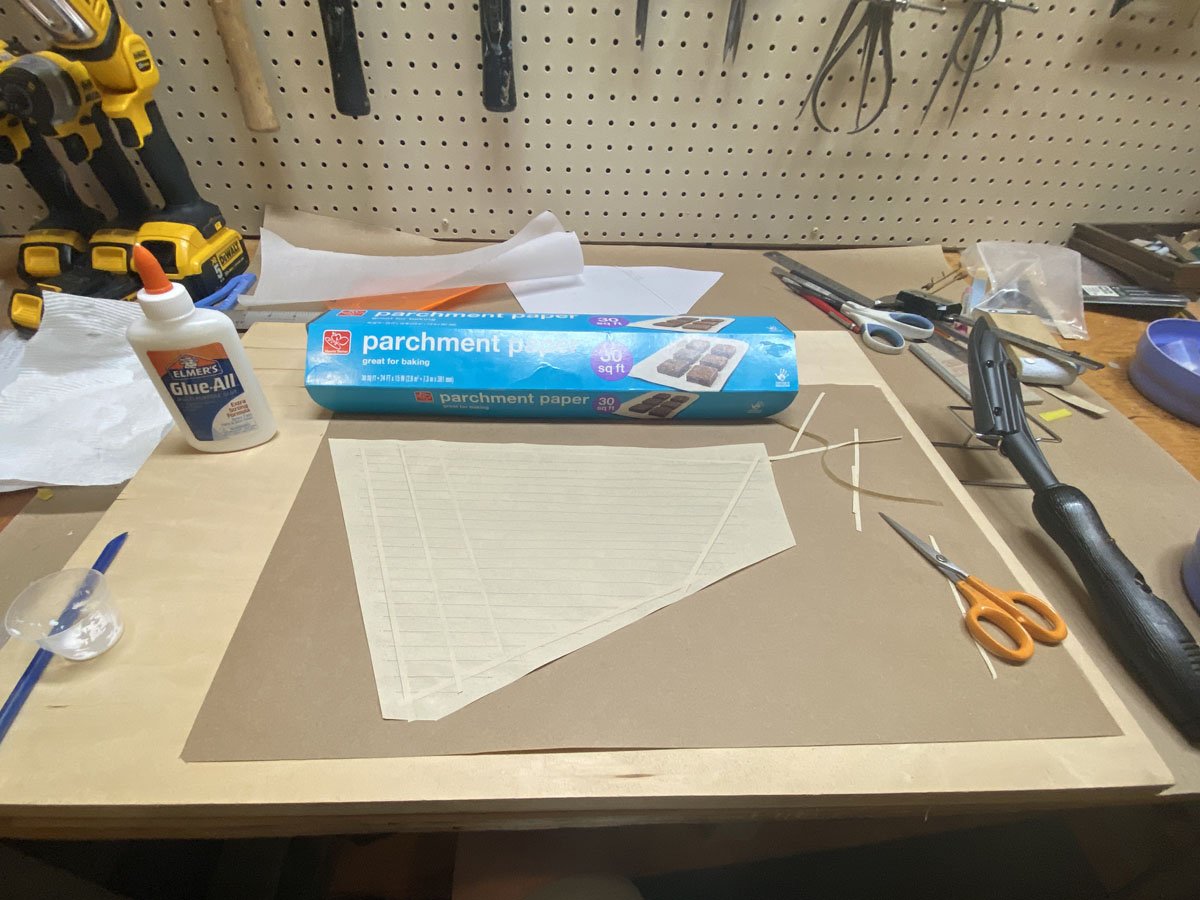
Much Better! I built a new mainsail from silkspan using Tom Lauria's technique linked above. Tom does not seem to post on MSW but a quick search on Lauria turned up 6 pages of mentions, mostly about making sails or rope hanks. I had plenty of silkspan from previous model airplane projects. It is strong and does not disintegrate in water - that's why it's also used to make teabags. It is available in three thicknesses from Sig Manufacturing. Tom said his was .0015" thick. Mine is .003" thick - I suspect it's Sig's medium-weight material. My only concern is that silkspan can become brittle and yellow over the years. However, the first step of Tom's process is to coat the silkspan liberally with artists' acrylic paint, and that should help protect the material. I chose an off-white paint called Titan Buff. I think it resembles muslin. I painted two sheets about 18" x 24" and used almost half a tube of paint! The silkspan really soaks it up. The paint goes right through the material, so when the front is done the back is too. I marked the sails with a hard, dark pencil and attached hem reinforcements with diluted Elmer's glue. Tom recommends using a travel iron to seal the strips down, with a sheet of dry wax paper between the sail and the iron. Dry wax paper is NOT the wax paper you have in your kitchen. It is also called deli paper and has the wax embedded in the fibers so it doesn't come off on your sandwich or your sail. Even better, we had some parchment paper which is silicon-based and used for baking in a hot oven. I only needed a 6" strip. I don't have a travel iron - I don't think I've ever ironed clothes while traveling. I do have a covering iron used to attach iron-on covering to larger model airplanes. I set it to 250 degrees and it worked perfectly. The mainsail took a few hours to make and I am pretty happy with it. I still have to stitch it to the boom and gaff, and attach the sail to the rings on the mast. That looks tricky.
-
Well, That's Not Going to Work After all the sewing, my cloth mainsail is too far out of shape. I think I will try making sails out of silkspan, as described in this YouTube video by Tom Lauria. I actually have plenty of silkspan left over from my model airplane days. Making Sails for Ship Models from Silkspan, Parts 1 & 2
-
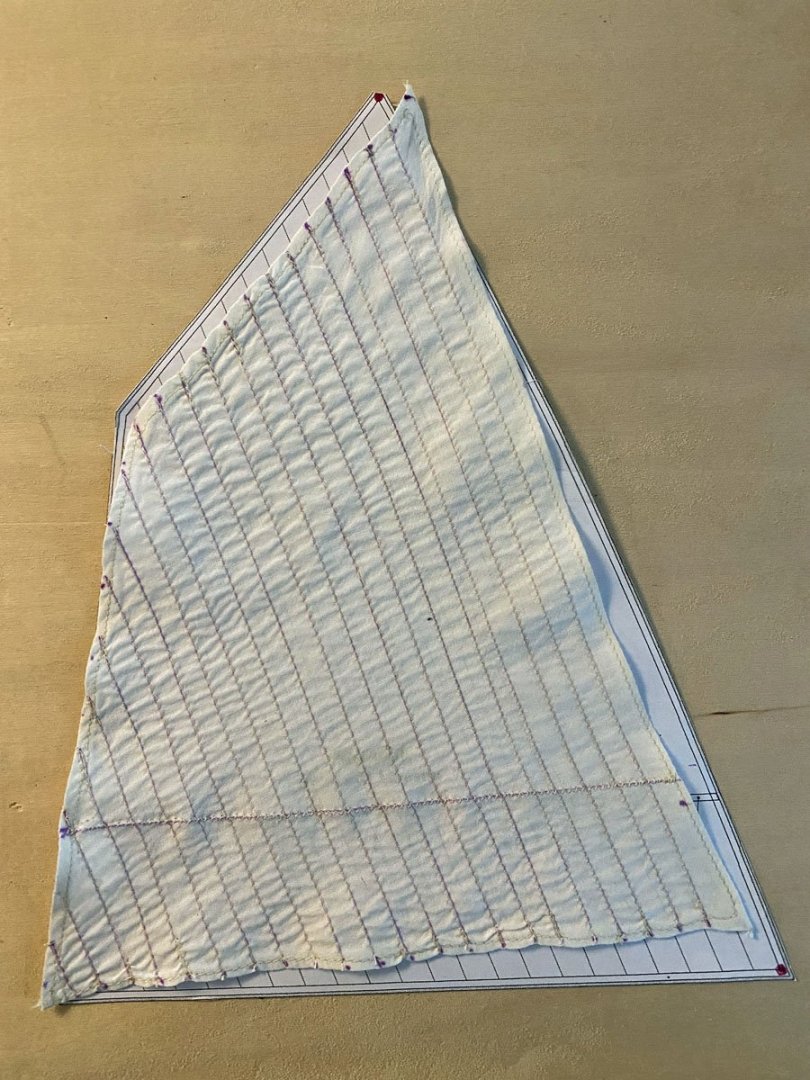
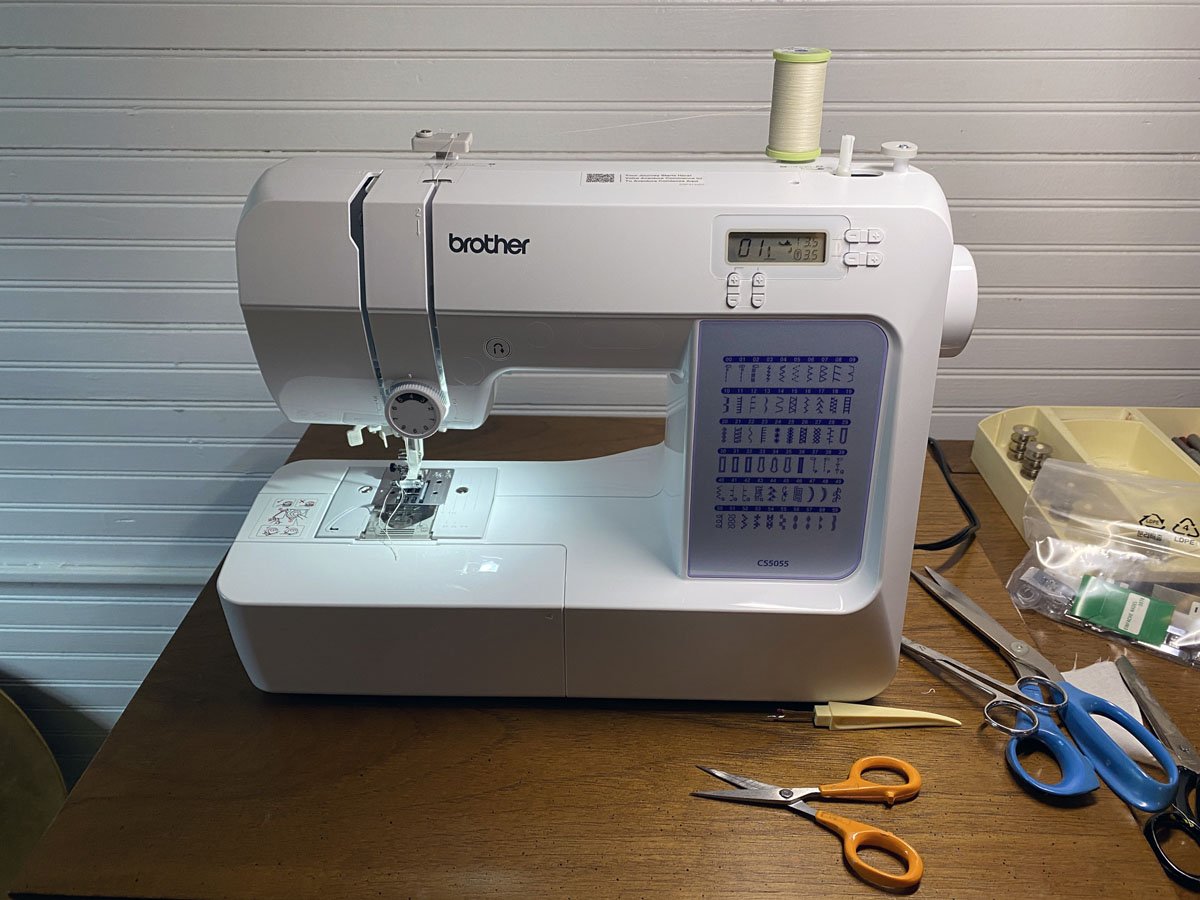
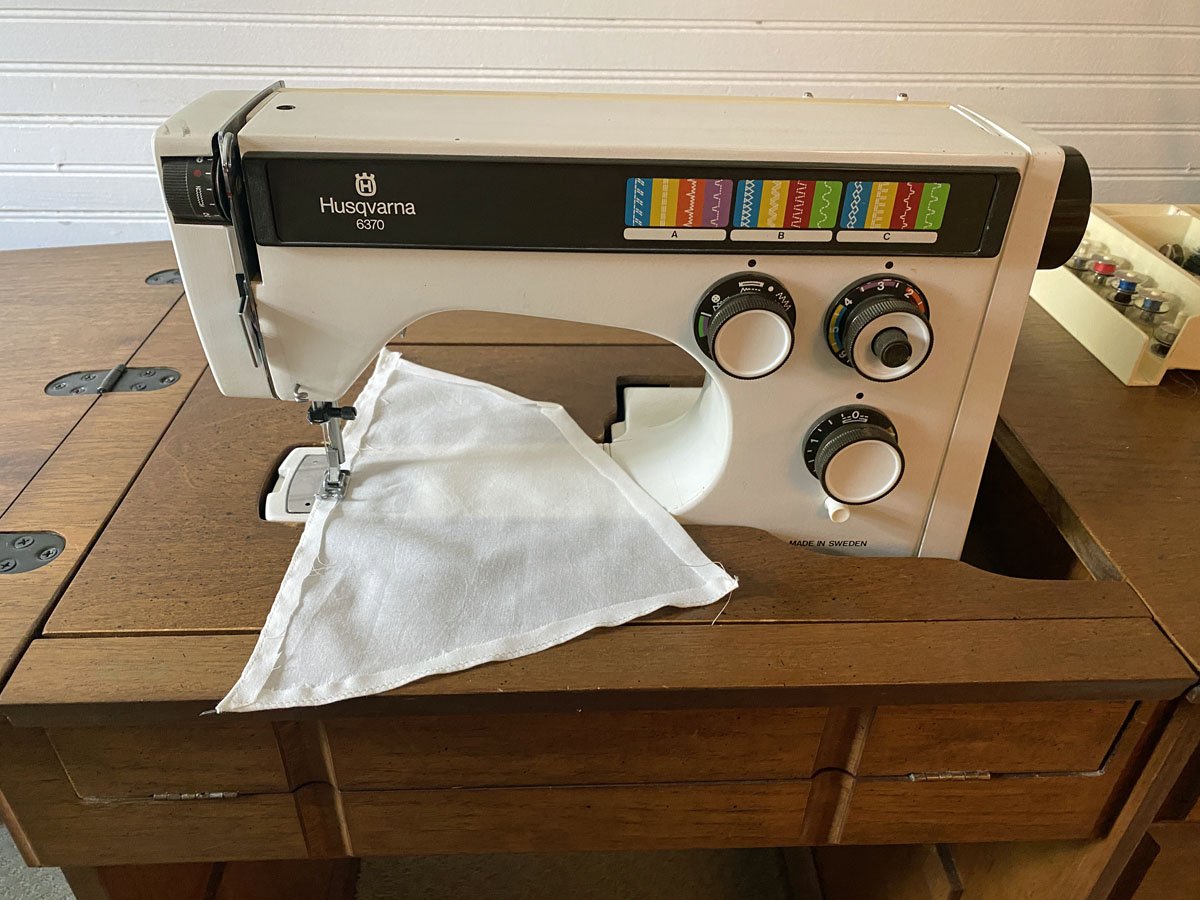
Every Project Deserves a New Tool - Or Does It? I was ready to start sewing sails, so I collected all my tools and materials from my basement workshop and carried everything to my wife's sewing room three flights up in the attic. We have an old Viking-Husqvarna sewing machine that we inherited from my mother-in-law 40 years ago. It used to do fancy stitches using various cams. The cam mechanism jammed years ago but it still did beautiful straight and zig-zag stitches, until earlier this summer when it started to smoke. We took it to a local repair shop where the repairman cleaned it and assured us that it was accumulated dust that was smoking. I set up to sew my mainsail but when I went to wind a bobbin, the bobbin shaft disappeared inside the case. I spent all day disassembling the machine and managed to fix the bobbin shaft. I sewed two seams before the whole machine jammed up. I gave up and ordered a new Brother computerized sewing machine from Amazon. It cost less than what I paid the repairman for the other machine. It doesn't fit inside our old sewing machine cabinet but I think I can make it fit. 45+ year-old Viking-Husqvarna machine. New Brother computerized machine. After a little practice on some scraps I stitched my mainsail. At first the sail matched my plan almost exactly. But after stitching all the scale seams between the individual pieces of fabric, the sail was much shorter than the pattern. (The purple stitch lines are supposed to disappear automatically after a few days.) After stitching a zig-zaged reefing band the sail was also narrower than before. My wife said "Yeah, sewing can take up a lot of fabric." By the way, I really like the computerized Brother machine. My only complaint is that there are a few settings that are made by shutting the machine off, holding a button down, and then turning the machine back on. But when you turn the machine off it resets the stitch pattern, width, and length back to the default. It's easy to get confused and end up with the wrong stitch. That never happened with the mechanical machine. I don't know if I can use the sail or not. I'll have to try it on the ship and see how it looks. Amati was very stingy with their sail cloth and I don't have enough scraps to try over. Fabric is not so easy to find around here since JoAnn Fabrics went out of business. If I can find something appropriate, I could try sewing the fake seams on an extra large piece first, then cutting the sail slightly oversized and hemming the edges to fit the plan. In a private conversation David Lester sent me information about making sails out of silkspan, a strong tissue that I used years ago for covering model airplanes. The seams can be drawn on it with pencil and the hems can be glued down. Maybe I should have listened to him in the first place.
-
Trevor, Thank you so much for your comments about the alignment of the fabric on a sail. I know more about weaving than I do about sailing, so I really appreciate the help. As soon as I read it made immediate sense. And good catch that the upper part of the "jib" sail has the cloth aligned incorrectly. I am trying to be polite to Amati, but I am not too impressed with this kit. I will experiment with the mitre joint on the two jib sails. I'm mot sure if I can sew it at this small scale but I will see what I can do.
-
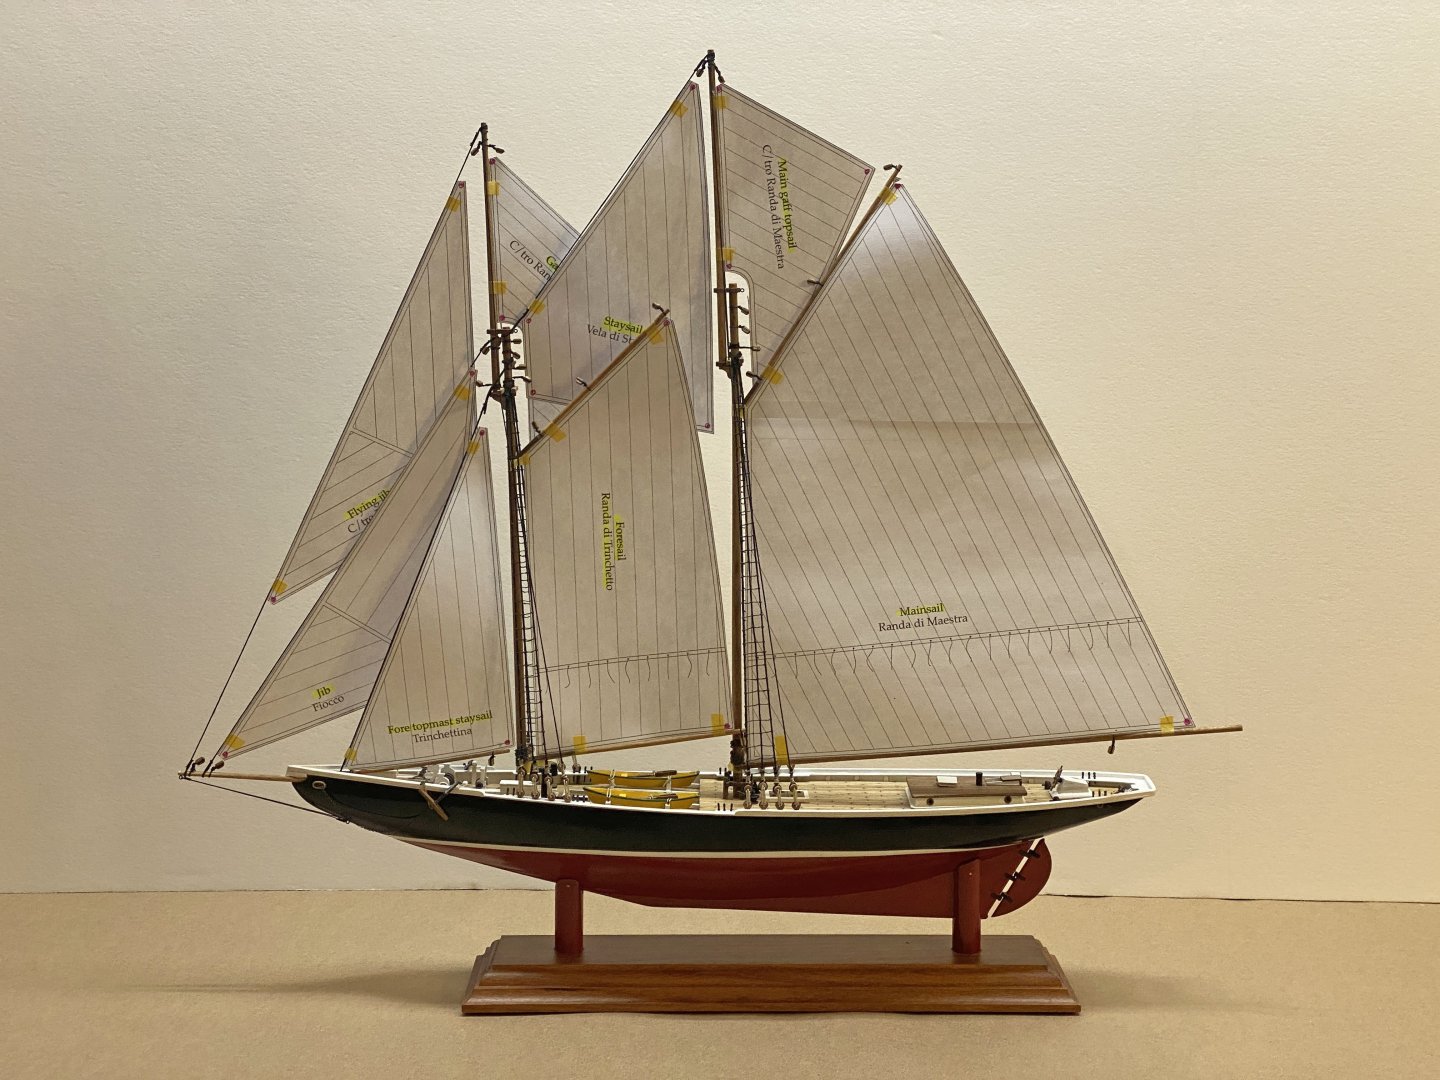
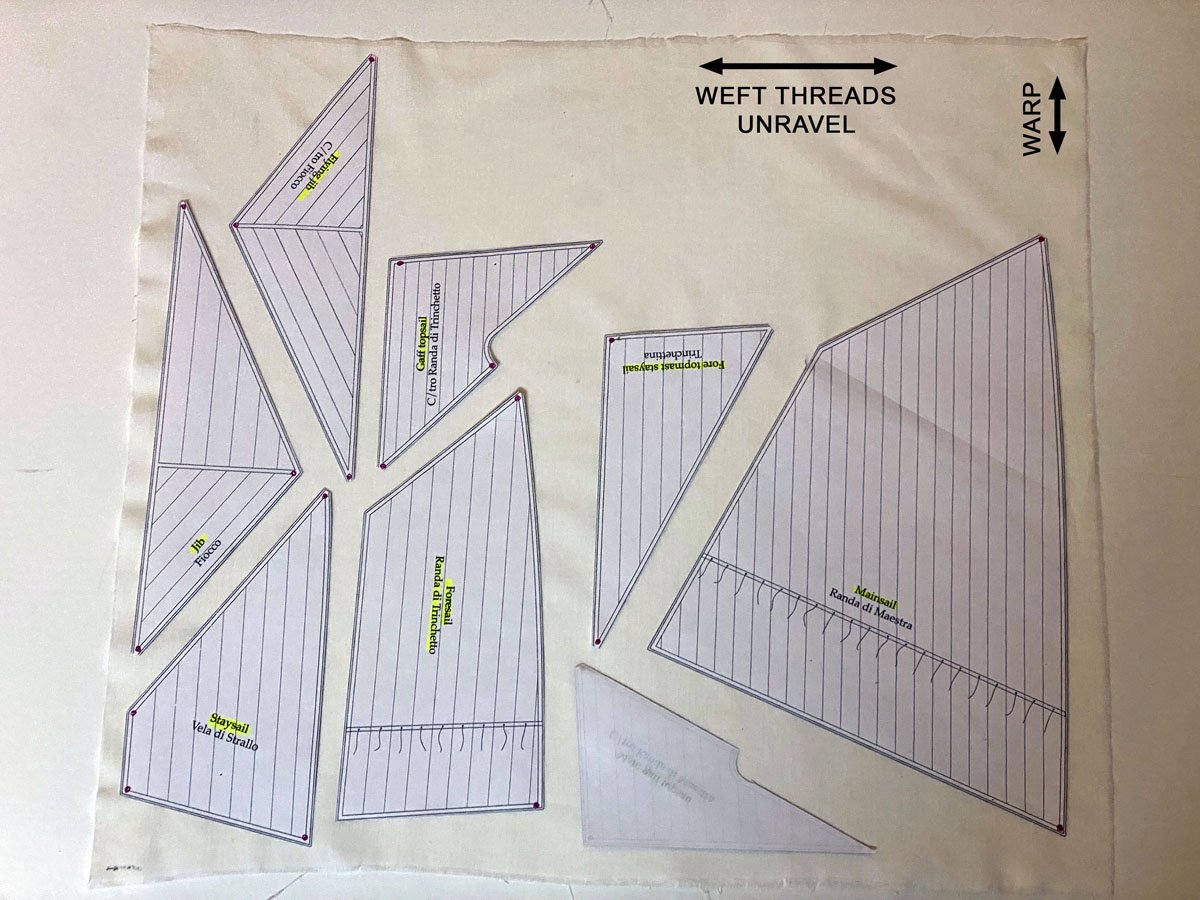
Paper Sails Yesterday I scanned and printed all my sail patterns. It took a little origami to fit each sail in my 8.5 x 11 printer, and I had to print the main sail in two pieces. Today I washed and ironed the cotton fabric that came with the kit, then laid out the sails on it. Two sides of the fabric unravels - that's the weft. The warp goes in the other direction. The seam lines on the sails follow the warp, and I laid out the sails that way. It probably doesn't matter. After reading Gregg's advice above I decided to test fit the paper sails. I'm really glad that I did because 1. Now I know where the sails go. 2. The foremast boom is too long. 3. The foremast staysail pattern is too big. After a couple of quick modifications I'll be ready to start cutting cloth.
-
Gregg, I've read that elsewhere but never really thought about it until you mentioned it. It suddenly makes a lot of sense. I can attach the booms, gaffs, and blocks to the sails off the ship, and then drop them in place. Thanks for the advice.
-
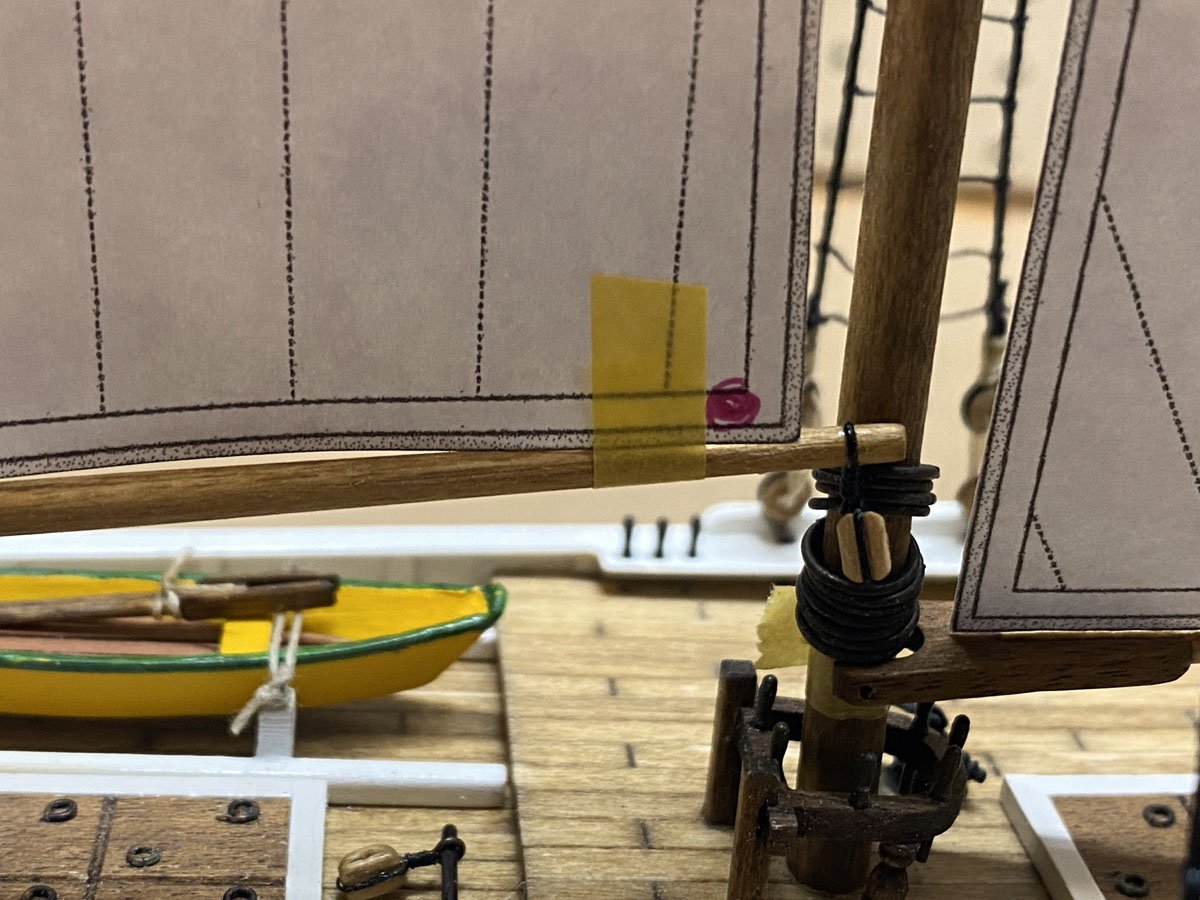
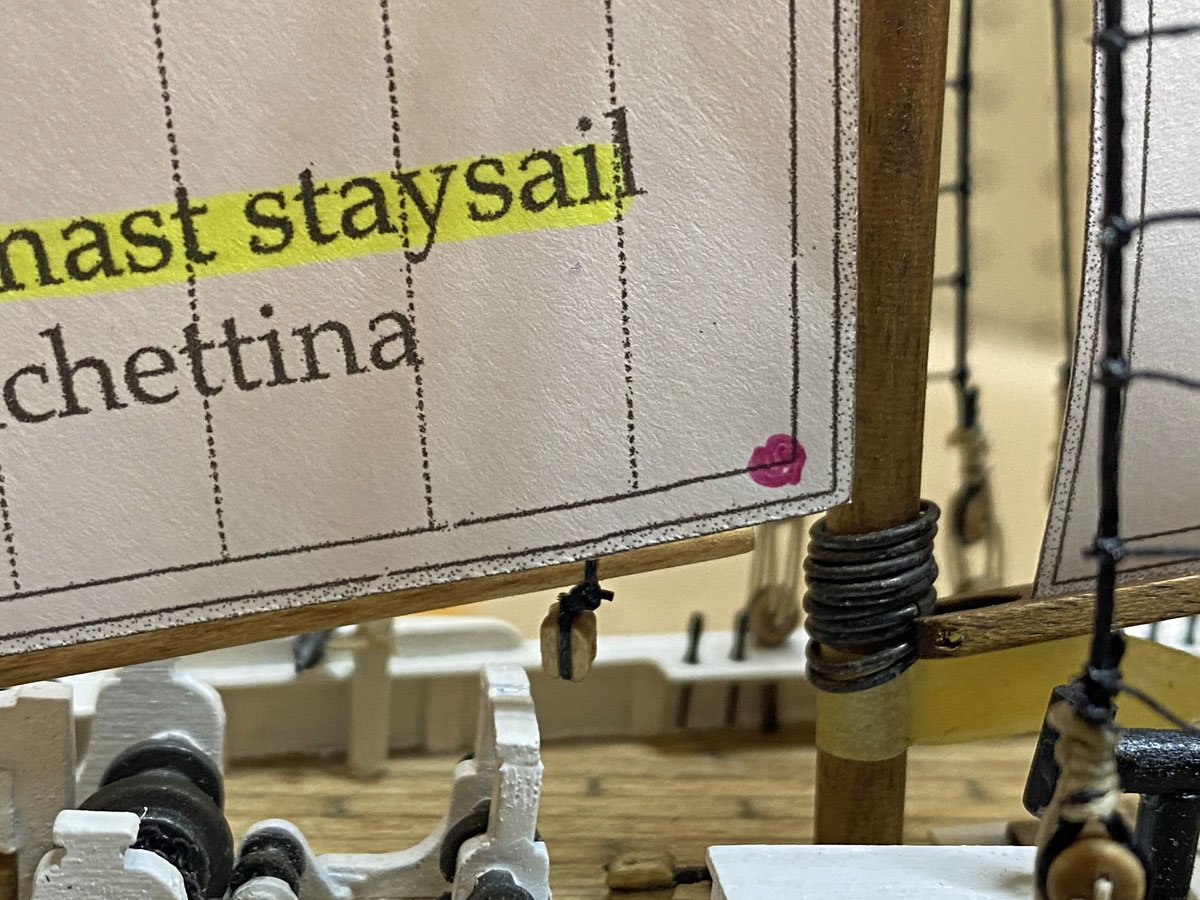
Thank you everyone for all the compliments. After looking at several of the Model Shipways builds on MSW I am realizing that Amati left off a lot of details on this model. It still looks nice, but I do wish that I had gone with the Model Shipways kit. Question I am about ready to add sails. I suspect that the gaffs and booms should all be pinned to their respective masts. Is that right, or can I actually rig them in place?
-
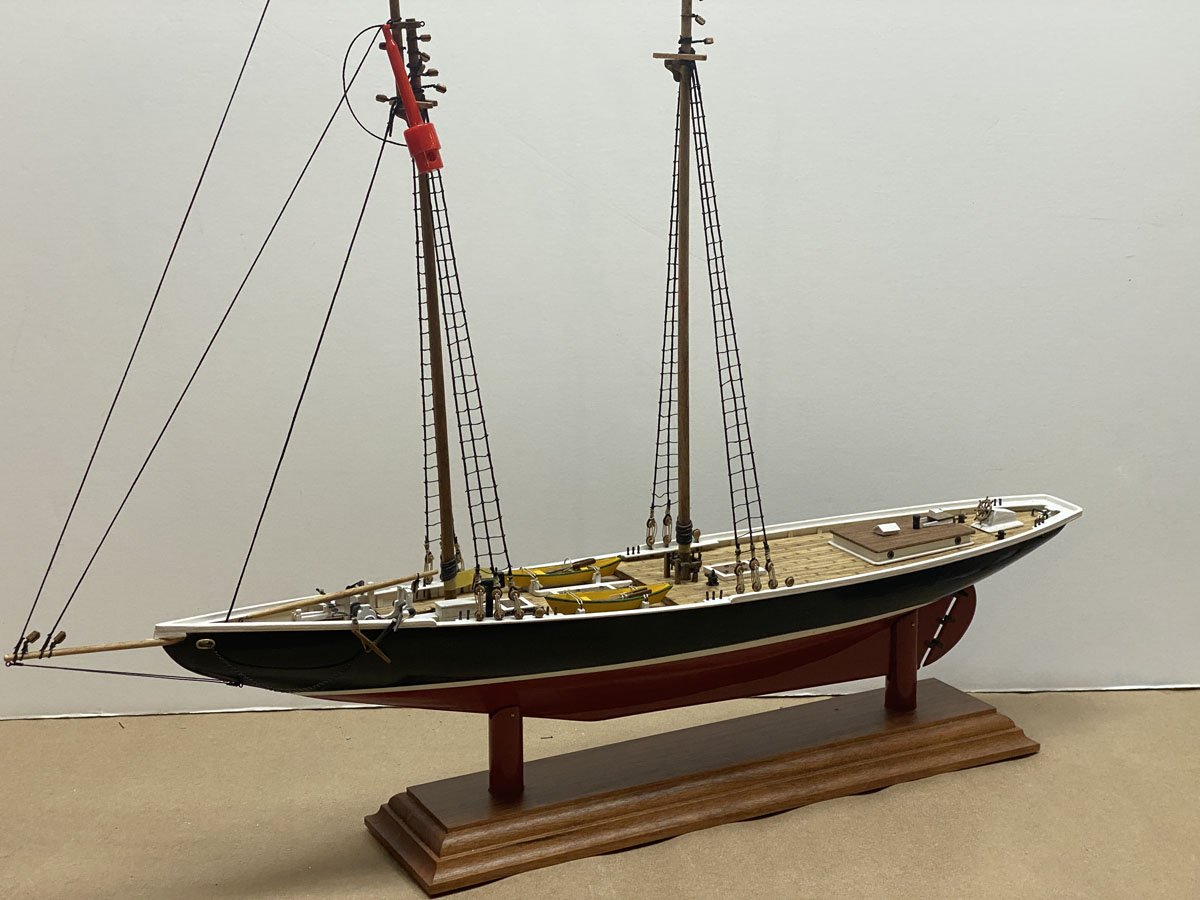
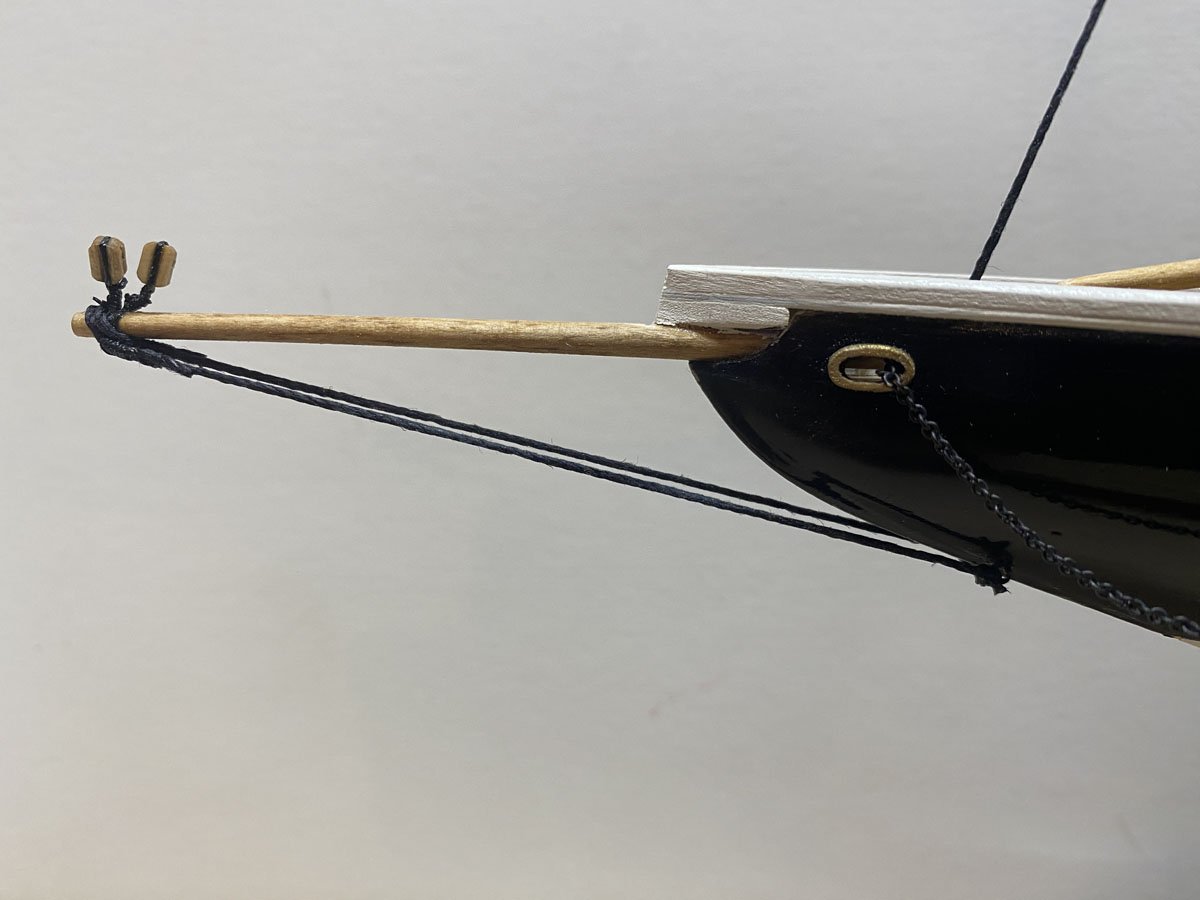
Bowsprit with Blocks Re-positioned That looks a lot better. And 348 clove hitches later, I can tell that it is going to be difficult to keep these skinny masts vertical while I attach the remaining standing rigging!
-
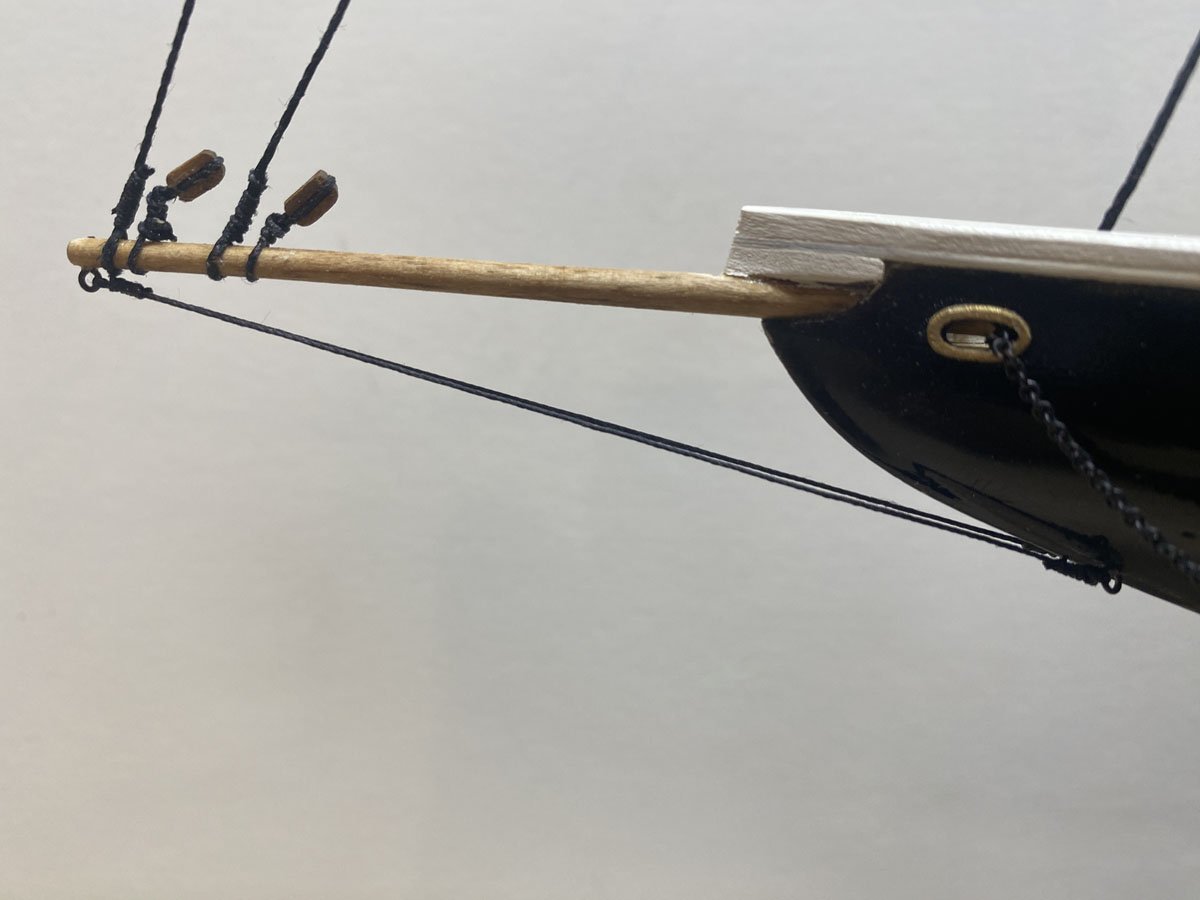
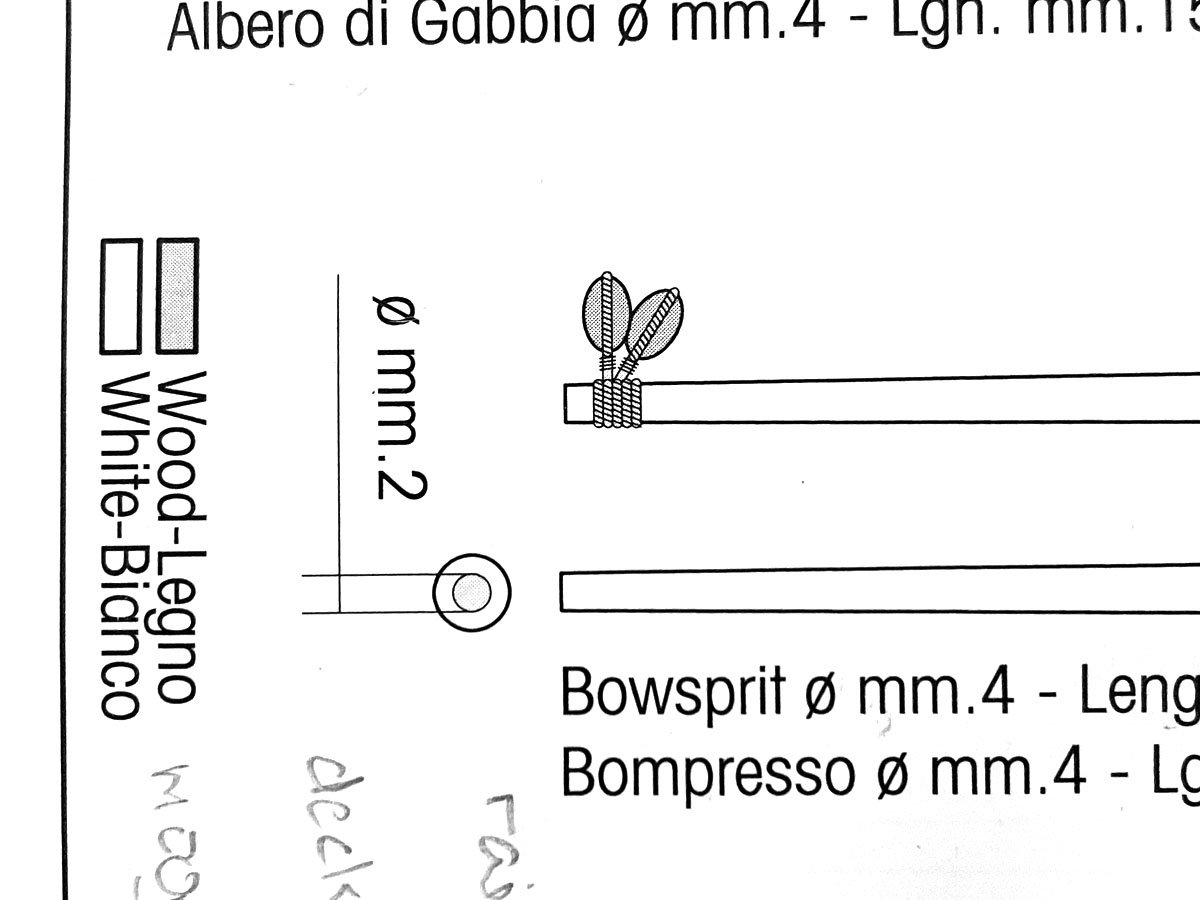
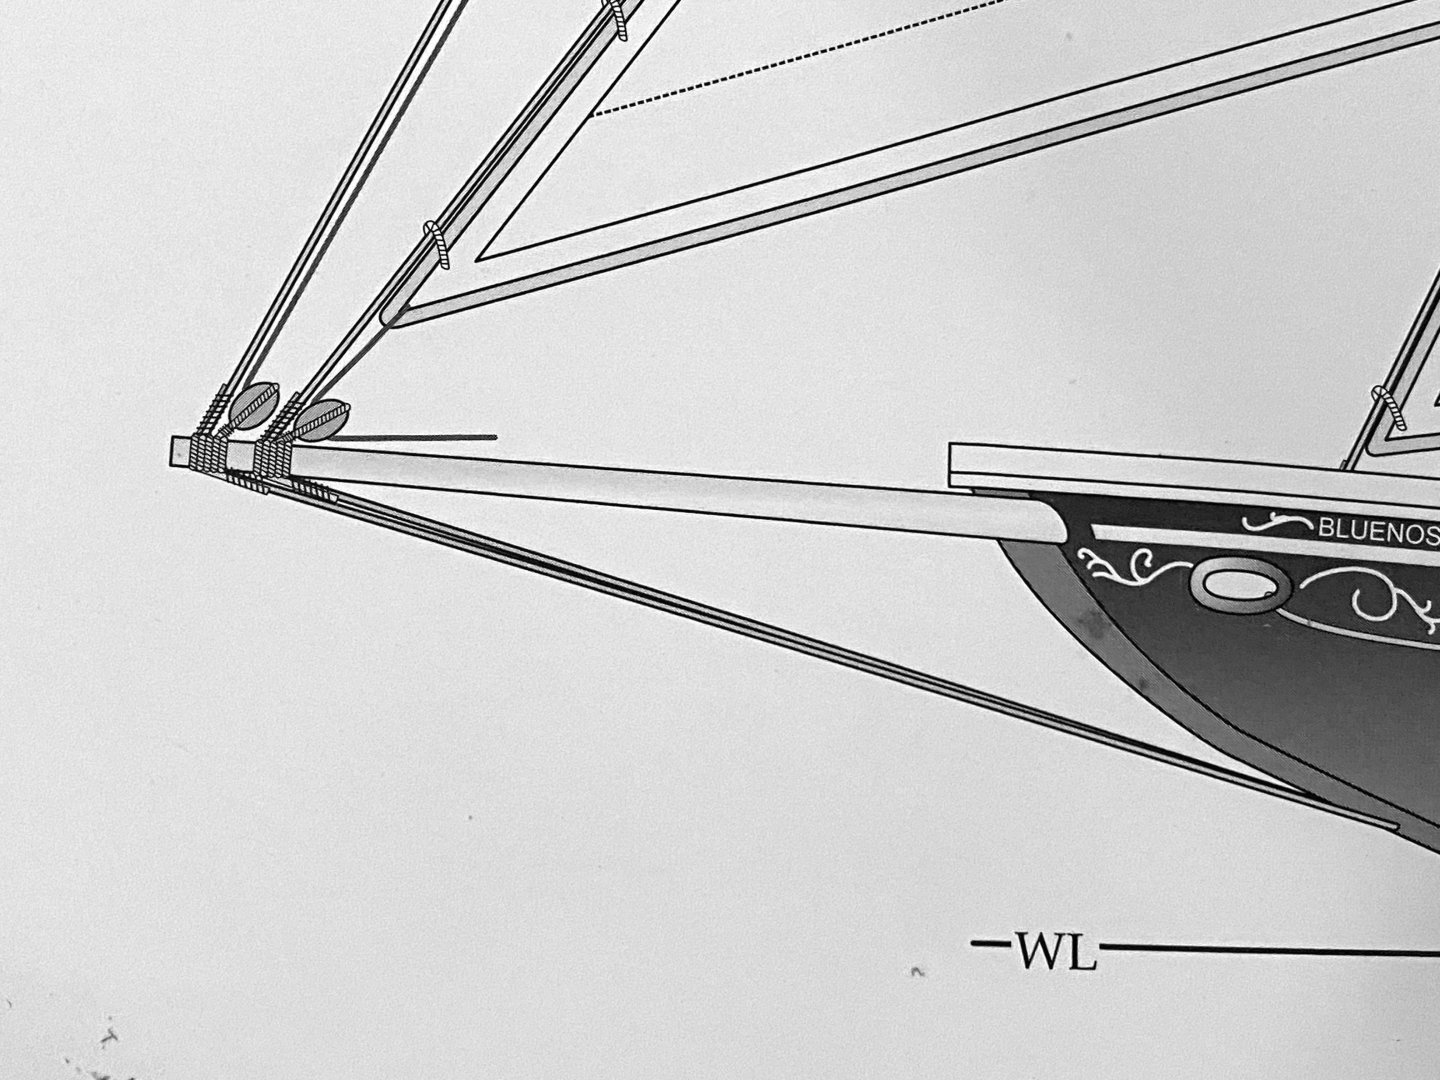
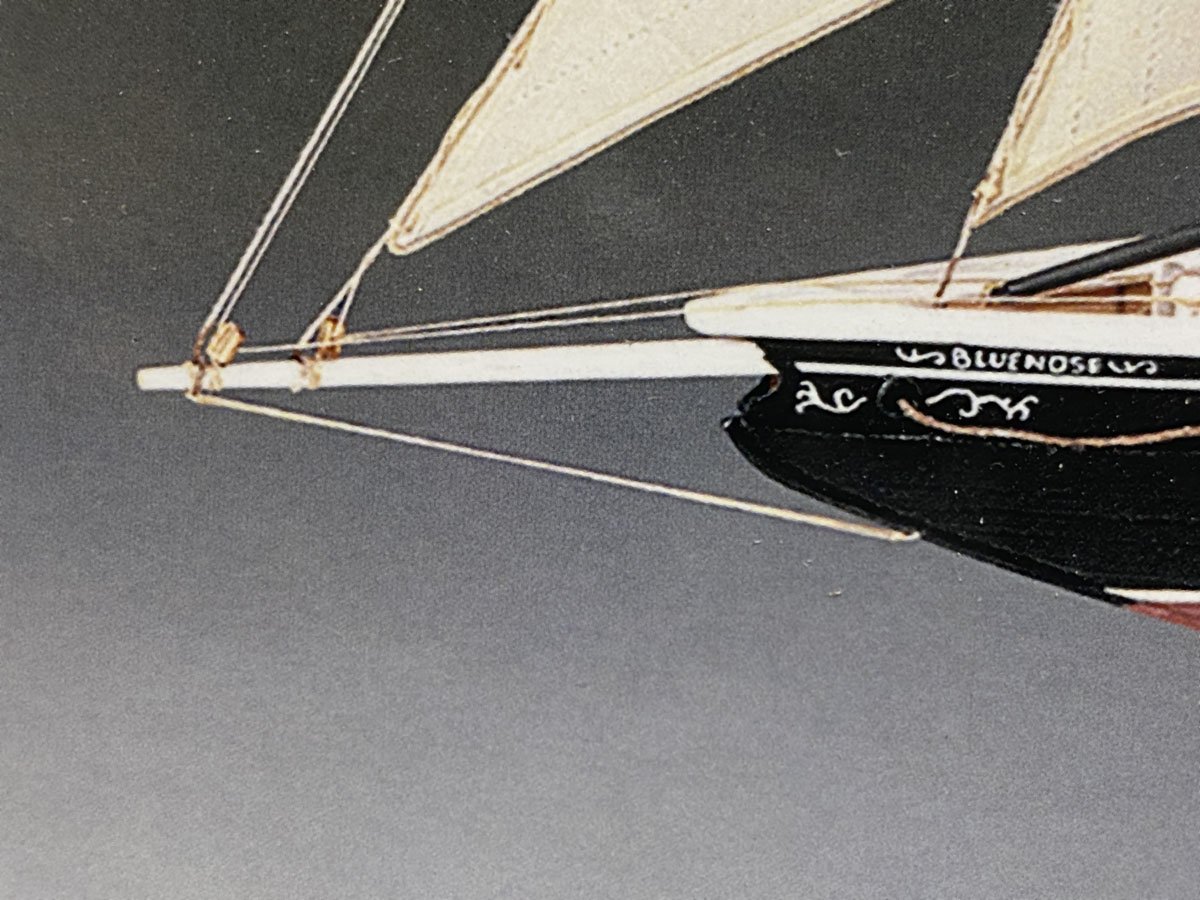
Poor Instructions and Plans I made the bowsprit with two blocks attached to the end according to the instruction manual. I attached it and then noticed two lower stays on the plans. There was barely room to tie them on. Looking at other builds on MSW it is apparent that there should be several more stays below the bowsprit, but none are shown in the plans. Bowsprit from the instruction manual. My current bowsprit with lower stays. Now I realize that two stays for the jib and flying jib have to fit in there somewhere, and I won't have room. The plans show a little space between the blocks. The photo on the box shows even more space. Bowsprit from the plans. Bowsprit from the box cover. It looks like I will have to do some deconstruction to move those blocks apart. I think I will also use some thinner line for the lower stays.
-
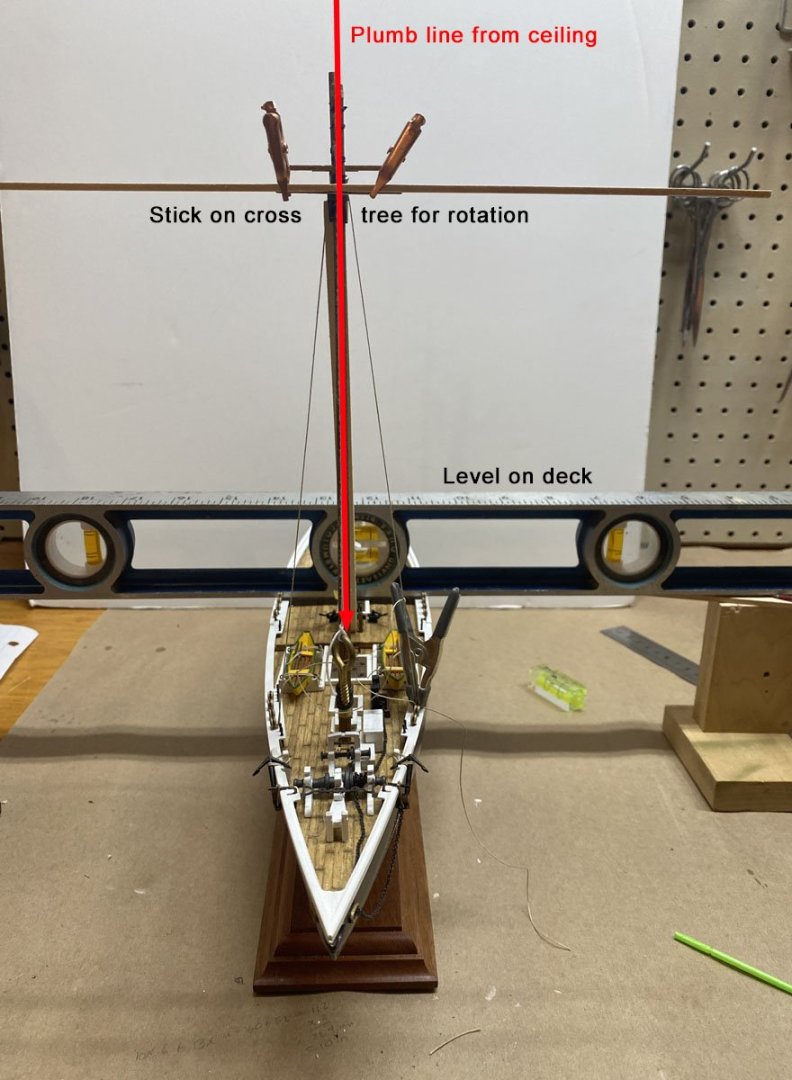
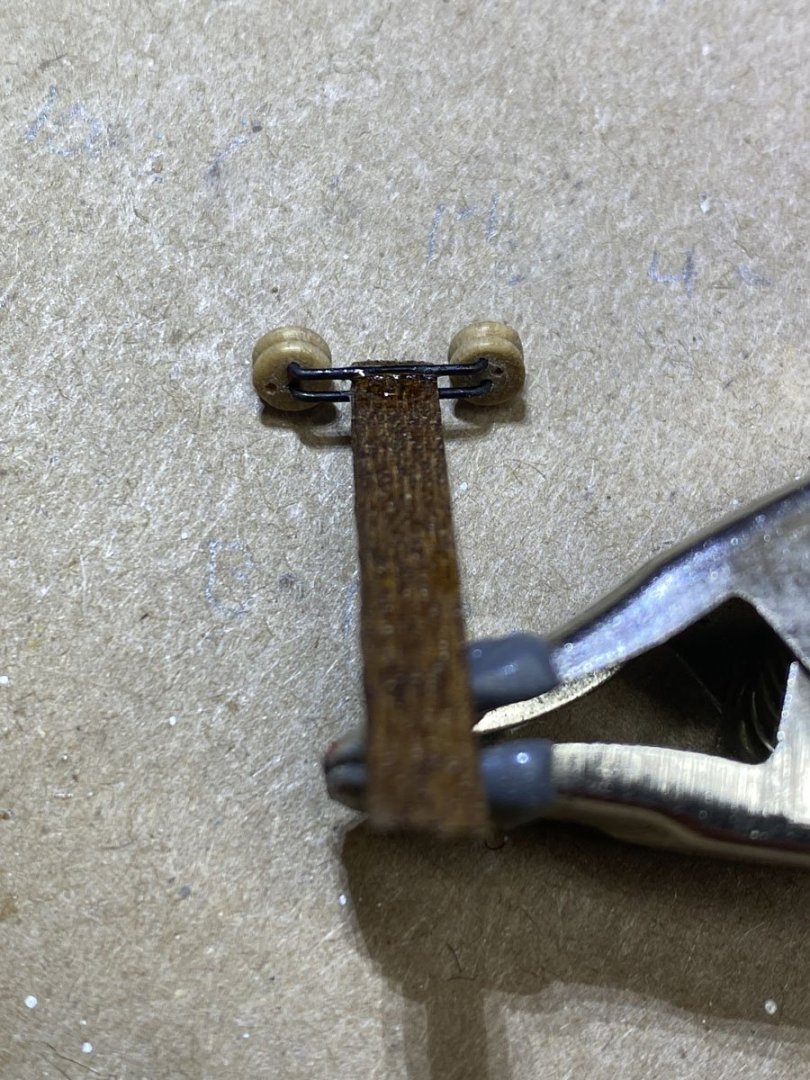
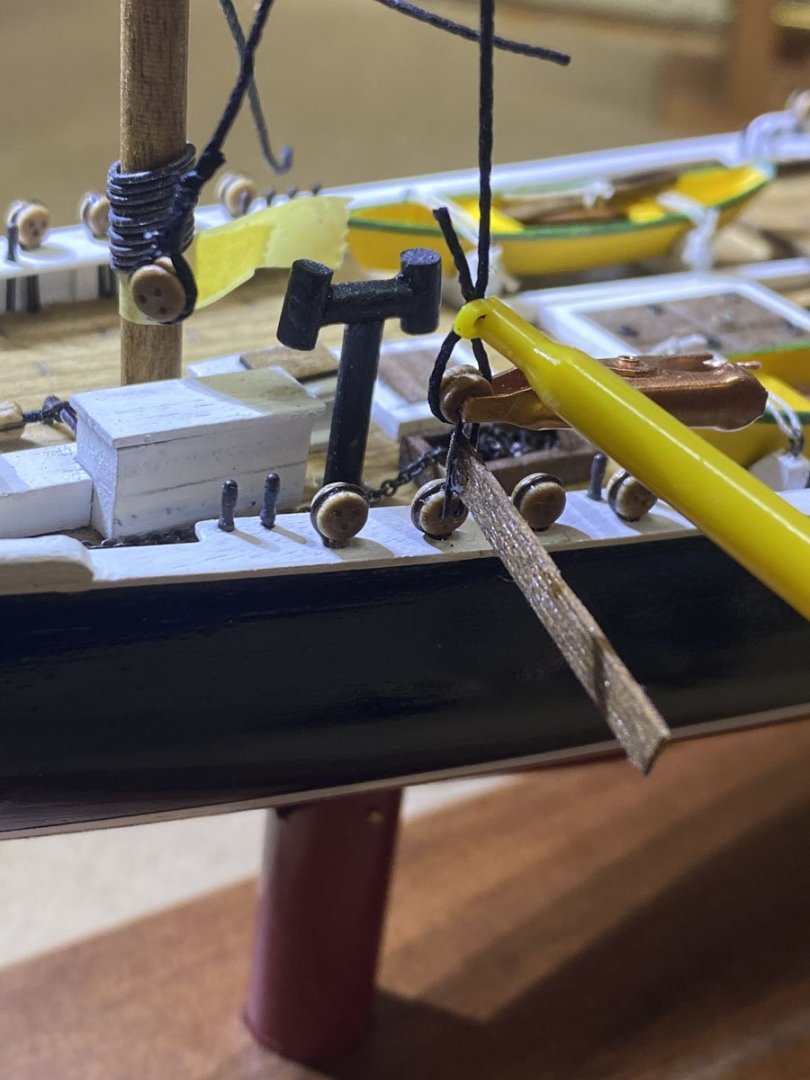
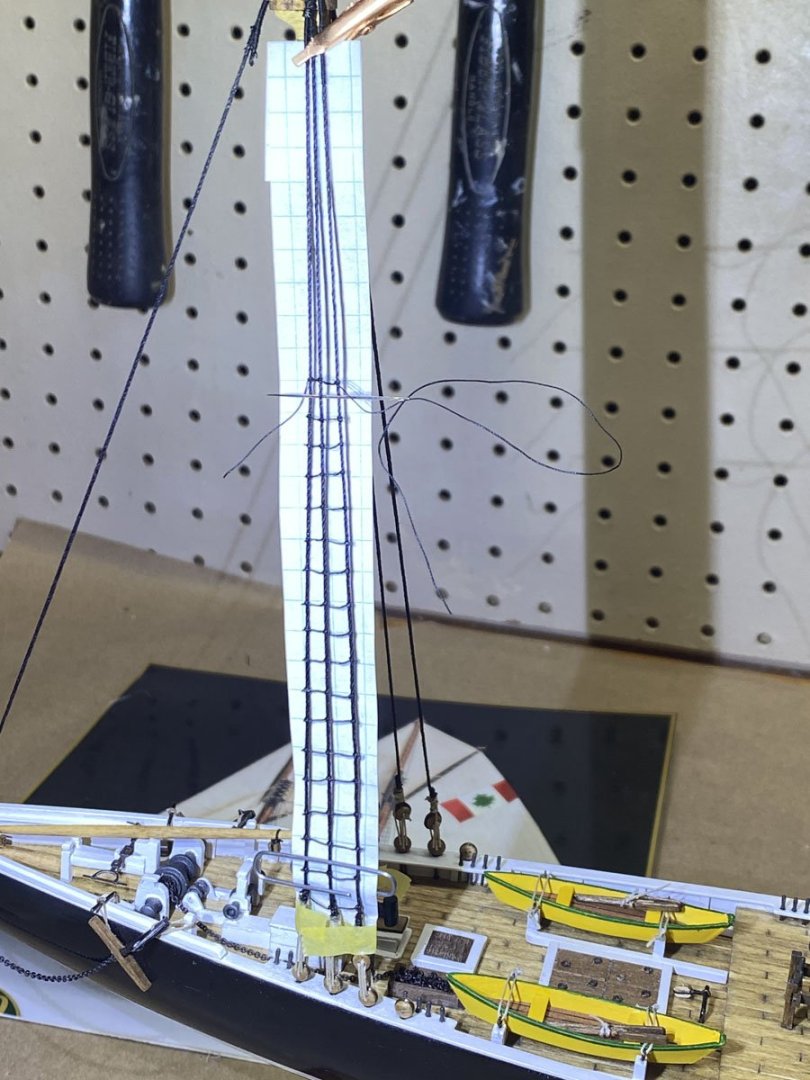
Stepping the Masts The false keel in this kit is narrow and the slots for the masts and the holes in the deck were too big, so the masts would not stand upright on their own. I came up with a complicated way to set the masts vertical and hold them in place while I glued them. I hung a line from the ceiling with a screw eye weight to set the vertical. I put a heavy level across the deck, and braced it to hold the deck level. I attached a stick to the cross tree to visually set the rotation. I attached a line side-to-side across the cross tree and practiced tying it quickly. When everything was ready I removed the mast, applied PVA glue, and put it all back together. It took a whole evening to step each mast. But they are vertical. Attaching Deadeyes and Ratlines I made a deadeye spacer from two butterfly pins and a scrap of wood as thick as the spacing between two holes on a deadeye. The photo shows how it works. The mast stays are now attached and I am done with half of the ratlines. I worked for a fireworks company all through grad school, and everything was tied together with clove hitches - shell casings, fuses, lances on ground displays, etc. So I am very good at tying clove hitches, and the ratlines are coming along quickly. The Amati kit comes with two spools of line, thick and thin, and both tan. I will use the thin for running rigging but am using other black line that I have for the standing rigging.
-
Viking Cruise Lines River Ship vs. Bluenose In early July my wife and I took a cruise on the Main river through Germany on Viking Cruise Lines. They have 76 longships, all 443 ft long. The Bluenose was 143 ft long. Here is what it would look like next to our ship docked in Würzburg, Germany. It would not fit under the bridges!
-
That's for sure! After looking at some of the 1:64 Model Shipways Bluenose builds I've realized that Amati just left off a LOT of small details on this kit. I'm kind of sorry I didn't go with the larger model.
-
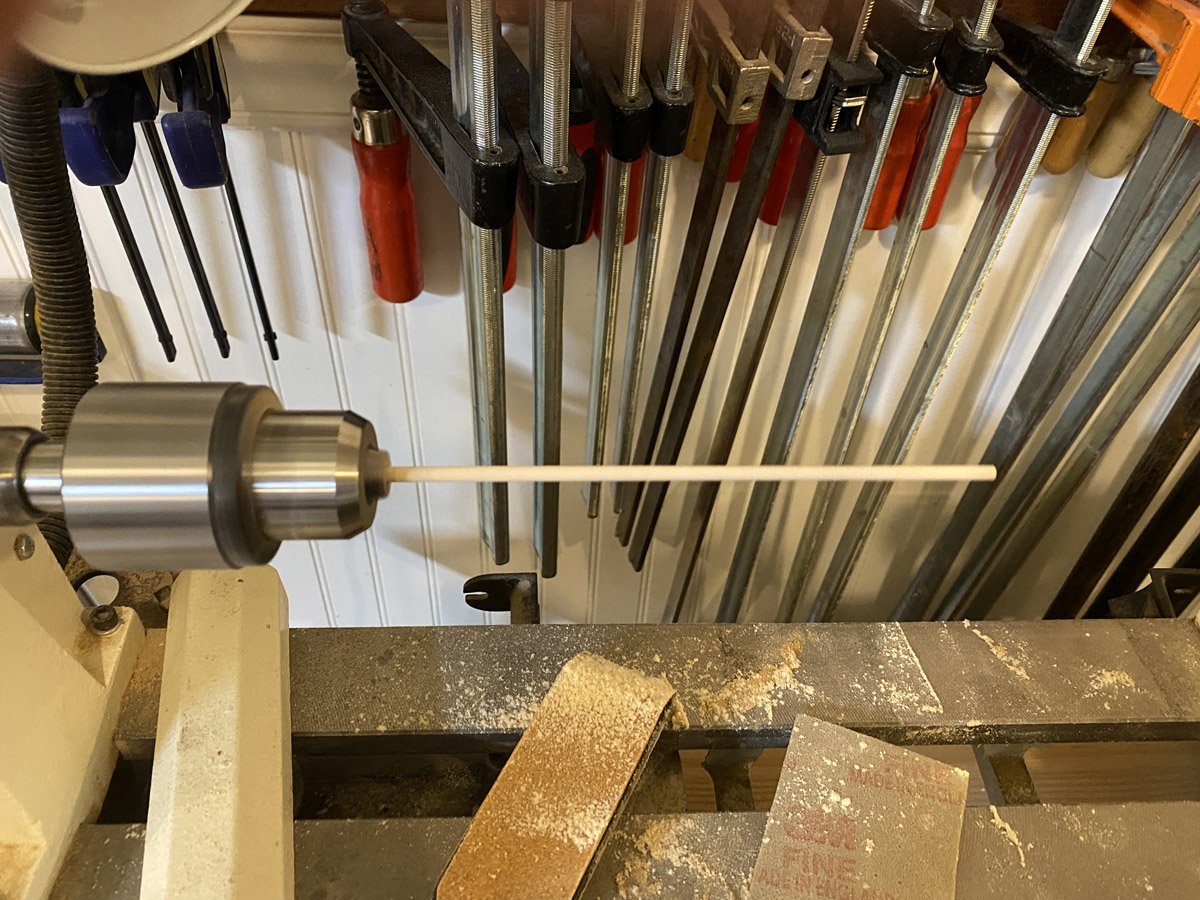
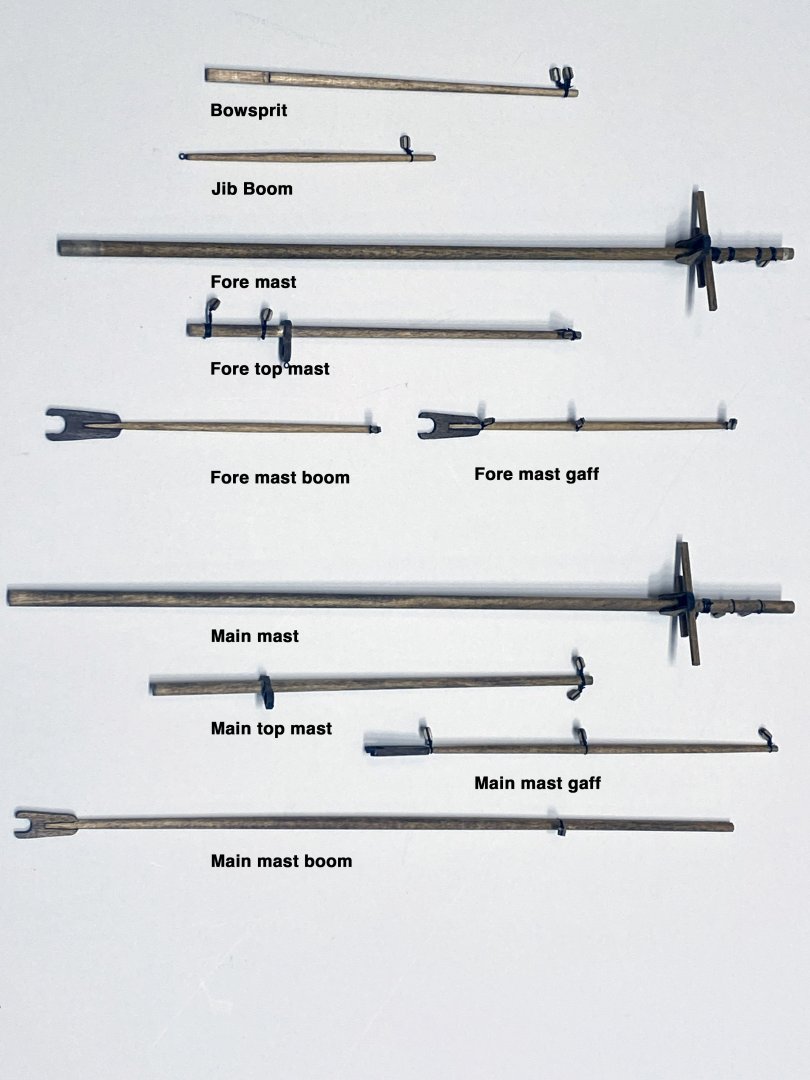
Masts, Gaffs, and Booms I tapered the masts, etc. chucked on a lathe using sand paper. At first I struggled with how to seize a line to a block and attach it to a mast, until I remembered that I had posted a very simple way to do that under my Endeavour build. It's cheating but it looks fine, goes fast, and hardly wastes any line. All those pieces are done and ready to install.
-
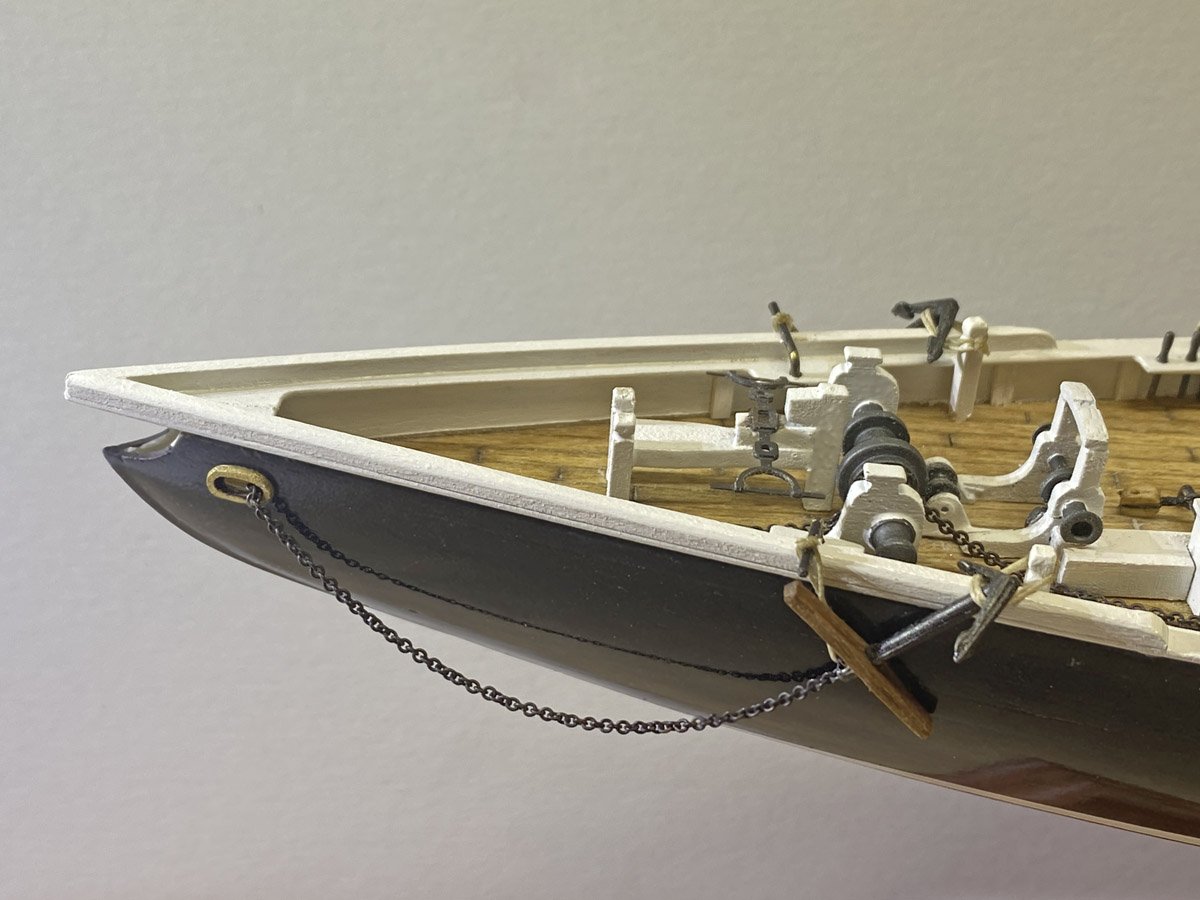
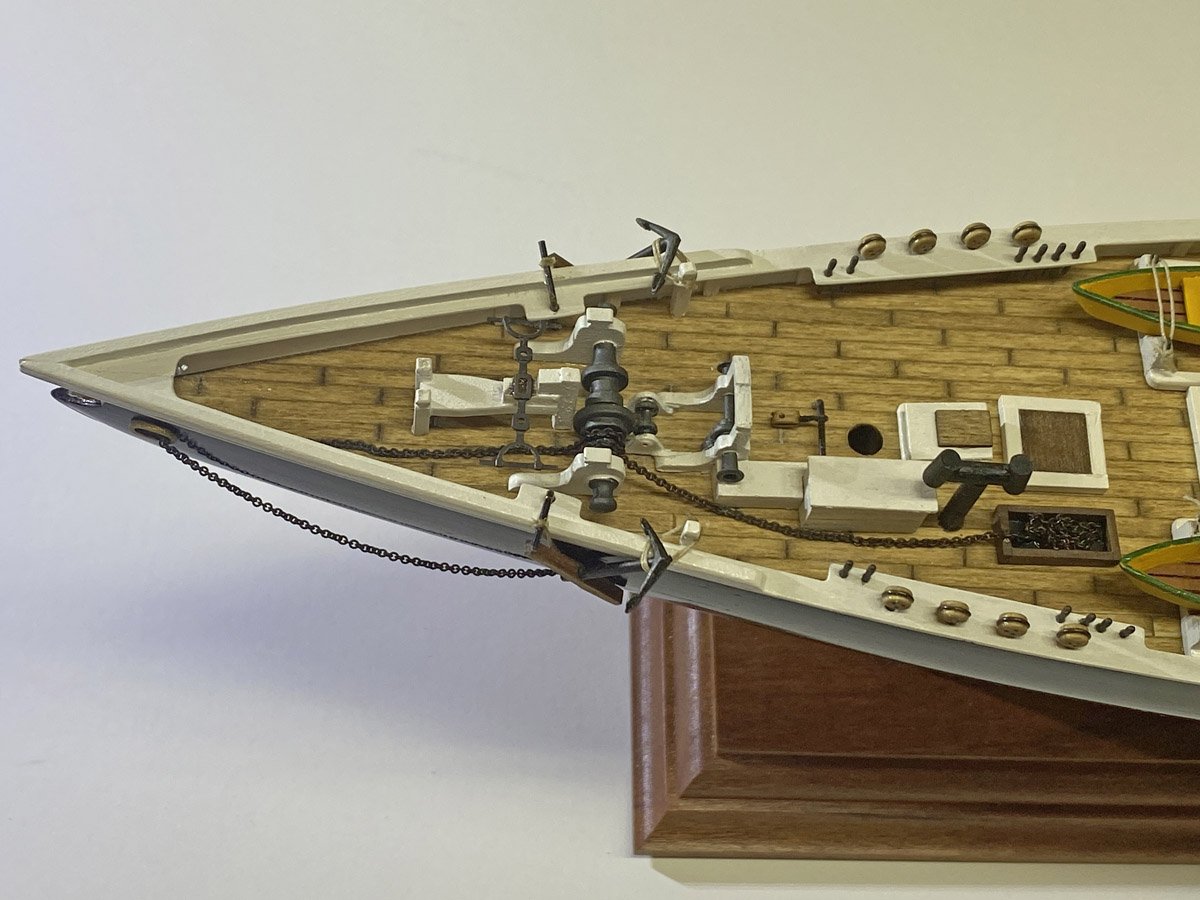
Anchors The Amati kit came with two cast anchors but no stocks or chain. I made stocks from some scrap walnut, and I had a long piece of brass chain that I blackened. The instructions show the anchor tied to the cathead by the shank, and a rope from the ring to the hawsepipe, where it disappears. I searched several Bluenose builds on MSW and saw chains leading to the winch, around the engine box, and into a chain box (or possibly into a locker below the deck?) I made something like what GGibson shows in this post.
-
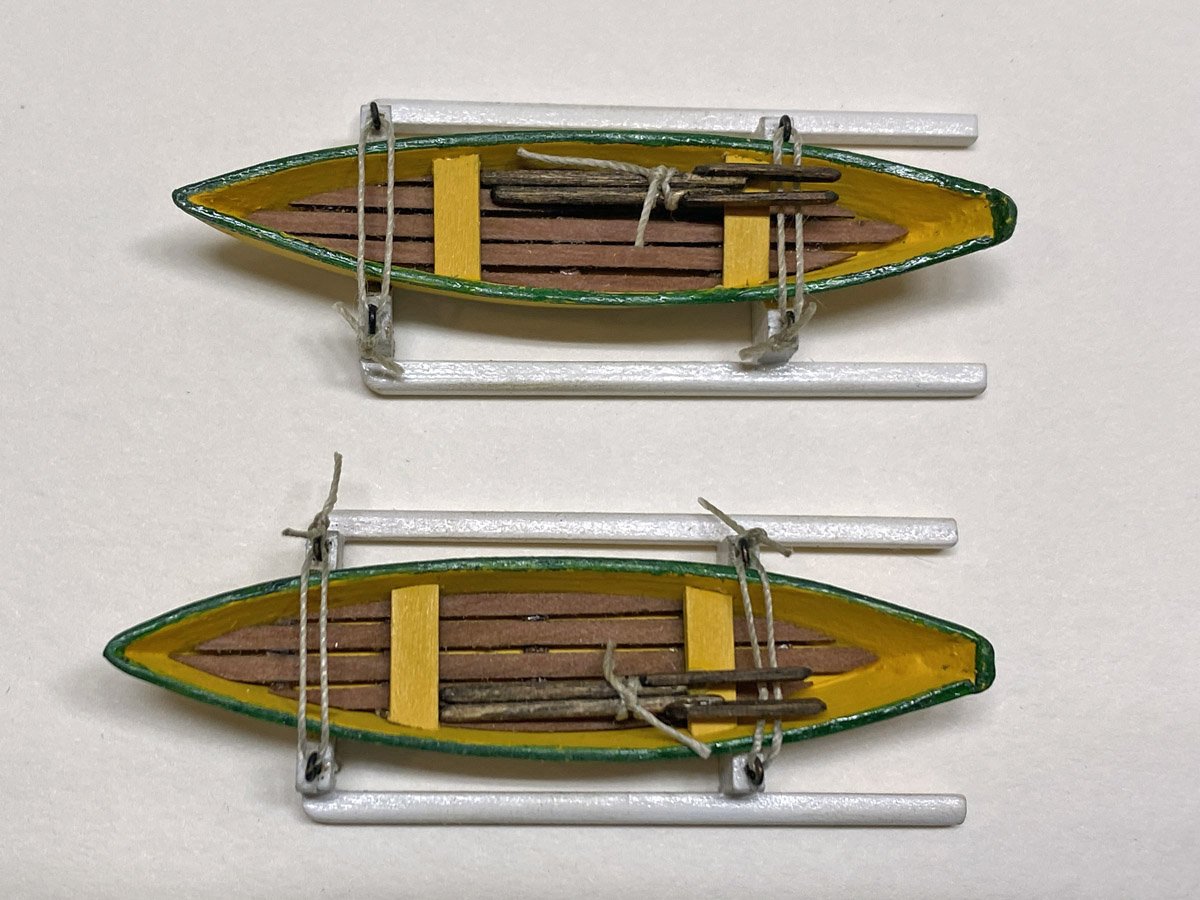
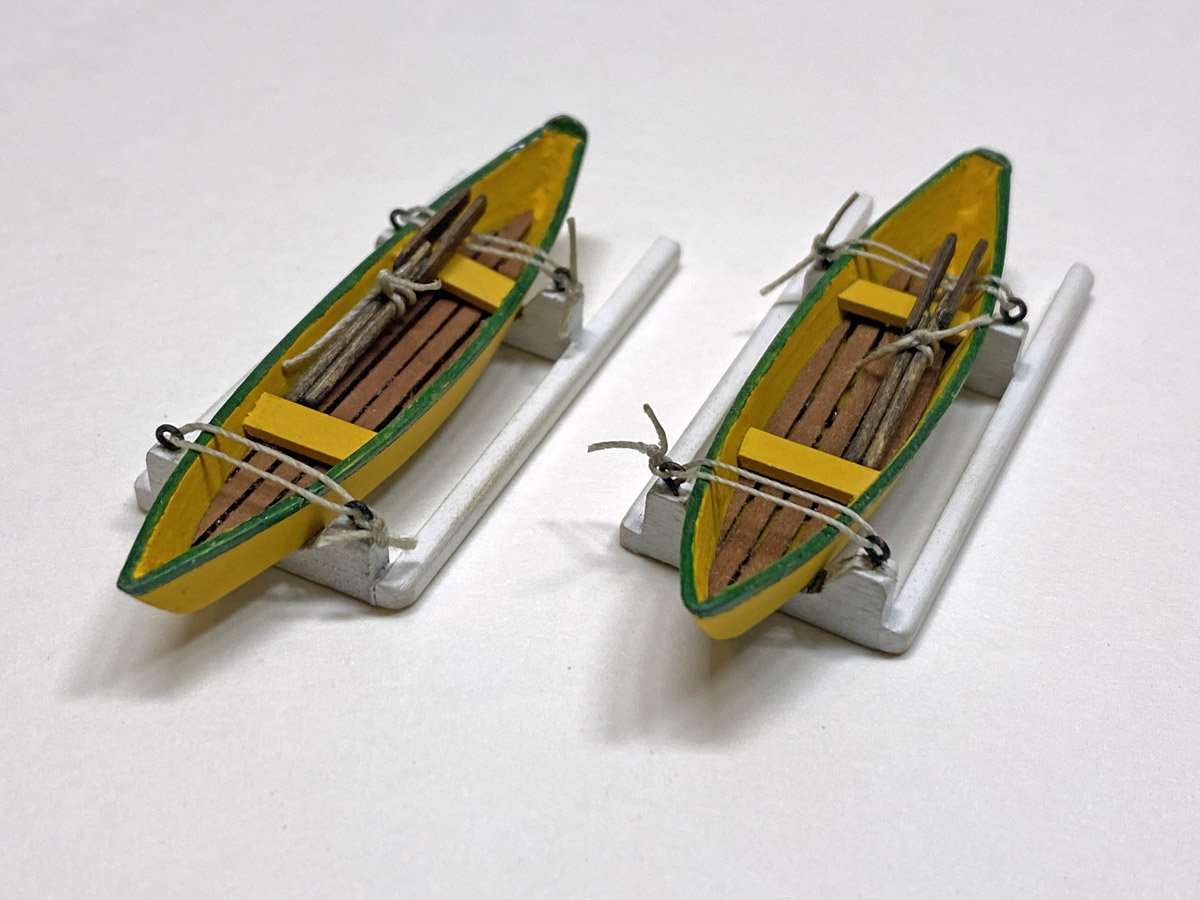
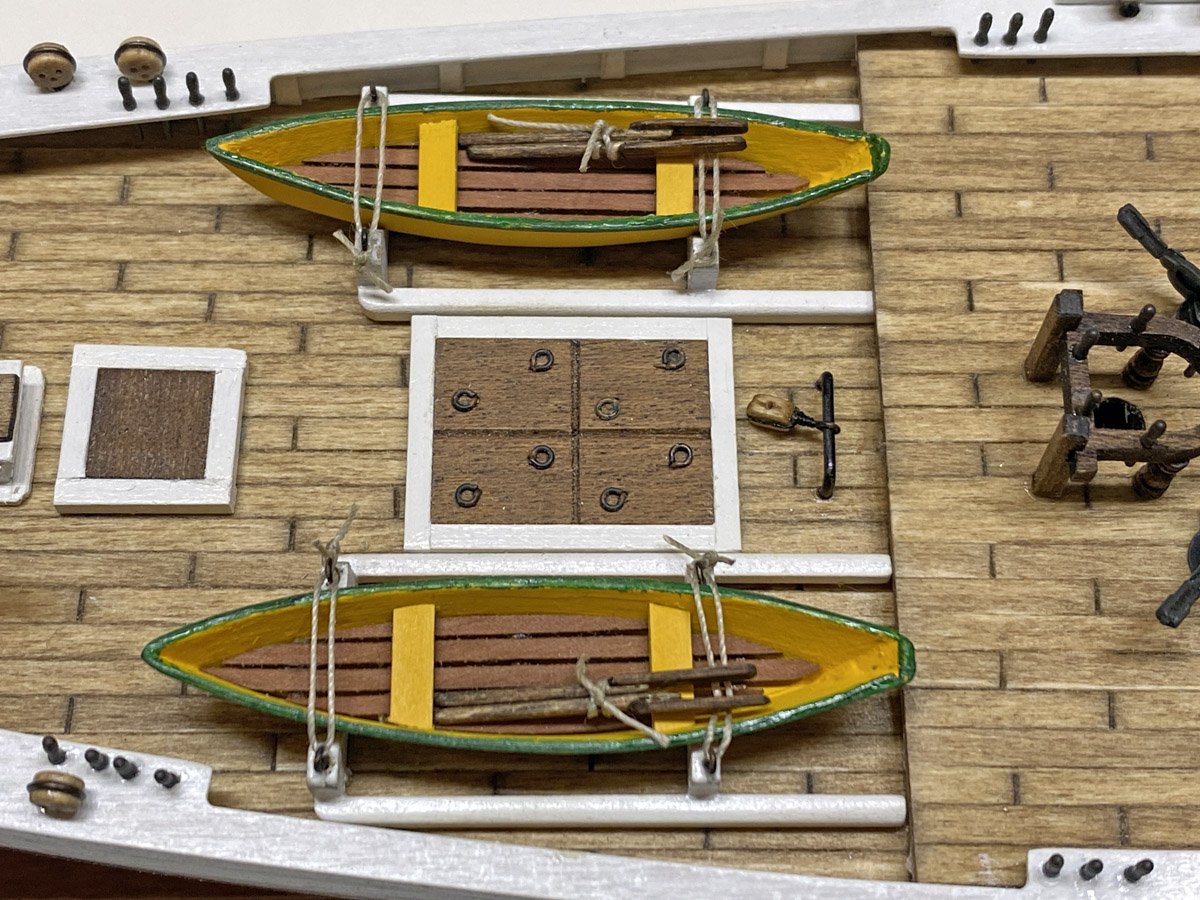
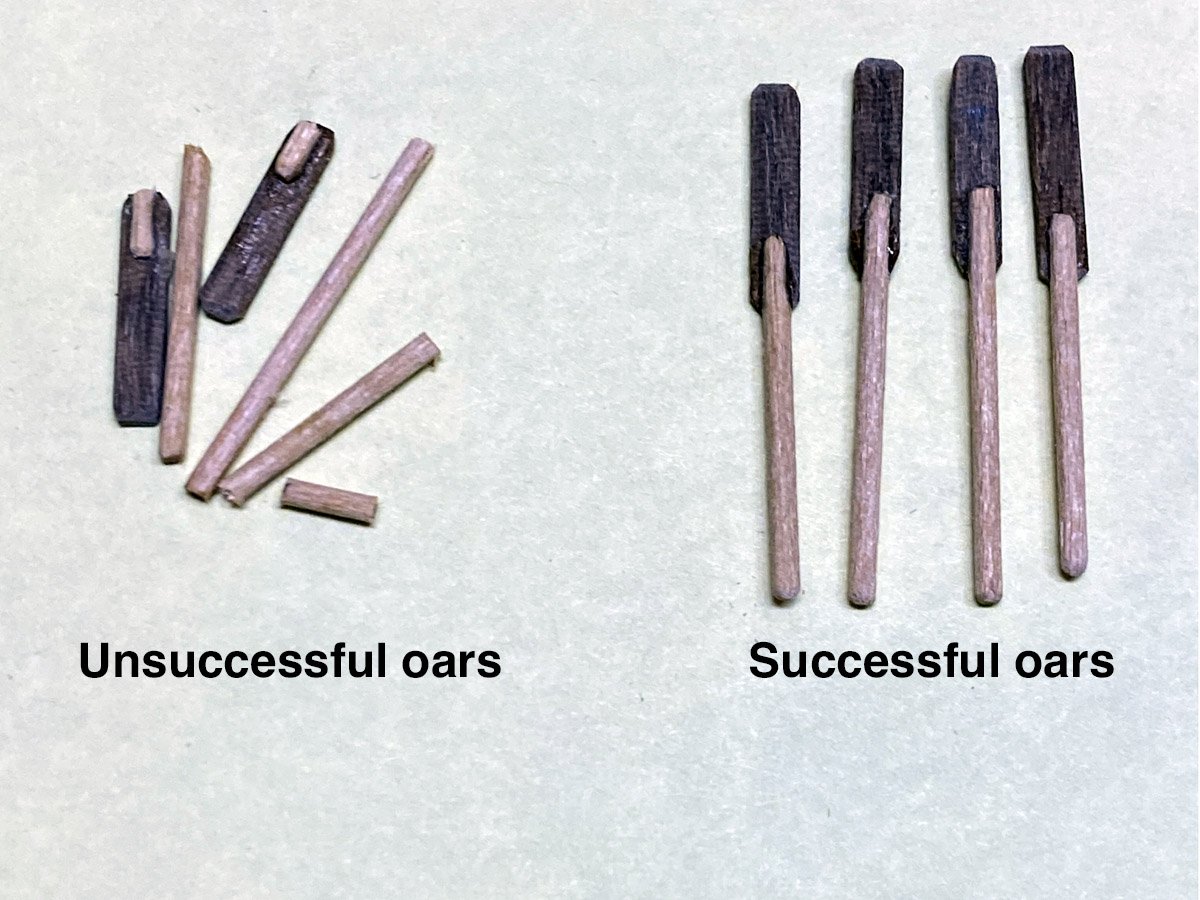
Dories - 13 hours over 4 days The dories are made of 4 pieces of laser cut plywood assembled over a 4-piece form. The actual construction was pretty simple but I added some details that took a lot longer. Like these oars. They're 25 mm long and the handles are 1 mm dowel. They tended to break where the handles attach to the blades. The floorboards are thin walnut strips. The spacing between the strips is exactly the size of my push pins. I attempted to paint the dories by hand to avoid setting up my airbrush. When they still looked uneven after 7 coats of Model Master insignia yellow acrylic, I got out my airbrush. In 10 minutes they looked great. The green was masked off but drawn with a permanent marker. The Bluenose often sailed with 12 dories stacked 6 high. but 2 was enough for me.
About us
Modelshipworld - Advancing Ship Modeling through Research
SSL Secured
Your security is important for us so this Website is SSL-Secured
NRG Mailing Address
Nautical Research Guild
237 South Lincoln Street
Westmont IL, 60559-1917
Model Ship World ® and the MSW logo are Registered Trademarks, and belong to the Nautical Research Guild (United States Patent and Trademark Office: No. 6,929,264 & No. 6,929,274, registered Dec. 20, 2022)
Helpful Links
About the NRG
If you enjoy building ship models that are historically accurate as well as beautiful, then The Nautical Research Guild (NRG) is just right for you.
The Guild is a non-profit educational organization whose mission is to “Advance Ship Modeling Through Research”. We provide support to our members in their efforts to raise the quality of their model ships.
The Nautical Research Guild has published our world-renowned quarterly magazine, The Nautical Research Journal, since 1955. The pages of the Journal are full of articles by accomplished ship modelers who show you how they create those exquisite details on their models, and by maritime historians who show you the correct details to build. The Journal is available in both print and digital editions. Go to the NRG web site (www.thenrg.org) to download a complimentary digital copy of the Journal. The NRG also publishes plan sets, books and compilations of back issues of the Journal and the former Ships in Scale and Model Ship Builder magazines.


