-
Posts
1,679 -
Joined
-
Last visited
Content Type
Profiles
Forums
Gallery
Events
Everything posted by scrubbyj427
-
Update: My laser decided to take new years off until further notice so everything is at a dead stop until I can convince it otherwise.
-
Not sure exactly what you’re asking but It sounds like separate bow and stern model sections? No I will not be producing those as this time, just the whole ship.
-
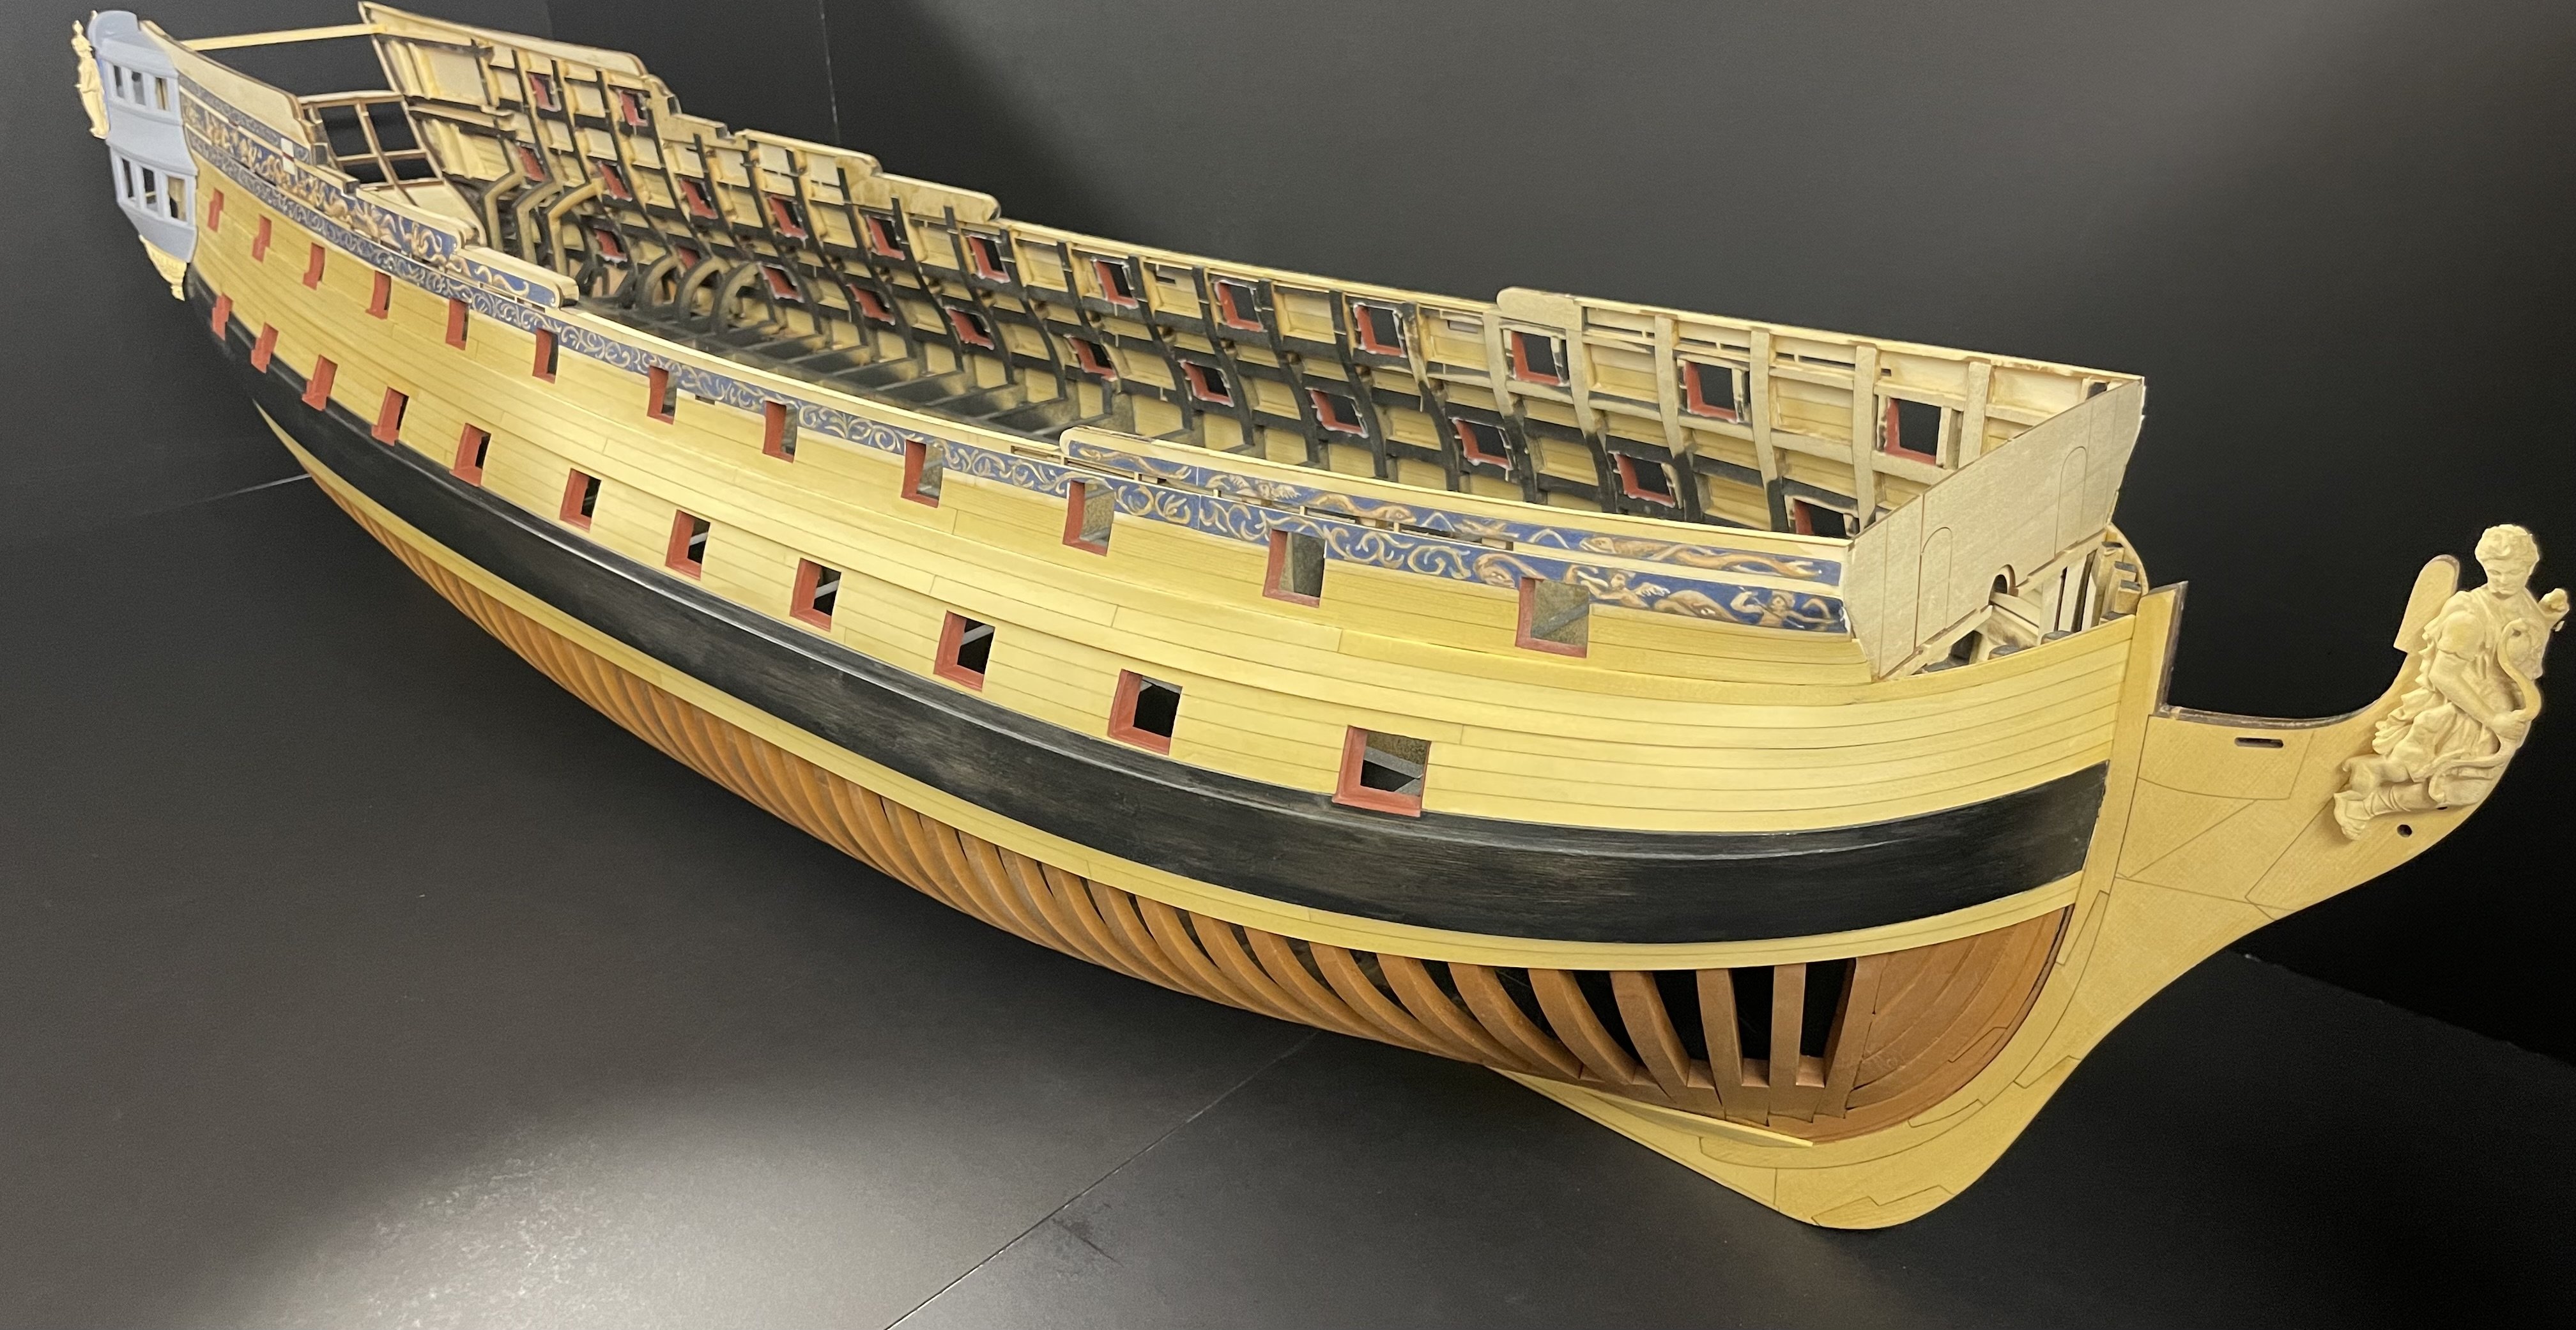
I should have a handful of Portland kits (Chapter 1&2) as well as some Winchelsea starter bulkhead kits and Neptune capstan kits ready by this weekend… if everything goes right. I’ll keep everyone updated
-
I do not, nor have I seen any drawings that show it aside from winfields book. but rigs were standard back then. Winfields book on leopard covers it In detail in 1/96 scale. Leopard was portlands younger sister so this would be pretty accurate if you decided to rig it.
-
Hi Albin, I will certainly notify you as soon as I have one available. Did you say you wanted a cherry one? im working on pricing now, the first two chapters are included in one large box and there’s quite a lot of material between them so it won’t be cheap but the model cost overall will be on par with other models of similar quality and scale such as Winchelsea and La Rennomme.
-
It’s very close, Working bugs out now. I will be producing full time After Christmas. I will also be cutting cherry kits as well. As soon as the Website is finished I will post a link on this page as well as on MSW!
-

L'Ambitieux by Nek0 - Altaya
scrubbyj427 replied to Nek0's topic in - Kit build logs for subjects built from 1501 - 1750
Spectacular model! -
Merry Christmas and happy new year Siggi. Get well soon. Stay away from the shipyard ale!
-
Looking forward to seeing this one!
-
Thank you Gary. The work you’re doing on Alfred is very inspiring and setting a benchmark for how I want to build Portland.
-
Perfect, I will be making a couple out of cherry when I arrive home. stay tuned, website will be up soon.
-
Nicely done Pegasus Henry, she looks good! I’m glad that damage was minimal on her fall.
- 257 replies
-
- pegasus
- Swan-class
-
(and 1 more)
Tagged with:
About us
Modelshipworld - Advancing Ship Modeling through Research
SSL Secured
Your security is important for us so this Website is SSL-Secured
NRG Mailing Address
Nautical Research Guild
237 South Lincoln Street
Westmont IL, 60559-1917
Model Ship World ® and the MSW logo are Registered Trademarks, and belong to the Nautical Research Guild (United States Patent and Trademark Office: No. 6,929,264 & No. 6,929,274, registered Dec. 20, 2022)
Helpful Links
About the NRG
If you enjoy building ship models that are historically accurate as well as beautiful, then The Nautical Research Guild (NRG) is just right for you.
The Guild is a non-profit educational organization whose mission is to “Advance Ship Modeling Through Research”. We provide support to our members in their efforts to raise the quality of their model ships.
The Nautical Research Guild has published our world-renowned quarterly magazine, The Nautical Research Journal, since 1955. The pages of the Journal are full of articles by accomplished ship modelers who show you how they create those exquisite details on their models, and by maritime historians who show you the correct details to build. The Journal is available in both print and digital editions. Go to the NRG web site (www.thenrg.org) to download a complimentary digital copy of the Journal. The NRG also publishes plan sets, books and compilations of back issues of the Journal and the former Ships in Scale and Model Ship Builder magazines.


