-
Posts
1,690 -
Joined
-
Last visited
Content Type
Profiles
Forums
Gallery
Events
Everything posted by scrubbyj427
-
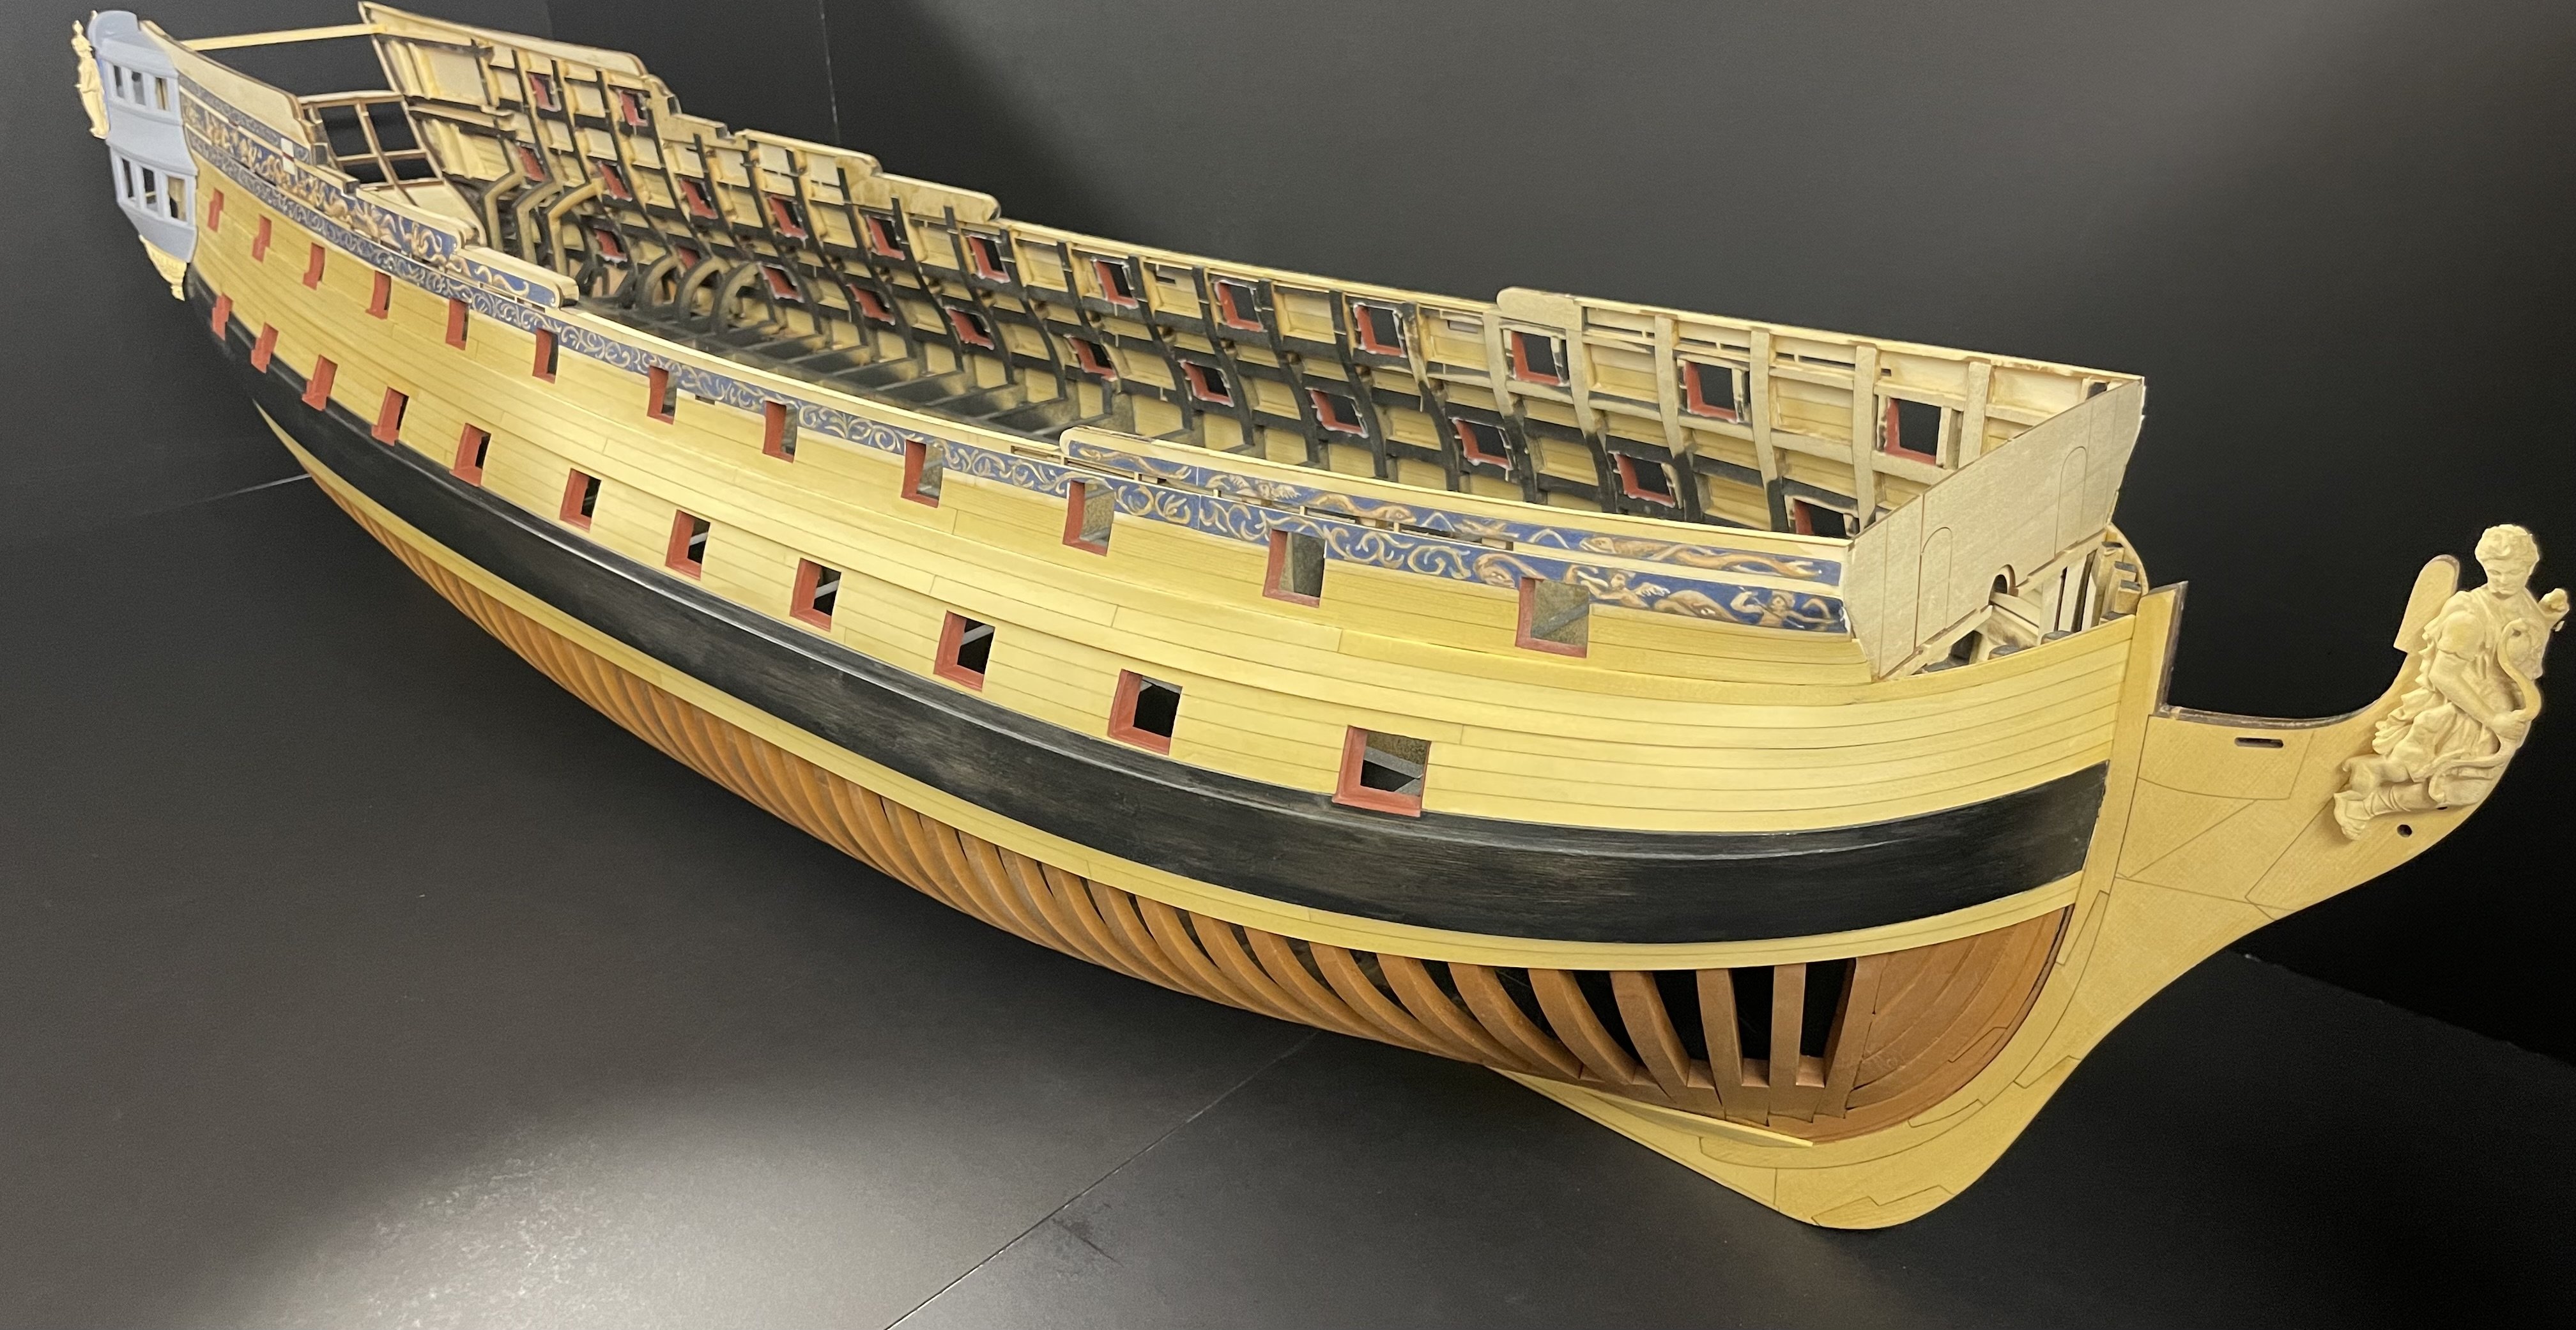
I appreciate your interest. Im sure I’ll have one available for you. The kits take several days to produce. I will be producing as many pear ones as I can source wood for and the others will be cherry.
-
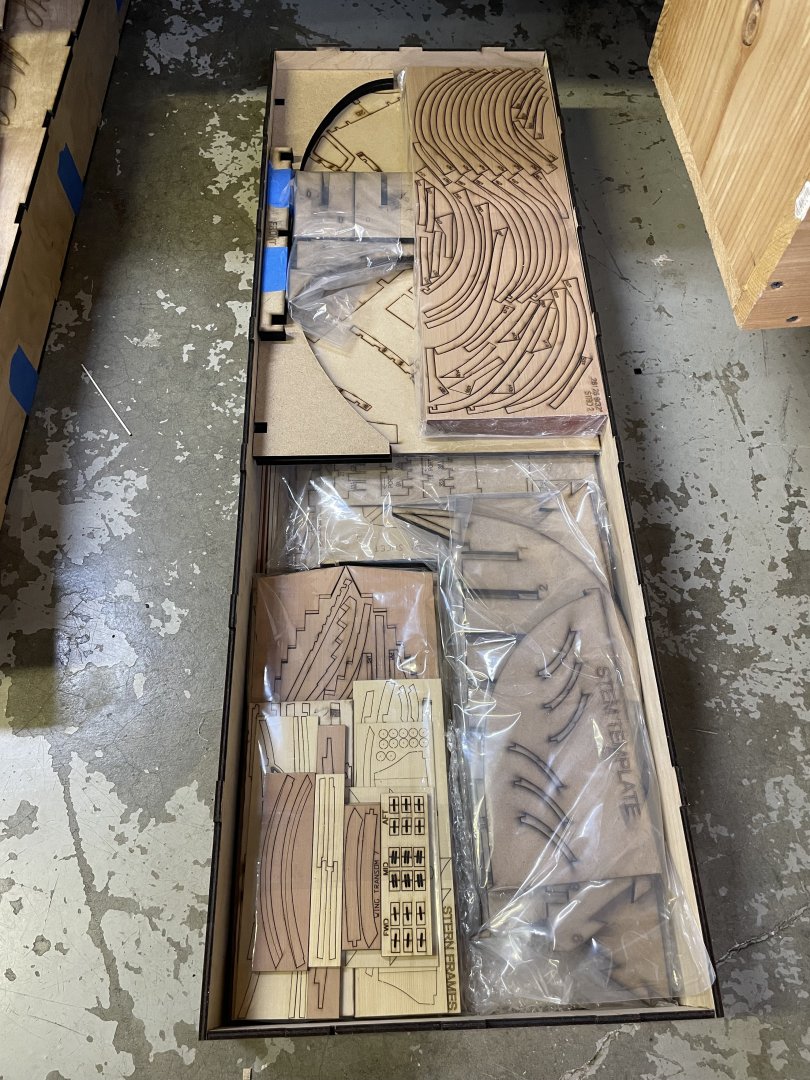
I can’t do preorder yet but I will let you know when things are available for order. Im hoping to have a website up very soon. Keep checking in. As of now I have 1 kit available. I will let you know when I’m ready to ship.
-
I’m sure I could box up multiple chapters and ship them all at once. The model is not complete so I will only be able to offer up to Chapter 4 which will get you through the lower gun deck. Hopefully available by the new year.
-
Thank you Thukydides, it’s been a lot of work and it’s nice to see it all coming together.
-
Hi Strand, thank you for the compliments and looking in on the model. I return to the workshop next month and hope to begin production of more Ch 1 kits, currently I have 1.75 available. I plan to have somewhere around 5 ready to go by years end. Finding enough Pearwood is quite difficult. i don’t have a final price on it yet but the first part of the kit includes Ch1 and Ch2 parts. It weighs 28lbs. It’s Probably going to be somewhere around $500. Stay tuned as I should have a website linked here on MSW soon.
-

HMS RESOLUTION 1667 by KarenM - 1:48
scrubbyj427 replied to KarenM's topic in - Build logs for subjects built 1501 - 1750
Beautiful work!
About us
Modelshipworld - Advancing Ship Modeling through Research
SSL Secured
Your security is important for us so this Website is SSL-Secured
NRG Mailing Address
Nautical Research Guild
237 South Lincoln Street
Westmont IL, 60559-1917
Model Ship World ® and the MSW logo are Registered Trademarks, and belong to the Nautical Research Guild (United States Patent and Trademark Office: No. 6,929,264 & No. 6,929,274, registered Dec. 20, 2022)
Helpful Links
About the NRG
If you enjoy building ship models that are historically accurate as well as beautiful, then The Nautical Research Guild (NRG) is just right for you.
The Guild is a non-profit educational organization whose mission is to “Advance Ship Modeling Through Research”. We provide support to our members in their efforts to raise the quality of their model ships.
The Nautical Research Guild has published our world-renowned quarterly magazine, The Nautical Research Journal, since 1955. The pages of the Journal are full of articles by accomplished ship modelers who show you how they create those exquisite details on their models, and by maritime historians who show you the correct details to build. The Journal is available in both print and digital editions. Go to the NRG web site (www.thenrg.org) to download a complimentary digital copy of the Journal. The NRG also publishes plan sets, books and compilations of back issues of the Journal and the former Ships in Scale and Model Ship Builder magazines.


