-
Posts
1,690 -
Joined
-
Last visited
Content Type
Profiles
Forums
Gallery
Events
Everything posted by scrubbyj427
-
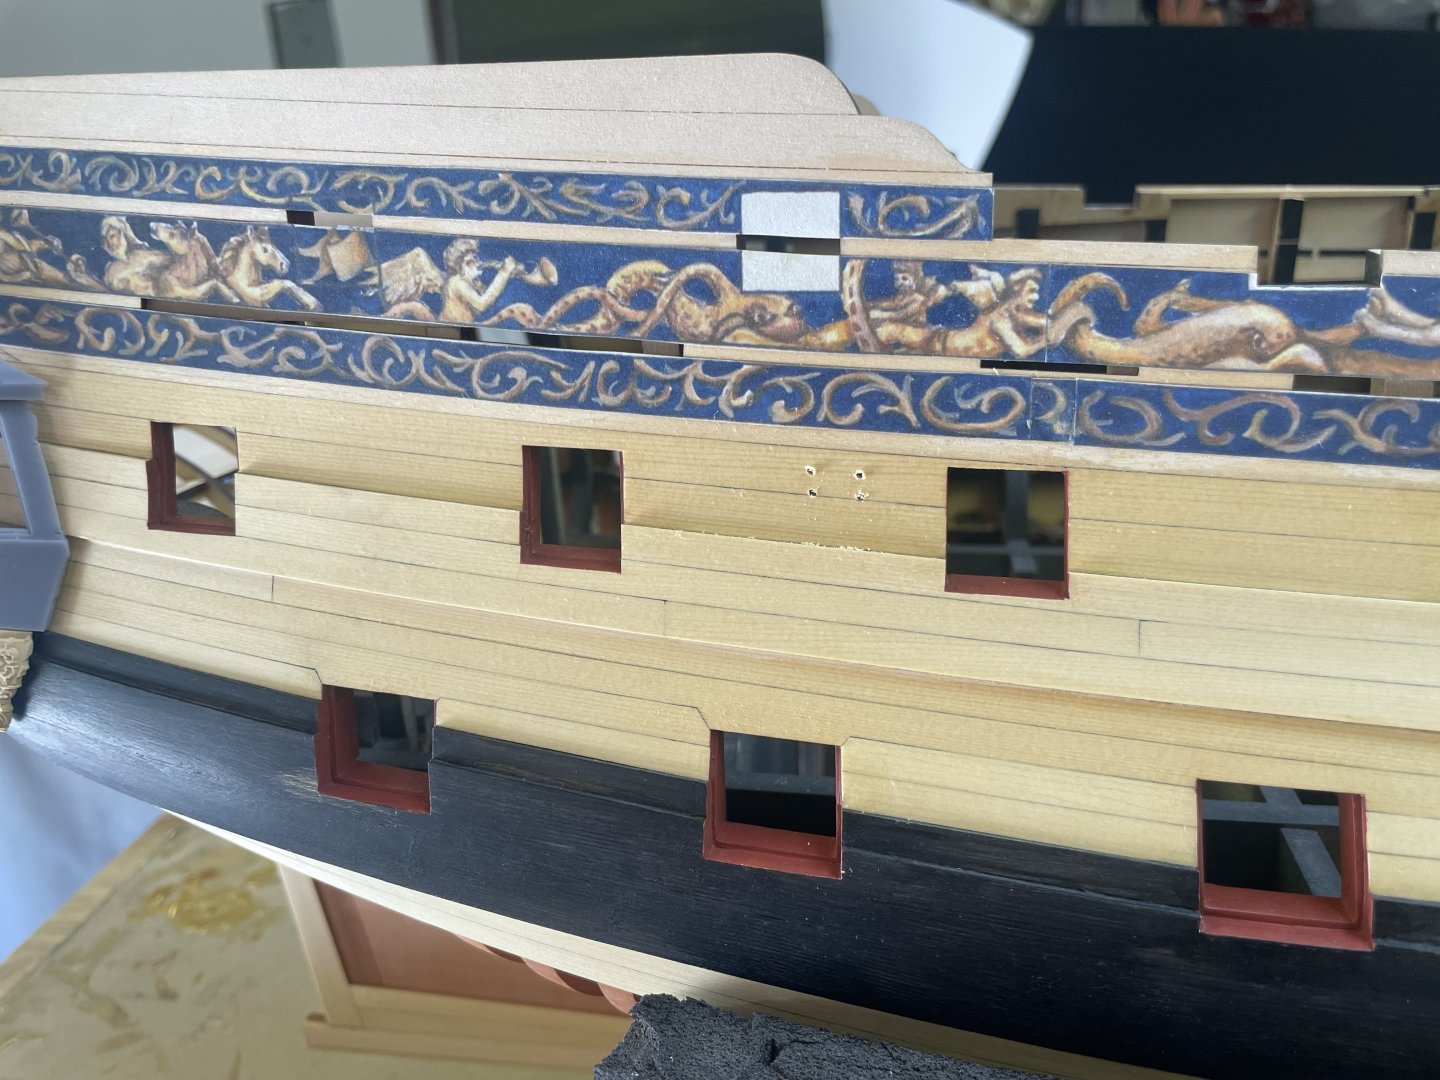
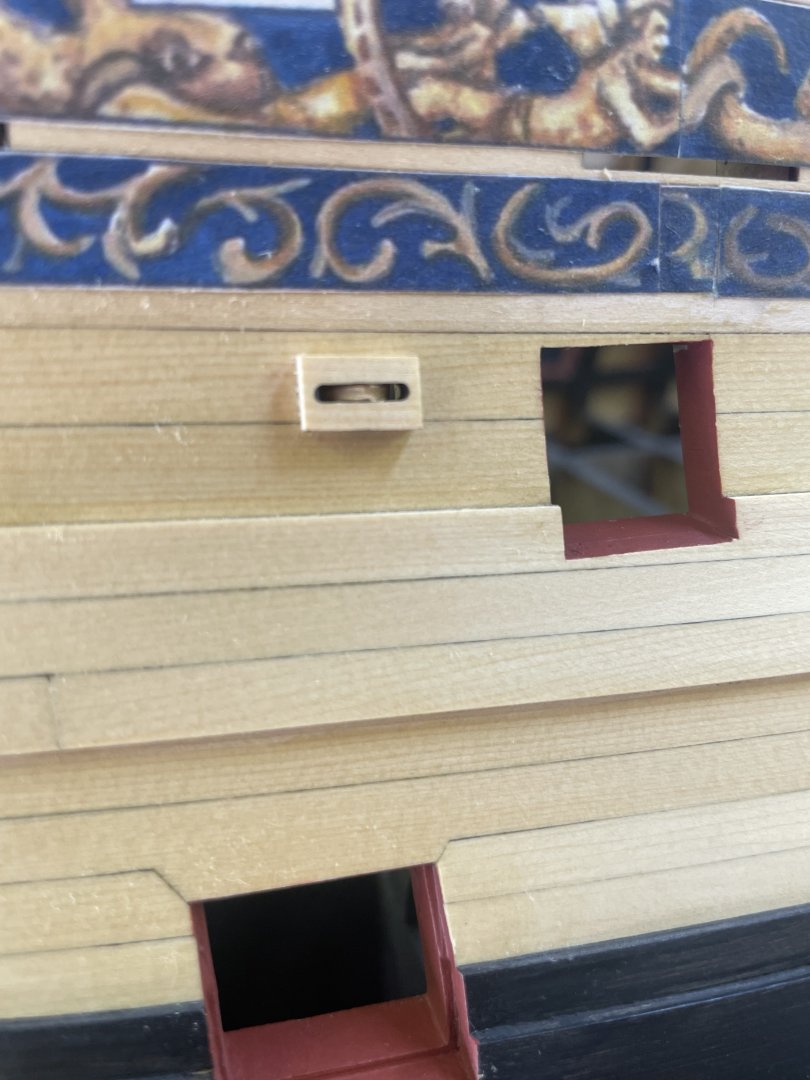
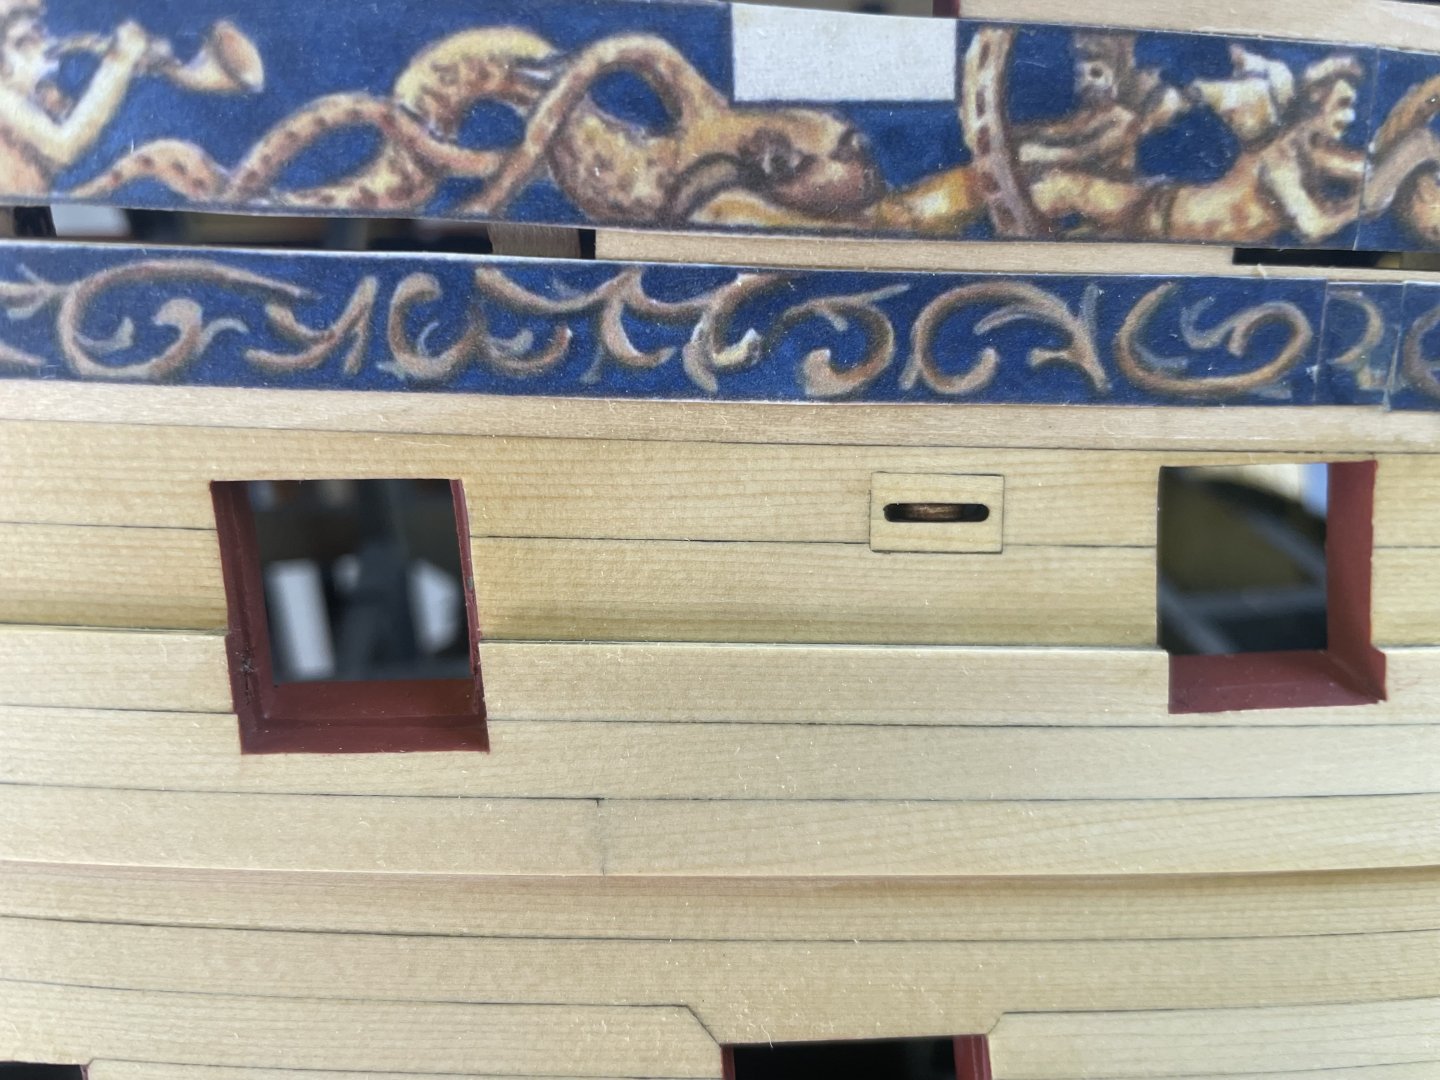
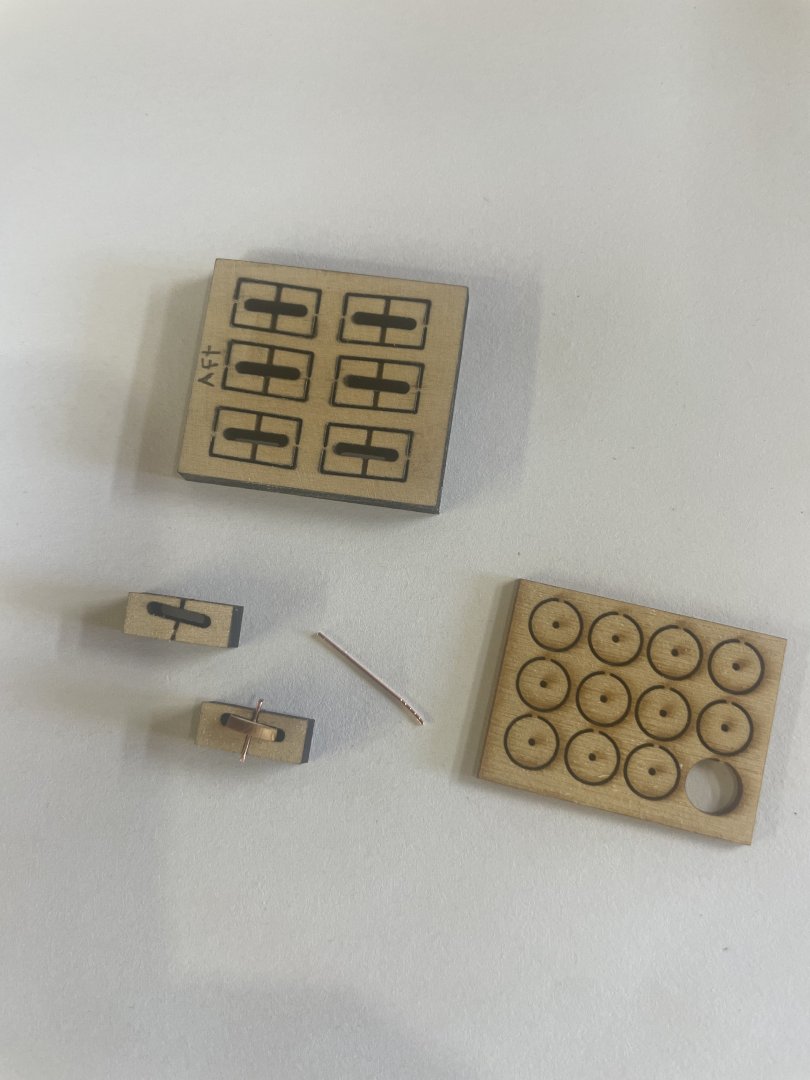
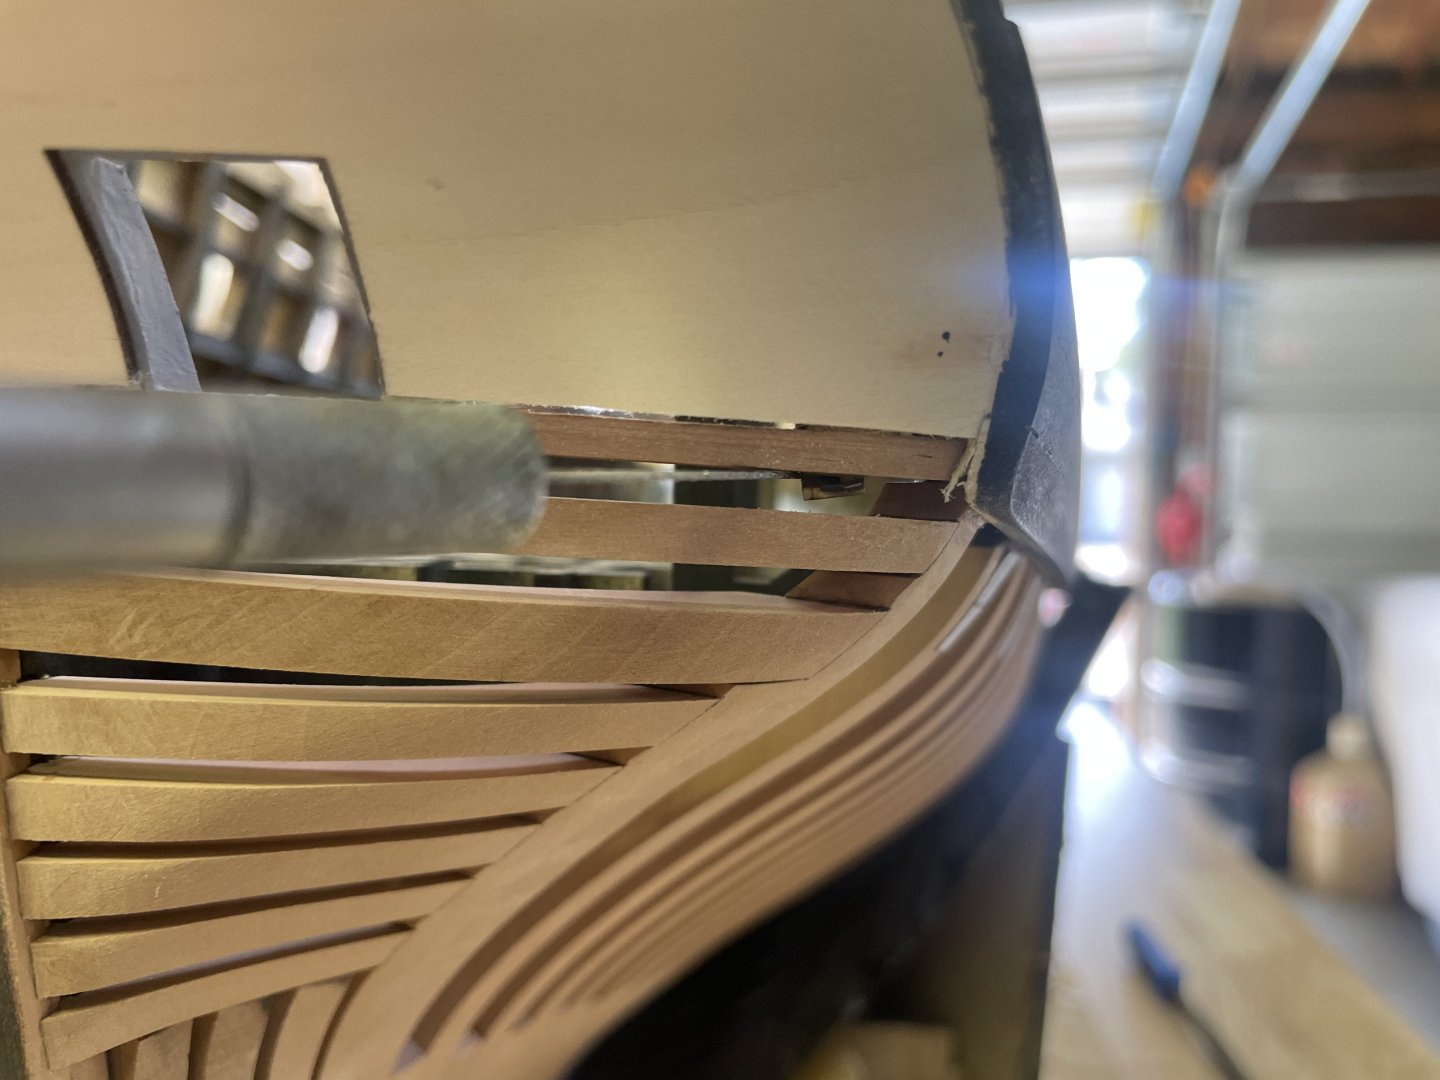
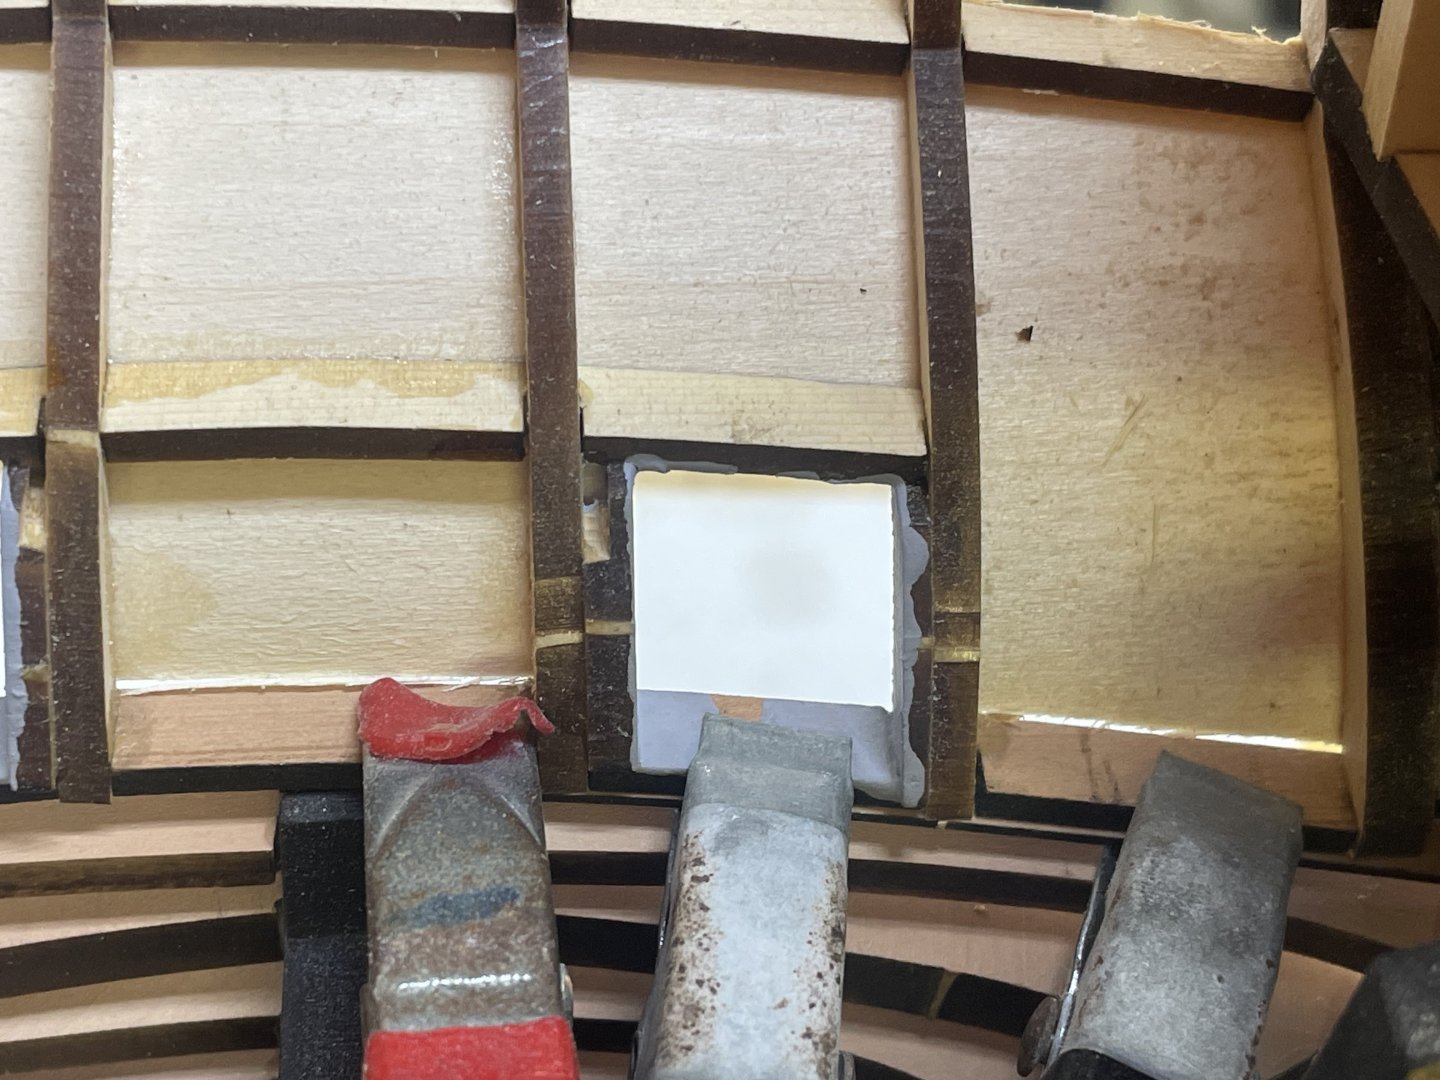
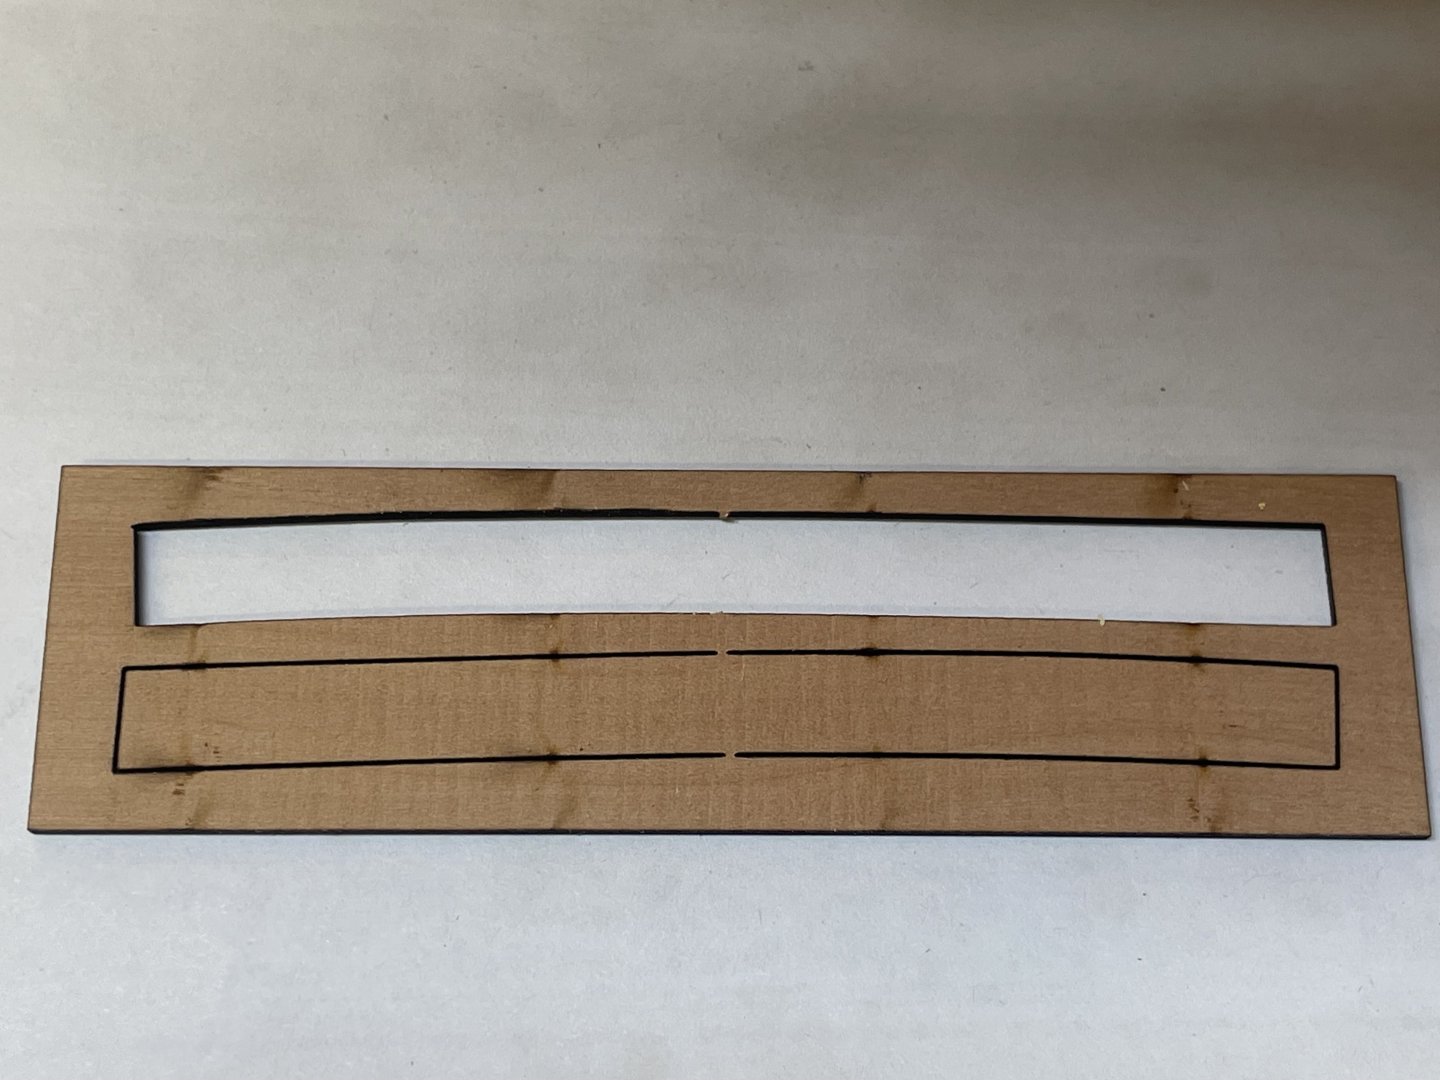
Adding the fixed blocks today, it’s pretty simple actually except for the aft one, there’s no covering up boo boo’s with a frieze on this one. lets start with assembling the fixed blocks. The fixed blocks come in two halves, you just need to select the one that faces out and assemble the roller and the axle to that half. From there I sanded the out side down until it almost hits the roller The idea here is that once we fair the inside of the hull and add the spirketting panels then we can install the other half of the block and fair it down to the spirketting. When faired properly we should be able to see the roller from the inside as well. I’ll cover this more when we get to this stage. Now onto installing the fixed block half, I started by marking where it goes, it’s important that we place it in the corner of all the structure, it will help in the future when the laser cut panels go in on the inside I then traced it with a pencil so I could see where to make Some small holes from there I just opened up the hole very slowly and tested the block over and over again until it had a tight fit. here you can see it from the inside with the roller in place, this will also help you when fairing the inside, once you get close to the roller you’ll know you’re done sanding! once it fit well I glued it in place and then carefully flush sanded it to match the hull then covered it up in some wop so it matches the rest of the planking. the rest of the fixed blocks are pretty easy, they just need to be fitted into laser cut holes in the frieze panels. i carefully cut the frieze piece free from the hole and glued it down to the top of the fixed block and then opened it up with a #11
-
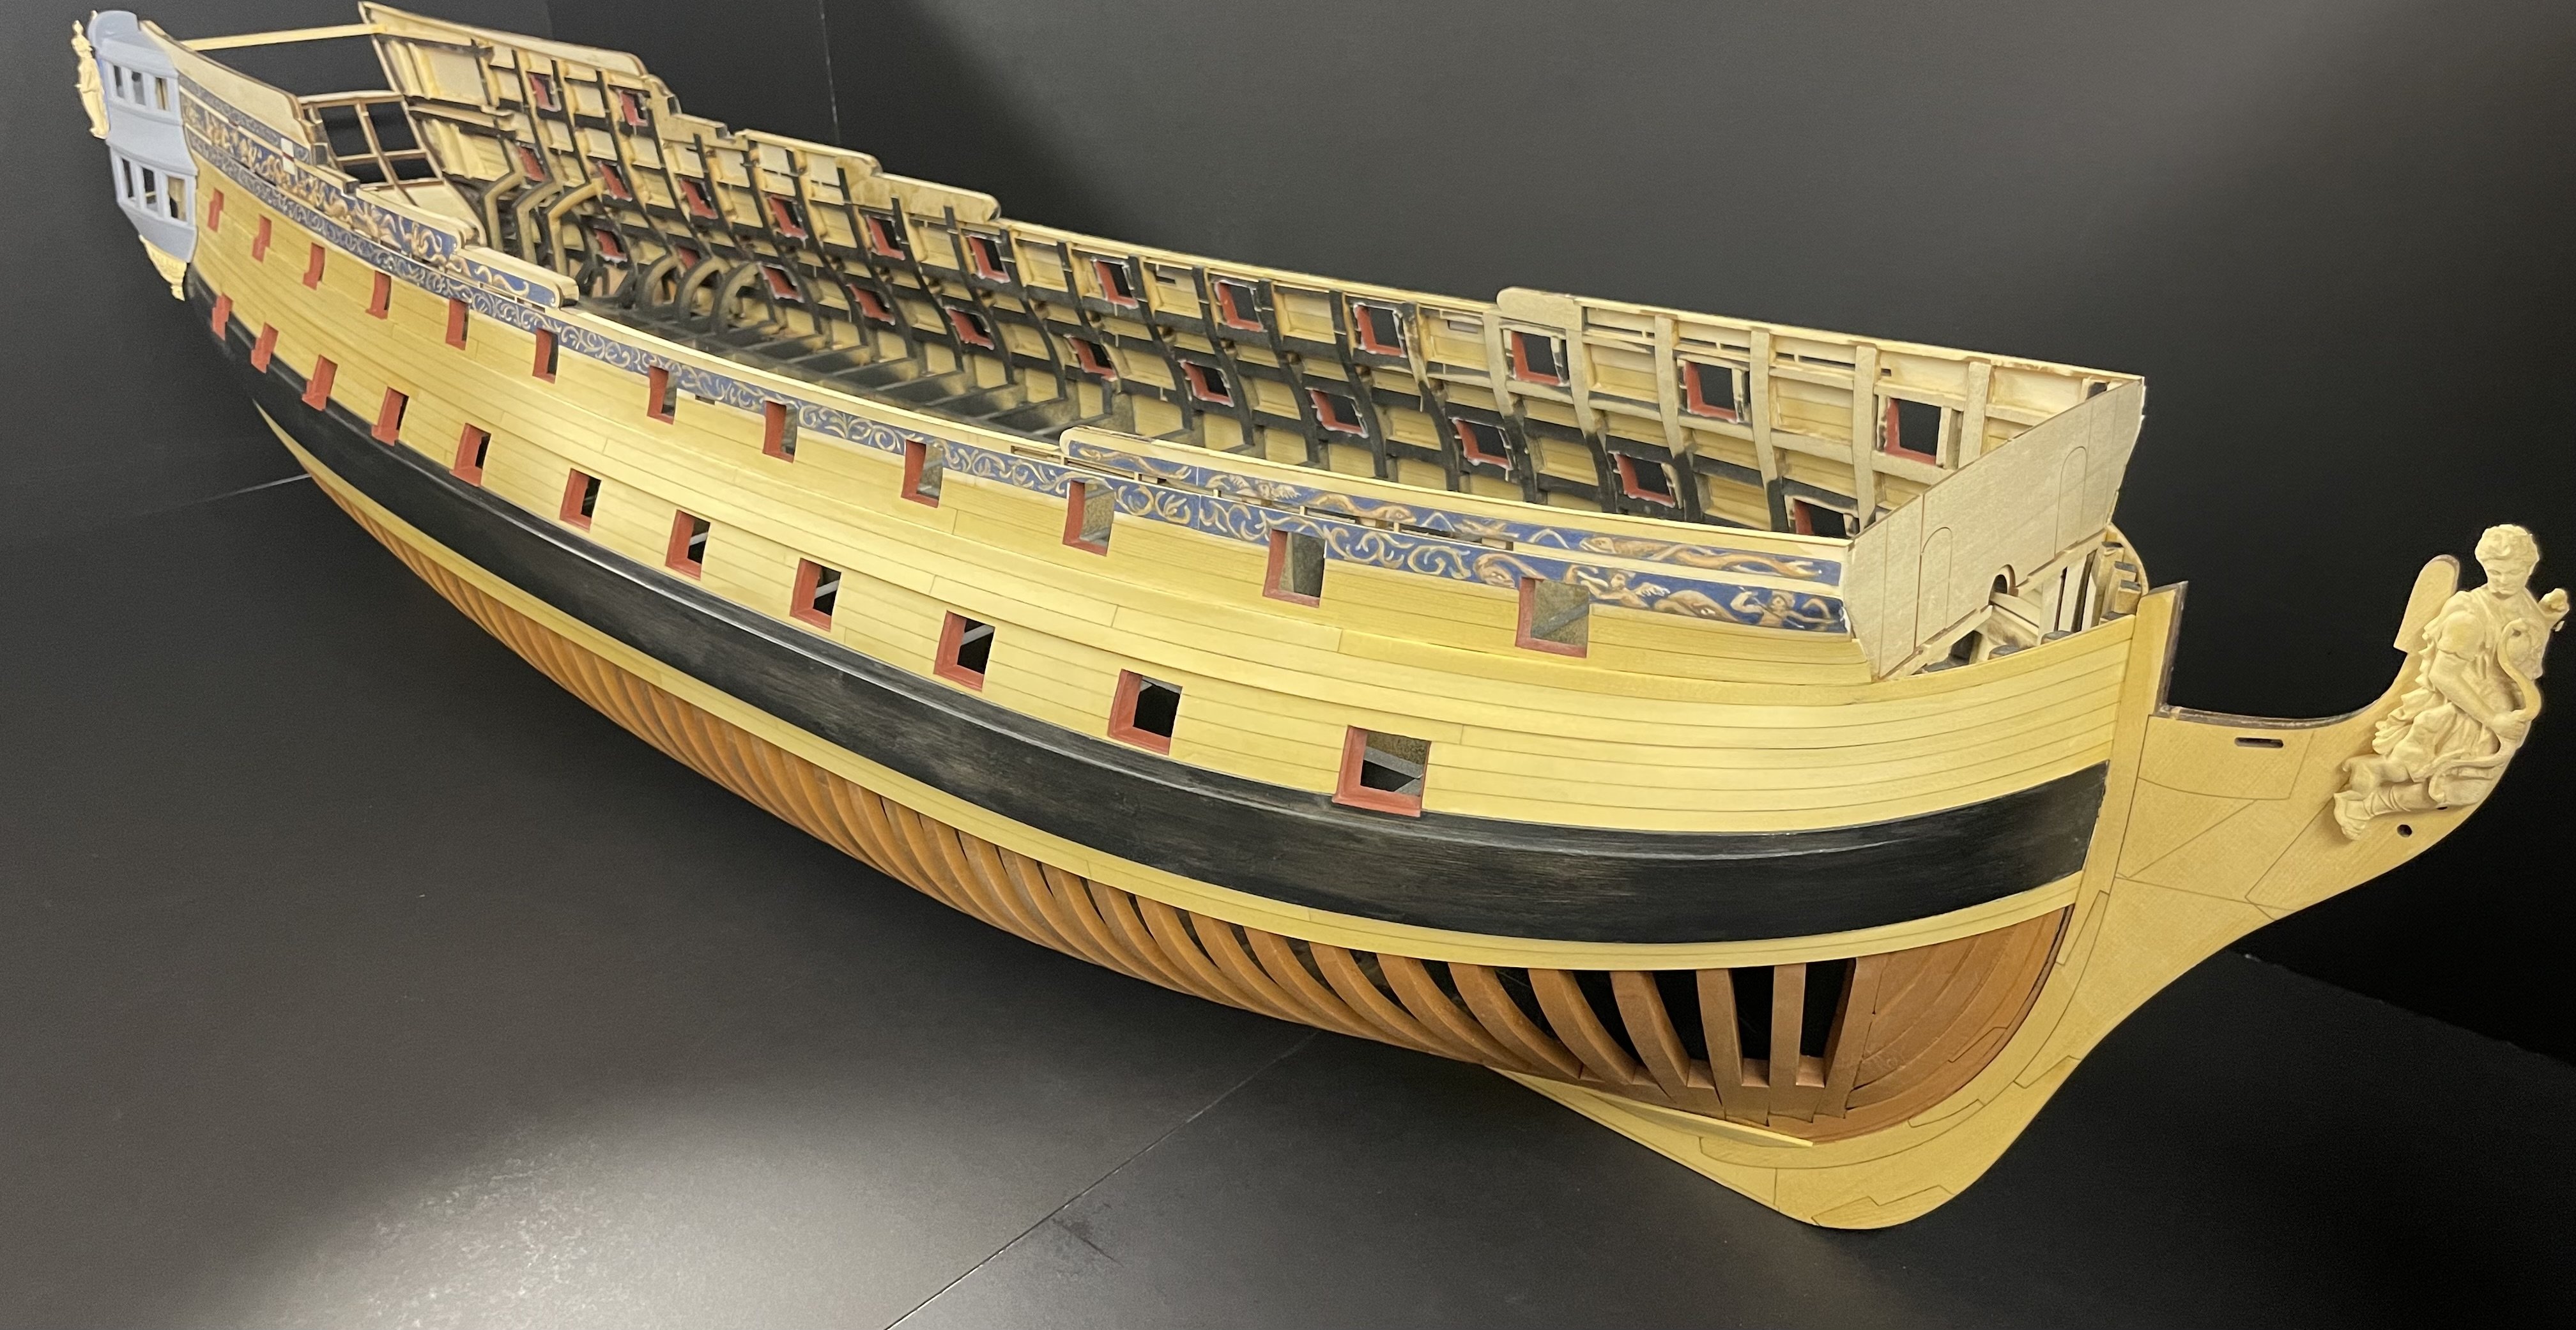
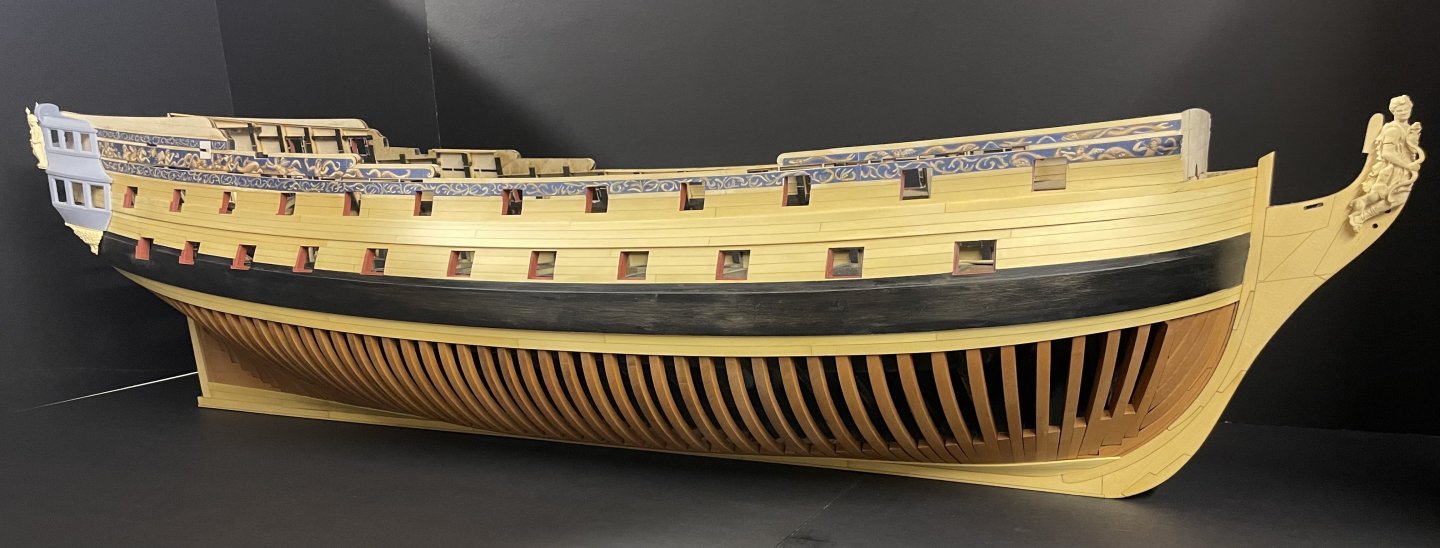
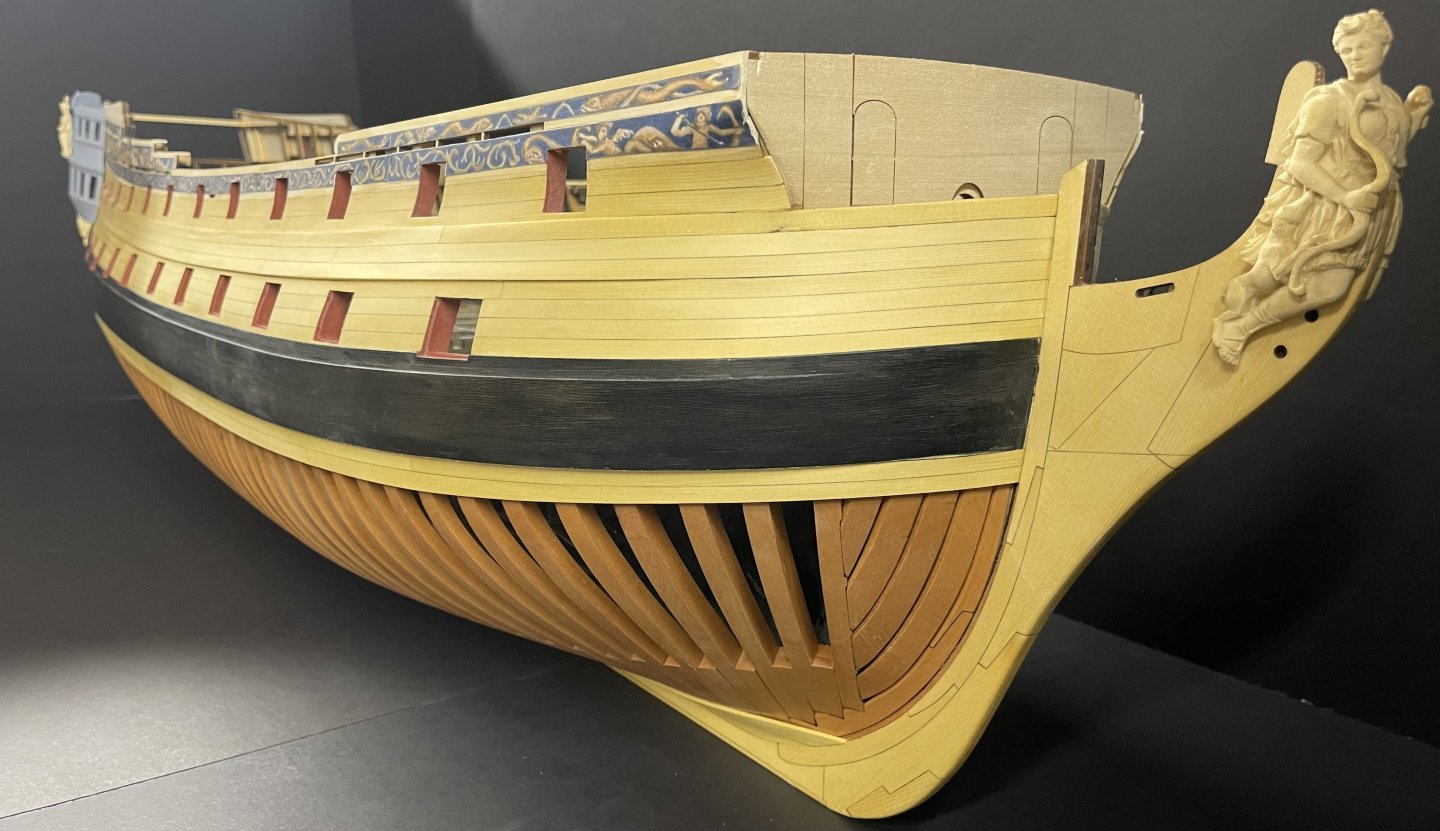
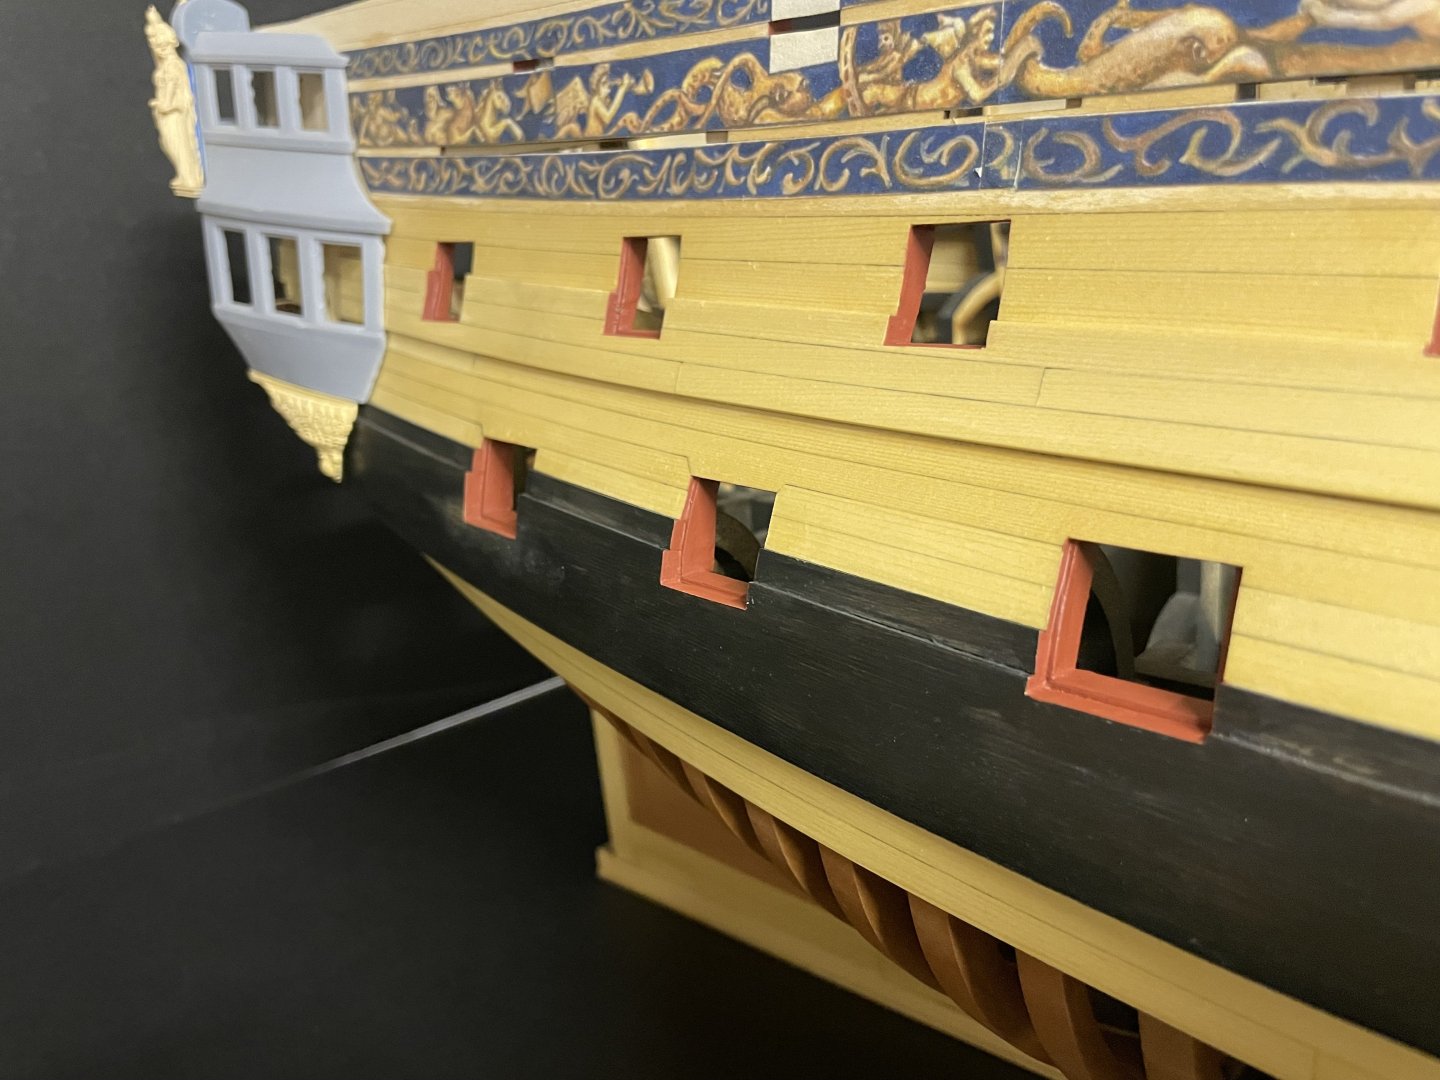
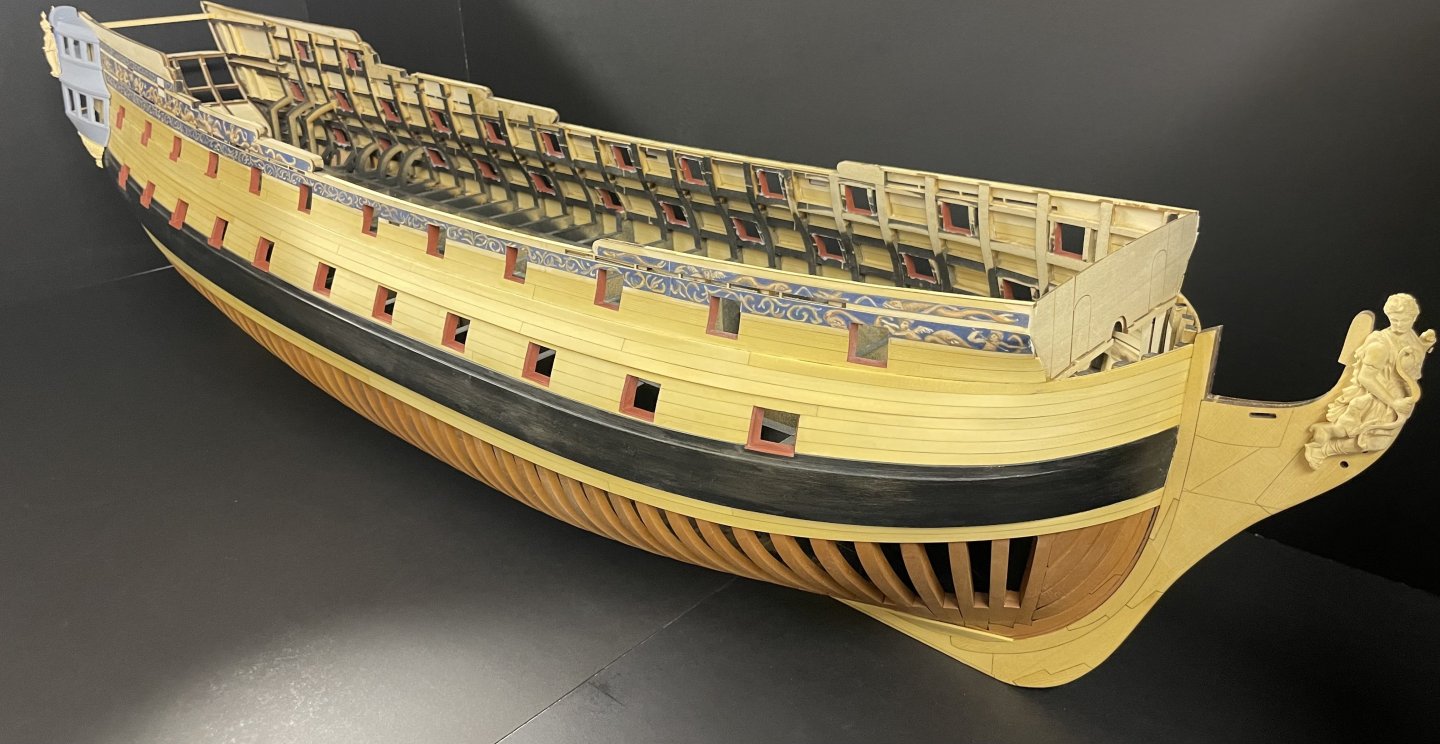
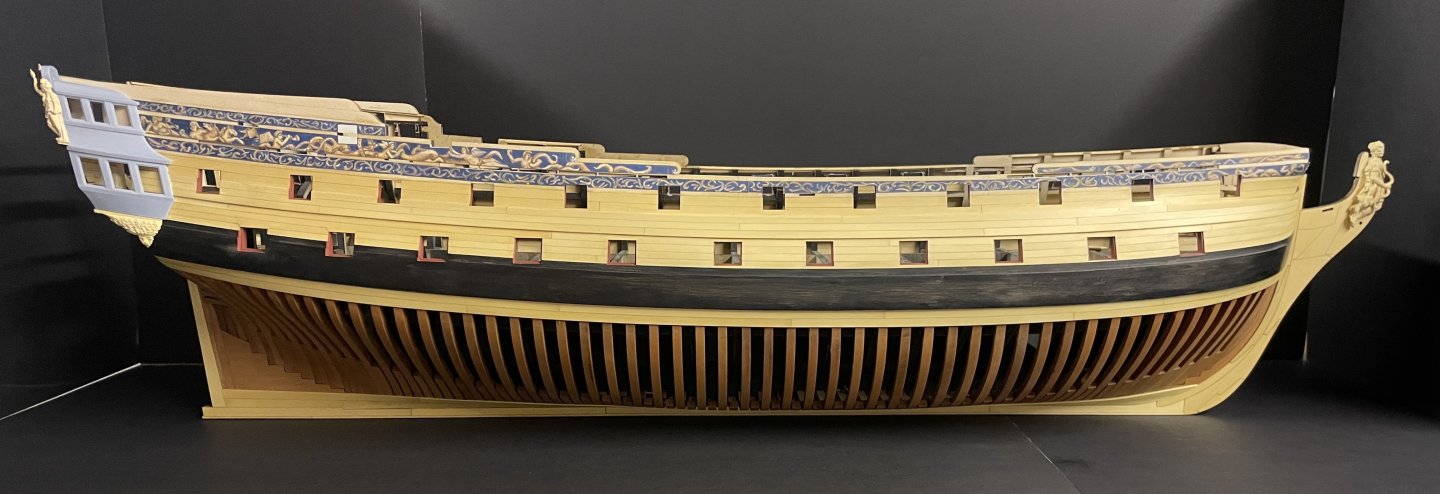
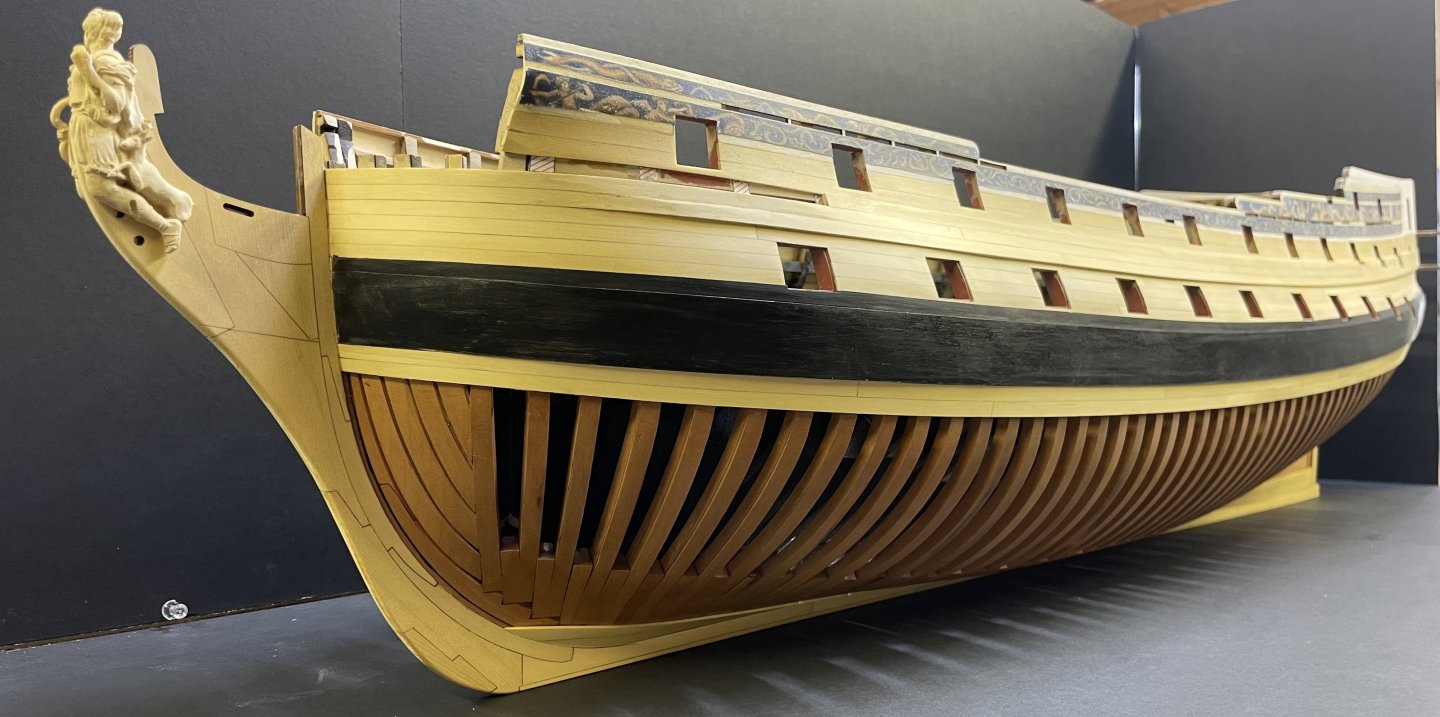
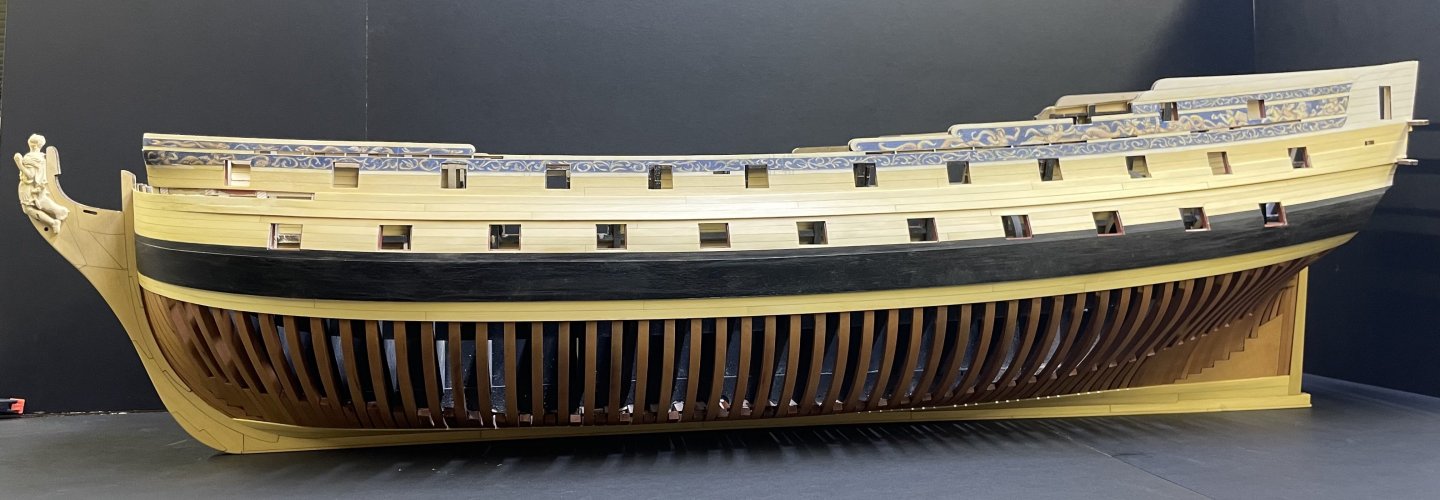
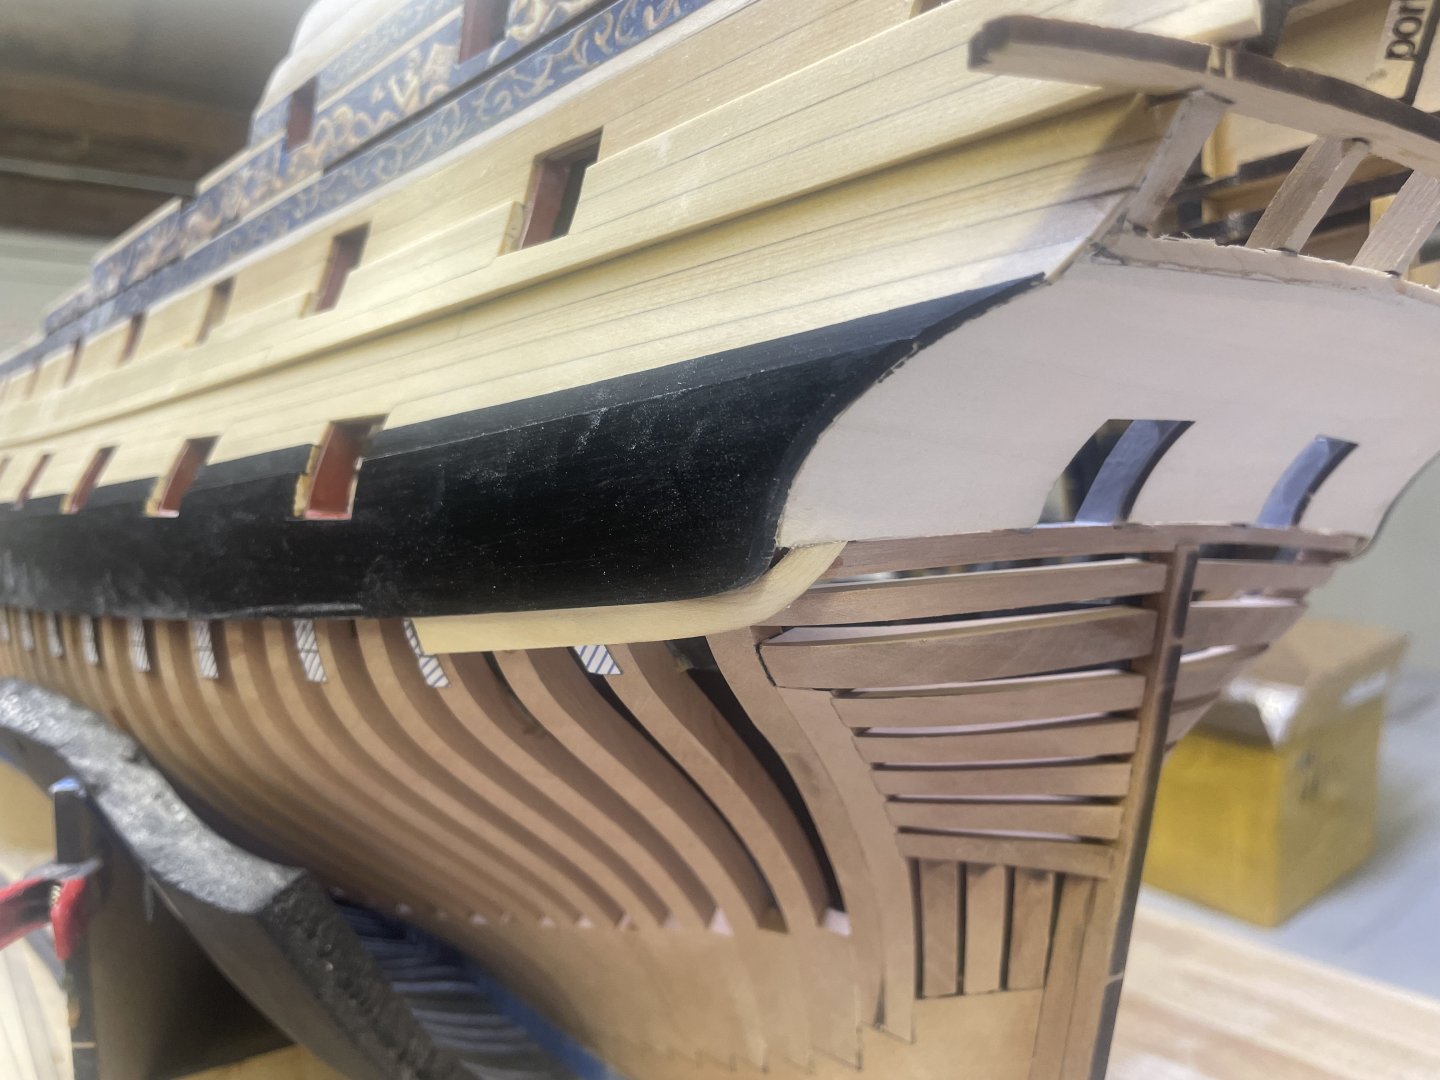
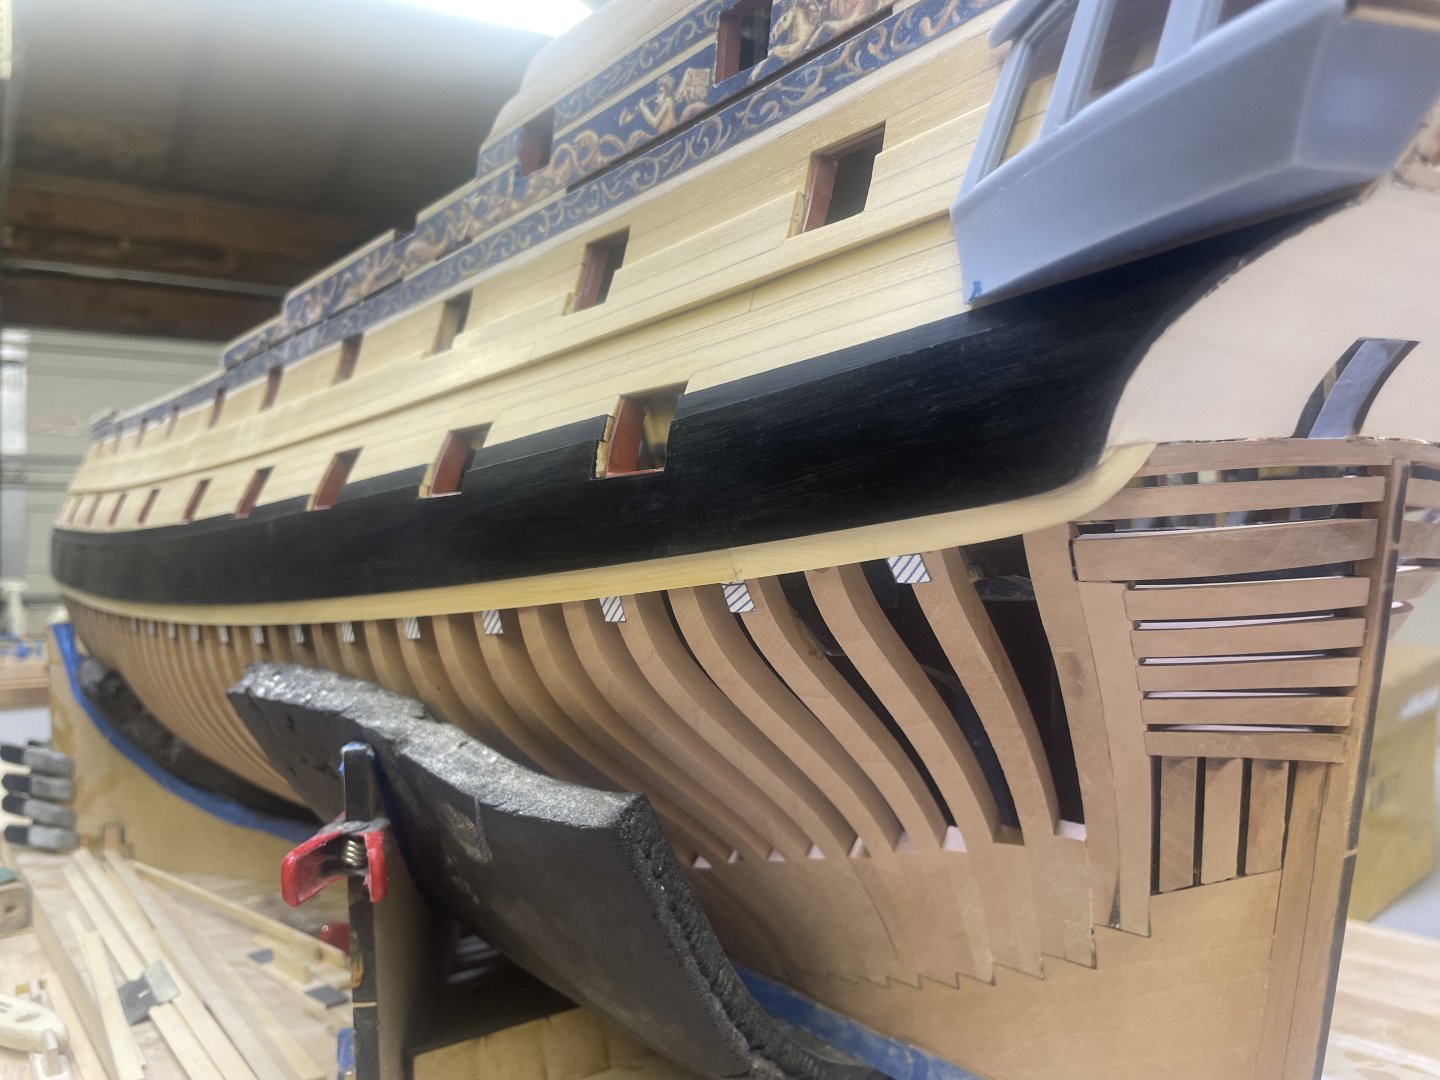
Almost done with Chapter 2, here’s where the model is at this point, warts and all!. A few more things to wrap up and I will begin fairing the inside and getting ready for chapter 3.
-
Thank you Steve. I’m producing instructions to go along with the kit that a more detailed than my poorly assembled build log lol. Cutting two kits now. More to follow.
-
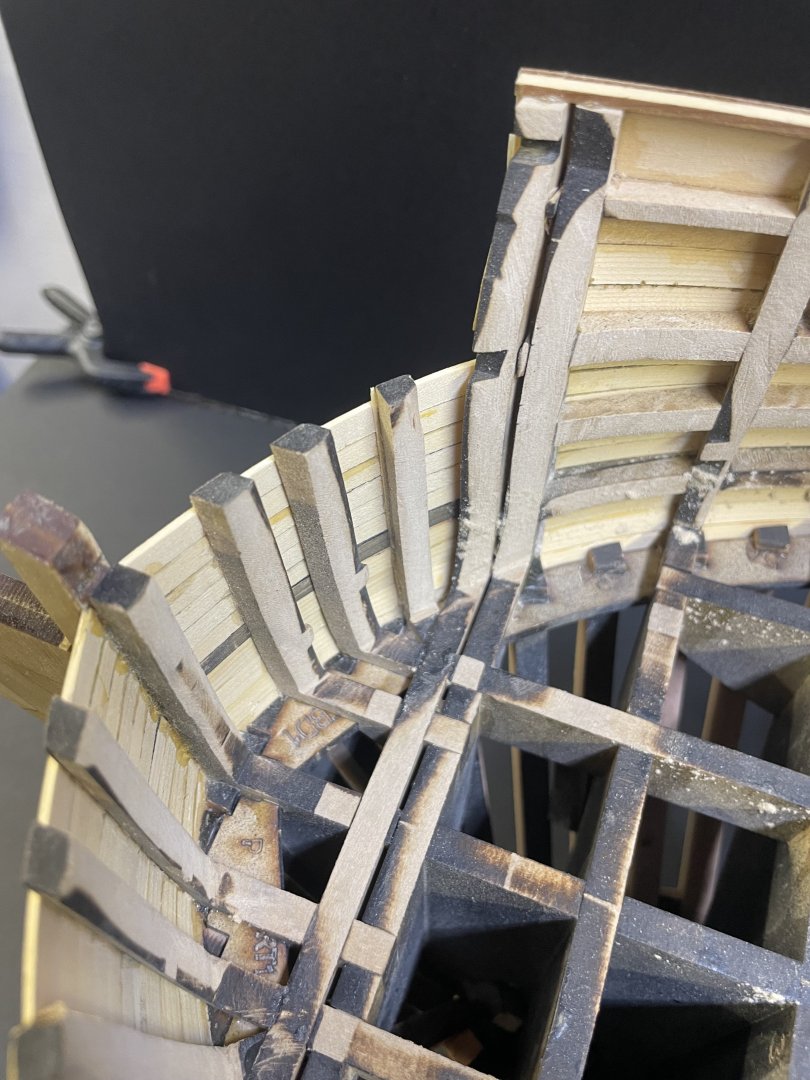
I began fairing the inner hull, as mentioned earlier, the bow needs to be done first in order to install the beak head beam and finish the channel wales. I began by cutting all the extension reenforcement hoops out with a small excel saw blade. MDF cuts like butter so this goes quick from here I faired all the bulkheads down to the first hance piece. I faired enough of the bow aft of the beak head bulkhead beam that I won’t have to worry about coming close to that area then I finish fairing the inside. Now I can complete the channel wale. But before I finish that I moved onto finishing the lower garboard strake plus an additional one. With this complete I could finally add some WOP to the remaining portside hull and frames. Moving on to finish the portside gunports now and finally the last strake at the channel wale.
-
Thank you Ronald! Thank you Kenny. I think the design works well at producing a navy board model without having to fully frame the entire hull only to cover up a ton of expensive pearwood! Thank you Dusan. Soon!
-
The port side planking is complete. Played around with some WOP on the Hawes pieces. Going to start on the garboard strake tonight.
-
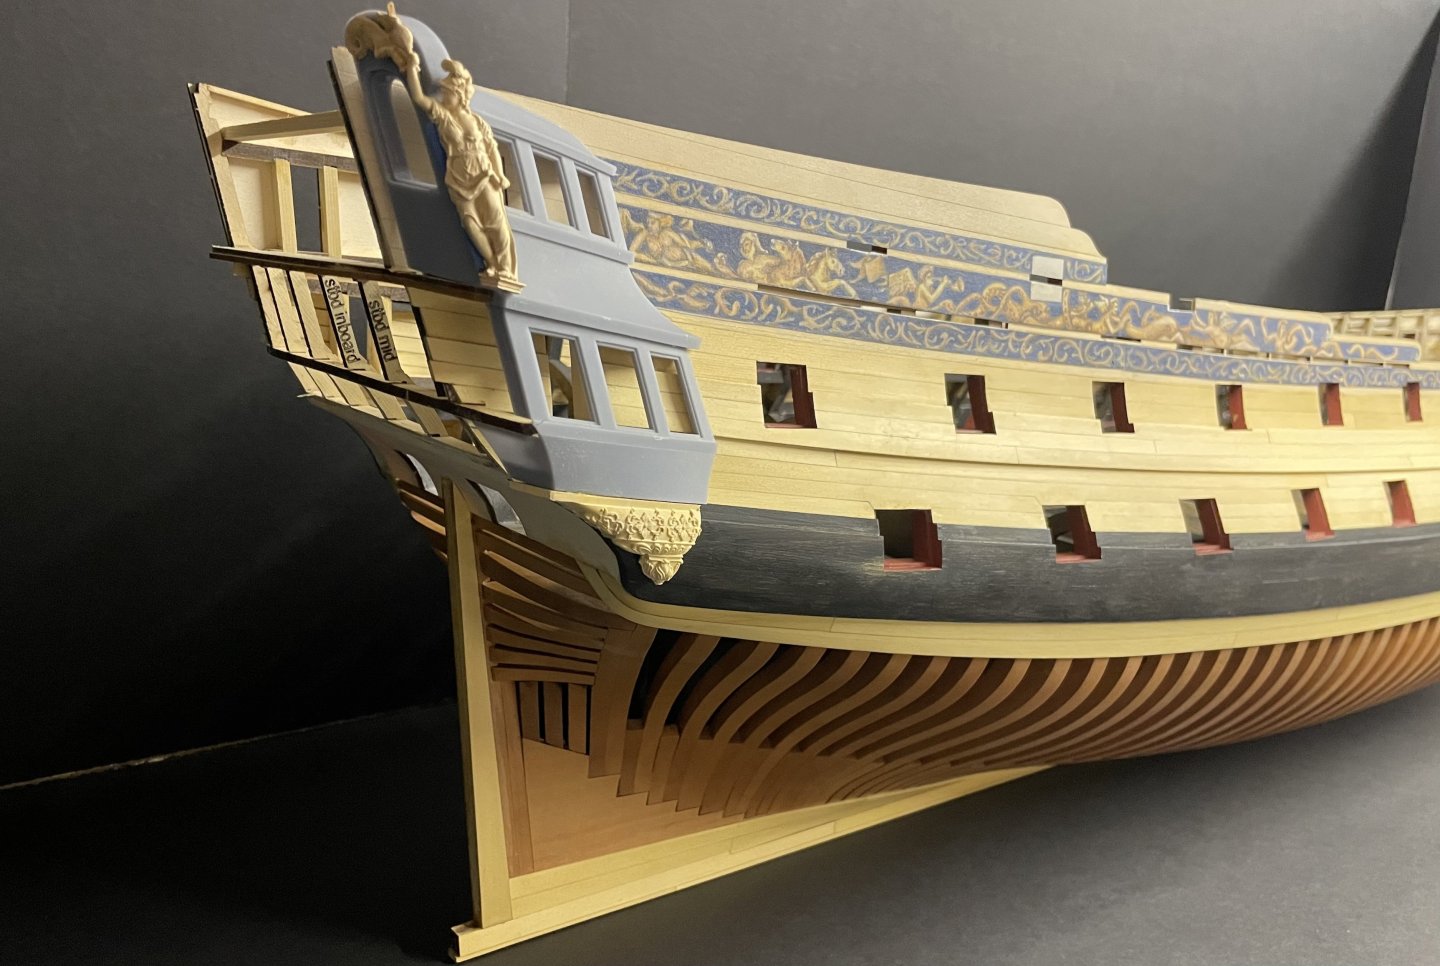
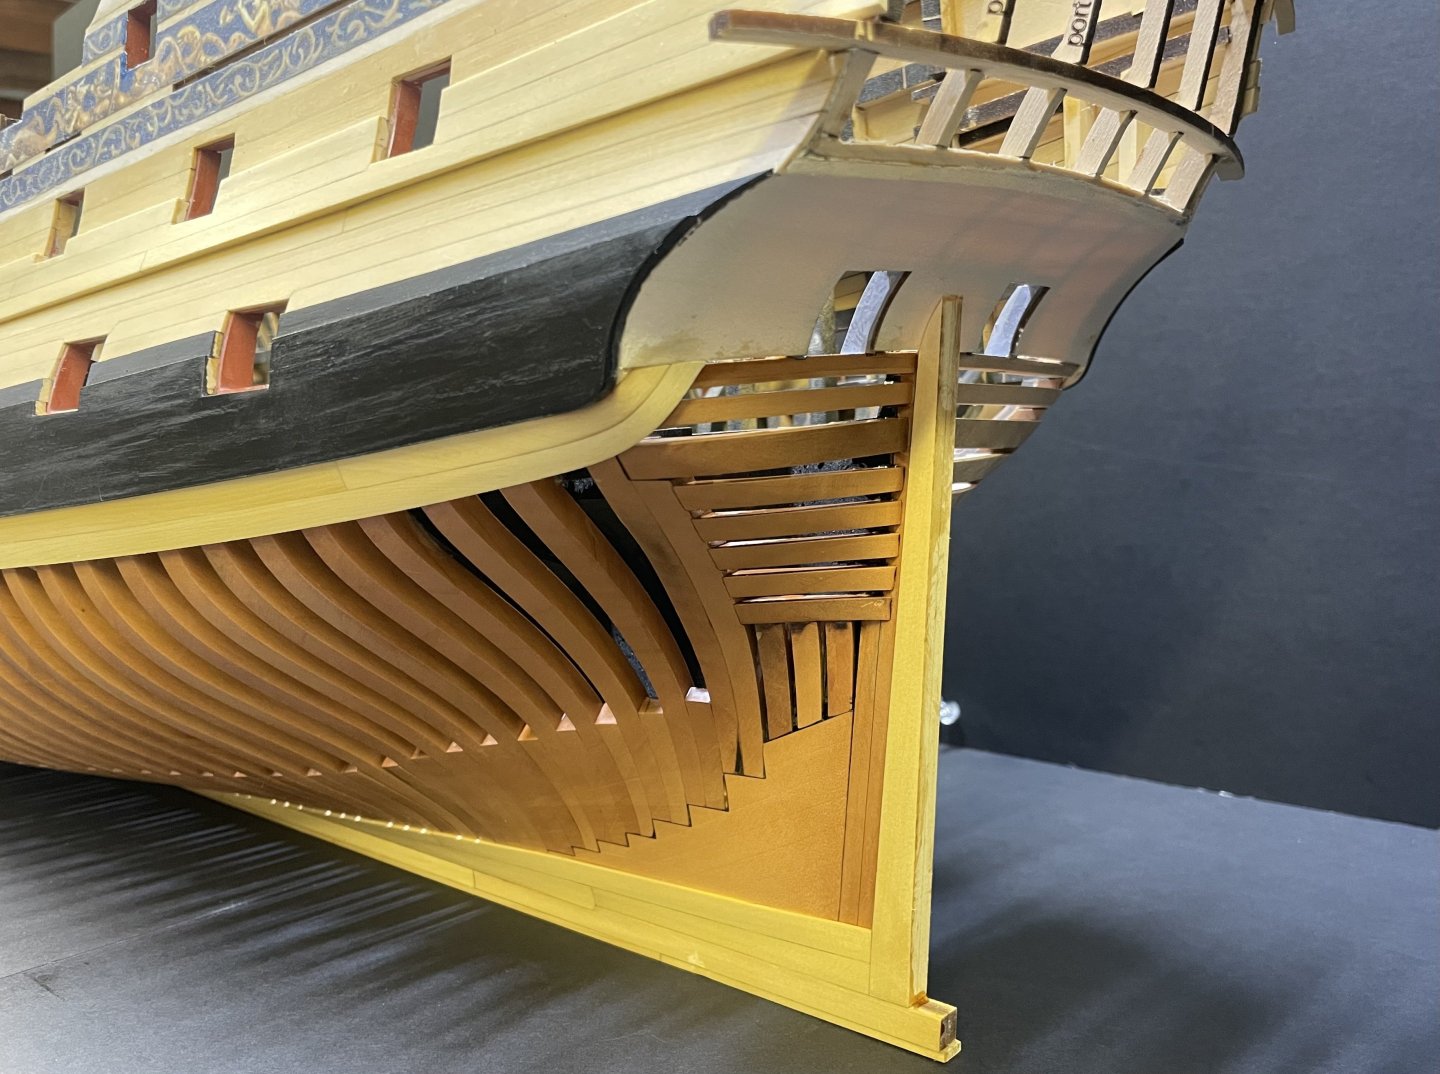
Today I completed the first of two strakes below the main wale. I began with a laminate pear wing transom, this is added to the bottom of the chaser wing transom. First I trimmed up the lower counter so that the bottom is just at the top of the wing transom I then removed the bottom of the outter stern frame with a small razor saw, I then sanded what was left of it flat with a small stick sander the laminate for the bottom of the transom is 3/64” and laser cut Go ahead and clamp the piece in place and test fit a few times, it needs to be up against the inner post nice and tight. The outter edge of it is not as much of a concern as it will have planks covering it. once satisfied with the fit I just coated it in pva and clamped it down. I also used some small wedges on the outside to help with the bond. Once dry it can be block sanded down to match the other transoms, once completed it’s hard to tell it’s even there. There will also be a molding covering the original piece so you will really only see the laminate piece anyway. Now you can begin adding the first strake, I just started from the front and tapered the plank to fit the printed guides. I find it much easier to close up those tricky planks that terminate at the counter by leaving a gap open on the plank just before the last one, after that last plank is fitted then it’s just an easy run between the two ends Once completed a small filler piece was added between the plank and wale, it’s not really necessary as it will be covered by scraped molding but I did it anyway, I saw it done on a contemporary model. Im going to add one more plank after this one and that will be all. But you can see the completed laminate piece compared to the one on the stbd side. if you look up the slots for the stern framing are now covered and the gap is closed up between the two transoms as shown in the drawings. Next up is the garboard strake plus 1, gunports, counter frieze, sternpost and chap 2 is complete. JJ
-

LE CENTAURE 1783 by Jeronimo
scrubbyj427 replied to Jeronimo's topic in - Build logs for subjects built 1751 - 1800
Beautiful work Karl. Just wow! -
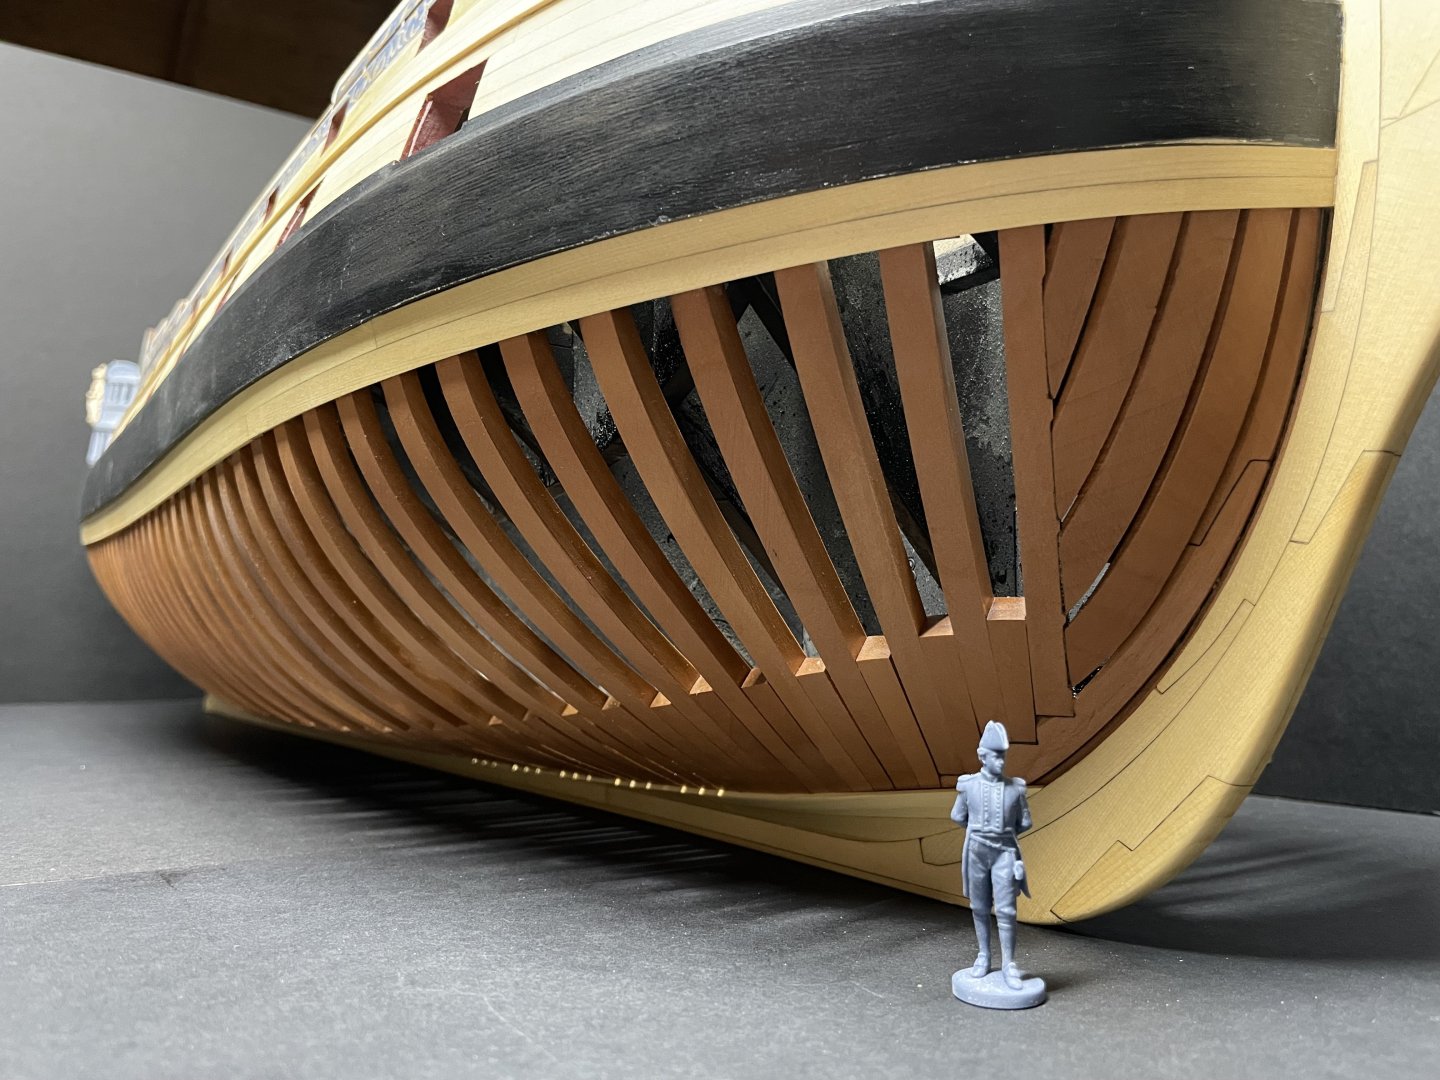
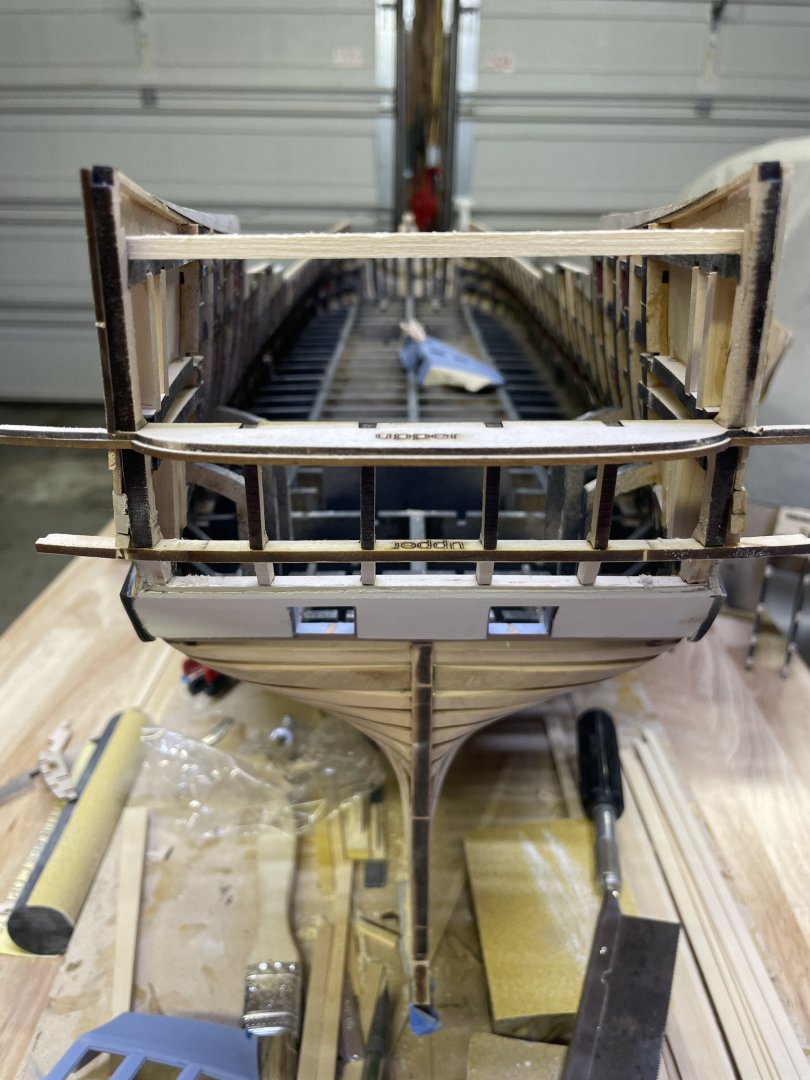
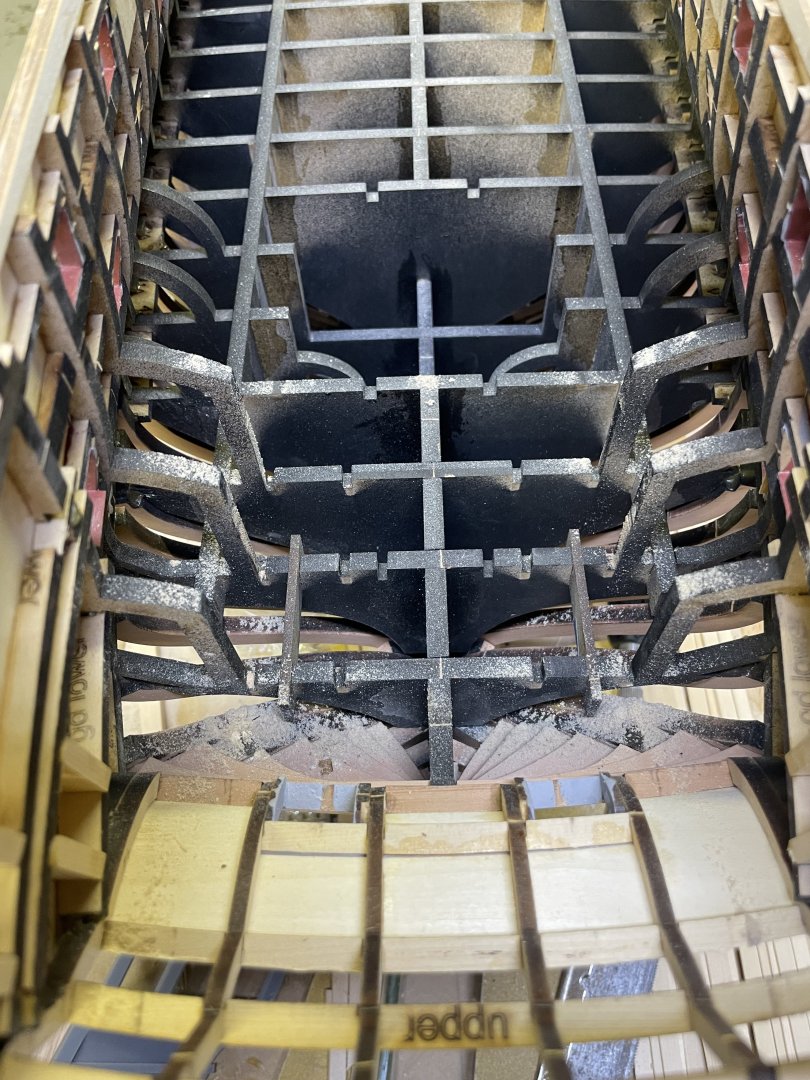
It lost a ton of weight too, surprisingly. It’s ok though, we are going to stuff it full of deck beams, planks and guns!..soon.
-
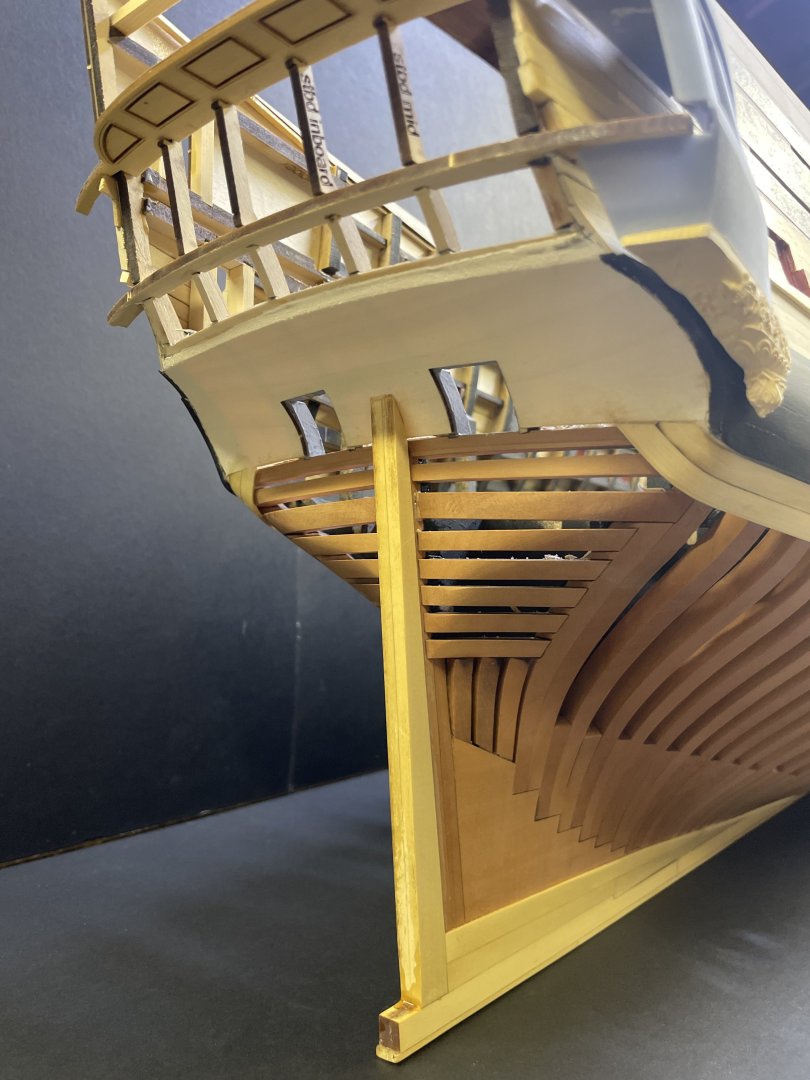
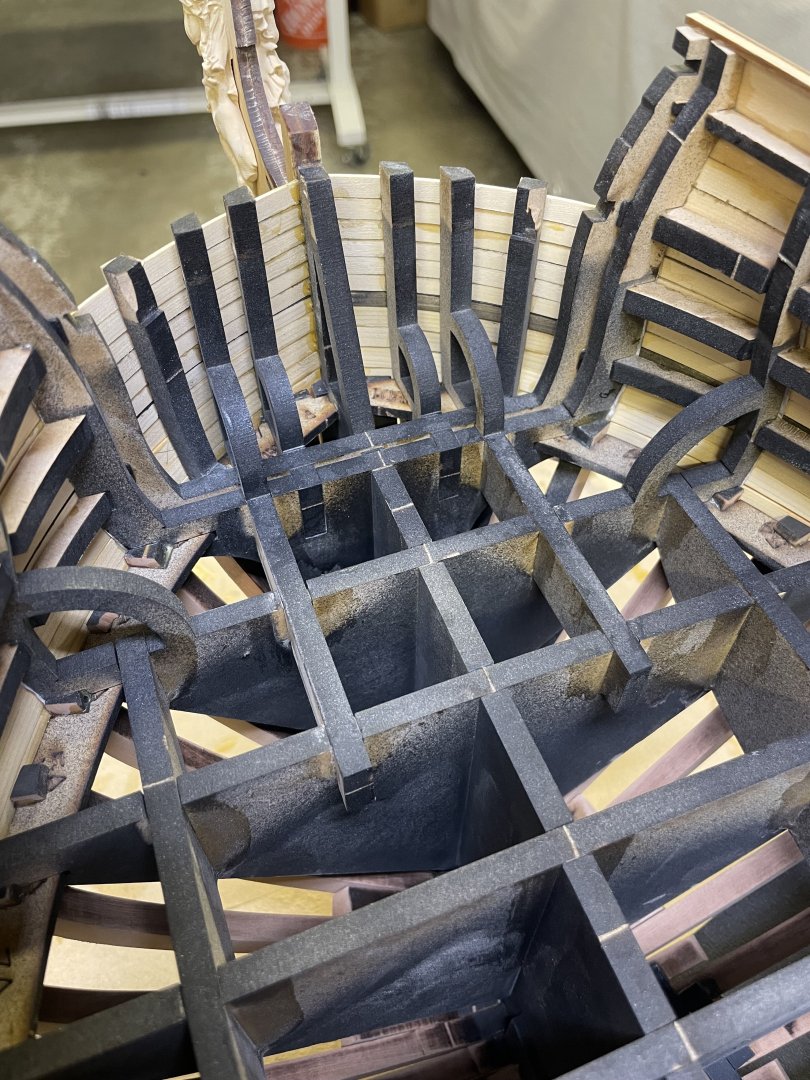
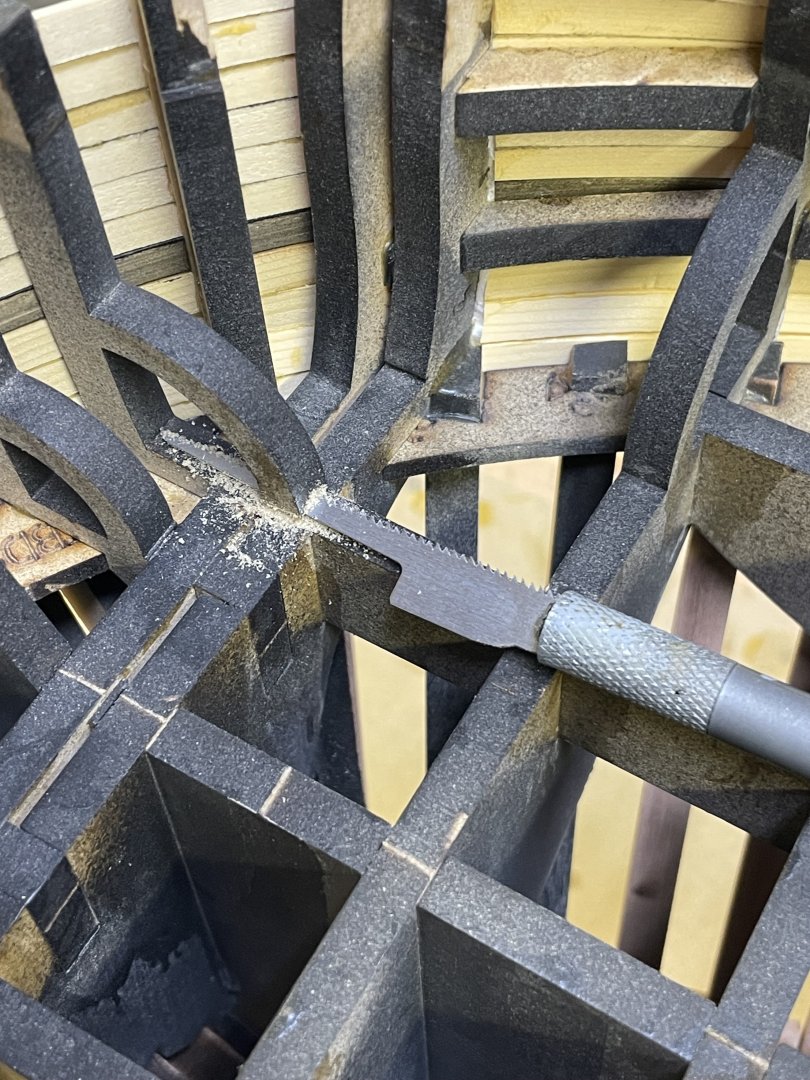
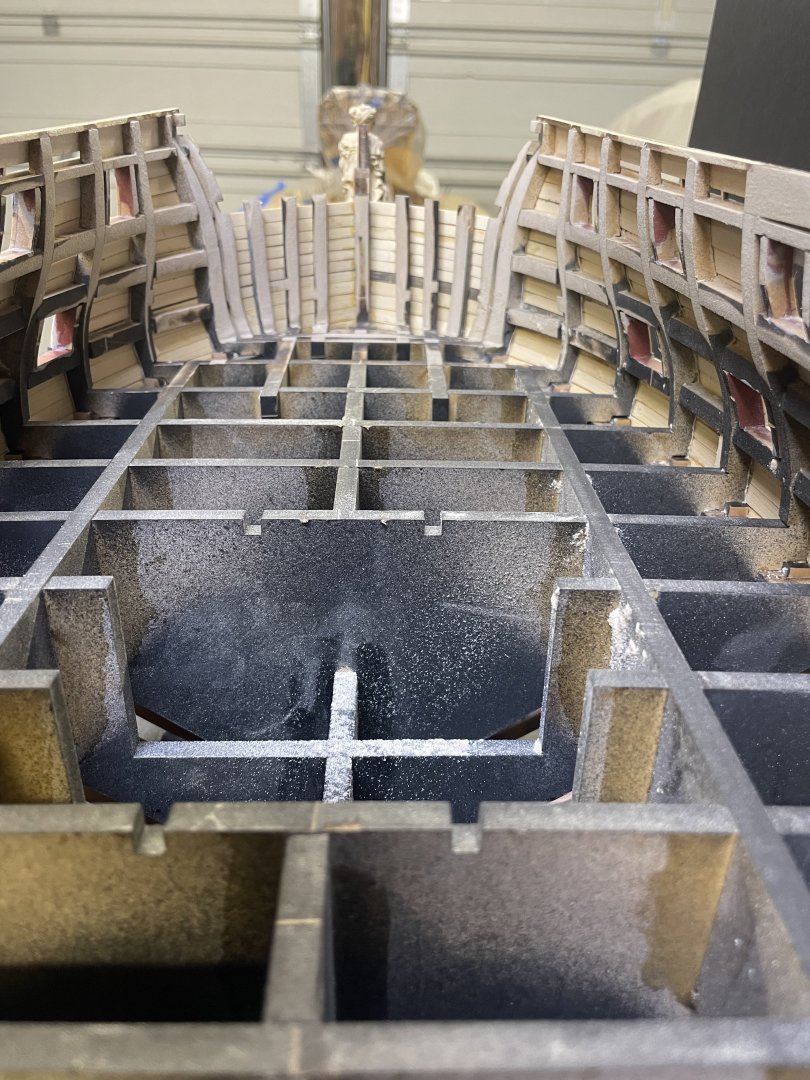
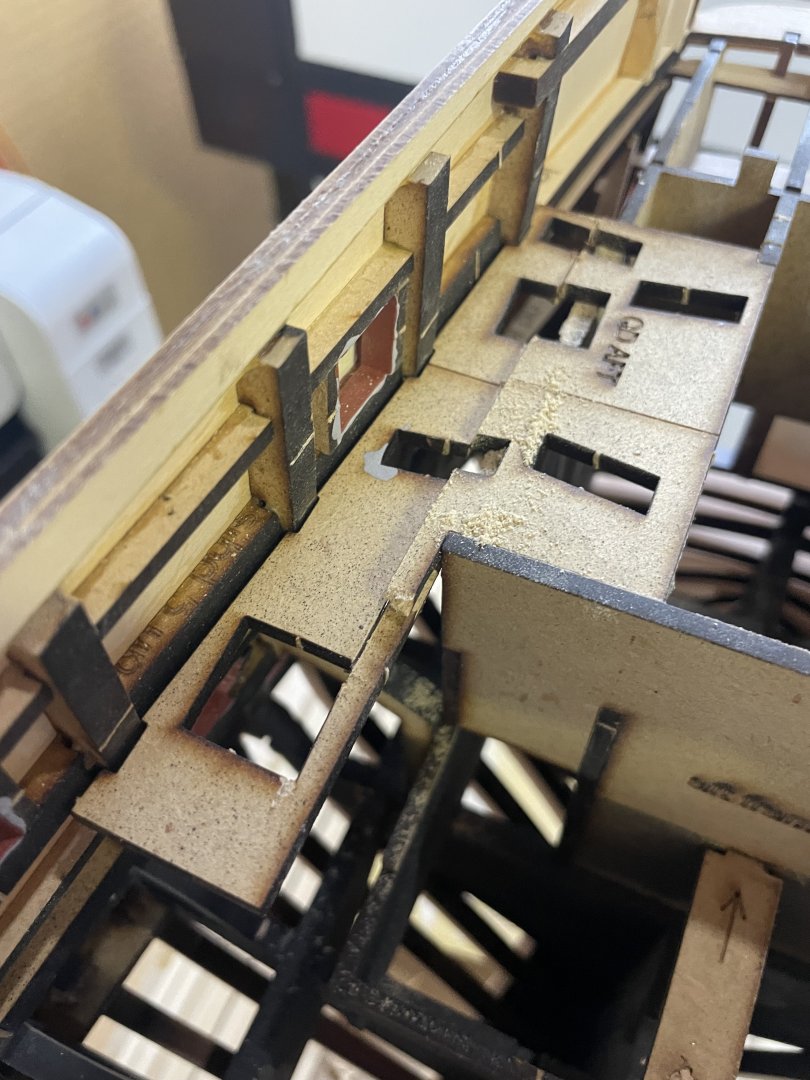
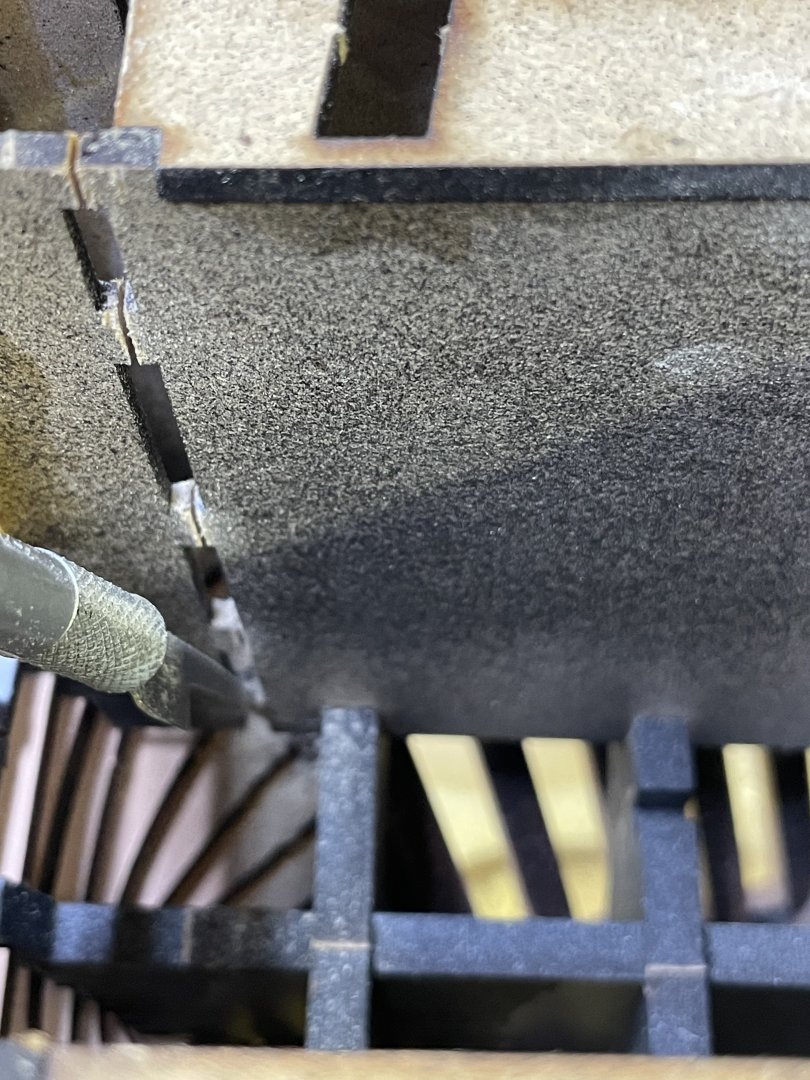
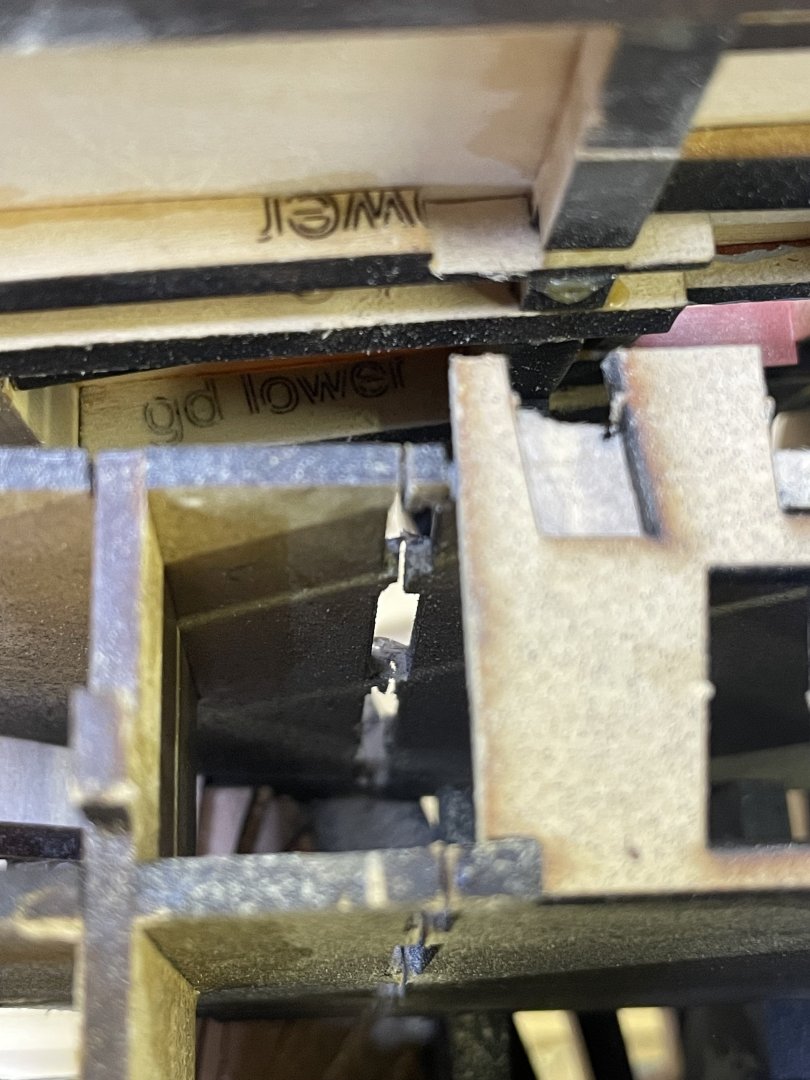
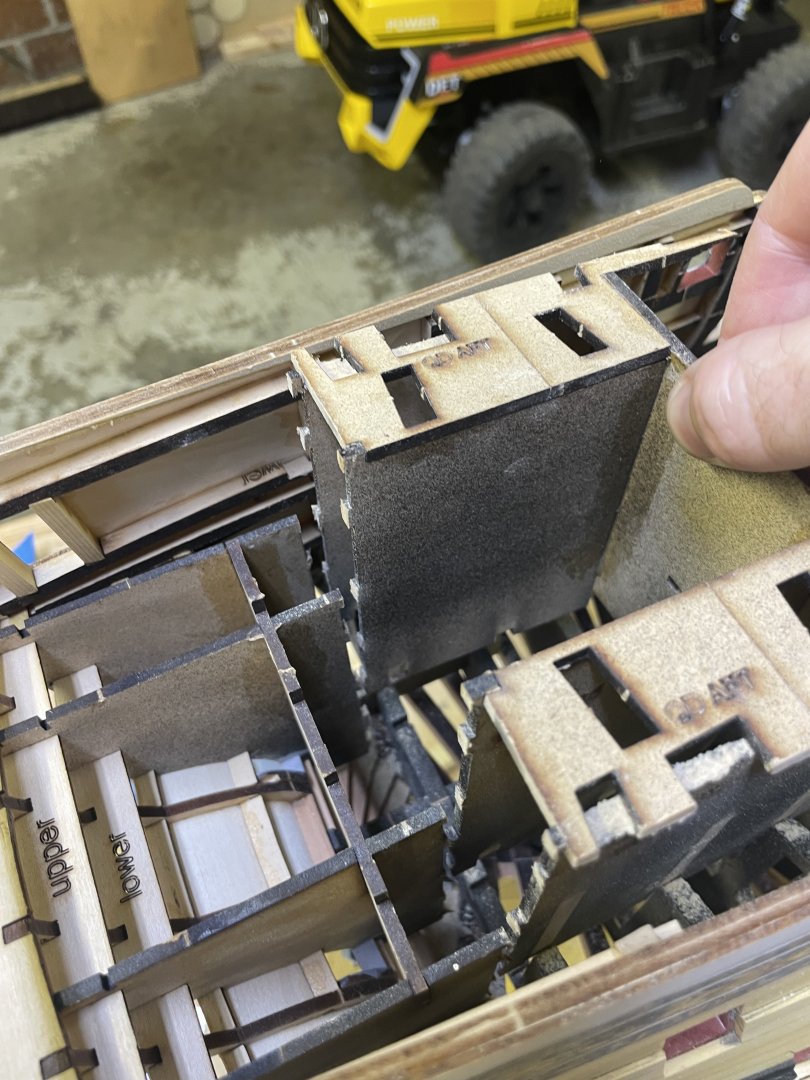
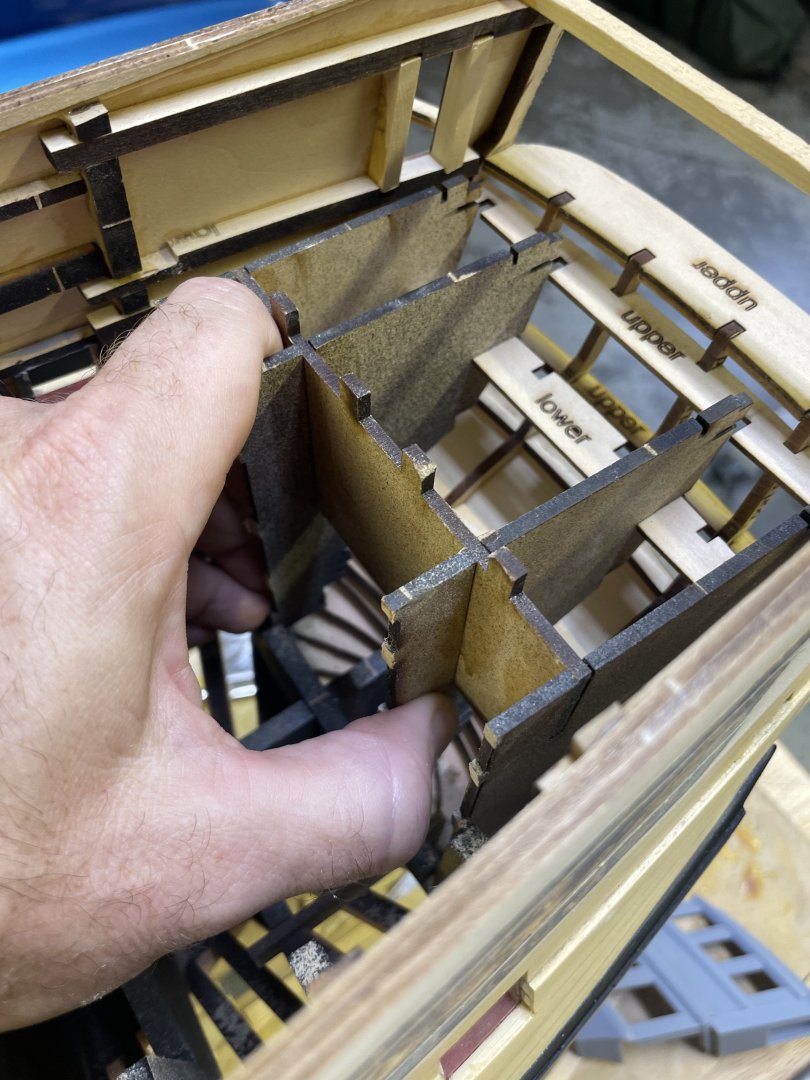
Today I just released the stern frame jig. Now this is a little more complicated than the other parts. It required some cutting, since the main structure of the jig sits down into the bulkheads it needs to be lifted up for removal but we have stern structure that runs across horizontally into slots in the brackets, if we lifted the whole thing it would rip the stern apart. So I added some perforation on the brackets. start by removing the upper extension wing brackets. I just sawed them right down the middle and removed the bracket. From here go ahead and start cutting the perforation I used a micro saw blade on my xacto blade holder and cut them all on each bracket. It’s MDF so it cuts pretty easy. once you have the main part of the Jig cut free it should just lift straight up and away. From there the remaining jig is meant to slide out forward, note that the lower parts of the jig must pass through the slots on the bulkheads that the other part fit in. you may need to saw off the ends of the horizontal frame brackets to help it out easier. If you made it through the stern assembly without gluing any parts to the jig then it should wiggle out gently and then pull right out. now the bulkhead reinforcement hoops can be removed and we can begin fairing the inside of the hull.
-
Hi keny, I plan to start producing some in the next couple months. Stay tuned for a website. Thank you Kenny. Should be soon.
About us
Modelshipworld - Advancing Ship Modeling through Research
SSL Secured
Your security is important for us so this Website is SSL-Secured
NRG Mailing Address
Nautical Research Guild
237 South Lincoln Street
Westmont IL, 60559-1917
Model Ship World ® and the MSW logo are Registered Trademarks, and belong to the Nautical Research Guild (United States Patent and Trademark Office: No. 6,929,264 & No. 6,929,274, registered Dec. 20, 2022)
Helpful Links
About the NRG
If you enjoy building ship models that are historically accurate as well as beautiful, then The Nautical Research Guild (NRG) is just right for you.
The Guild is a non-profit educational organization whose mission is to “Advance Ship Modeling Through Research”. We provide support to our members in their efforts to raise the quality of their model ships.
The Nautical Research Guild has published our world-renowned quarterly magazine, The Nautical Research Journal, since 1955. The pages of the Journal are full of articles by accomplished ship modelers who show you how they create those exquisite details on their models, and by maritime historians who show you the correct details to build. The Journal is available in both print and digital editions. Go to the NRG web site (www.thenrg.org) to download a complimentary digital copy of the Journal. The NRG also publishes plan sets, books and compilations of back issues of the Journal and the former Ships in Scale and Model Ship Builder magazines.

