HOLIDAY DONATION DRIVE - SUPPORT MSW - DO YOUR PART TO KEEP THIS GREAT FORUM GOING! (83 donations so far out of 49,000 members - C'mon guys!)
×


scrubbyj427
-
Posts
1,690 -
Joined
-
Last visited
Content Type
Profiles
Forums
Gallery
Events
Everything posted by scrubbyj427
-

kit review 1:48 La Renommée 1744 - CAF Model
scrubbyj427 replied to James H's topic in REVIEWS: Model kits
Lovely work from Tom, what a fantastic design. This is on my list of things to do.- 16 replies
-
- 2
-

-
- cafmodel
- la renommee
- (and 1 more)
-
Thank you Dusan, and to you as well. Jack will be shipping goodies for Ch3 this week, so more updates coming in soon.
-
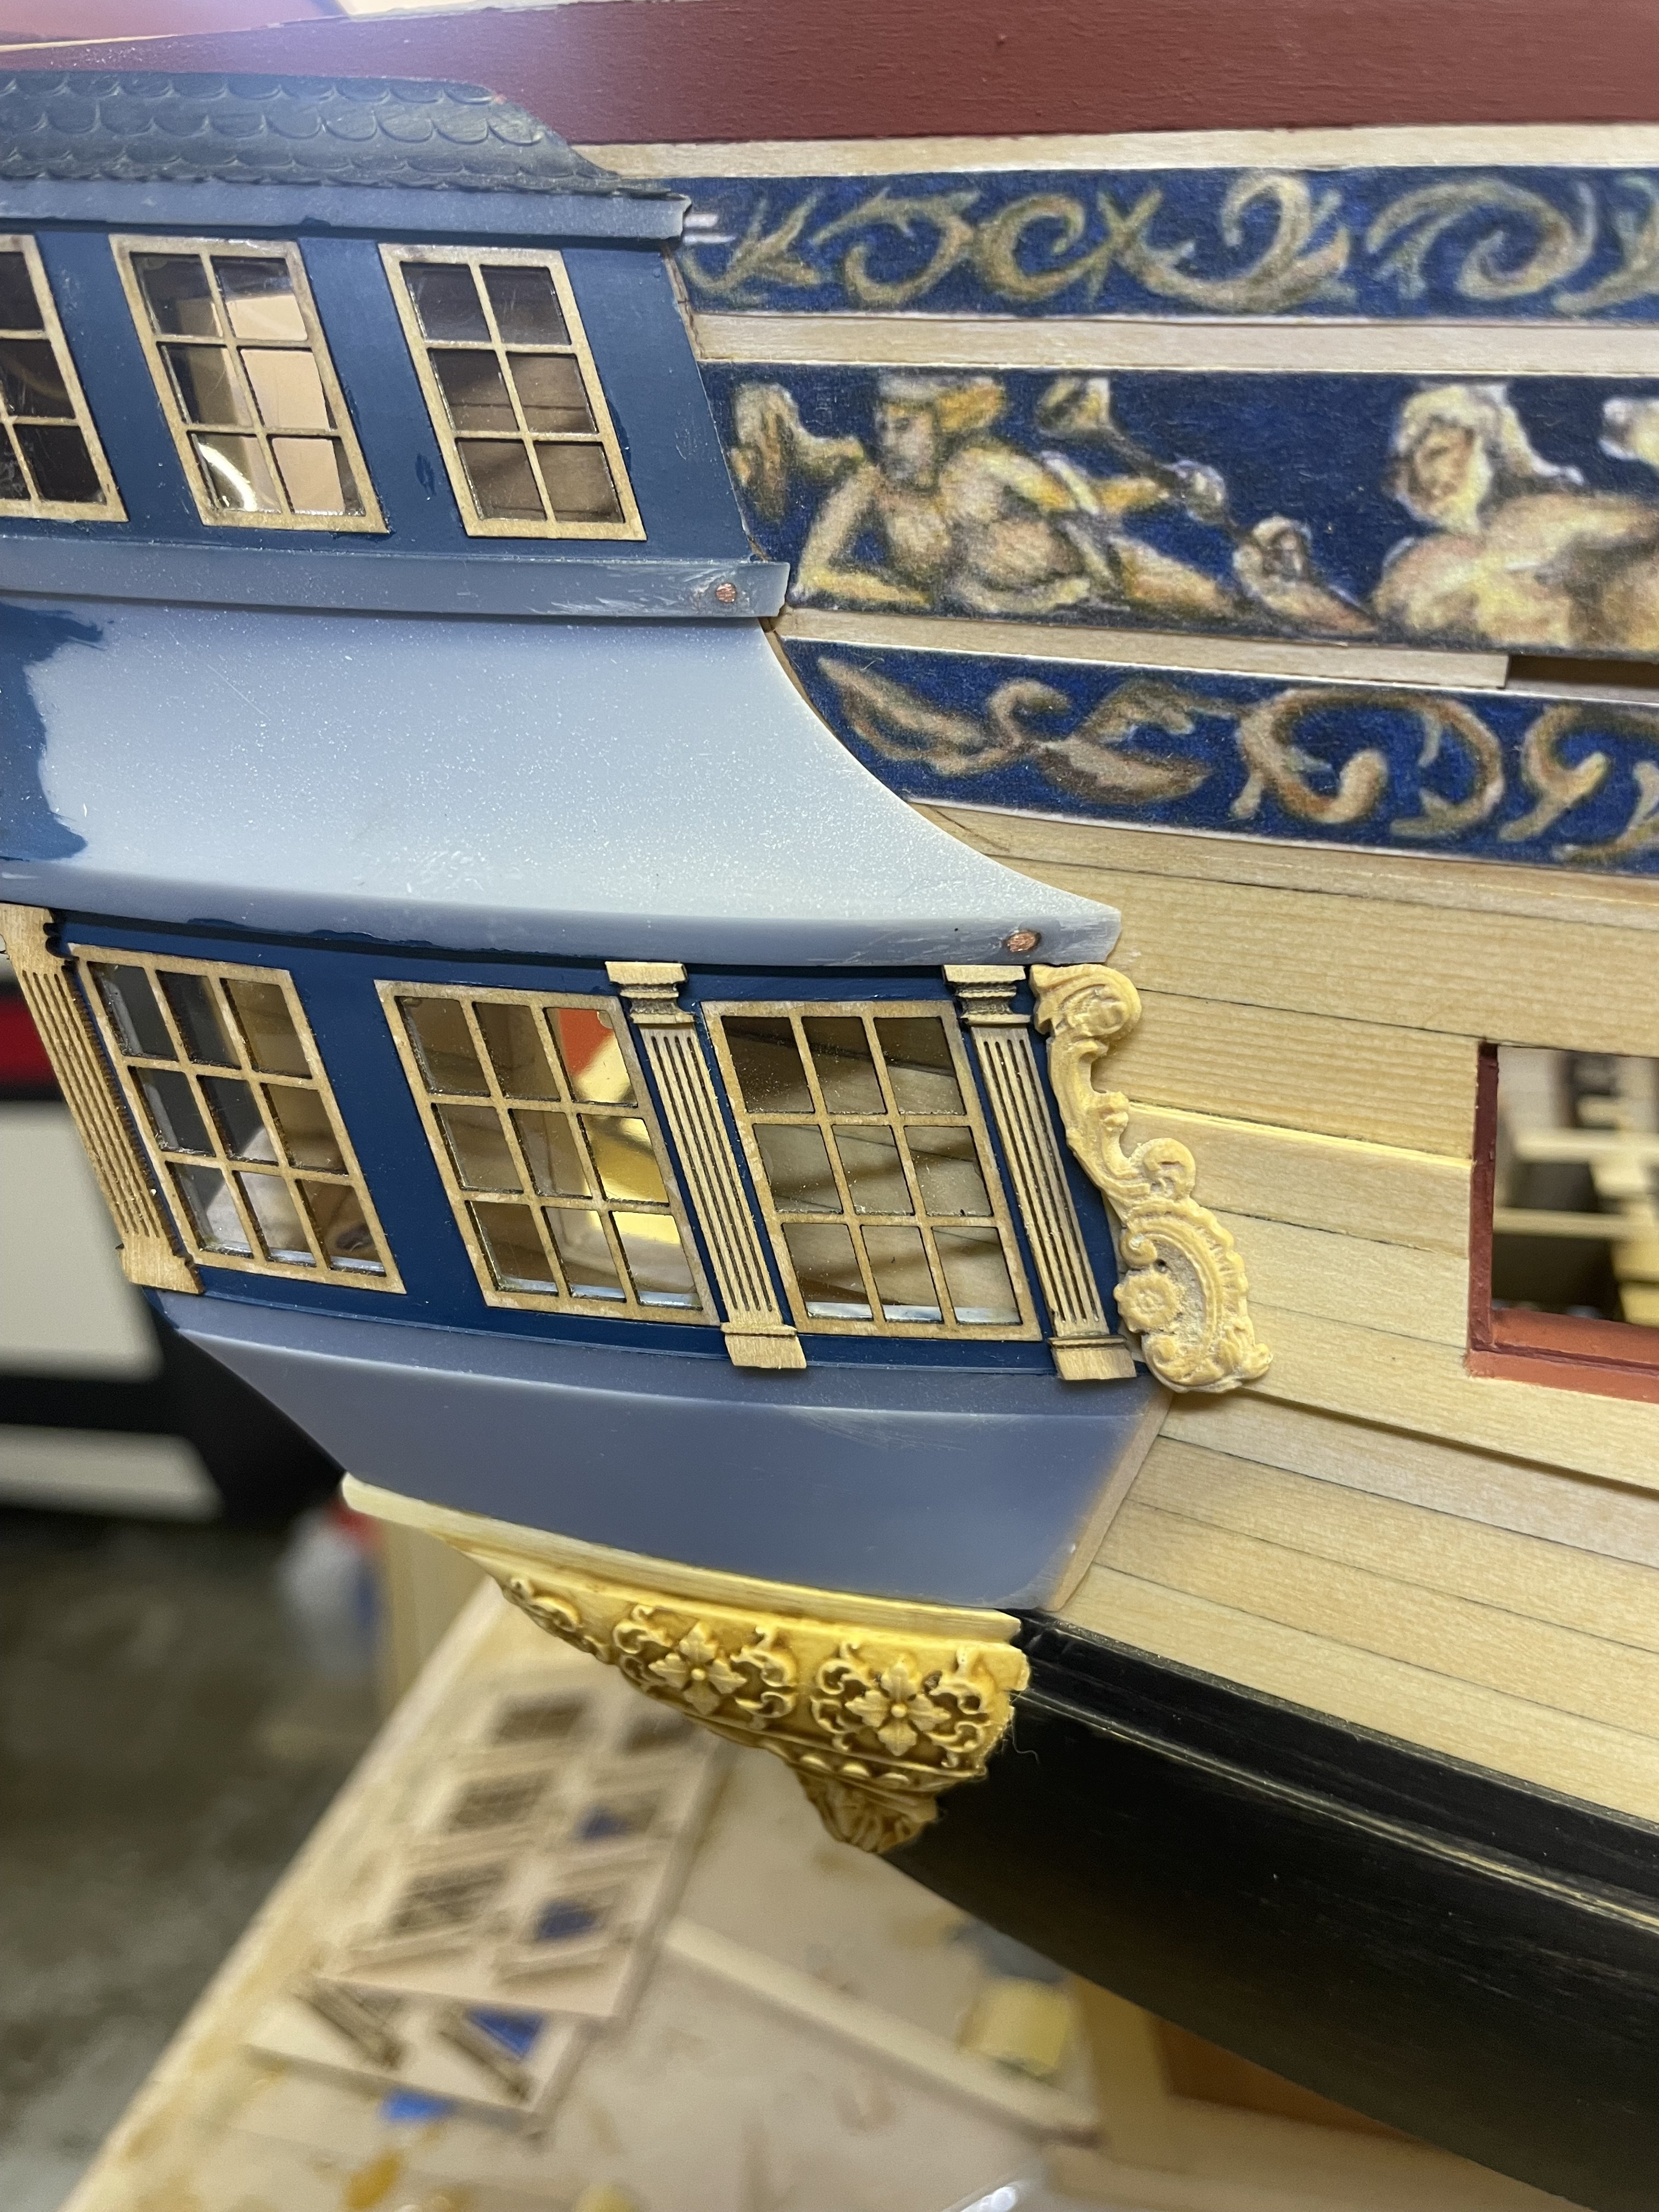
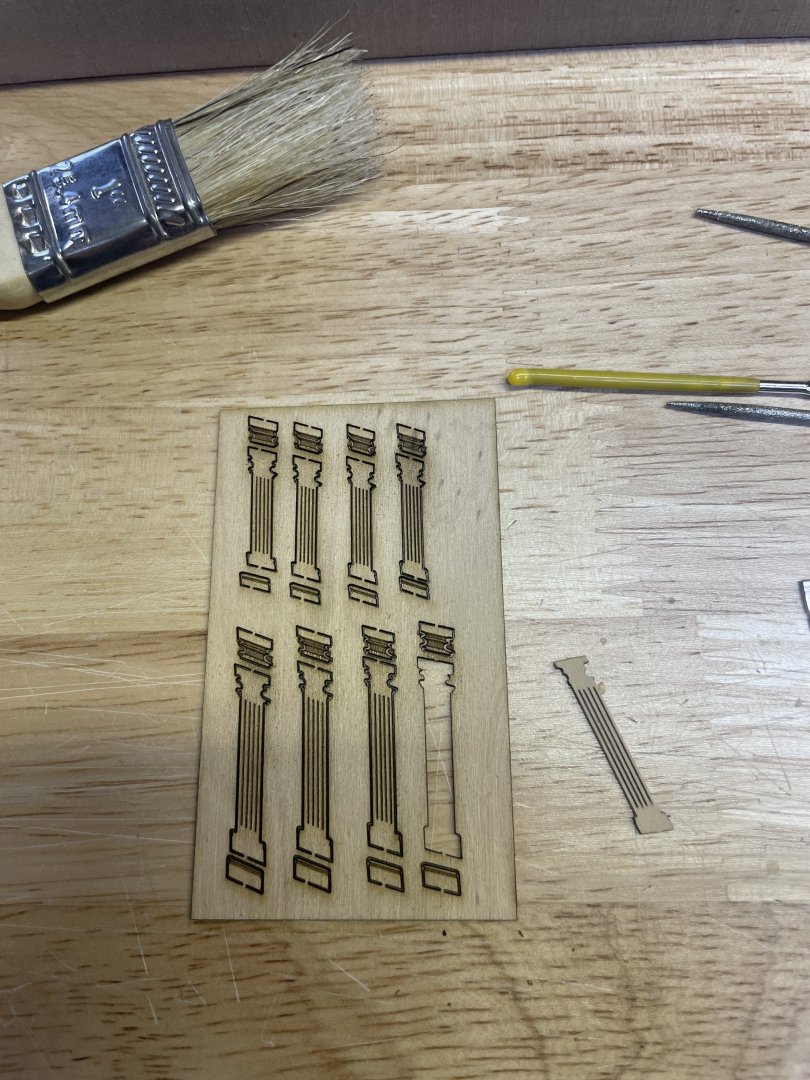
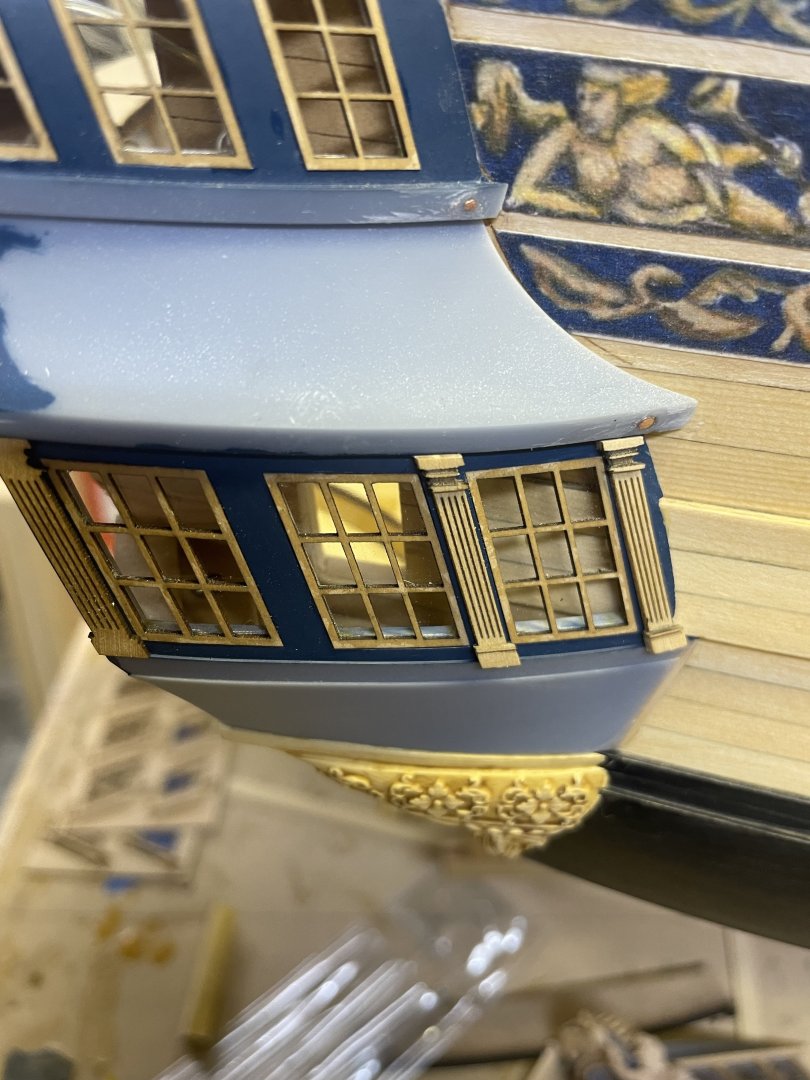
After a revision on the columns I decided to start adding some but I’m going to postpone install until after the QG moldings are on, the columns are 3 pieces and require that the smaller pieces be added to match the surfaces of the adjacent moldings..if that makes sense. Anyway these are just sitting dry fit and I will finish them off once the boxwood molding goes on.
- 396 replies
-
- 17
-
-
Excellent work Steve! Your Winchelsea is looking great!
-
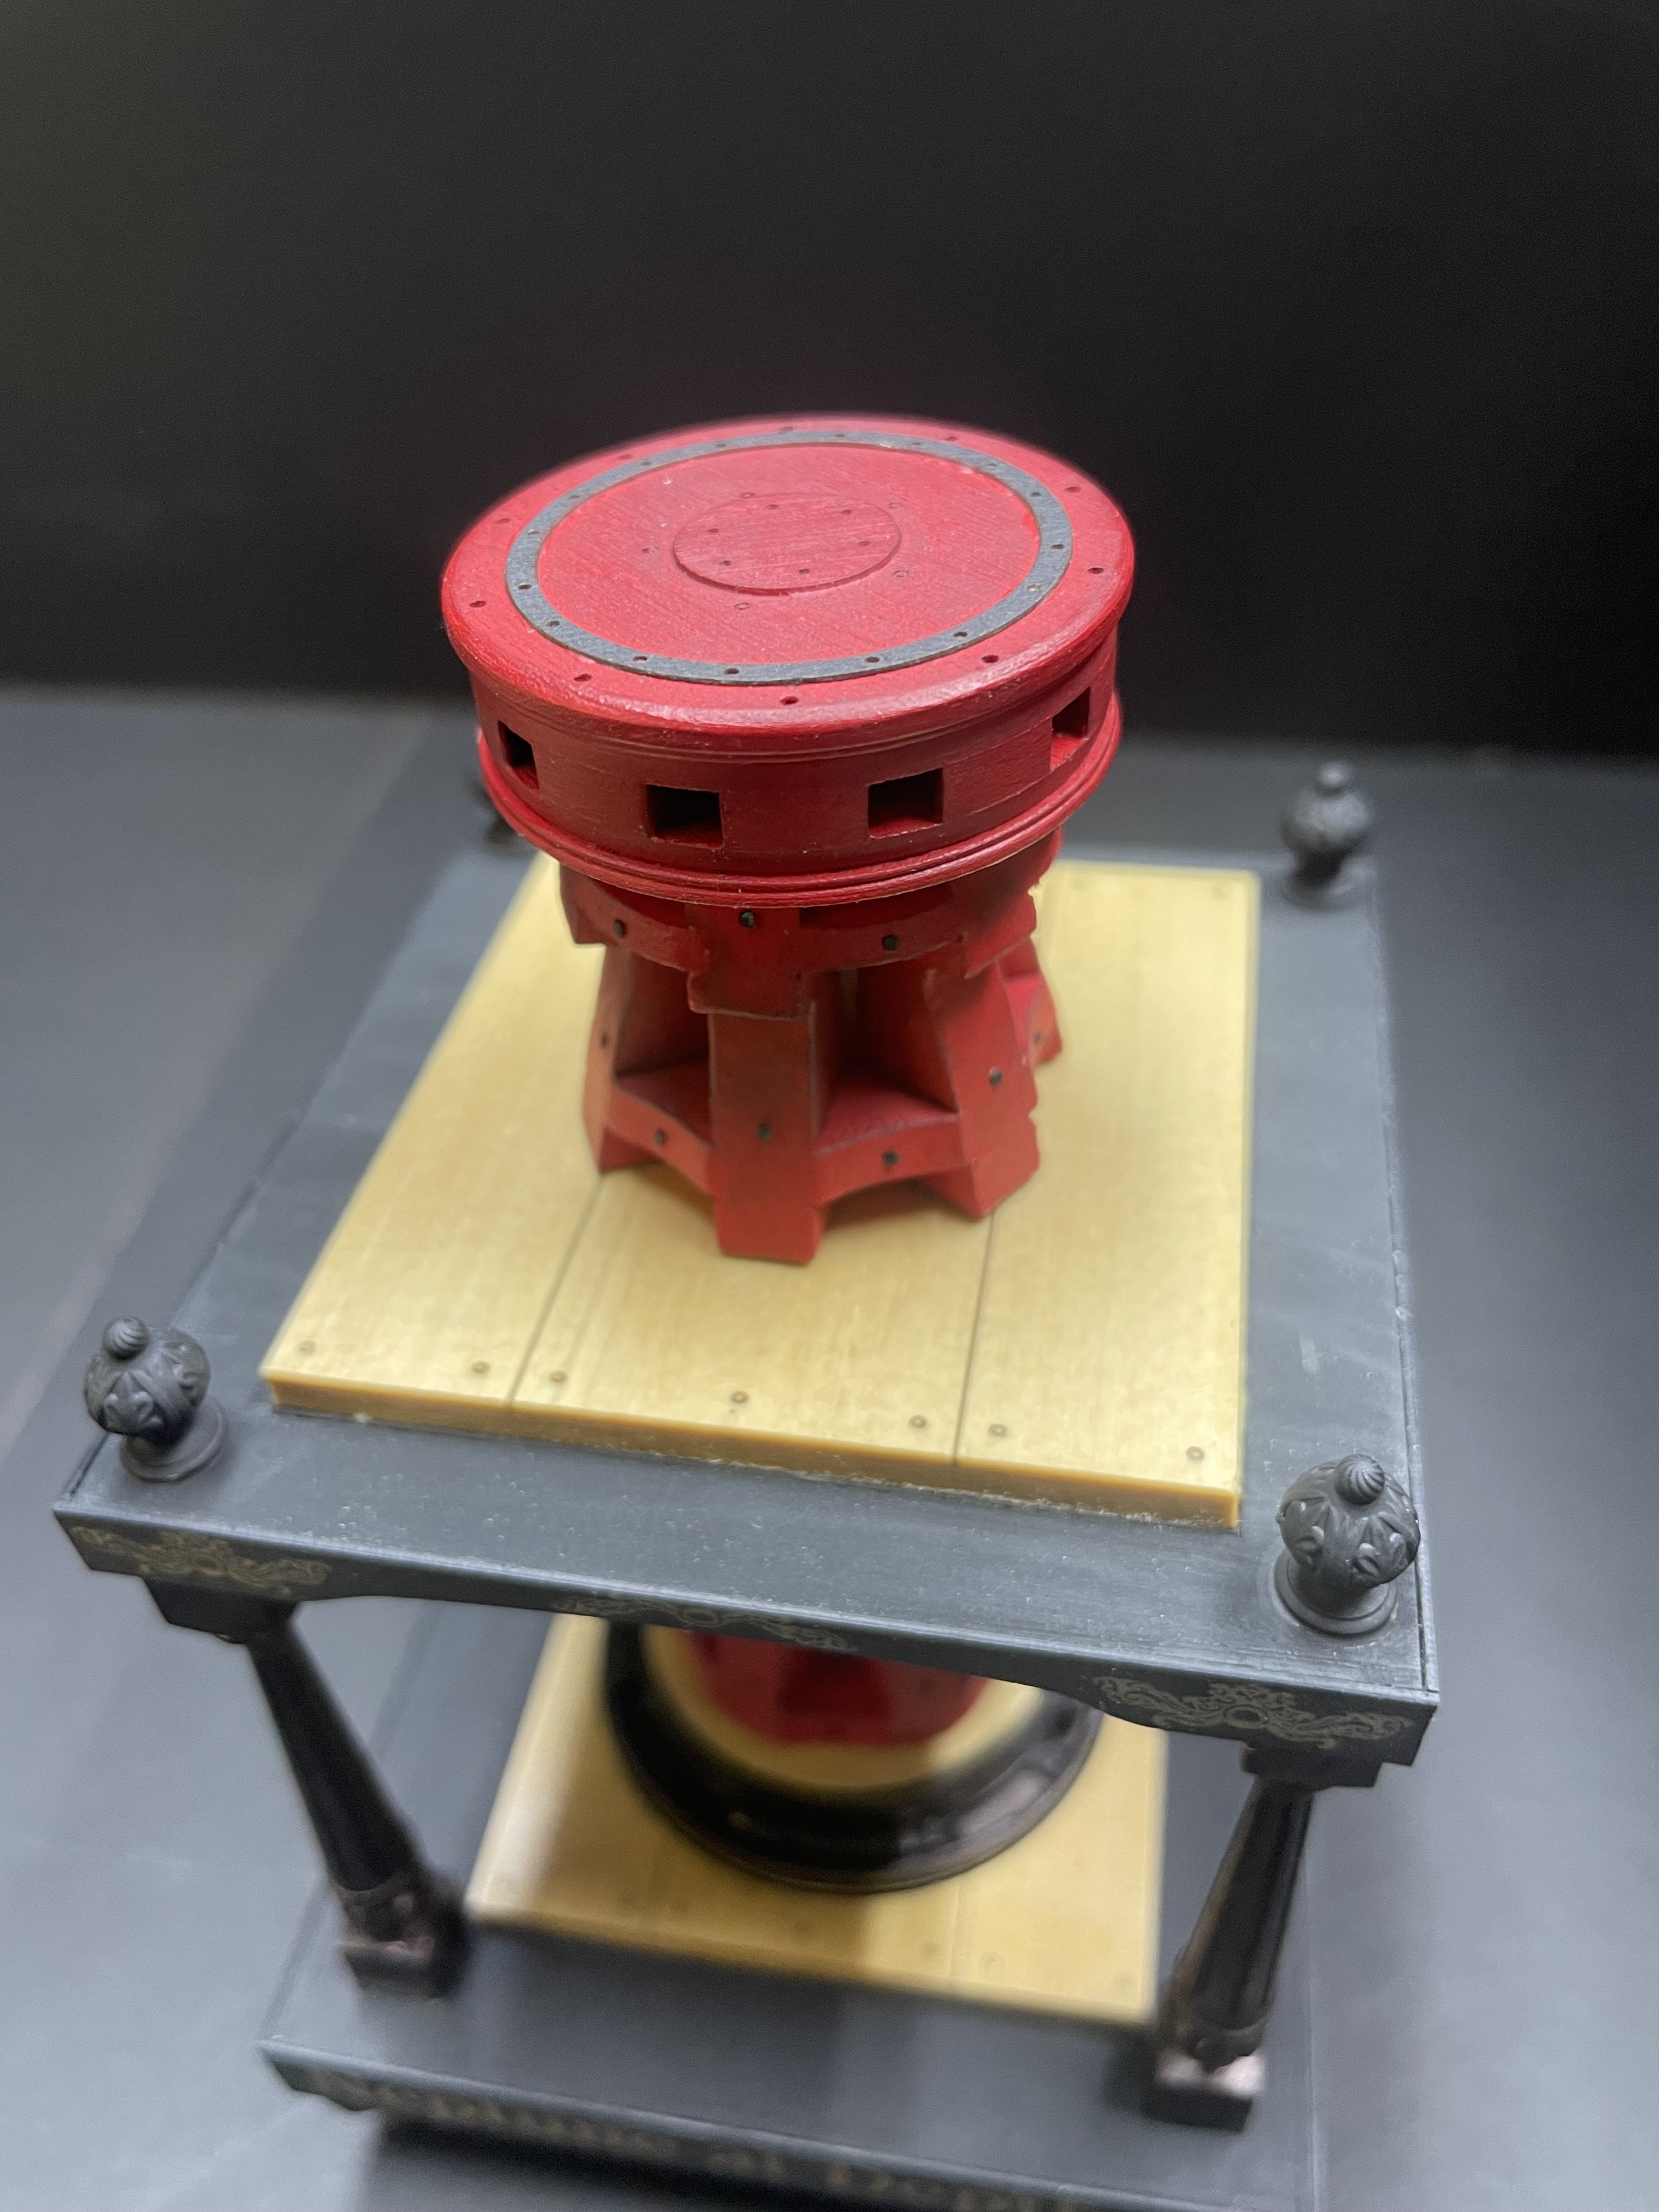
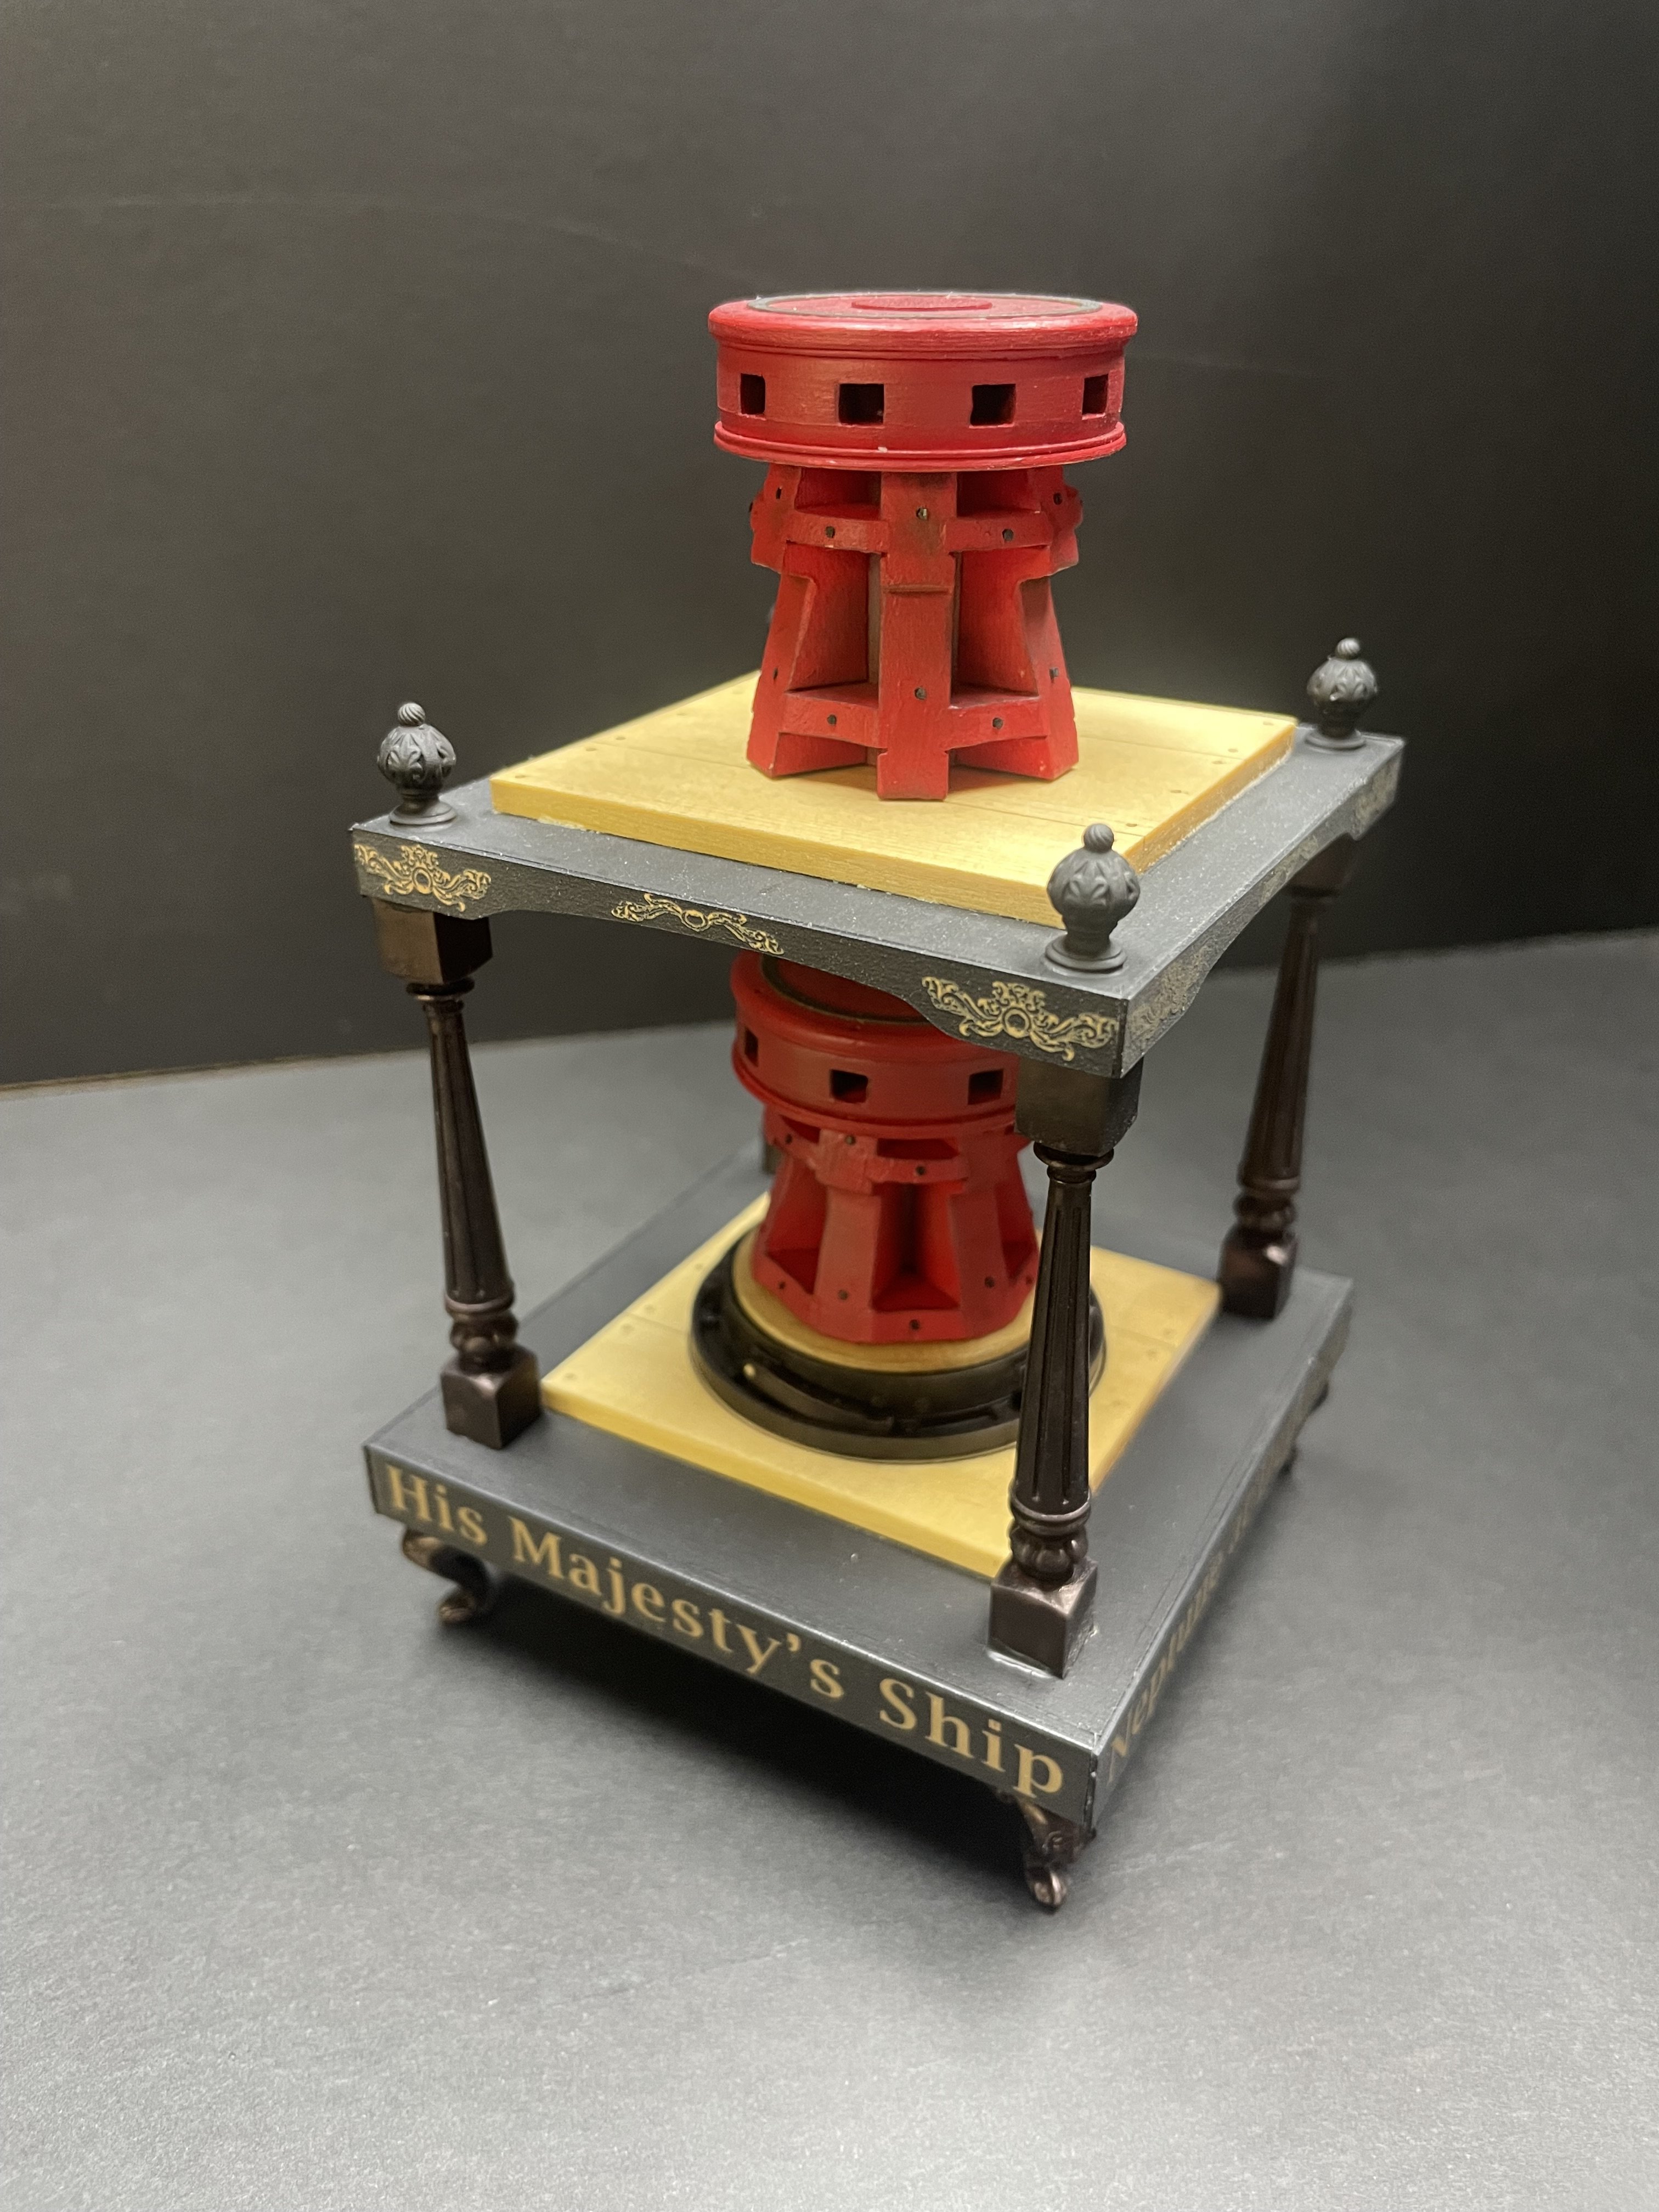
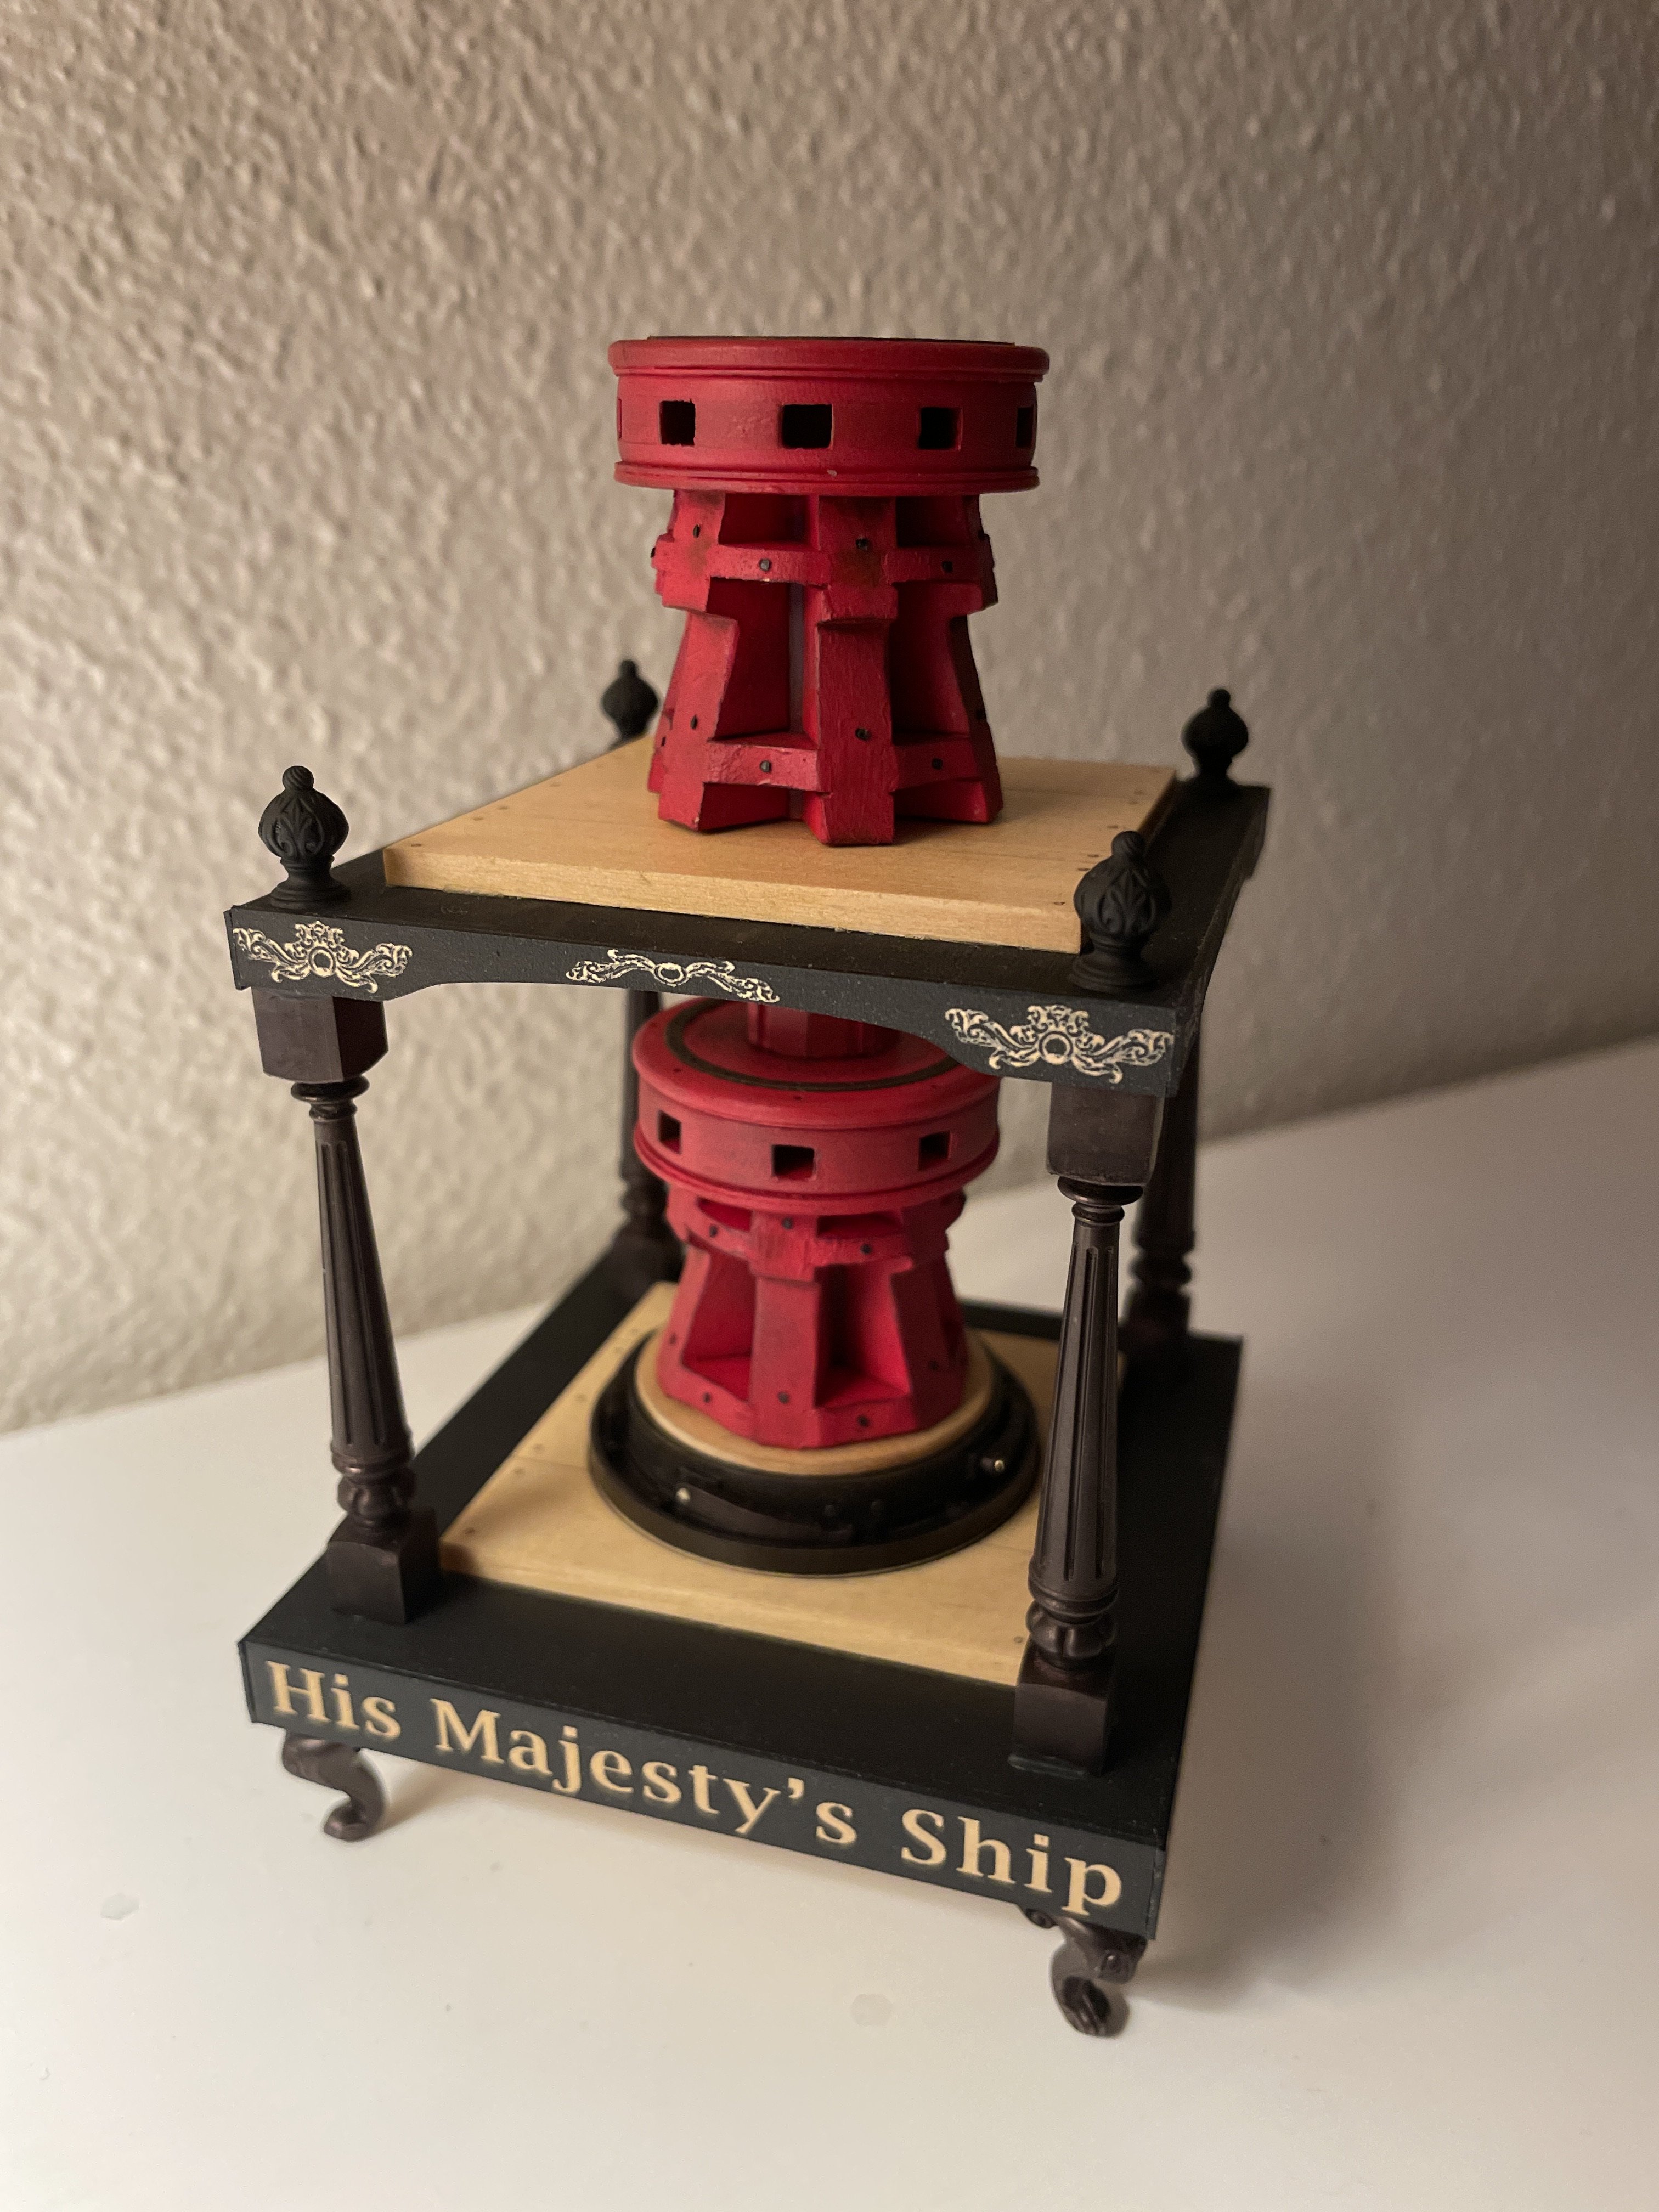
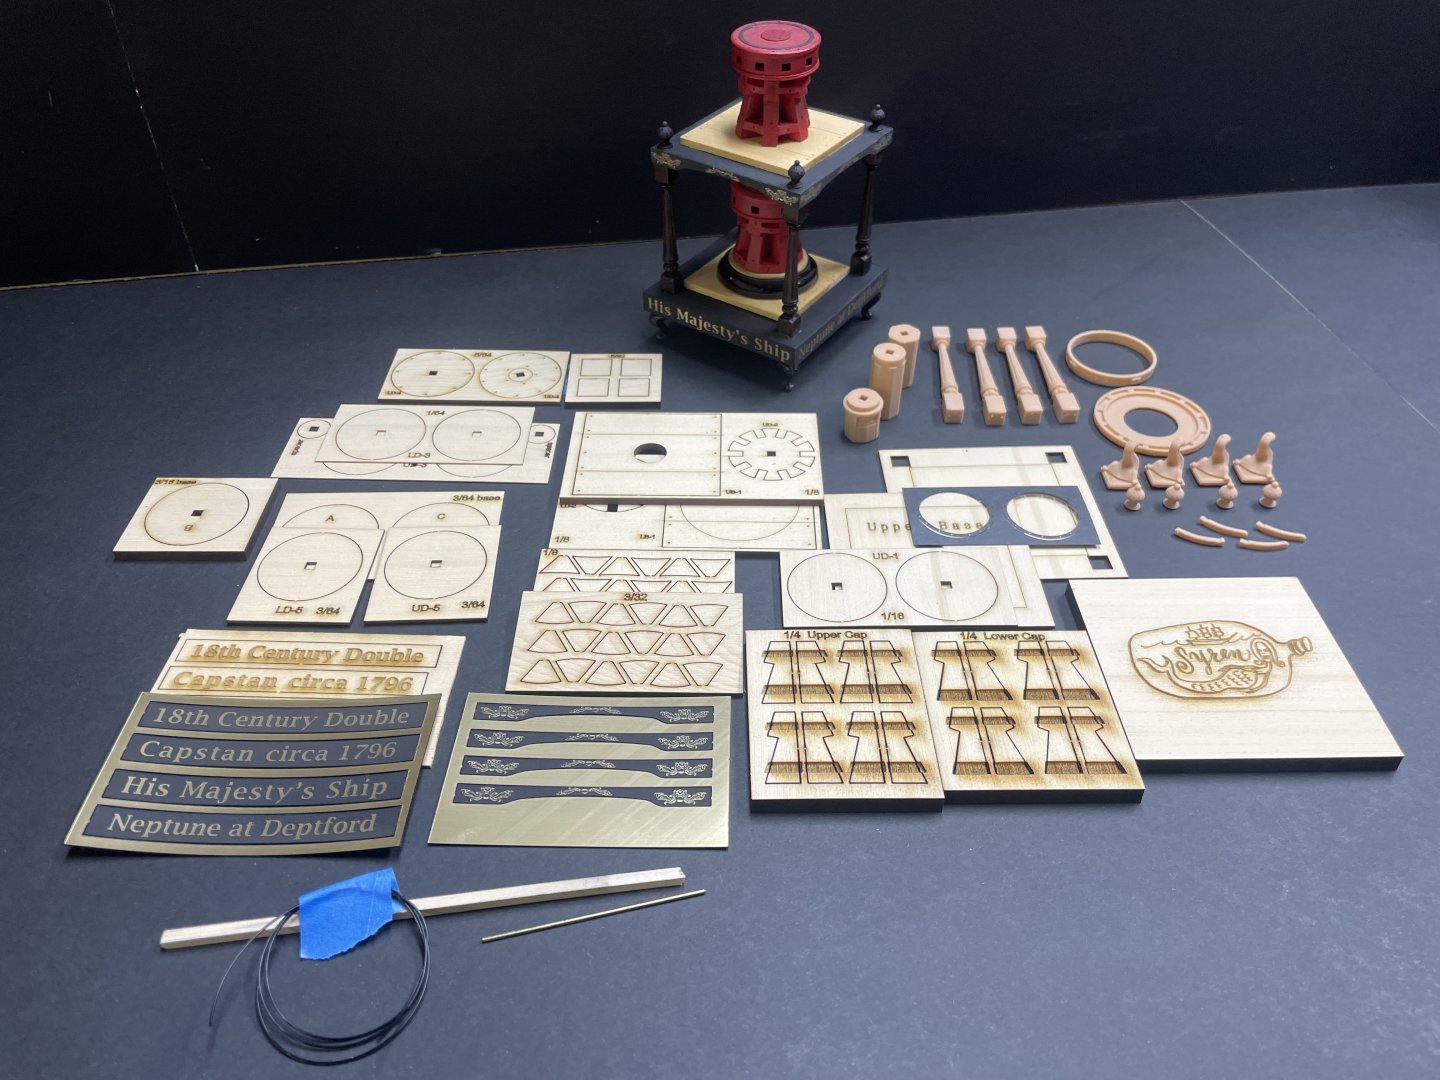
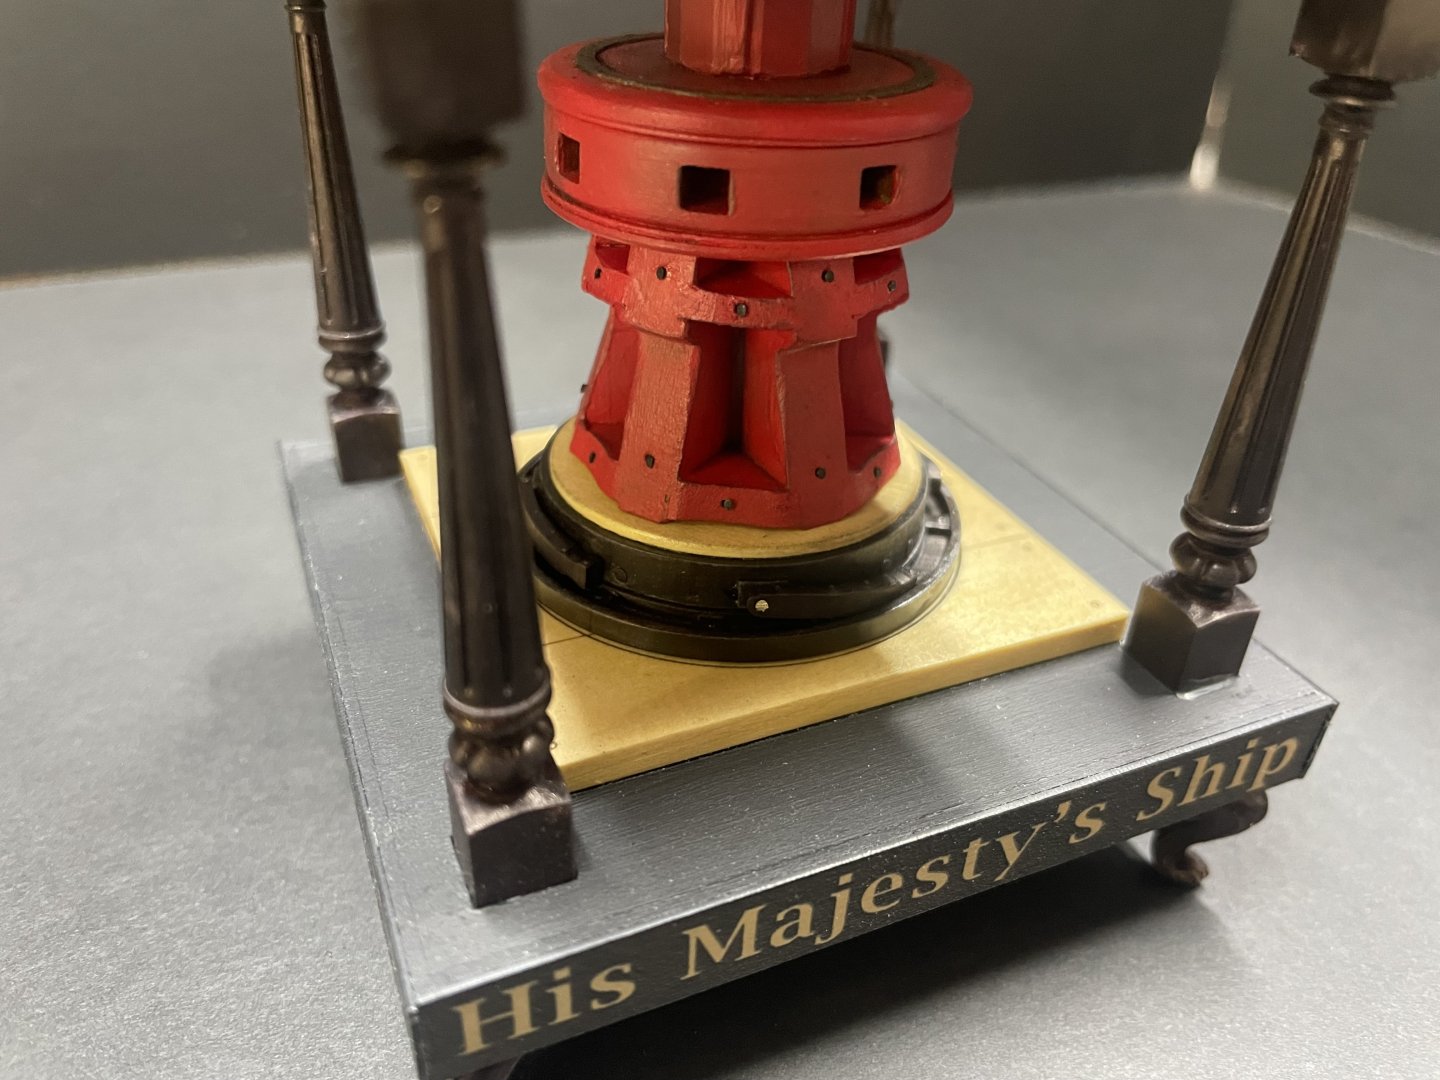
Hey everyone, I've been hard at work here getting some Syren kits produced in between Portland prototype work. Here’s the capstan kit that Chuck designed, it’s a nice simple little model to assemble but quite complex and detailed as we all have come to expect from Chuck. I’ll have these in stock on my website hopefully by next week along with Winchelsea starters and ch 1 and 2 following.


-
Yes it’s not quite finished. needs some revisions and changes made. It will be linked on MSW once it’s ready.
-
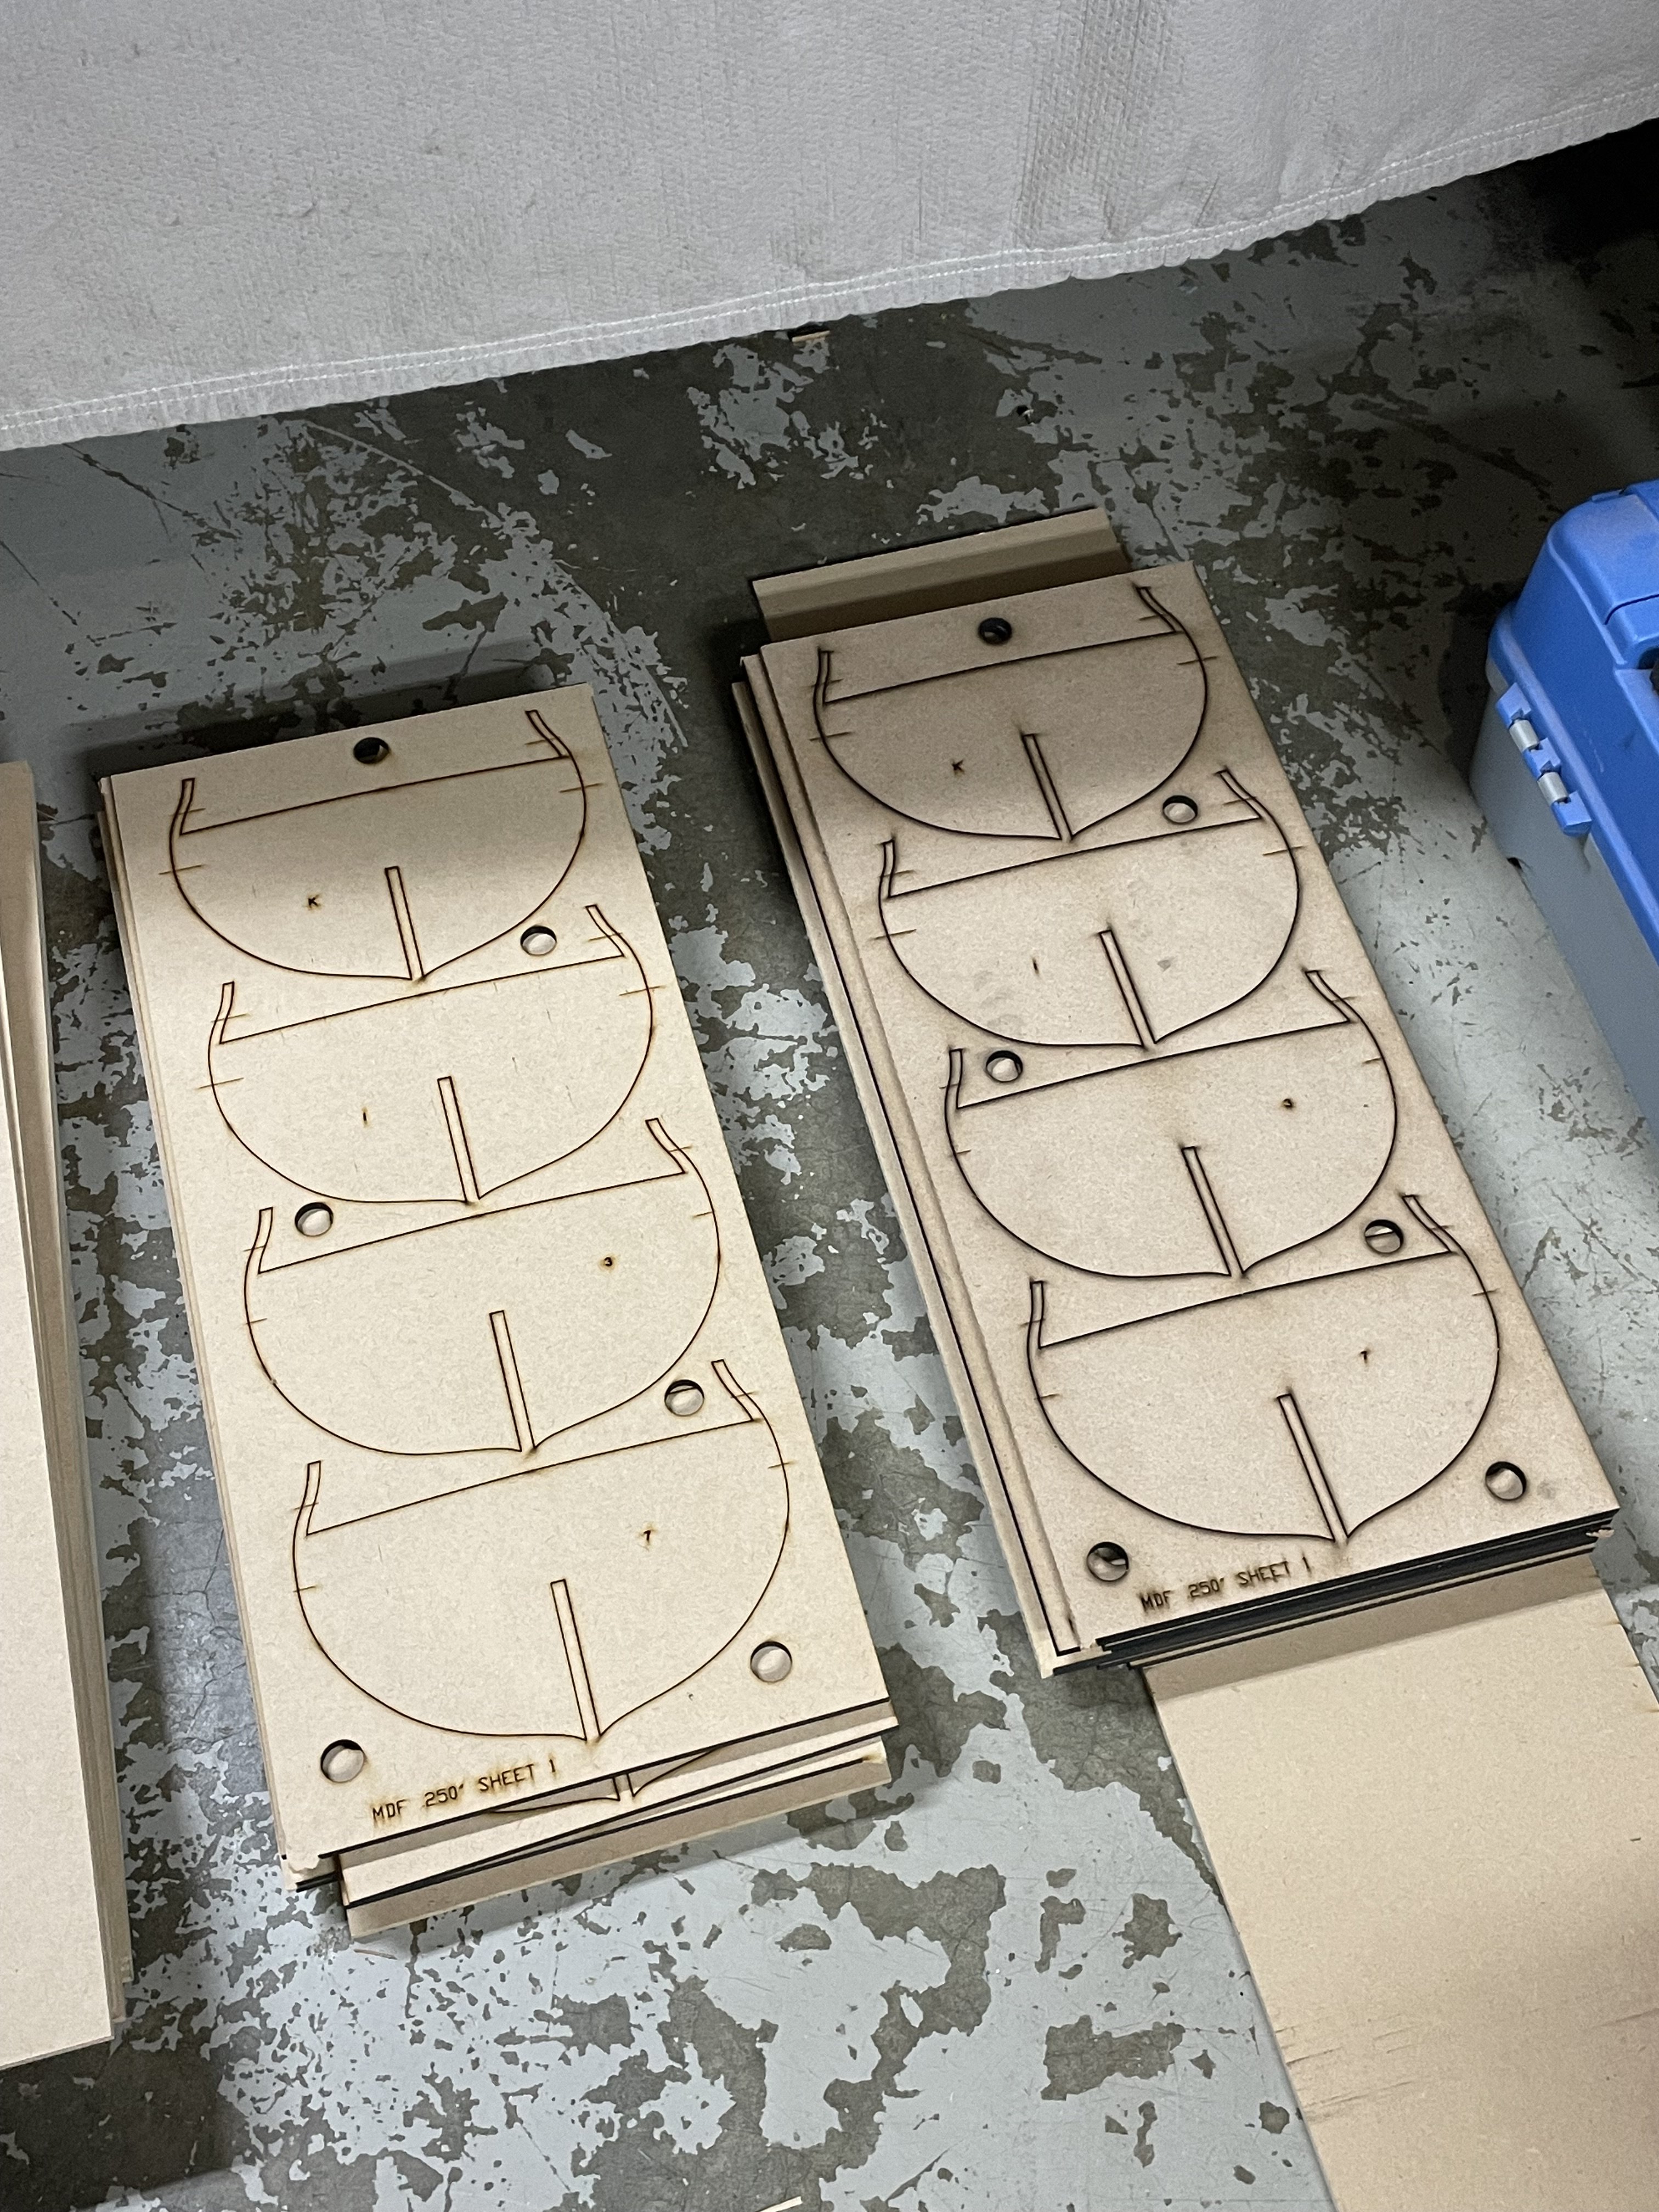
Ok I have two Pear framed Portland kits ready to go and two Winchelsea bulkhead starters that aren’t yet boxed, will be in a few days. Capstans next. Portland prototype updates for chapter 3 coming next week. Also Winchelsea chapter 1 and 2 kits in AYC and cherry coming next week


-
I think that center 65kw generator is a waste of space….
-
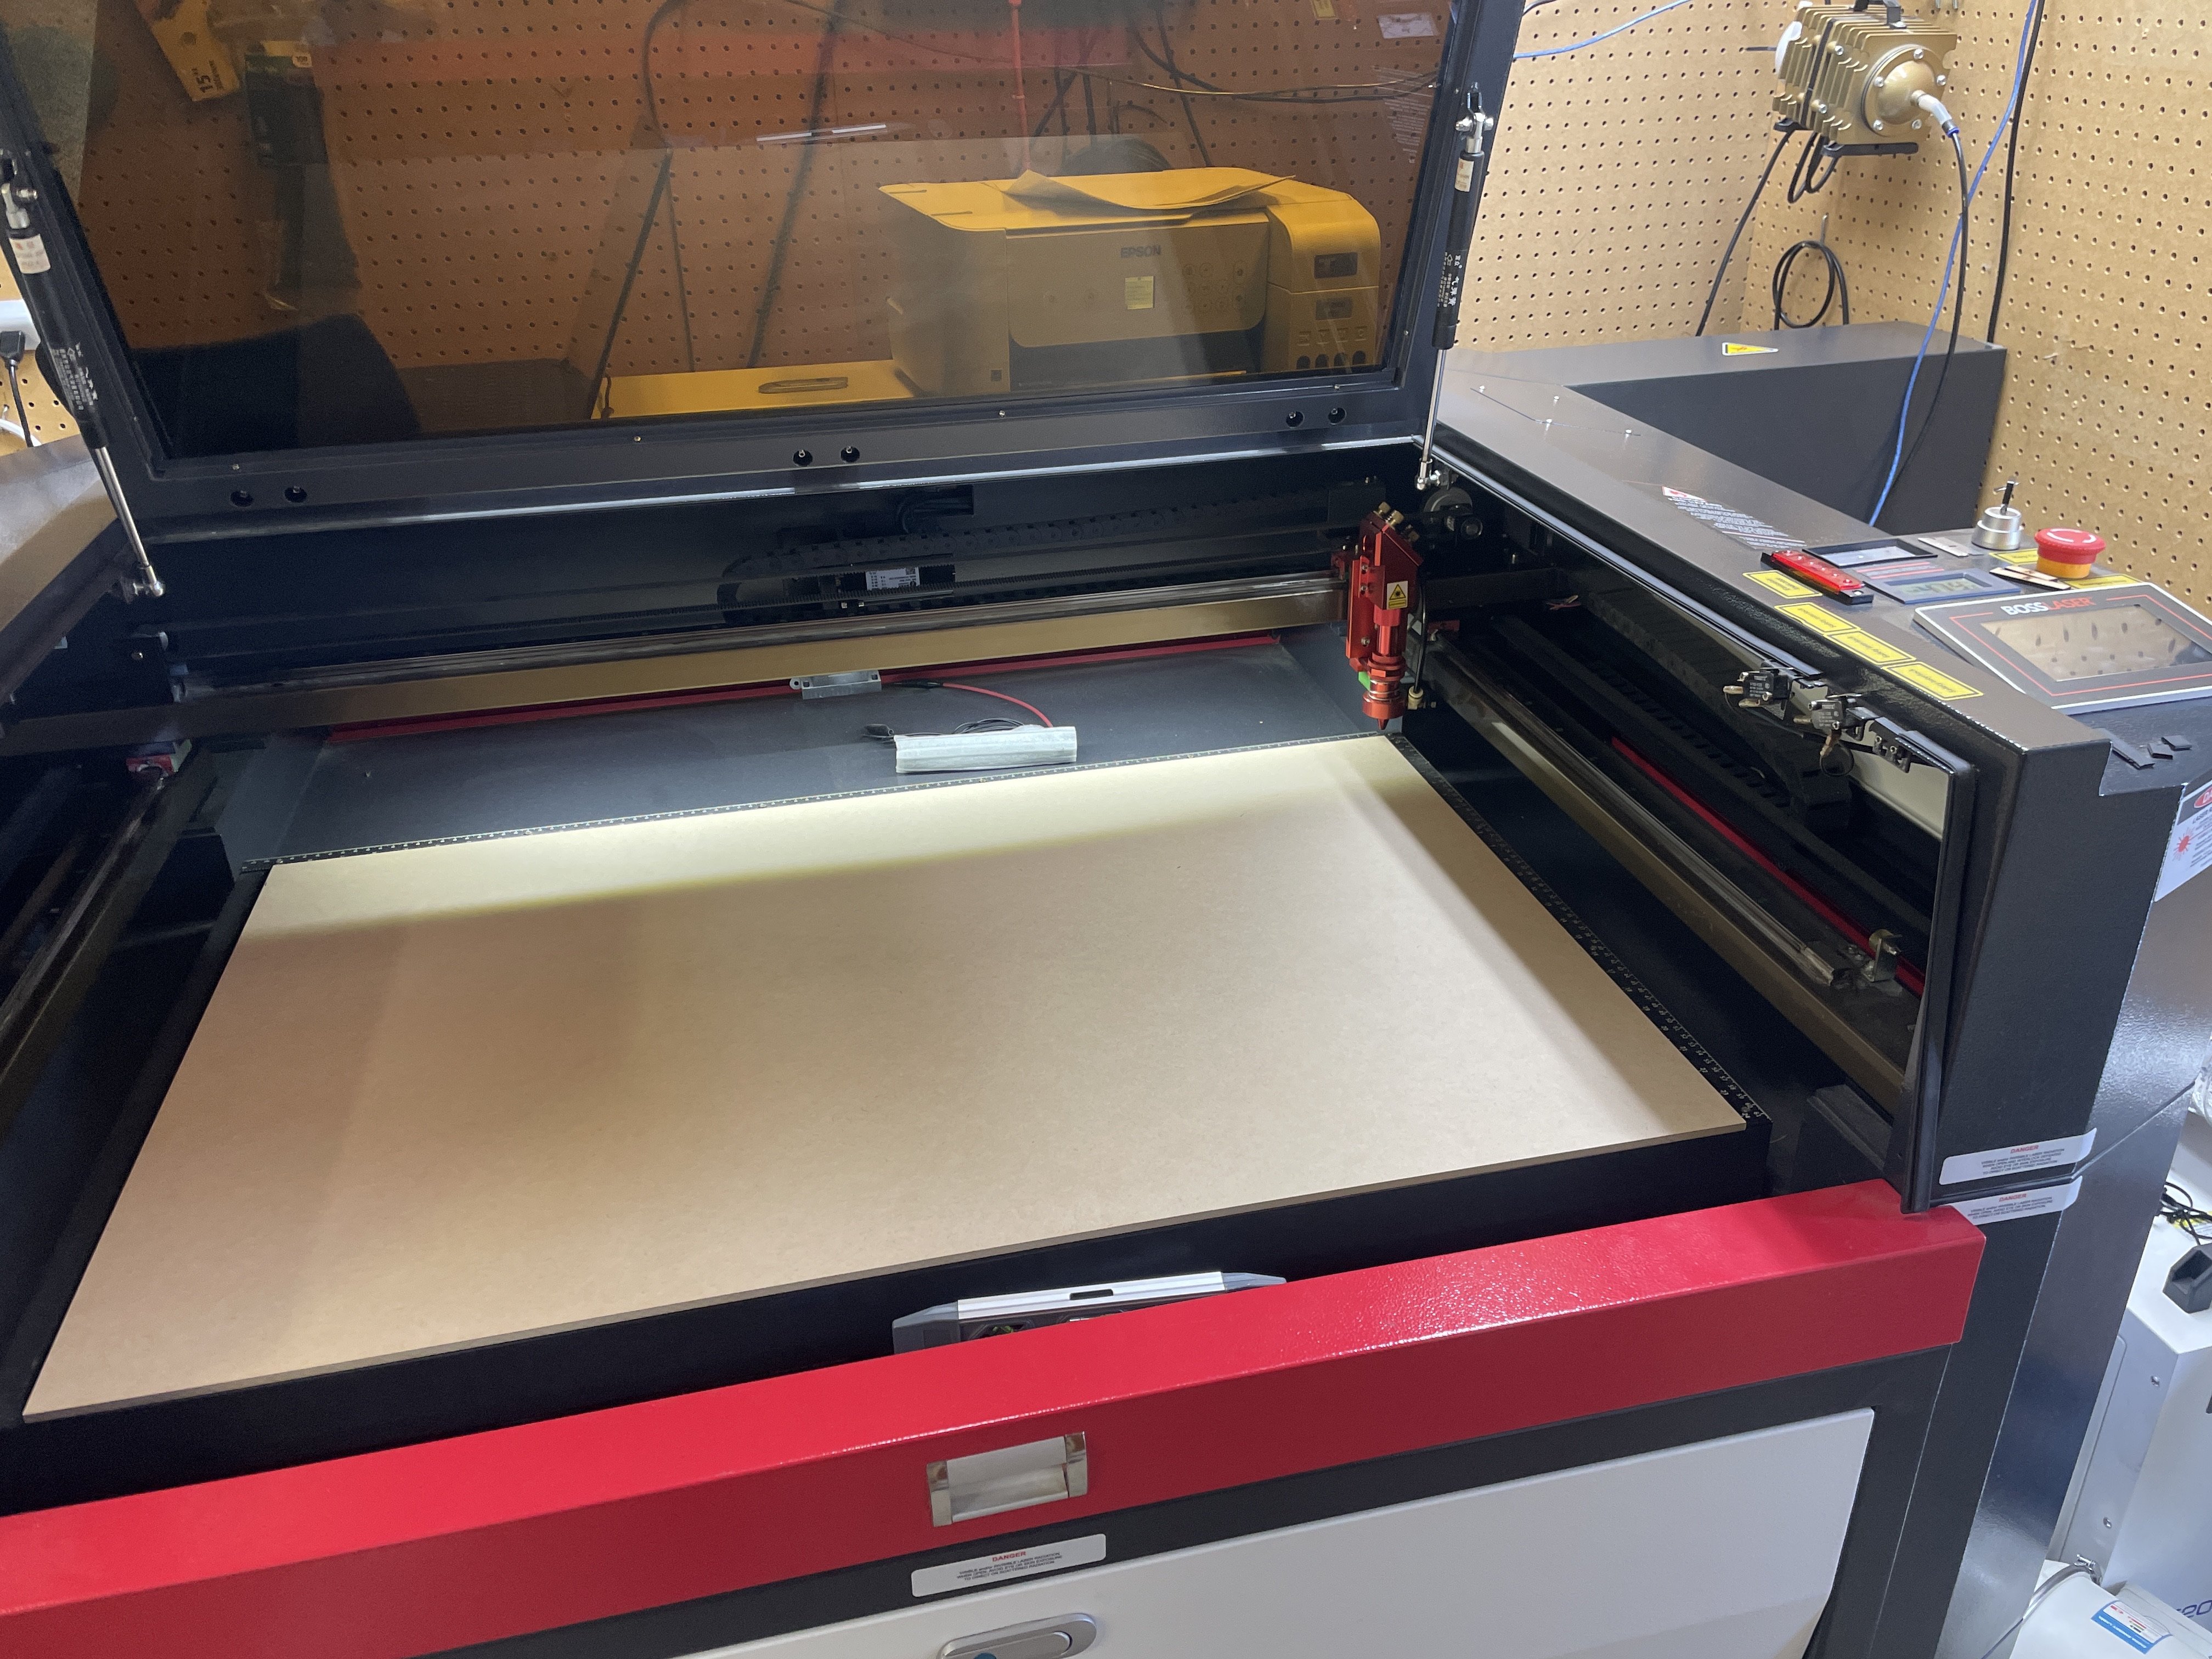
Update: My laser decided to take new years off until further notice so everything is at a dead stop until I can convince it otherwise.
-
Beautiful work Ben! It’s looking really good. Did all the inner support structure come out easily?
-
I will let you know when I have a cherry one completed.
-
Not sure exactly what you’re asking but It sounds like separate bow and stern model sections? No I will not be producing those as this time, just the whole ship.
-
I should have a handful of Portland kits (Chapter 1&2) as well as some Winchelsea starter bulkhead kits and Neptune capstan kits ready by this weekend… if everything goes right. I’ll keep everyone updated
-
I do not, nor have I seen any drawings that show it aside from winfields book. but rigs were standard back then. Winfields book on leopard covers it In detail in 1/96 scale. Leopard was portlands younger sister so this would be pretty accurate if you decided to rig it.
-
Nice work. This is a fun part of the build. The insides bring it to life
-
Great work Frank. Merry Christmas!
-
Hi Albin, I will certainly notify you as soon as I have one available. Did you say you wanted a cherry one? im working on pricing now, the first two chapters are included in one large box and there’s quite a lot of material between them so it won’t be cheap but the model cost overall will be on par with other models of similar quality and scale such as Winchelsea and La Rennomme.
-
It’s very close, Working bugs out now. I will be producing full time After Christmas. I will also be cutting cherry kits as well. As soon as the Website is finished I will post a link on this page as well as on MSW!
-
I think that looks perfect! Are the moldings from the scraper I provided? Looks very good.
-
L'Ambitieux by Nek0 - Altaya
scrubbyj427 replied to Nek0's topic in - Kit build logs for subjects built from 1501 - 1750
Spectacular model! -
Merry Christmas and happy new year Siggi. Get well soon. Stay away from the shipyard ale!
-
Looking forward to seeing this one!