Check out our new MSW Sponsor Innocraftsman
×


Daliab
-
Posts
136 -
Joined
-
Last visited
Content Type
Profiles
Forums
Gallery
Events
Everything posted by Daliab
-
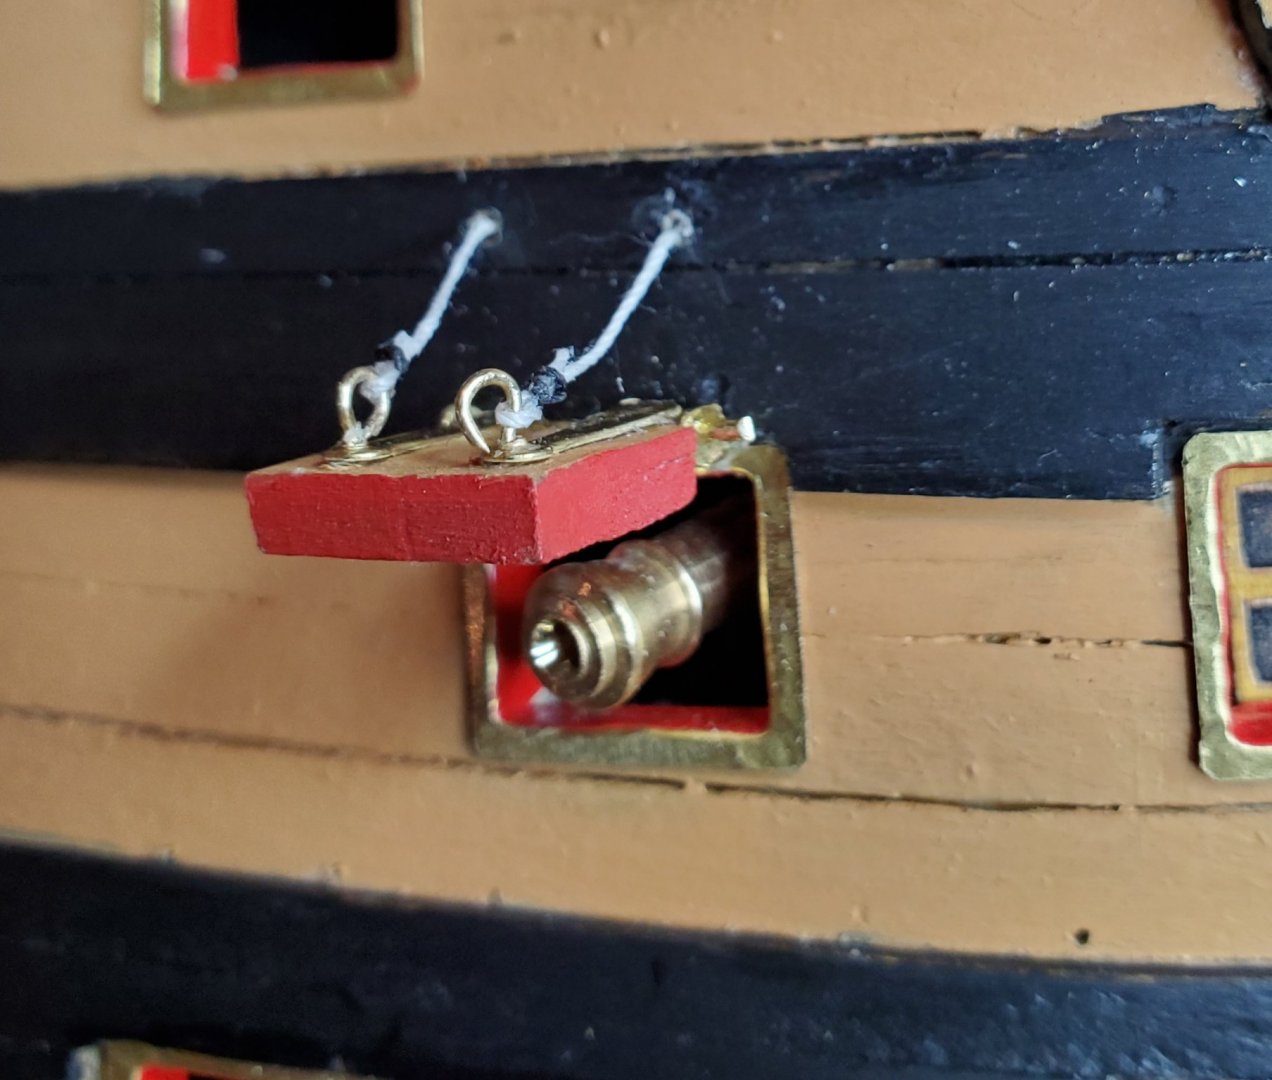
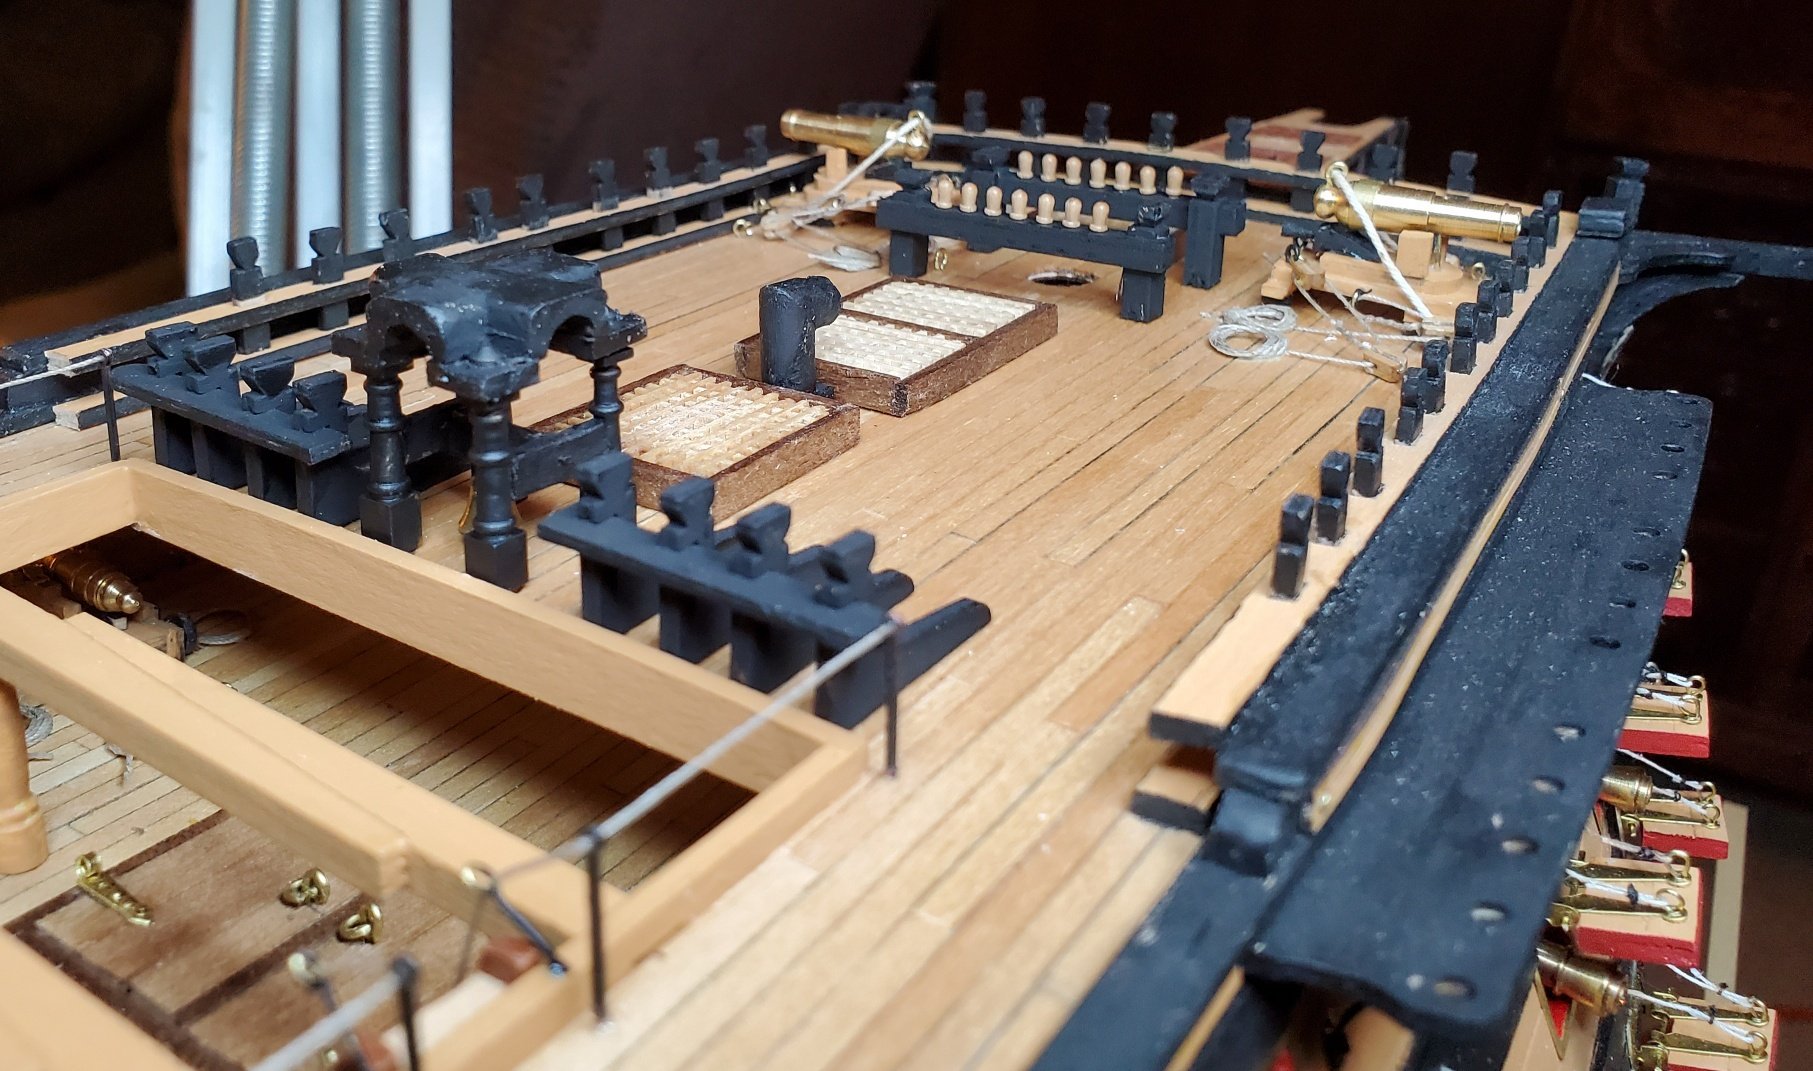
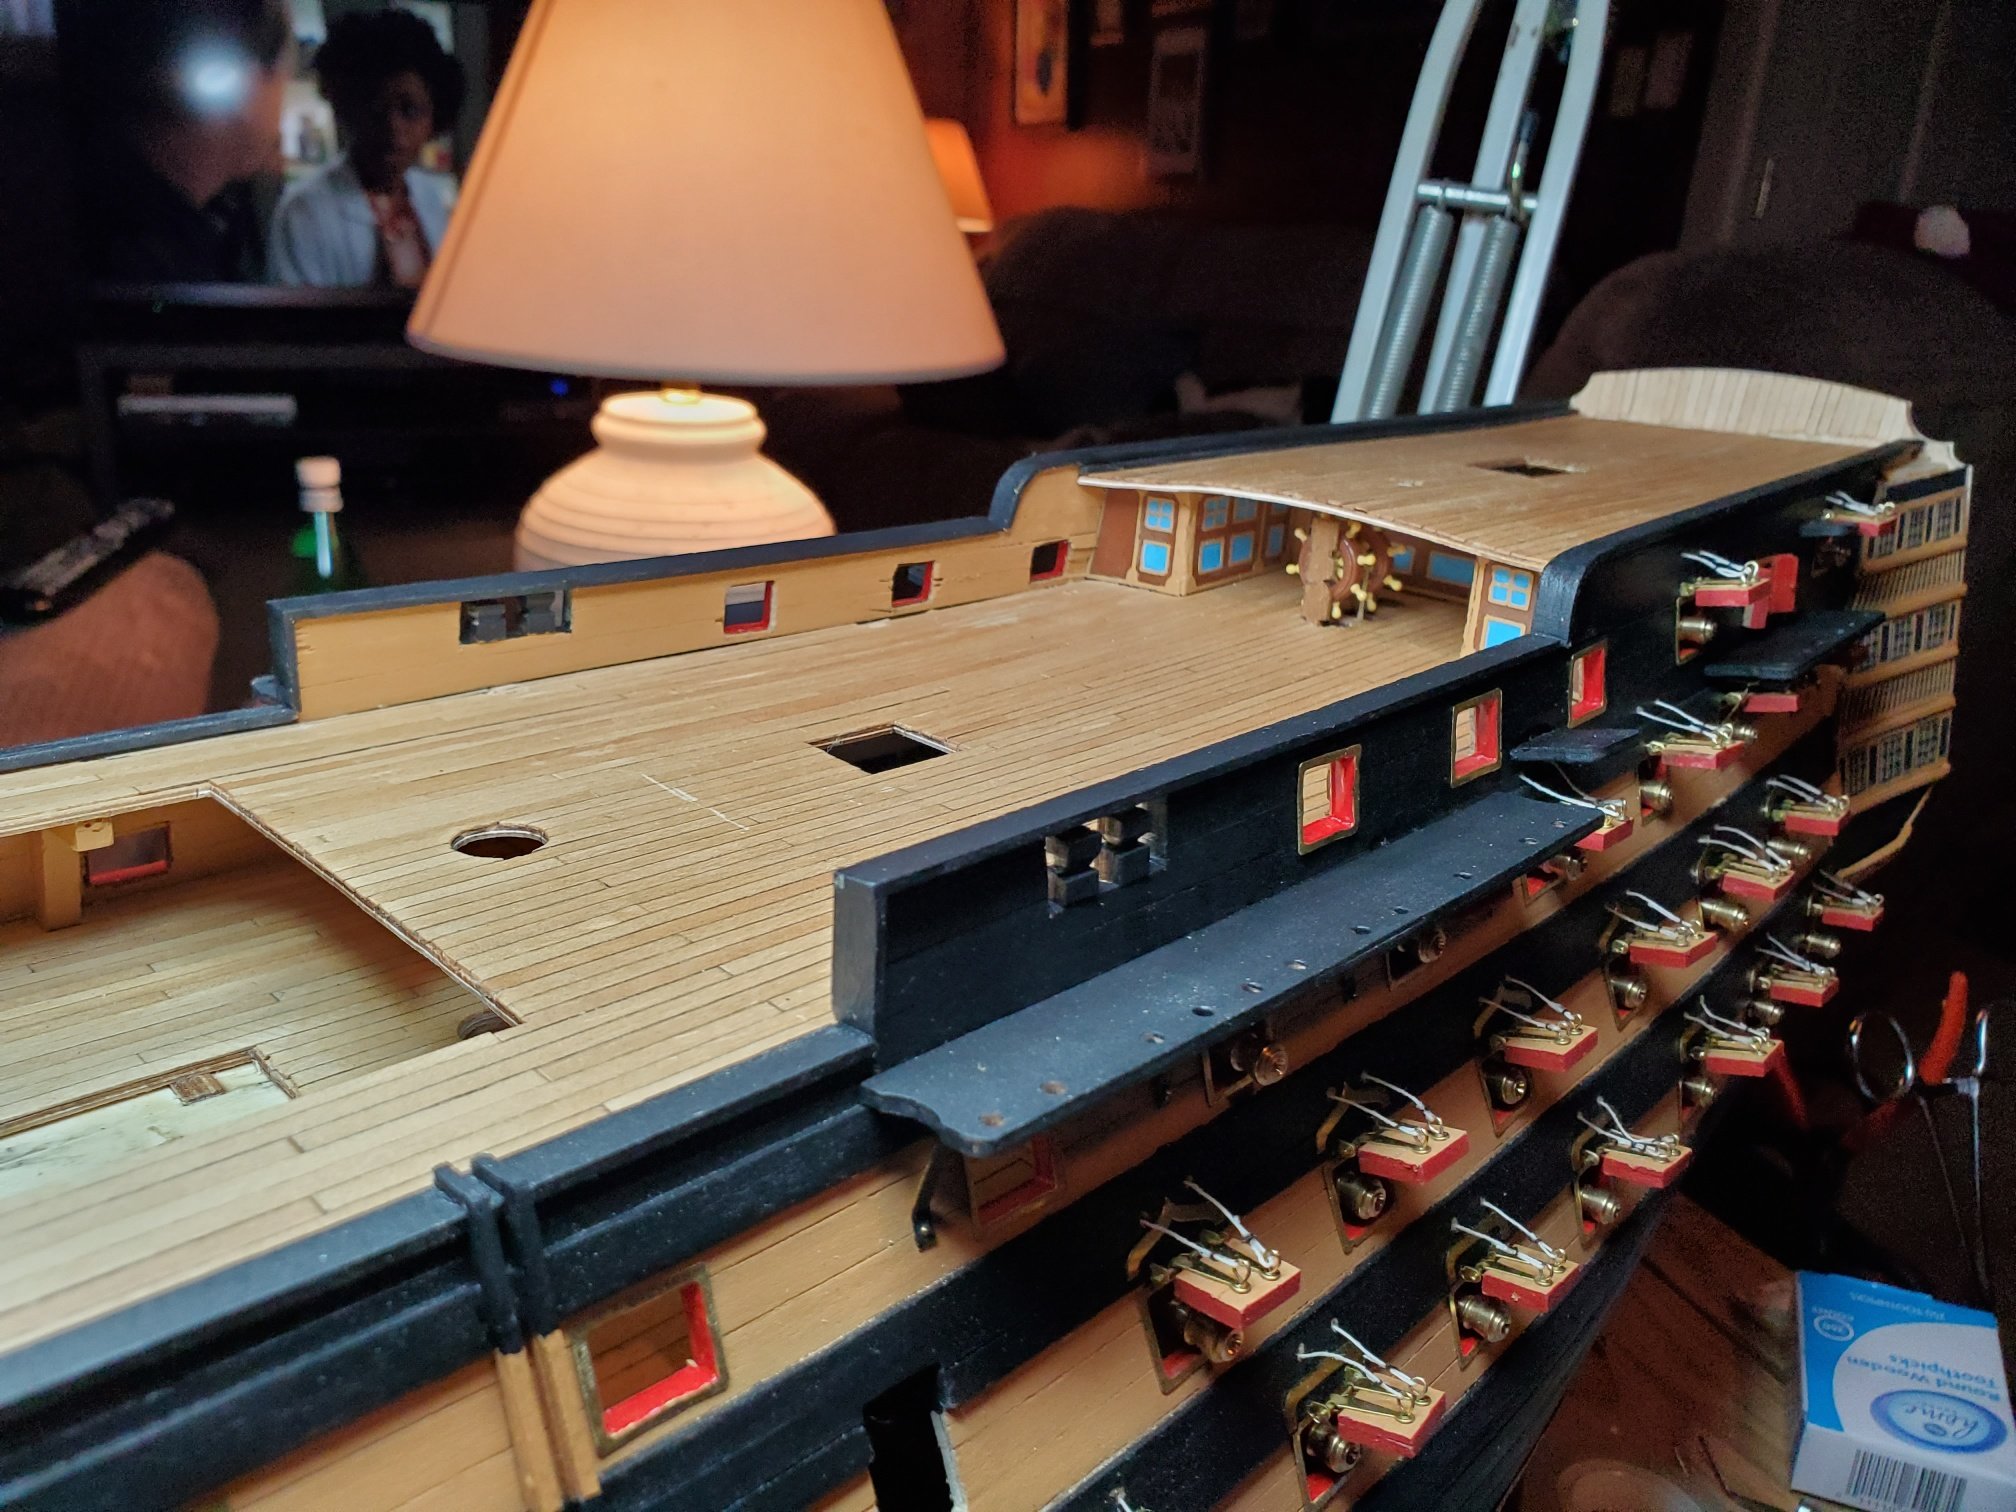
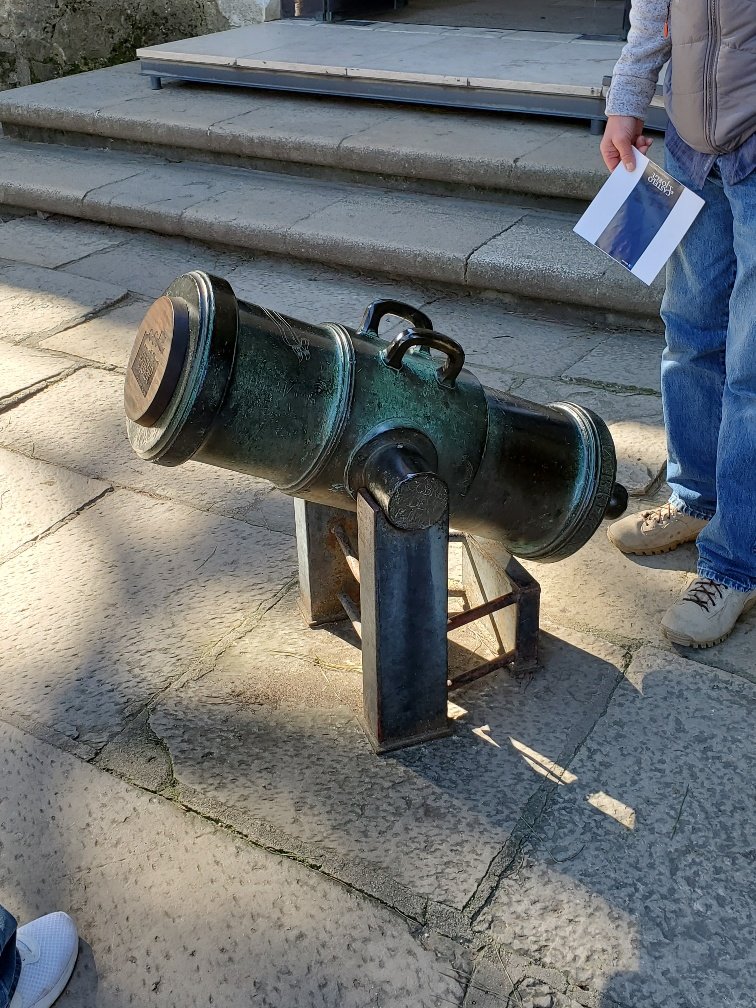
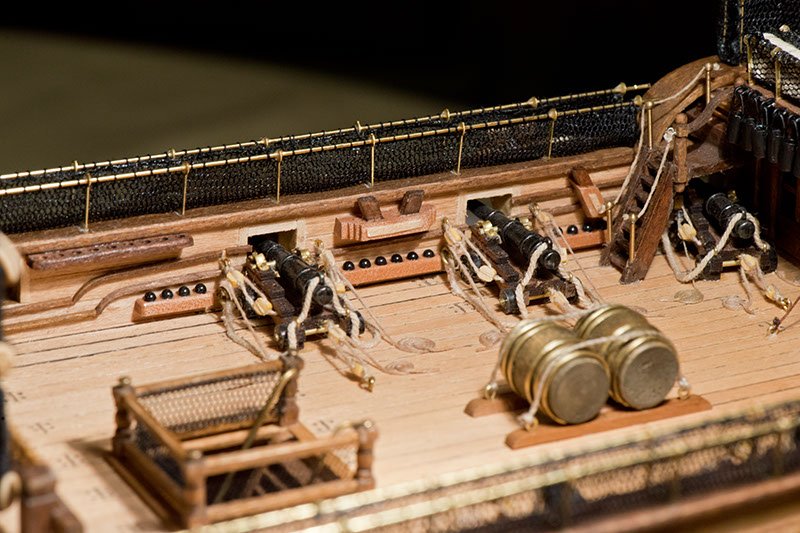
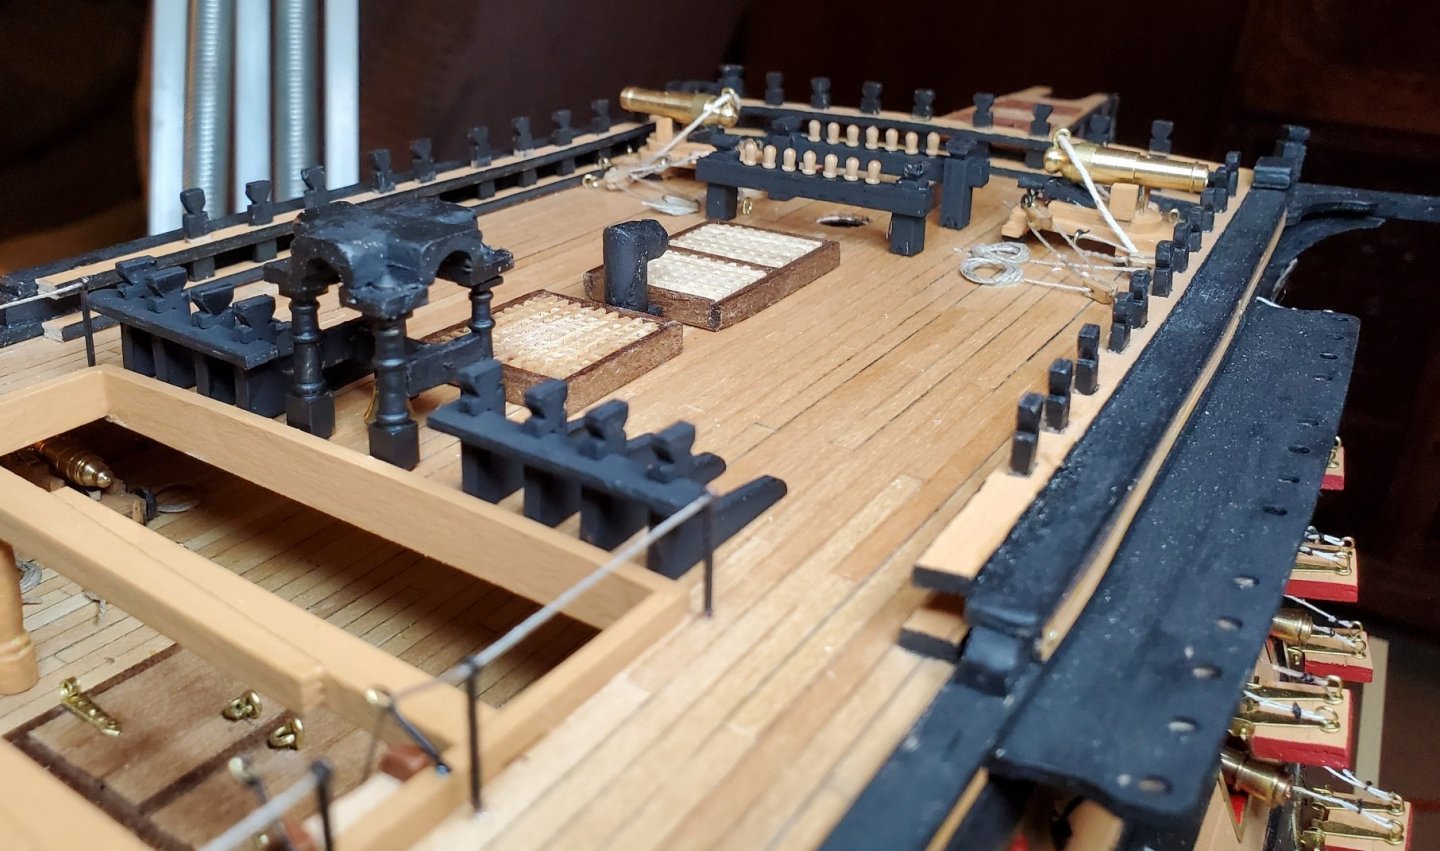
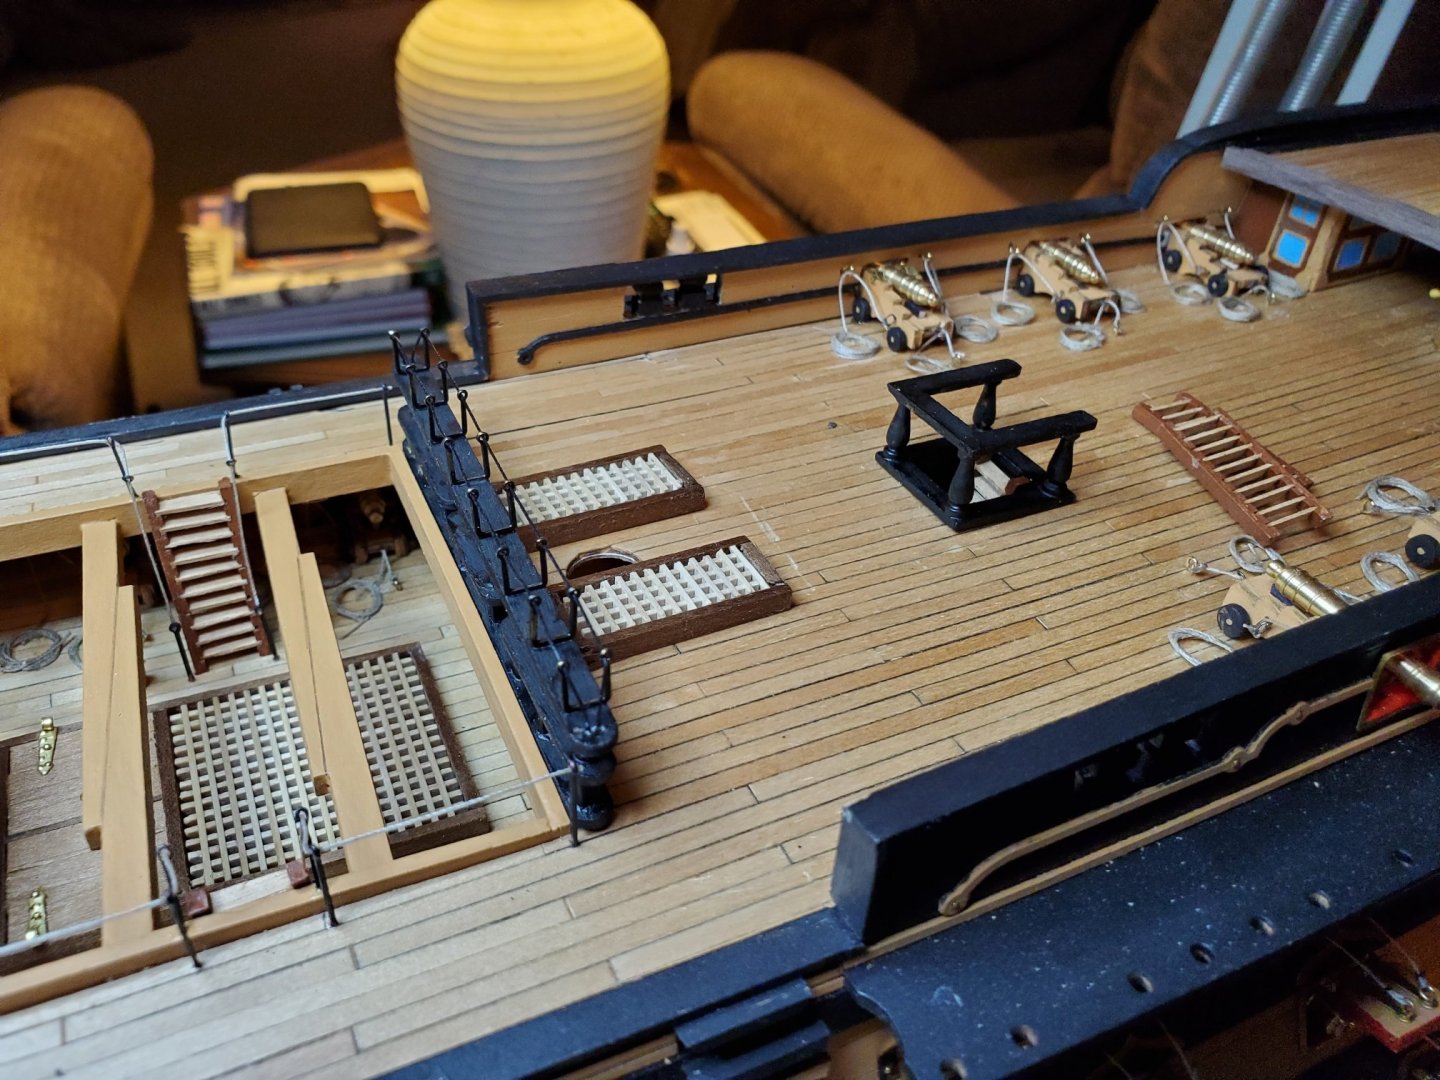
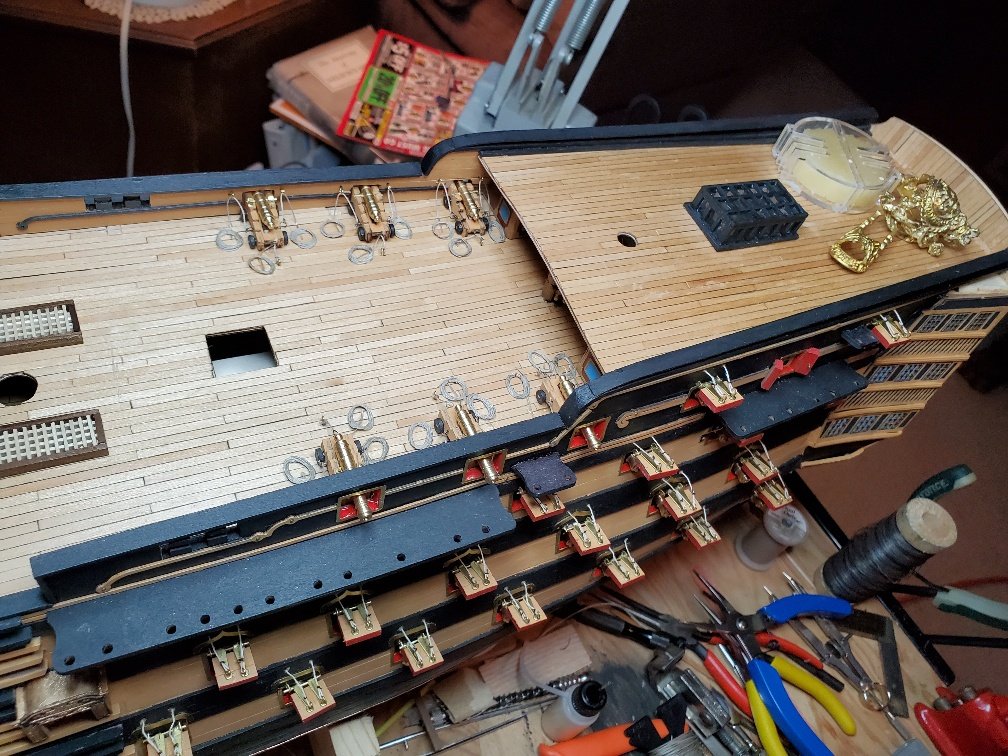
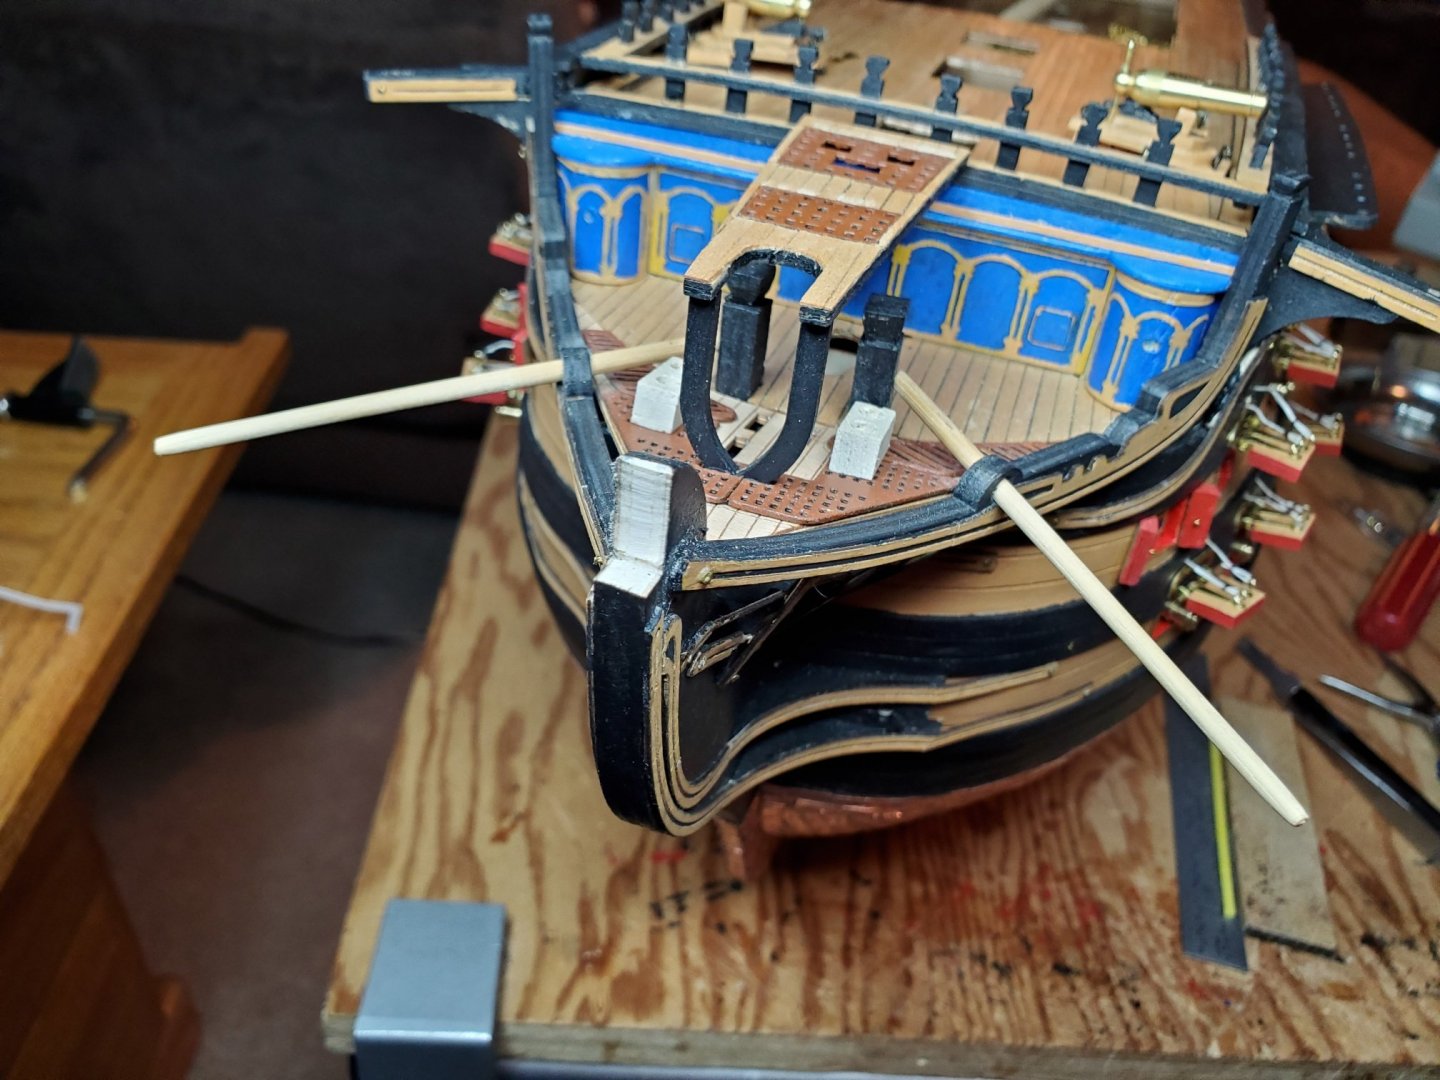
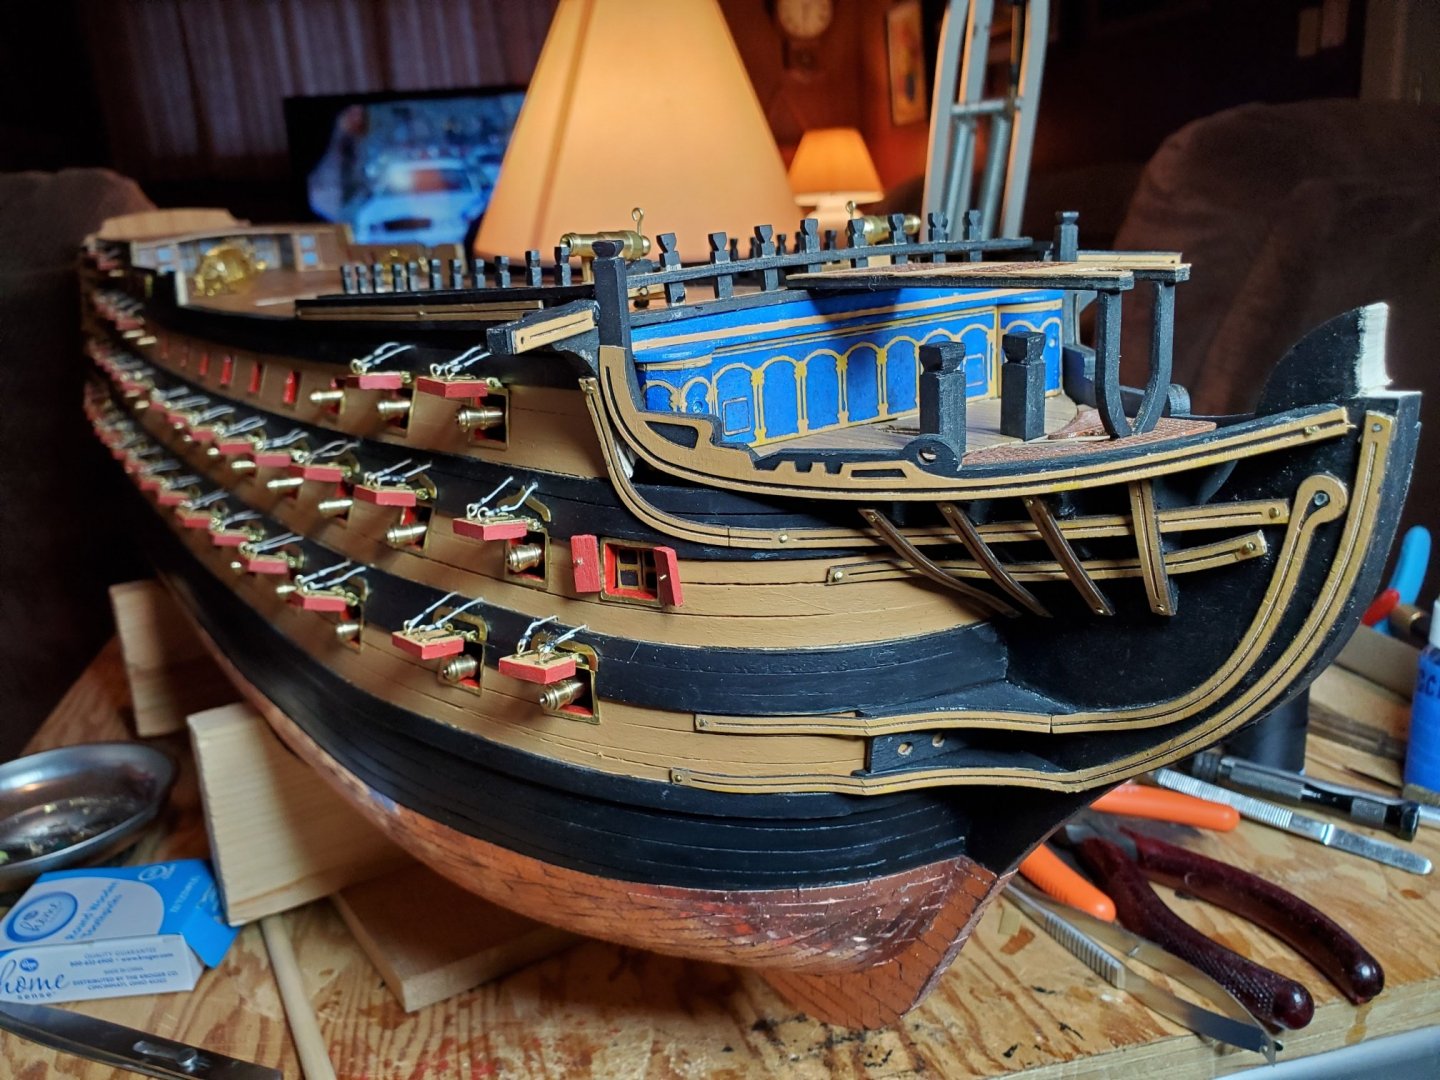
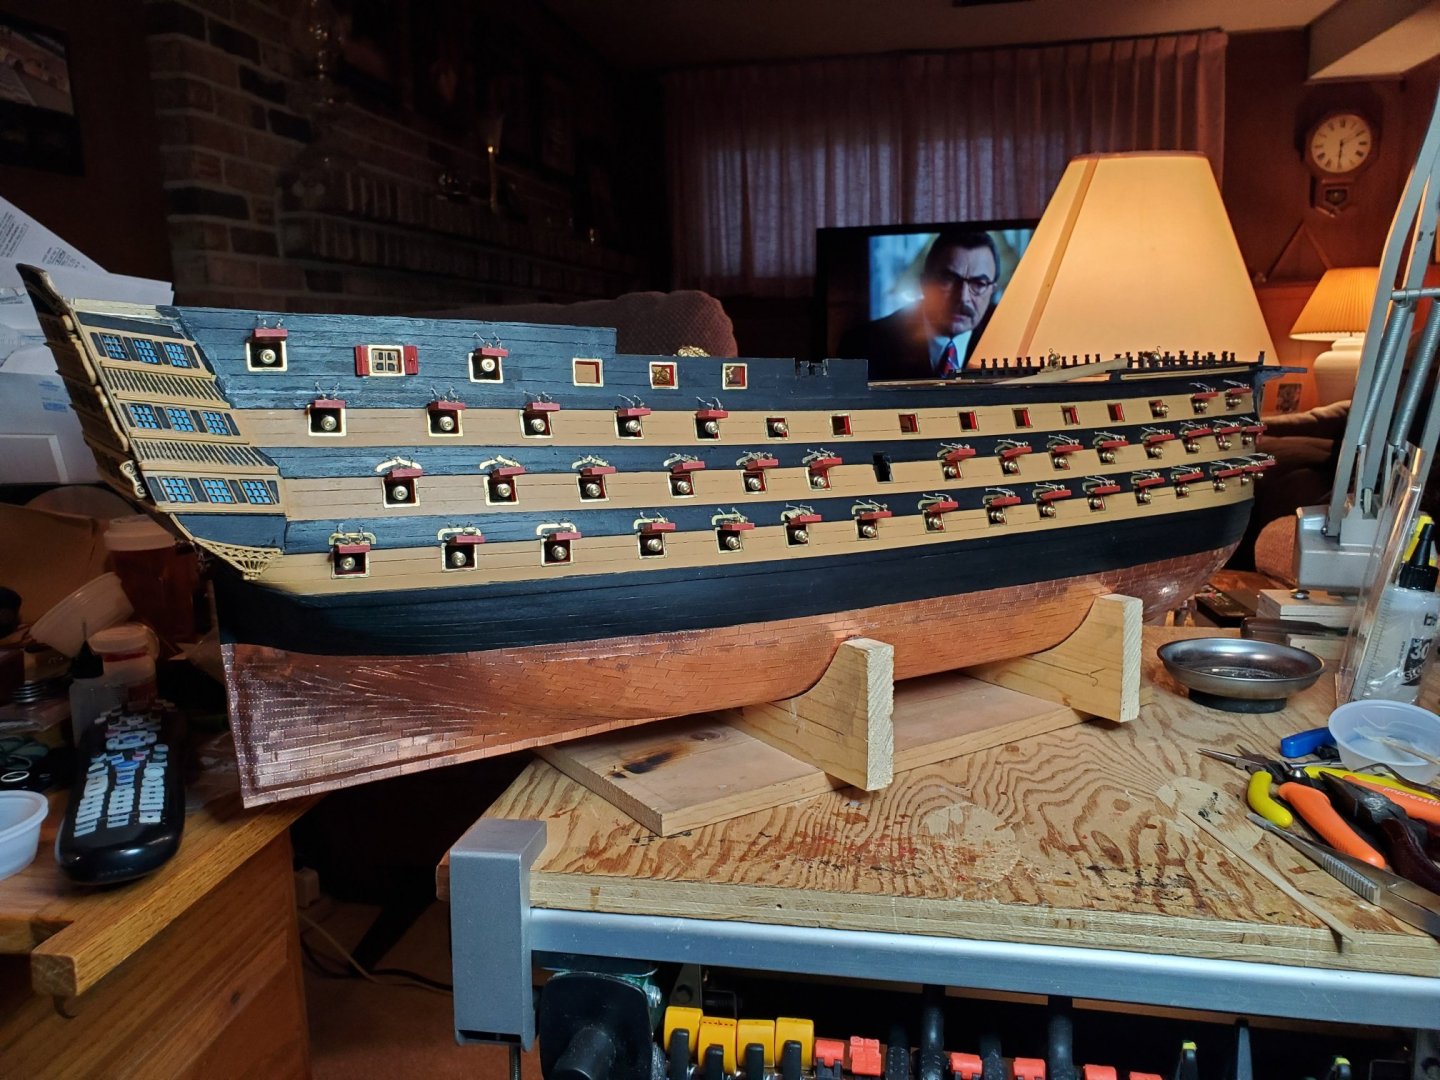
 Mantura didn't provide barrels or shot. I like the looks of a couple of barrels in this wide open space. Just trying to figure what would look close to scale. Size: H11mm (7/16") x W 5mm (13/64") x B 8mm (5/16") Size: H 14mm (9/16") x W 8mm (3/8") x B 12 mm (15/32") Size: H17mm (43/64") x W 11mm (7/16") x B 17mm (43/64") As for shot, they didn't provide that either. Trying to get an idea of what size shot I need to get.
 -
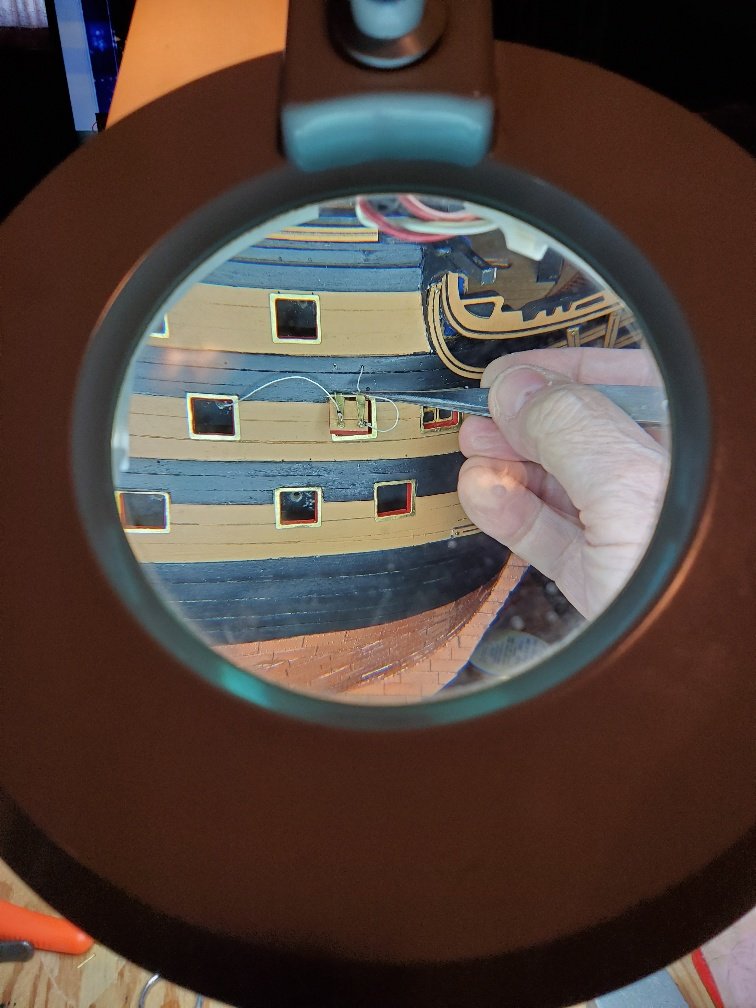
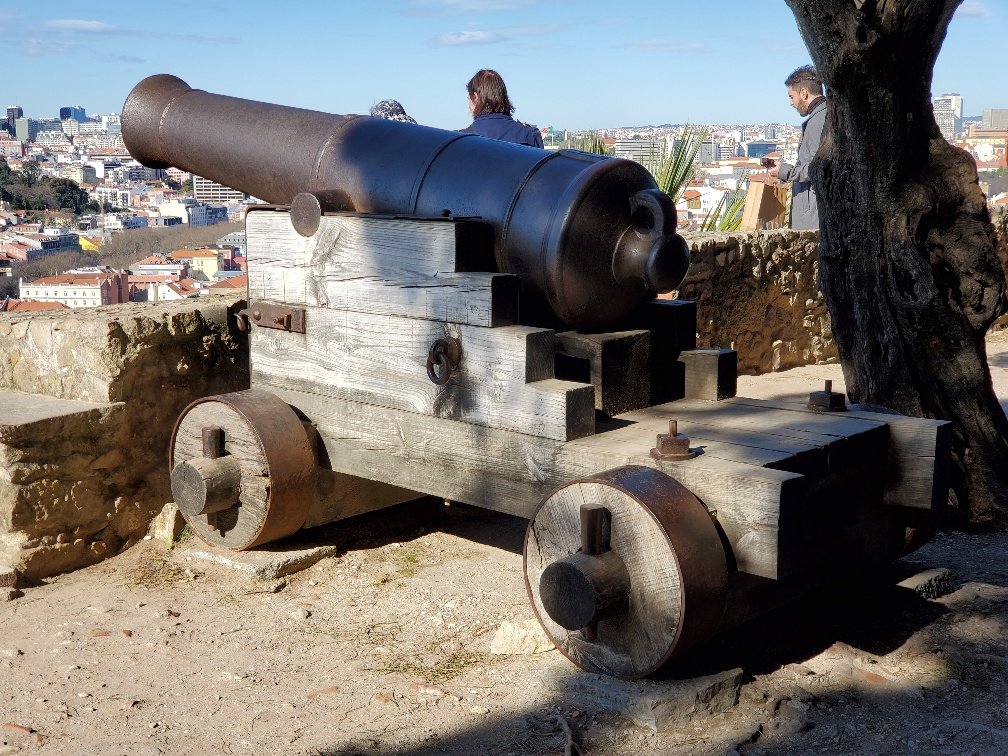
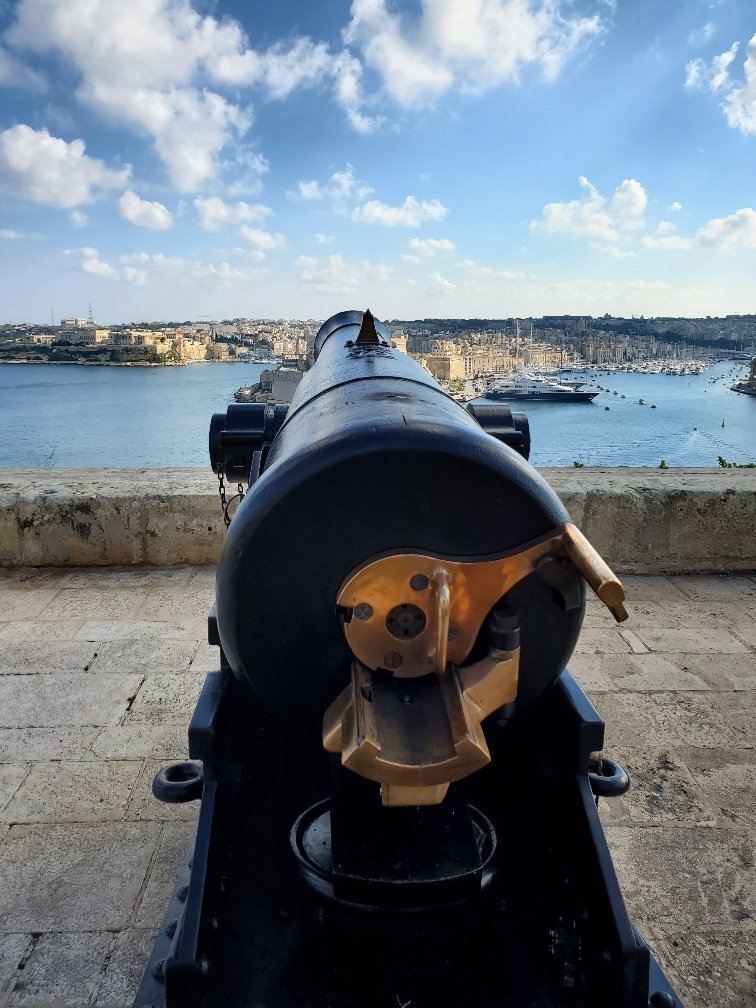
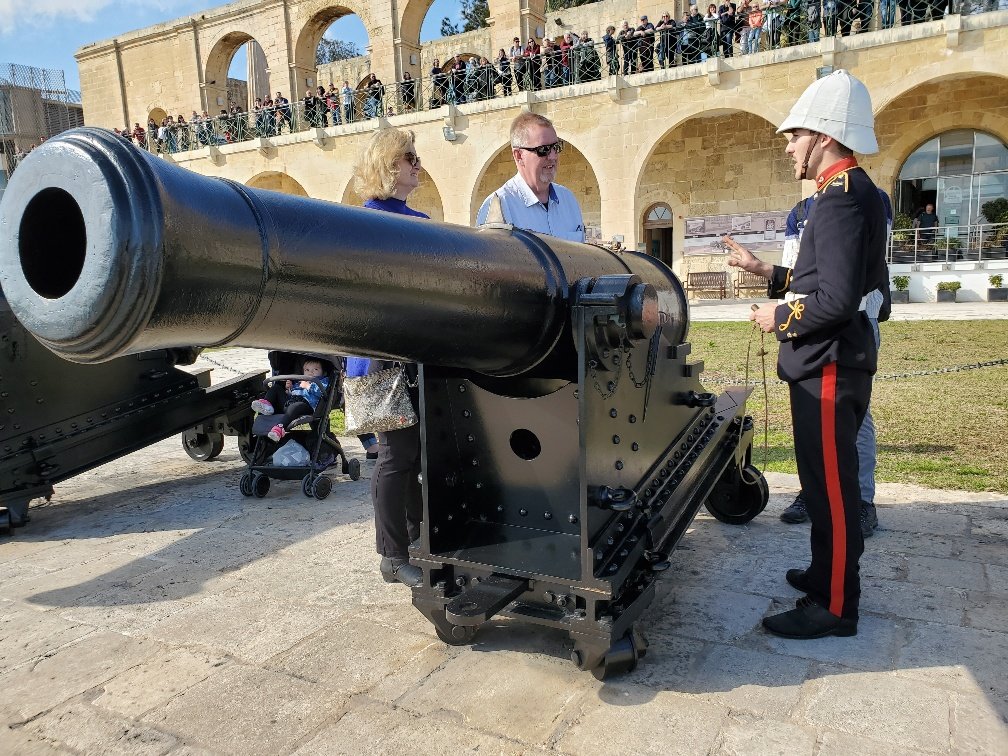
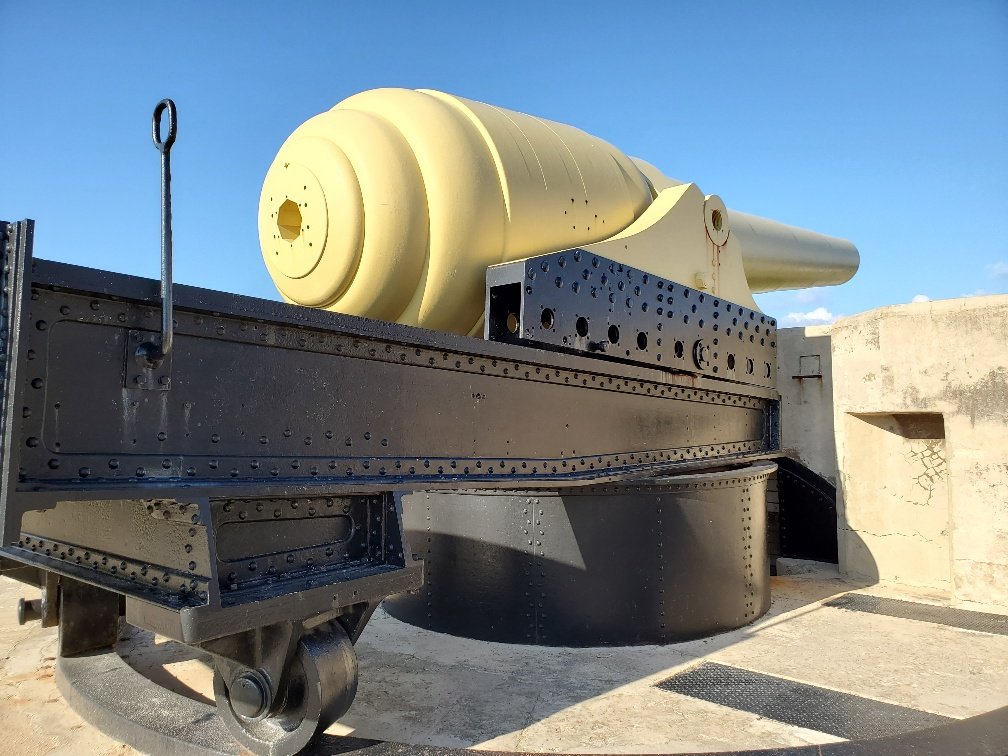
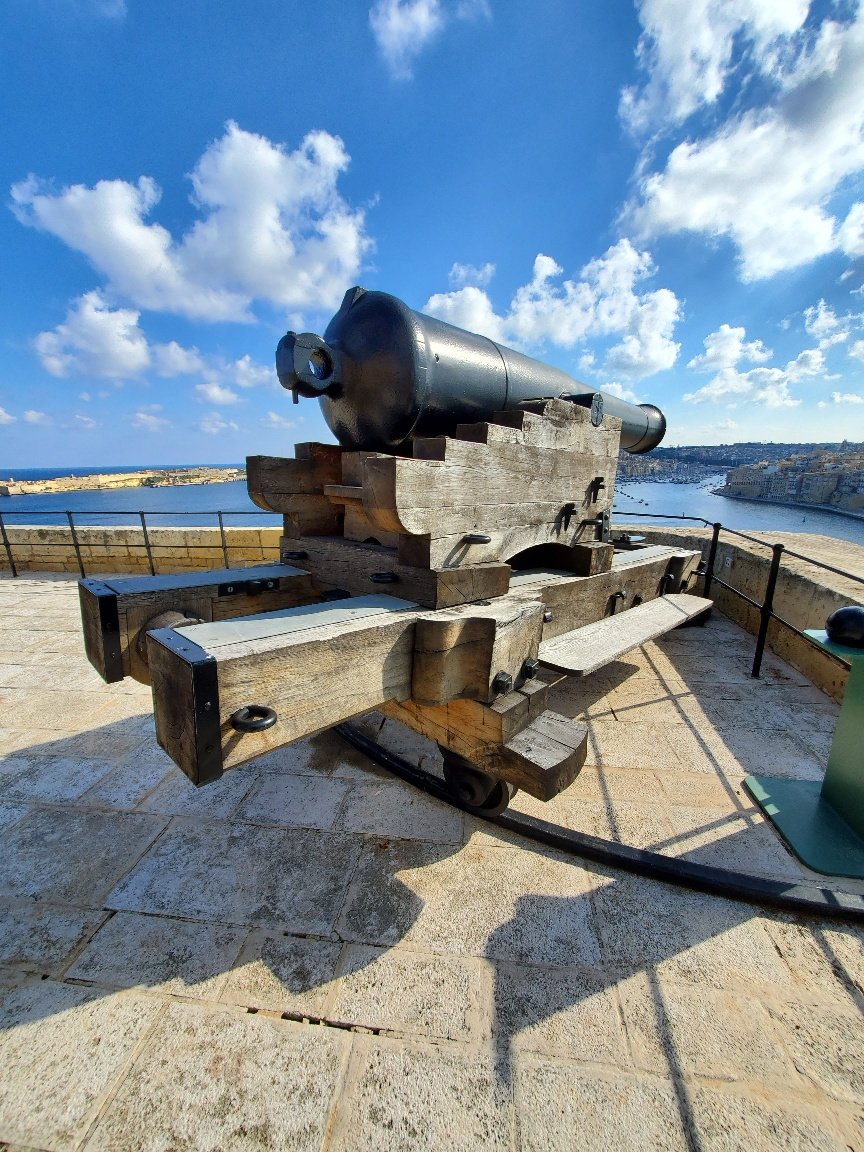
Mantura 738 HMS Victory 1/78 scale. Looking for the size shot to use for cannon ball holders. In addition, looking for the write size barrels to use. Looking at mounting barrels like in the picture. What say you experts?
-
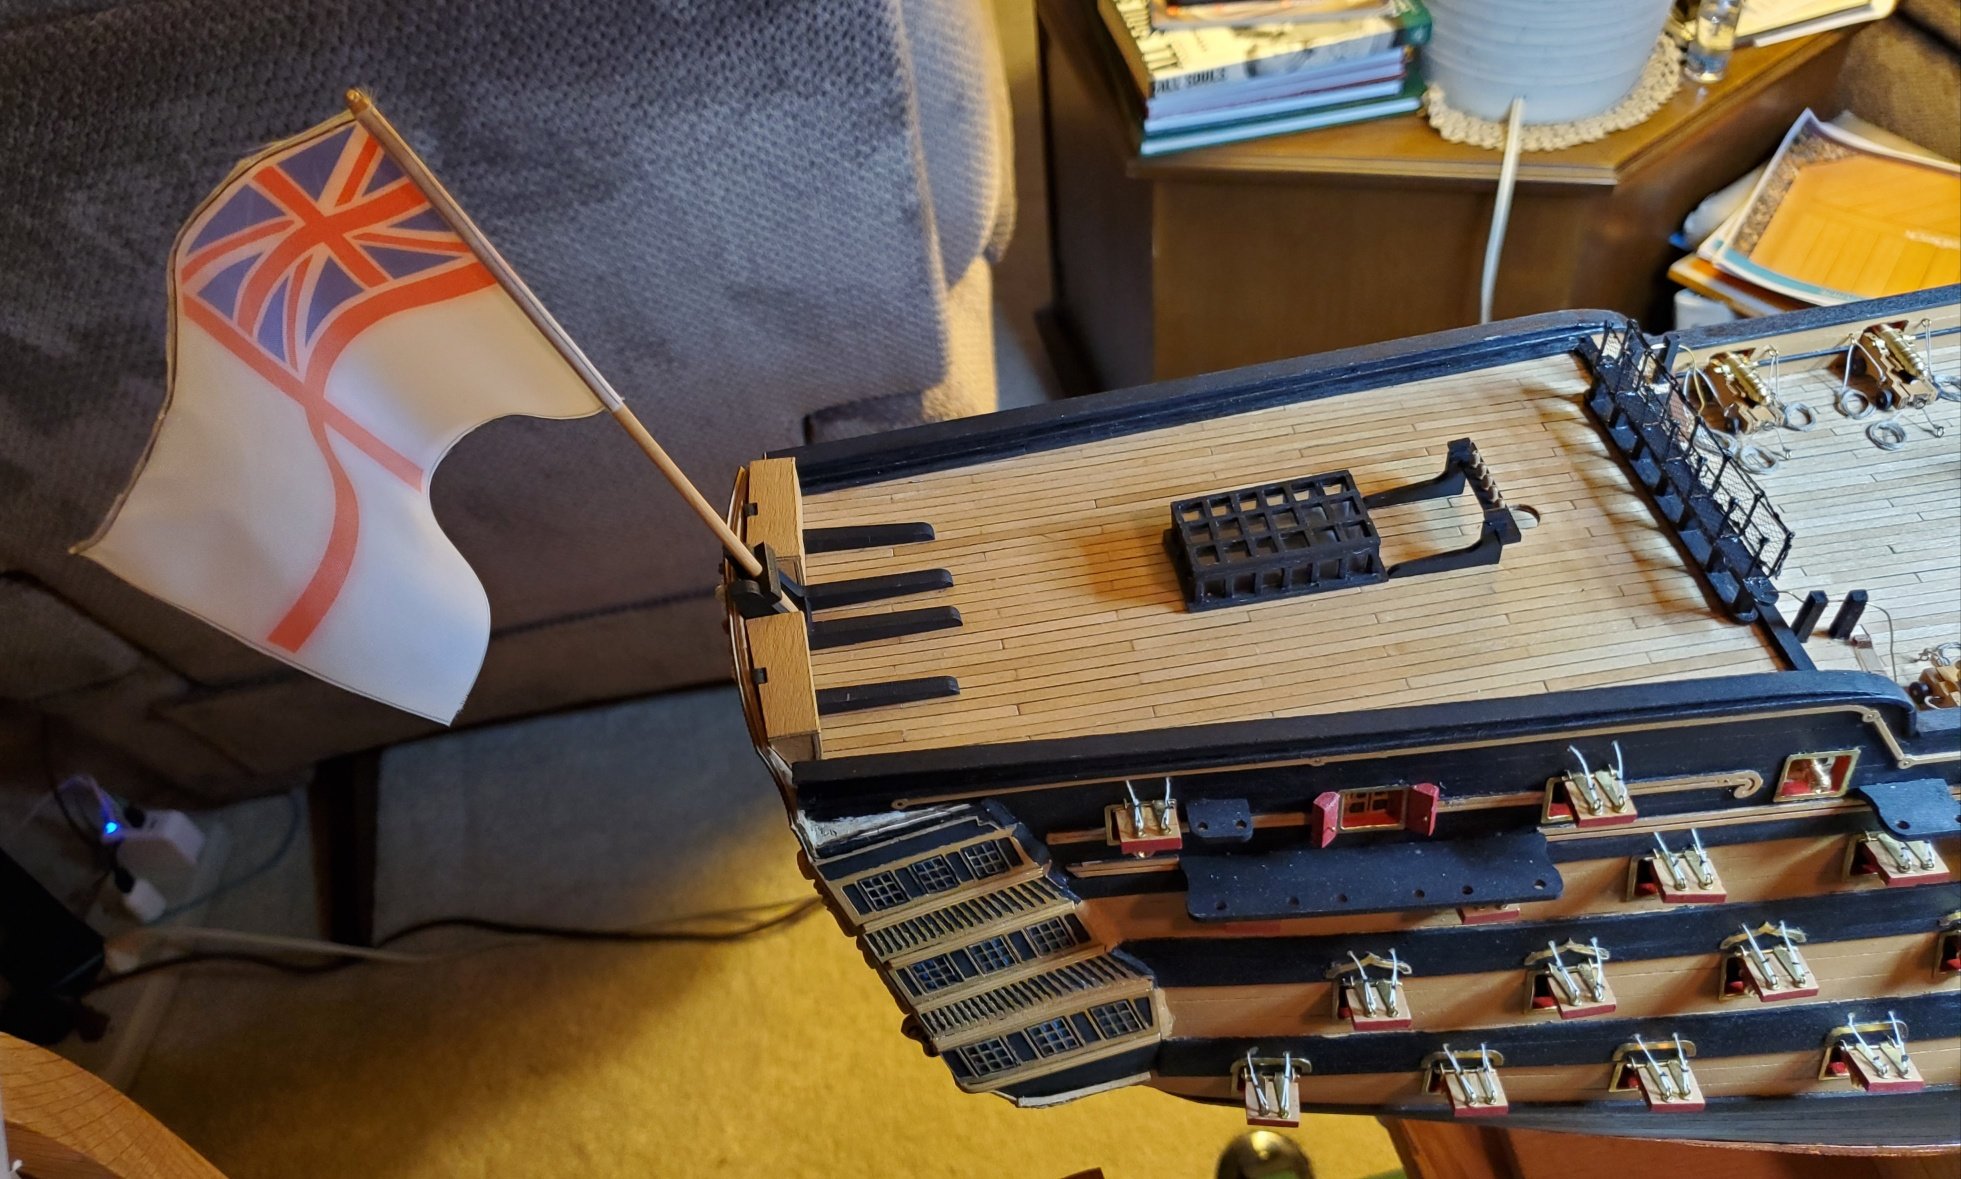
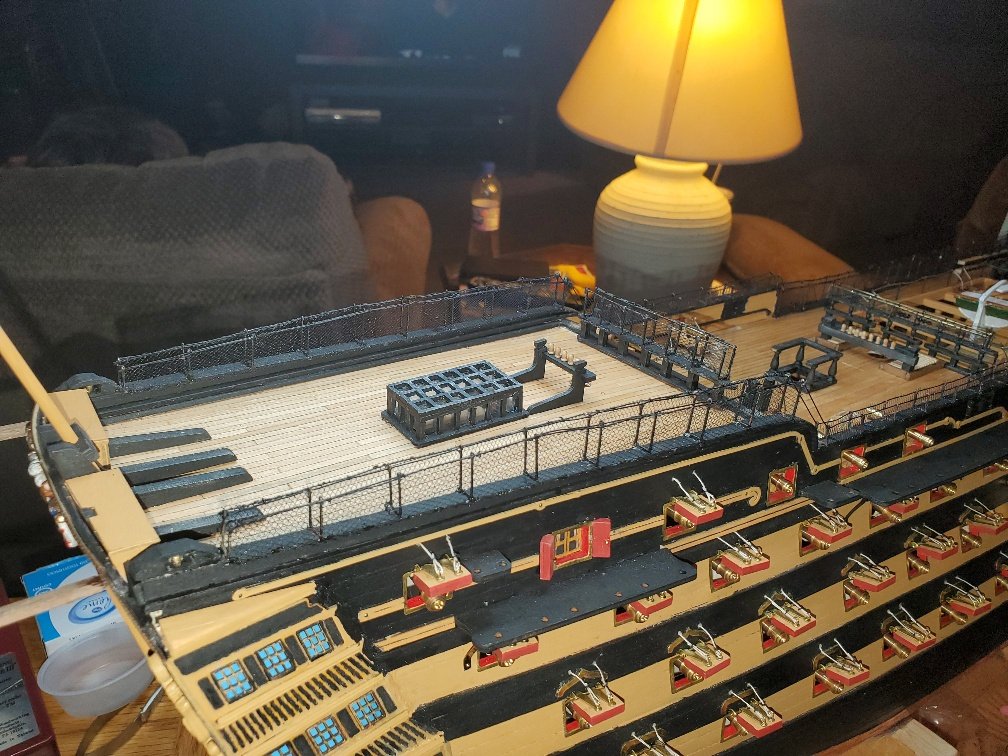
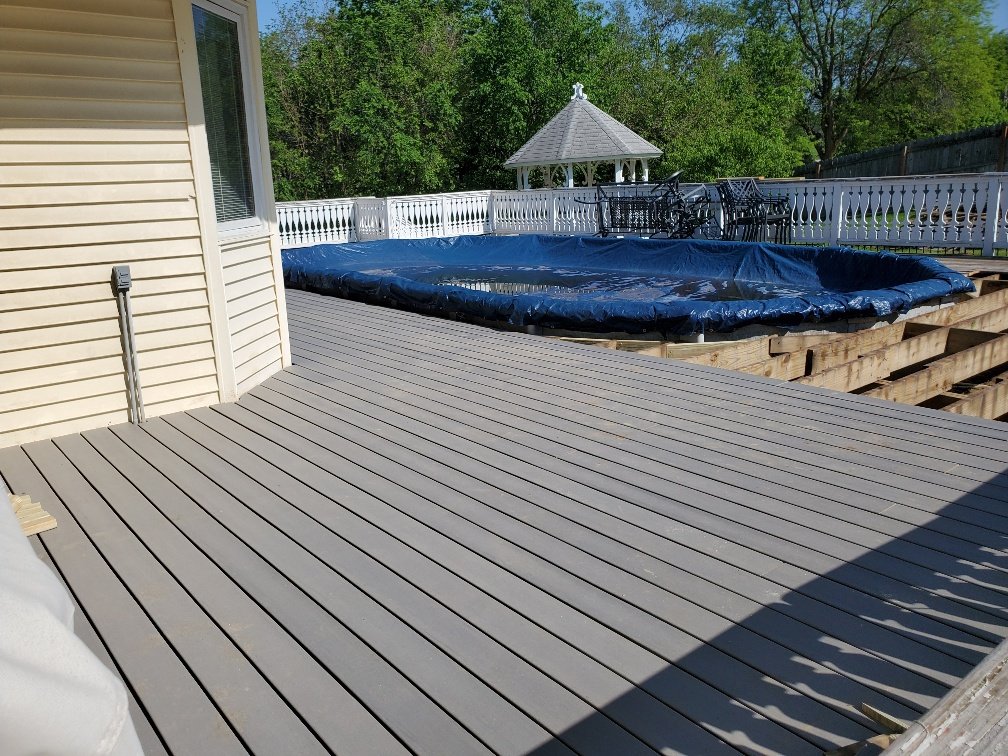
Deck is done and now I'm back to building the Victory. I don't know what took longer, putting on the new composite on the deck or installing all of the hammock netting on the Victory. Finally got done with both.
-
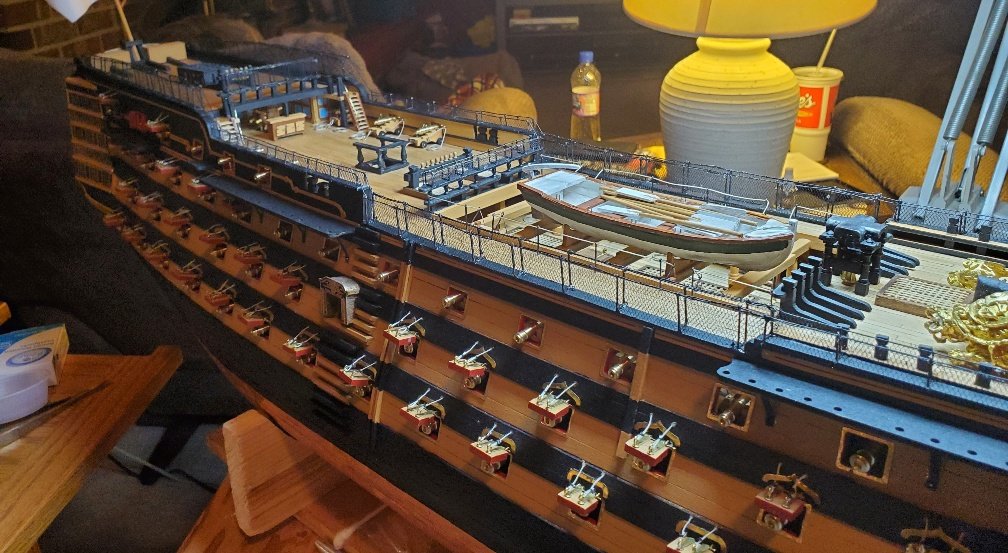
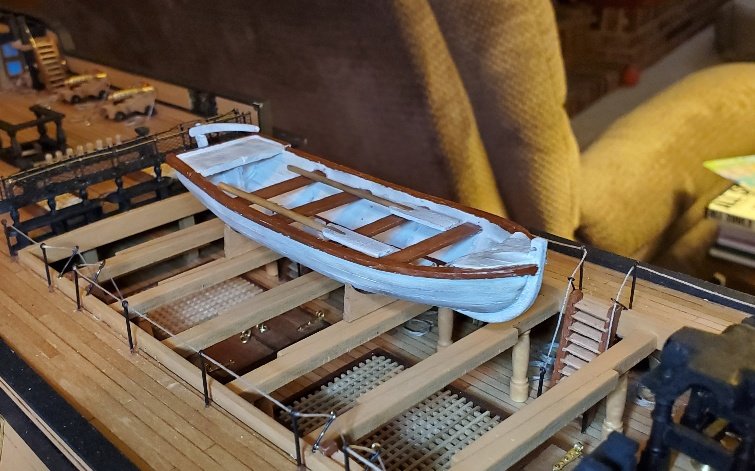
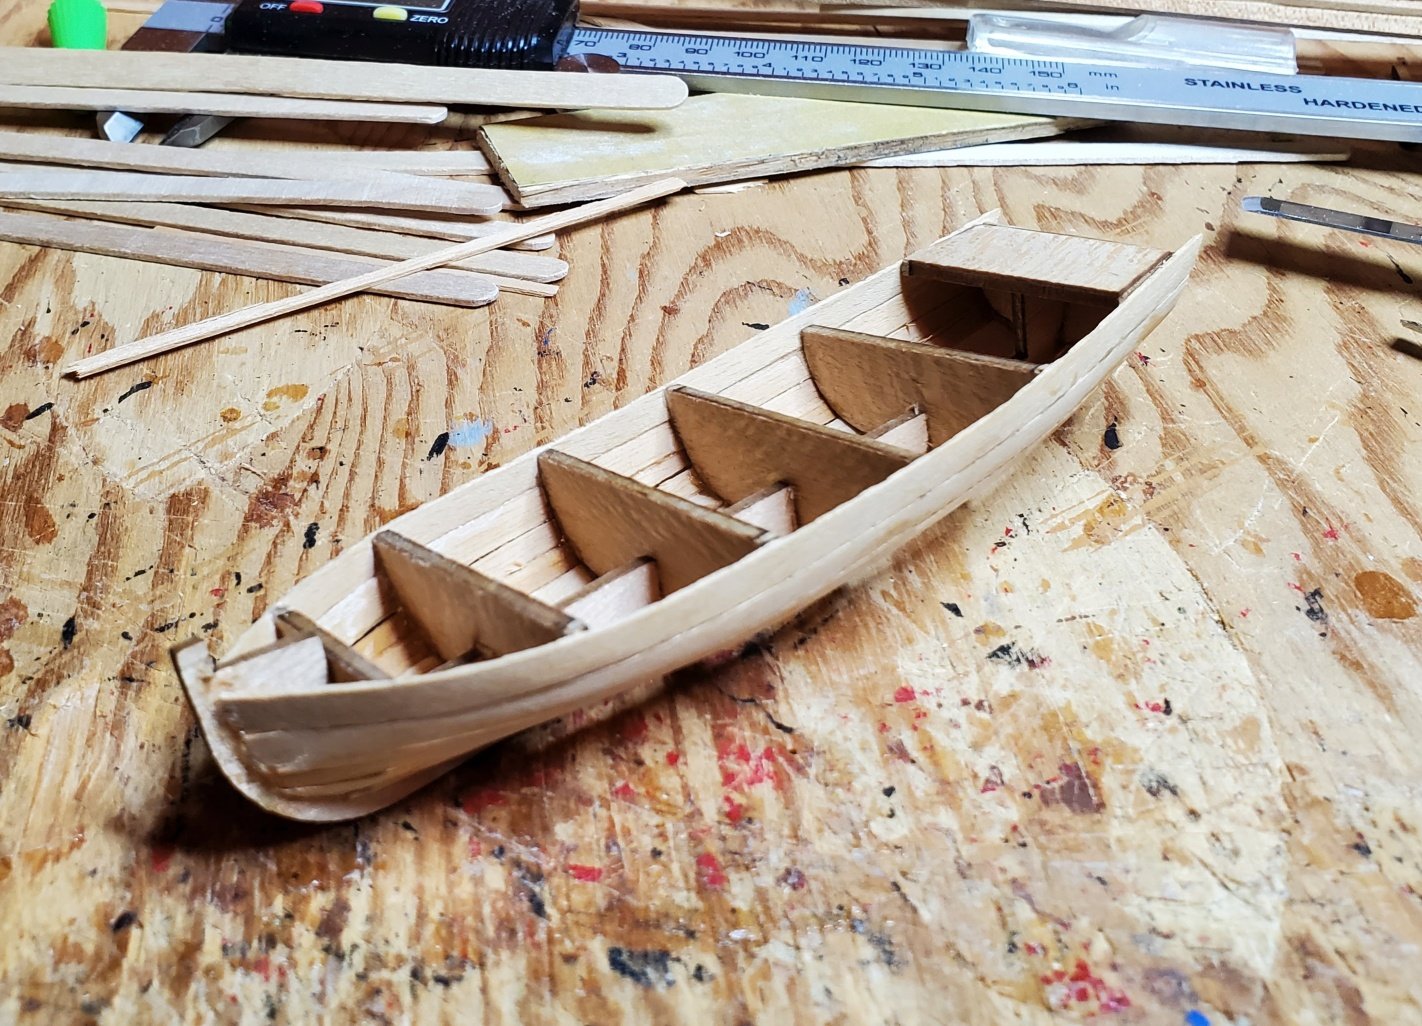
Haven't been able to work on the Vic lately. Having to remove old decking off of my 36 x 50 foot backyard deck and replacing it with composite decking. I thought working on the Vic took a lot of time. The last couple of rainy days has allowed me to work on one of the lifeboats.
-
Sail is looking good. Working on a 738 Mantua Victory but have the jolly boat in line for the next build. I to would like to try my hand at kit bashing also. Keeping and eye on your progress.
- 60 replies
-
- 1
-

-
- bounty jolly boat
- artesania latina
- (and 2 more)
-
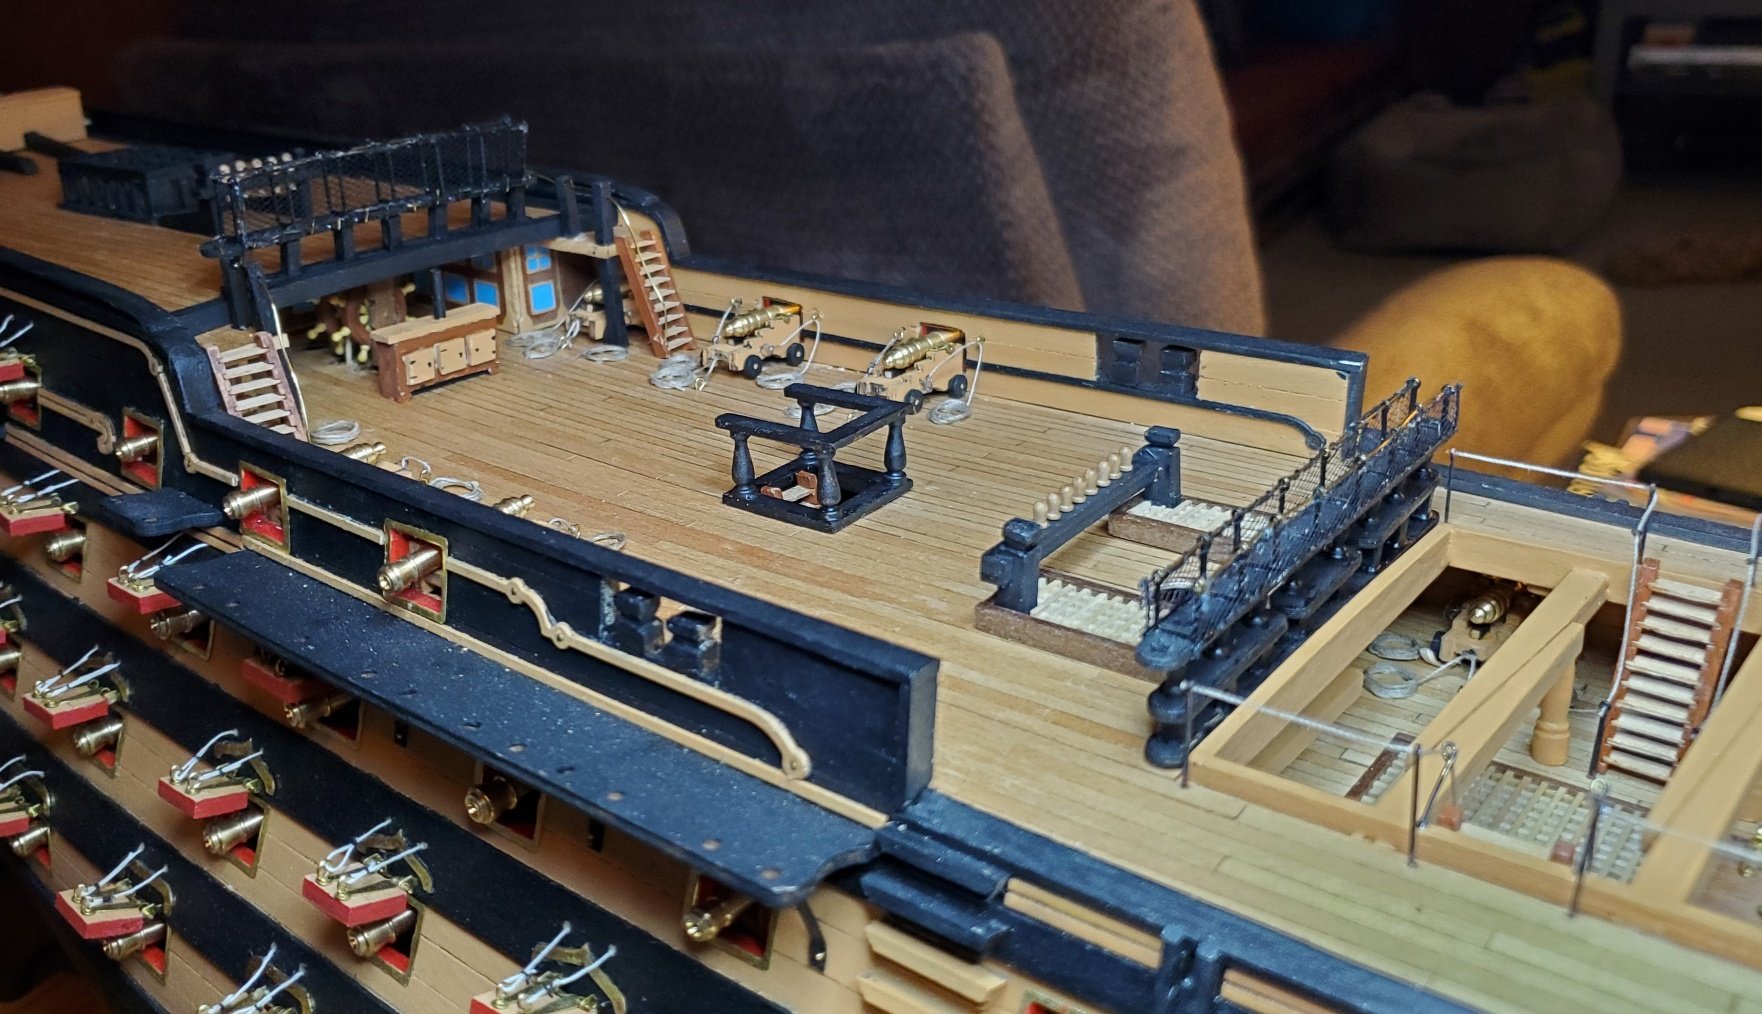
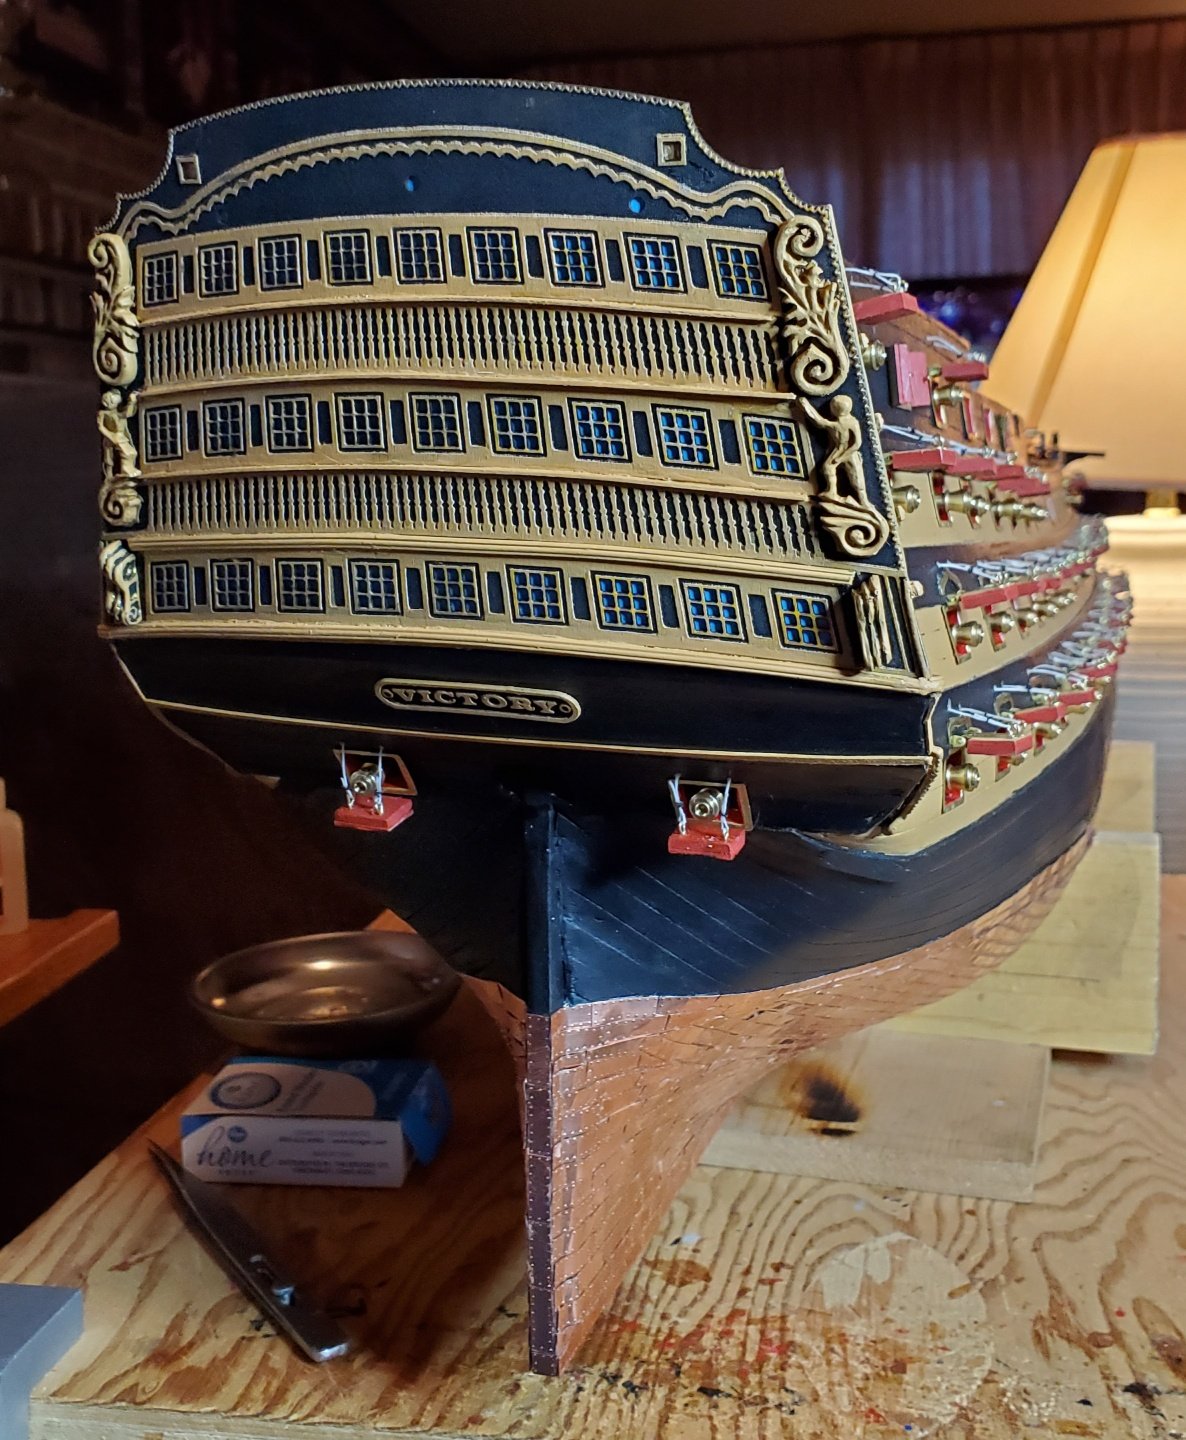
Worked on the stern, installed the hammock-netting on two of the smaller banisters, quarter deck gallery, and a couple of the fife rails. Even managed to start one of the lifeboats.


-
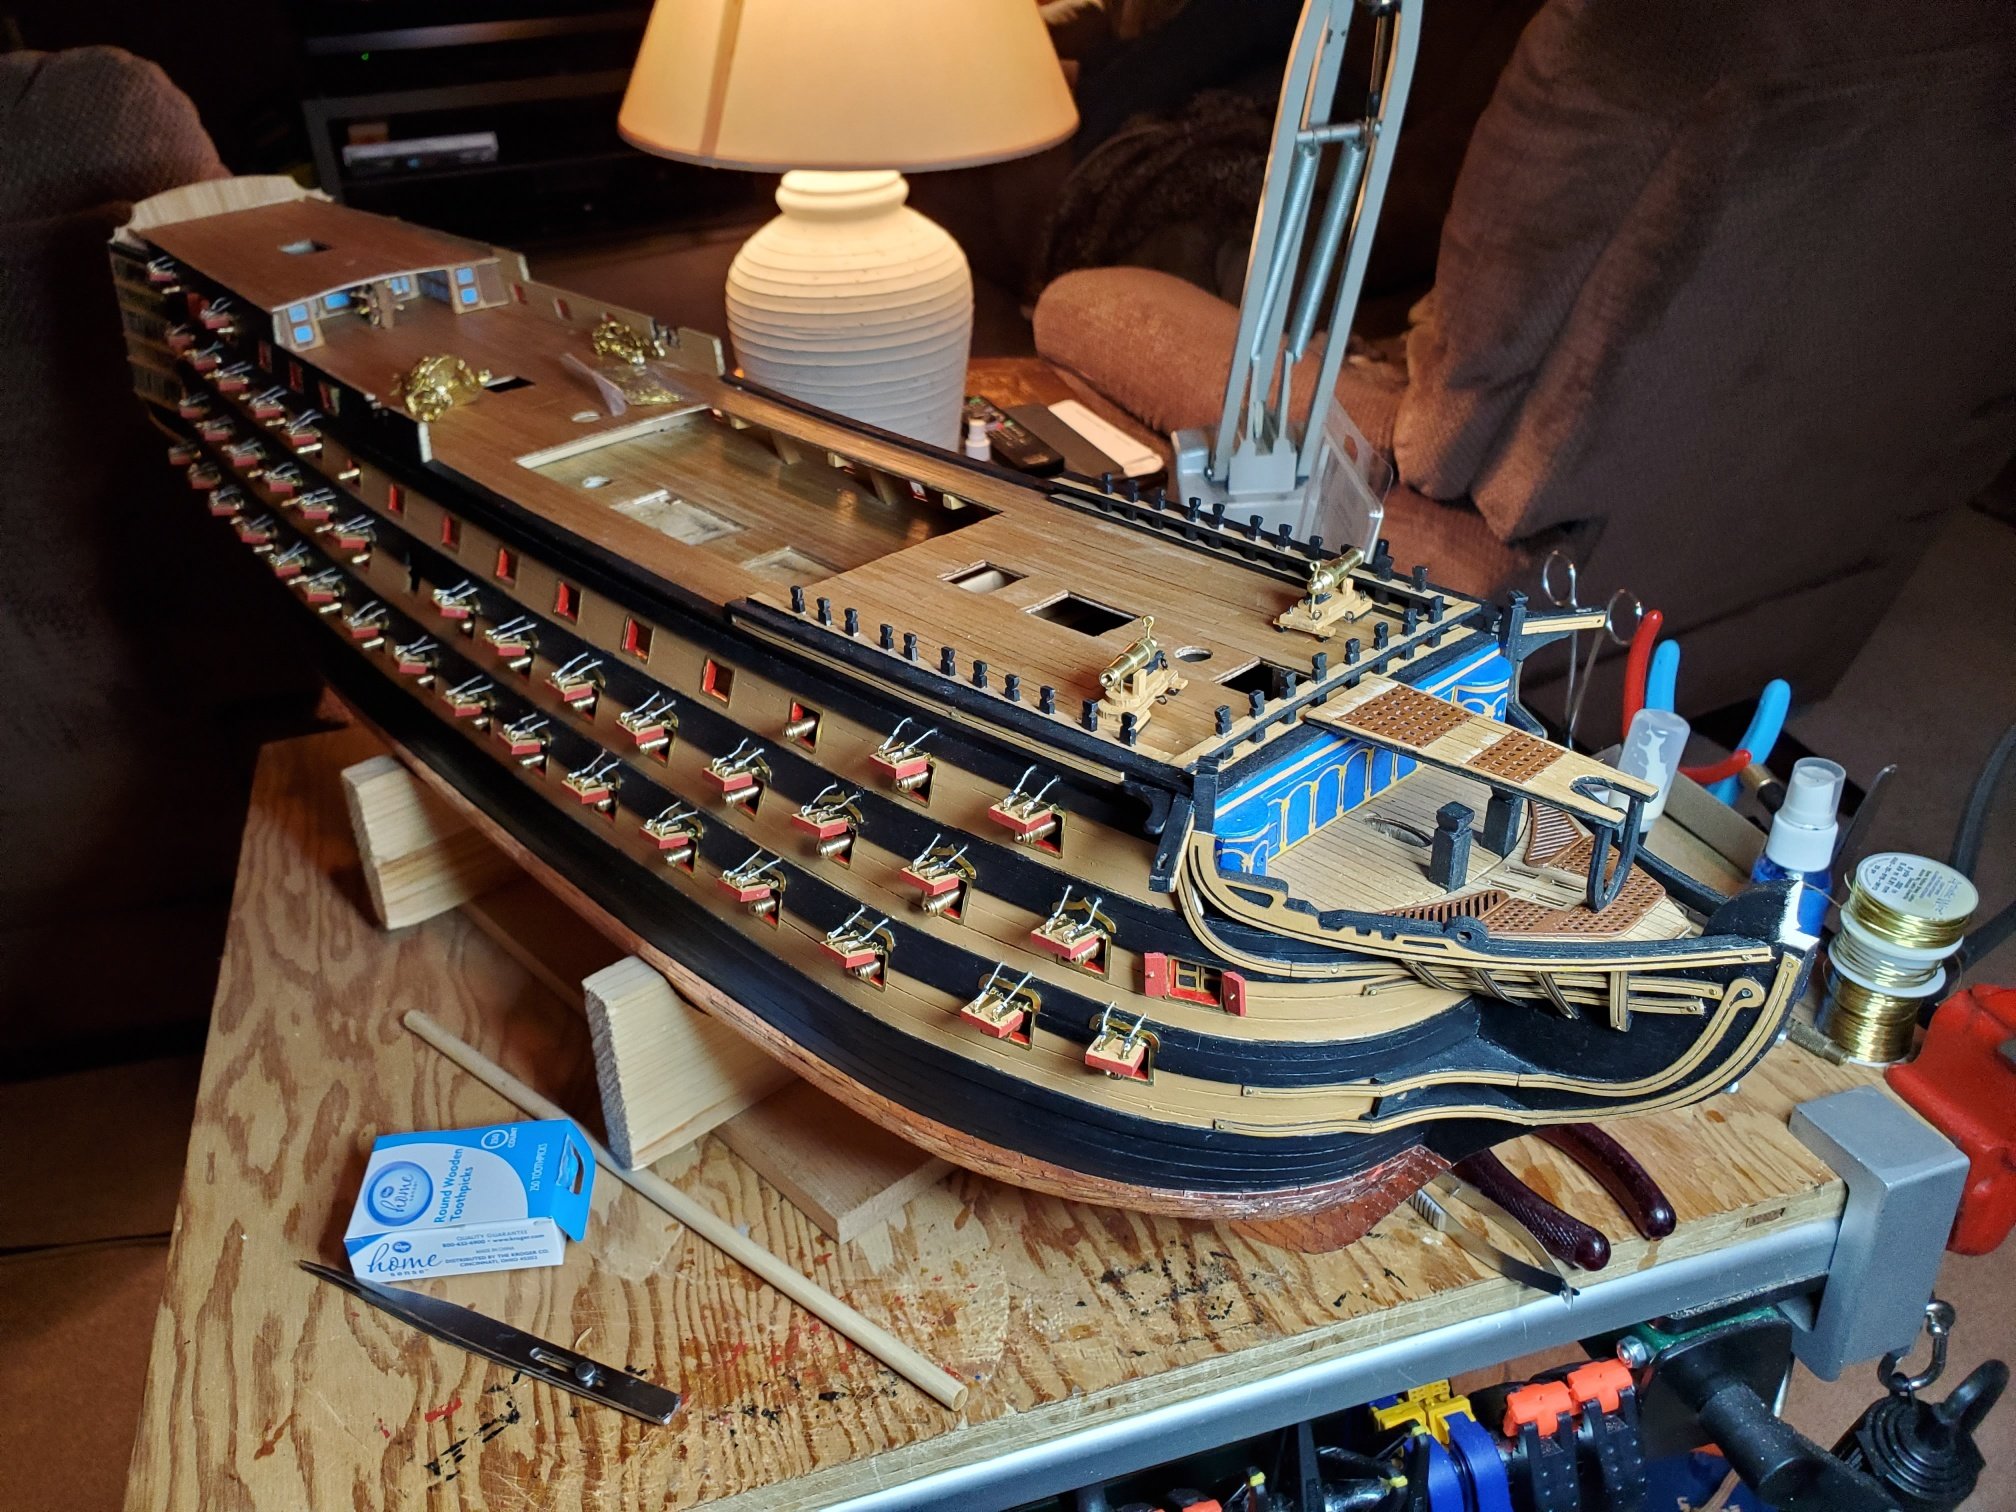
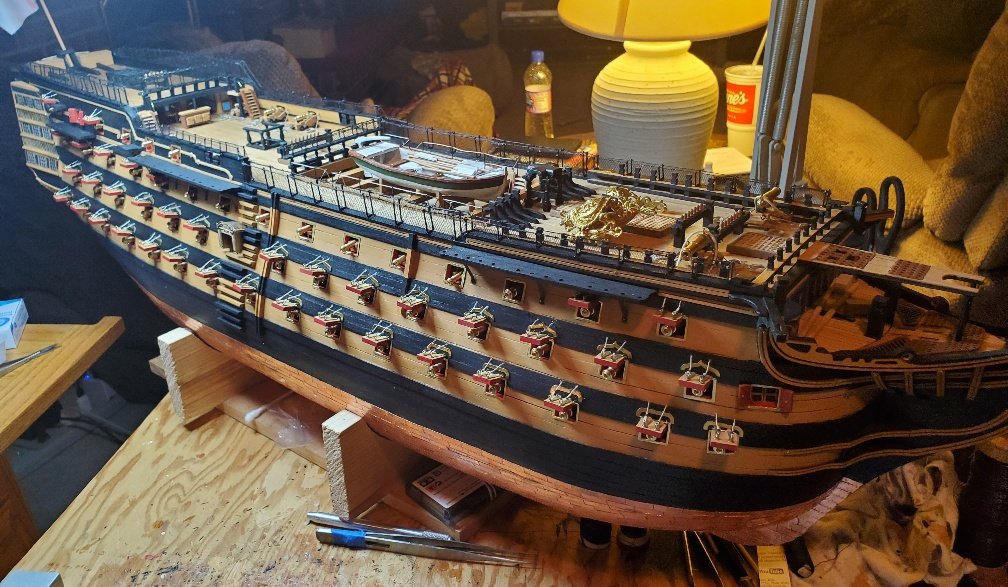
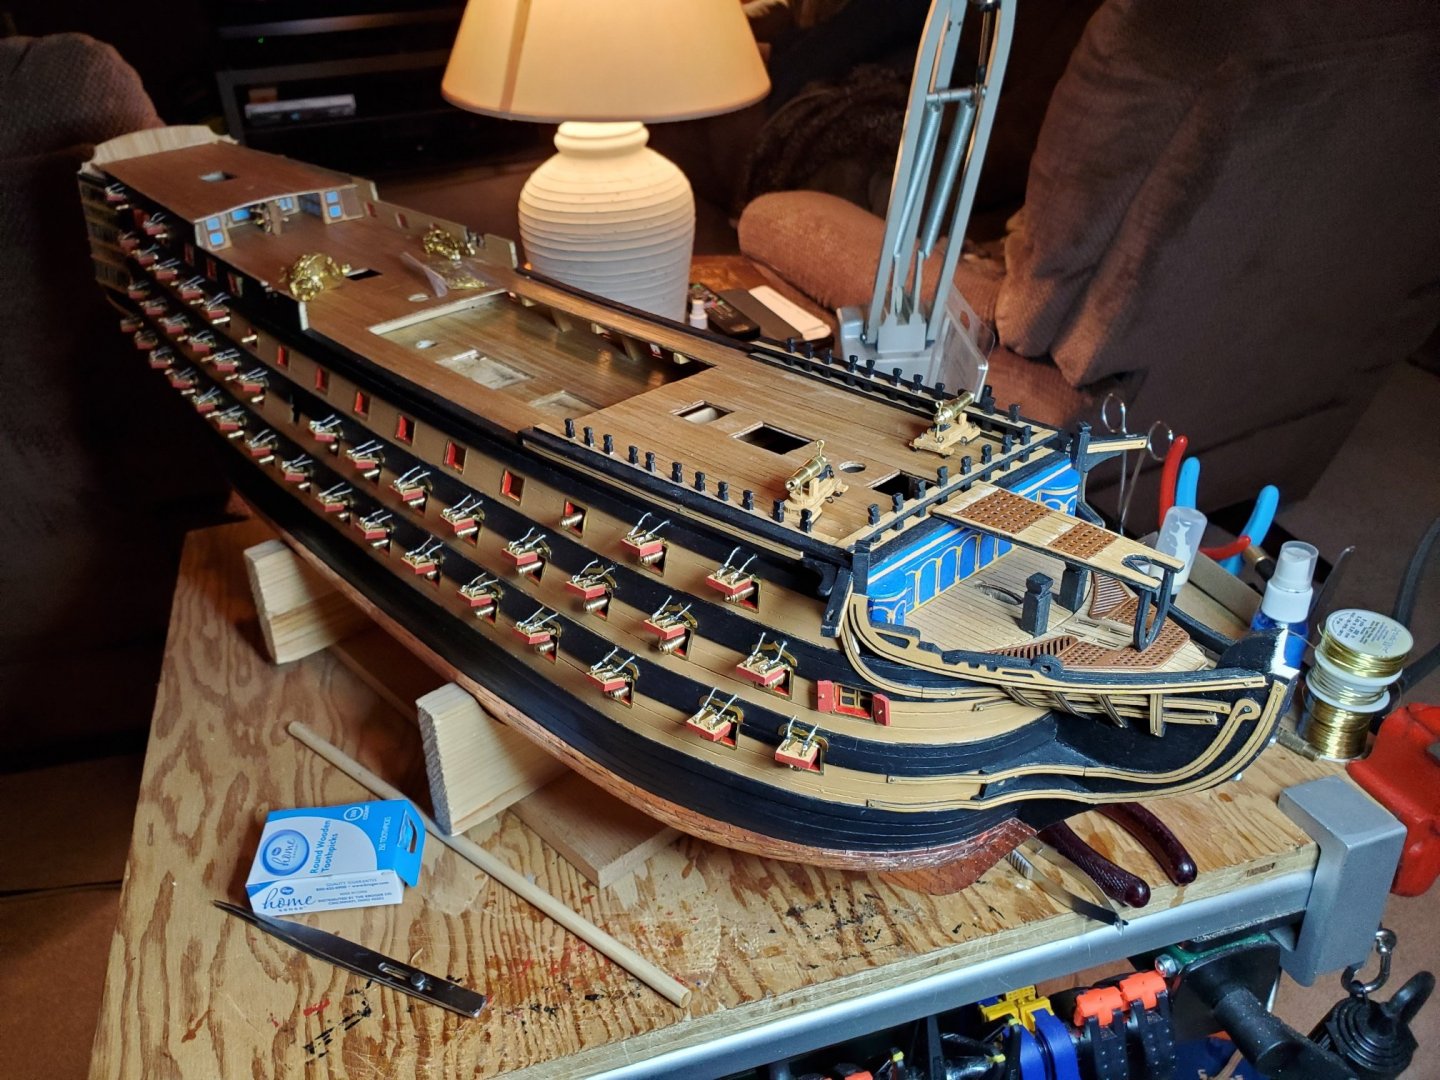
Moving from the bow to the quarter deck. Still nee to do the twin stairs to the quarter deck and finish the stern. Rain is expected all weekend so hopefully I'll get to work on the lifeboats and hammock holders/netting.


-
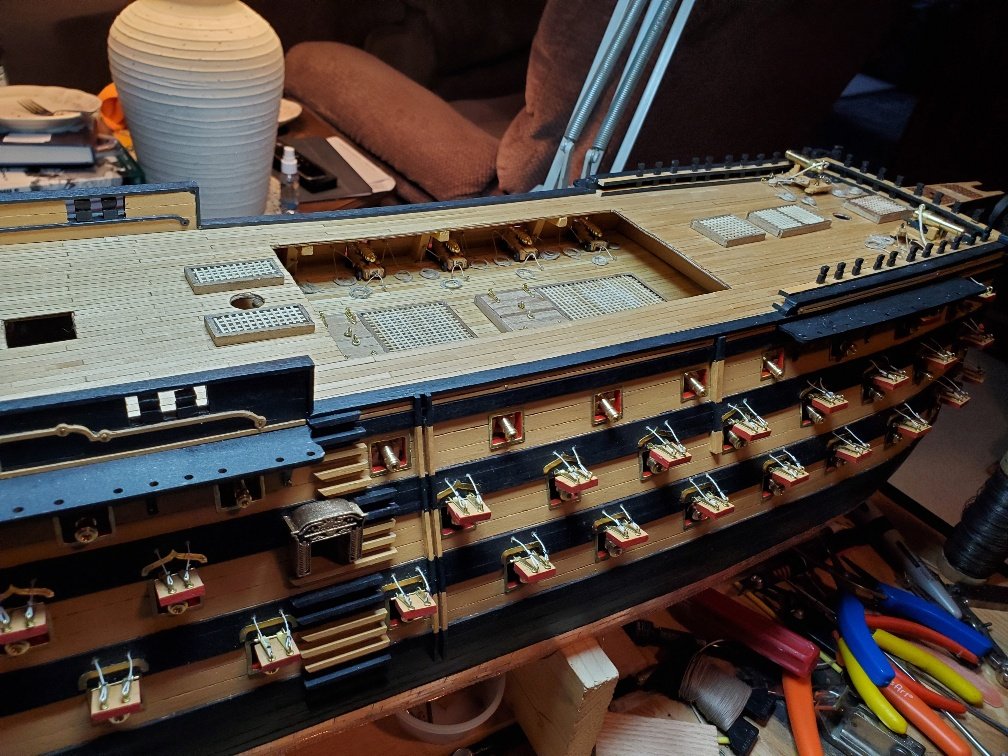
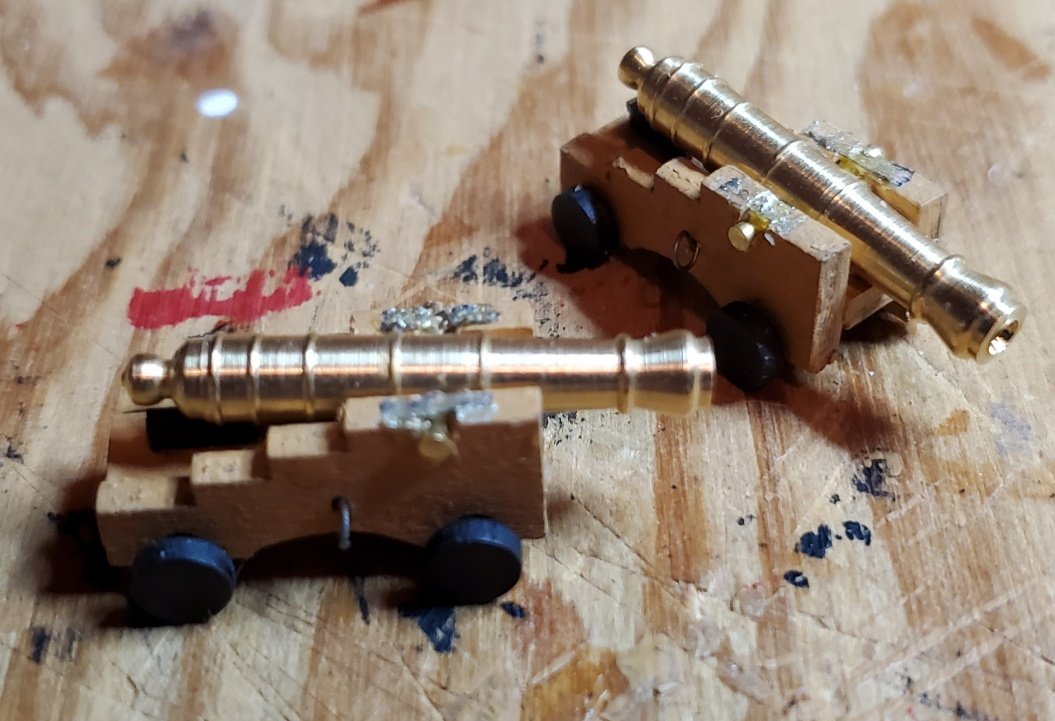
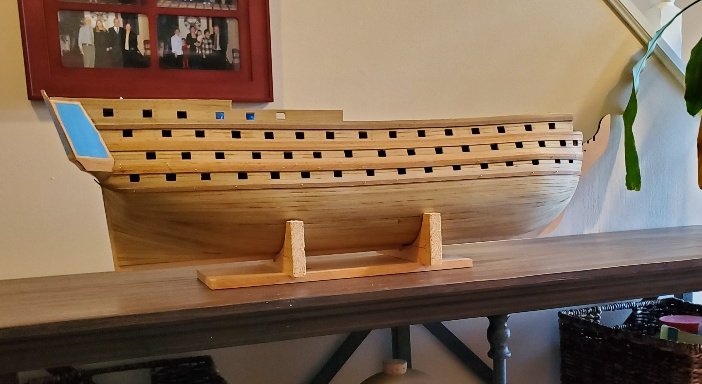
Yeah, you need to be careful when you mark the openings of the gun ports. What I did was to draw a pencil line from the top deck down to the waterline. There isn't much room between gun ports and the bulkheads. If you get the bottom row good, you may find a bulkhead that interferes with a gun port in on row 2. The gun ports you want to keep an eye on are the ones closest to the stern side galleries and the 2 ports close to the steering wheel. I found the best place to start was the curved arch by those ports. If you get the port to close to the curved arch position, you'll have a different problem. I did end up getting a bulkhead close to one of the gun port openings and took a X-Acto and trimmed it back and painted it black. STUGLO was correct in his quote of "height of sills relate to the cannon/deck height which may not be the same as allowed for by the pattern". The six gun port openings for the six cannons on the top deck were an issue for me. Those six gun port openings could have been moved up about 1/8". When I installed the cannons, the barrels couldn't be placed in the openings. The barrels keep hitting the top of the gun port opening. I had to cut the wheels on those and place the cannon frame on the deck and glue the wheels to the side. In addition, I had to aim the cannons down a little bit.

-
Mfrazer... Your version of the Victory is looking really good. I'm building the 738 kit. The only difference is the copper hull. Will continue to follow your build. You can view my build at HMS Victory by Daliab. Keep up the good work.
-
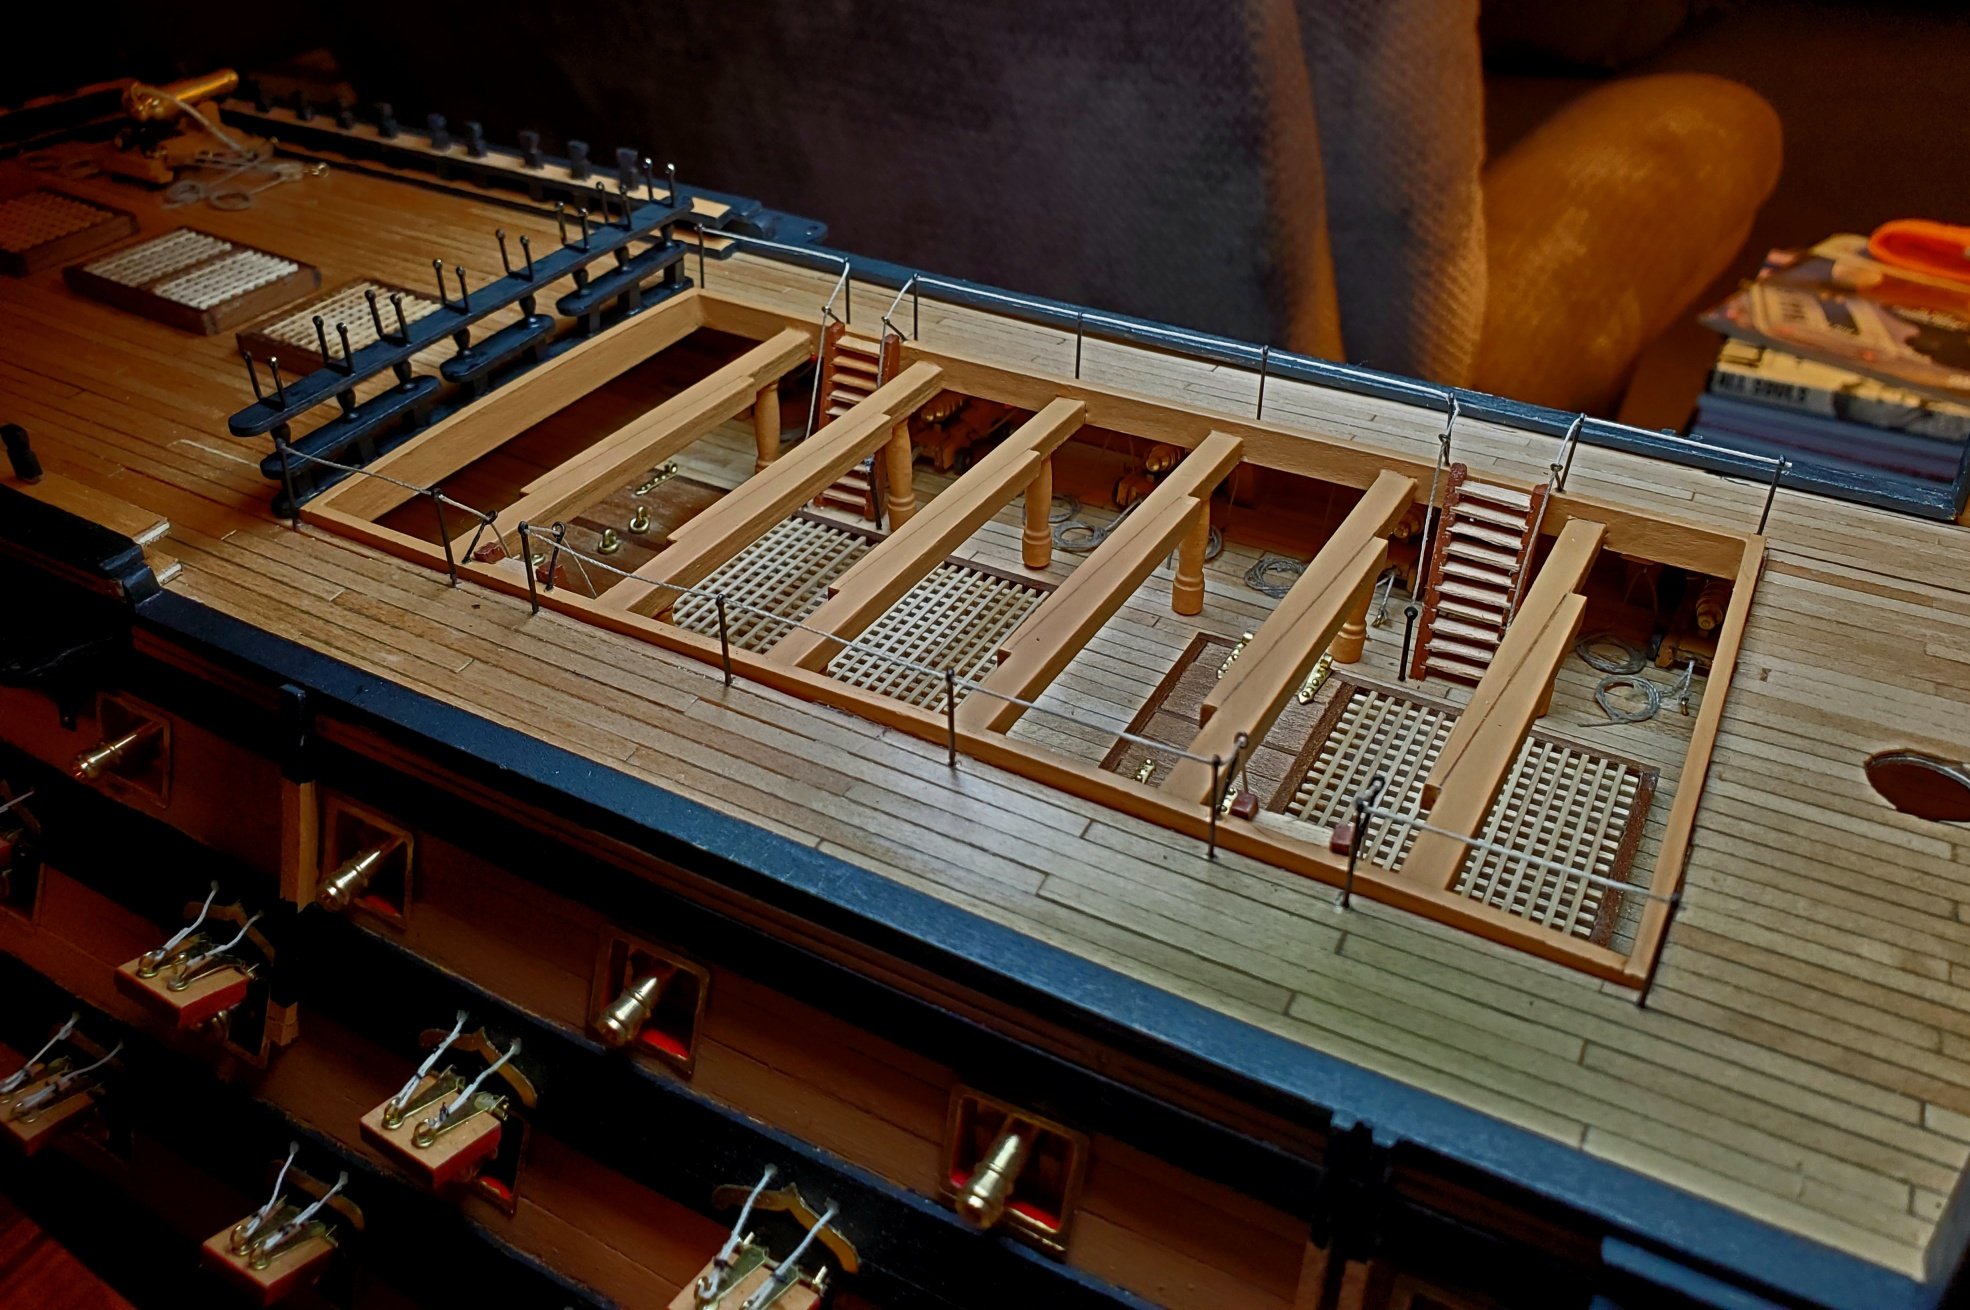
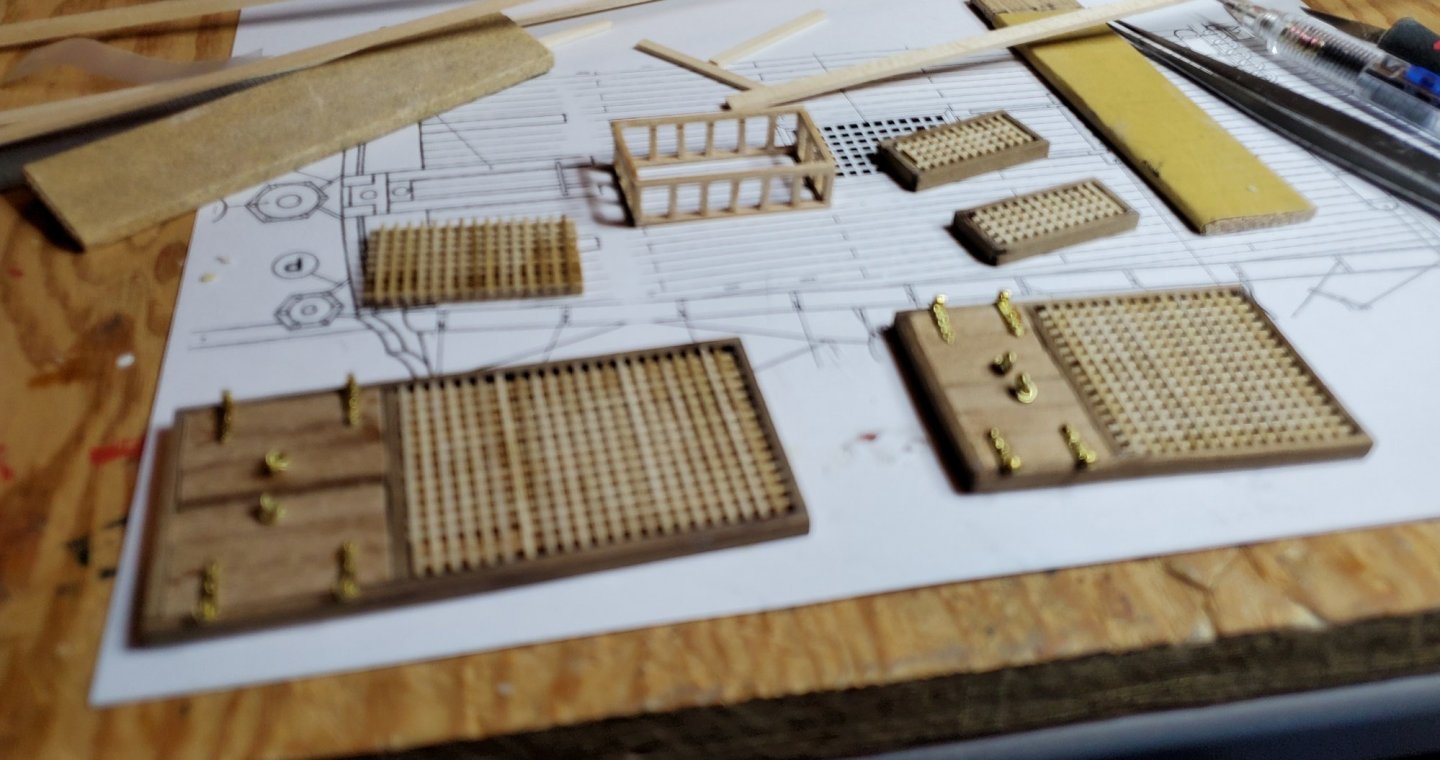
Moving right along. Grate material arrived today in the mail so finished making my last grate..... just haven't glued them in place yet to be sure I don't crowd other things that need to be made yet like the bell housing.
-
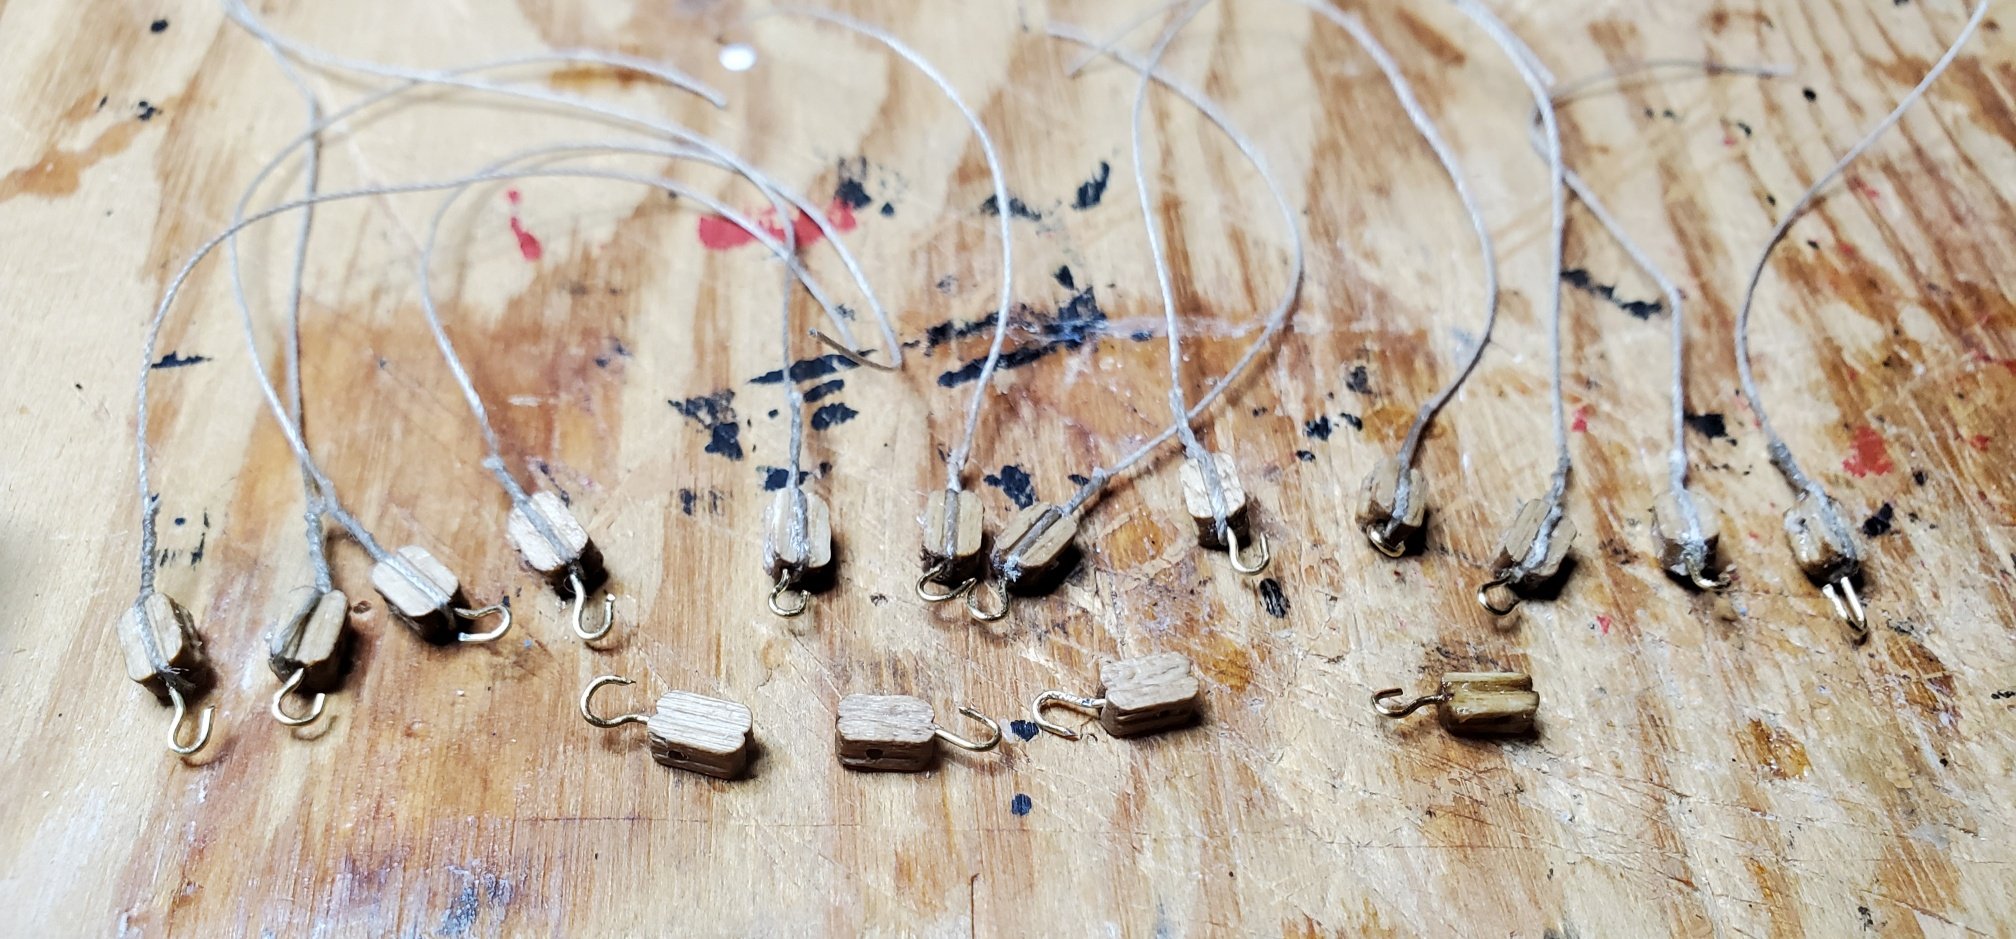
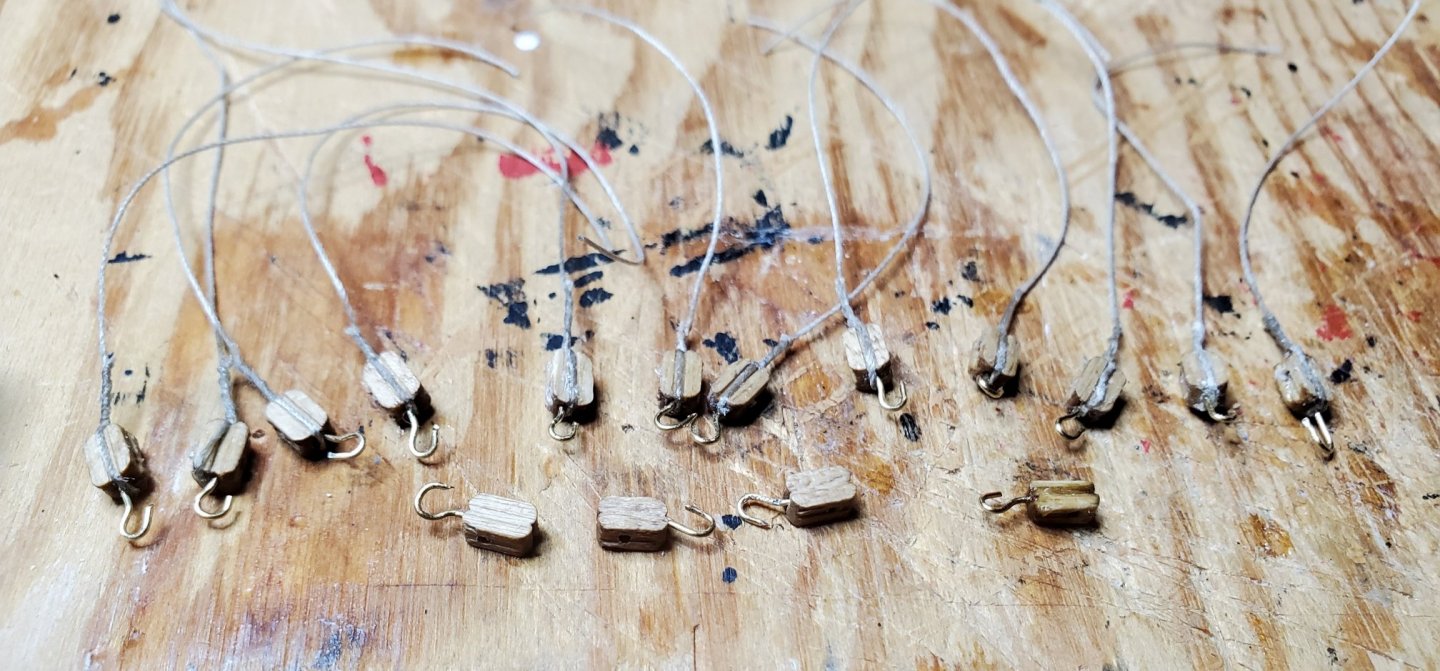
Well the Vic is sitting it out for a little while while I catch up making cannons and the blocks for each of the cannons. I have found a very helpful You Tube video that has helped me with mating hooks on blocks for securing each of the cannons. Metal hooks and strops for model ship building by Tom Lauria www.youtube.com/watch?v=0IXIElThY1E&t=163s
-
Making grates, hatches and stern skylight. Ran out of grating material and had to order more. Waiting.....
-
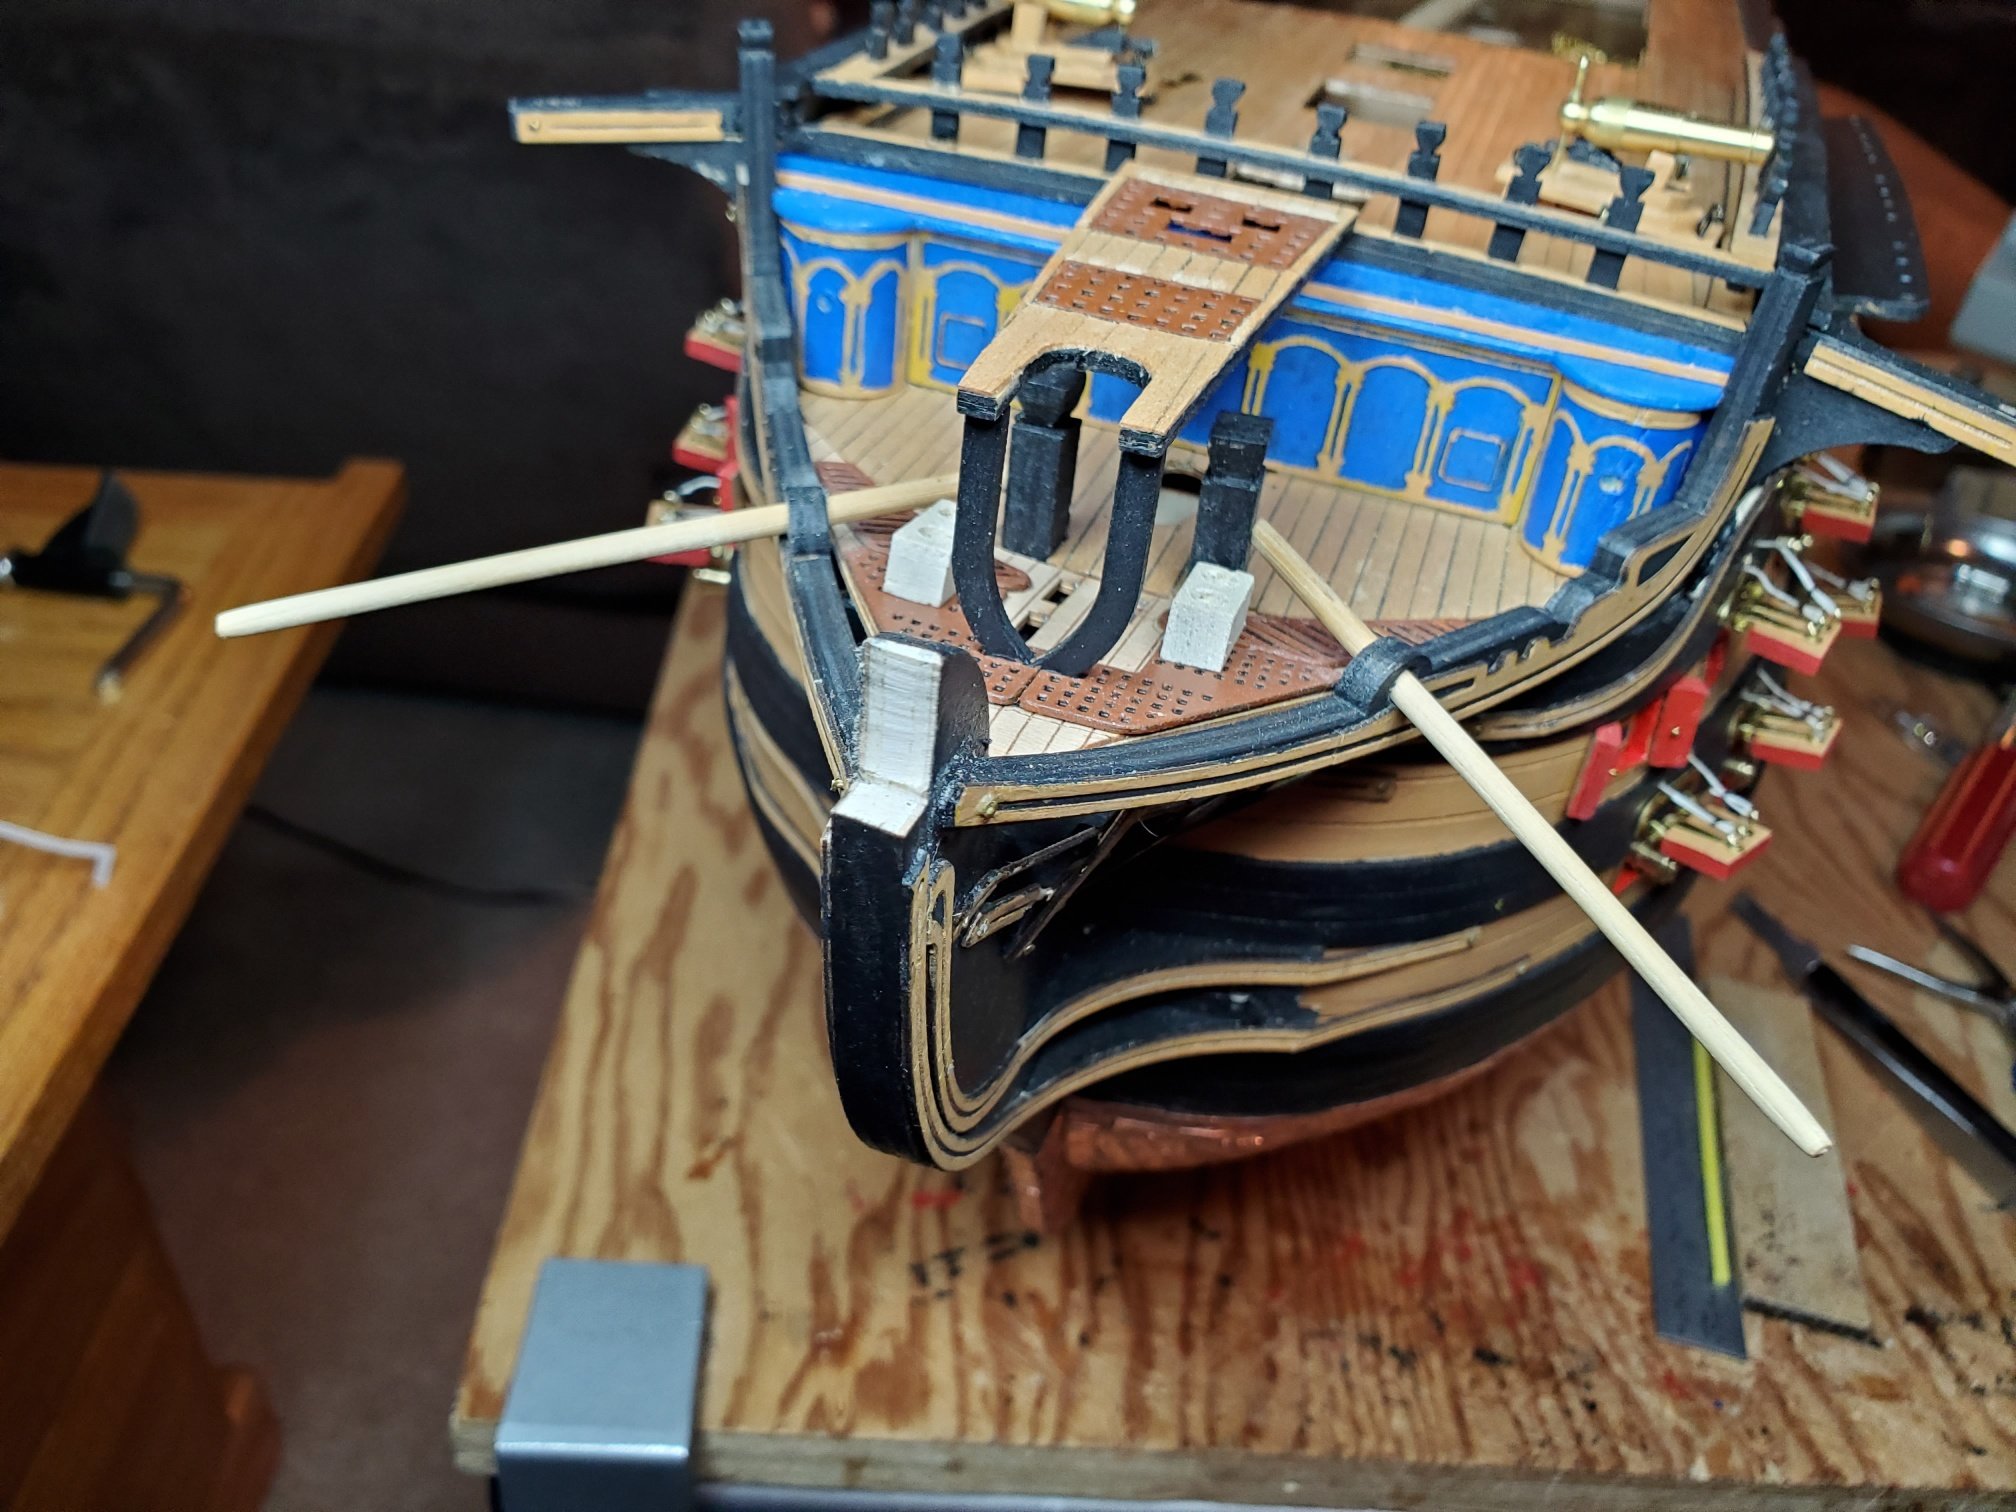
Productive day. Finished dual parbuckles and single parbuckles on port and starboard side. Completed sea doors and gangways on both sides. Started to build cannons.
-
Although from the pictures it doesn't look like there's been much of a change but, it's the little things. Made some advances to the bow section but haven't painted or installed them yet.... I know as soon as I glue those little dowels in, I'm going to shear one of them off. I'll hold off for now. Completed the top of the rail, painted and installed the channels and made the dual railings on both sides of the model.

-
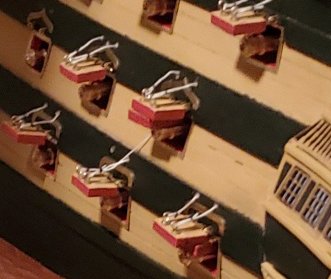
The big time saver was making the cords separately, then adding them to the lids, then mounting the lids on the ship, then taking the cords and guiding them into the holes. The time saver was also taking a little bit of glue and coating the cords... it will drive you crazy trying to take the cord and get it into the little hole. A piece of cake if you coat it with a touch of CA.
-
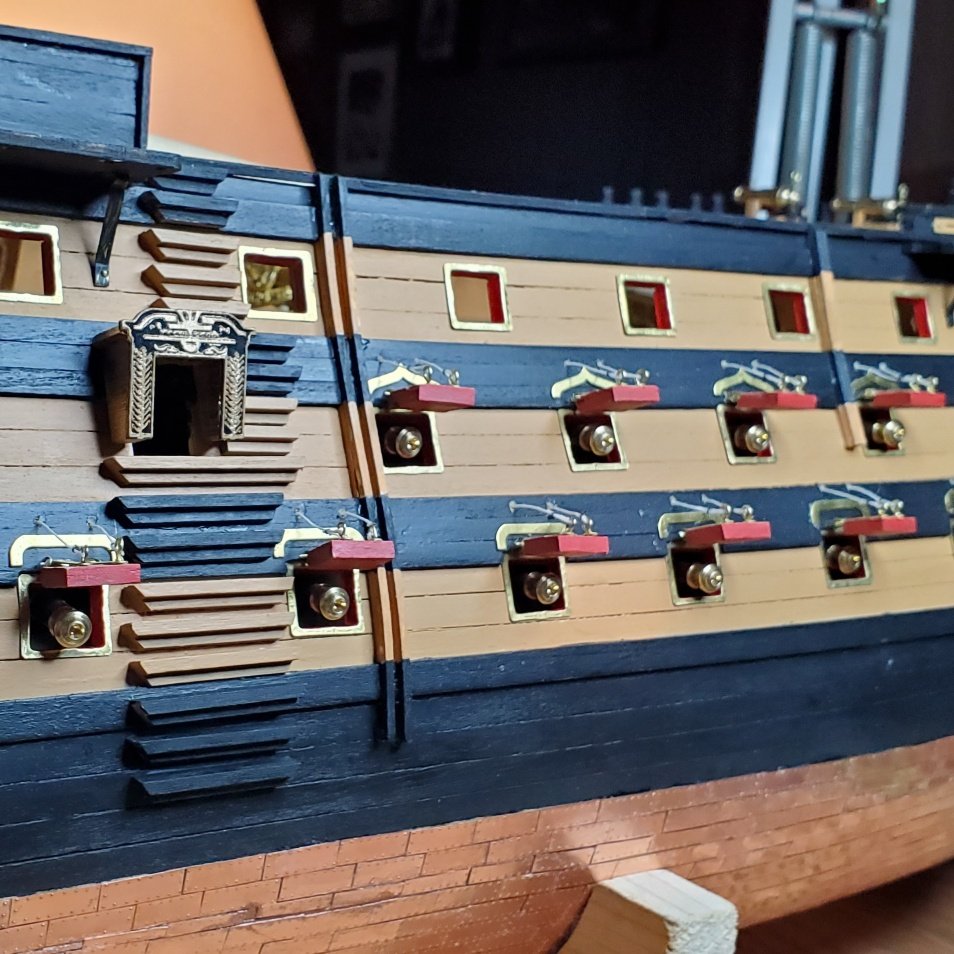
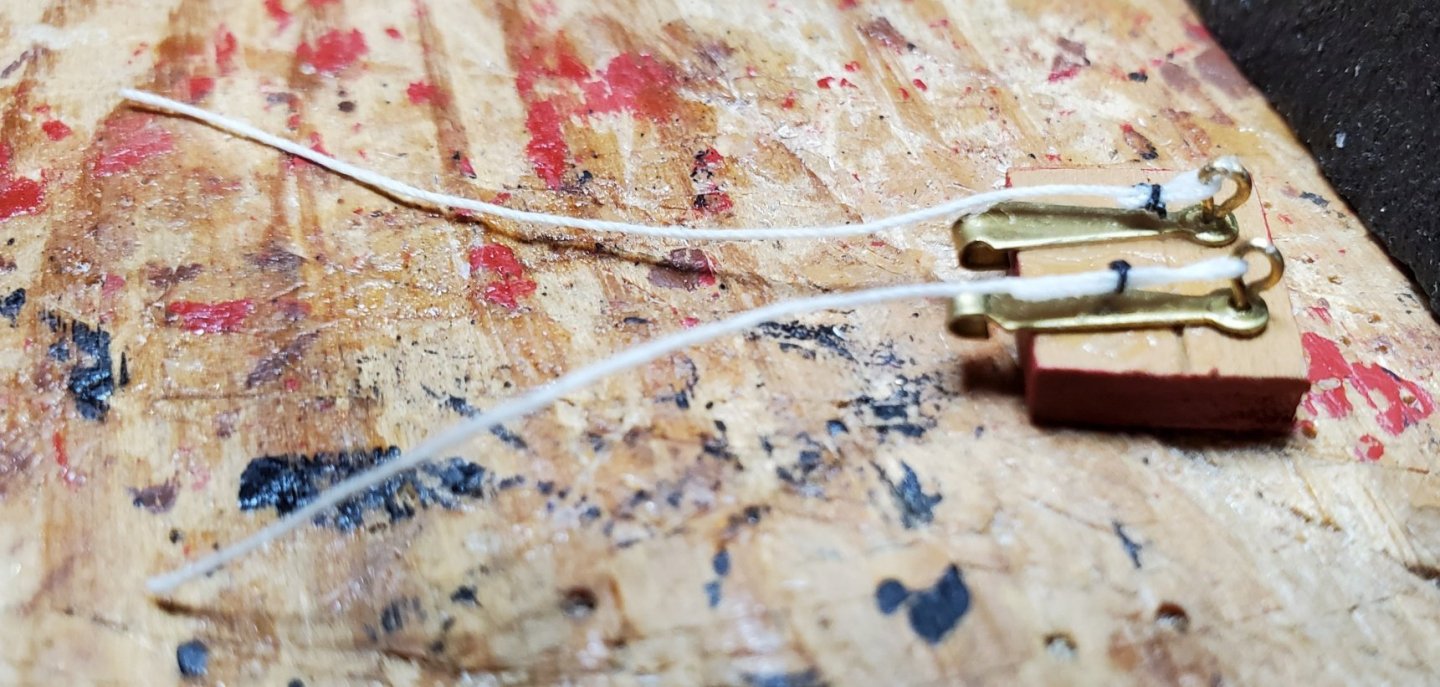
Hey David56.... glad to see you back. Thread: Went to JoAnn Fabrics and got a threat that is good for coats (a little heaver than regular thread) Coat and Clark Art: S950, Color 8010. It was left over from a previous build and just used it. My lessons learned from building, painting, installing the gun ports. 1. Use the jig that comes with the kit to pre-drill holes on the port and starboard sides. 2. Install the eyelets which hold the lids, in the holes just over each opening. 3. I cut the outside planks to length and then cut the inter part of the gun port and glued them up per the instructions. 4. Painted them 5. Glue the hinges to the outside of the lids and then using the holes in the hinges as guides, pre-drilled holes through the outside for the gun port lids to install the eyelets but don't install the eyelets yet. 6. I took my alligator clip holder and put a eyelet in one end and ran the thread from the other. I built up 2 each thread and eyelets for each lid and left enough thread length to trim at installation. 7. I took a little CA glue between my fingers and coated the threads to stiffen them up to help guide the threads into the side of the hull. 8. I took a little CA on the end of the eyelet and inserted them in the holes. 9. I then installed them between the 2 eyelets using a thin piece of wire through the hinges. 10. I then took the thread and ran them through the holes using tweezers. I also found the a small drop of CA on the wire and hinge helped keeping the lids in place. Until the CA dried and to keep the lids at the same attitude throughout, I used one of the unused lids between the cannon and the lid until dry. Hope this helps.


-
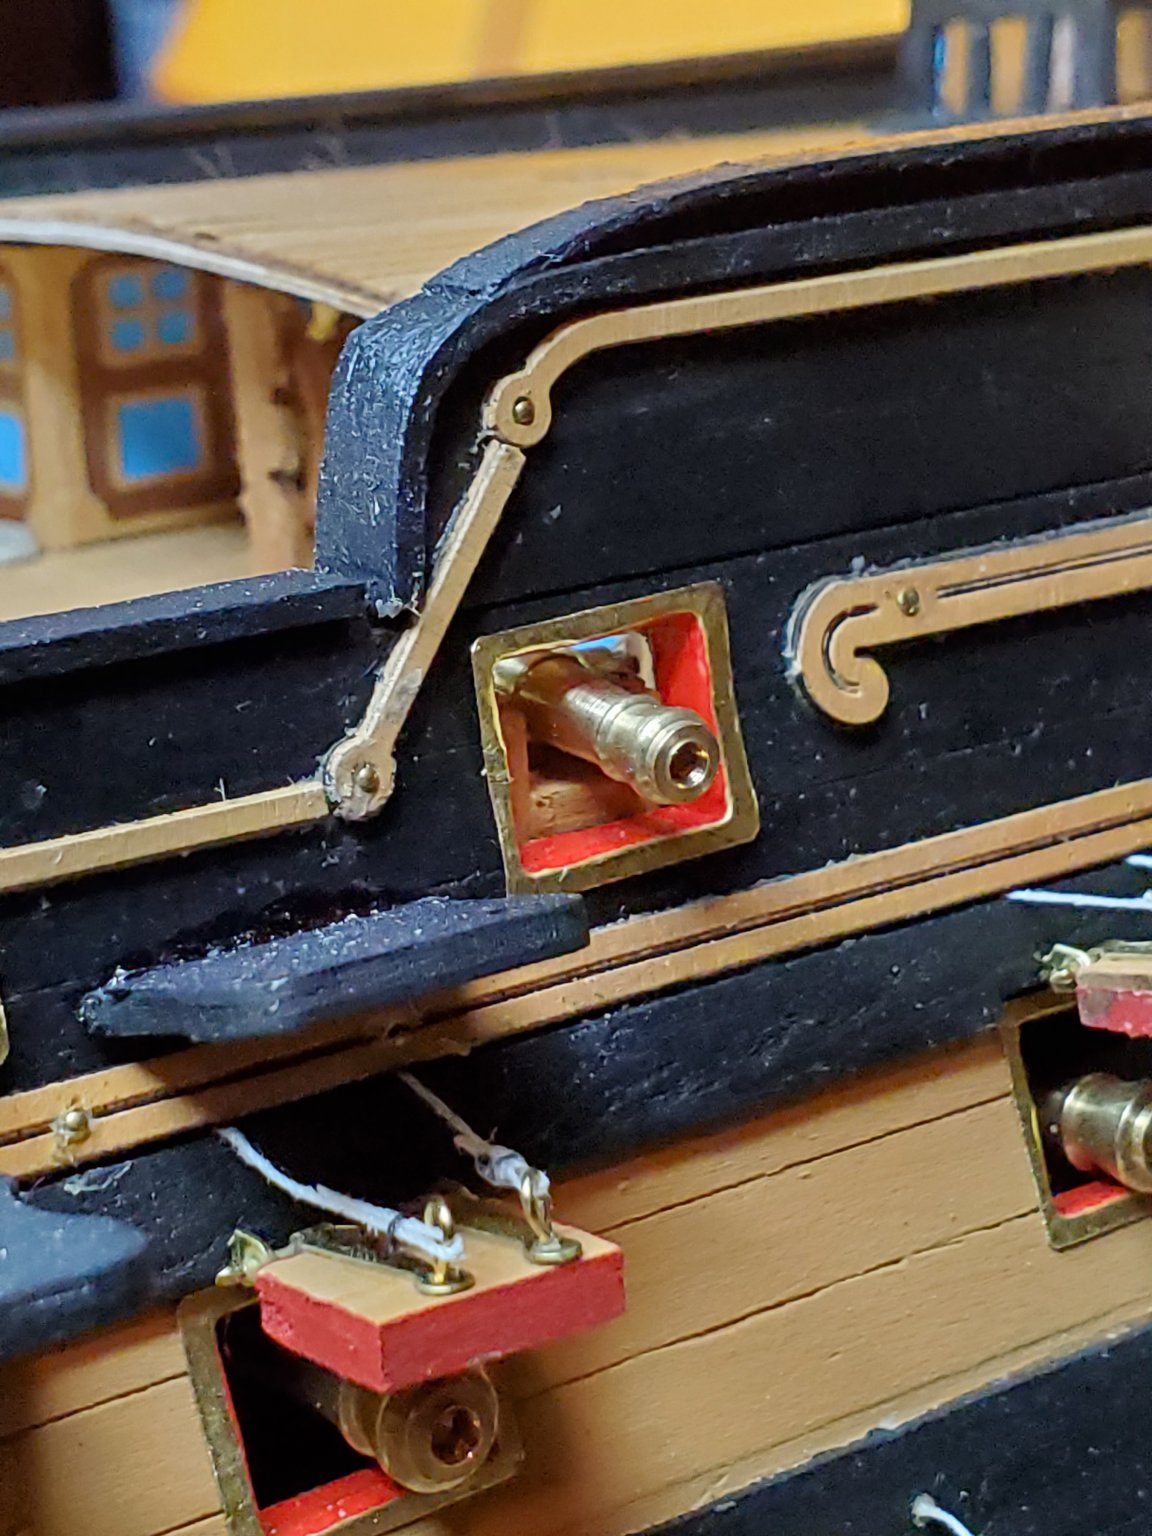
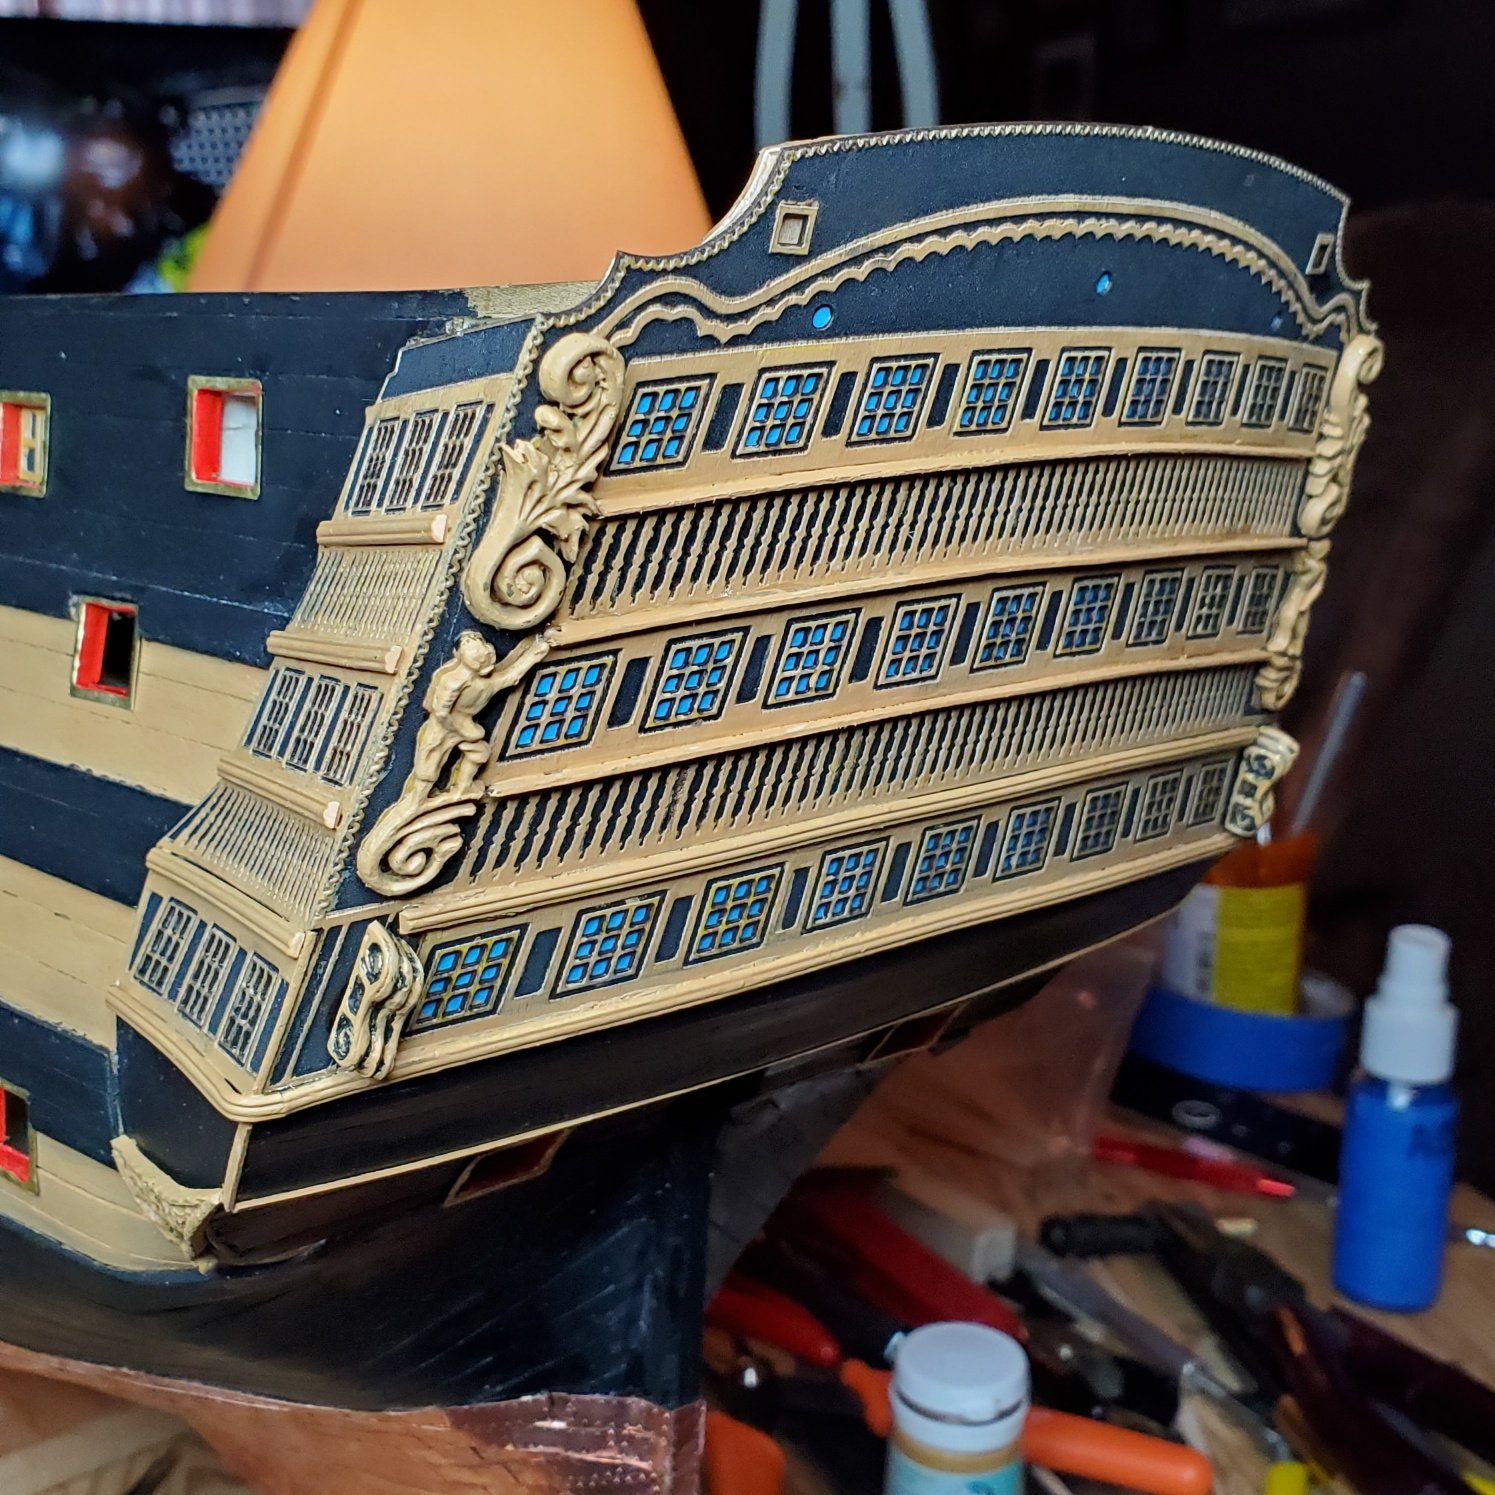
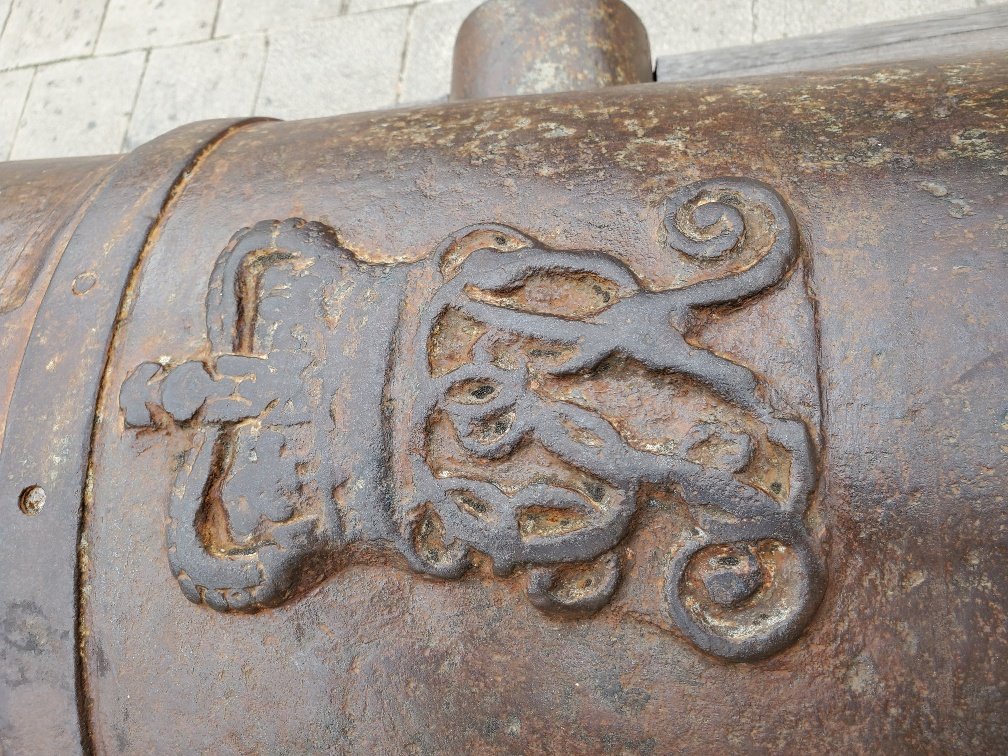
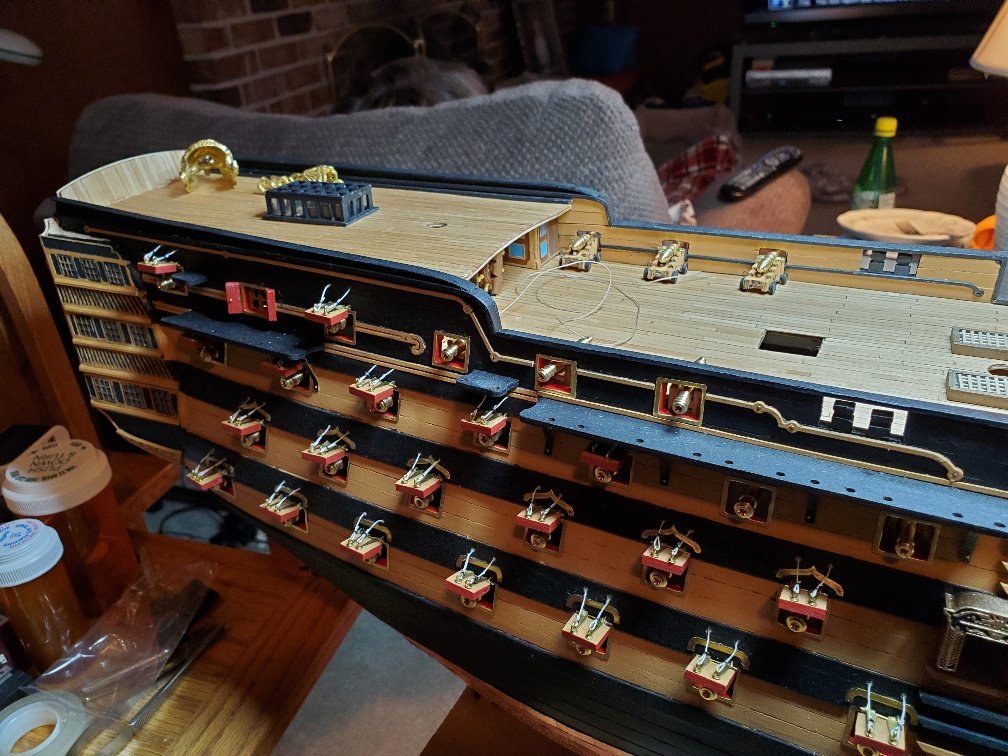
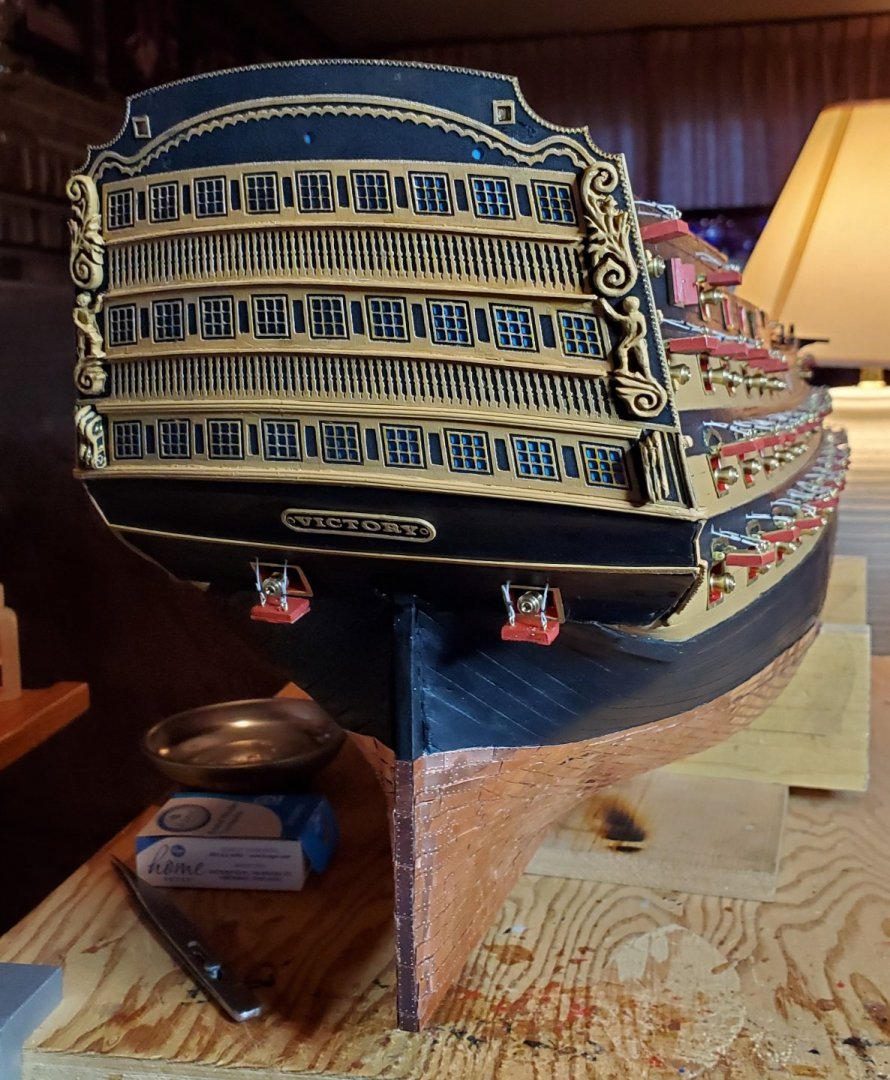
Looking for suggestions. I think the figures and scrolls look to thick on the stern. I'm thinking of removing them and sand them so they don't look so bulky. To me they look to thick and it has been bothering me every since I installed them. Thoughts? Thanks for the inputs.

-
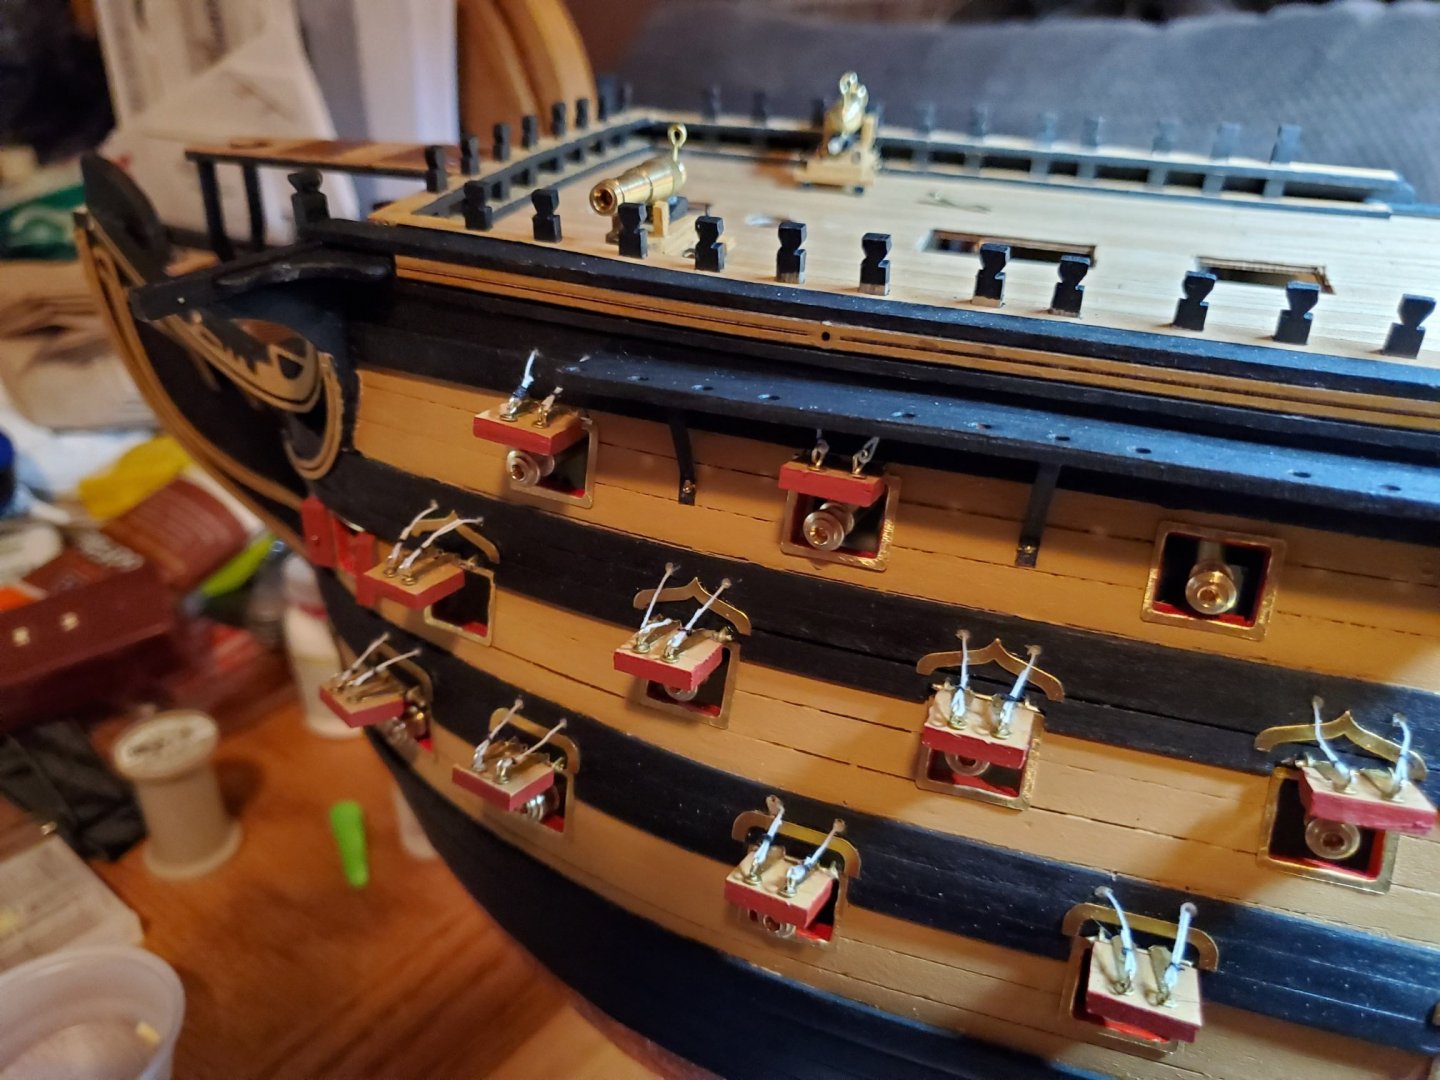
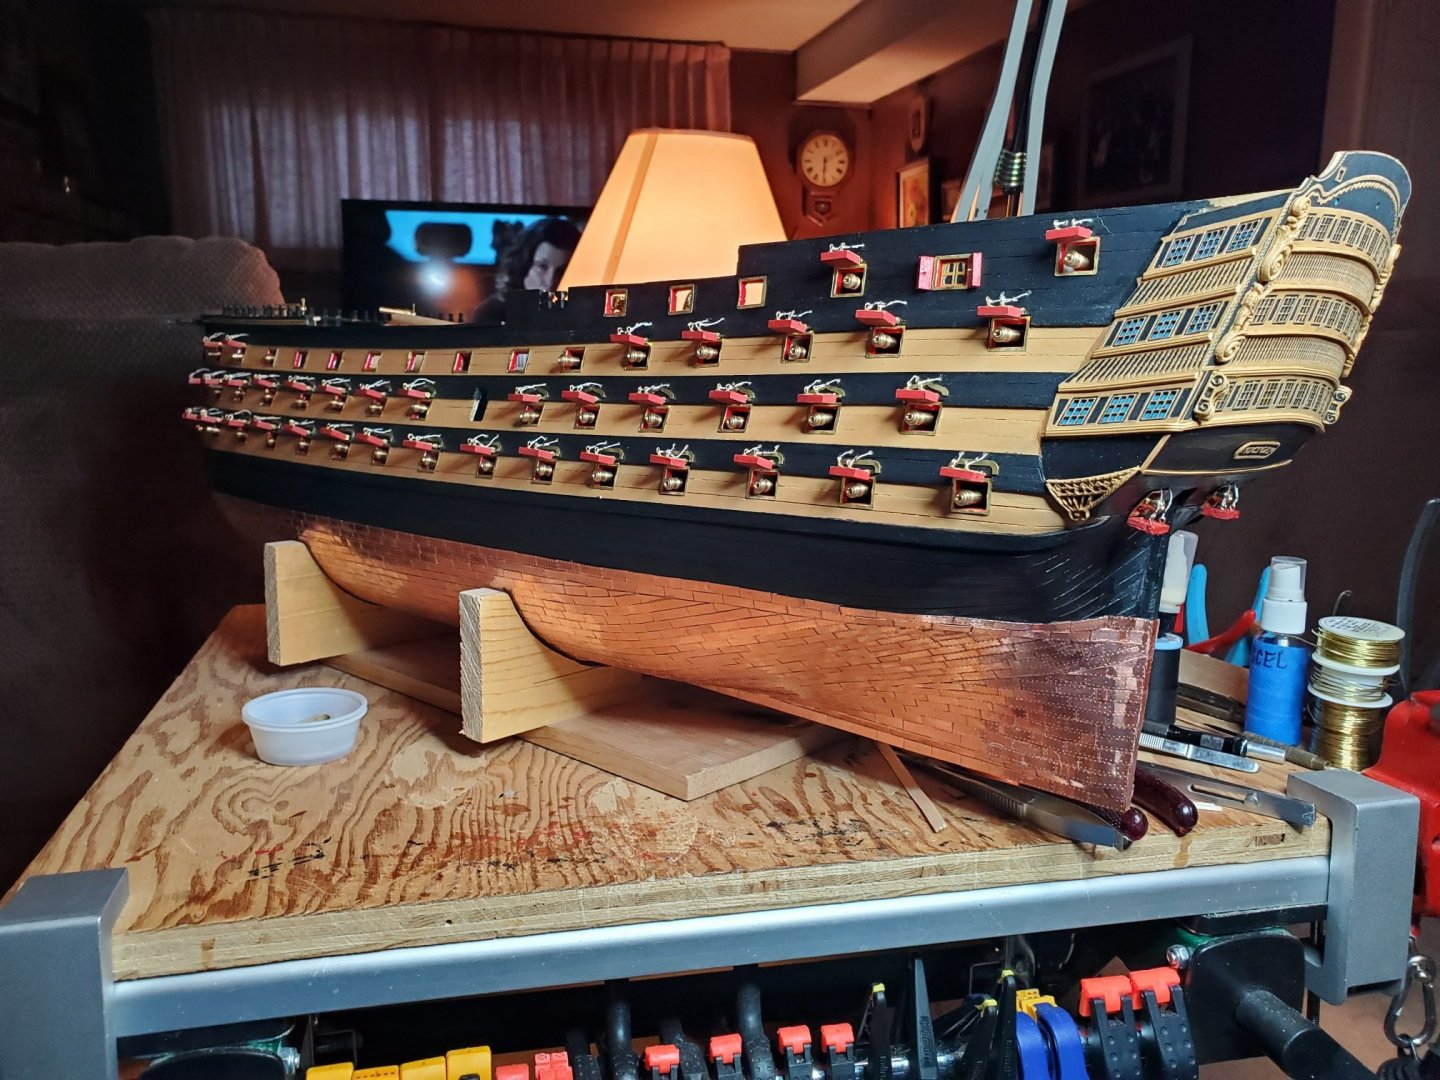
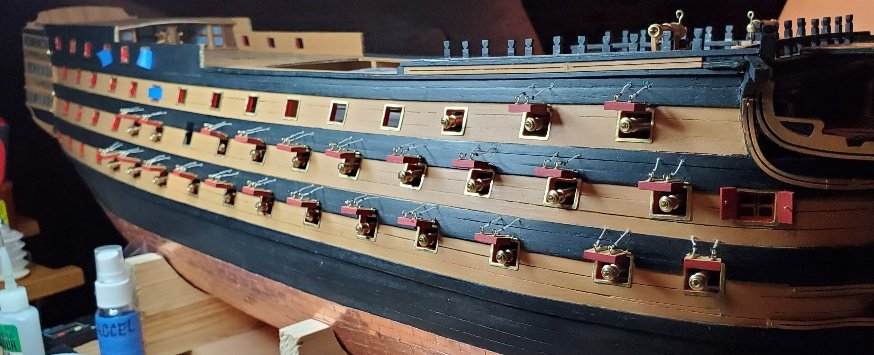
Finally got both sides of the gun ports made, painted, and installed. Almost took as long to do the gun ports as it did putting copper on the hull. Still need to work on the rudder (next) and install.
-
I have larger sanders for regular woodworking projects but they are overkill for my model even though the Victory is 50+ inches long. I get by with that little 5 inch sander with the shop vac in the house and the wife is amazed there is not sawdust anywhere. I did hand sand the hull after the first and second planking. Planks are just to thin for power tools.
-
Believe it or not I use this $40 disk sander from Menards and a shop vac that attaches to it. The wife hasn't gotten on me for any sawdust at all in the den. Great tool. Search "Bench Top 5" Disk Sander" on this side. Great tool for the price.
-
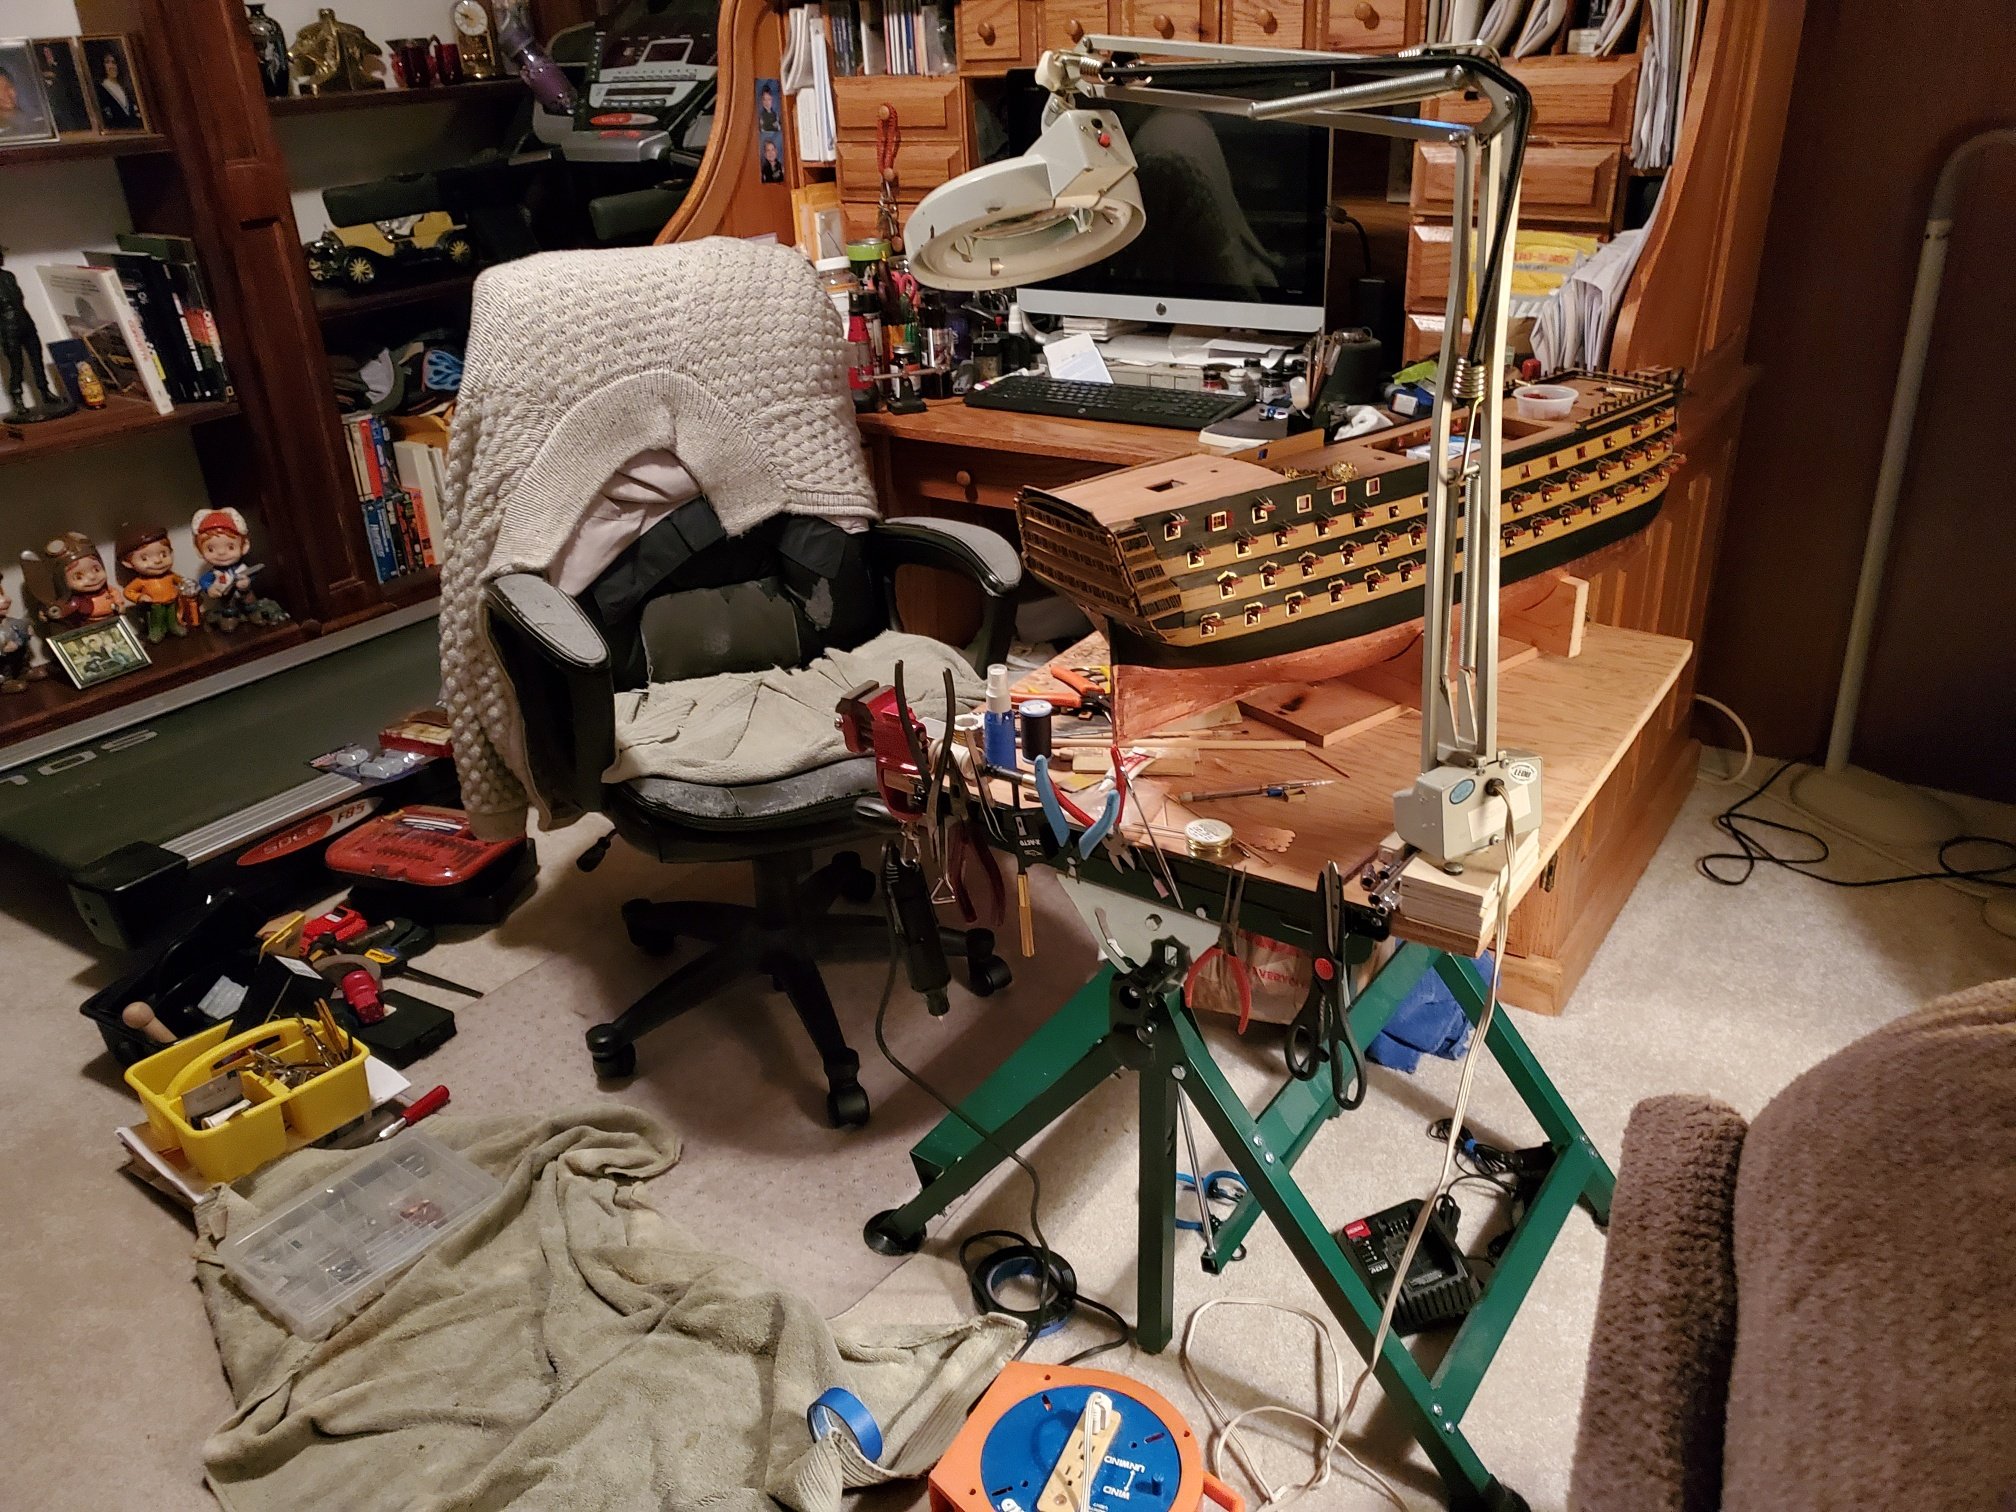
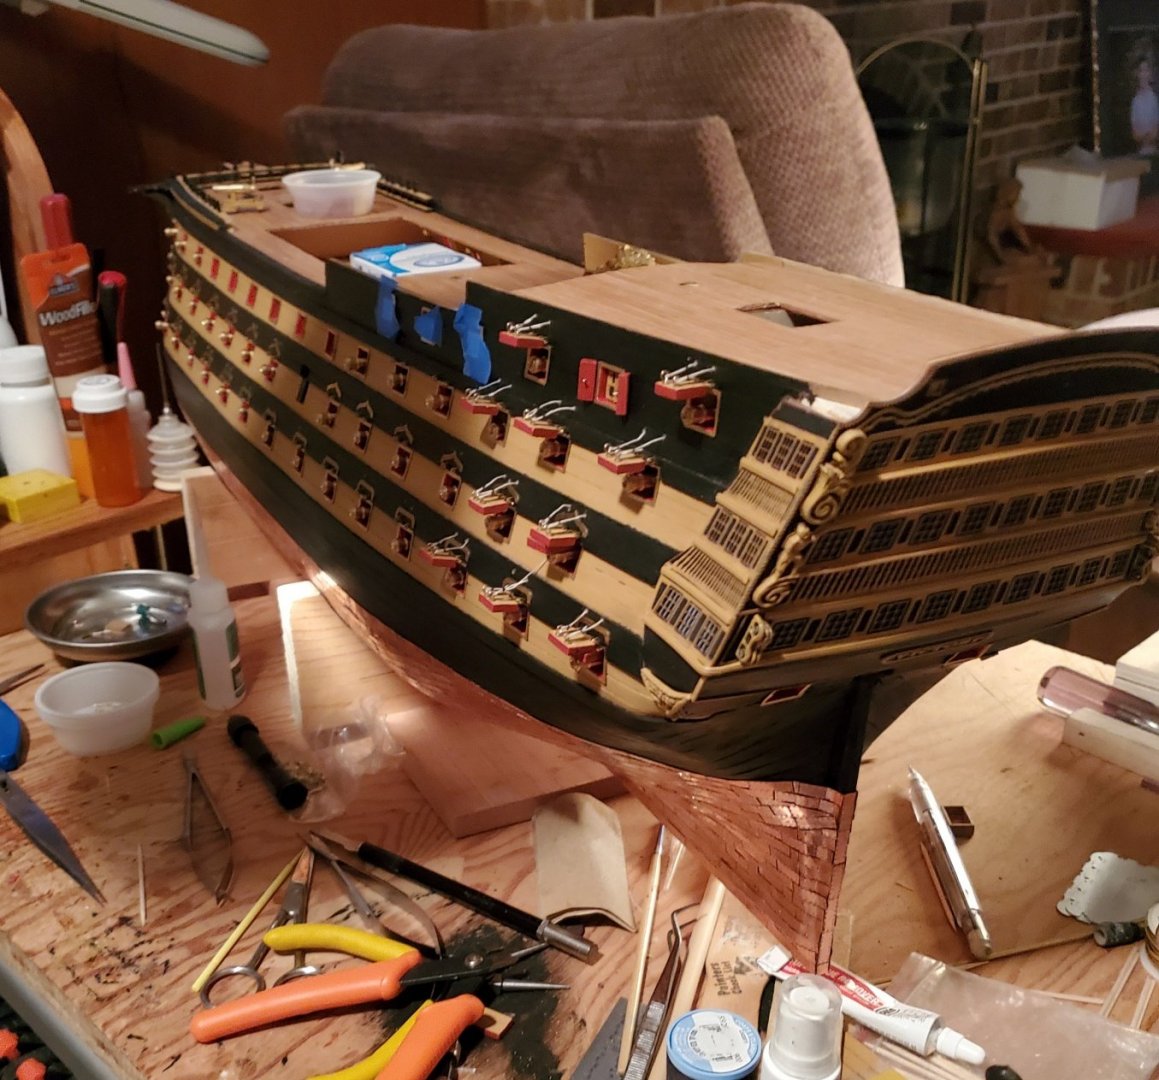
My happy place. Looks disorganized but it's all within arms reach. Starboard gun ports are complete and have started on the port side. Cancelled our trip in April to Ireland to celebrate our 50th wedding anniversary and now moved it to October. Family members returned from vacation in Austria and Germany and have self quarantined themselves for two weeks.


-
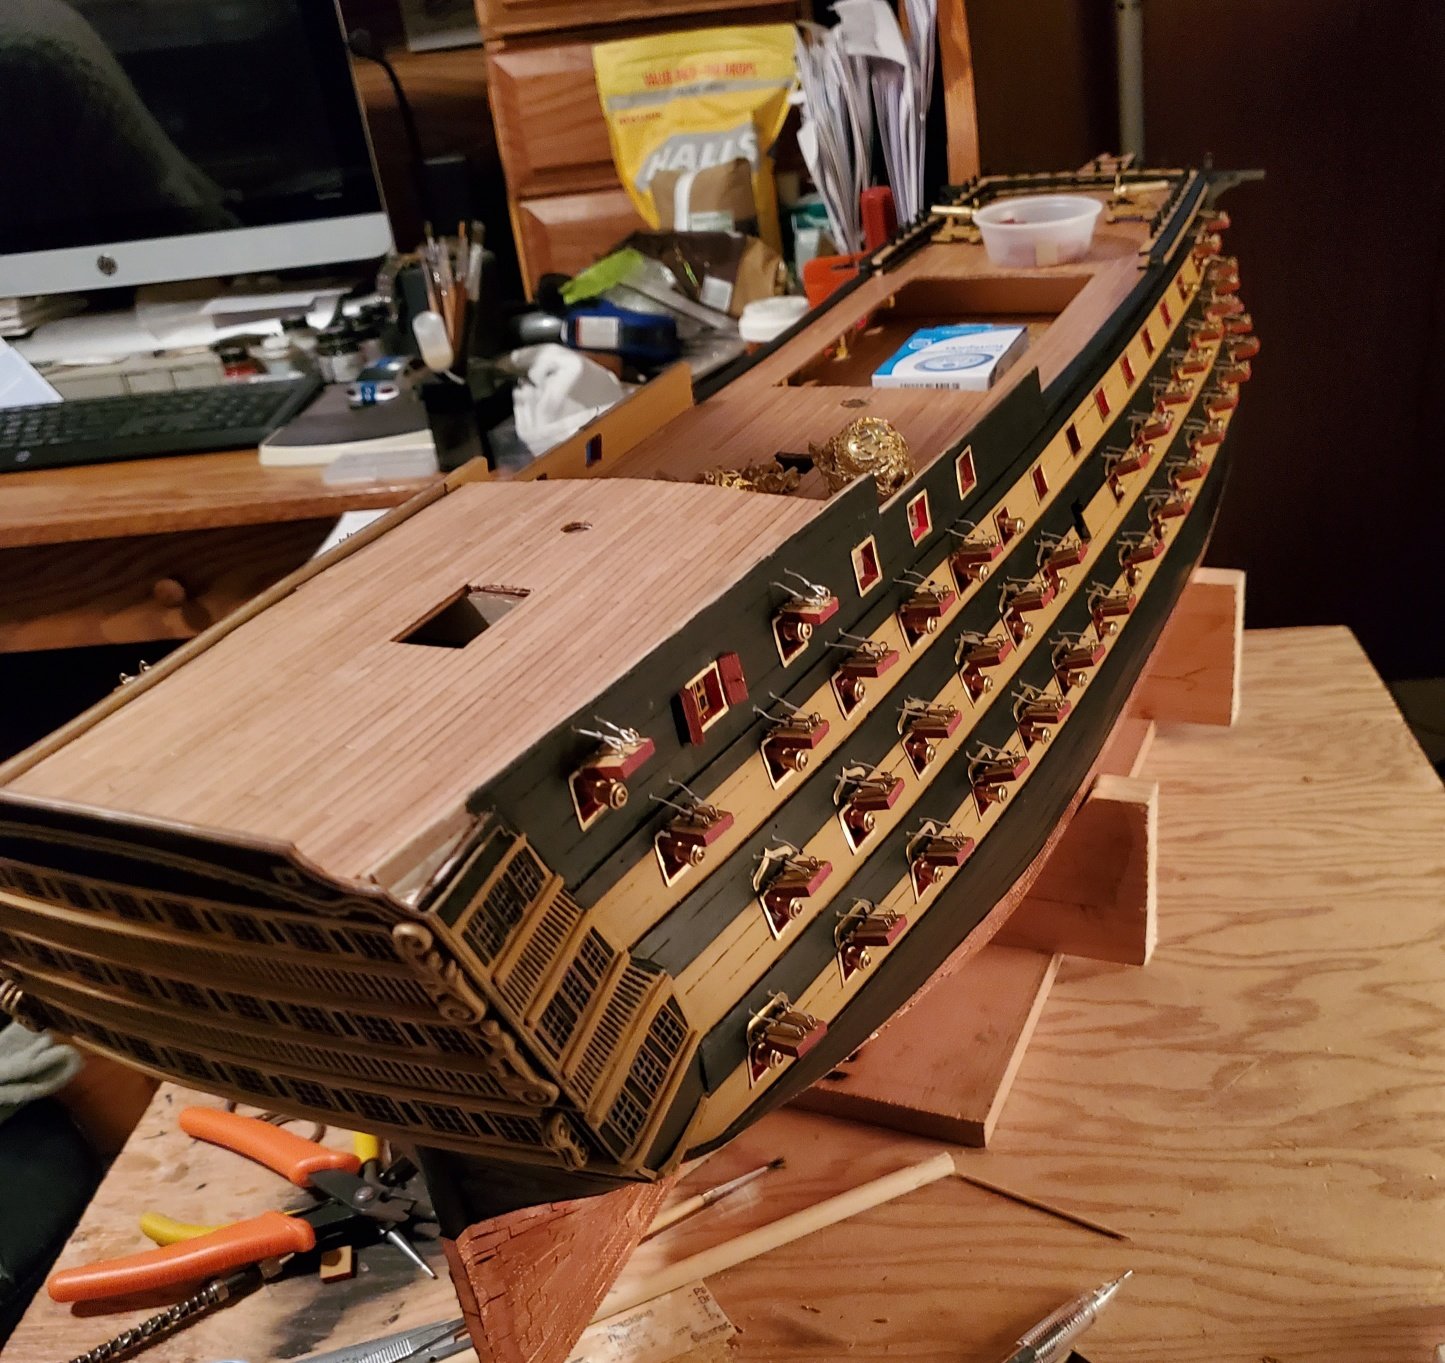
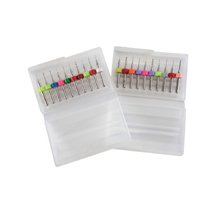
25 gun ports completed with 16 left on the starboard side then it's off to the port side. These micro drill bits from Harbor Freight worked out great so far. $7.99 minus 20% coupon. Will come in handy for the rest of this build.
-
I thought cutting, building and painting the gun port lids was going to take some time. Mounting the gun port lids is going to take even longer. I thought putting the copper pieces on the haul was a long process.... this is going to take even longer.