Diver
Members-
Posts
403 -
Joined
-
Last visited
-
 Diver reacted to a post in a topic:
Bentley Blower by RGL - Airfix - 1/12 - PLASTIC
-
 Diver reacted to a post in a topic:
Polaris by Meekes - OcCre - 1:50 - First Build
-
 Diver reacted to a post in a topic:
Polaris by Meekes - OcCre - 1:50 - First Build
-
 DocRob reacted to a post in a topic:
Lotus 72D by DocRob - FINISHED - Tamiya - 1/12 - Plastic/Metal - The Legend
-
 Diver reacted to a post in a topic:
Messerscmitt Bf-109G-5/G-6 by BLACK VIKING - Airfix - 1/24 - PLASTIC
-
 aaronc reacted to a post in a topic:
Work area pictures only
-
 Diver reacted to a post in a topic:
Lotus 72D by DocRob - FINISHED - Tamiya - 1/12 - Plastic/Metal - The Legend
-
 Diver reacted to a post in a topic:
Messerscmitt Bf-109G-5/G-6 by BLACK VIKING - Airfix - 1/24 - PLASTIC
-
 Diver reacted to a post in a topic:
HM Cutter Sherbourne 1763 by Bomber_County - Vanguard Models - 1/64 - First Build
-
 Diver reacted to a post in a topic:
HM Armed Cutter Sherbourne 1763 by Nightdive - Vanguard Models - 1:64 - First Build
-
 Landlubber Mike reacted to a post in a topic:
1965 Comet by Diver - Moebius Models - PLASTIC - Skill developer
-
 DocRob reacted to a post in a topic:
1965 Comet by Diver - Moebius Models - PLASTIC - Skill developer
-
 DocRob reacted to a post in a topic:
1965 Comet by Diver - Moebius Models - PLASTIC - Skill developer
-
 Old Collingwood reacted to a post in a topic:
1965 Comet by Diver - Moebius Models - PLASTIC - Skill developer
-
 GrandpaPhil reacted to a post in a topic:
1965 Comet by Diver - Moebius Models - PLASTIC - Skill developer
-
 yvesvidal reacted to a post in a topic:
1965 Comet by Diver - Moebius Models - PLASTIC - Skill developer
-
 gsdpic reacted to a post in a topic:
1965 Comet by Diver - Moebius Models - PLASTIC - Skill developer
-
When I arrived in Halifax in 1970 as a brand new Ordinary seaman the Bonny was still tied up in the dockyard, all though she was De-Commisioned. I was doing a Explosive Demolition course out at Portugese cove the day she was towed out on her way to the razor blade factory. It was a sunny but sad day. I think this would have been spring of 71, or maybe 72.
-
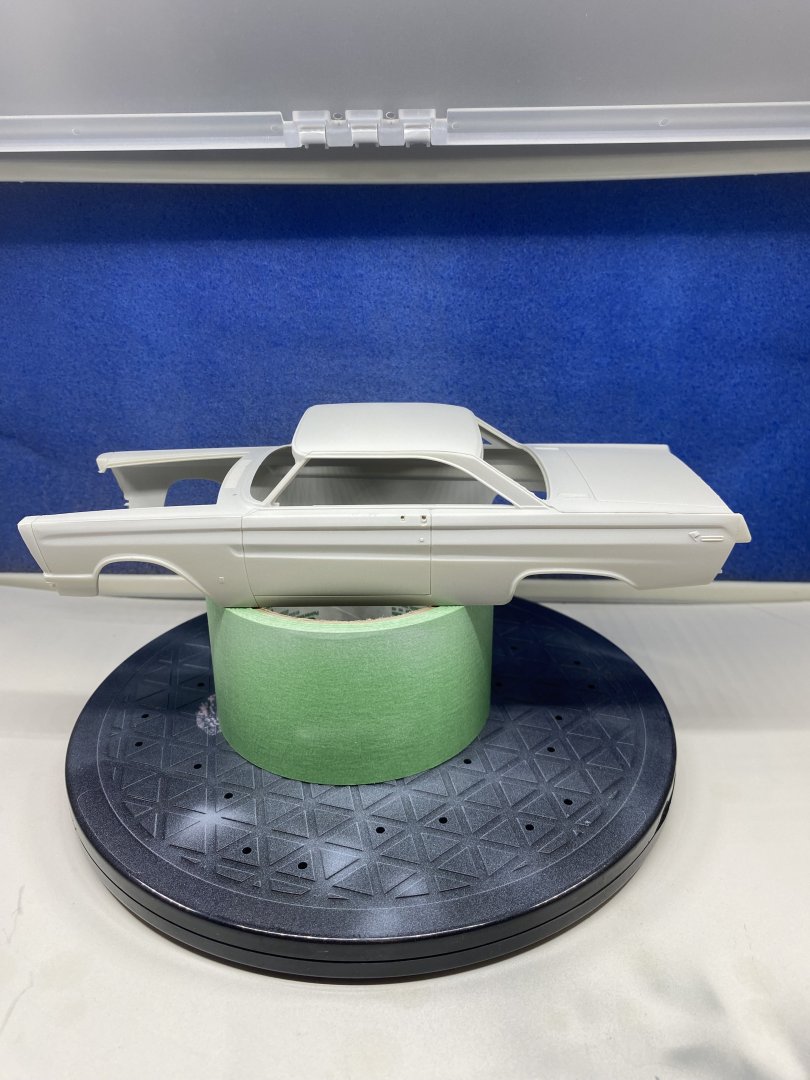
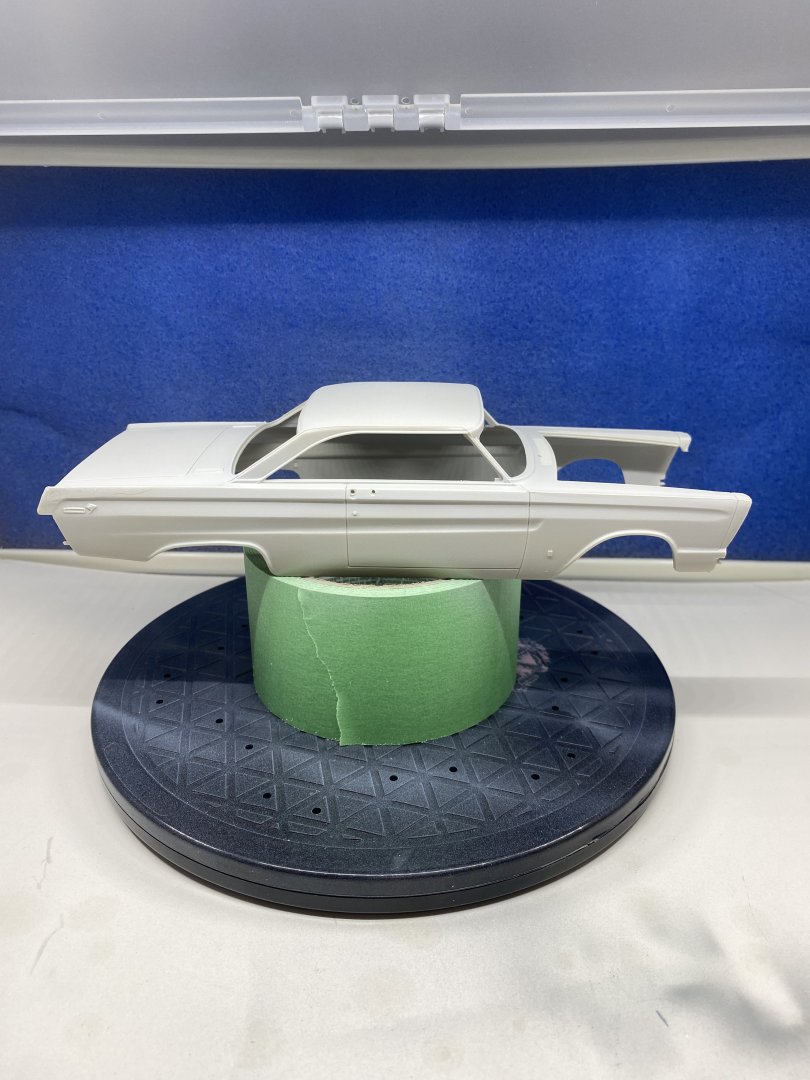
Put my new airbrush and paint booth to the test. A lot of trial and error to get the correct paint mixture and air pressure to spray an acceptable coat. I tested on some scrap before moving to the car body. I am happy with the results. I will let the primer cure for a day and then on to the colour coats.
-
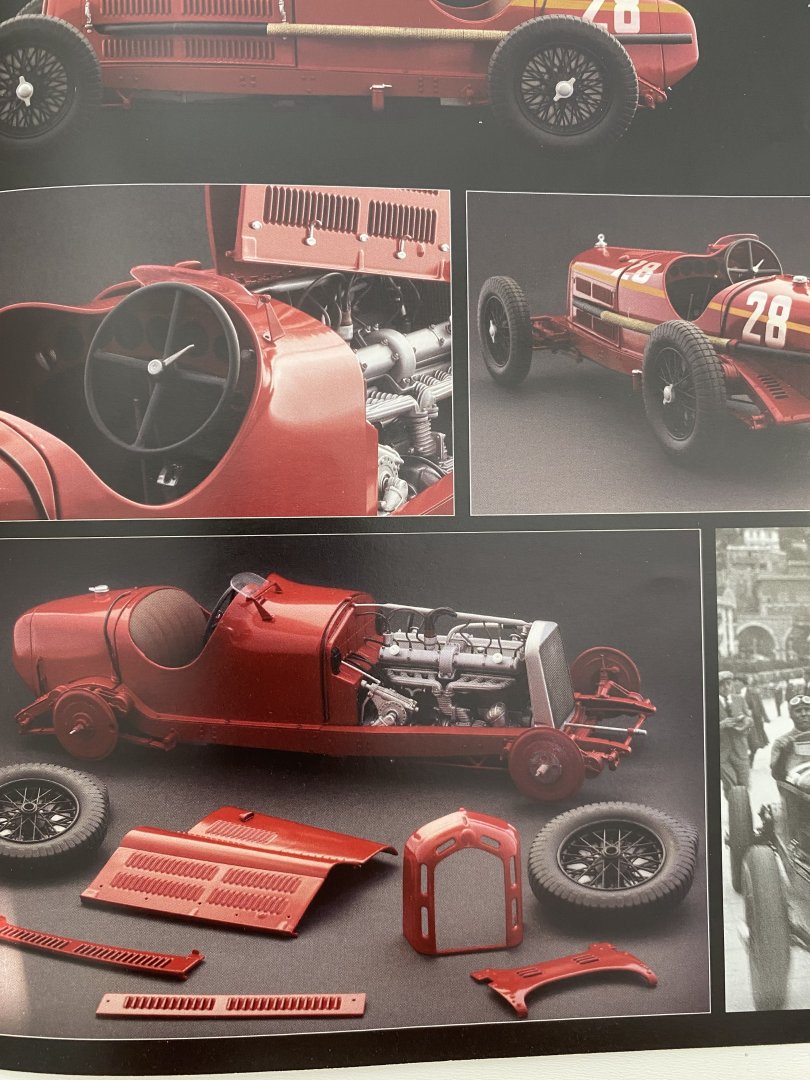
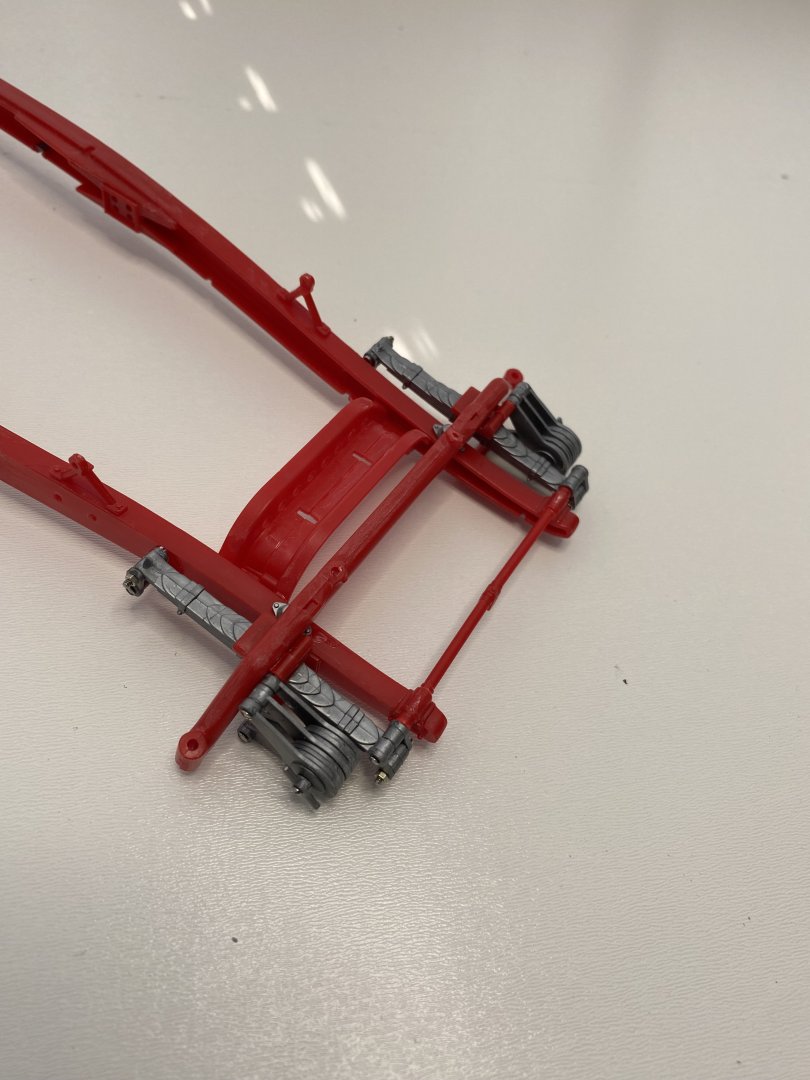
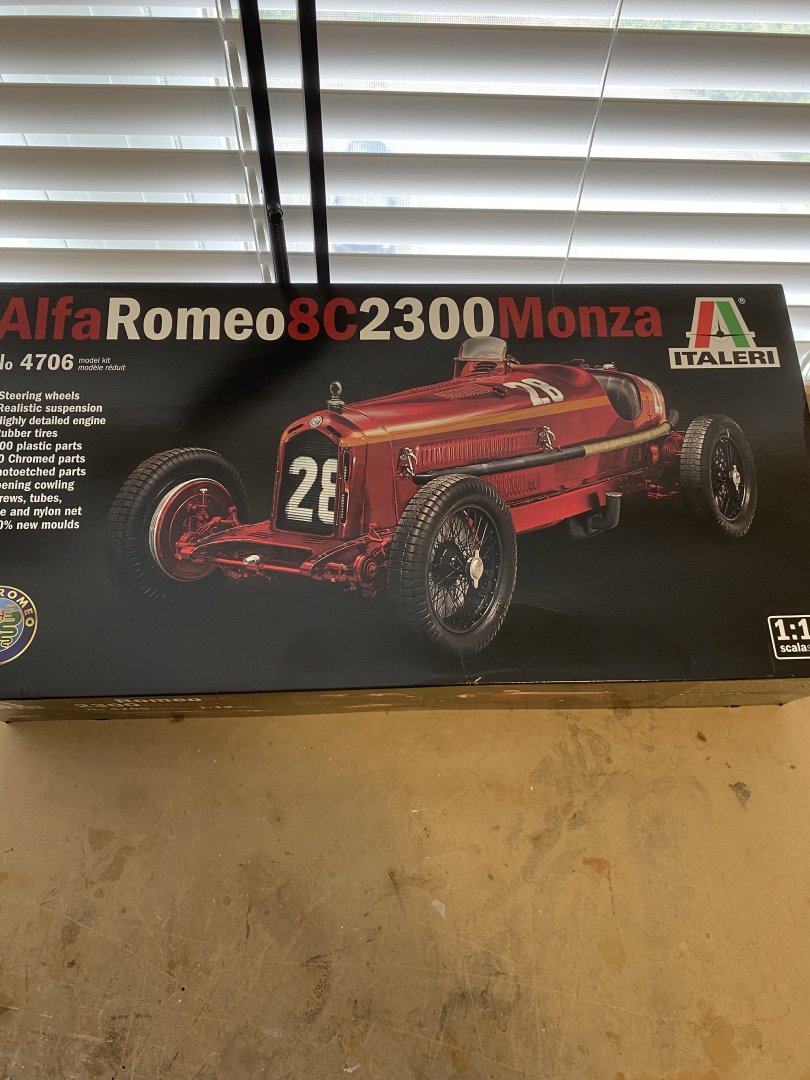
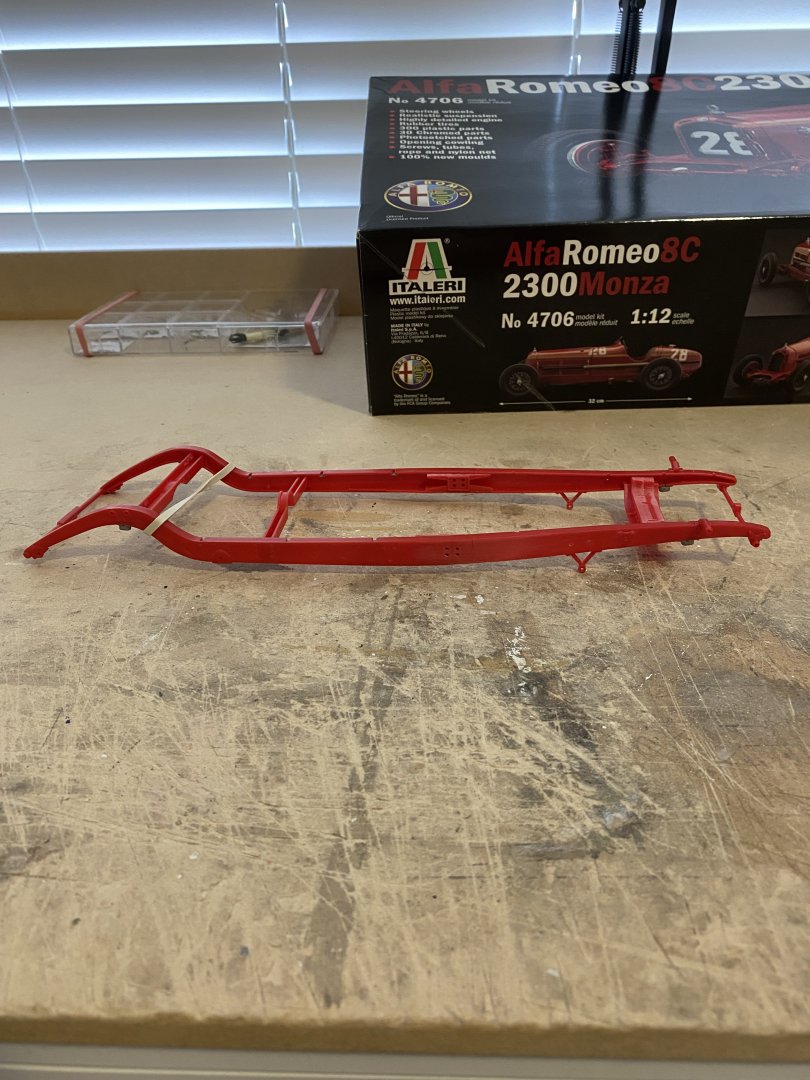
To improve my skills in dealing with small painted parts I purchased this kit from Echelon hobbies in Brighton Ontario. This will be used as a learning curve before Continuing with my 1/12 scale Alfa. The colours used may not be accurate but they are what I have. At this stage I am not ready to attempt spark plug wires but that will come later. The kit is a 1/25 from Moebius models.
-
Worlds finest navy, Must have been the RCN.. LOL
-
Thats great news. It is so easy for a country to lose its history due to lack of funding. We can not always rely on private funding and donations.
-
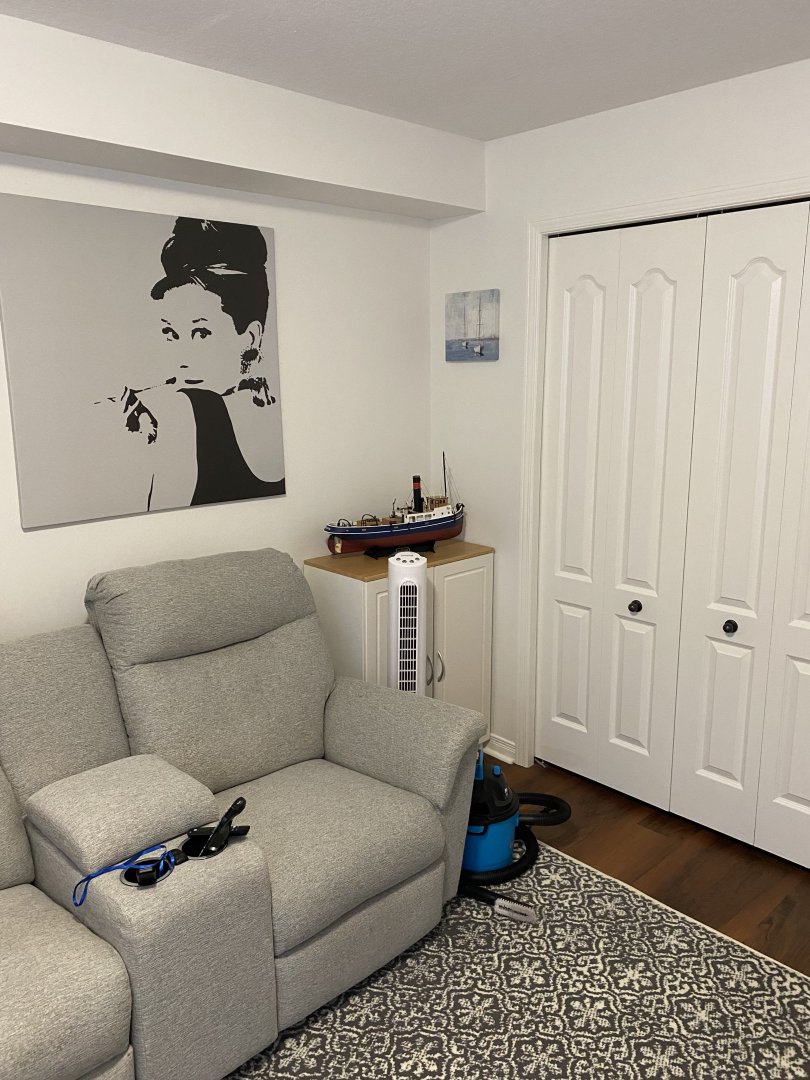
Work area pictures only
Diver replied to Johnny Mike's topic in Modeling tools and Workshop Equipment
-
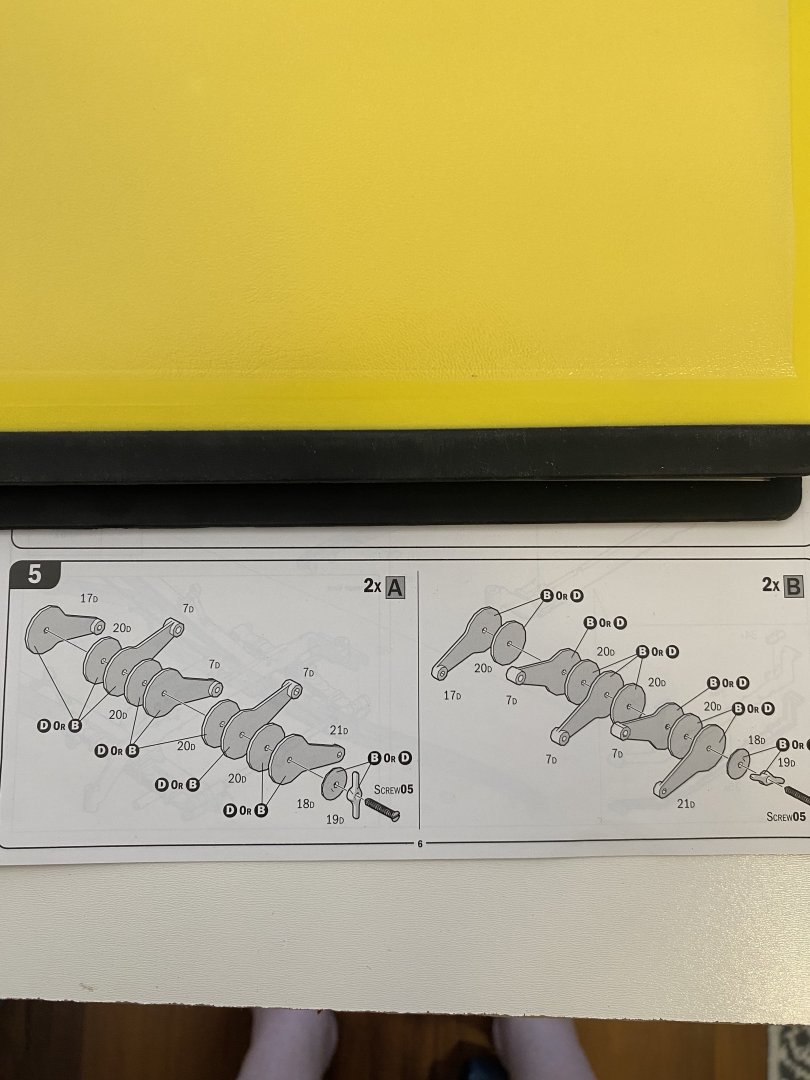
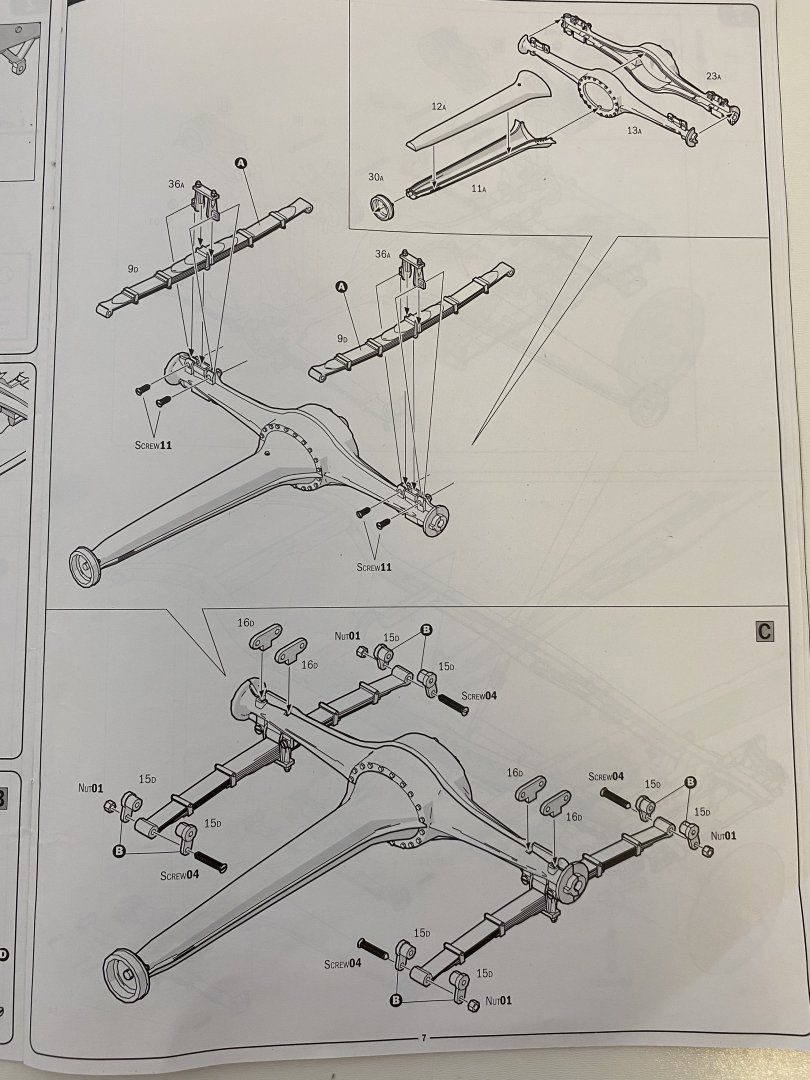
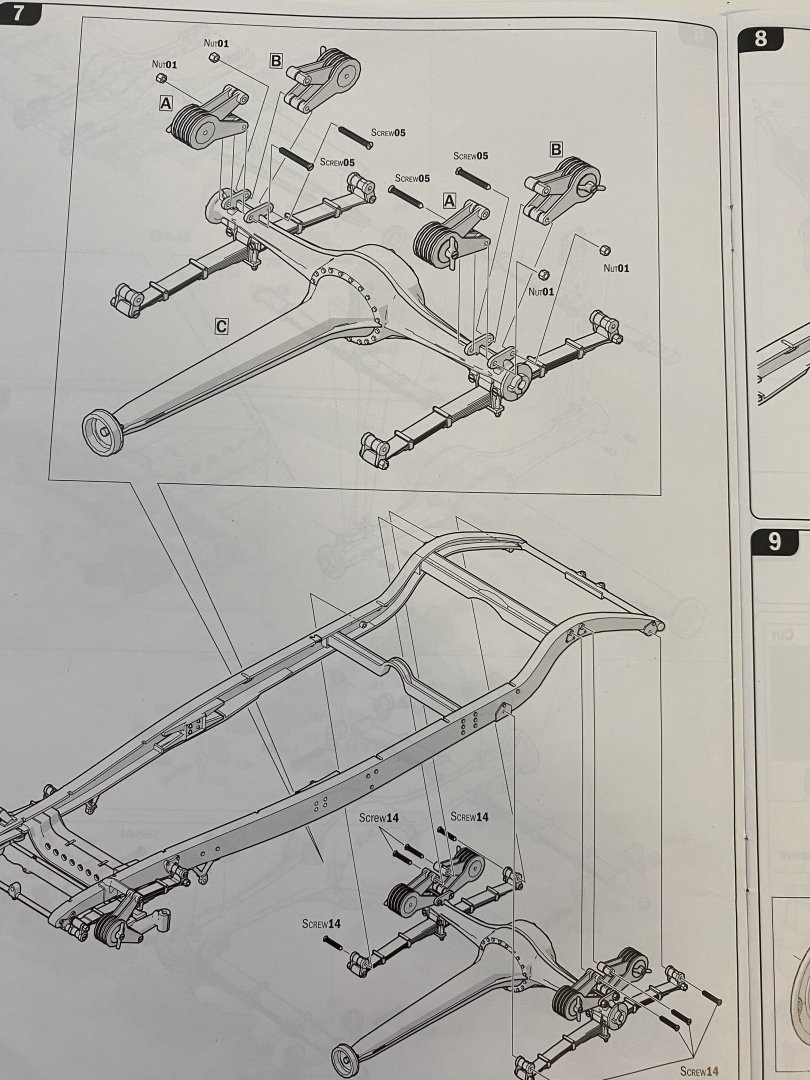
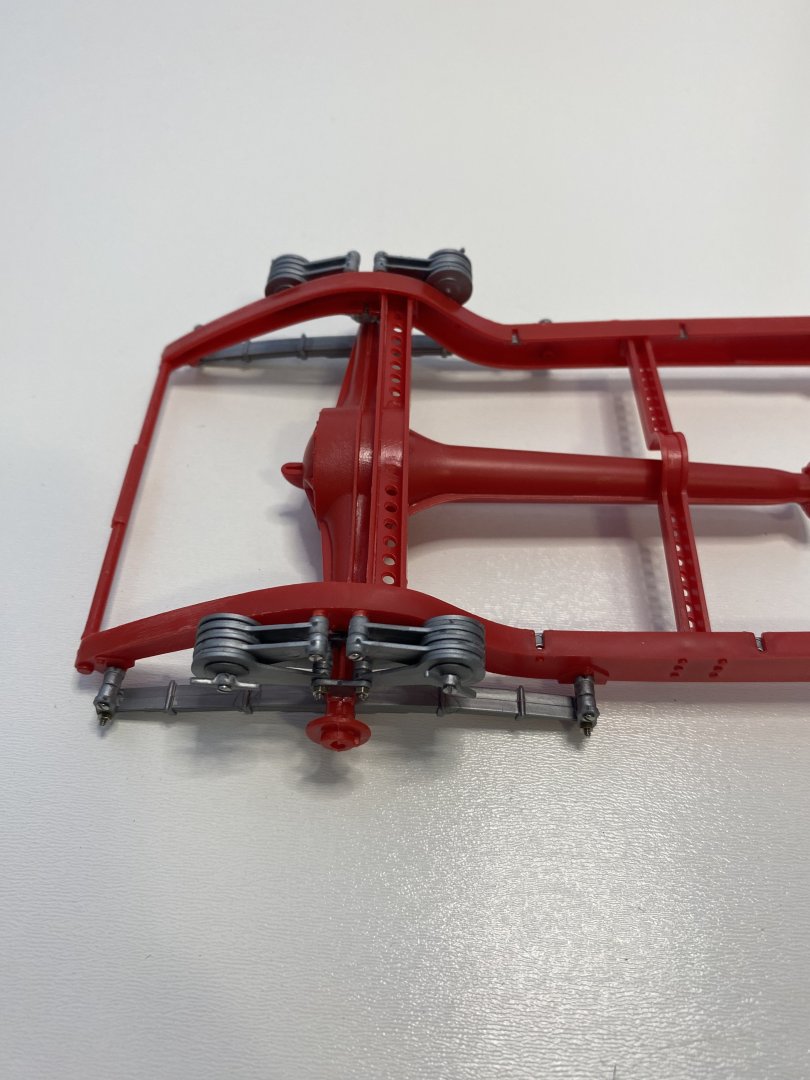
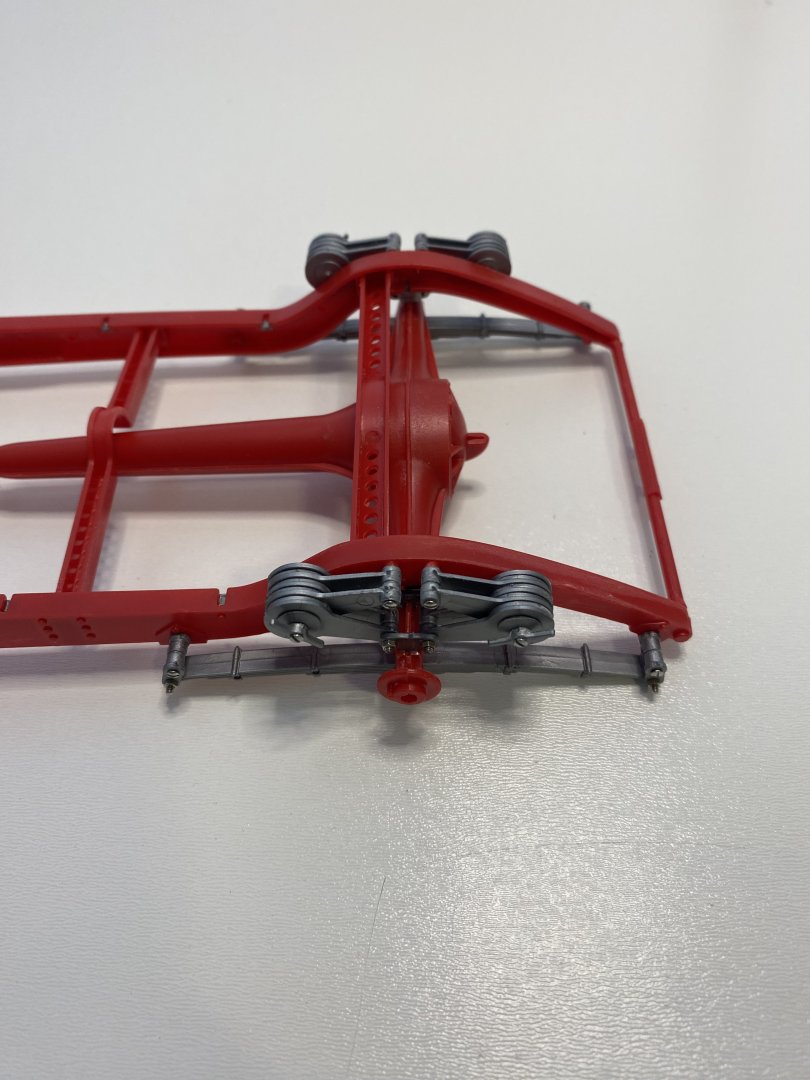
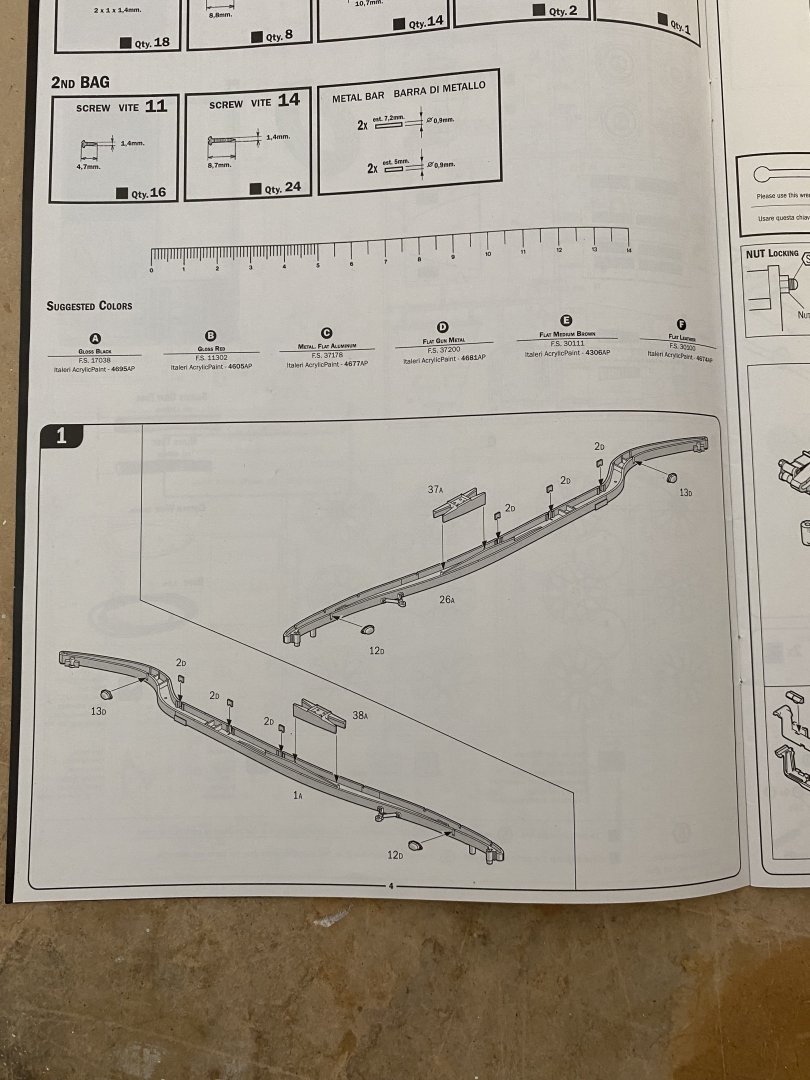
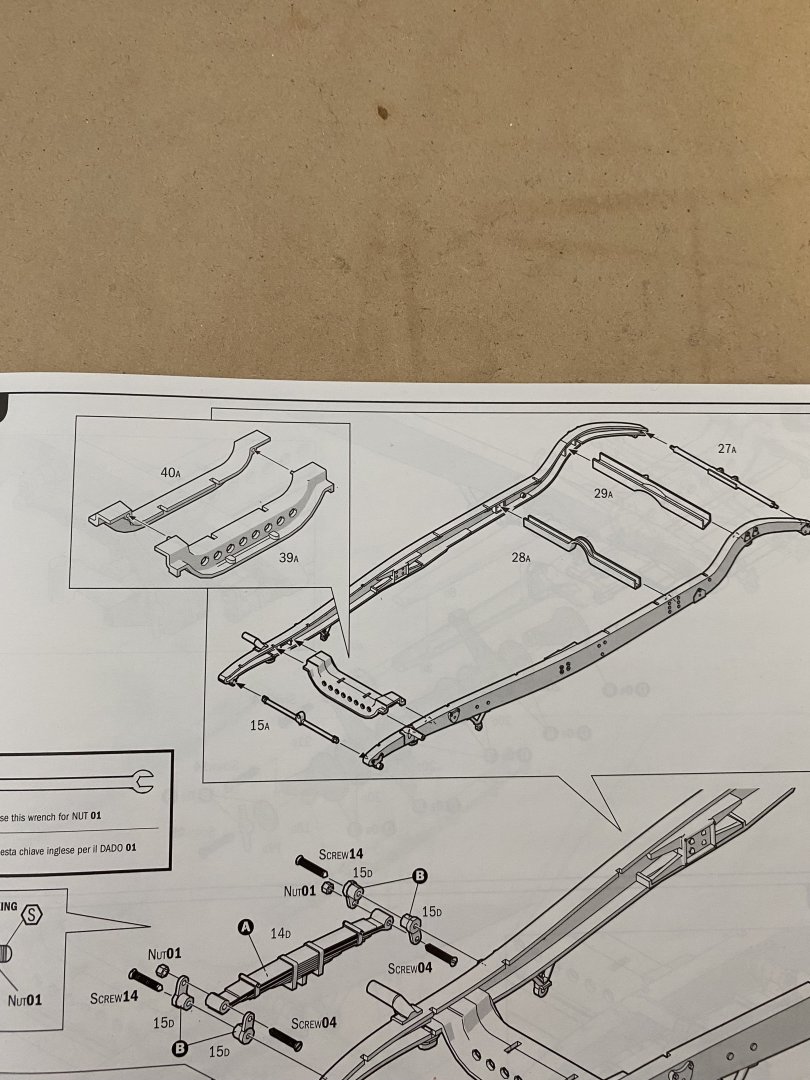
Steps 5, 6, and 7 complete. I now will wait for my airbrush set up before going any further. I will start on the engine but will only do main pieces and hand paint smaller items like hoses, distributor etc. This kit is all produced and have not run into any problems , yet. I do require my back kit magnifier for the tiny nuts and bolts.
-
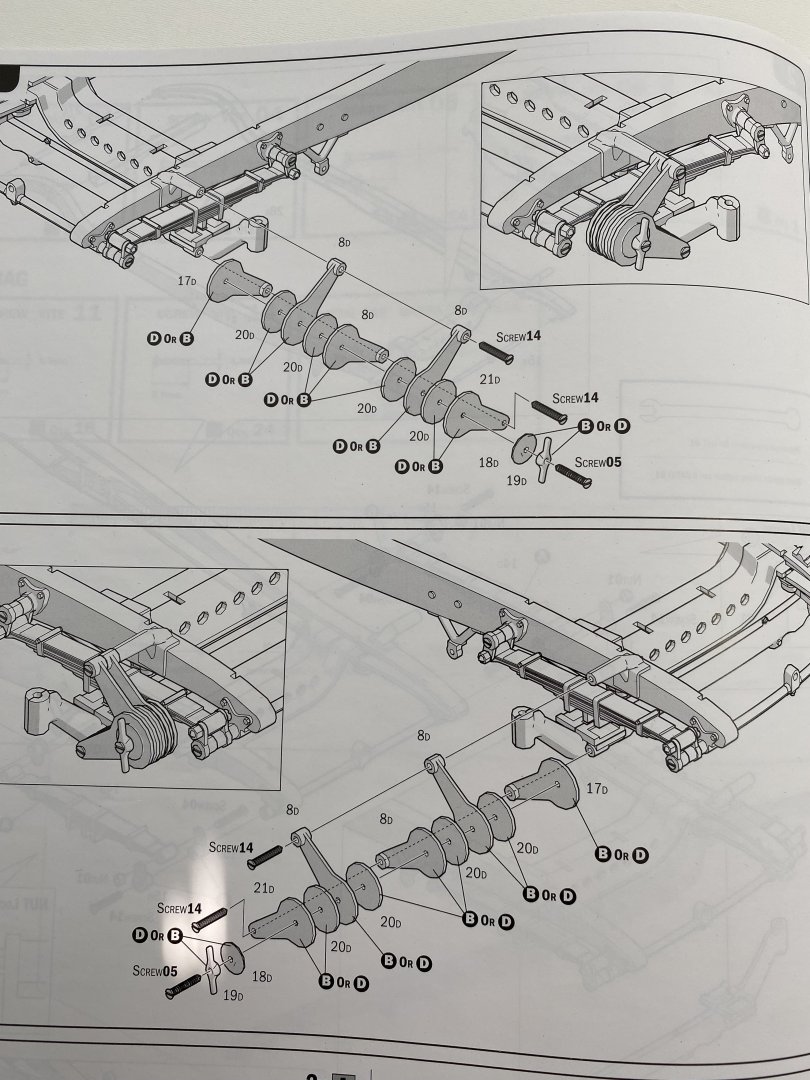
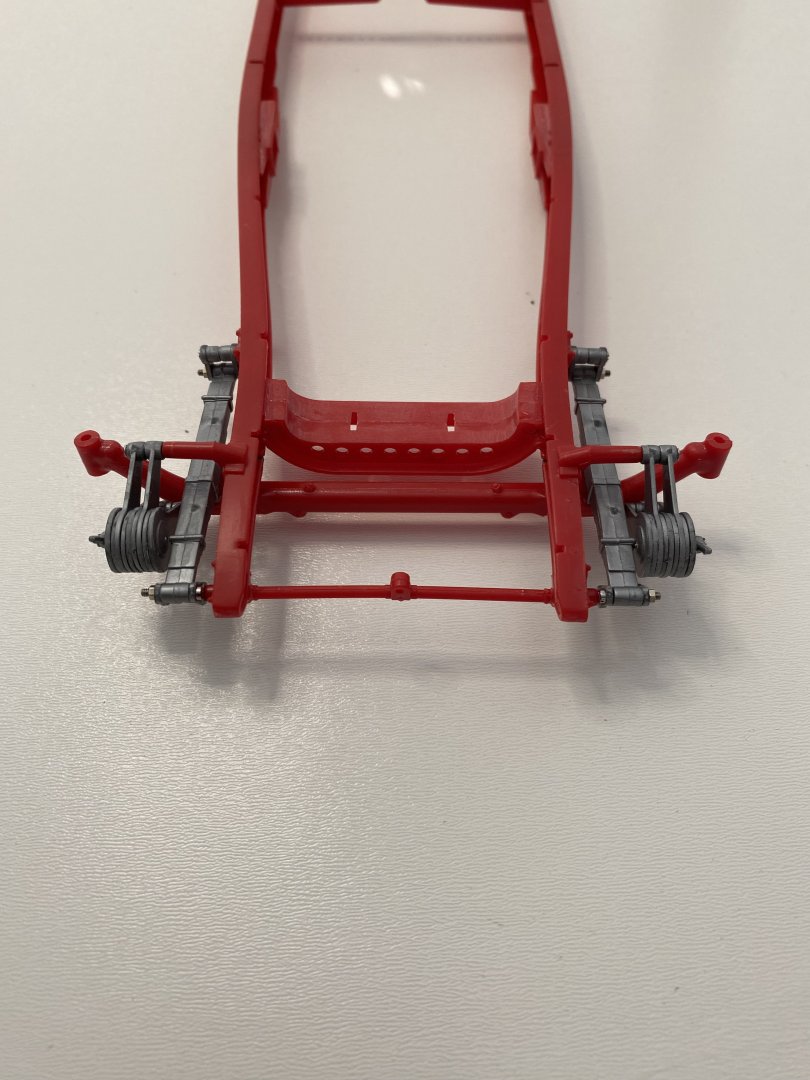
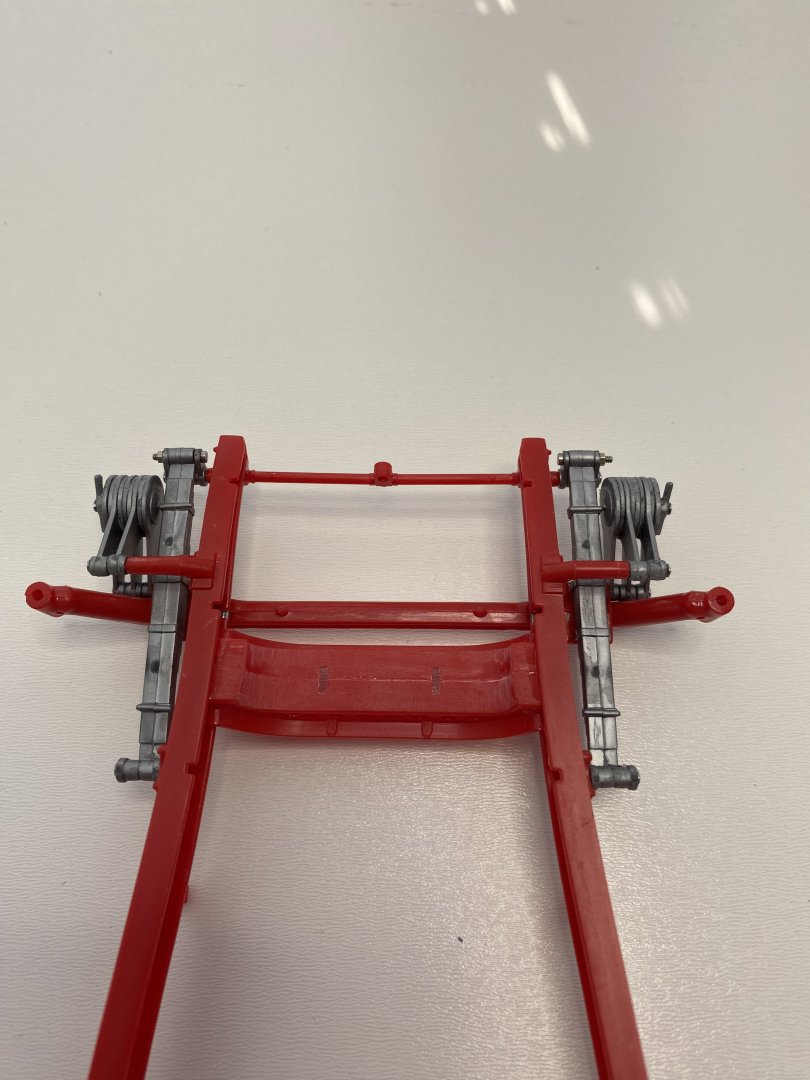
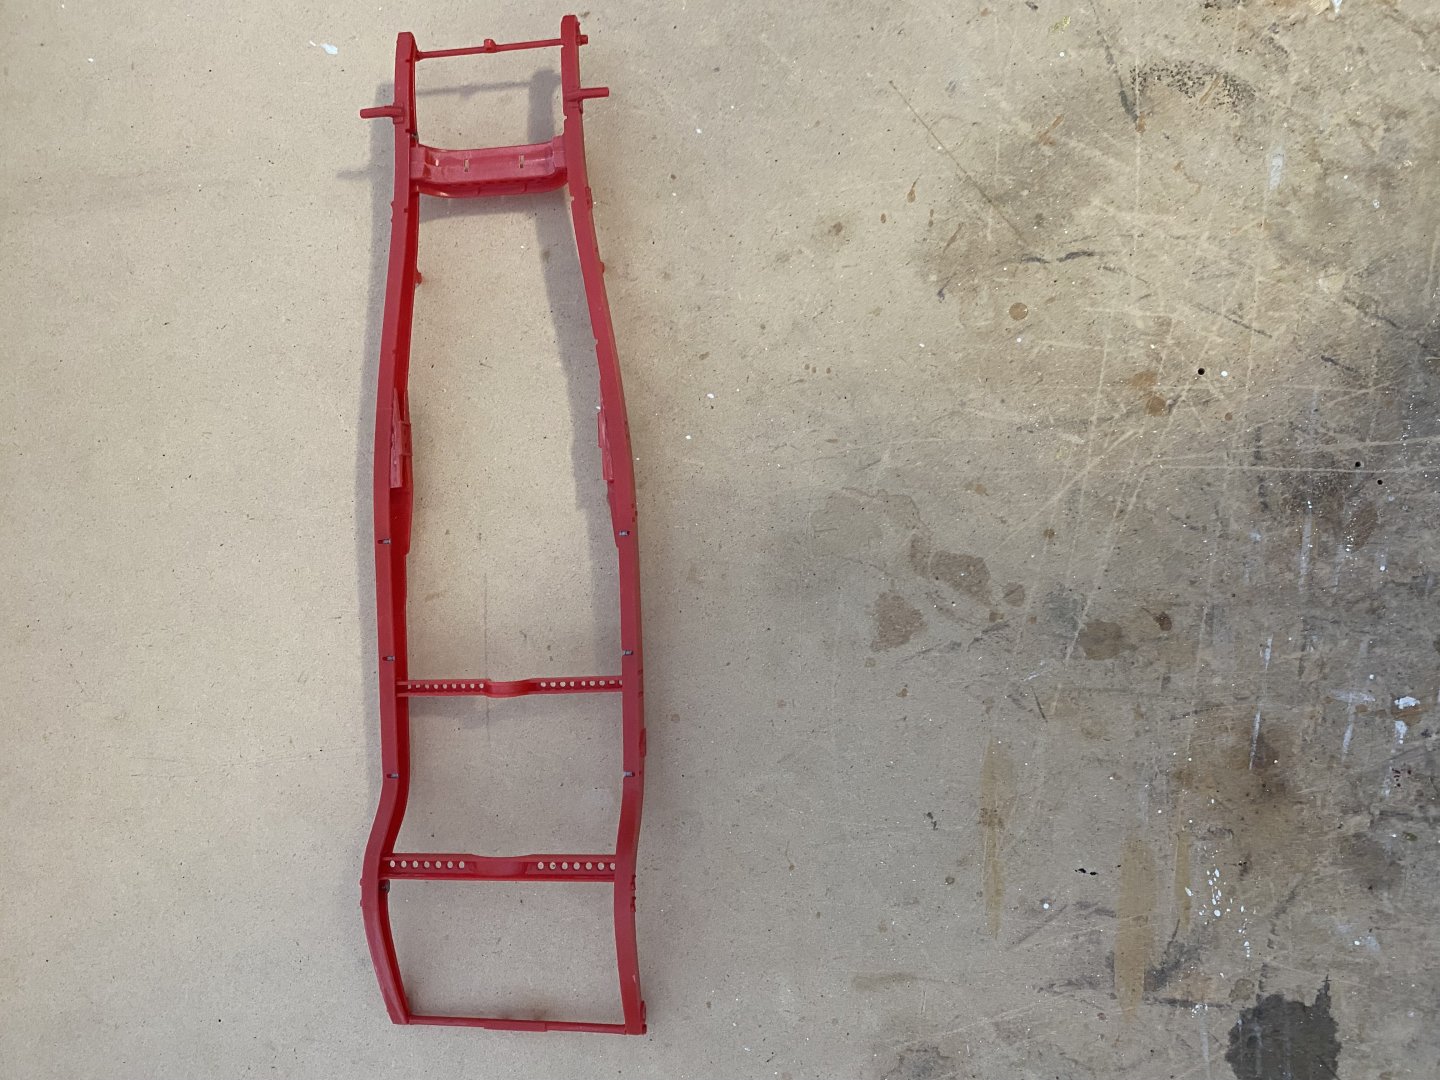
Thanks for pointing this out. I have disassembled the front suspension and scraped the mould lines. I have started on the rear springs and scraping was much easier before assembly. Once the rear suspension is installed the build comes to a halt as I wait for my airbrush set up. Will be picking that up in Ottawa in early September.
-
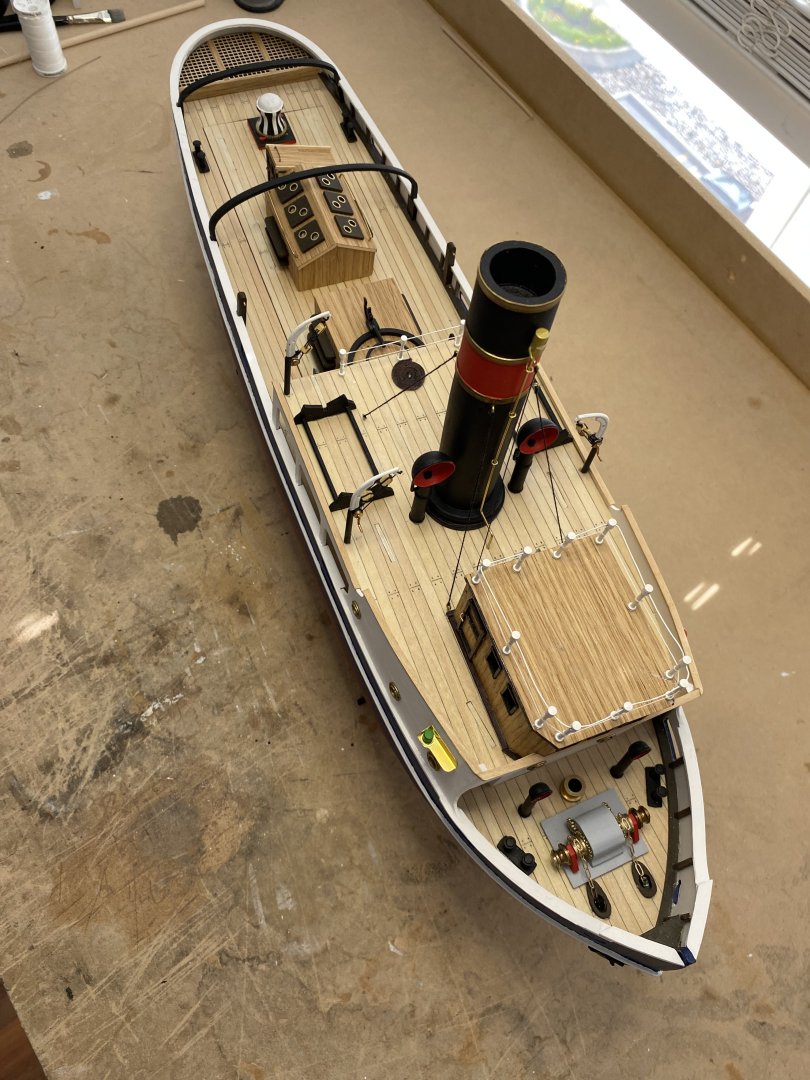
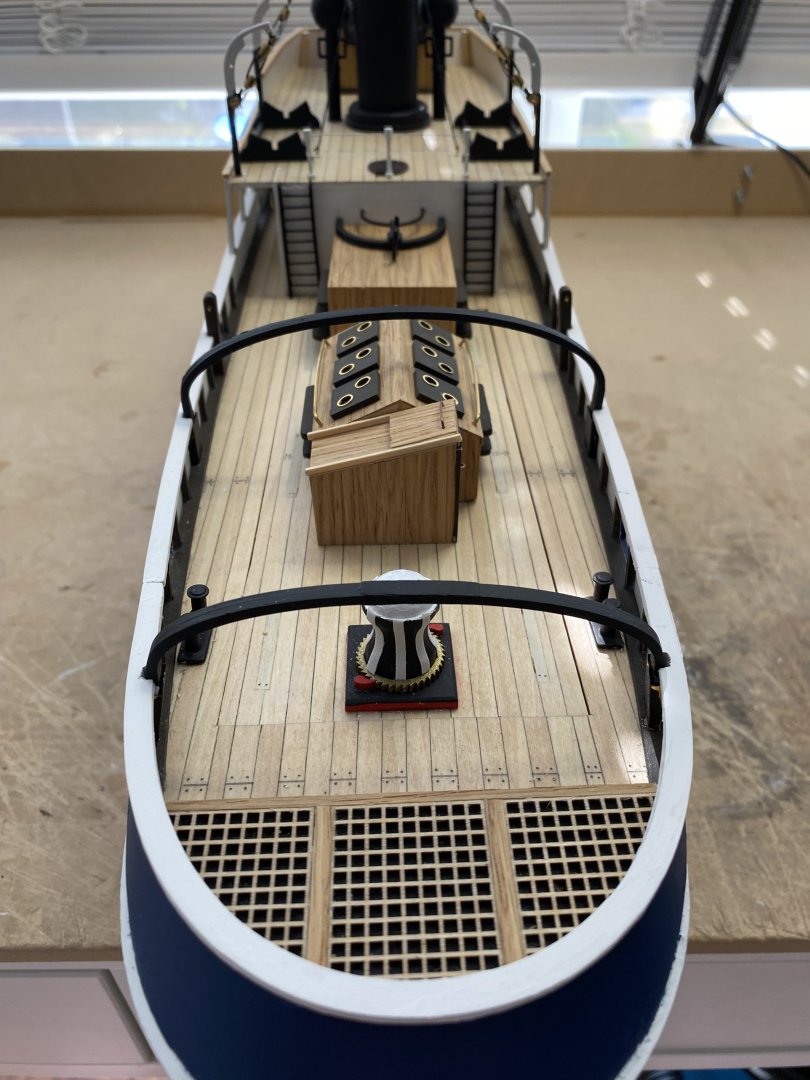
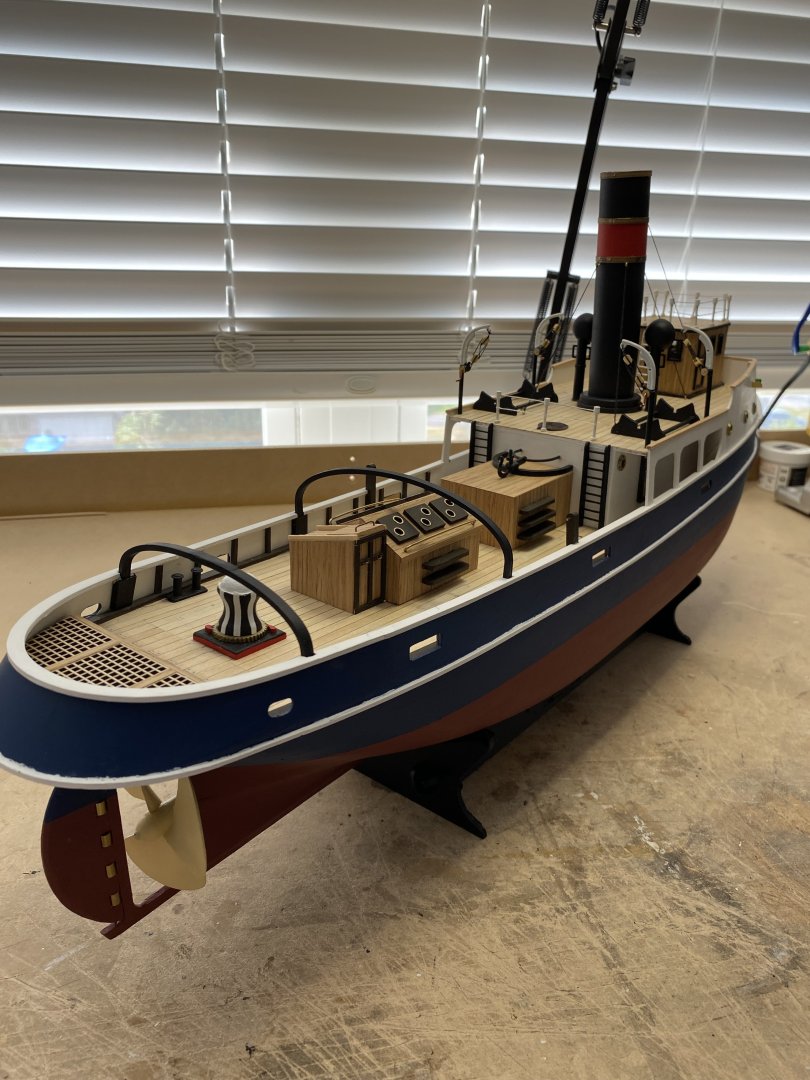
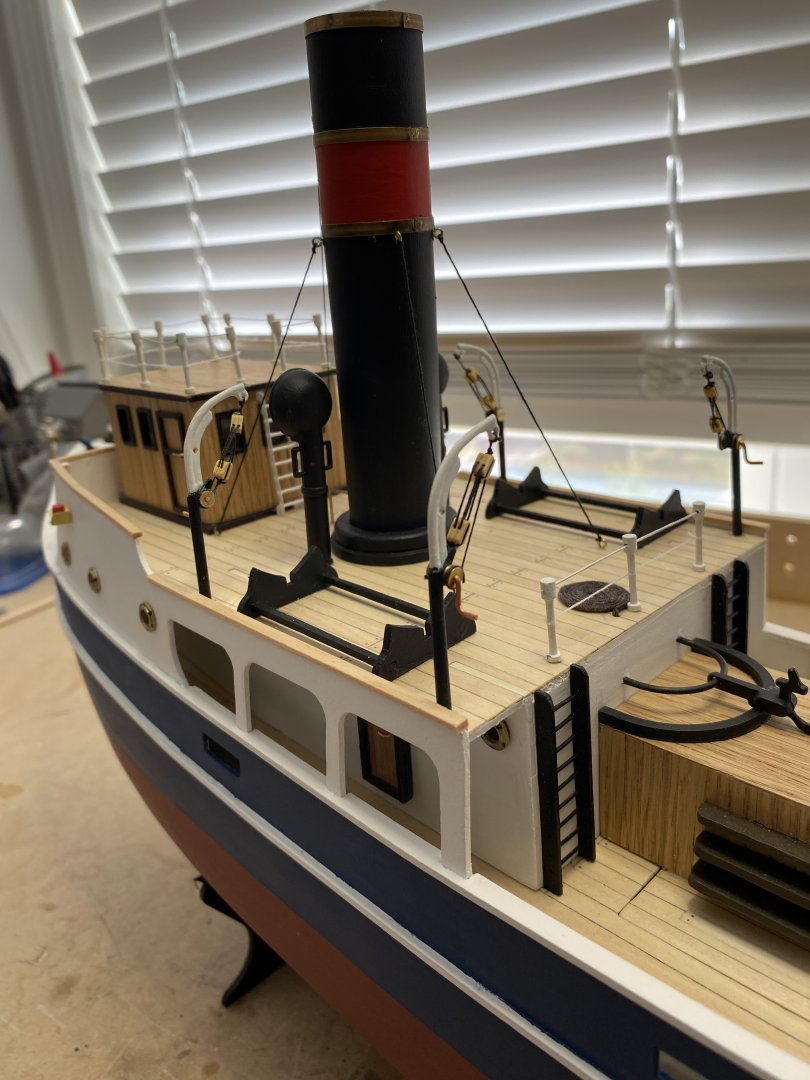
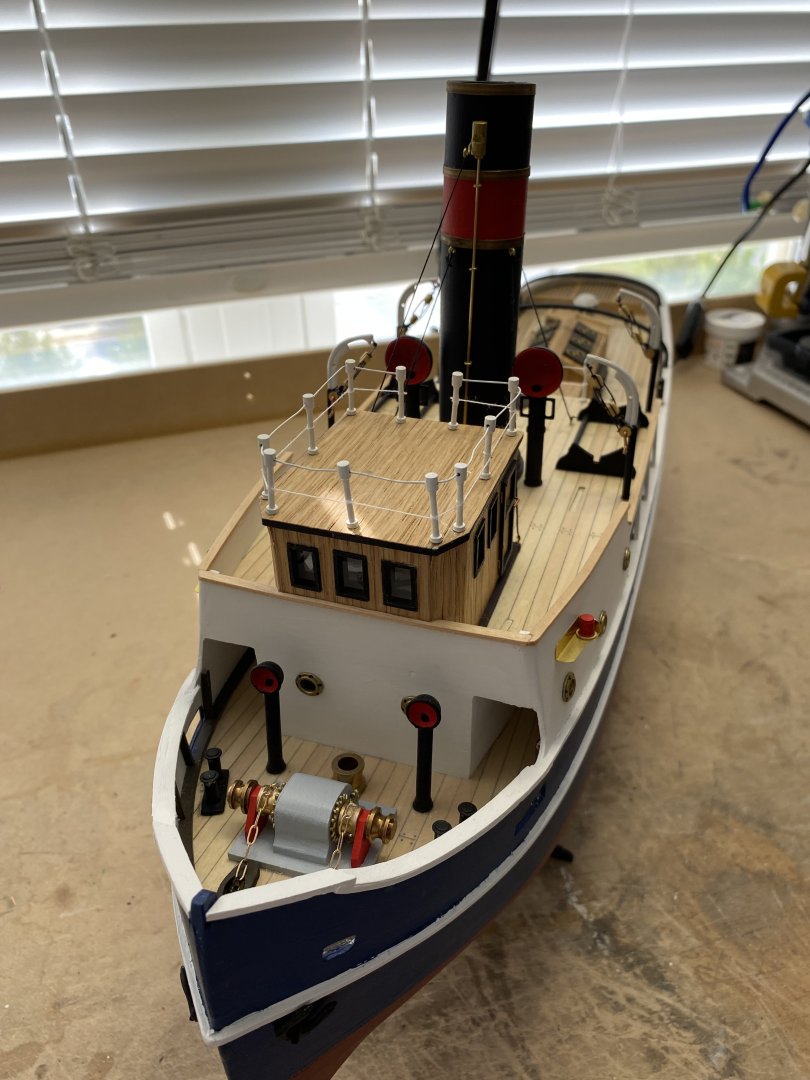
I am going to call this build Finished. The small boats ended up in the garbage, new ones will be ordered from AL. I started this build with great enthusiasm but that was lost when I ran into problems with some of the materials, and lack of drawings. The videos are a great help but drawings would be better in my opinion. No mast lights are provided with the kit so I used plastic thumb tacks. This build gave me great frustration at times and complete joy at others
- 68 replies
-
- Sanson
- Artesania Latina
-
(and 2 more)
Tagged with:
-
Just about finished. Only the mast and fenders to complete. The small boats ended up in the garbage so I will order a new set from AL. All the parts for the boats are on one small sheet so it should not be a problem. I have lots of material for planking.
- 68 replies
-
- Sanson
- Artesania Latina
-
(and 2 more)
Tagged with:
About us
Modelshipworld - Advancing Ship Modeling through Research
SSL Secured
Your security is important for us so this Website is SSL-Secured
NRG Mailing Address
Nautical Research Guild
237 South Lincoln Street
Westmont IL, 60559-1917
Model Ship World ® and the MSW logo are Registered Trademarks, and belong to the Nautical Research Guild (United States Patent and Trademark Office: No. 6,929,264 & No. 6,929,274, registered Dec. 20, 2022)
Helpful Links
About the NRG
If you enjoy building ship models that are historically accurate as well as beautiful, then The Nautical Research Guild (NRG) is just right for you.
The Guild is a non-profit educational organization whose mission is to “Advance Ship Modeling Through Research”. We provide support to our members in their efforts to raise the quality of their model ships.
The Nautical Research Guild has published our world-renowned quarterly magazine, The Nautical Research Journal, since 1955. The pages of the Journal are full of articles by accomplished ship modelers who show you how they create those exquisite details on their models, and by maritime historians who show you the correct details to build. The Journal is available in both print and digital editions. Go to the NRG web site (www.thenrg.org) to download a complimentary digital copy of the Journal. The NRG also publishes plan sets, books and compilations of back issues of the Journal and the former Ships in Scale and Model Ship Builder magazines.


