

Diver
-
Posts
339 -
Joined
-
Last visited
Content Type
Profiles
Forums
Gallery
Events
Posts posted by Diver
-
-
-
Looking good. I just finished my Medway in December. It was a very enjoyable build even with all its challenges. Chucks instructions are excellent, as are all the build logs. Lots of tips to be picked up in them.
- Ryland Craze, robert952 and MajorChaos
-
 3
3
-
Thanks everyone for looking in on my question. I do shape my planks to the hull profile,( as per Chucks videos), but am going to complete this build with TiteBond. It will take longer clamping and waiting for the glue to set up but I think this is the best way. I find CA very frustrating to work with.
-
Hello everyone. I am in the process of trying to plank the up dated Sanson tug. The planking strips are birch and the frames are ply. The frames are properly fared with no char but I am having no success using CA. I took 2 short pieces of the planking, glued them together with CA. After sitting for 1/2 hour they popped apart with very little effort. I tried to moisten the plank but still no luck. The planks seem to adhere in some areas but not others. Any advice accepted.
-
This build is really testing my patience. I have started the planking but am running into an issue. CA is being used to secure the planks to the frames, Some times. It holds in some places, and in other places it will not stick. I went out and purchased a new bottle today, but still have the same issue. The frames are properly fared and there is no char. Any suggestions to what I can do before this build becomes a fire starter.
-
Welcome aboard from a fellow Ontarion. I am down in Kingston.
- mtaylor and Malcolm Brown
-
2
-
Welcome to the site from a fellow Canuck. I would have never been able to complete my Syren Longboat without the help from the members here.
- mtaylor and Keith Black
-
2
-
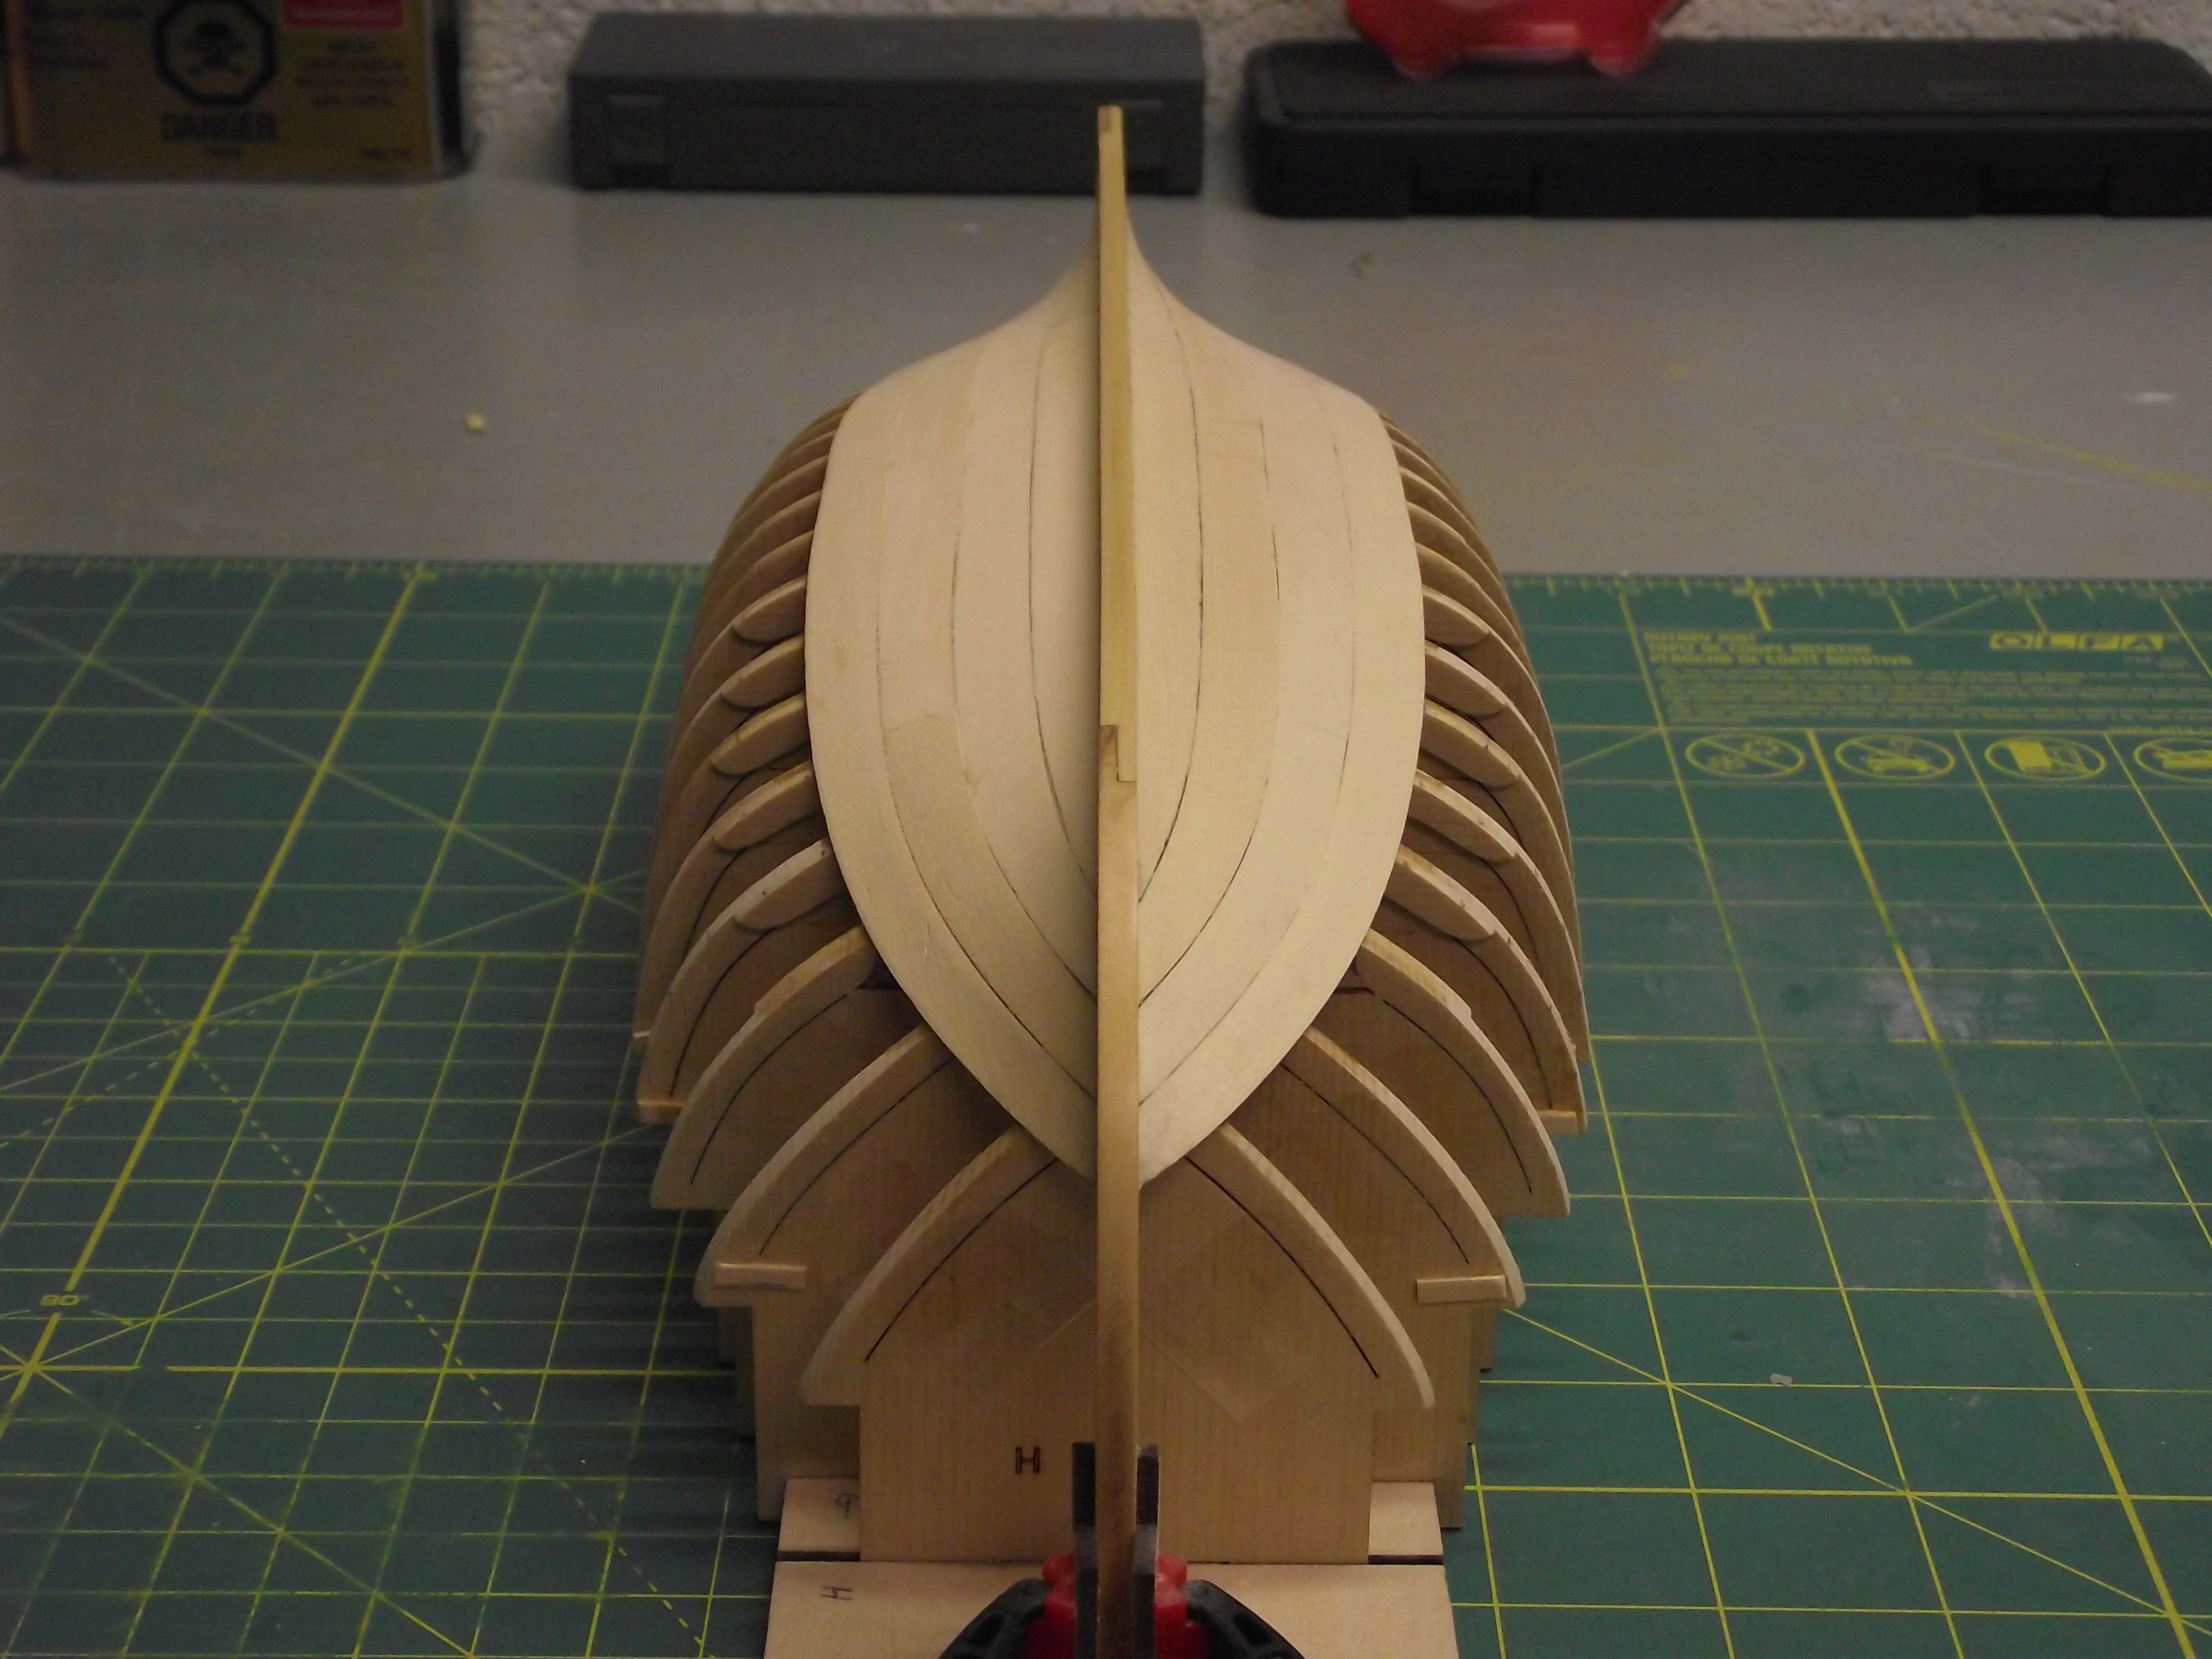
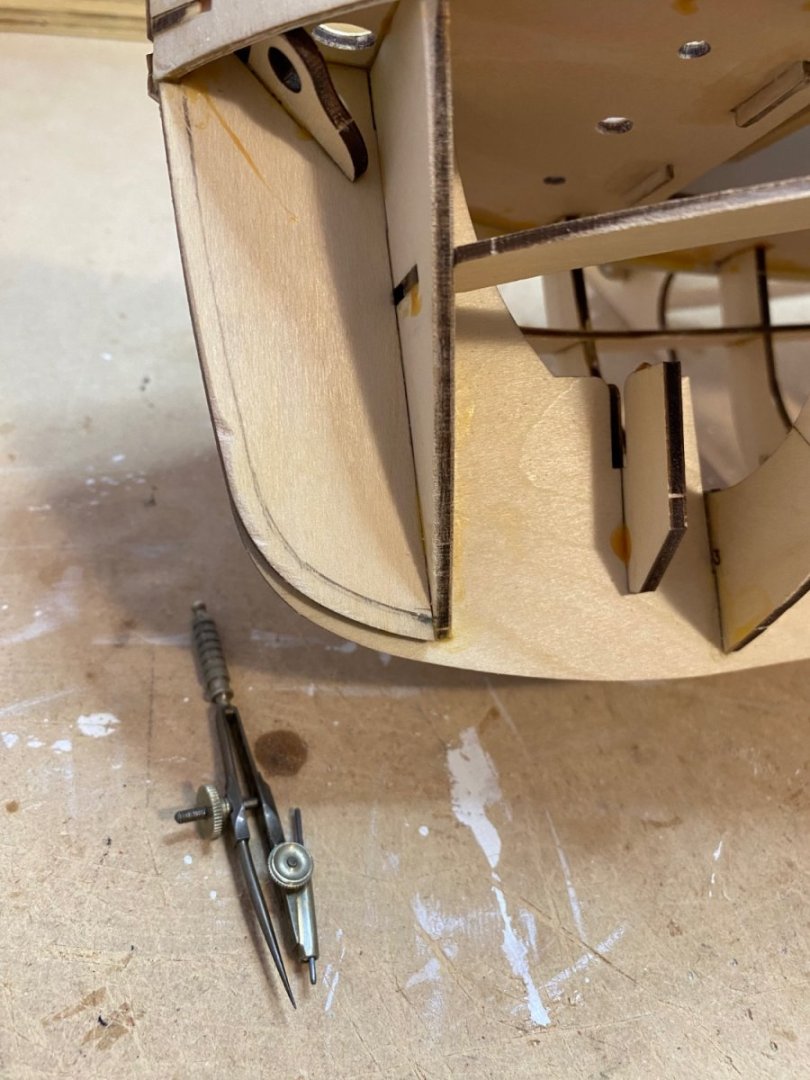
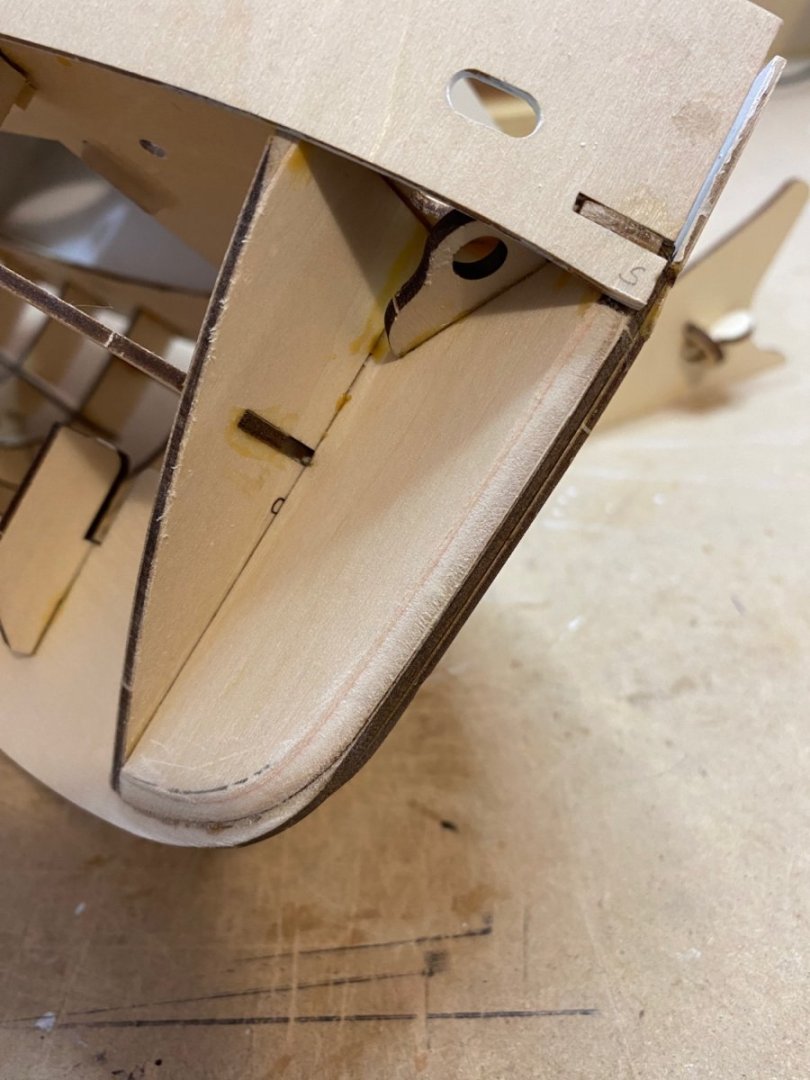
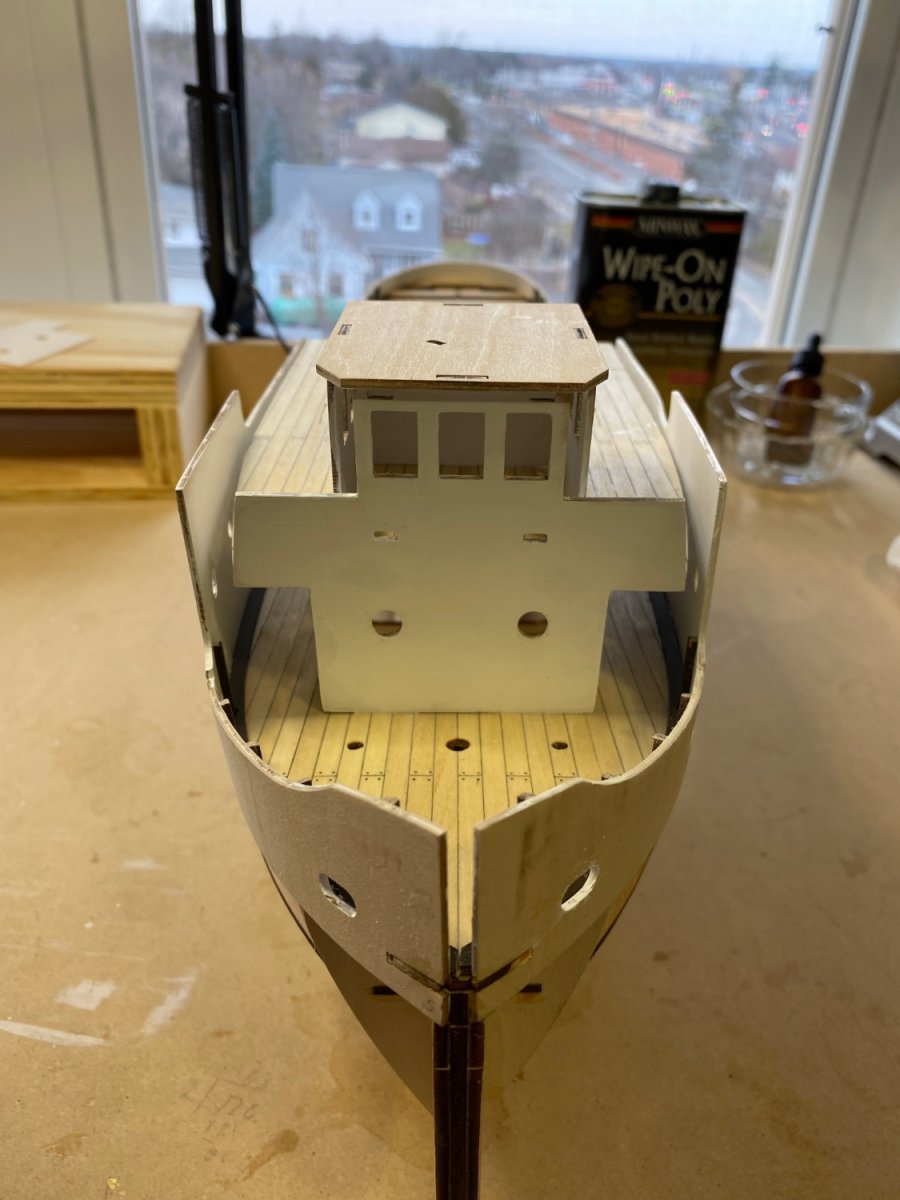
Making some progress on the build. Chapter 6 complete with a few head aches on the way. The major components go together with alignment tabs, but not everything lines up as it should. The front of the wheel house and the bulwarks would not have been able to be glued without the addition of some filler pieces. The absence of drawings leave some things to be figured out like the beveling of the stem. I used my Edwardian compass and drew a line that looks correct to me and then sanded and filed it until it looks like the construction video. On to fairing and planking now.


-
Welcome aboard from a fellow Canuck.
- Keith Black, mtaylor, AJohnson and 1 other
-
4
-
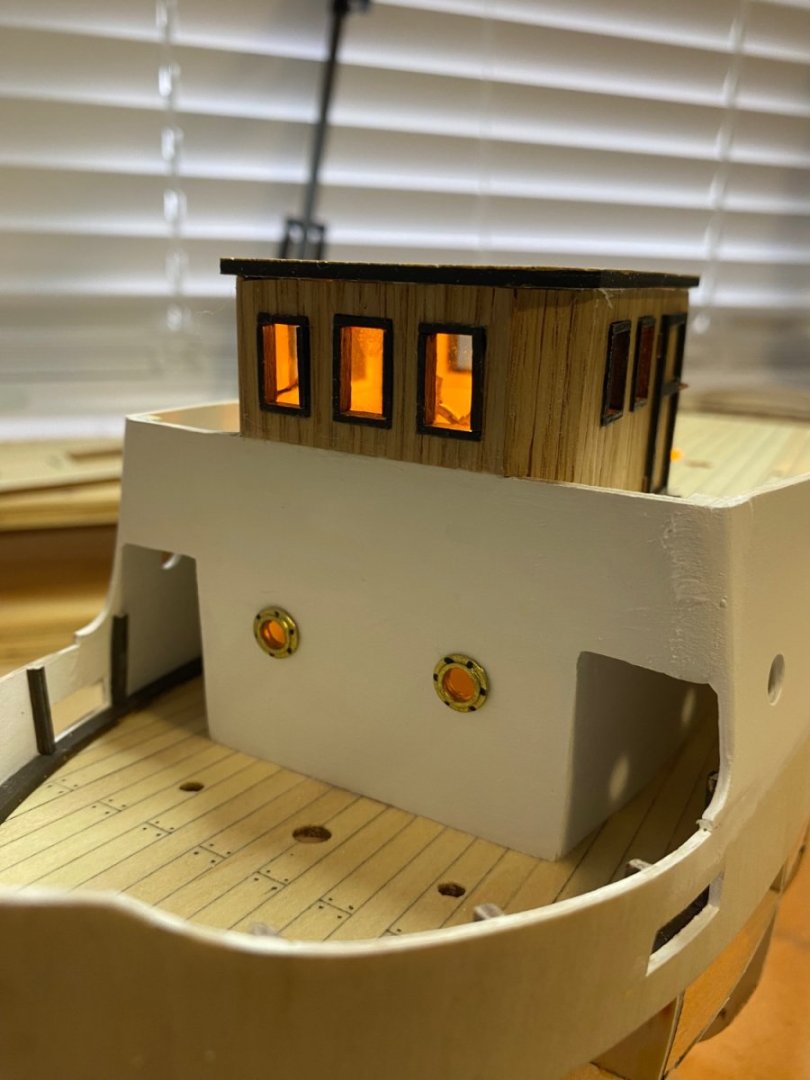
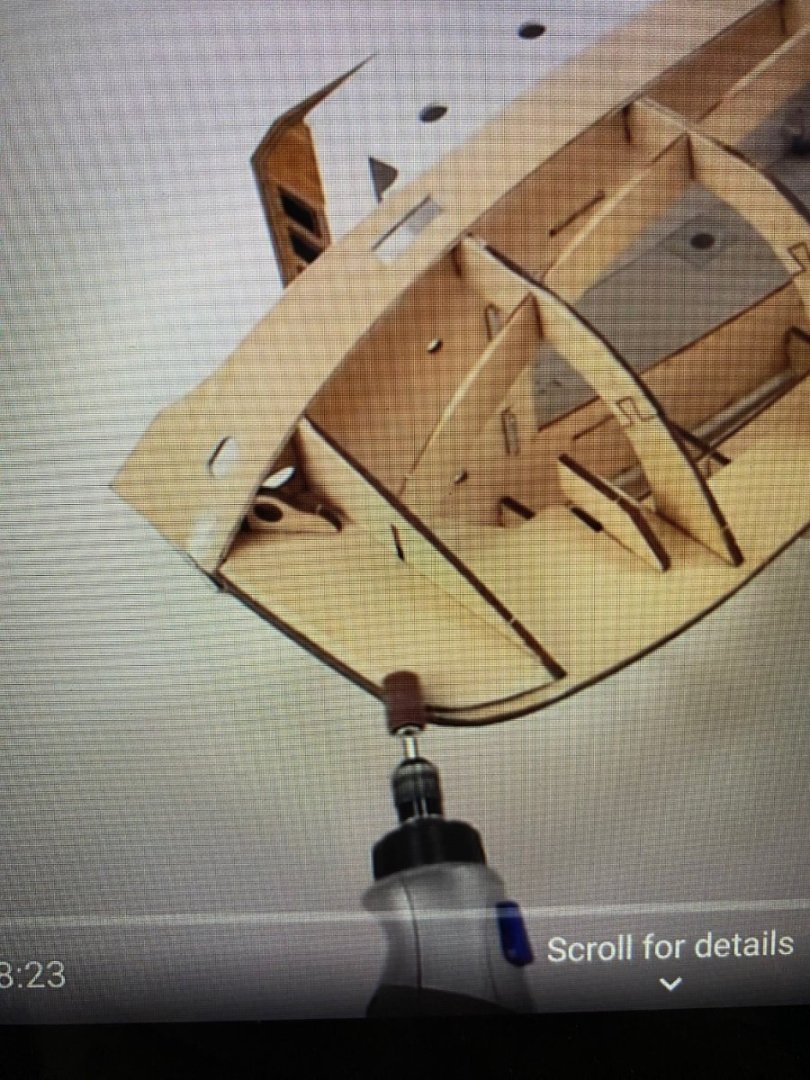
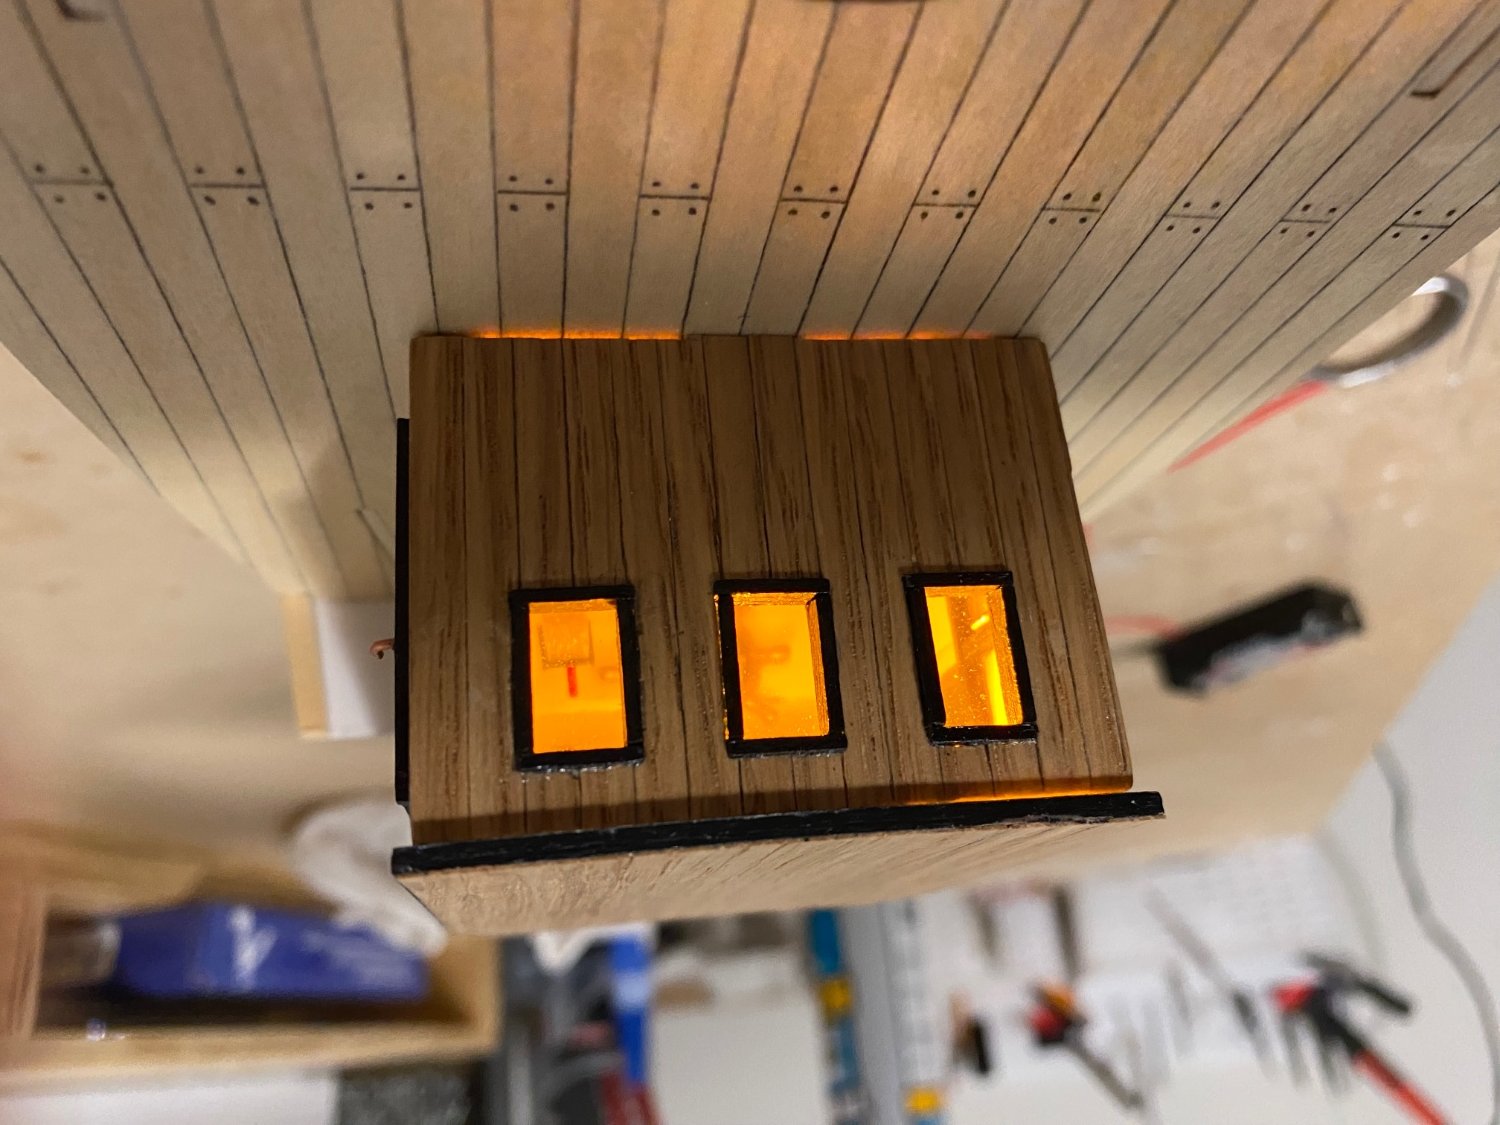
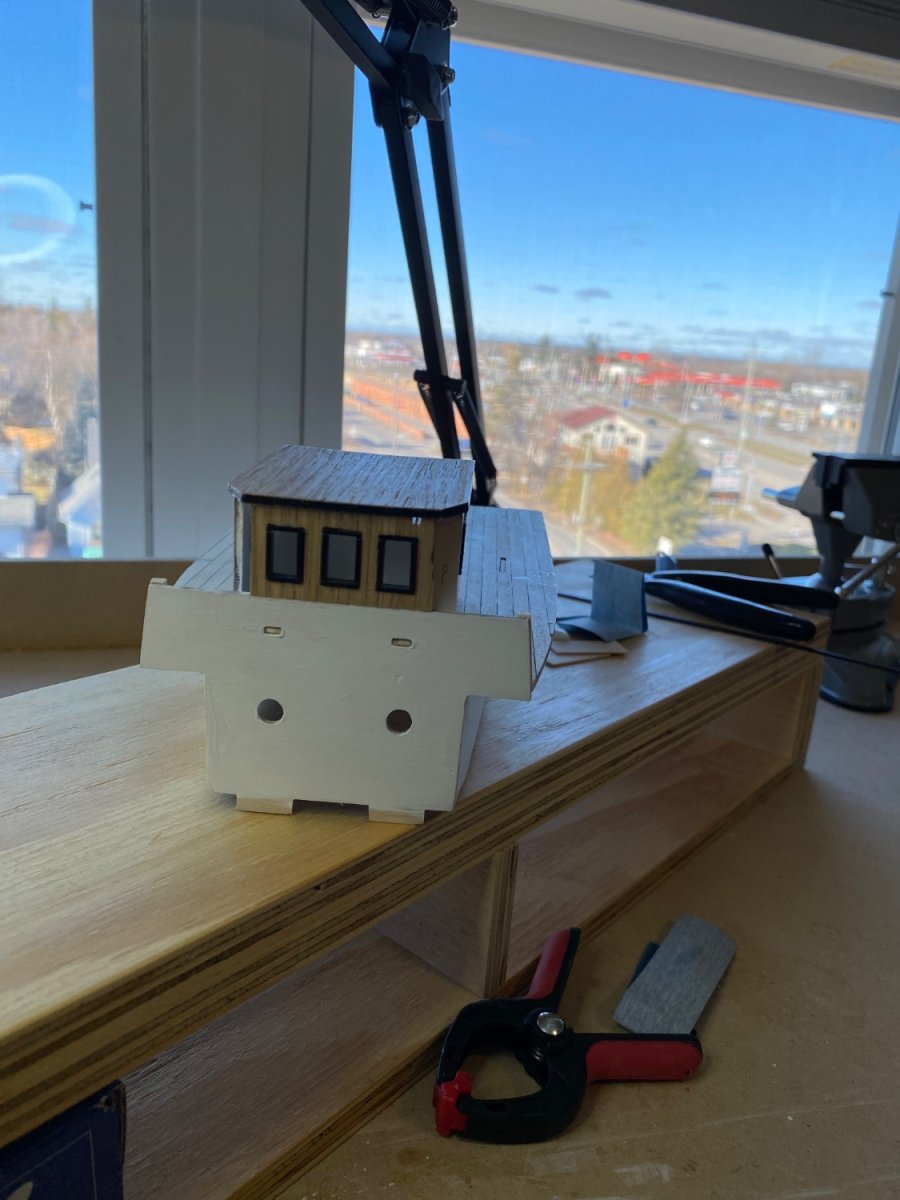
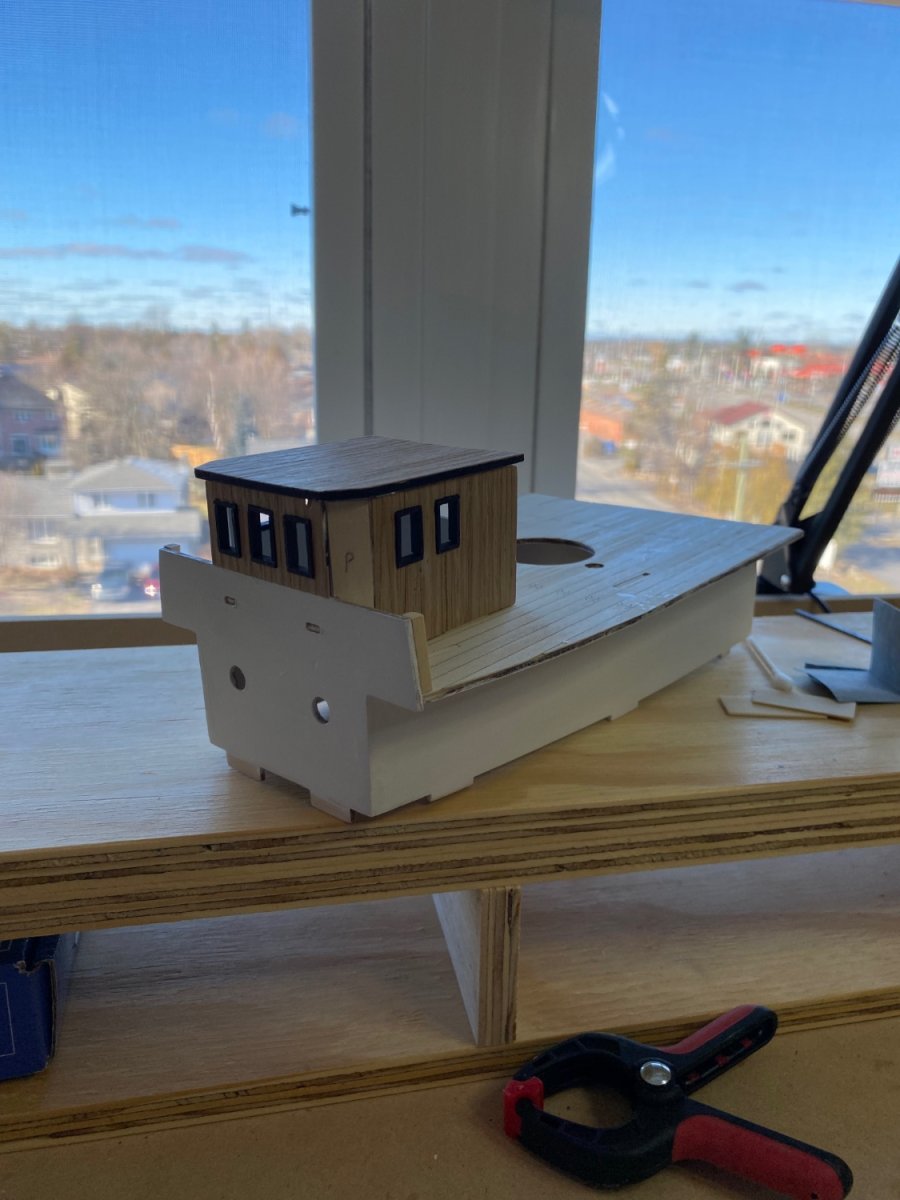
Some times I try things just because I can. The build has no wheel house furniture but I tried my hand at some. They are barely visible with the roof on , but they are there . The roof
 is only on temperarlaly and the trim has to go on the base of the wheel house.

- RichieS and SiriusVoyager
-
2
-
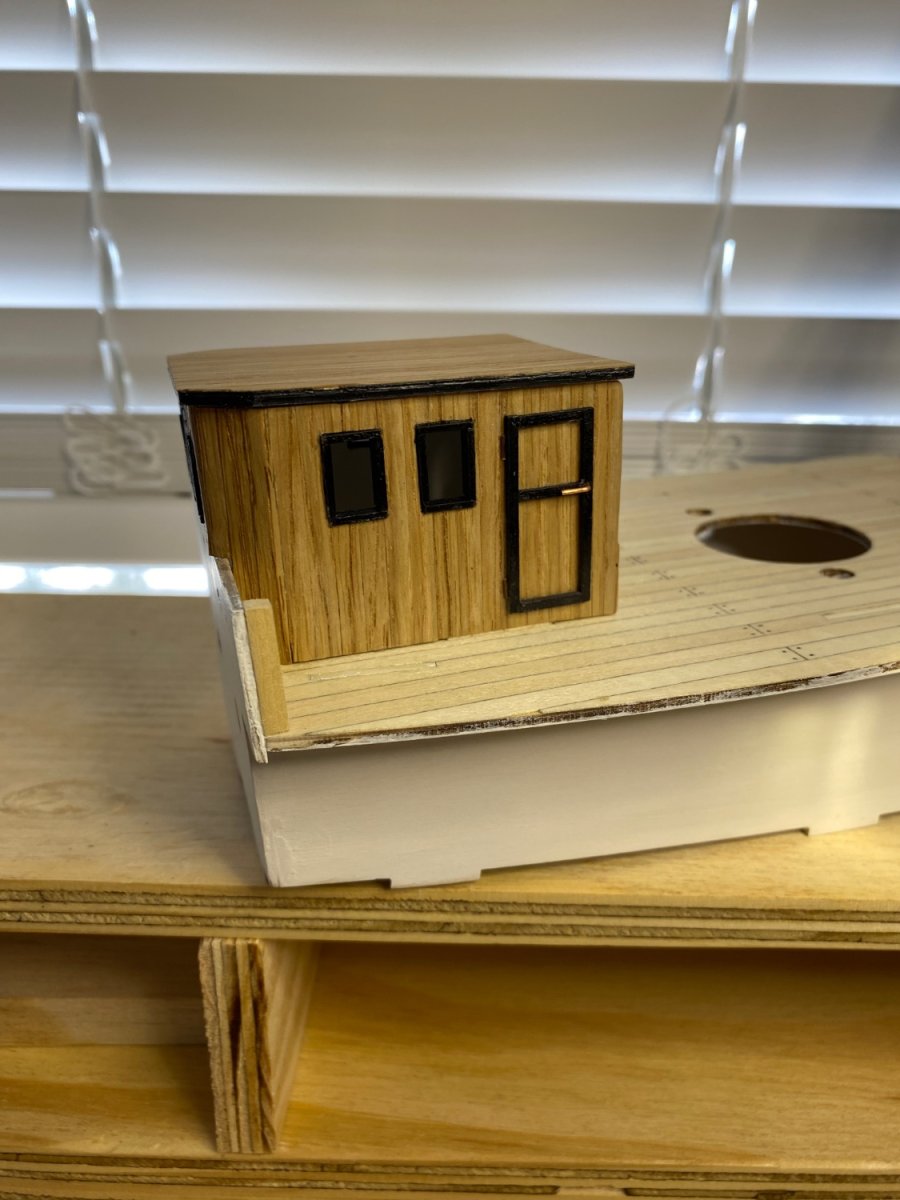
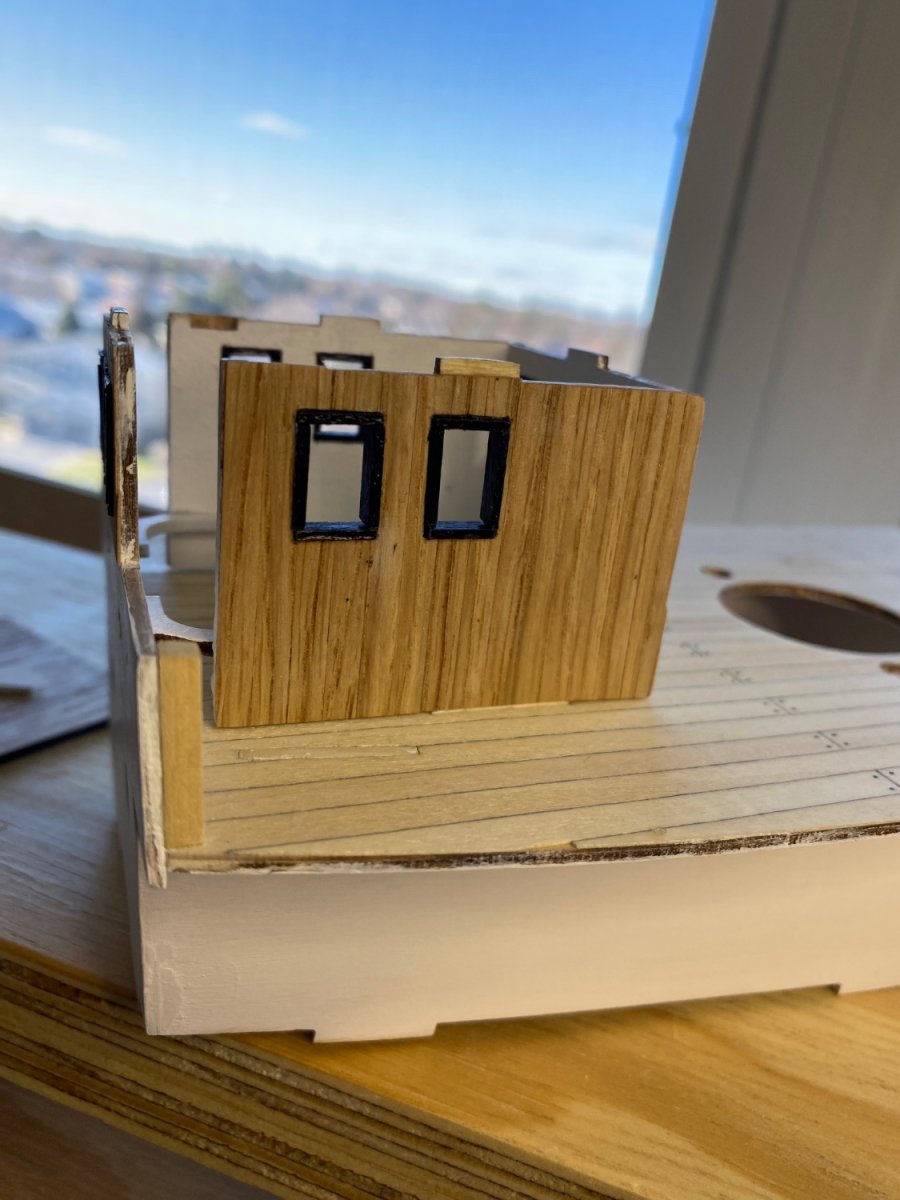
Just looking at my photos and see some missing veneer on the stbd side above the windows. Something else to repair, sigh
-
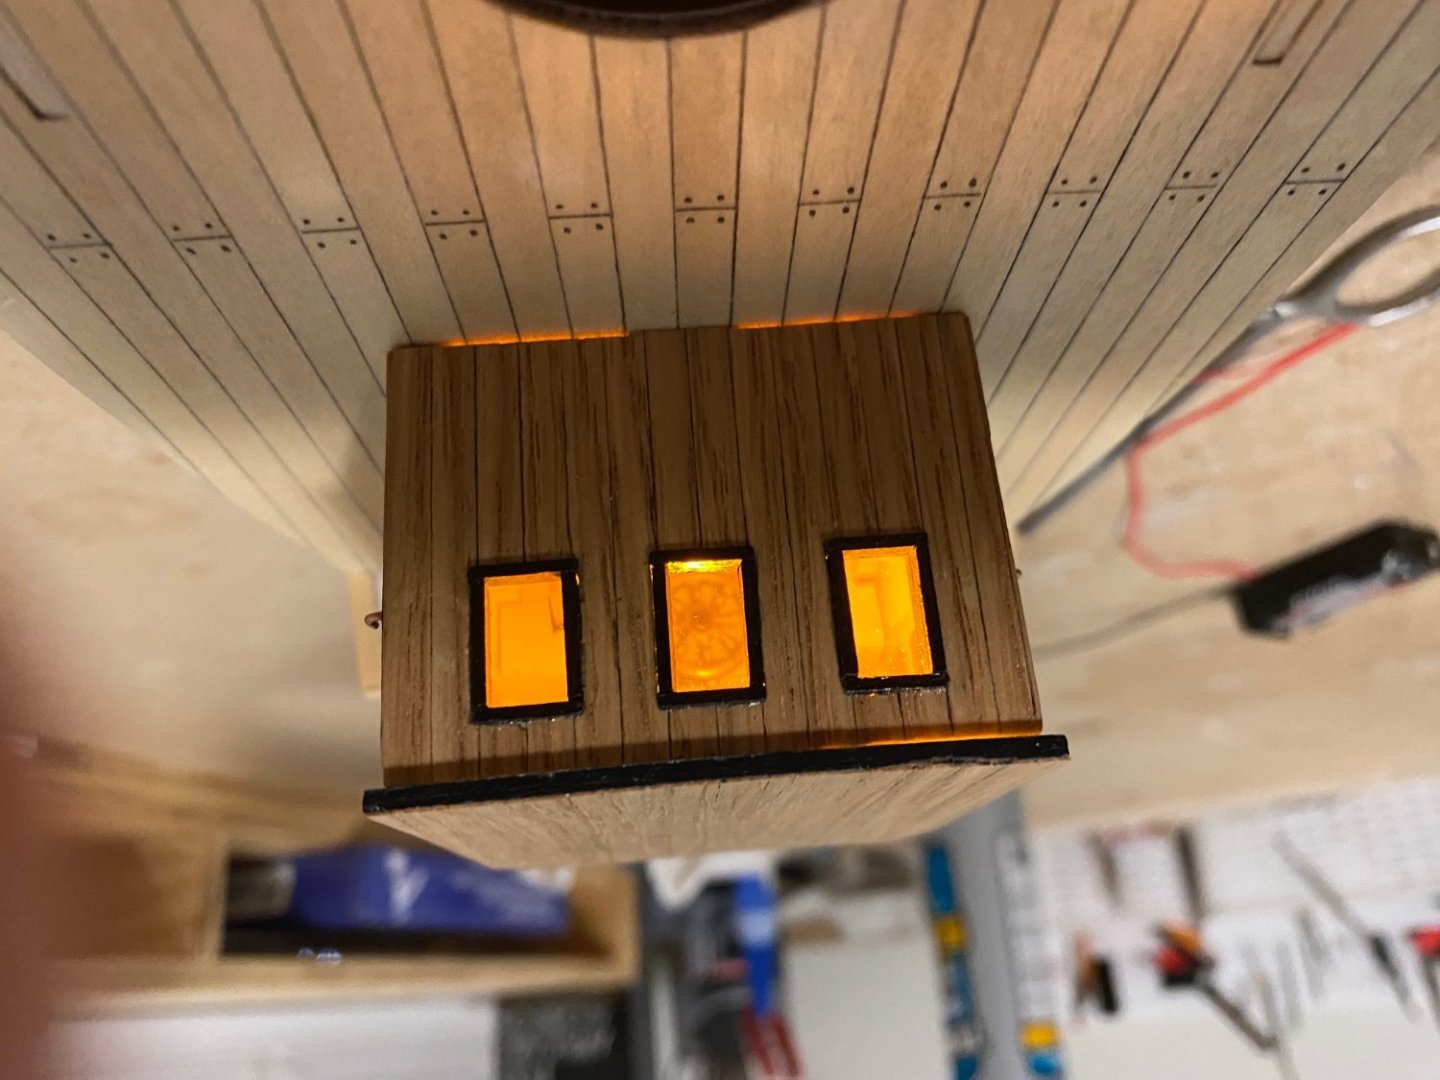
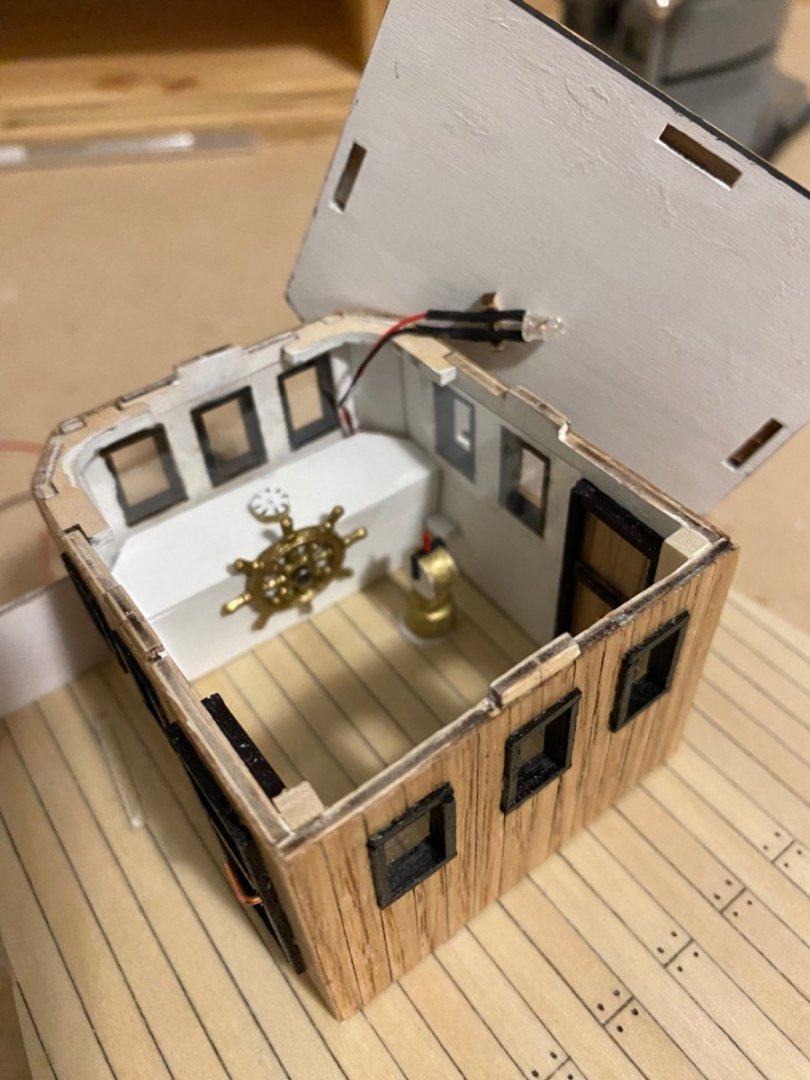
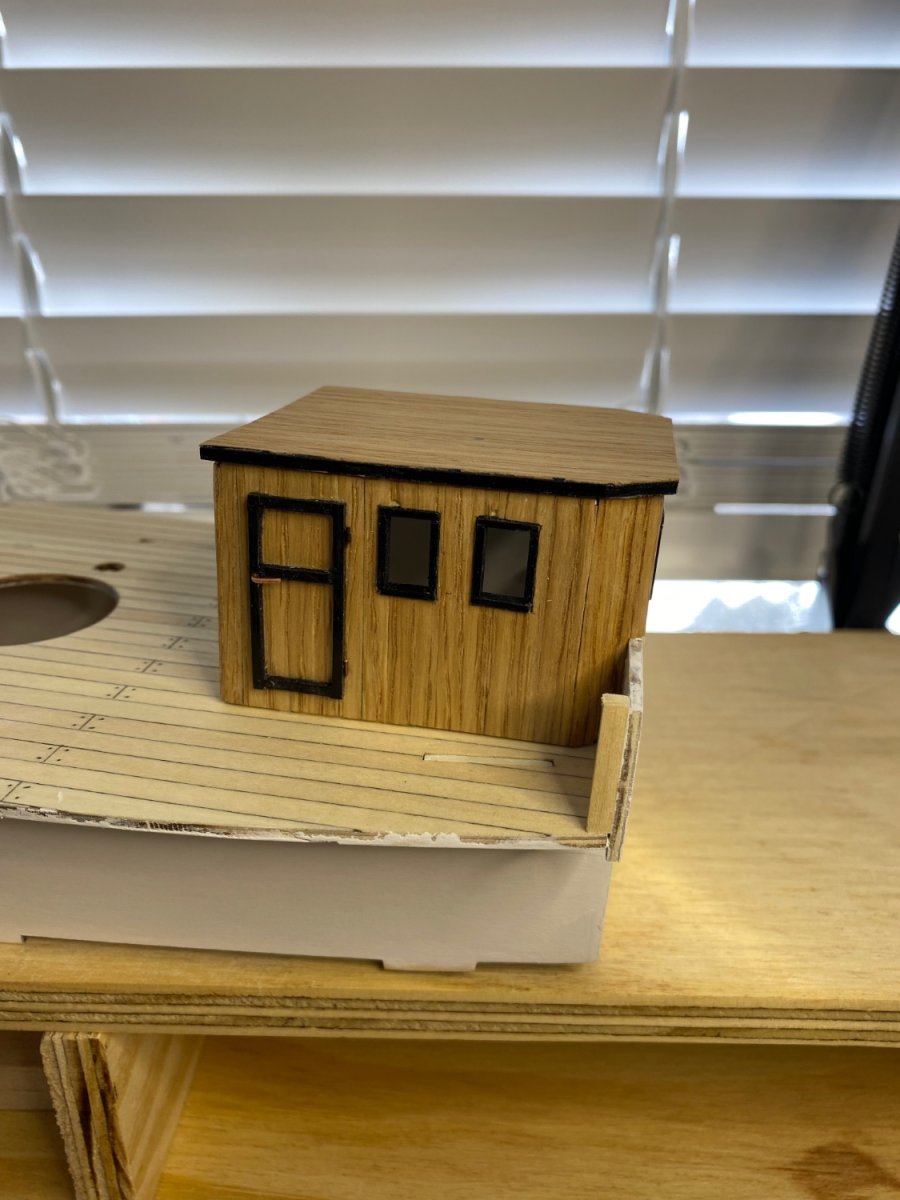
I must admit doing the window sills was very tedious but persistence payed off. The doors were straight forward and bring the house to life. I am going to try and scratch build some decor for the wheel house, ie compass platform, wheel and engine telegraph. They will be hard to see but they will be some what visible. There will also led light in the pilot house. As said before, this kit would be better with some drawings and instructions
book.


- hof00, yvesvidal, Ryland Craze and 1 other
-
4
-
A little New Year’s Eve work. I have installed the oak veneer on the Pilot house and did the window sills. In hind sight I would have installed the window sills before assembling the pilot house, and then done the veneer. There is some veneer to be replaced before proceeding and another coat of WOP.


-
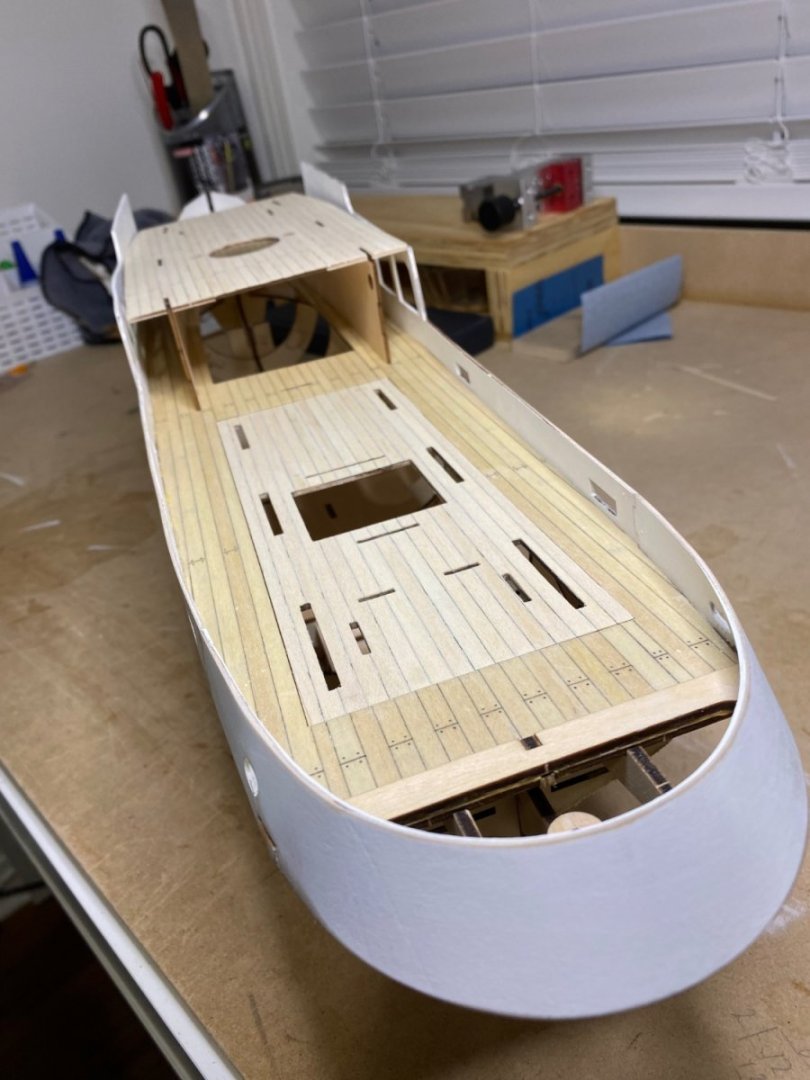
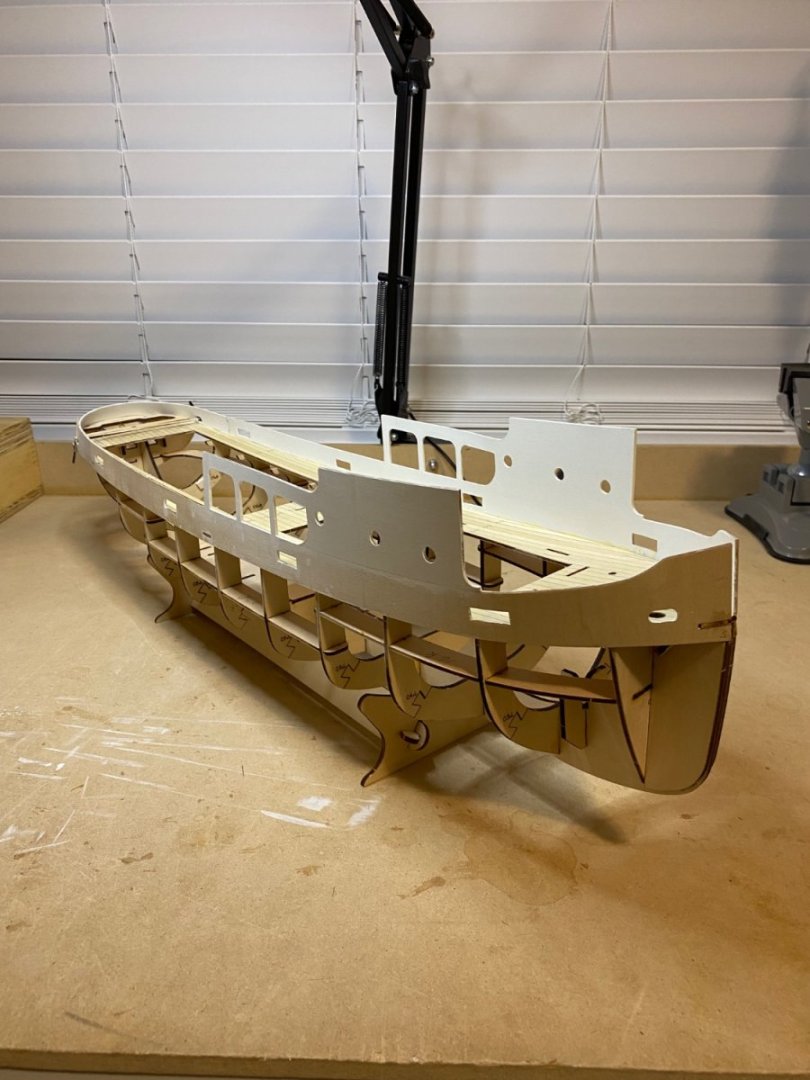
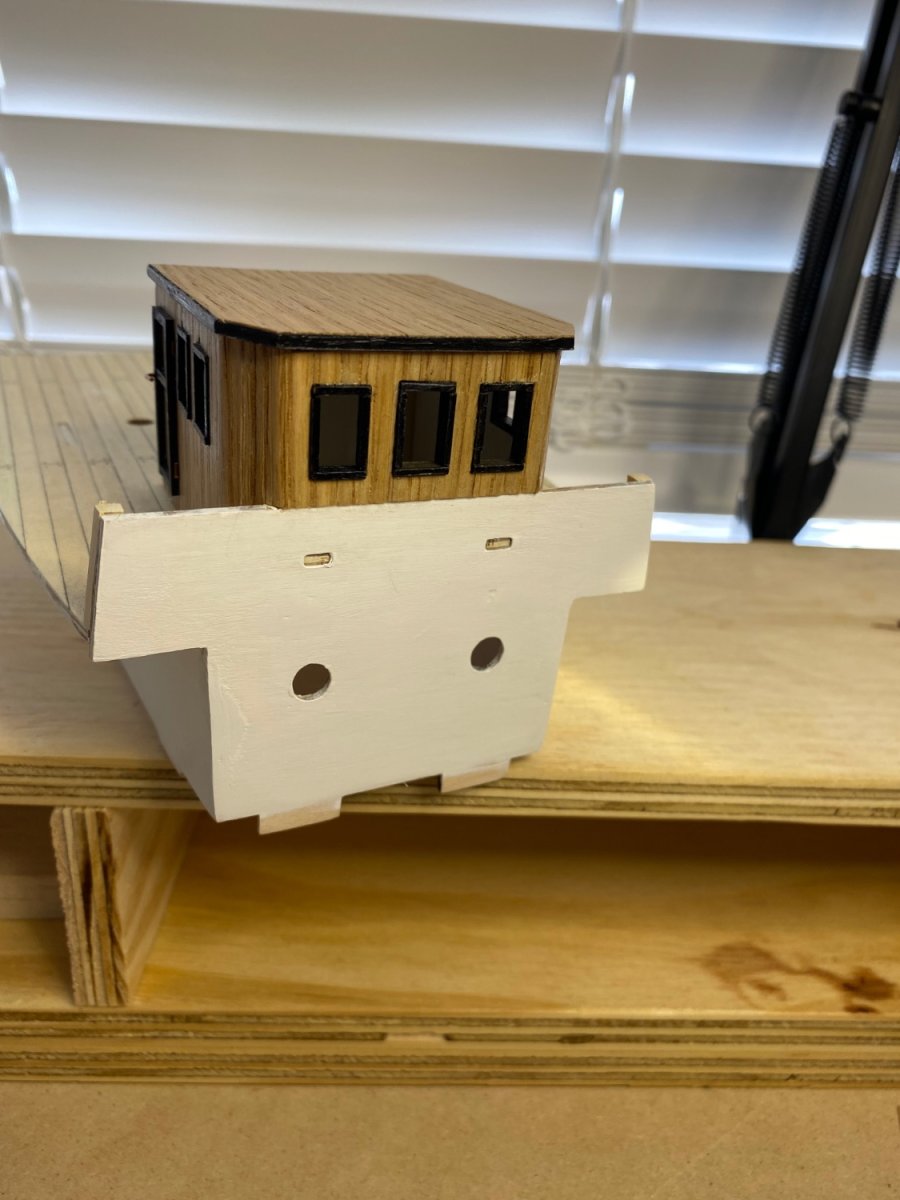
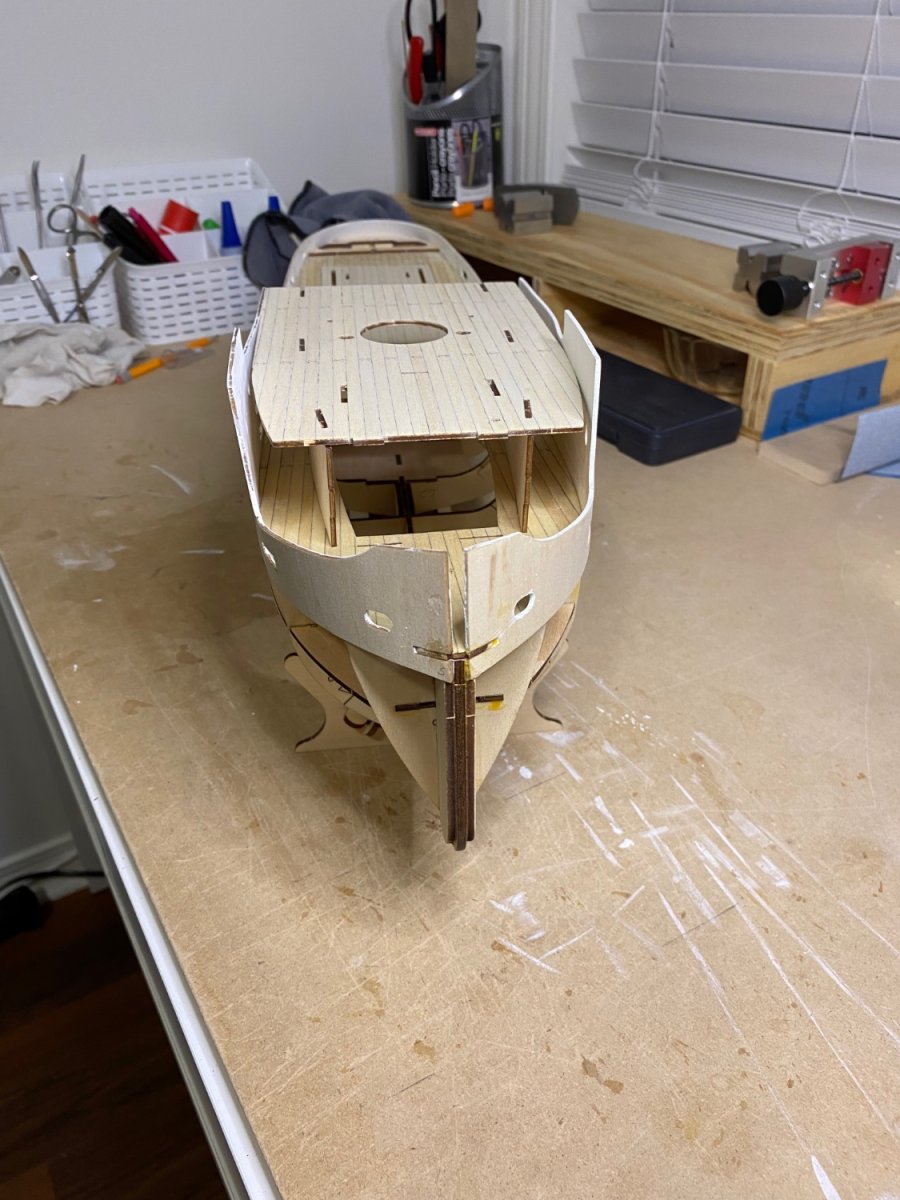
Have a little more done on the build. The waterways and uprights are installed. I am not overjoyed in the quality of wood in this kit. The 3mm plywood for the gunnels is very fragile plus it has laser etching to show paint lines. The slightest pressure and the wood de laminates. The forward water way came in one piece but I cut it in half to make installation easier. I purchased the AL paint kit for this project and am not impressed. I am new to model painting but after 5 coats of white I think I should have better coverage. Everything was prepared with 400 grit paper before painting. I also do not like the puzzle joints for assembling the deckhouse etc. It takes a lot of filling and sanding to make them disappear. The deck house and bridge are only dry fitted to check locations. I think I will add some furniture to the bridge, Ships wheel, compass etc.


- Rick310, Ryland Craze, BobG and 2 others
-
5
-
Hello Tyler from a fellow Ontarion, (Kingston). Be sure to post build logs for your projects.
- Keith Black and mtaylor
-
2
-
1 hour ago, Thukydides said:
The short answer is yes thin them, but not having used AL paints I can’t exactly tell you how much, but better to ere on too thin than too thick. Cheap brushes from walmart will work fine if you are just trying to base coat the model. I use cheap brushes for this sort of work all the time and only break out my good ones for the detail work.
The longer answer:
Acrylic paints are made up of three components: pigment, binder and solvent. The solvent in this case is water so you can thin your paints by adding more up to a point. If you thin them past that point, there won’t be enough binder in the solution to hold the pigment together. This is where acrylic medium comes in. You can buy this at any art store and you can use it if you want to thin the paint even more without losing its properties.
For just painting coats on a model you will not however need to thin the paint this much. My suggestion is to test it on your palm. If the paint fills in the cracks (ie you can’t see the lines on your palm anymore) then it is too thick. It will not completely cover on the first coat (especially for colour such as white or yellow). You want two to three thin smooth coats. Make sure they are completely dry and sand off any imperfections between coats. What I will say is that if your paint is too thin you only loose time. If it is too thick you will ruin the model. For model paints such as vellejo or citadel, my rule of thumb is one part paint to one part water, but this will vary depending on the thickness of the paint.
Make sure you have used a primer or a sanding sealer first and you have a smooth surface to work on. A good paint job can’t fix a poorly prepared surface.
If you are painting both dark and light colours (for example black and white) paint the lighter one first. It will be much easier to paint the black over white than the other way round. Also if you are having trouble with a lighter colour covering you can build up to it by say for example painting on a light grey and then painting white over top.
For brushes (I assume you are just painting the hull), I would recommend just pick up a pack of brushes from somewhere like walmart. That will give you a few sizes to work with and since you will inevitably ruin them anyways (I am assuming you are not familiar with painting since you asked the question), at least you haven't ruined expensive ones. In the future you can look into more expensive ones if you want to explore painting a bit more.
Thanks for the great advice.
- mtaylor, Thukydides, Canute and 1 other
-
4
-
Hello All. I am about to paint some parts of my Sanson tug by AL. I have purchased the AL paint kit and need advice on how to brush paint this model. The paints are water based acrylic and I would like to know if they should be thinned, and what brushes are best. What would be used as a thinner for these paints? Thanks in advance. Bob
-
-
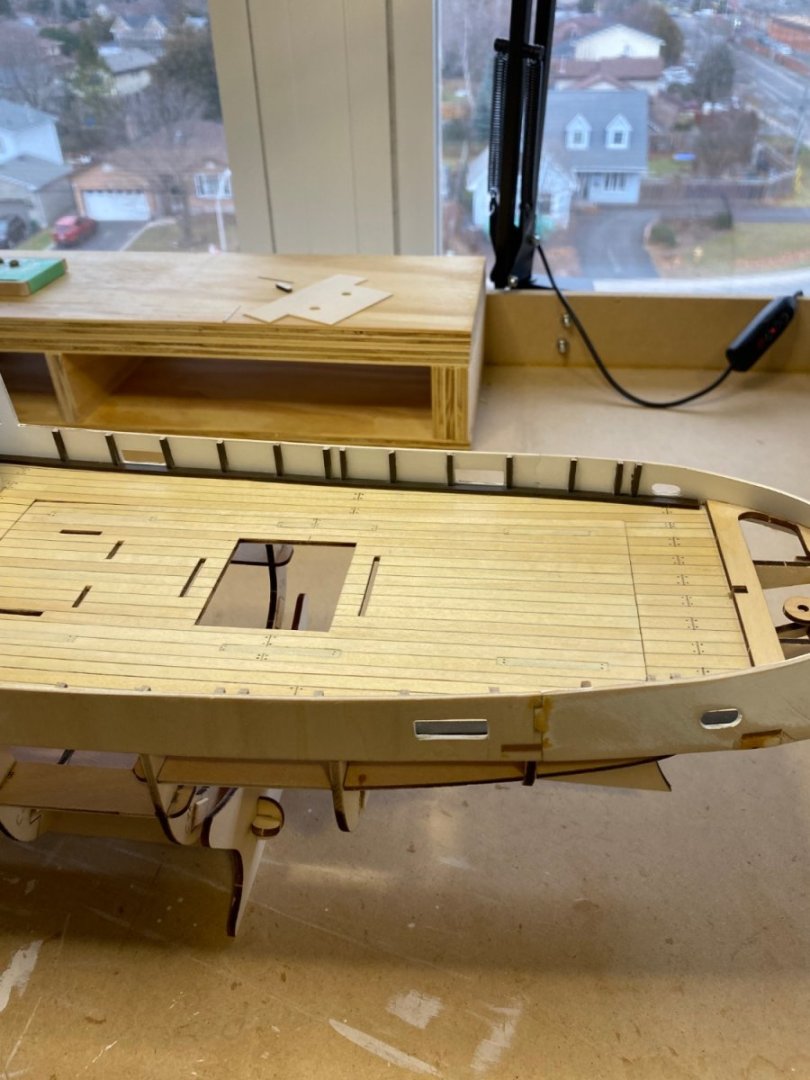
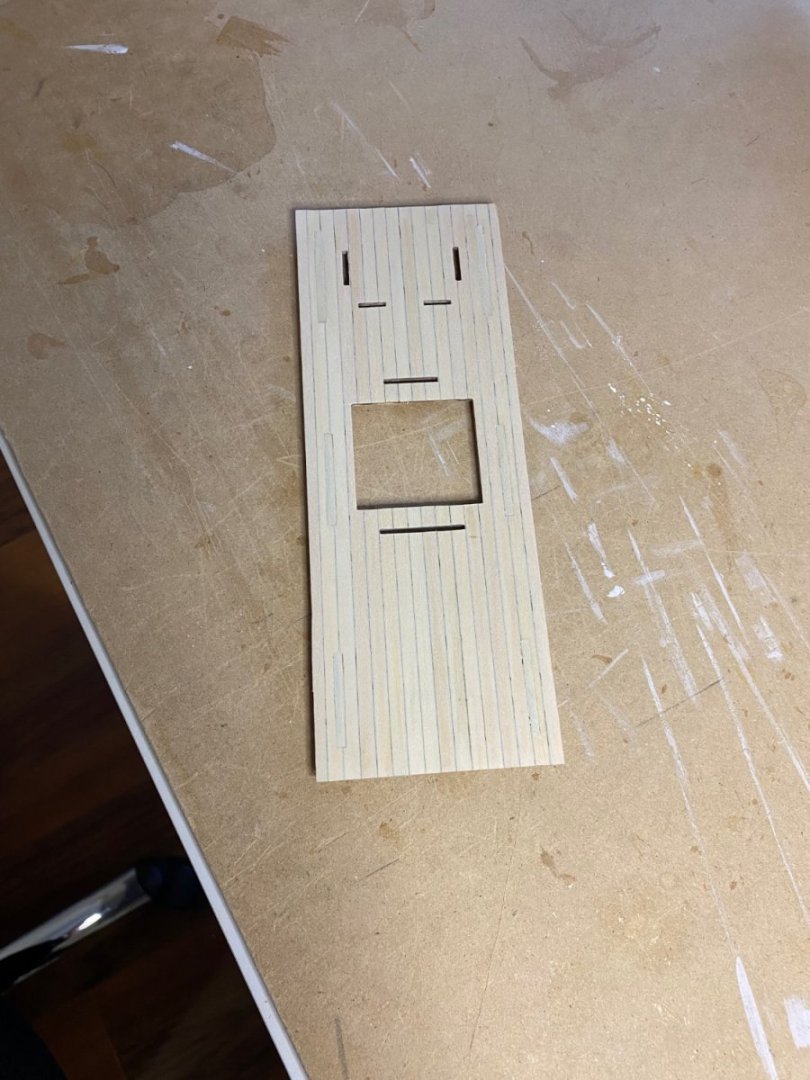
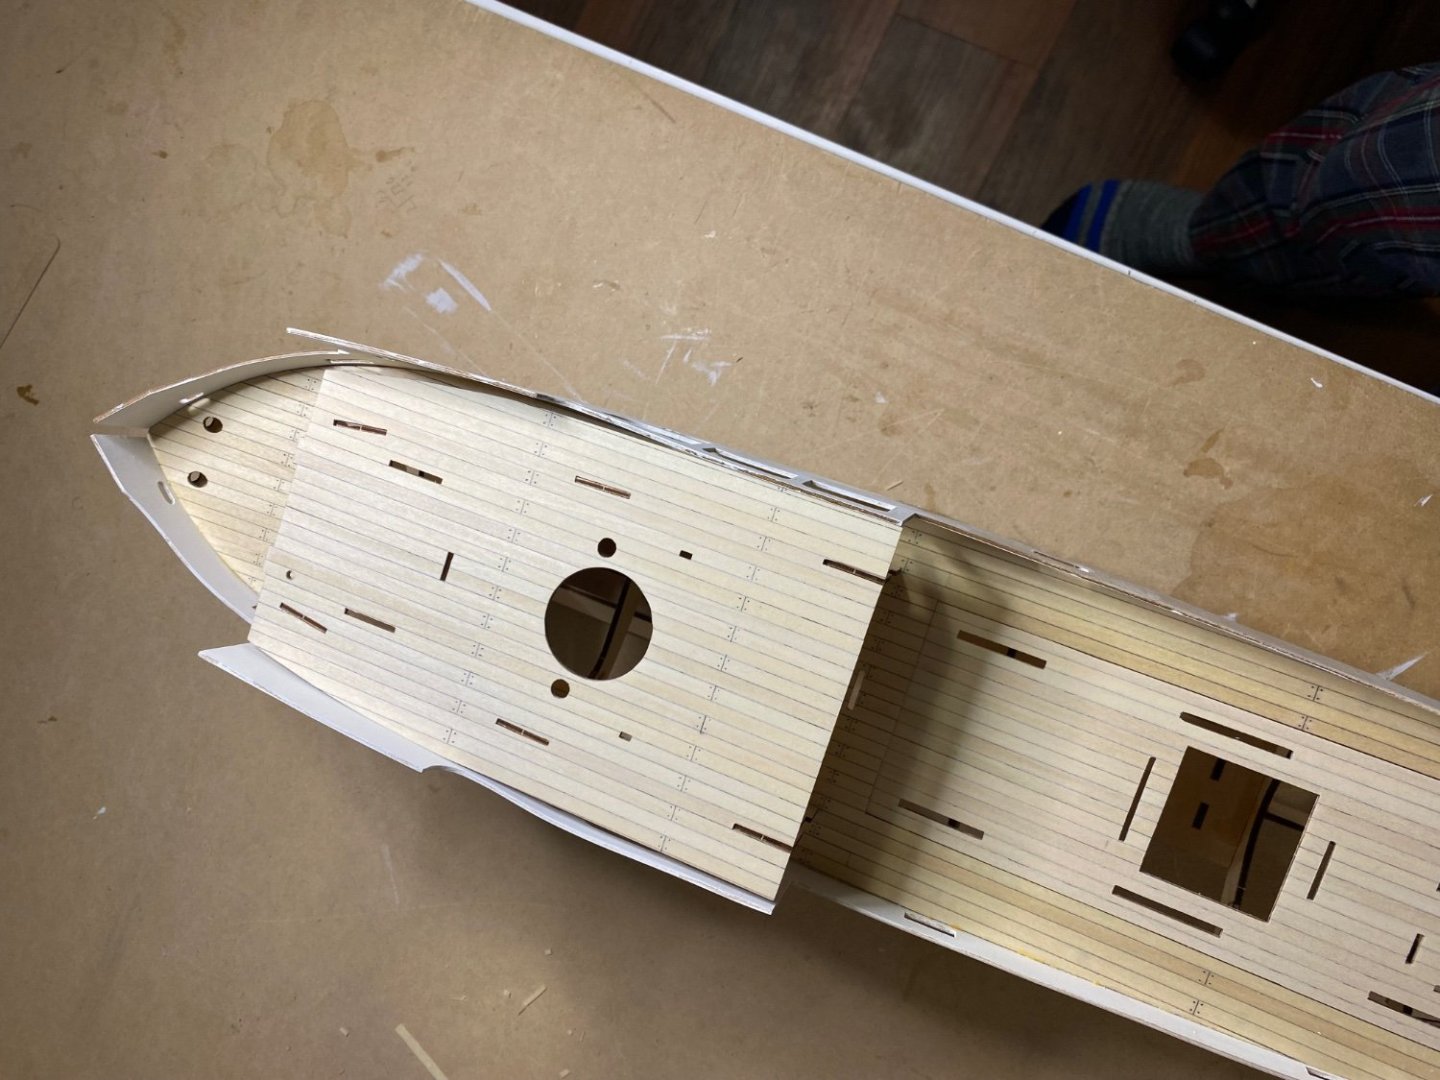
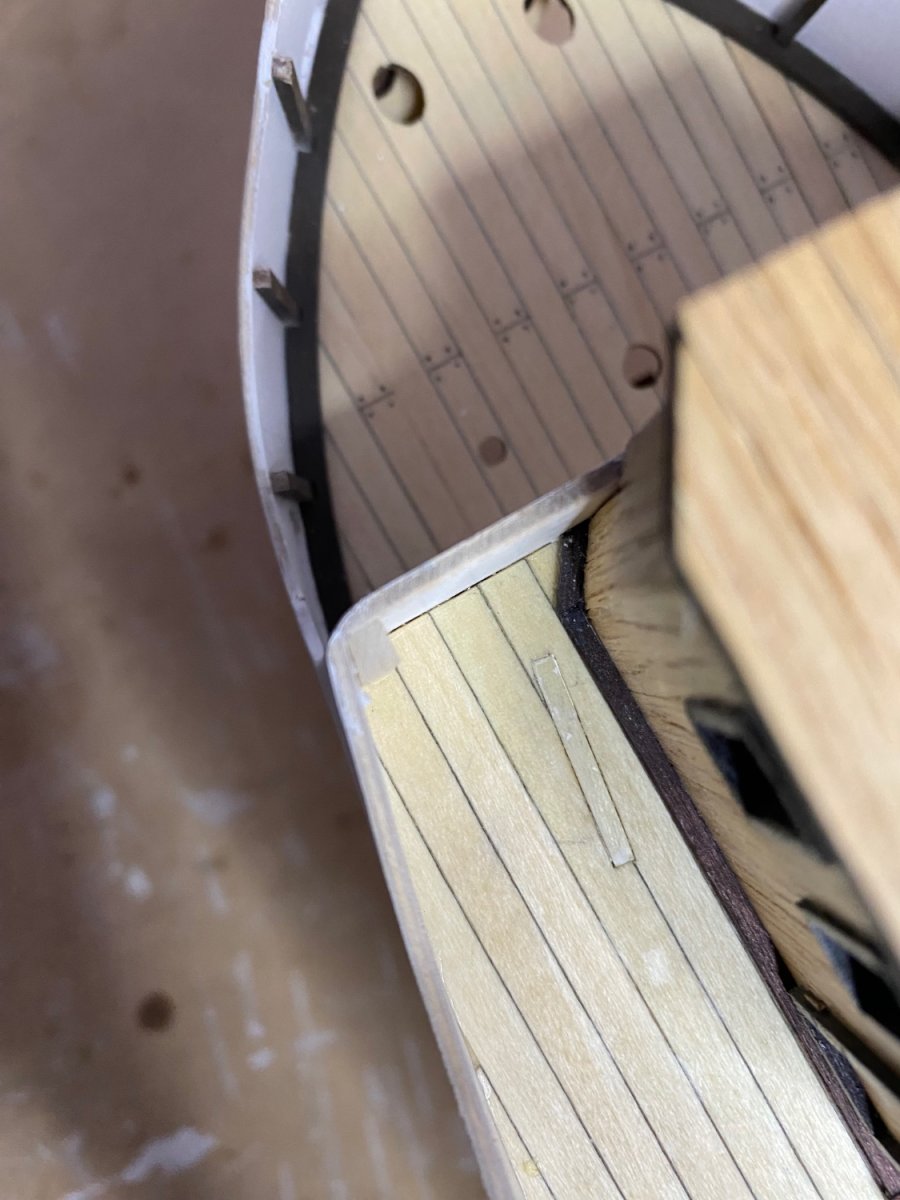
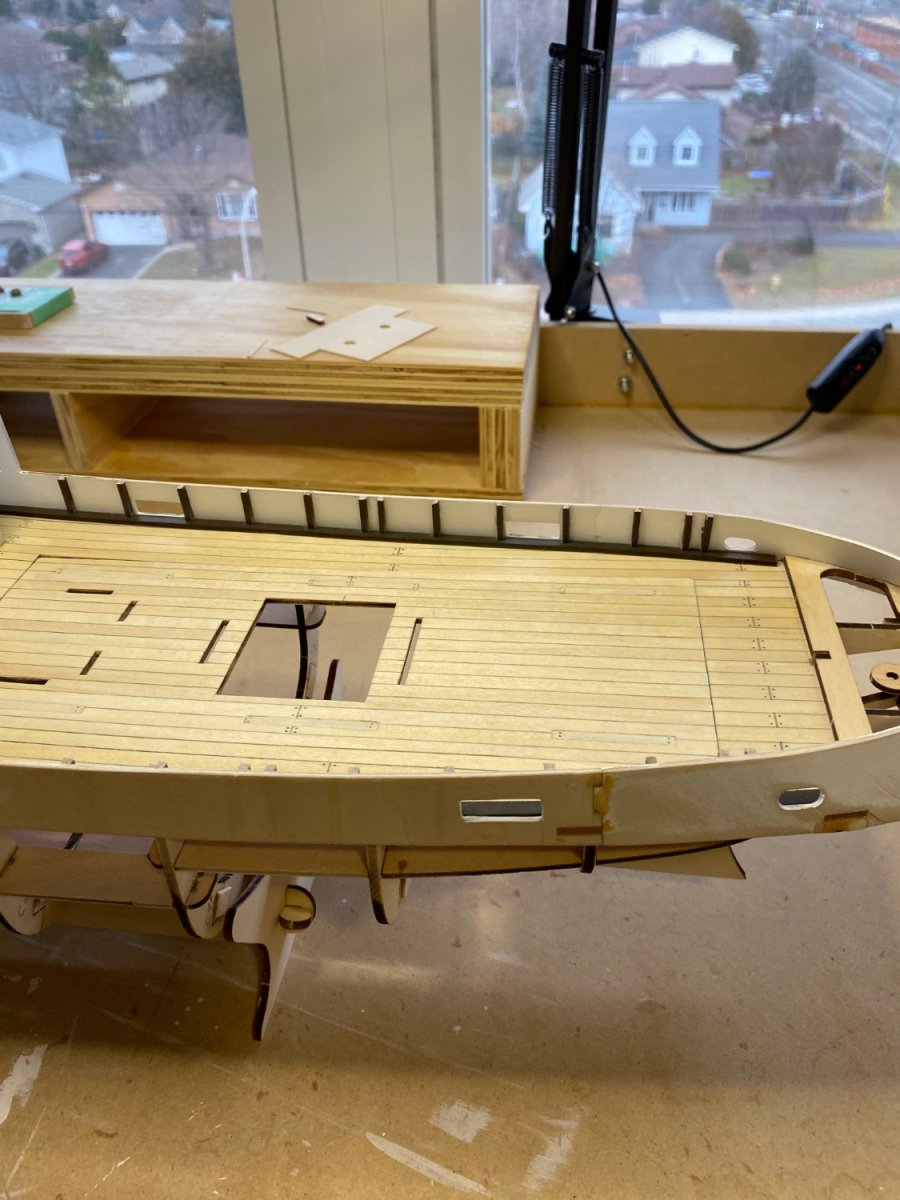
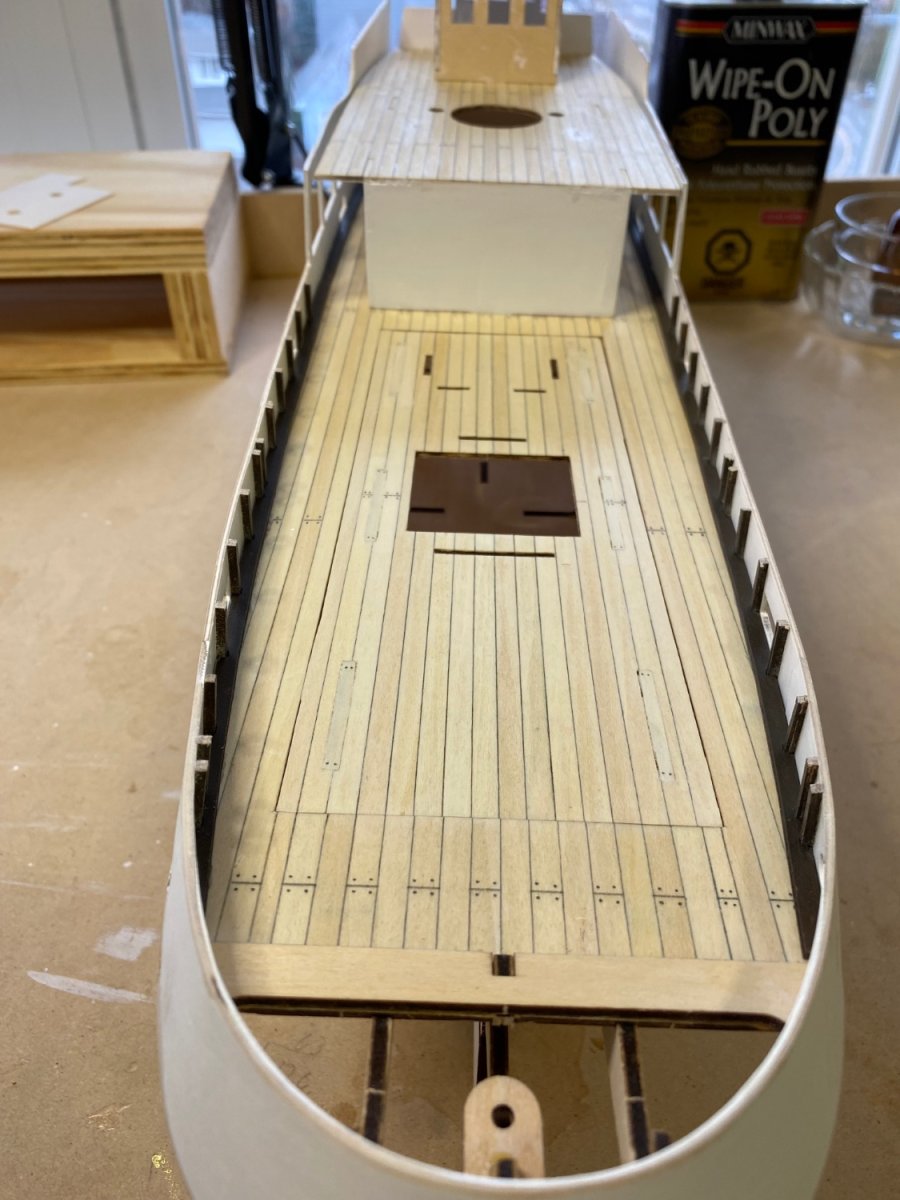
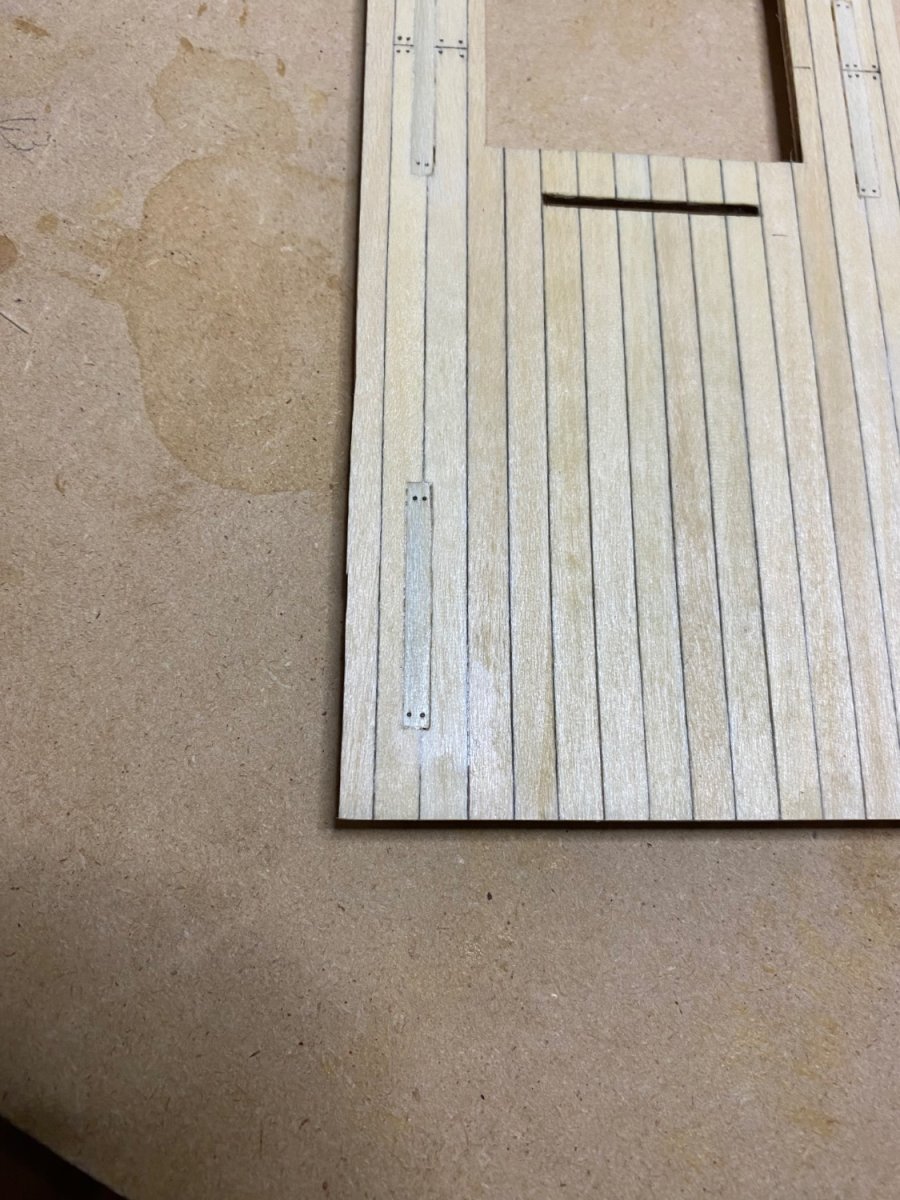
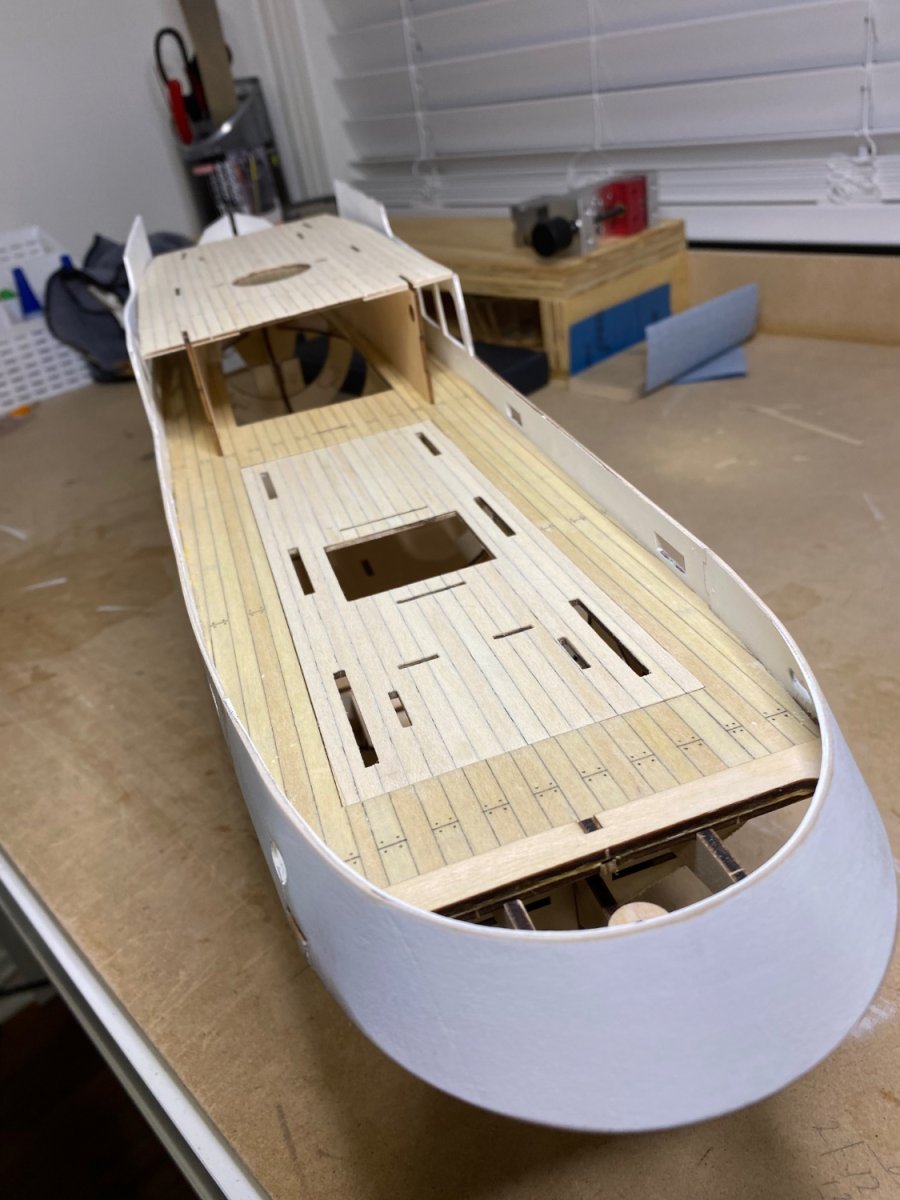
The problem and the Fix. I got ahead of myself and carved out the planking on the left and right side. Here is my photos of before and after. I will have to do the same repair on the bridge deck just before it gets secured. Fortunately, this is a part of the deck with a lot of furniture. I will do a bit more sanding and filling before the WOP goes on.

-
Welcome to the site from Ontario Canada. I was in Norway in 1986 in the Narvik area for a few months. Beautiful country.
- Helge Hafstad, mtaylor and Keith Black
-
3
-
29 minutes ago, BobG said:
This is a really interesting build, Bob. Nice job so far!
Thanks for looking in Bob. It really frustrates me when I do avoidable mistakes. I did all the planking and then proceeded to cut slots that should have remained covered with the planks. I am working on a fix and will post photos when done. This is an enjoyable build and I really like the look of the Tug. As mentioned earlier, I do think and instruction booklet would supplement the build videos.
- BobG, hof00 and SiriusVoyager
-
3
-
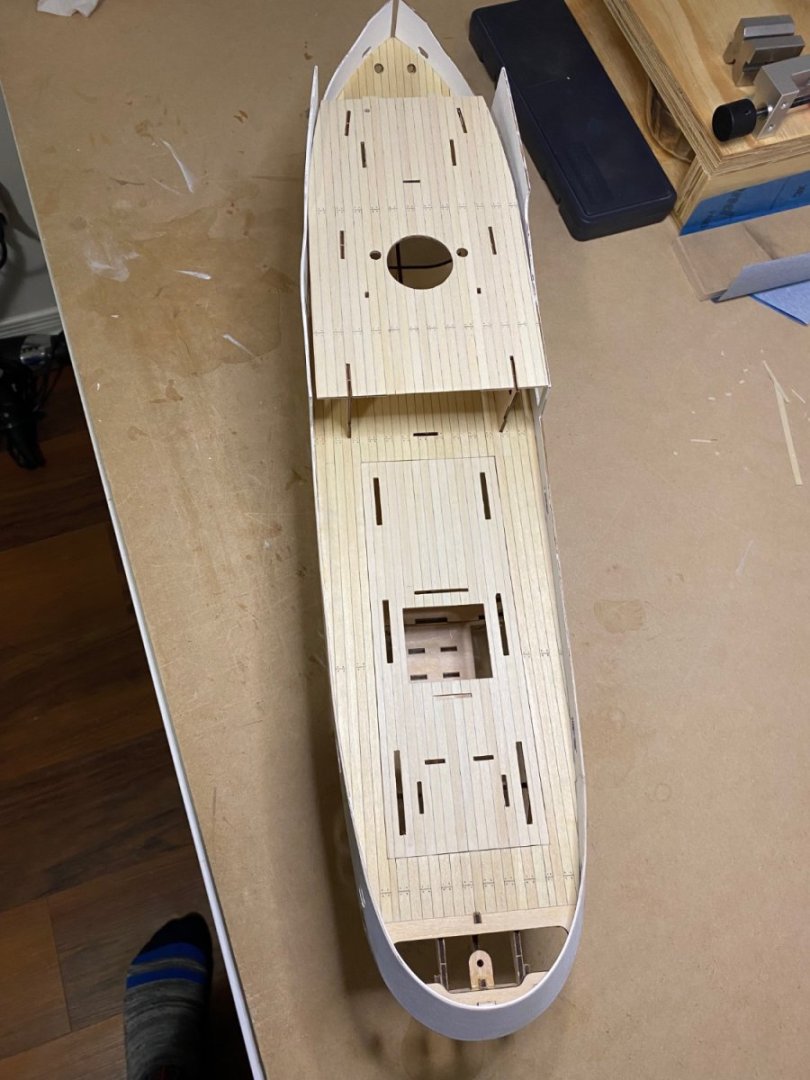
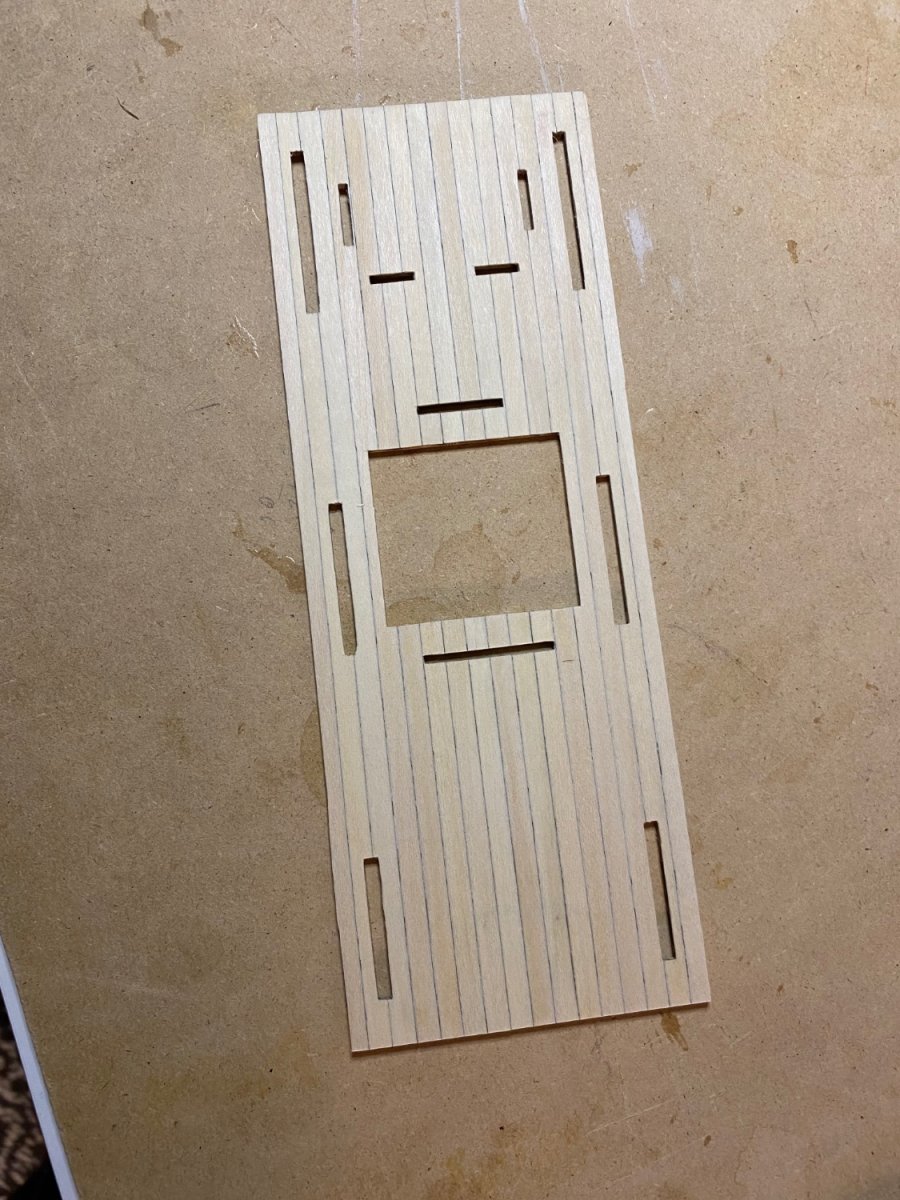
Today some more planking was done on the deck pieces. Unfortunately I got ahead of myself and cut out some decking that should have remained. This is we’re I think drawings should be included with a kit. My bad but I will be able to fit some replacement decking later on. A dry fit was done to ensure that my fix will work. Some more sanding on the decks and then some WOP will be applied. Reminder to self: SLOW DOWN and look ahead.
-
58 minutes ago, hof00 said:
Looking really good!!
I had issues with the Stern Bulwark also and ended up using the "Shattered" kit ply piece as a template for two 1/32 ply laminations,
I'll be interested seeing the lighting kit .
Cheers.... HOF
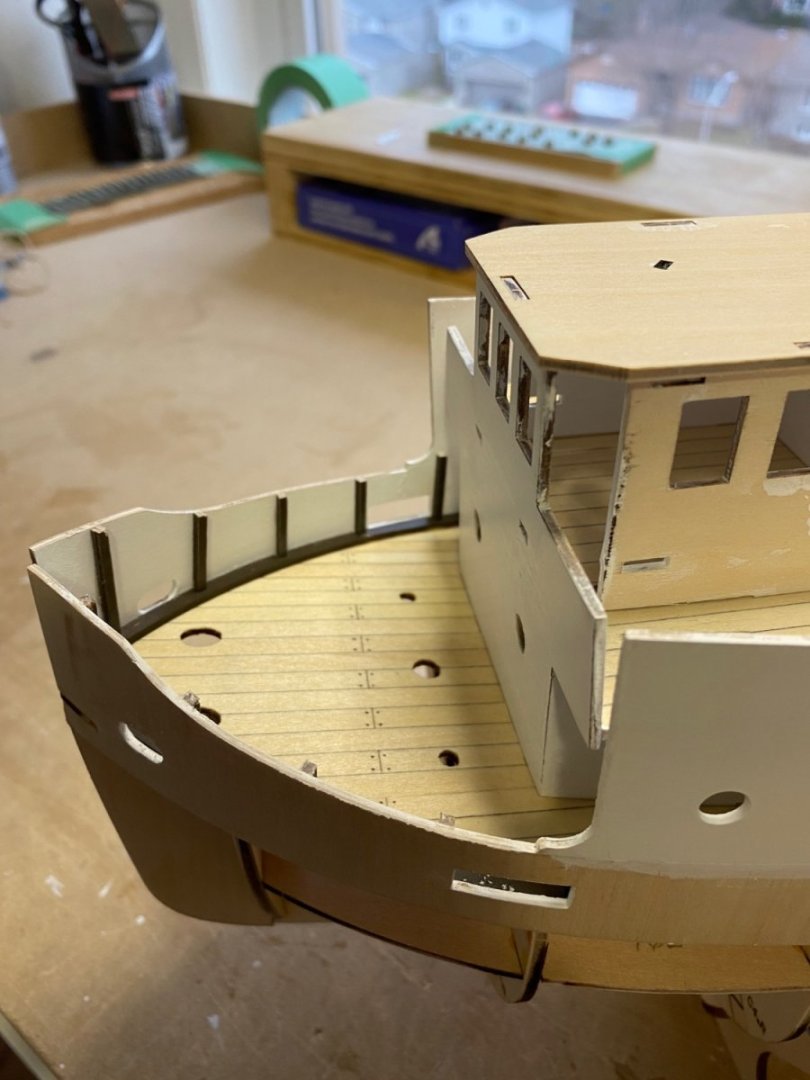
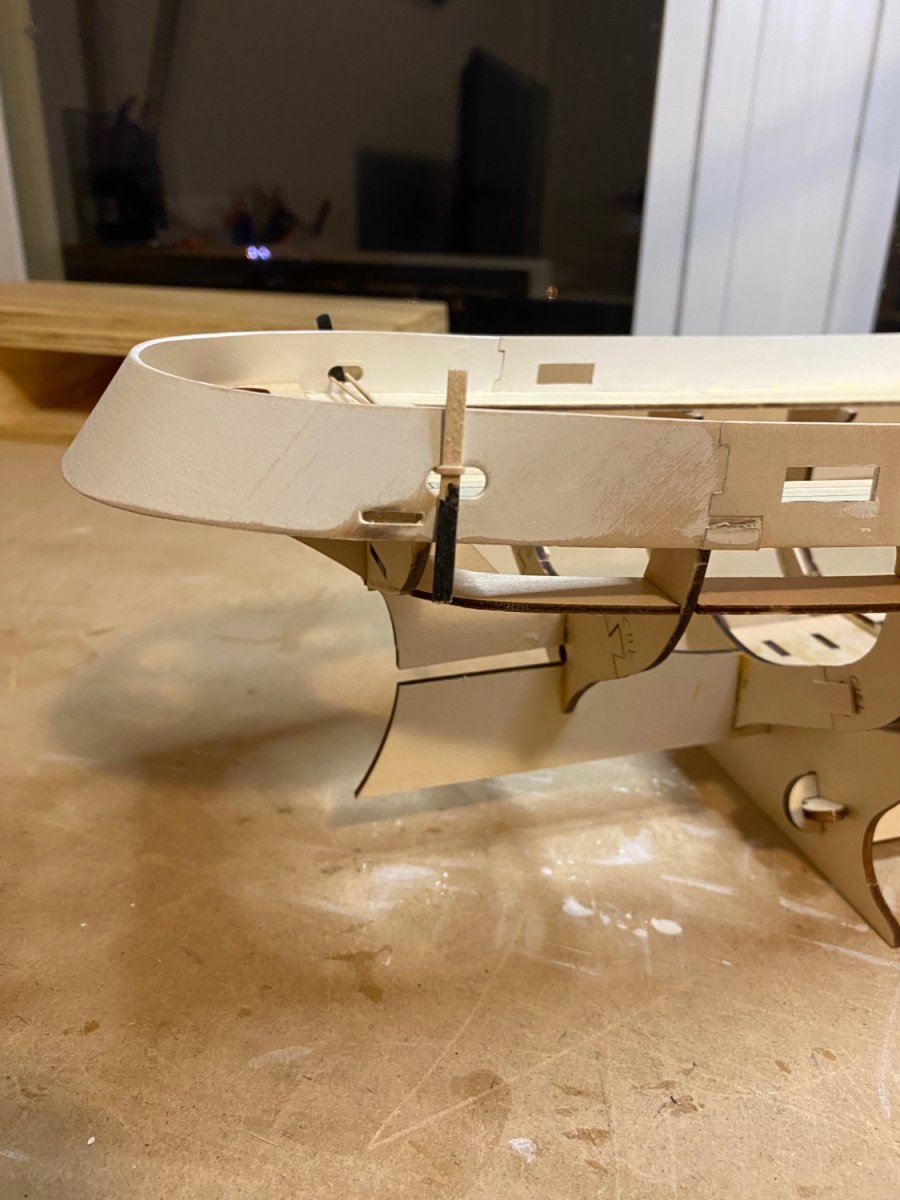
Thanks for looking in. I think that the stern bulwark could be better designed. They are asking a lot, compound curve over a tapered frame, with a single fragile piece.
-
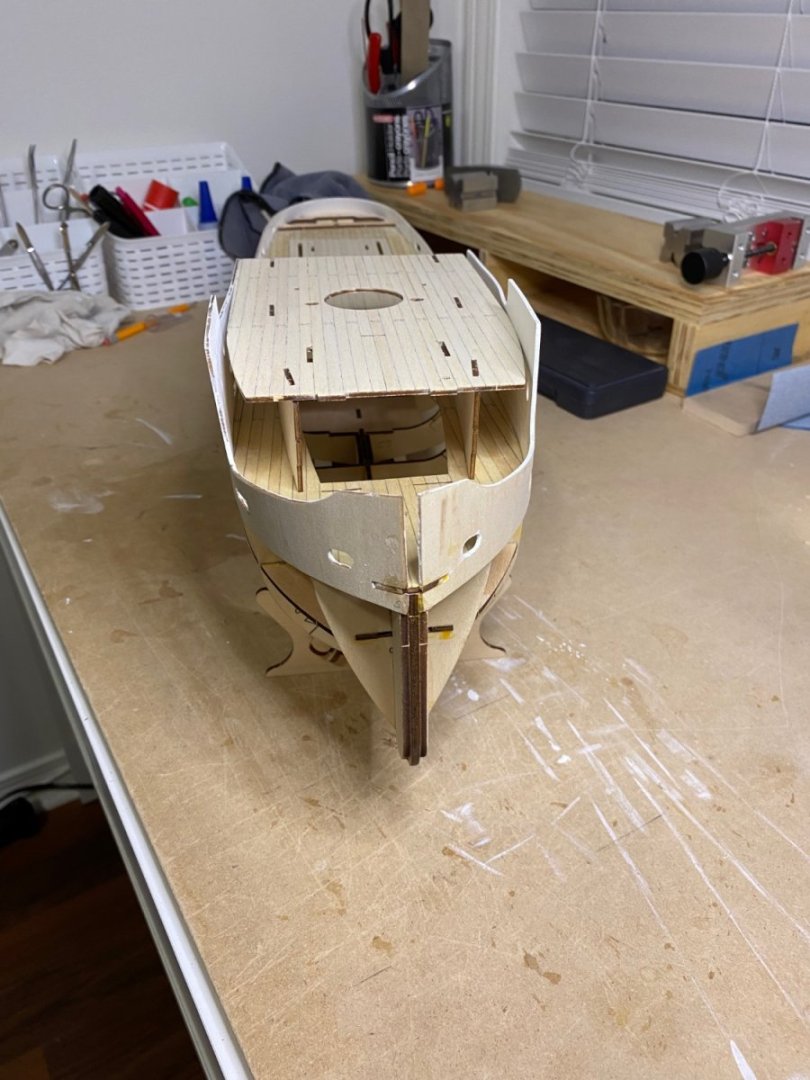
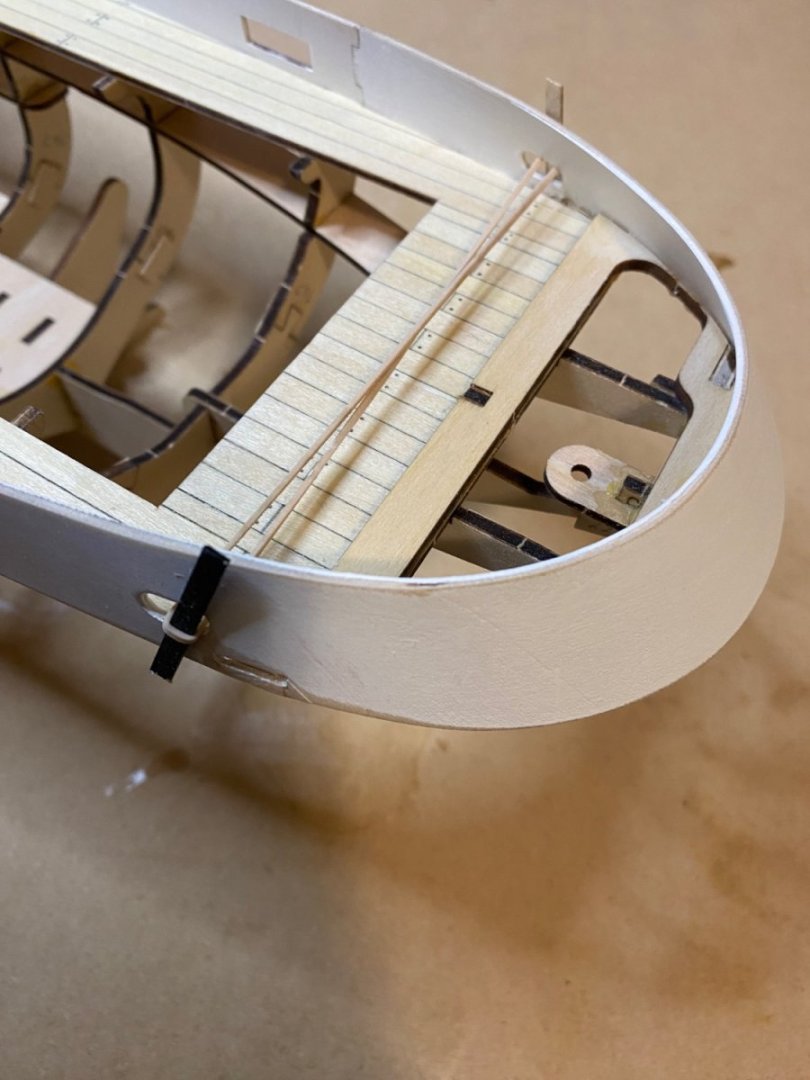
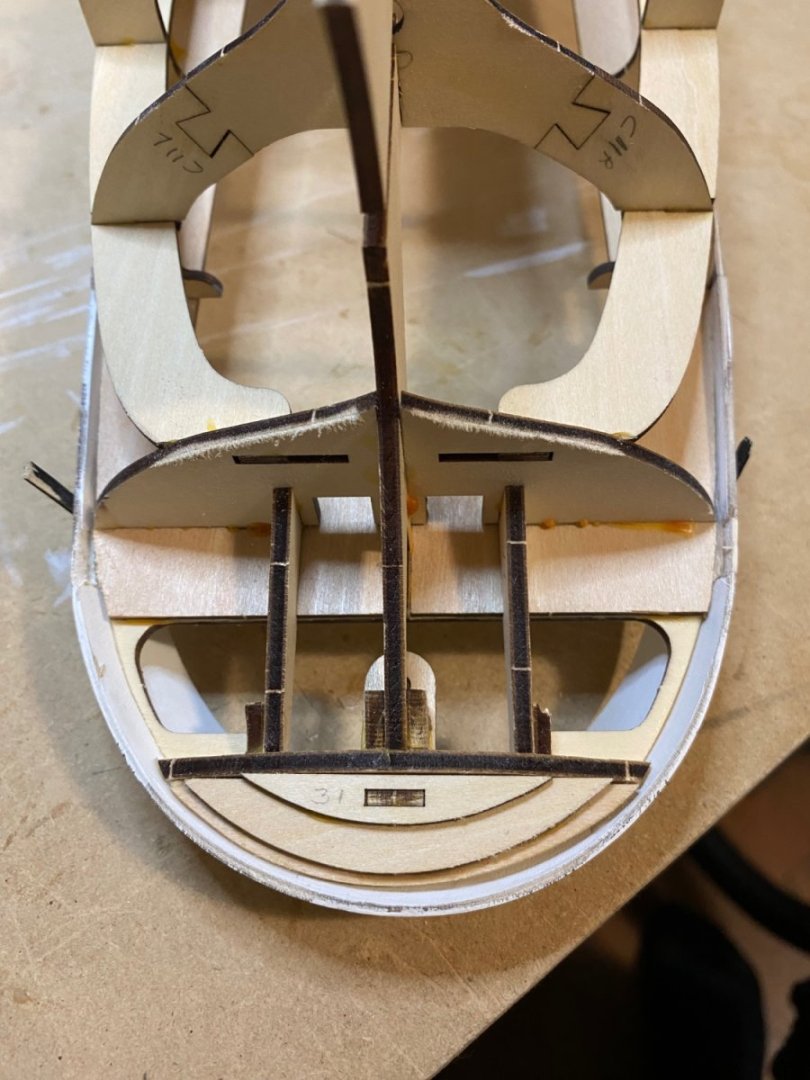
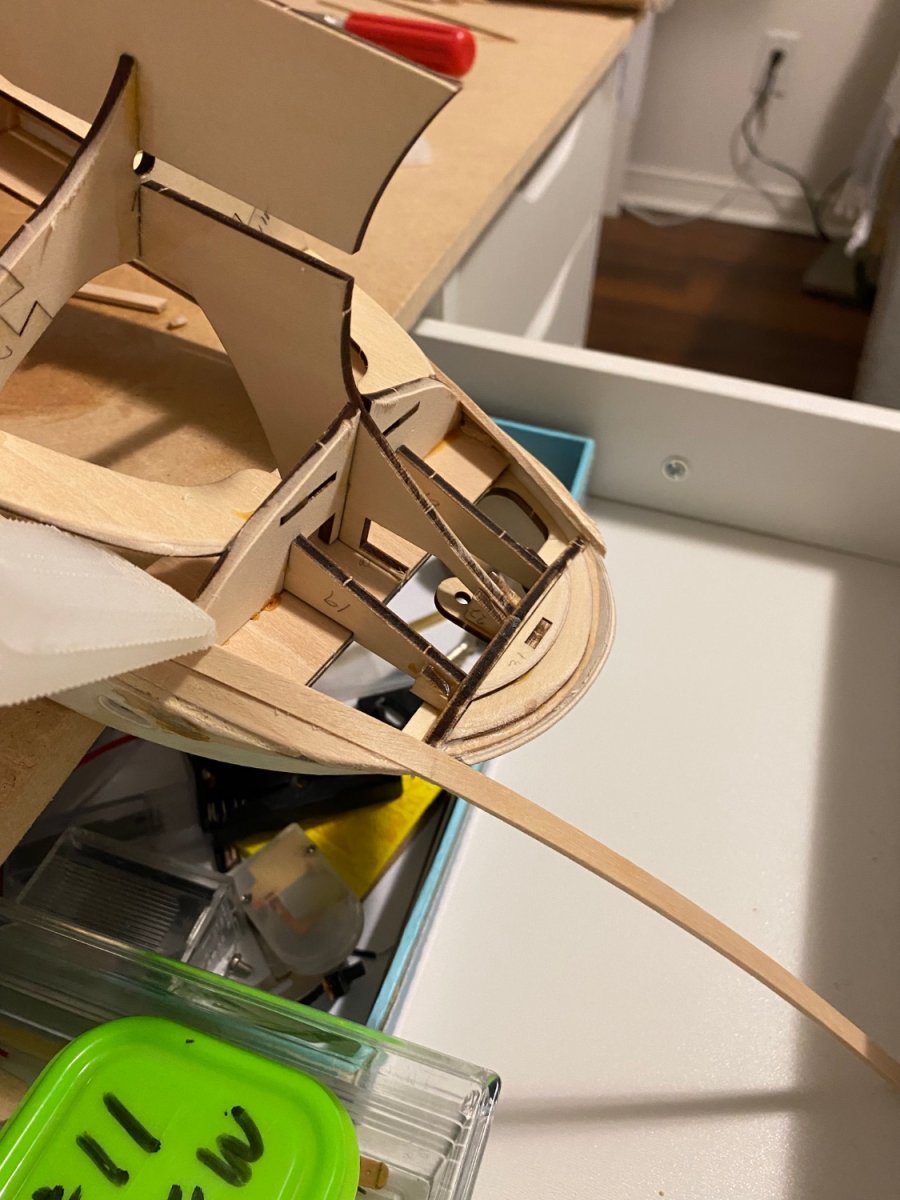
I took some time off from Sanson to complete my Syren Medway longboat. I have installed the bulwarks and the curved bit around the stern. This piece was heated with steam and shaped around a can of tomatoes. To hold its shape while it cooled a rubber band was put between the two holes with scrap wood to hold it.. Shaping the stern was a lot of sanding and dry fitting, and I still had to do some carving after it was glued in place. The tabs that are built into the deck to position this piece are more hazard than help. I just ordered the paint kit and LED light kits from Ages of Sail so I will be able to proceed.


Medway Longboat 1742 by MajorChaos - 1:24 scale
in Medway Long Boat - 1742 - Public group project.
Posted
Looking good and am following along. I found the planking challenging ,but very rewarding. I did manage to destroy some of the supplied planks and had to make new ones from the extra wood Chuck supplies. A learning experience but fun.