HOLIDAY DONATION DRIVE - SUPPORT MSW - DO YOUR PART TO KEEP THIS GREAT FORUM GOING! (Only 44 donations so far out of 49,000 members - C'mon guys!)
×

Mike 41
-
Posts
439 -
Joined
-
Last visited
Content Type
Profiles
Forums
Gallery
Events
Everything posted by Mike 41
-
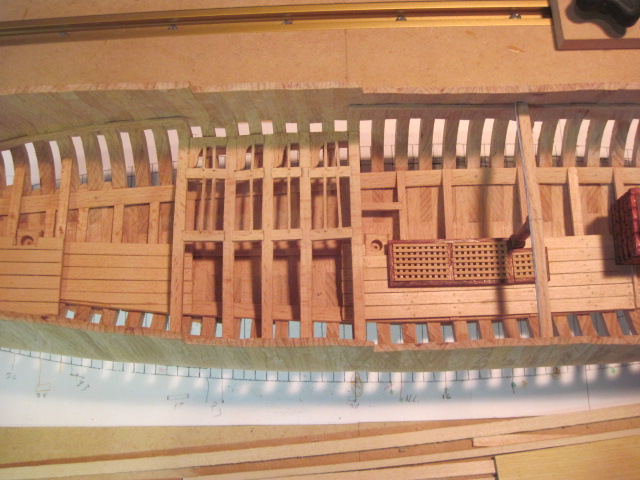
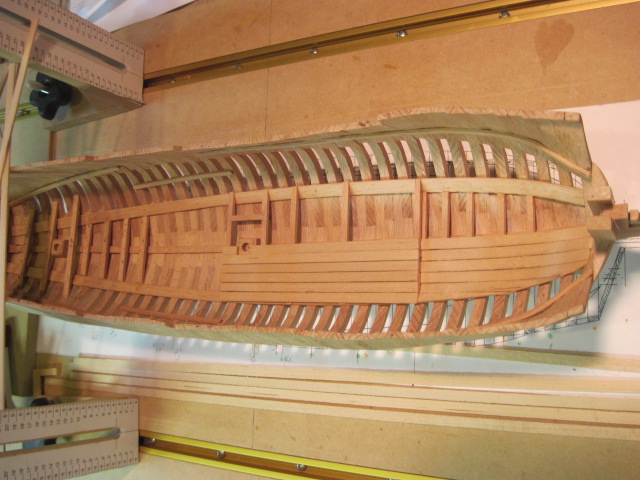
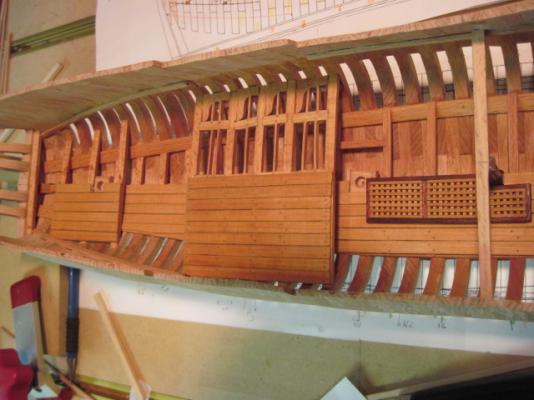
 This set of photos shows the rest of the lower decks.
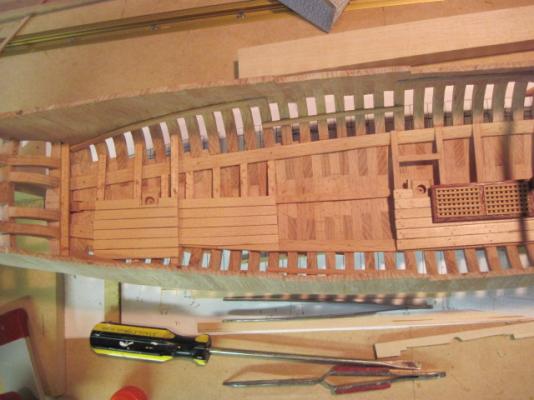


-
Hi Christian, I agree the mortar are too thick. I only have one carbide tipped blade for my Proxxon table saw and need to get a thinner one for fine detail work. Mike
-
Hi Brian, I do have a Byrnes drawplate and a Byrnes thickness sander they both work quite well. Mike
-
Hi Brian, It looks like I will be doing about the same amount of treenails that you used on your model. Your treenails look very nice I hope mine look that good. Mike
-
ancre L'Amarante by jose_b - 1/40
Mike 41 replied to jose_b's topic in - Build logs for subjects built 1501 - 1750
Hi Jose, You have chosen an interesting project. I will follow along also. Mike -
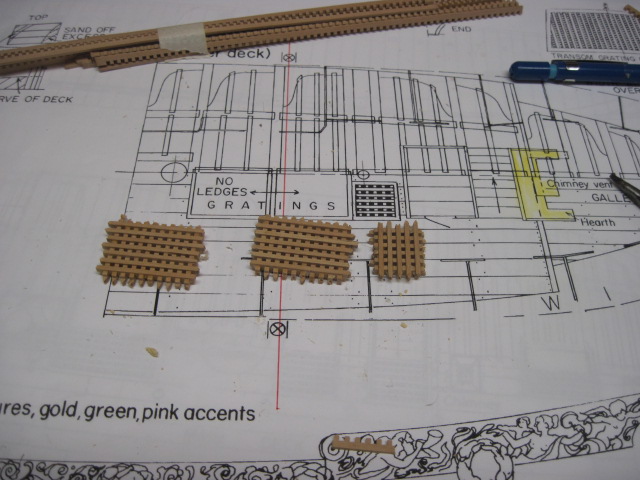
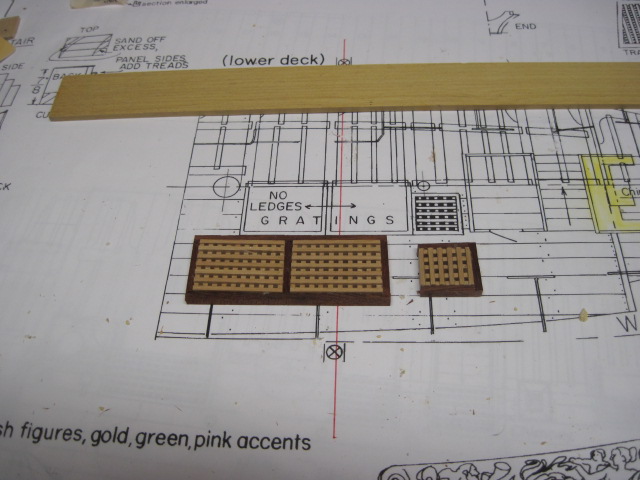
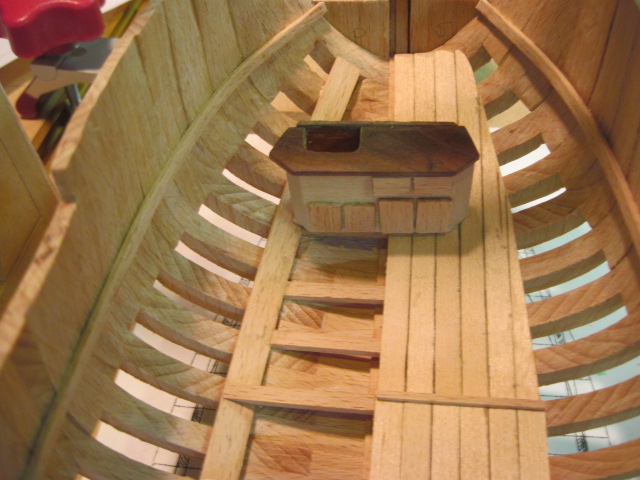
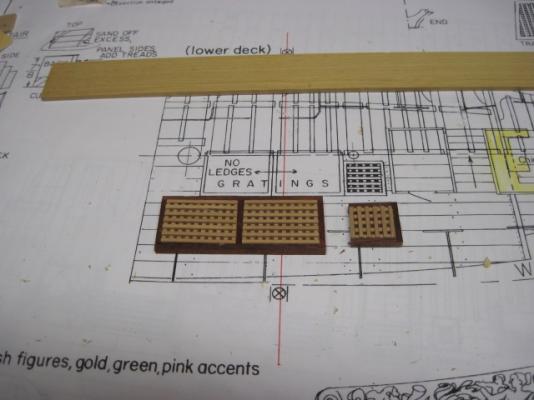
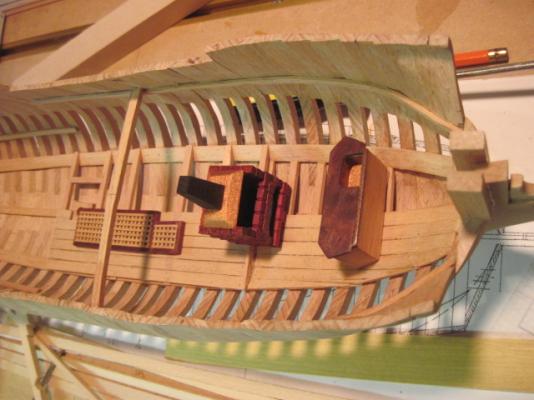
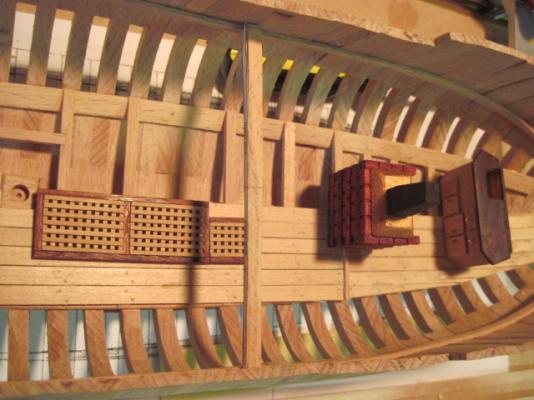
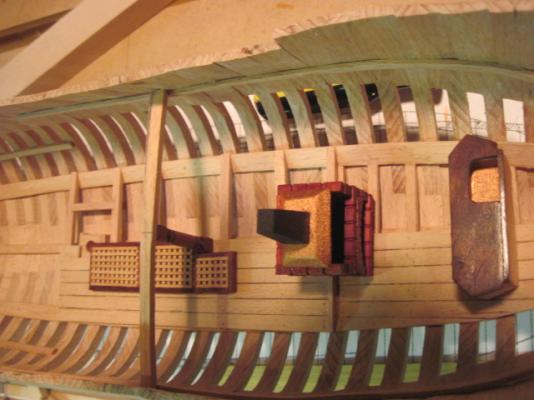
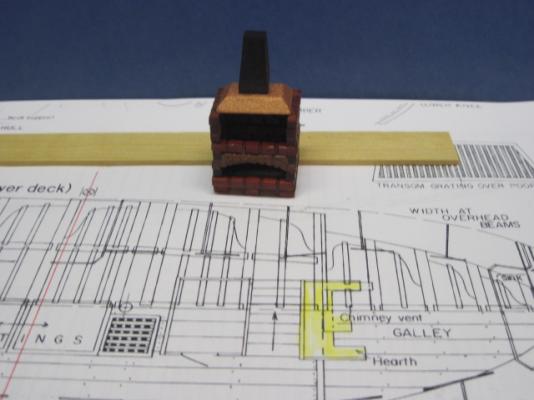
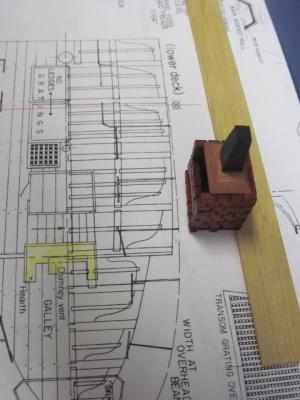
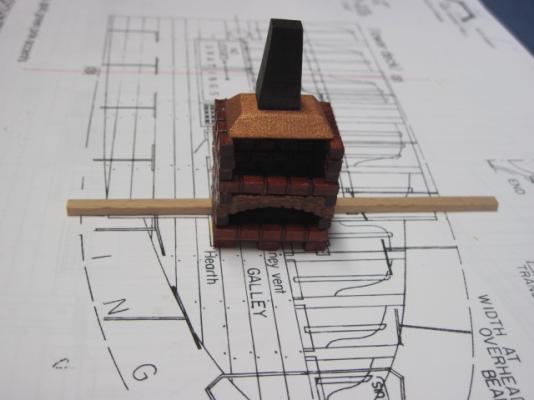
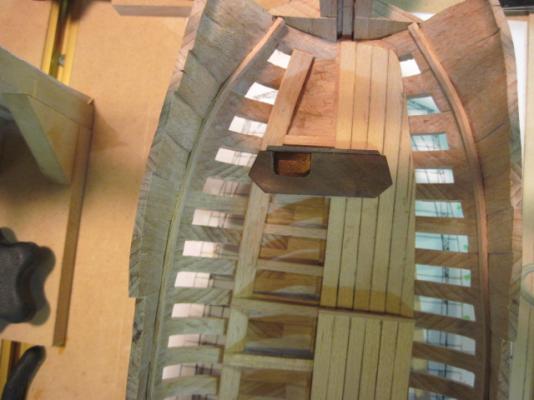
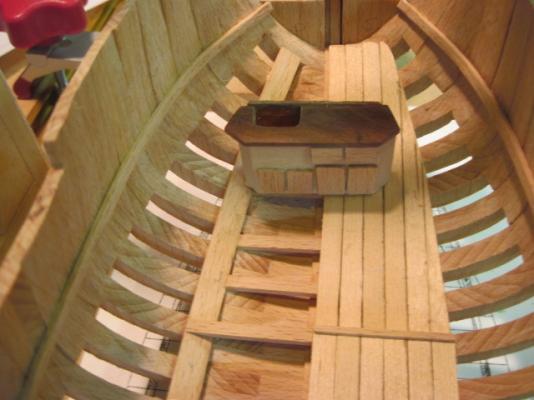
This set of photos show the sink and stove in place. I also added the lower hatches and grating to the lower deck.

-
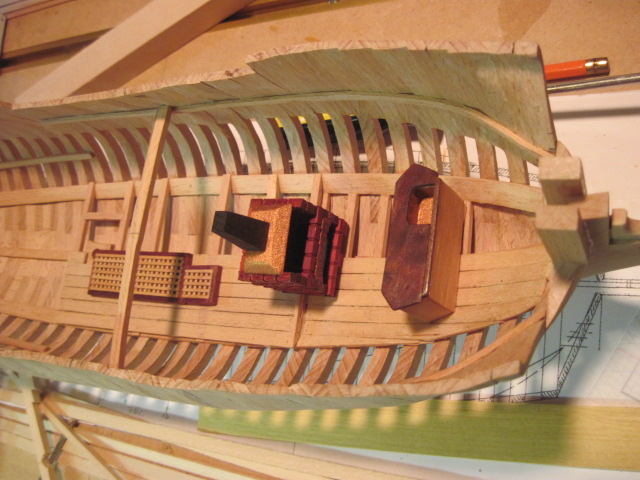
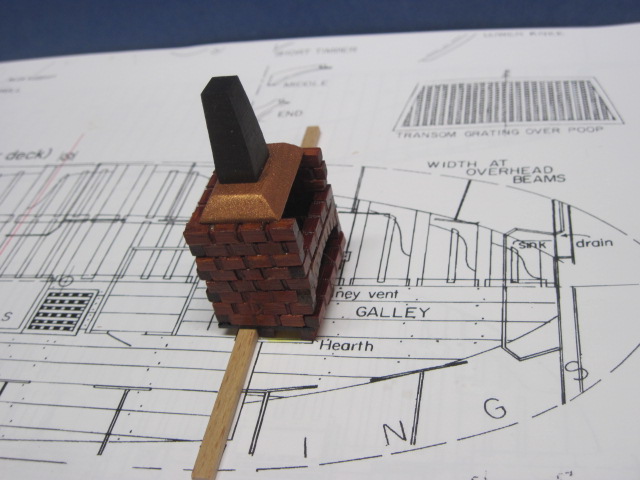
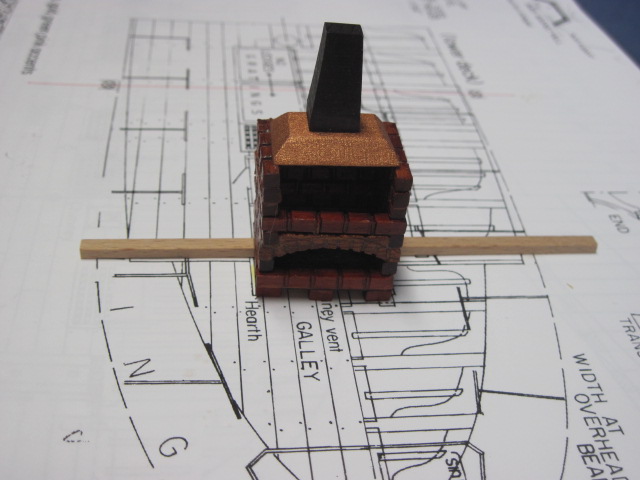
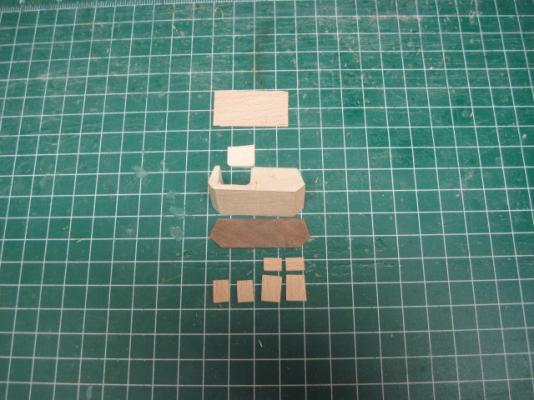
The stove was next. I used bloodwood for the bricks and basswood for the hood and vent. It sets between two different deck levels that is why it is not level in the photos.

-
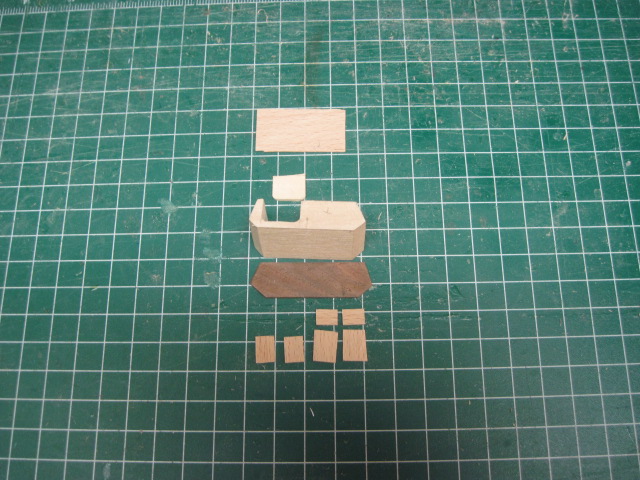
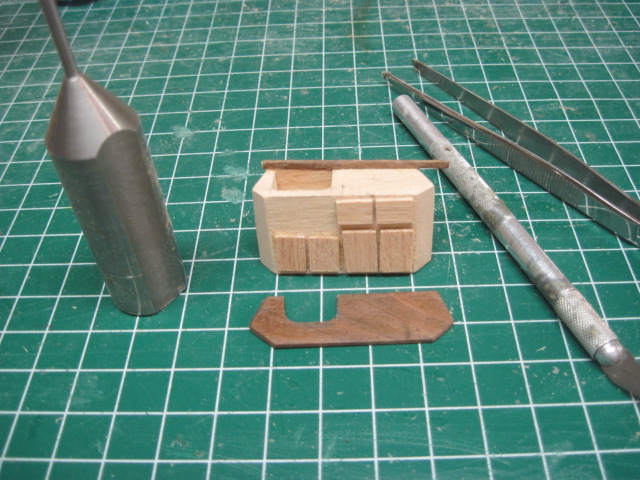
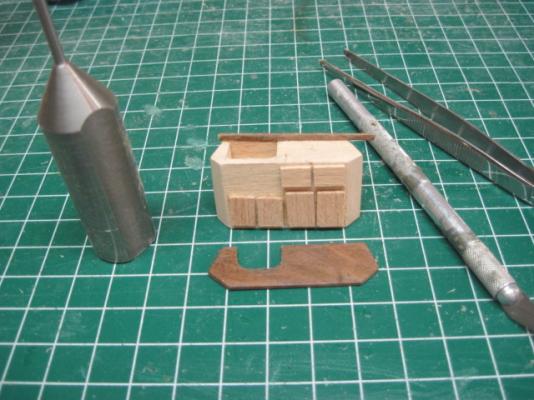
The sink and stove made a nice break from all the framing. This set of photos shows the sink being assembled the cabinet is basswood, the doors, drawers and back is beach wood and the top is walnut.
-
Hi Brian, I will treenail all the upper decks but not the lower decks that will not be seen on the finished model. Did you treenail all nine decks? Mike
-
Hi Brian, Hobbymill is an excellent source for wood. You did an amazing job for a first scratch build. I get most of my wood from Metro Hardwoods it is close to my home and I can hand pick the boards I want to use. Mike
-
Thanks Guy, I like to take a lot of pictures. Mike
-
Thanks Richard, It looks like we are neighbors. LOL Mike
-
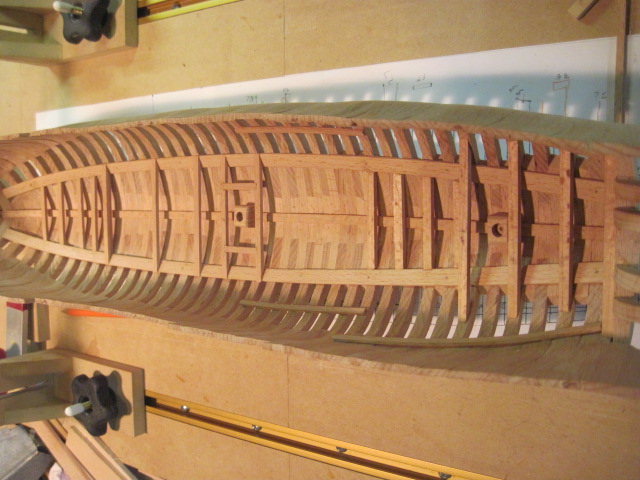
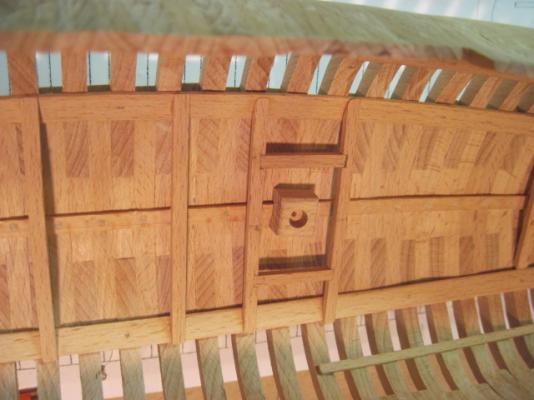
This set of photos shows the mast steps and some of the lower deck planking.


-
Hi Michael, The best attribute of the jig is being reusable. This is the fifth model I am building with it and it is still holding up well. Mike
-
Hi Michael, Thanks, if you are interested in the building jig I use take a look at this post. http://modelshipbuilder.com/e107_plugins/forum/forum_viewtopic.php?5571 Mike
-
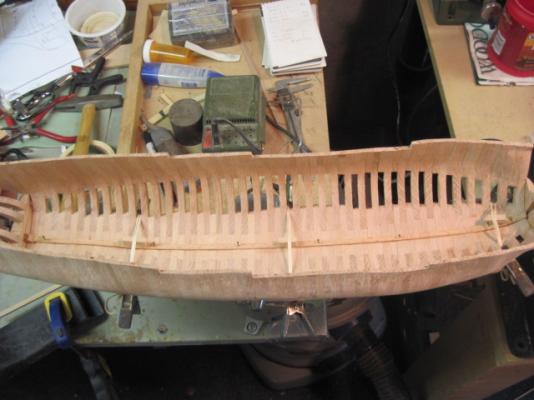
The deck ledges were installed next. Do to the type of frames I am using I couldn’t use the jig described in the practicum. I marked the beginning, end and midpoint of each ledge then marked the top of the ledge at these three points from the top of the frame with a compass and glued the ledges in place. The ledges for the lower decks are the only ones installed at this time.


-
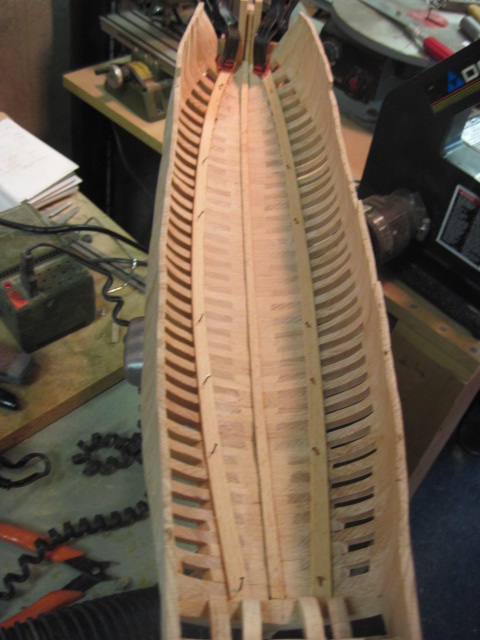
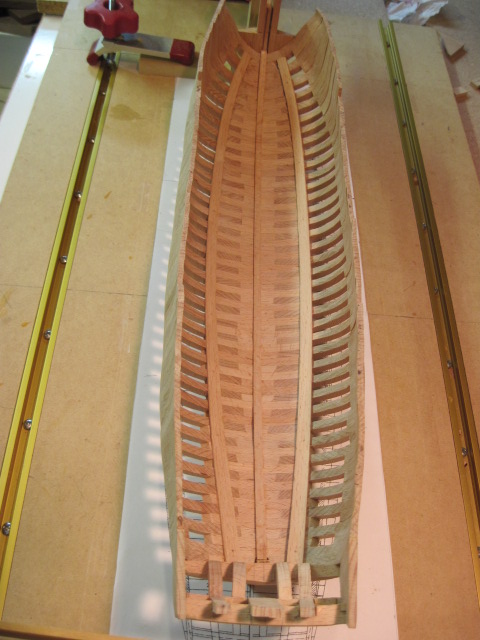
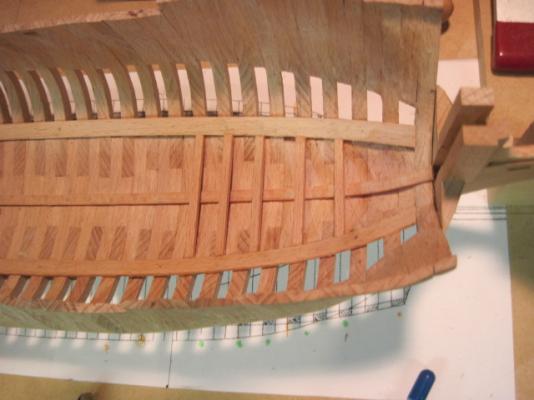
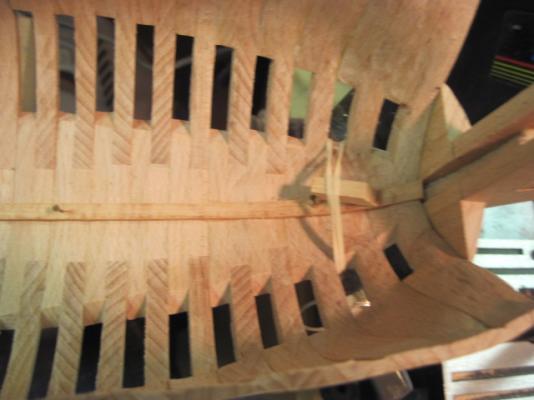
The bilge stringers was installed next.


-
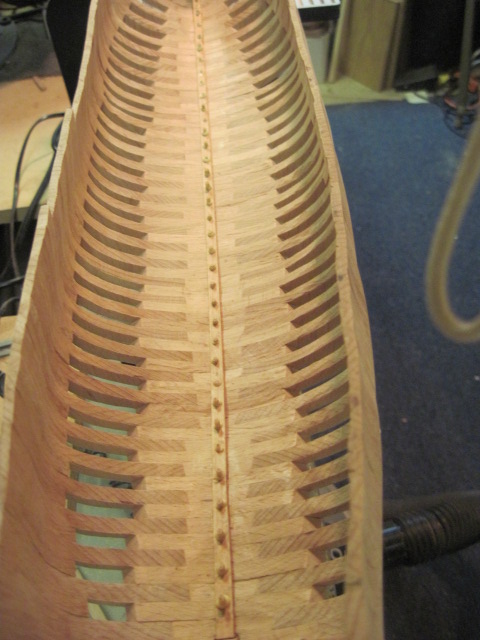
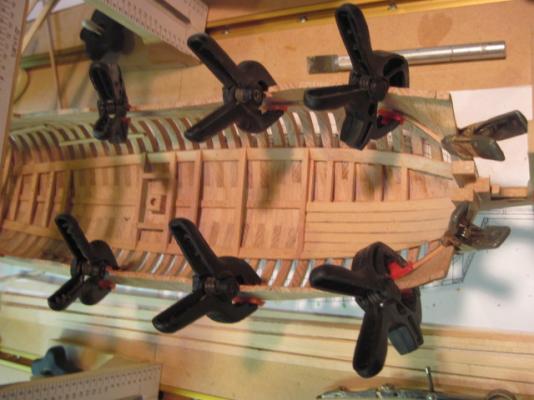
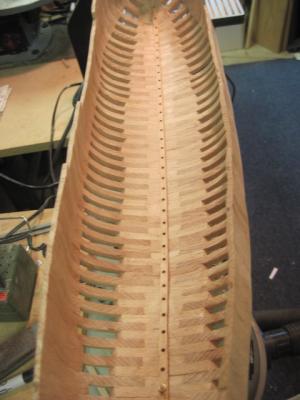
The keelson was installed next. I used some rubber bands, small blocks of wood and clamps to hold it firmly against the frames while the glue dried. After the glue dried I added 1/16” dowels at each frame.

-
Thanks Michael.
-
Thanks mij
-
Chuck, I will put her on my ‘to do’ list.
-
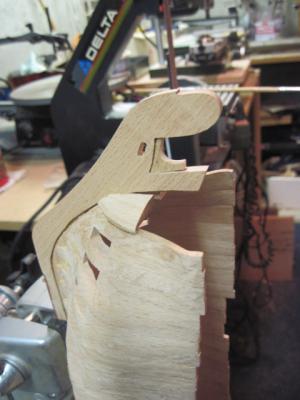
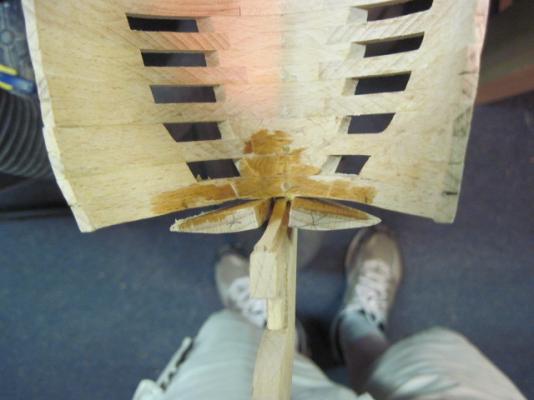
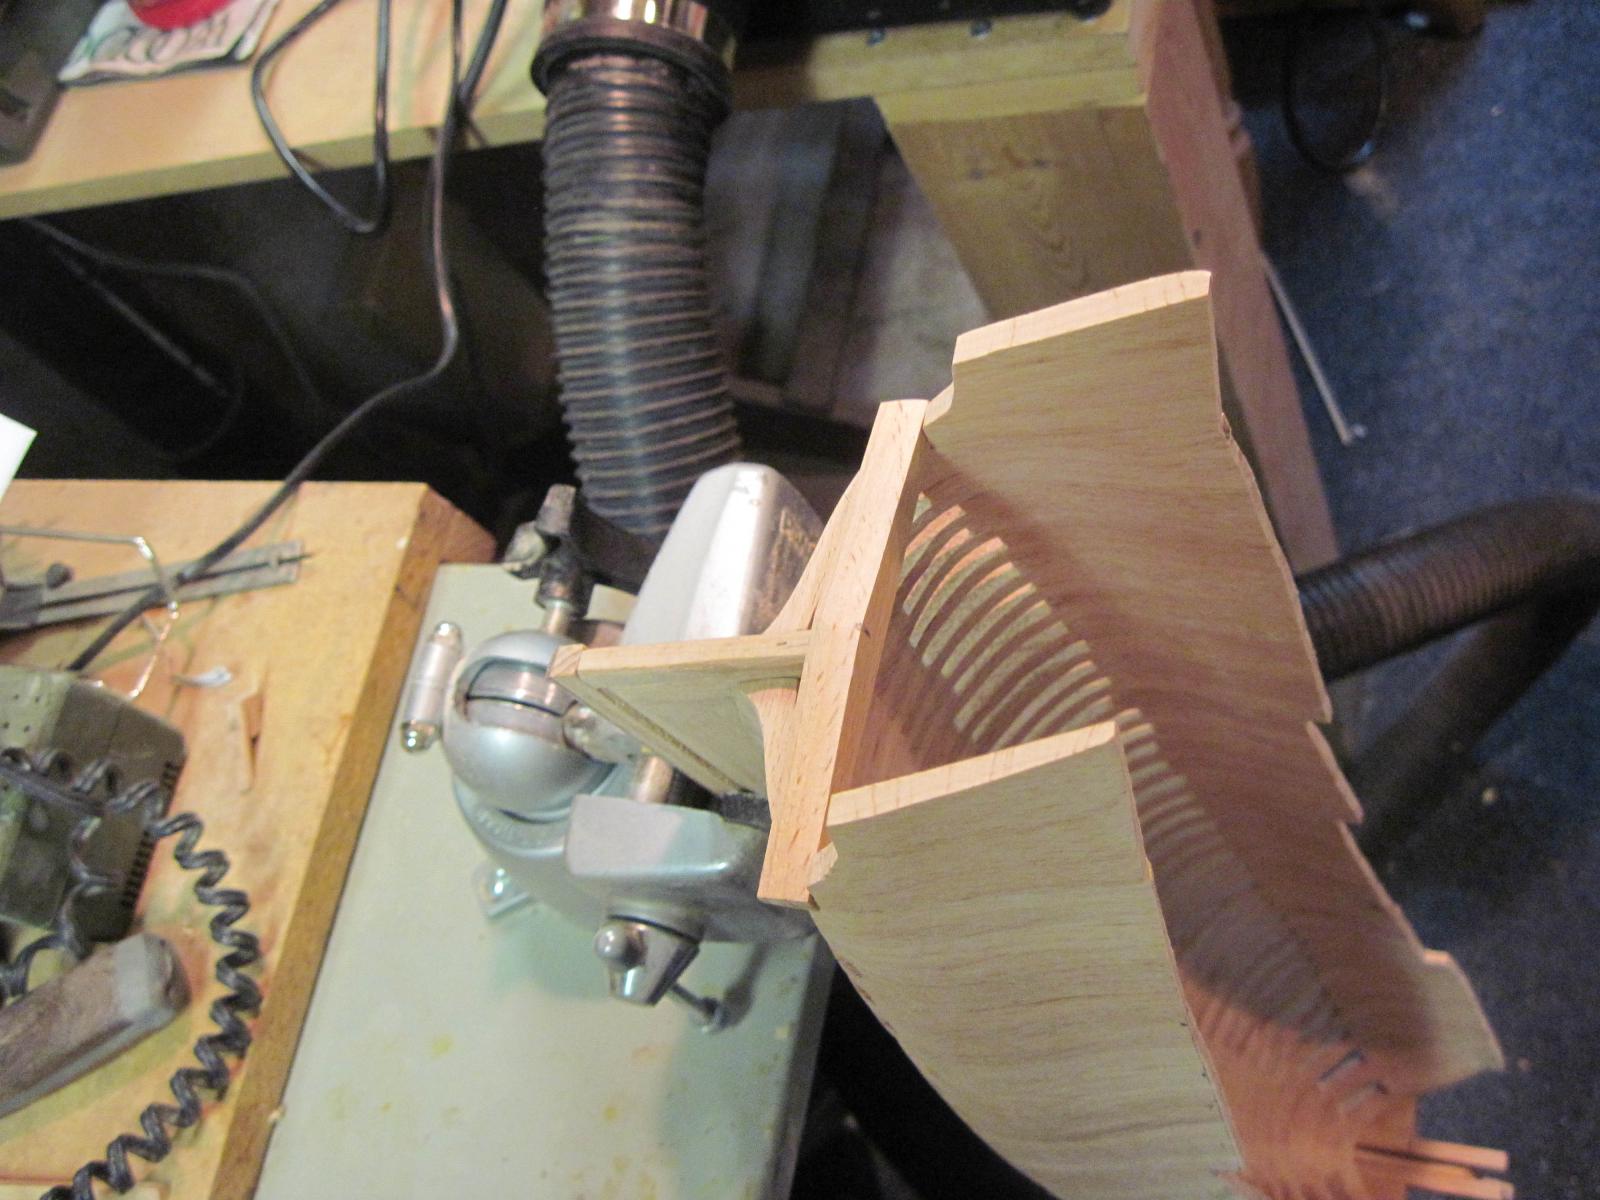
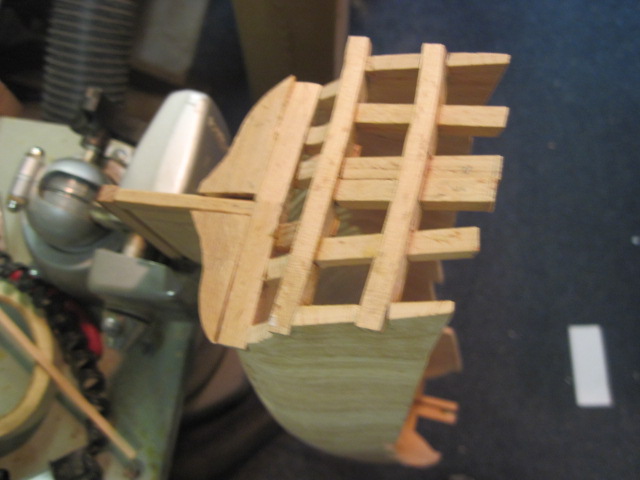
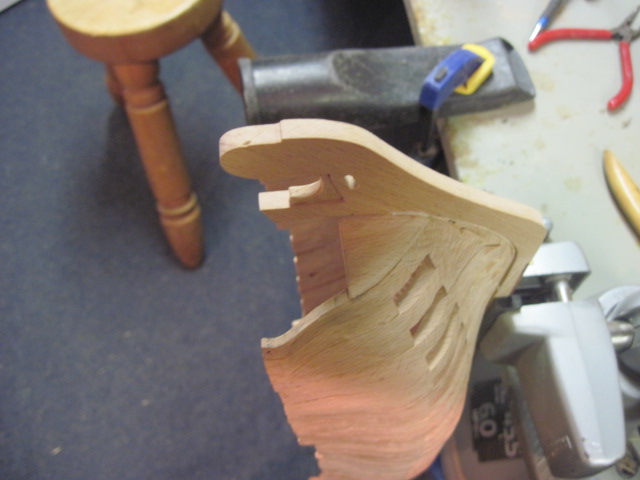
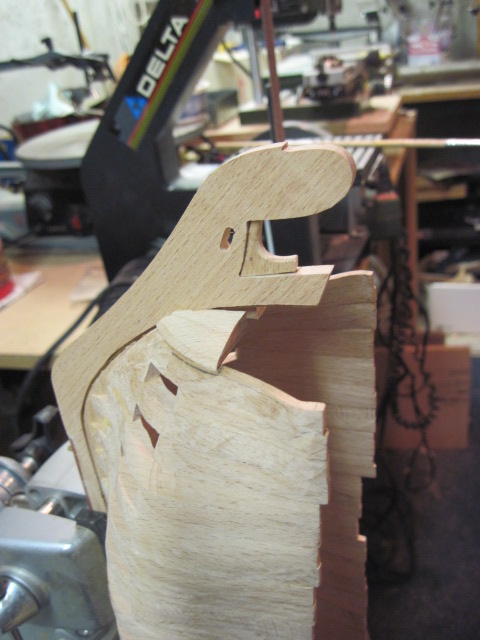
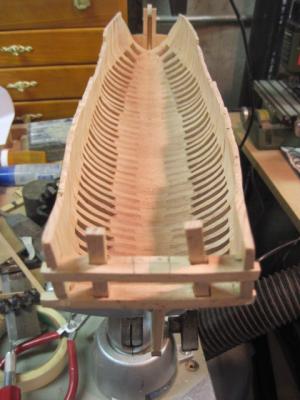
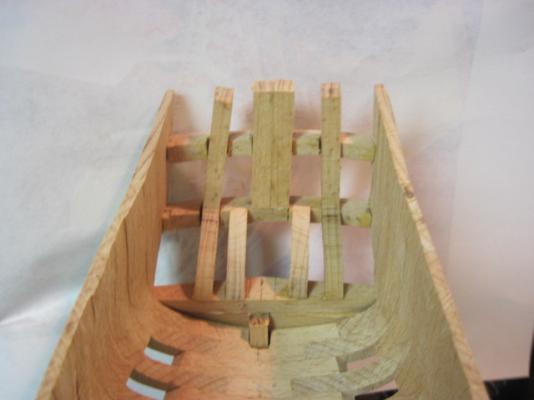
This is a few photos of the stern being assembled.


-
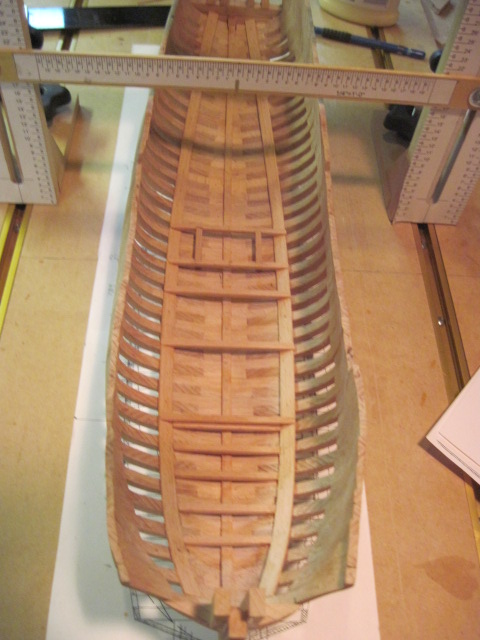
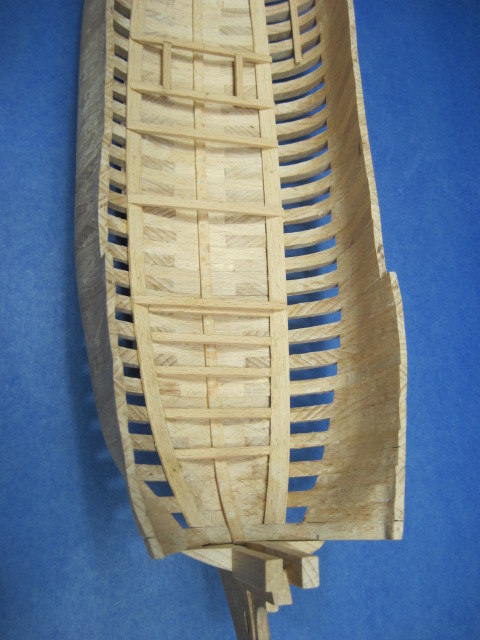
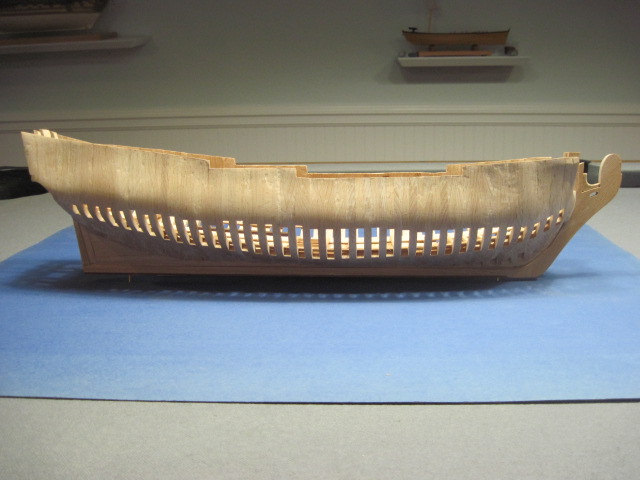
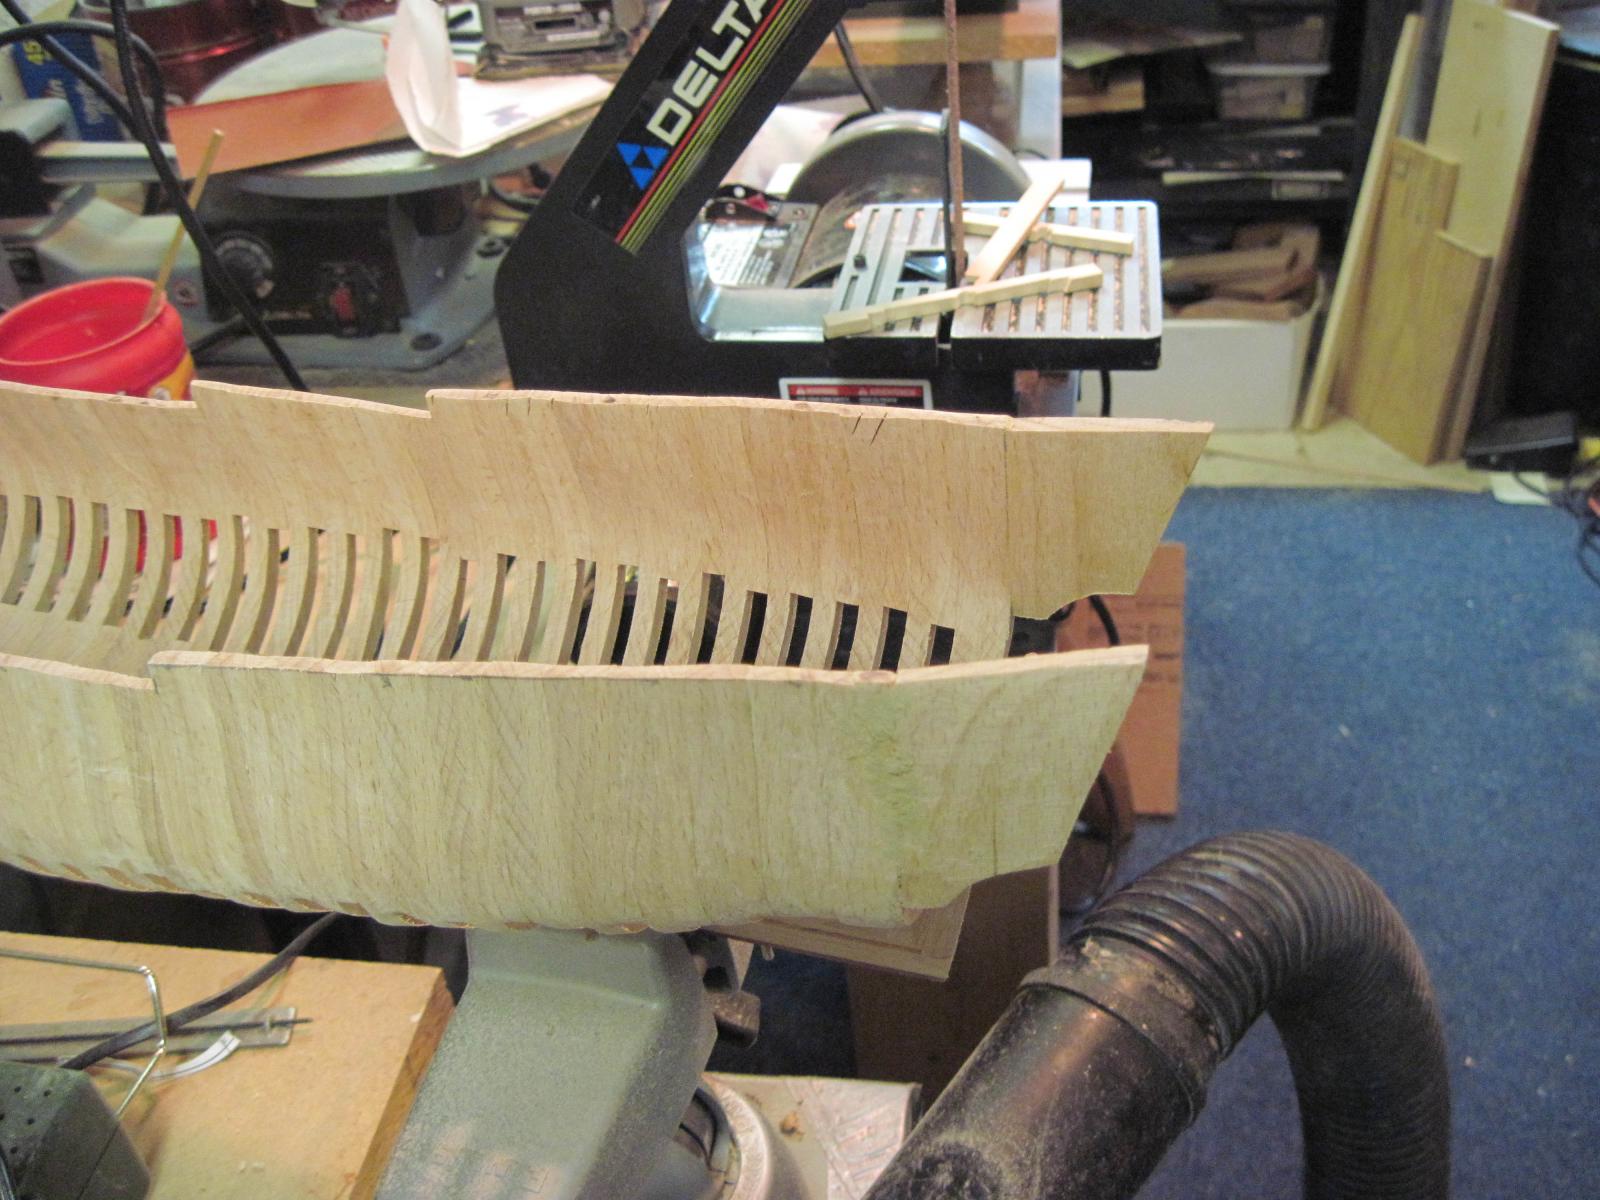
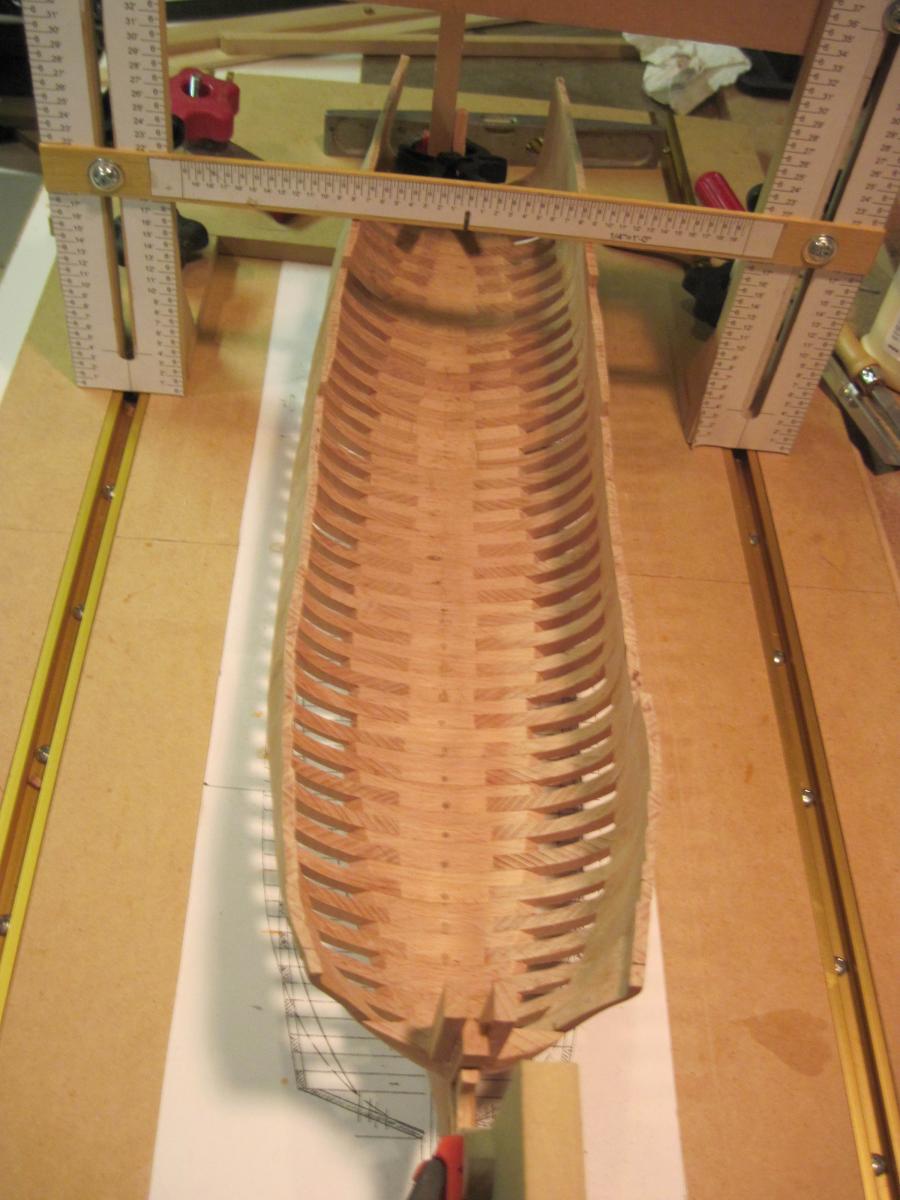
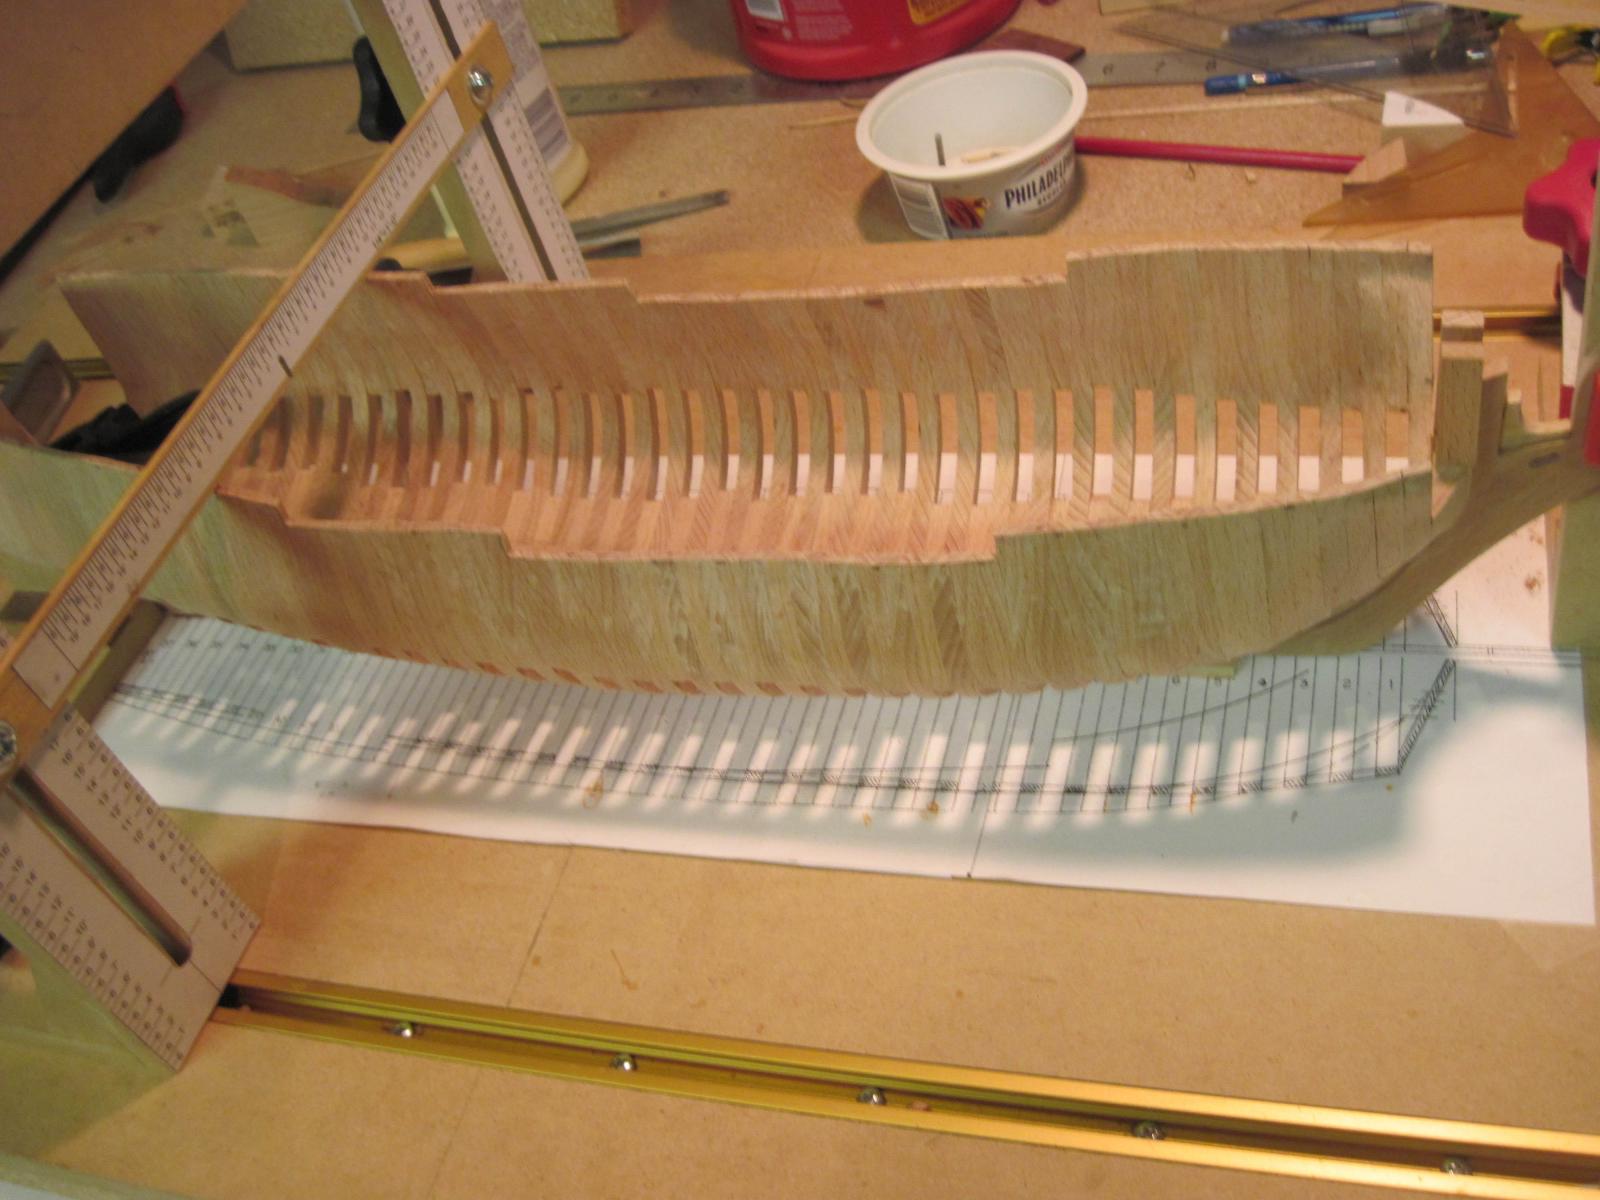
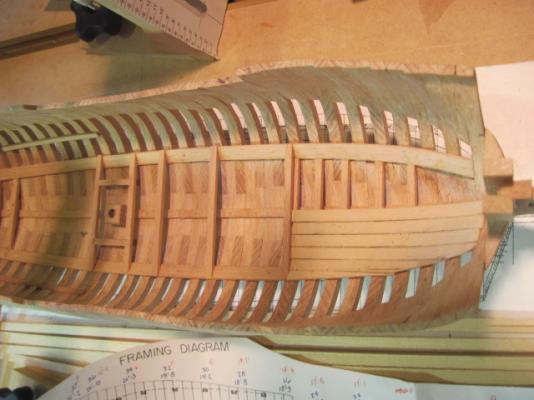
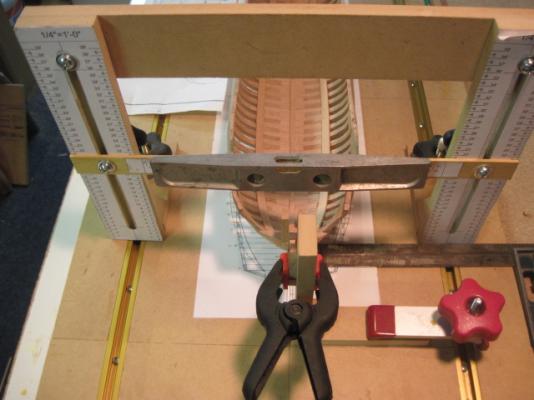
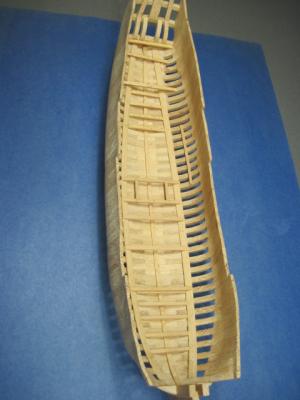
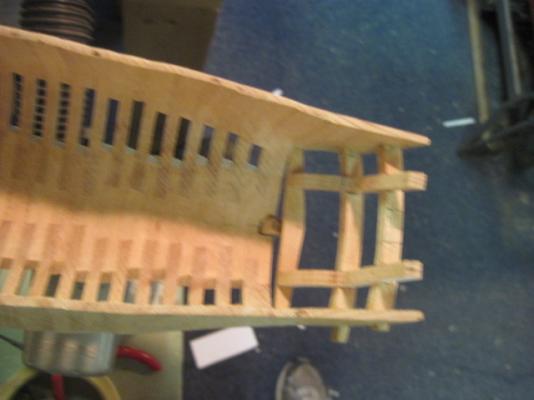
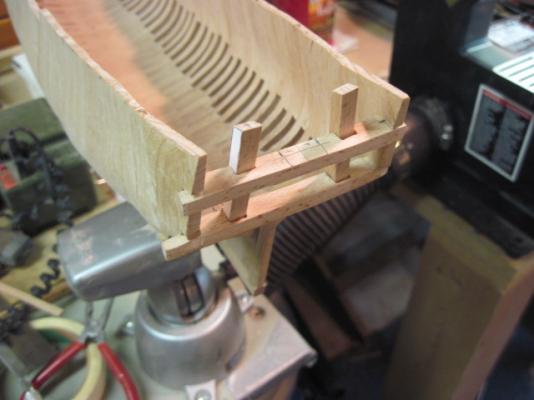
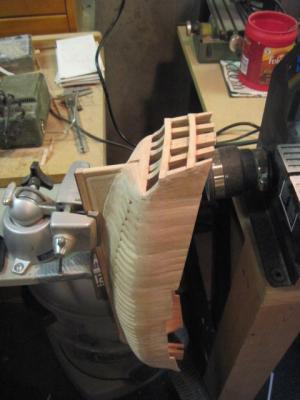
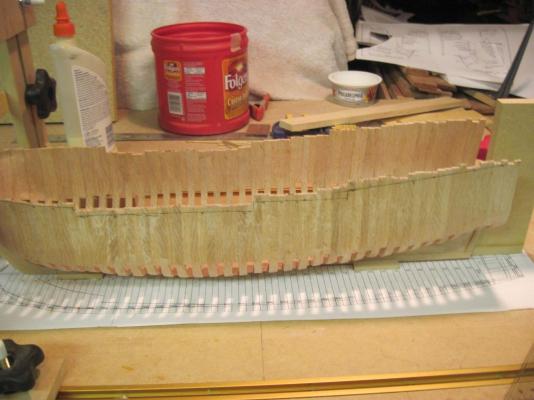
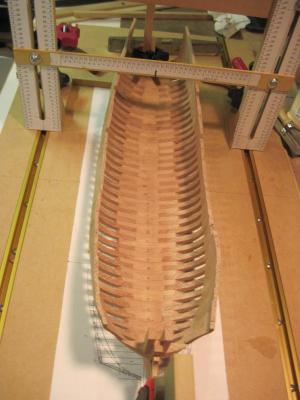
Just to be on the safe side I made all the frames 1/8” higher than the templates. This set of photos shows the hull being leveled and trimmed.

-
Thanks Grant.
-
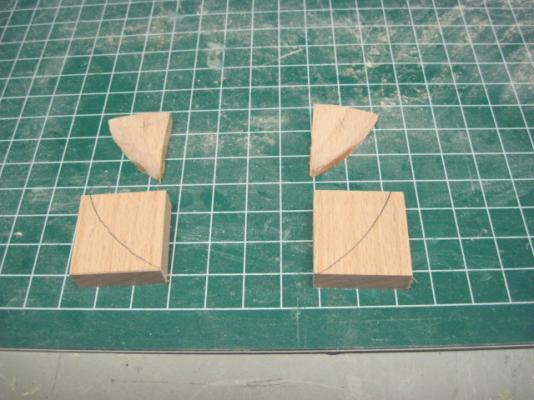
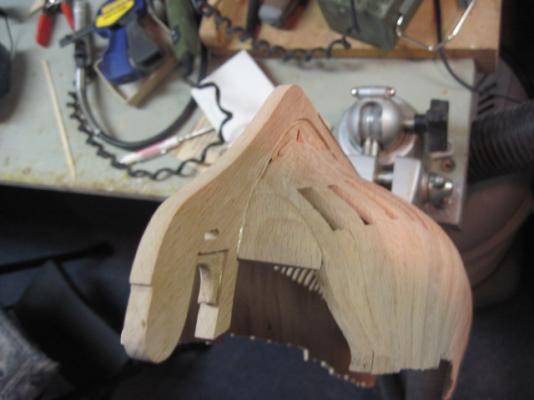
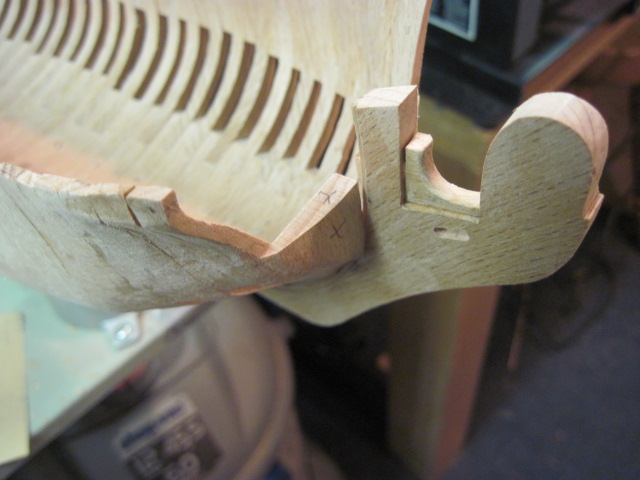
Instead of hawse pieces Portia Takakjian used small blocks of wood contoured to the ship. The first blocks I used were too thin and had to be removed and replaces with thicker ones. The second set fit a lot better.