von stetina
-
Posts
164 -
Joined
-
Last visited
Content Type
Profiles
Forums
Gallery
Events
Everything posted by von stetina
-

casting metal parts including cannon
von stetina replied to rtropp's topic in Metal Work, Soldering and Metal Fittings
I haven't read through this conversation as I'm pretty busy so please forgive me for missing any info. I cast model parts in brass. I've just completed another very intricate all brass model for a model RR company. I will have photos in a few days. If you want to see them let me know. I have a long background in different types of mold making and casting. I'm not sure if it's appropriate to market ones abilities for sale on the site. I do have a website and you can reach me in a personal message. Von Stetina -
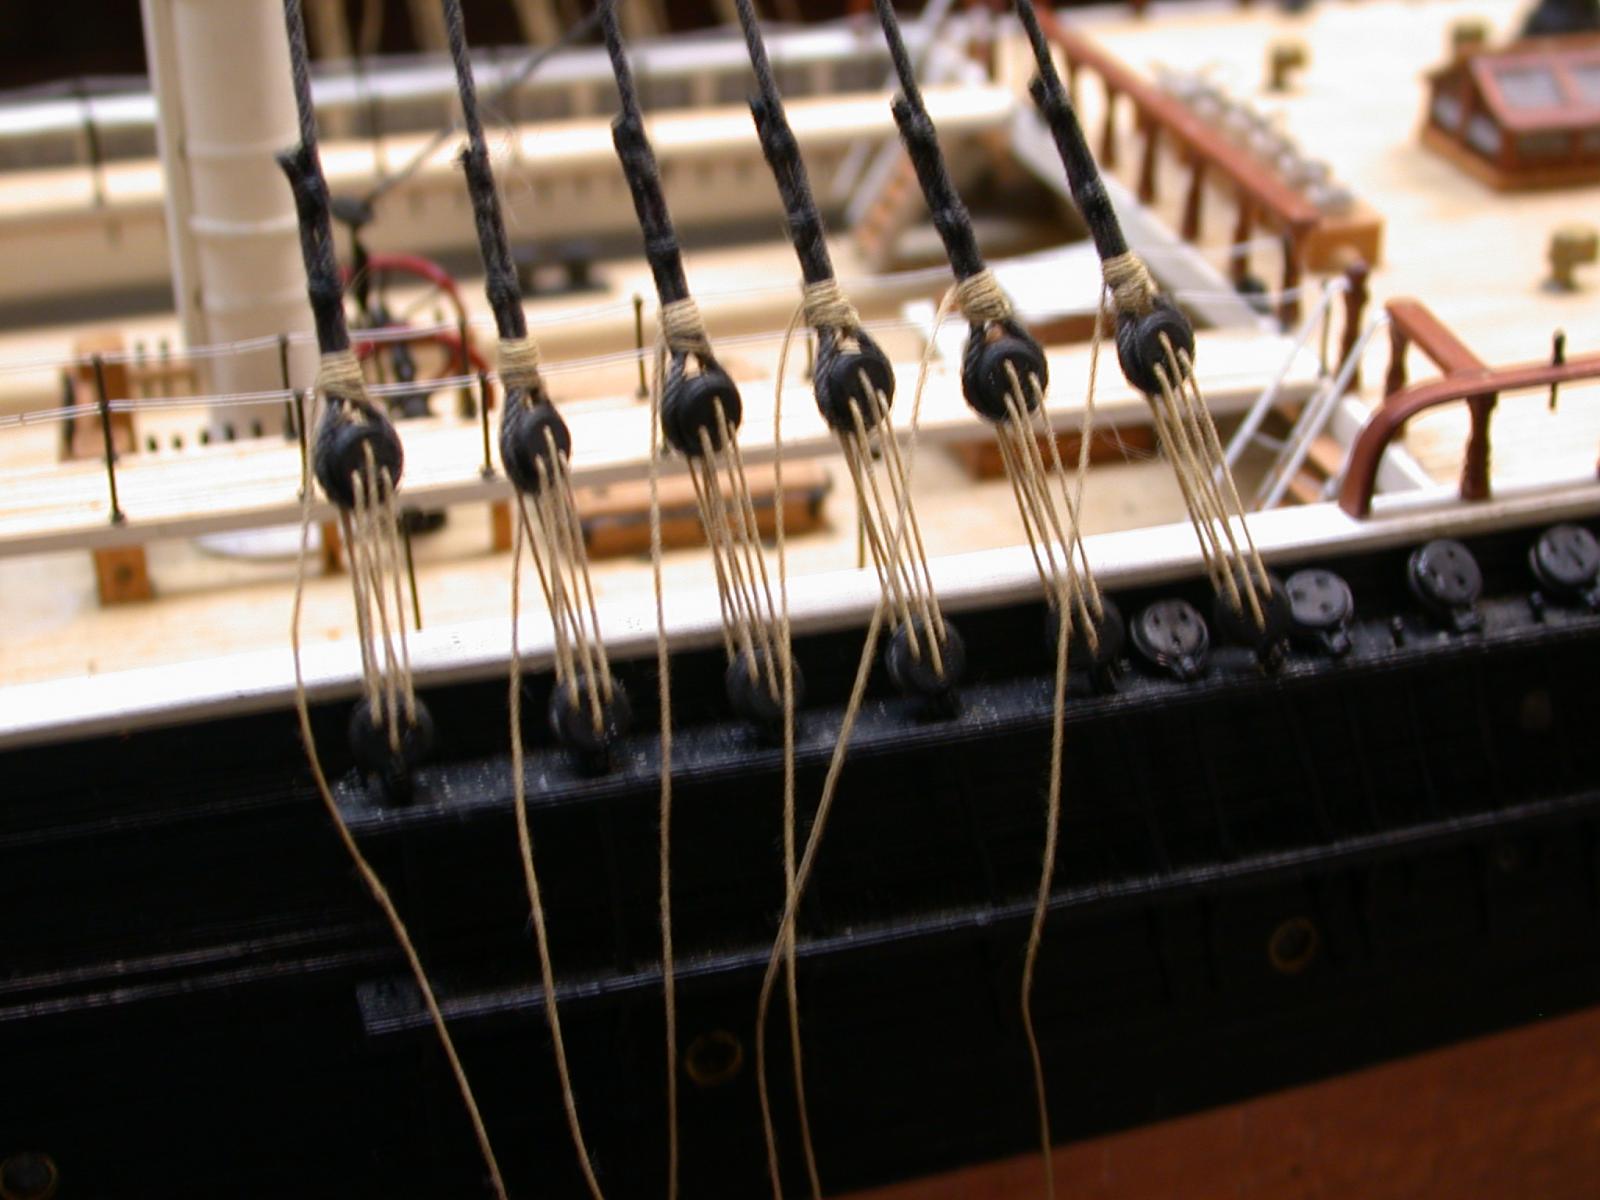
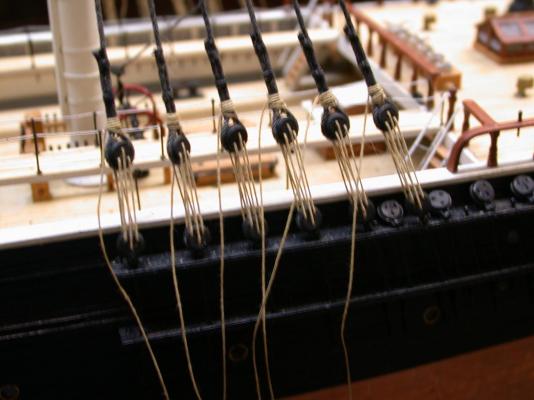
OOOOO ! Rob! Another clipper book! Gotta get it. Have you read Cruise of the Dashing Wave, Rounding Cape Horn in 1860 by Philip Hichborn? The Captain was no driver but the guys who's diary was found was a ships carpenter. And Ed, That's the upper deadeyes! Heeling 45 to 50 degrees. Excess of 18 Knots. I feel she may have gone faster with less drag from both channels and deadeyes though. Bruce
-
It so nice for people to be able to see and appreciate how our American clippers were terrifically built inside. And out! I love to think about how some got pushed to the limit like true racing machines. I have a copy book yet to be printed with part of a passenger's letter in it from aboard the Lightning. If I remember it says the deadeyes were underwater. Bruce
-
Looking very sweet! Bruce
-
I used lemonwood bow staves. Worked great, nice and straight. Von Stetina
-
You can get .010 brass solid rod and .008 solid silica bronze rod from Special Shapes. They have a web site. They have been around forever. I use this rod all the time. It comes in 3 and 2 foot for the silica bronze. If you want it nice and soft heat cherry red first. For wire spools in copper and steel go to MSC Industrial supplies. they are cheap and fast. I use them for tons of stuuf, don'r know why others don't! Von Stetina
-
The Underhill book has a few good tricks in it. I've found masting and rigging to be far more interesting and easy than I expected and it's my first time. Just don't hesitate to do something over if you aren't happy with it. I'm a first timer on rigging too. I just went at, first shot at the standing rigging not good so I removed and did it over. It sure was worth the trouble. Von Stetina
-
Hide your rabbits too, or..er....conceal them. I used to use rabbit skin glue to make chipped glass for stained glass windows. You would lightly sandblast the surface, then apply the glue. As it dried it would curl up and pop off like popcorn going off. It would made fern patterns, snail patterns etc. depending on the thickness of the glue. Pretty strong stuff to rip glass out huh? Von Stetina
-
Plated Iron Hull
von stetina replied to Pete Jaquith's topic in Building, Framing, Planking and plating a ships hull and deck
If the real thing is of metal I use metal of some type to match the scale thickness as close as possible. I work with brass on scale RR models for customers. Could use aluminum or about any kin of metal if your going to paint it. You could epoxy on the plates. You can even emboss rivet detail if you need it. Why do you want texture at scale? Are you weathering the model to look old? Von Stetina -
Hi everyone, I had great results thinning my Conservators Wax with Naptha. Actually I used automotive wax and grease remover otherwise known as Pre-Cleano for before painting. It's available in automotive or auto-body stores usually. Hardware store for Naptha. I'll bet it would work great on the wood as it would soak in so well. So far I've used it on my rigging and it has stayed tight and without sag Must say...Young America is looking awesome! Bruce.
- 3,618 replies
-
- 2
-

-
- young america
- clipper
- (and 1 more)
-
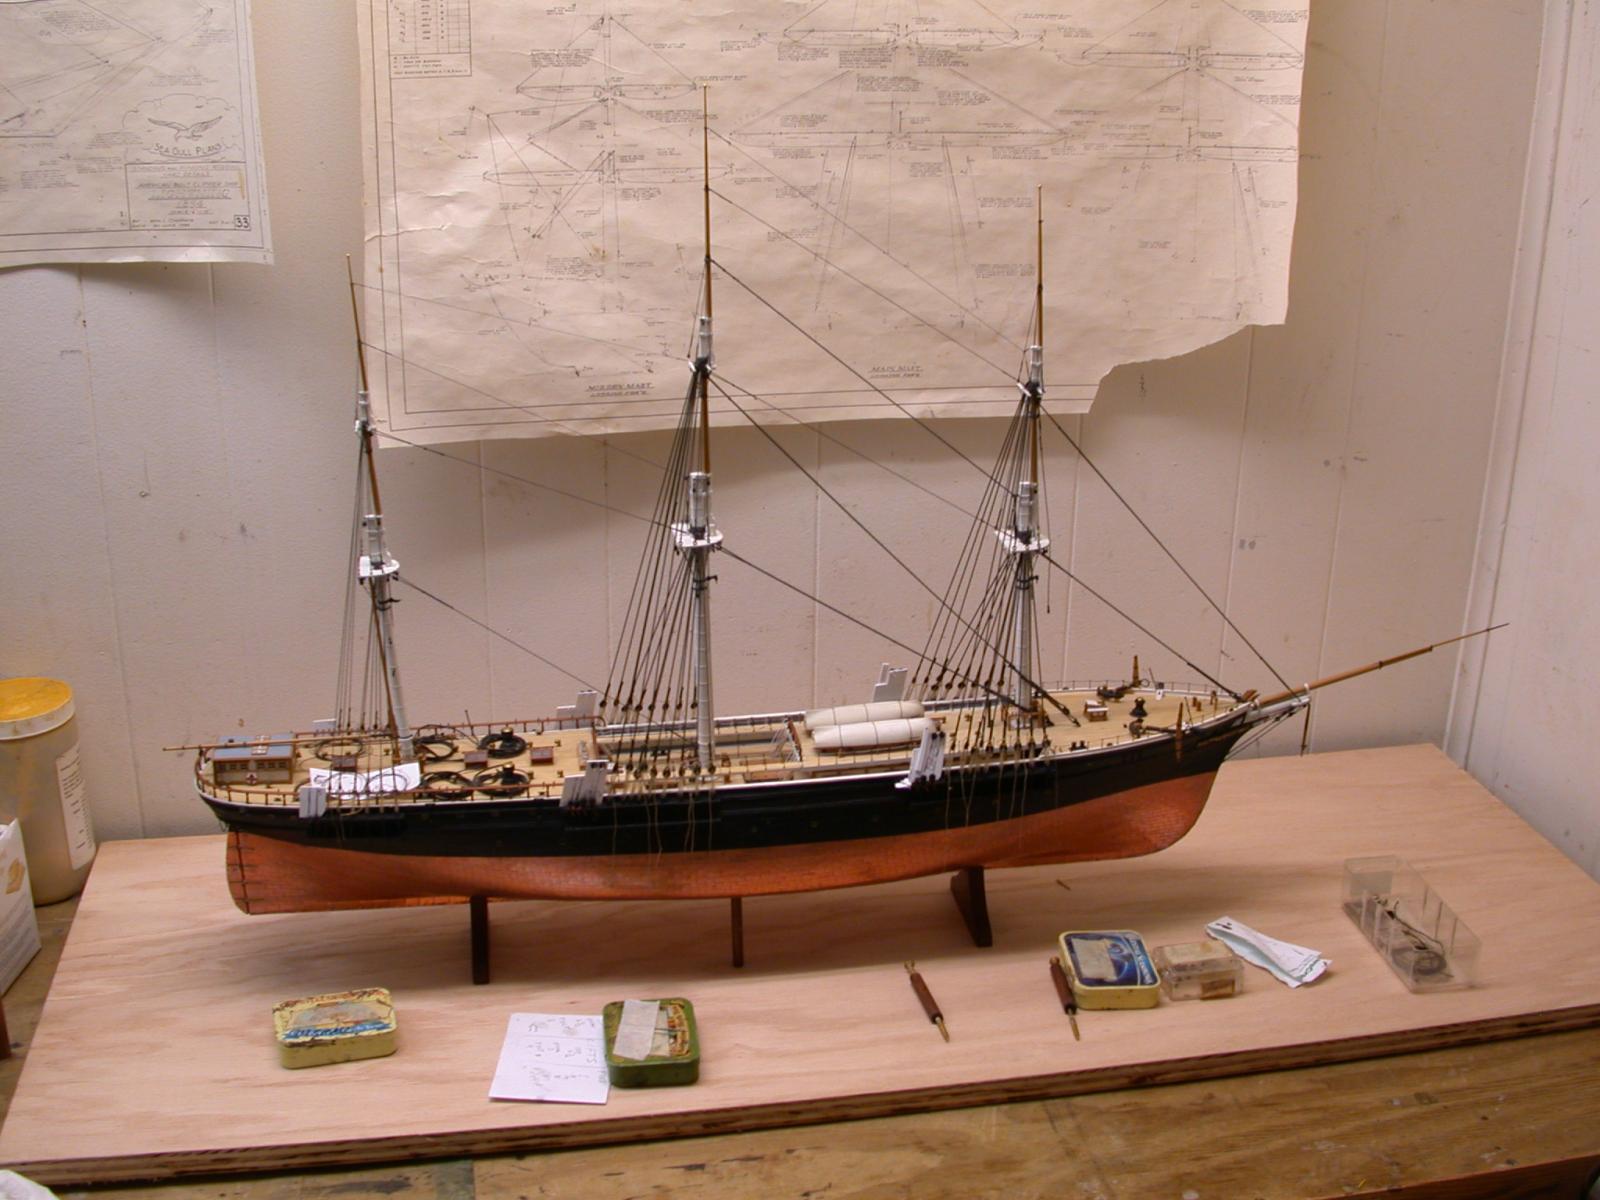
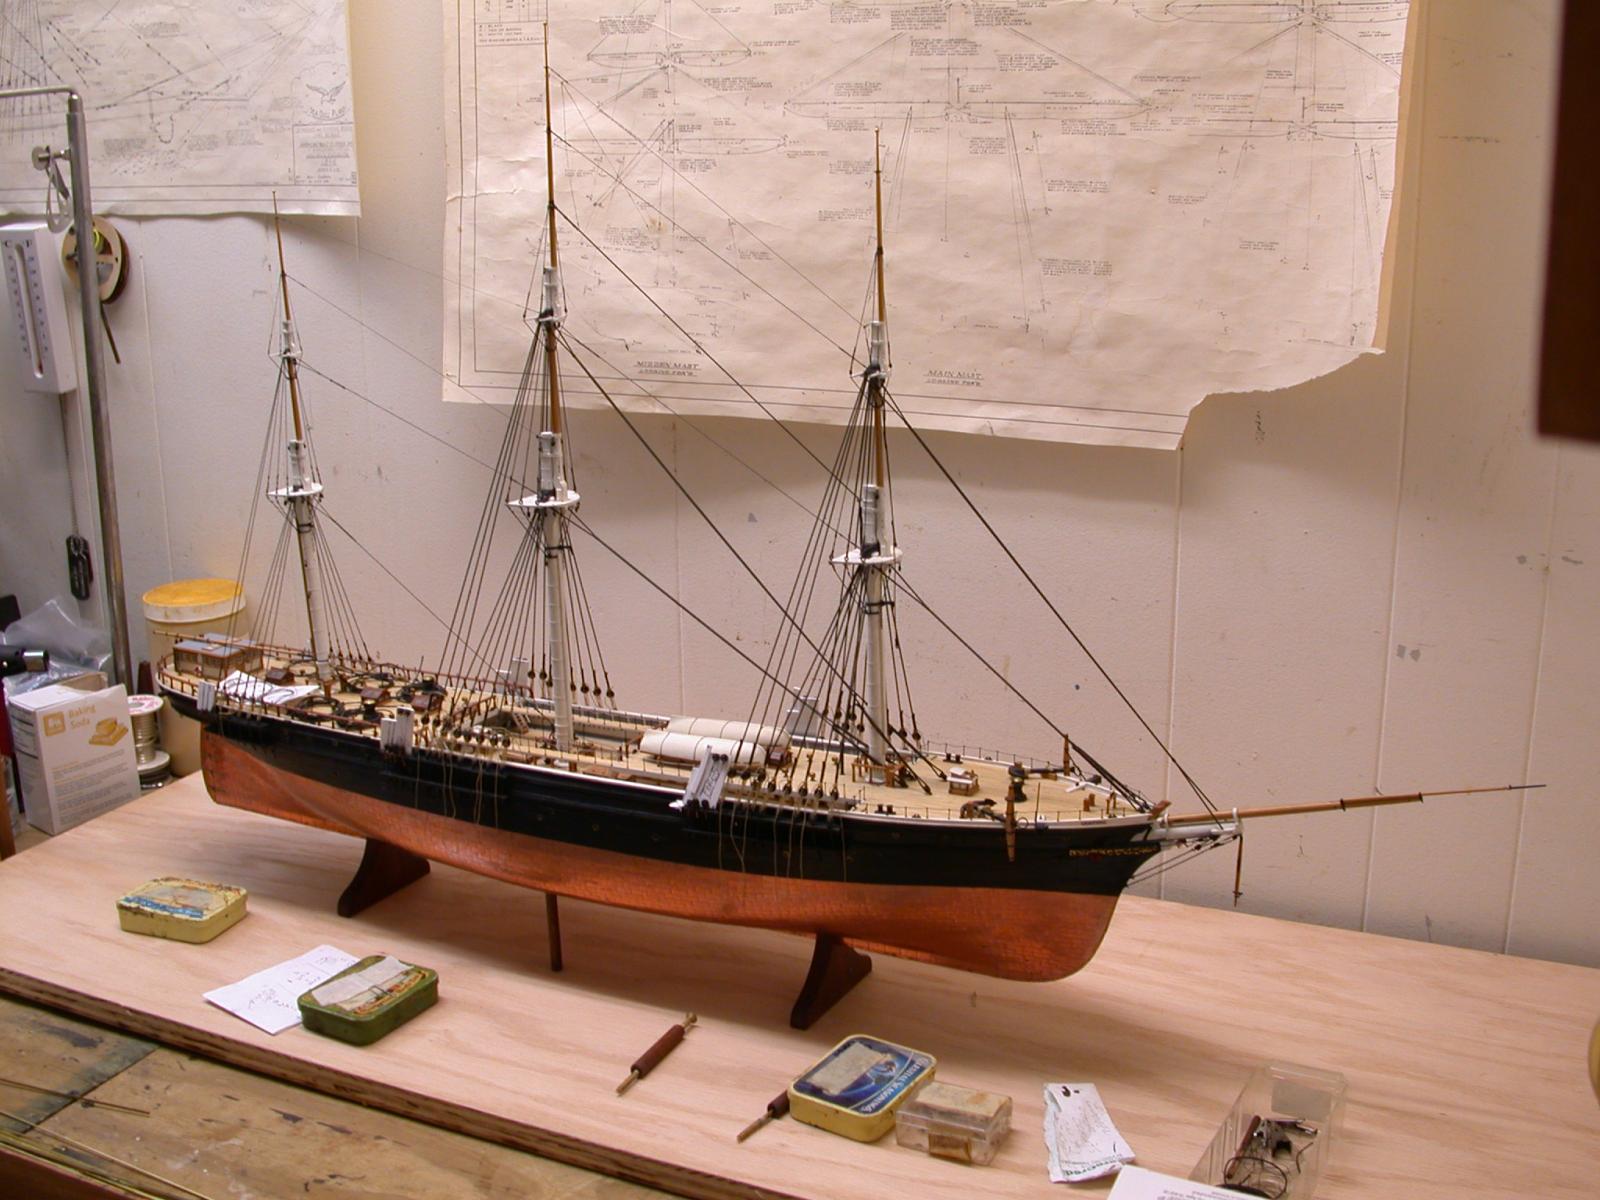
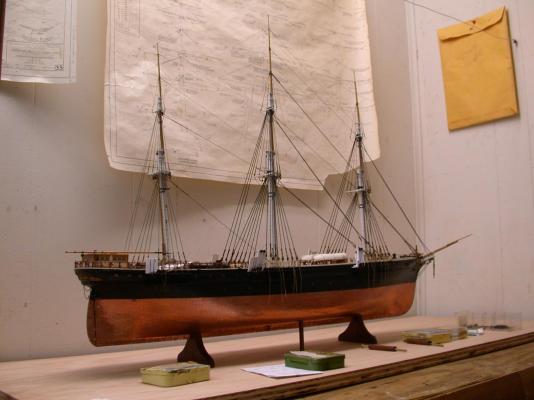
Hi Nils, I lost a bit in the crash. The hull is built by birch ply bulkhead and basswood fill between. Each section glued then doweled through at an angle to lock everything in place. Some early photos are on my website: www.vonstetinaartworks.com just find the heading for the ship among the others. While there you can see my brass RR modeling too. Hi Germanus. Thanks, and thanks for the good info. I've noticed the plane wings, being a USAF veteran. Bruce
-
Thanks Guys, Nenad, I'm still a bit frightened of it too, and this is my 2nd try on this standing rigging! I stripped the first try off ratlines and all. All seems to be staying taught this time though. We'll see when the summer heat and humidity hits though. It's all soaked in Conservators Wax so I have high hopes. As far as the corkscrew effect look of the braced yards, I read in a few books that this was to watch the edge of the sails for flutter so as not to be taken aback. But then I've not sailed on a square rigger. [YET!] So I'm no expert. Bruce
-
Thanks everyone, Sailor, I was going to mention this. Also the hulls give an excellent flow to the rudder. The clipper hull shape allowed small rudders. Large ones were no longer needed as seen on older sailing ships. The efficient hulls and rigs must have made balancing the ship to it's rudder easy. My opinion on the Lightning's wide rig as opposed to a tall one has given me a lot of thought. And McKay's many different experiments in hull shape too. For instance compare the 4 ships built for the James Baines Co. Bruce
-
Hi Micheal, I guess that's all they needed, and the tillers were so short. I'll bet they handled very easily when the sails were balanced right. The steering mechanisms seem delicate. They were beafier than they look in the books though. I had a look at the Cutty Sark's. It looked pretty strong. Also on these big American ships there was rarely a double wheel as far as I can tell. I only see them in the book The Search for Speed Under Sail on 2 ships plans. Bruce
-
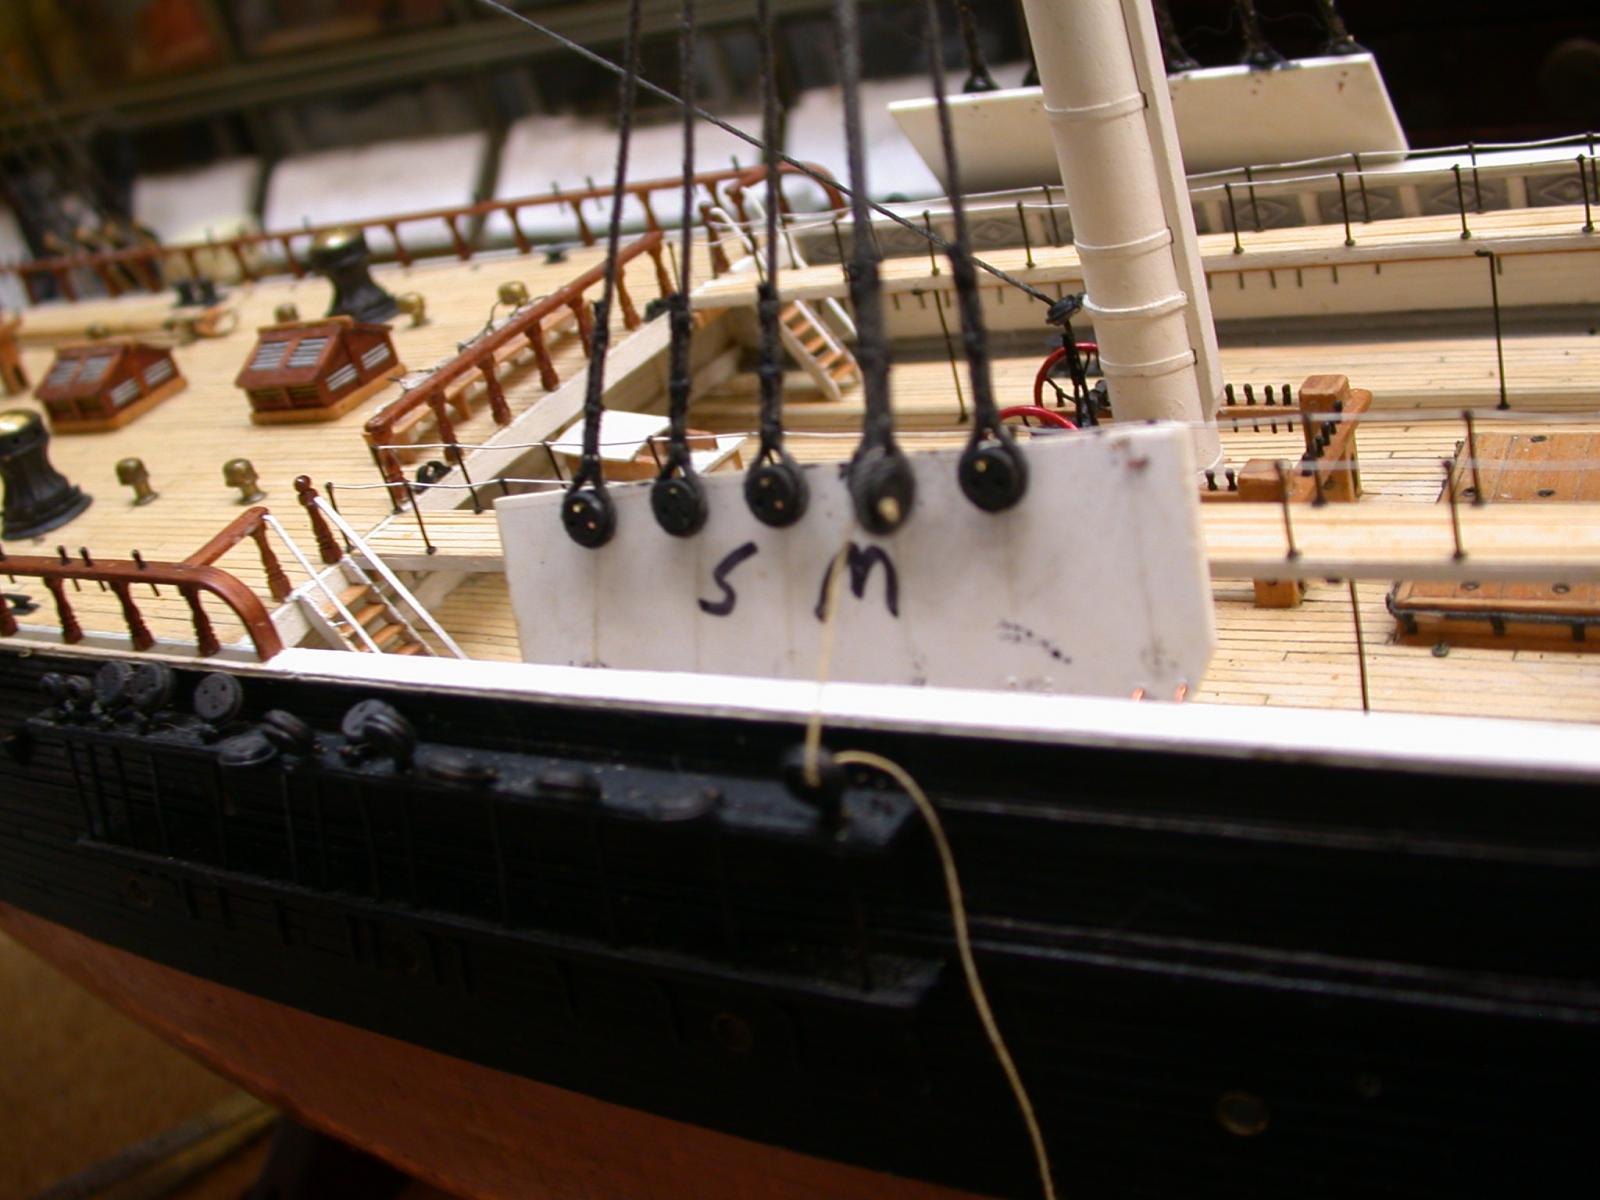
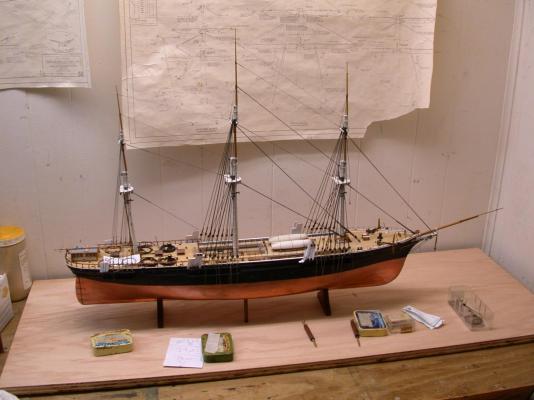
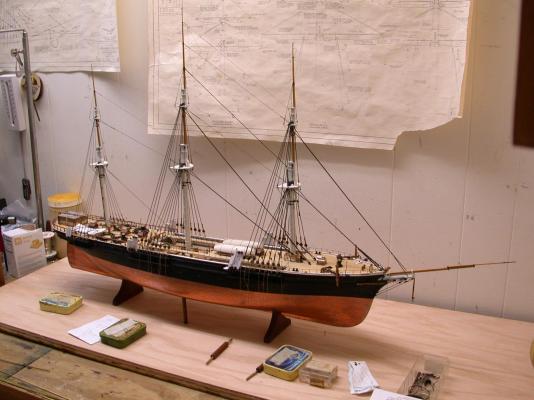
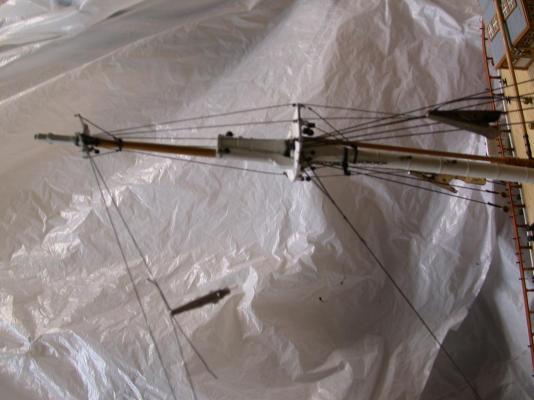
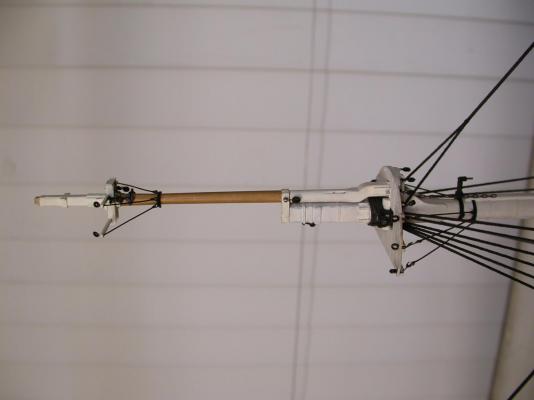
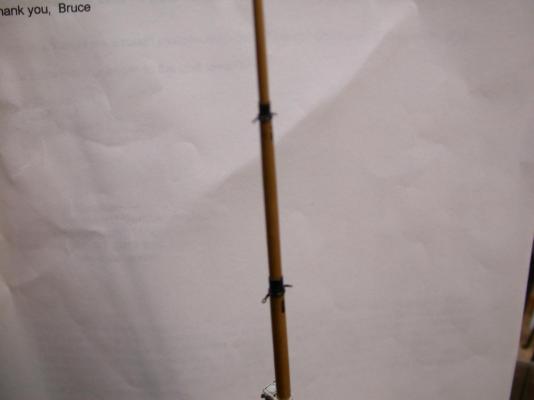
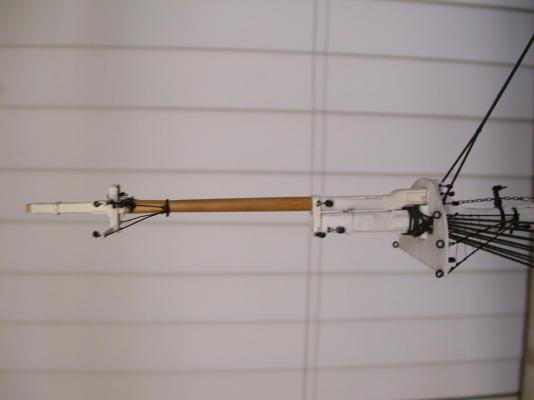
Hi guys, Here are some pics of the upper masts and most of the stays on. She wasn't a lofty ship as launched. The Brits added more when they took delivery, McKay gave her an extra wide rig instead, with the main yard being 95 feet long. I feel that he wanted to get power this way, maybe to minimize heeling as she was a passenger ship. Any of your views on this would be interesting. Bruce
-
That strapping looks great! I've been waiting to see that. I love the stern she has and can't wait to see it too. Bruce
-
Cutty Sark by NenadM
von stetina replied to NenadM's topic in - Build logs for subjects built 1851 - 1900
Your coming along nicely! Looking great! I do love the clippers! Bruce -
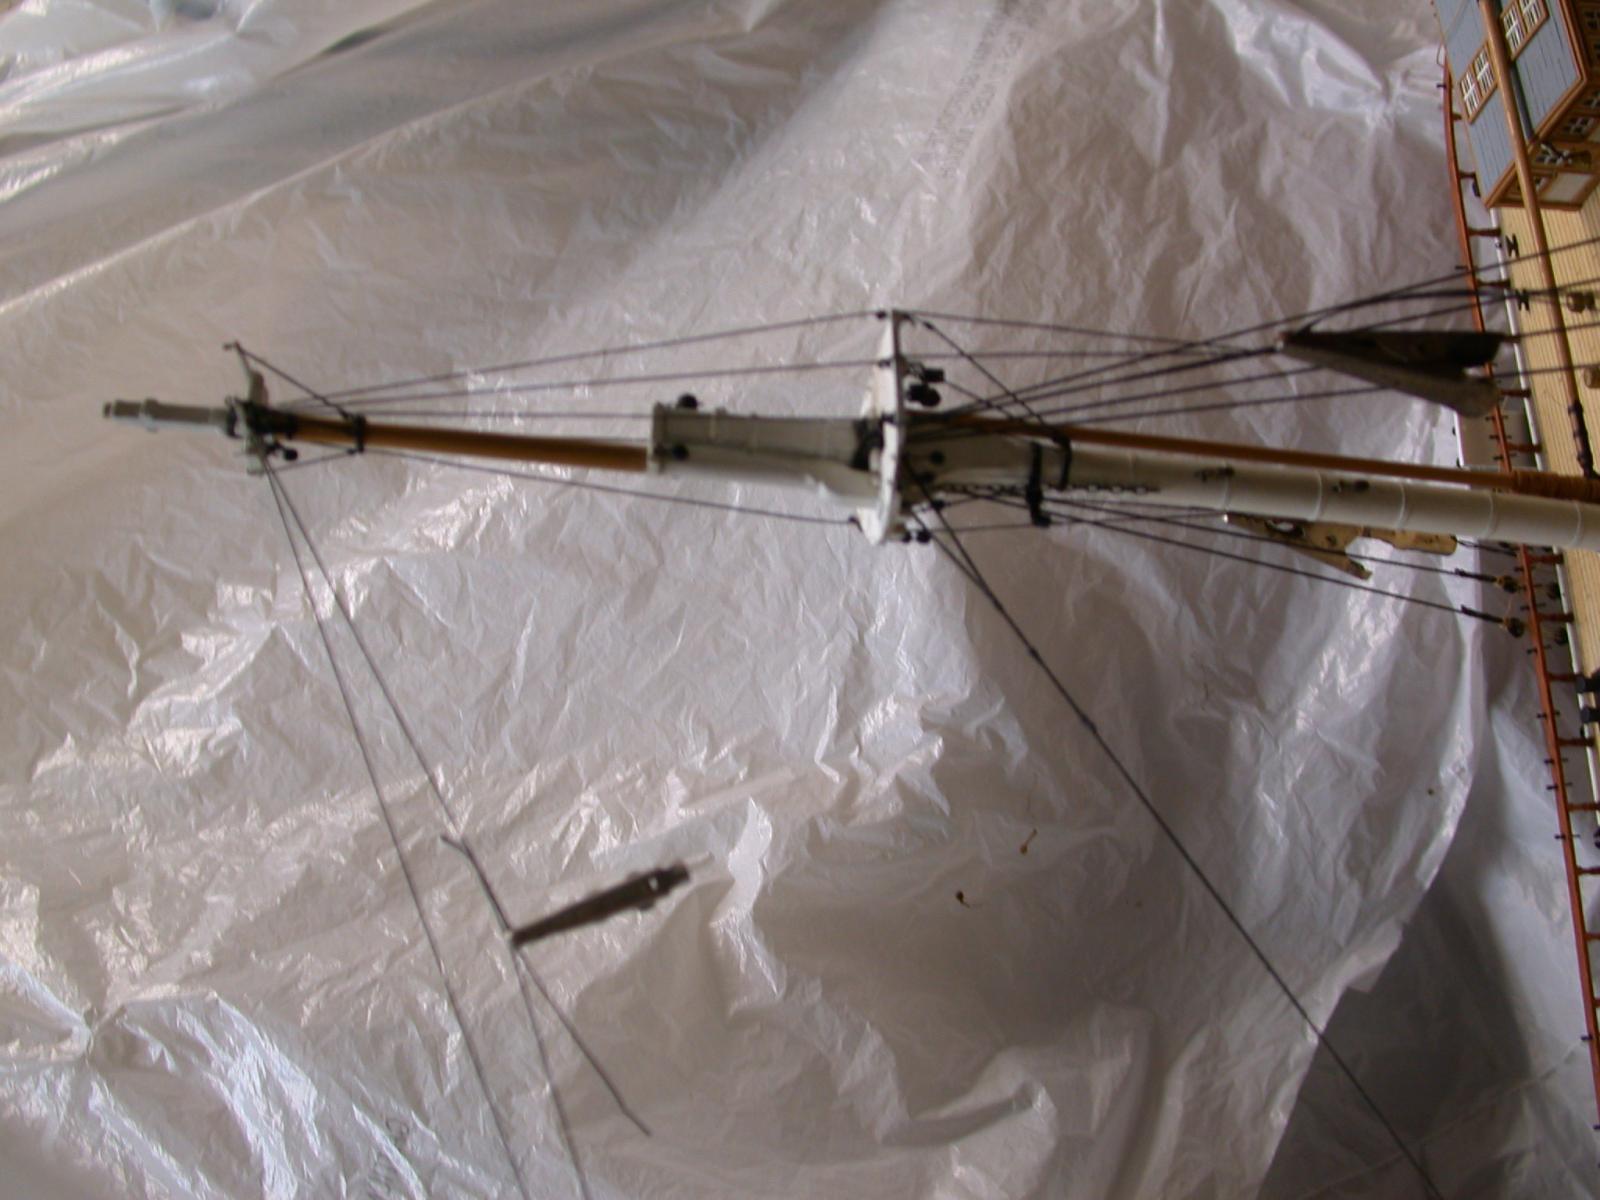
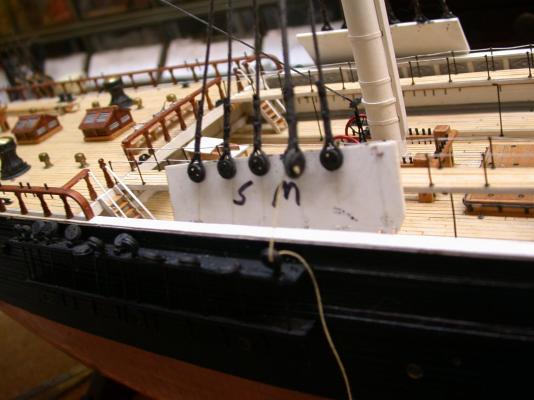
I've been busy on a customers RR project and am catching up a bit. I'm now ready to start putting on the jib boom rigging. As I've mentioned, I'm working stern to bow. This is giving me easy access to the areas I need to attach the stays to. Not sure why books recommend the other way like a real ship. I don't have real live 1/96 people to work for me on there. I'm pretty bust on these RR projects right now, if you want to know anything about the photos let me know. A can't figure out why I can't rotate the photos, I can't even find some that need it in the file!?! By the way, this latest RR work has allowed mew to add a brass casting set up,[jewelery set up]. Once I get it figured out I'll be able to use it for my ship modeling. And heck, I'll make some freaky jewelery too. Bruce

-
Hi guys, Bending the brass angle is not too bad if you get a feel for it. It tries to peak up, so to speak, and you need to sort of massage it back flat. The bevel could be put in with the frame in place fitting it to ribbands. The whole frame would actually be doable, but the cost would amaze you. Milling your own angle would be a big job if you wanted to. The modelling methods don't correlate with full size building methods. I can't imaging doing the fasting of the planks, though I do know how. I dislike treenailing as it is. To do it I would need to be paid handsomely as I would need to survive the boredom Har Har! And I would have to bank on finishing it all before heading to the great beyond! I would hate to hide much of the frame after all that labor, I guess that would help with the plank fastening some. Thinking about the cost of all of that the angle though, Phew! Check this out at the Special Shapes website. Maybe I could find a wealthy benefactor! I would suggest doing just an area on one side open to show the frame, doing the rest in wood with some easy method. I have a model with bent angle on it on my website and U Tube site. It's the Fairbanks Morse cinder conveyor in brass. Von Stetina
-
I've thought of this quite a bit as I build in brass a lot for people wanting RR models. [ www.vonstetinaartworks.com , or on U-Tube also.] The problem is with mechanicly fastening the planking to the frame, glue is not enough, although epoxy might hold up archivaly, MIGHT. [i think the US Navy model program accepts it.] Each bolt or rivet would need to be soldered, or the frame threaded with a tap so small and expensive it would blow your mind. Then they need to be covered with a plug as they don't show anyways. The angles are available in brass from Scale Shapes. You would probably be spending thousands of $ on brass. Also you could use "Z" angles rather than joint the 2 apposing angles. Or you could mill them yourself. Have at my friend, and let us all know! It would be interesting. Von Stetina Build log Extreme Clipper LIGHTNING 1/96
-
Looking terrific Ed! What I'm chomping at the bit to see though is the stern framing. Can't wait! Talking about steam machines helping out...how about McKay having to use steam pile drivers to drive in some of the huge Great Republic's bolts and such. Wow! Bruce
-
Micro drill holders
von stetina replied to Trussben's topic in Modeling tools and Workshop Equipment
I've gone through hundreds of #80 drills on my 1/8 scale build. The best way to adapt a tiny drill to any larger chuck is to wrap a layer of soft wire around it. It will spin nice and true. I pull my wire from old electrical cords. Look for old cords with the largest fine wire. Many are too thin. Von Stetina Build log Lightning, extreme clipper -
Optivisor. You might find a good buy on E bay. Any jewelery supply will have one. Von Stetina
-
Thanks Ed, I'll check it out. I questioned two suppliers I use and neither could help. One supplies ship modelers with Londonderry and has a chart of scale size conversions. On this build I'm committed to what I've bought as I've bought twice now. This DMC Cordennet seems real nice. It has a nice "rope" look as is, and is very clean, only minor fuzz that burns right off. I sure do hope my rigging doesn't sag much this time, it's soaked in Conservator's Wax. I think I'll brush on a thinned coat on the long open stretches. By the way, I thank you all for your kind comments. Bruce
-
Hi Ed, I stretch my made up rope in the machine too. After dying it I hang and stretch it by hand while wet and put on a weight and let it hang for a few days. Where did you find that linen? All that I could find was Londonderry and it has lumps and fuzz. I don't defuzz the tiny thread for the seizings. I was, but kept burning it. What I do is put my seizings on with undyed white thread. Then I mix India ink and white glue with a bit of water and paint that on the seizings, it lays down the fuzz. Any fuzz I see left I hit with my stencil burner. Next post with pics I'll put on a pic of the burner. In case anyone wonders, Egyptian cotton is usable due to it's long fibers, which give it strength and less fuzziness. Regular cotton I would consider a no-no. I used Londonderry linen on my first rigging attempt. It was stripped due to sagging. I had used shellac instead of conservators wax. This wax is used instead of beeswax as beeswax has some acidity and may deteriorate the thread. I thank Druxey for this info. Frank, I get my thread from a place called Fine Threads. I get it in ecru and dye it. I used India Ink split with about 1/4 water for black, and Raw Sienna FW acrylic ink mixed with some black India Ink. Rob, no problem, feel free. Bruce