-
Posts
698 -
Joined
-
Last visited
Profile Information
-
Gender
Male
-
Location
Sydney, Australia
-
Interests
We own a small classic yacht - a gaff sloop - which is excellent for day use & racing also. Cherub gets lots of use.
I enjoy fishing & used to surf a lot. These days I'm a family man but we sail together.
Recent Profile Visitors
-
 GrandpaPhil reacted to a post in a topic:
Ranger type yacht by Mark Pearse - 1:12 - SMALL
-
 GrandpaPhil reacted to a post in a topic:
Ranger type yacht by Mark Pearse - 1:12 - SMALL
-
 KeithAug reacted to a post in a topic:
Ranger type yacht by Mark Pearse - 1:12 - SMALL
-
 mtaylor reacted to a post in a topic:
Ranger type yacht by Mark Pearse - 1:12 - SMALL
-
 Bedford reacted to a post in a topic:
Ranger type yacht by Mark Pearse - 1:12 - SMALL
-
 Mark Pearse reacted to a post in a topic:
Ranger type yacht by Mark Pearse - 1:12 - SMALL
-
 Mark Pearse reacted to a post in a topic:
Ranger type yacht by Mark Pearse - 1:12 - SMALL
-
 mtaylor reacted to a post in a topic:
The San Marco mosaic ship c. 1150 by Louie da fly - 1:75
-
 MAGIC's Craig reacted to a post in a topic:
Ranger type yacht by Mark Pearse - 1:12 - SMALL
-
 MAGIC's Craig reacted to a post in a topic:
Ranger type yacht by Mark Pearse - 1:12 - SMALL
-
 MAGIC's Craig reacted to a post in a topic:
Ranger type yacht by Mark Pearse - 1:12 - SMALL
-
 Roger Pellett reacted to a post in a topic:
Ranger type yacht by Mark Pearse - 1:12 - SMALL
-
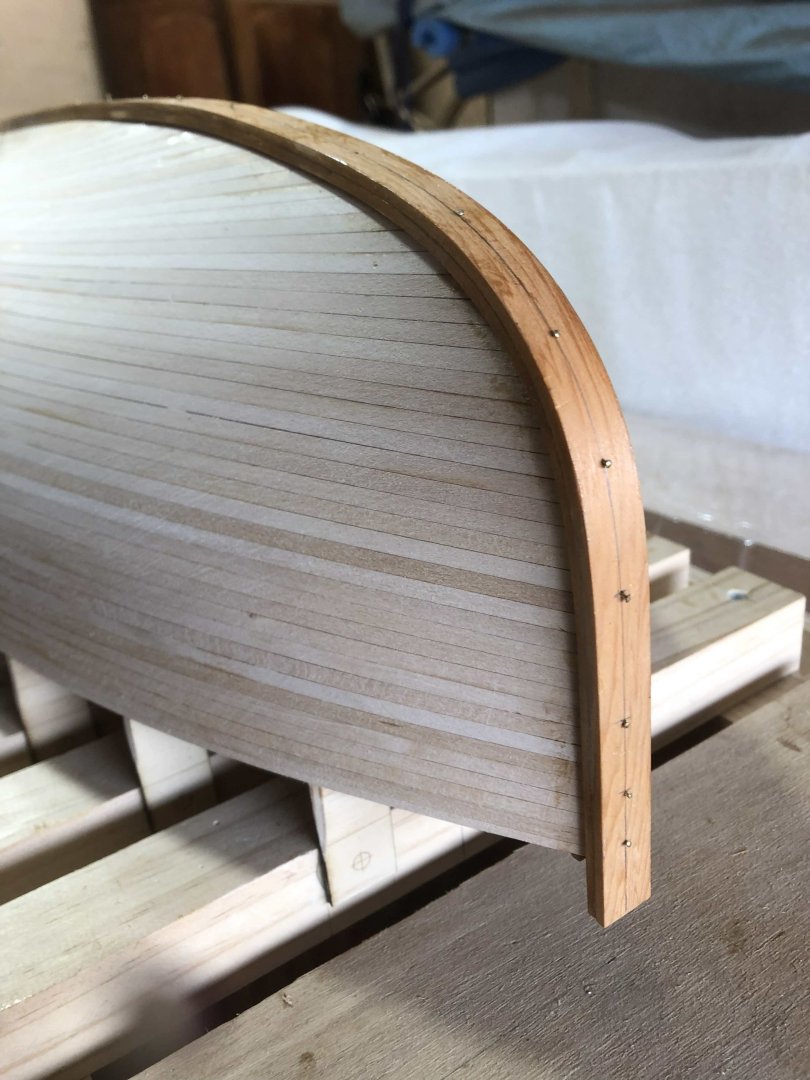
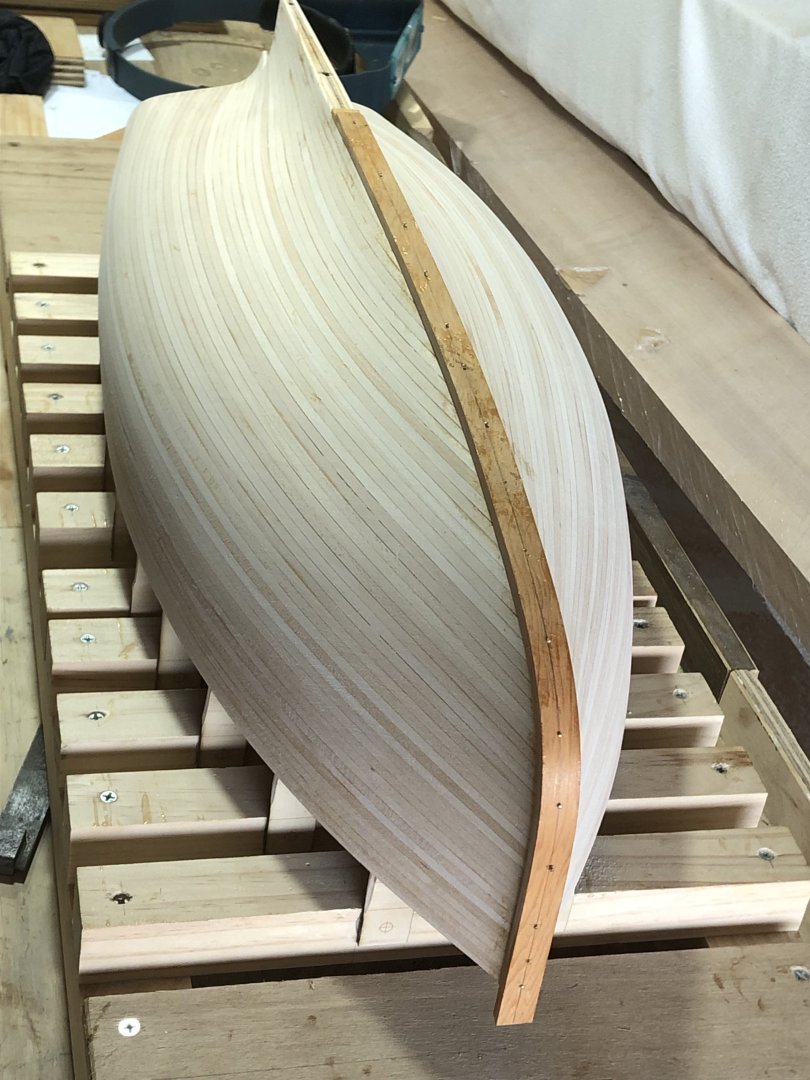
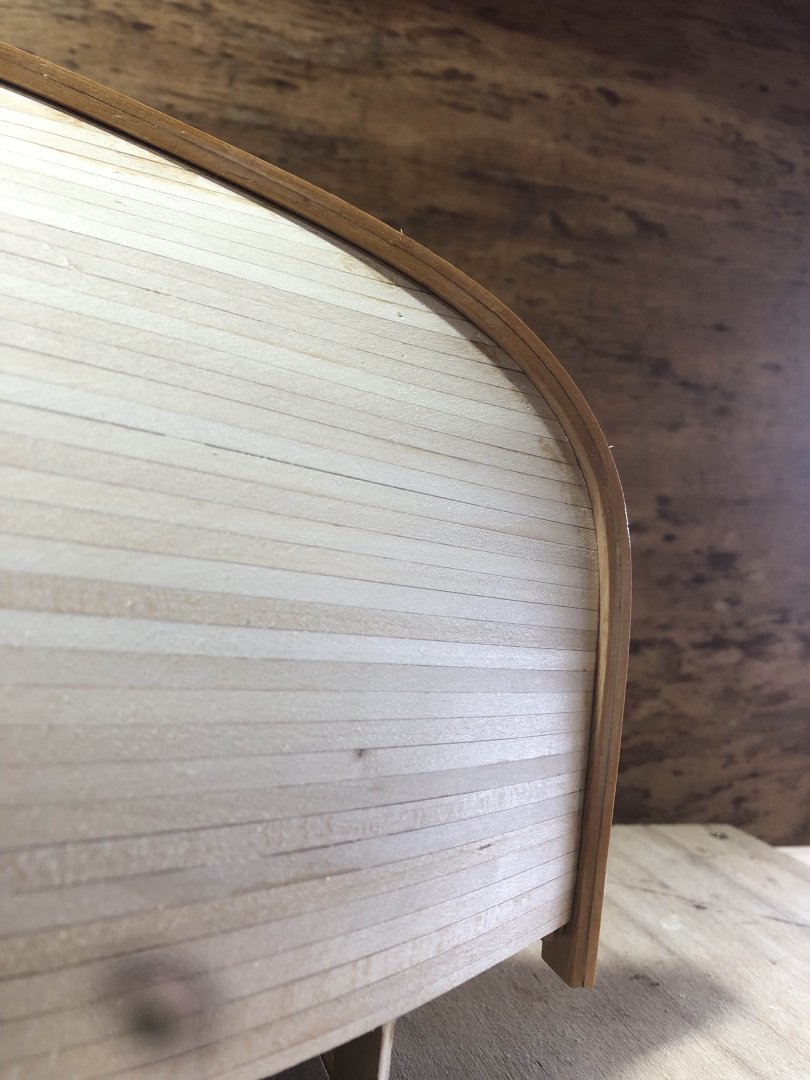
I started the outer stem & keel piece, that goes from the deck at the bow around to the keel. I decided to glue laminate it in one piece, partly because - as with the glued planks replicating strip planking - this is more akin to the way the actual yacht was constructed, as a timber / epoxy composite construction. I had some sheets of Sapele from something & even the 1.75mm (maybe 1/16th) thick wasn't happy doing the curve, with heating. I had some 2.5 thick strips of Huon Pine, & they were happy to do it, with a bit of heat from the hot air gun. I'd rather a harder timber, but oil based enamel paint is quite tough. I came across some tiny fine brass nails that I had bought & didn't use on a model, & decided to try using them to ensure the laminating is a close fit to the hull shape. Partly because the timber needs a finished thickness of 5mm, & with 2 @ 2.5mm there wasn't much adjustment possible. Anyway, it looks to have worked well, & hopefully hasn't been glued to the hull... I left about 1mm of nail sticking out, so I can pull them out. It worked nicely: Except for 2 (where a little more oomf was need to hold the timber in), the nail heads are left projecting a little to aid removal: Here's where you can see how well this worked - no gaps! Helped by the general pliability of Huon. thanks
-
 Mark Pearse reacted to a post in a topic:
The San Marco mosaic ship c. 1150 by Louie da fly - 1:75
-
 Mark Pearse reacted to a post in a topic:
Ranger type yacht by Mark Pearse - 1:12 - SMALL
-
 Mark Pearse reacted to a post in a topic:
Ranger type yacht by Mark Pearse - 1:12 - SMALL
-
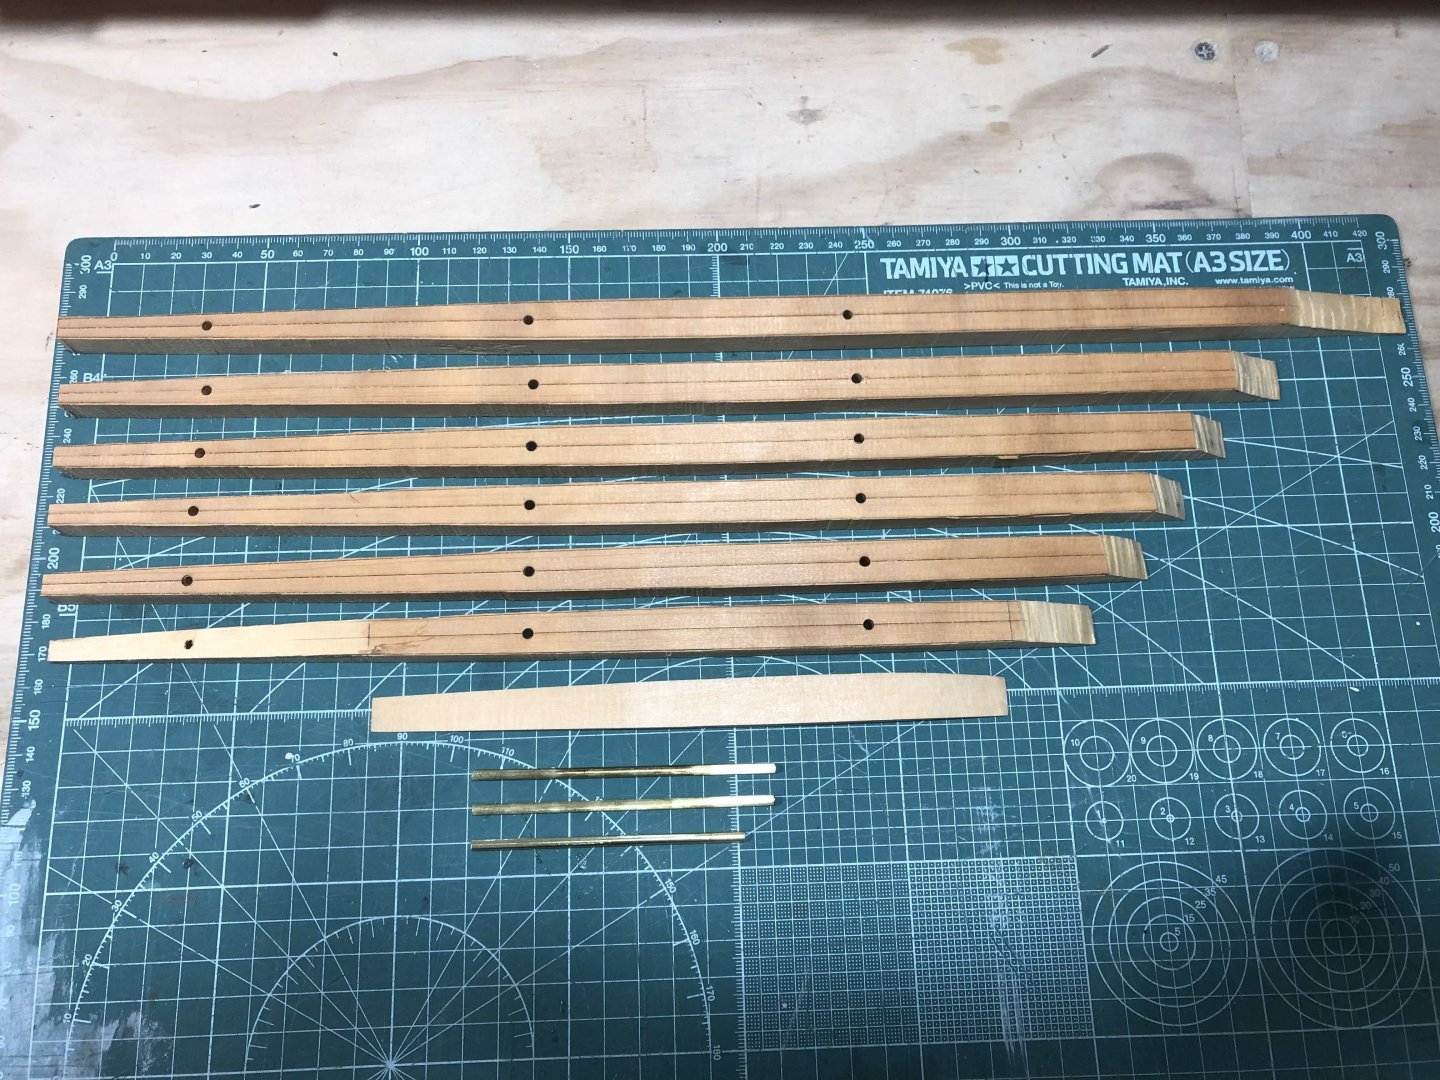
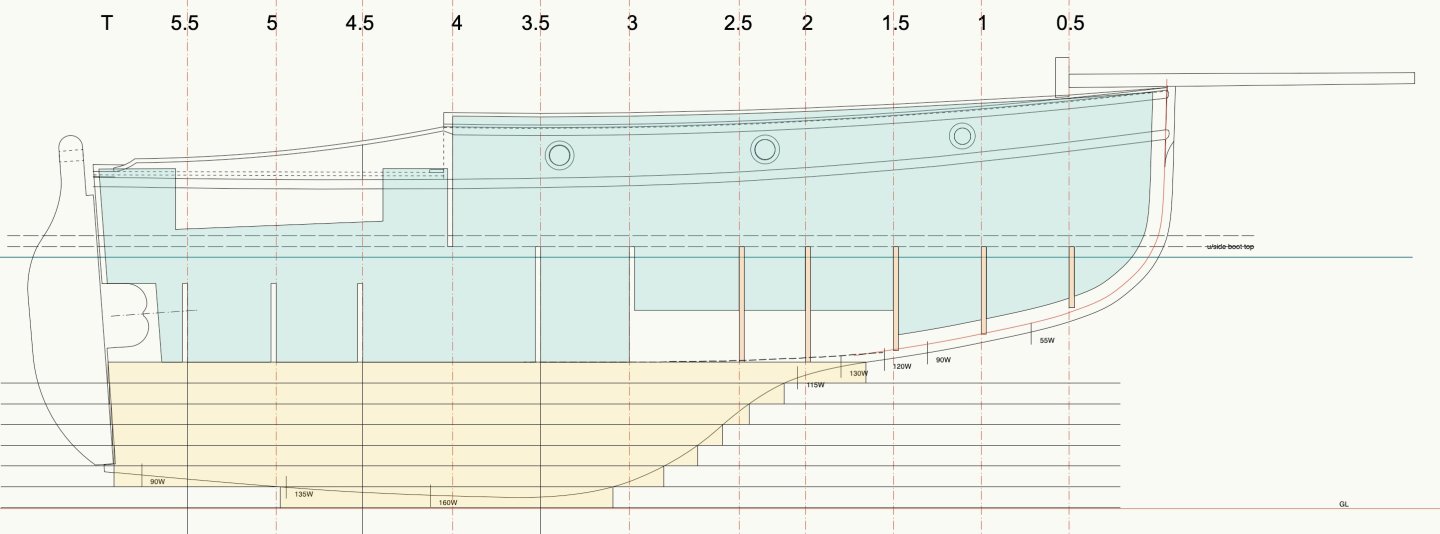
I've started on the keel. The shape is not complex, so it can be modelled pretty easily. For stability & strength I decided to make it from horizontal strips of timber, dowelled with brass. The timber is a nice straight-grained piece of Huon Pine. The keel is not a difficult shape: it fairs with the hull, but essentially it appears to be even from there down to the bottom of the keel. This is the keel side on. The yellow bands will be done in strips of timber. The strips, in plan: The timber pieces cut to shape, plus the 1/8th brass rod: Stacked & trimmed, & sitting on the hull. It doesn't look quite right, but it will. The hull has more sanding to get it down to the right size, I have left that to assist get the fairing with the keel right. thanks all
-
 Mark Pearse reacted to a post in a topic:
The San Marco mosaic ship c. 1150 by Louie da fly - 1:75
-
Hi Steven, I hope you don't mind my adding to the discussion, but I don't agree that this is an error - if the shrouds were on the leeward side then they won't have a lot of load on them. A helmsman could intentionally sail an angle to de-load a shroud so it can be worked on.
- 409 replies
-
 Mark Pearse reacted to a post in a topic:
The San Marco mosaic ship c. 1150 by Louie da fly - 1:75
-
 Mark Pearse reacted to a post in a topic:
Le Gros Ventre 1767 by woodrat - Scale 1:48 - POF - French exploration vessel
-
Hi Steven The weathering you did with the timber decking & elsewhere really looks great, it's very credible.
- 409 replies
-
 Mark Pearse reacted to a post in a topic:
Meteor 1851 by Jim Lad - Scale 1:96 - Immigrant Ship
-
 Mark Pearse reacted to a post in a topic:
Golden City by Louie da fly - Scale 1:50 and 1:25 - solid hull - Paddlewheeler
-
Hi John, She looks very good in the photos, but they don't do this model justice... I was at the museum Friday - the Walter Reeks book launch - & dropped over to see if you were in. Saw the model Meteor though, it's exquisite.
-
Yes, a lot of fun & what a nice boat. Sort of a large verandah with a paddlewheel. And it floats.
- 31 replies
-
- Paddlewheeler
- Ballarat
-
(and 3 more)
Tagged with:
-
Hi Steve Good to hear from you. Yes, I think Cliff had a good eye. I hope your new home is working out well. (south coast..?) Hi Micha, Thank you, & thanks for reading the log. Re your oped-for next build: have you asked the people building them if they will send you lines drawings? They might do it. One more photo, it's the James Craig & the Ranger Cherub, bowsprit to bowsprit....Sydney Harbour a couple of years ago.
-
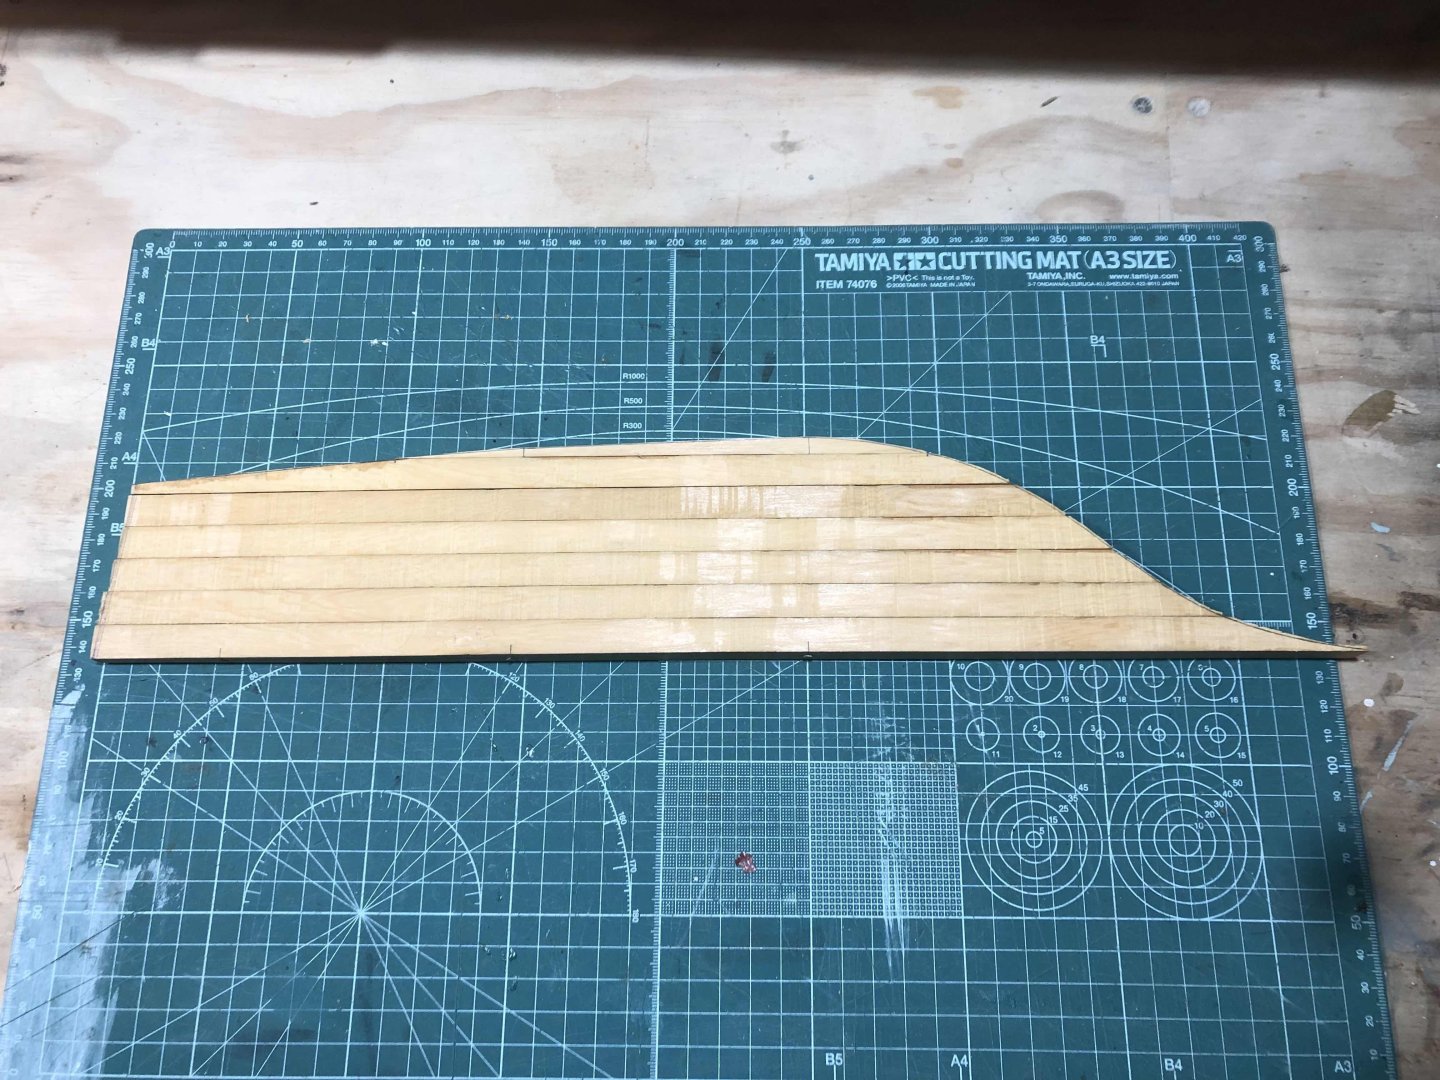
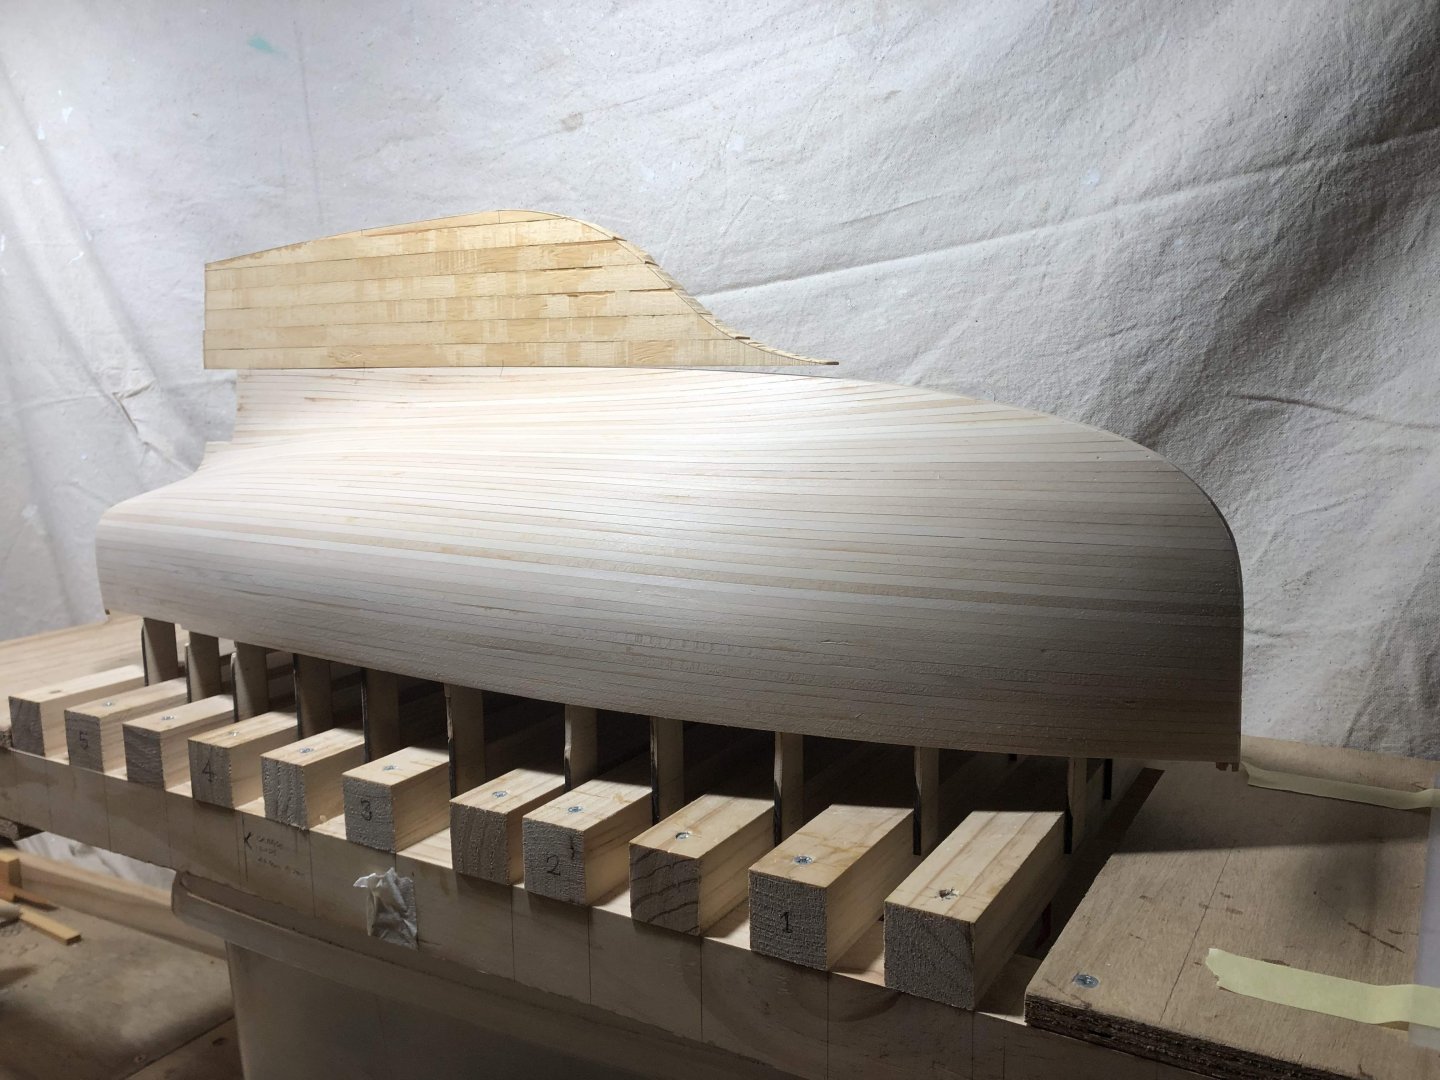
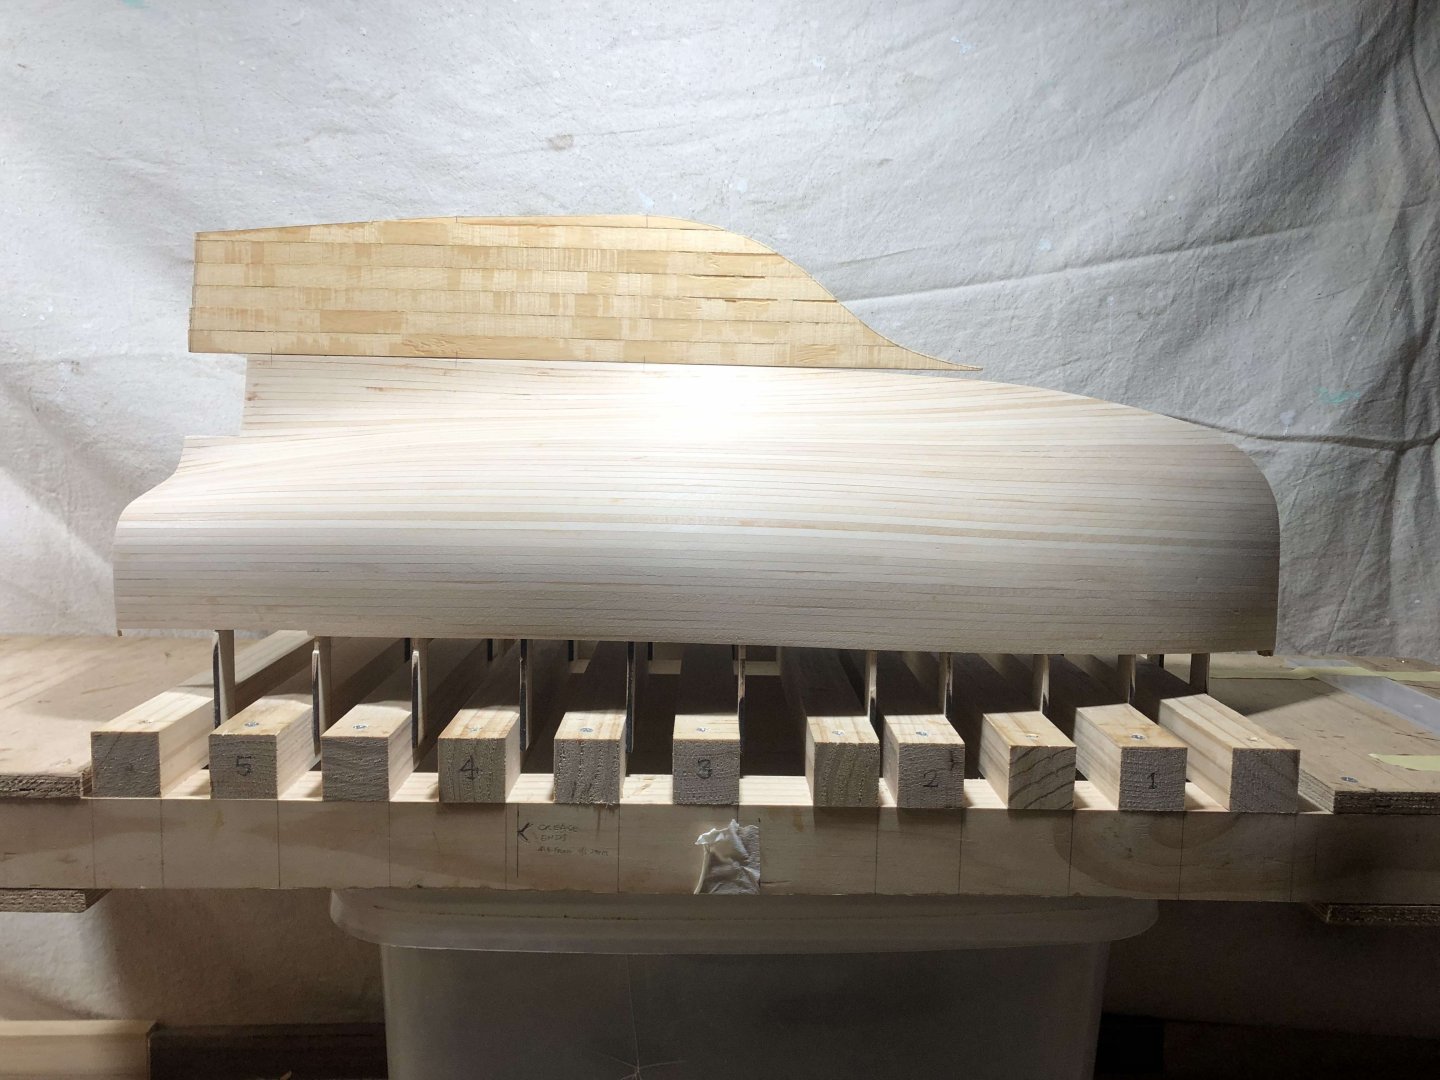
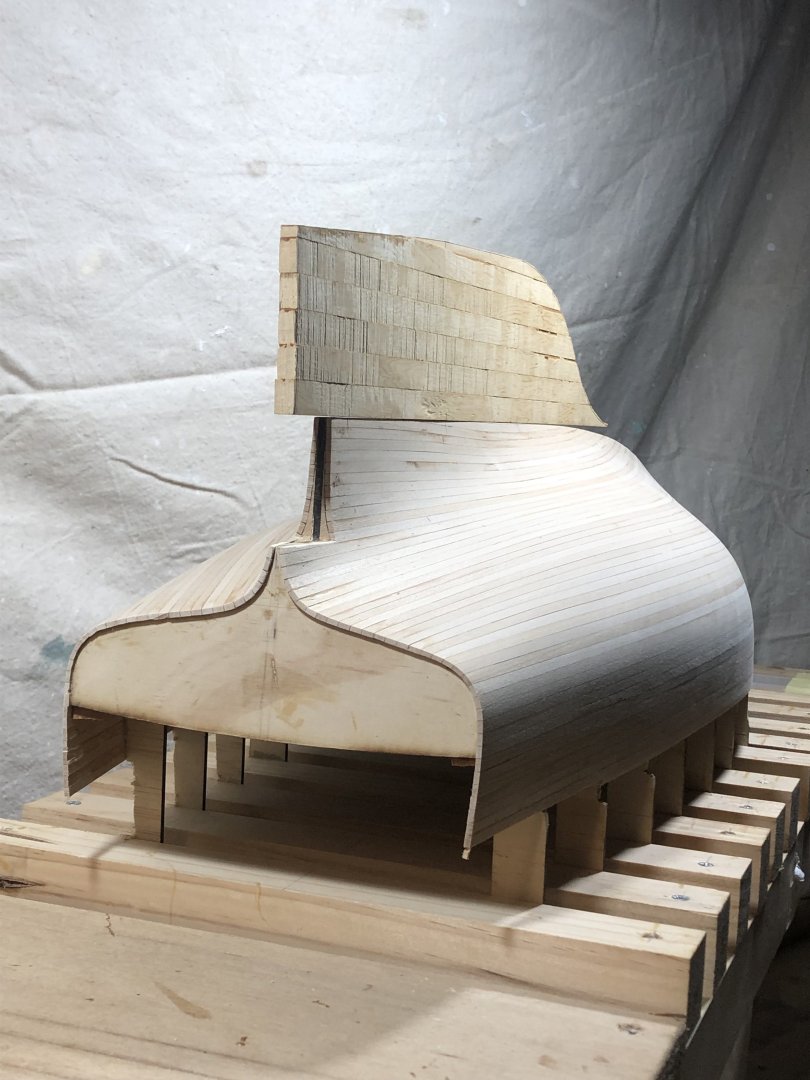
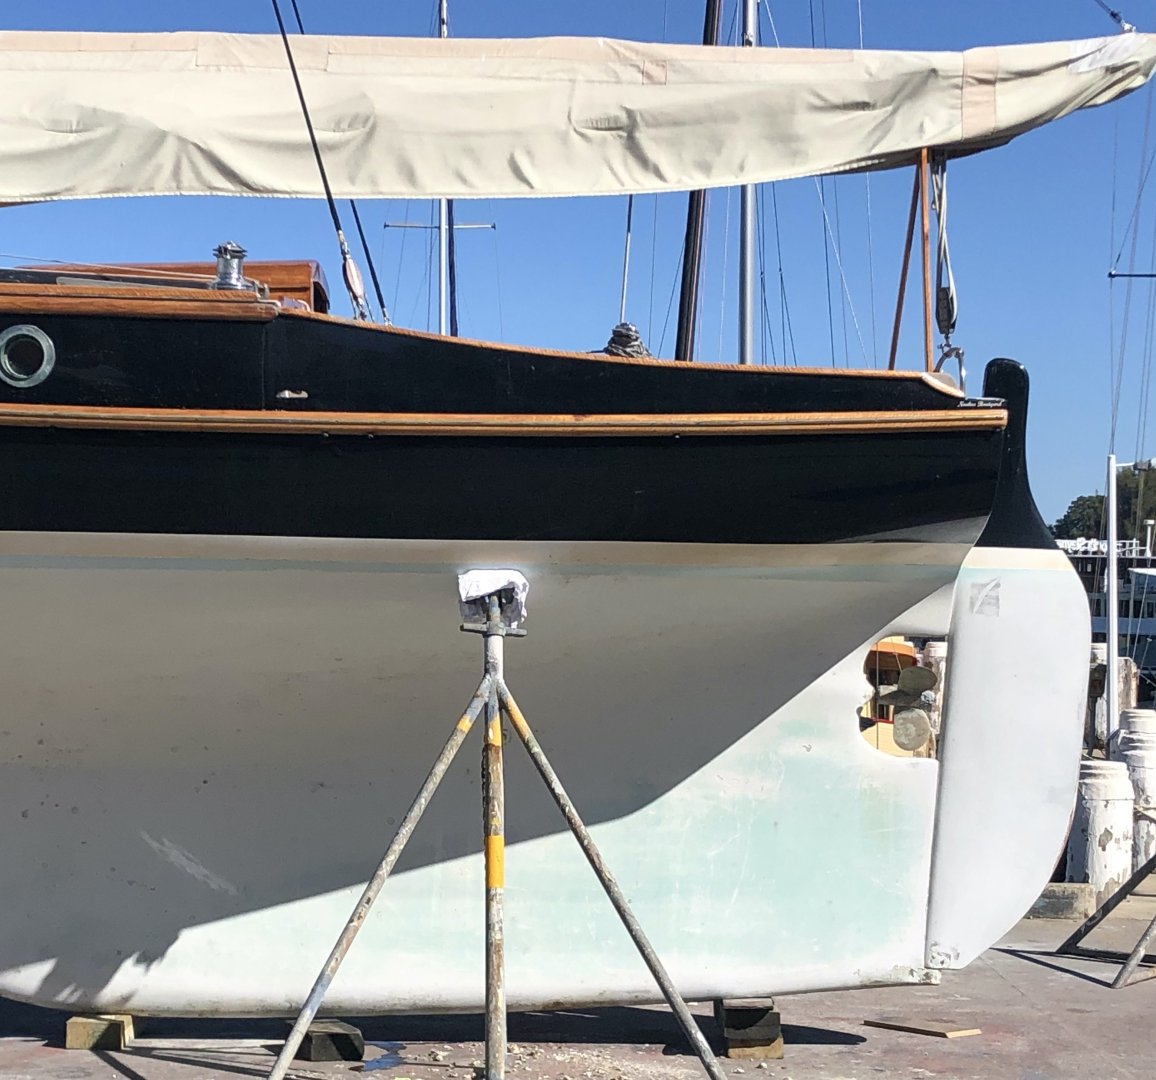
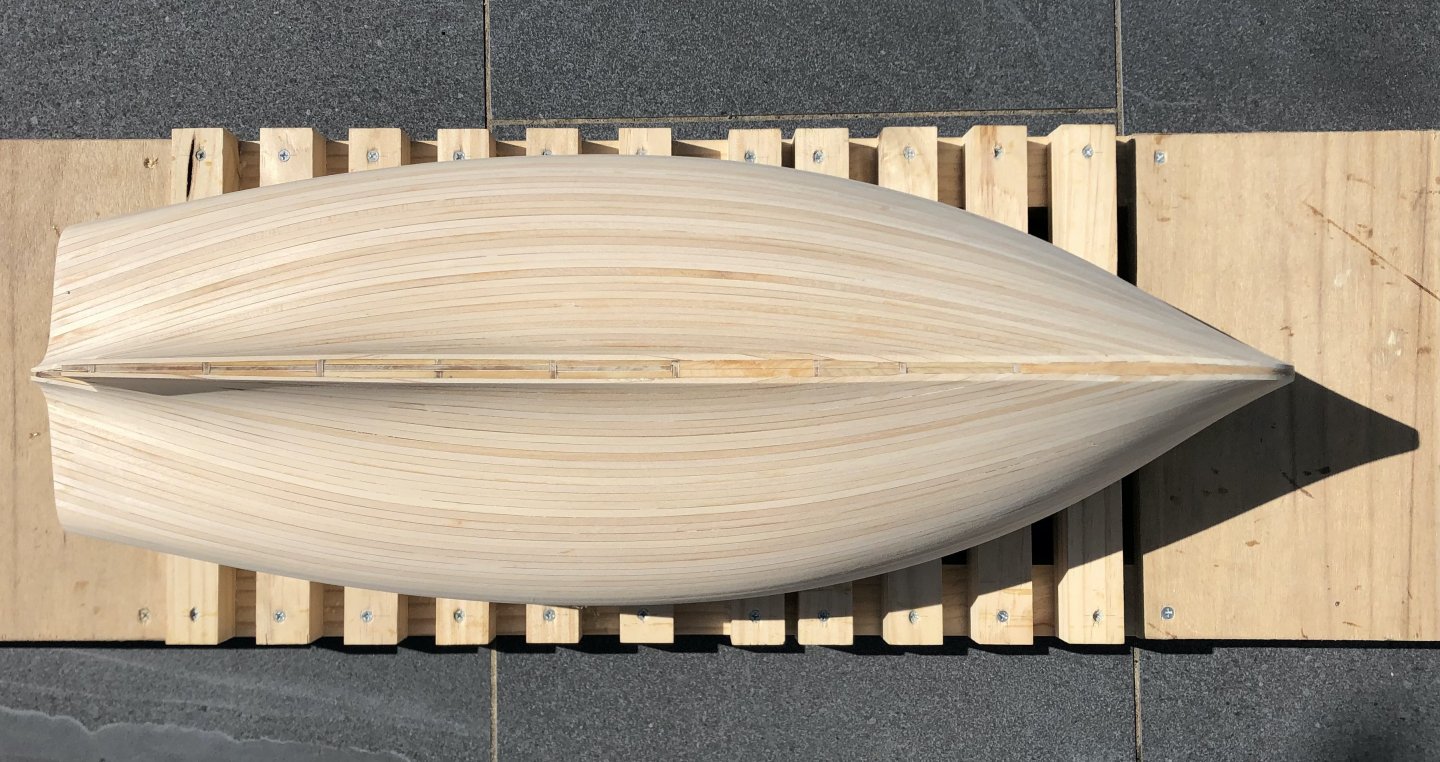
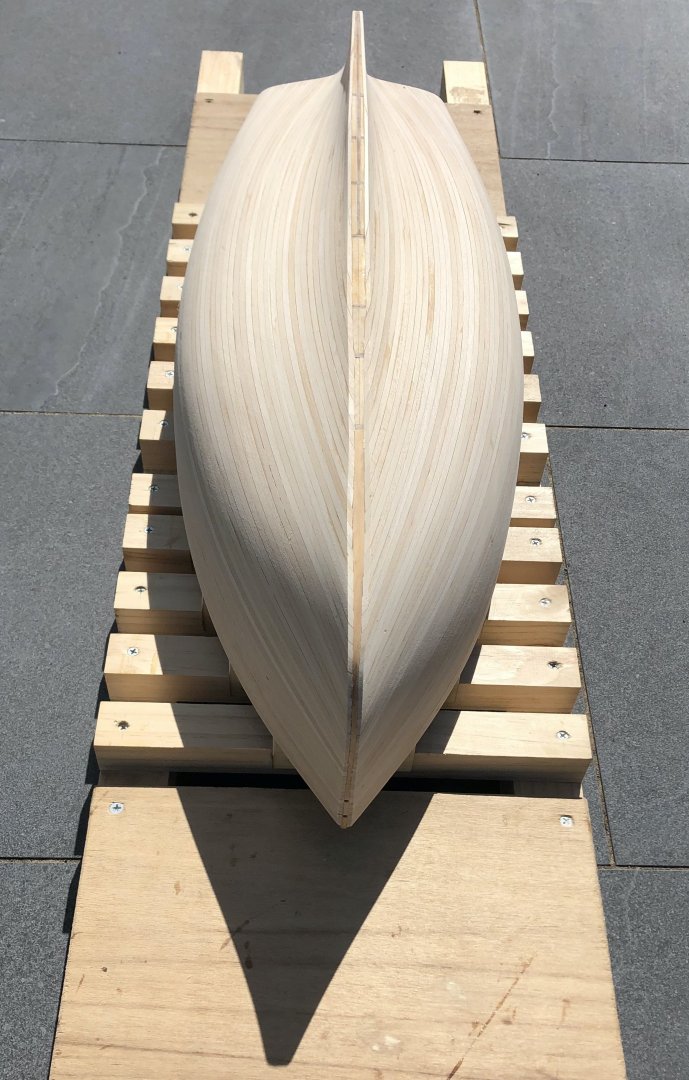
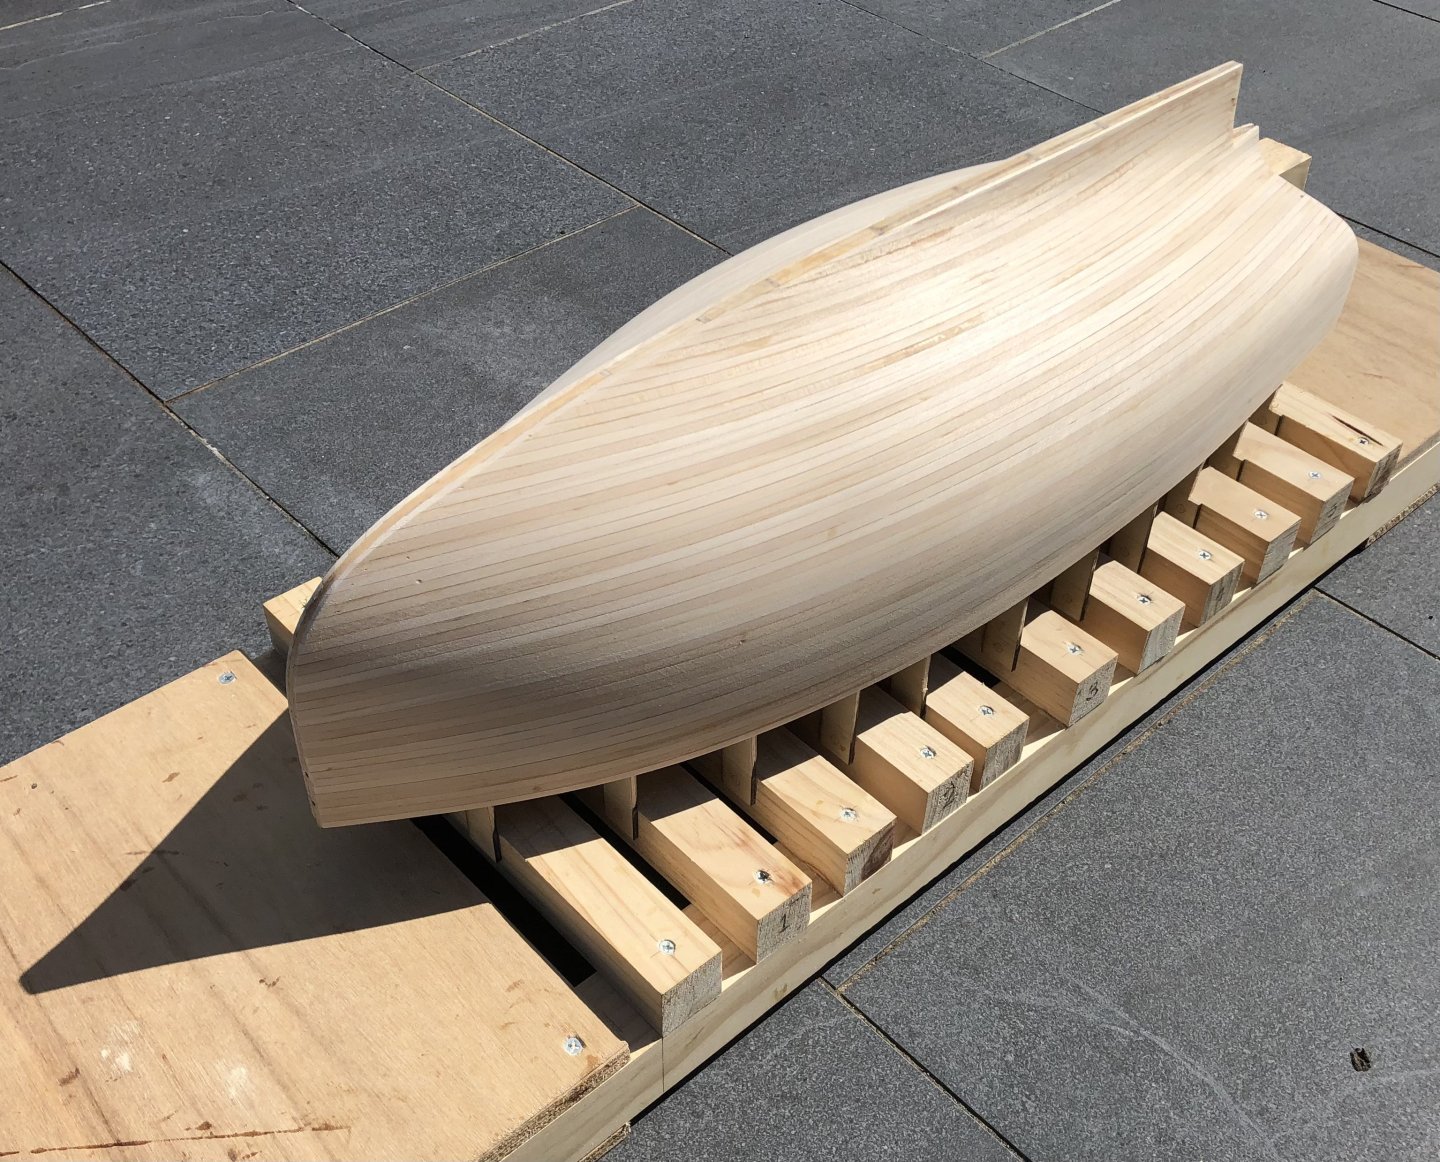
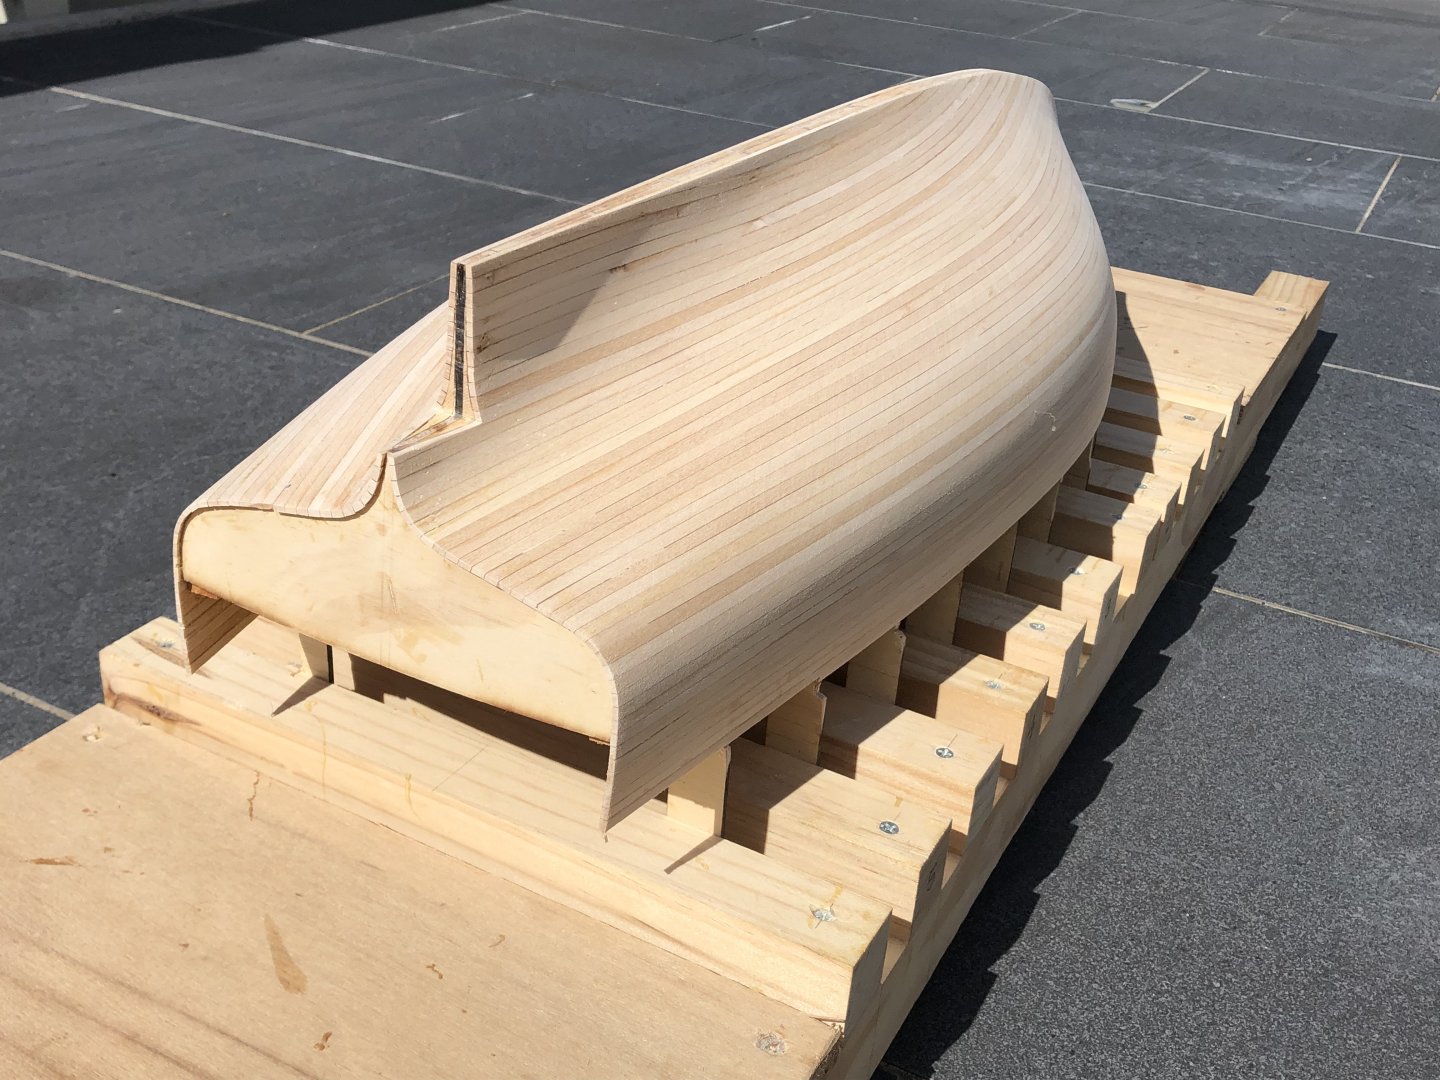
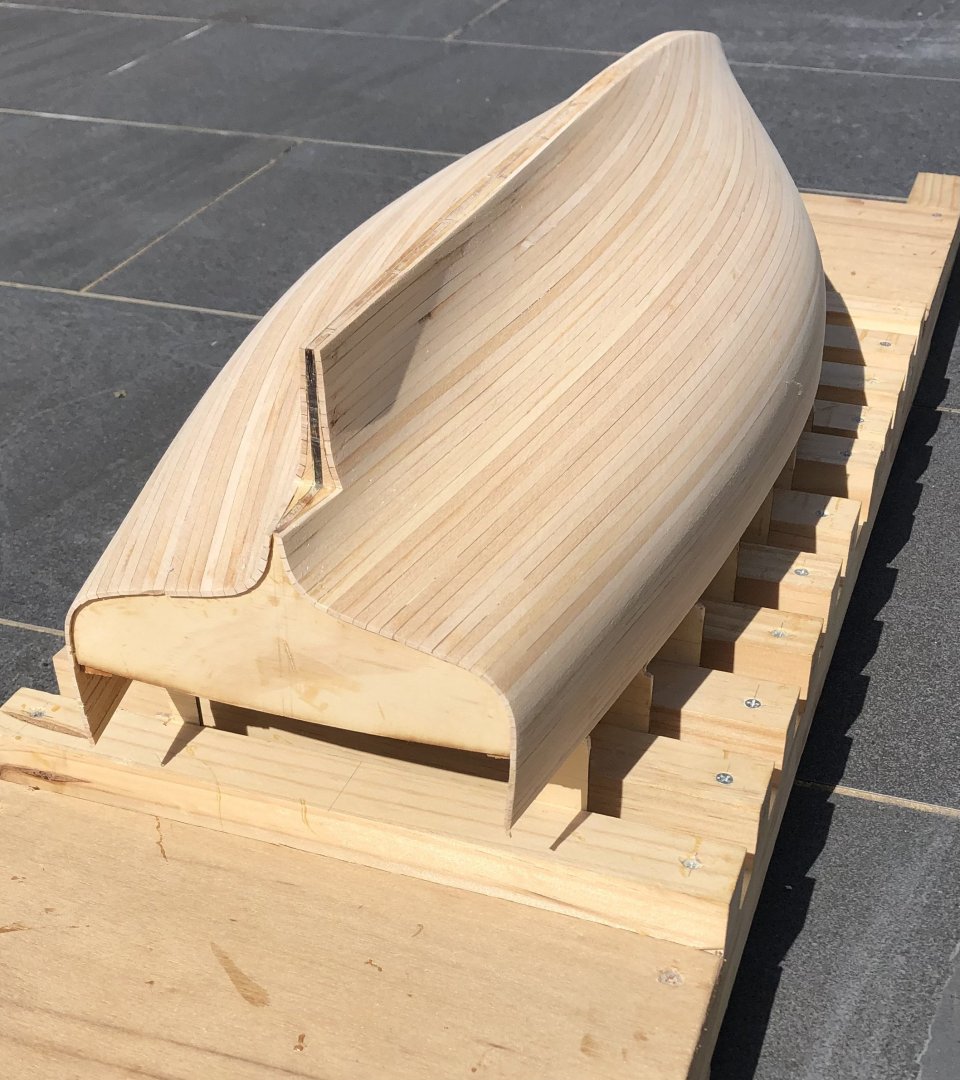
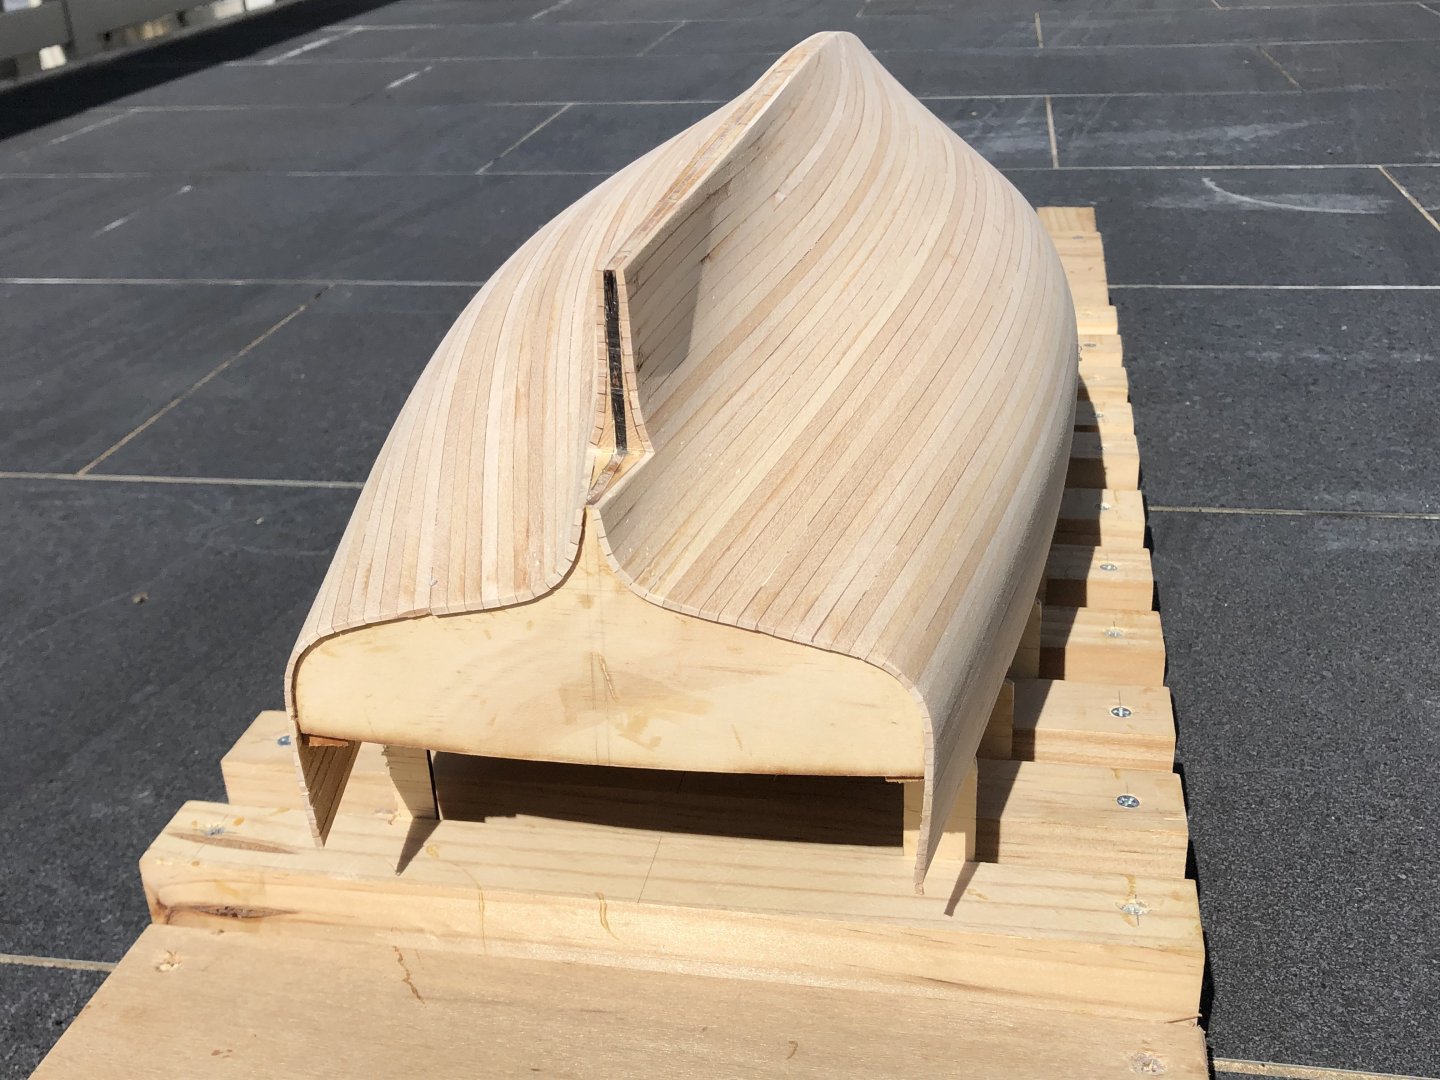
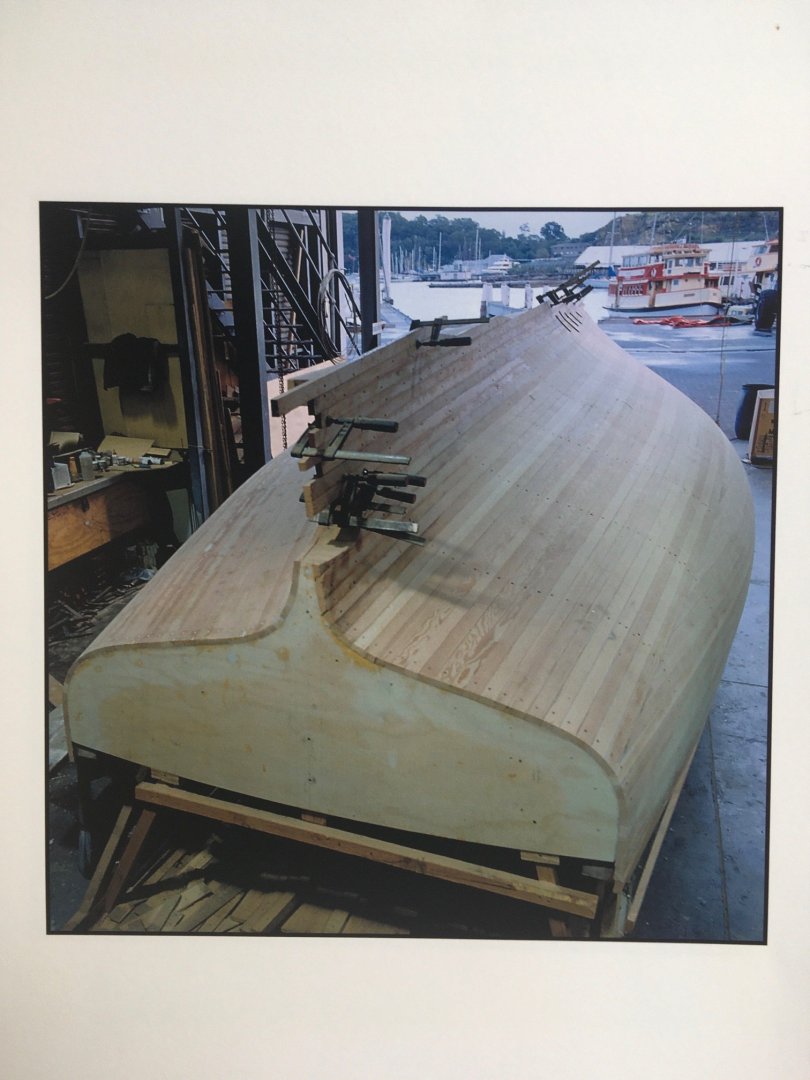
The planking is finished & I've spent a few hours sanding. This planking method (strip planking at scale) was visually messy, so it's very nice to see the hull lines start to become more visible. Although the nature of strip planks (being parallel sided), the planking lines throw the optics of the shape off a bit, as the line of the planks towards the keel don't bear much relation to the hull shape....the planking just follows the ones above with no tapering. The stern photos show the excess hull near the transom - that planking needs to be cut away - as the hull has the sweep down from the upper deck to the height of the transom. Photo below shows that gently curved line of that transition. I'll do a bit more sanding & then start on the keel & outer stem pieces. Also the infill piece that will turn the square cutaway at the stern into the curved propeller cutaway. They are a fat boat..... plus this for comparison: thanks
-
Is it possible the ladder was integrated with the stays?
- 409 replies
-
Hi Vaddoc, good progress. And your daughter's boat is lovely, she will remember the experience of making something with her dad. I know it's painful subject, but is Beech timber more inclined to change size with changing humidity? I think Phil's advice to seal the timber is good, it should significantly slow down humidity changes of the timber.
-
Hi Steven, I went to a talk on the sailing of the Duyfken late 15C ship, they noted that the person on the steerage can get thrown across the boat. My thoughts are that your stance looks good, but perhaps a stance more braced...wider stance perhaps? Just a thought
- 409 replies
-
What an interesting vessel! The previous post with the roof on looks so nice.
- 31 replies
-
- Paddlewheeler
- Ballarat
-
(and 3 more)
Tagged with:
About us
Modelshipworld - Advancing Ship Modeling through Research
SSL Secured
Your security is important for us so this Website is SSL-Secured
NRG Mailing Address
Nautical Research Guild
237 South Lincoln Street
Westmont IL, 60559-1917
Model Ship World ® and the MSW logo are Registered Trademarks, and belong to the Nautical Research Guild (United States Patent and Trademark Office: No. 6,929,264 & No. 6,929,274, registered Dec. 20, 2022)
Helpful Links
About the NRG
If you enjoy building ship models that are historically accurate as well as beautiful, then The Nautical Research Guild (NRG) is just right for you.
The Guild is a non-profit educational organization whose mission is to “Advance Ship Modeling Through Research”. We provide support to our members in their efforts to raise the quality of their model ships.
The Nautical Research Guild has published our world-renowned quarterly magazine, The Nautical Research Journal, since 1955. The pages of the Journal are full of articles by accomplished ship modelers who show you how they create those exquisite details on their models, and by maritime historians who show you the correct details to build. The Journal is available in both print and digital editions. Go to the NRG web site (www.thenrg.org) to download a complimentary digital copy of the Journal. The NRG also publishes plan sets, books and compilations of back issues of the Journal and the former Ships in Scale and Model Ship Builder magazines.


