wilnatp
-
Posts
25 -
Joined
-
Last visited
Recent Profile Visitors

-
 Duanelaker reacted to a post in a topic:
Hannah by wilnatp - Amati - BOTTLE
Duanelaker reacted to a post in a topic:
Hannah by wilnatp - Amati - BOTTLE
-
Geoffrey reacted to a post in a topic:
Hannah by wilnatp - Amati - BOTTLE
-
mtaylor reacted to a post in a topic:
Lifeboat RS1 Colin Archer by IgorSky - BOTTLE - scale 1/230 - Finished
-
IgorSky reacted to a post in a topic:
Lifeboat RS1 Colin Archer by IgorSky - BOTTLE - scale 1/230 - Finished
-
Beautiful project. What did you use for sea in the bottle? It is a lovely color and texture! Nathan
-
Congratulations. She looks great!
-
IgorSky reacted to a post in a topic:
Hannah by wilnatp - Amati - BOTTLE
-
Hannah by wilnatp - Amati - BOTTLE
wilnatp replied to wilnatp's topic in - Kit build logs for subjects built from 1751 - 1800
Spent 6 hours last night rigging. Photos will follow in the next couple of days. Still have about 1.5 hrs left in the rigging - needing to add the square sails and shrouds/ratlines. I am currently debating whether or not to set the course sail and the topsail or just the topsail. I've seen both configurations on this model, but am leaning toward just the topsail so as to provide a bit more viewing of the deck and rigging. @Mike, I really like the way that your sea turned out and have been going back and forth on adding it. I've decided against it for this build, but have saved a few clear bottles just to practice putting sea into. I tried fitting the ship into the bottle without the masts and it was TIGHT. I'll be filing out some of the neck to make the fit a touch easier. -
msberkman reacted to a post in a topic:
Hannah by wilnatp - Amati - BOTTLE
-
IgorSky reacted to a post in a topic:
Hannah by wilnatp - Amati - BOTTLE
-
Landlubber Mike reacted to a post in a topic:
Hannah by wilnatp - Amati - BOTTLE
-
gjdale reacted to a post in a topic:
Hannah by wilnatp - Amati - BOTTLE
-
Great work so far. Looking forward to seeing how easily she goes in. I am nervous for getting her to settle onto the stand and its pegs.
-
Hannah by wilnatp - Amati - BOTTLE
wilnatp replied to wilnatp's topic in - Kit build logs for subjects built from 1751 - 1800
Carl and Mike. Thanks for the support. I am moving on to rigging now. Your build logs have been great resources for me. -
Hannah by wilnatp - Amati - BOTTLE
wilnatp replied to wilnatp's topic in - Kit build logs for subjects built from 1751 - 1800
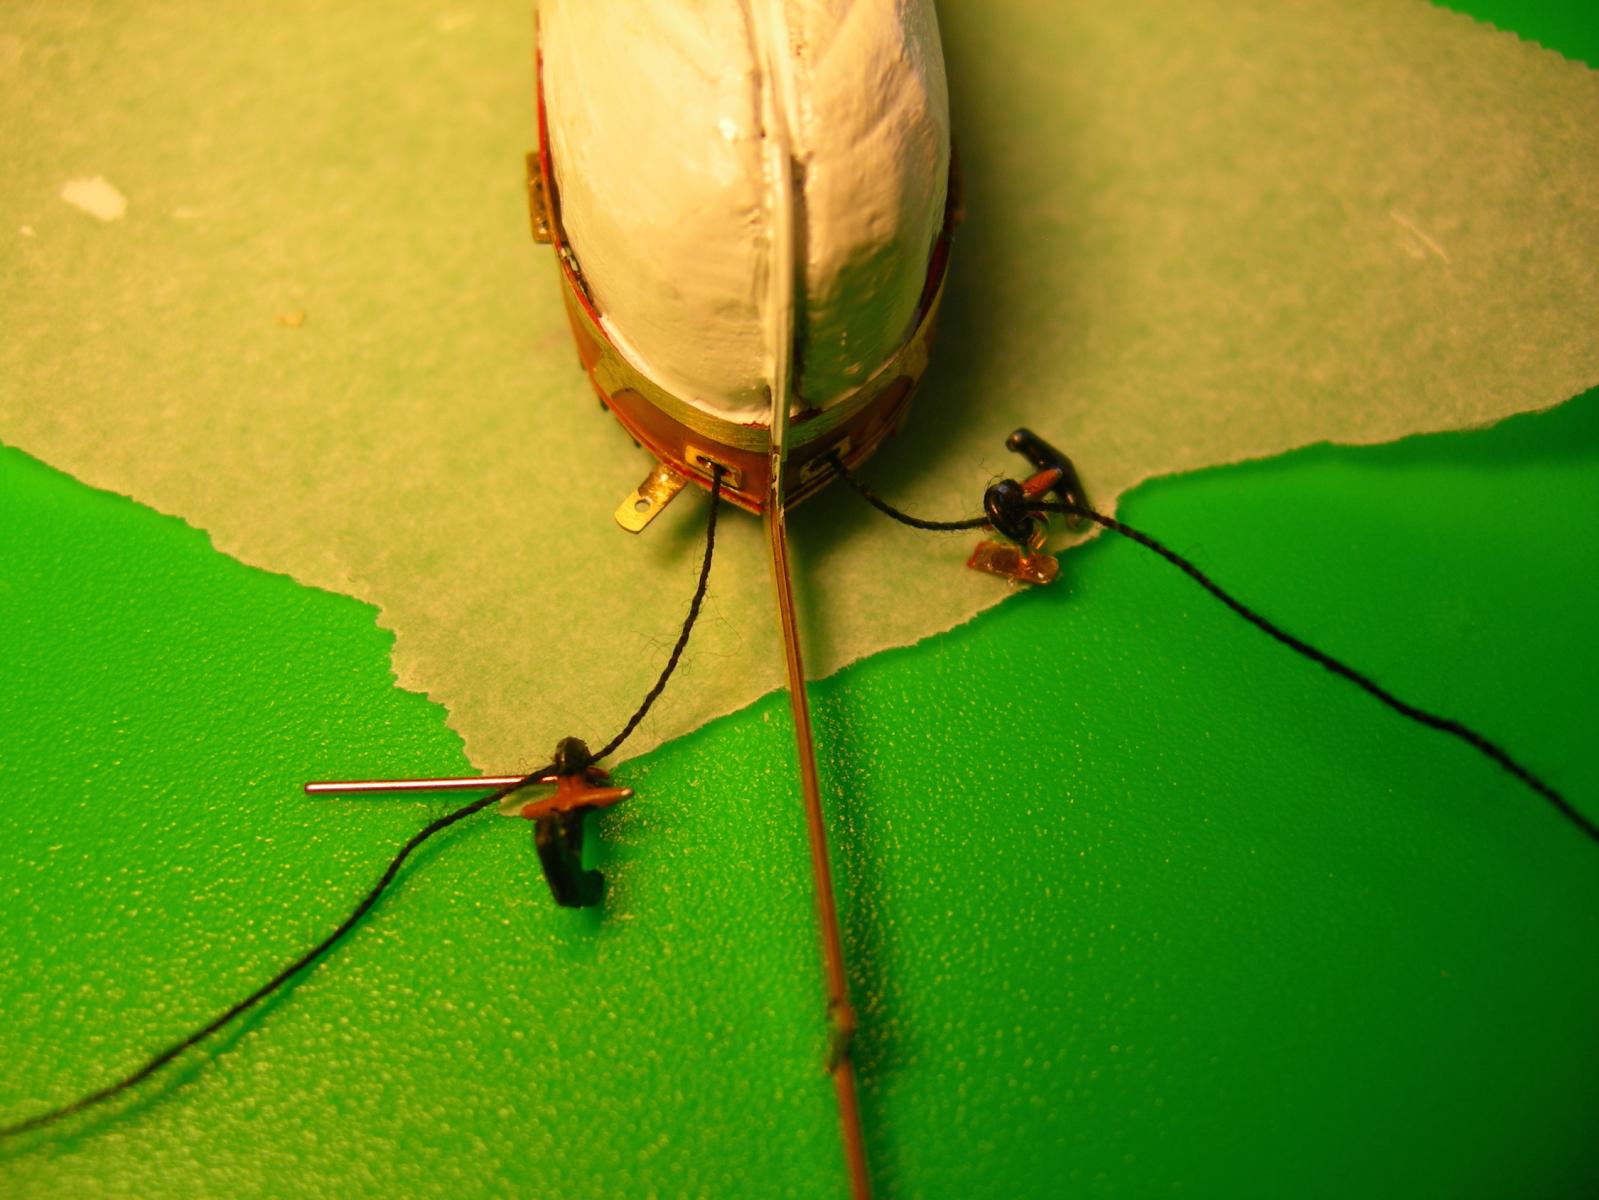
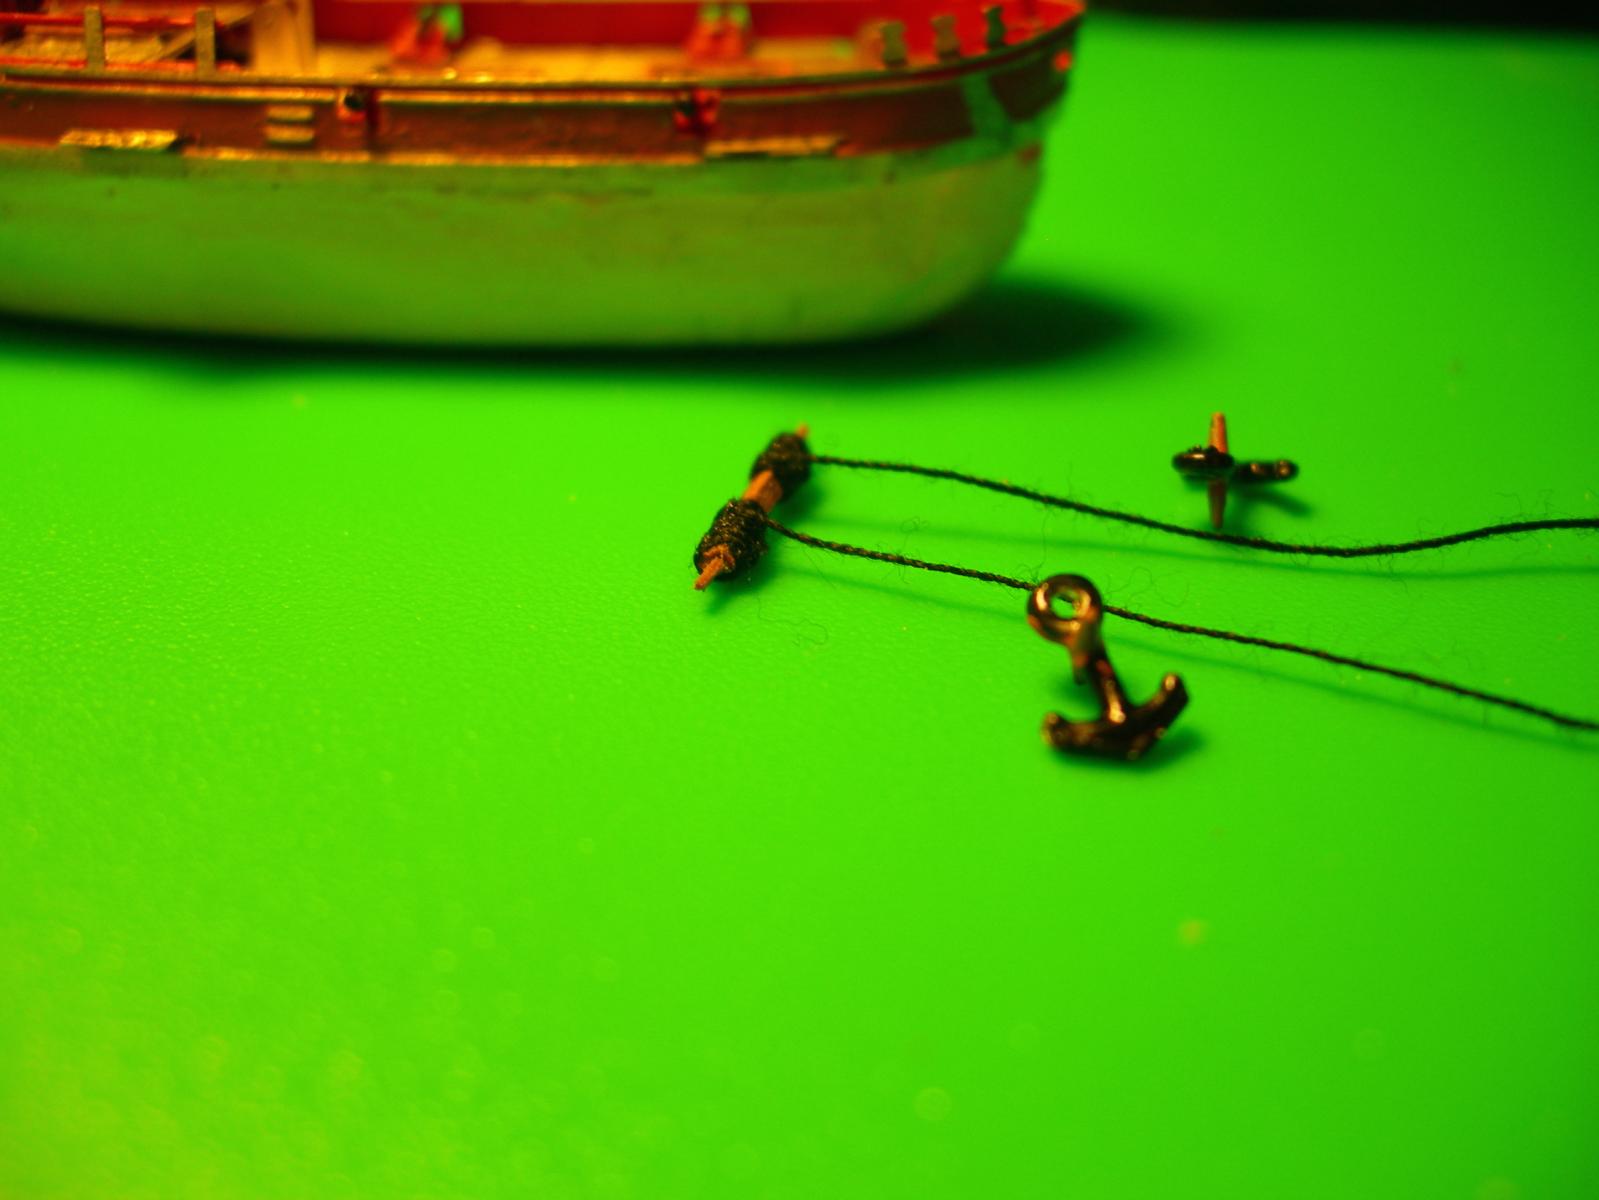
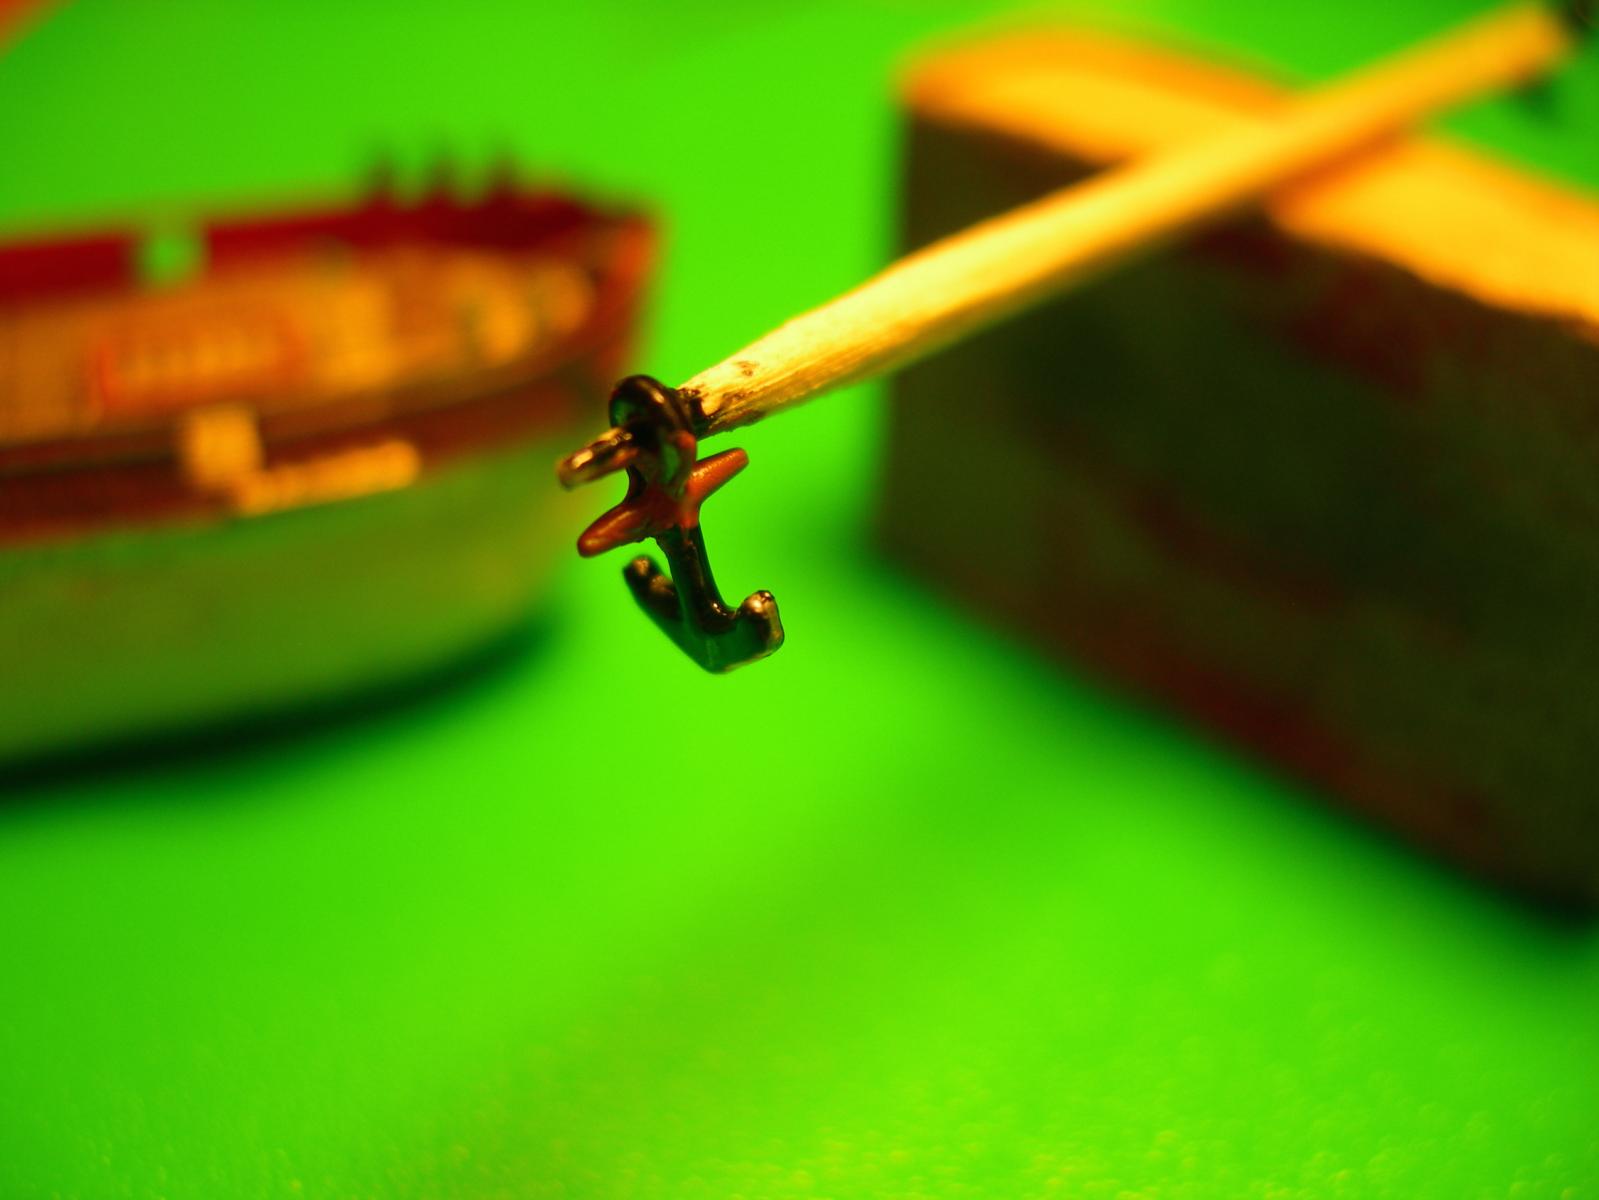
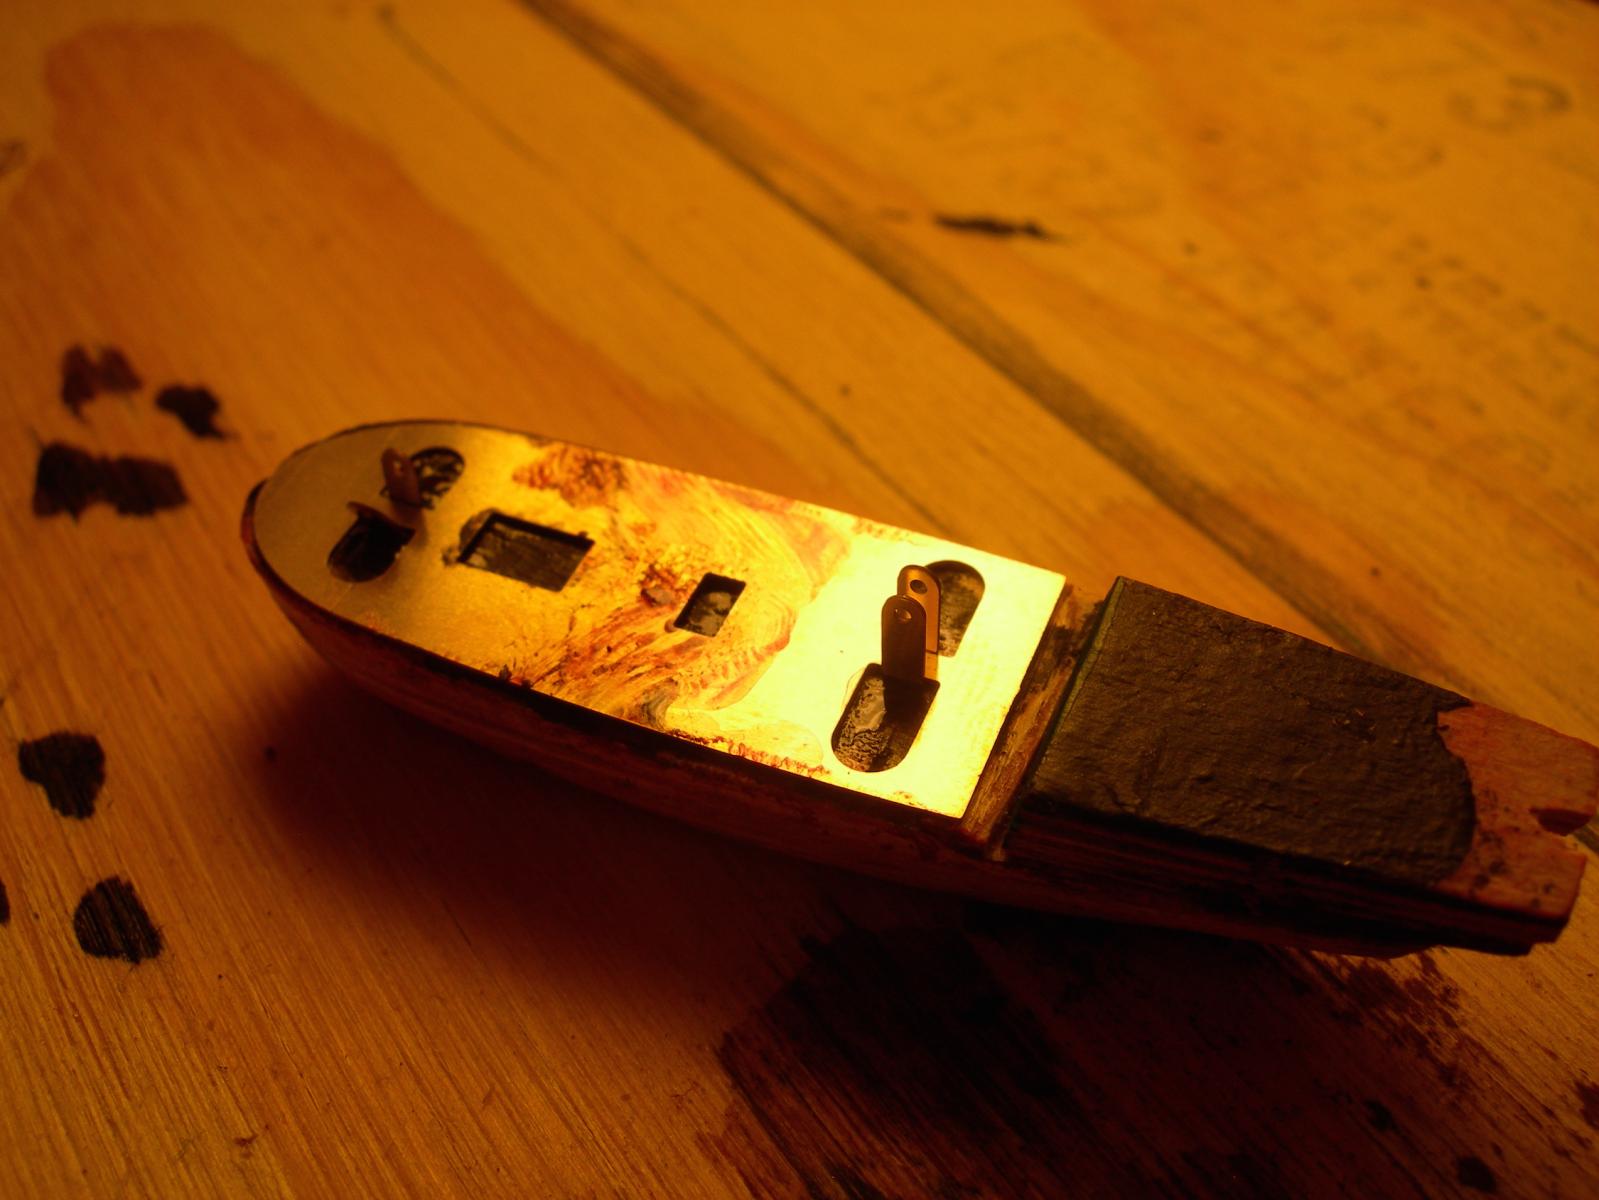
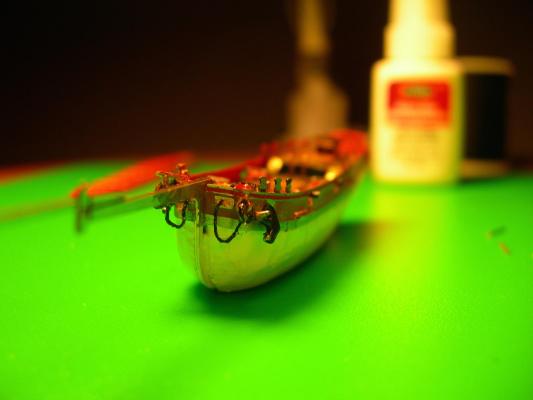
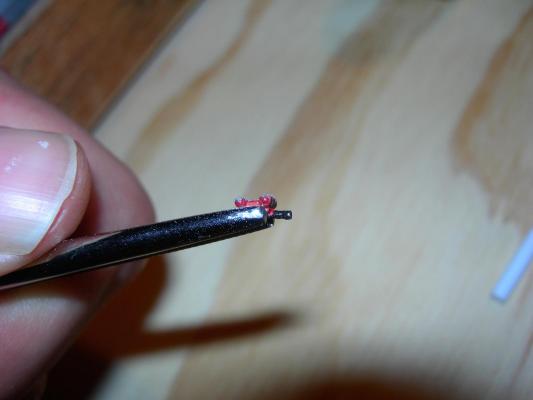
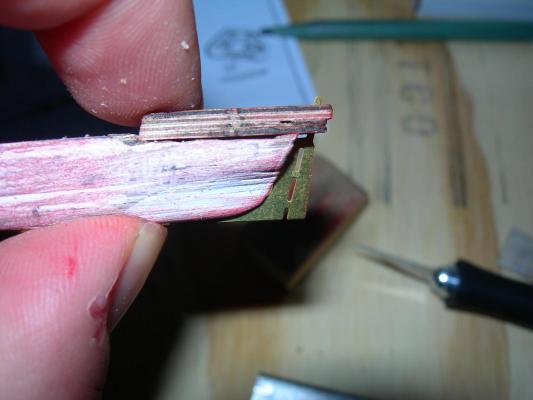
I got the keel glued in (in its deeper slot now) and painted the hull again. Trimming up to the bulwarks and coating the keel. The anchors are to be tied on to the anchor line and then a copper eyebolt attached, the end of which runs into the cathead. I decided to not tie the anchors on. Instead I doubled the line back through the anchor. I attached the eyebolt, I was able to slide the anchor up and down the line to make it as short or as long as needed. This worked well for me to hold the anchor in place and get the slack line to the desired length. I attempted to slip the copper eyebolt up through the cathead and ended up breaking off the cathead. In this photo, the anchor on the right shows the cathead and the eyebolt glued to it. Once dry, I used CA to reattach the cathead to bulwark. I also glued the anchor to the bulwark. When this dried, I was able to glue the line to the anchor and then cut it off. The plans show the anchors hanging, but I wanted them to be up as if they were lashed. Got both hauled up and glued. Here they are from the end of the bowsprit.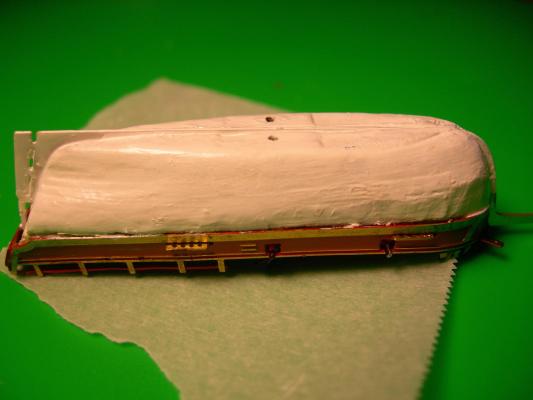


-
Ryland Craze reacted to a post in a topic:
Hannah by wilnatp - Amati - BOTTLE
-
Hannah by wilnatp - Amati - BOTTLE
wilnatp replied to wilnatp's topic in - Kit build logs for subjects built from 1751 - 1800
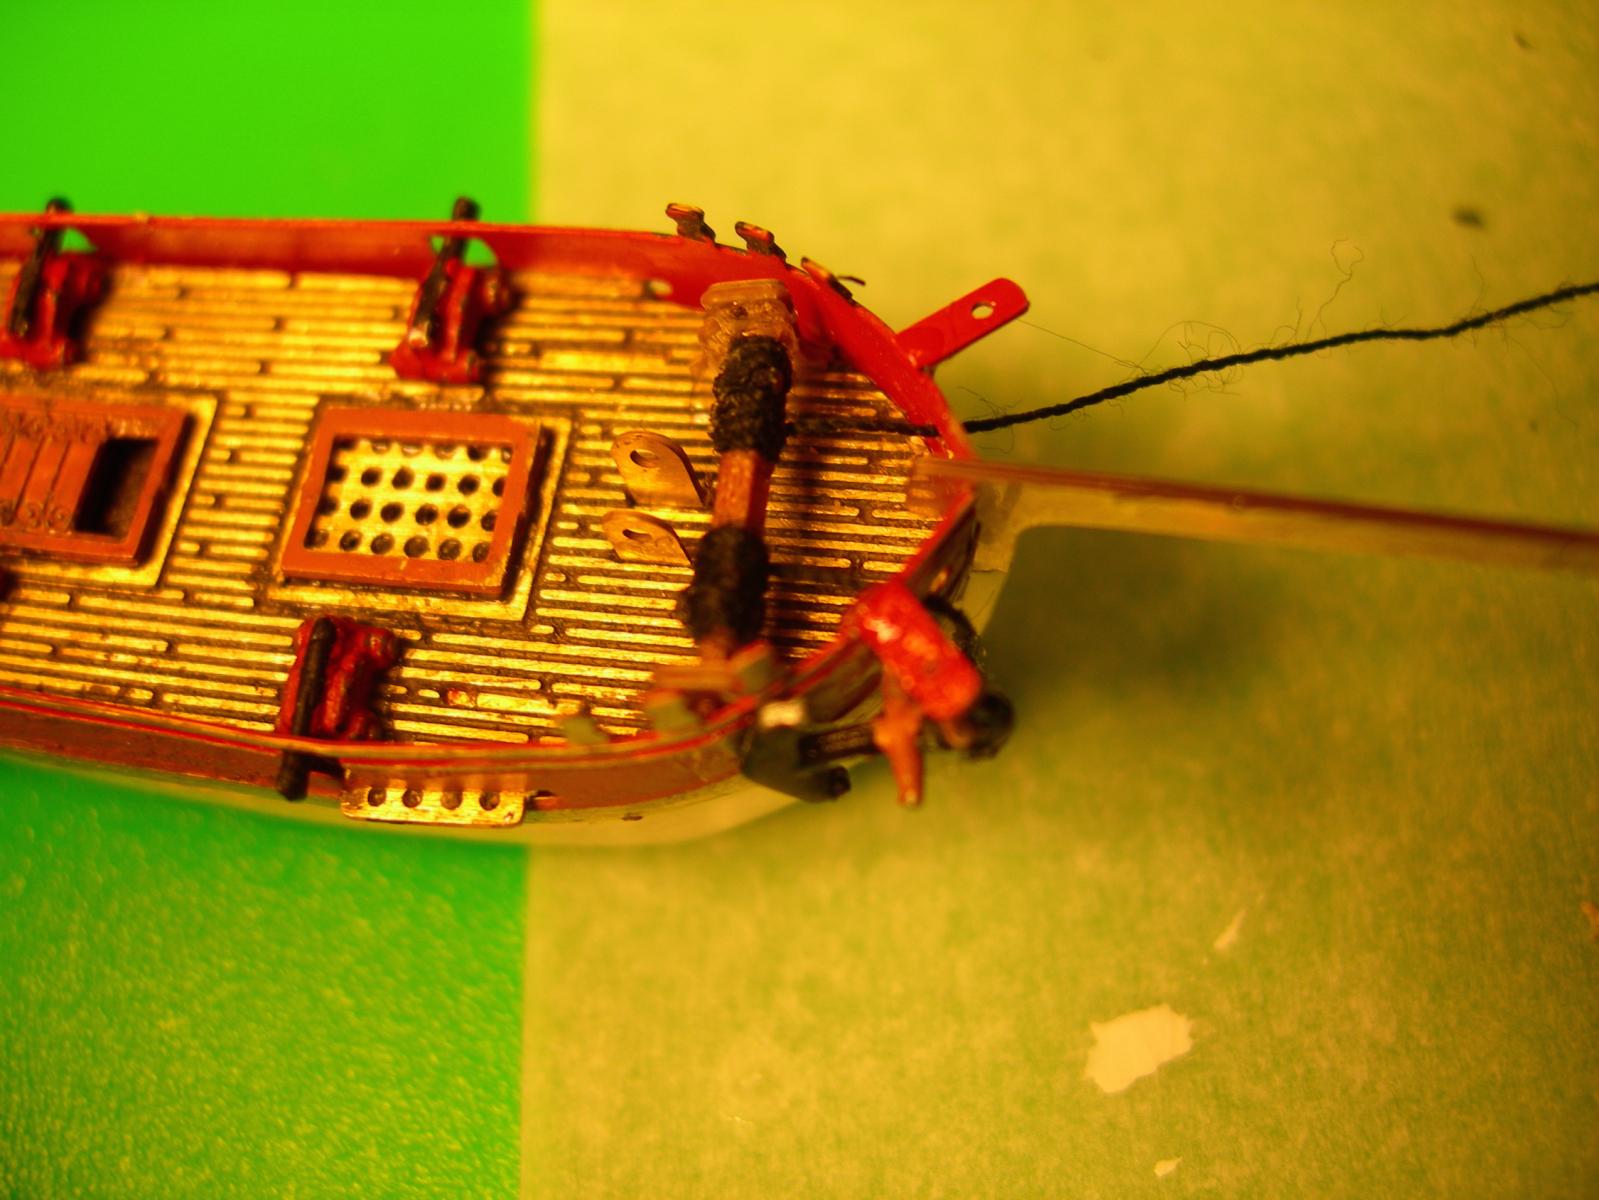
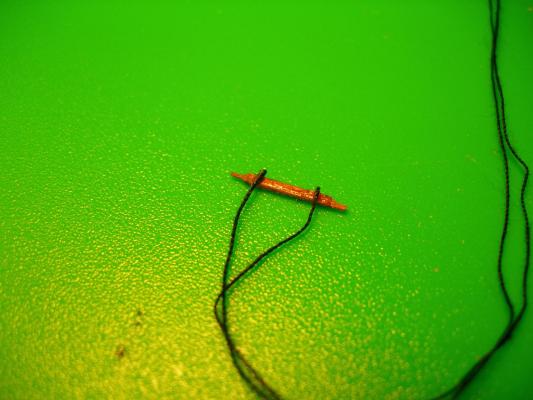
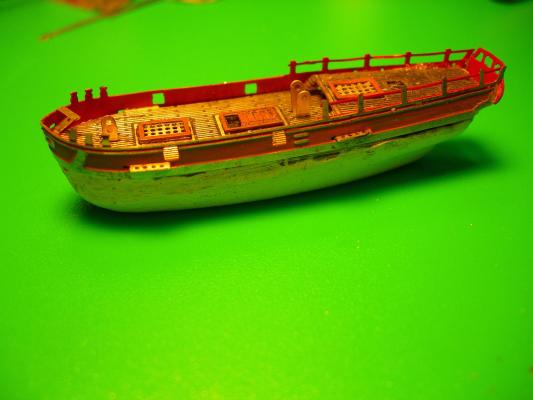
Final details on the deck house. Attached the deck house and installed the cannon. Prepared the winch. Used CA to glue thread onto the ends and wrapped the thread. I substituted the kit white thread for black cotton sewing thread. Same diameter but I like the black better. Next up is attaching the winch to the deck - FORWARD of the mast step. This isn't accurate to the original, but necessary for the mast to be lowered far enough to fit into the bottle. I played around with a few ways of leaving the winch unglued and thus movable so that it could be glued in aft of the mast after insertion, but there wasn't enough slack in the anchor lines. Keel was glued into place (with a lot less sticking out below the hull). And then anchors were attached to the catheads. Now you're caught up. I am waiting for Brass Black to arrive in the post so that I can blacken the yards and masts. I don't want to pain them as I am nervous that the coverage will either be too thin or too think and interfere with the raising ceremony.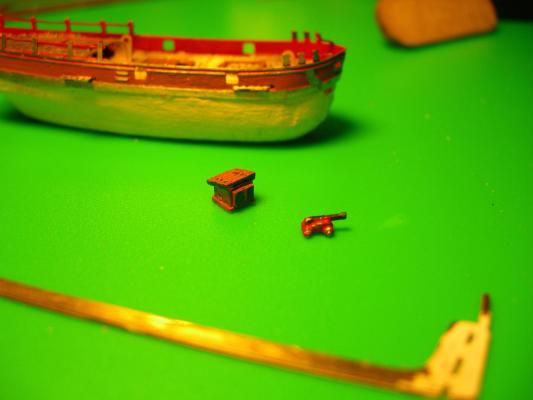


-
Hannah by wilnatp - Amati - BOTTLE
wilnatp replied to wilnatp's topic in - Kit build logs for subjects built from 1751 - 1800
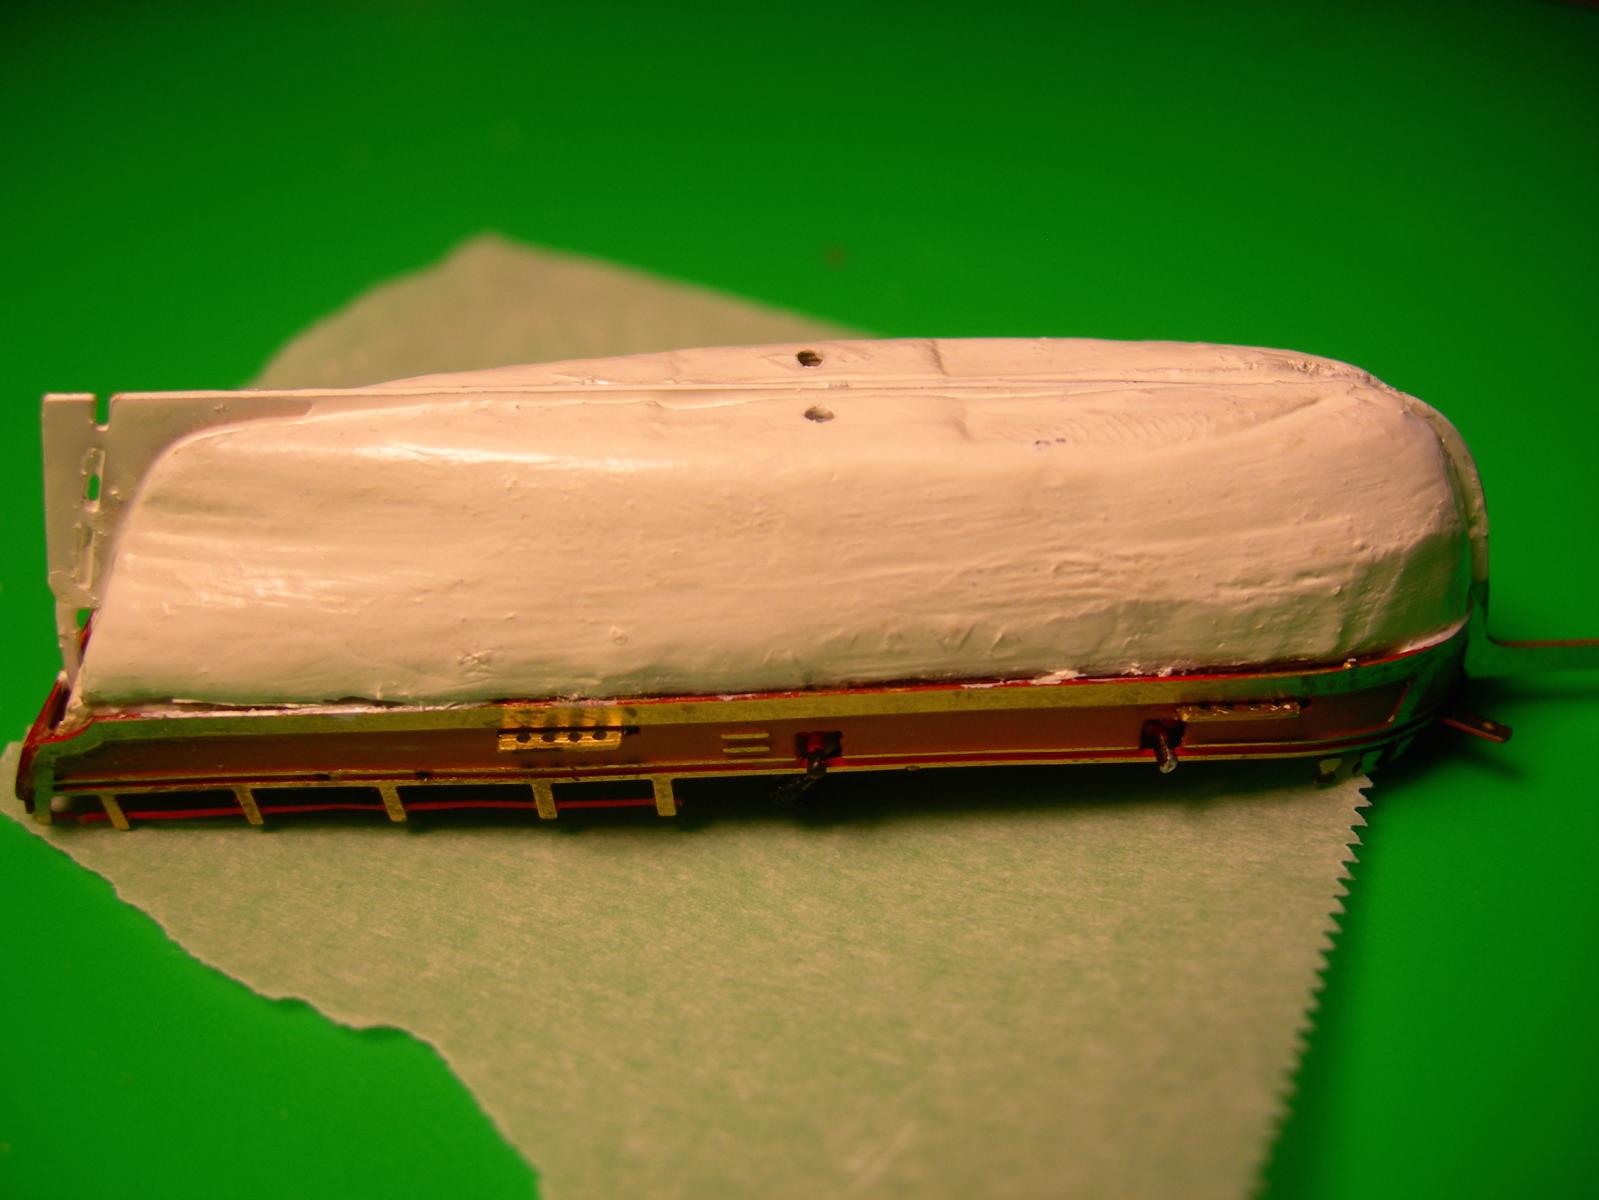
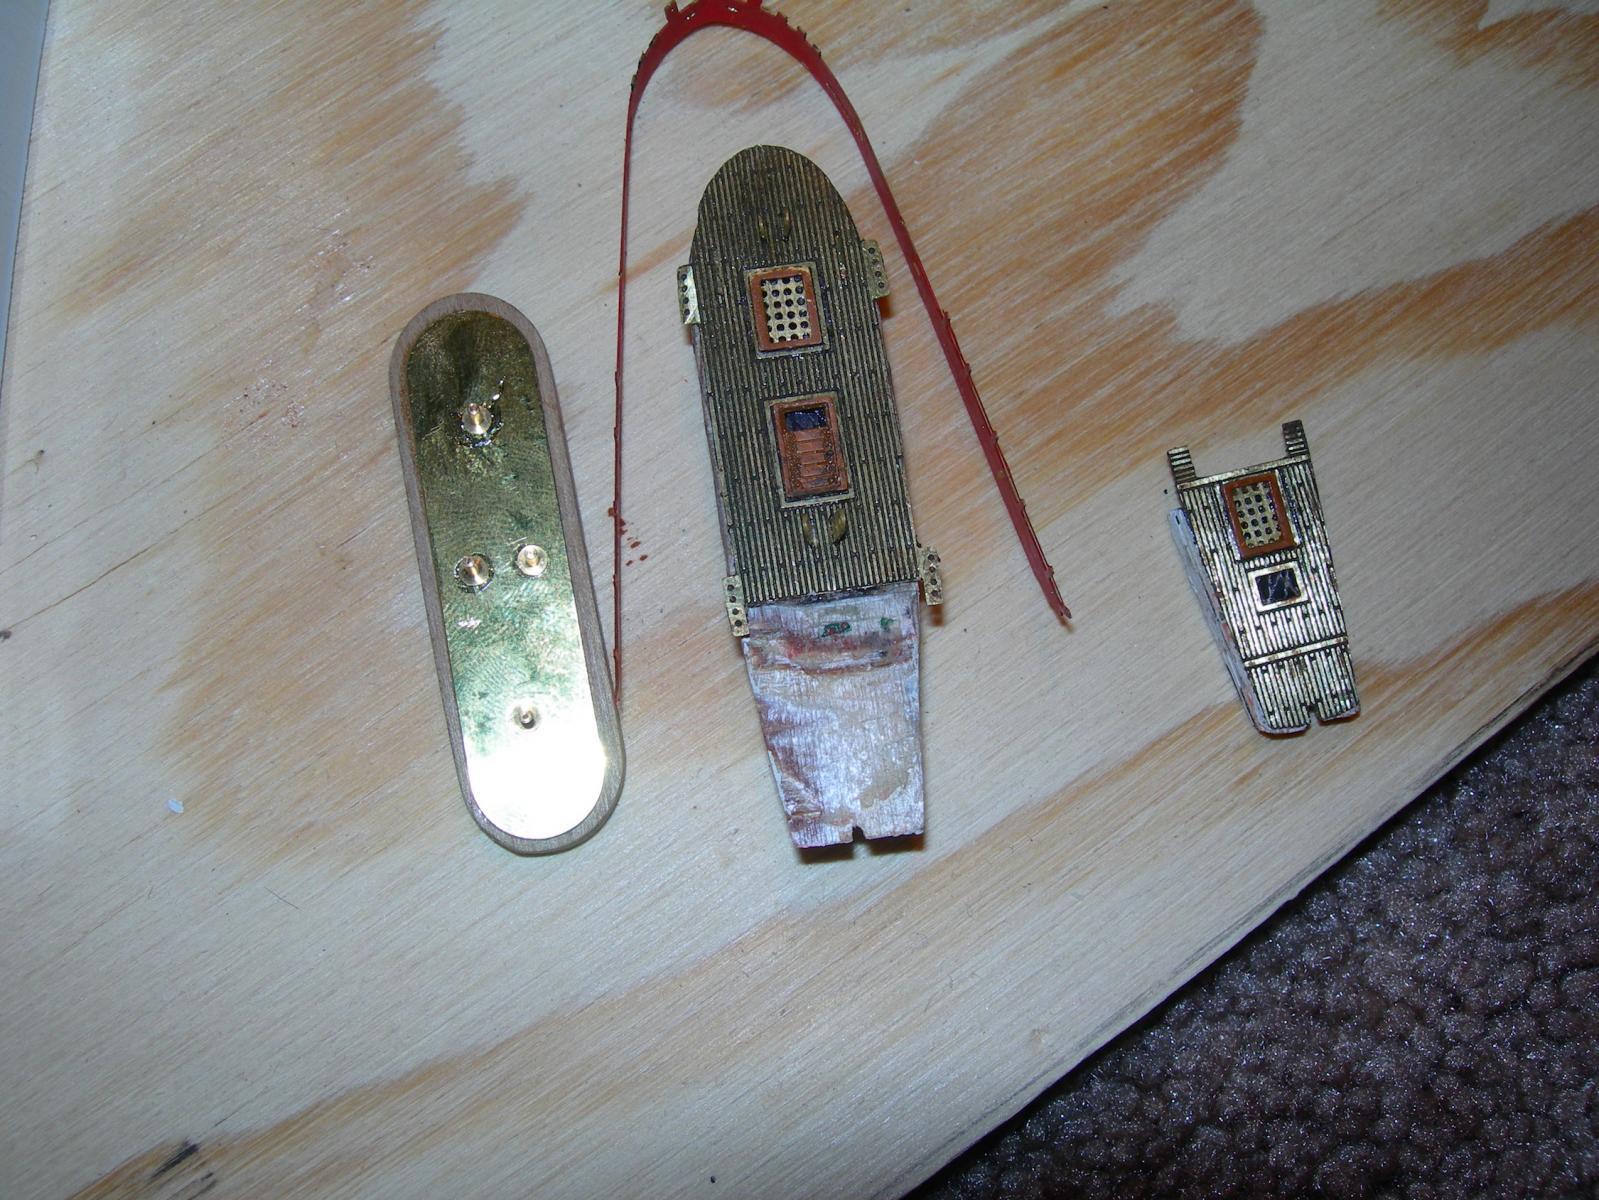
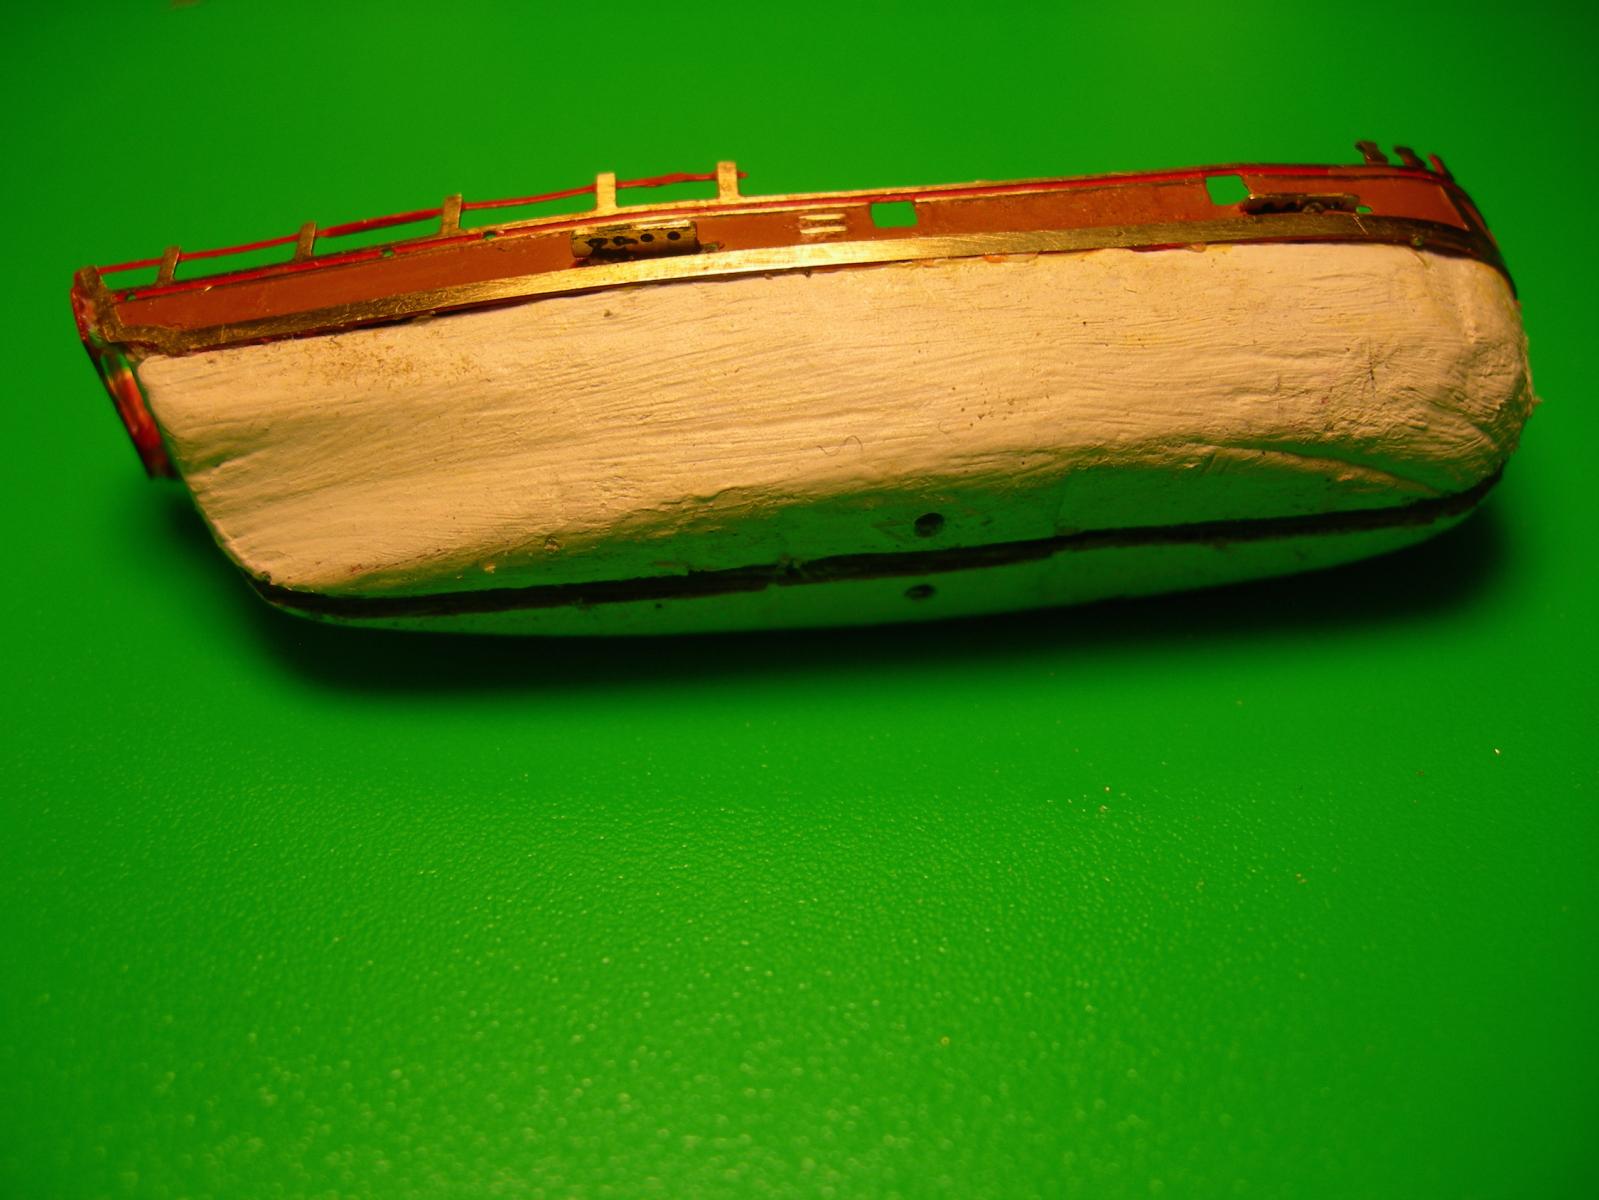
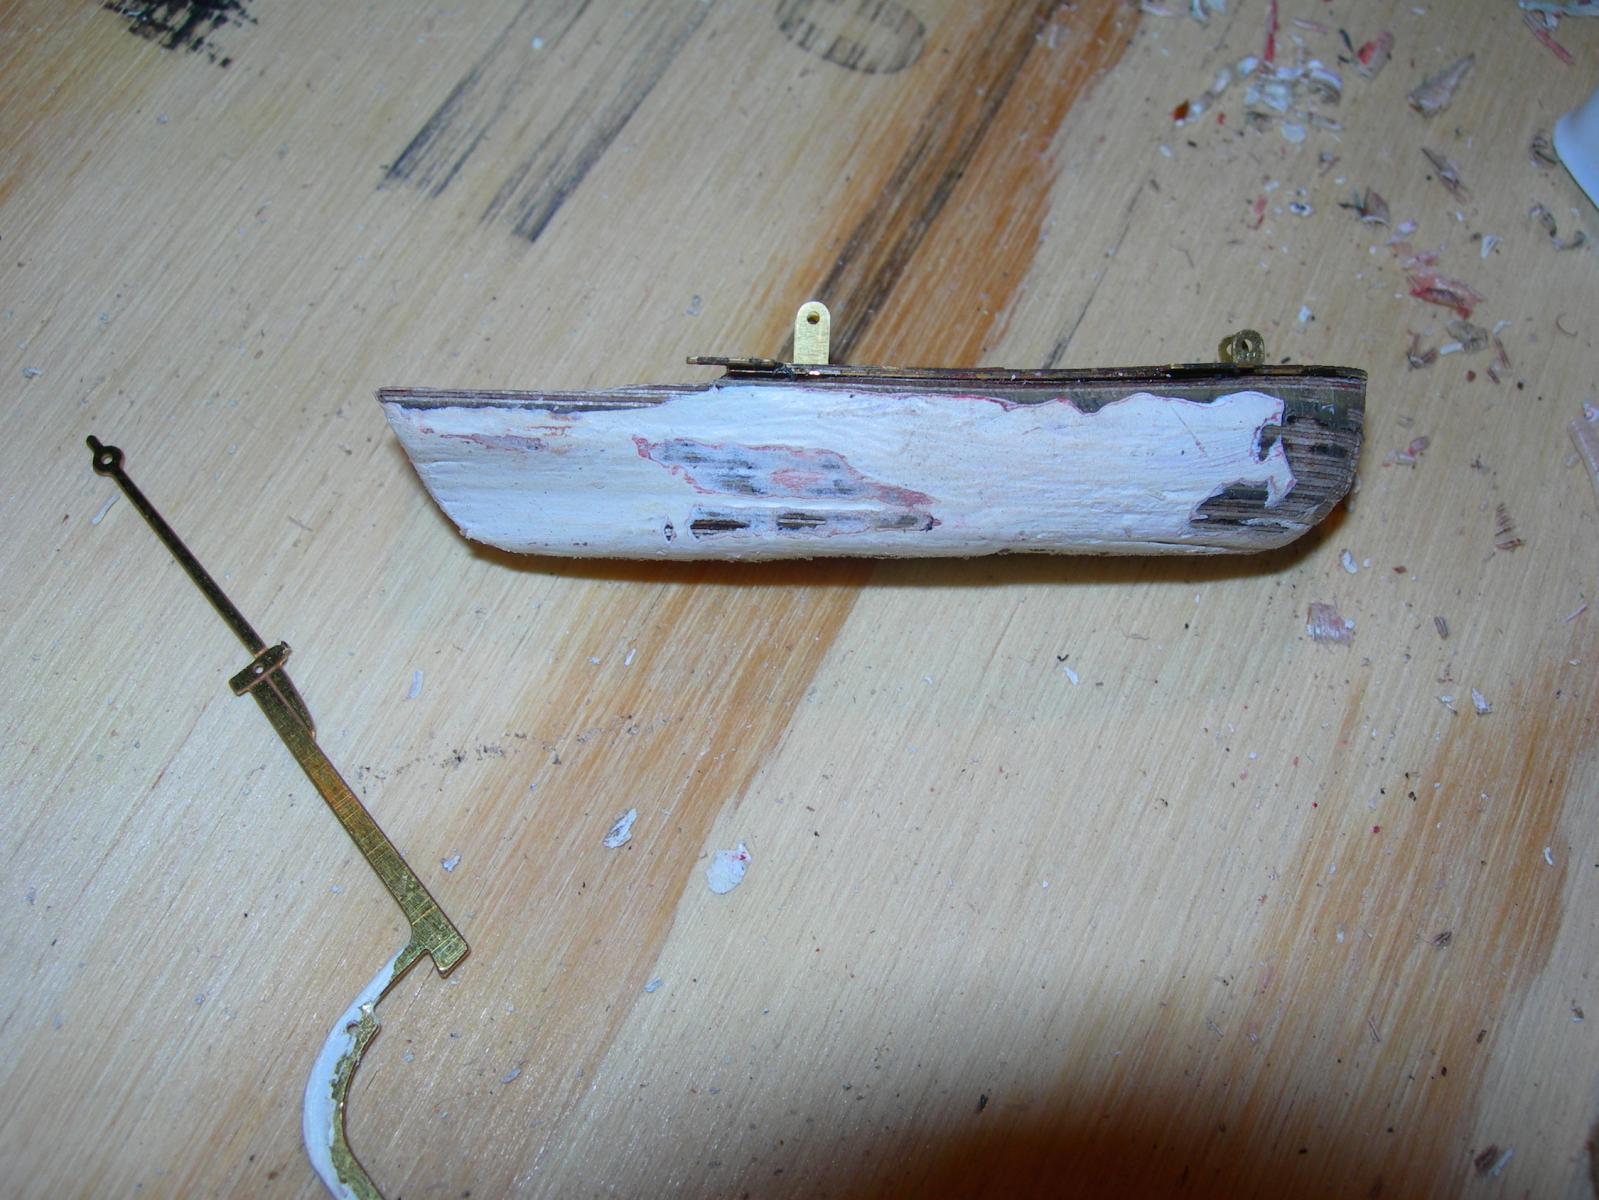
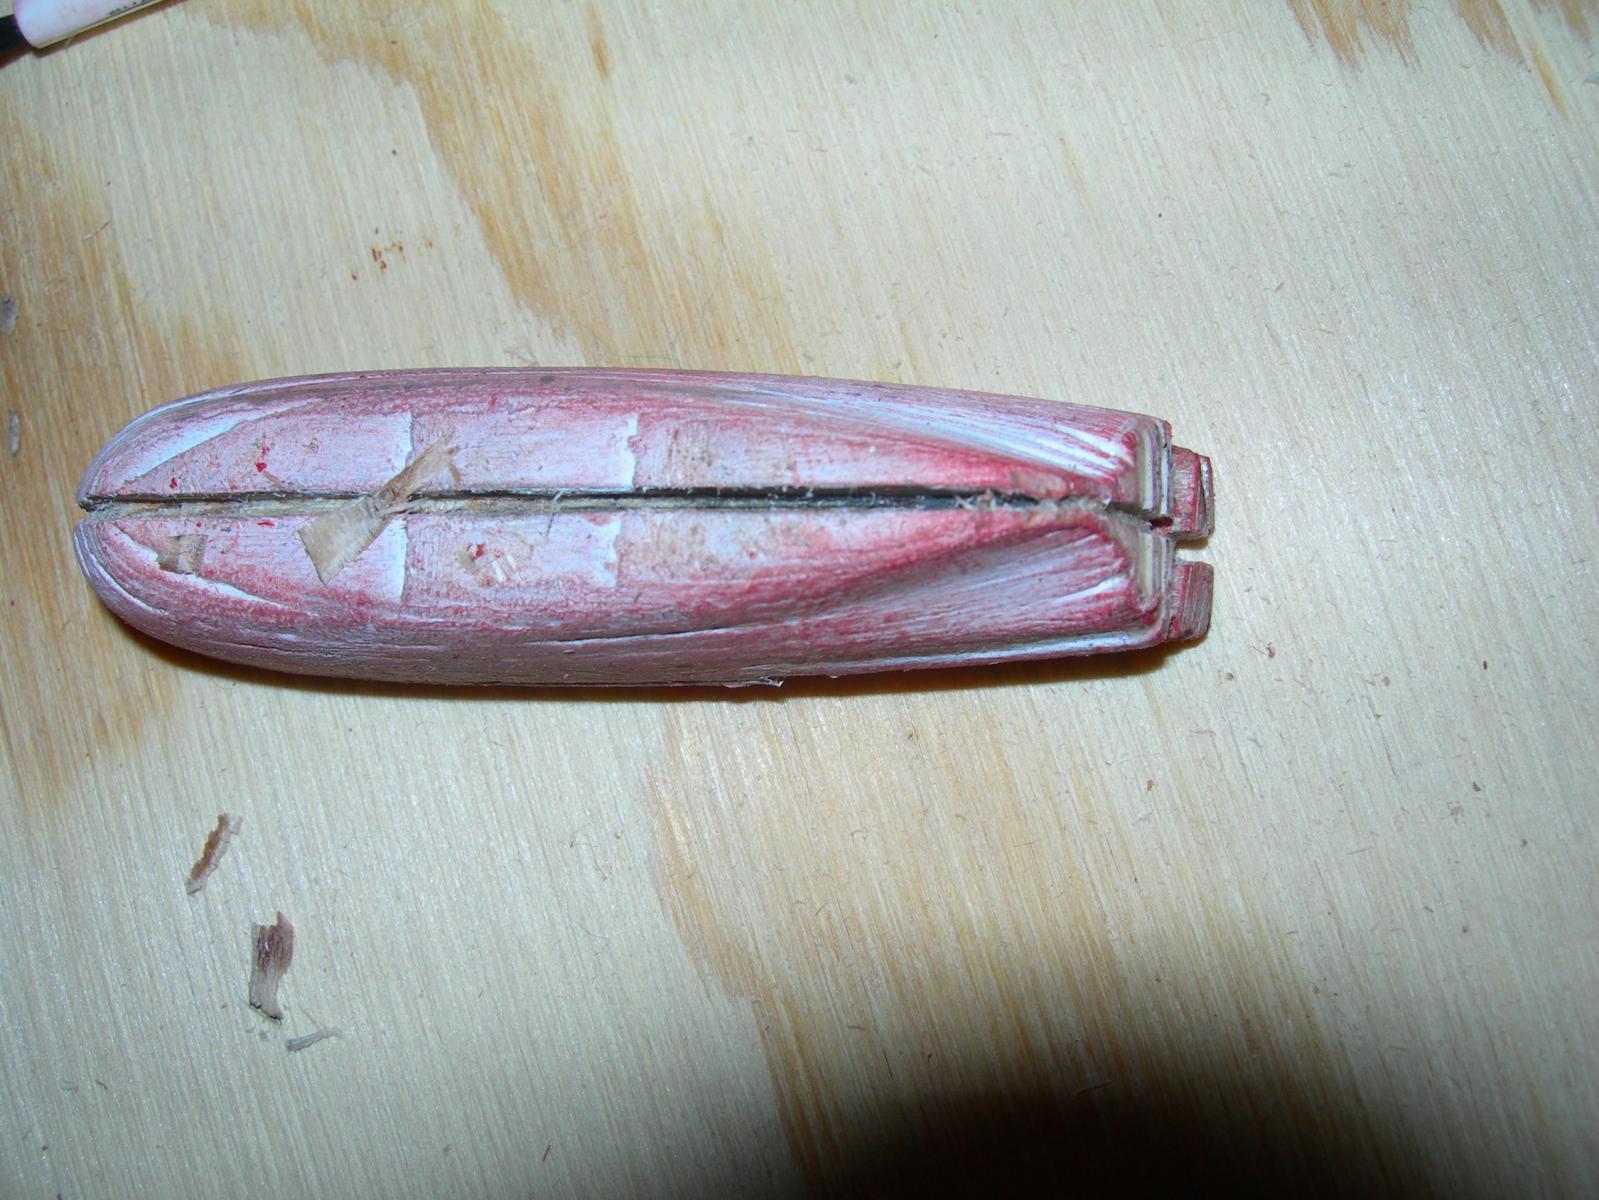
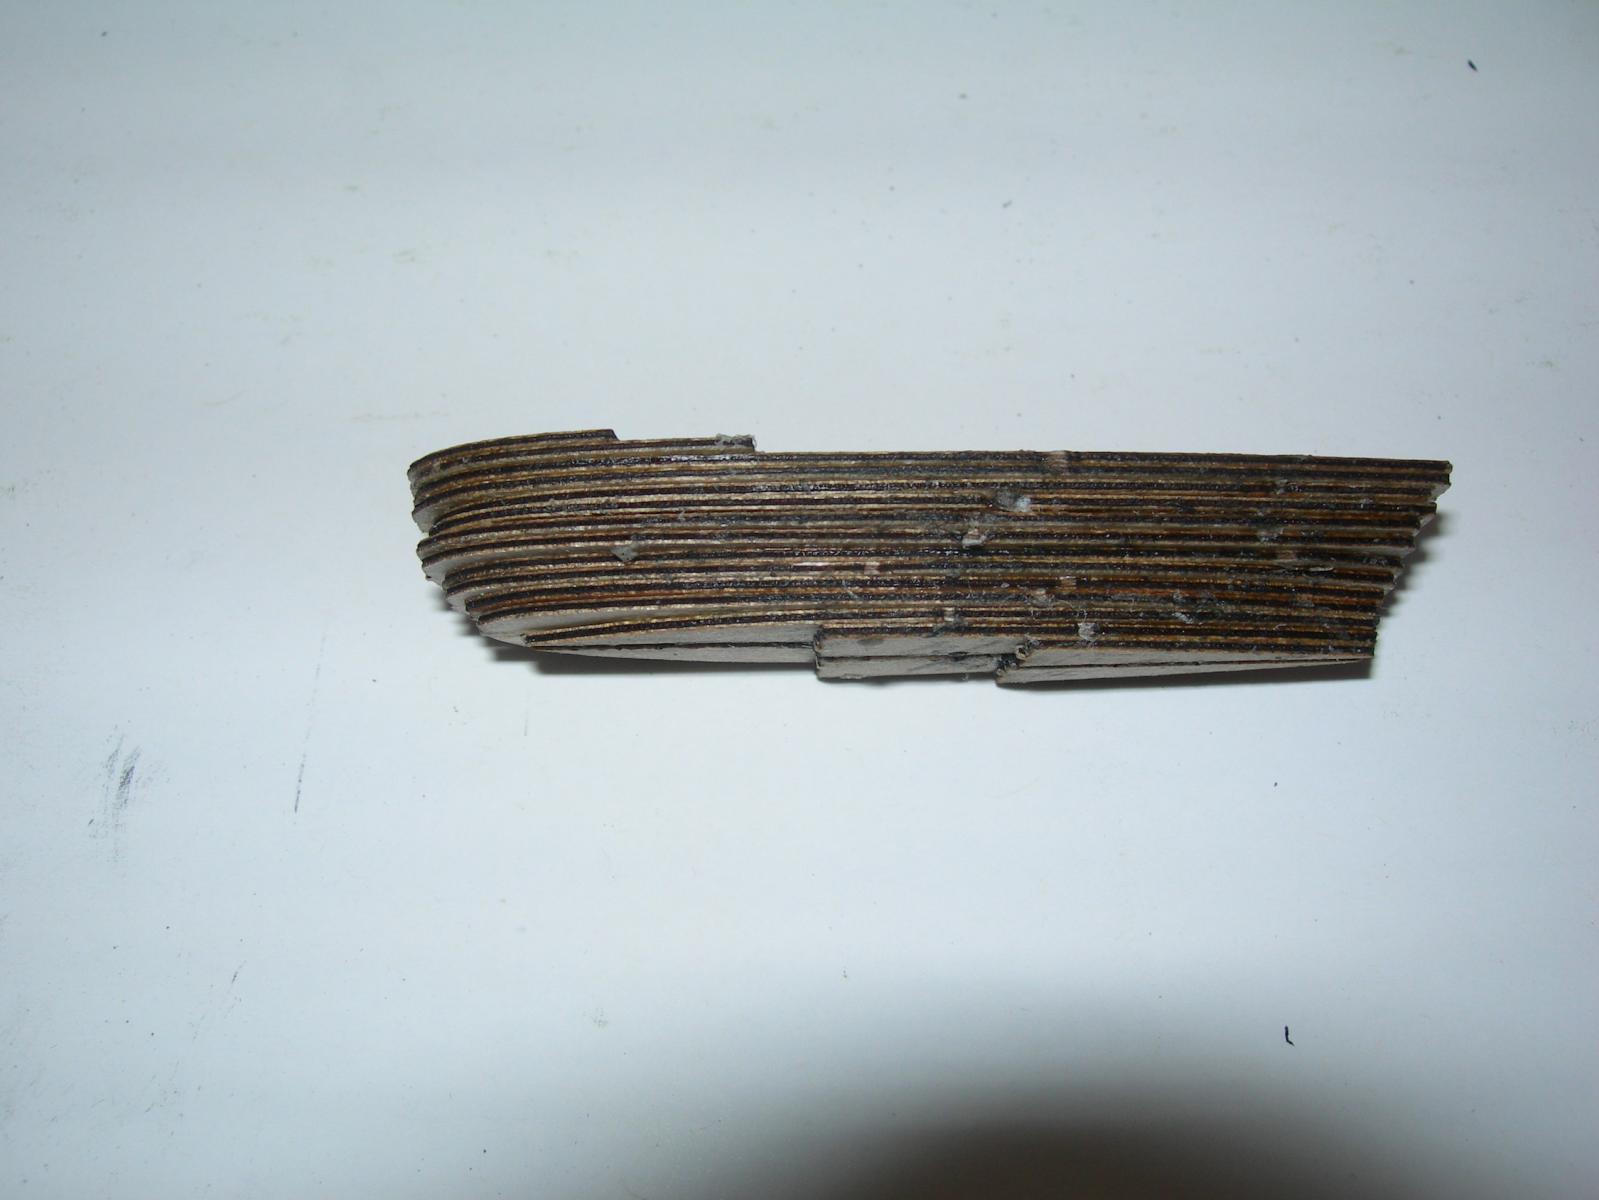
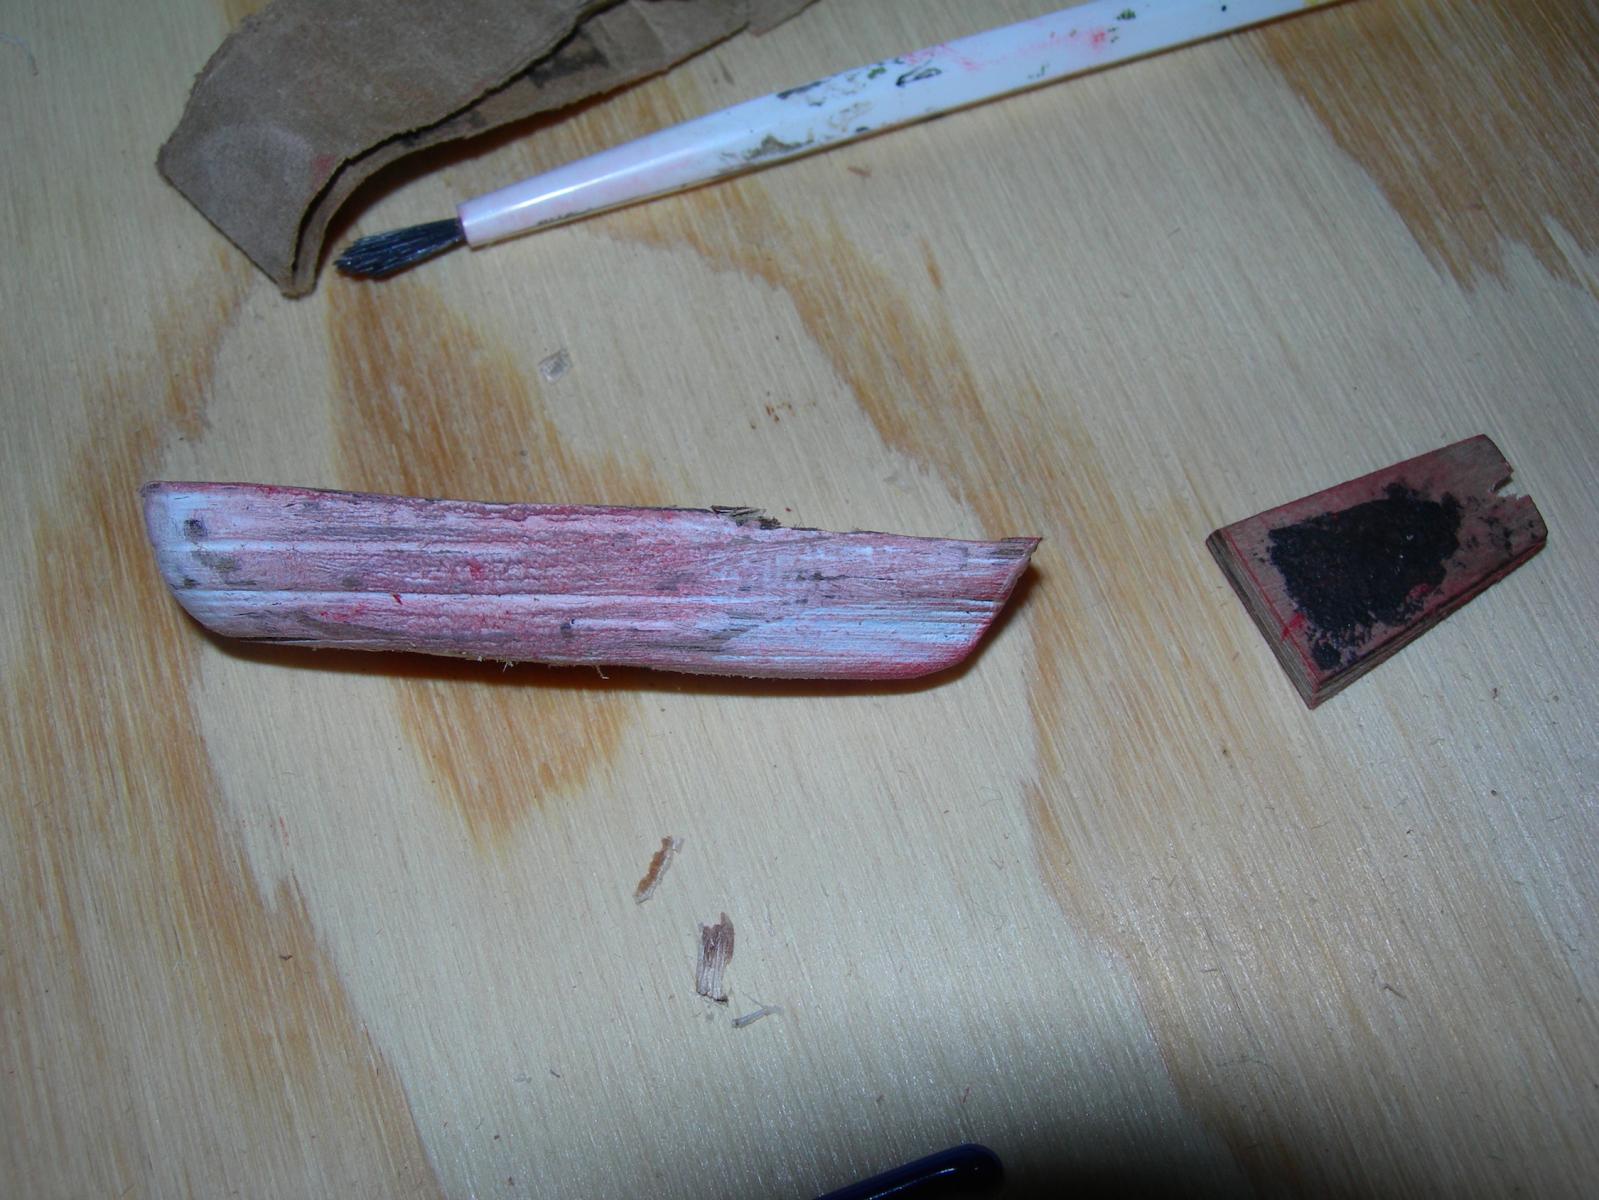
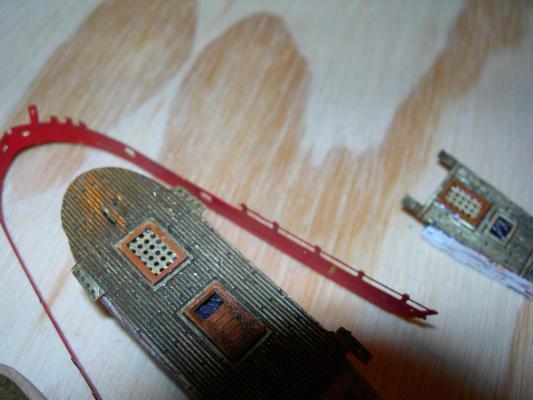
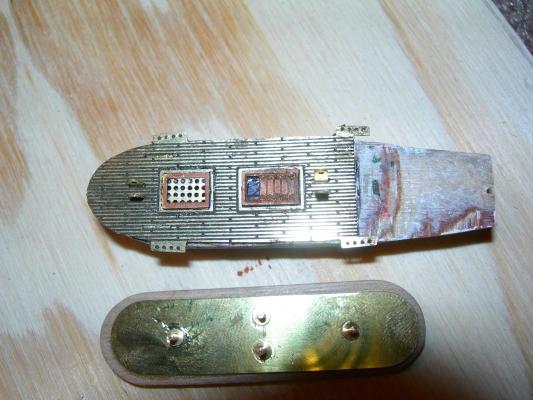
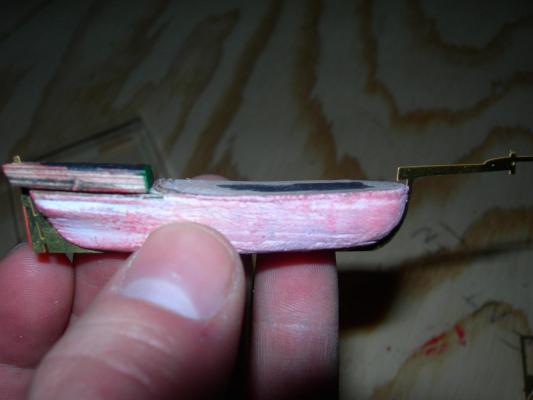
Bulkheads were painted while still attached. Now they are removed from and CAREFULLY Bent to shape. The quarterdeck brass is glued on. Now the quarterdeck is glued on, the bulwarks glued on, and the transom. Fitting now showed that there wasn't a deep enough keel cut. The keel slot was deepened. Also needed to cut it deeper on the bow section. Anchors were painted. I painted the cross bar brown as well.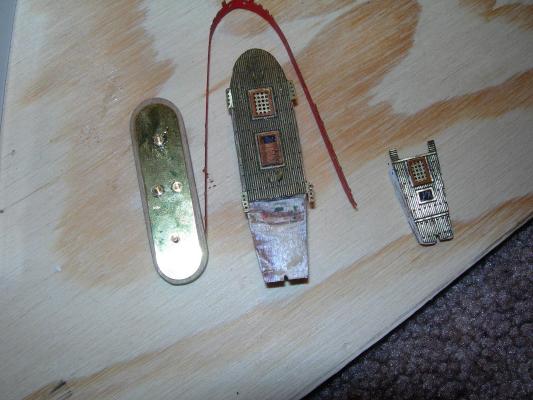

-
Hannah by wilnatp - Amati - BOTTLE
wilnatp replied to wilnatp's topic in - Kit build logs for subjects built from 1751 - 1800
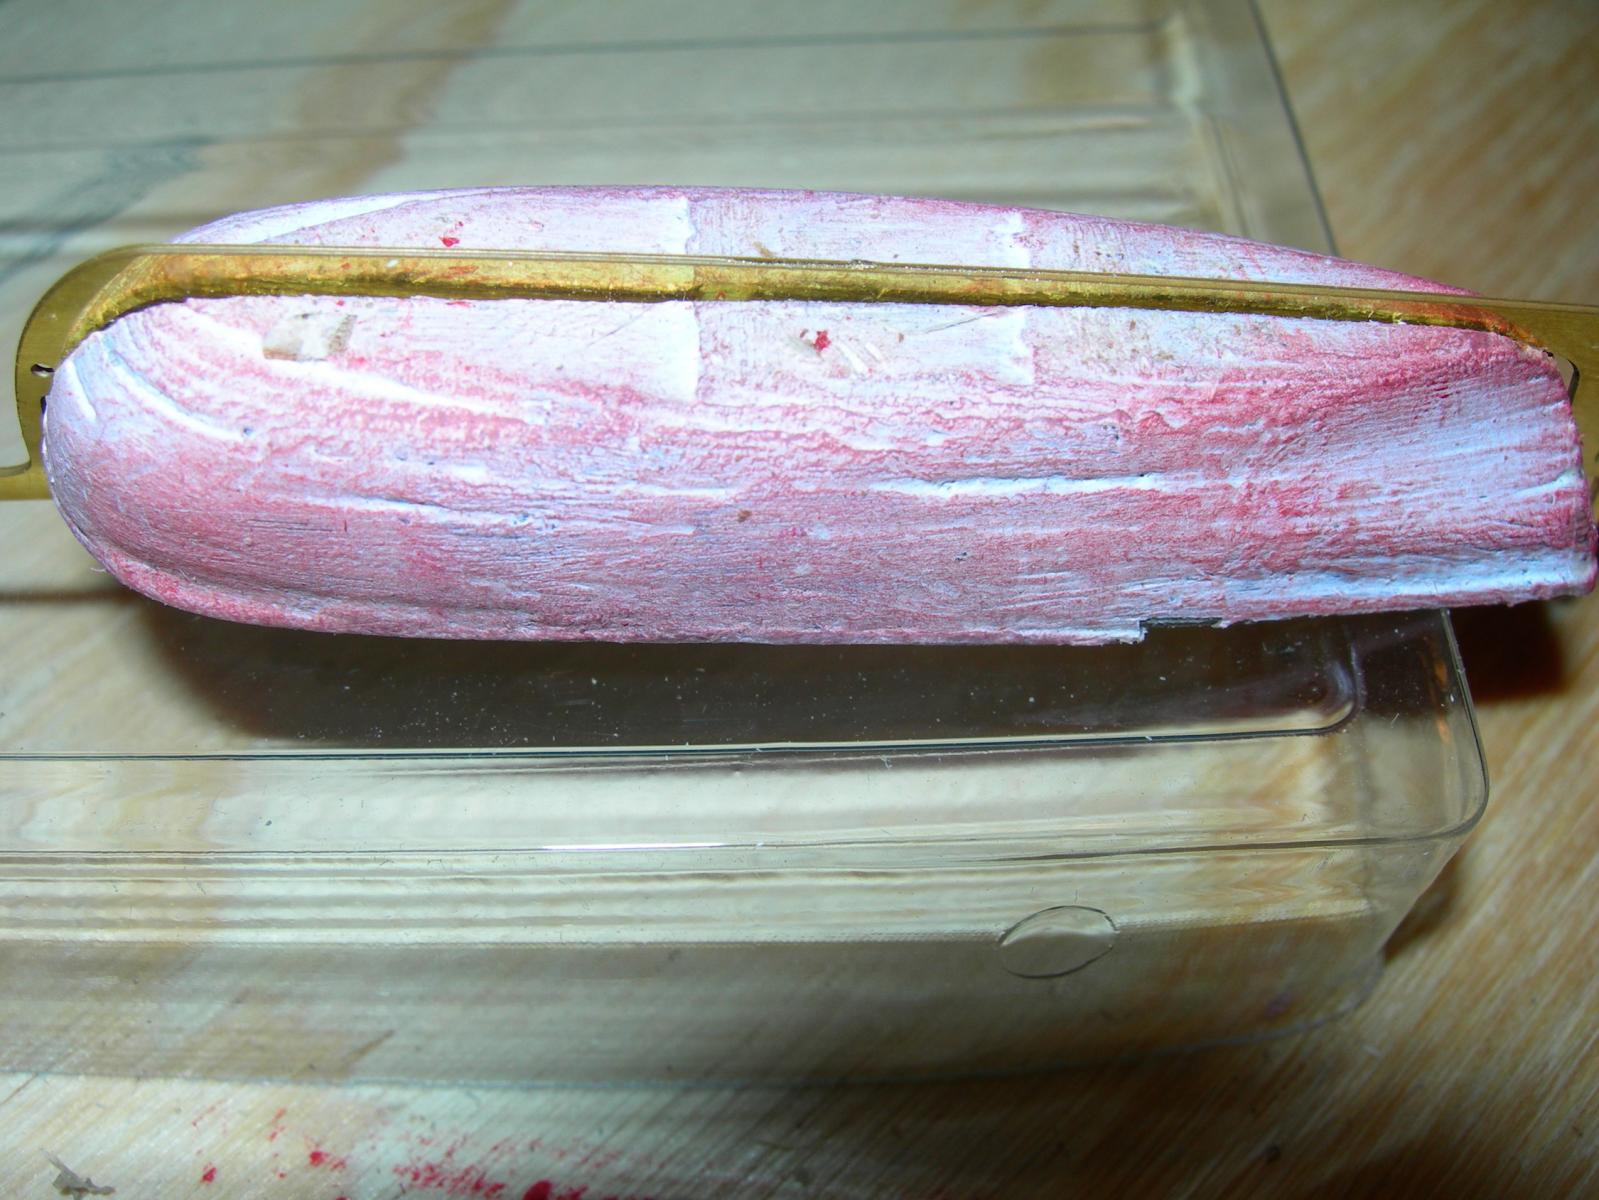
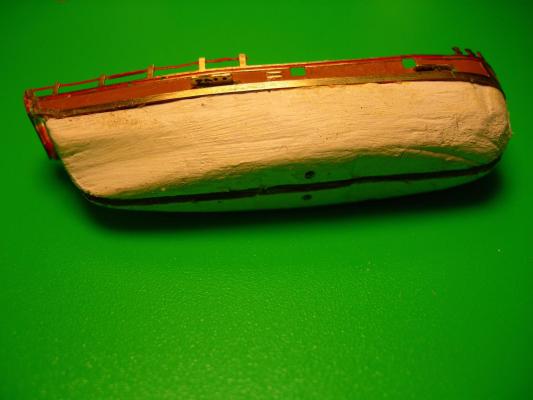
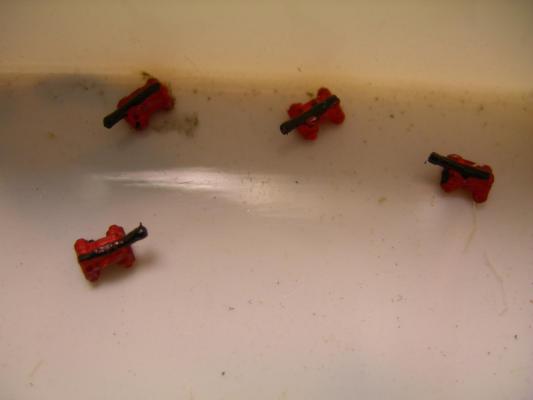
Painted the hull and the keel together, but not glued. Needed more sanding after this coat. Also, drilled holes for the stand/base to attach. Base is assembled and upper deck glued on. Cannon painted. Cannon needed to be sanded down (especially on the front wheels) to fit in the gun-ports.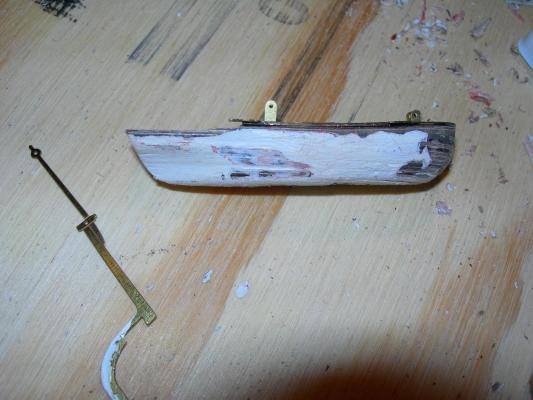
-
Hannah by wilnatp - Amati - BOTTLE
wilnatp replied to wilnatp's topic in - Kit build logs for subjects built from 1751 - 1800
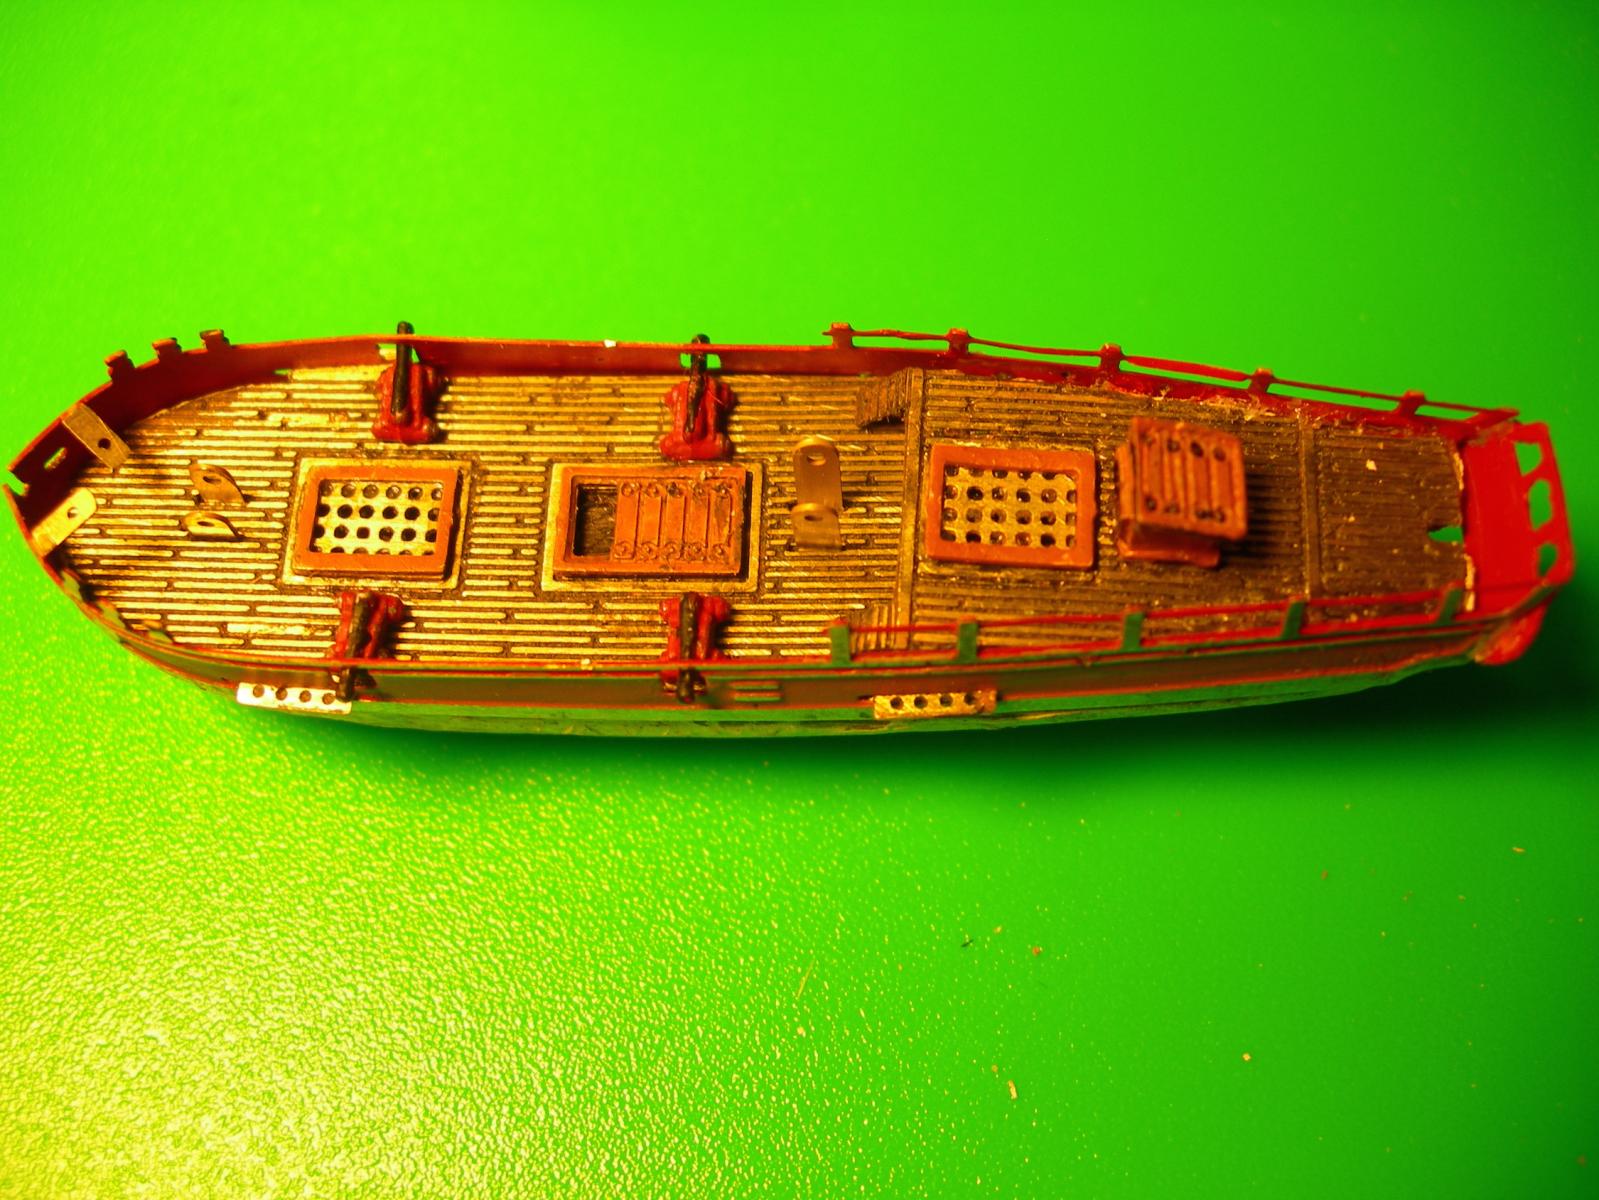
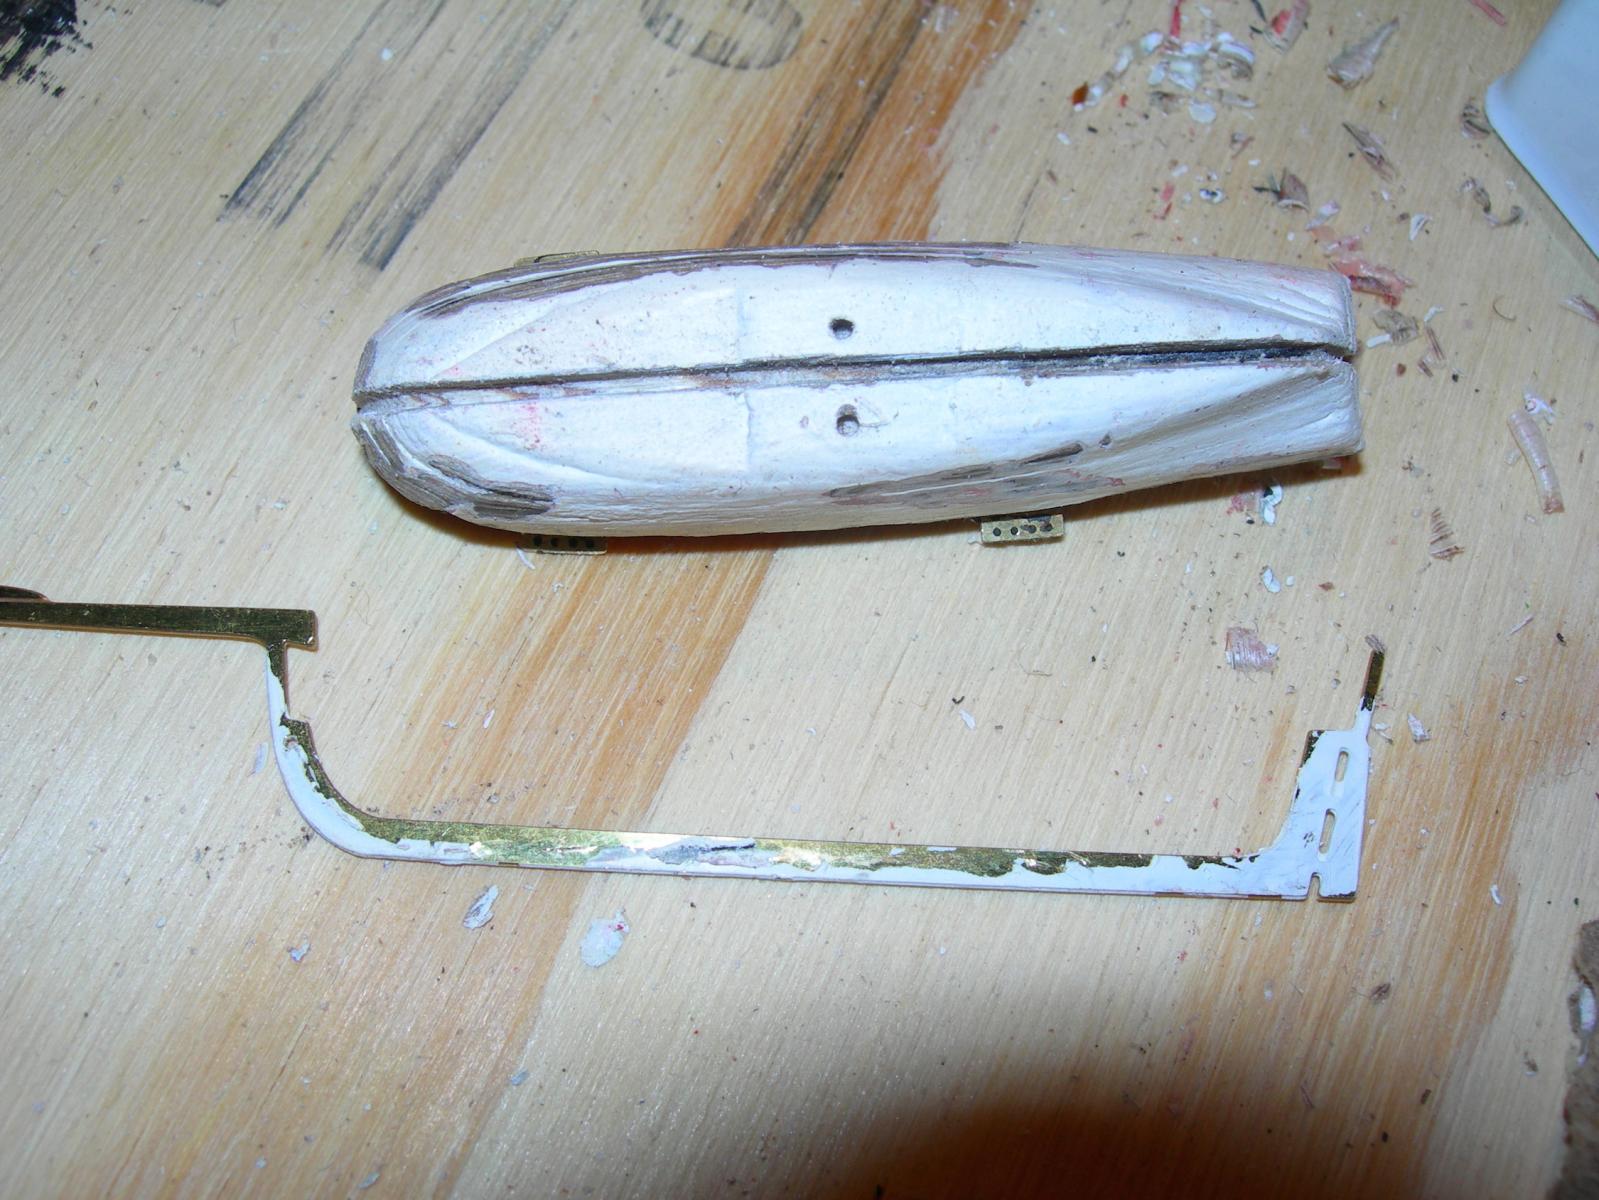
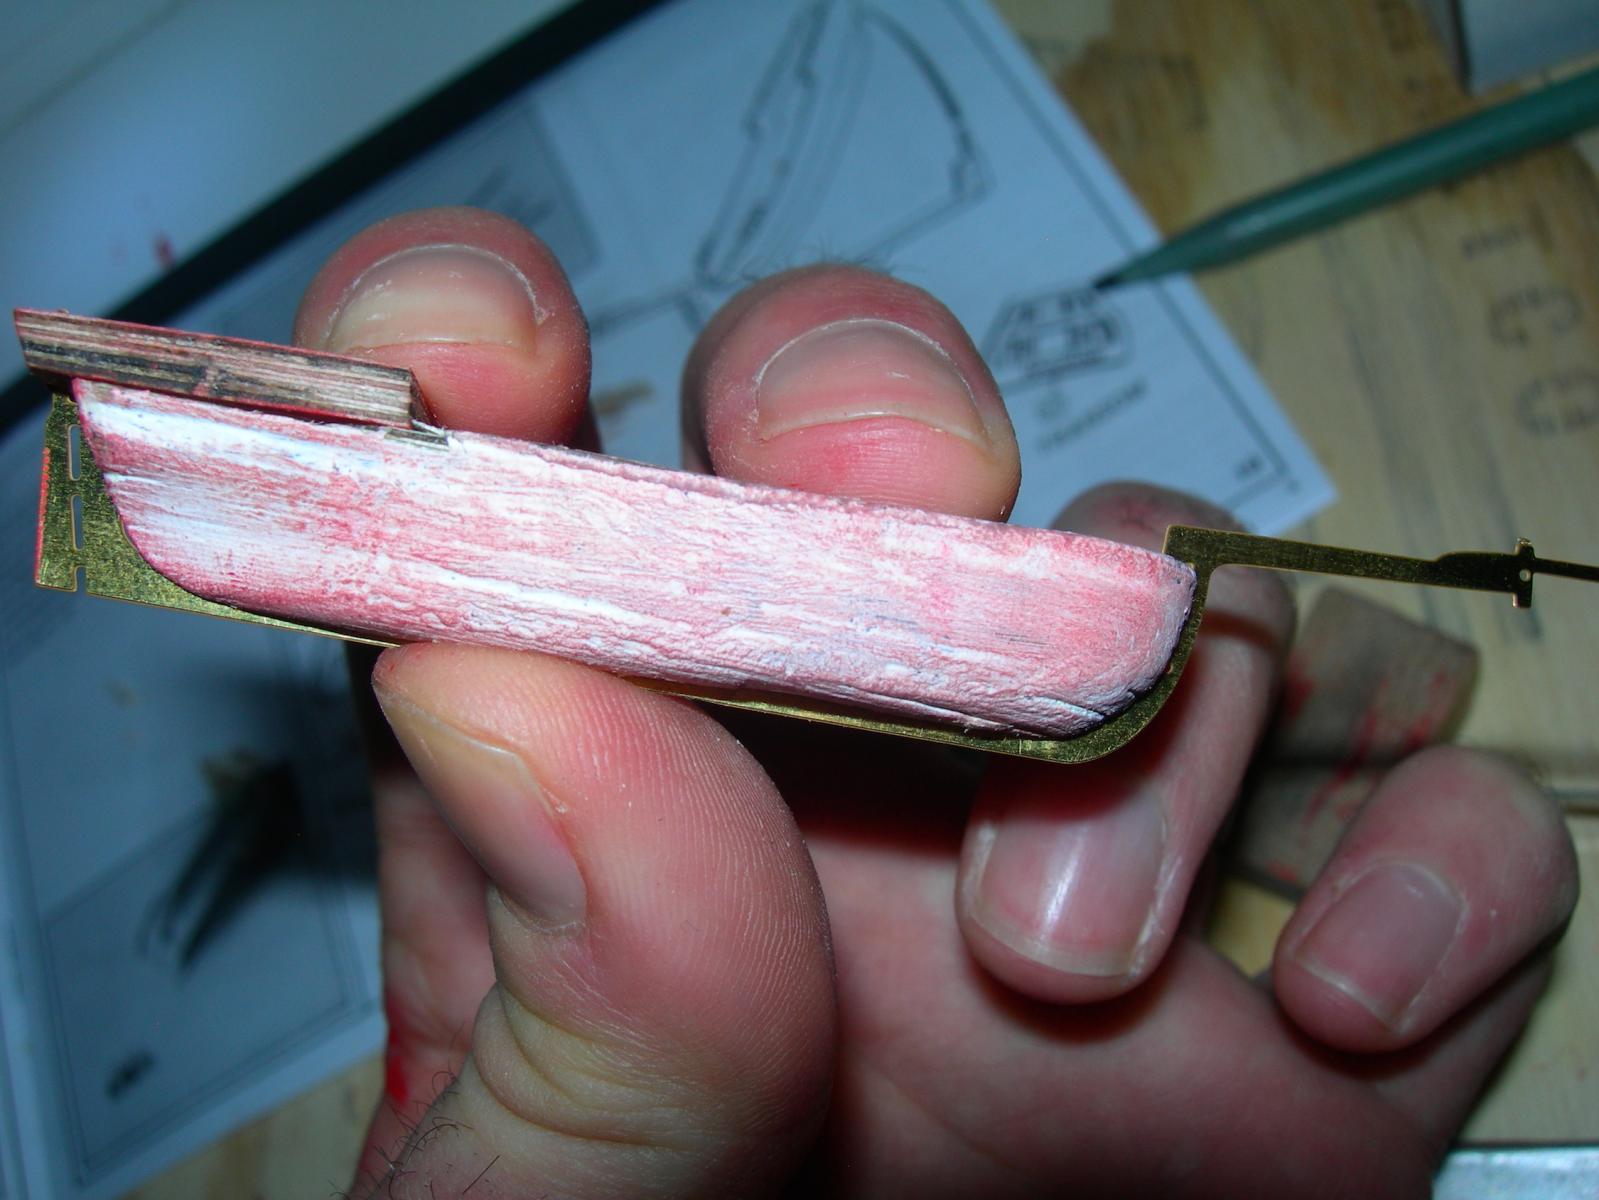
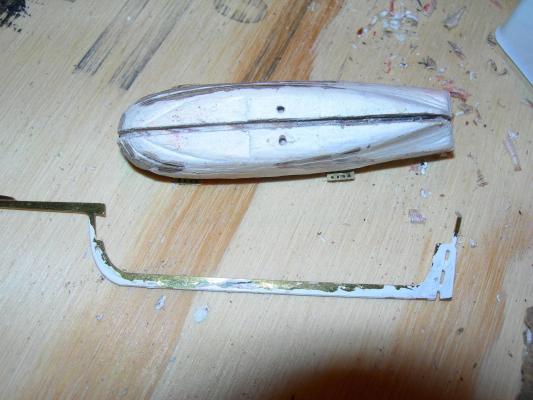
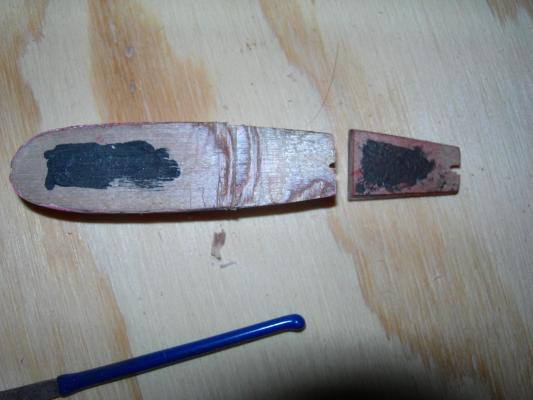
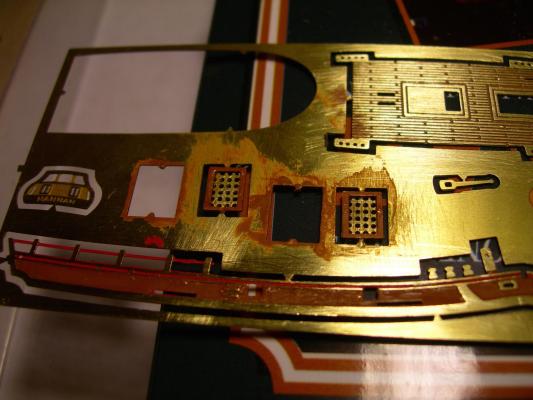
I painted the deck pieces and then sanded off the paint. This allowed the lines between the "planks" to be filled with paint. First time didn't take, so I had a second go at it. Then I painted the deck grating and glued them to the deck while it was still attached, making holding the small pieces much easier. Glued the quarter deck to the hull. (But cut it off later when upon sizing i noticed that it was a bit too high) Note the small gap between the bowsprit and the hull. This ends up not being enough - more on that later. A view of the fit from the bottom. Again, I later realized that keel slot wasn't deep enough. Now gluing on the first layer of brass decking.


-
Hannah by wilnatp - Amati - BOTTLE
wilnatp replied to wilnatp's topic in - Kit build logs for subjects built from 1751 - 1800
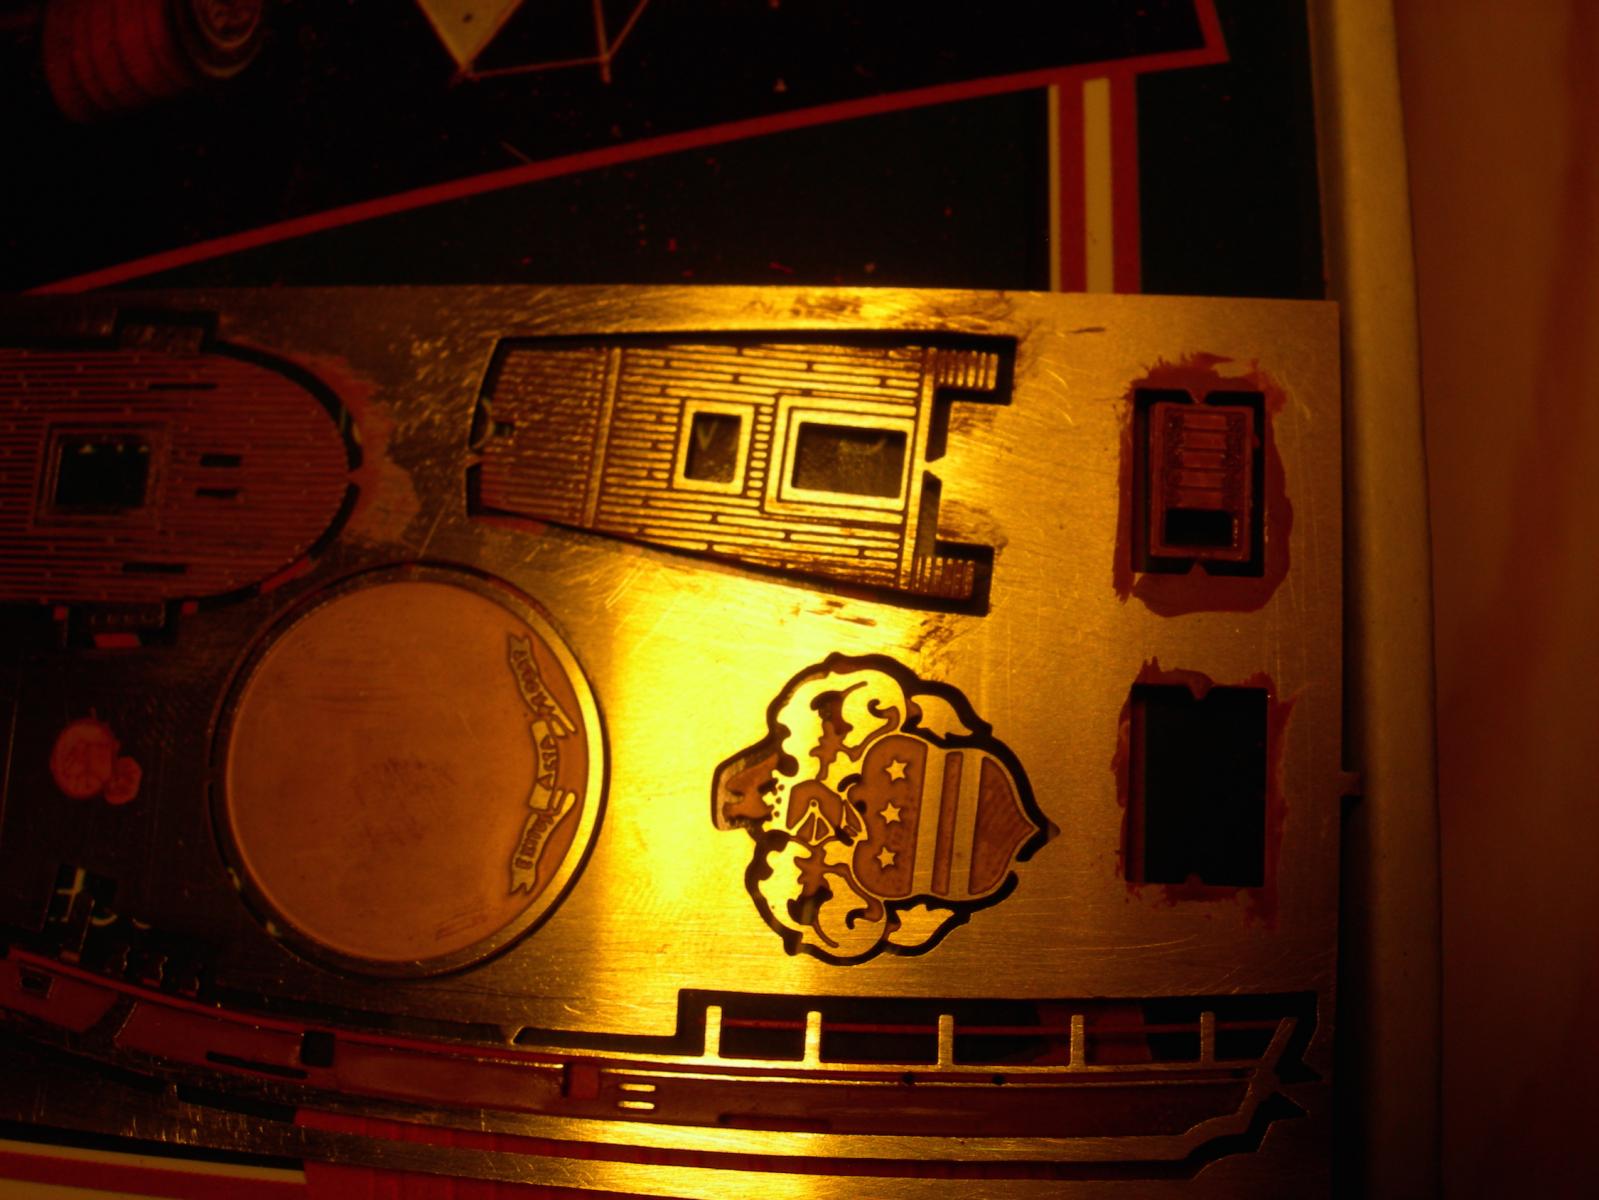
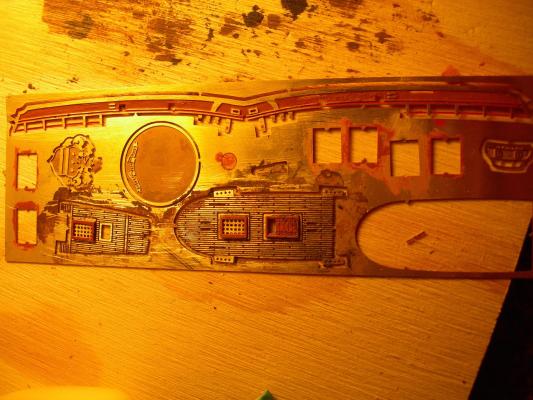
Per other builds - especially S. Kahn's - I cut the channel for the keel early on. See page 21 of the blog. (NOTE: I don't recall what I did that got red on the hull here...) Painted the deck back under the hatch areas. Removed some of the hull decking to fit the quarter deck. Checking fit with the keel as well. Painting the deck fittings prior to removing them from the brass. This was a lot easier with them attached.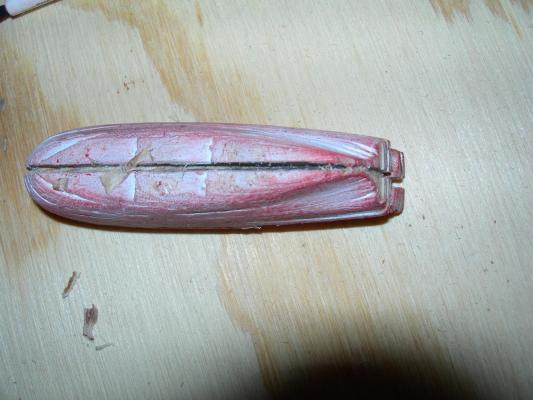

-
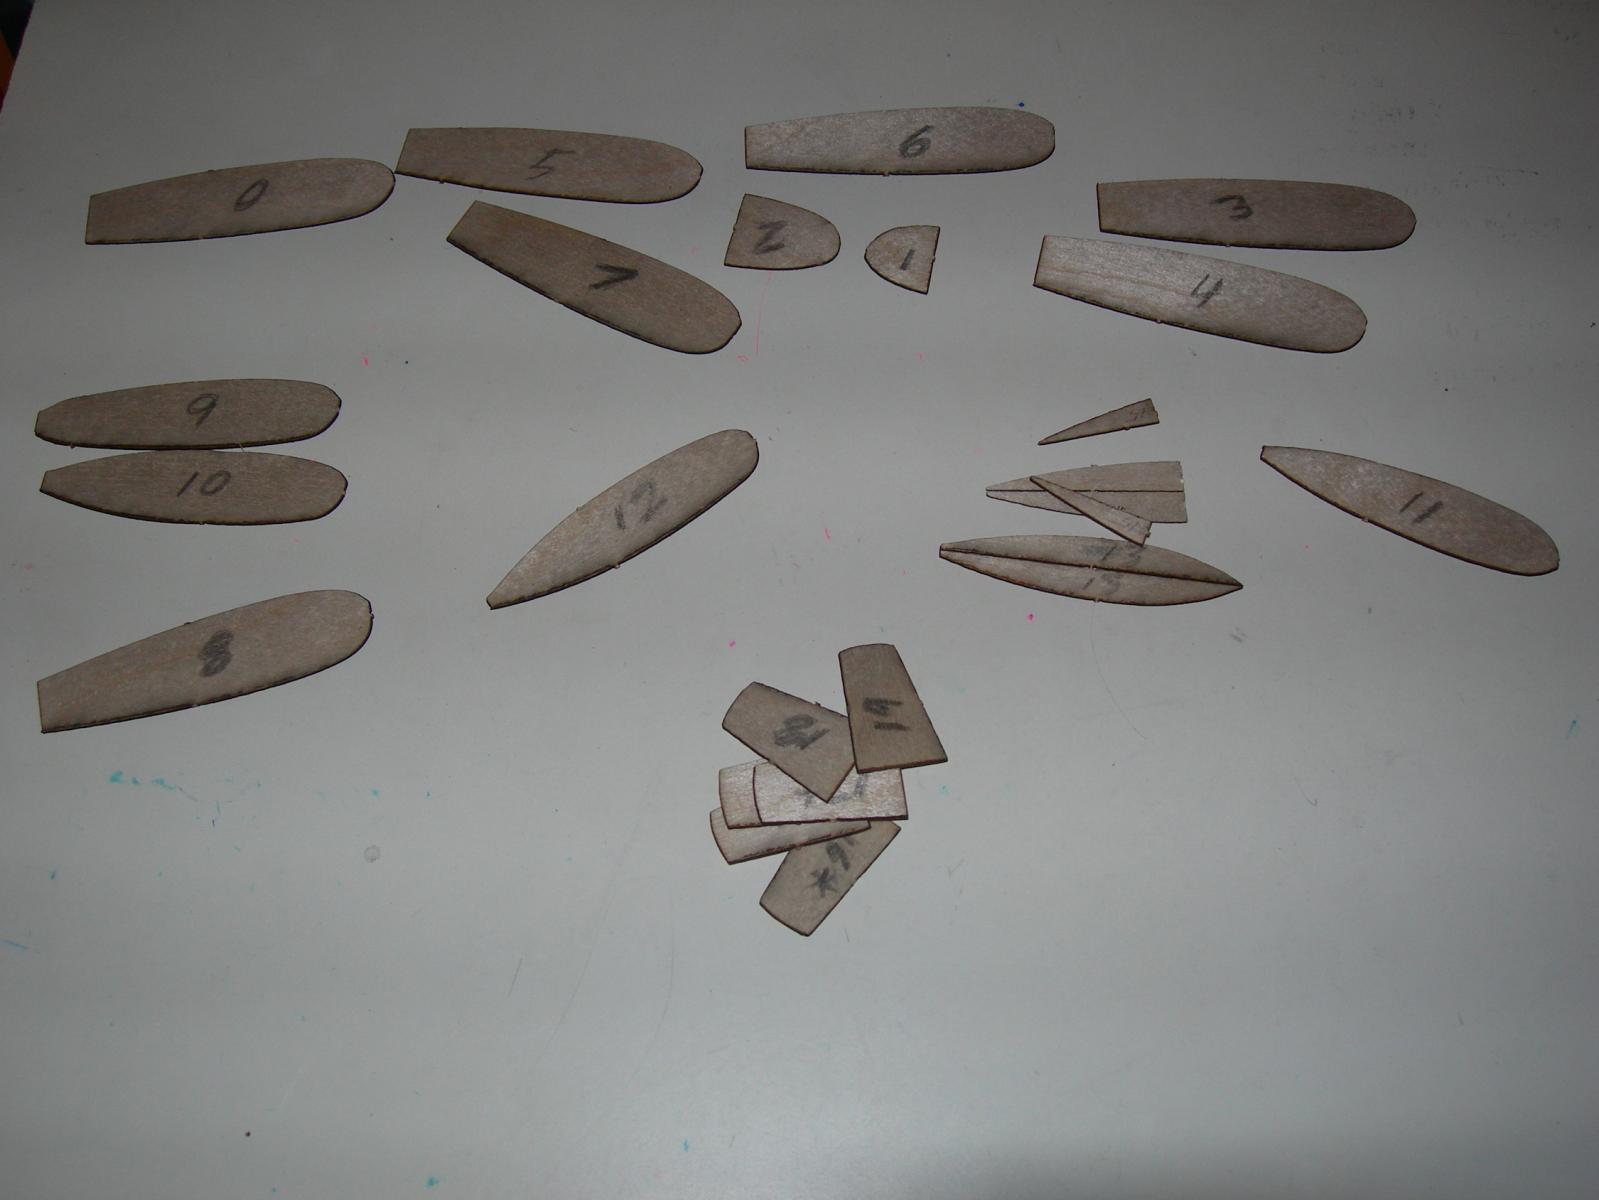
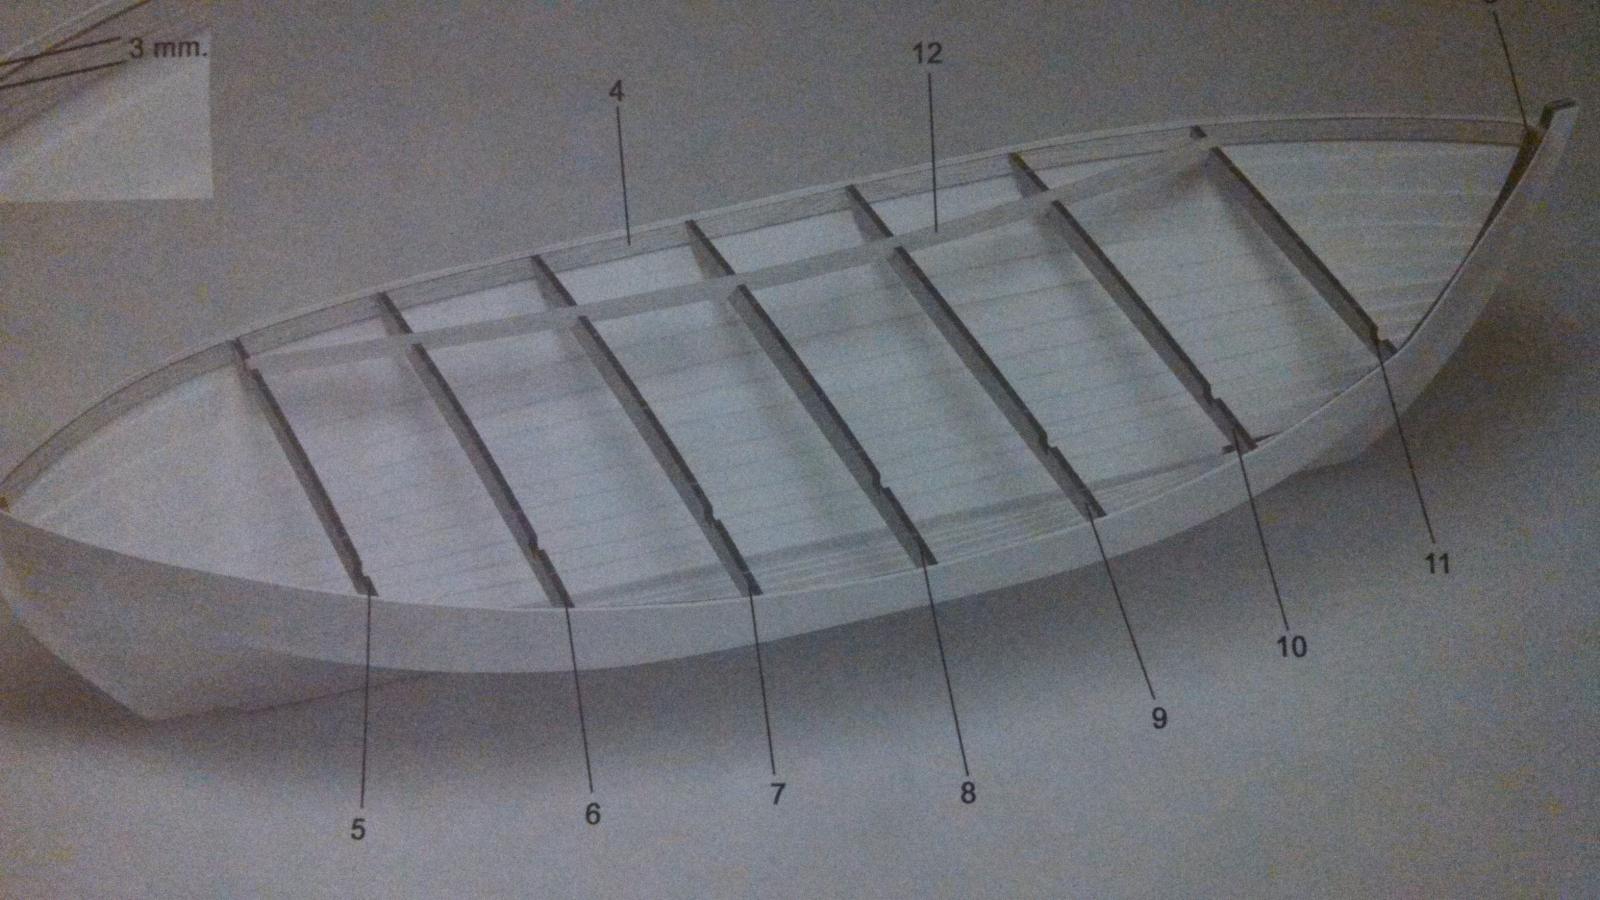
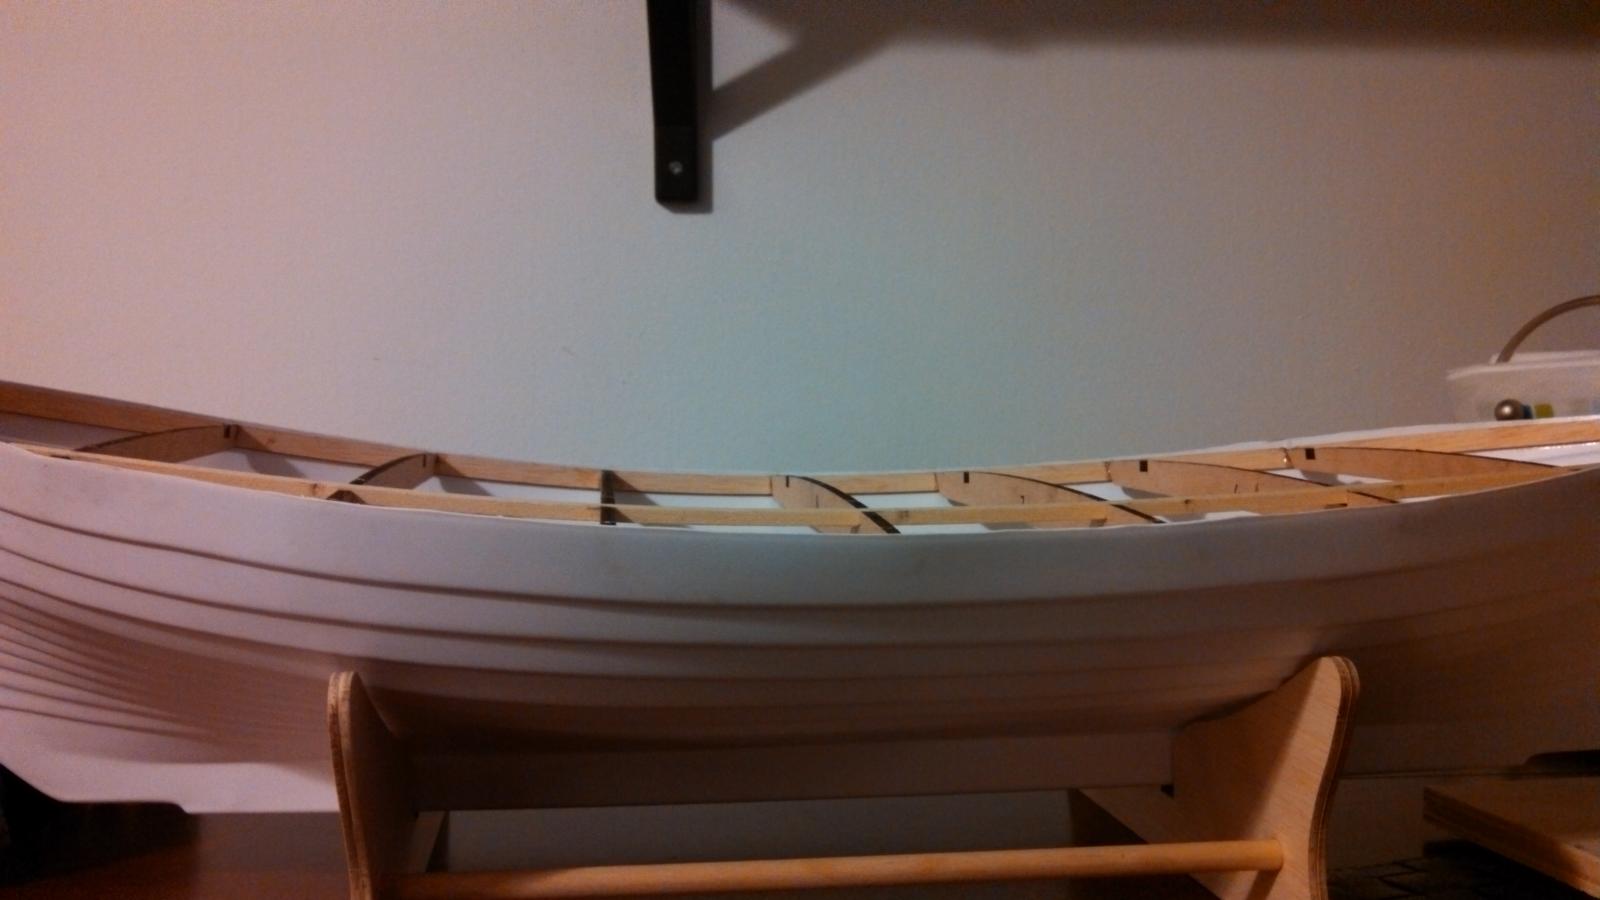
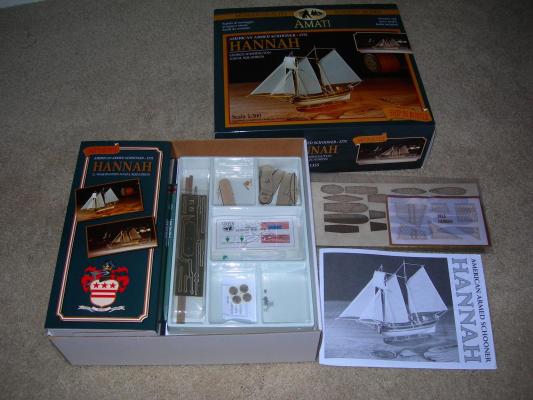
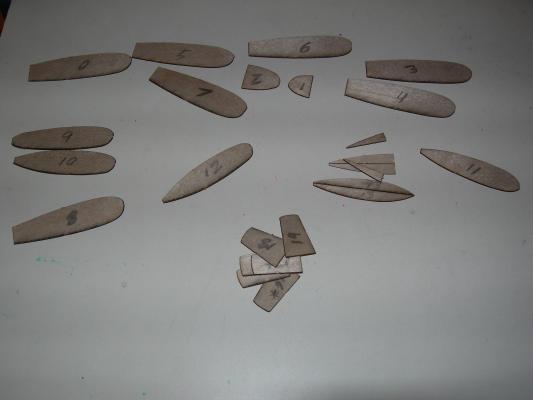
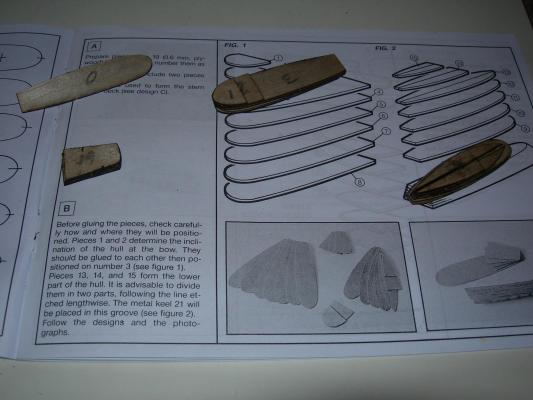
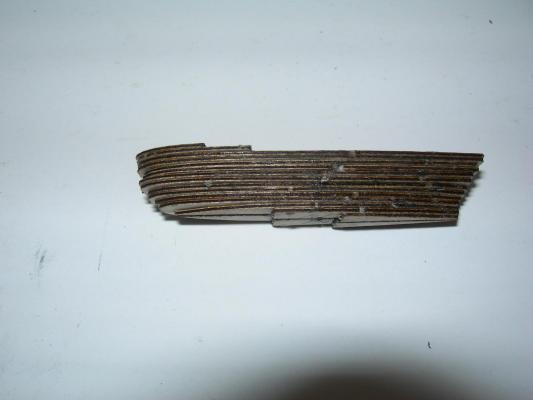
Started this kit about a year ago and took some photos, but didn't start my log. Life got busy and now I am back at the build and posting my log. Available from Seagifts Product Description (Copied from Seagifts) -- Wood model boat kit from Amati. All wooden parts are precut, for more accurate assembling, decks, and keel are photoetched, guns are metal casted. The kit includes: wooden hull, decks, masts, and skylights, glass bottle with wooden cap, cloth sails, and instruction booklet. Intermediate Skill Level: Boat Length: 4-1/4", Height: 3-1/2", Scale 1:300 Opening the box... First step is to number each layer of the hull. Then glue them together. Sanded the hull, then painted, then sanded some more. At this point, there is the hull and the quarter deck as two separate pieces.

-
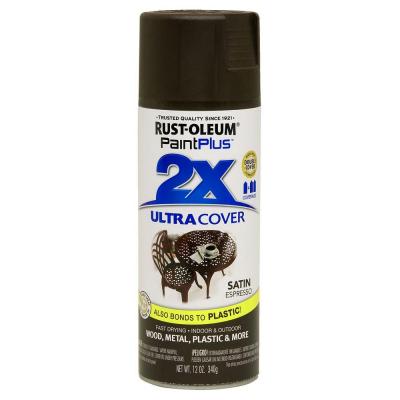
Thanks for the thoughts Hexnut. Due to the scale (1/15), most of my blocks are relatively large so super thin paint isn't a necessity; however, I test painted some Rust-oleum I had on hand. It was OK, but not was thin as I would like. I am going to look at getting some Tamiya when I get to the hobby store this weekend.
-
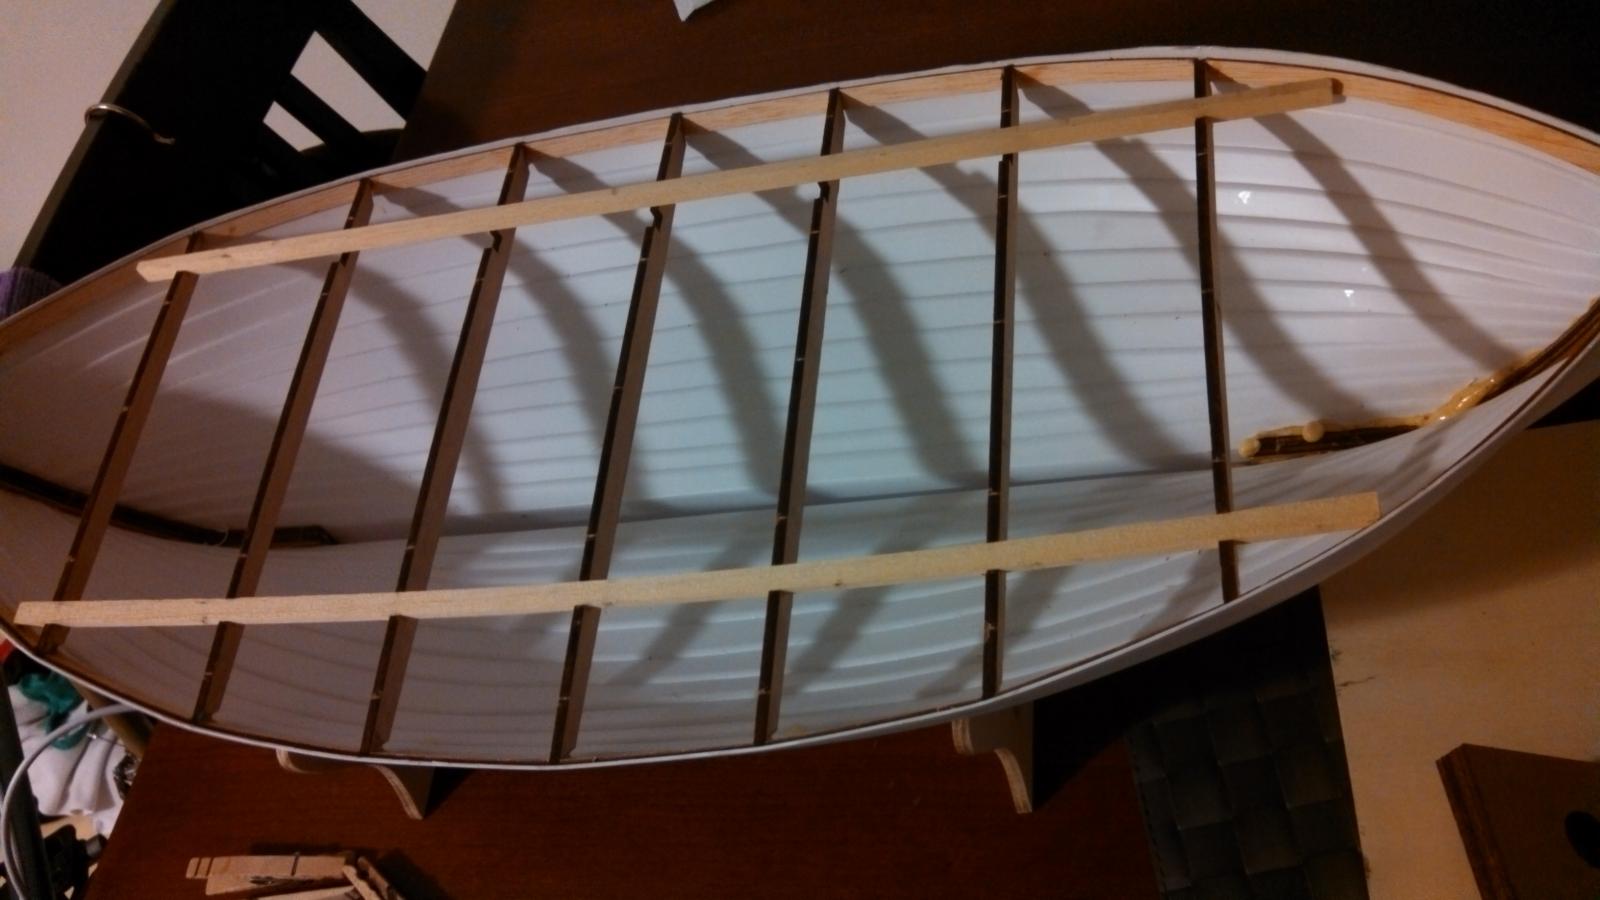
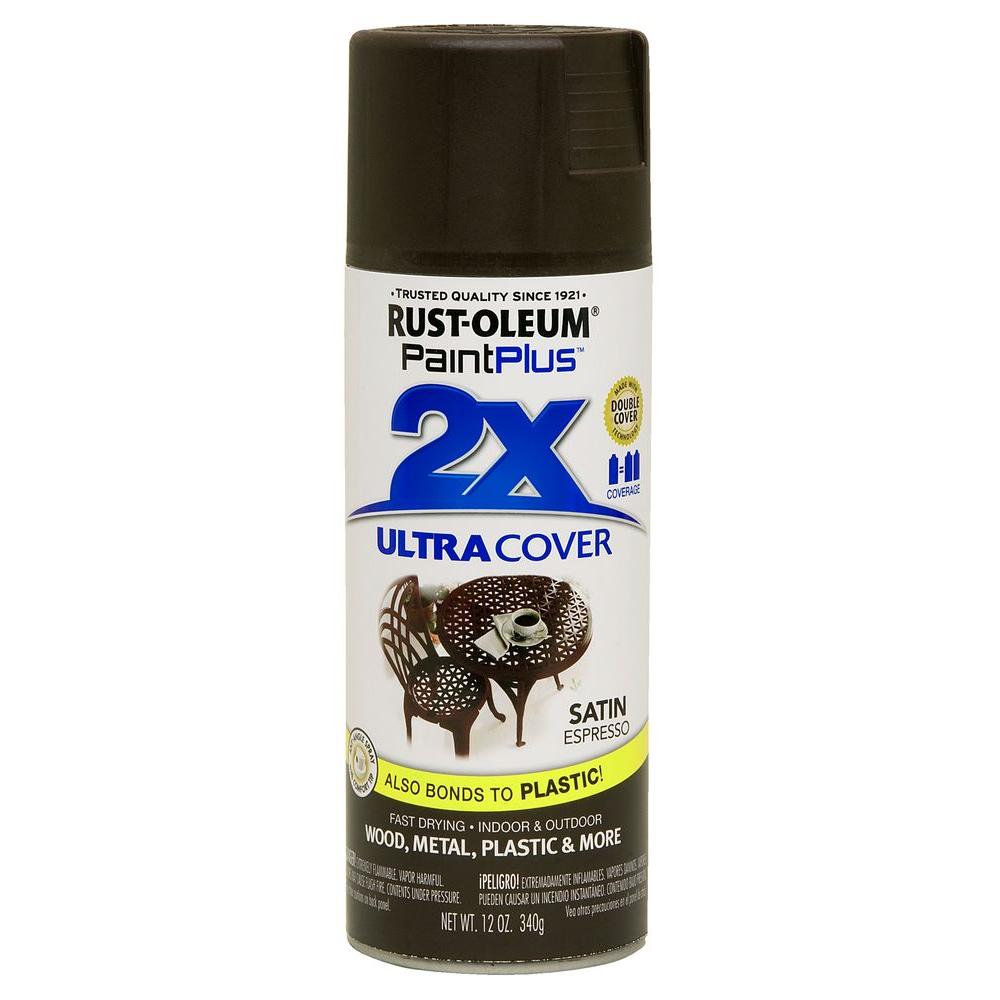
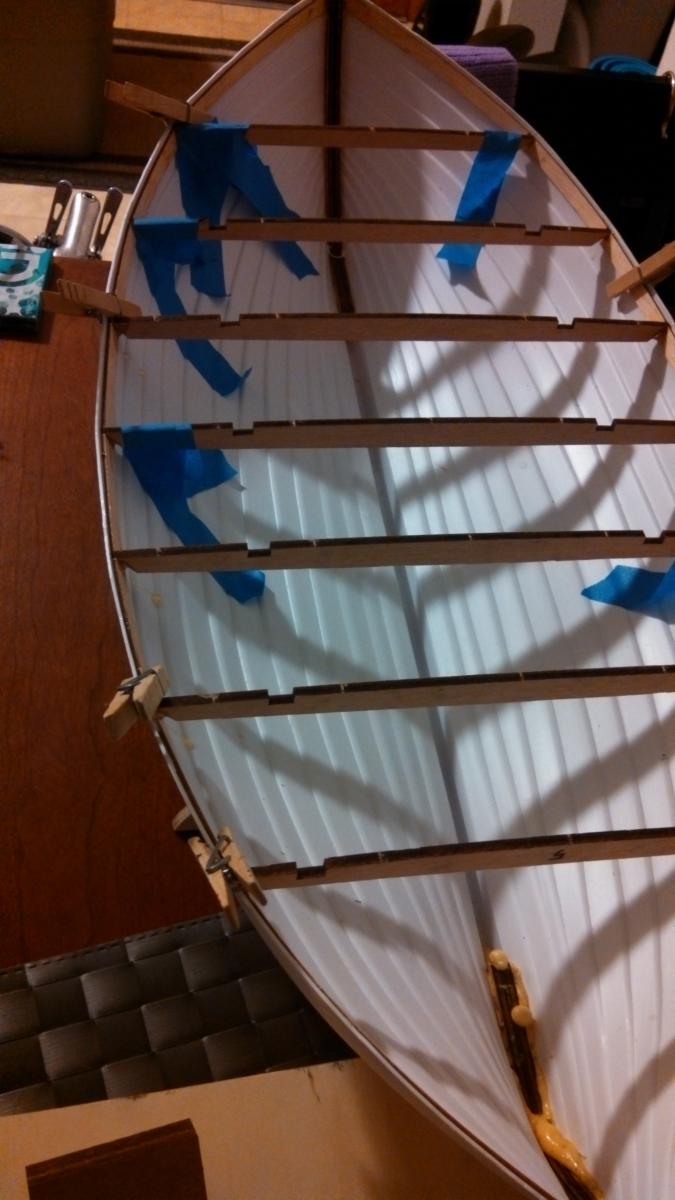
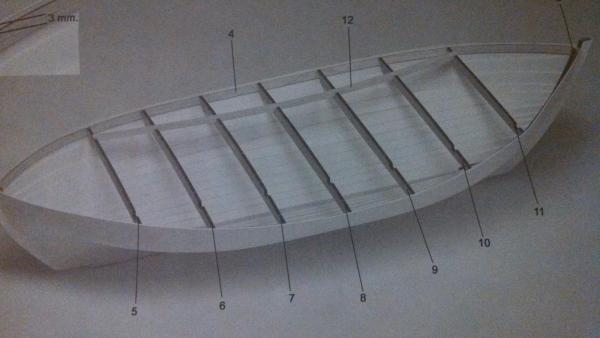
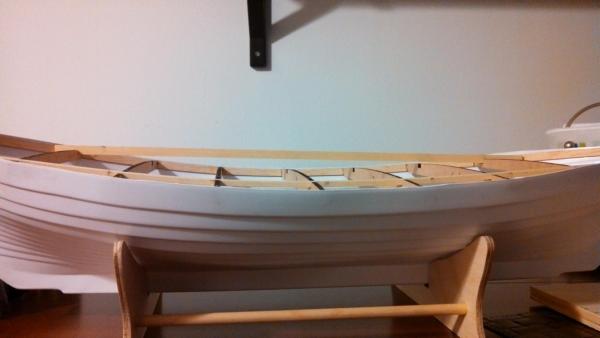
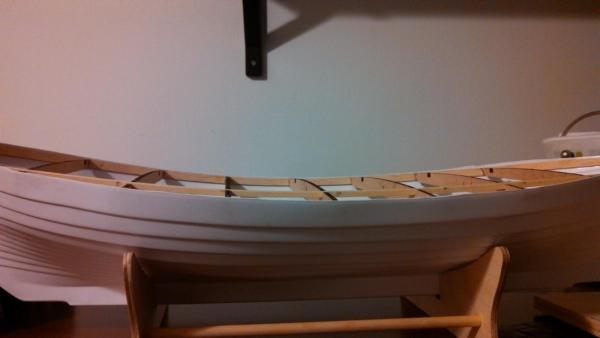
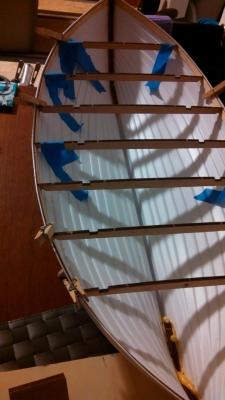
Now that the epoxy has dried, it is time to insert the support beams. The instructions show the beams on end it looks like. As best I can tell, they rise above the cross members. Due to the concave nature of the deck (stem to stern) this would put a lot of stress on the support beam to bend it in such a way. In the photo, it may look like the beam is warping away from the deck, but it is indeed straight. (Optical illusion from the camera lens.) There is room in the slots to fit two support beams side by side, or one on its side. Anybody see a problem with laying the beam on its side? It seems to follow the curvature of the deck better and allows for a continuous surface across the cross members. In this photo the beam on the bottom is on its side and the beam on the top of the picture is on its end. I am thinking I'll wait on placing the deck to see if hear back from the distributor on the deck planks that are missing. Additionally, I think I want to get my R/C components in or at least mapped out before making hull access harder. The next few days will be busy with real life and work, but I am going to try and paint the plastic blocks that were included with the kit. Any recommendations on paint? I was planning to use a indoor/outdoor spray paint to get quick, even and light coverage that'll hold up to the wet sailing environment. Something like the product below?

- 7 replies
-
- 1
-
-
- sailboat
- billing boats
- (and 2 more)
-
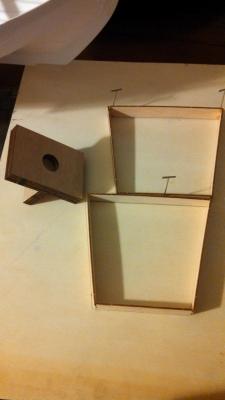
As seen in the second photo in the post above, I had the cross braces in place while the epoxy set to hold the shape of the hull. Seen below, the braces do stretch the ABS hull a bit to get a tight fit. Close up here I used epoxy to glue in the cross braces and bit of tape to keep them aligned where they needed to stay. While I waited for that to dry, i glued up two of the three deck hatches along with the mast step.


- 7 replies
-
- 1
-
-
- sailboat
- billing boats
- (and 2 more)