Search the Community
Showing results for tags 'tugboat'.
Found 10 results
-
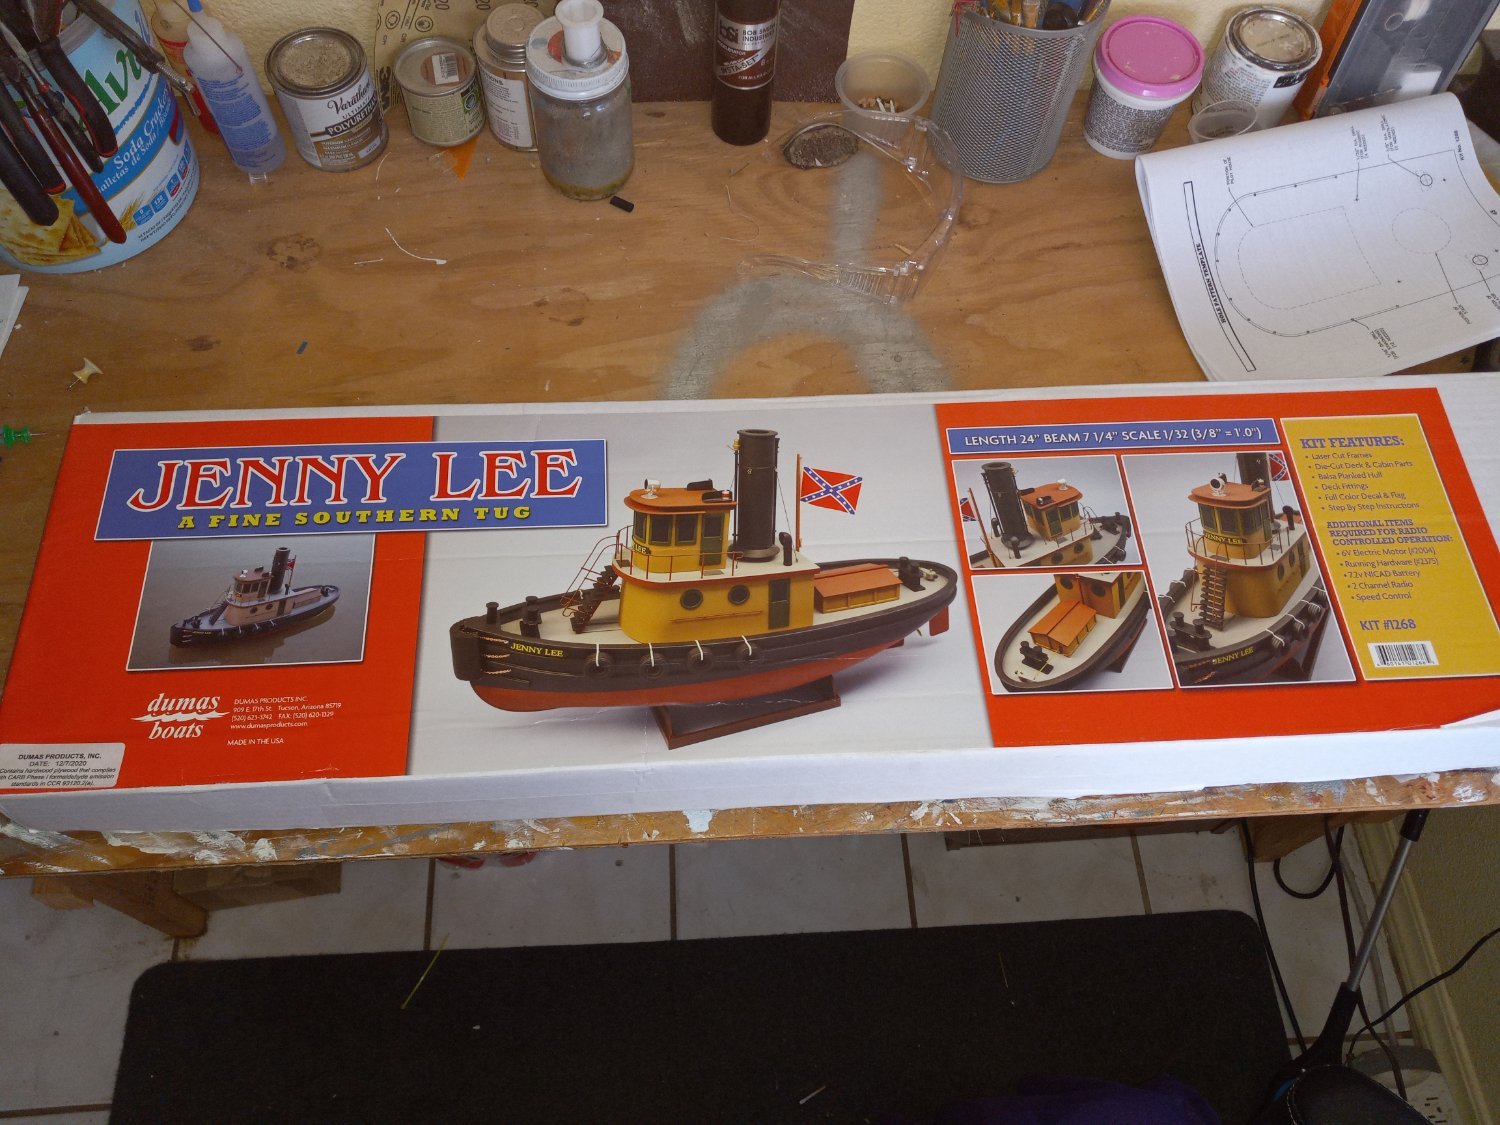
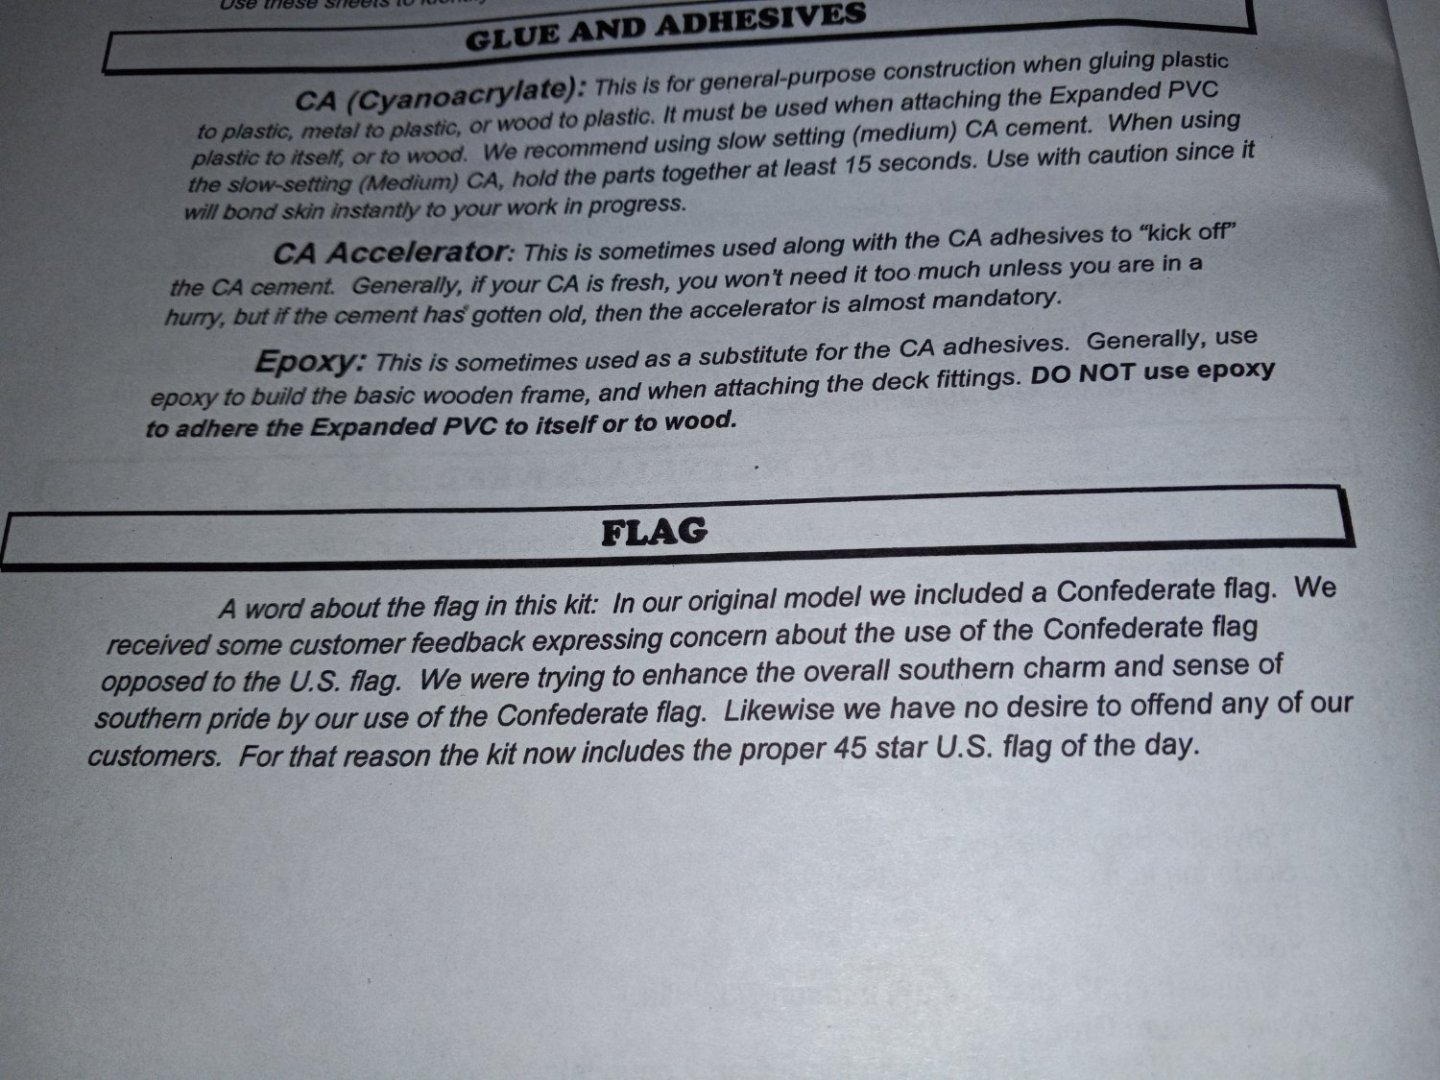
 I picked this orphaned kit up a couple of years ago intending to build it for my youngest grandson. So it has found its way to the building table. It's an r/c model. It will measure about 24 inches when finished. I will not be adding a stars and bars flag and will opt for an American flag.
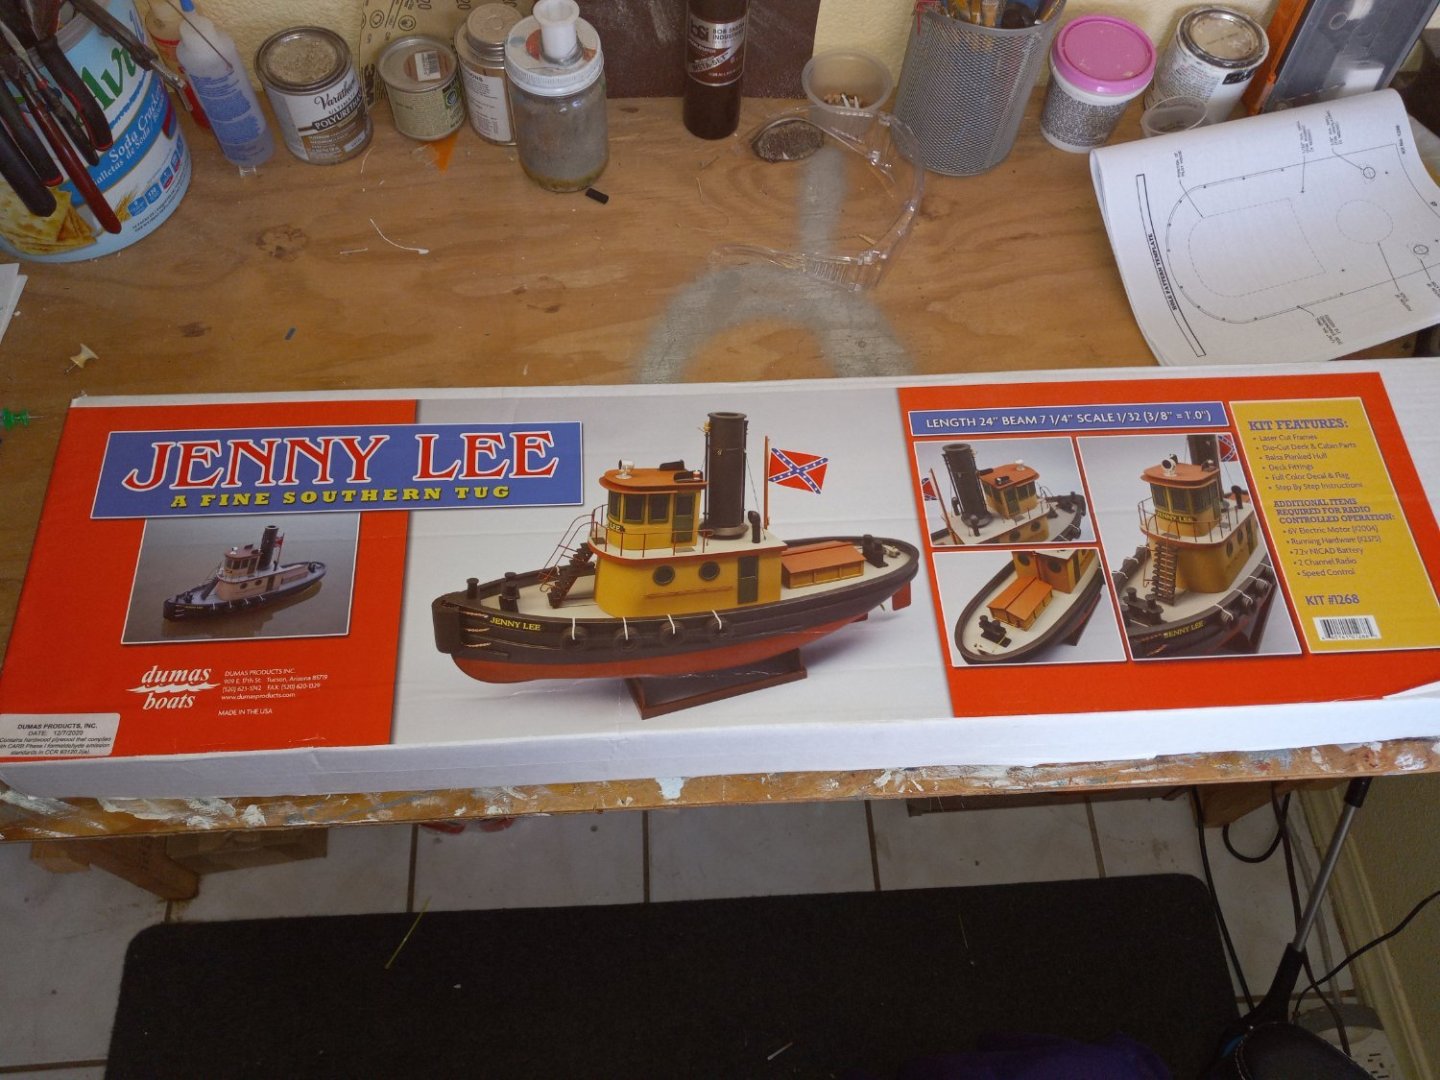
-
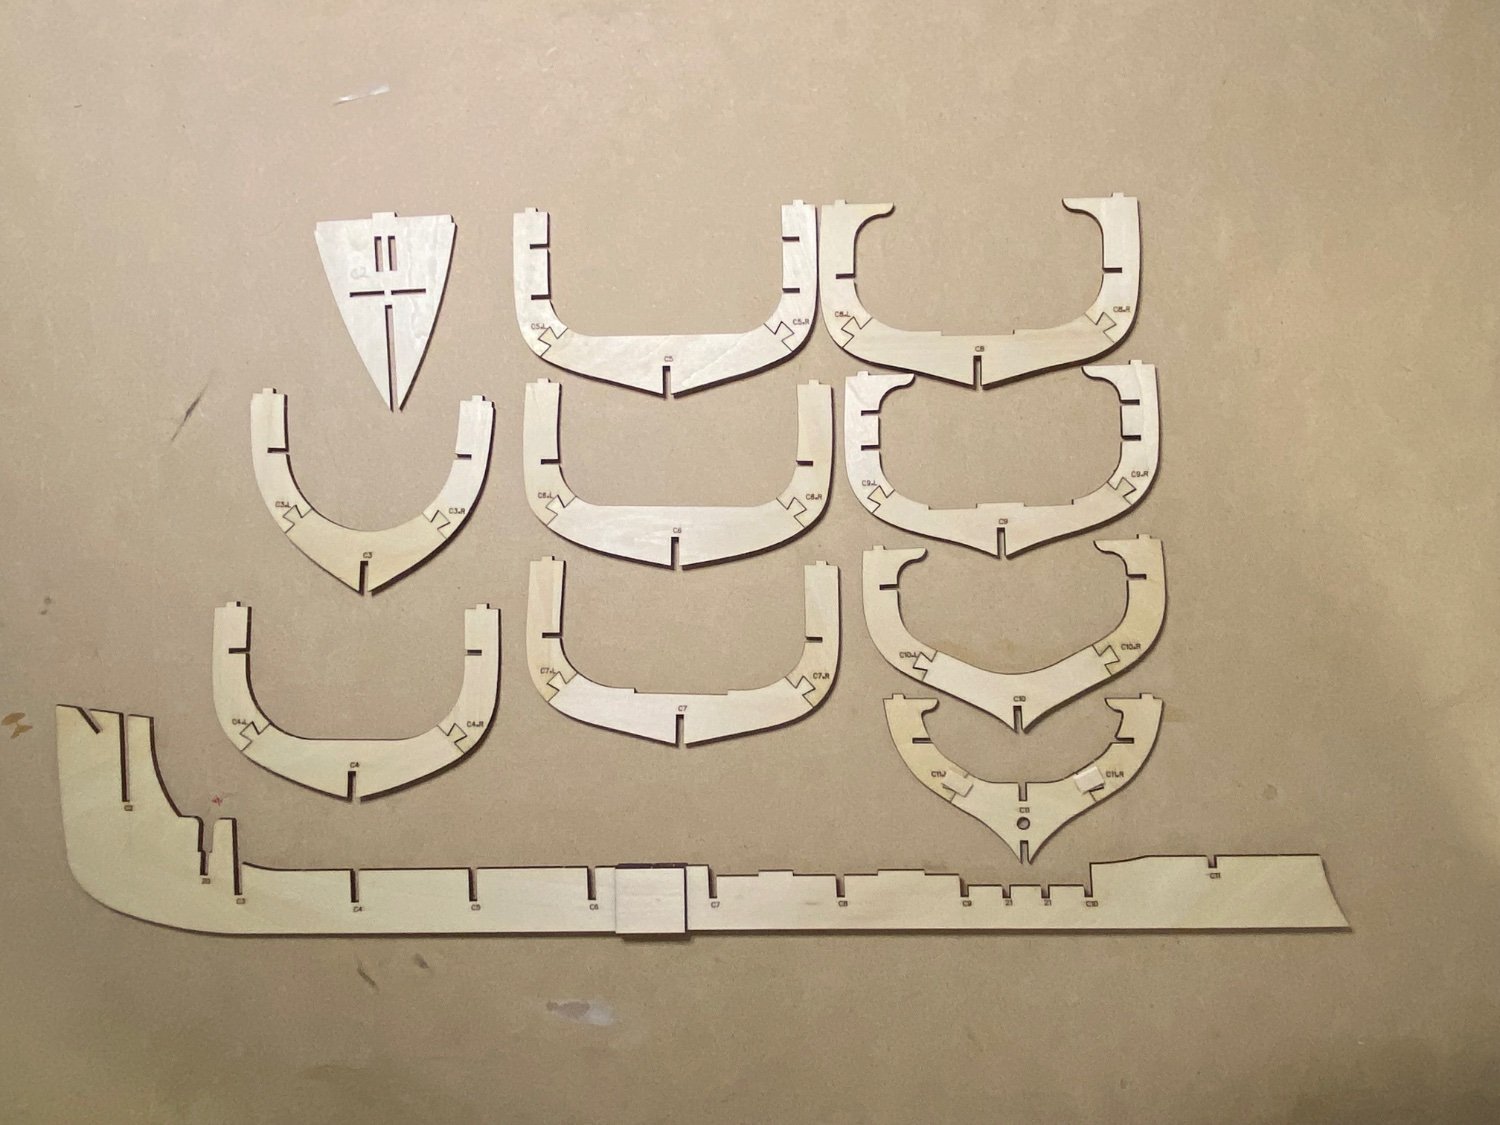
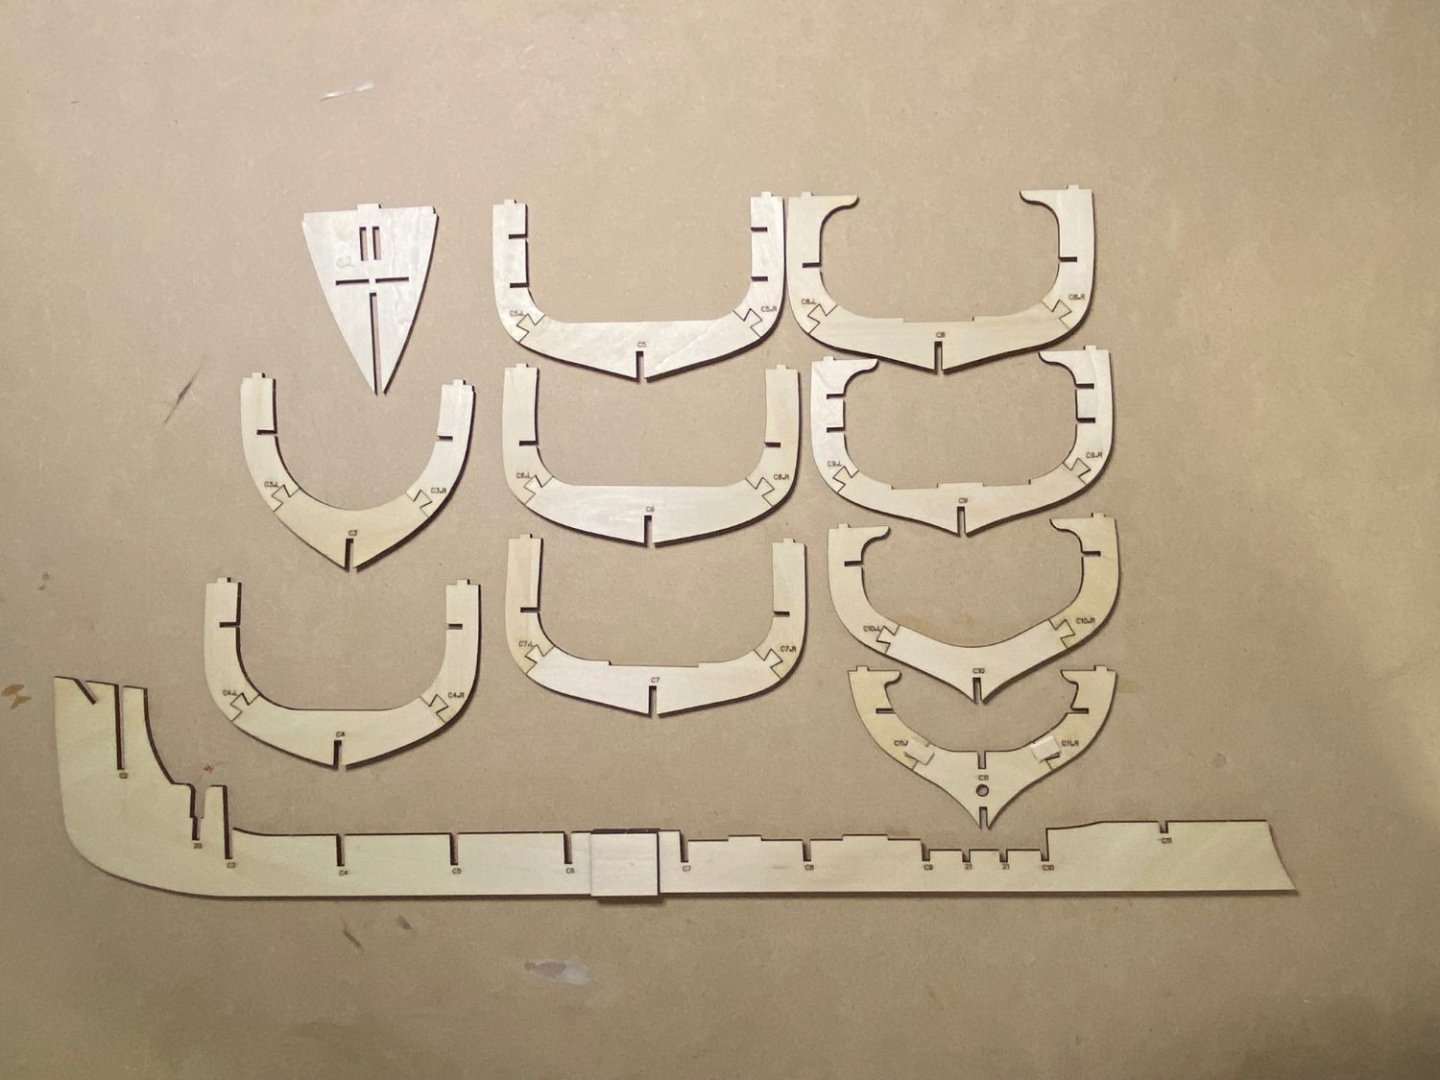
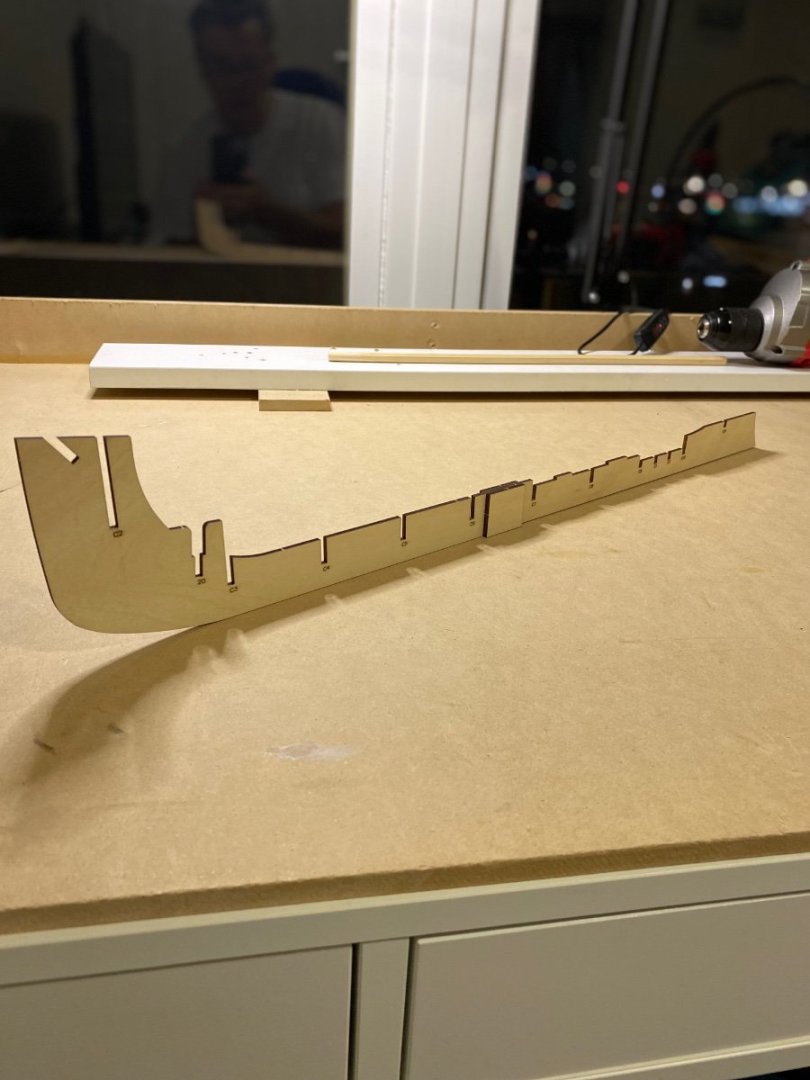
 I have started my second build, the Sanson Tug. There are no instruction included with this kit, it is done through You Tube videos, 18 in total. The 3 piece frames and keel are all glued up. The dove tail joints are all a bit sloppy so reinforcement was added to one side. I will add the frames to the keel next and add the longitudinal braces. #11 frame is very loose so special care will be taken.
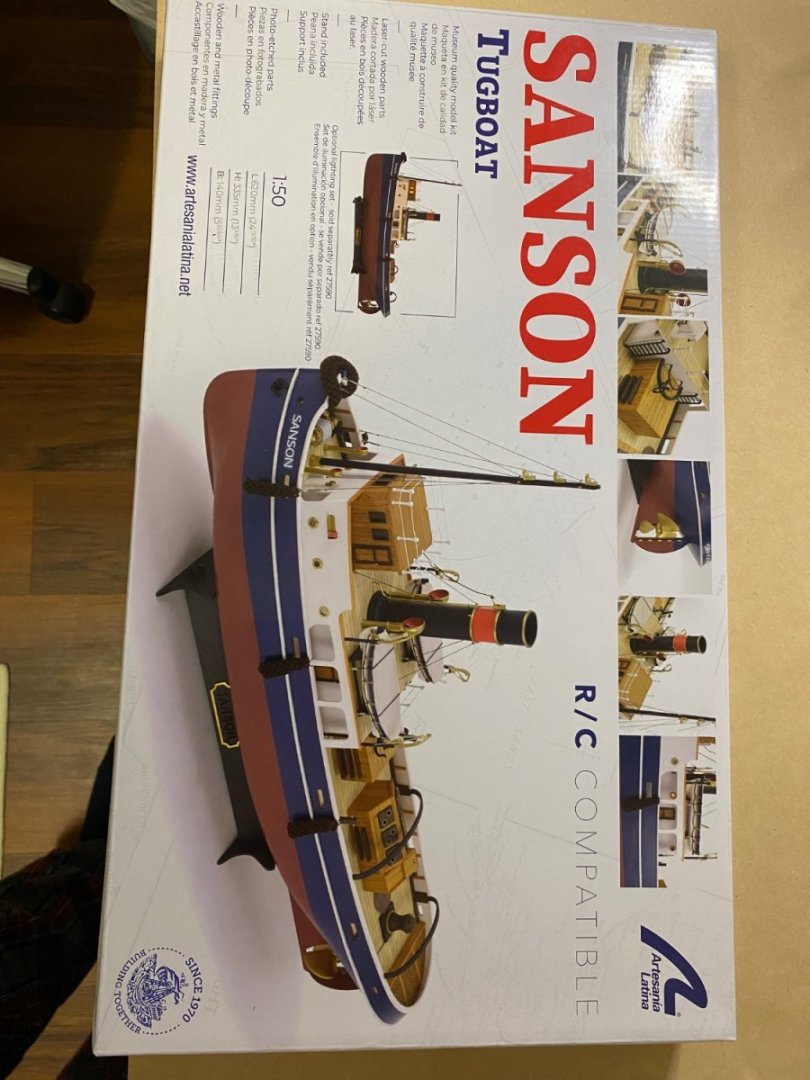


- 42 replies
-
- 8
-

-
- Sanson
- Artesania Latina
- (and 1 more)
-
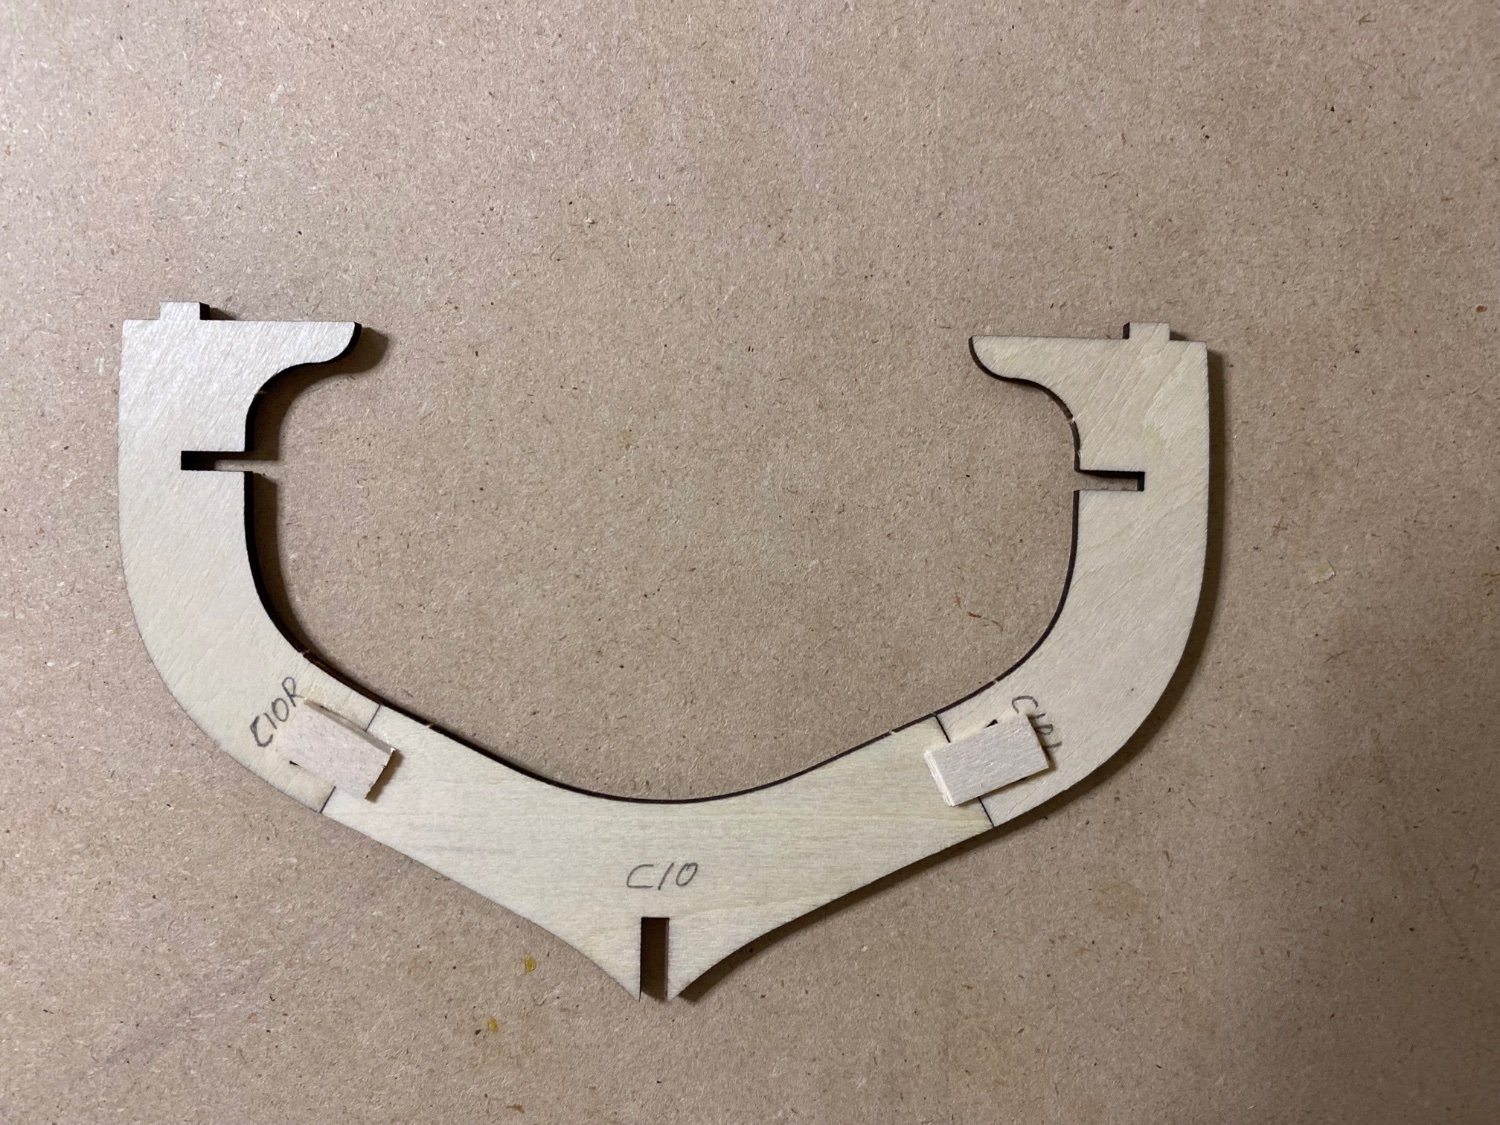
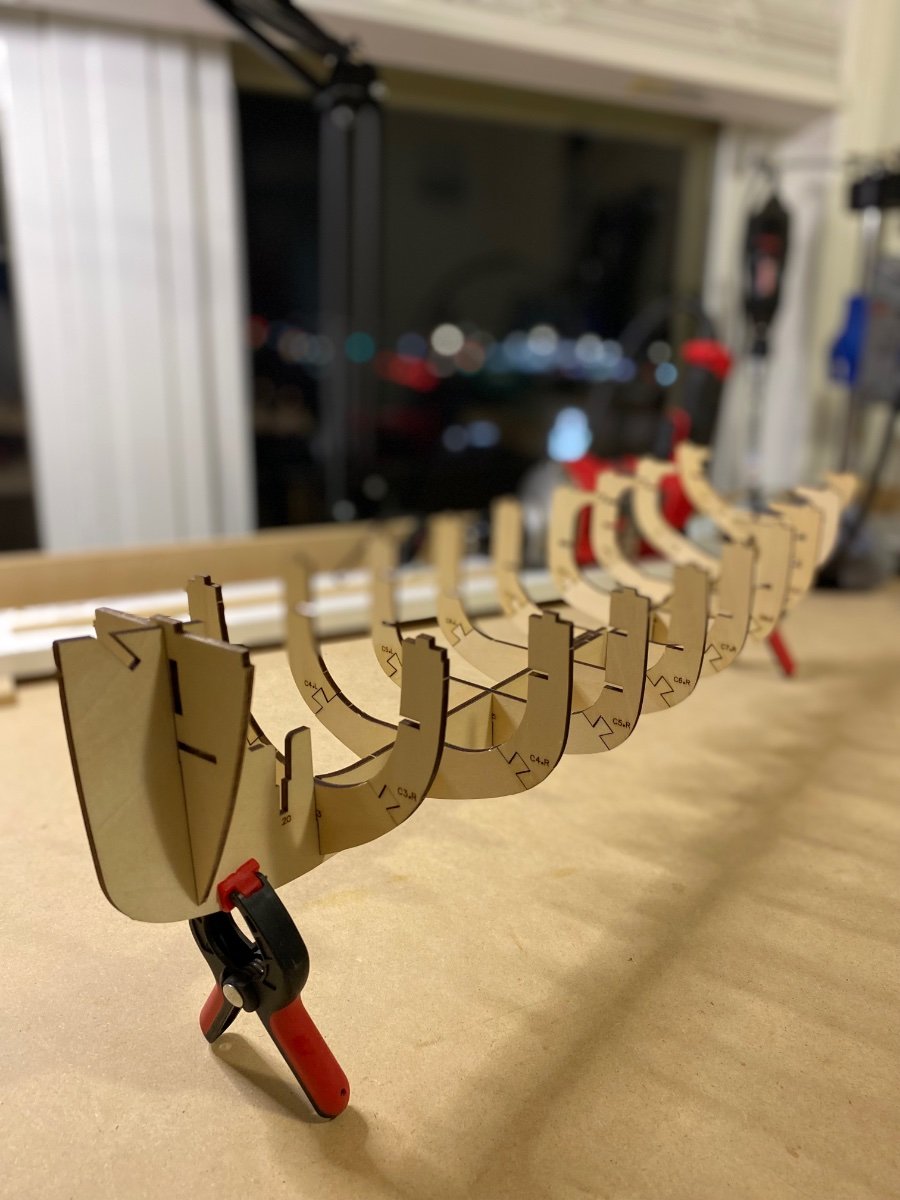
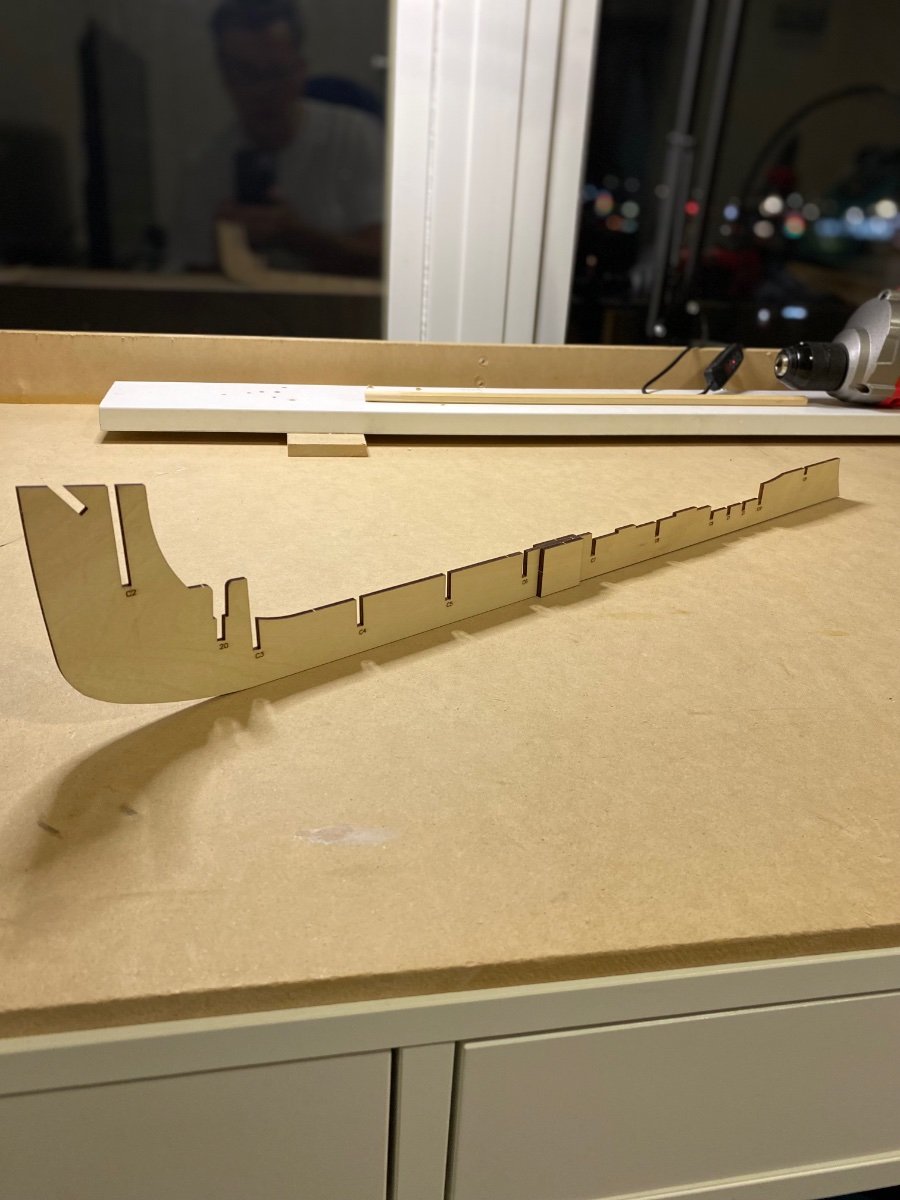
 I have been very remiss in not posting this log. So let me make up for my omission. and please stay with me while I share my complicated story. In late July of 2018 a friend came to me and said "you build model boats don't you?" And when I said yes he handed me a piece of paper with a name and phone number on it. He said "Call this guy. he has money". And with that my adventure began. When I called the guy (his name is Mike) it turned out he is an instructor for a school that trains students for careers in the maritime industry. The school has a harbor tug that is approx. 70 years old and needs to be retired. They don't have a lot of money and came up with the idea of building a model of a tug as an inexpensive way to teach about a modern tug until they can raise the money for the real thing. So they offered me several $1000 to build this model and a fueling barge to go with it. They wanted a tug model that was approx. 4 feet long. As mentioned elsewhere in this site I have been learning Fusion 360 and experimenting with 3D printing. So I thought what a great opportunity to use these skills. Never in my wildest dreams could I have imagined what happened from here. Both good and bad. Thanks to this wonderful web site I already knew about someone who had used Fusion to make 6' long 3D printed Battleships. So my first contact was to get an estimate of what it would take and how long. I also knew that my good friend Dr. Per had much more experience in CAD than I have and reached out to him. So I won't go into all the details. but as it turned out This school is part of the federal government and it took several weeks to just get approval on how not to spend any US tax dollars to do this project. It took many more weeks to get connected to the company that designed the Tug. And finally with the help of an attorney and an NDA. We got to spend a day on board the tug here in Seattle and received partial plans. So the non modeling part of this project took 4 1/2 months. Neal was given 6 weeks to develop the CAD drawings and then we had a design review with the customer. All of this was completed 12/21/2018. And now we could start actually modeling. I should also mention that the project was being funded by donations from a 3rd party and it took a while but we got set up as a vendor to them and got paid an initial $500.00 to cover materials.
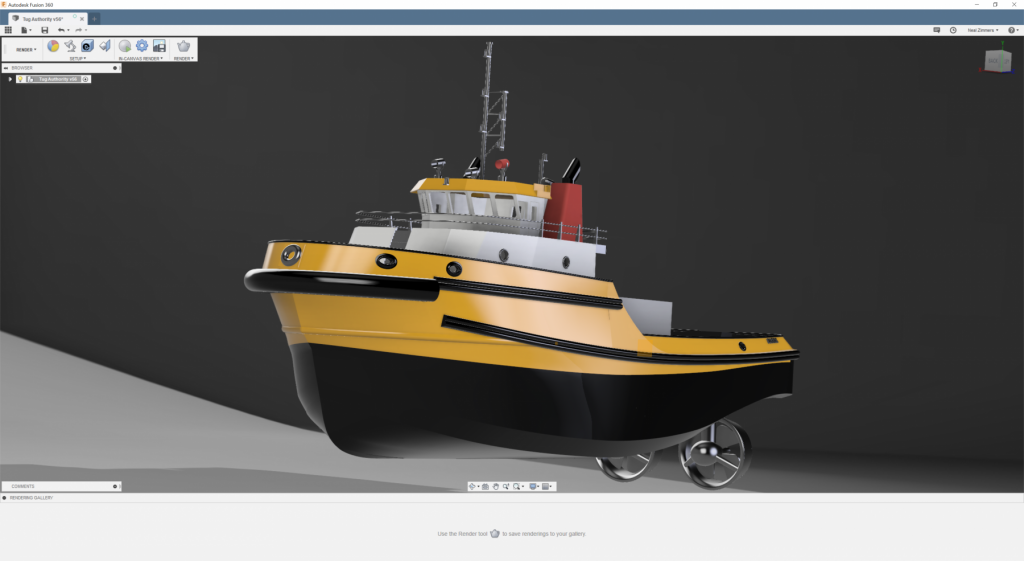
-
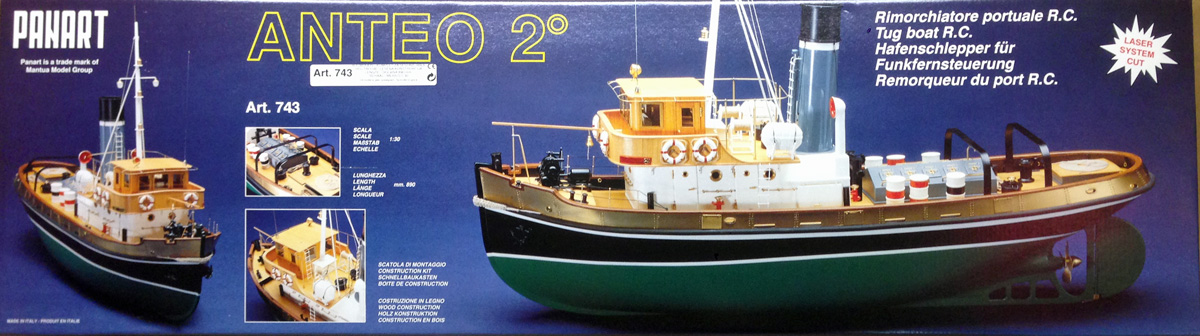
 I've made several ship models in the last 10 years. My best work was on the HM Bark Endeavour by Caldercraft, but the model that gets the most compliments is my Anteo Harbour tug. I've been wanting to build another tug for a while and settled on the Marie Felling by Caldercraft. They offer a couple of other tug kits but they are nearly impossible to find at the moment, so I settled on the Marie Felling. This is a BIG model, 43.5" long. It has a Glass Reinforced Plastic (GRP) hull and superstructure and is clearly made for RC. I just build for the fun of building, and will build this as a static model. Here's a photo of the GRP hull next to my Anteo. MSW has no build logs for Caldercraft tugs or the like, so I hope that this will give the readers some information about this. There are three good build logs on https://www.rcgroups.com, all of RC equipped models of course. Here are links if you're interested. Marie Felling by Longbike Marie Felling by Rmay Marie Felling by Kaskazi
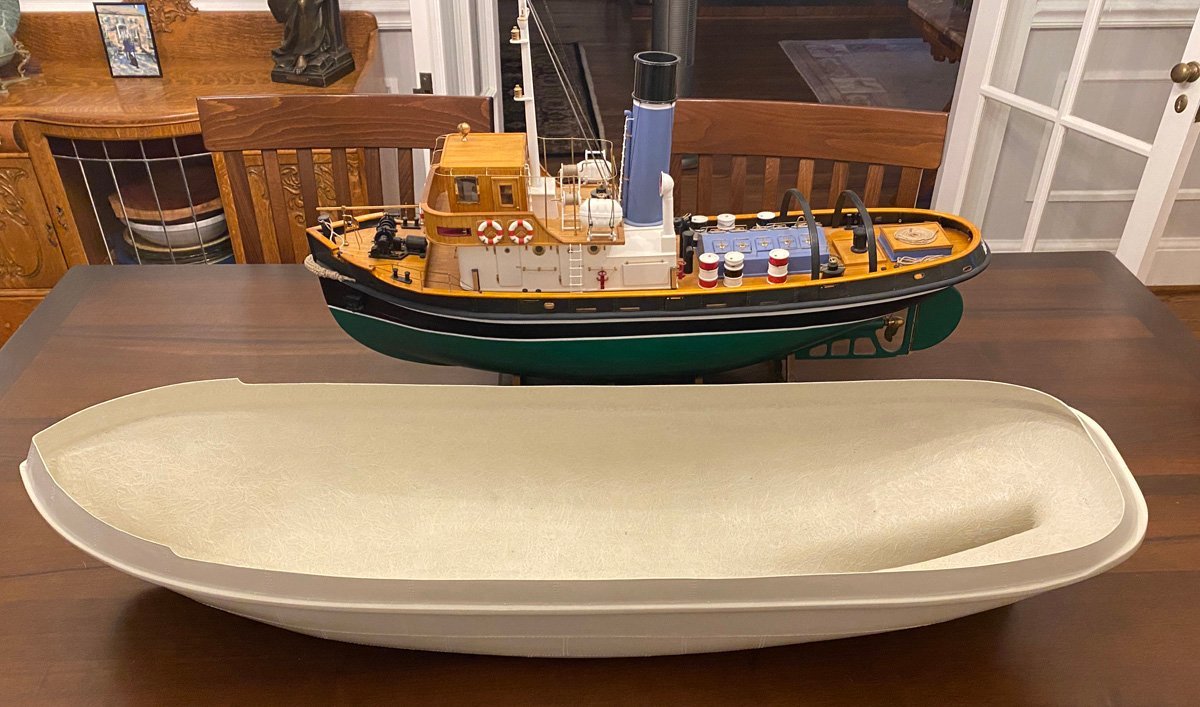
- 50 replies
-
- 8
-
-
- Marie Felling
- tug
- (and 3 more)
-
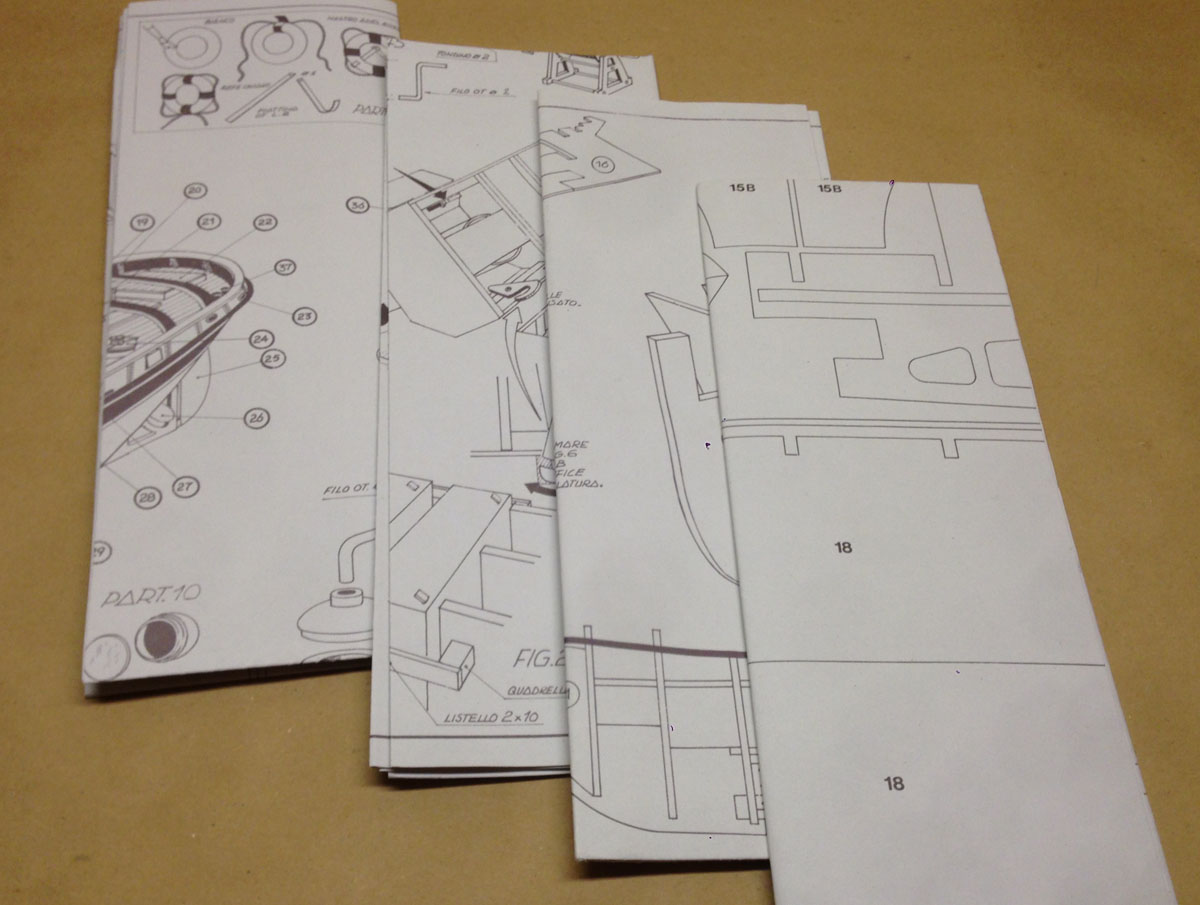
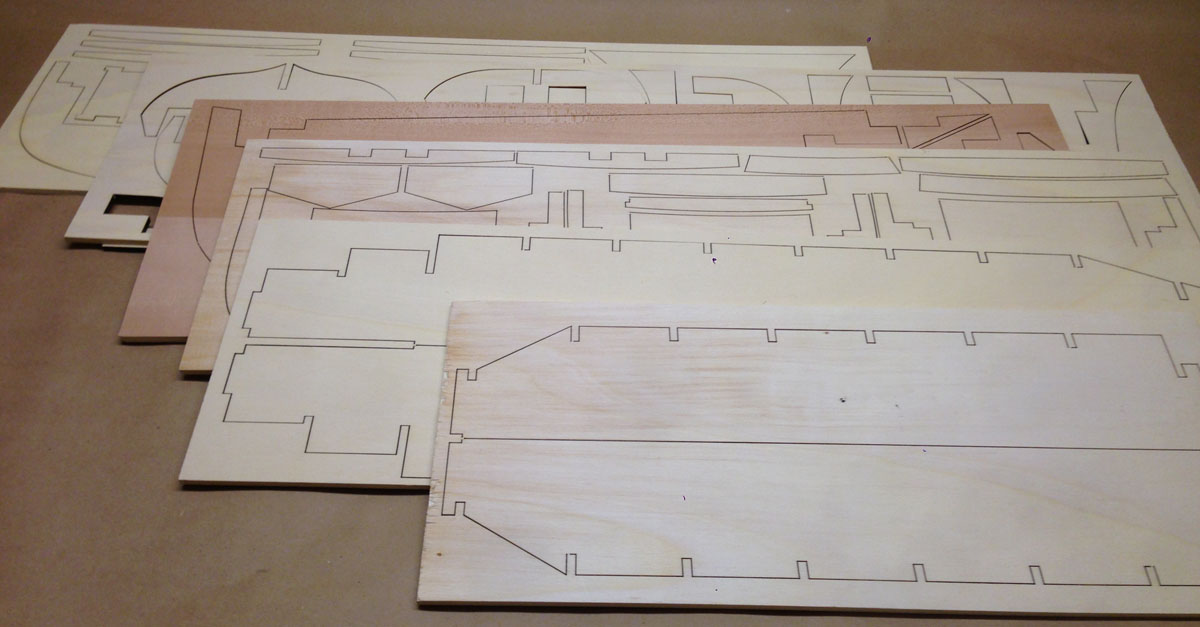
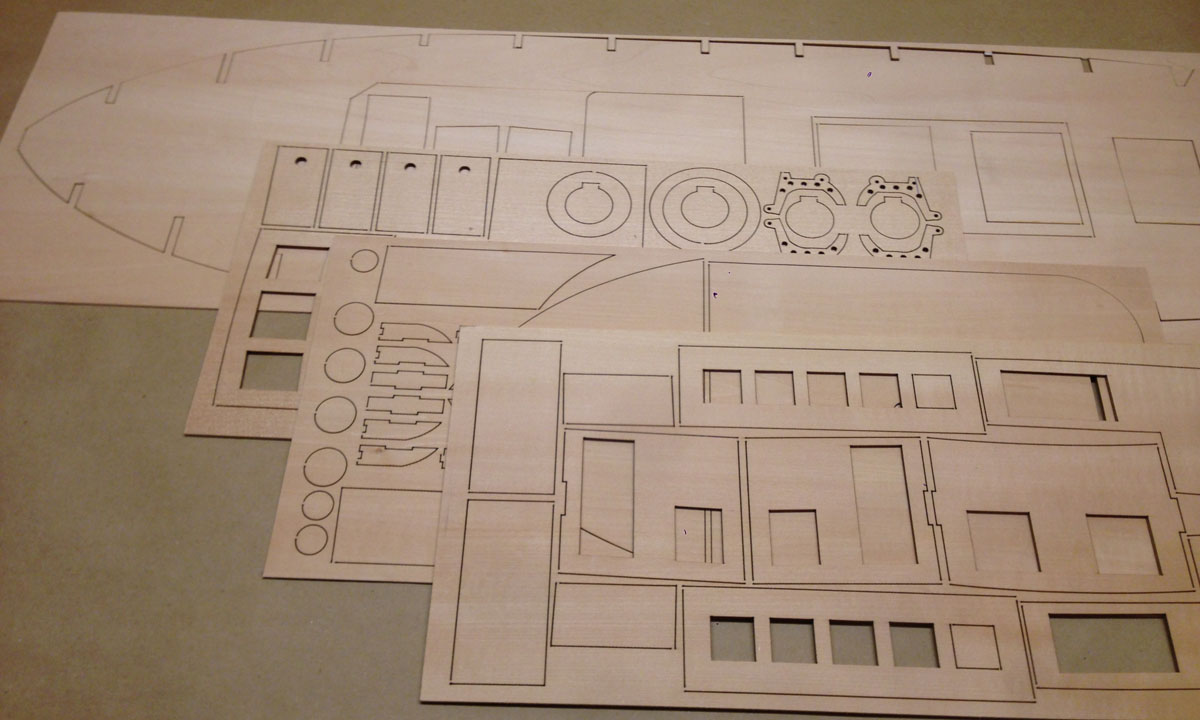
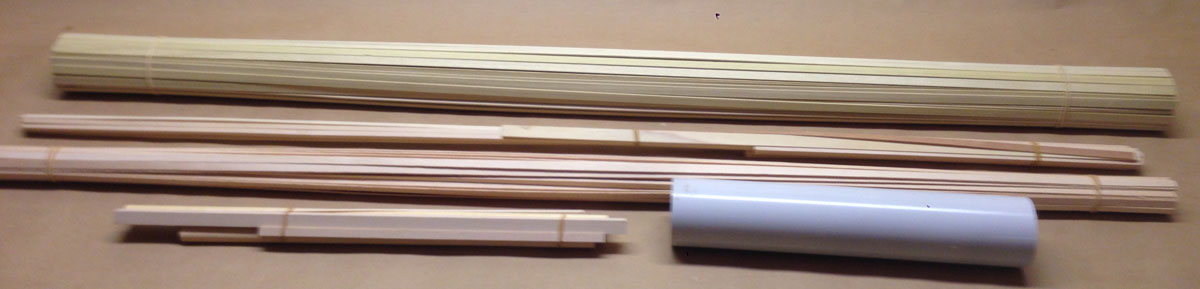
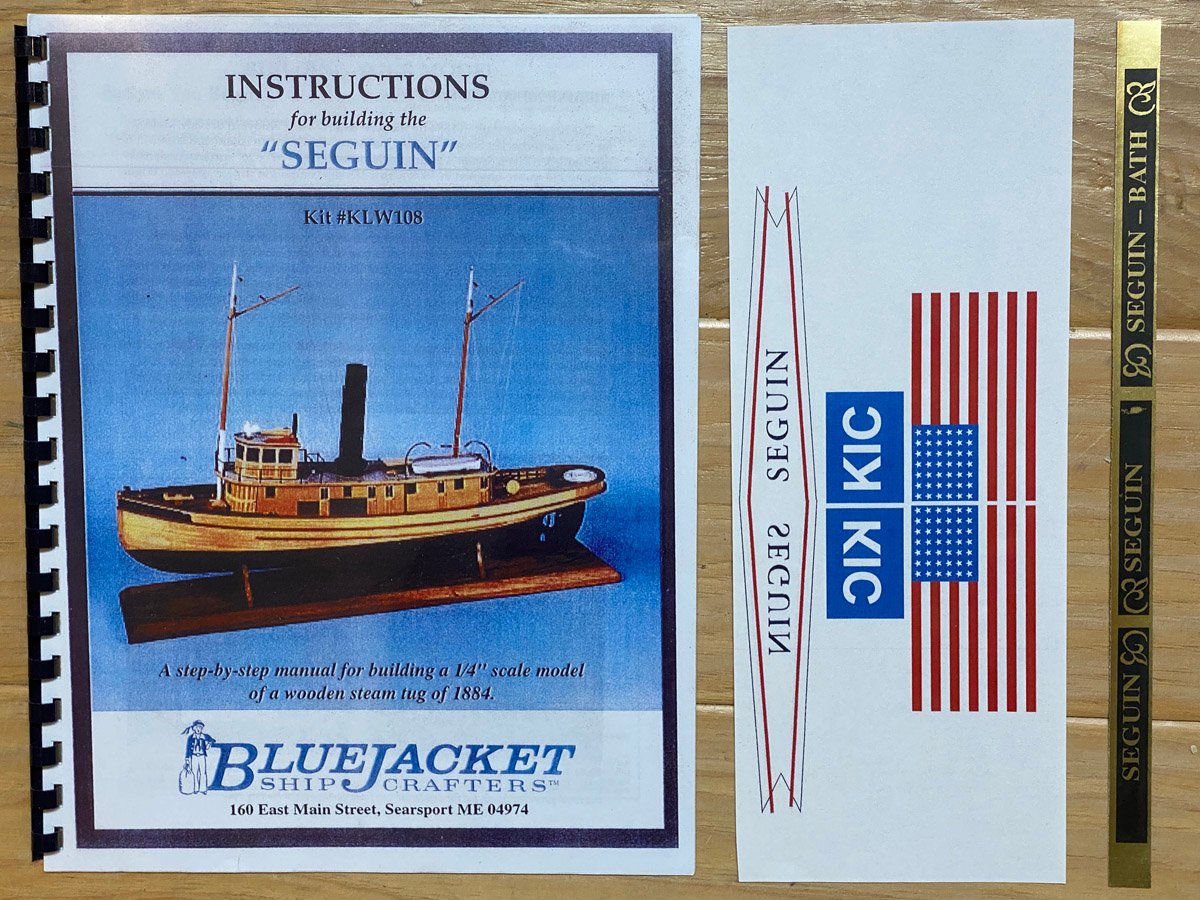
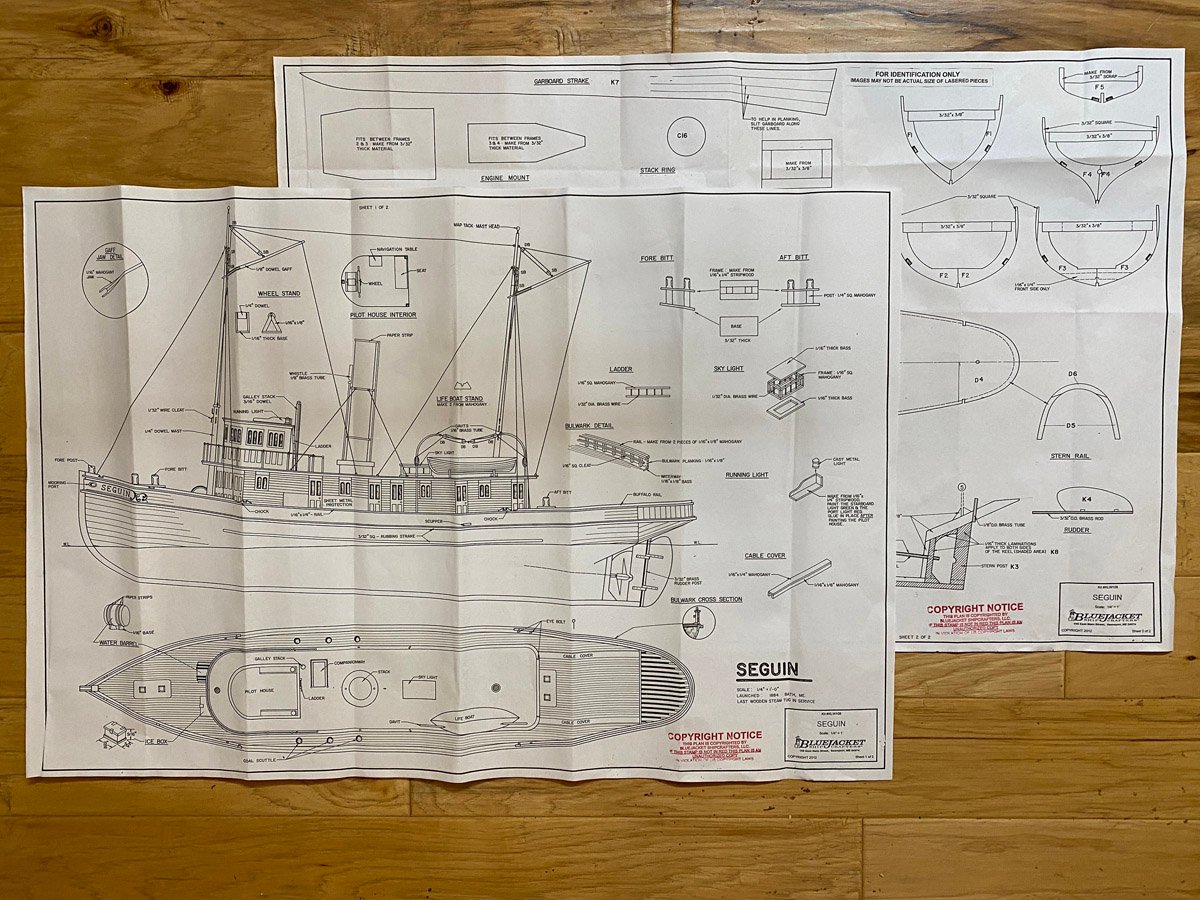
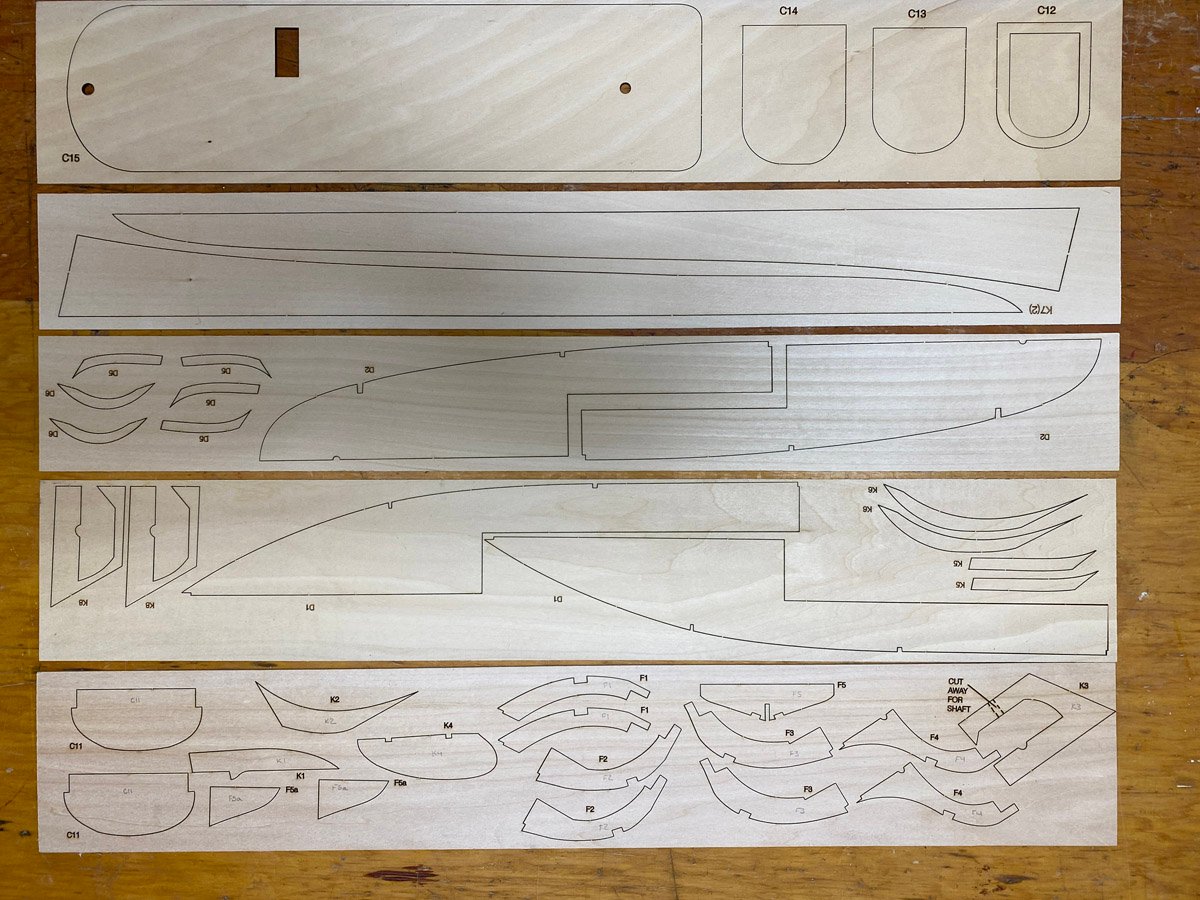
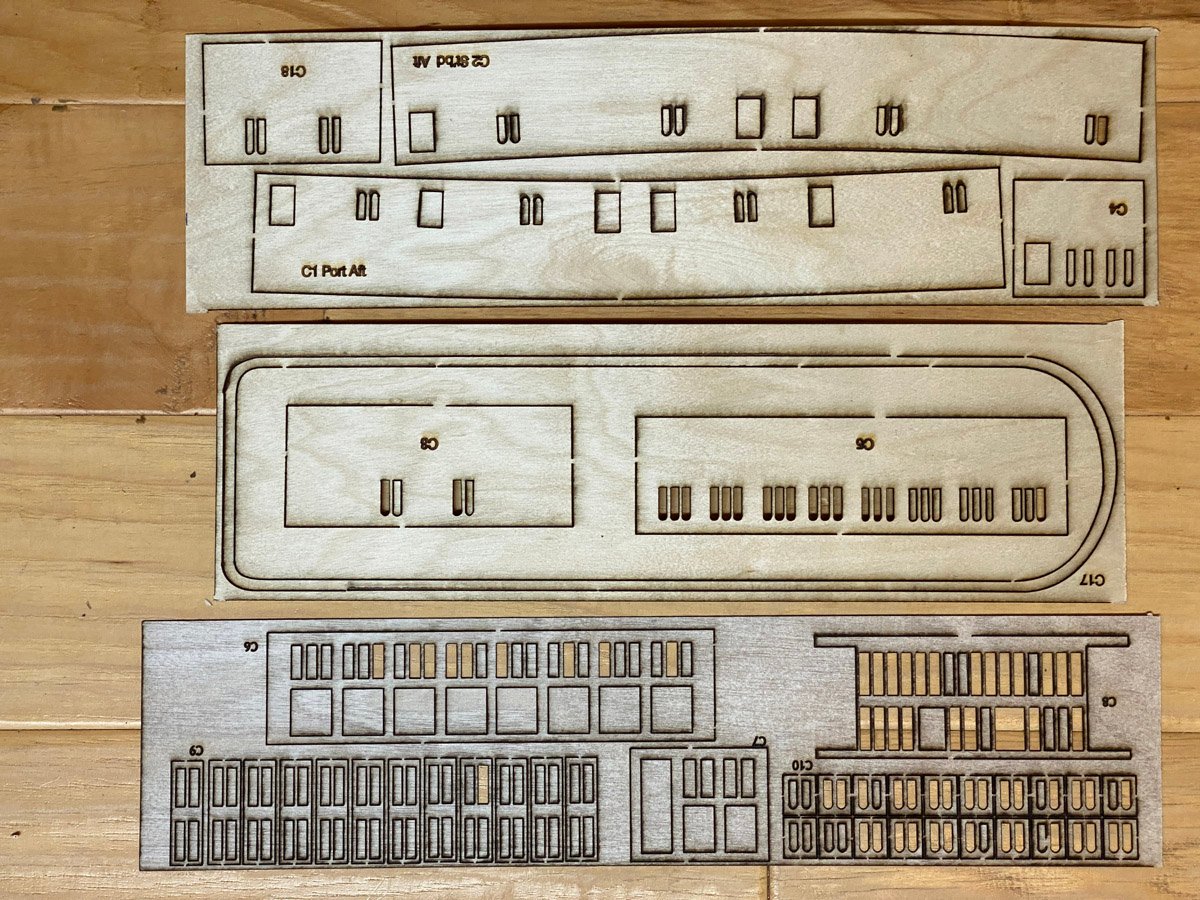
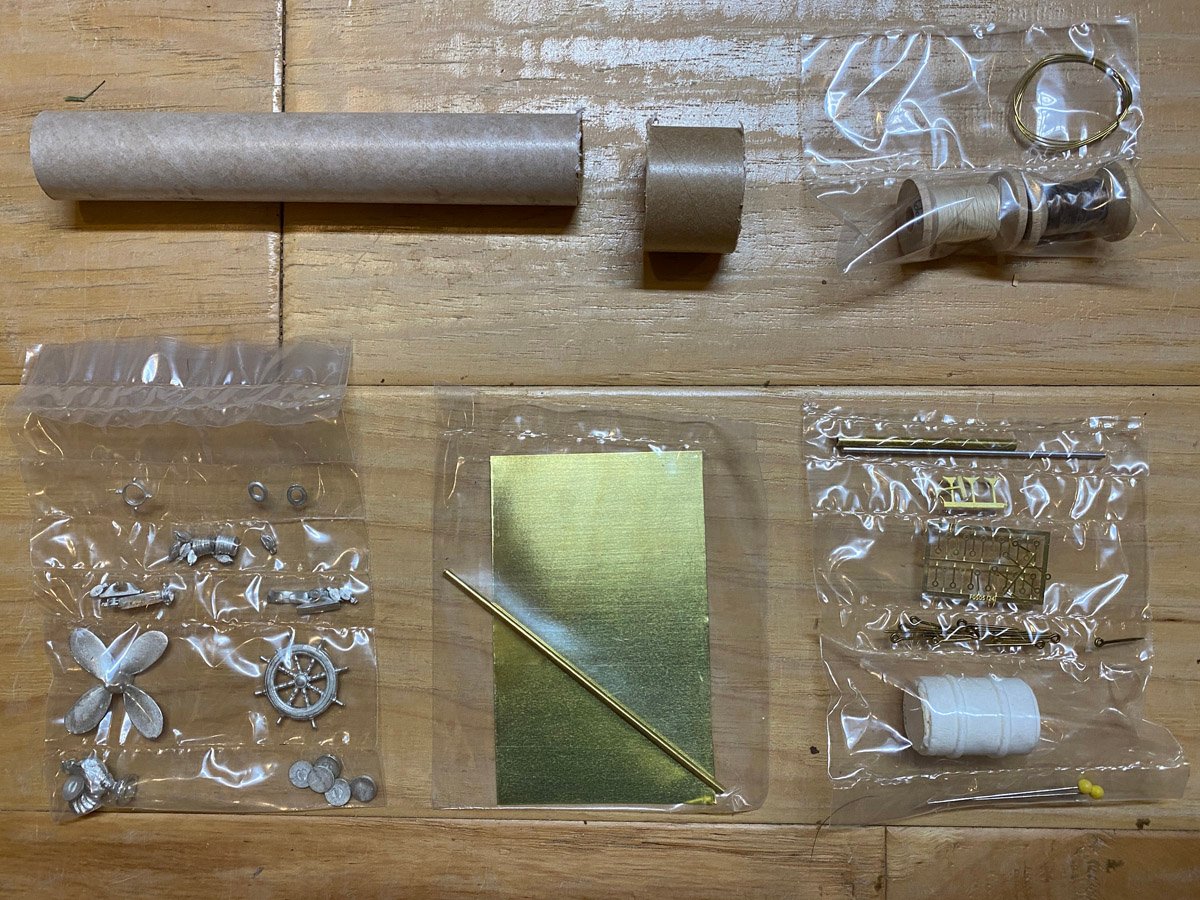
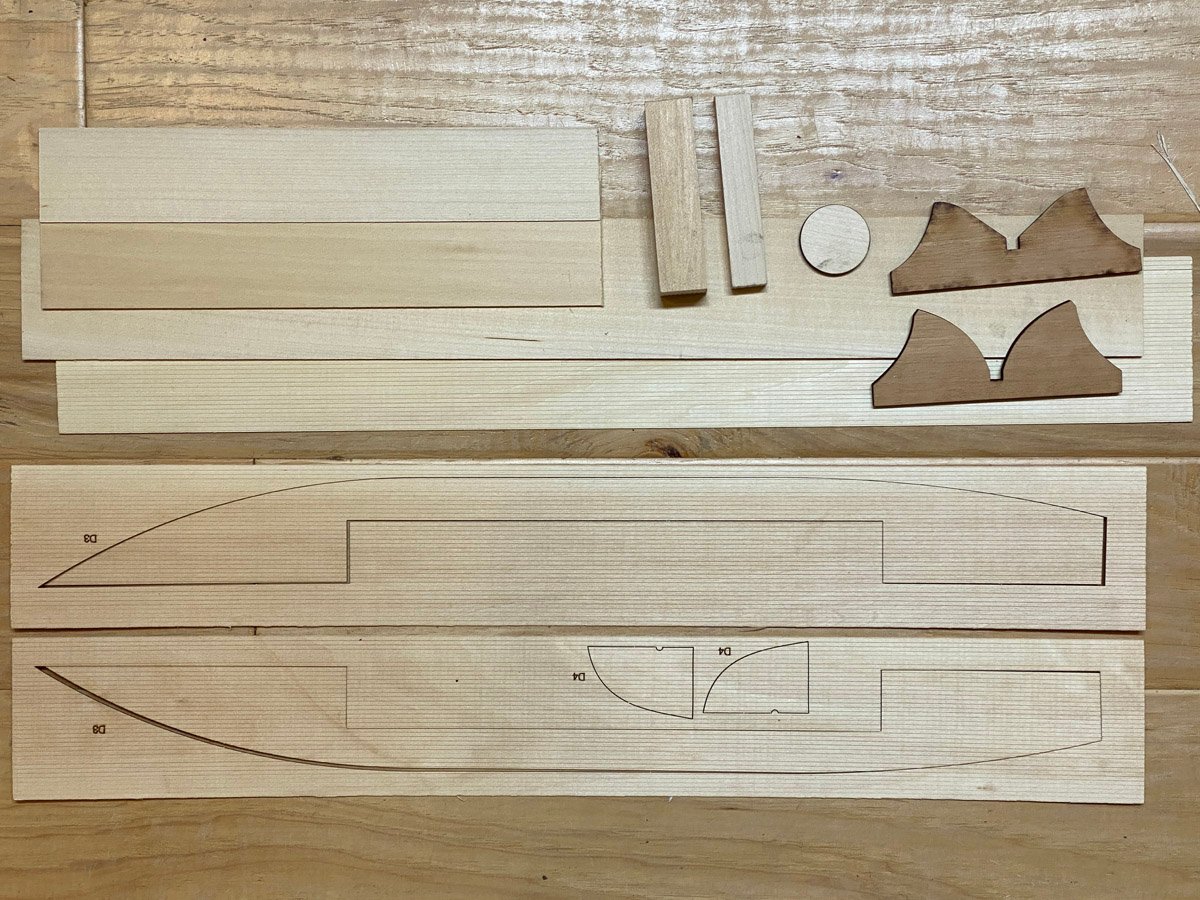
Introduction Back in May I was working to complete my Amati Bismarck model when my wife asked me what I wanted for my birthday. I thought that something smaller, with plenty of wood to cut, and no plastic or photo-etched parts, would be a nice change. I had actually had my eye on Bluejacket's Seguin kit for a while and asked for that. I built Bluejacket's Arleigh Burke destroyer in 2016 so I know that they make quality products, and I have bought lots of miscellaneous parts from them in the past and know that they provide good service. There are only two other build logs of the Seguin on MSW, and neither of them got very far. I hope to show some completed photos eventually. What's in the Box Instruction manual, flags, and nice gold-printed labels. There are lots of photos of cheap, souvenir models of the Seguin on line, but almost no nice photos of a completed model. The photo on the cover of the instruction manual is one of the best. The inside of the manual has been photocopied so many times that many of the photos are hard to make out. This really needs to be reprinted. Two sets of (almost) full-size plans for details and framing. Note that the plans say "For identification only, images may not be actual size of lasered pieces." They are very close, but I always prefer to trust the plans over the laser-cut pieces. Five sheets of laser-cut pieces, perfectly cut with minimal charring. Nicely scored decking and paneling, miscellaneous wood stock, and (cherry?) cradles for a stand. The instructions say to take the large solid block and remove anything that is not a lifeboat. I may look for an alternative. Laser cut pieces for the cabins. Basswood and mahogany sticks, and dowels. Cast prop and wheel, brass pieces, rigging thread, and poorly-cut model rocket body tubes for the stack. Oh no! There are some photo-etched eyelets in that bag! My wife bought the optional paint set and cherry base. I usually rout my own base but this one is very nice.


-
 After a long break I'm back in the boat building business. This time there will be no tiny knot detailed rigging. Fingers don't work anymore.
- 94 replies
-
- 3
-
-
- tugboat
- BlueJacket Shipcrafters
- (and 1 more)
-
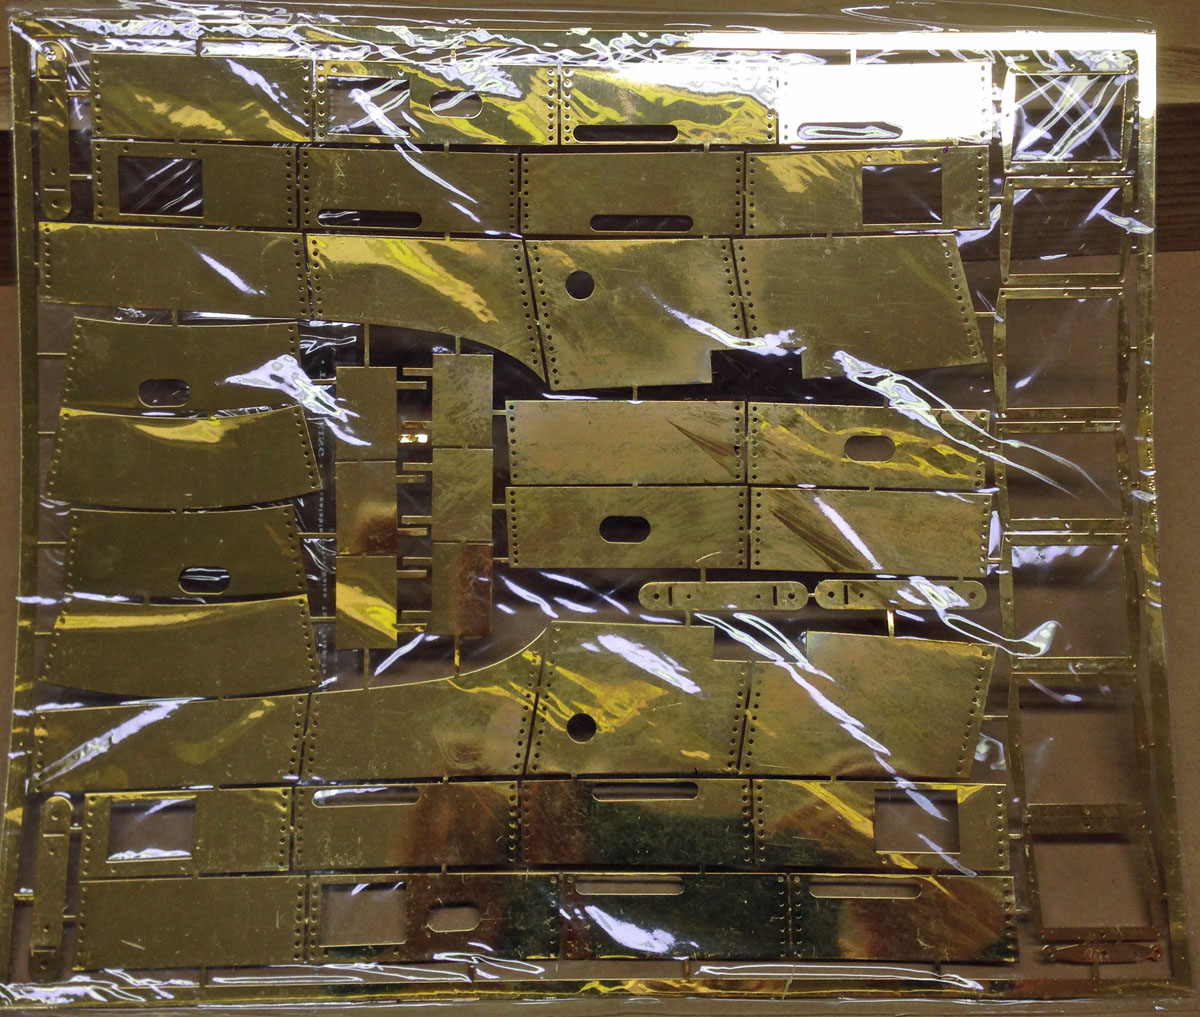
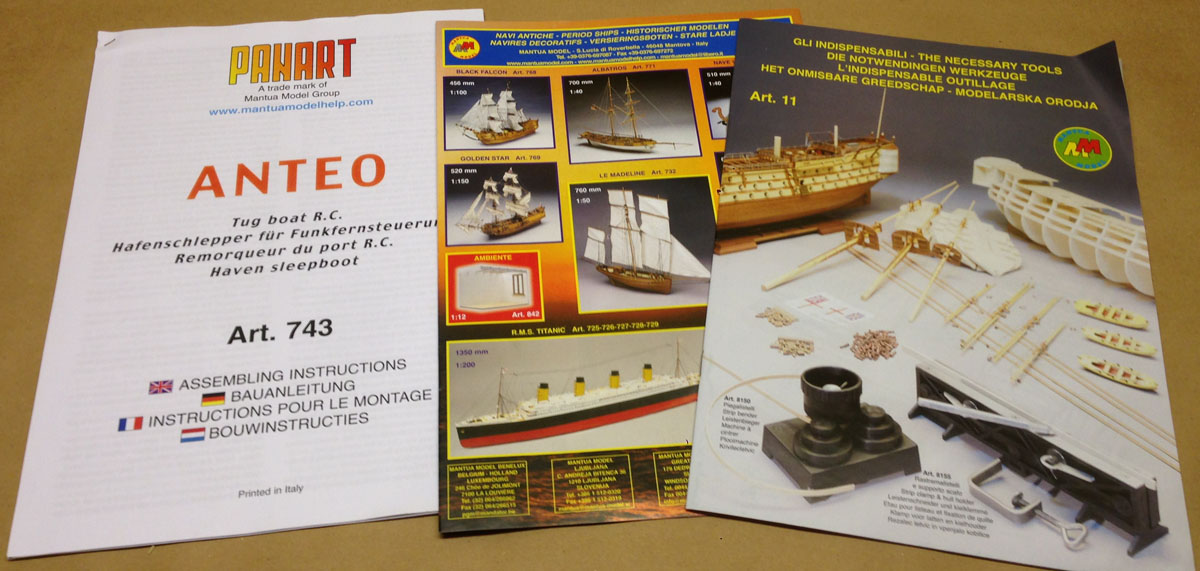
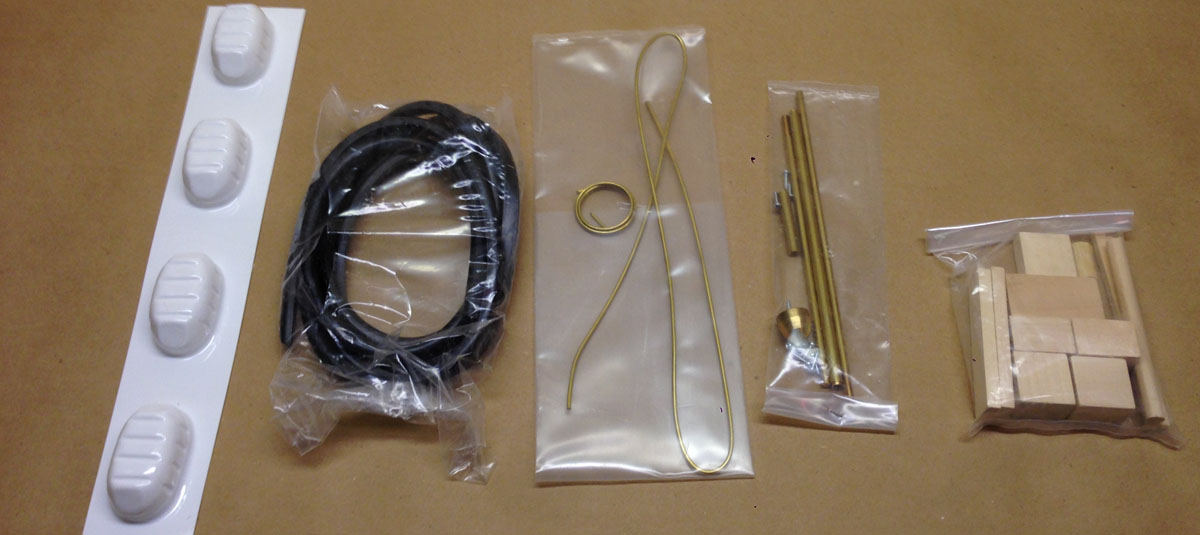
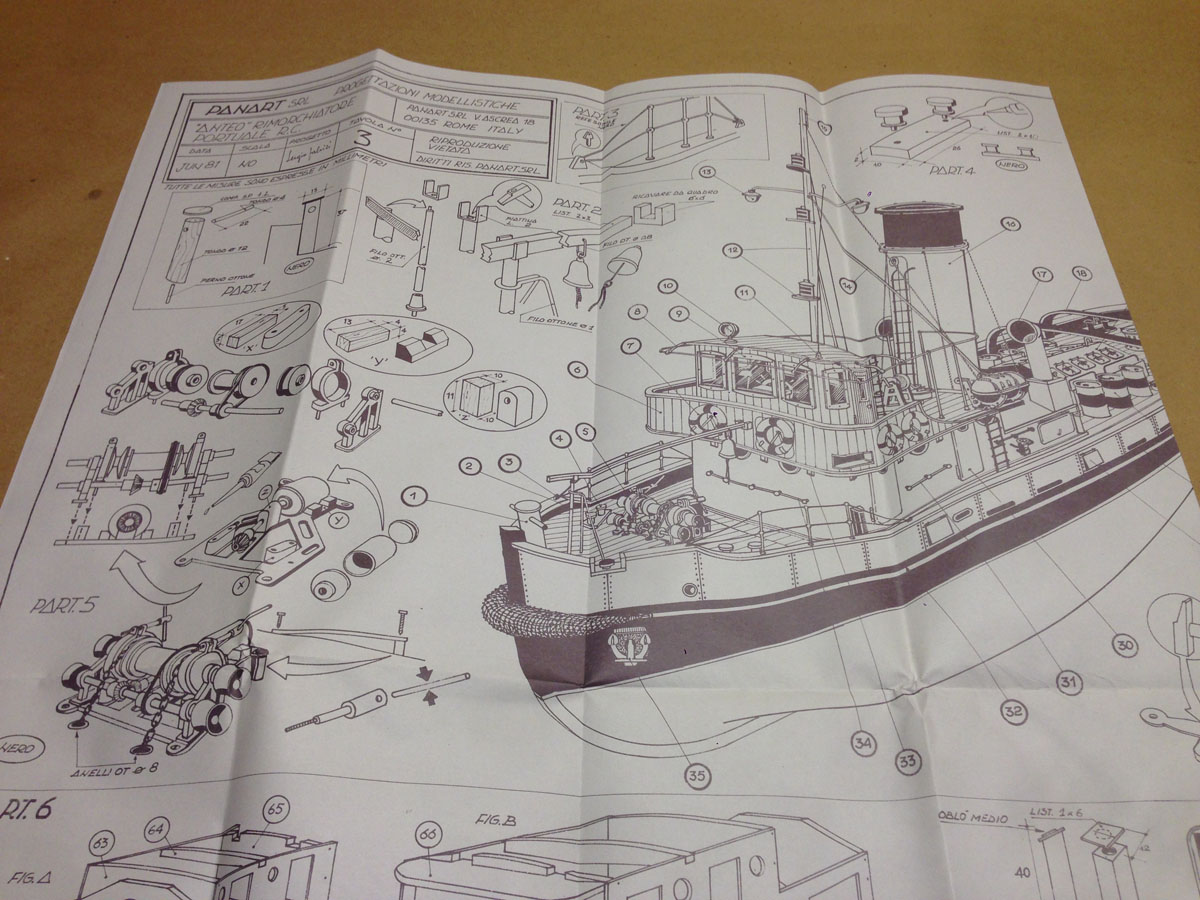
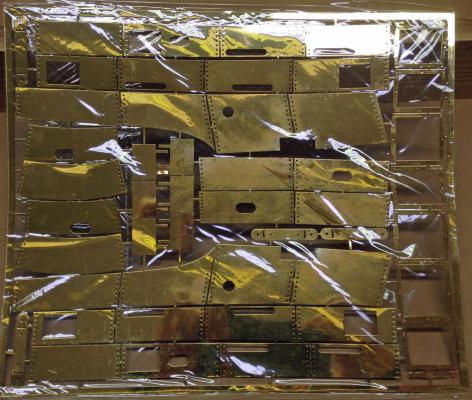
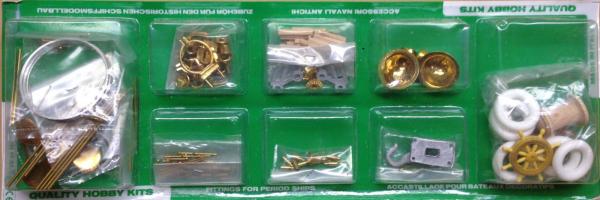
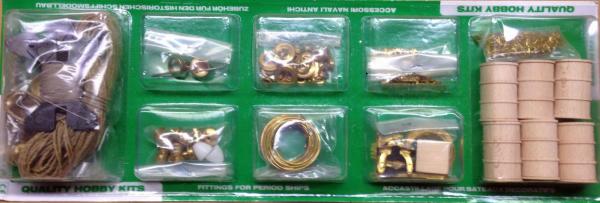
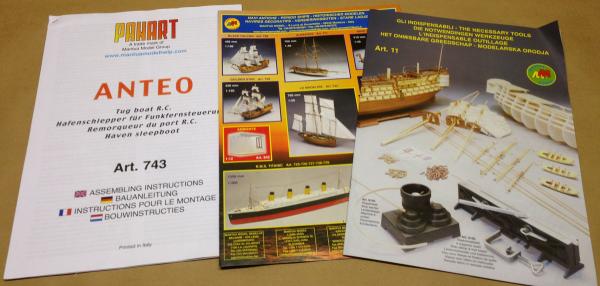
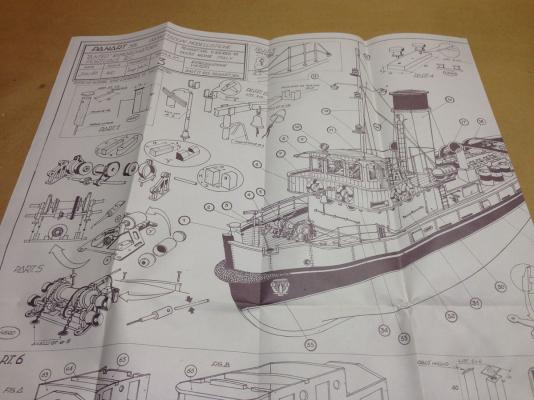
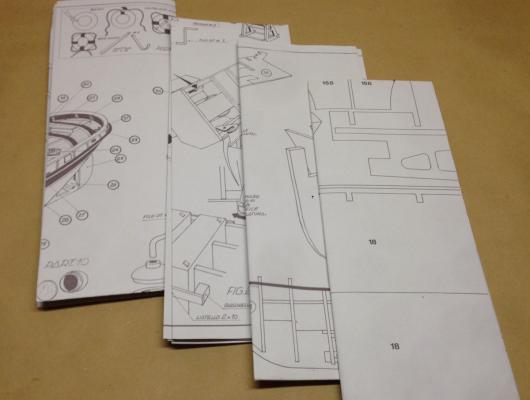
Another Very Different Model (for me, anyway) My wife gave me another ship model this Christmas. Of course I gave her strong hints what I wanted. What I wanted was a working vessel with clean lines, a planked hull, and no rigging. After a long search I found the Anteo harbour tug by Panart, which seems to be a part of Mantua models in Italy. Please let me know if I am wrong about this. I ordered the kit from Cornwall Model Boats in the UK. Even with shipping to the US their price was significantly cheaper than anyone else. I ordered the kit on a Sunday and had it in my hands the following Thursday. Amazing service. I gave the box to my wife and opened it on Christmas morning. What's In The Box. First of all, the box measures 37x11x4 inches and weighs a whopping 12.5 pounds! It is packed with quality parts. There are two packages of fittings including funnels, the wheel, tires, the prop, line, portholes, lights, and the anchor. Planking for a double-planked hull , heavy PVC stack. Vacuformed lifeboat shells, rubber bumper material, brass prop shaft. 6 sheets of 1/4" laser-cut ply. 4 sheets of thin veneer ply. A large sheet of photo-etched brass. Instructions in 4 languages plus 2 catalogues. The English instructions are short and pretty rough. 4 pages of plans, 2-sided, 27x39 inches.


-
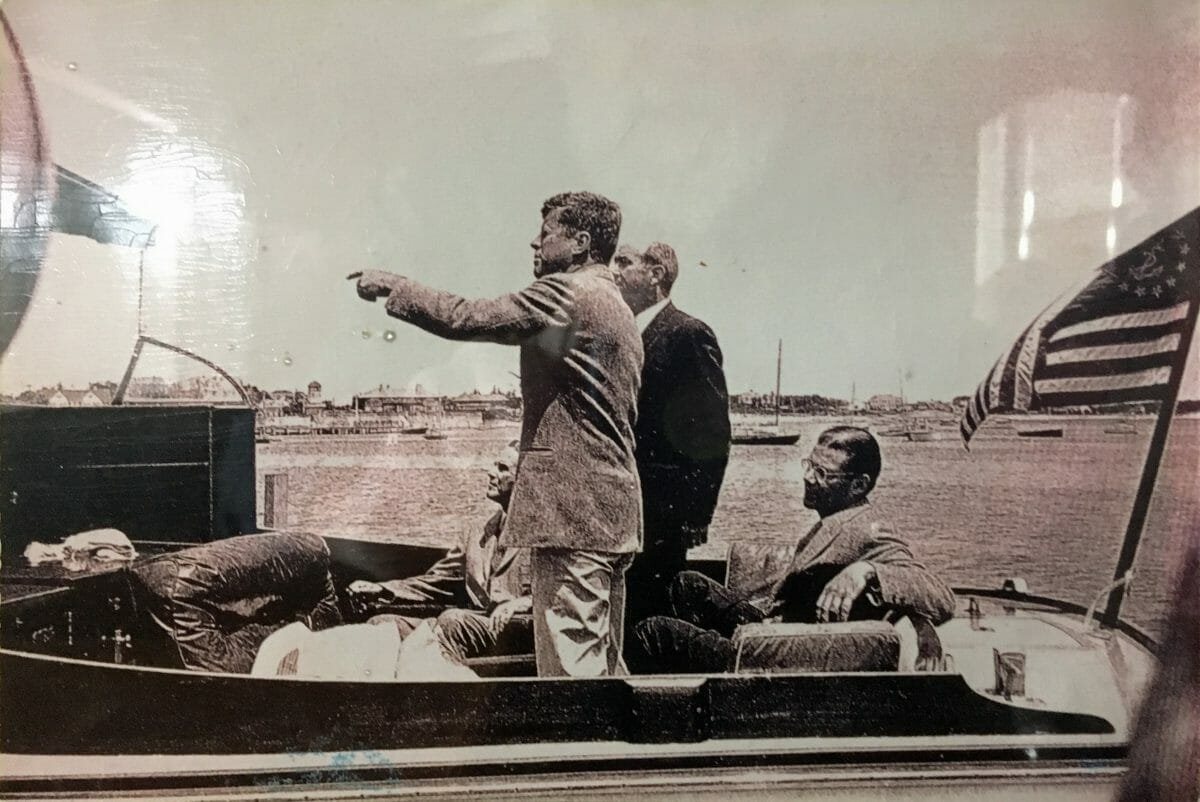
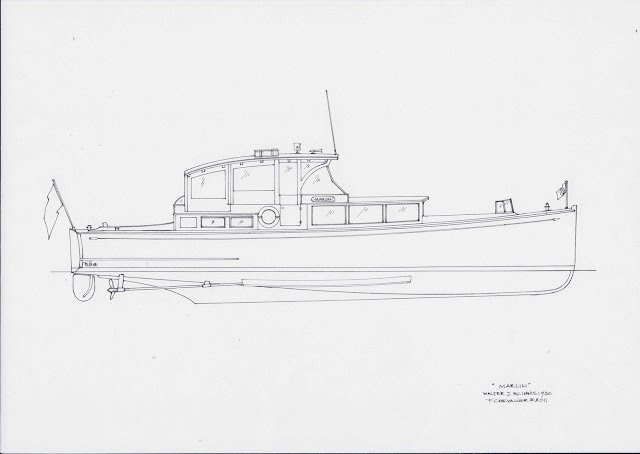
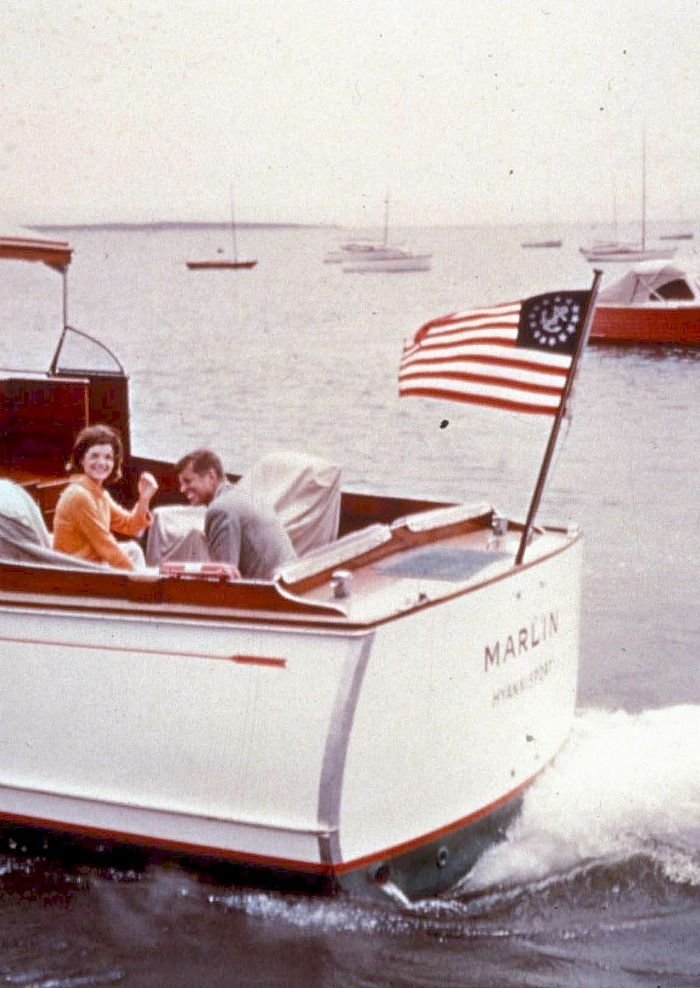
 Years ago I was lucky enough to be able to have a copy of the original designs of this very important yacht, very important both historically and for those who have used it over the years. The drawings are complete with structure and interiors. I am now building the Schooner Etoile, but it is my habit to take a few years to do proper historical research and drawings before starting to build a model. Yesterday I started looking in my archives for what I already have on a documentary level to understand what information I lack. Marlin Designer: Walter J. McInnis Builder: F.D. Lawler Where: Quincy, Massachusetts When launched: 1930 First owner: Edsel Ford Second owner: Schenley Distillers During Second WW drafted into coastal patrol service (Coast Guard) Third owner: Yellow Cab Company of Cambridge, Mass. Owned from 1952 to 1970 by the Kennedy family Present owner: Diego Della Valle, Italy (since 2005) These are the words of President John F. Kennedy, addressing the crews of Weatherly and Gretel in Newport, Rhode Island, during the America’s Cup in 1962. JFK’s passion for the sea is well documented. In photos, he looks most at ease on the water, spending time with family and friends. One of his favorite boats was a power cruiser named Marlin. Purchased by the Kennedy family when JFK was a young senator, Marlin became a Cold War conference room for the president as he dealt with complex postwar issues. The 52-foot powerboat — with a double-planked, mahogany rumrunner hull — was designed by Boston naval architect Walter J. McInnis for Ford Motor Co. heir Edsel Ford. She was built at the F.D. Lawley yard in Quincy, Massachusetts, and launched in 1930, powered by twin Chrysler Royal engines. (Marlin was repowered twice, the Kennedys replacing twin 6-cylinder Sterling Dolphins with a pair of Chrysler V-8s.) The original design showed an uncovered bridge. There was a stateroom for the owner, crew quarters and a galley abaft the forward cockpit. The boat also sported a fathometer and a ship-to-shore radio. Ford sold the boat in 1935 to the Schenley Distillers family. Commandeered by the government, she was used for coastal patrols during World War II. She later was sold to the Yellow Cab Co. of Massachusetts, which put her at the disposal of the state’s governor. The Kennedys acquired the boat in 1952, and it served the family for almost 20 years. On becoming president, JFK often used Marlin for meetings and discussions with U.S. and world leaders. He was on board with his advisers in August 1961 when he was informed that the German Democratic Republic (East Germany) was erecting the Berlin Wall. Marlin was donated to a university in 1970 and sold at auction. The 87-year-old boat today turns heads in the Mediterranean.
.jpeg.cb9b32a1683f391bbf293af02966305c.jpeg)
-
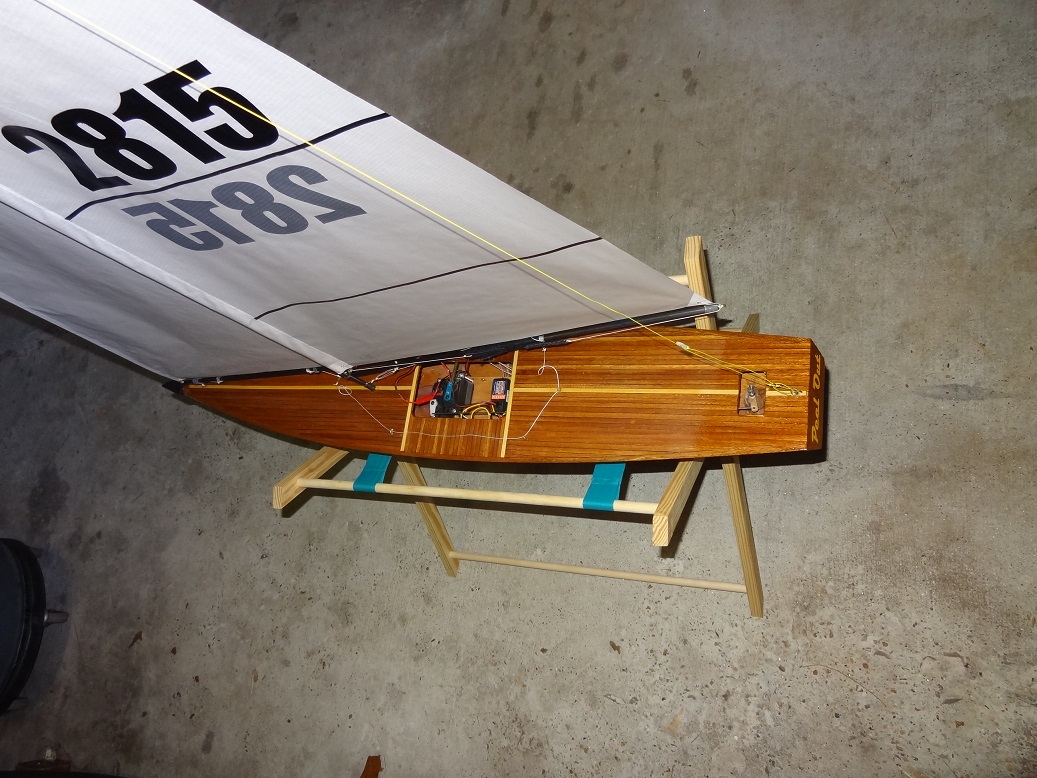
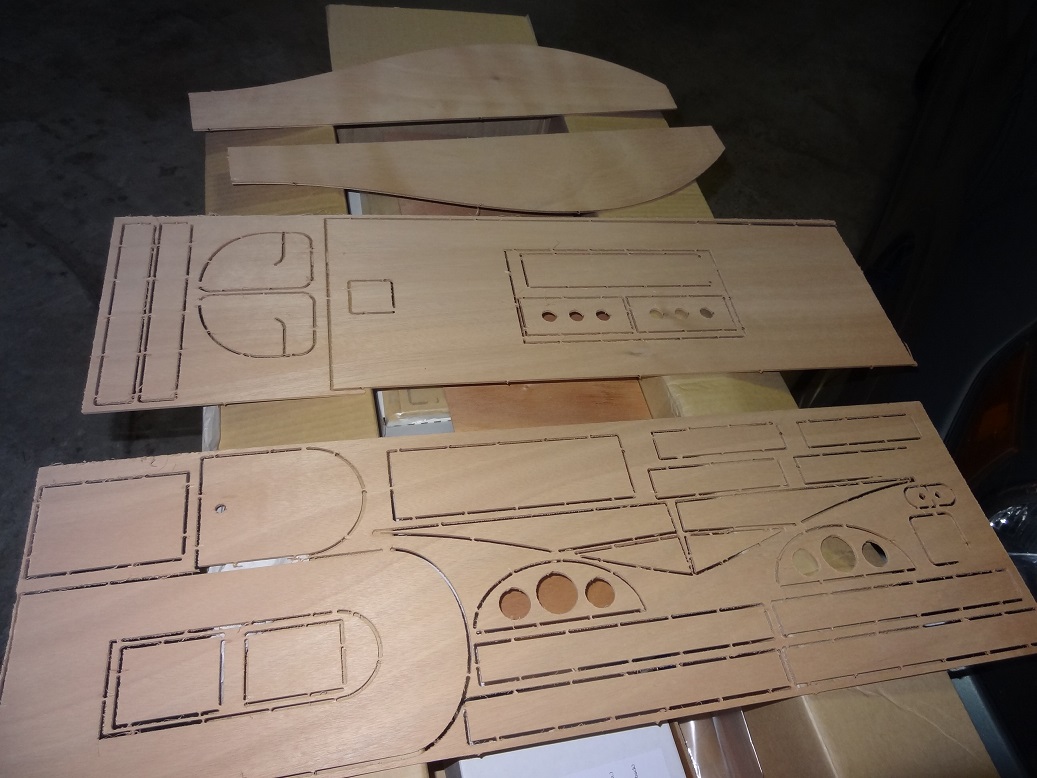
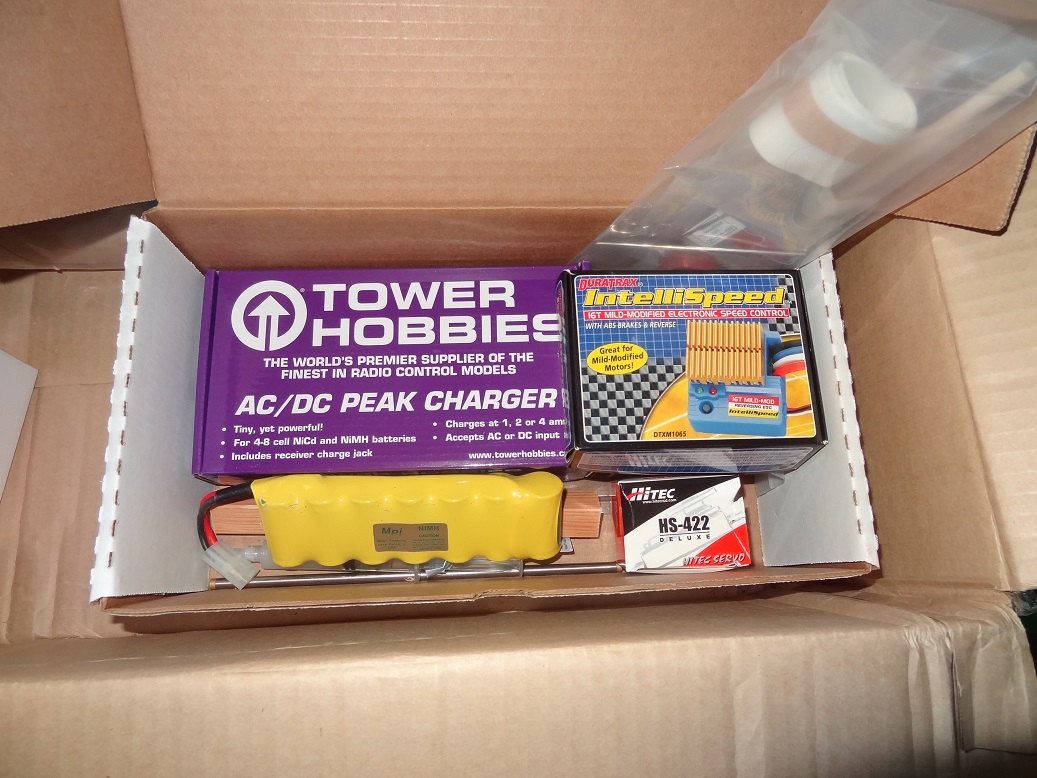
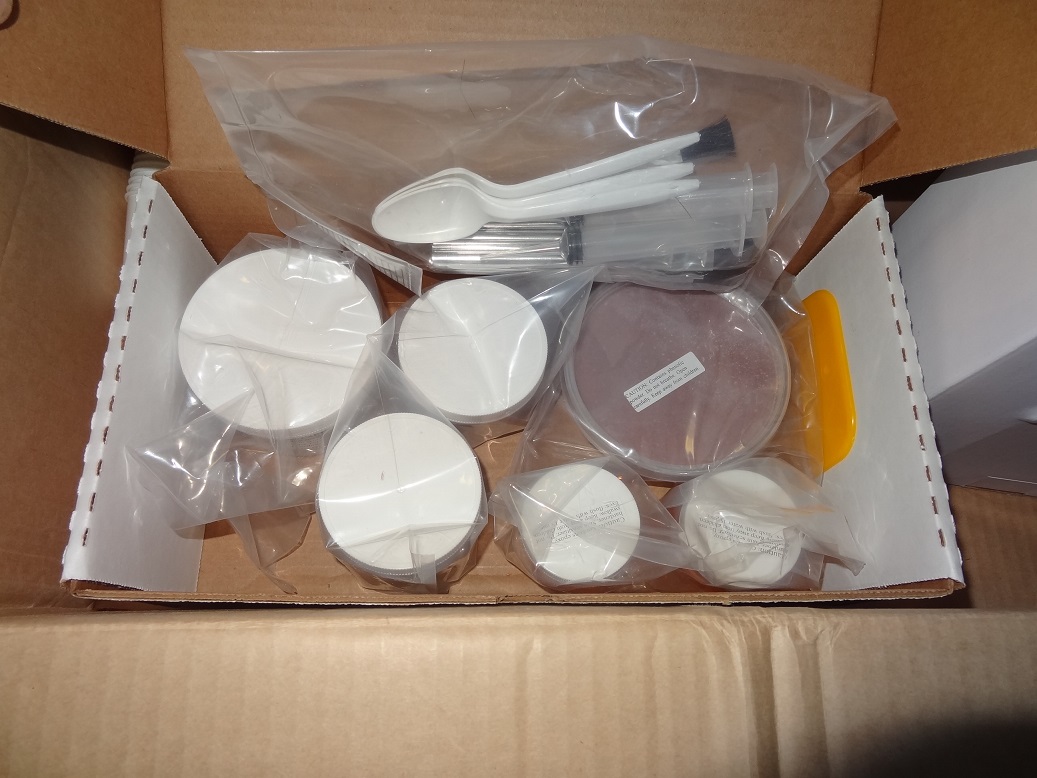
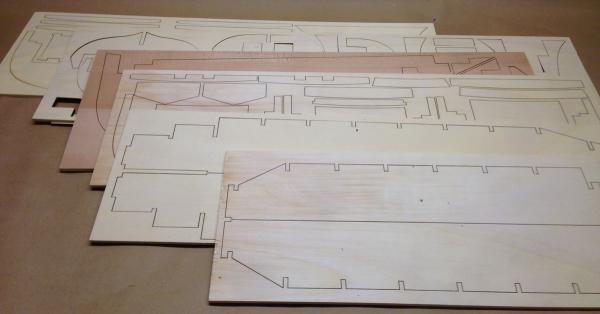
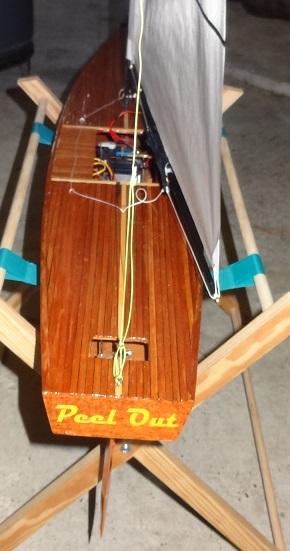
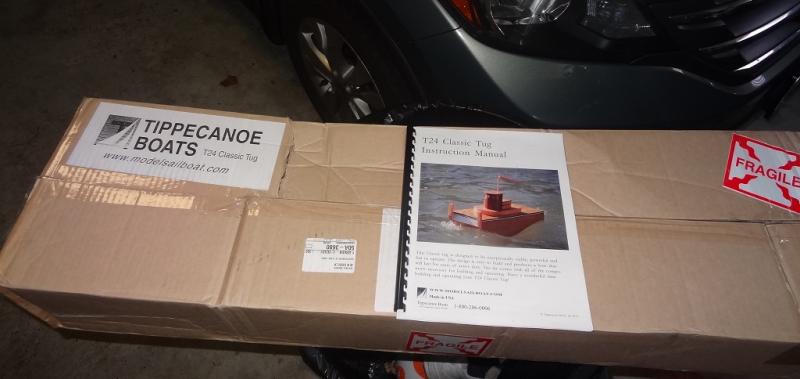
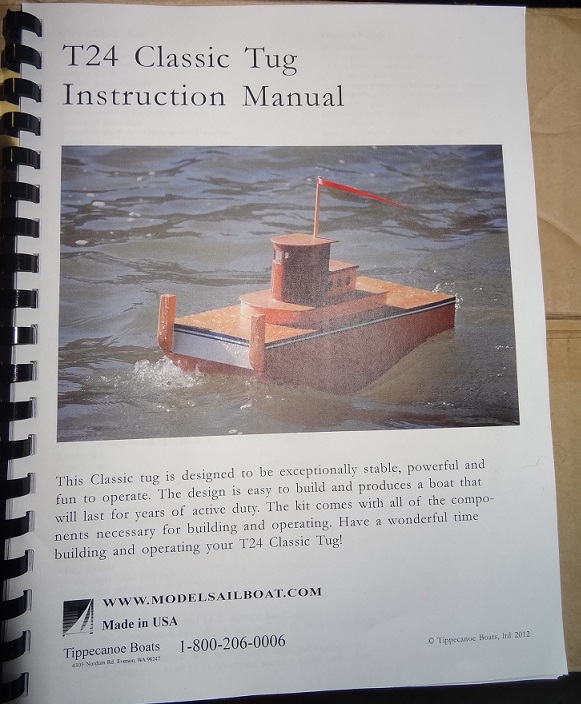
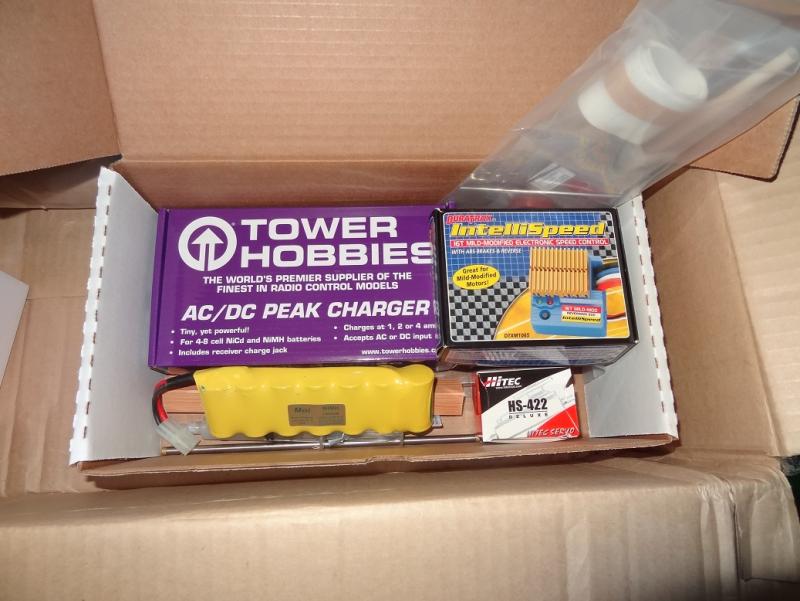
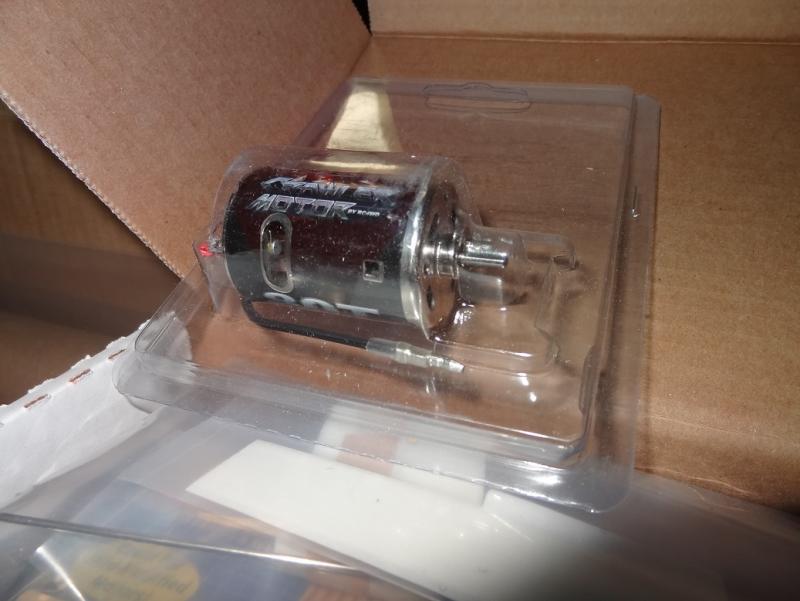
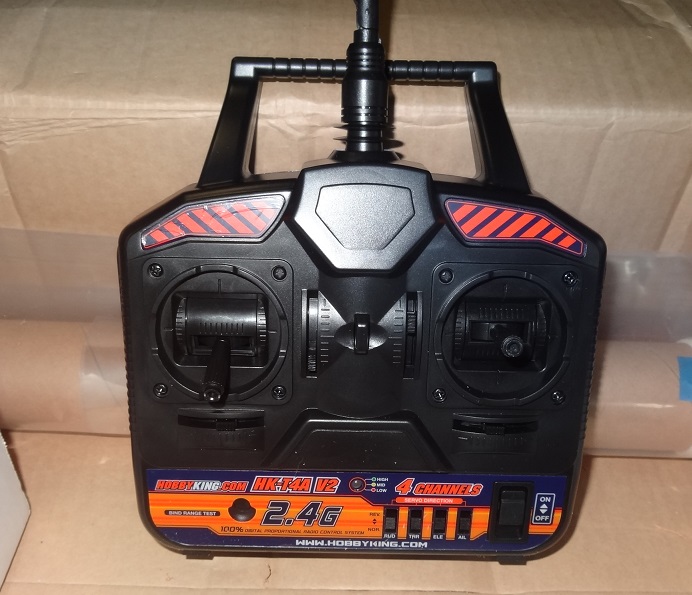
 I posted a question on the Questions forum and everyone seemed OK with me doing a log for an RC tugboat. So here goes. The kit is made by Tippiecanoe Boats out of Washington state. The owner, Will Lesh, designed all the models for sale there. They focus primarily on RC sailboats. Will is a good guy and almost always available by phone for questions. You can't beat that. I have already built one of their RC sailboat kits. I had the itch for one and it seems like you can either buy one RTR (ready to run) or build one. Given what we do here, building one seemed the natural choice. I did not do a log for the sailboat but here are a few quick pix. Yes it's really that big - 37" in length and a little over 5' tall. Does the decking look vaguely familiar? Both the sailboat and tug kits are made from top quality materials. Deck & hull parts are marine grade ply with a mahogany veneer. Marine epoxy is used to fasten all parts. Instructions are extremely detailed. It comes with everything needed to complete the model except paint & varnish. That includes the electronics, epoxy and additives. The tug is not a rendition of an actual boat, rather just a generic model. The looks are pretty basic. So why in the world would I want to build this kit after building highly detailed models? Mostly because I need it. I live on a big lake. Several places where I sail the RC are open water. If something were to go wrong with the sailboat, it would be a long swim to get it back. The water is pretty cold right now - even in Texas. The tug has a rescue arm - a big hook that can snag a disabled boat and haul it back to shore. Also, people race the sailboats. That's usually several floating markers out on the water that the boats sail around. The tug can be used to drop the markers. Lastly, I'm sure it will be fun just motoring around Normally I wouldn't post pix of the kit - we've all seen them right? I'm guessing not too many have seen this one so here are a few. Very detailed instructions including 3 pages on how to use the epoxy. More on that in a sec. Some of the plywood parts The electronics. This kit even included a battery pack & charger in addition to the servos. The epoxy kit. This stuff is way different than the 15 minute stuff we use. Mixing the resin & hardener produces something about the viscosity of molasses - it's self leveling. In fact it is used to "clear coat" the wood in some areas. If you want it thicker (and you will for some applications) you add a thickening powder to the mixture. Needless to say I learned a heck of a lot about the correct way to use epoxy while building the sailboat. The motor RC controller. So there it is. I plan to begin the hull this evening. If I'm lucky this will take about 6 weeks to build. The epoxy slows down the process somewhat. It's not CA - it takes overnight to dry so there is some wait time involved. Thanks for reading!
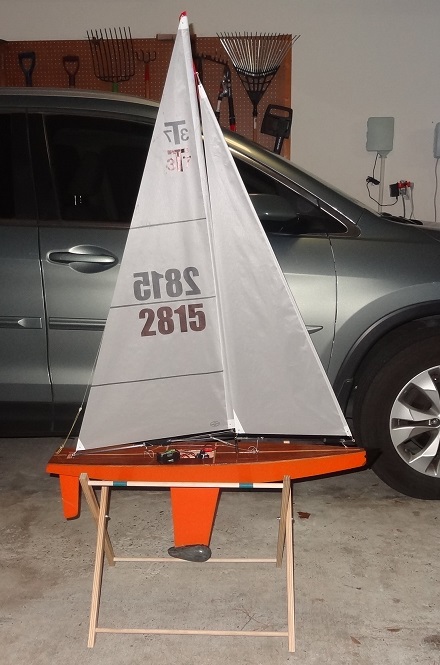


- 96 replies
-
- 9
-
-
- tugboat
- Tippecanoe Boats
- (and 2 more)
-
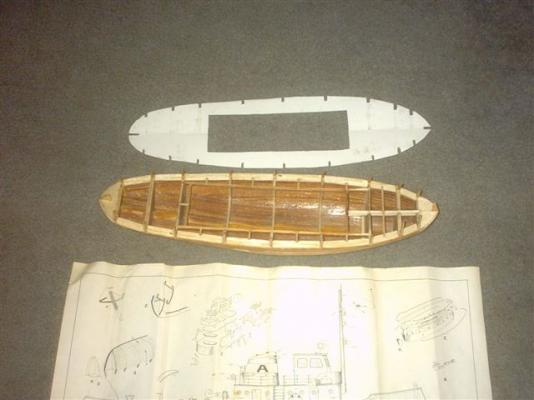
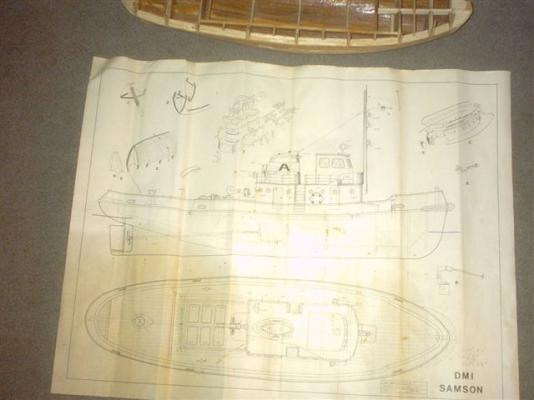
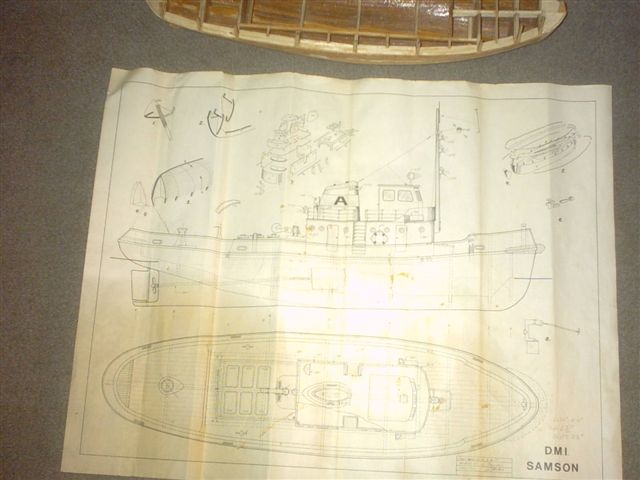
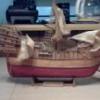 This Tugboat hull was given to me with a two-view sheet plan, started but never finished. I wanted to have a recovery vessel in case my RC sailboat capsized or got hung up in a lake or pond. A friend suggested it might be of use for that purpose. It will be a working RC boat, and specially re-designed for it's purpose. Pictures of hull and plan to follow when ready. The deck was badly deteriorated and poorly supported. I have torn all of it off down to a planked hull framework. I have started evening up and reinforcing the deck framework. This is its current condition. It has a slot through the keel for a prop shaft, and a place where a rudder would go behind the prop although it it will need to be framed for installation. The opening for the deck house should be okay now that it has been re-assembled and reinforced. Subdeck pattern Hull PLAN (All I have) Walter Biles