KennyH78
-
Posts
272 -
Joined
-
Last visited
Content Type
Profiles
Forums
Gallery
Events
Everything posted by KennyH78
-
 JJ, if you hadn't told us that the QGs structrure was 3D printed, one would not be able to tell that. Fantasic job in making it look like its all been made of wood.
 -
Harshil, glad to see you back at it on Confederacy. As for the stern carvings, I decided to 3D print mine. And I feel like that was the best option. You can check out my build log to see them
-
JJ, lookig really good! You have to look really hard at the QGs to see that they were 3D printed.
-
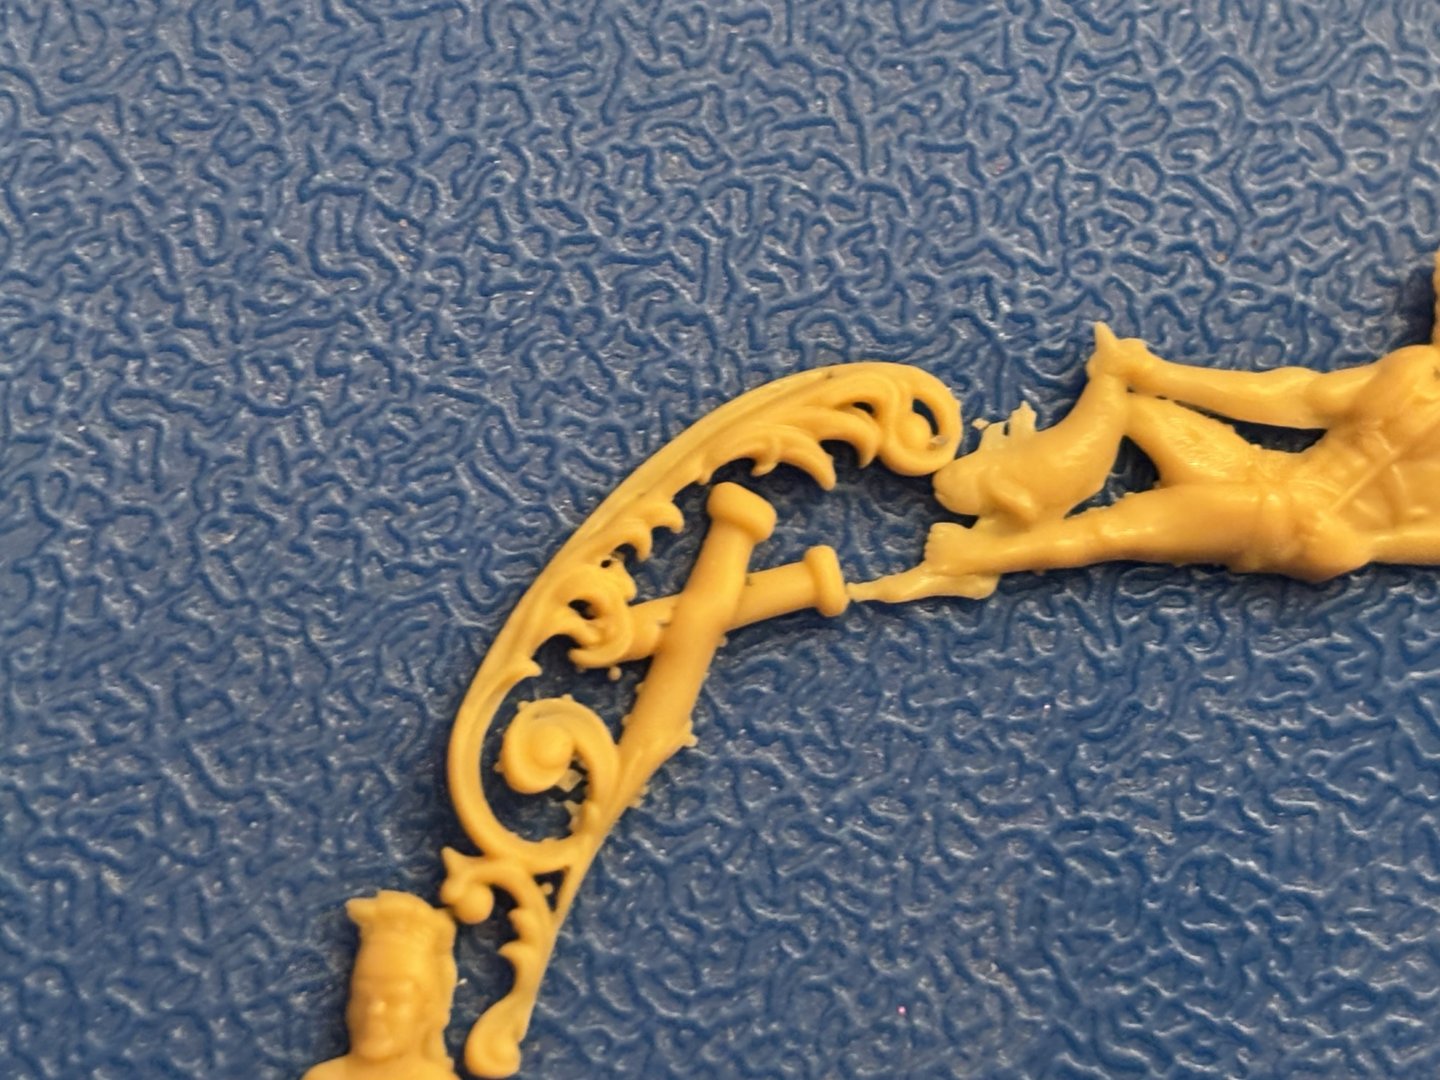
Here are the files for the 7 main carvings on the stern of the USF Confederacy. Let me know if there are any issues with them. Confed Stern Carving 1.stlConfed Stern Carving 2.stlConfed Stern Carving 3.stlConfed Stern Carving 4.stlConfed Stern Carving 5.stlConfed Stern Carving 6.stlConfed Stern Carving 7.stl
-
I will post them later when I get home and in front of my computer. I don’t mind sharing
-
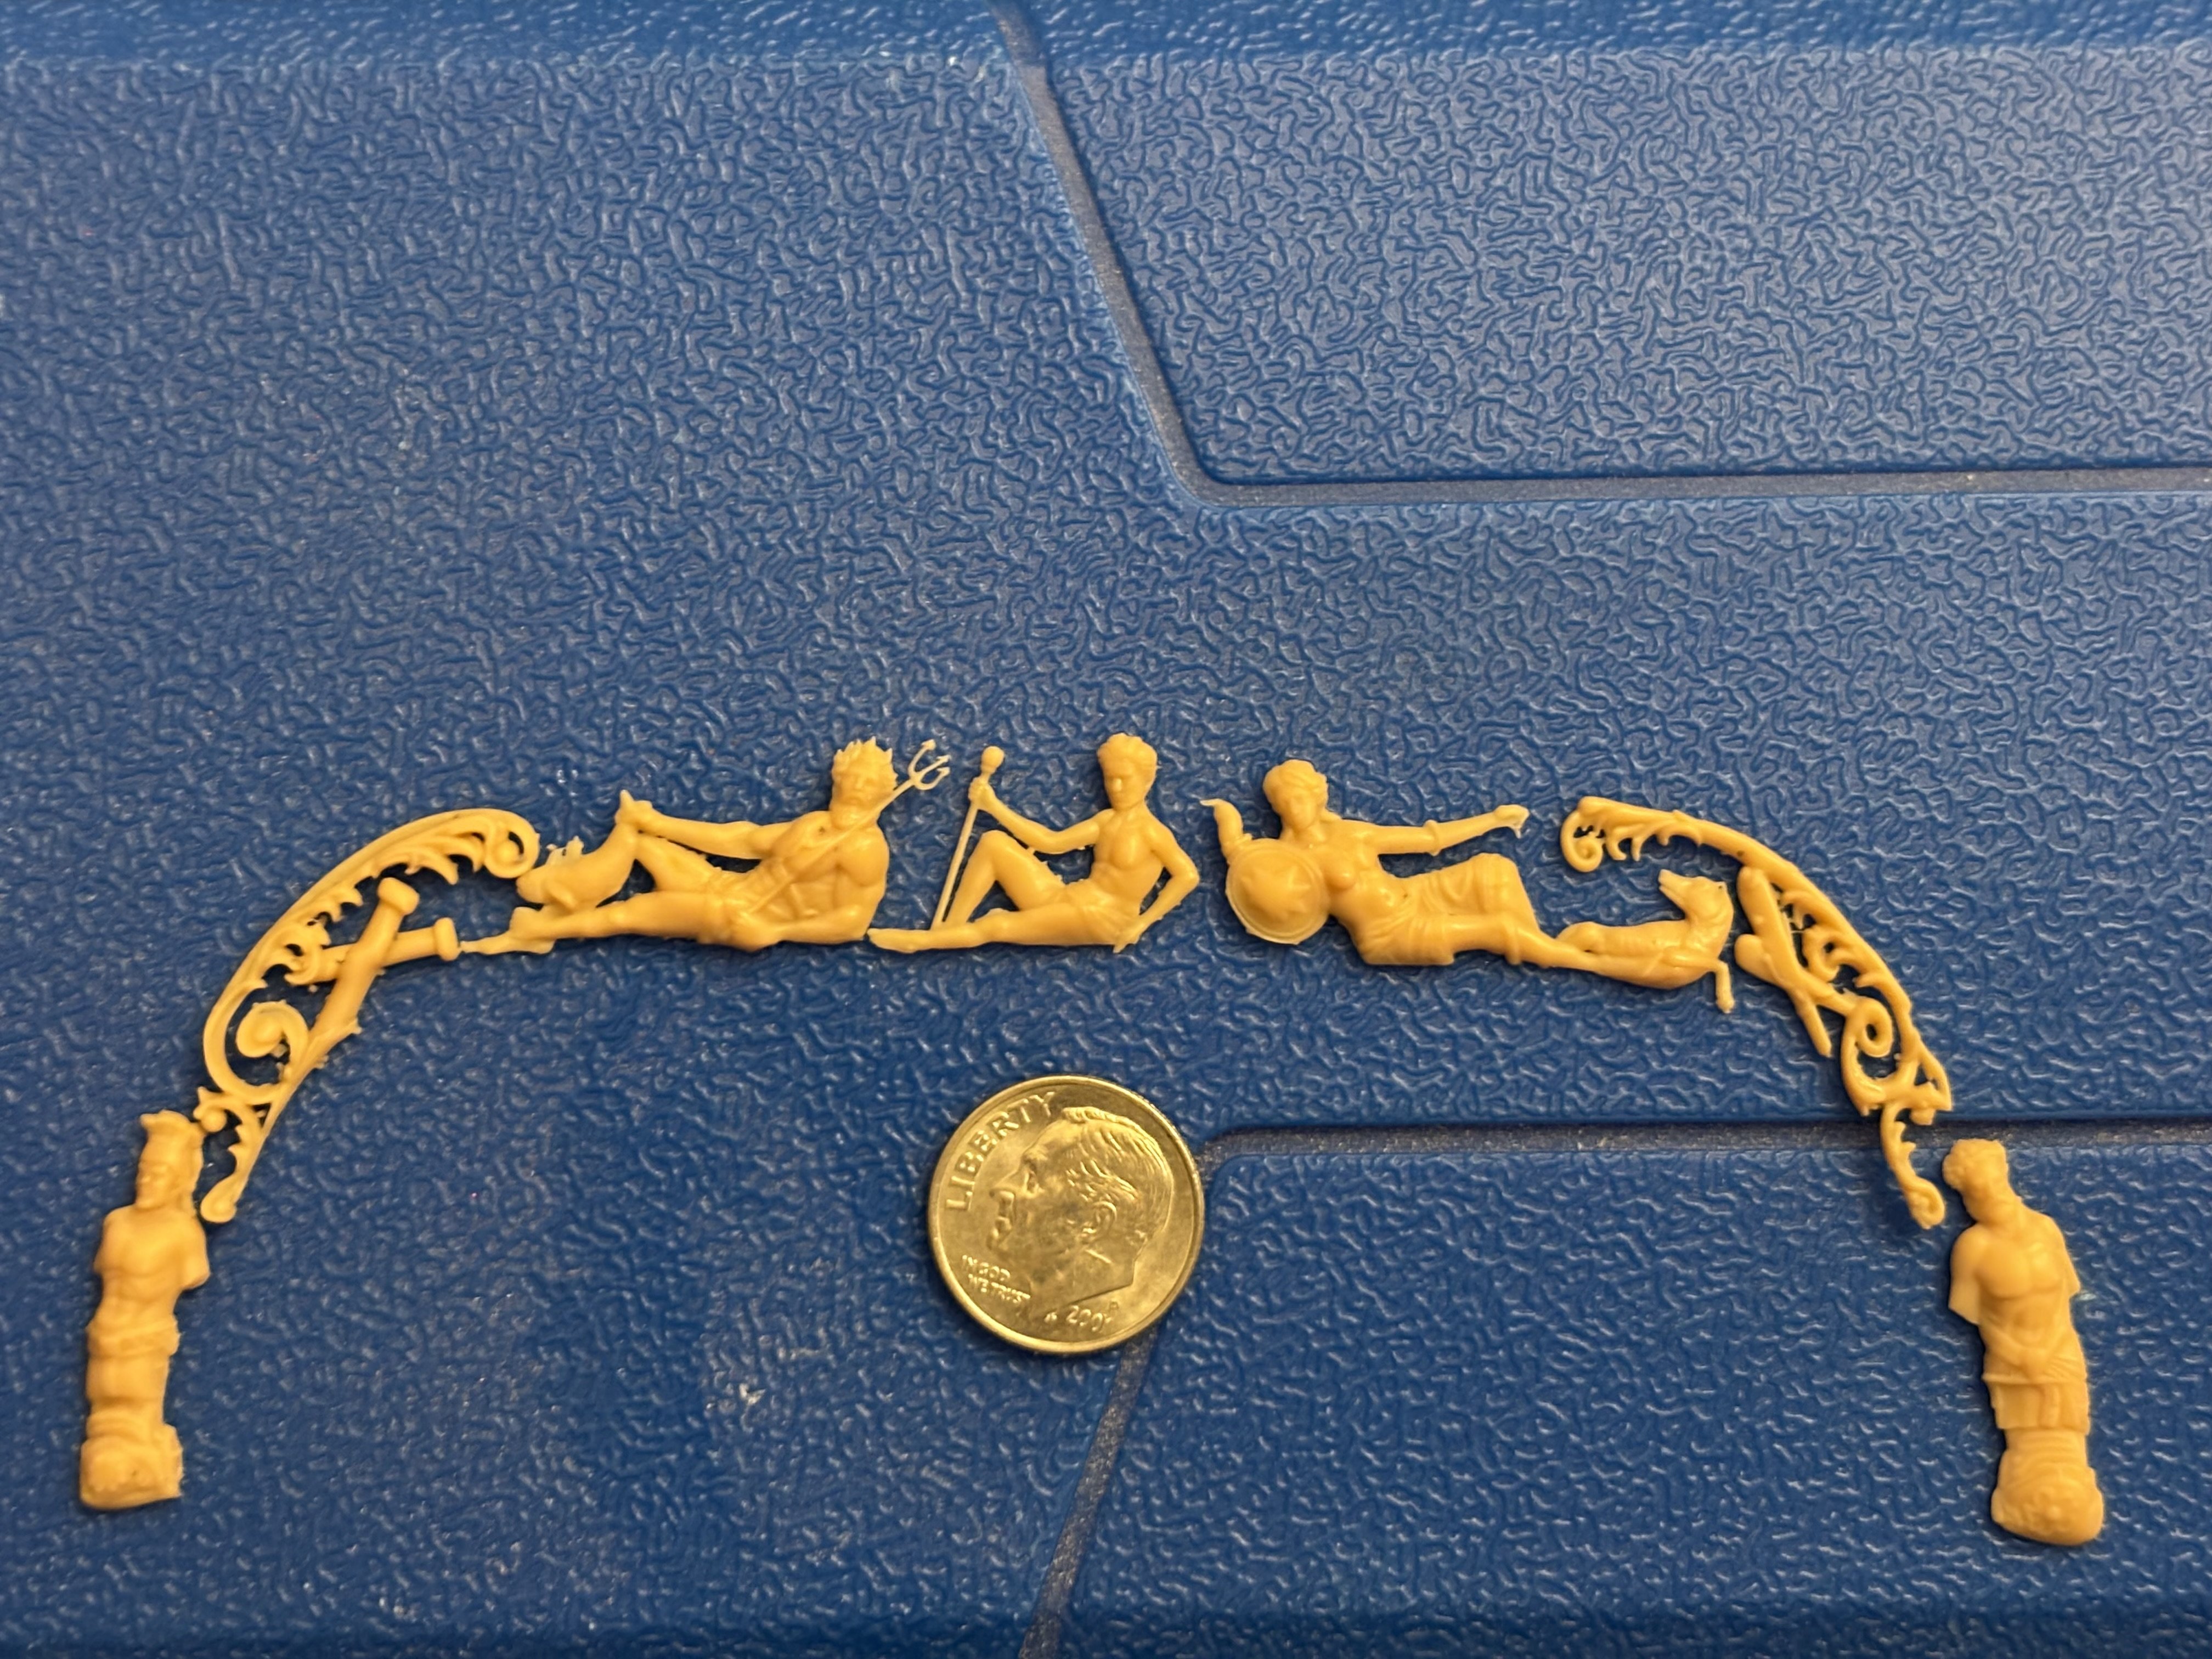
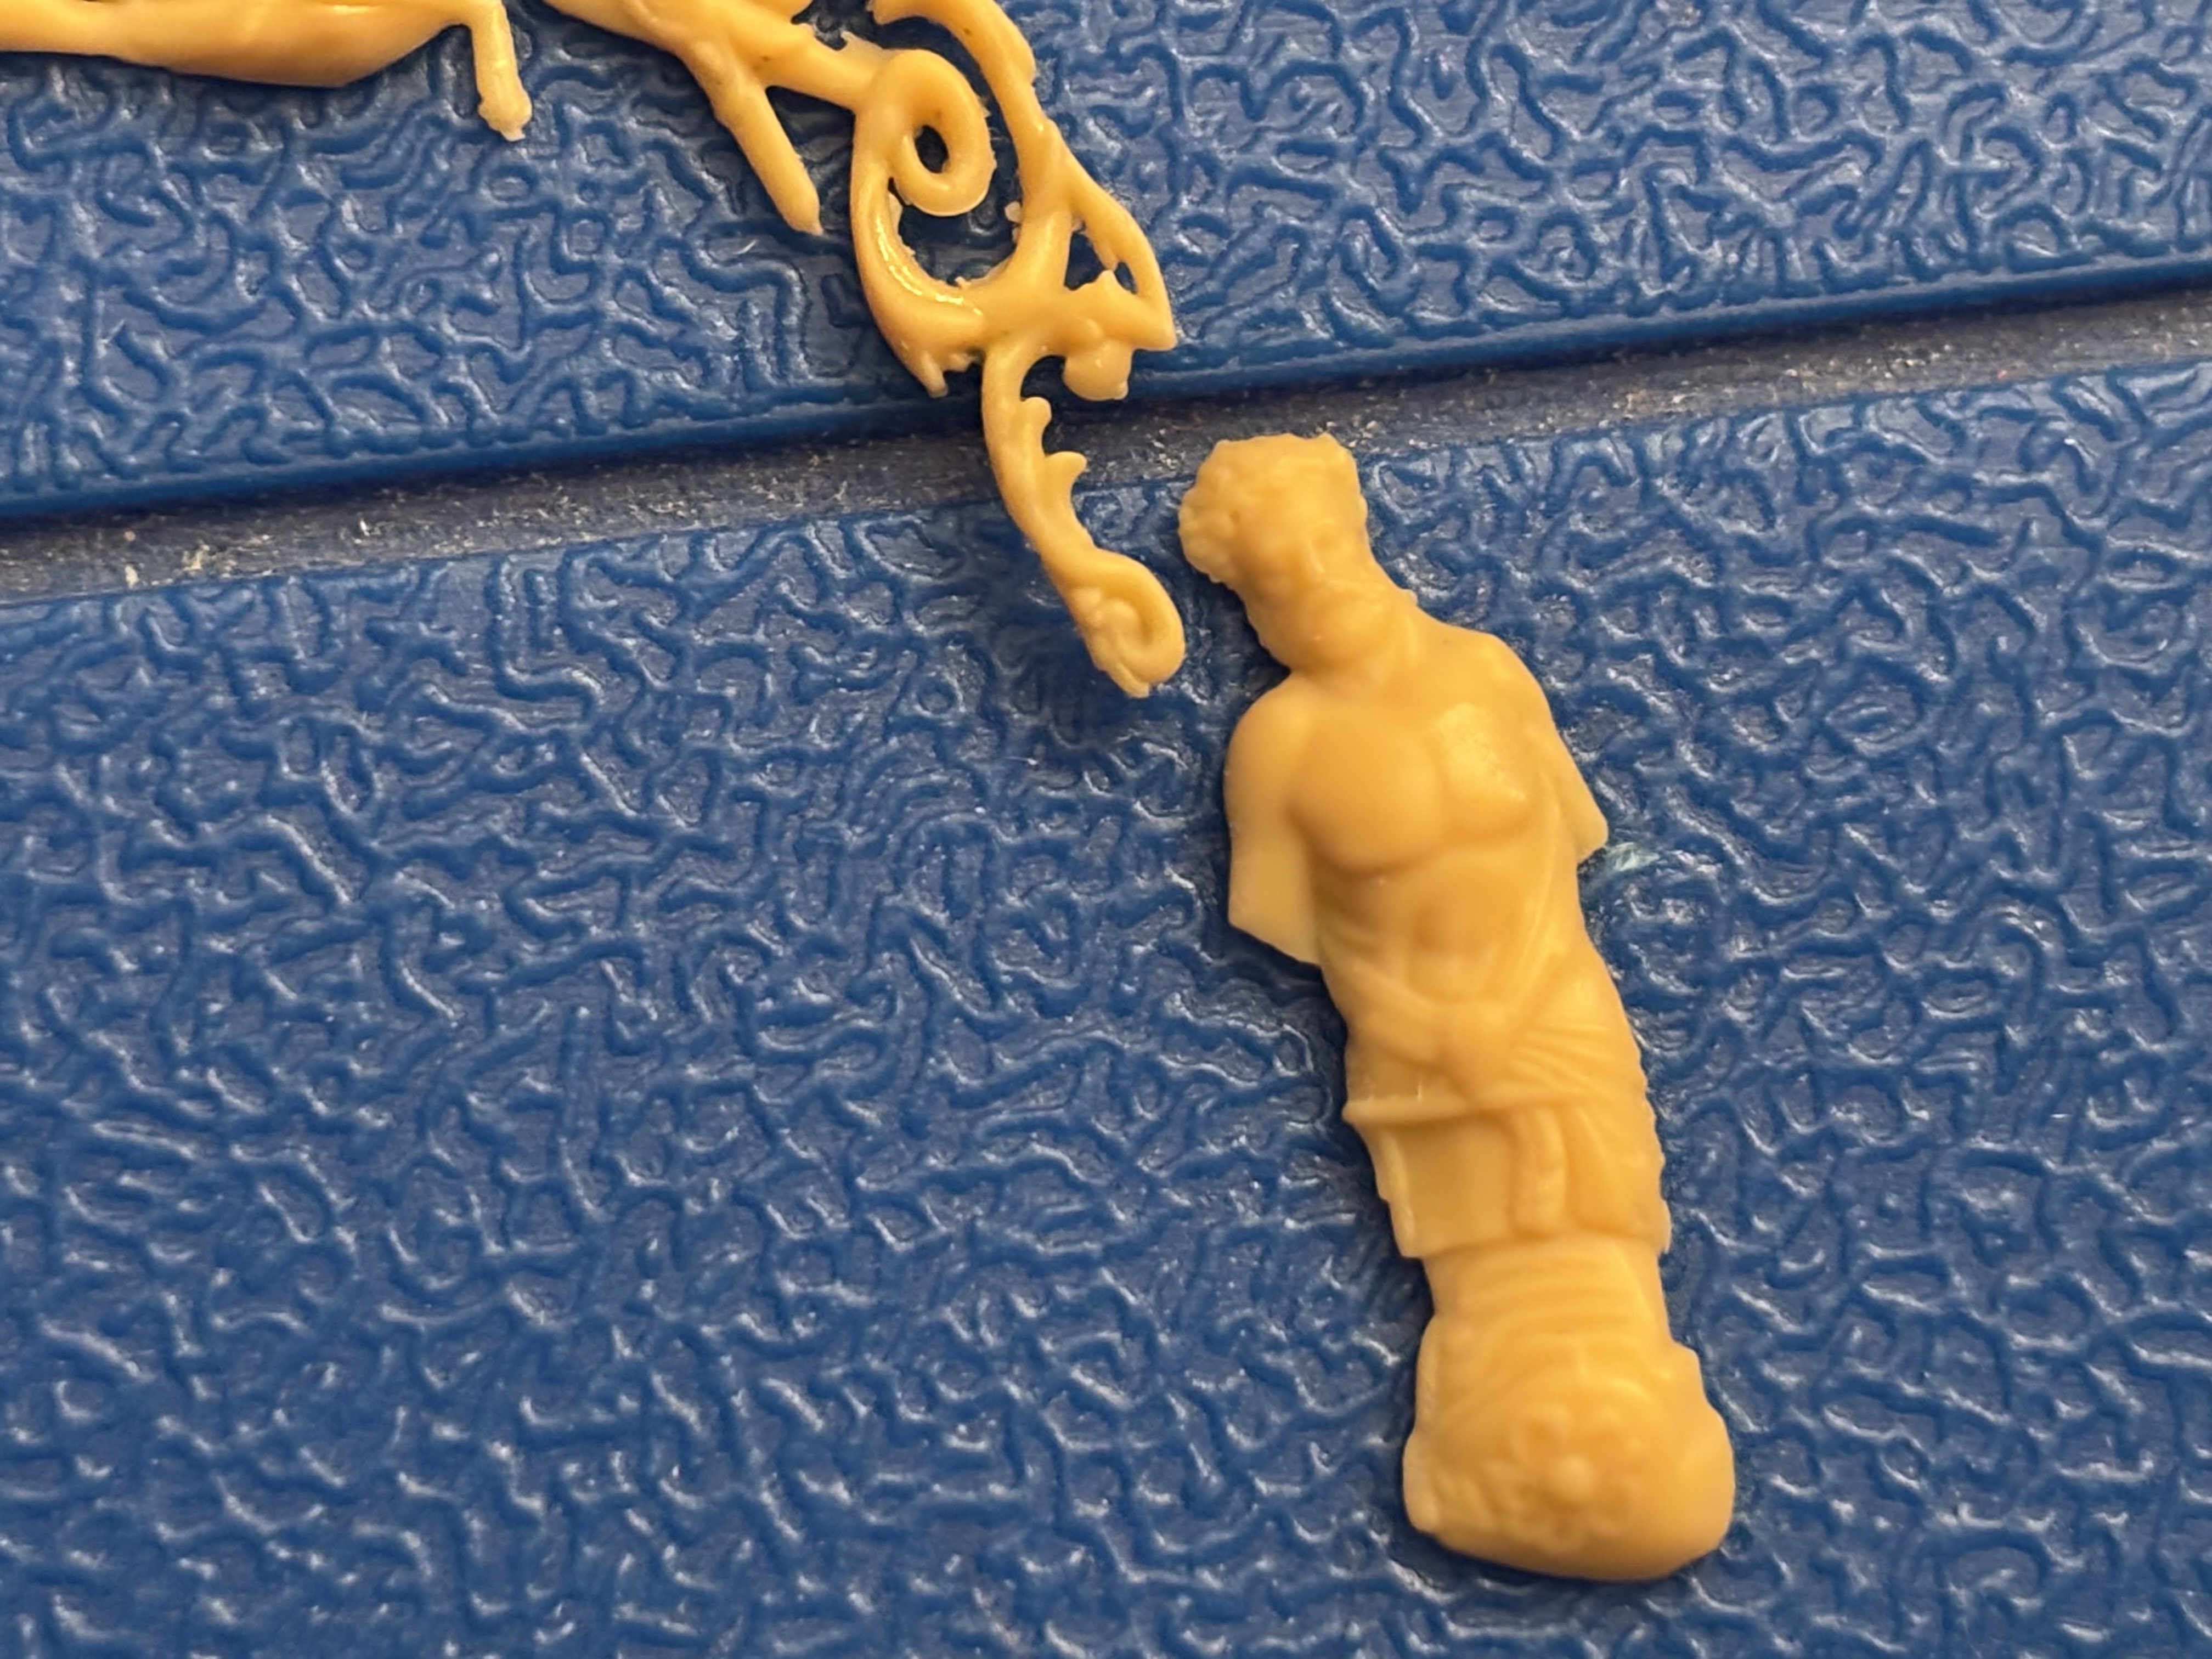
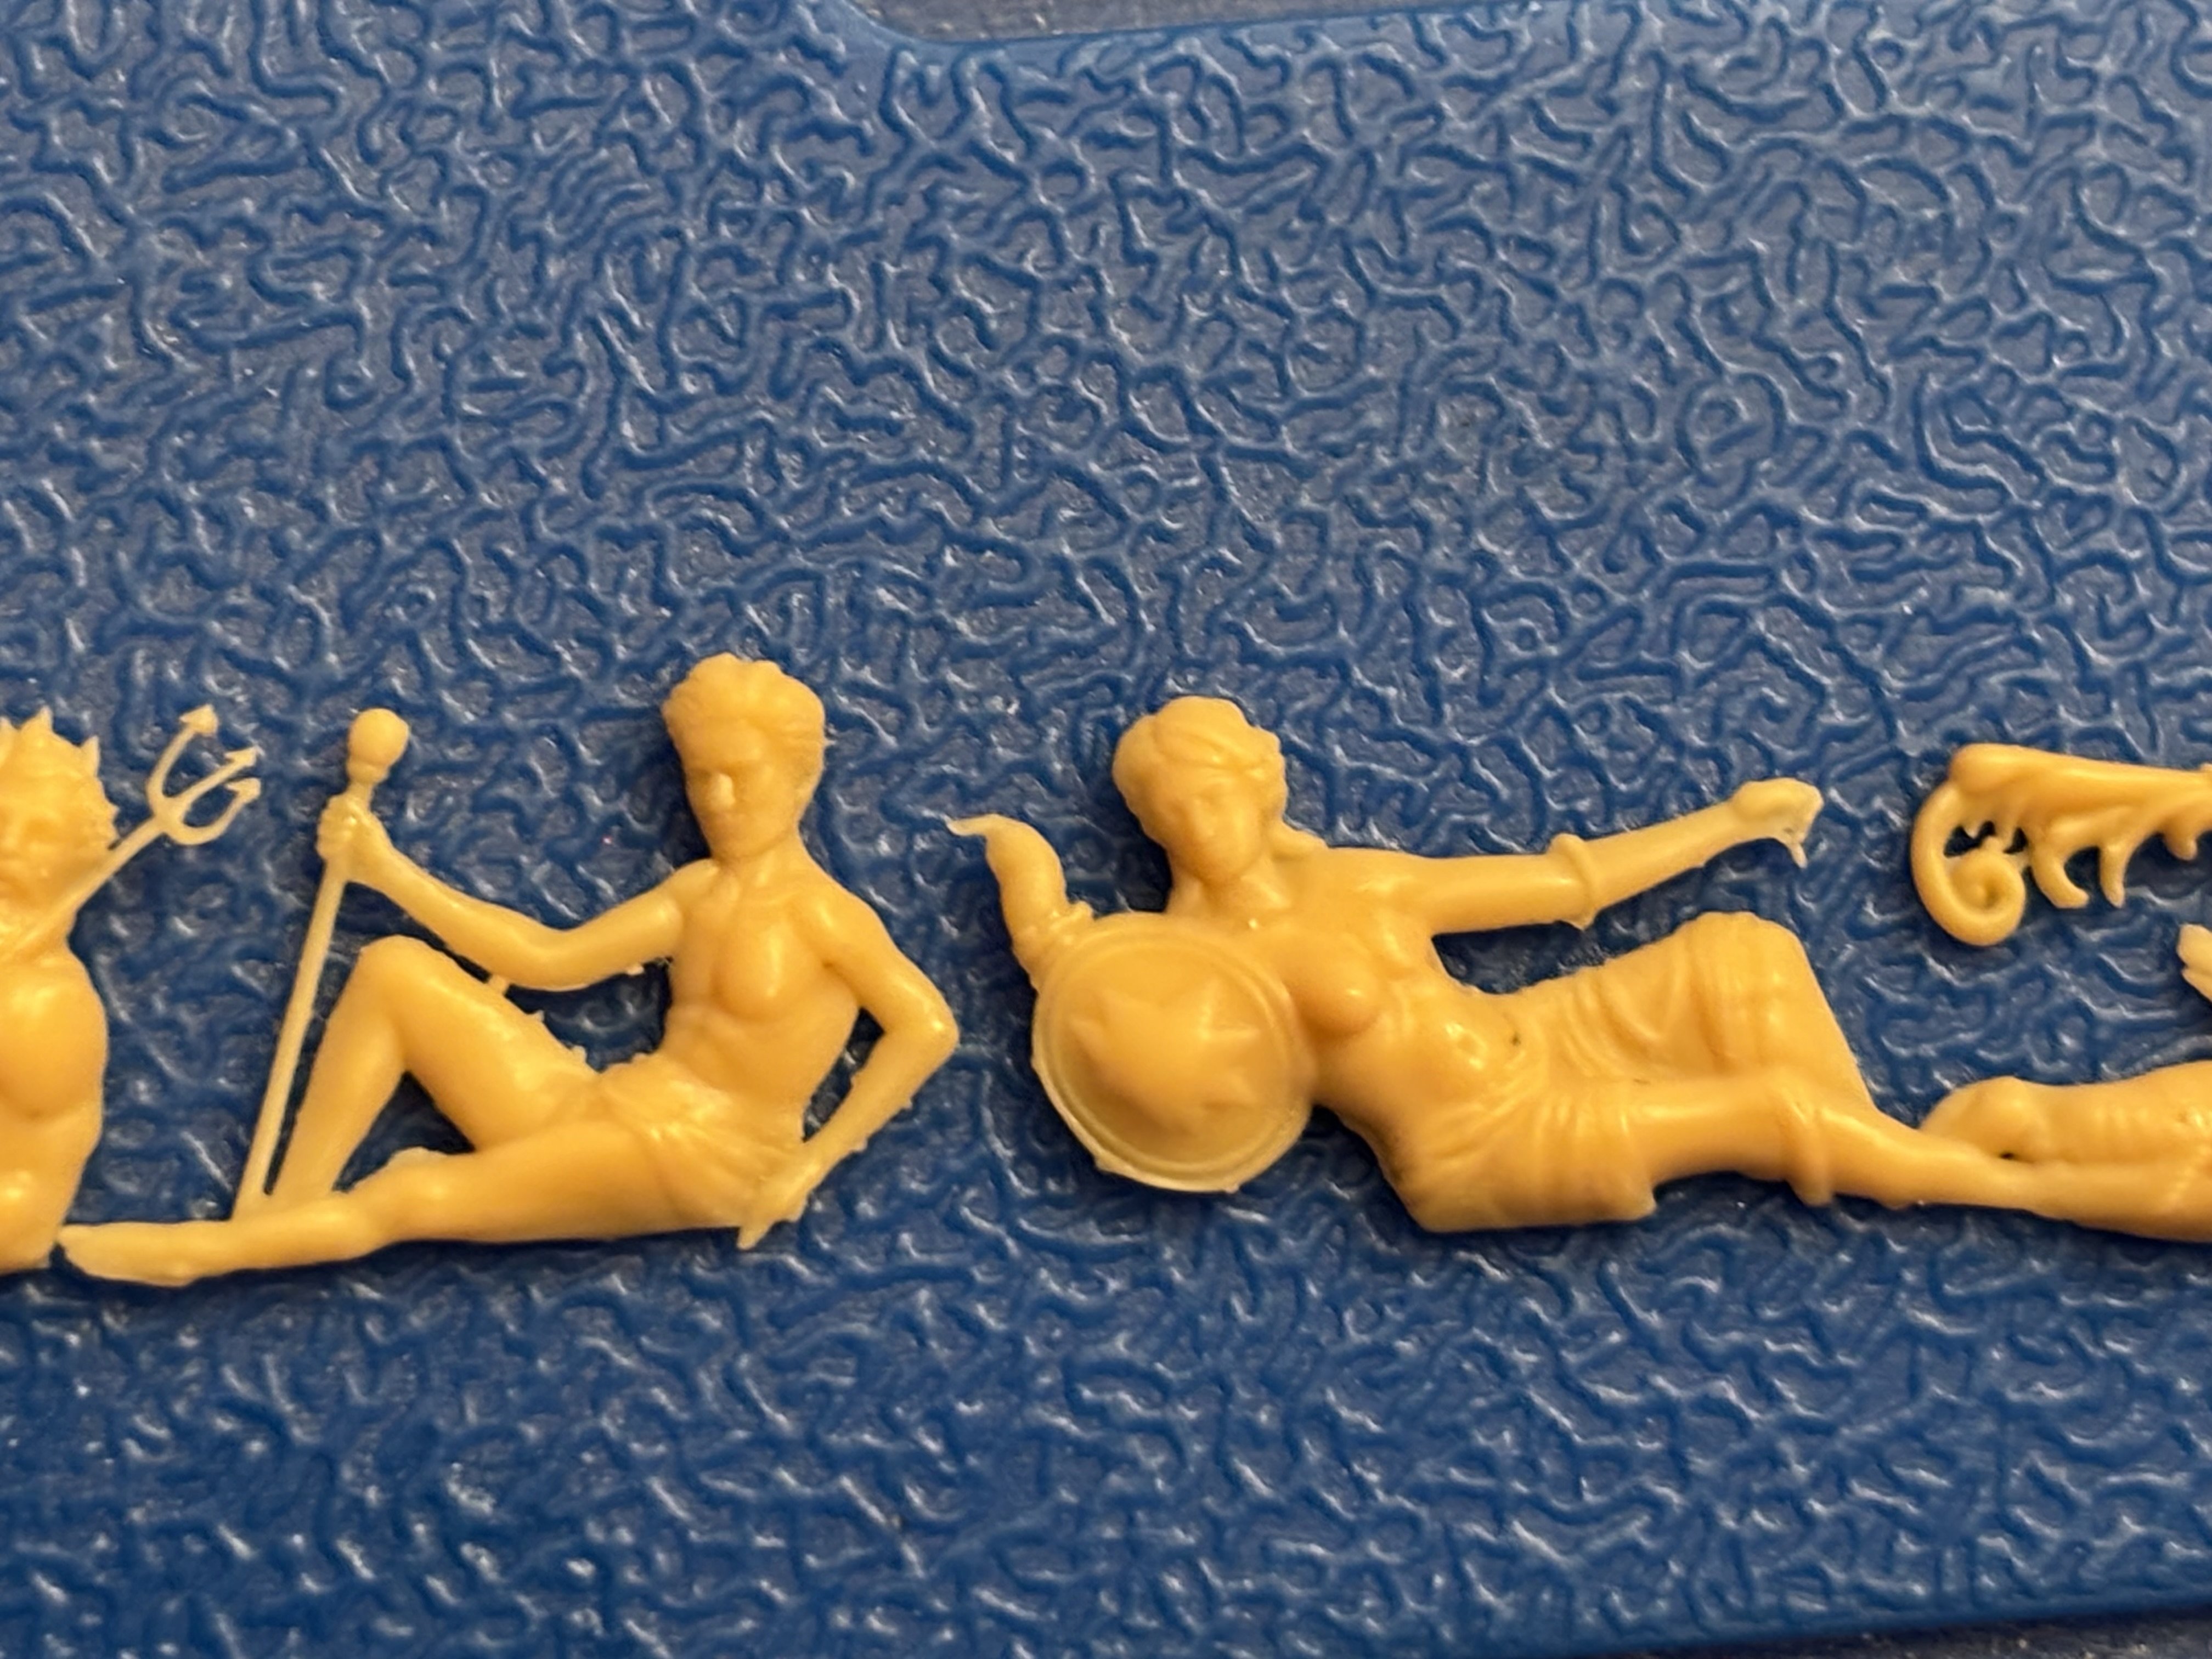
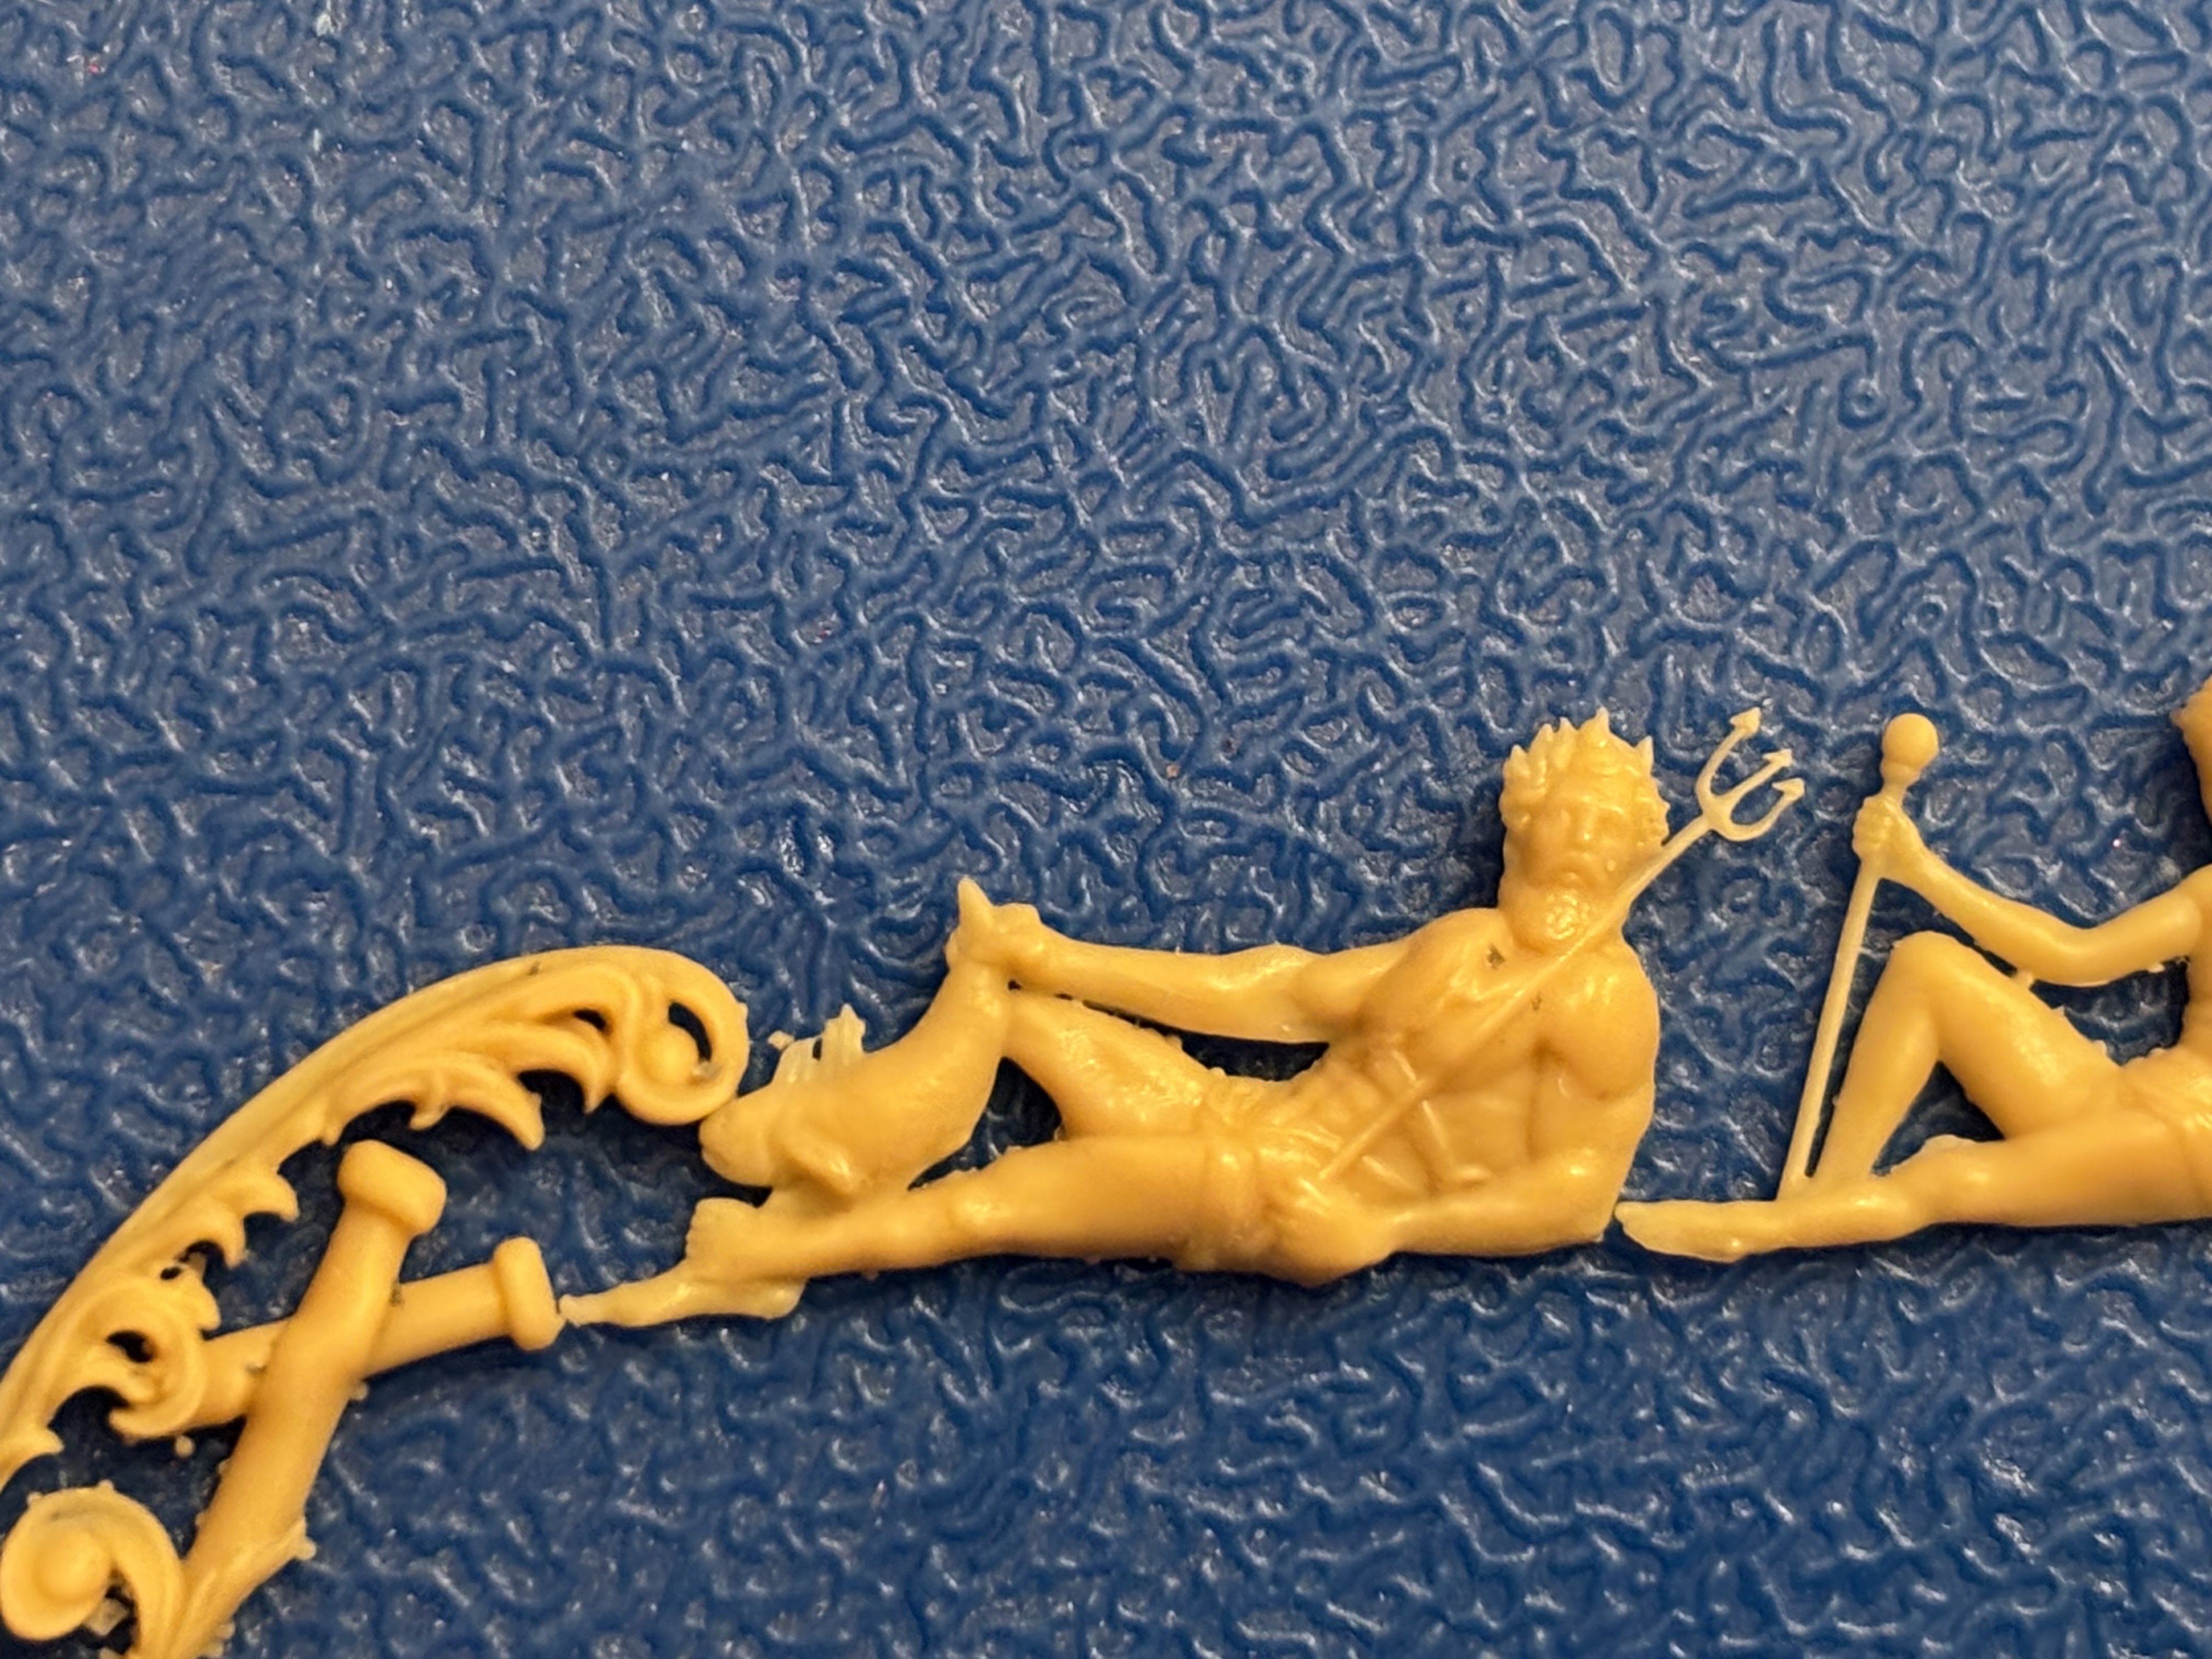
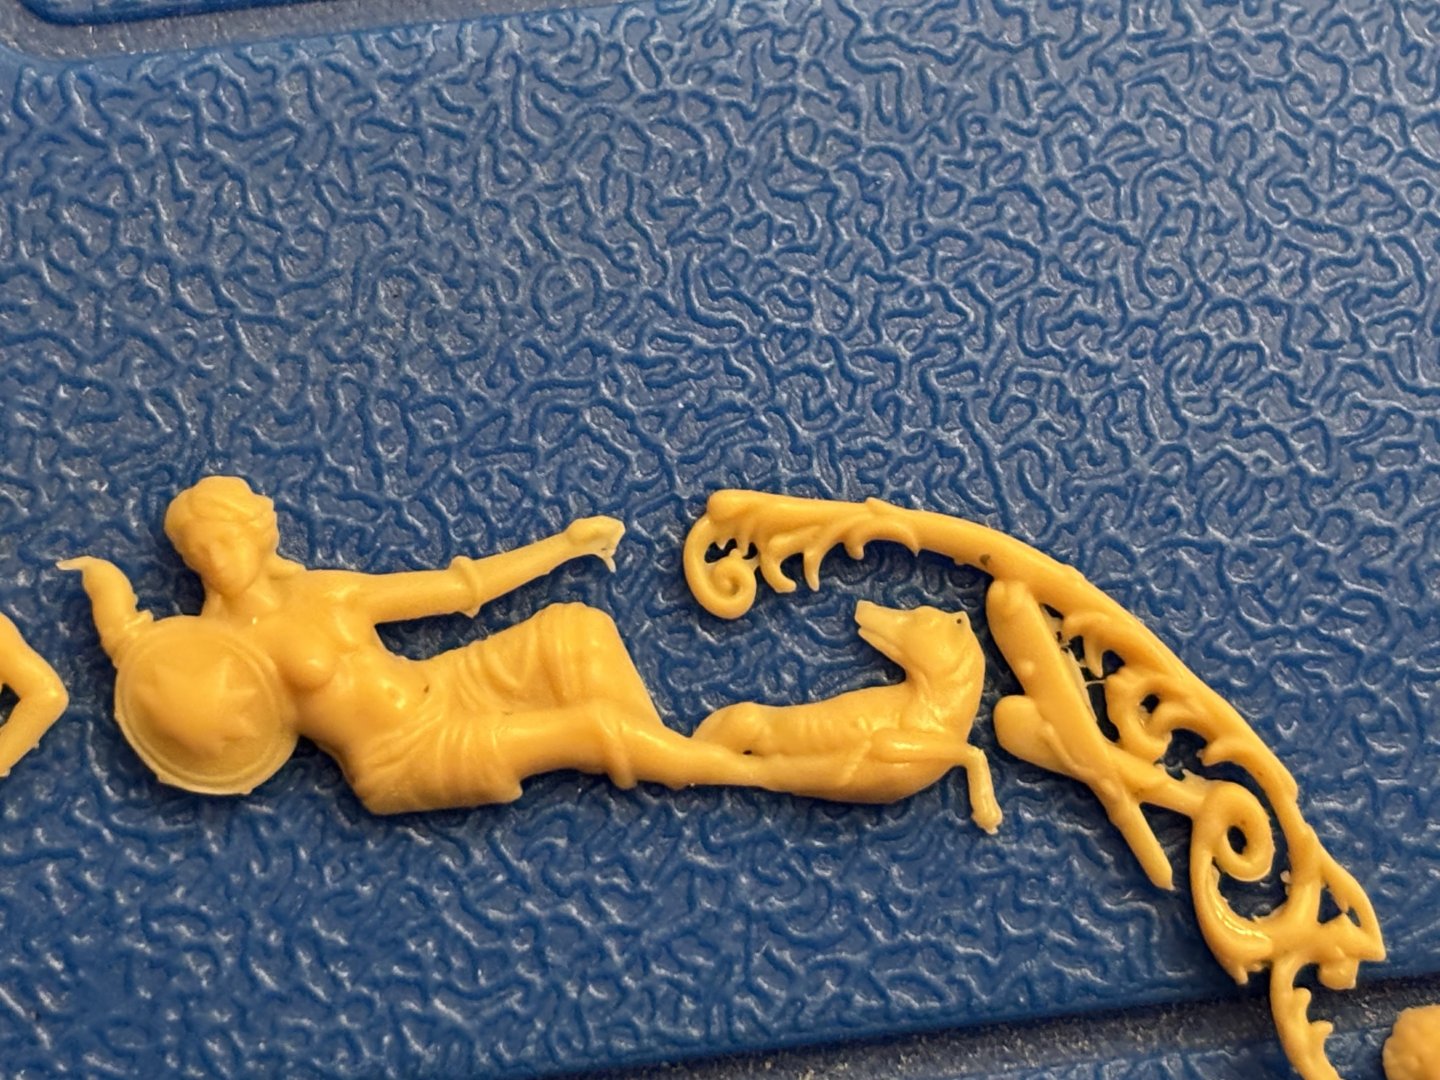
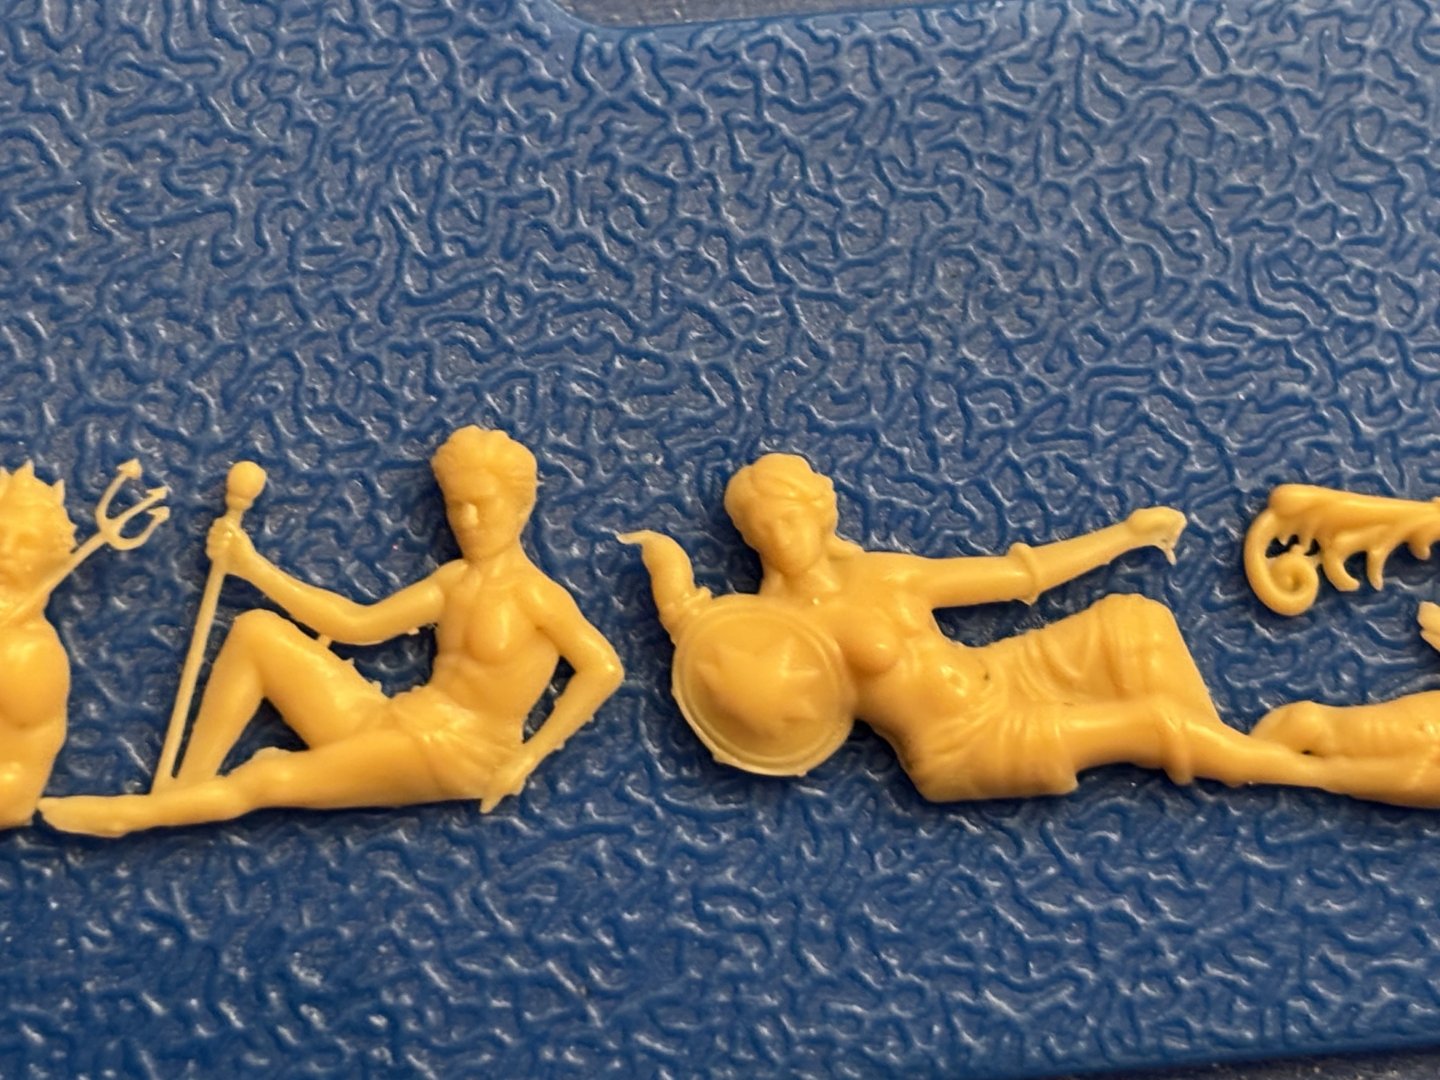
Printed the stern carvings for my USF Confederacy build on my Anycubic Photon Mono 4 with Inslogic Oak colored resin. Used meshy and relief maker to generate the stl files from the plans. Big thanks to Chuck for sharing the information on how to get started with all this in this thread.


-
They definitely look way better than the white metal ones supplied by model shipways in the kit.
-
Work has been slow in the shipyard, but I did get some work done on the stern carvings. I used meshy and relief maker to generate the stl files and then printed them out on my resin 3d printer. Now I need to do some test to get them to close in color to the stained basswood of the hull.


-
Thanks, Glen. All of those tiny details were a pain to paint. Glad I have my trusty headband with flip down magnifying lenses and light (the kind that jewelers use).
-
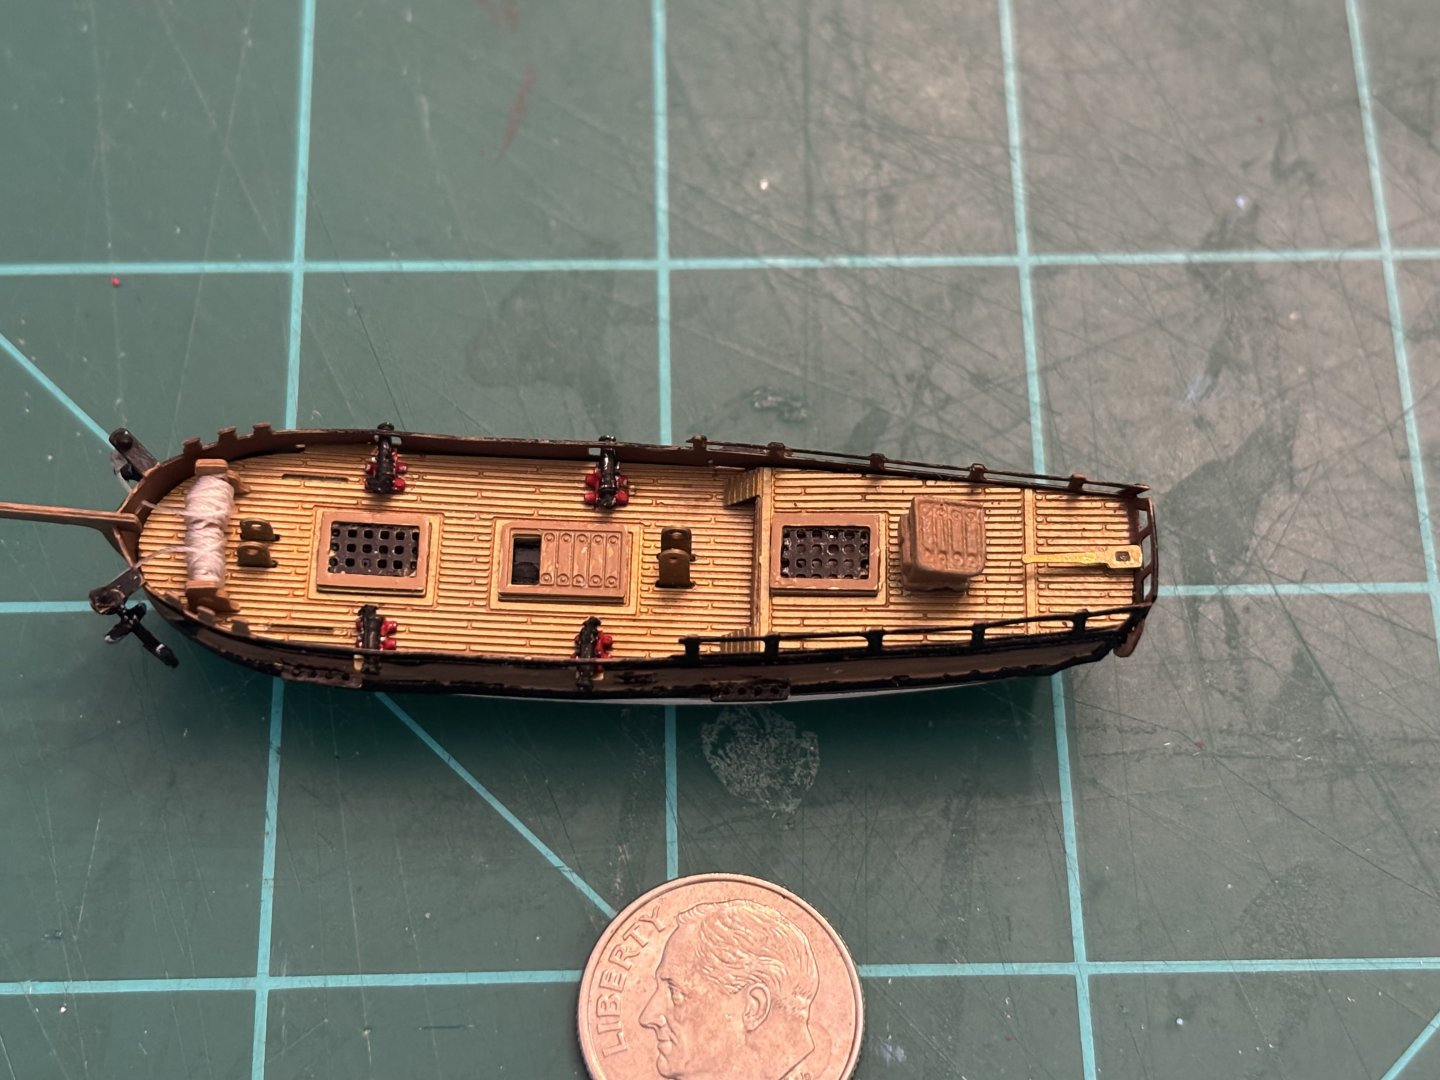
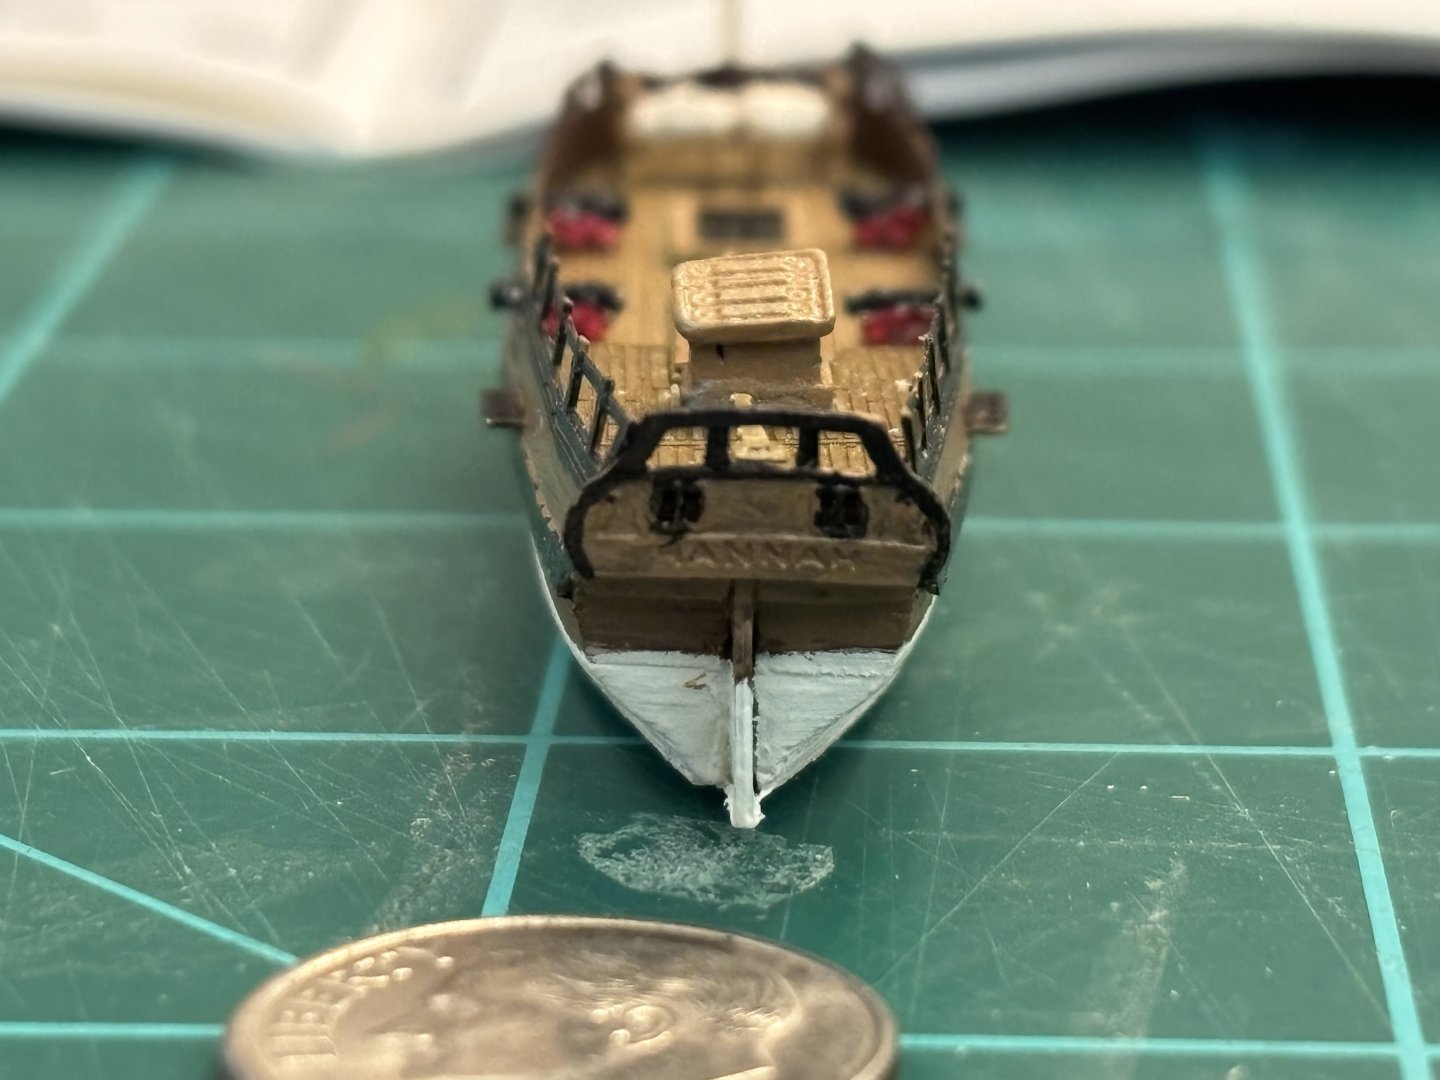
Work has progressed slowly on the hull, but I think it is now completed. I finished building, painting and installing the deck house, cannon, windlass and anchors. Next task is to start the masts and rigging.


-
New Decoration for 3D printing
KennyH78 replied to GustavG's topic in 3D-Printing and Laser-Cutting.
These figureheads are awesome. What program(s) do you use to create your stl files and bas reliefs? -
Igor, your prints looks awesome! They definitely look better than the white metal one supplied in the kit from Model Shipways. I am still trying to sort out how to make up some stl files for the stern carvings that look good for my build. You wouldn't be willing to share where you got your prints from, would you?
-
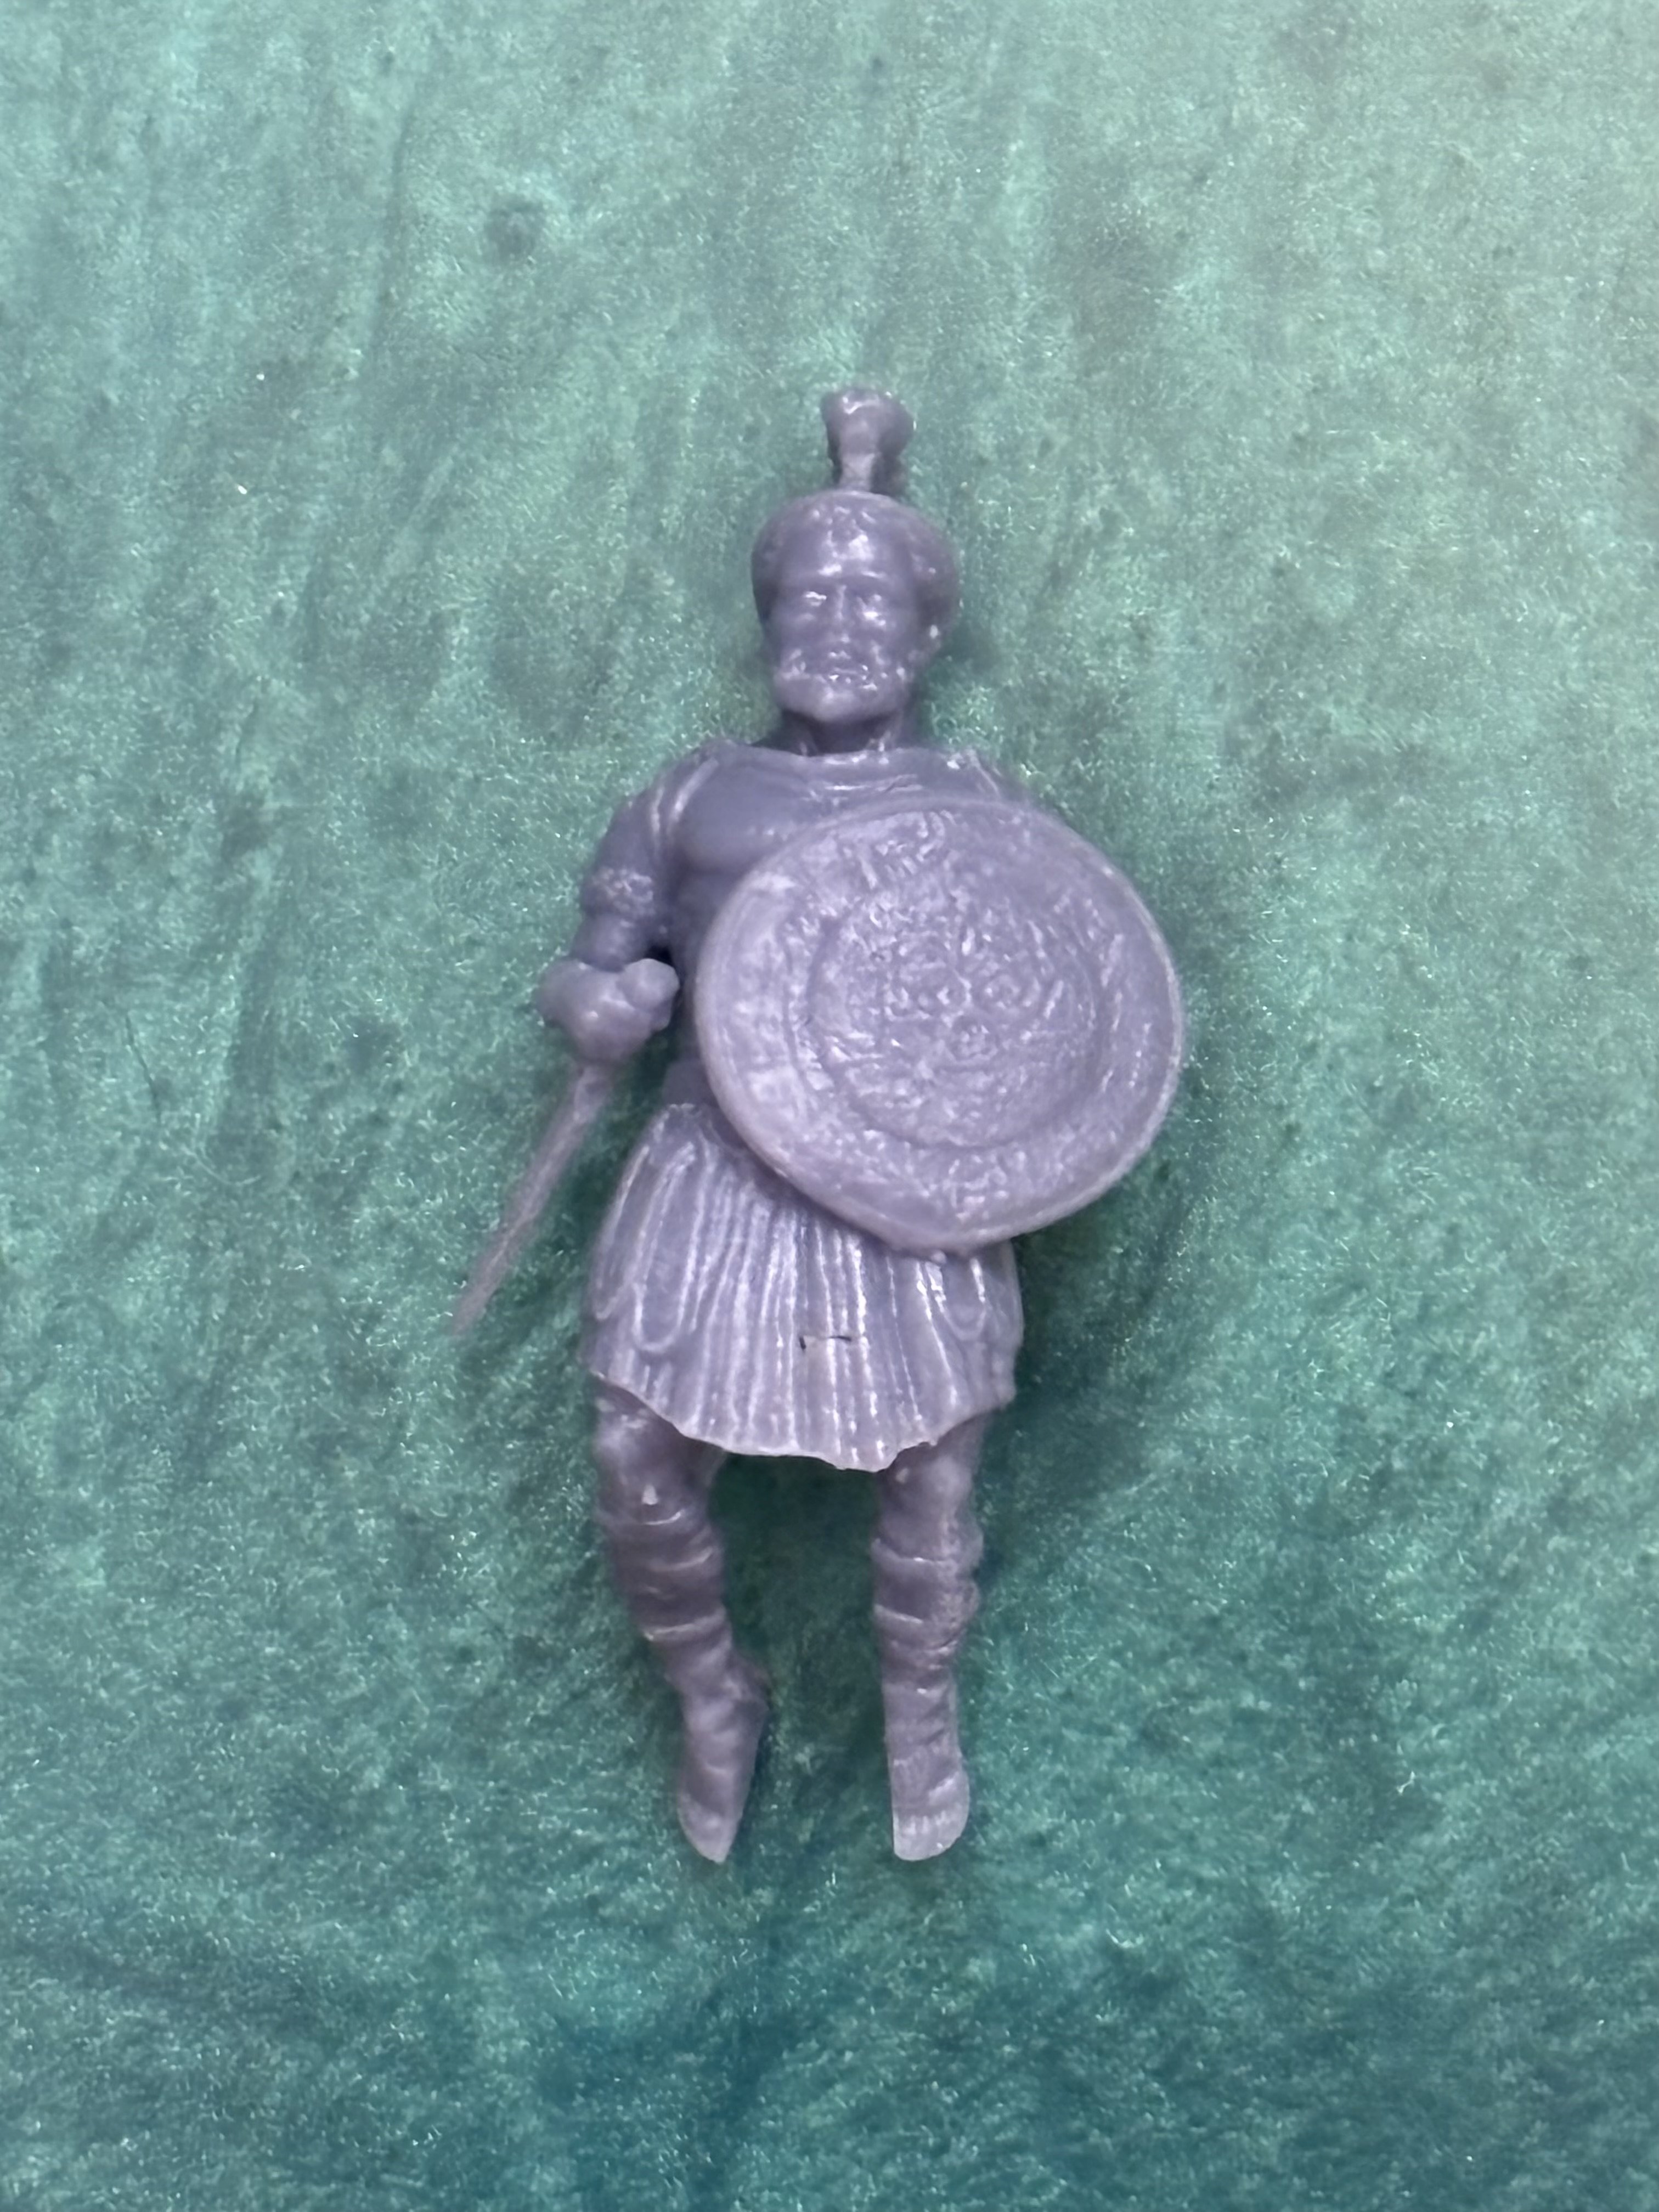
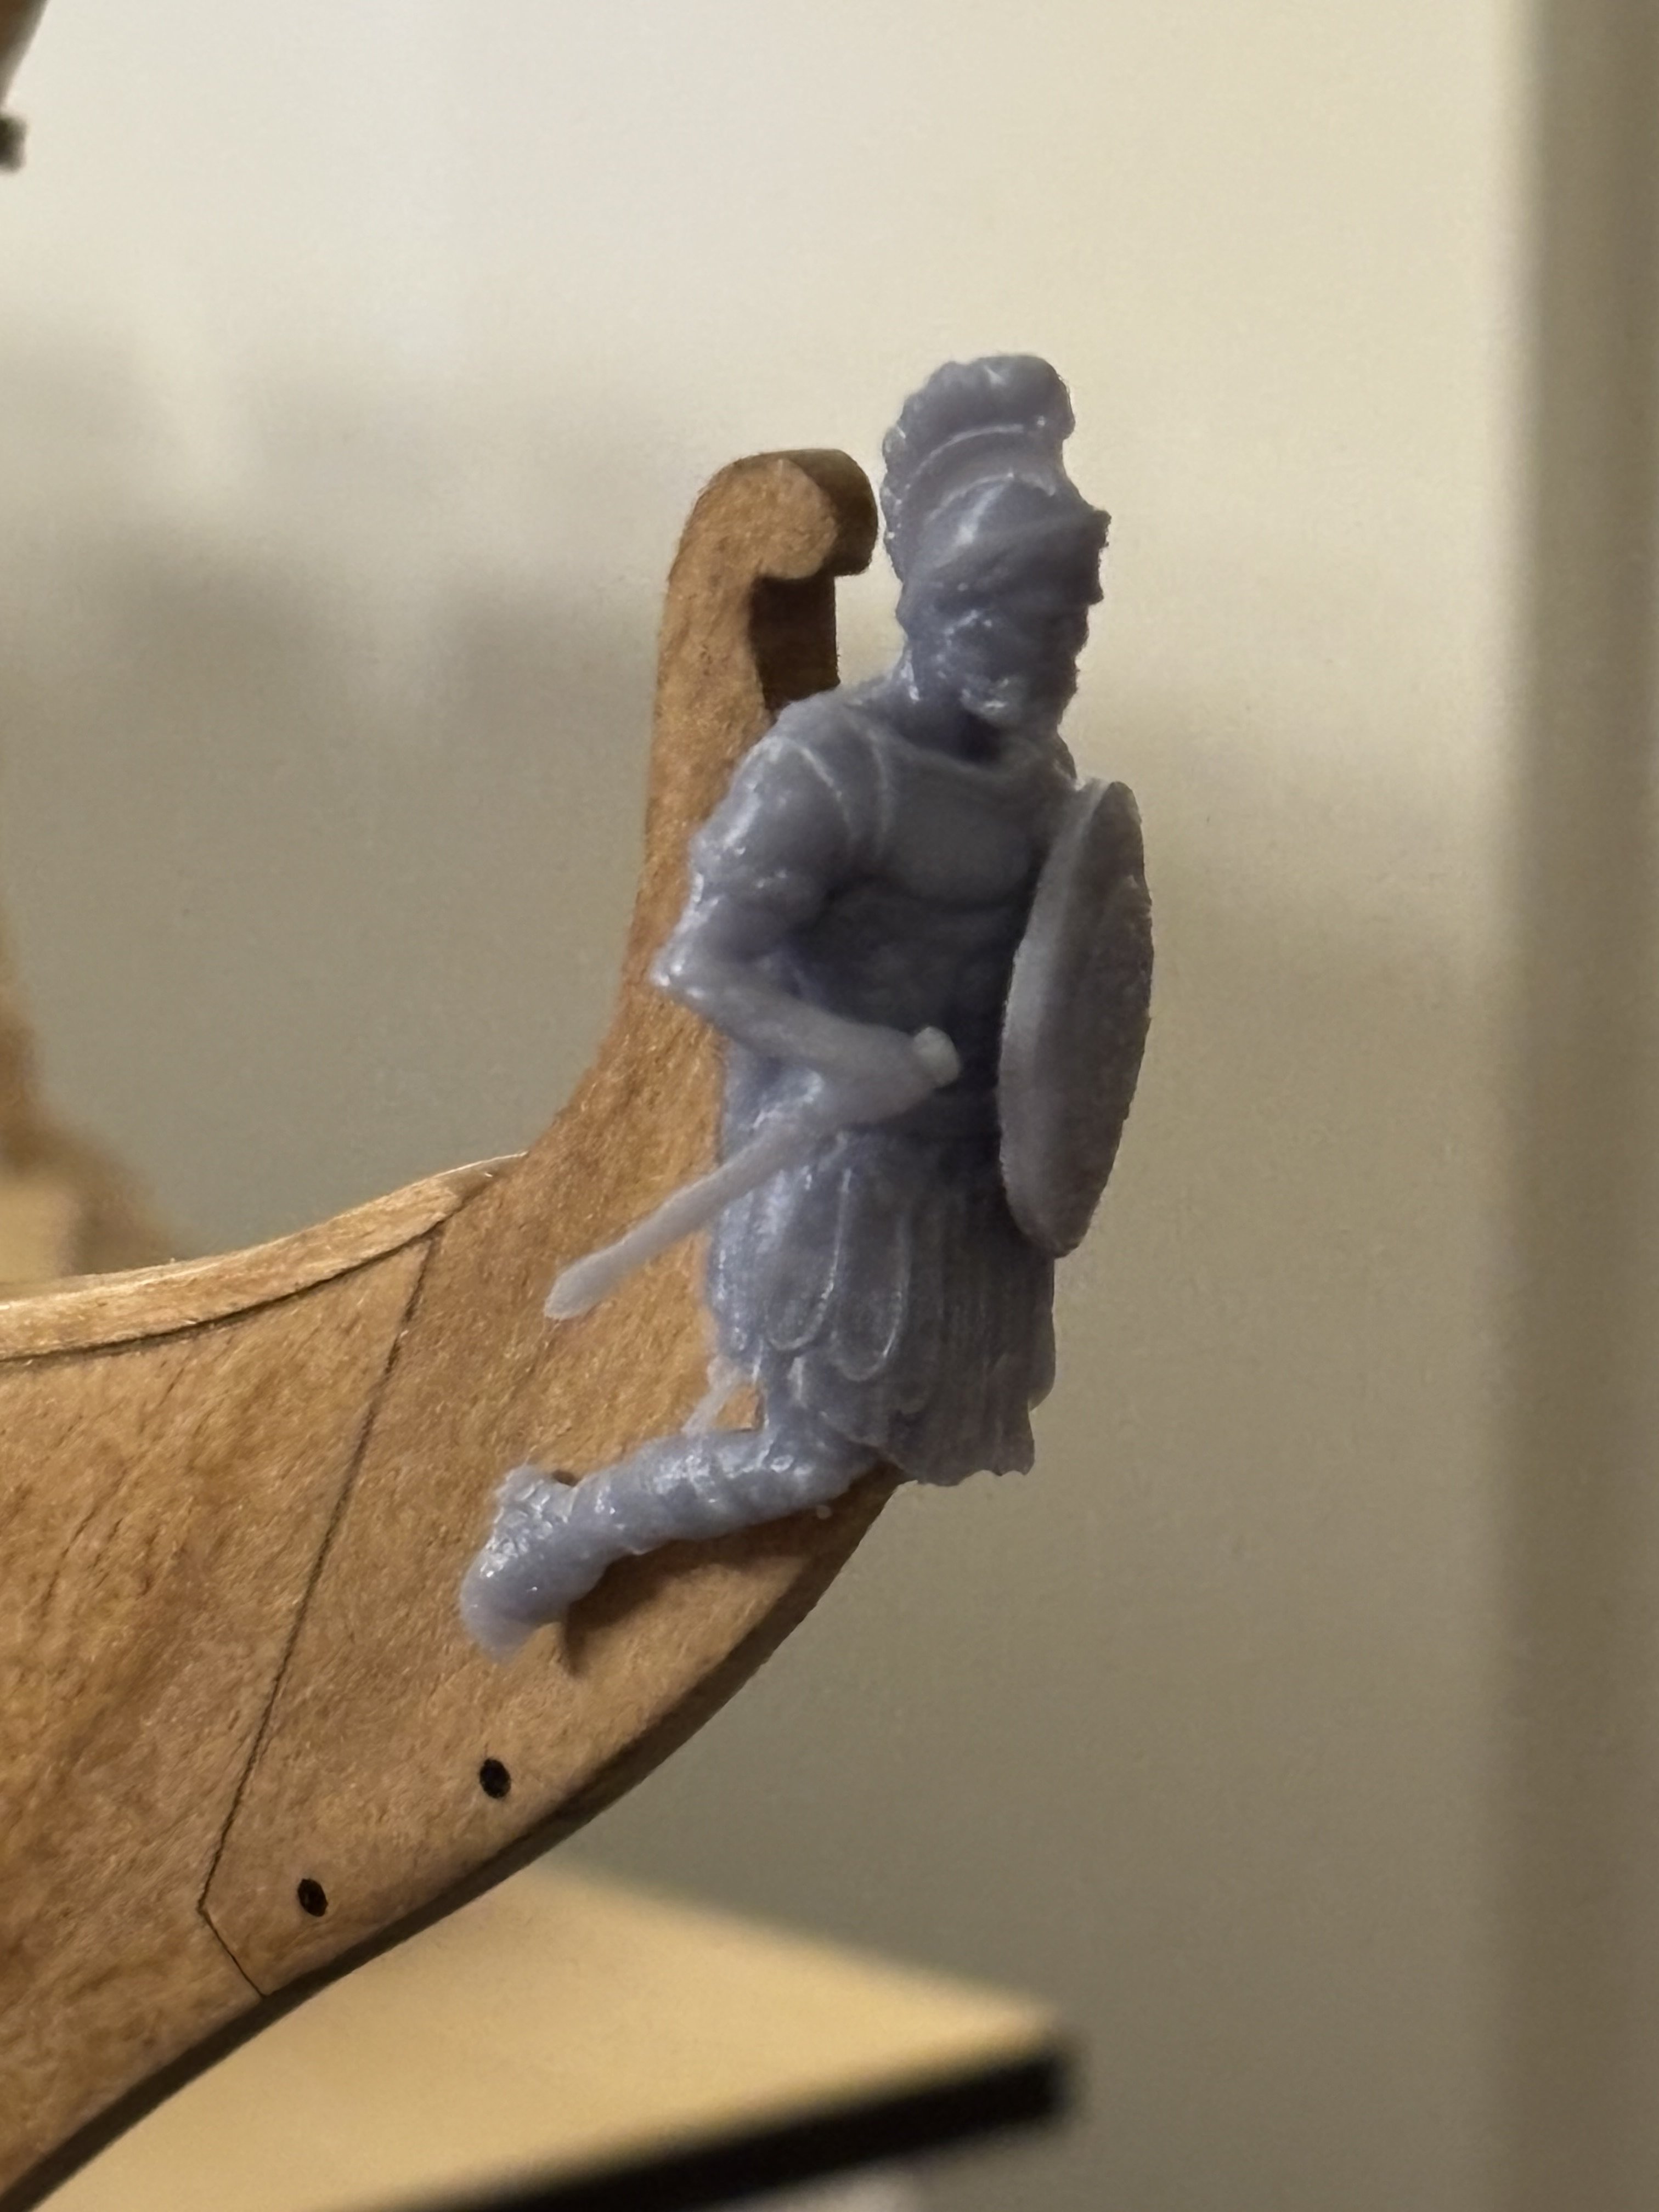
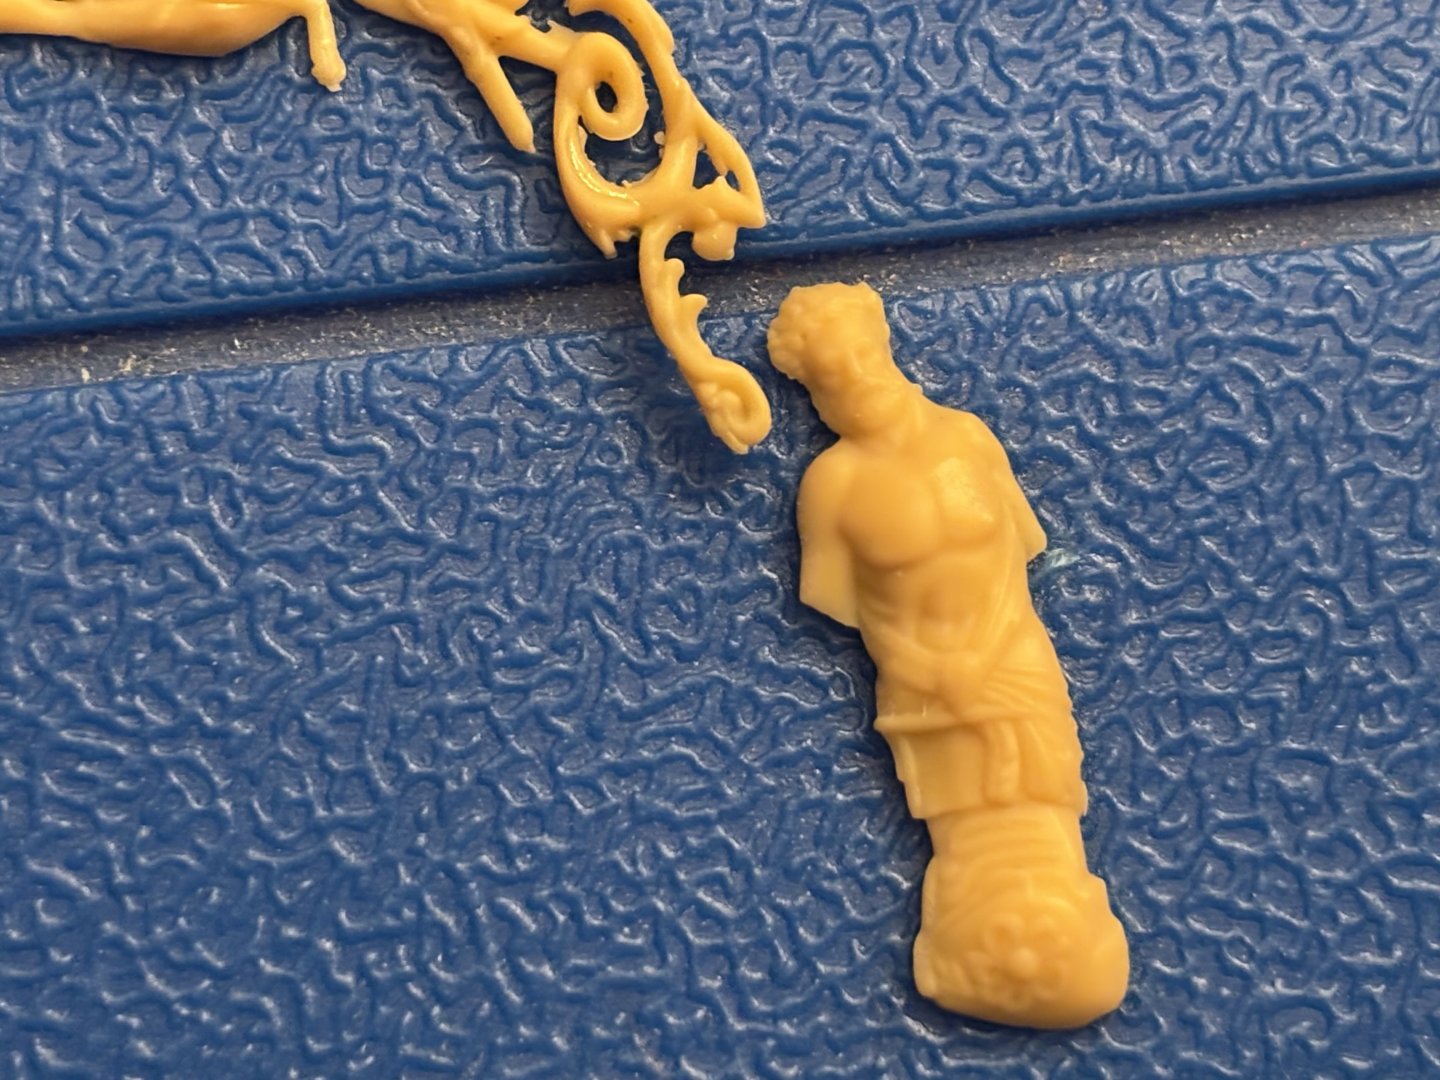
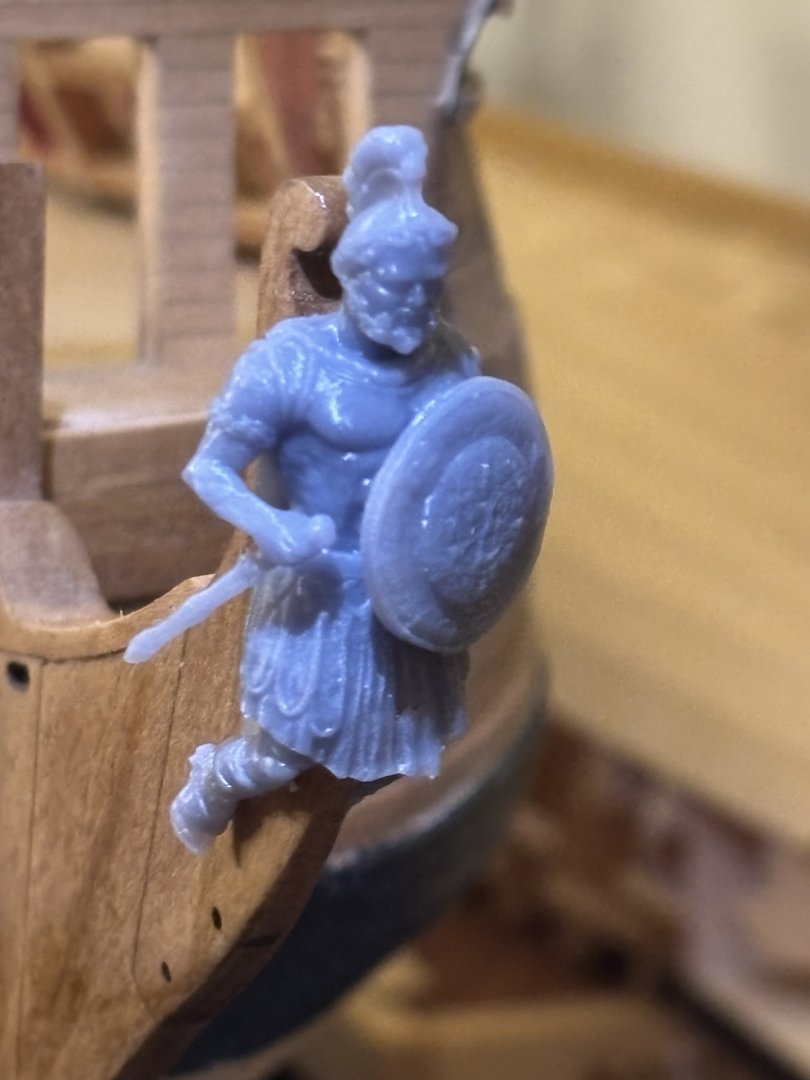
@Chuck I printed out your file of the figure and it is a perfect fit; looks great too. Now to get all of the stern carvings made into stl files and printed out. Once I have everything in stl files, I will print them out in beige resin.


-
The carvings and figurehead for Winnie are 3d printed. As for Confederacy, I am slowly working on designing and producing a set of carvings in resin using Chuck's tutorial. I really hate the white metal ones supplied with the kit. I already have the cannons printed.
-
Chuck, thanks for providing the file; I know that you are a busy man. I will print it later this week. I still need to teach myself how to do all of this.
-
I can send you a scan of the plan. I just need to take it somewhere to have it scanned. I plan to try to size it as well and create a stem slot. Lots to learn since I mainly just buy and download stl files. I have never attempted to make my own or modify files until now.
-
I will print yours as well Chuck and compare the 2. But I'm willing to bet that yours will come out nicer.
-
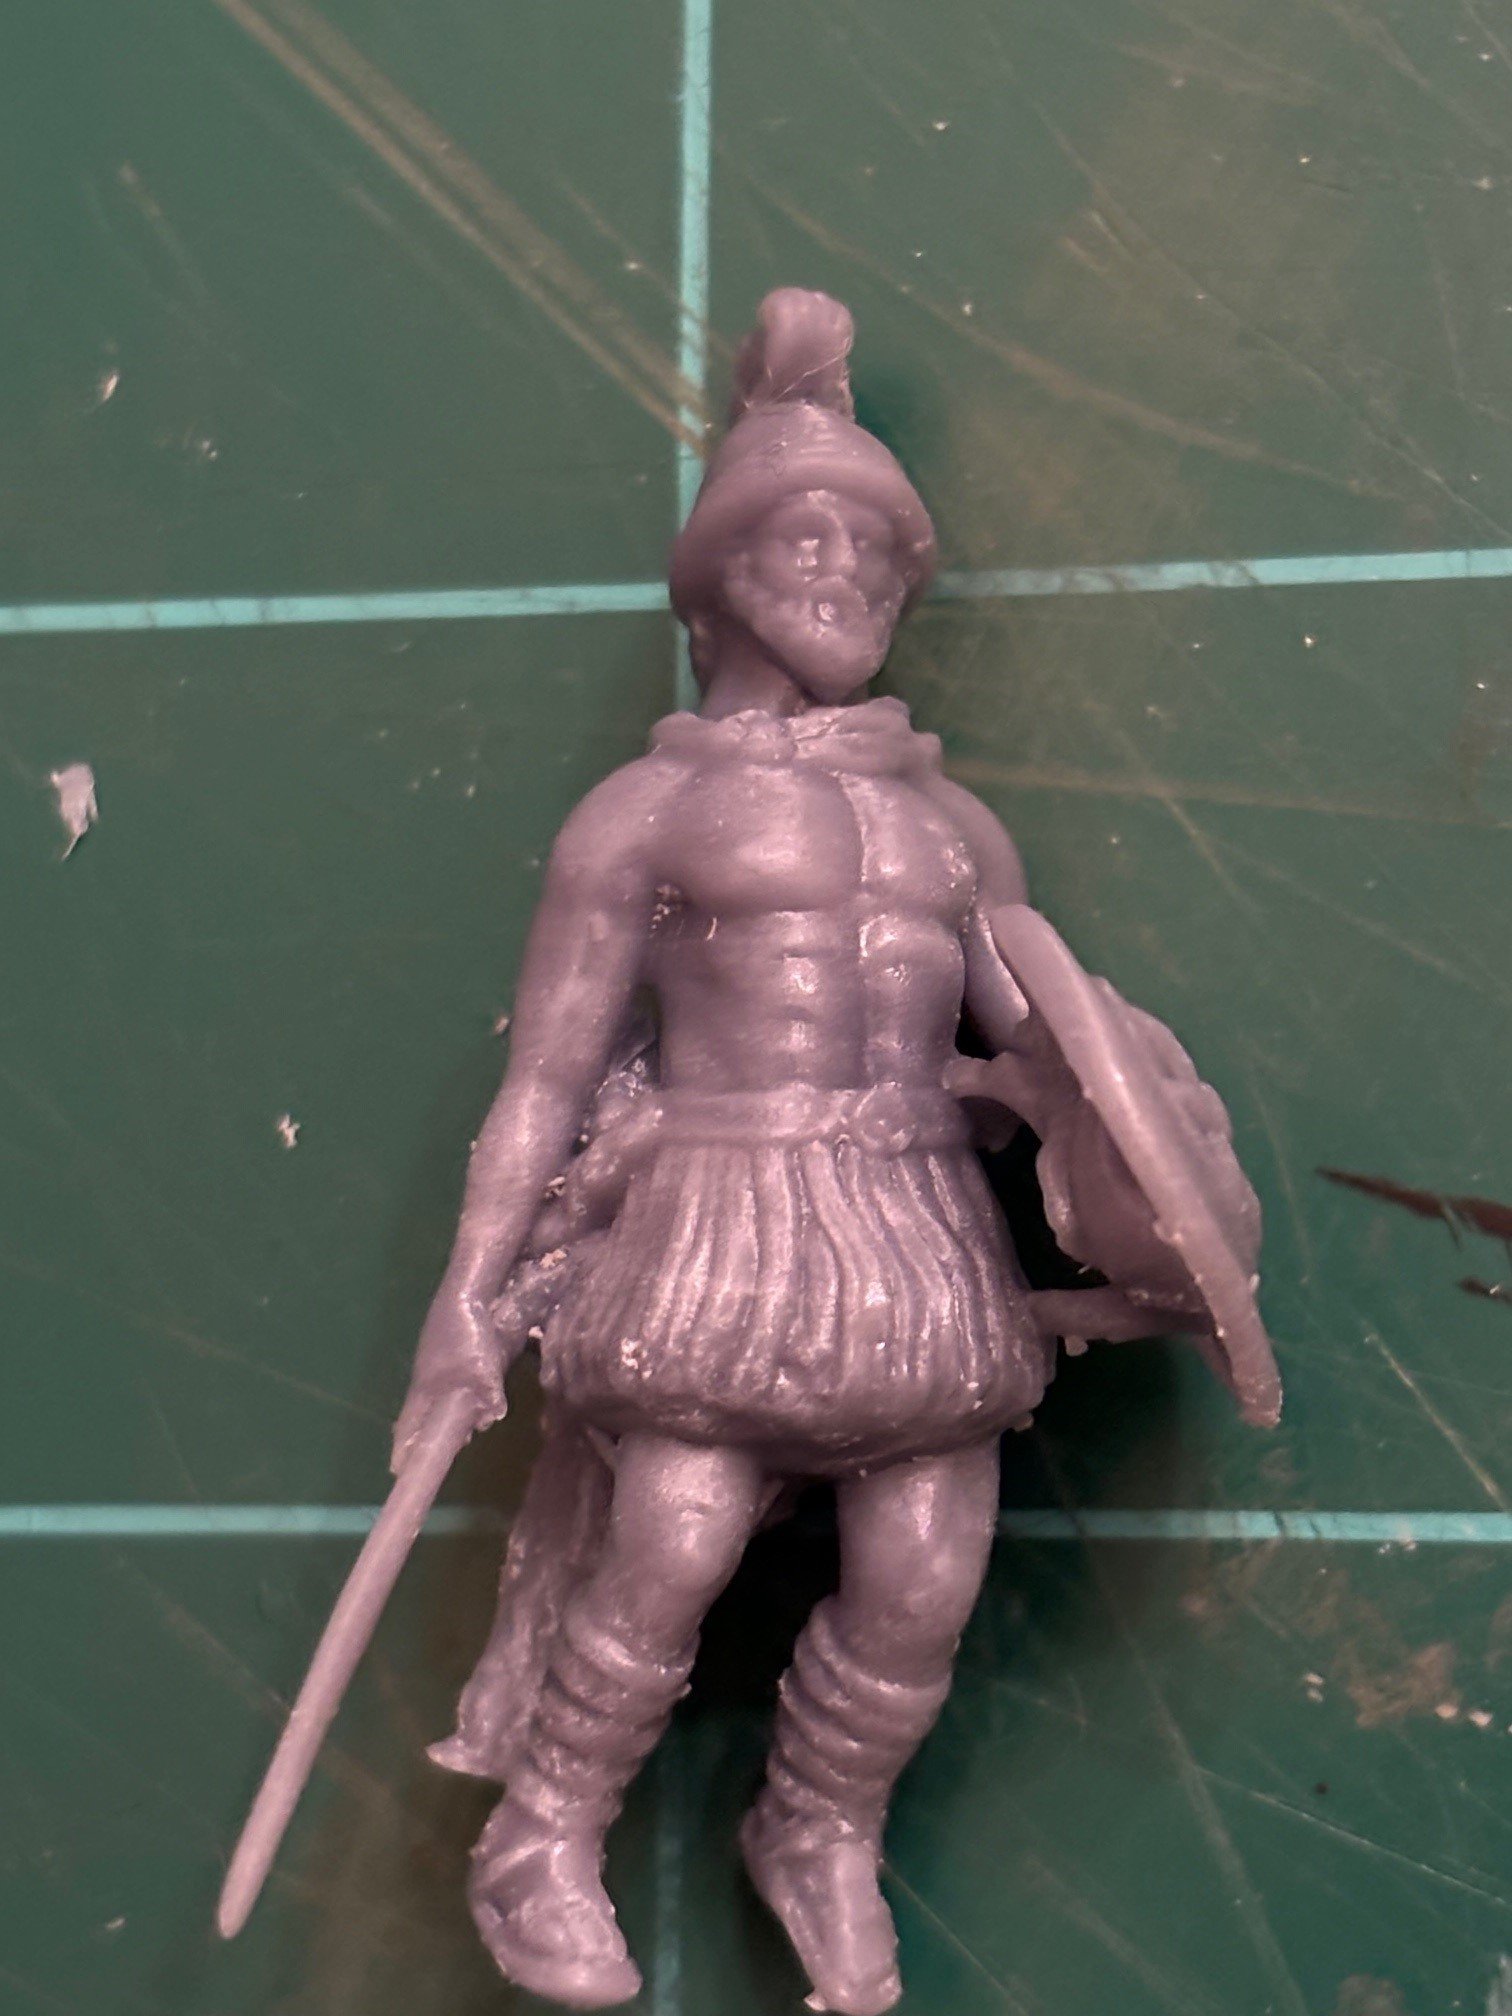
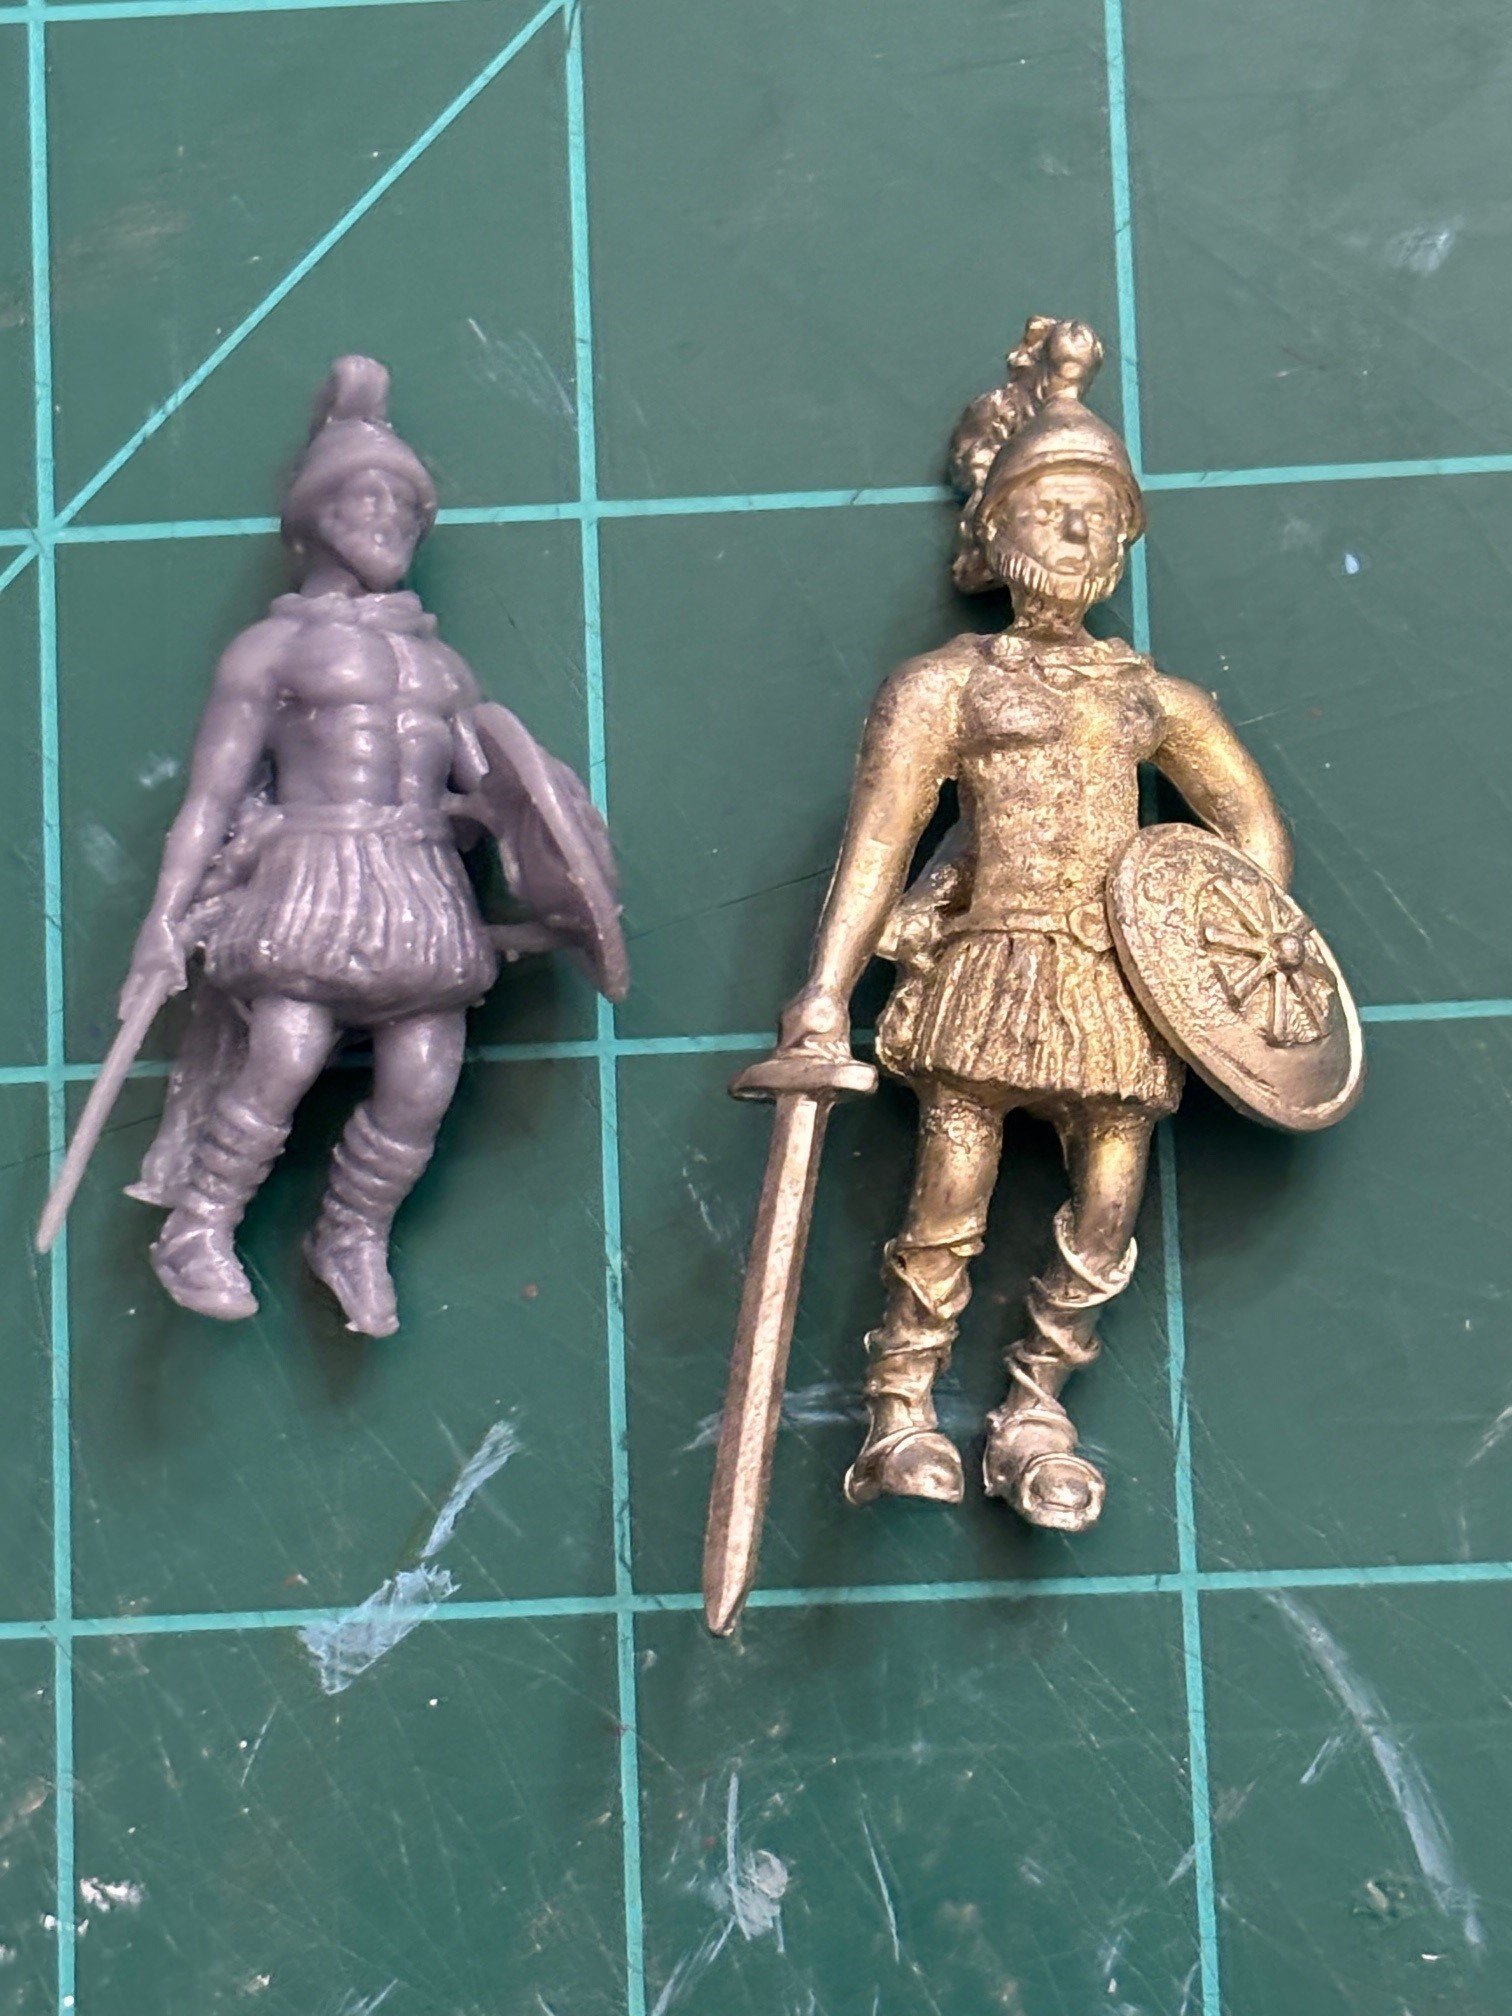
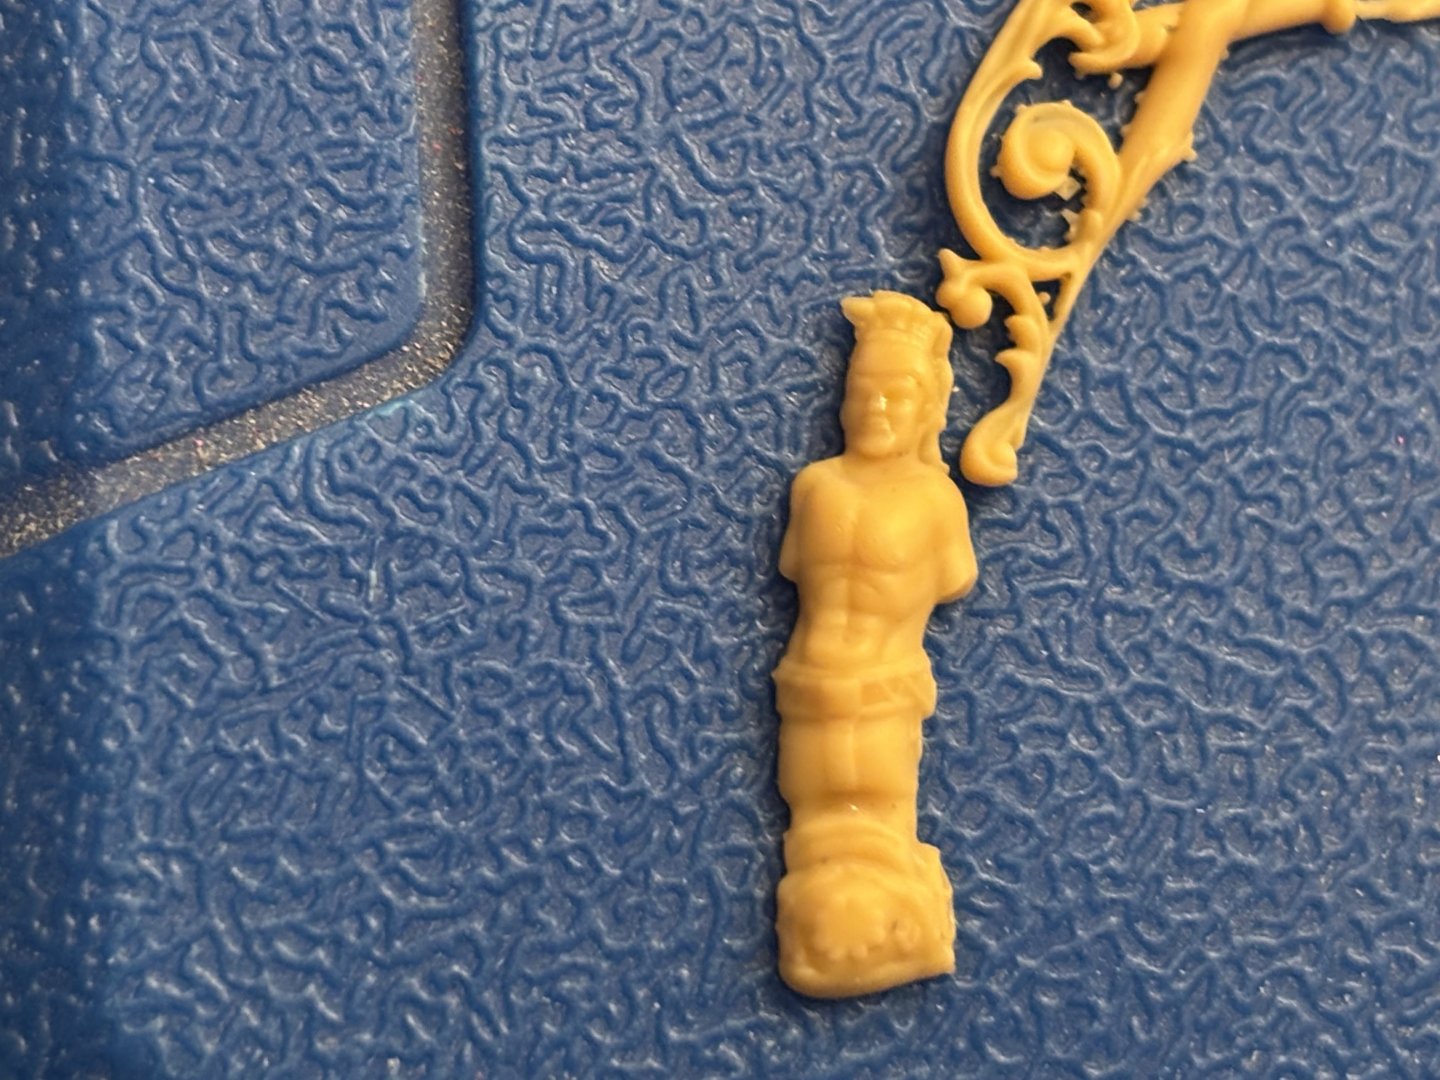
I have been playing around with meshy as well and think that I have come up with a better figurehead than the white metal one suppled by Model Shipways for the Confederacy kit. I did a test print and am happy with the results so far. although I need to make him a little taller. The final print will be done in a beige/tan color. I may also try to model in the indention for the stem before doing the final print. As you can see, the meshy product is 10 times better than the kit supplied one.

-
Filament Dryers for 3D Printing
KennyH78 replied to Kevin-the-lubber's topic in 3D-Printing and Laser-Cutting.
Thanks for sharing this tip. I know that FDM printing is not widely used in our hobby, but I have been trying to find ways to use them along with my resin printer. I will definitely look into picking up a filament dryer for my FDM printers. -
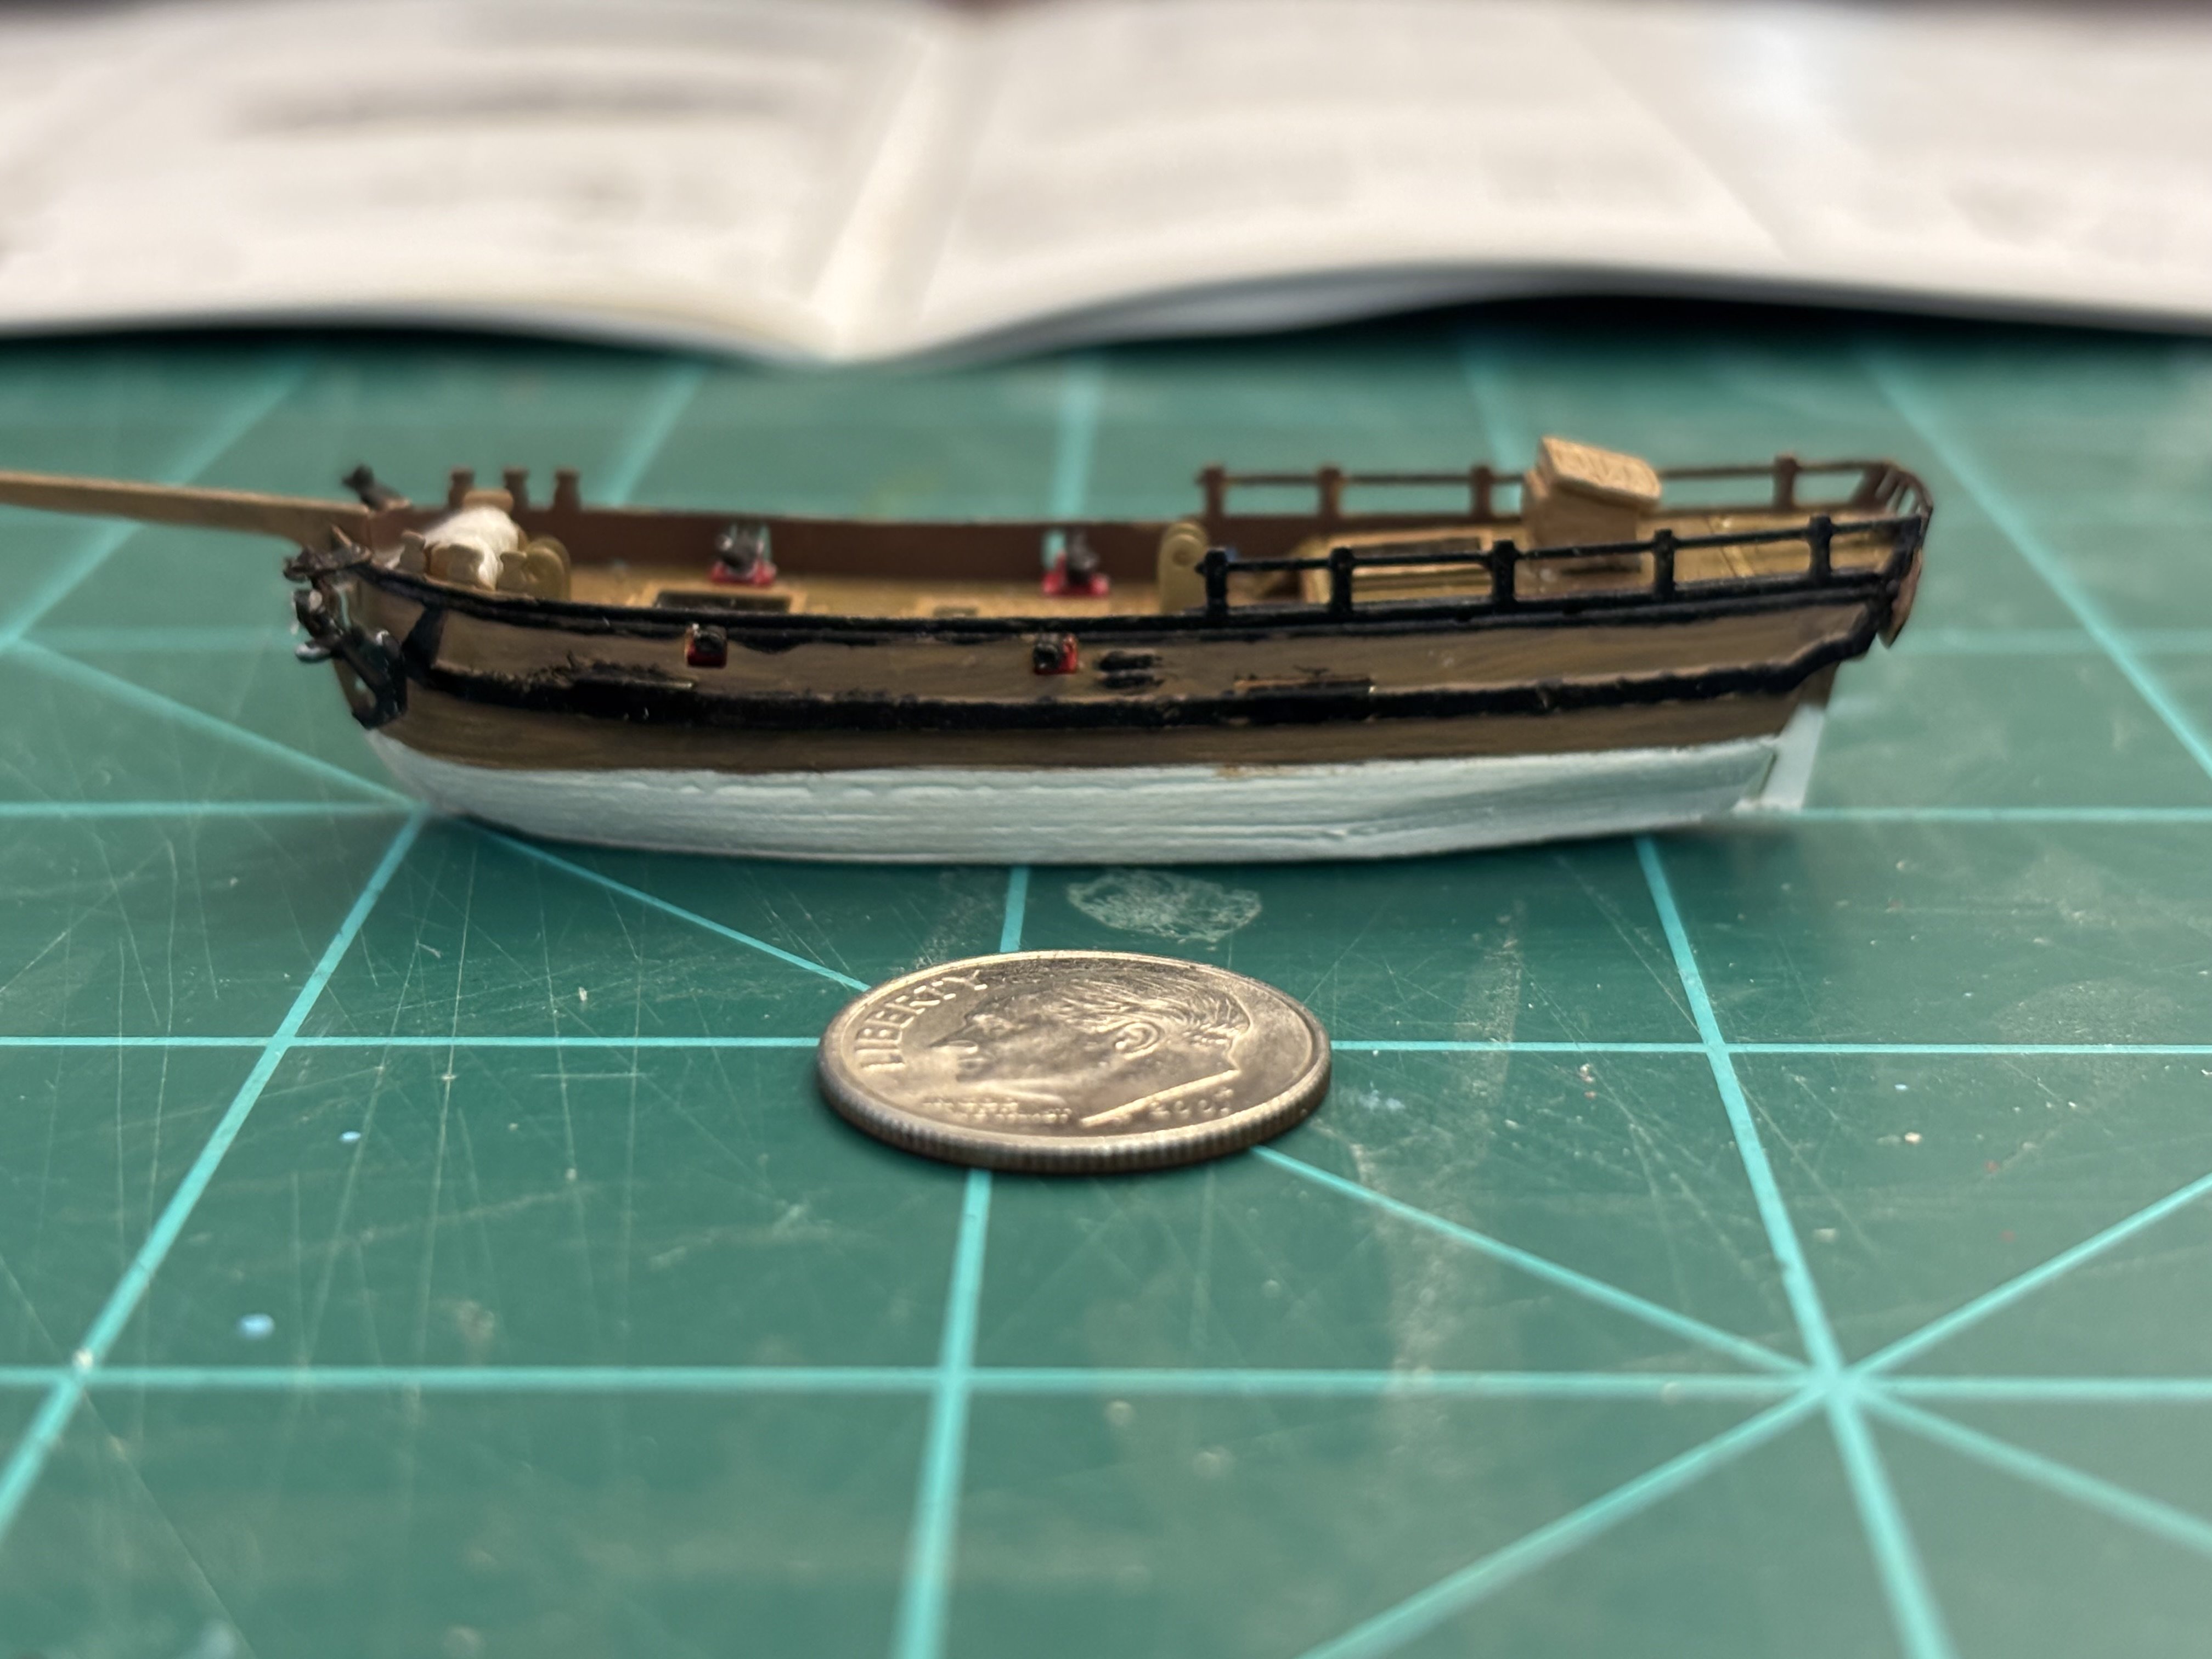
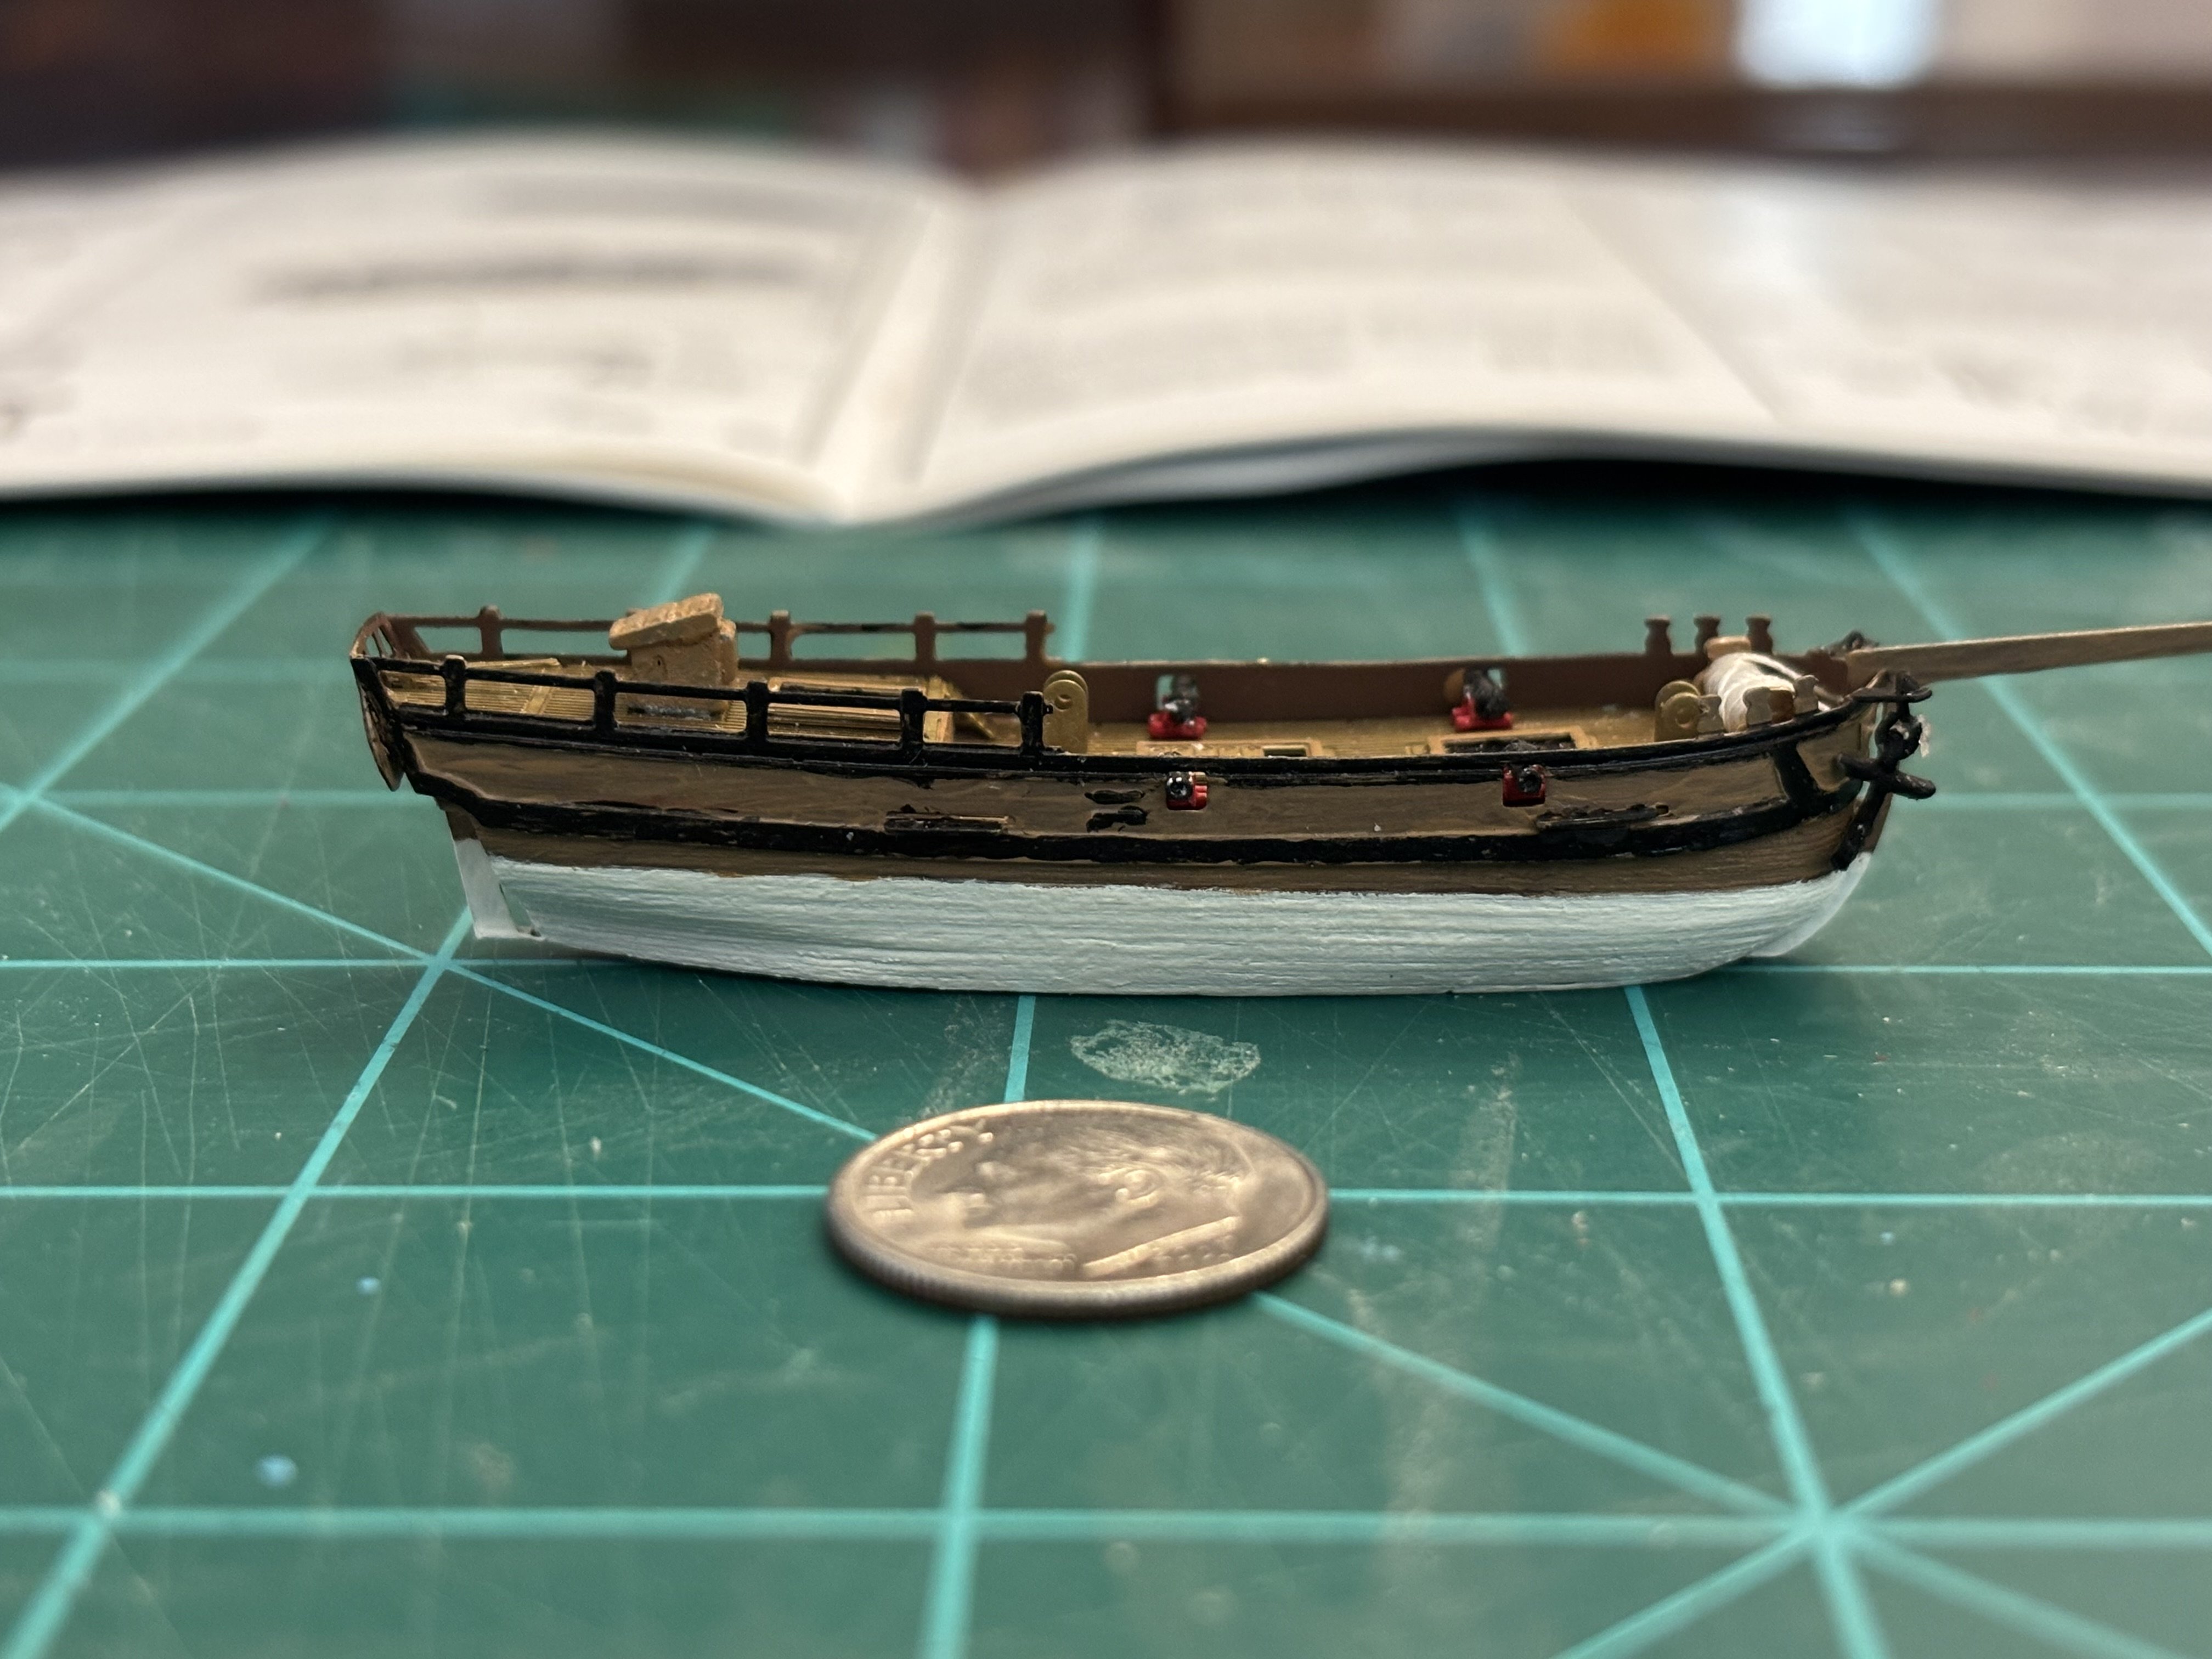
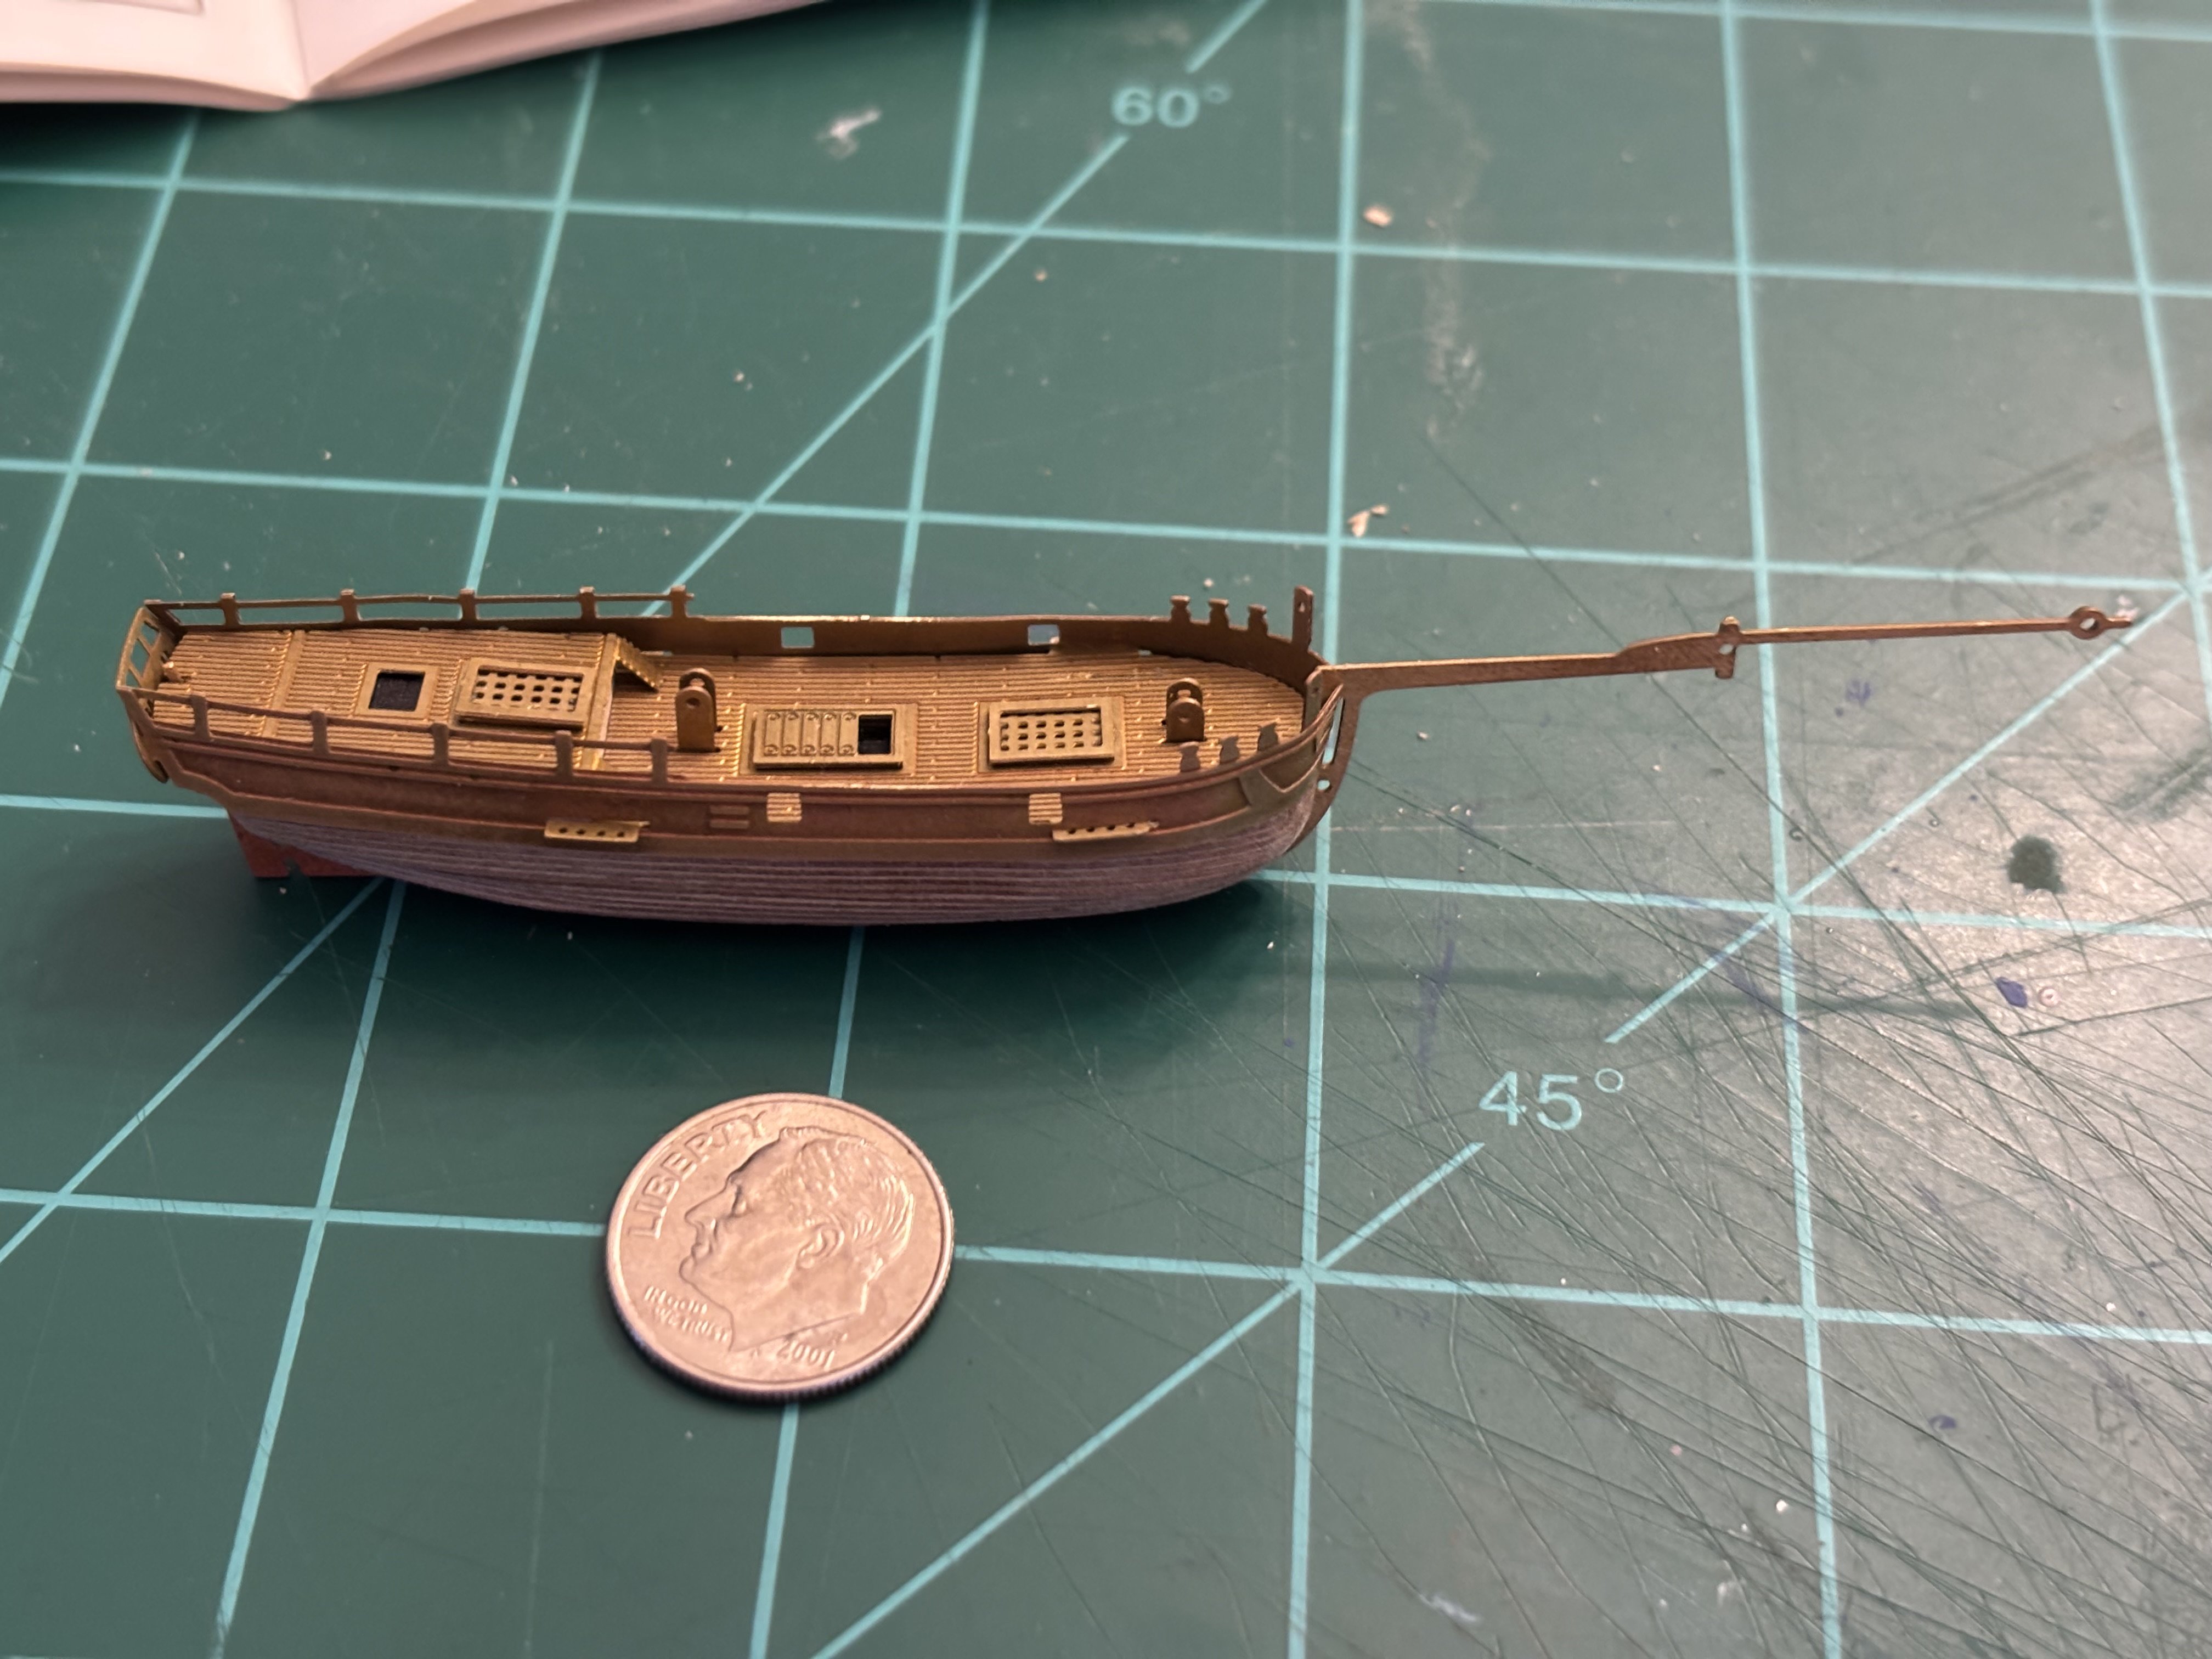
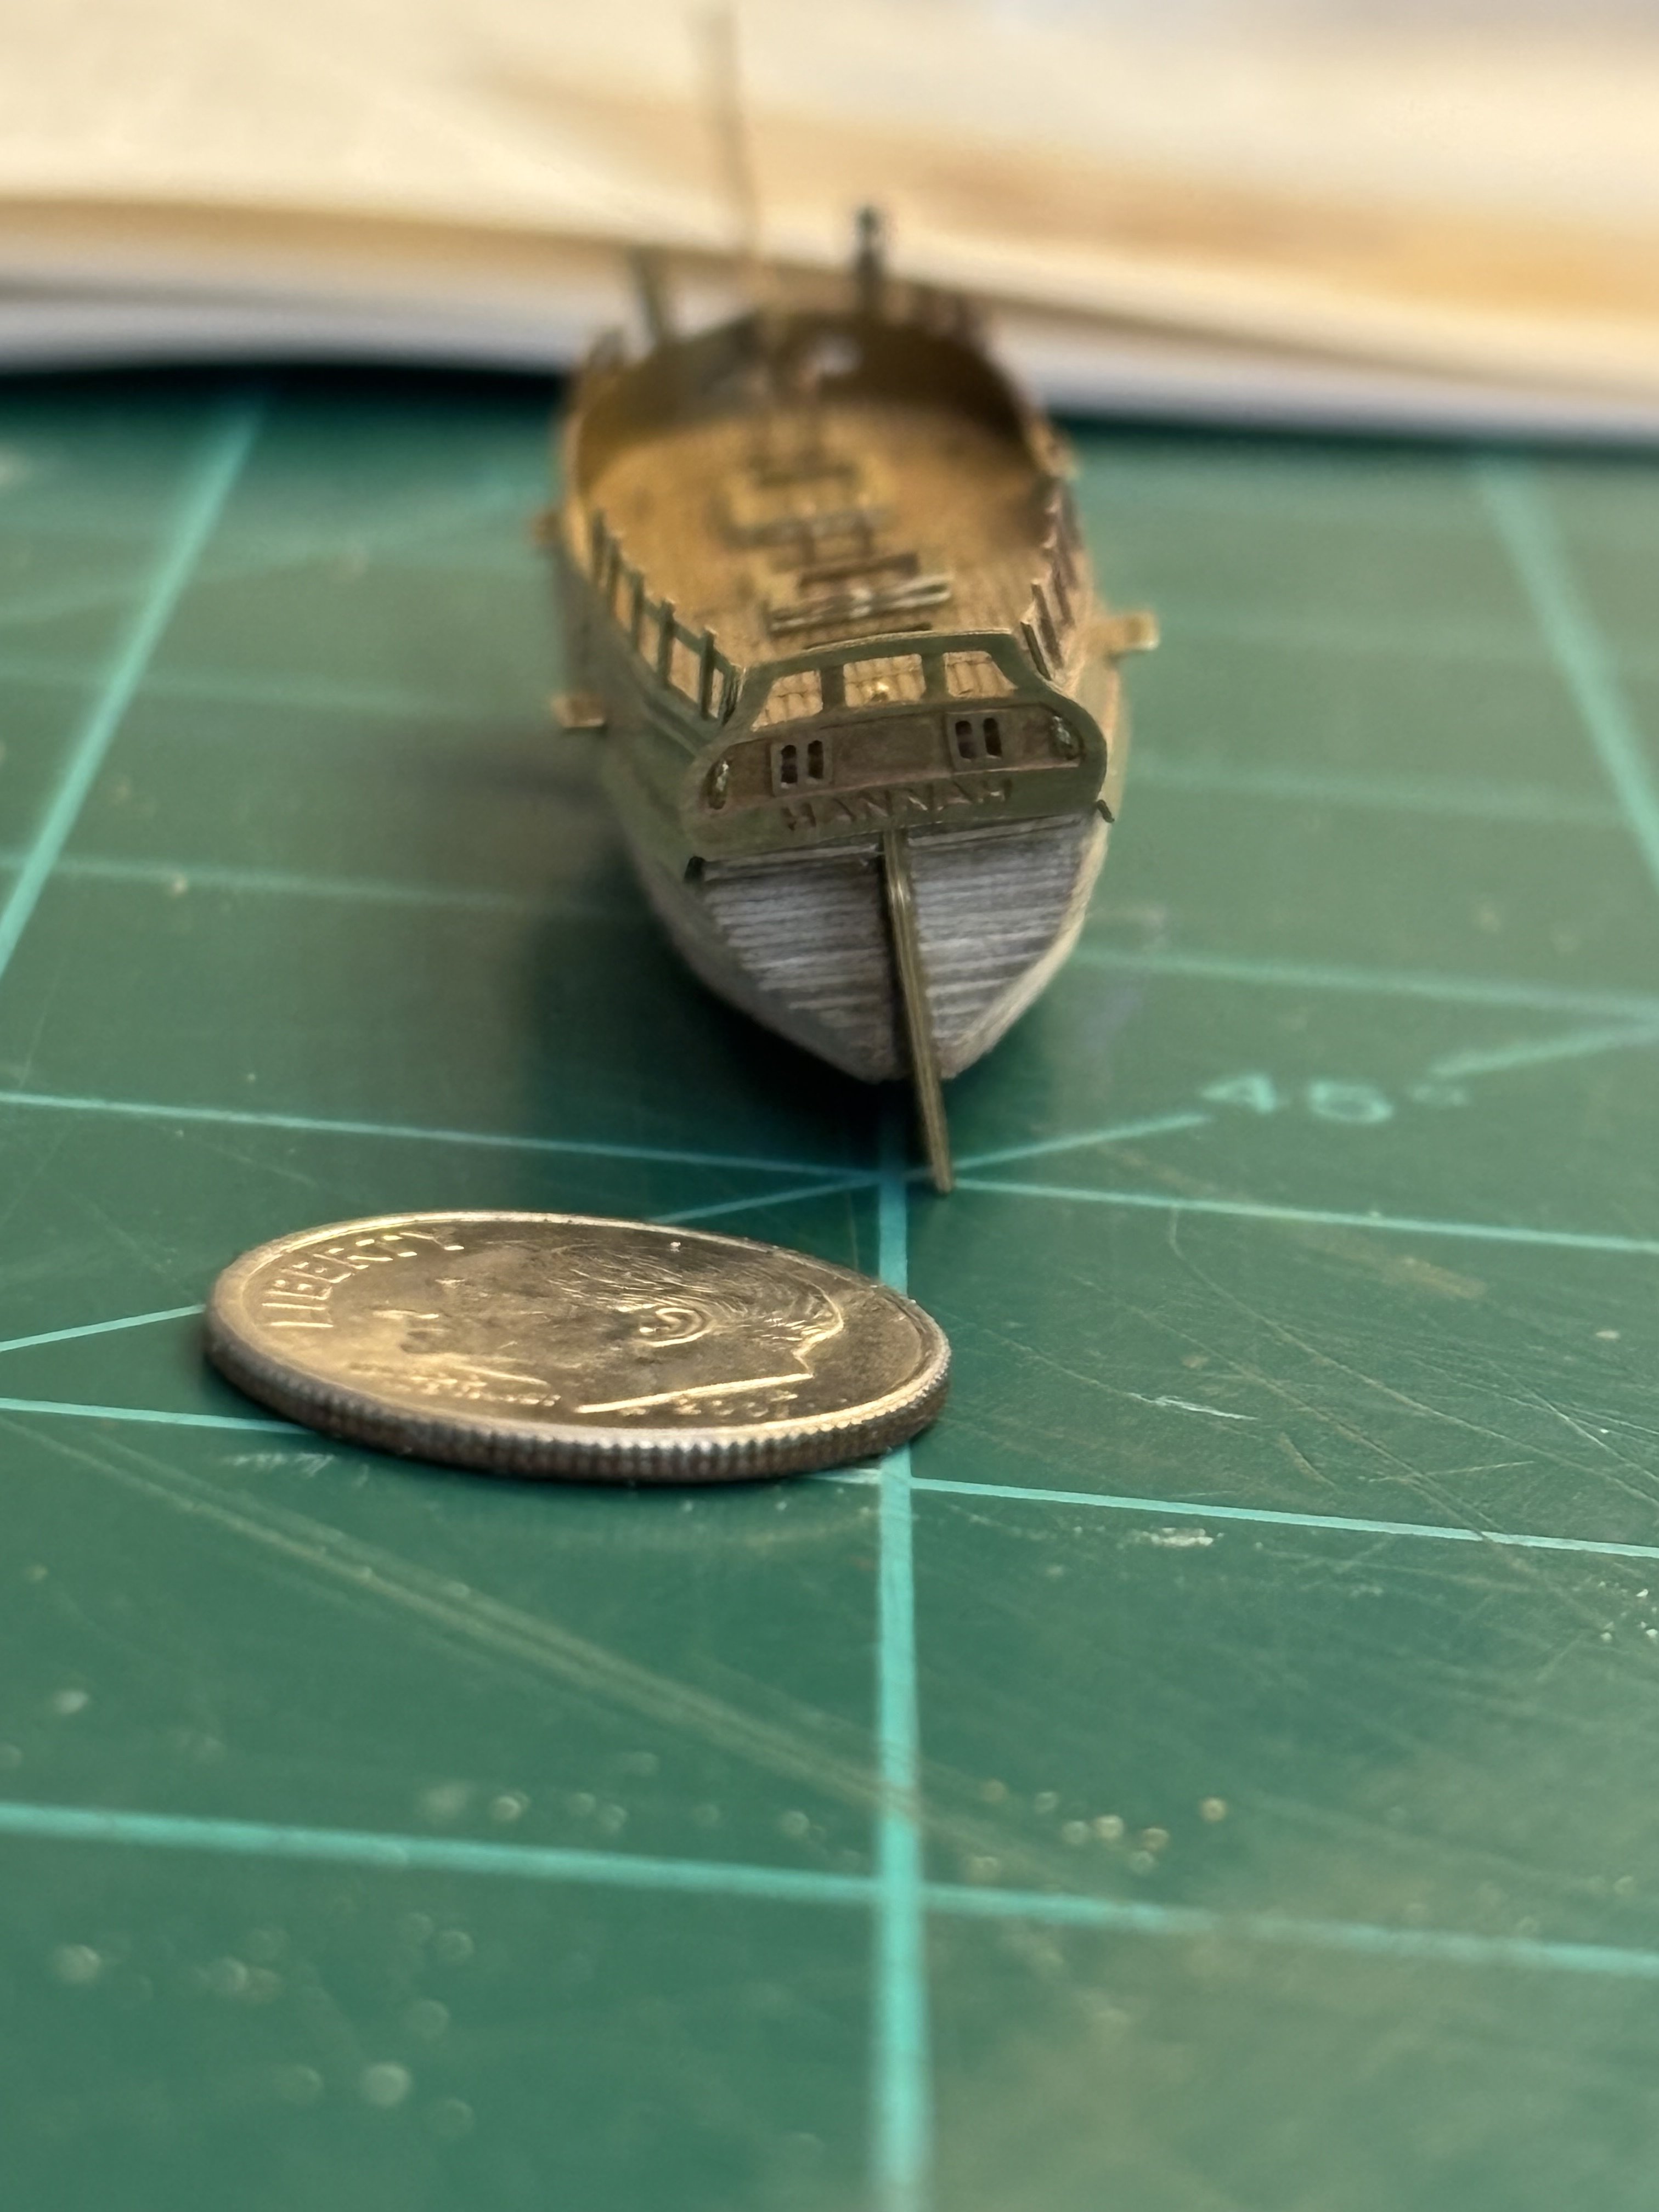
She is starting to look like a miniature ship. I got the decks, bulwarks and stern piece attached. The keel is also on the model, but isn’t glued in yet. I will get it permanently attached before the bottom edge of the keel is removed so that she can sit on water in the bottle. Next up is the task of painting the hull.


-
Vaddoc, glad to see you got it all sorted out. Her lines are coming along nicely. Im sure you will end up with a very fine model.
-
Glen, as others have said; hitting the “wow” button doesn’t convey the amount of awe factor for your build. This is truly exceptional! How are you going to top this build?
- 156 replies
-
- 3
-

-

-
- Queen Annes Revenge
- bottle
- (and 1 more)
-
Glen, the stand you made for the model is gorgeous. Can't wait to see the completed SIB on the stand.
- 156 replies
-
- 6
-
-
-
- Queen Annes Revenge
- bottle
- (and 1 more)
-
I have your rope walk, Chuck, and was waiting to try my hand at rope making until I actually needed some. But I may just go ahead and give it shot this week/weekend to see if I can get a feel for it.
-
Thanks for the tip, Rich. I will look into when I get ready to smooth out the hull planking; but that won't happen until I get the hull planked on the Medway longboat (which is about half way done).