


popeye2sea
-
Posts
1,933 -
Joined
-
Last visited
Content Type
Profiles
Forums
Gallery
Events
Posts posted by popeye2sea
-
-
So...I was filling and painting the transom last night and the ship decided to slide down the ways on it's own and fell to the floor.


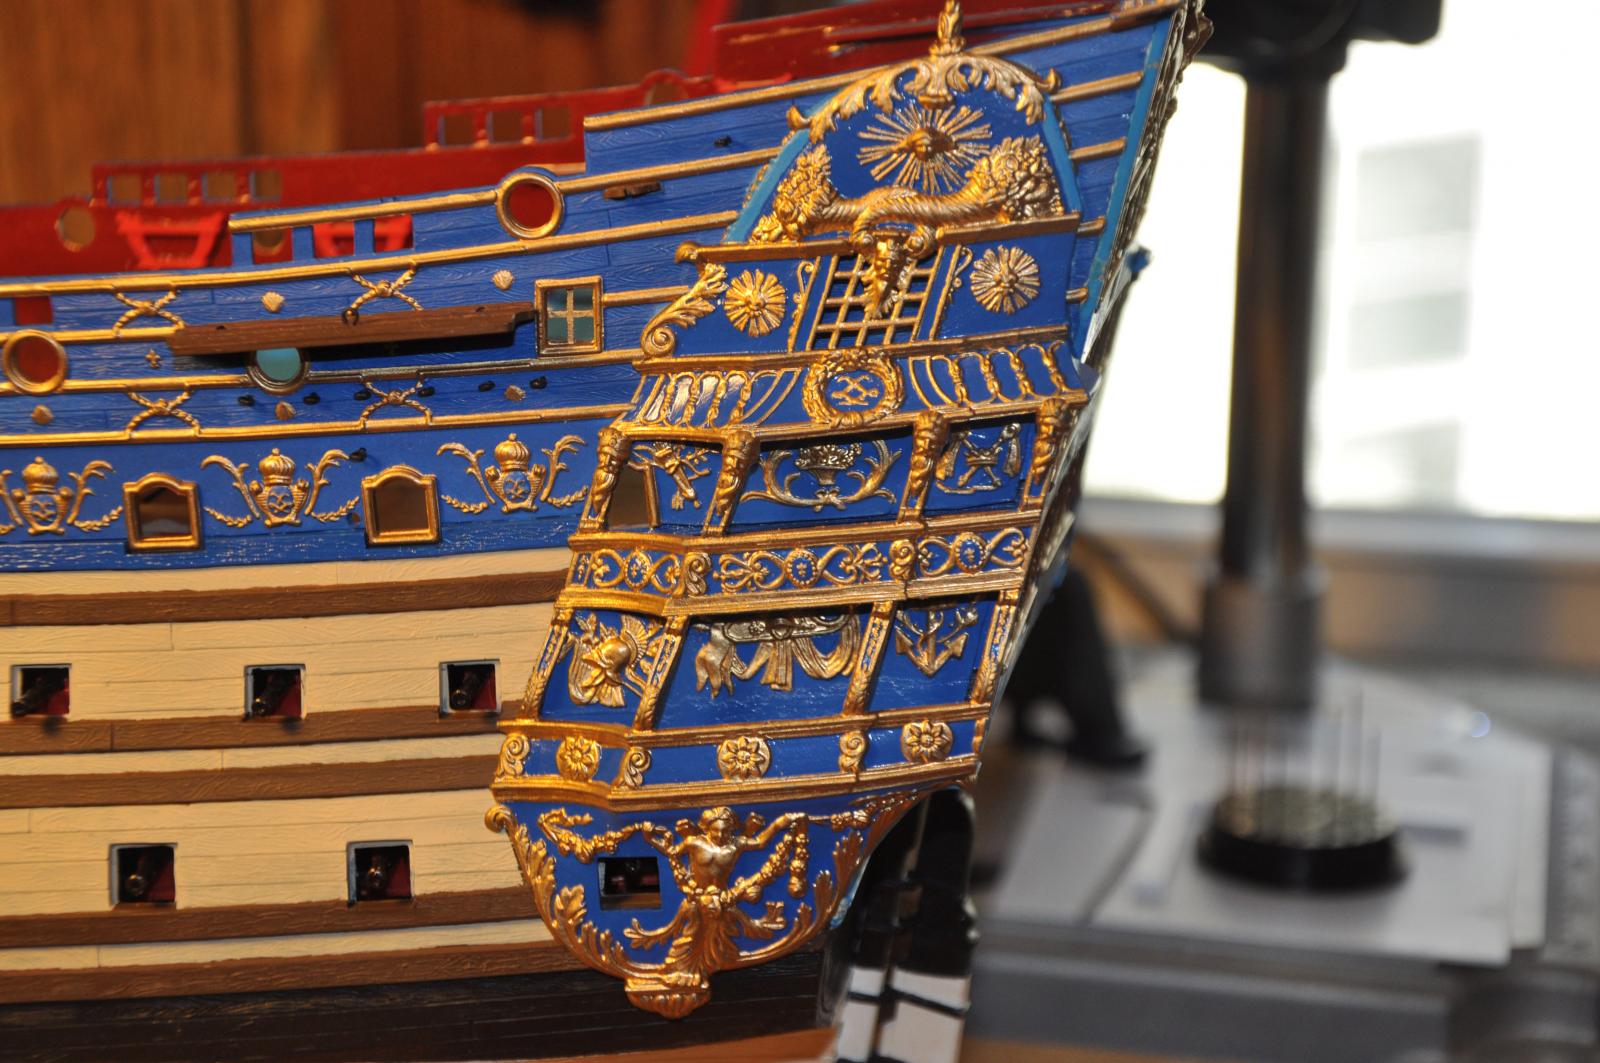
 (insert appropriate language here) The stem and figurehead broke off and the bowsprit was loosened, but intact. After re-entering the yards for repairs the stem and figurehead were repaired with no ill effects. I found, however, that the bowsprit had sheared off its step and would not re-seat. The beakhead bulkhead had to be removed to provide access to the step and a new one was fashioned to hold the foot of the bowsprit.
I am happy to report that after a few hours of repair work everything is back to shipshape.
-
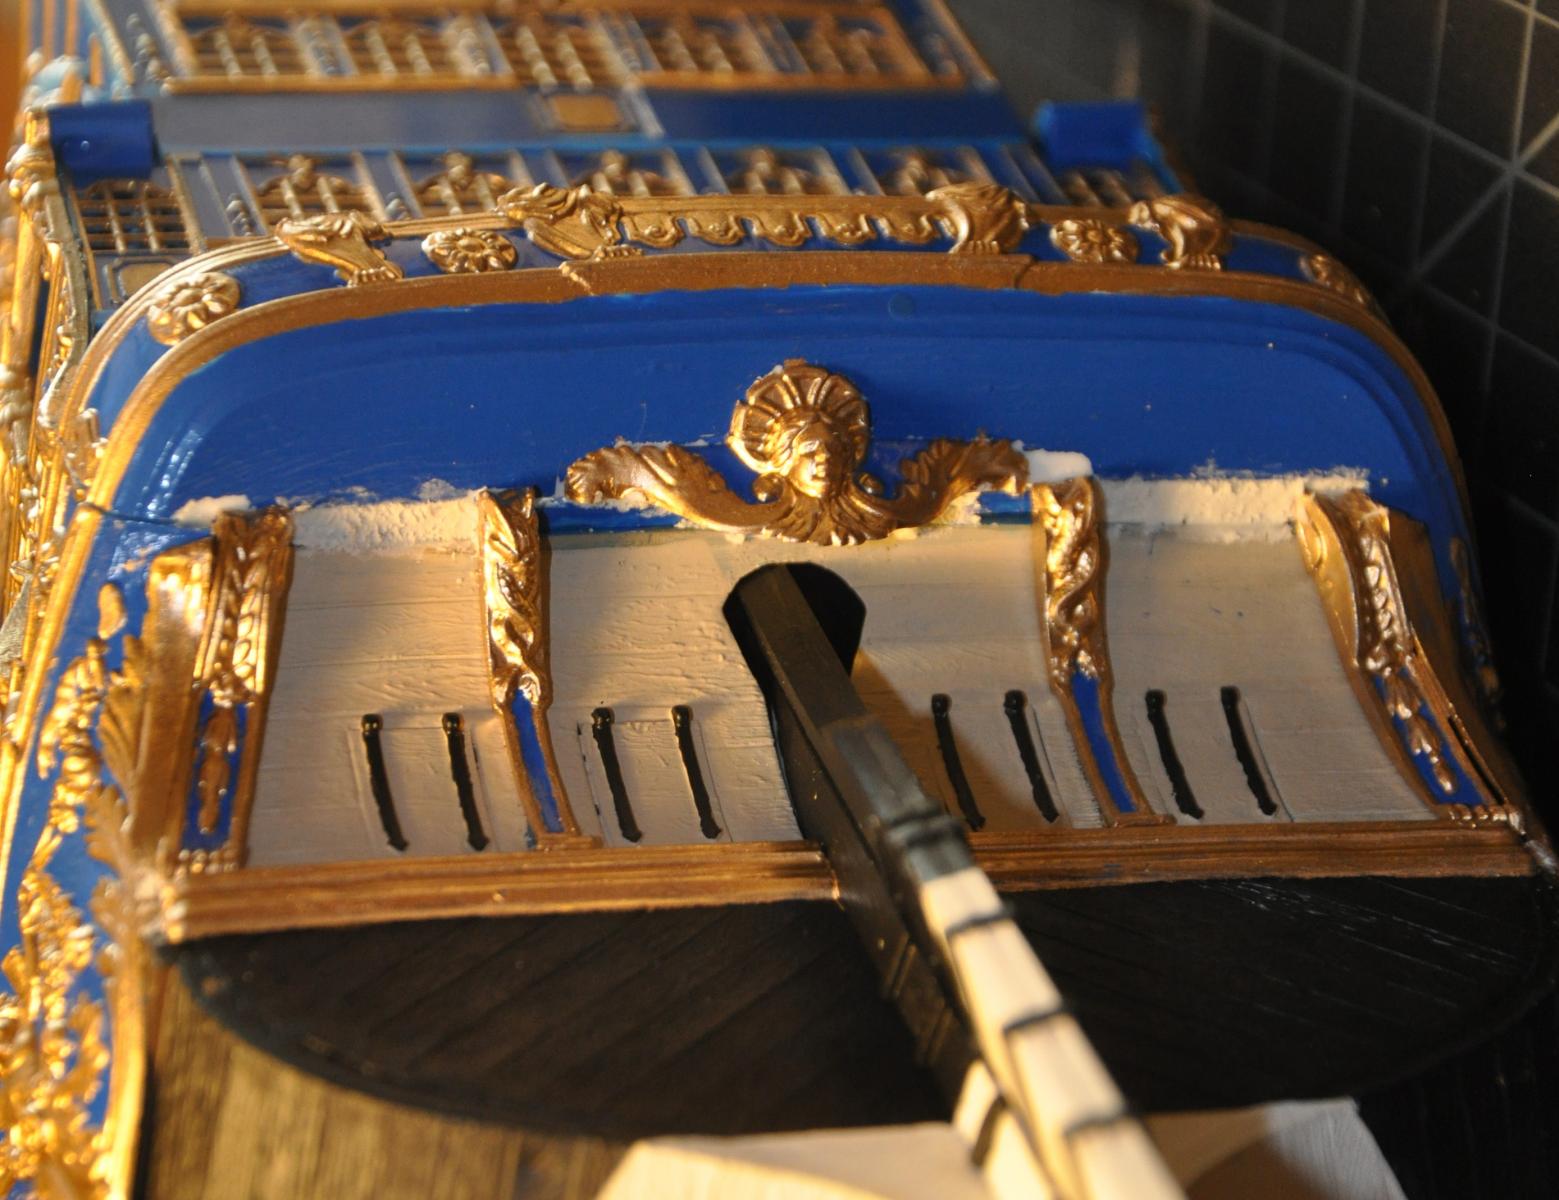
The stern on this kit does not go together very well. The alignments are off and very difficult. Once the quarter galleries and the lower stern balcony are affixed and lined up as well as possible there are still large gaps at the top of the transom and around the edges of the quarter galleries.
Contour putty filled the gaps.

-
Very nice work Henry :-)
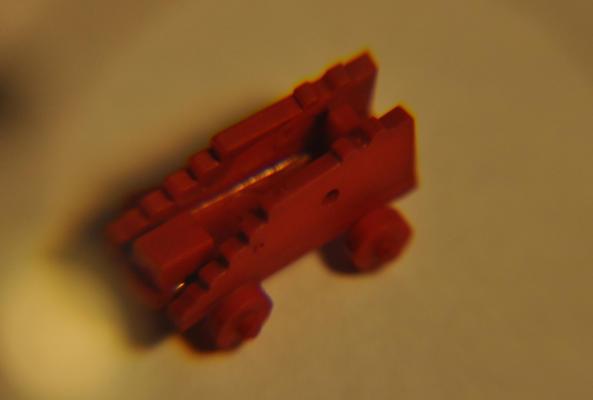
If you did not do all the carriages yet: It also is a further improvement, if you change the position of the wheels and axles a bit. The front one more to the front, the aft one more aft. Also the trunnions of the barrels could be moved to a correct more backwards position.
Is the big ring in the middle for the breeching rope as this one runs through the middle of the carriage??
Daniel, yes the carriages are all made. I can still move the trunnions back a bit on the barrels. The eyebolt on the sides is for the gun tackle (it looks big in the picture). I have a hole drilled into the carriages for the breeching.
-
-
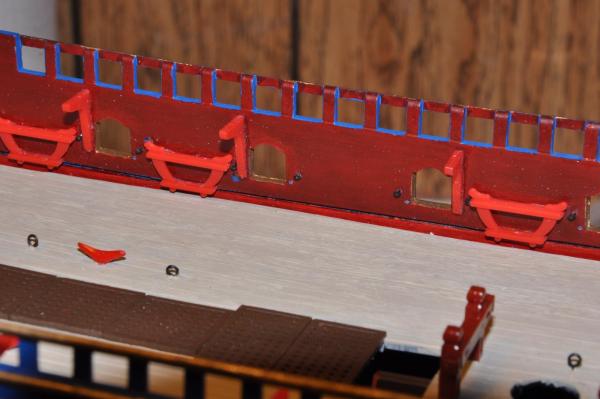
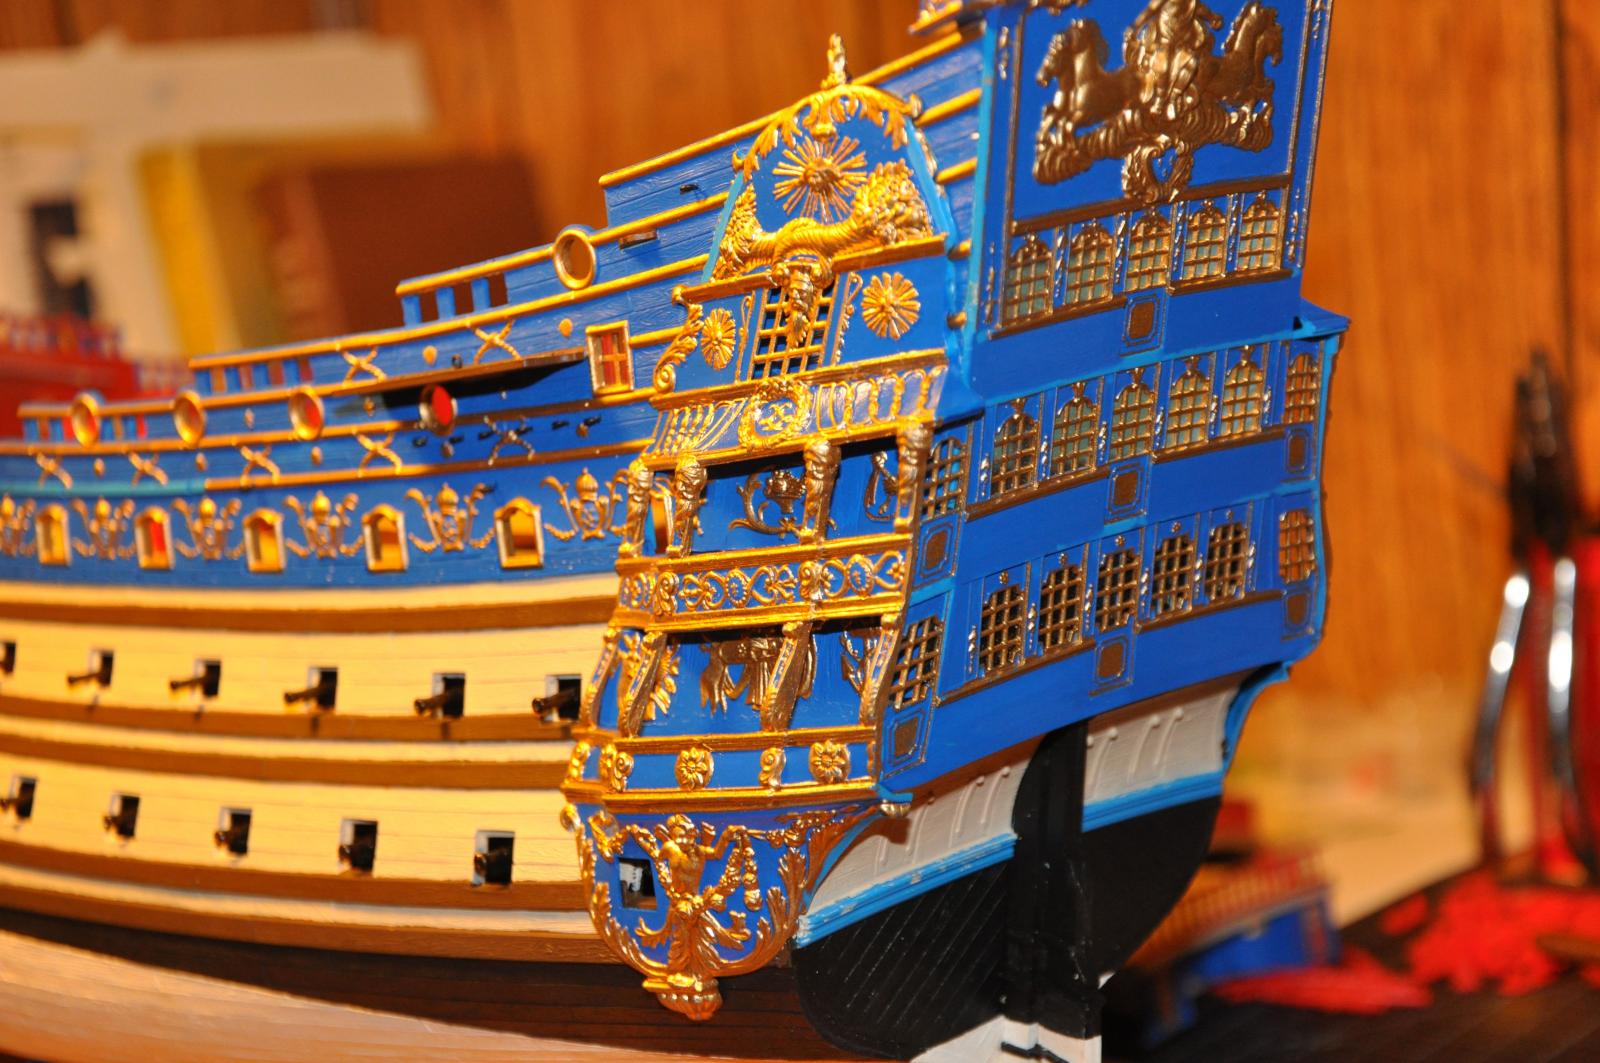
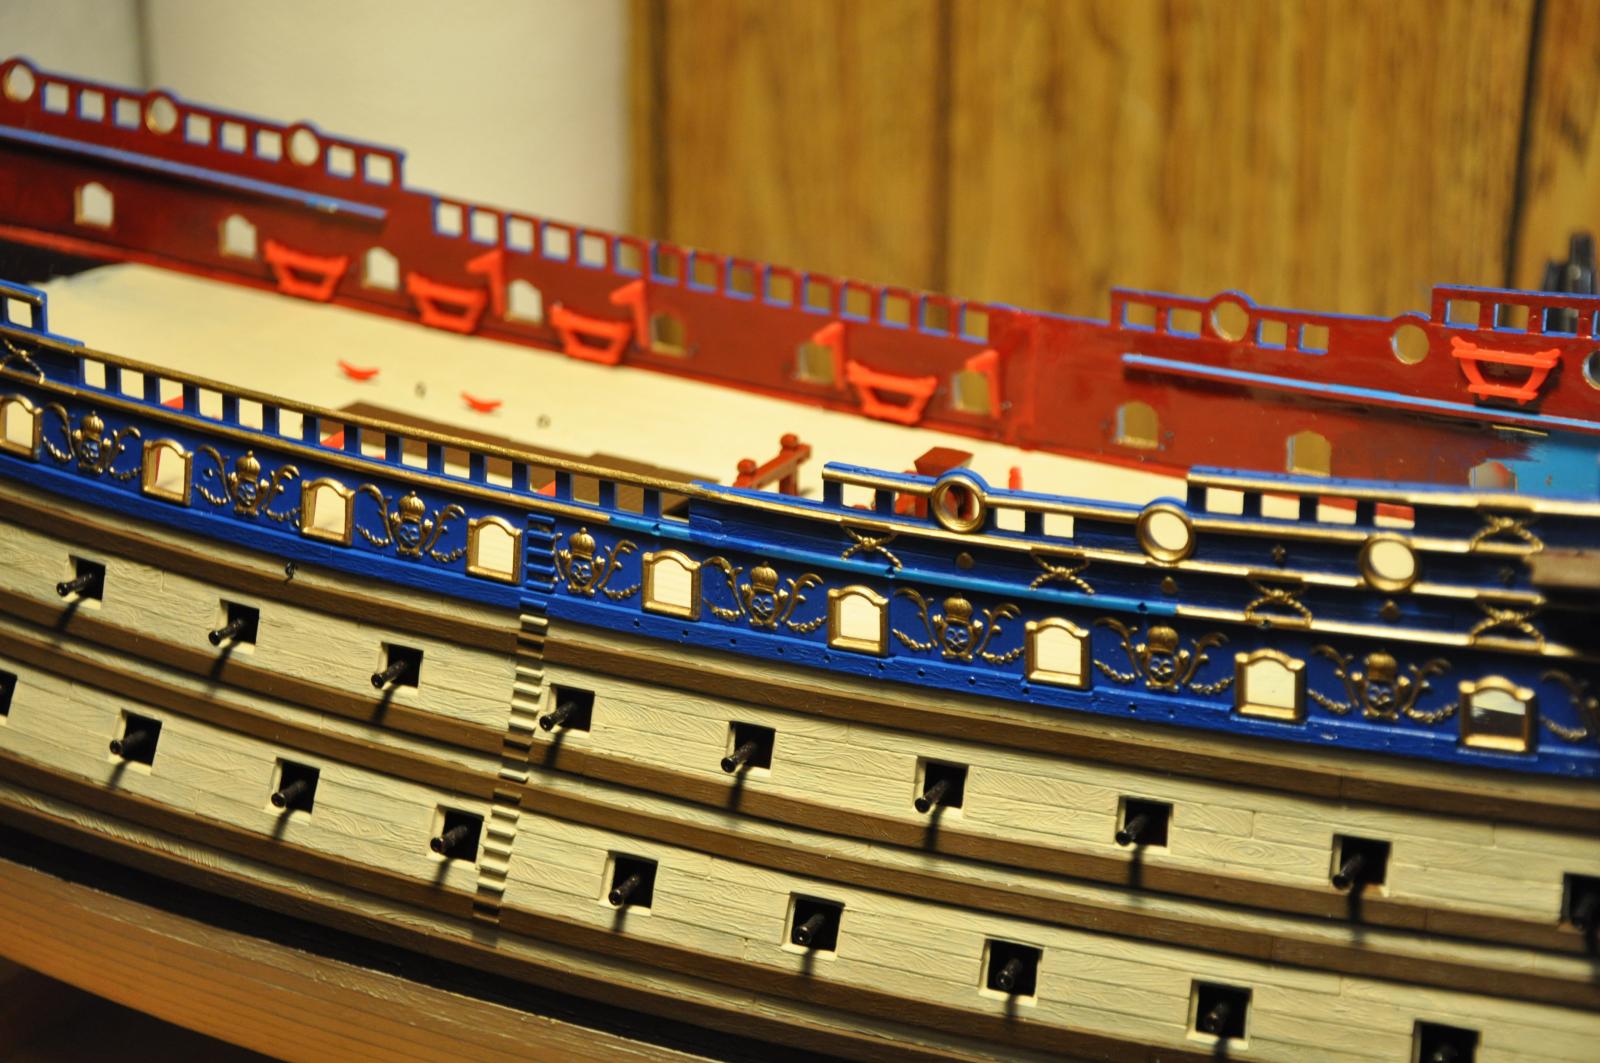
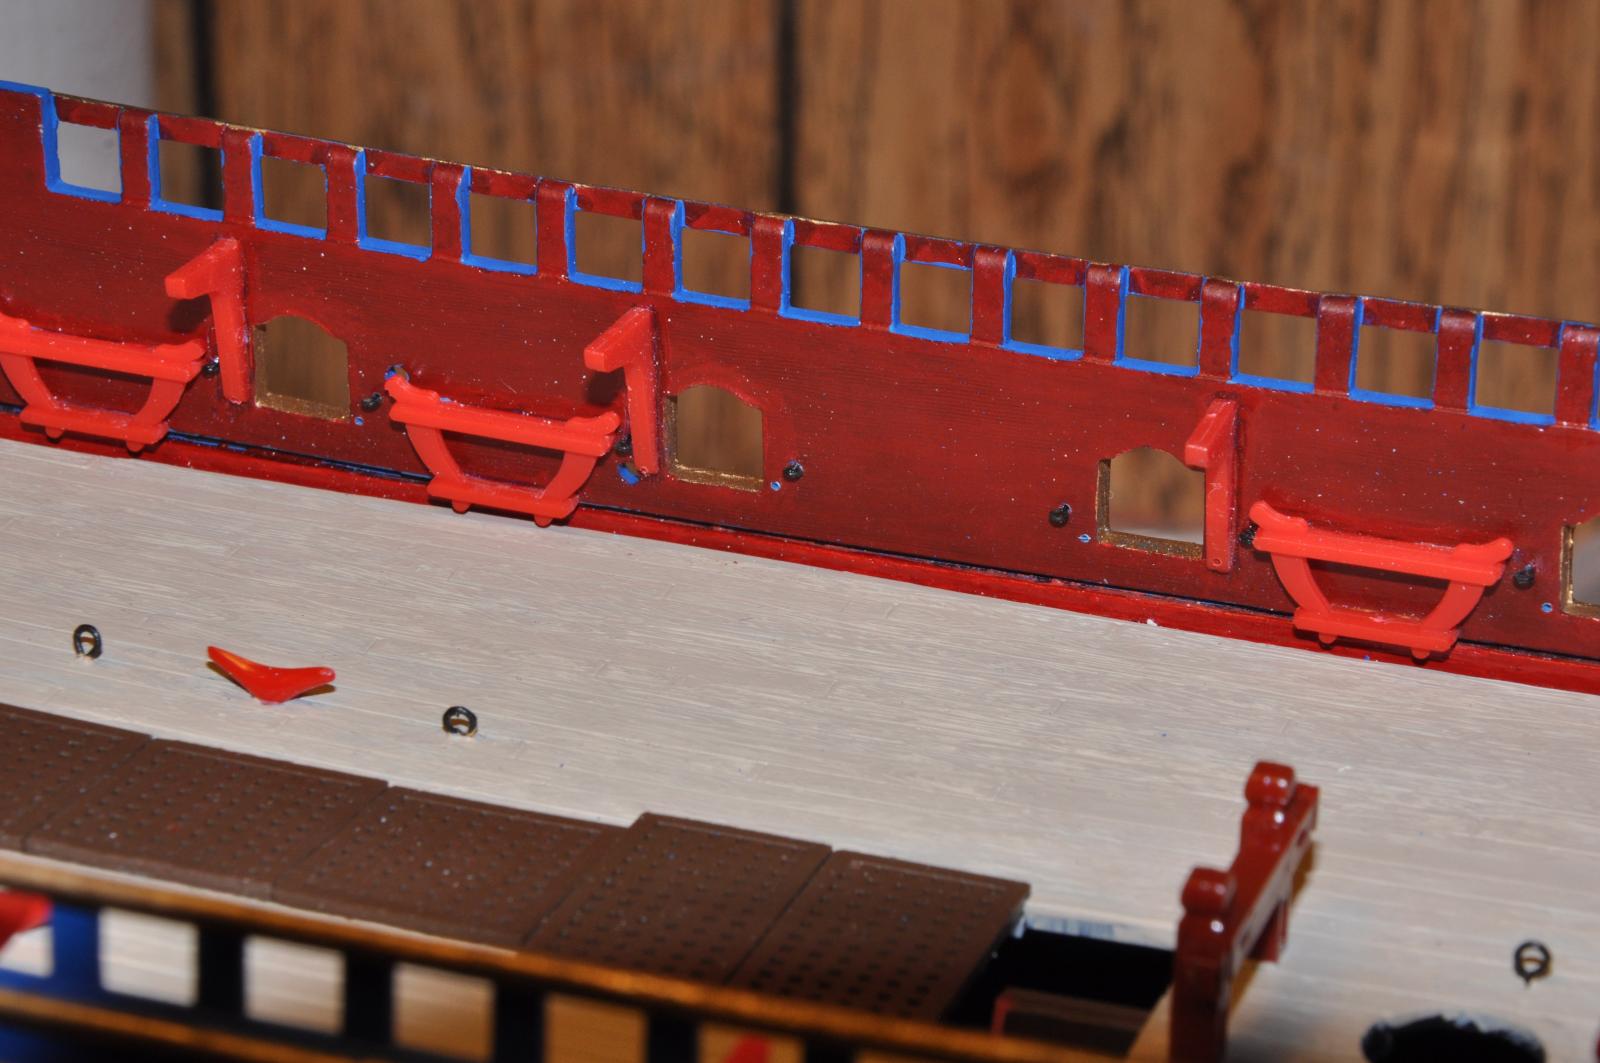
The upper sides have been fitted to the hull. Still have to set and bend over some eyebolts for the chains to fasten to. The bent over ends will fall into the gap at the bottom of the upper sides. Then I will fill in the gap with contour putty.

My thanks to HistoryGuySteve for the suggestion on fixing the dullcote dissapointment. Your solution worked well.

-
Gun Carriages. Before.....and after. Ready to be rigged. Not sure if I want to make trunnion covers.

- Hubac's Historian, dafi, NAZGÛL and 2 others
-
 5
5
-
The Description reads that the deck plan is of the vessel Sir Lancelot. Also vessels Norman Court, Cutty Sark, Eliza Shaw, and Belle of Lagos
-
-
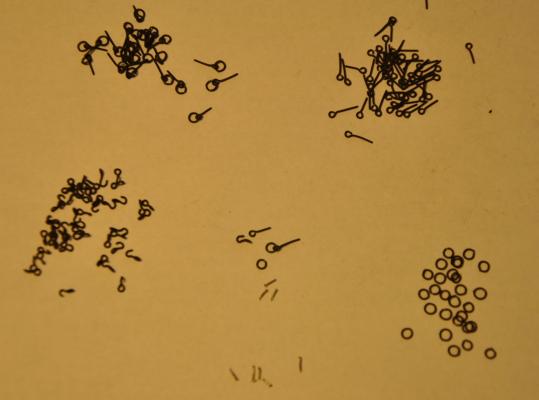
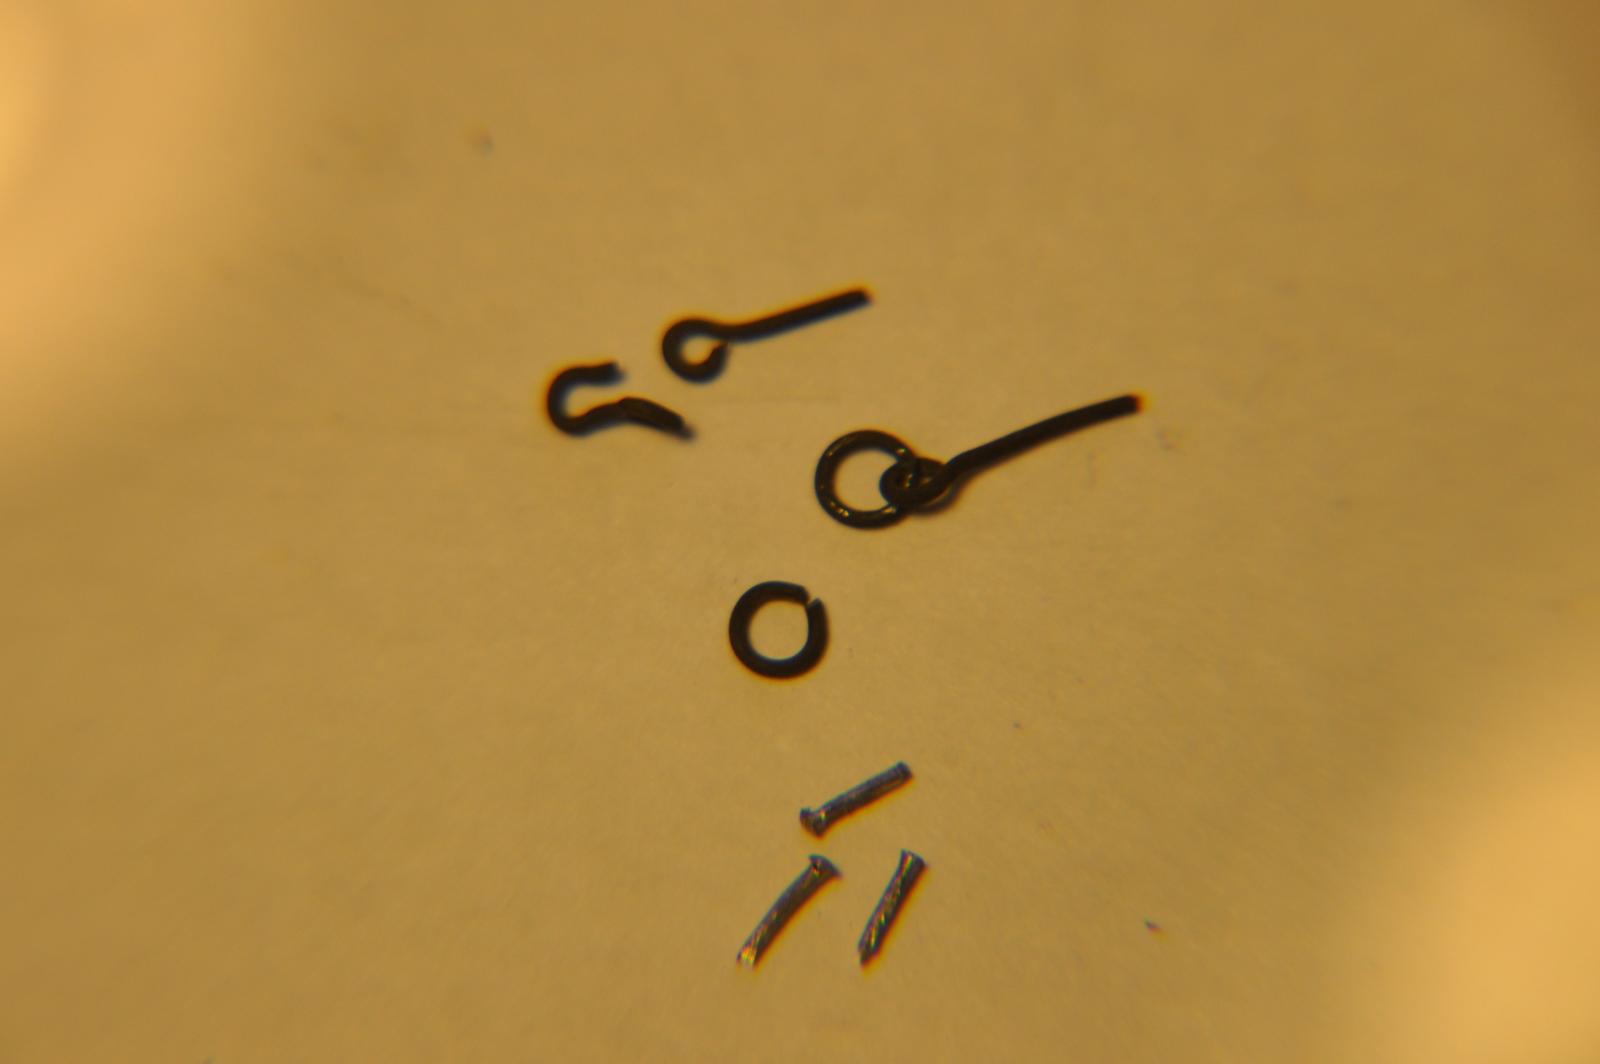
Here is the product of all the hard work of the smith. All are made from 28 gauge steel wire blackened with Blacken-it.
The small rivets/nails are not blackened yet. I am waiting till I get a pile of them made. They will be used to represent the bolts that hold the gun carriages together.
I may be going a little overboard with these bolts. Each one is peened by hand and I am putting 8 on each gun carriage. The hooks and eyebolts were easy by comparison.
I must be crazy....that's what the Admiral says

-
What about spars? I will be replacing the plastic ones for my Soleil Royal kit.
-
Your cannons look superb. I know what you mean about a lot of love and determination. I figure it's all part of the learning curve. If I can make 2mm blocks and rigging look good It will be easy for the larger sized rigging. My cannons should be completed in a few days. Then I can close up the decks and move on to the stern galleries and transom.
-
Thanks for the compliments.
The putty for the molds is from Castin' Craft. It's called Easy Mold (item # 33700). The casting resin is from the same company, called Easy Cast (item #33008). Both are very easy to use.- Hubac's Historian and Fright
-
2
-
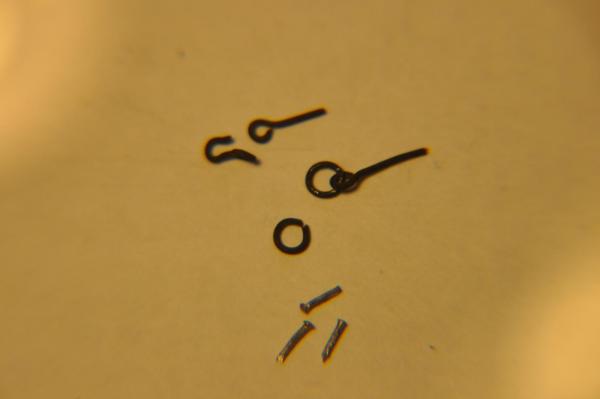
The blacksmith forge at the shipyard is working overtime making hooks, eyebolts, and ringbolts for rigging the cannons. The riggers (unfortunately they are all neophytes and apprentices) are working out the proper ways to rig everything in ship shape fashion.
Here is the latest:
Breeching Rope with ring bolt
Thanks for looking in.
- Hubac's Historian, tarbrush, lambsbk and 1 other
-
4
-
-
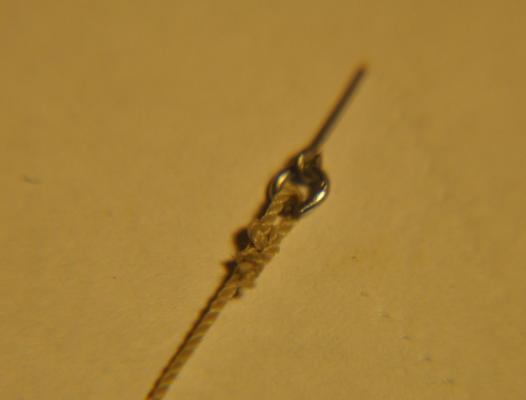
I think I am going to go with a short piece of thread (not scale rope, too expensive to use for this purpose) with an overhand knot. The knot to be hidden at the base of the block between it and the strop. The tension of the strop against the block should hold the knot closed. That will allow me to use a becket bend to properly fasten the standing part of the tackle to the block.
Perhaps with the larger blocks I'll try a proper grommet for the becket, but for the 2mm blocks it's just too much effort.
-
-
Do I see a ring on the lid, directly opposite the stand behind the object which looks like a convenient place to fasten the open lid to.
-
Mast Tackles were rigged to hoist cargo and gear into the ship. The pendants on the fore mast and the main mast would be connected by a runner so that the tackle fall would hang over the main hatch. Yard tackles would also be employed to swing the cargo over the side and lower away onto the pier or boat alongside.
The burton tackle is just the name given to the mast tackle on the mizzen.
-
Frankie, perhaps you could look at that lanyard totally the opposite way. The lanyard starts with an eye splice through the lower heart at the port side and then the end terminates with a cow hitch around the stay and is seized to one of the turns. Similar to the lanyard for a deadeye.
-
Those spars are the studding sail booms. The forward ends have a hook which fits into an eyebolt in the forward part of the channels. When the lower stuns'ls are rigged the booms are swung out perpendicular to the hull to spread the foot of the stuns'l. Currently Constitution carries them only on the fore chains.
-
-
-
The sheet does not attach to the downhaul at all. The downhaul only attaches to the yard and is used to help lower the upper topsail yard. The sheet spreads the foot of the sail to the yardarm. If the sail is not set the sheet will be toggled to the clew.
-
I do have a question. Why stick with the kit sparring? I usually simply take measurements off of the kit parts and replace with wood. It does make a difference especially in the rigging phase. Rigging often deflects and distorts the plastic in ways that wood will resist.
Keep up the great work
Steve
Steve,
I have not arrived at the point where I have to deal with spars yet. I have indeed been thinking about replacing them with wood.
Your suggestion for the gold paintwork sounds like exactly what I need. Thanks.
Thanks for looking in on my build.


Le Soleil Royal by popeye2sea - Heller - PLASTIC - 1:100
in - Kit build logs for subjects built from 1501 - 1750
Posted
Interesting development last night..... I noticed that one of the cannons of the second battery had been knocked loose in the fall. It is now rattling around inside the ship - inaccessible. The only way to remount the gun is through the gun port. I had a few spare cannon assembled and painted from when I was working on that deck, but obviously it would not fit through the port. I dismounted the gun and took off the wheels. That gave me the clearance through the port. Then I made up the height difference by making a platform out of sheet styrene, inserted through the port and glued to the deck. Next came the gun carriage through the port and glued to the platform. Finally the gun was remounted through the port.
The whole procedure reminded me of playing the game 'Operation' when I was a kid.
Thanks for looking in on the build.