the learner
-
Posts
757 -
Joined
-
Last visited
Content Type
Profiles
Forums
Gallery
Events
Everything posted by the learner
-
 I wish I had more time to Barbeque because I do love meat cooked on the barbie (not the doll)! Mark I will try your method though! Good news is that I got my bandsaw blade back repaired and had a second one made 6tpi instead of the 4tpi that I had repaired, I am hoping that I can get a smoother cut so back to work we go~ Thanks guys
 -
I have not had a chance to look at the video yet but thanks I will look at it later Lets say we will be neck and neck!
-
Can any one give me some directions here? My band saw blade broke (its old) and I am having it rewelded so have not resawed any wood for the frames. I will have the old one back tomorrow so perhaps I can cut some pieces out
-
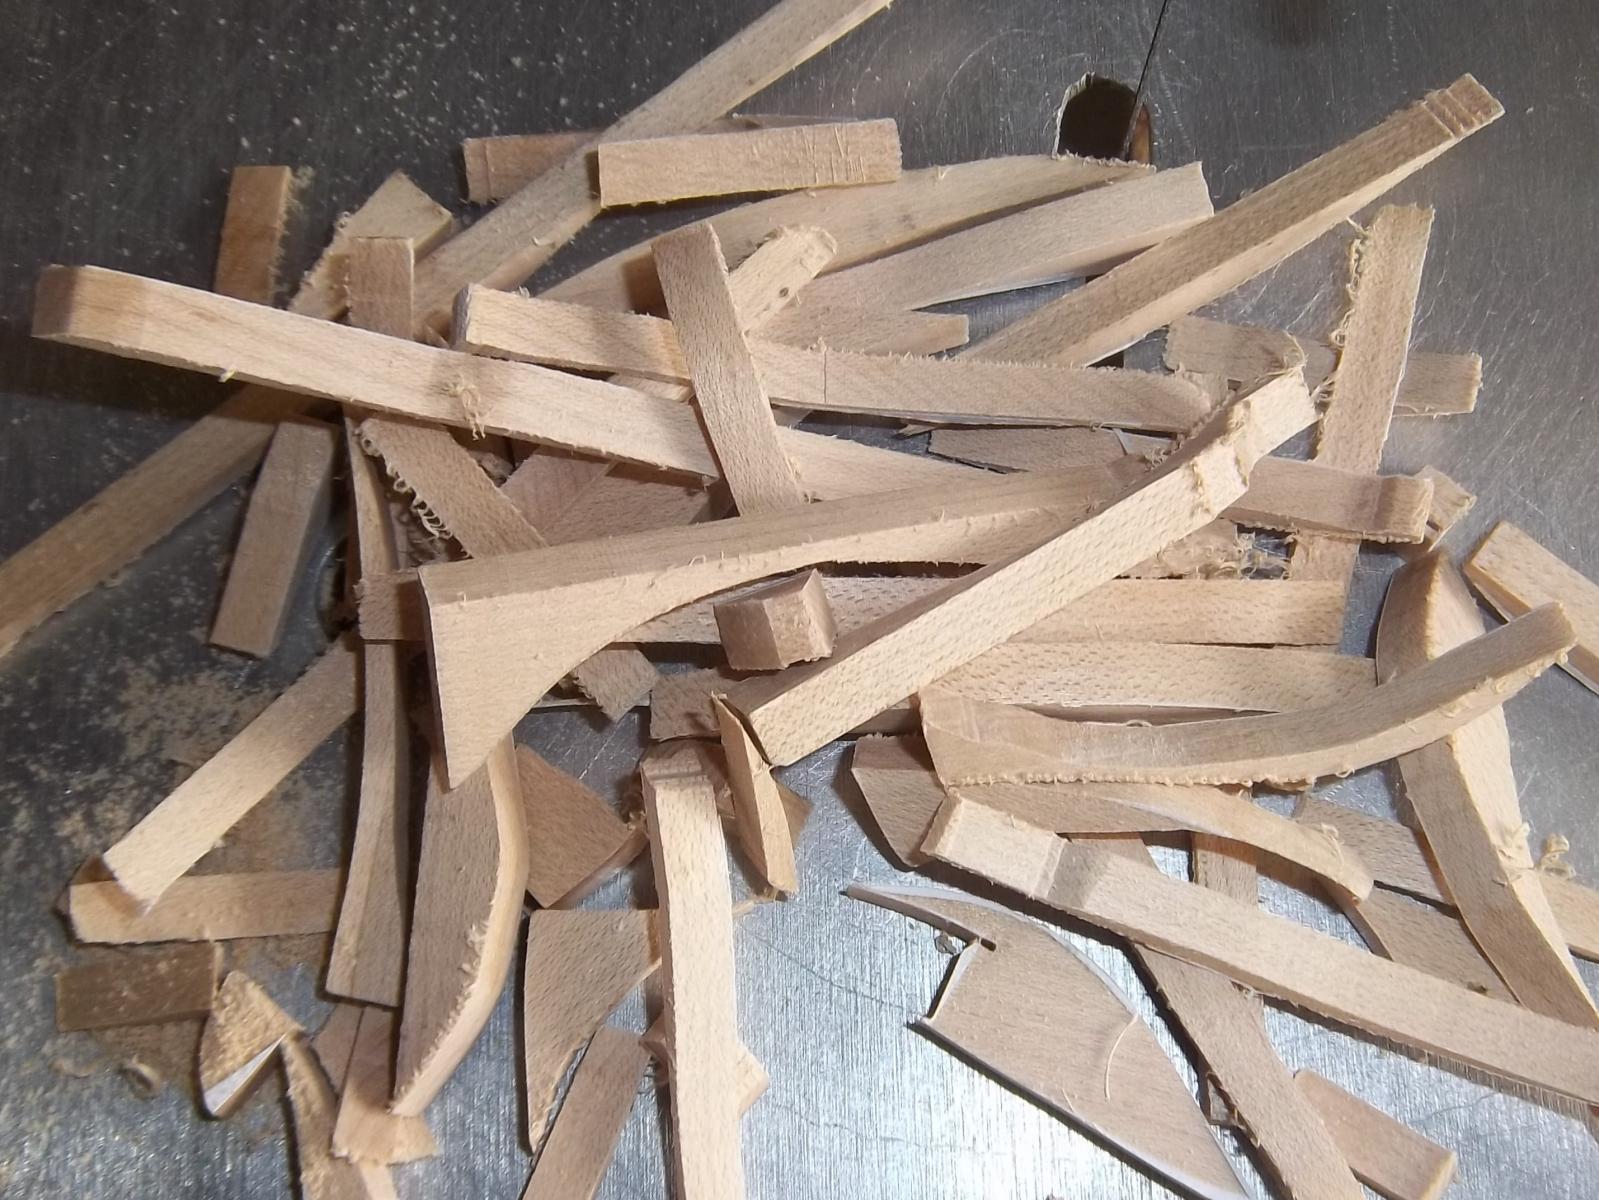
I hope I do not have to chuck any glued up frames into the scrap box because they are defective! so far most of the scrap pile is jusy remnants from the frame cut outs left over scrap We have gas fire places here so that won't work perhaps in the barbeque but it too is gas! perhaps I can make a miniture bonn fire on the beach.
-
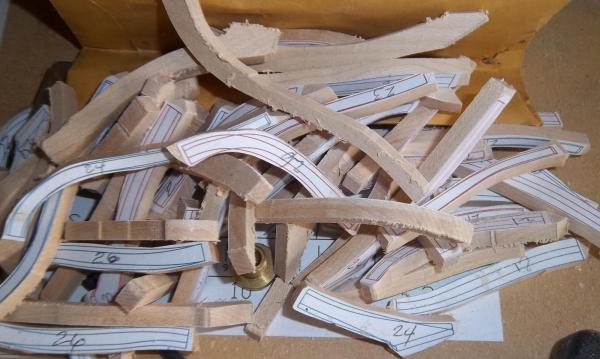
Does any one save the scraps from the cutting out of the frames? scrap pile from 3 or 4 frame pieces Pile of 5 frames waiting to be trimed I chuck my pieces unless they are unusally large that I think I can use

-
fantastic job and an interesting way to work out the framing. Thank you for reposting
-
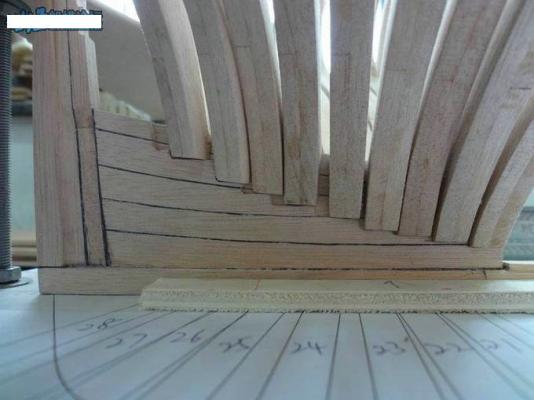
Hi all, there seems to be a frame overlap here on frames 24, 25 and 26 in the stern framing? am I looking at it wrong or are the frames trimed to fit here? as you can see there is not a good fit here...this if from anouthers post for refrence only and One more stupid sounding question! When attaching the frames to the keel should I be adding filling pieces for the floor?????

-
I like the rabet tool you developed, gives you something substantial to hang on too. cutting them out the frame pieces is like eating potato chips hard to stop. I have been doing 5 or 6 frames at a time breaks up the monotony of bending over the jig saw trying not to cut into the lines! I find that my oscillating sander does a good job on both the inside and outside curves. I was in Barcelona last year but missed the maritime museum! Does Madrid have a maritime museum there? I was there in ‘77’ but was not into ship models then. Guy
-
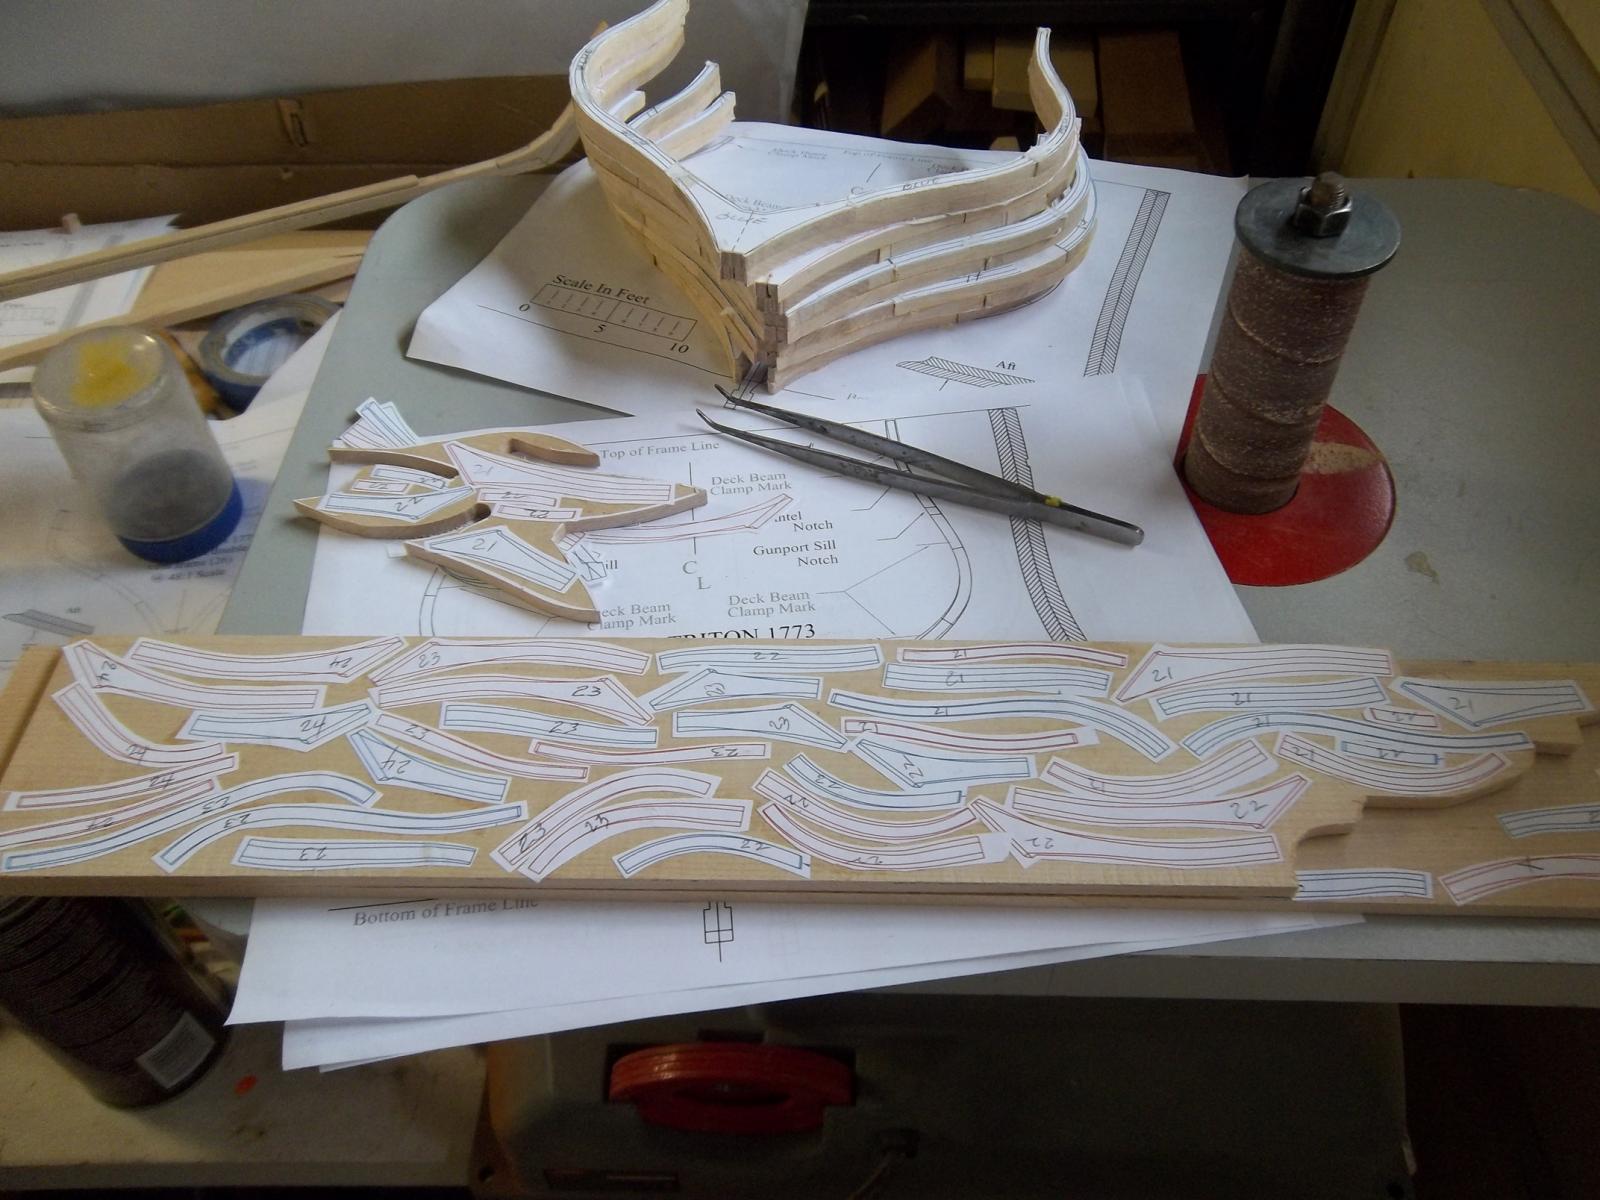
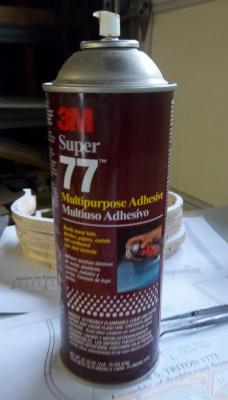
I have started building frames and I am working from stern to stem. I will make up all the frames before I attach to the keel and at the rate I am going its going to take a couple three weeks. This is the adhesive I use for applying the frame pattern pieces to the wood. I find this works better than rubber cement as it tends to stay better when cutting out the piece, but yep the pattern does not come up quite as easy. for the most part I just dampen the paper pattern with mineral spirits and it will lift off fairly easy but still have to clean off the adhesive residue. Placing the patterns on the frame blank board and a few frames in stock As I said before i will make all the frames before I prepare them for attaching on the keel. I have yet figured out how I will cut the angle on the heel of the cant frames to attach them to the deadwood. I will try and involve using the mill ..... we'll see! I will likely have to cut up a few new frames to replace the ones I screw up! I hope it is not too many! To be continued!


-
I never seem to have enough on the job or in the hobby! but normally I just grab what I have on hand, you know! makd due!!
-
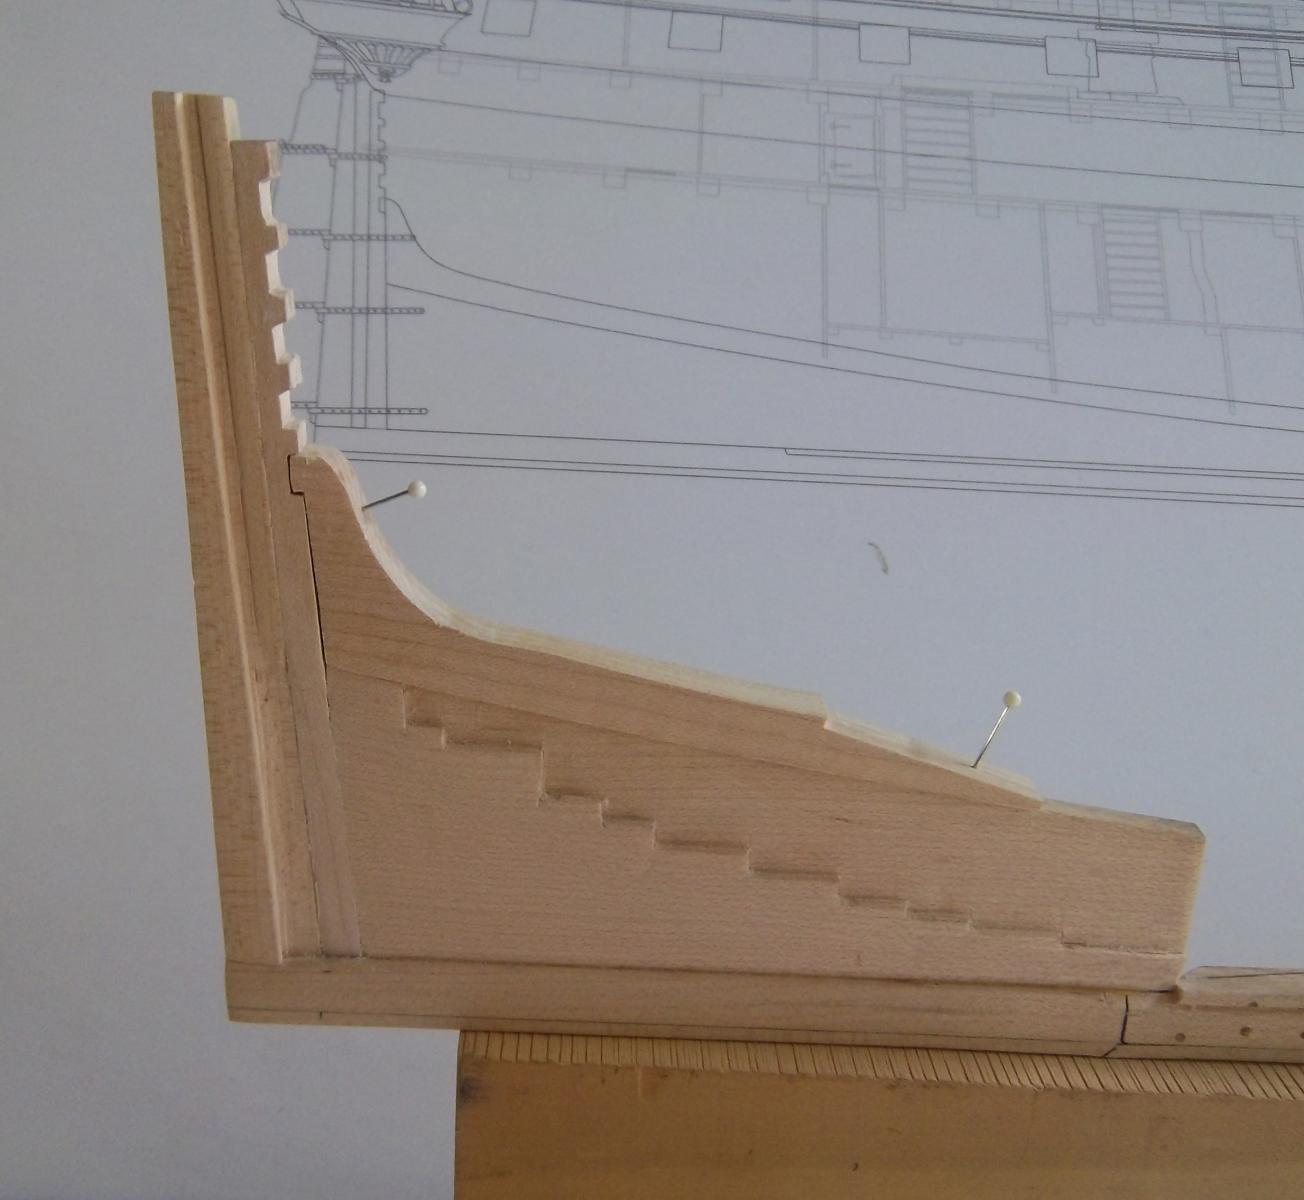
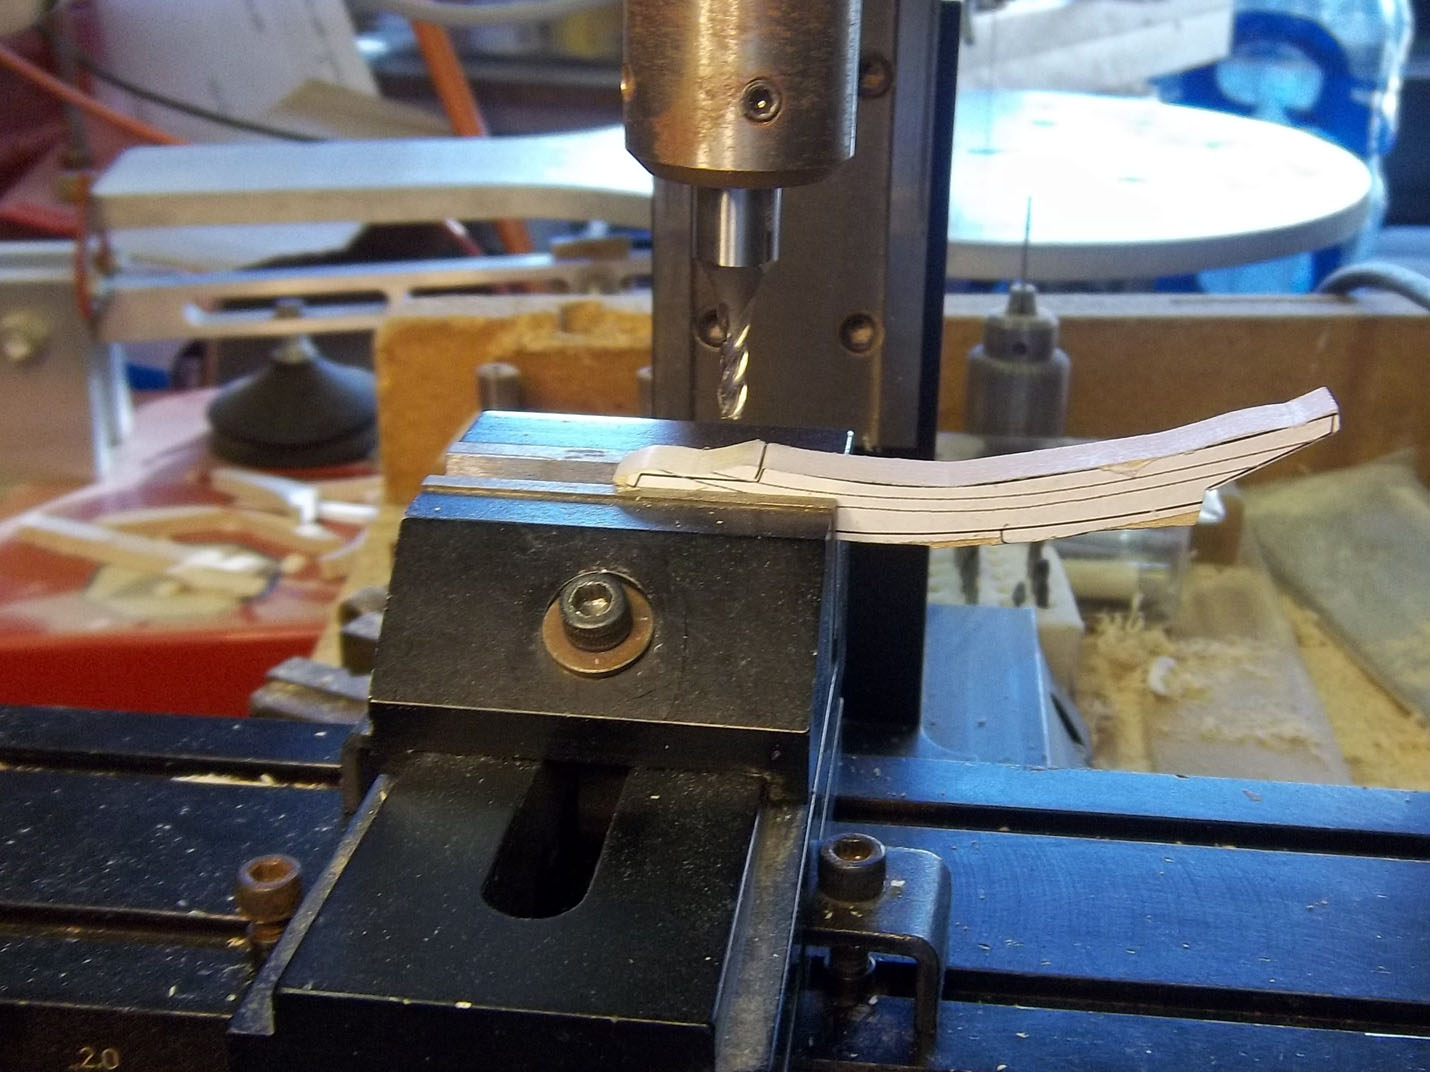
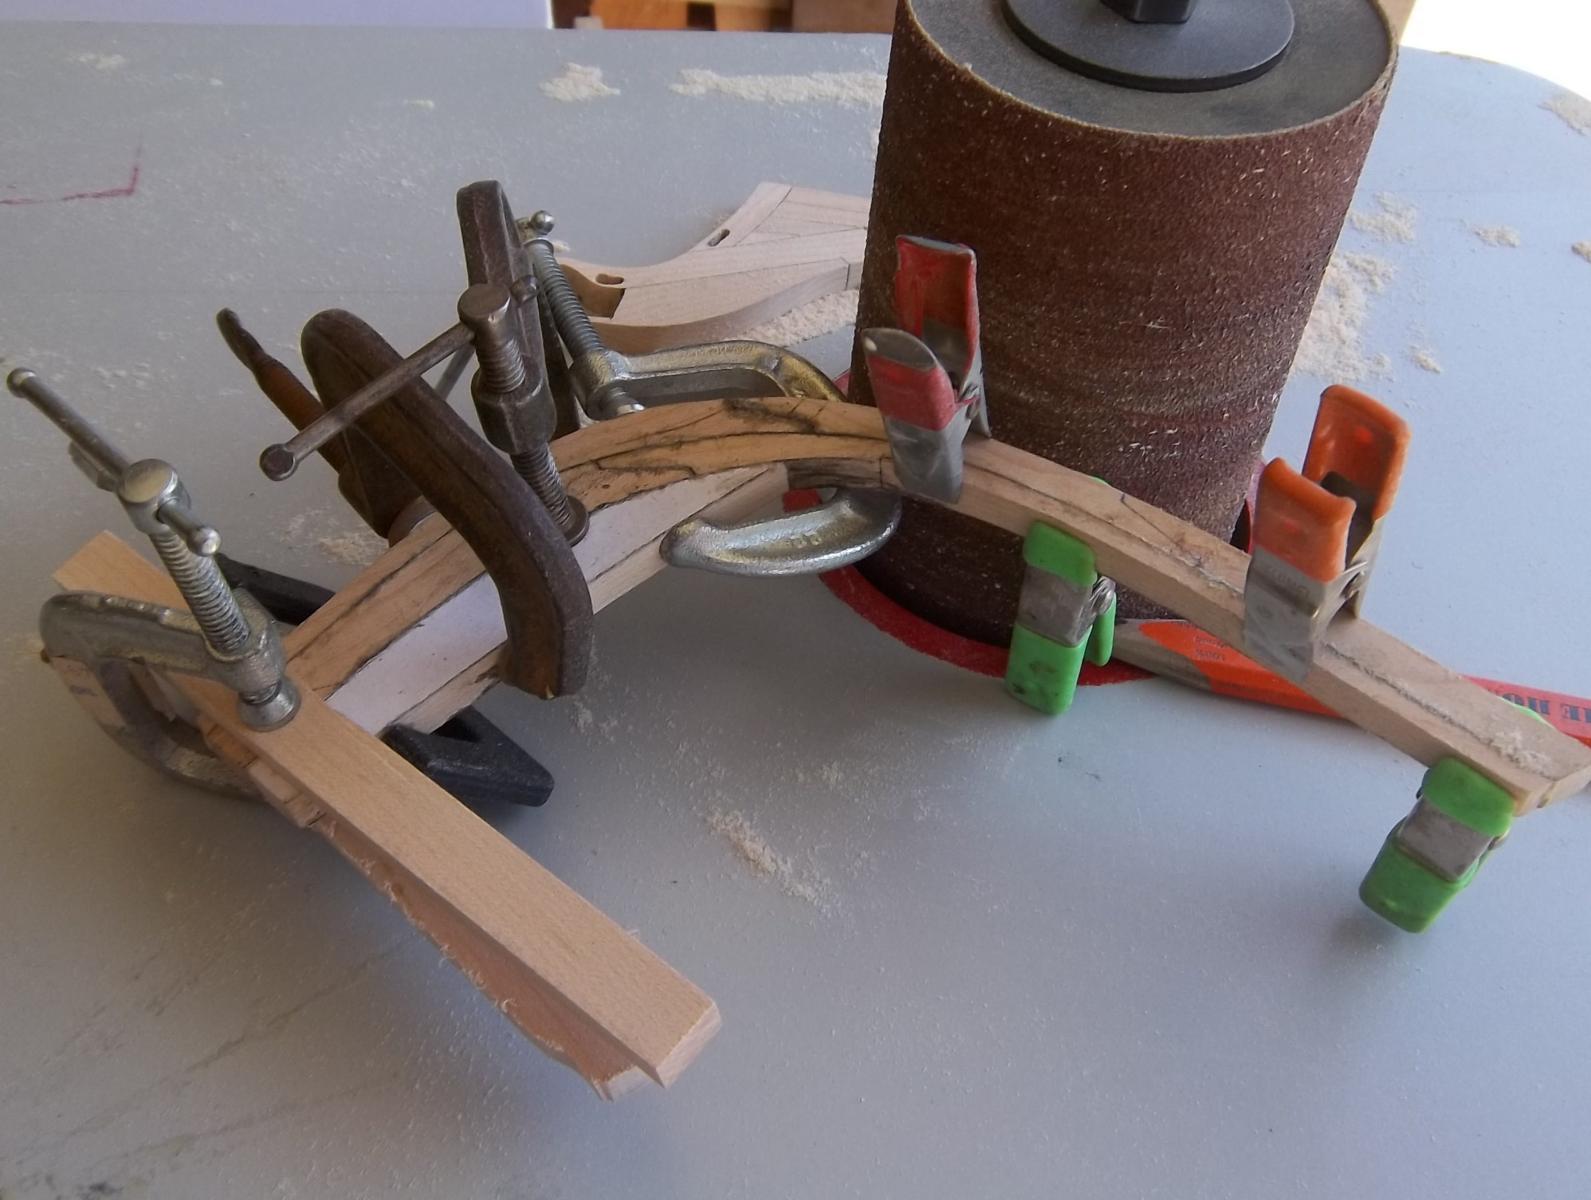
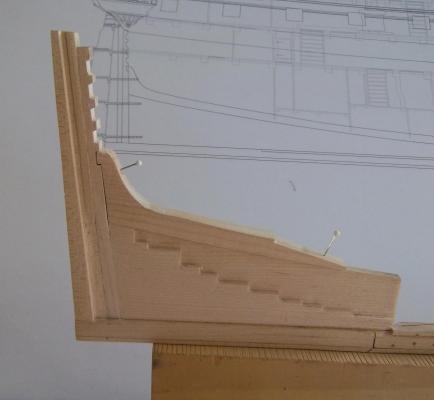
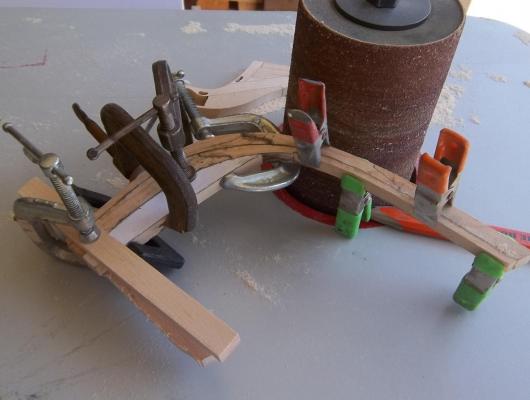
The build progresses! The stern deadwood, Cutting the flat sections of the stem sections, Using the mill on the flat sections allow for a good tight fit because all surfaces are flat! Gluing up of the stem...do I have enough clamps? More to come

-
Fantastic! Thanks for re-posting good resource, well constructed and highlighted methods for others to see!
-
I have been building my Keel and framing from Maple and I like it! I have heard of others using this wood and all have good remarks about it. I likd the way that it sands and cuts but will burn because of the hardness. I have some pear and will likely use that in the internal construction. are you going to post the drawing of the rum bottle?
-
Daniel . AnobiumPunctatum , Much clearer now ...Thanks I have been working on the stern framing cutting the pieces progress is slow
-
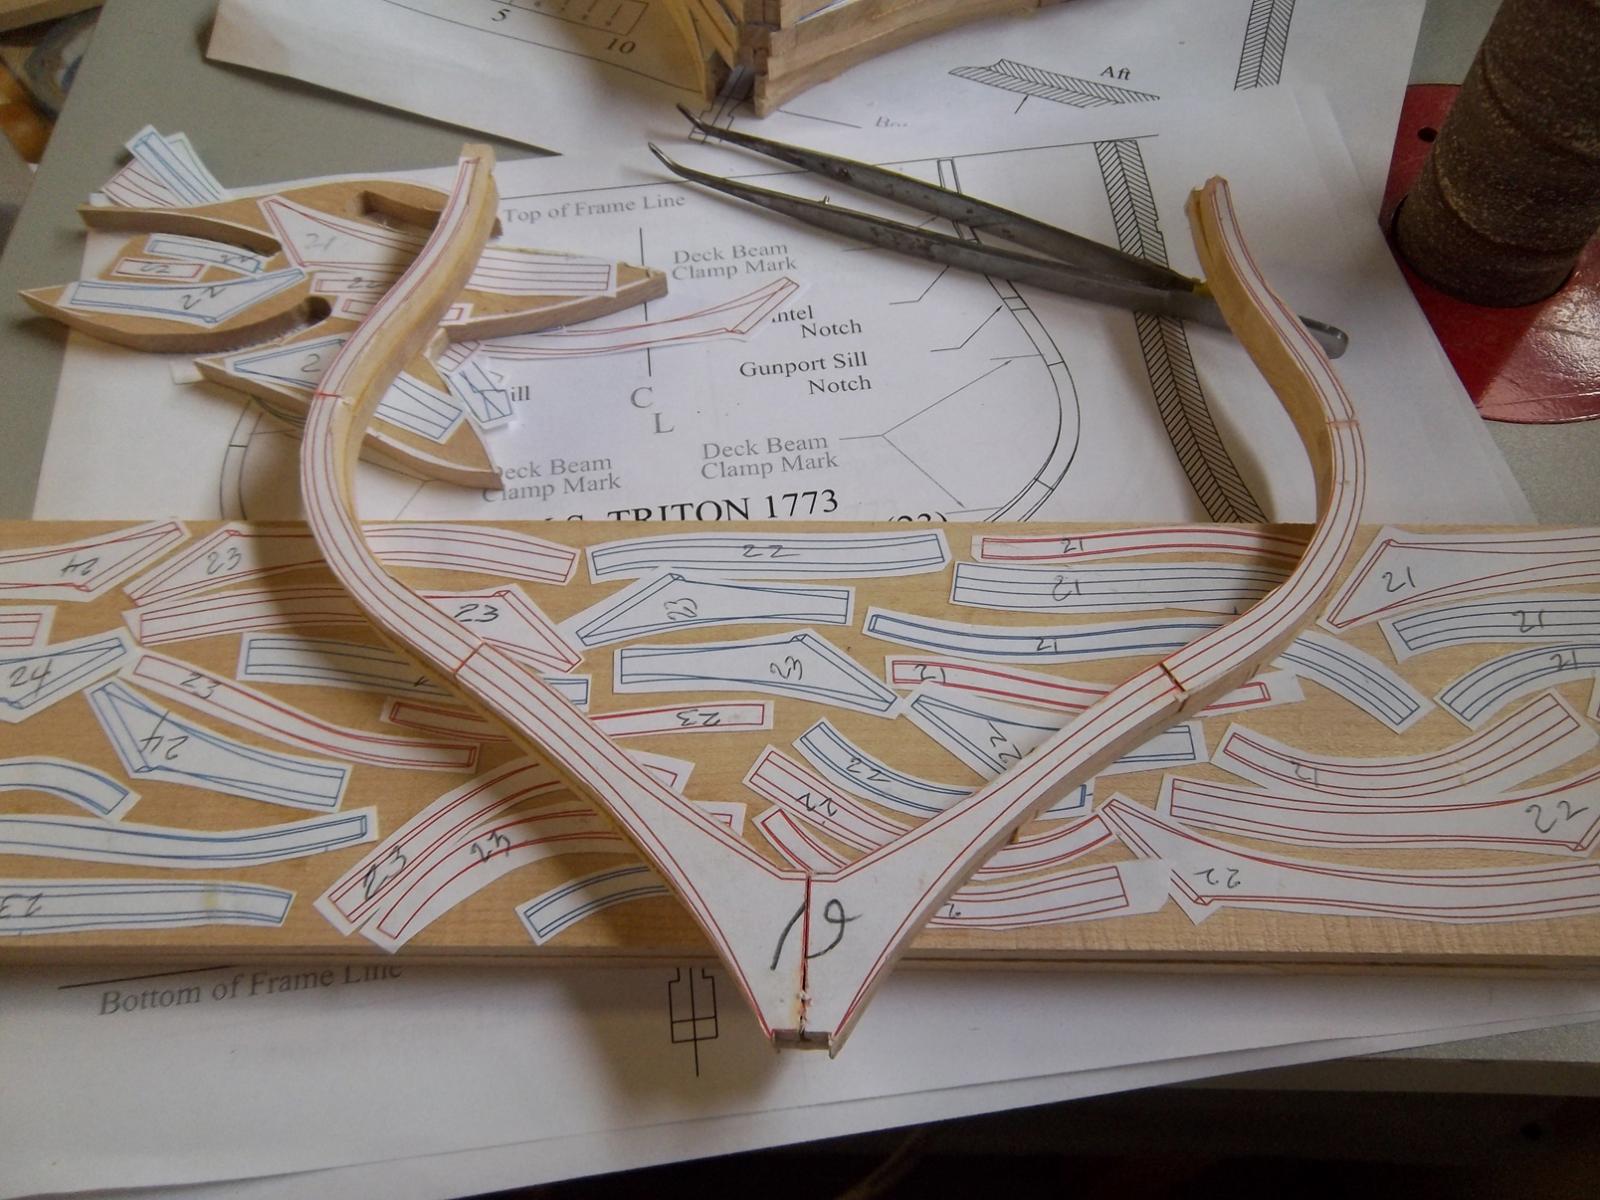
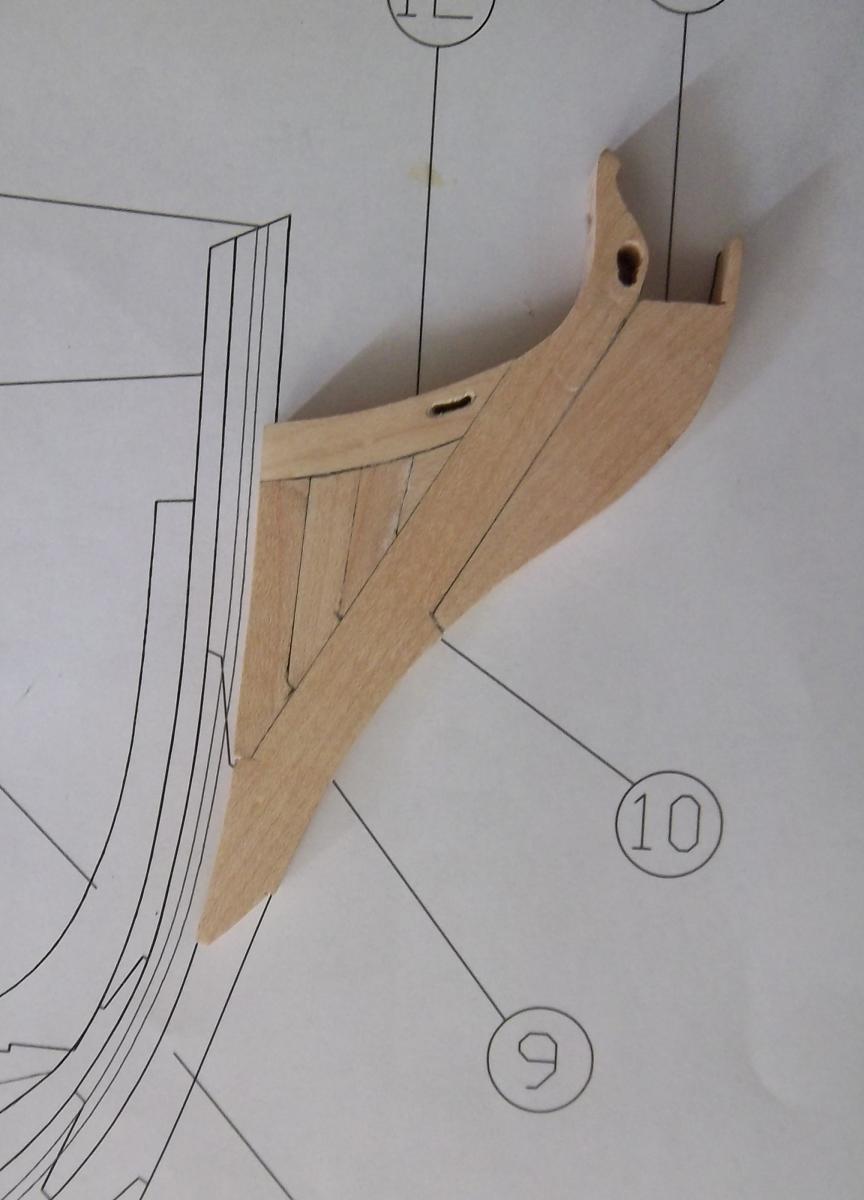
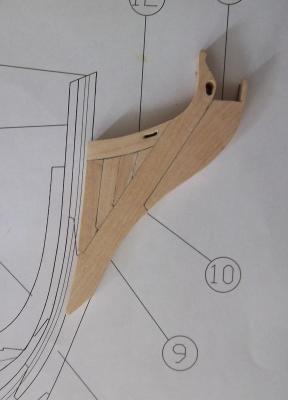
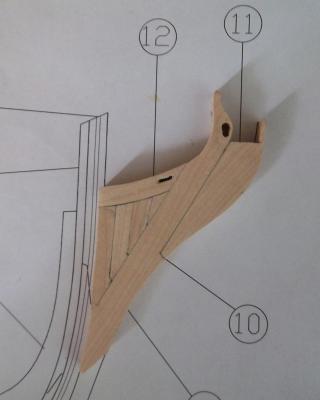
Hi guys! Thanks for the input, not trying to make this difficult but if you look at the drawing it appears that the thickness of the deadwood continues up the stem. I am going to taper it off about the same spot that it would be tapered off on the stern then deal with any additional removal of wood when I attach the frames and the hawse pieces. At some point, I would like to do some profile drawings to show these proportions more clearly. Sorry this is my first upright build so there are still a lot of things that I do not understand in the drawings. In the mean time, I made my first full frame at the stern to start that off.
-
still confused! I would not want to make it the same thickness up the entire stem,,,what purpose would it serve? but where do I stop? Help Help
-
Stumped! does any one from the previous build have pictures of the fore deadwood and the stem piece on how this is formed? I need to know if the thickness of the deadwood continues up the entire stem? The drawing tends to infer that but what few pictures posted on the current build does not display this. Yellow highlighted area! Photo removed because it is a copyright plan
-
Thanks, I really enjoyed using the mill. I seem to be getting in to the swing of it but still lots to learn
-
Thanks for all the favorable feed back from everyone
-
Thanks
-
Nice technique Ed, I like the layers with the glass between. You do not actually glue the wood to the glass?
-
EdT your build is progressing nicely, I look foward to the next edition
-
Thanks Rdsaplala! The next addition I used the mill to shape all the flat sections not perfect but makes for tight joints. I do enjoy using it and should be fairly good at it by the time I start putting in the three piece beams. as this is my frist build of this type I am not going to spend a lot of time doing re-work unless I can not make it look decent...a little wood putty here and there should cover up those mistakes if done right!
-
Interesting article, thanks for the post
-
I see you are drawing your own bulkheads, how brave! good start